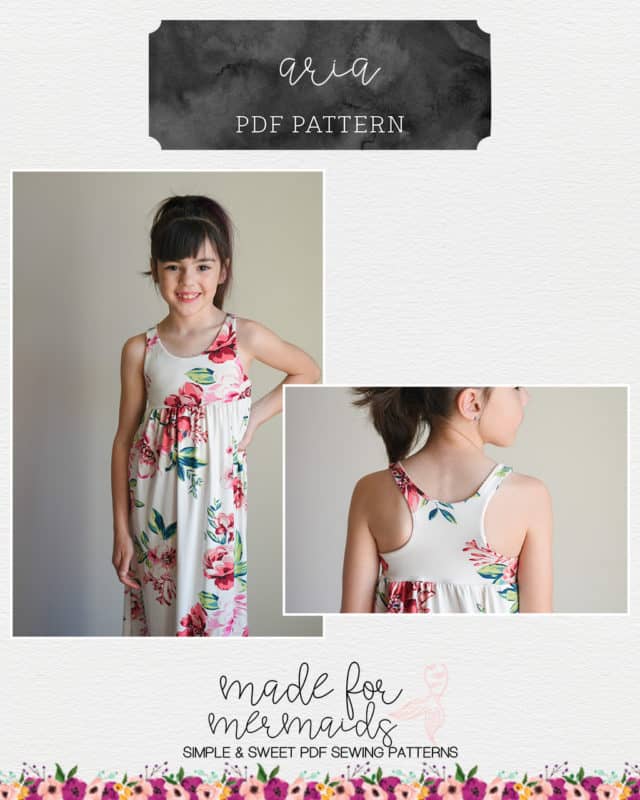
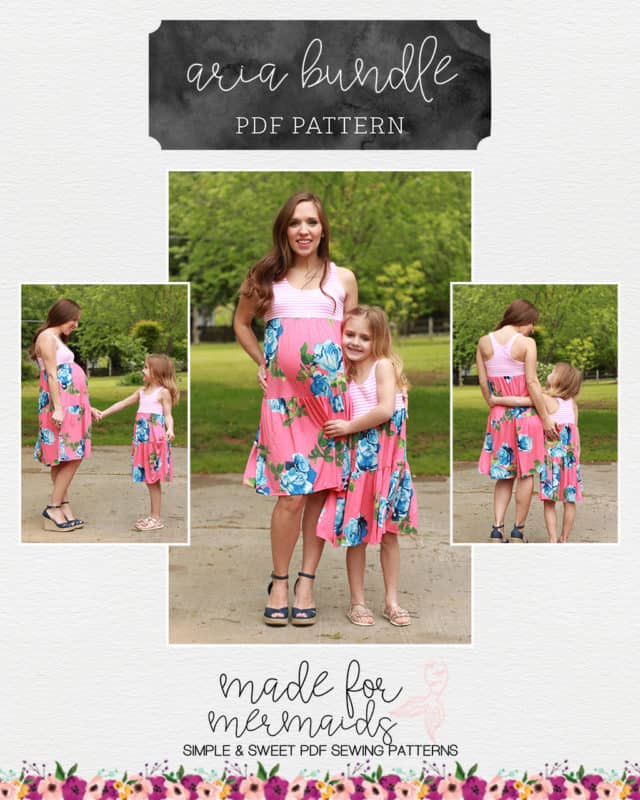
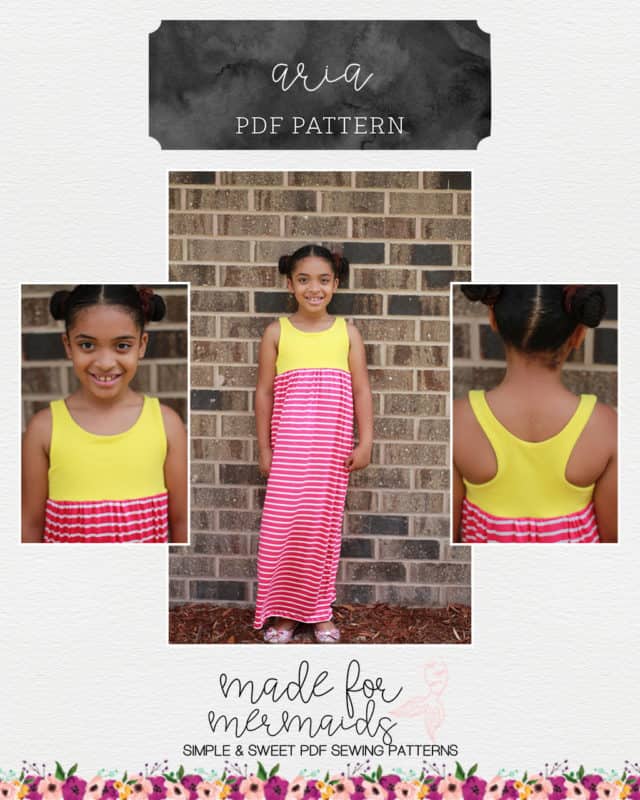
We’ve made it to Day 3 of our sew-a-long! For some of you, this may be the day that’s been stressing you out. I promise the rolling gets much easier with practice! After your first successful burrito roll, I think it will come easier to you.
We have a step-by-step blog post for lining a bodice, just in case you still need more help. You can find the post here. In today’s video, I mention that the blog post references adding sleeves. I confused myself and that’s actually not the case, BUT, if you wanted to know how to burrito roll with sleeves, you can check out the Sierra SAL over here.
Don’t forget:
- seam allowances vary! Be sure to use 1/4″ seam allowance along the armscye, or your straps will end up very narrow. This is especially important on the baby sizes since the straps aren’t particularly wide to begin with.
- seam allowance is already included on the paper pattern pieces
- stitch with right sides of fabric together
Ready to sew along with us??
If you have questions about doing the burrito roll method to line your bodice, you are always welcome to post in our SAL group so we can help you! Be sure to check in each day during the SAL, and look for daily posts to enter our giveaways. We can’t wait to see what you create this week.

DAY 1: PREPPING AND CUTTING
DAY 2: SHOULDER SEAMS AND NECKLINE
DAY 3: BURRITO ROLL
DAY 4: SIDE SEAMS
DAY 5: CONSTRUCTING TIERS
DAY 6: ATTACHING SKIRT(S)
DAY 7: HEMMING
OUR SPONSORS:
- Handcrafted goods. Digital designs. Made in West Virginia.


Leave a Reply