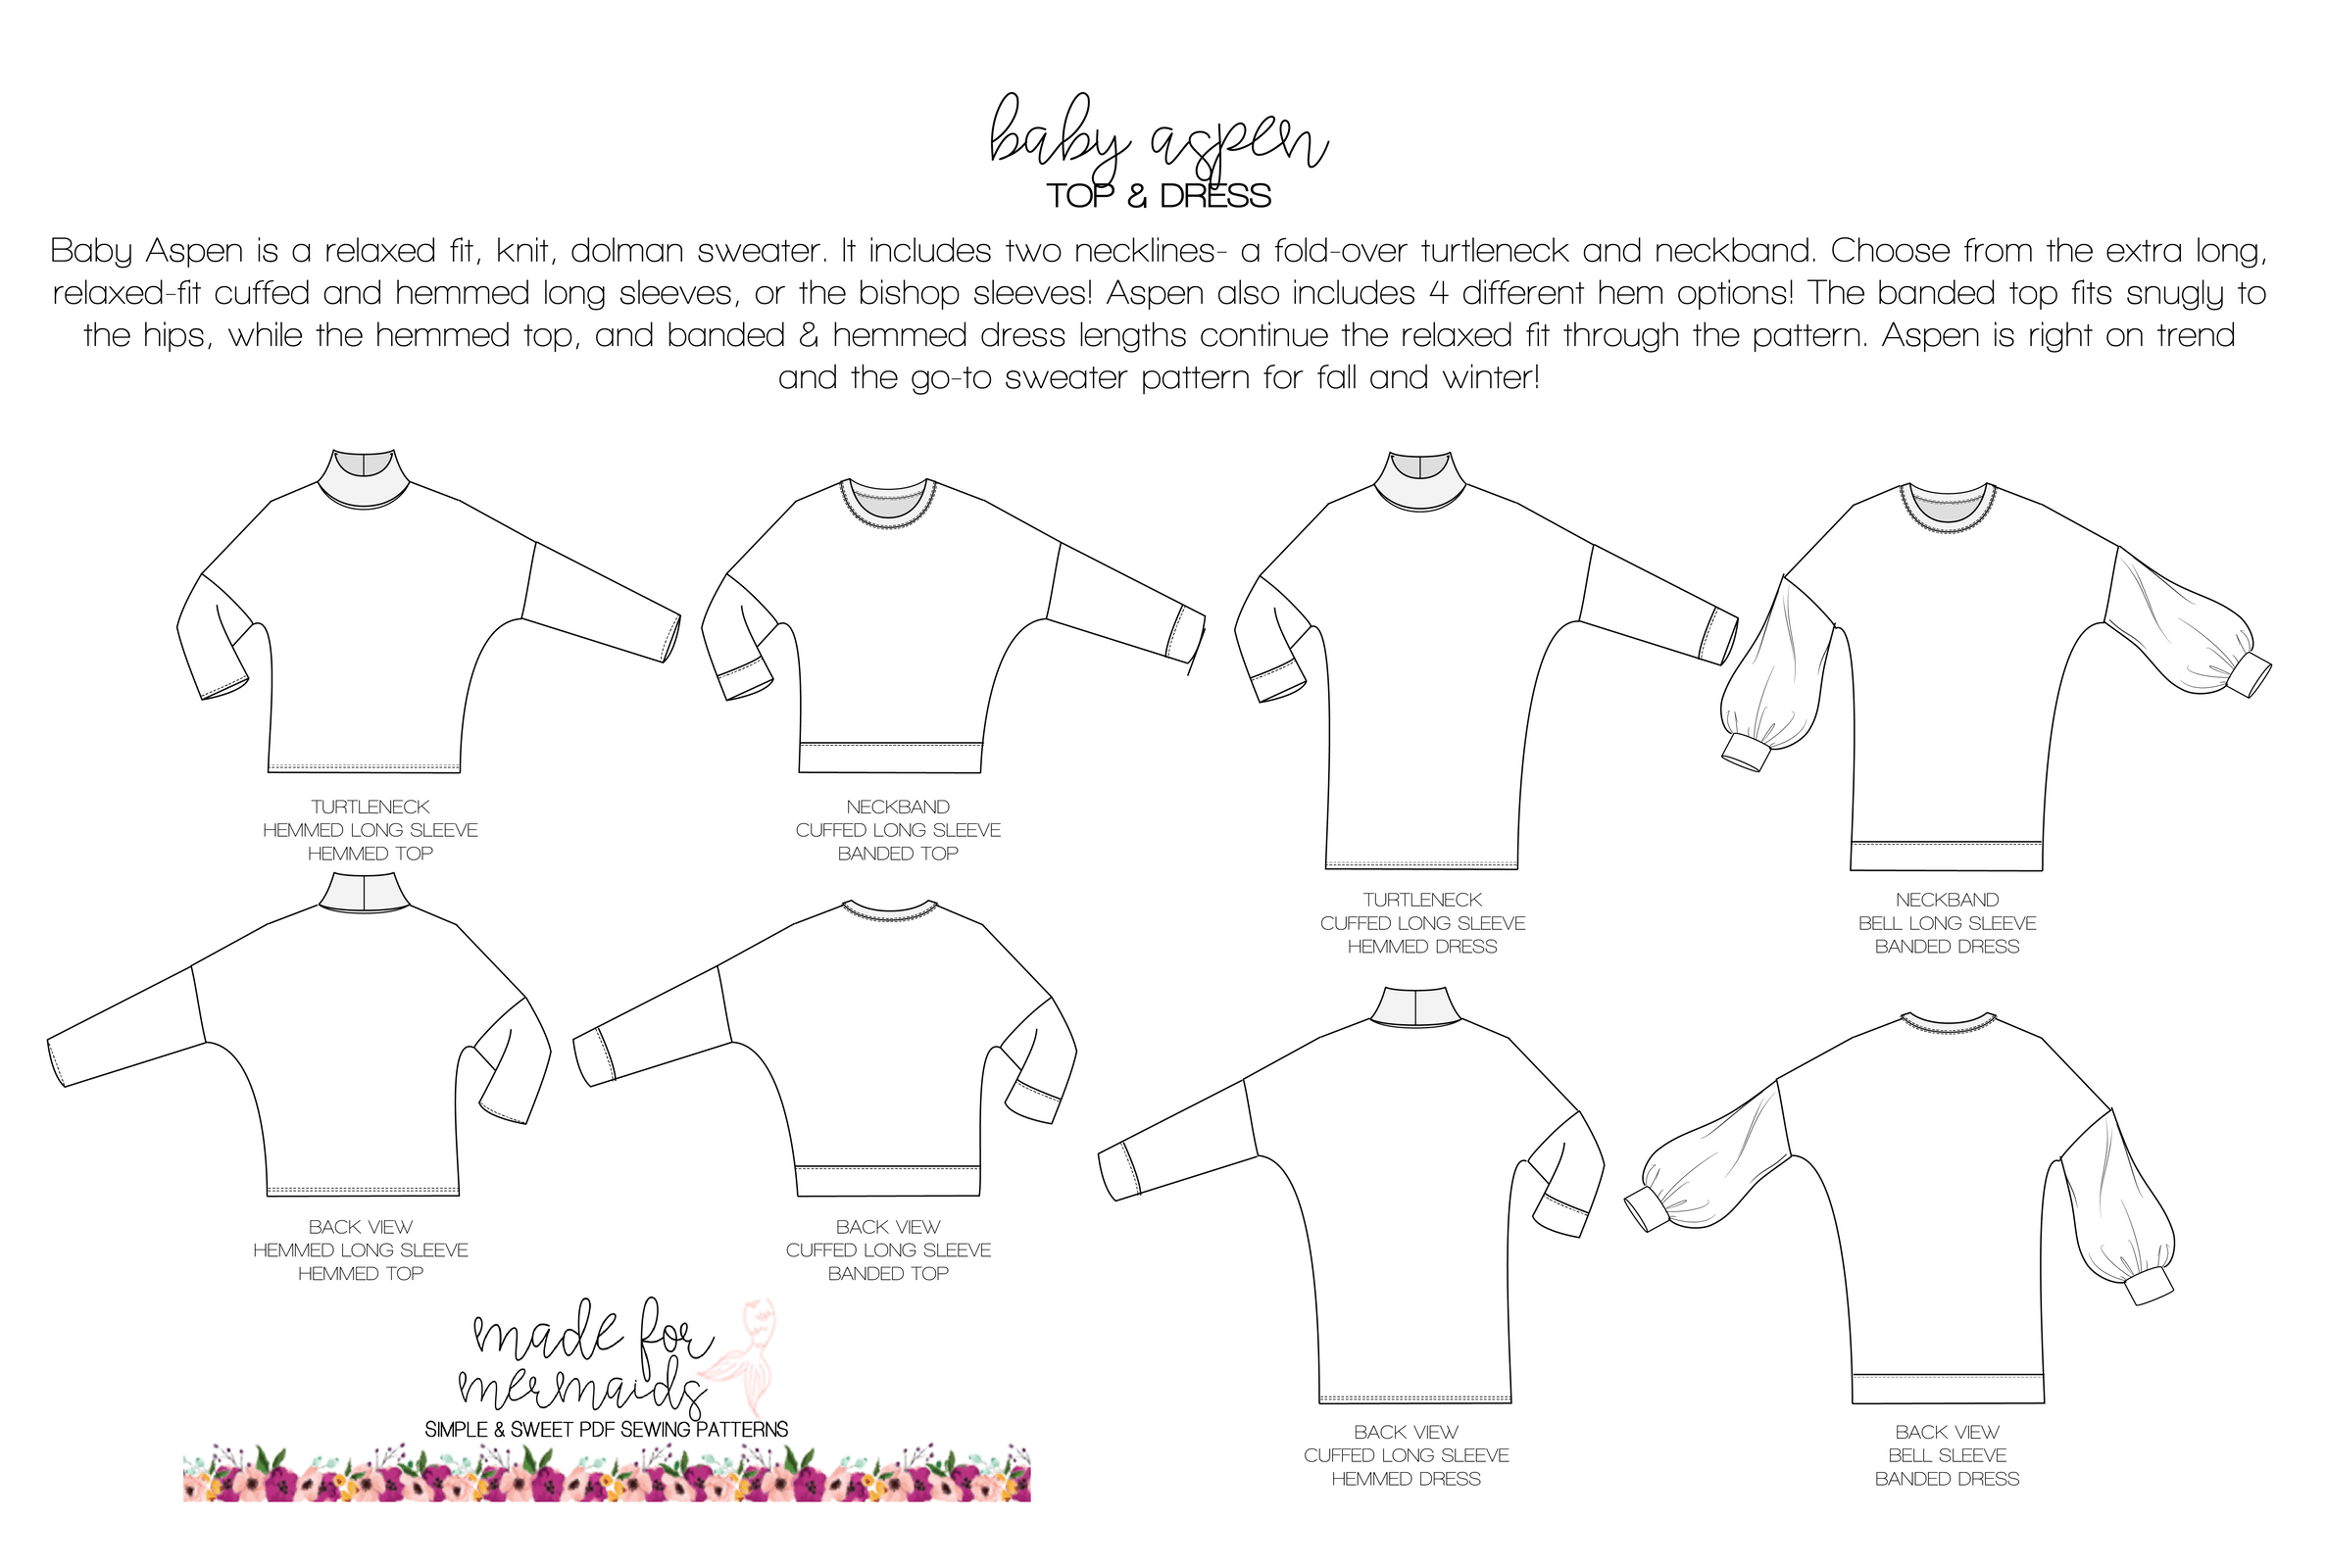
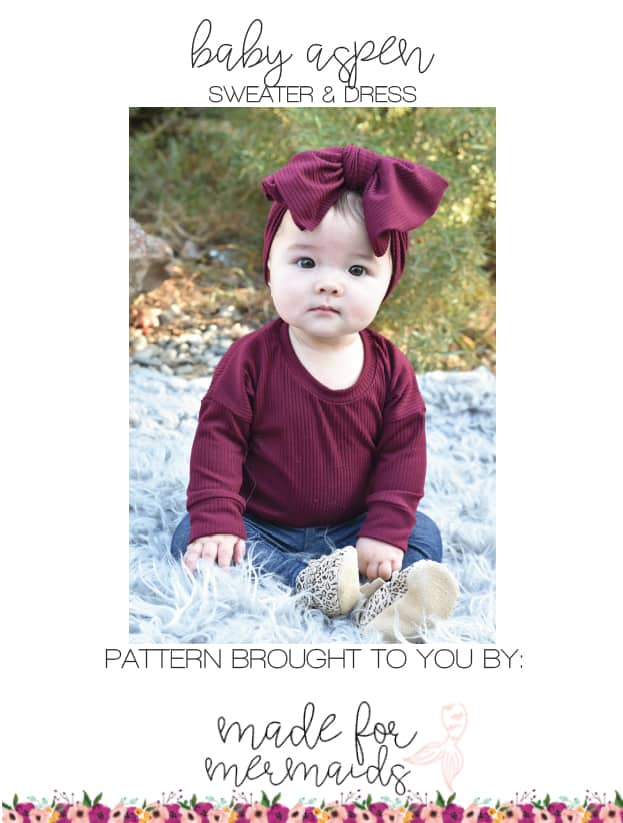
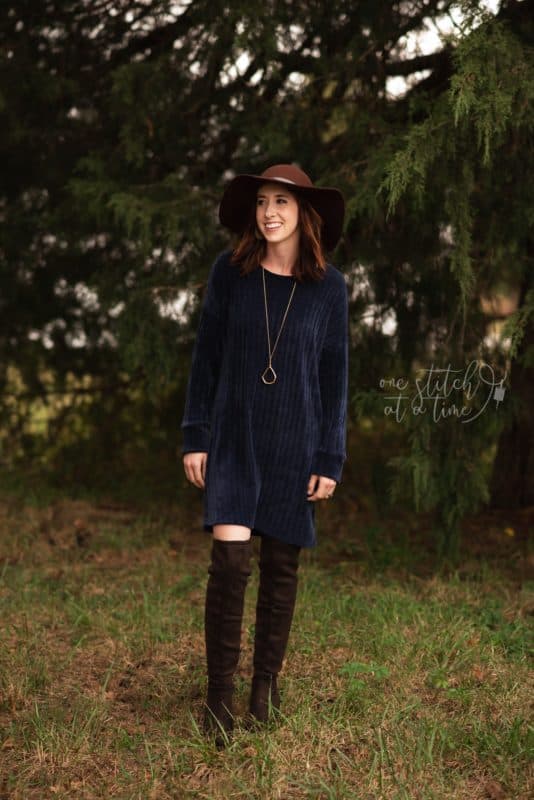
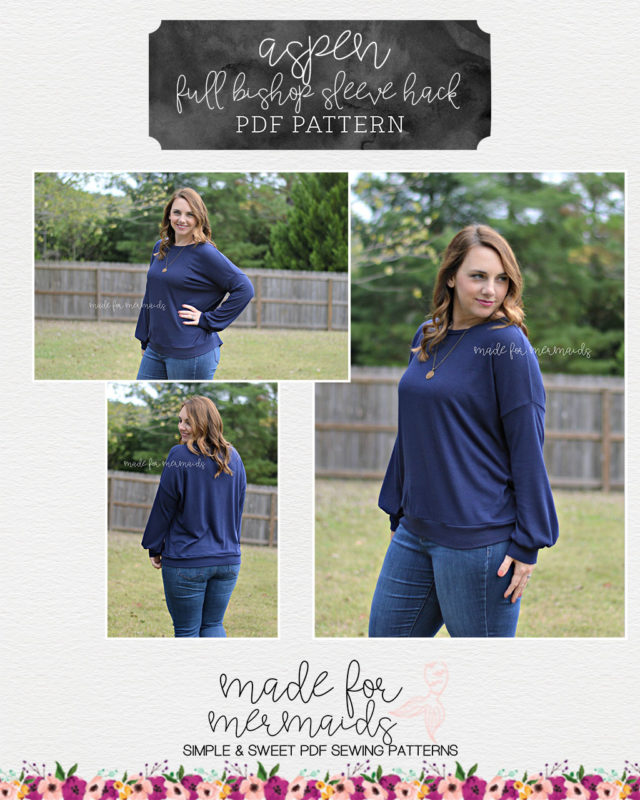
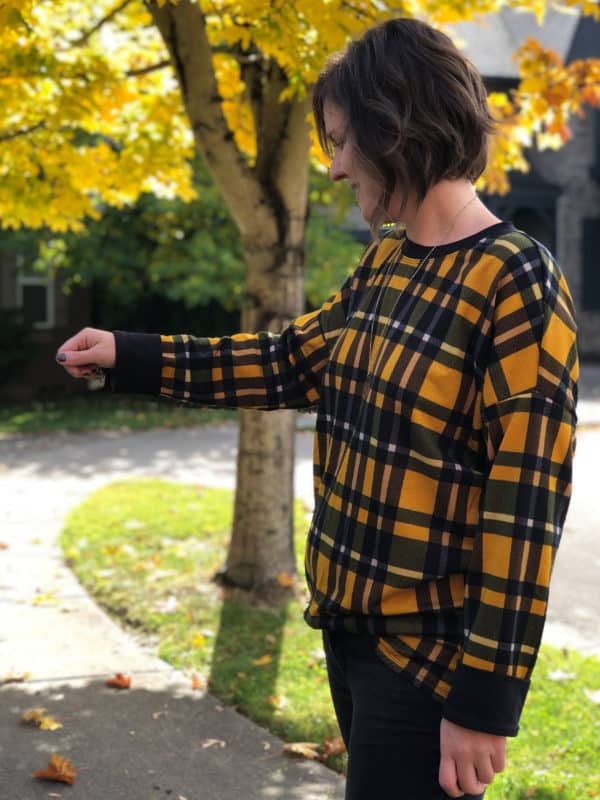
The Aspen patterns are finally here, and here’s hoping they bring all the fall weather with them! Aspen is available in baby, youth, and Women’s sizing, and comes LOADED with options. The Aspen sweater and dress features neckband and turtleneck options, multiple hem options, and so many fun sleeve choices. They’re perfect for all that cozy fabric you’ve been hoarding (it’s fine, we don’t judge – but here’s your chance to sew it all up!).
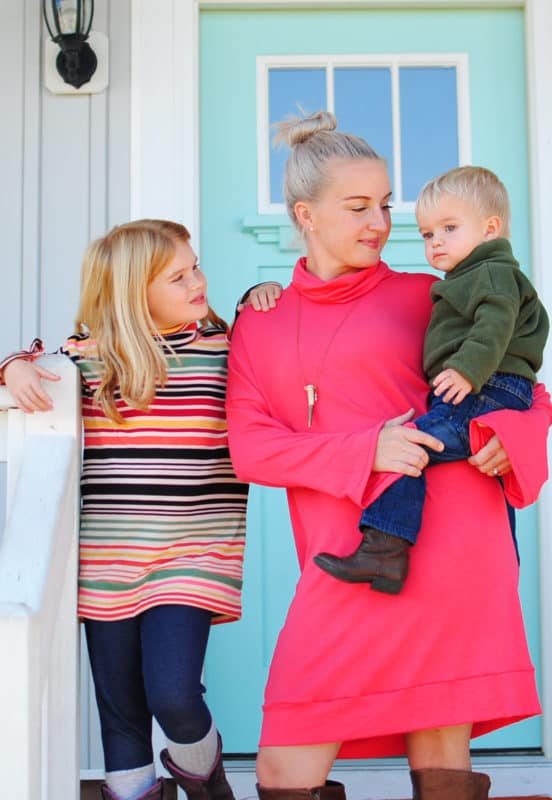
It looked so fun and trendy on all of our testers, including all of our littles. How sweet is the turtleneck option on baby boy?! We simply can’t get enough!!
- PSSST! How precious is baby boy in the turtleneck option? SO cute!
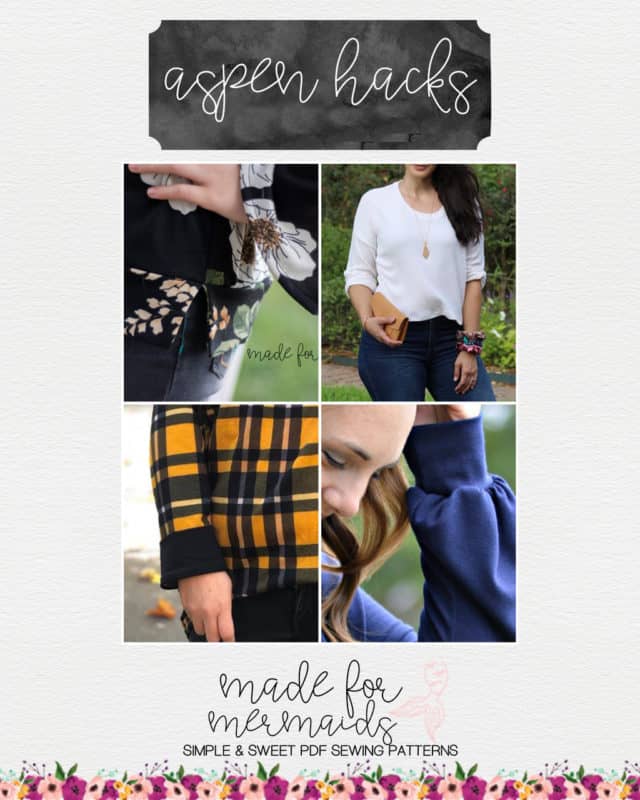
Wondering about the intended fit, or want to see some of our favorite Aspen styling tips and tricks? Head over here! Want even MORE options for your Aspen patterns?! Check out our cute and easy hacks below!
Full Bishop Sleeve Hack
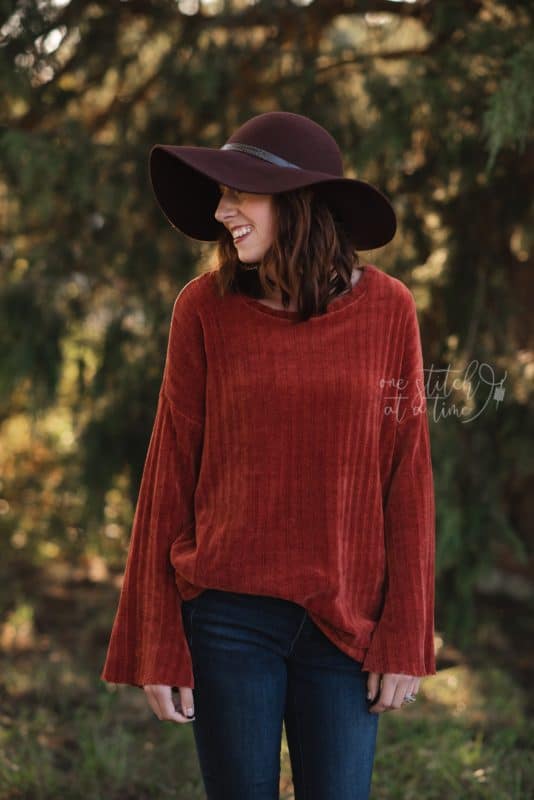
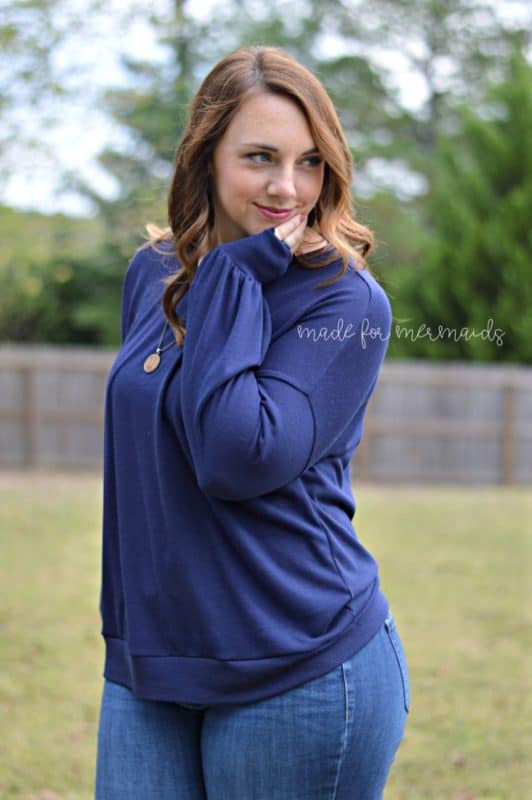
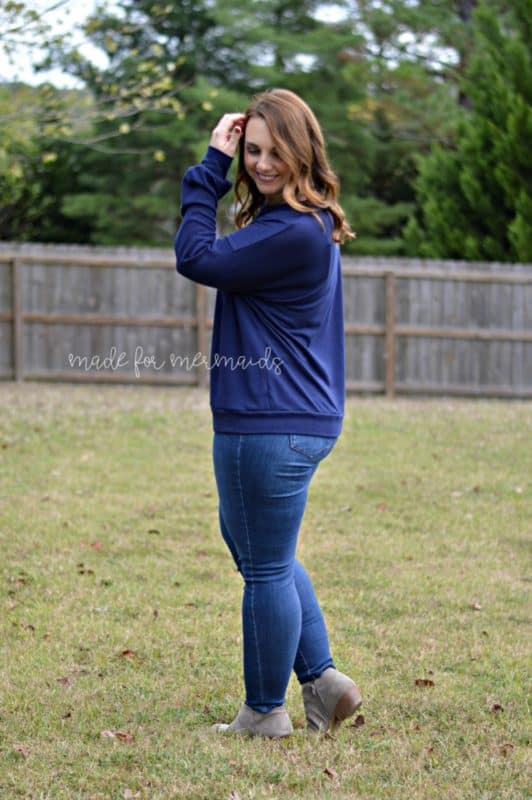
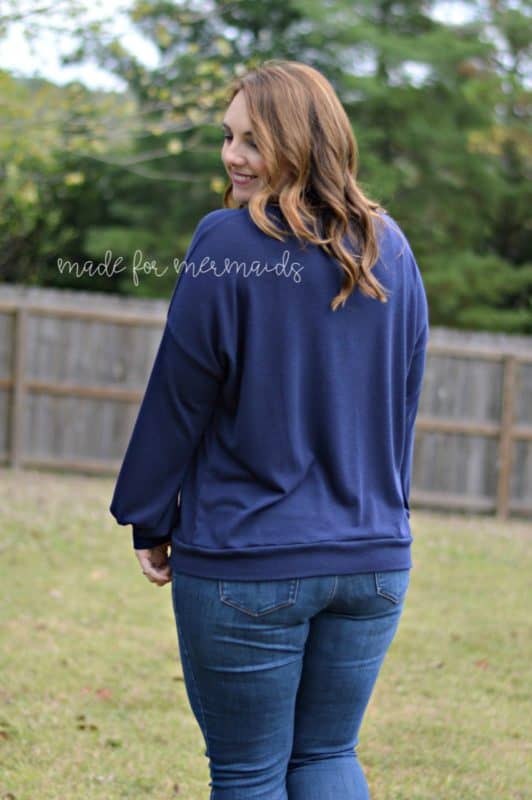
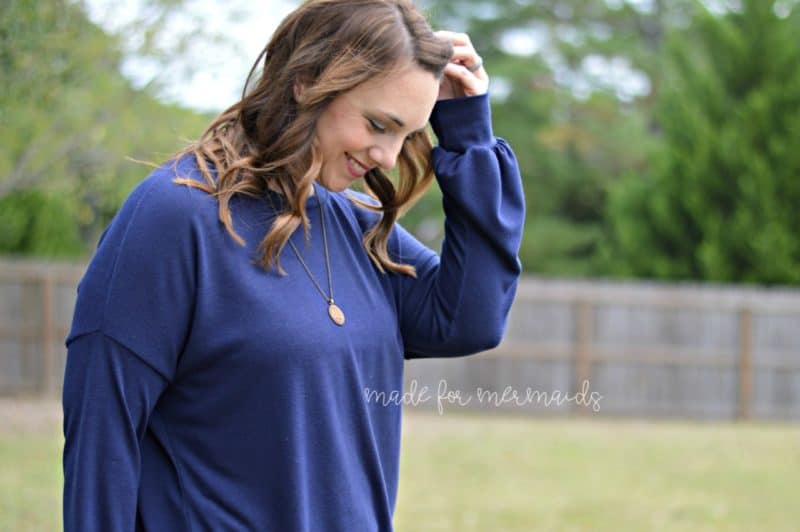
The Aspen patterns have a bishop sleeve included in the original pattern, but wider bishop sleeves are popping up everywhere in fall fashion this year. If you want to create a bishop sleeve with a little more flare, everything you need is included in the pattern. I took the wide bell sleeve from the Aspen, and used the bishop cuff to create this more dramatic sleeve. Want to copy this look?
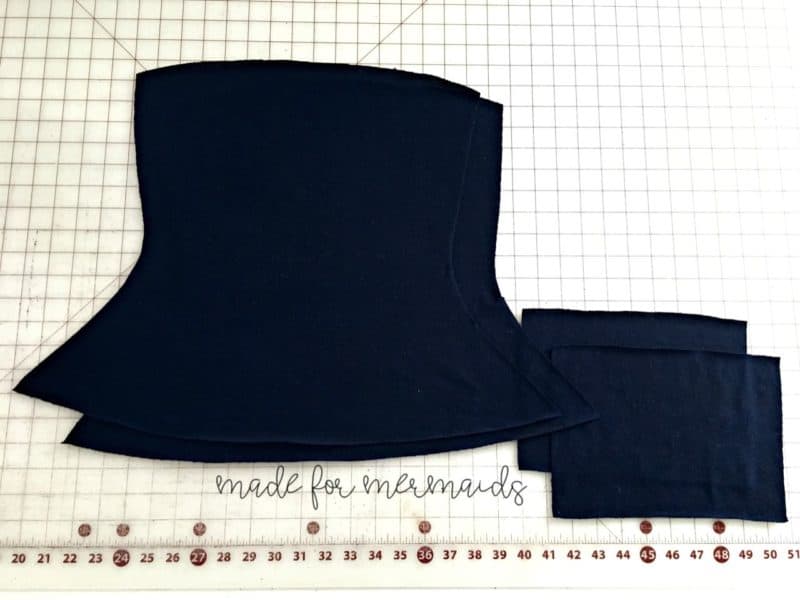
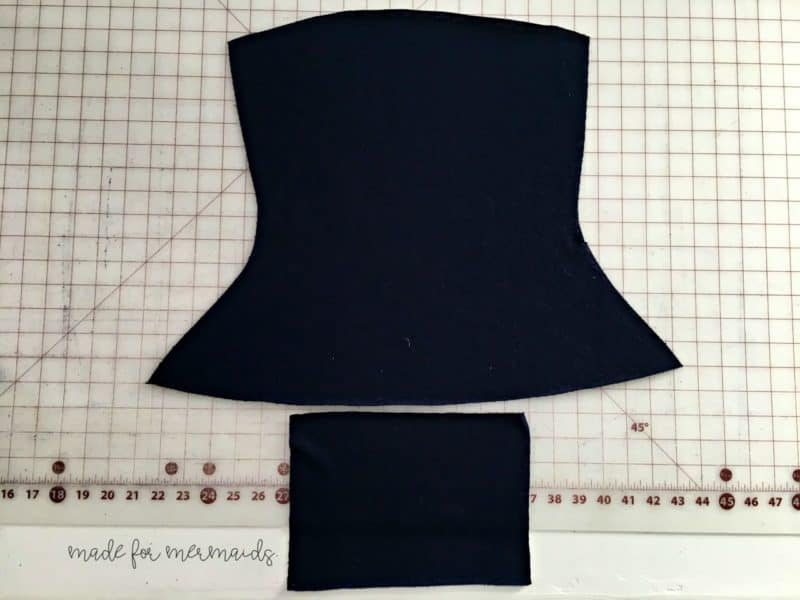
Cut out the body of the pattern with whichever options you choose for length. Next, cut 2 (mirror image) wide bell sleeves and 2 bishop sleeve cuffs.
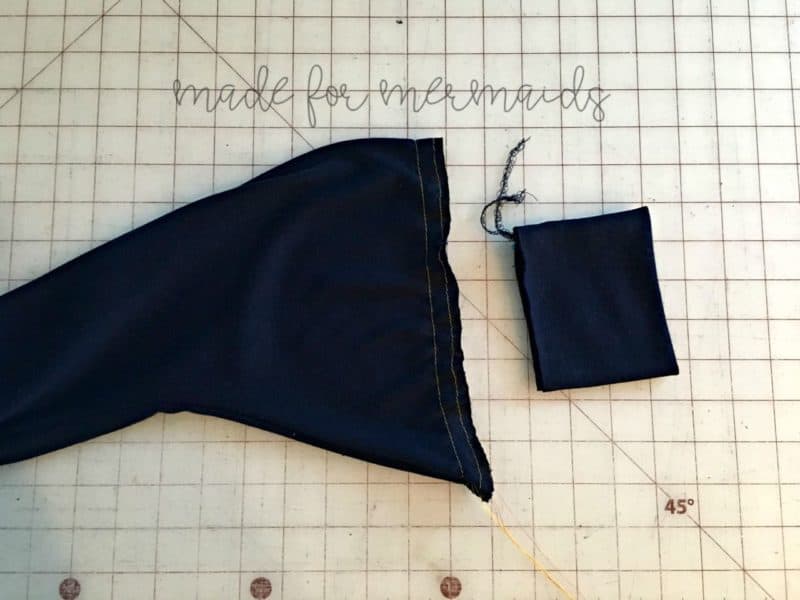
Using the same method of construction for the standard bishop sleeves in the pattern (see STEP 6), sew 2 gathering stitches at the bottom of the bell sleeve.
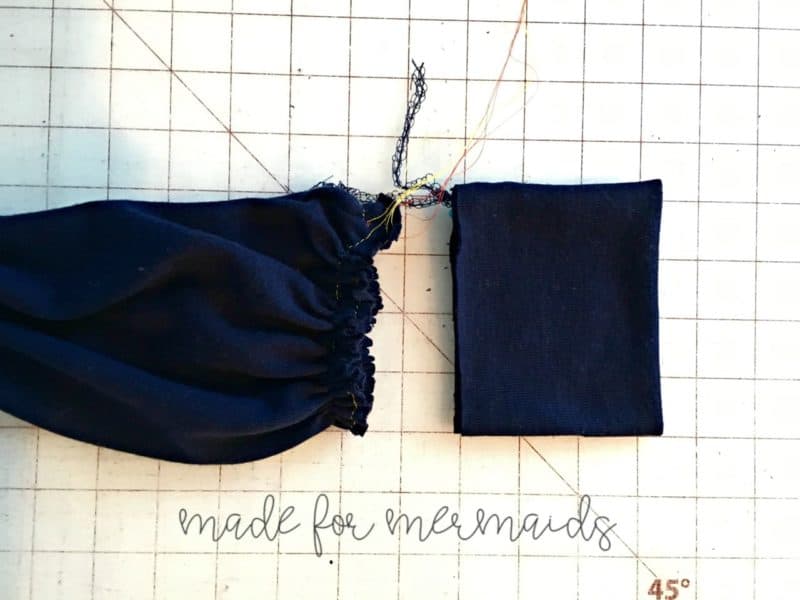
One gathering stitch should be sewn 1/4″ away from the bottom of the sleeve and the second should be sewn 5/8″ away from the bottom of the sleeve. Gather the end of the sleeve to match the bishop cuff.
With the sleeve turned wrong side out, slide the cuff inside the sleeve and stitch first with your sewing machine. Make sure your gathers laid nicely and then follow up with a serged seam if able. Turn the sleeve right side out and repeat with the opposite sleeve. All done! -Stacey
Rolled Cuff Hack
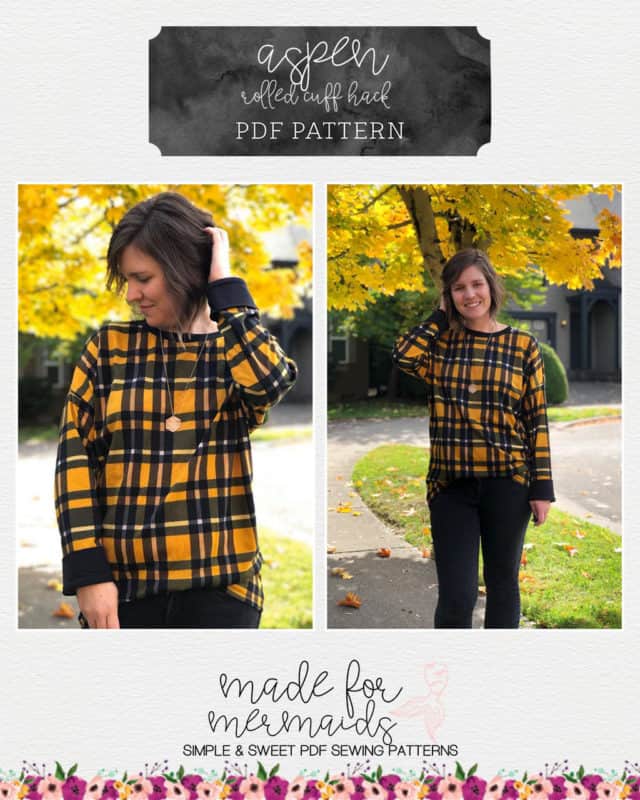
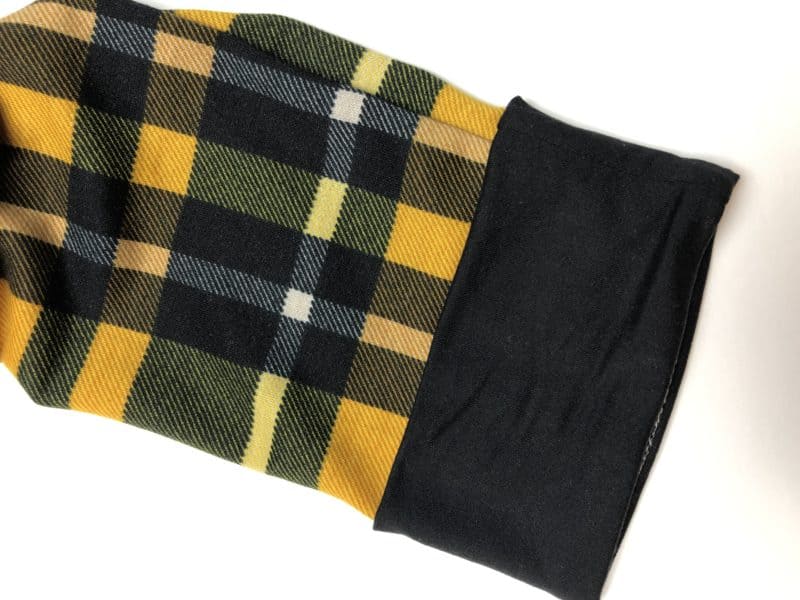
To get started, cut your sleeves at the long sleeve hem length and cut 2 cuffs. Make sure you are cutting the sleeves at the hem length, not the cuff length. The cuffs will end up going over the sleeves so you don’t want them to end up too short. If you want to do this same look on the 3/4 sleeves, make sure to extend the 3/4 sleeve cut line on the sleeve 3” first.
Sew up your Aspen, stopping at attaching your cuff.
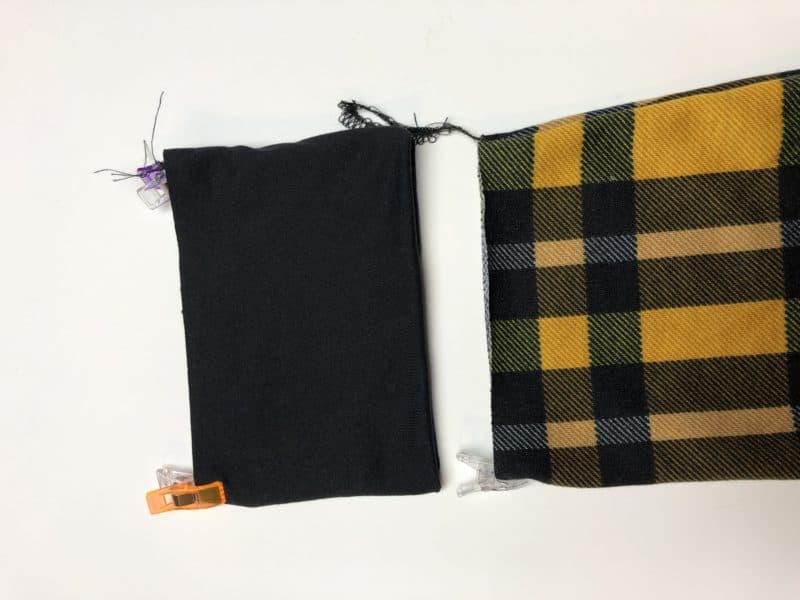
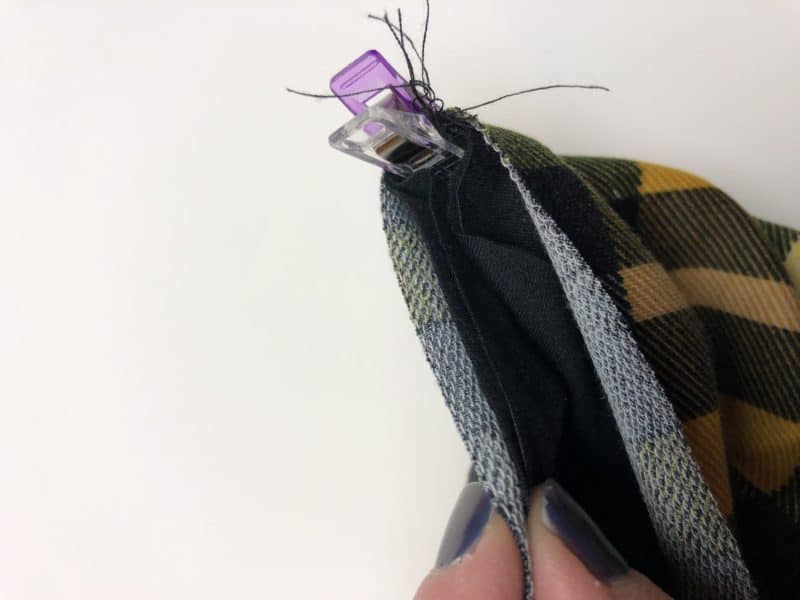
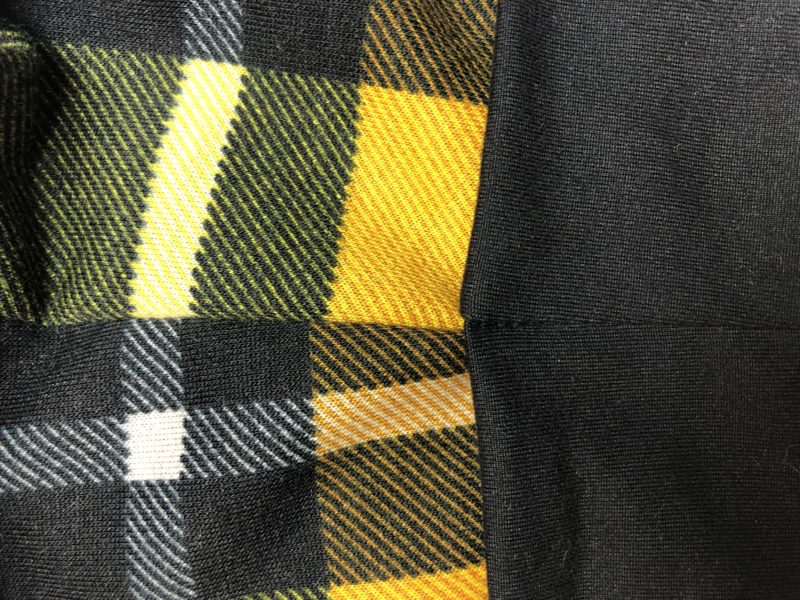
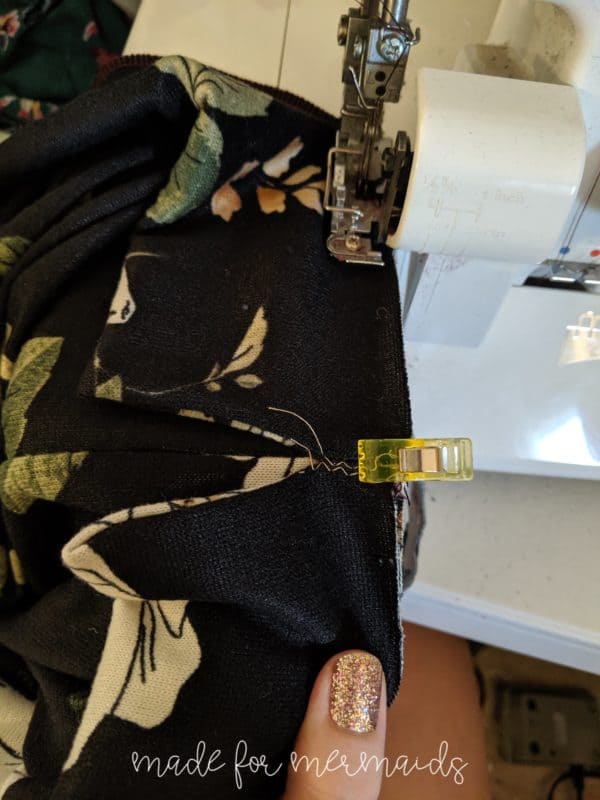
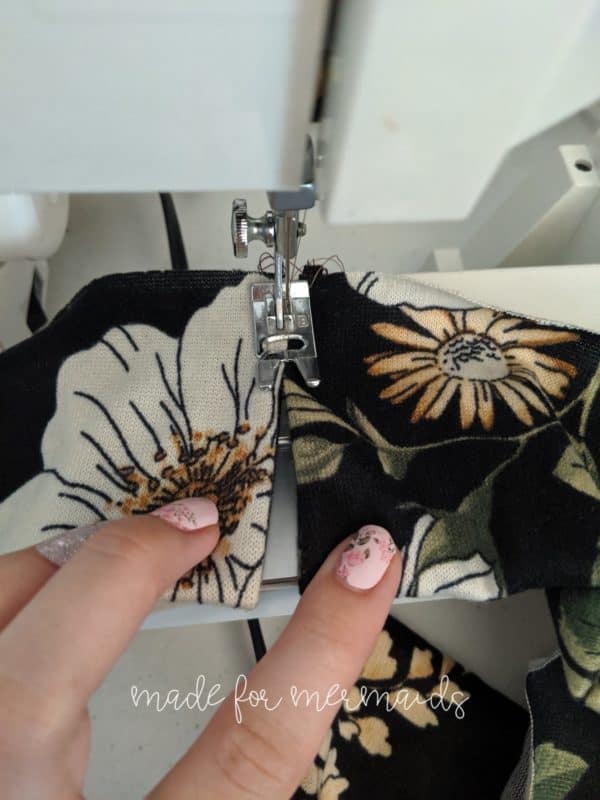
Rather than attaching your cuff to the right side of the fabric, slide the cuff inside the sleeve to the wrong side of the fabric. Clip it in place. Serge or sew with 1/2” seam allowance.
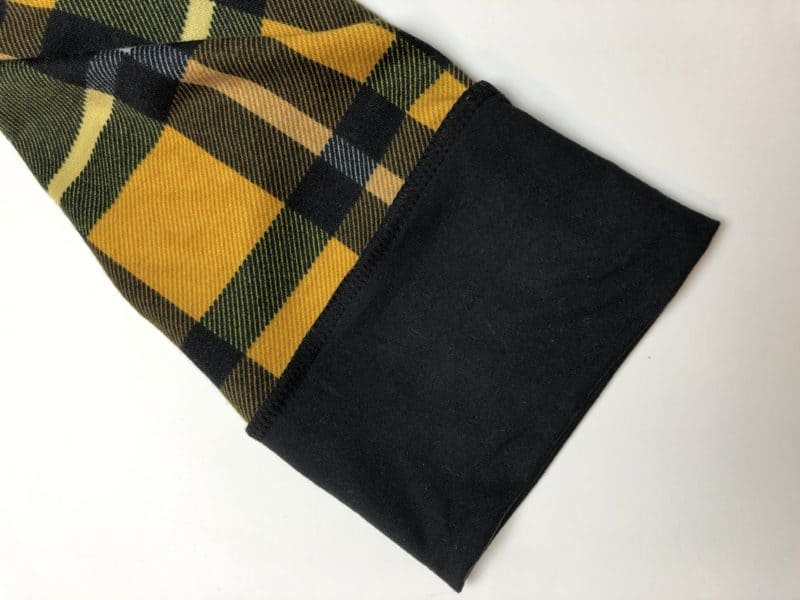
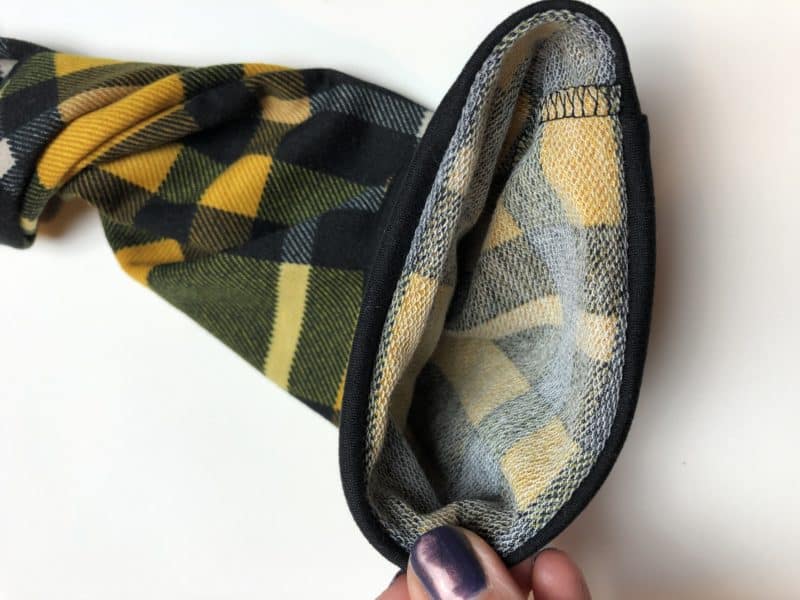
Then pull the cuff out and flip it over onto the right side of the sleeve. Press well.
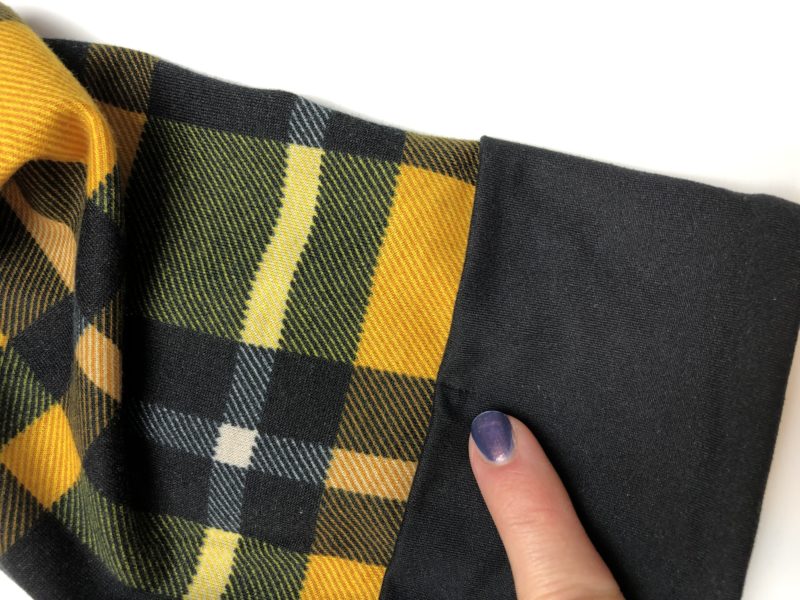
I find it best to add 2 tacks to hold the cuff up with my sewing machine. I add one in the seam of the cuff and the sleeve and another half way around the cuff. To add a tack, use a short straight stitch on your sewing machine and go forward 2-4 stitches then backstitch.
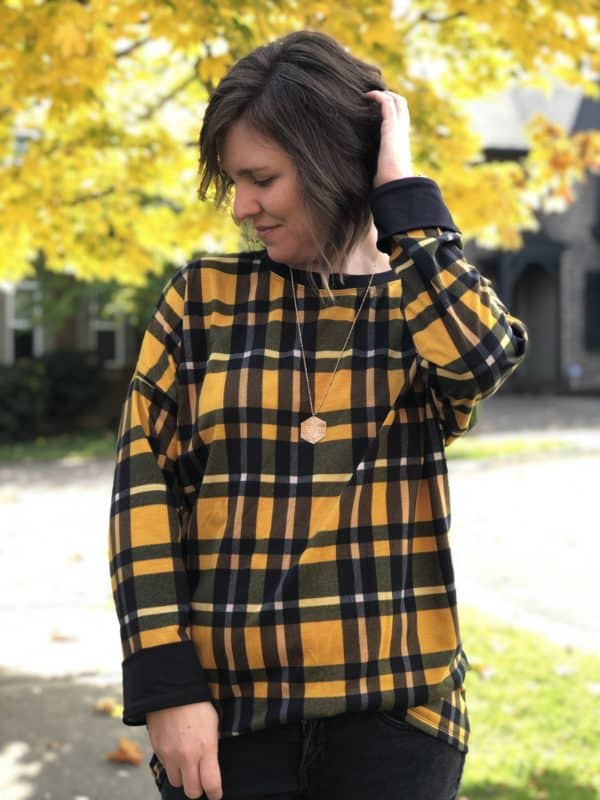
Now you have your very own Aspen with rolled up cuffs! -Katie
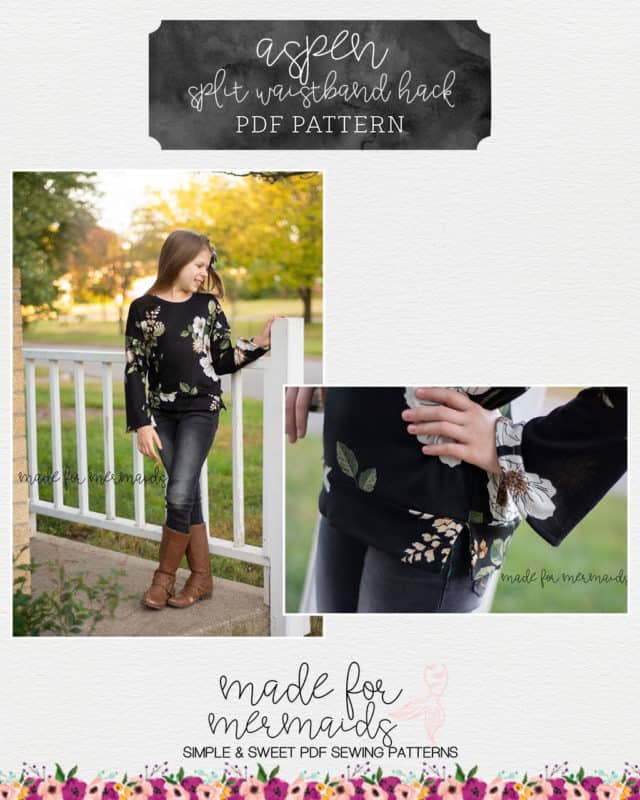
Split Waistband Hack
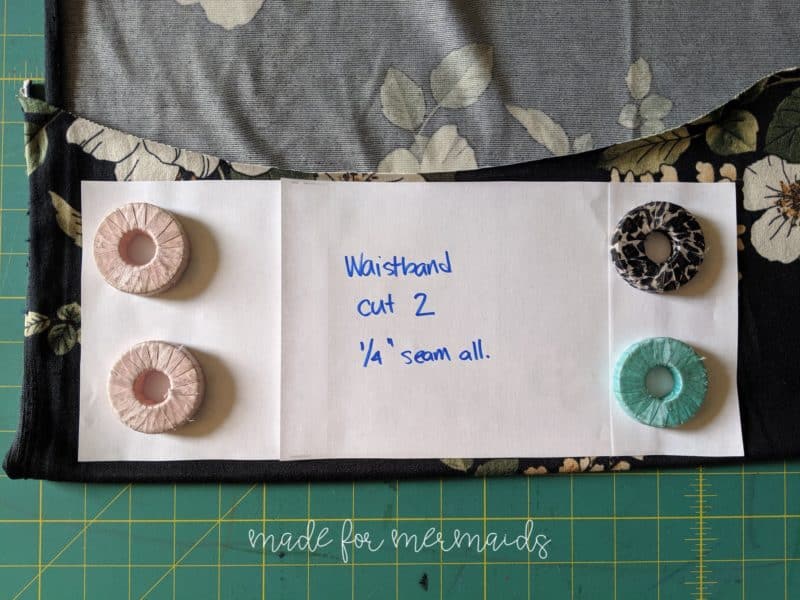
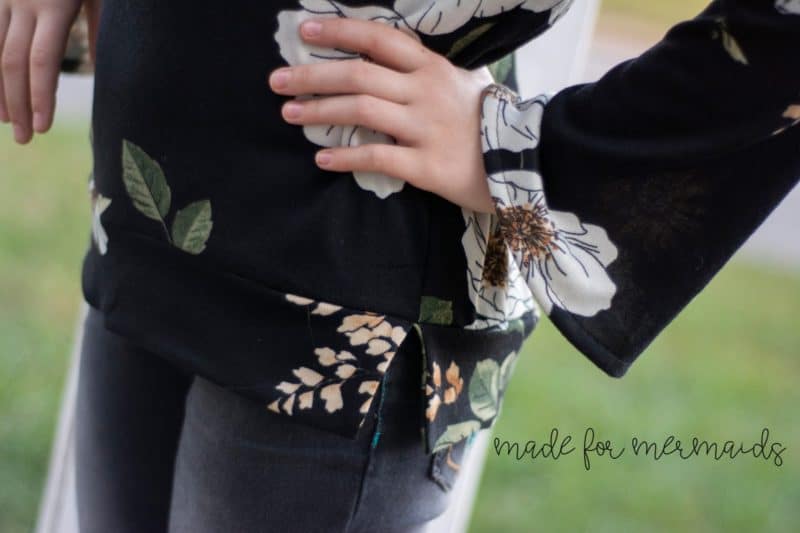
I love a split hem detail! I think is helps your shirt hang a little better if you like to wear the blogger half tuck 🙂 It’s a SUPER simple tweak. Here’s how I did it! Instead of cutting your waistband pieces on the fold, cut 2 of them.
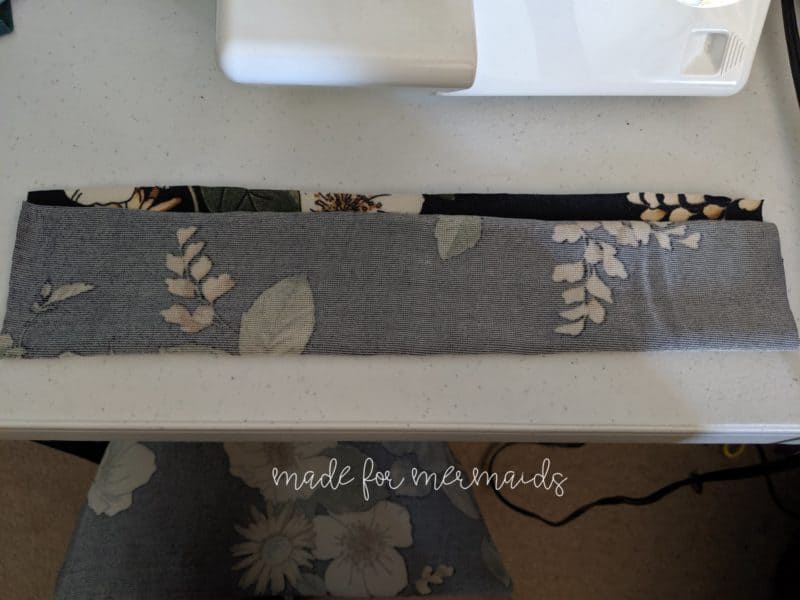
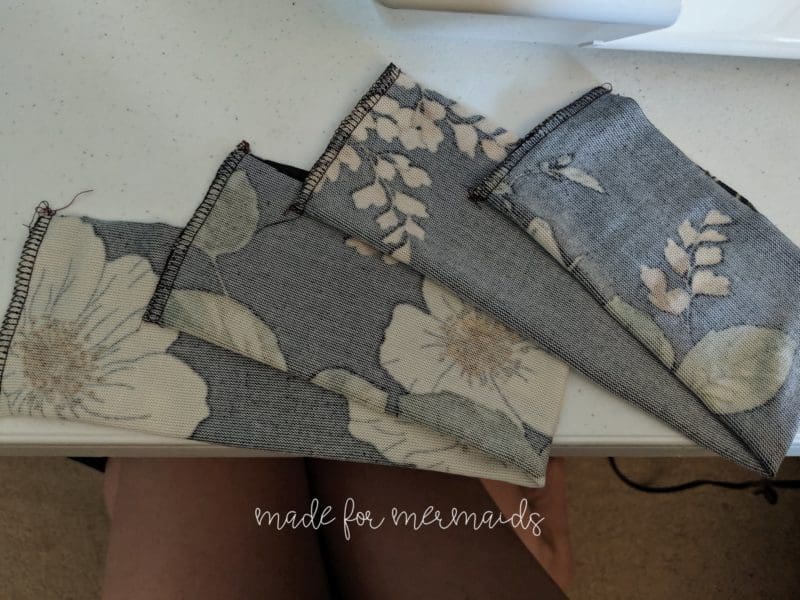
Then fold them in half the long way, right sides together, and stitch up the short ends with a 1/4″ seam allowance. Turn them right side out, pushing the corners out, and press.
I like to baste them together in a circle now, with a zig-zag stitch just to hold them in place.
Now you can treat your hem band like normal, and follow the tutorial for attaching it. Press the waistband seam allowance up, and remove the zig zag basting stitches, and you’re done! – Liesel
Crop Hack
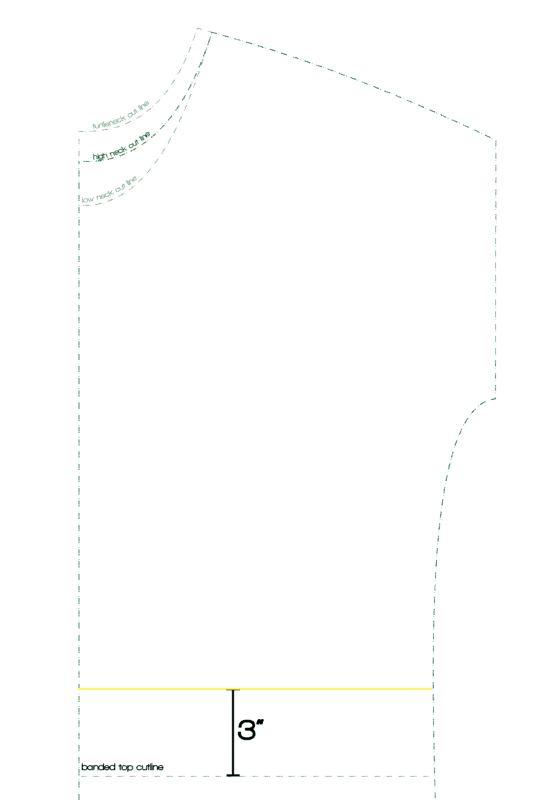
Take your front & back pattern pieces and decide how much length you want to take off. In this example, I marked lines 3″ about the banded top cutline for both the front and back pieces. Cut out front and back pieces at your new crop cutline. (Pro Tip: You can just mark the crop line on your pattern piece and then fold your pattern piece up at the mark so the rest of the pattern is intact for the next time you want to sew Aspen!)
Follow pattern instructions for assembly.
You can hem the 1/2″ that is listed in the pattern or do a wider hem allowance for the crop. I chose to hem it 1″ for this look.
Now you’ve got a cute crop Aspen sweater!
-Lindsay
Which option are you sewing up first? We can’t wait to see what you come up with! Don’t forget to share over in our Facebook group, or over on Instagram with #aspenpattern! Happy sewing!
















Leave a Reply