On the 7th day of Christmas, Made for Mermaids gave to me… 4 sizes of BEANIES! When Megan T. and I were brainstorming freebie ideas, we tried to think of something for everyone on our list. Thinking of something for the MEN in our life was definitely the most difficult. I asked my husband, what is something I can make you that is simple, small and you would love? First he said a “flannel shirt”, because he has been asking me to make him one for, I don’t know, FOREVER lol. After telling him for the 1000th time I was not going to make him a flannel shirt, we came up with a beanie. My husband has a favorite Carhartt brand beanie he wears everyday when it’s cold. He loves it! So after 7 rounds of testing………. no joke……….. I finally got the perfect beanie pattern for him! It would have been much easier if the beanie was at home to create a pattern from, but, my husband is notorious for being difficult 😉
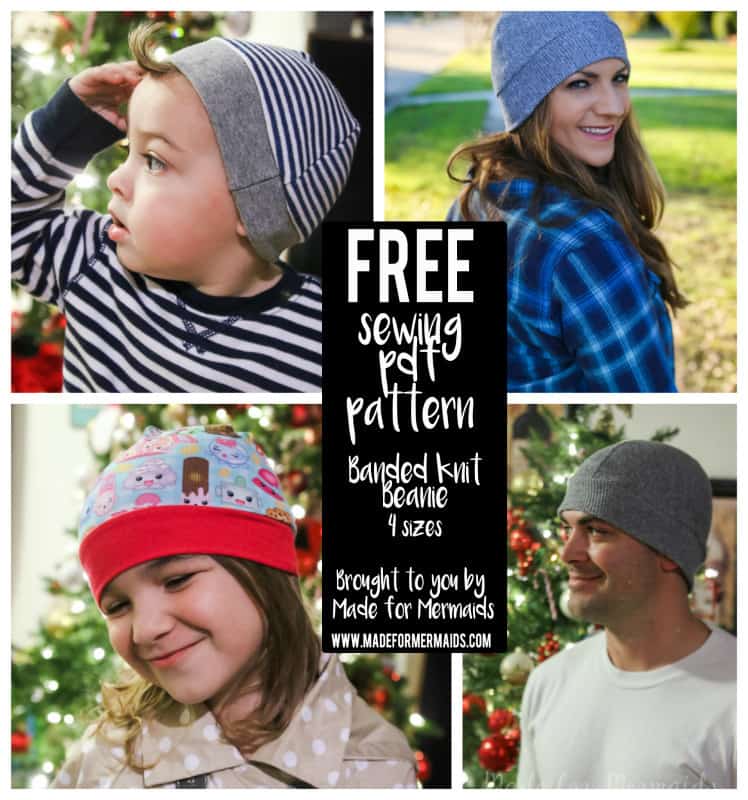 This is a tight fitting, banded beanie made for knit fabric- cotton lycra, thermal, french terry are all my favorites to use. You CAN use a fleece, but I would suggest sizing up. The finished measurements for each size are below:
Papa- 23″
Mama- 20.5″
Sis- 18″
Bubs- 16″
First grab your pattern pieces here. There is just 1 page to print, horray! You will need 2 beanie pieces cut on the fold and 1 band piece. If you want your beanie to be reversible or lined, cut 2 more beanie pieces on the fold. The band measurements for each size are written on the pattern pieces so you can cut with a ruler and rotary cutter. I use my serger for construction, if you don’t have a serger you need to use a stretch (jersey, ballpoint) needle and a stretch stitch (zig zag, lightening bolt or triple stitch).
Make sure your stretch is going with the WIDTH of the band. Band measurements given in length x width and in inches:
Papa- 5 x 21
Mama- 5 x 18
Sis- 4 x 16
Bubs- 4 x 14
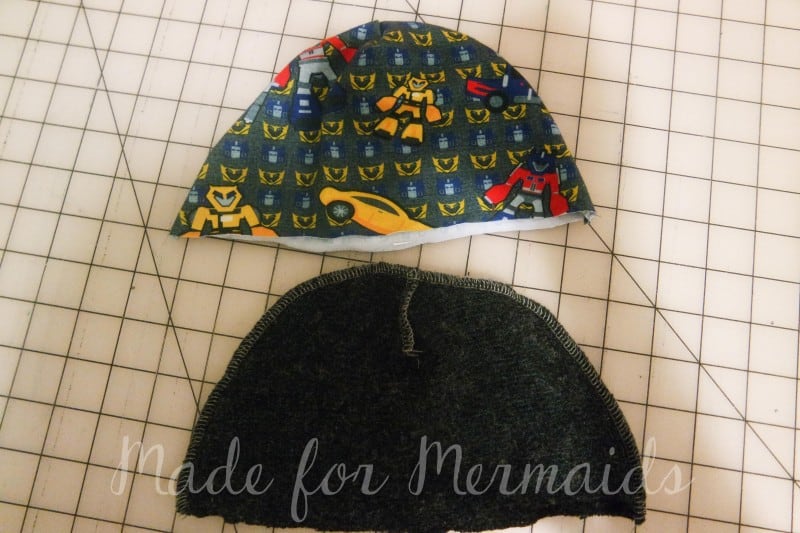
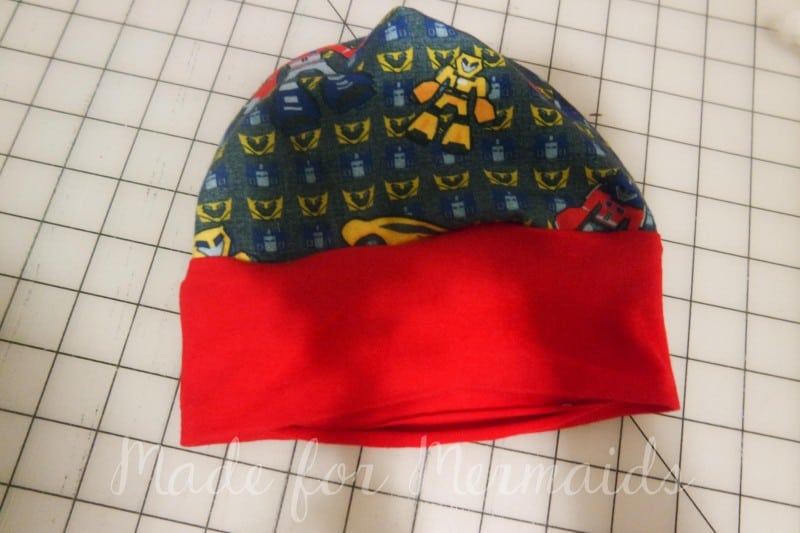
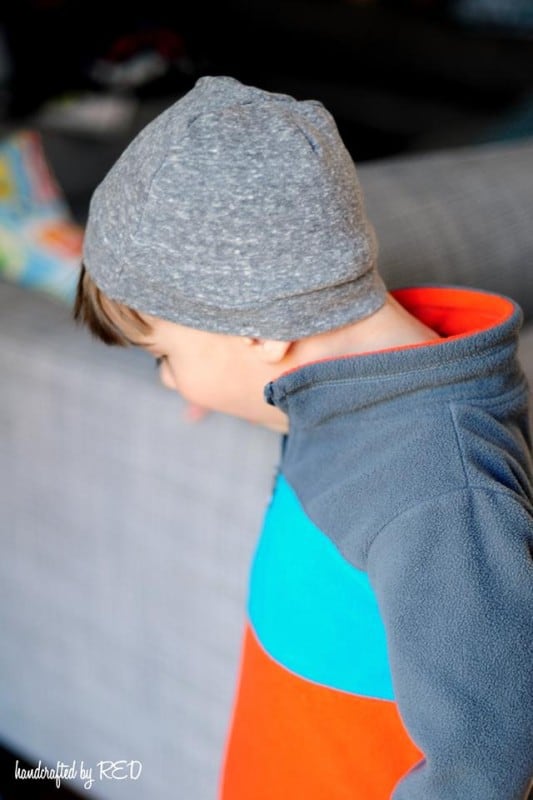
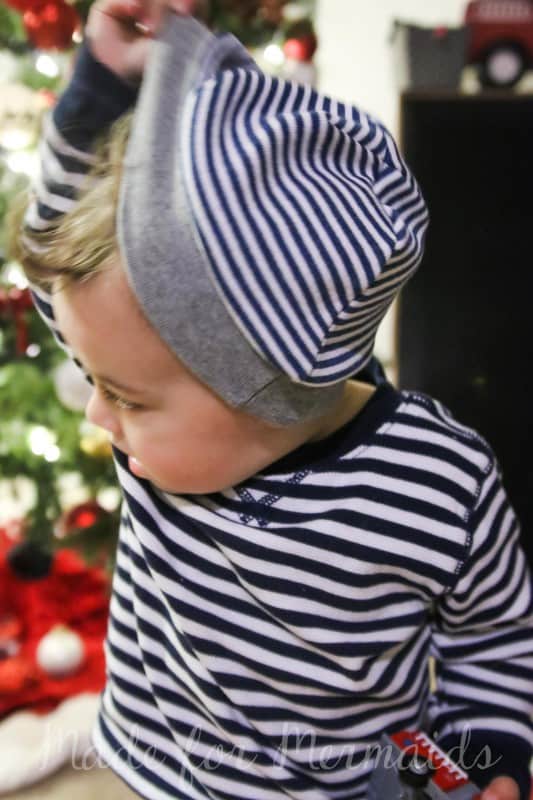
The grey beanie s normal, the transformer and red beanie is the reversible option.
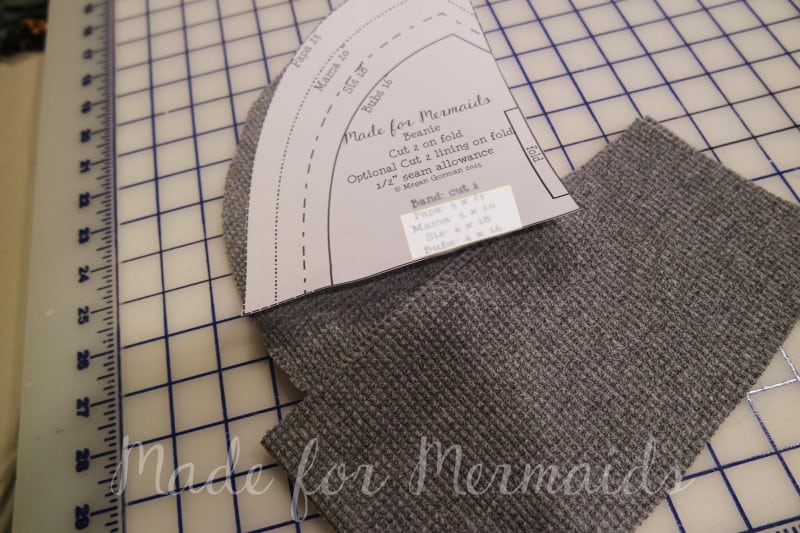
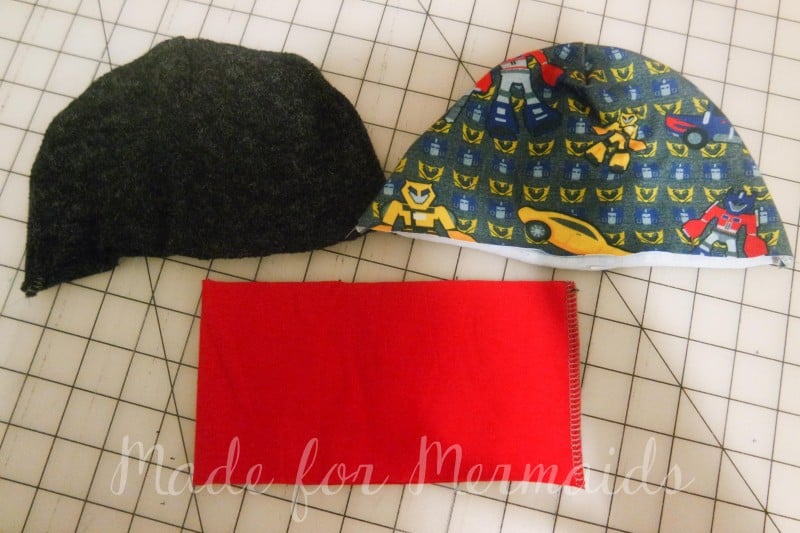
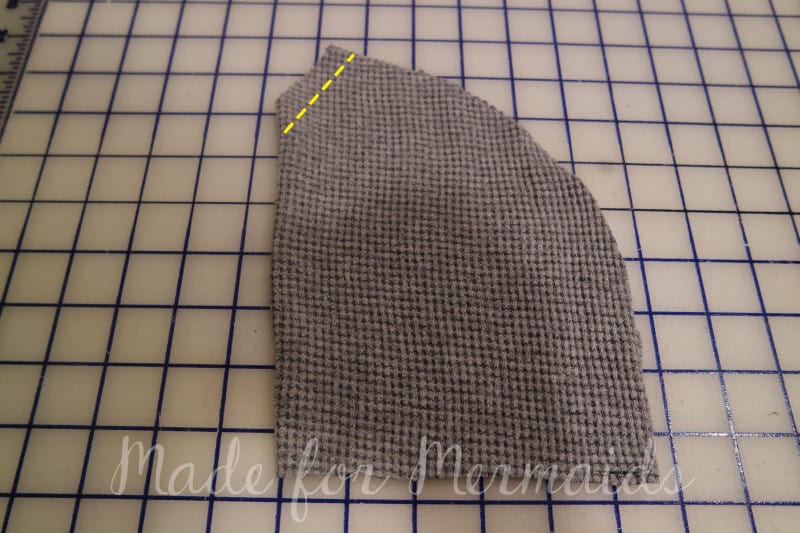
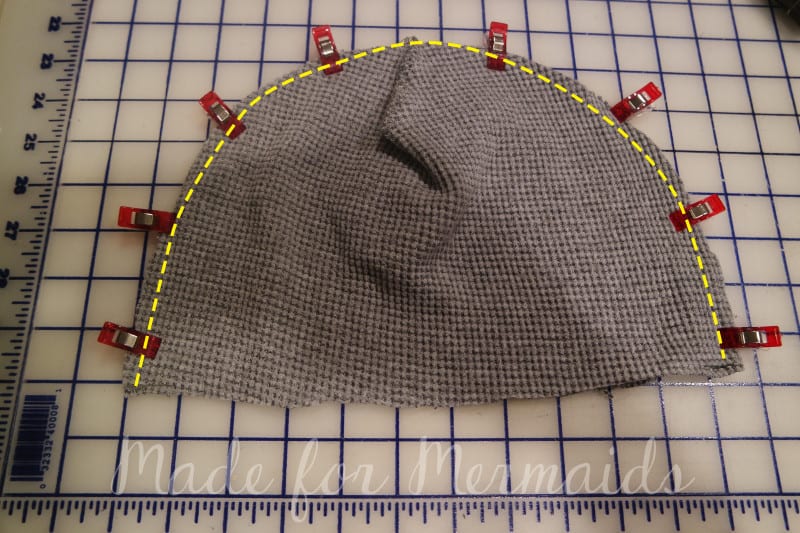
ALL SEAM ALLOWANCES ARE 1/2″ First take your main piece and fold in half widthwise, with RIGHT sides together, stitch small notch at top . Repeat on other main piece(s).
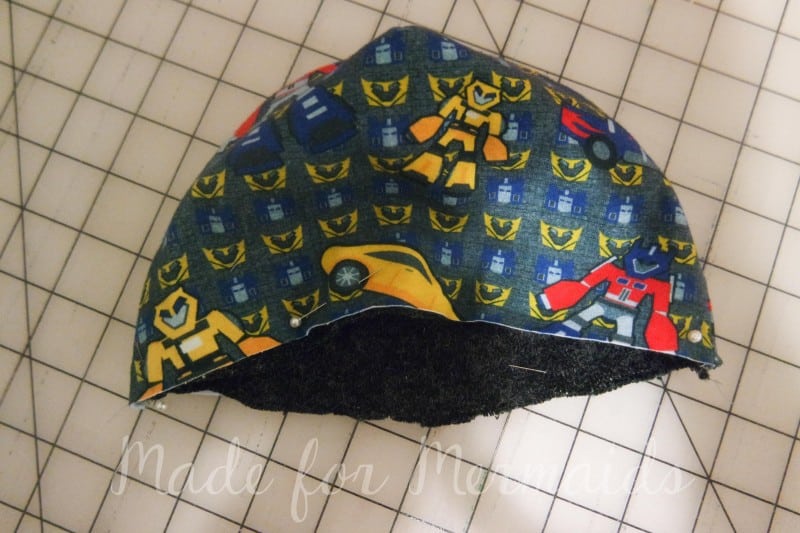
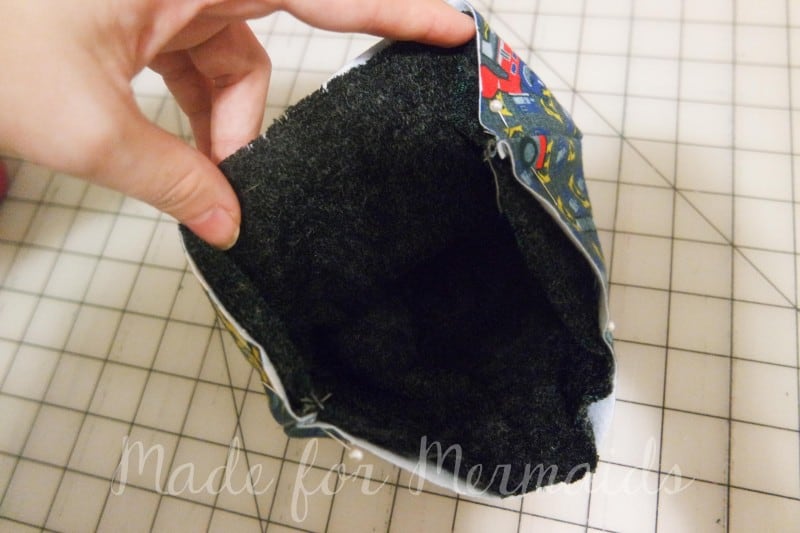
With right sides together, stitch main pieces together along curved edge. Reversible option, slip your lining inside your main beanie piece, wrong sides together. Baste the bottom edges together to hold in place.
Fold band in half widthwise, RIGHT sides together and stitch short ends, creating a loop. Lined option, along bottom edge, press 1/2″ toward wrong side. I like to use starch here to prevent the knit from rolling.
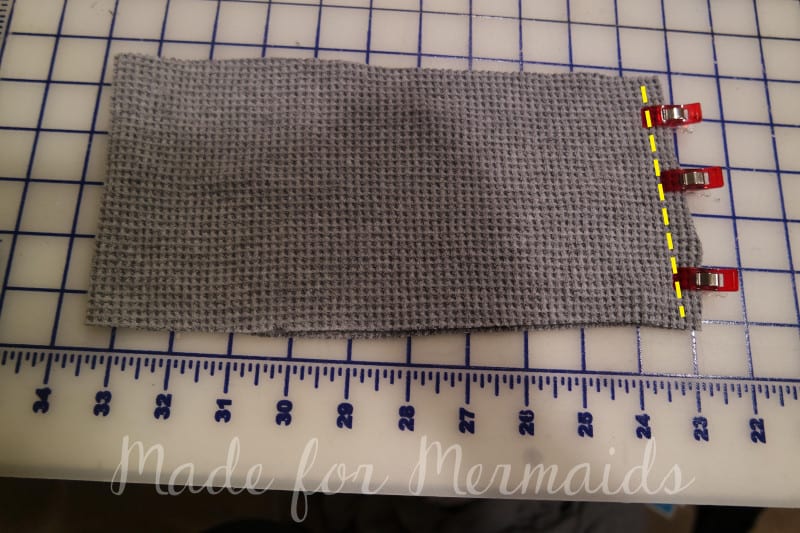
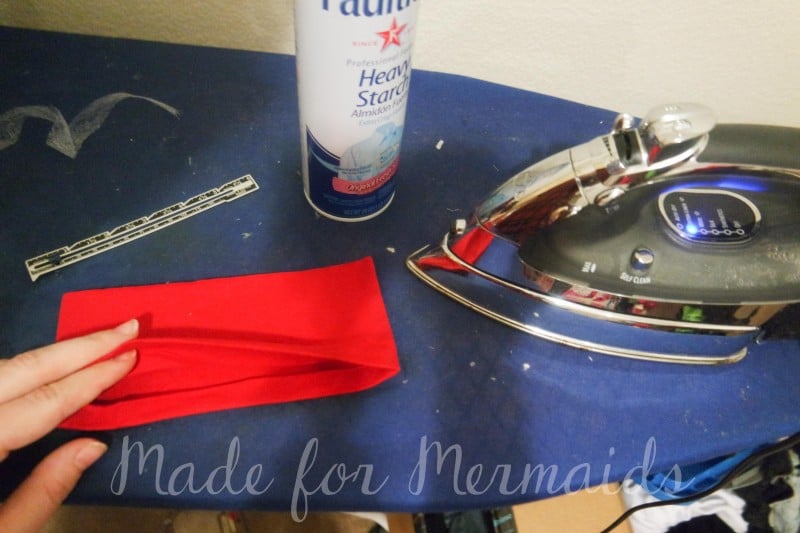
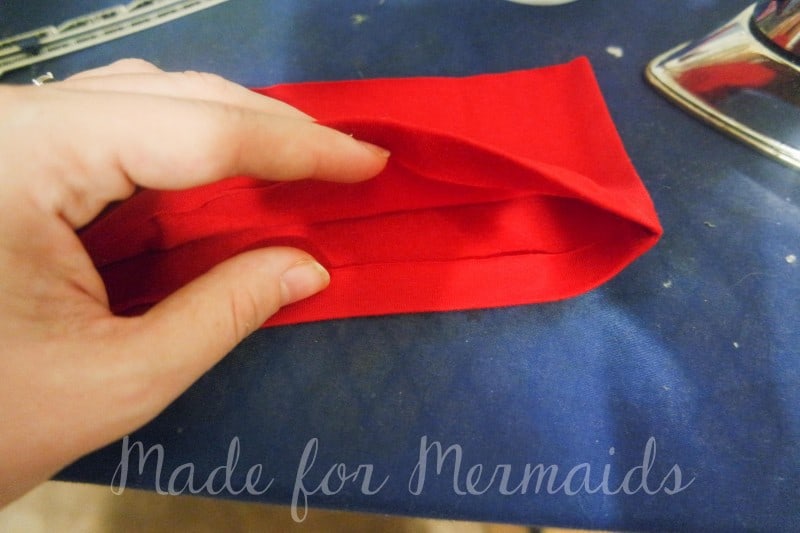
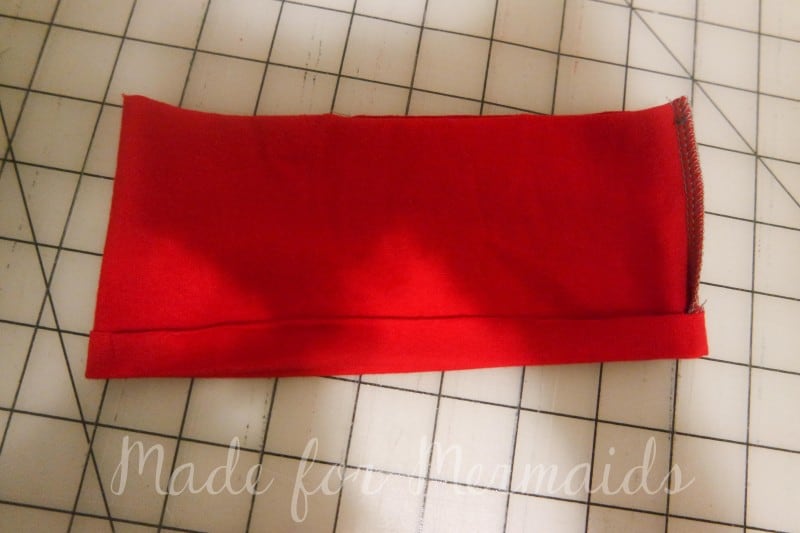
Lined option skip down 3 steps. Unlined option- Fold band in half lengthwise, enclosing seam. Then quarter you band and beanie. I’ll be honest I just fold the band in half and stitch, but if you’re newer to knits or struggle attaching bands, definitely quarter it! More info and video on bands here.

With right sides and raw edges matching, stitch band to beanie. You will slightly stretch the band to fit the beanie, do not stretch beanie!
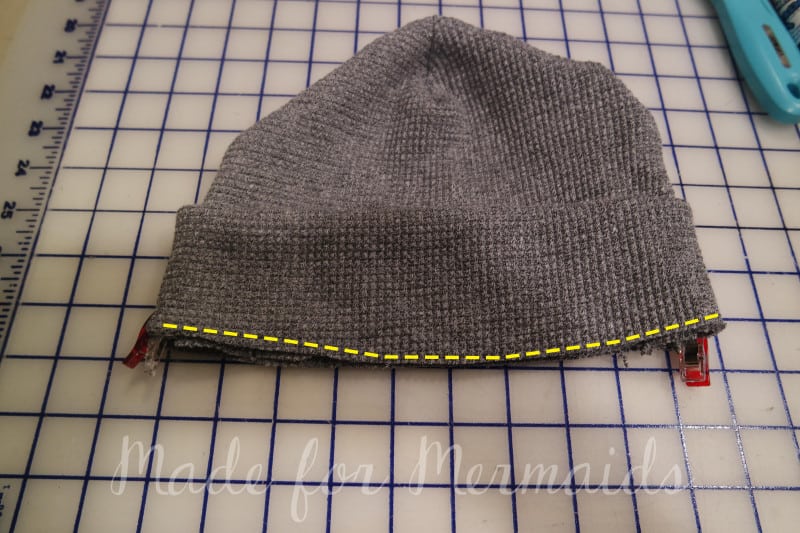
Press band toward beanie and topstitch if desired.
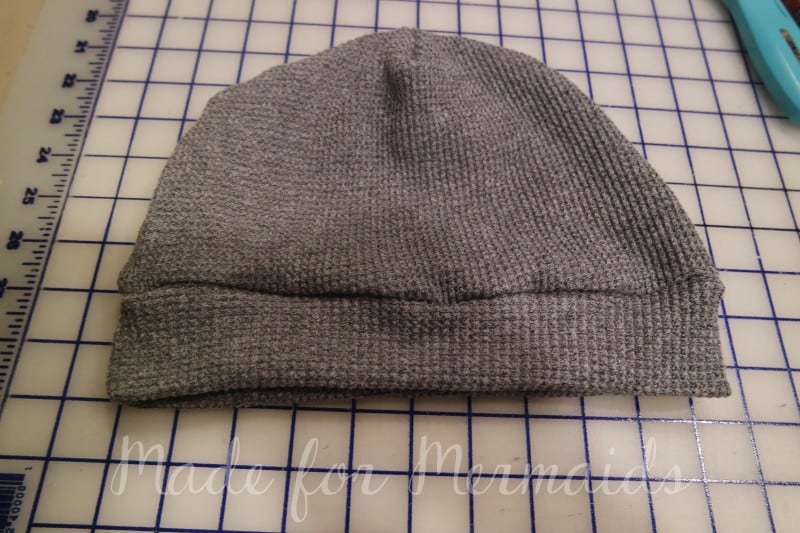
Lined option- With right sides together, pin unfolded edge of band to edge of beanie. You will need to stretch the band to fit beanie. Stitch band to beanie.
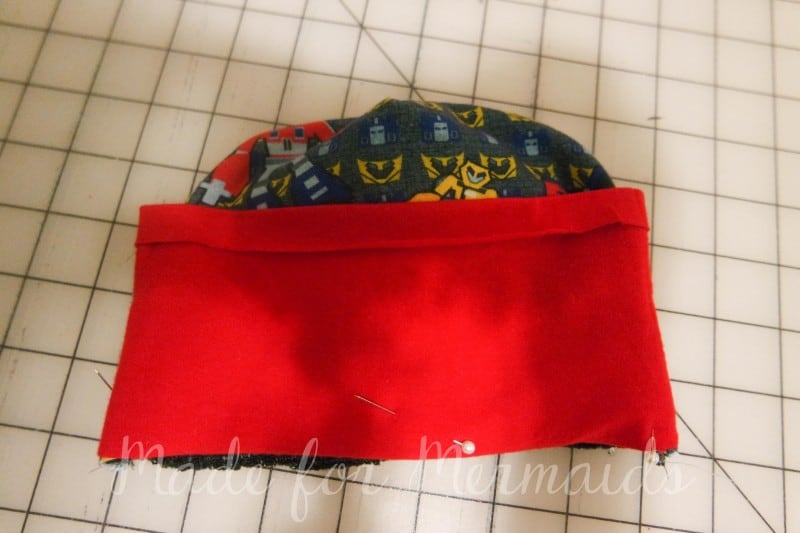
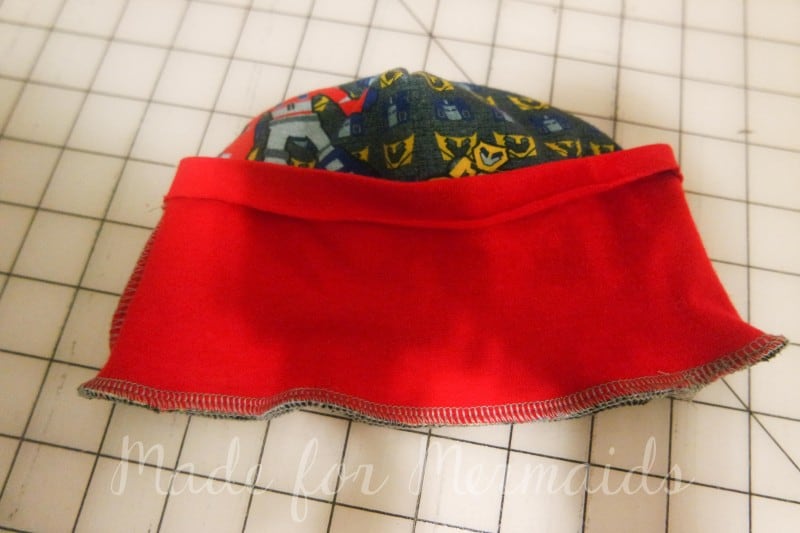
Fold your band down and in half. Pin your band over seam. I like to use wonder under here to hold the band in place.
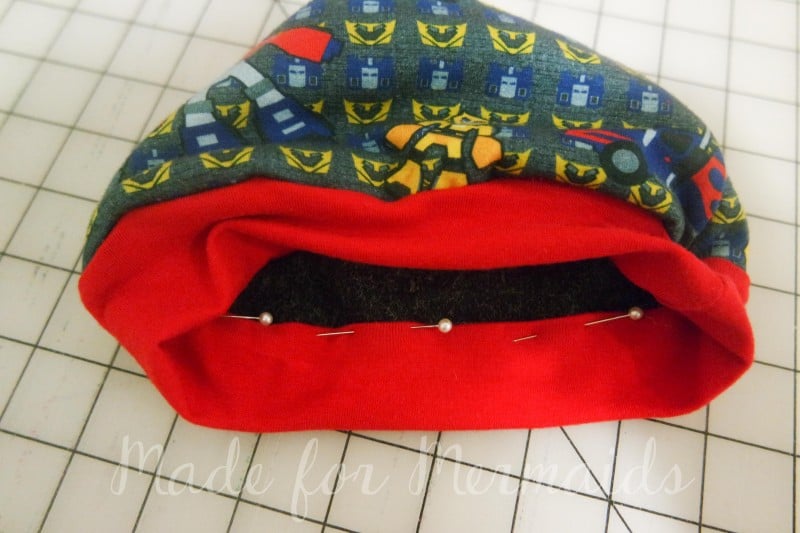
Topstitch band, catching and closing band under.
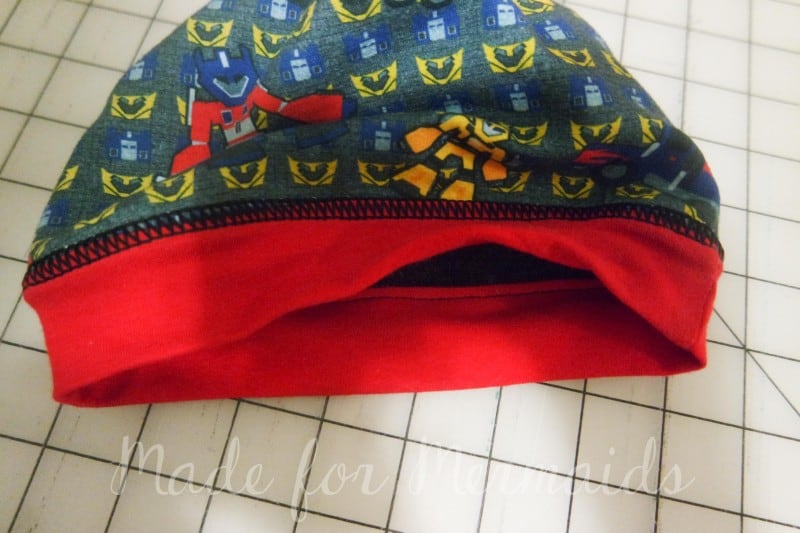
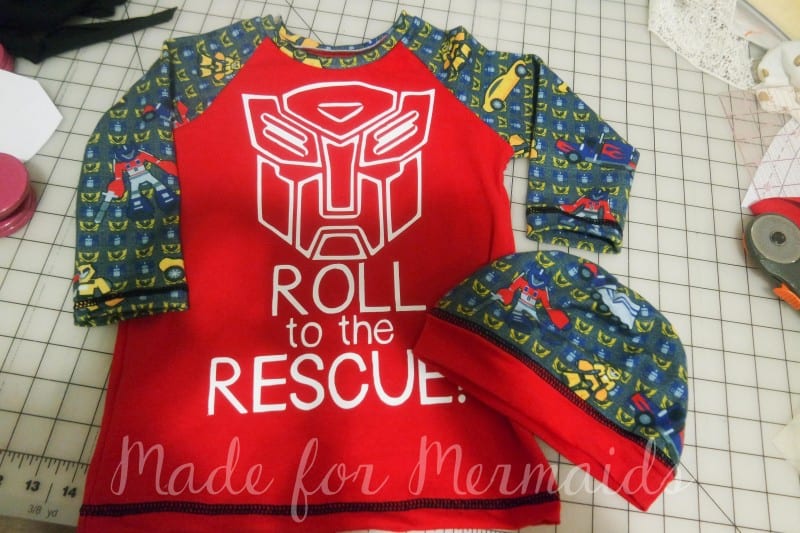
TADA! These beanies are super quick to sew up and take less than a 1/4 yard to make. I used scraps on all of ours! Everyone loves them and they make the perfect stocking stuffer. Well maybe not EVERY one loves them, my son was pulling his off non stop 😉
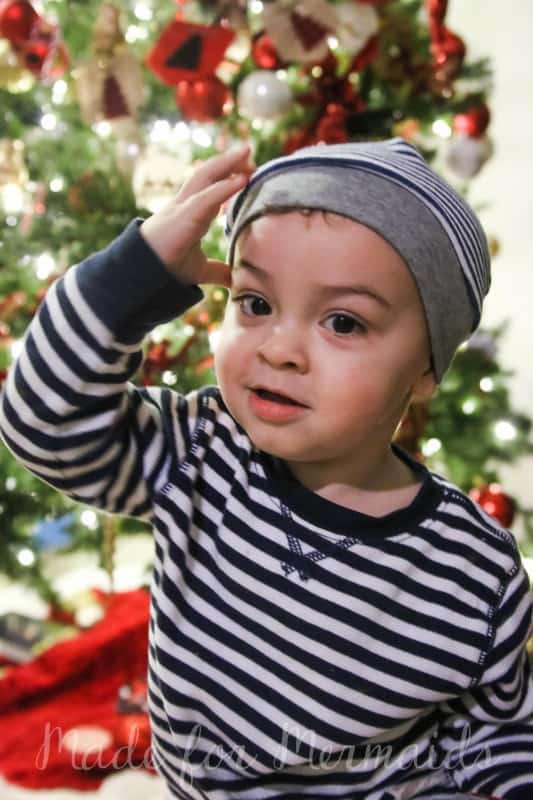
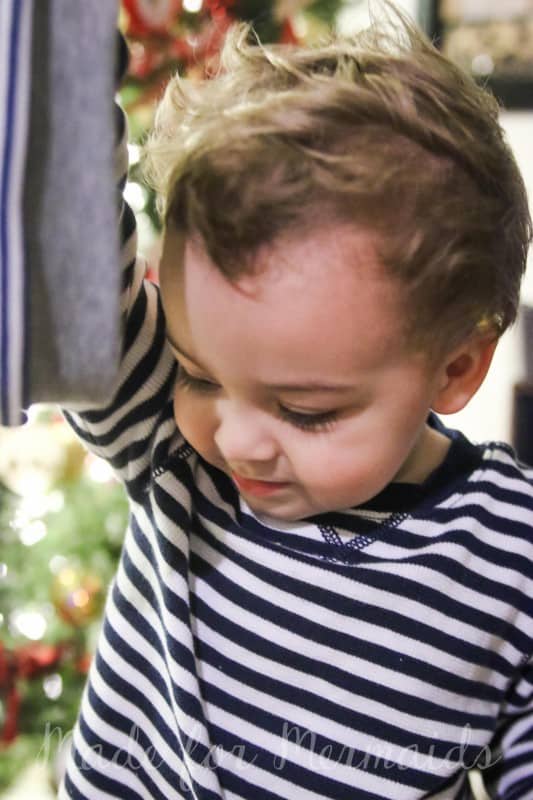
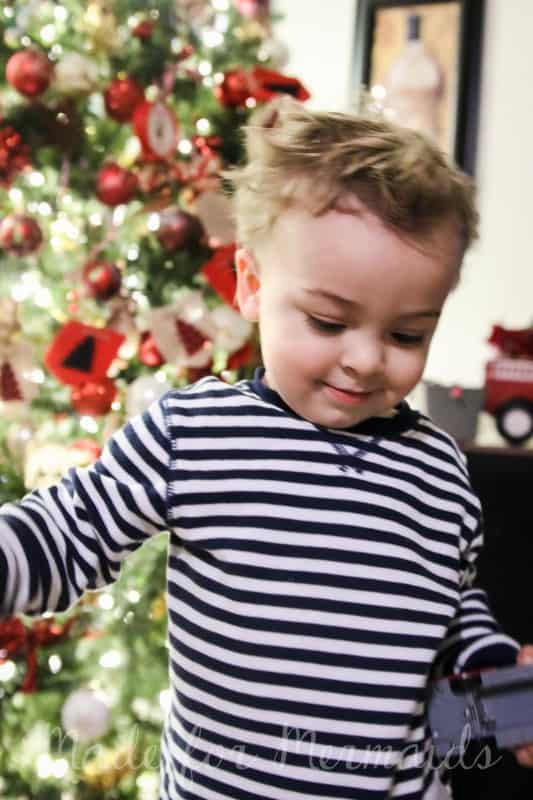
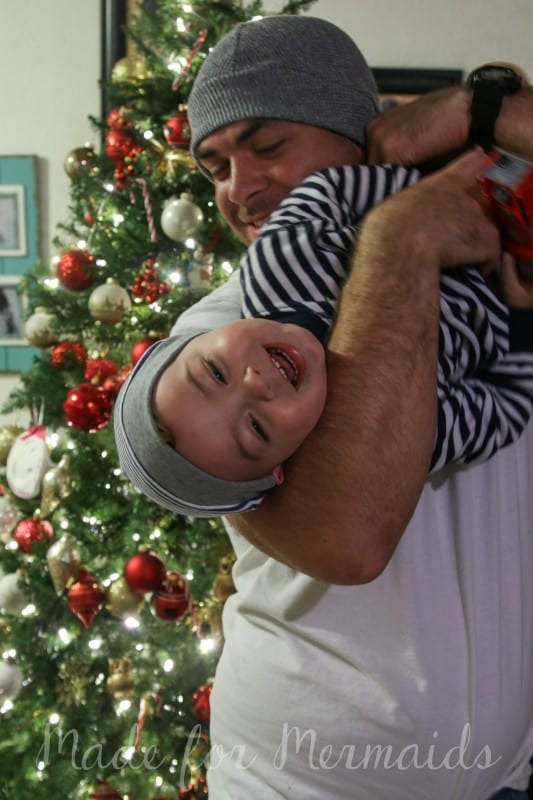
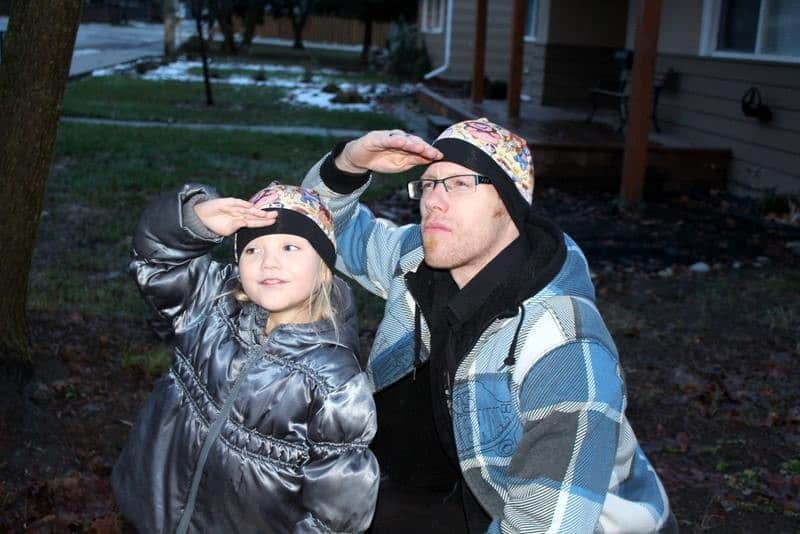
Here come tester photos: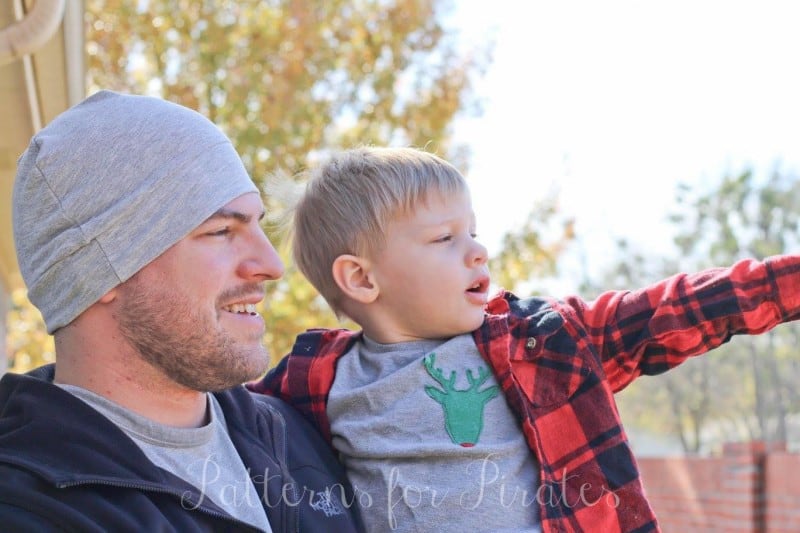
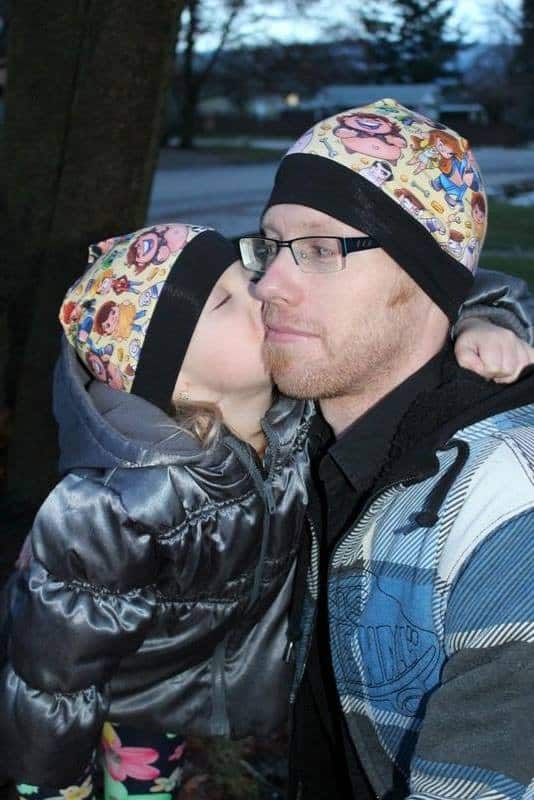
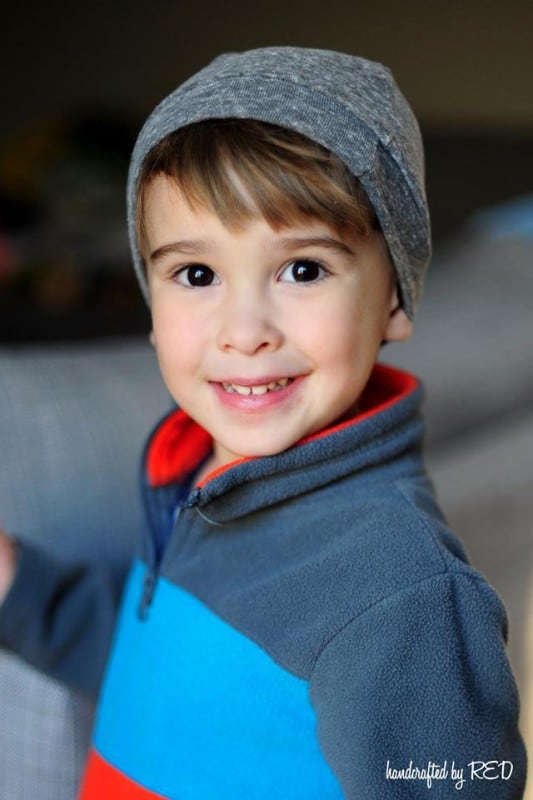



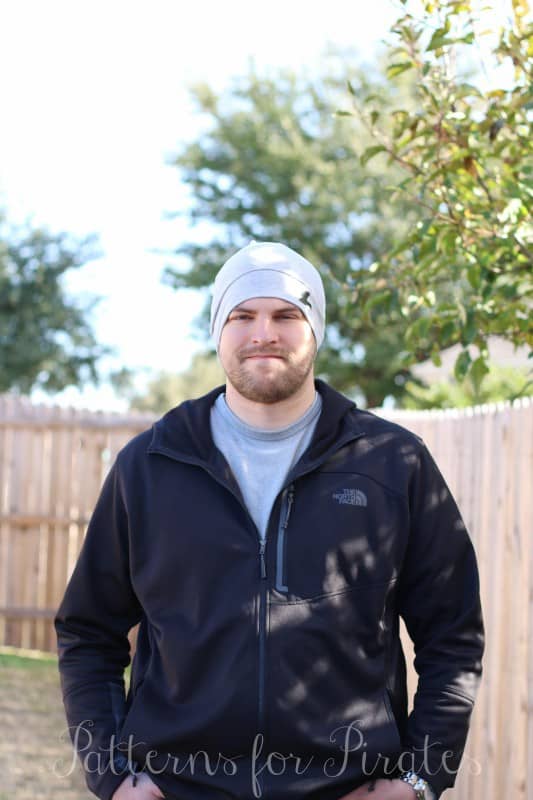
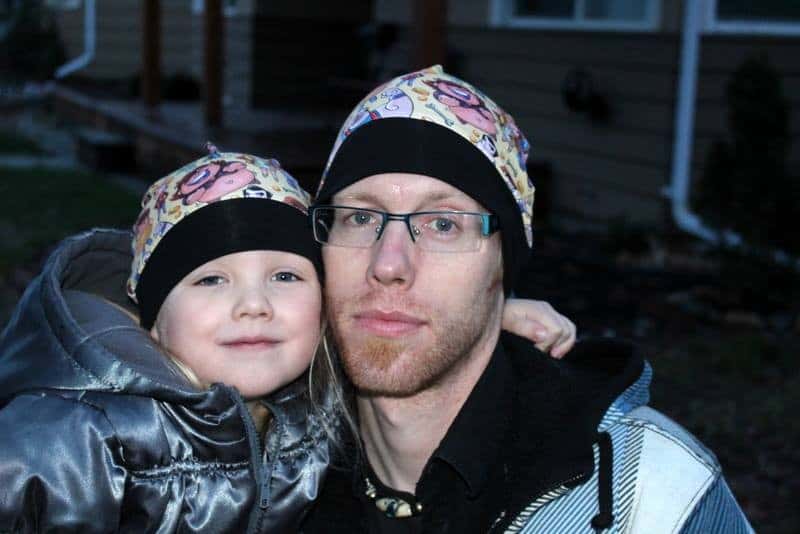
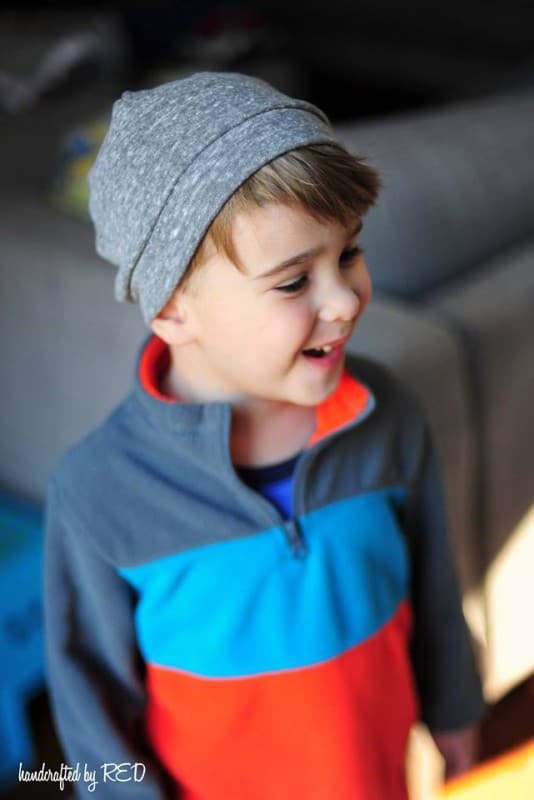
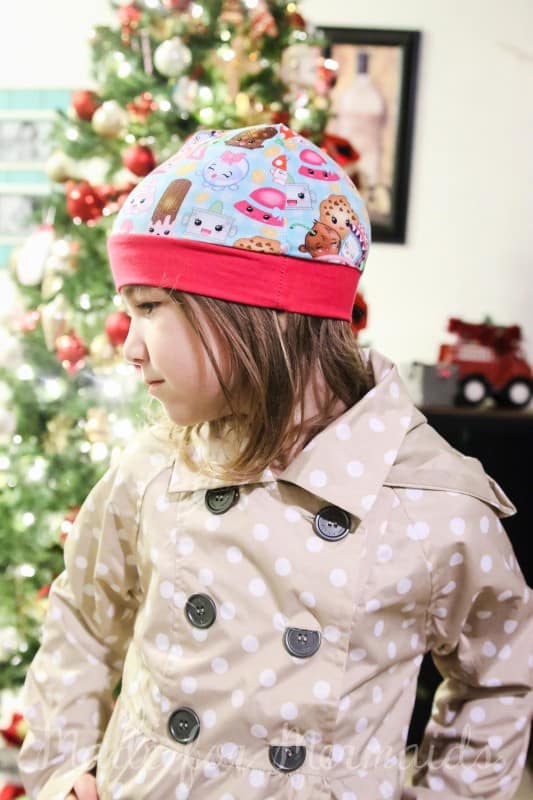

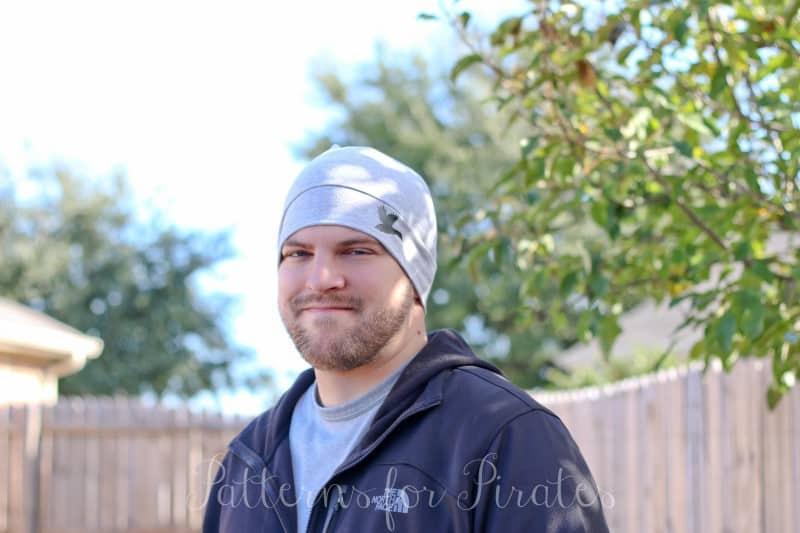
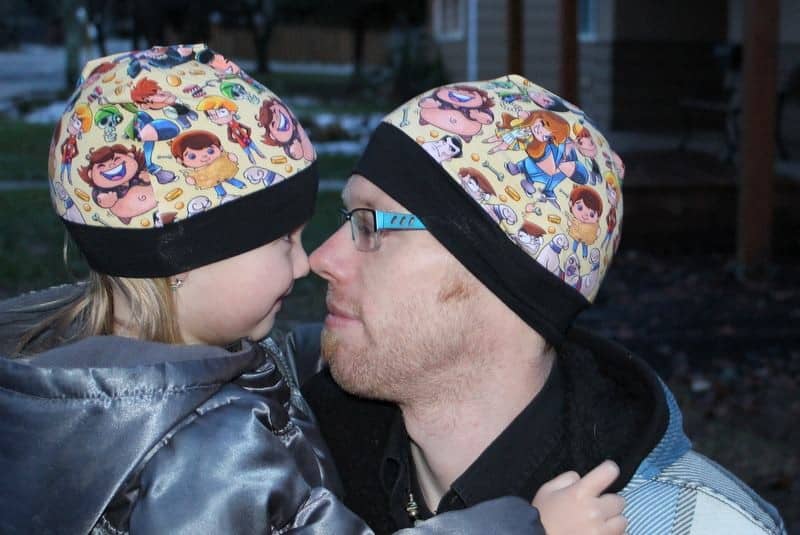

Don’t forget to join us in the Made for Mermaids Pattern Group to share what you’ve made and to see more sneak peeks of our 12 Days of Freebies!
M4M’s 12 Days of Christmas Freebies
December 1 – 12, 2015
Day 1 – Mermaid Tail Blanket
Day 2- Tiffany Collar
Day 3- Sleep Masks
Day 4- Coffee Cozy
Day 5- Dolly Bedding
Thank you for this great pattern! I just made beanies for my whole family from a half yard of sweater knit. They turned out great!
Thanks for the great pattern and pics. They are very inspiring! I am a sewer and your instructions are very simple and understandable. Great Job! Thanks for taking the time to make a tutorial. I love tutorials!
What age would you say “sis” and “bub” are??