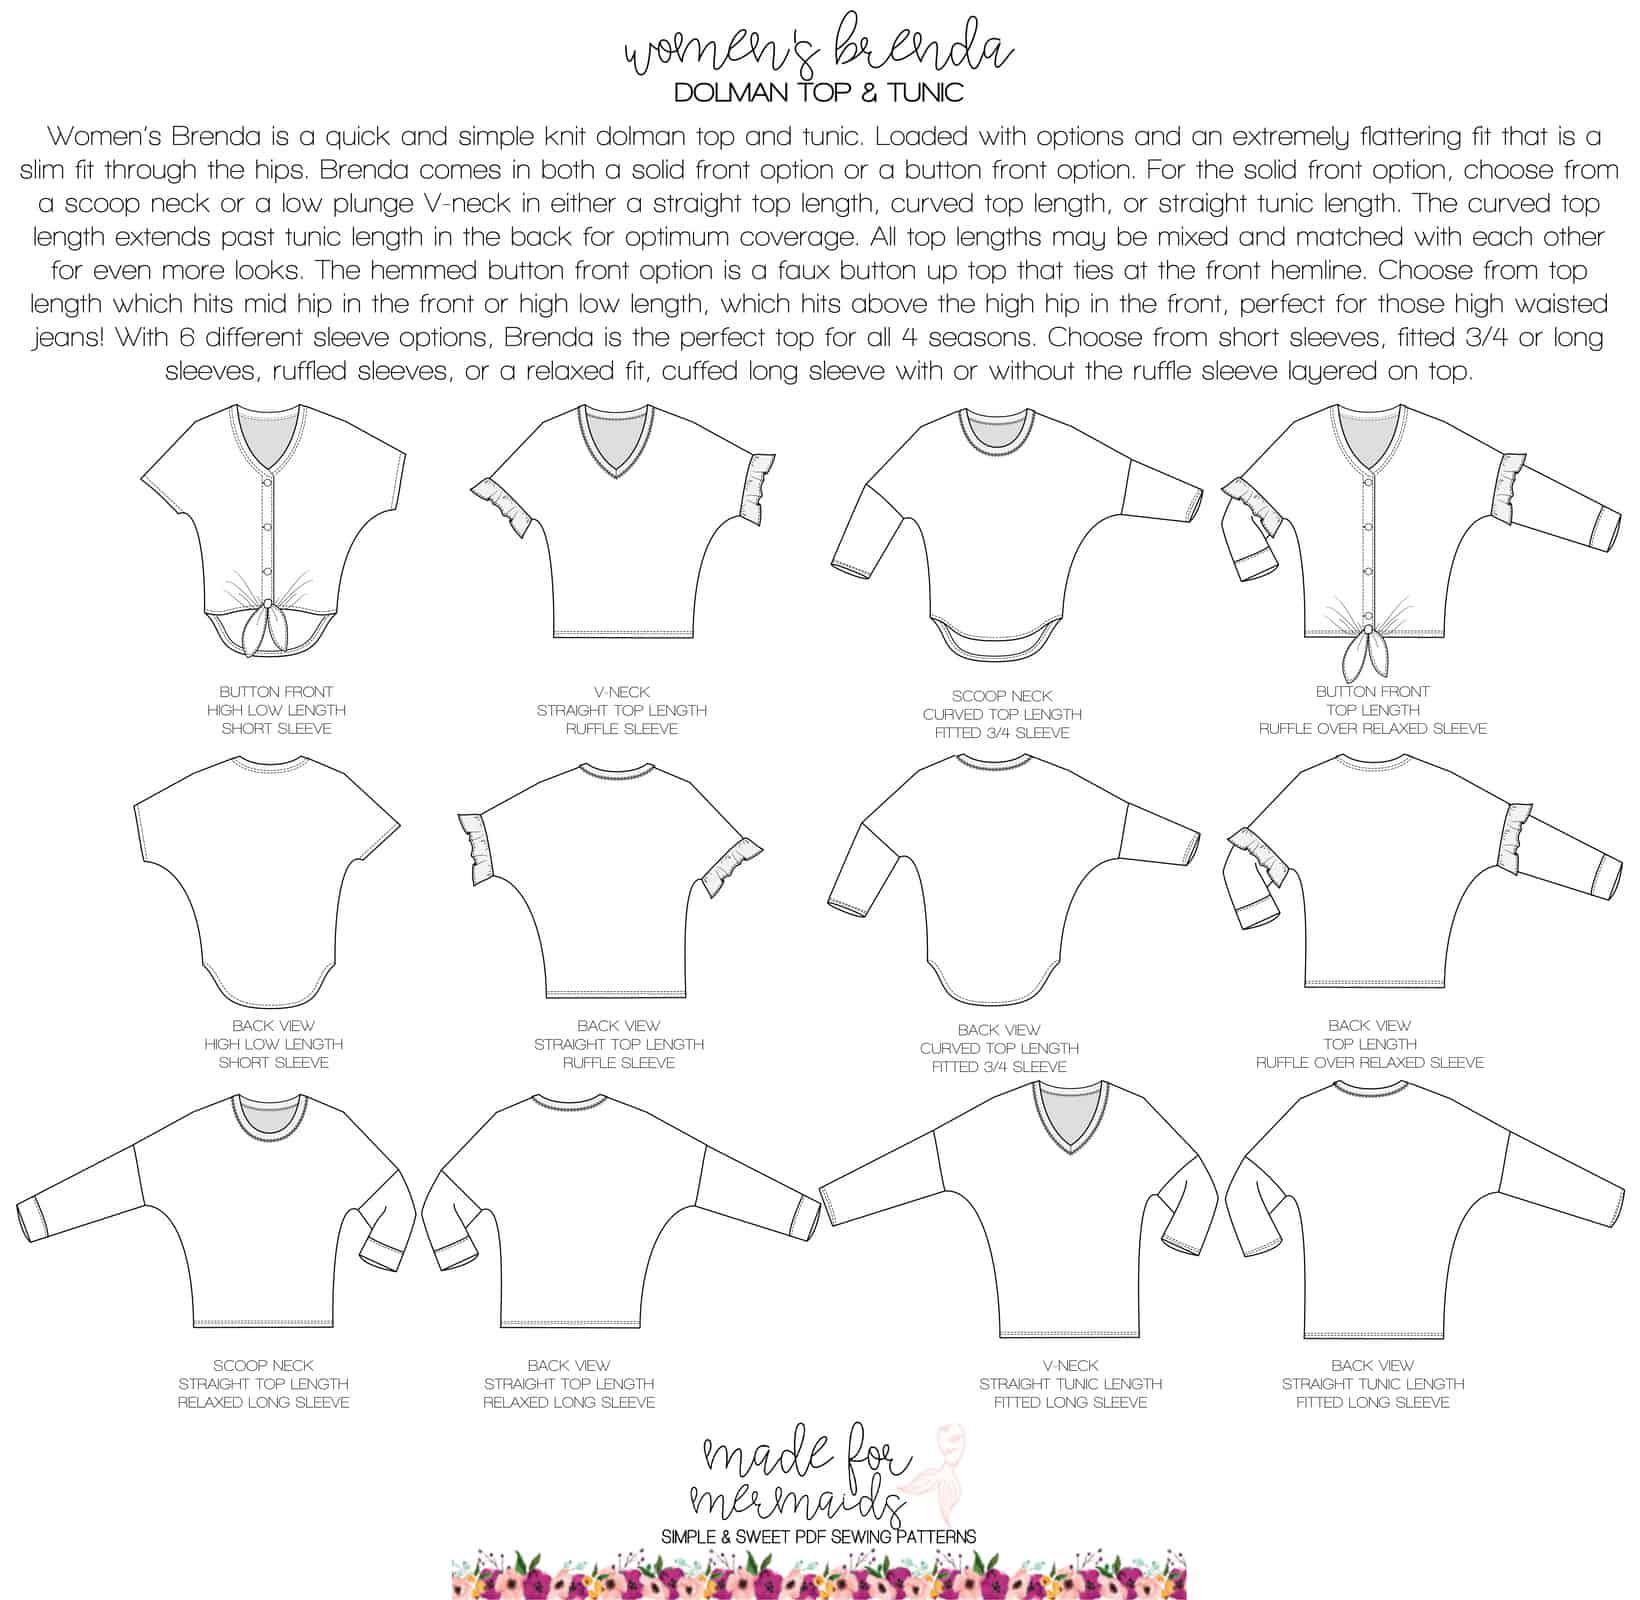
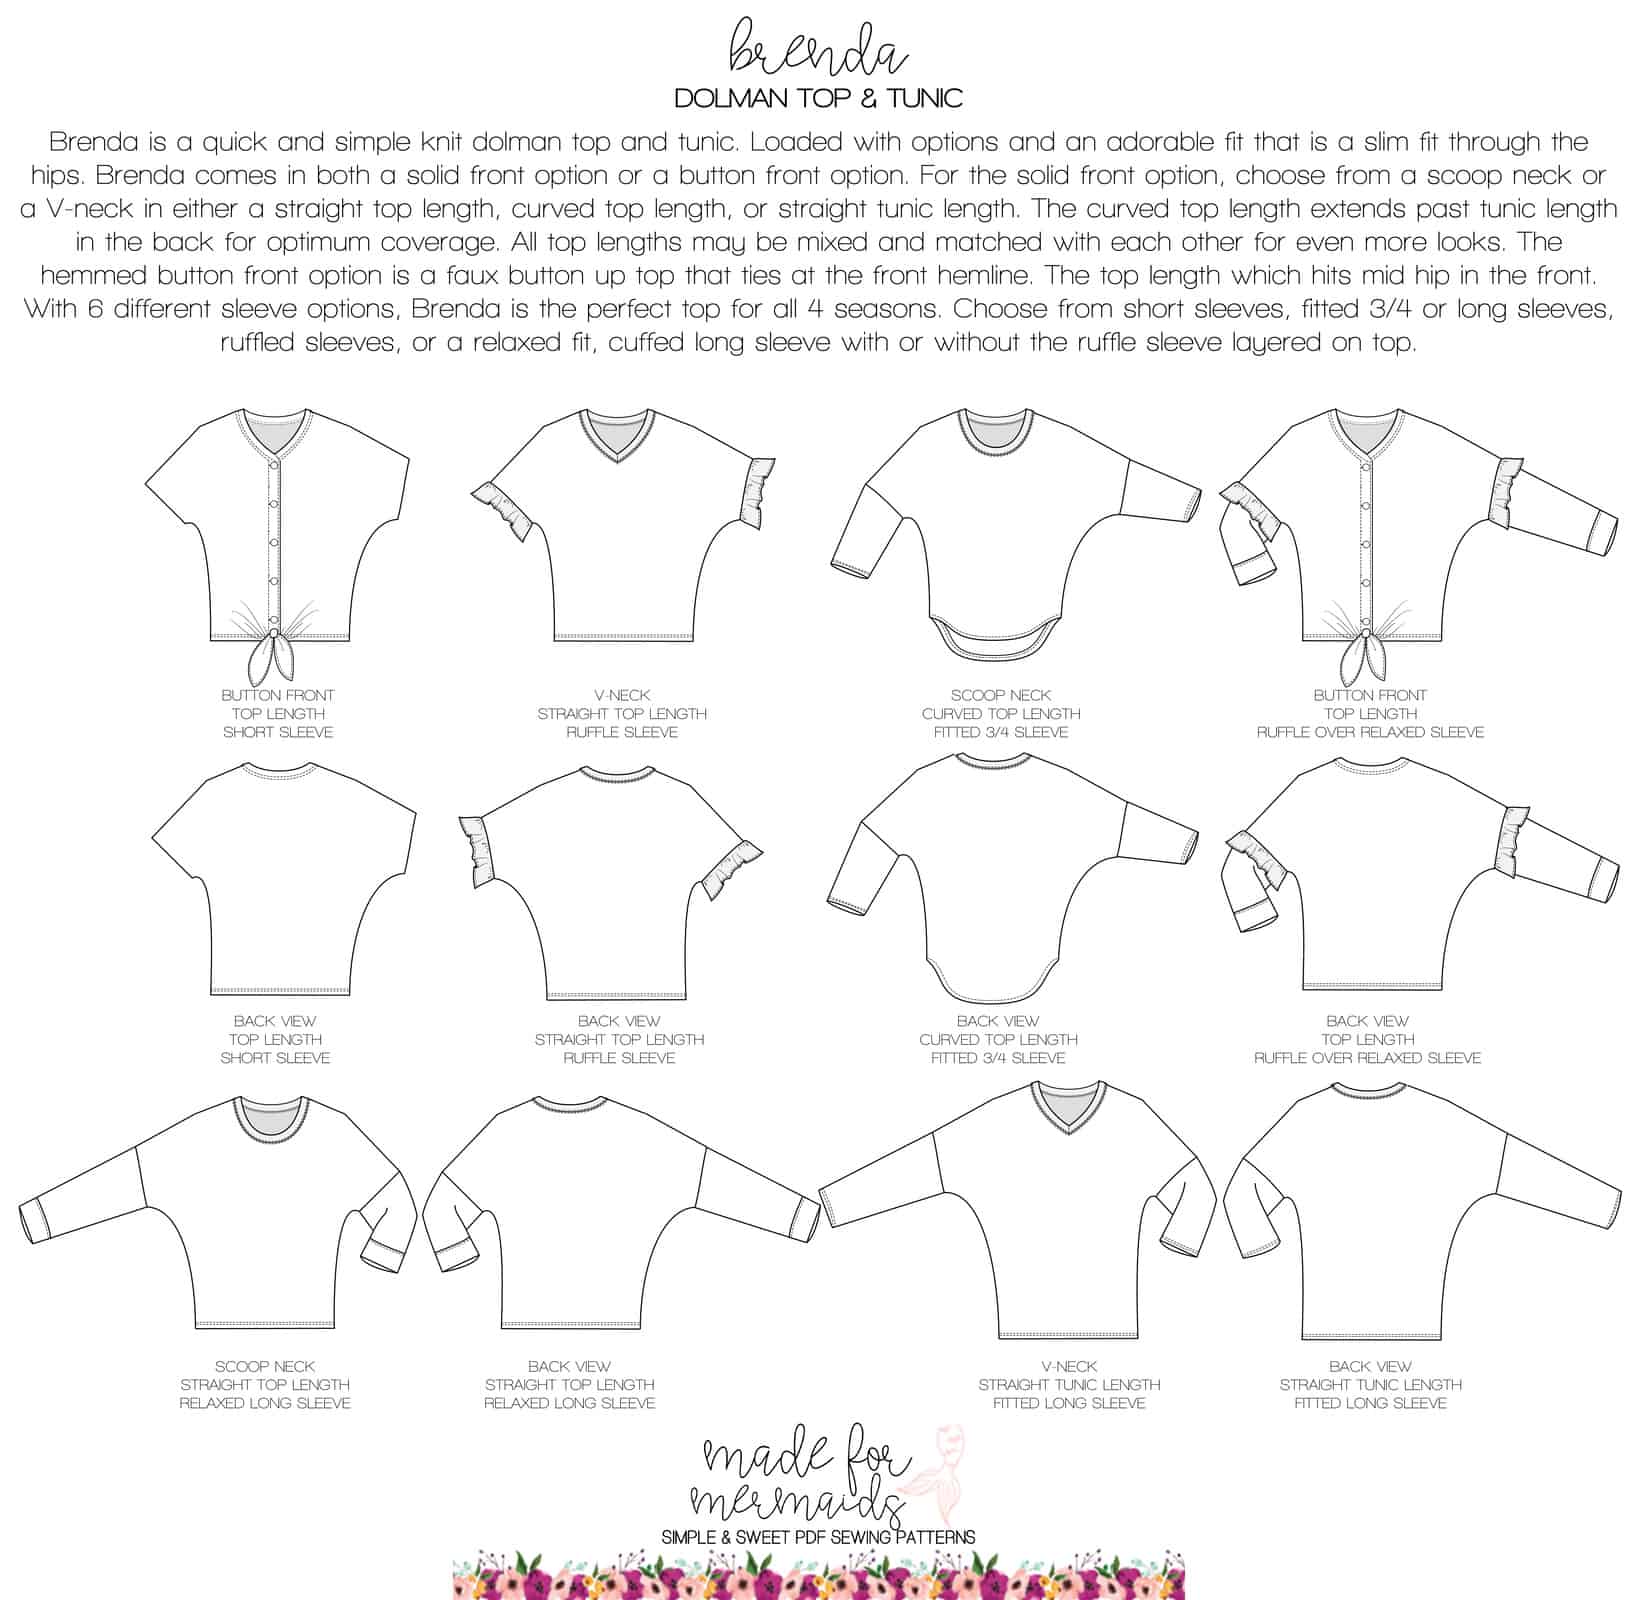
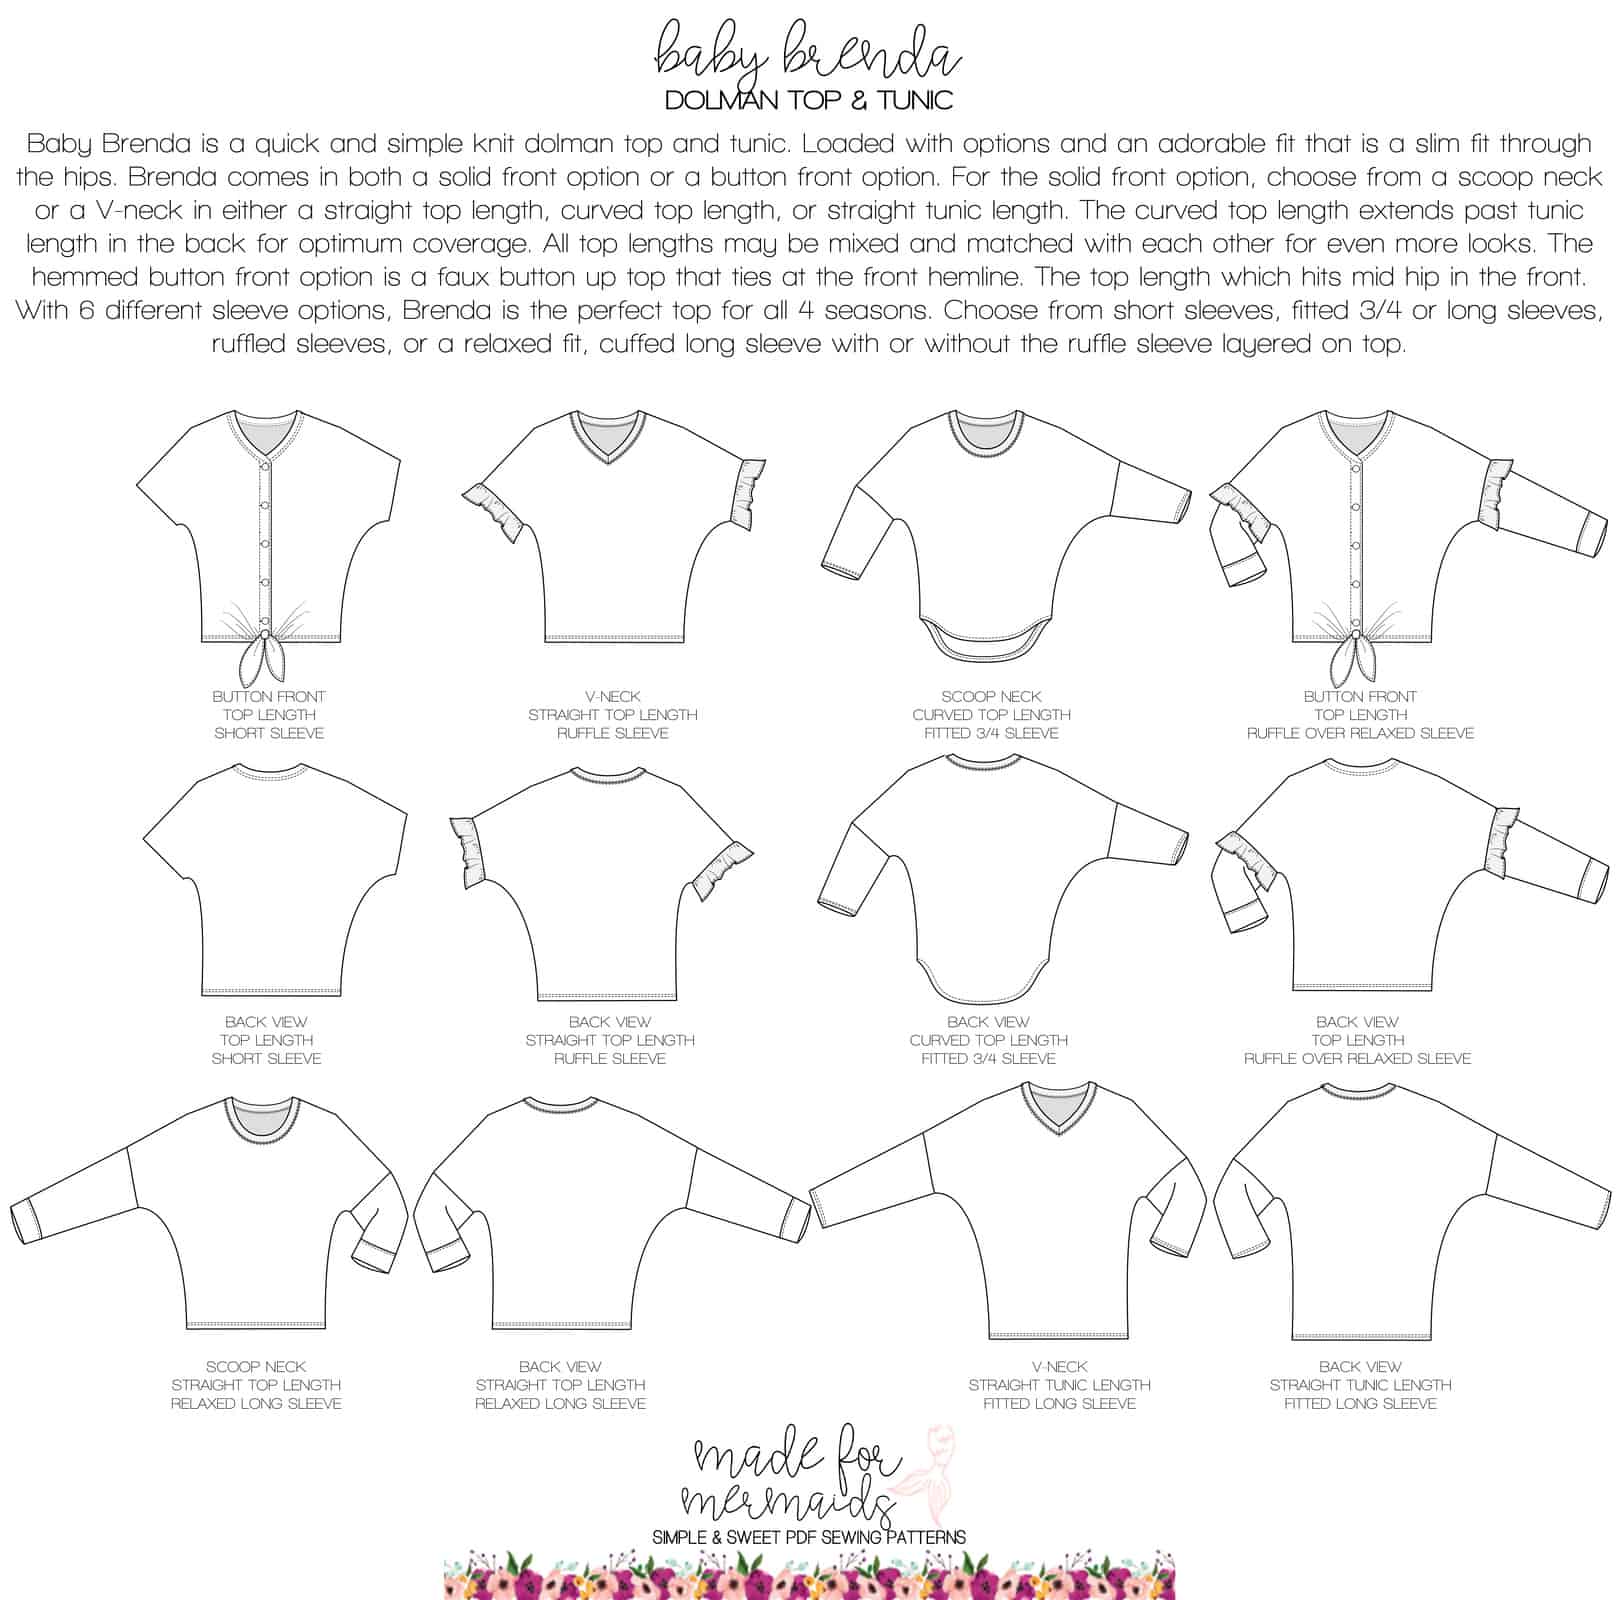
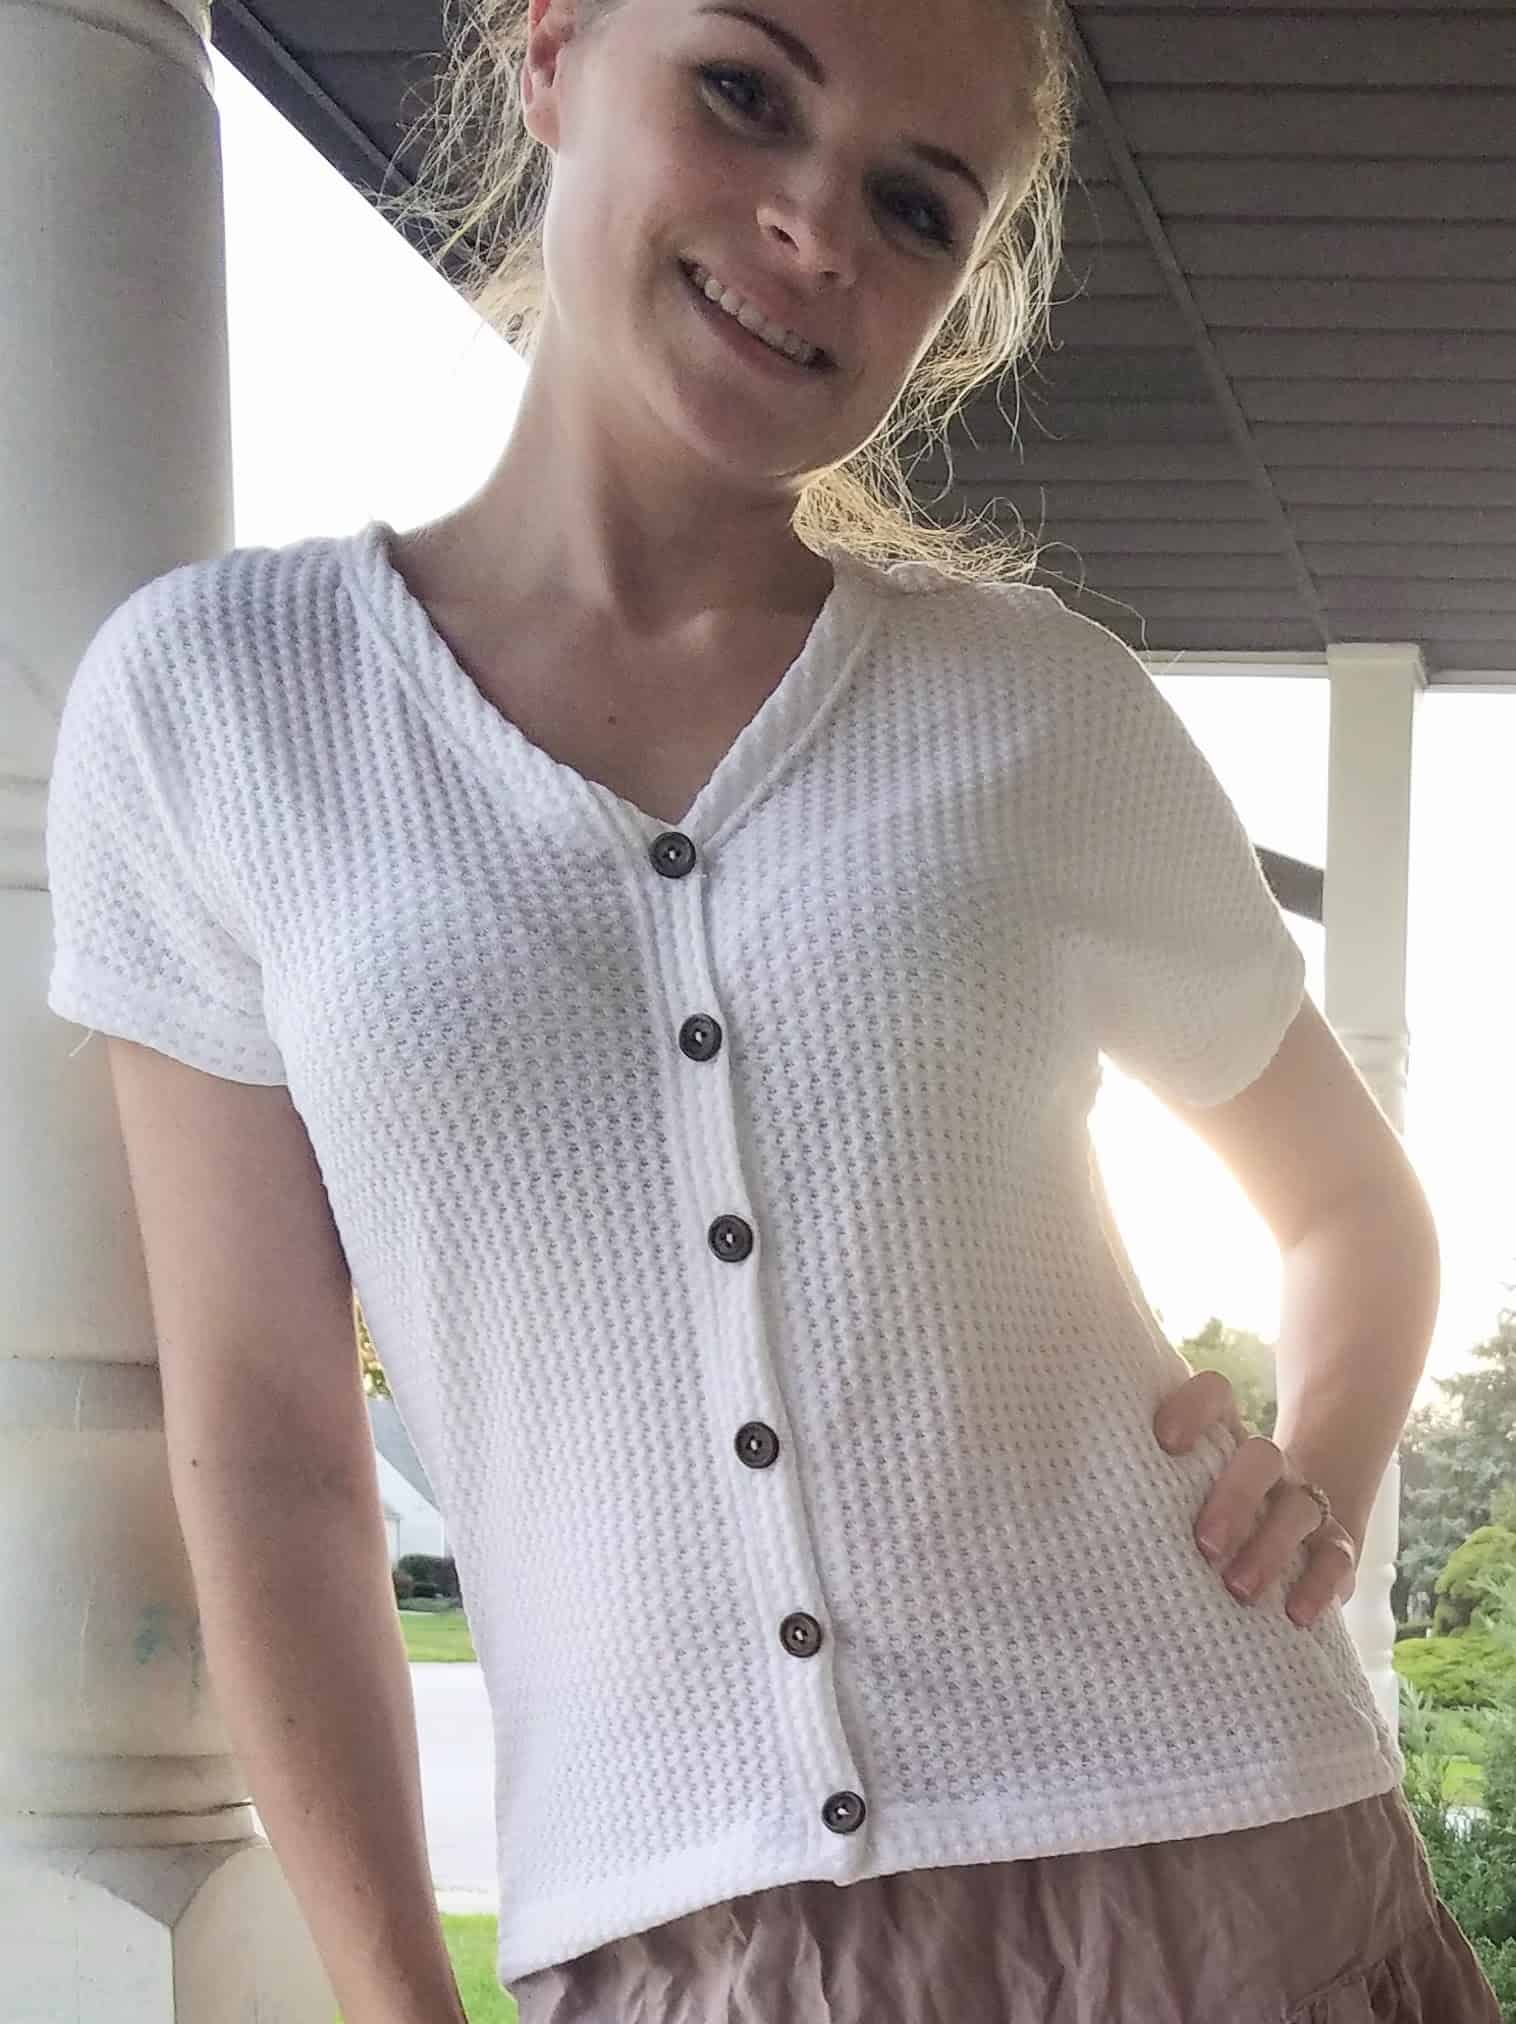
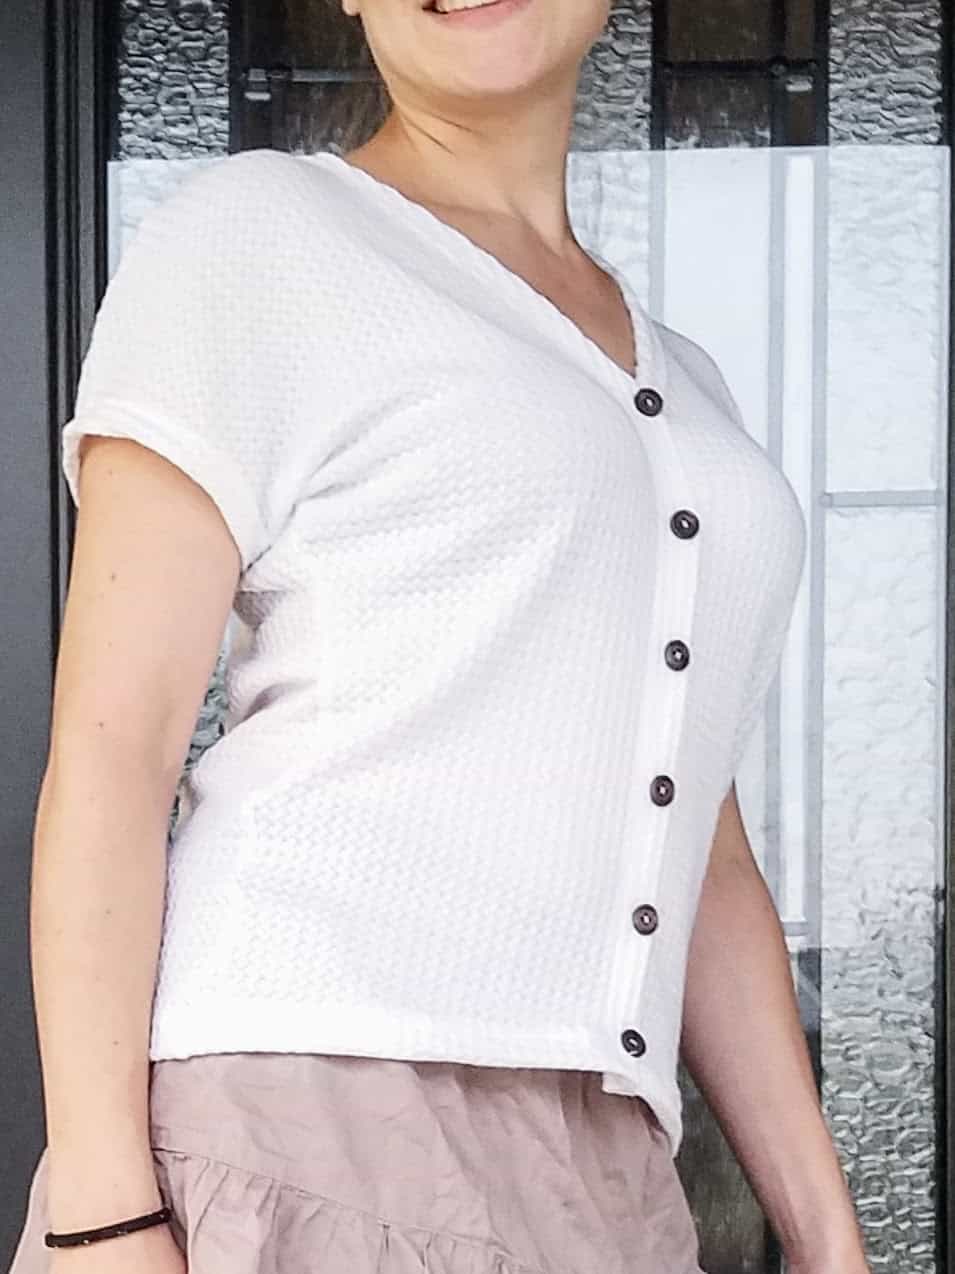
Brenda is the pattern you’ve been waiting for! It’s a quick and simple knit dolman top and tunic, with solid front or (faux) button front option. With multiple necklines, SIX sleeve options, and several hem lengths, you’re sure to find an option that you love!! And, although Brenda was designed to have a faux button front, you could easily make the buttons functional by adding buttonholes, using snaps, etc.
I loved the Brenda pattern before any of the hacks were finished, but now I love the pattern even more! I can’t wait to make one of each (well, except the maternity hack, hahaha!). Check out all of the adorable hacks below!
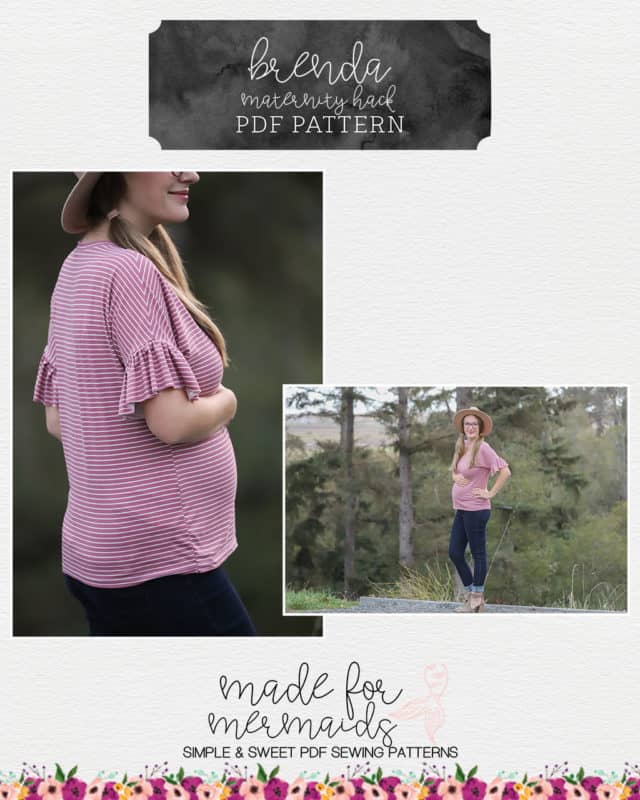
Bodice Ruffle Hack
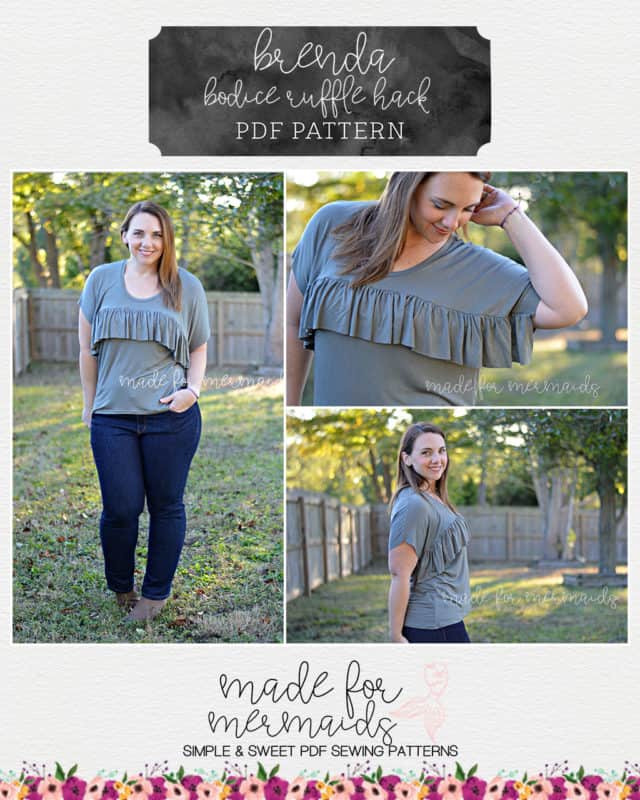
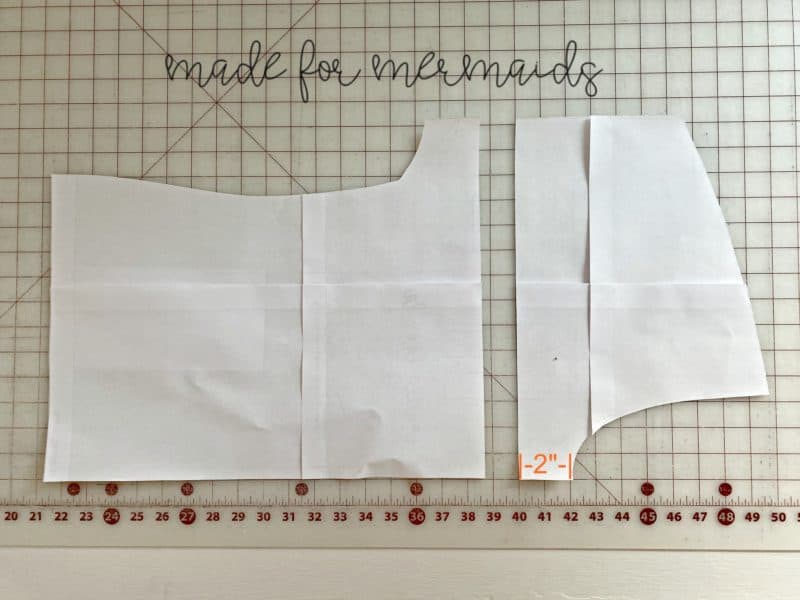
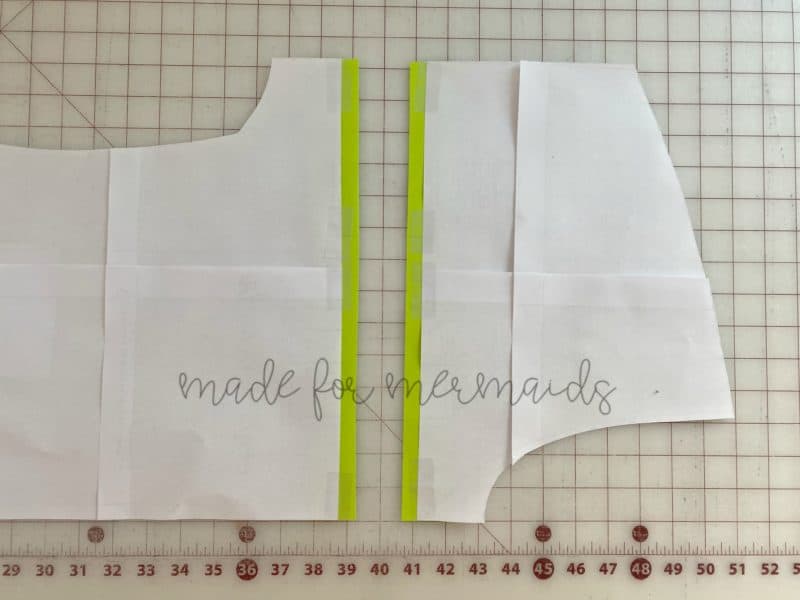
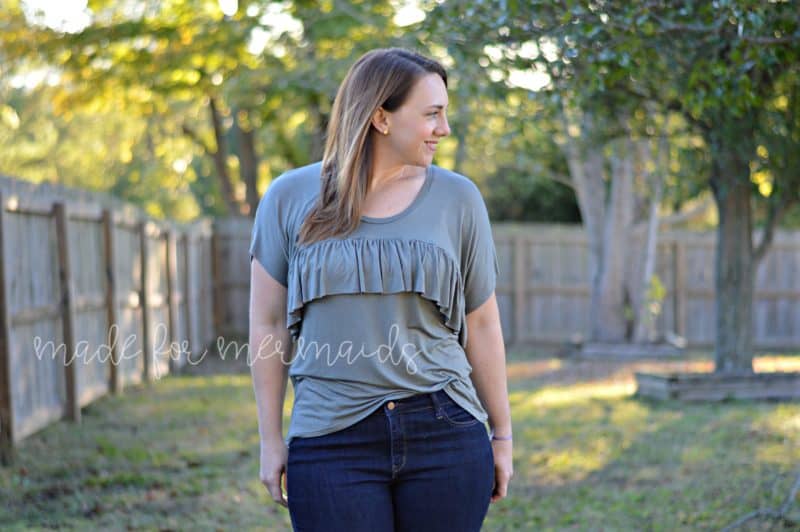
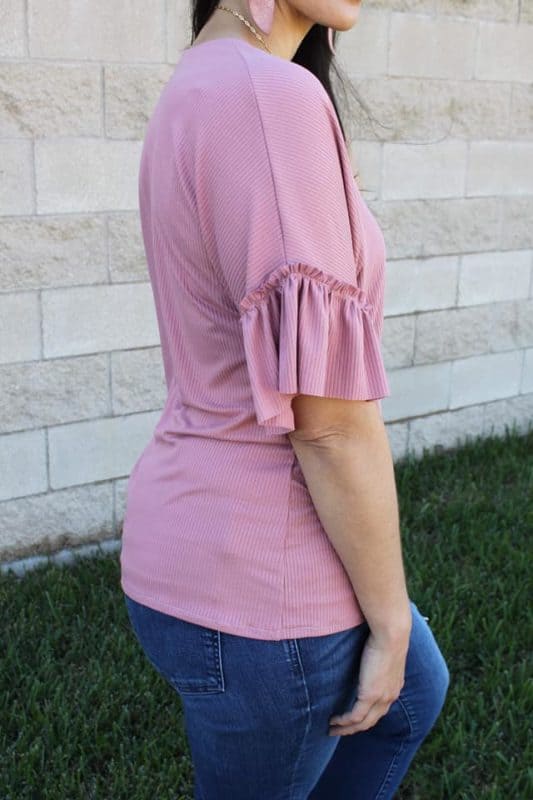
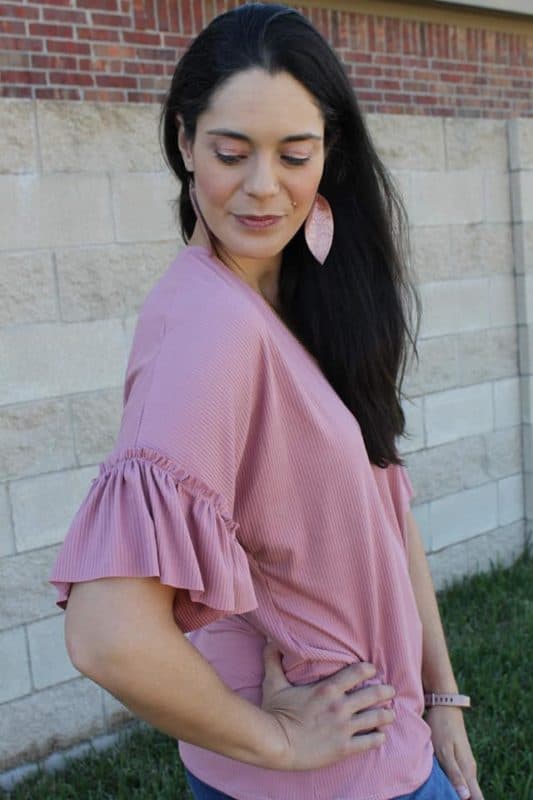
Brenda is so cute as is, but the bodice ruffle takes it to a whole new level! We are in love with this look, and it’s really pretty easy! In order to prepare your pattern for inserting a ruffle, mark 2 inches down from the scoop neck fold.
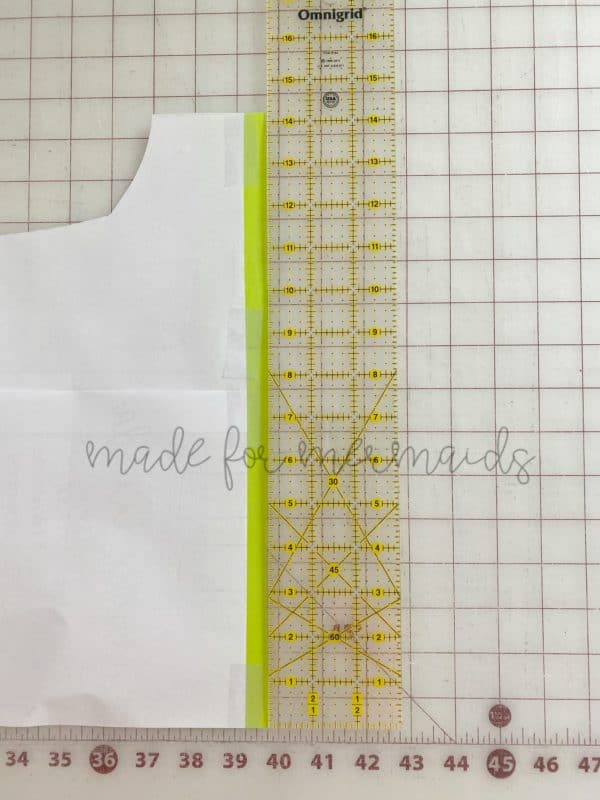
Then, divide your front bodice piece into two. Once the pieces are separated, add a 1/2 inch seam allowance to both pieces (as seen in the green). Next, measure the length across the bodice. For example, my bodice piece measured 14.25 inches.
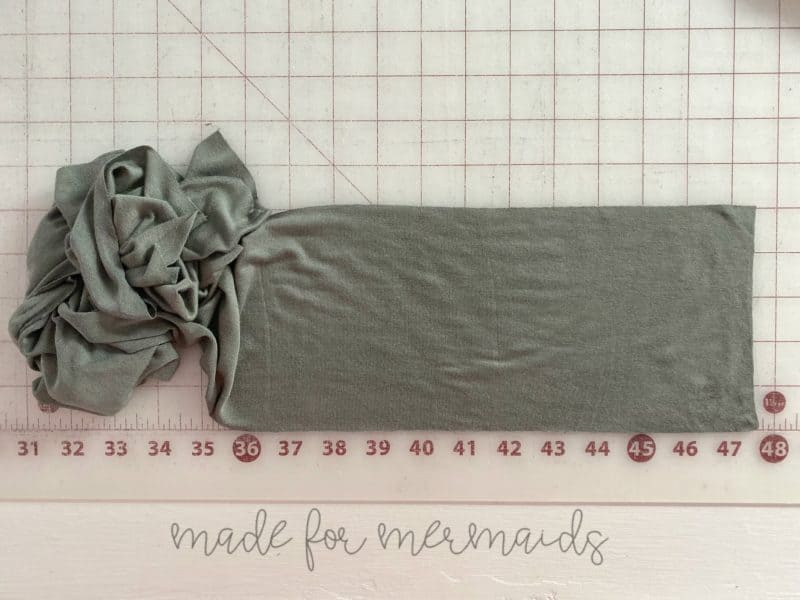
This length needs to be doubled due to the piece being on the fold. The length of the ruffle piece should be 1.5 – 2 times the length of the bodice piece with the width of 5 inches. I chose 2x the length for a more dramatic gather. Run two gathering stitches the along the length of your ruffle piece.
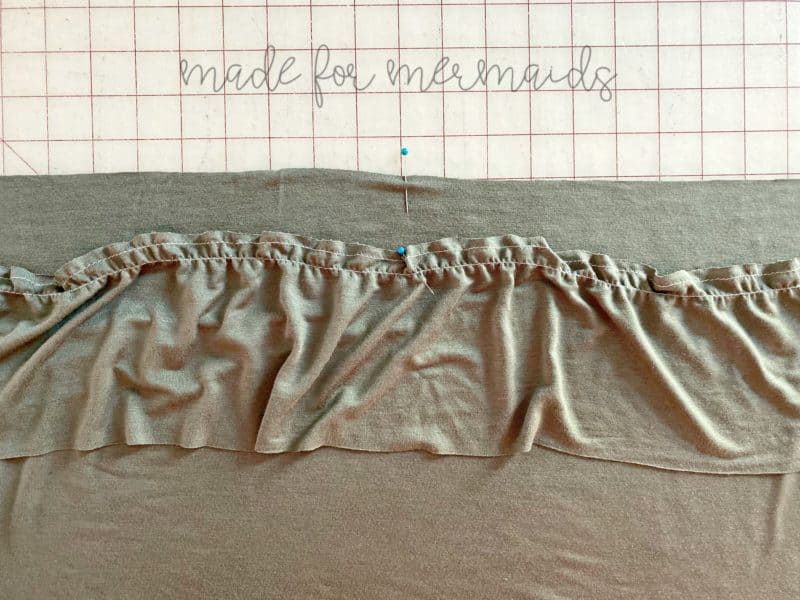
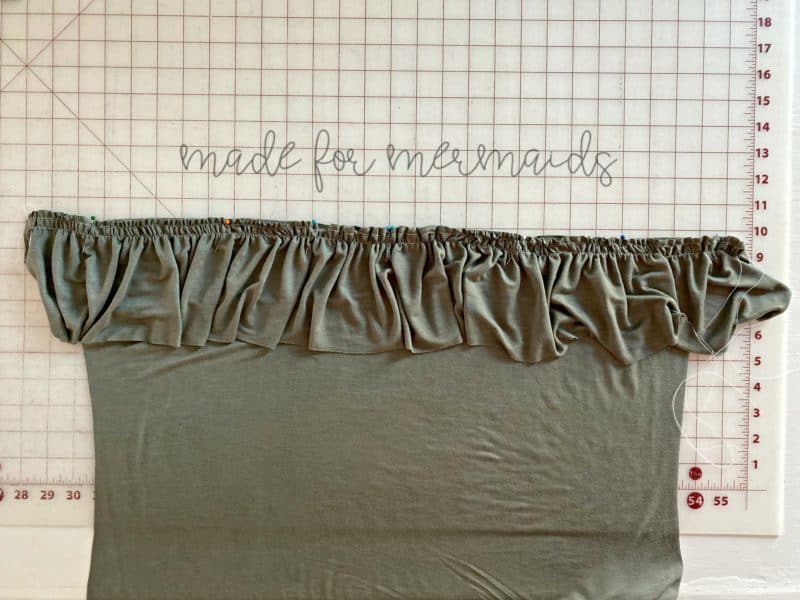
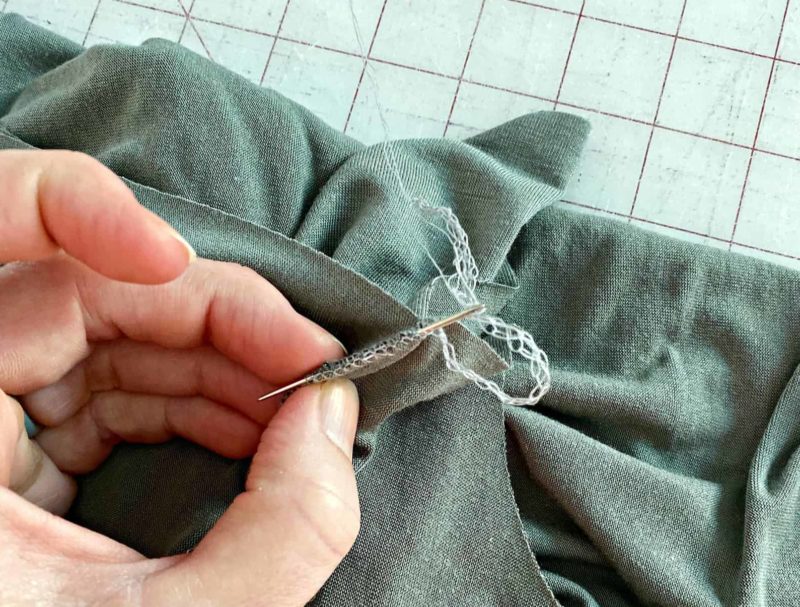
Gather the ruffle to match the length of your bodice piece. Place the bottom bodice right side up and pin the ruffle to the bodice with the wrong side down. Baste the ruffle to the bodice.
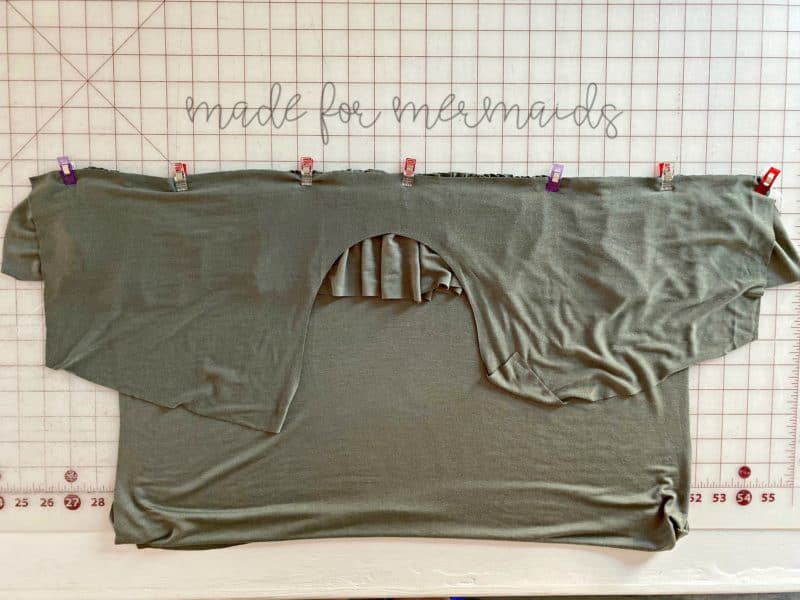
Next, layer the top bodice piece with right sides together.
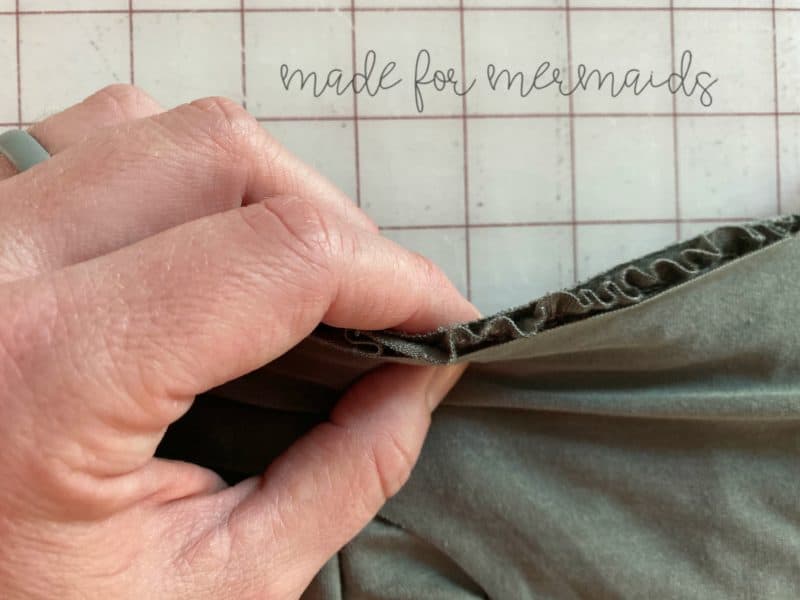
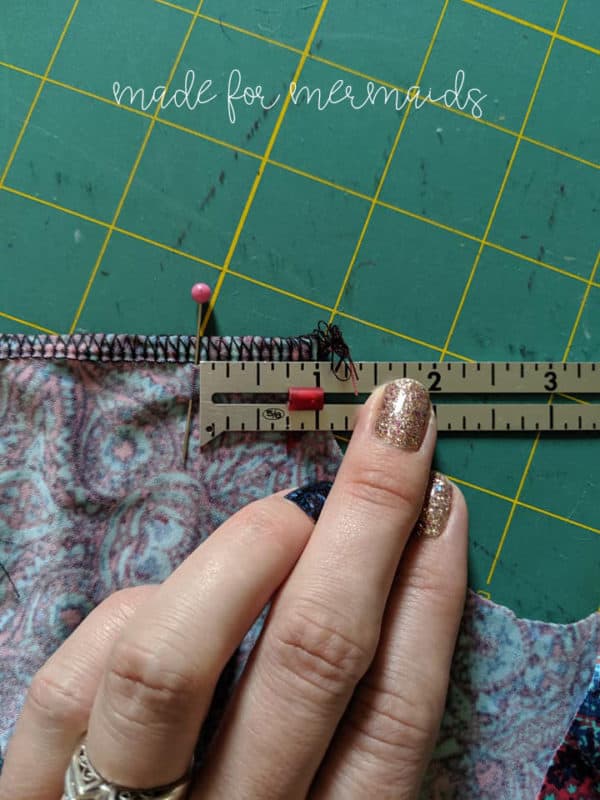
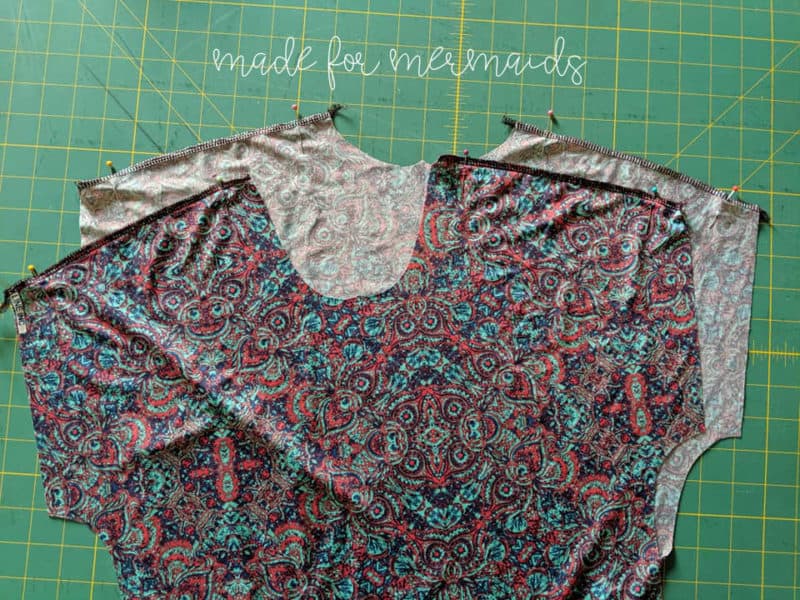
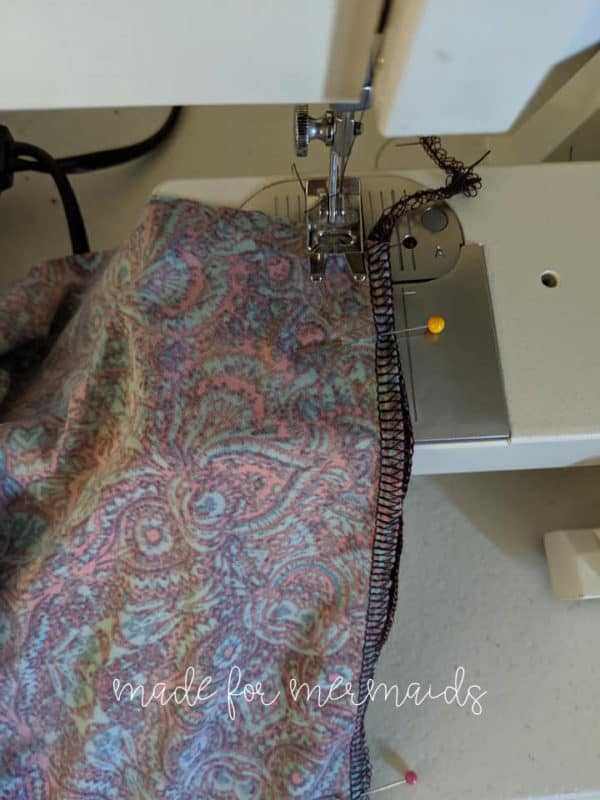
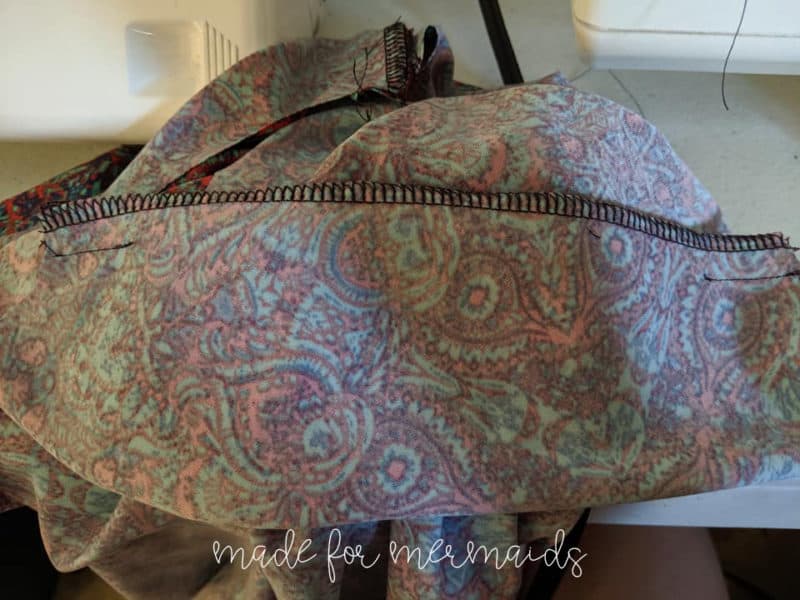
Stitch all three pieces to create one bodice. Secure the serger tail since the sleeve will not be hemmed.
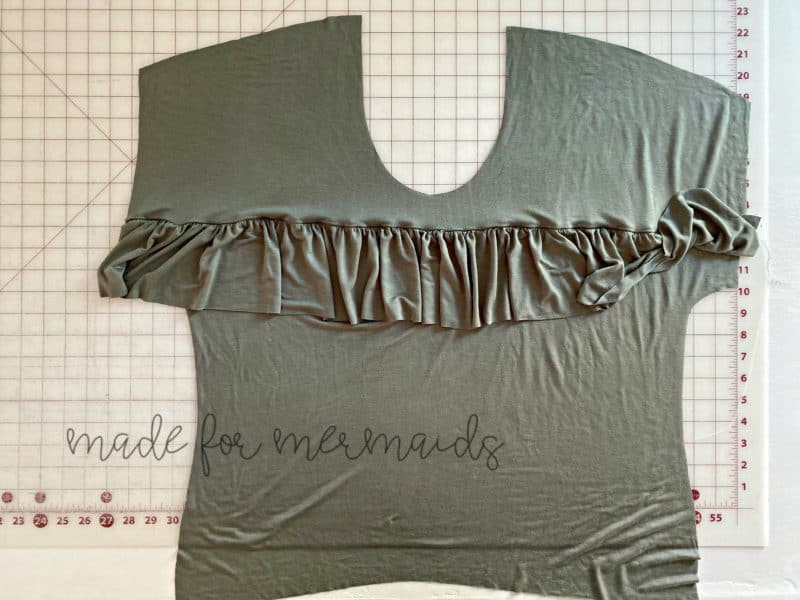
Now you can construct the rest of the top using the pattern directions. One thing to be careful on is to make sure the ruffle is out of the way when you sew the side seams. That’s it! Enjoy! -Stacey
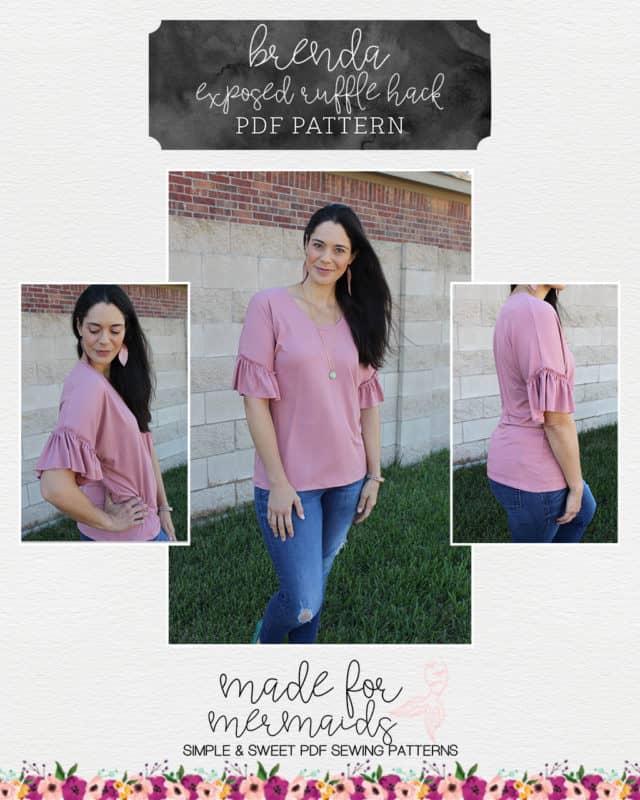
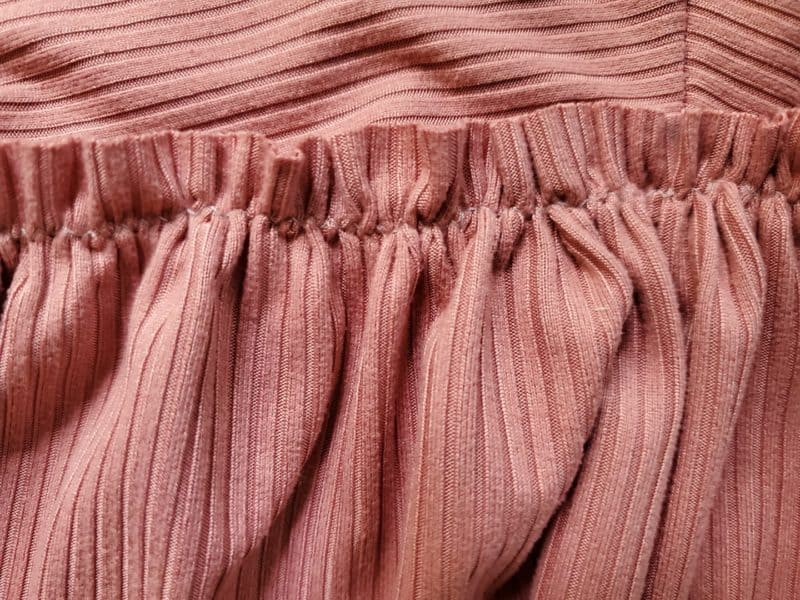
Exposed Ruffle Hack
Banded Hack
Any sew that I can complete entirely on my serger is a win for me. Adding a bottom band to Brenda’s plain view makes this a project an even quicker sew. This same process can be used for either the Top or Tunic length plain front of Brenda. I used the tunic length here. To start, decide on your band height. I decided to make a 2.5” finished height band.
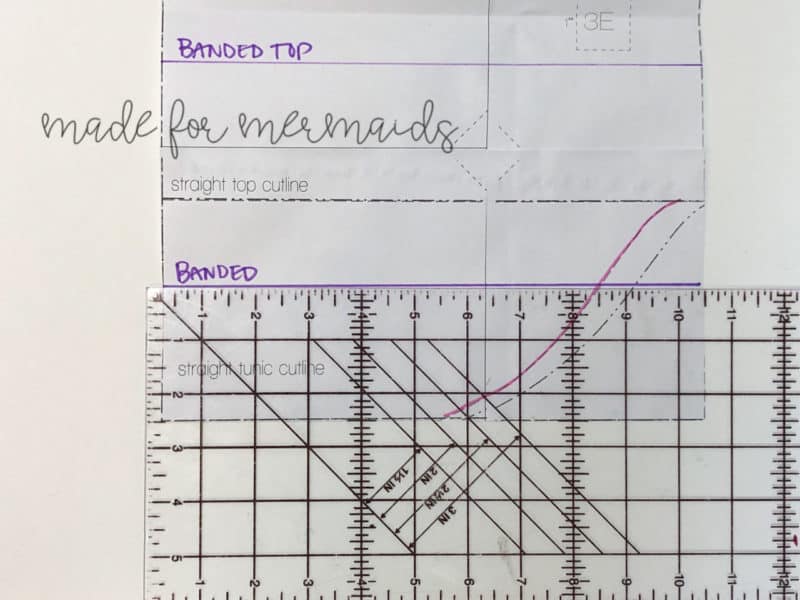
Now ,you need to adjust your front and back bodice pieces. Draw a line for your chosen band height up from the tunic or top line. You don’t need to include the seam allowance, as the hem allowance offsets that. Here I drew lines 2.5” up from the straight tunic cut line on both the solid front and back bodice. This is the new cutline for the front and back bodices. Cut all your pieces and construct your Brenda following the tutorial, stopping when instructed to hem the bottom.
Now, we need to figure out what size of a band to cut. To decide the band height to cut, use this formula, or just use my calculations if you are wanting a 2.5” finished band height.
Finished Band height + seam allowance = Amount x 2
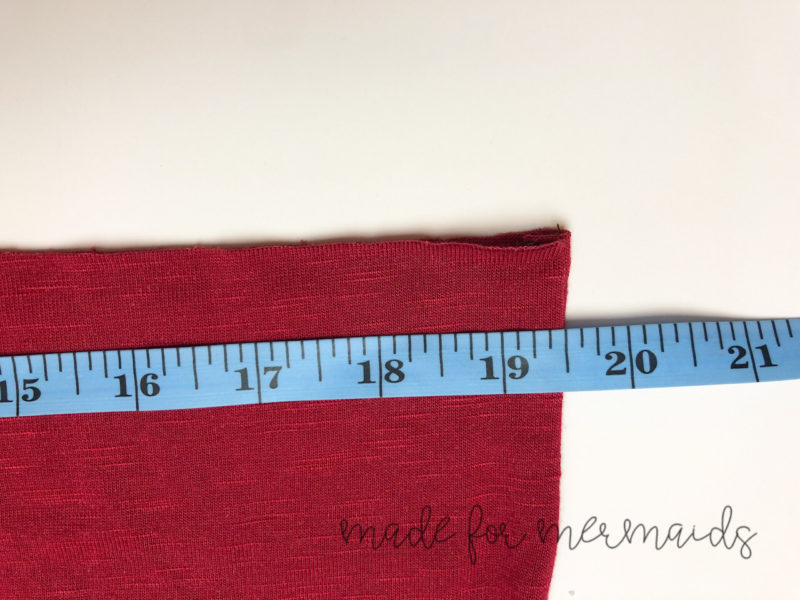
With my finished band height of 2.5” + 0.5” seam allowance, I get 3”. Then, double that for a 6” band height to cut. The band width is the same amount as your measured tunic or top width, plus the seam allowance. I chose to measure the shirt once it was sewn up and cut my bottom band then. When I laid my shirt flat and measured, it was 19.5” wide. Add the 0.5” seam allowance and then double that. My band width is 40”. The band I cut was 6” tall x 40” wide.
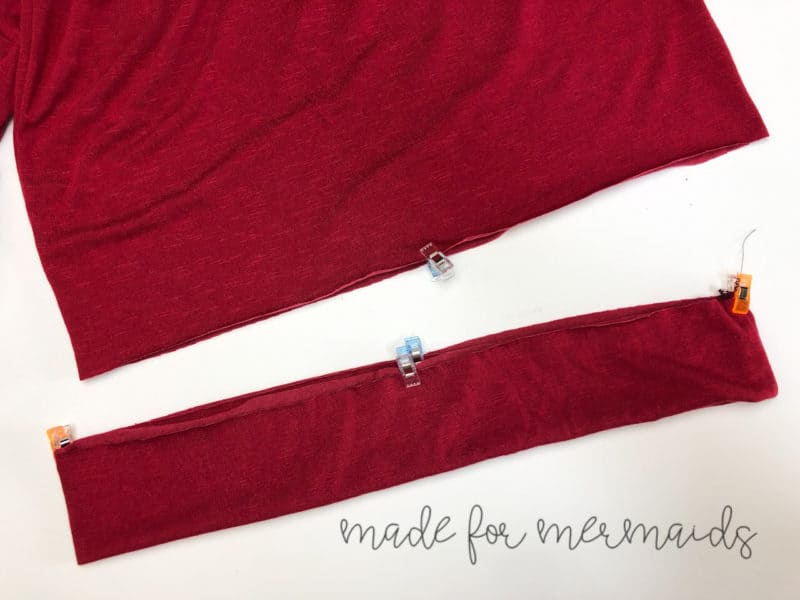
Lay the band right sides together, matching the short cut edges. Stitch or serge along the short edge with 1/2” seam allowance. Turn the waistband in half widthwise with wrong sides together. Quarter both the waistband and constructed top waistline, marking with pins or clips.
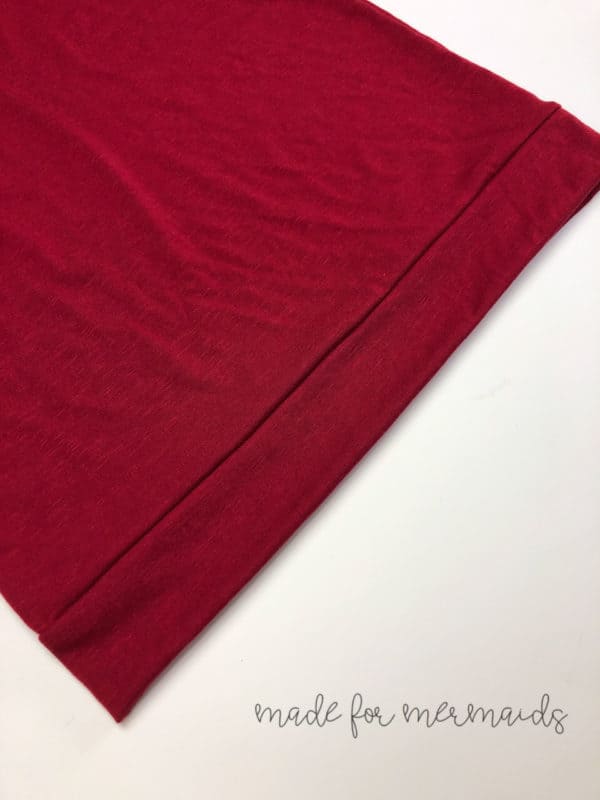
Place the waistband against the right side of the top waistline, matching up quarter points. I prefer to line my waistband seam up on the side at this point. Sew or serge with 1/2” seam allowance. Press well.
Happy Sewing! -Katie
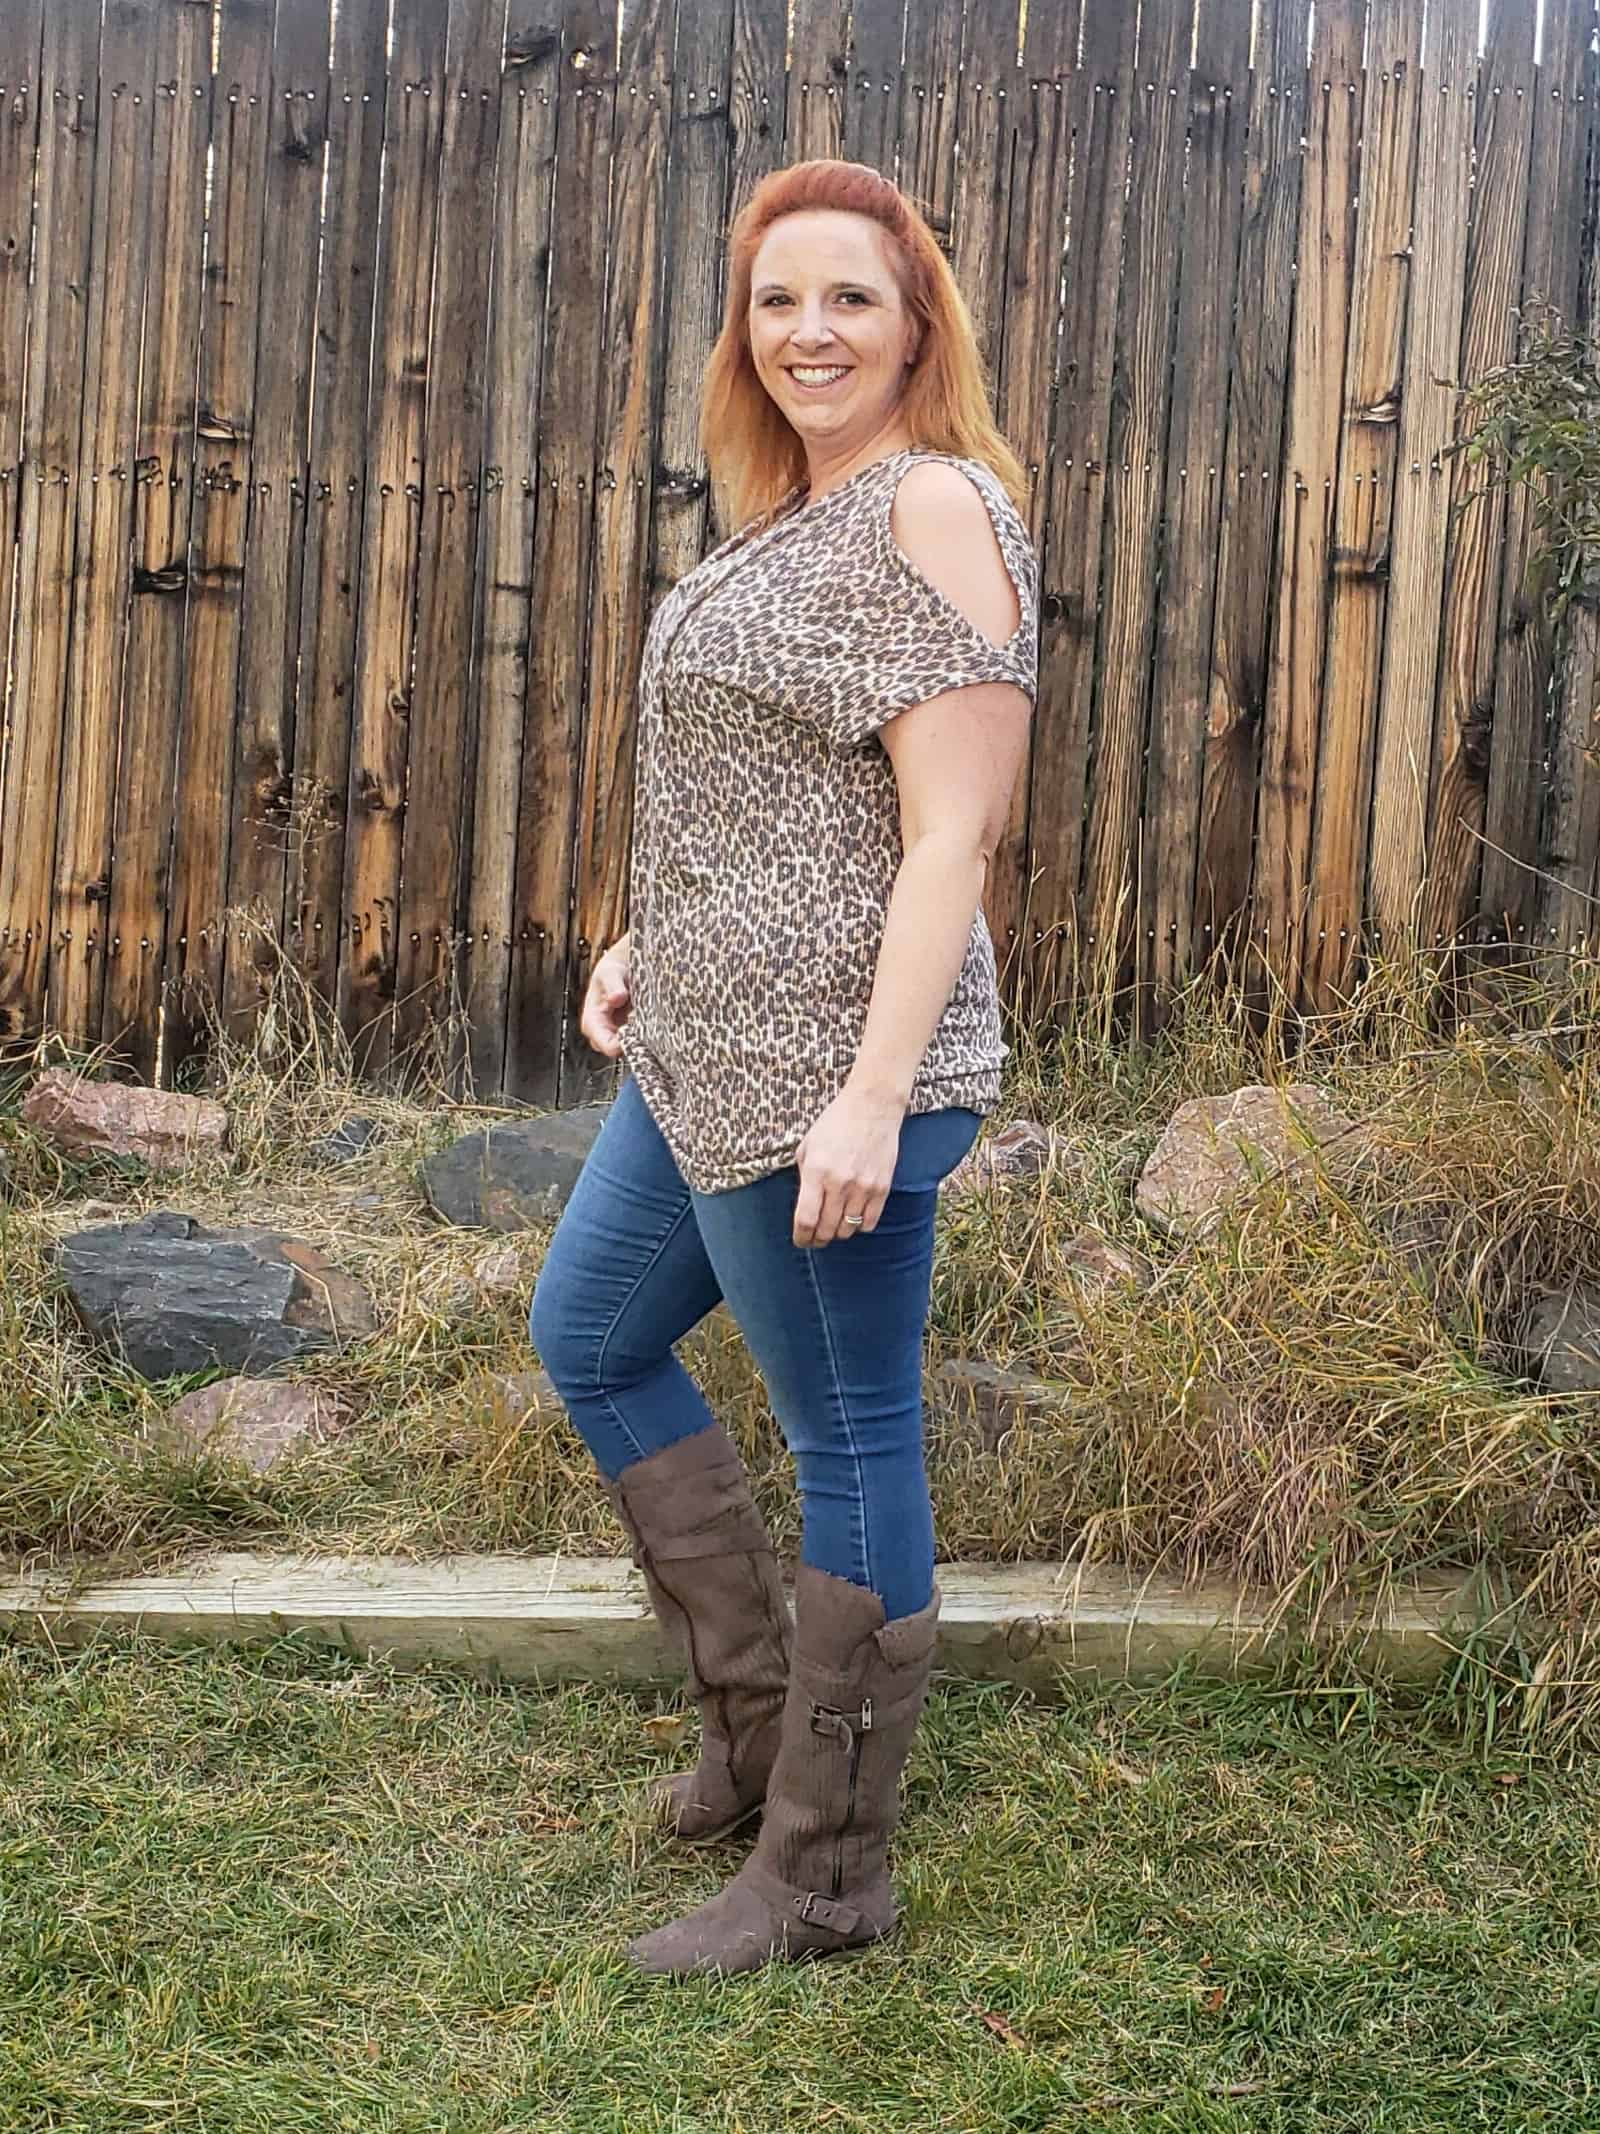
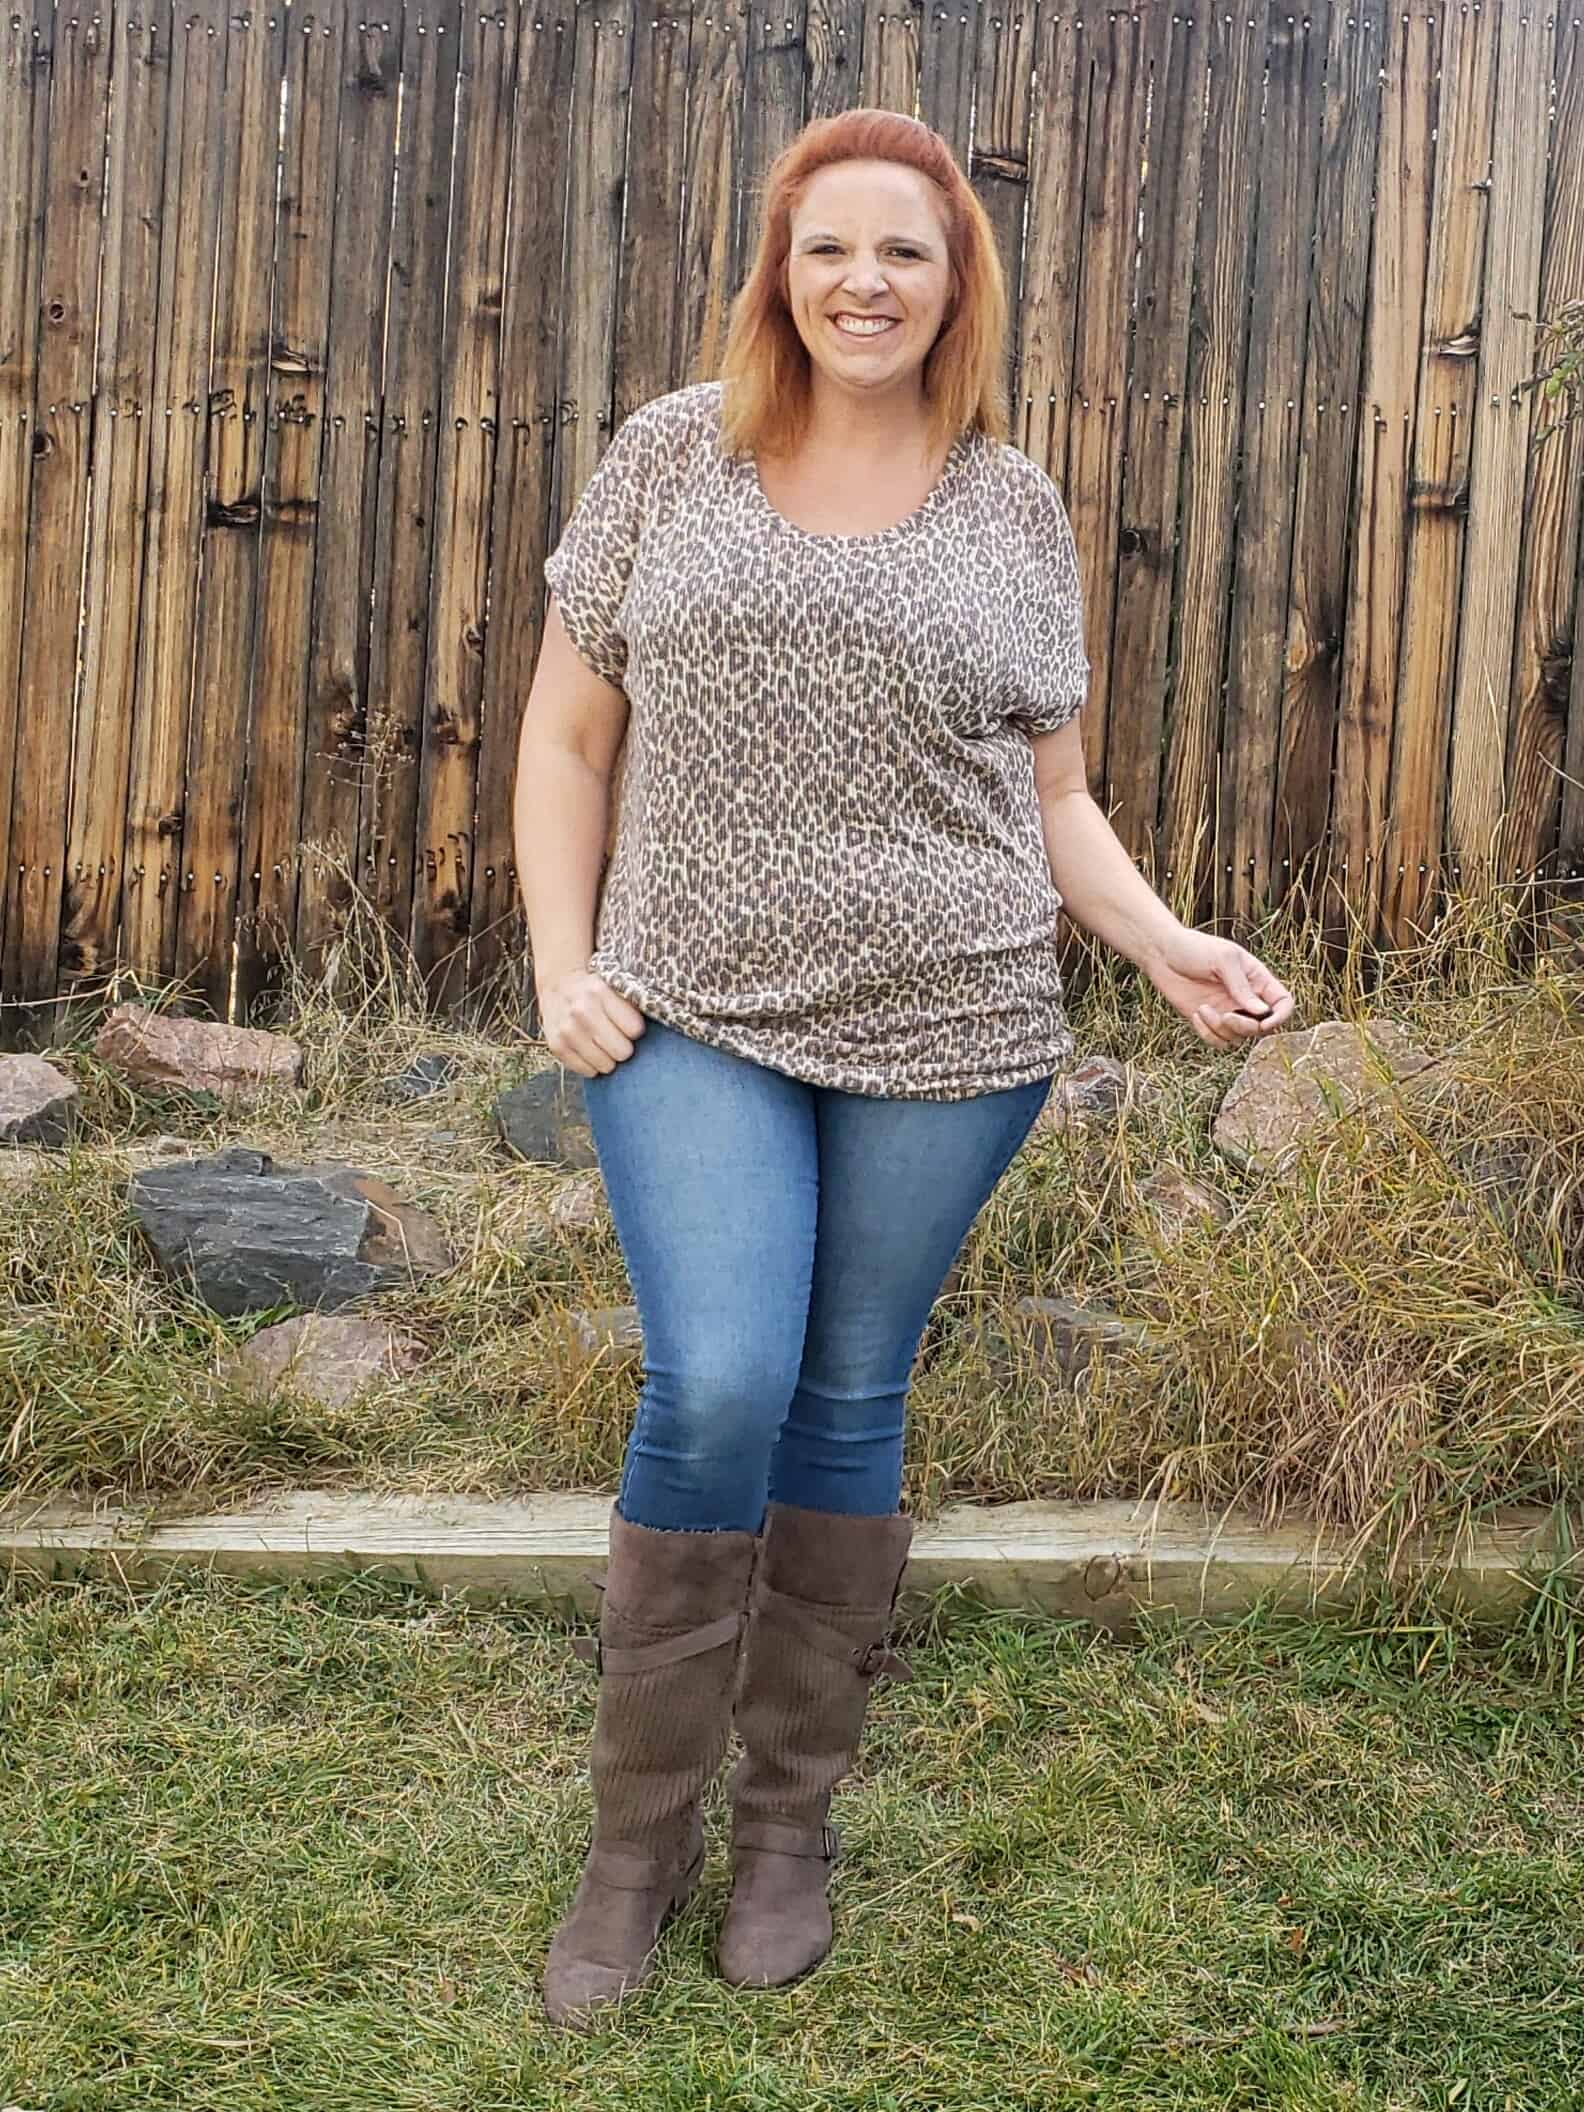
Cold Shoulder Hack
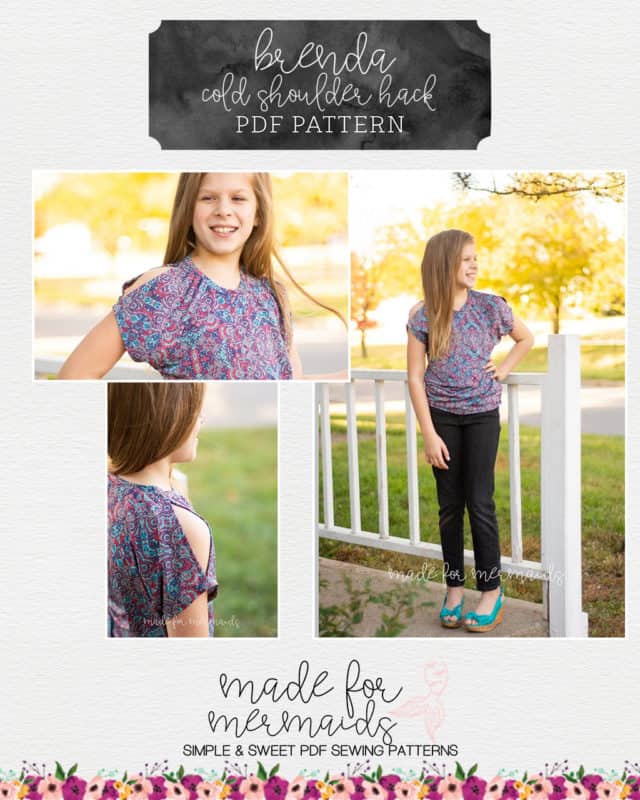
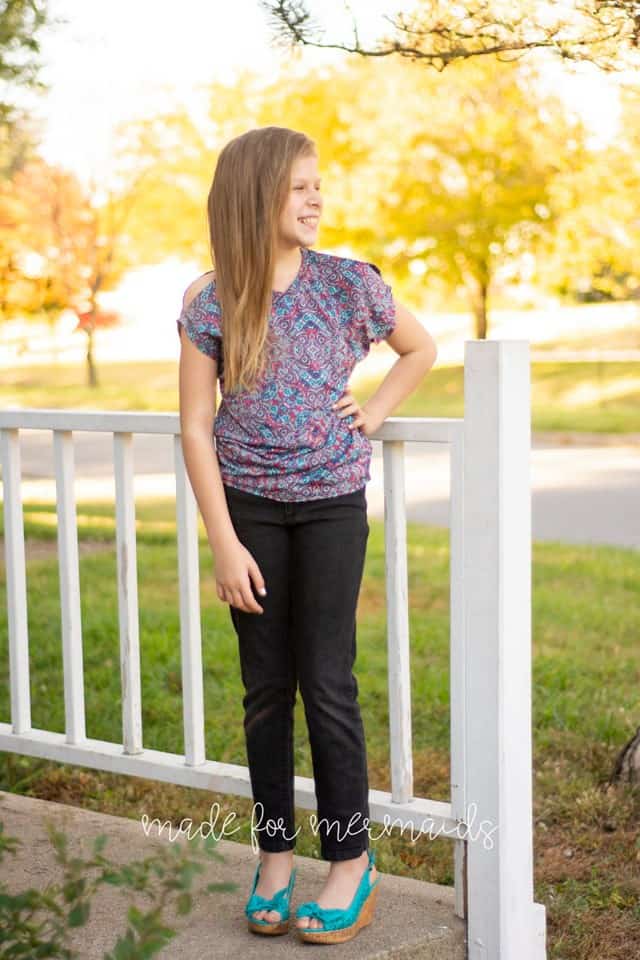
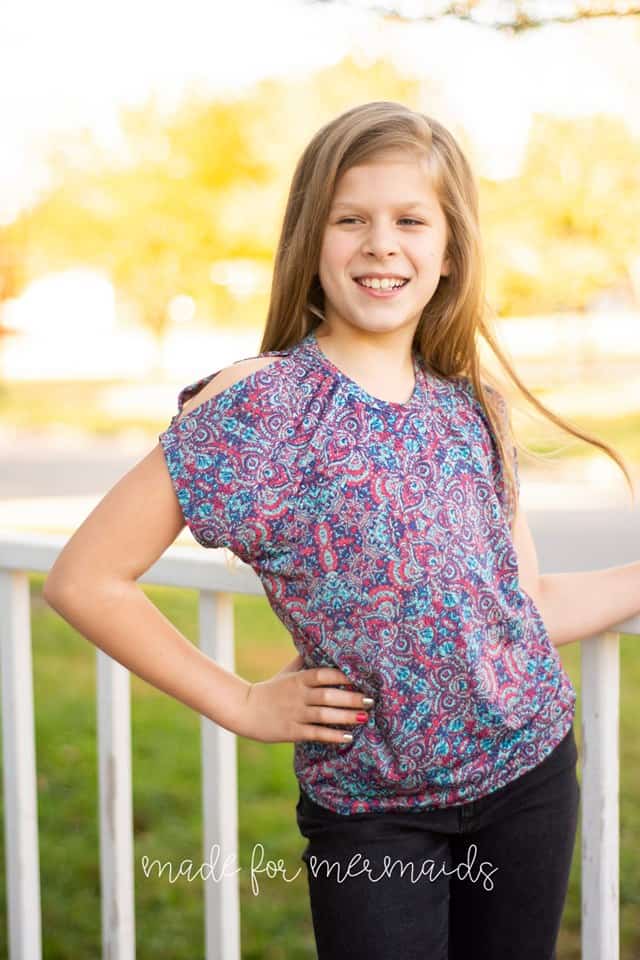
Well, after you learn this fun tweak, you’ll be adding a cold shoulder detail to all your dolman’s! This is so simple, and it really changes the look!
You won’t need to adjust your pieces at all. Make sure you’re using fabric that isn’t too stiff for this. You want it to hang nicely off your shoulder. Mine is ITY. I also used the loose sleeve cut line for this.
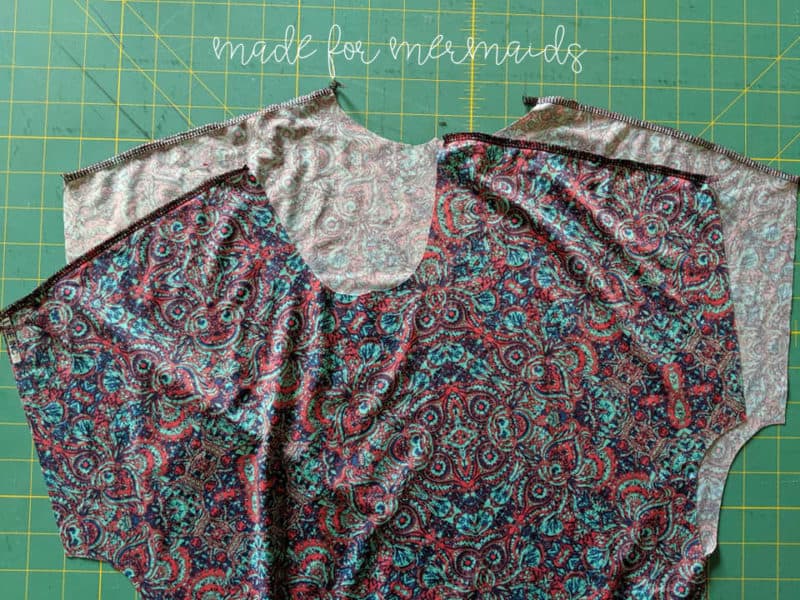
Once you’ve cut your pieces, finish the raw edges of your shoulders (optional). Then mark 1″ from the neckline, and from the bottom of the sleeve on the front and back pieces.
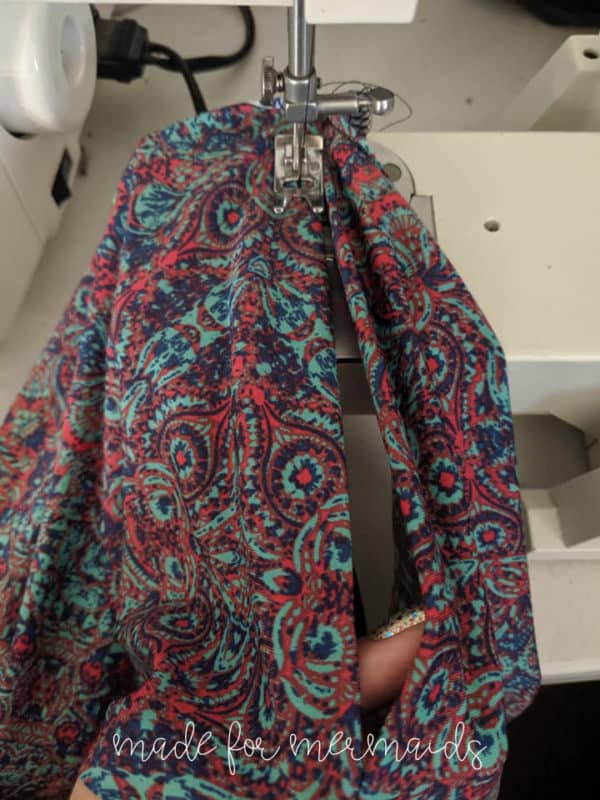
You’re going to sew only that inch, leaving the middle free. Make sure to back stitch each time you start and stop, so you don’t pop your opening any bigger when you’re wearing it. Press the seam allowance open, and then stitch 1/4-3/8″ away from the folded opening edge, to secure the seam allowance down.
I stitched all the way from the neck down on both sides, but you could make a long rectangle if you prefer. After that, you can go back to the tutorial and finish your sleeve hems and neckband just like normal. This hack even works if you want to add the long sleeves!
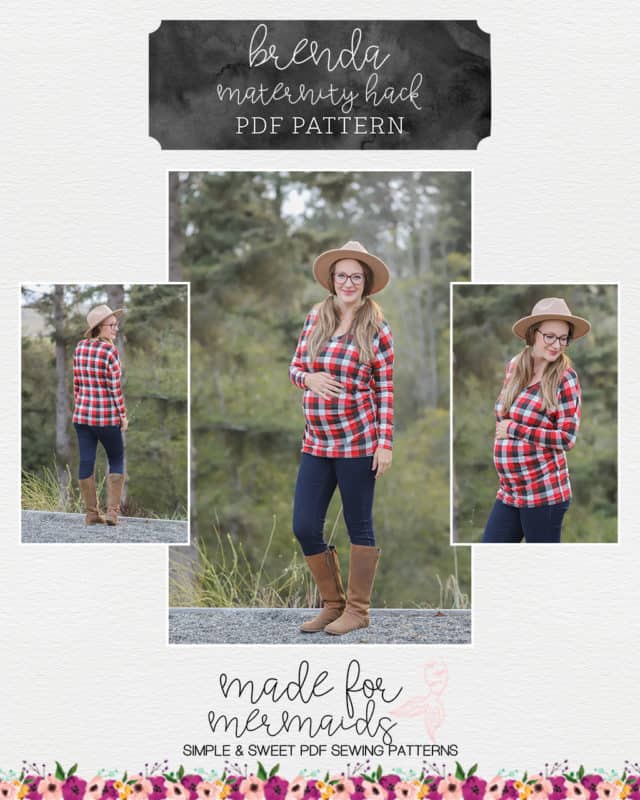
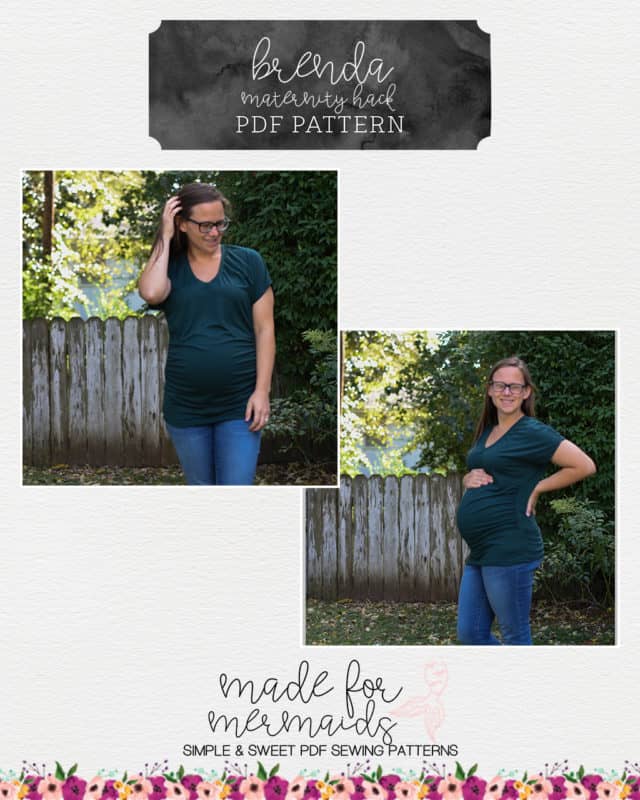
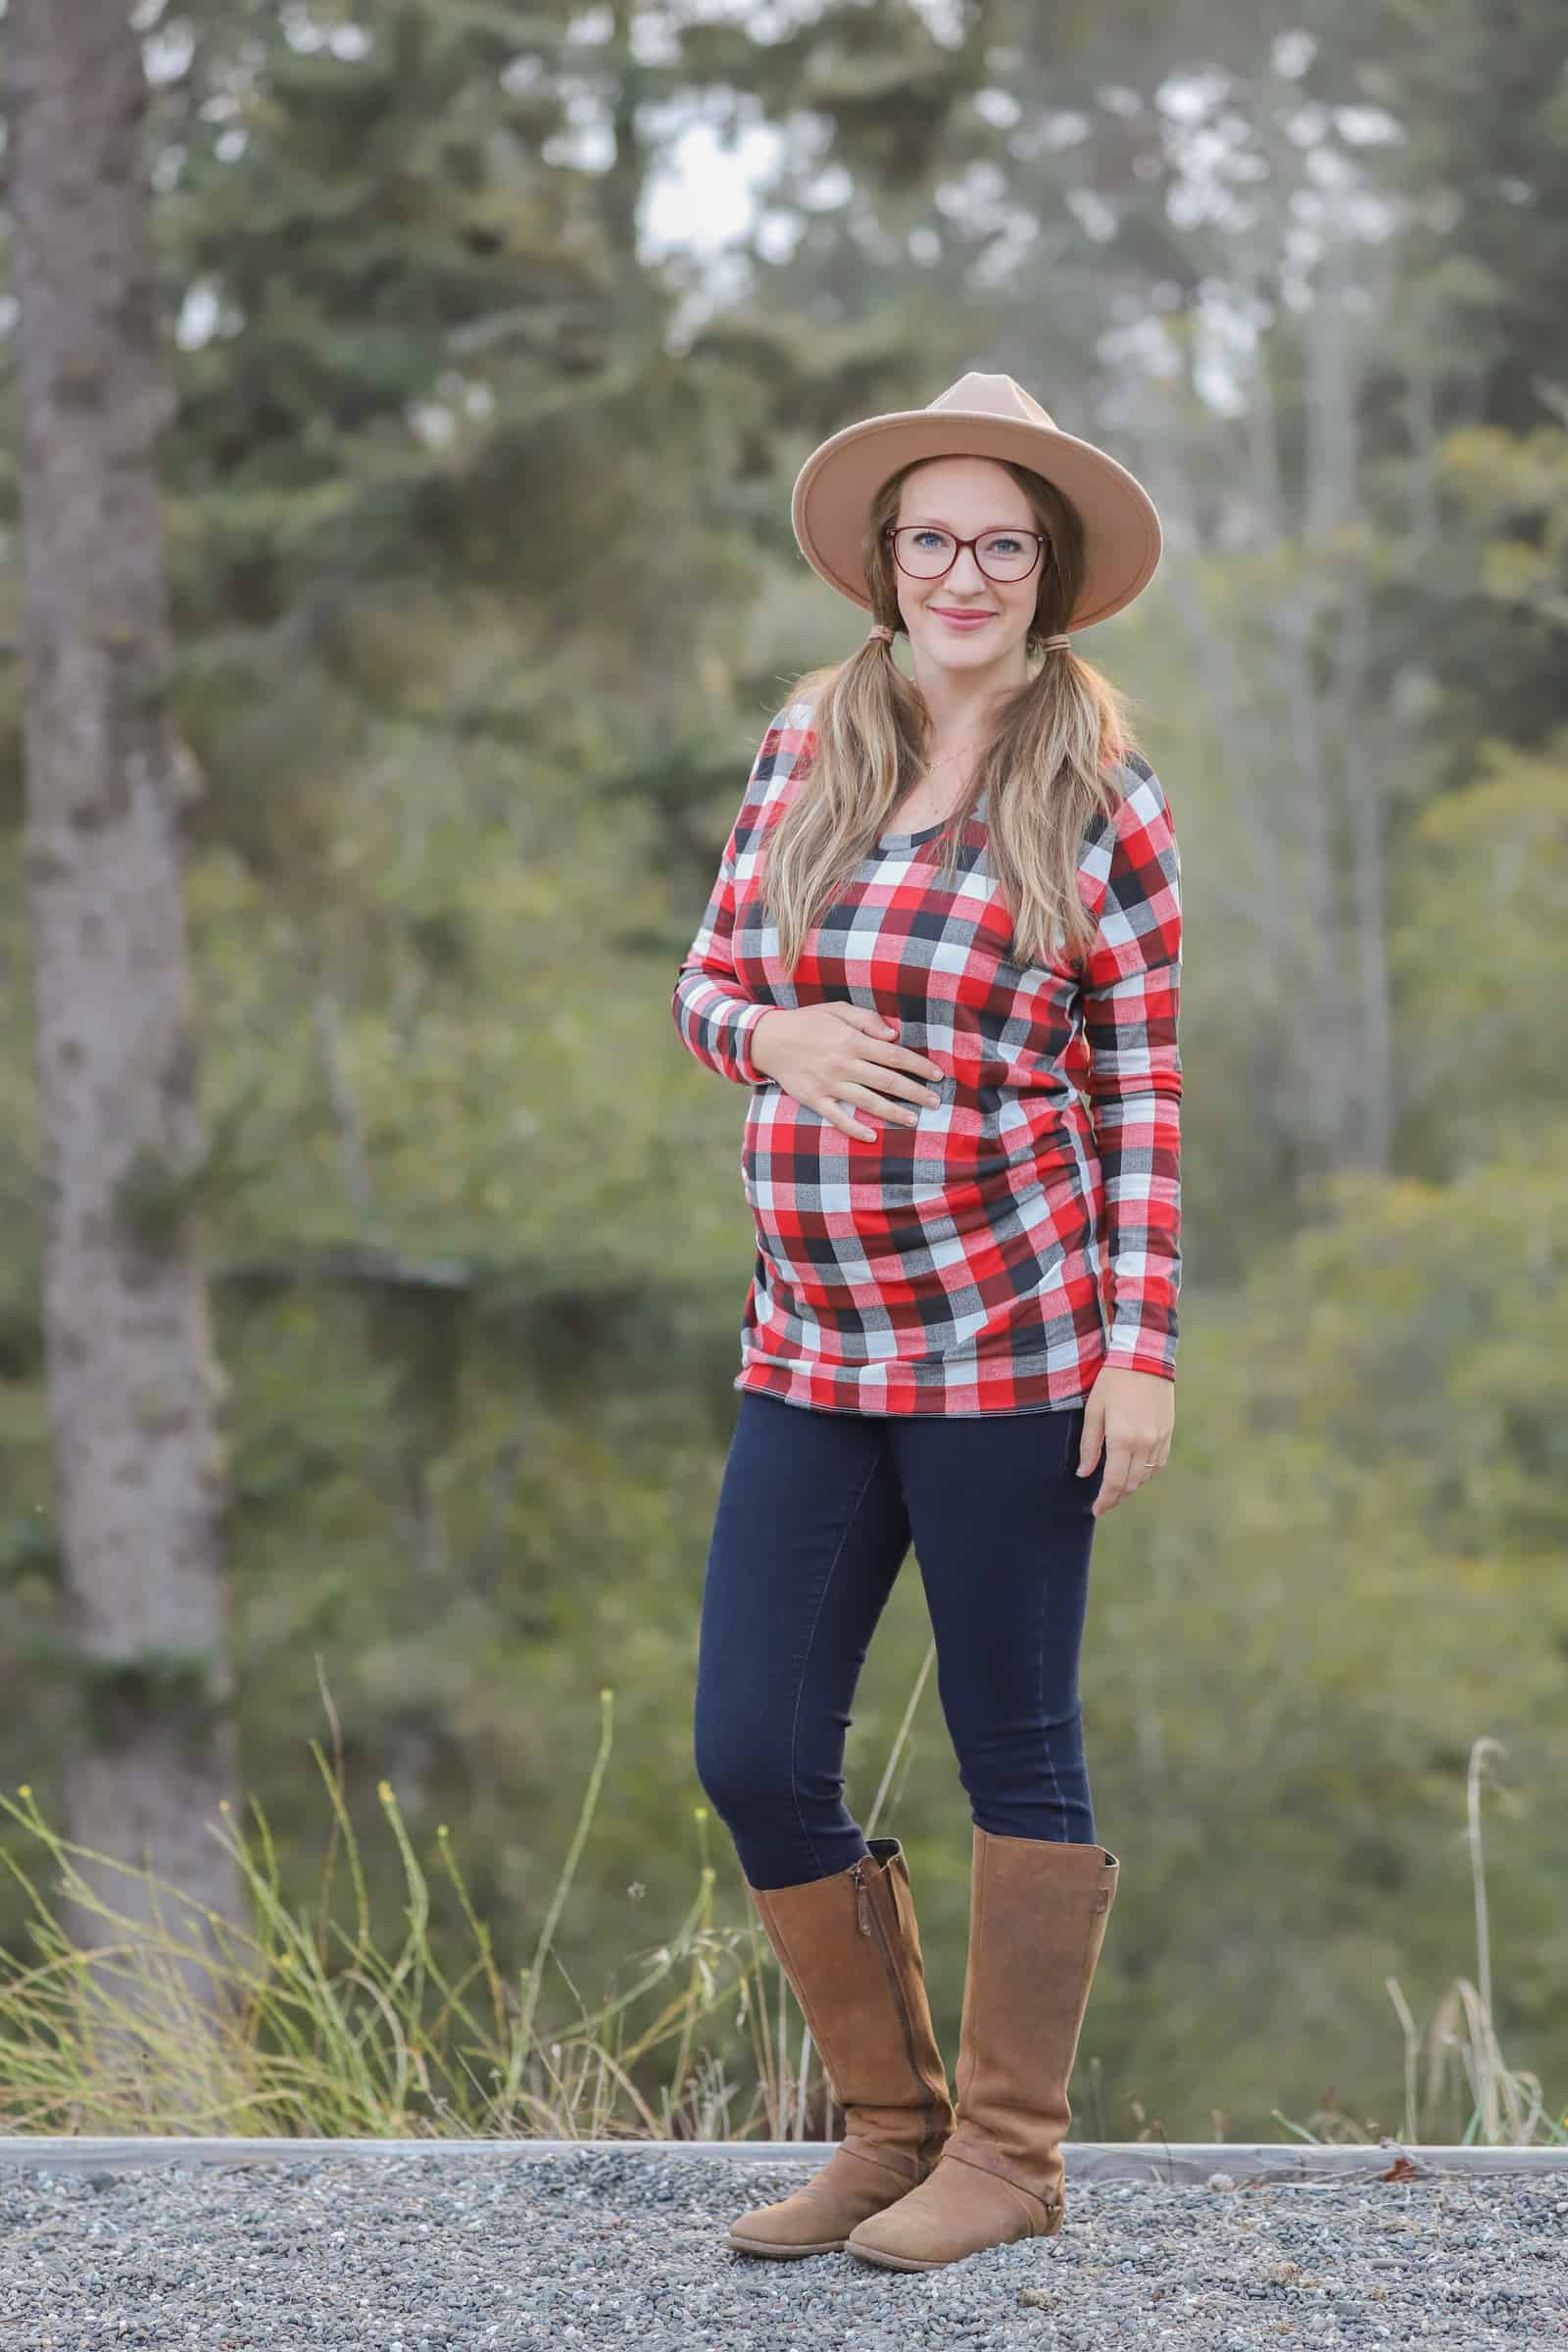
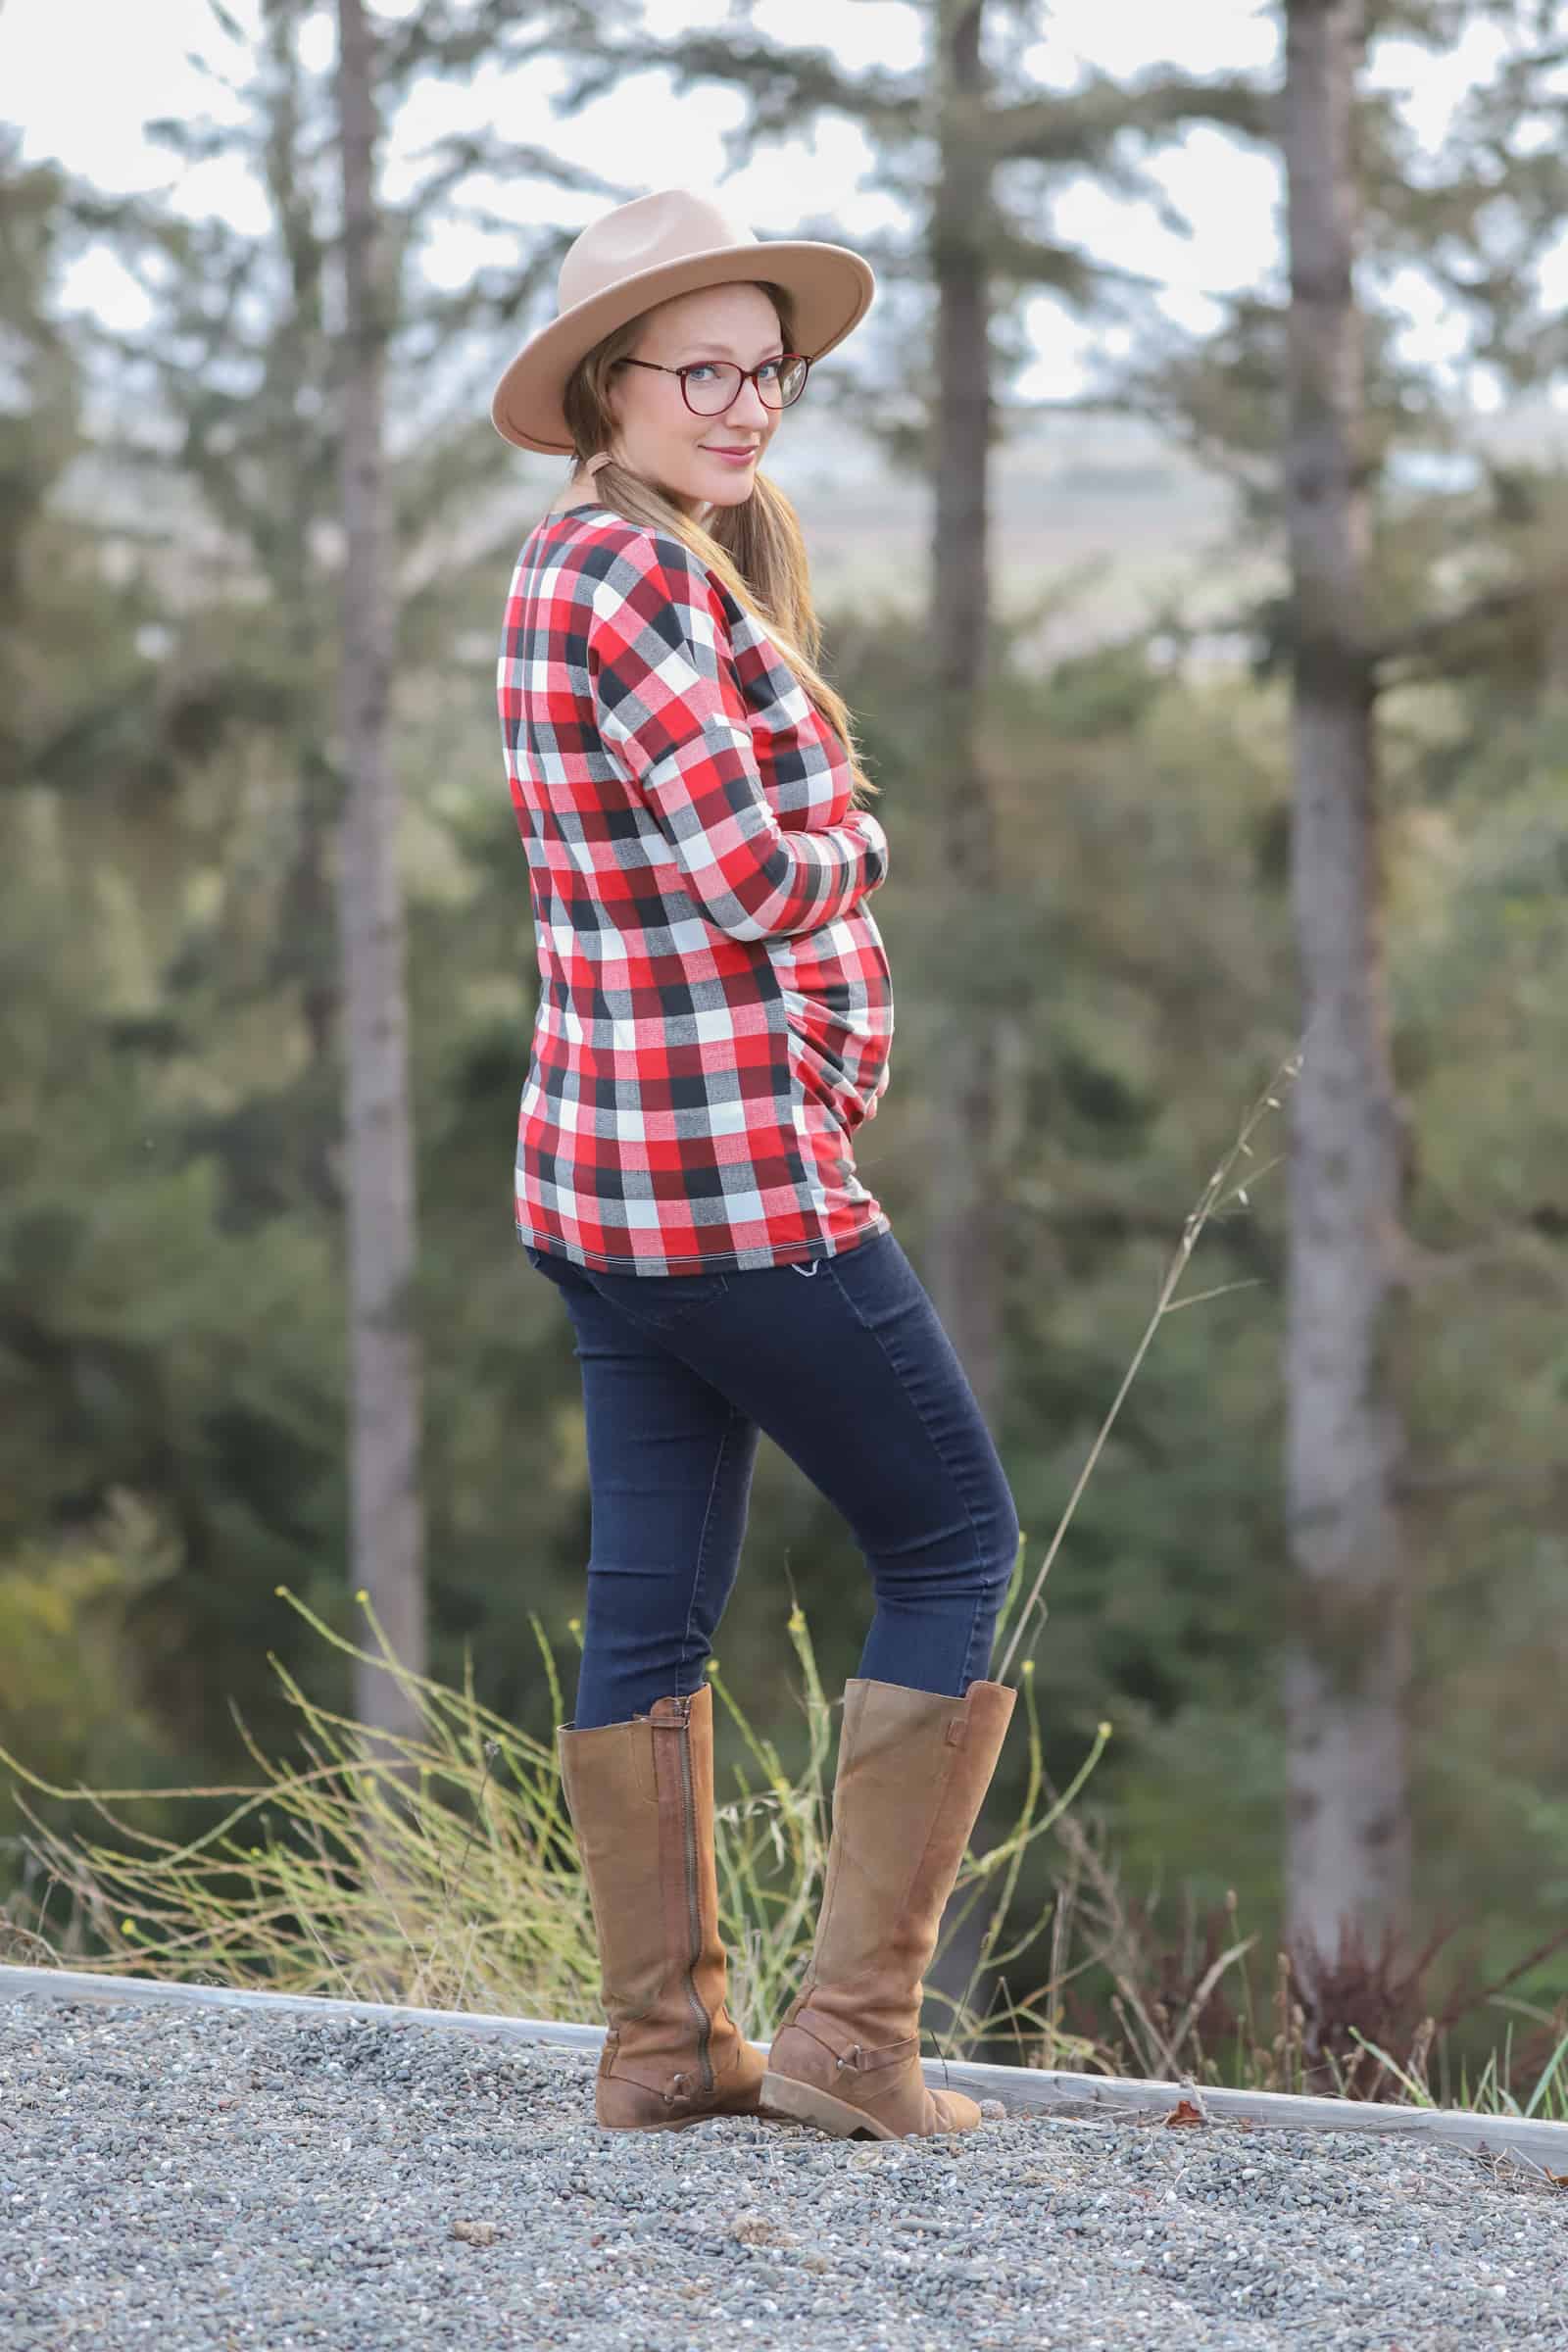
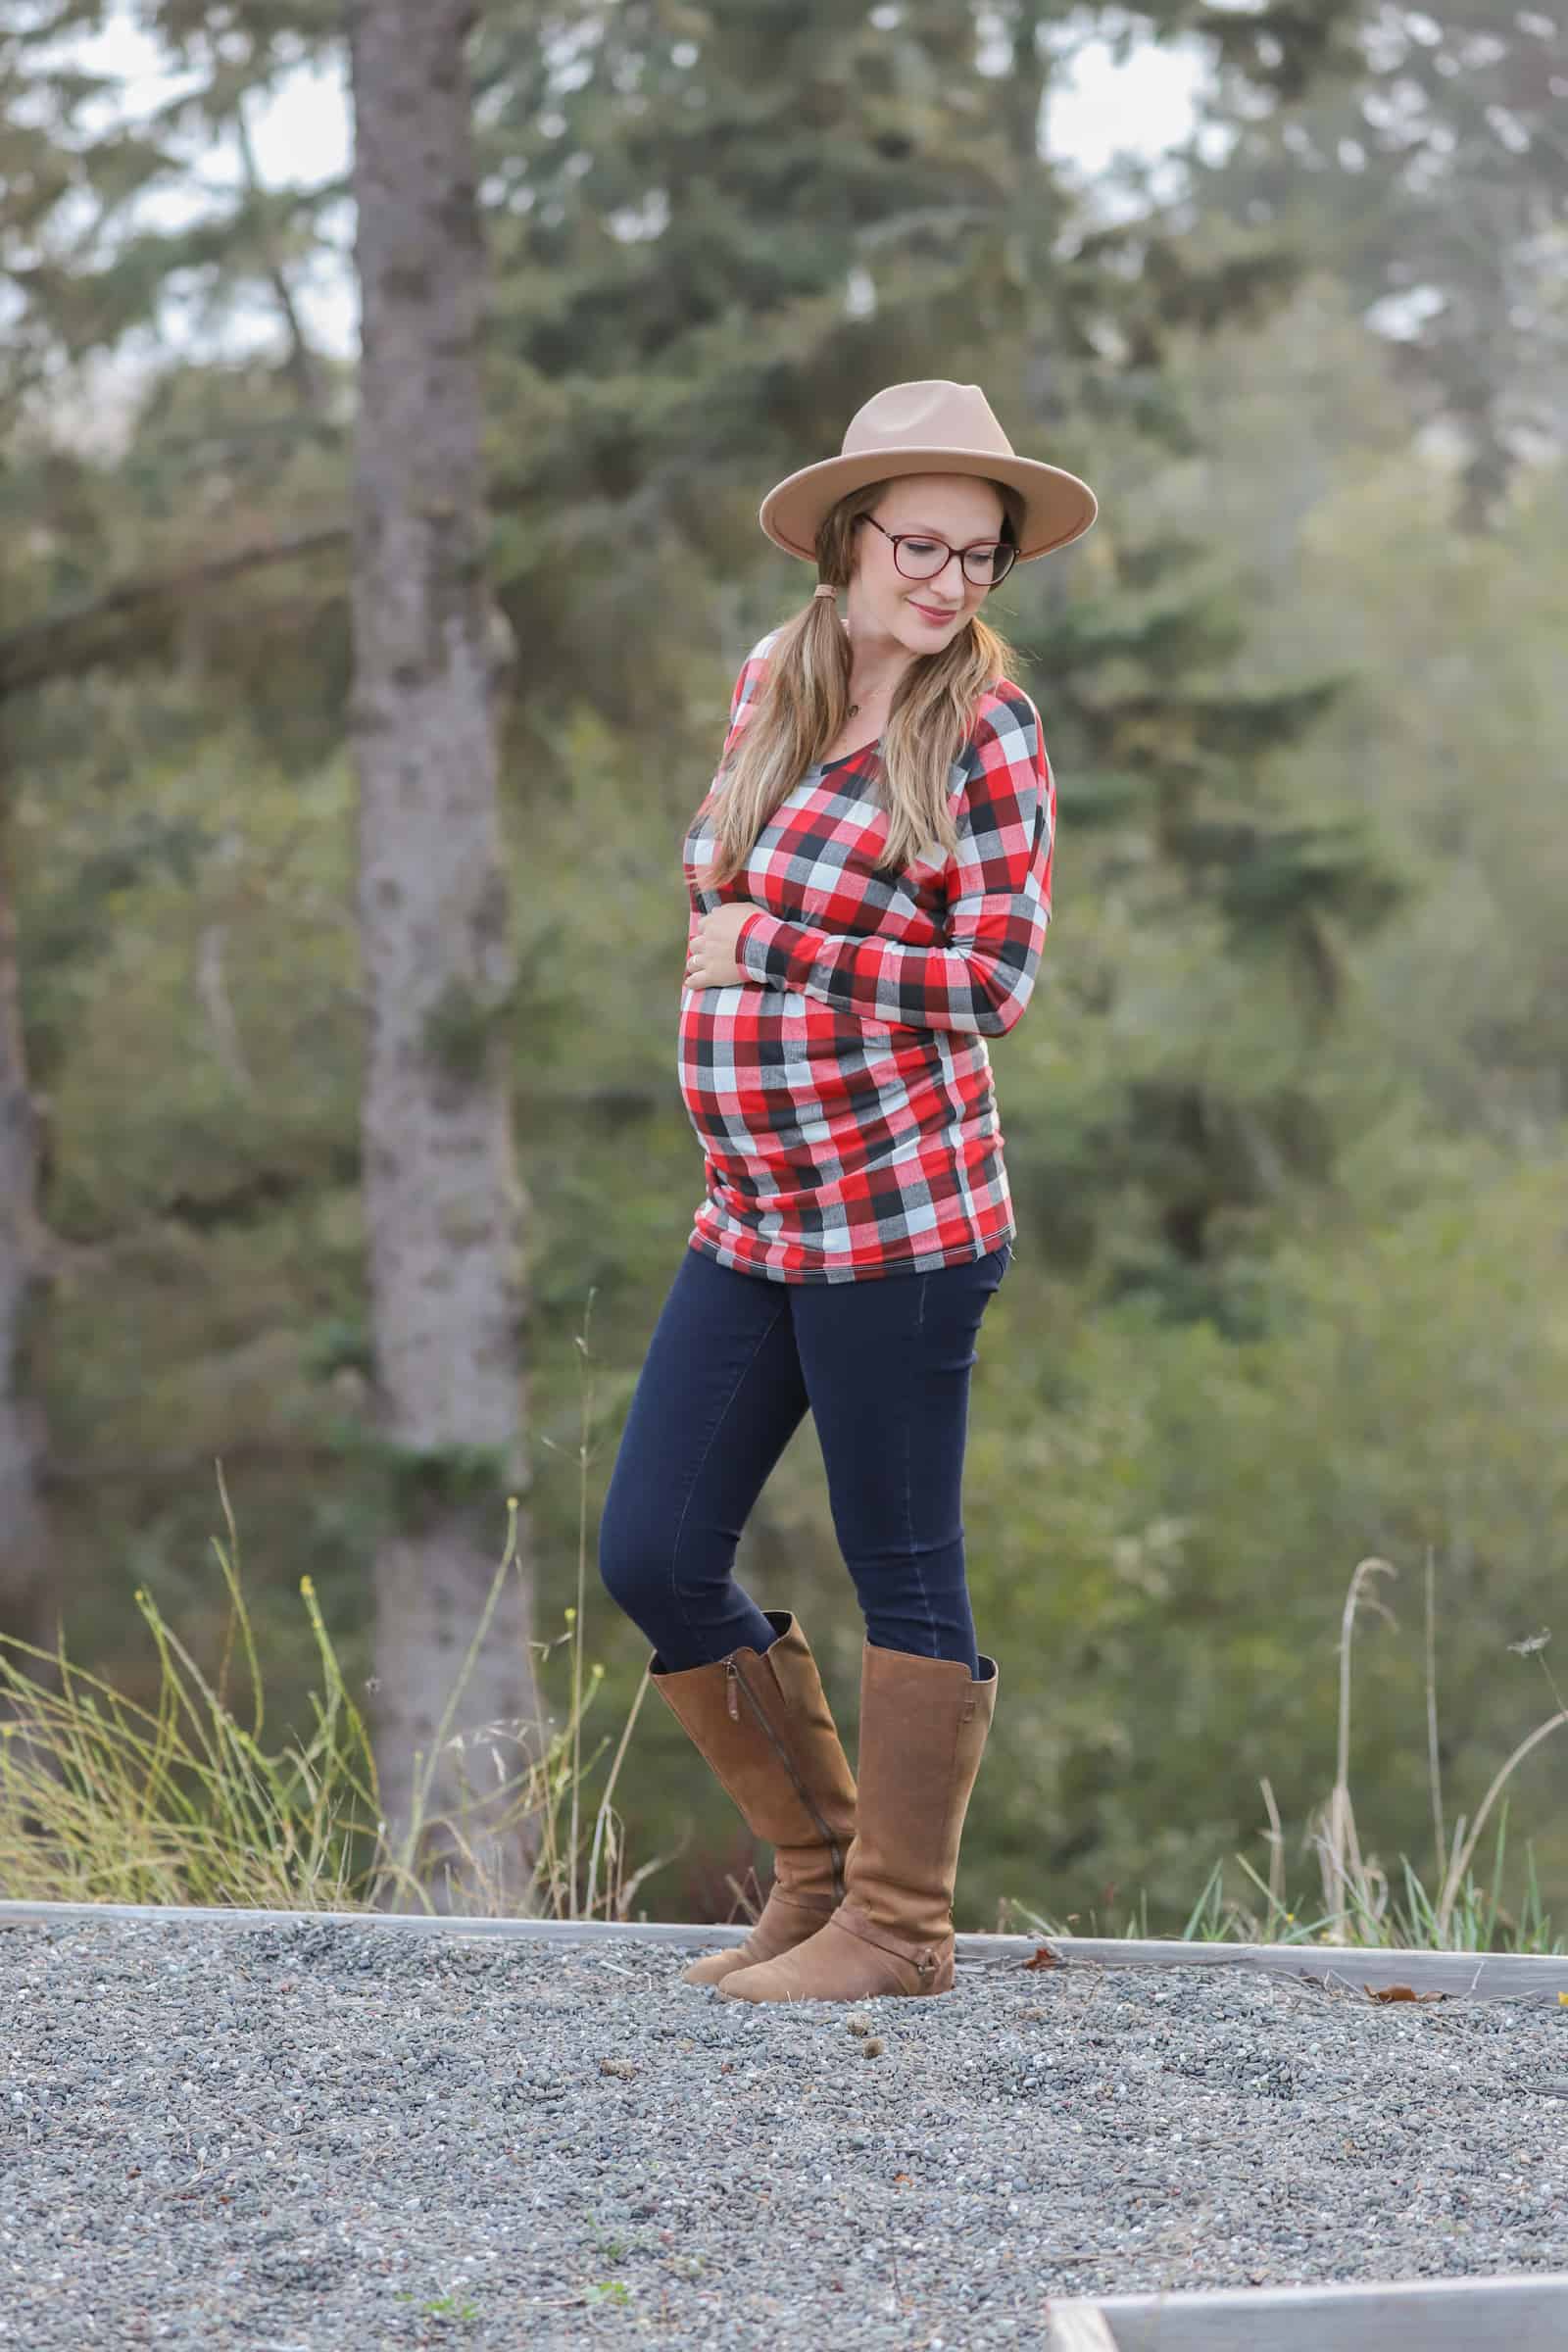
Maternity Hack
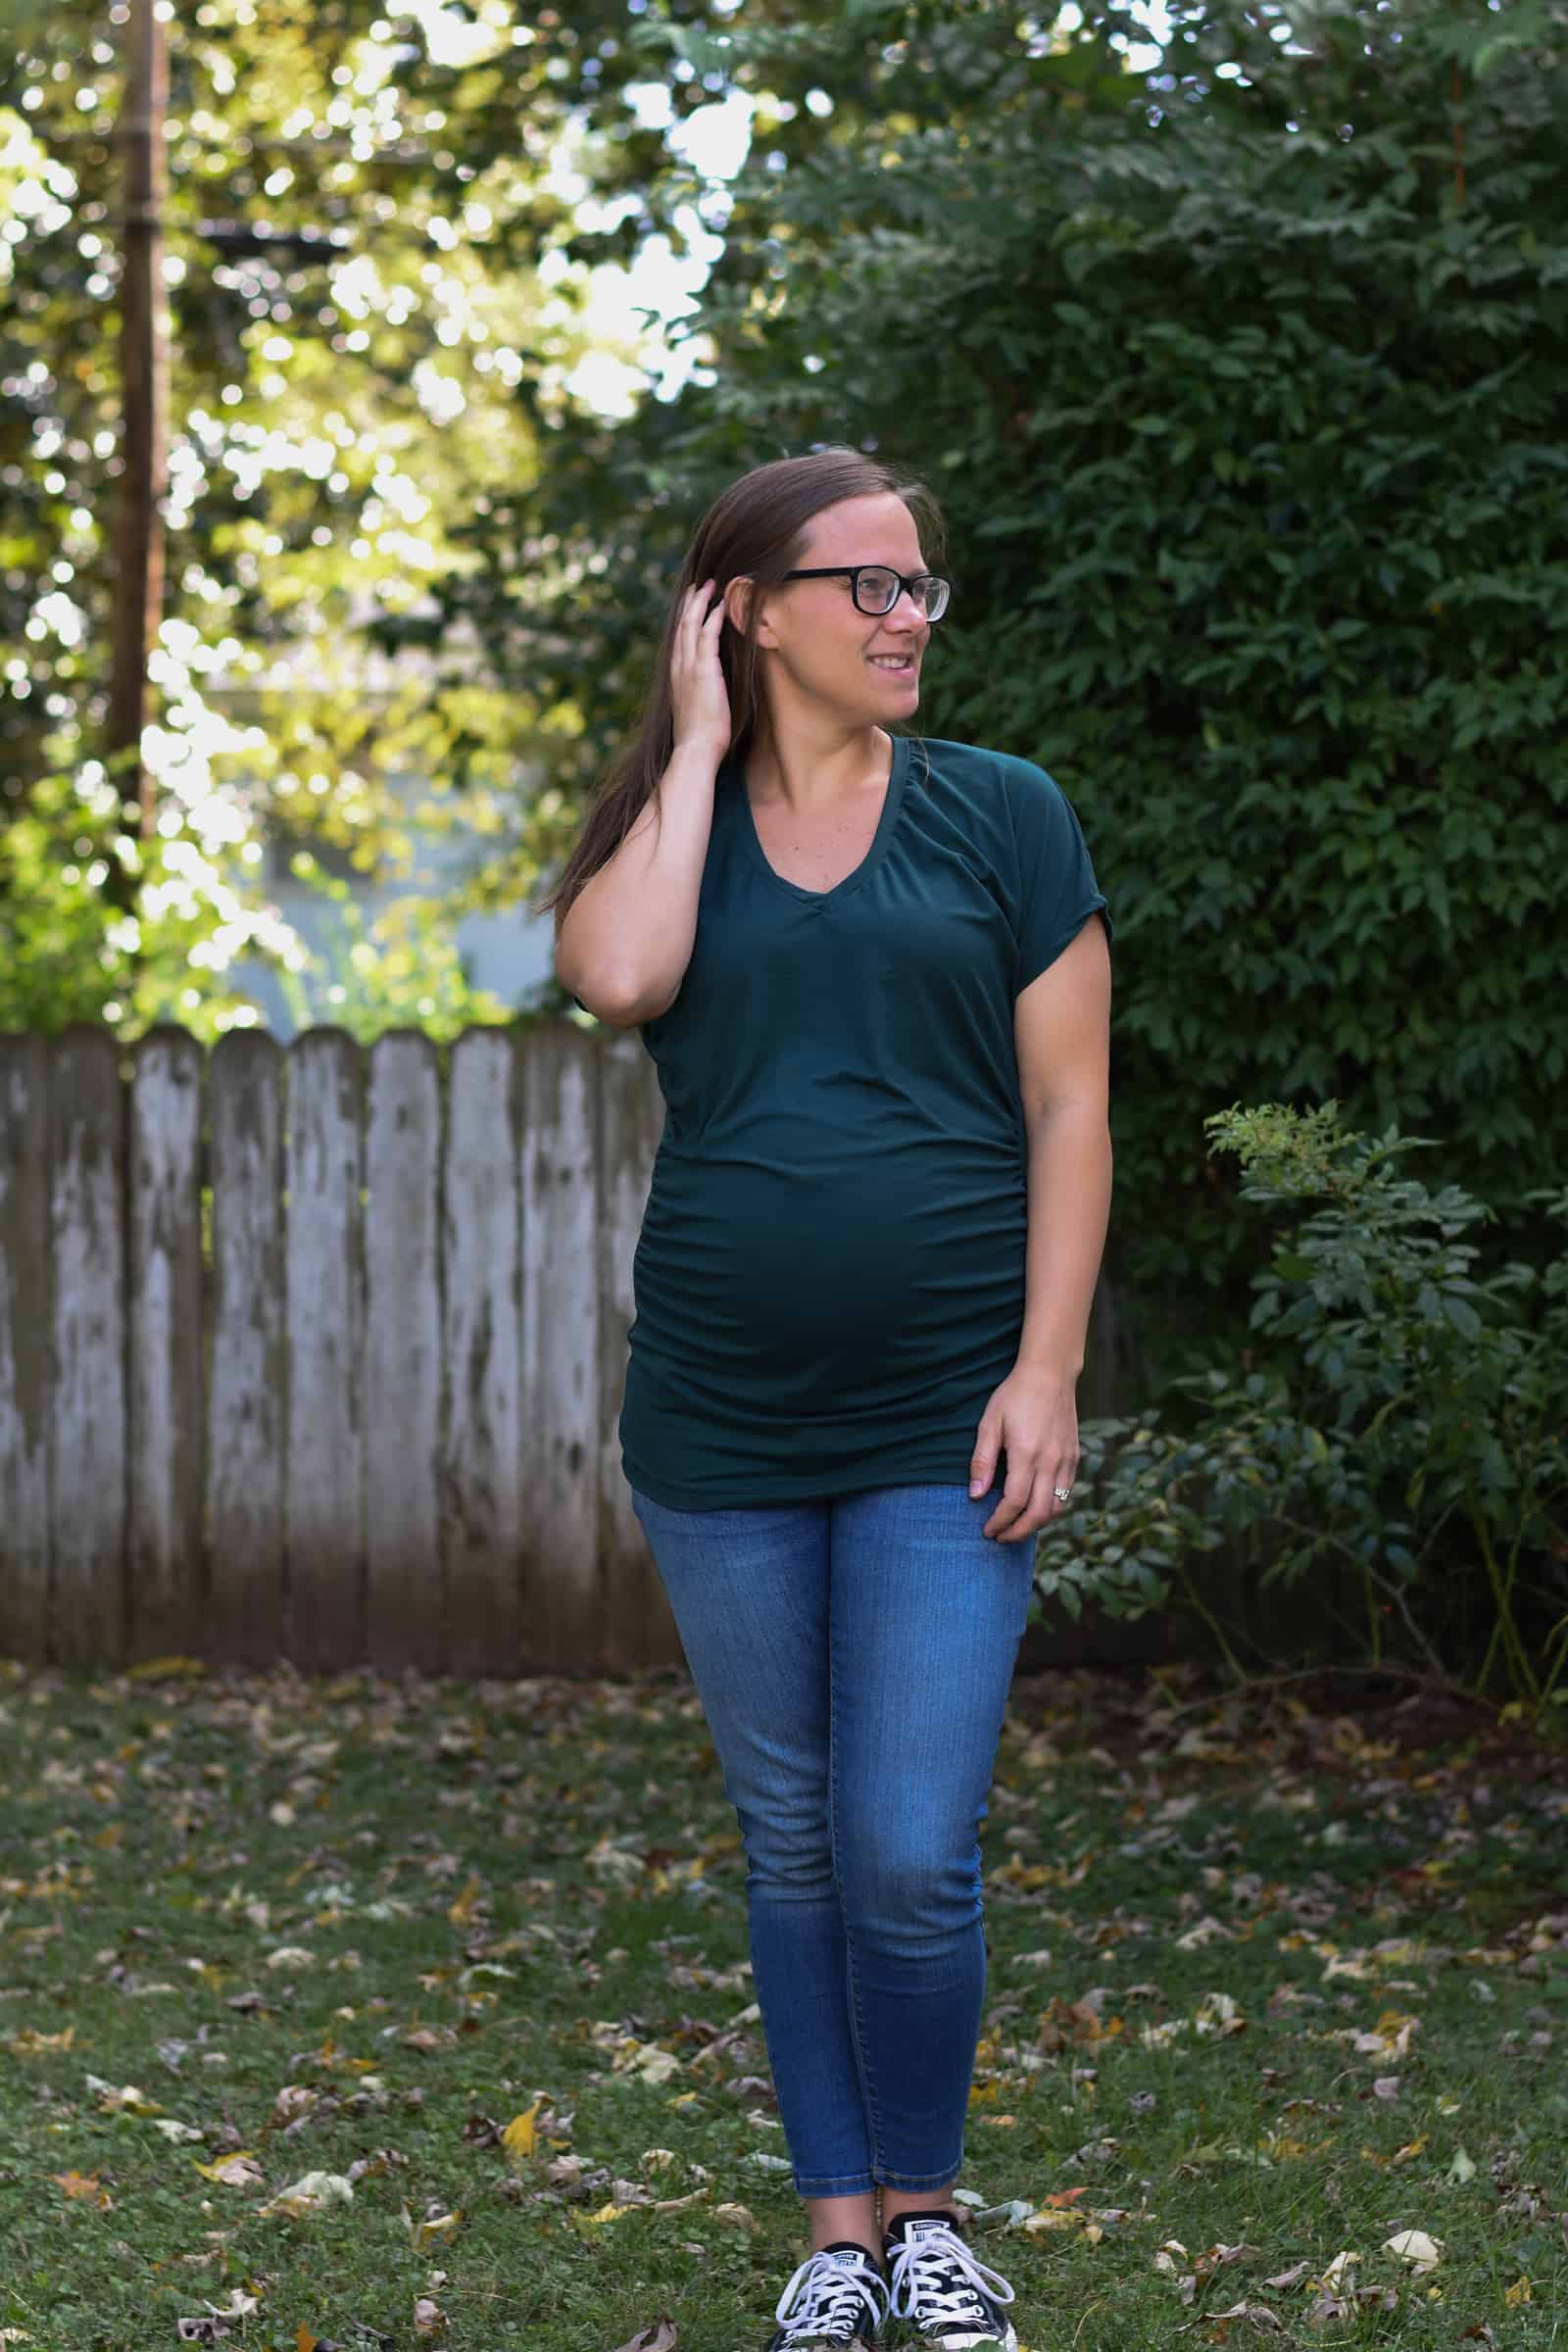
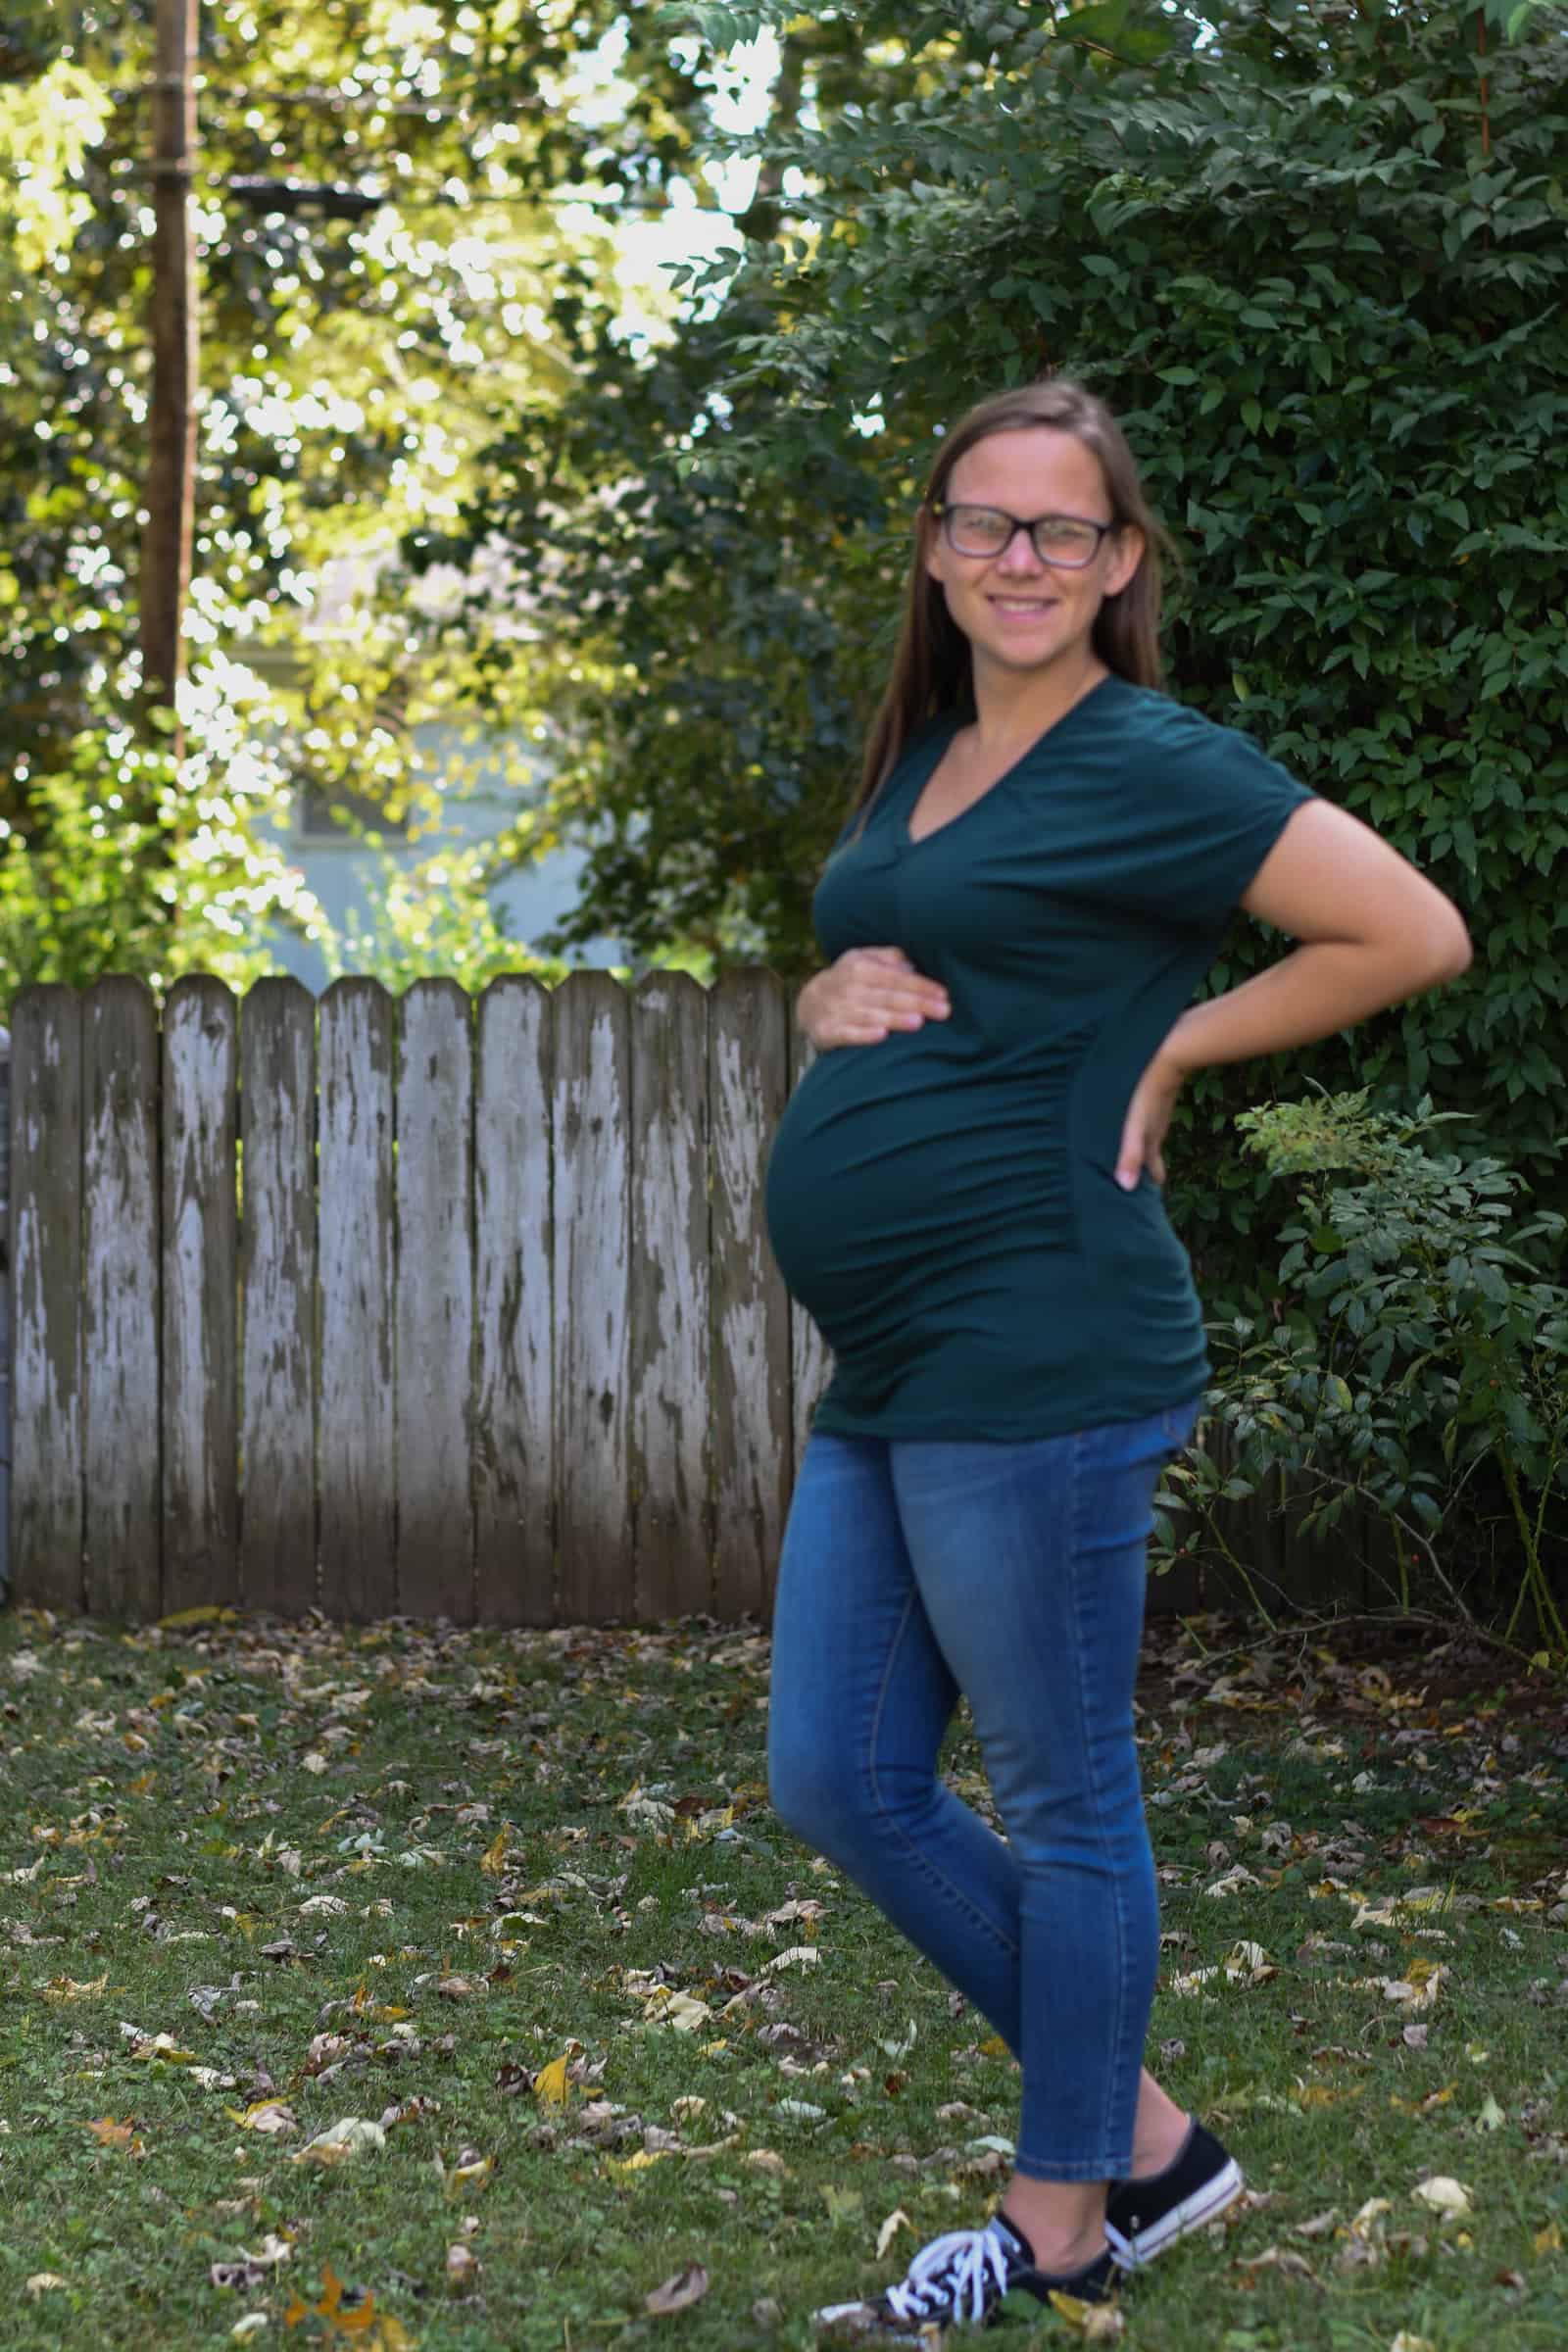
Since Brenda is a slightly slimmer fit through the body, adding some ruching will make this the perfect maternity top! We will be following along the tutorial given for our Tai Bodysuit, which is found here: Tai Maternity Hack
Just as with the Tai maternity hack, we will be adding ruching to the front bodice piece by adding length to the front bodice piece only, by slashing and spreading your pattern piece. Cut your front bodice piece slightly below the bust and spread the pattern piece 5″.
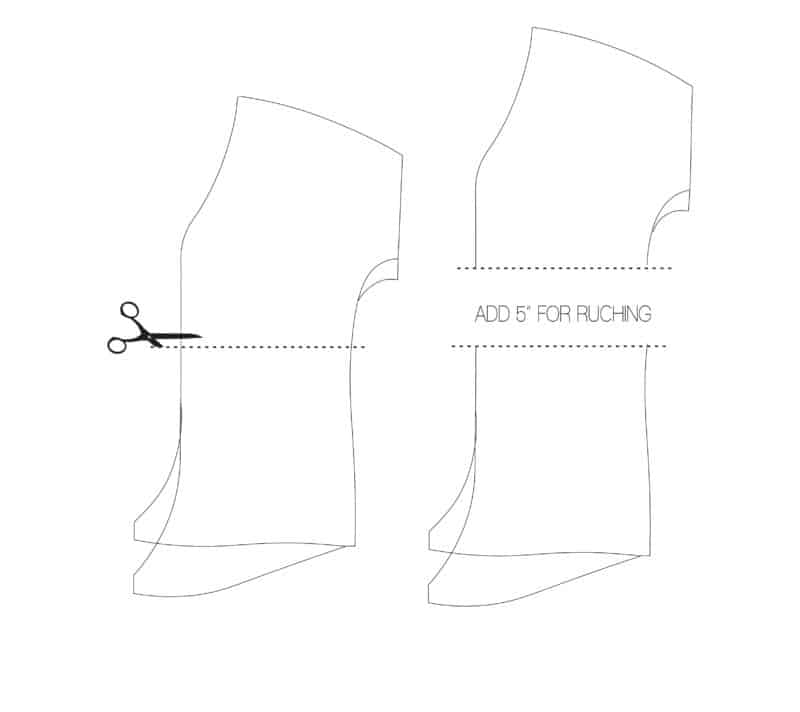
Now cut out your fabric from your pattern pieces! Make sure to mark on your fabric the point at which you slashed and spread your fabric. You will start gathering your bodice at this point. Sew two rows of gathering stitches starting at the point that you marked, down about 5-6″, at both 1/4” away from the side edge and one at 5/8” away from the side edge. This will give you the best ruching results!
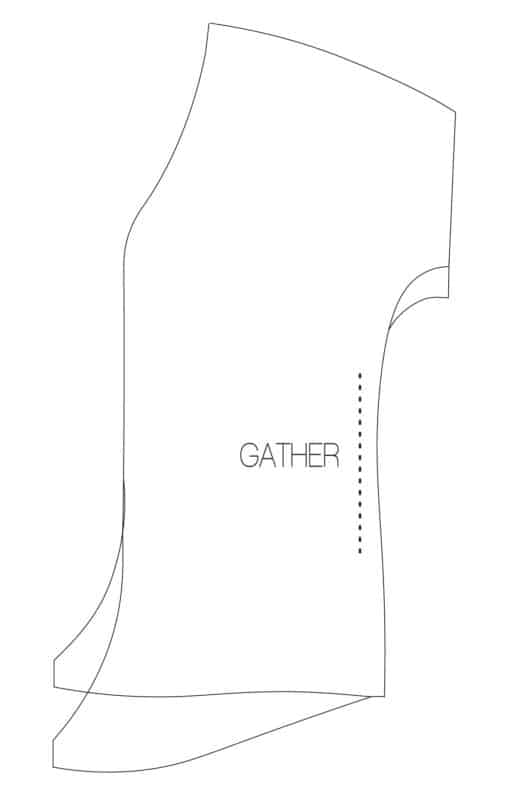
Follow the tutorial until you get to step 5: side seams. At this point, match the underarm seam and bottom raw edge of the front and back, right sides together. Gather the front bodice until it matches the back bodice side seam – you may choose to spread your gathers out, or bunch them up tight! Continue as per the tutorial to finish your top!
You now have a perfectly cute top to rock over that adorable belly!
Happy Sewing!

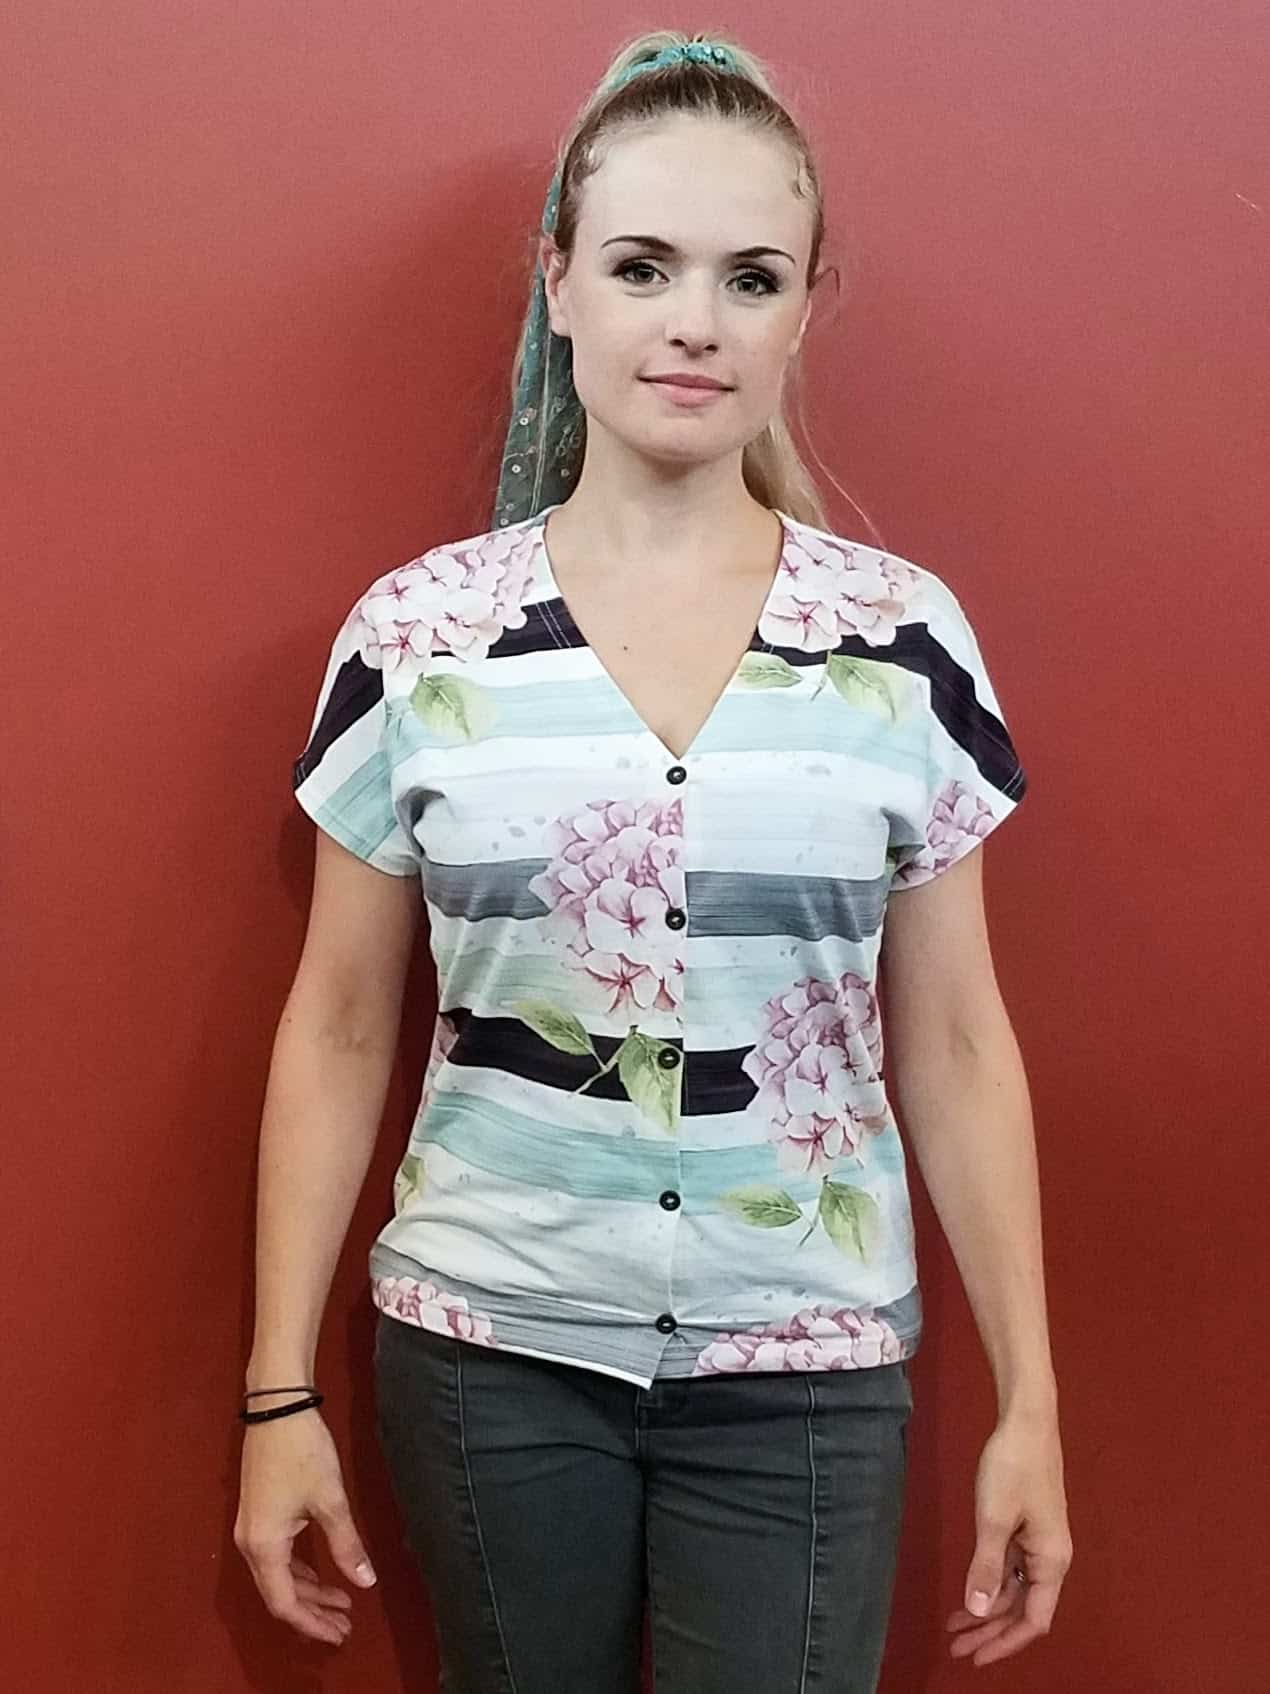
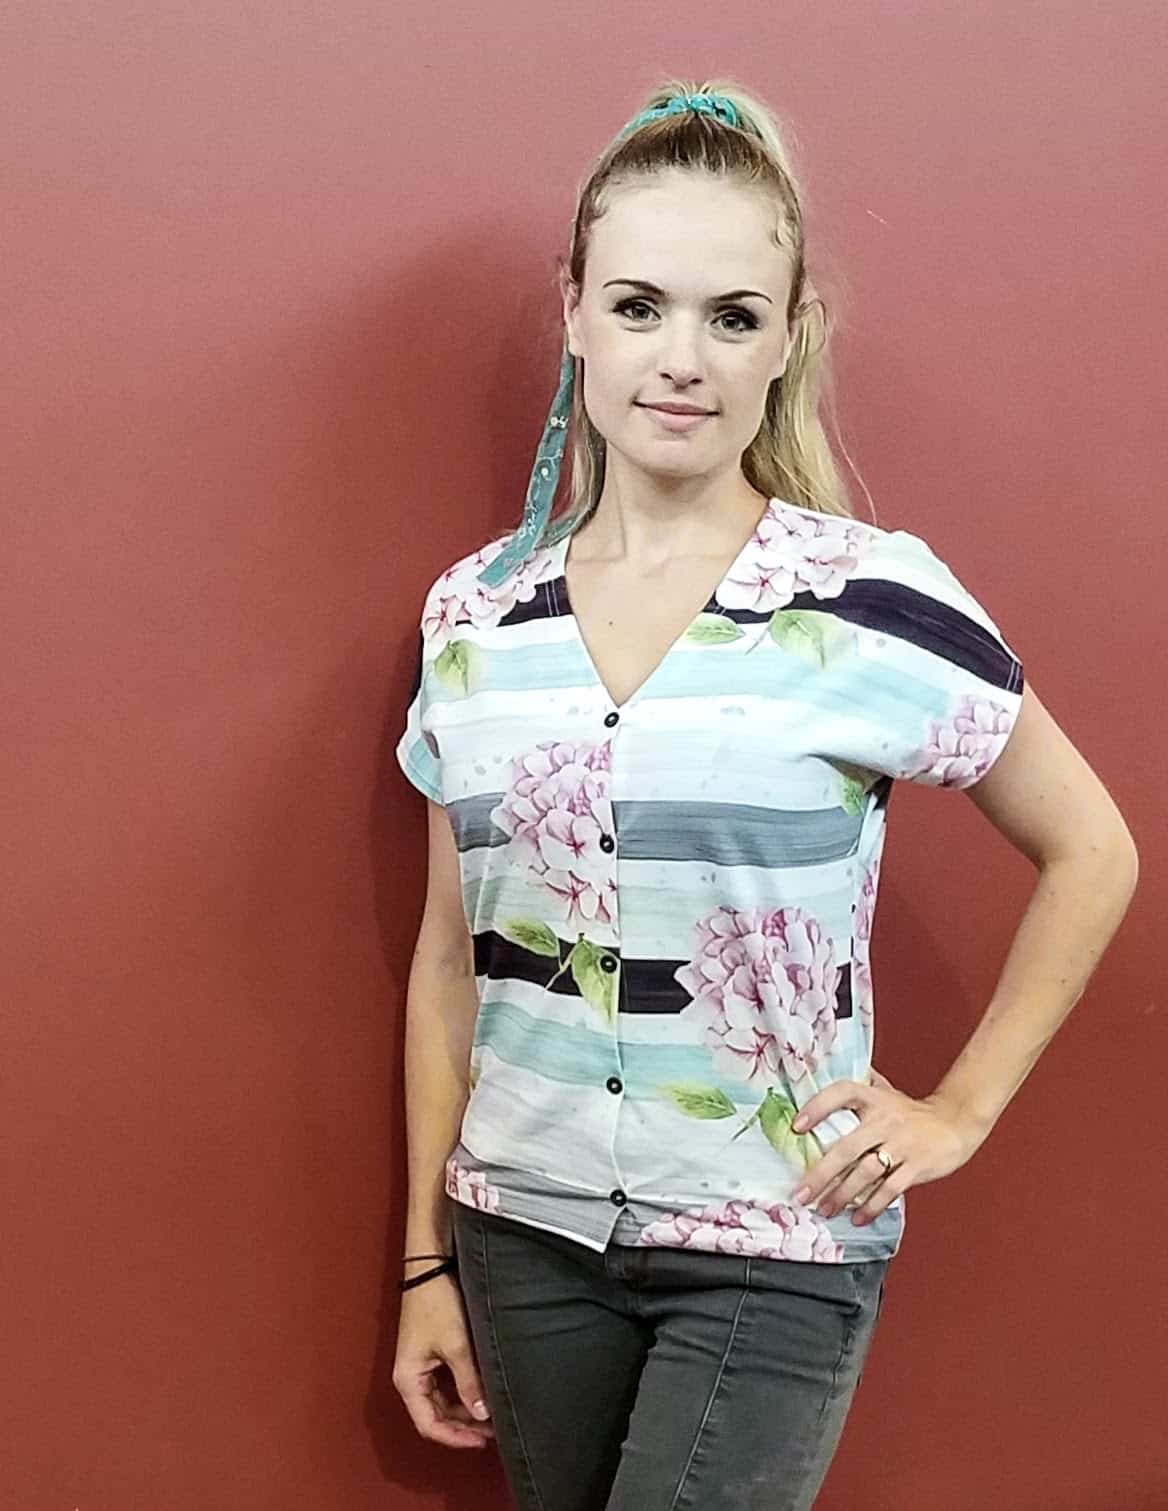
Straight Hem Button Up Front Hack
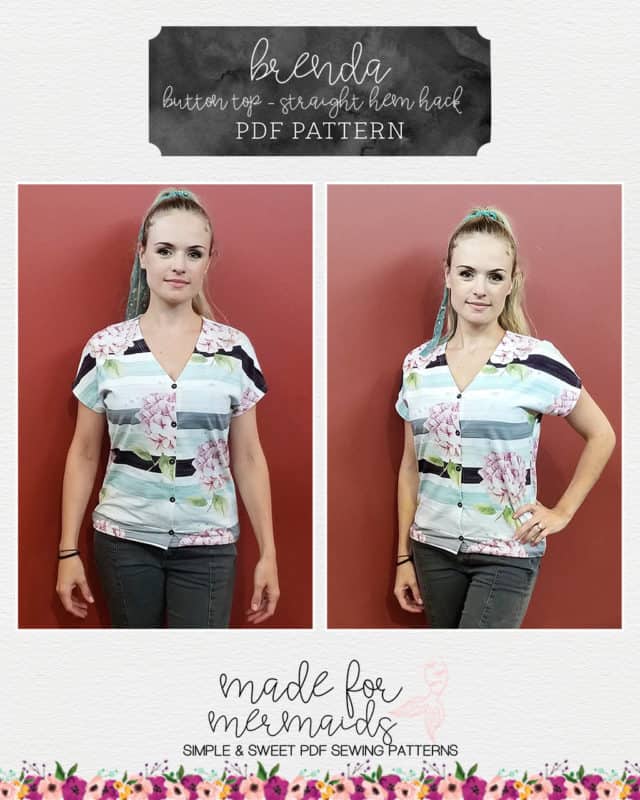
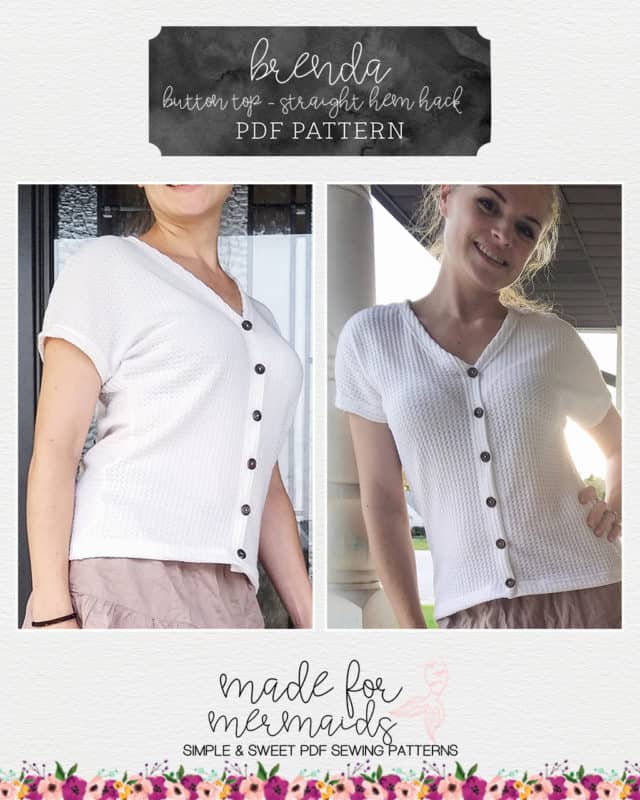
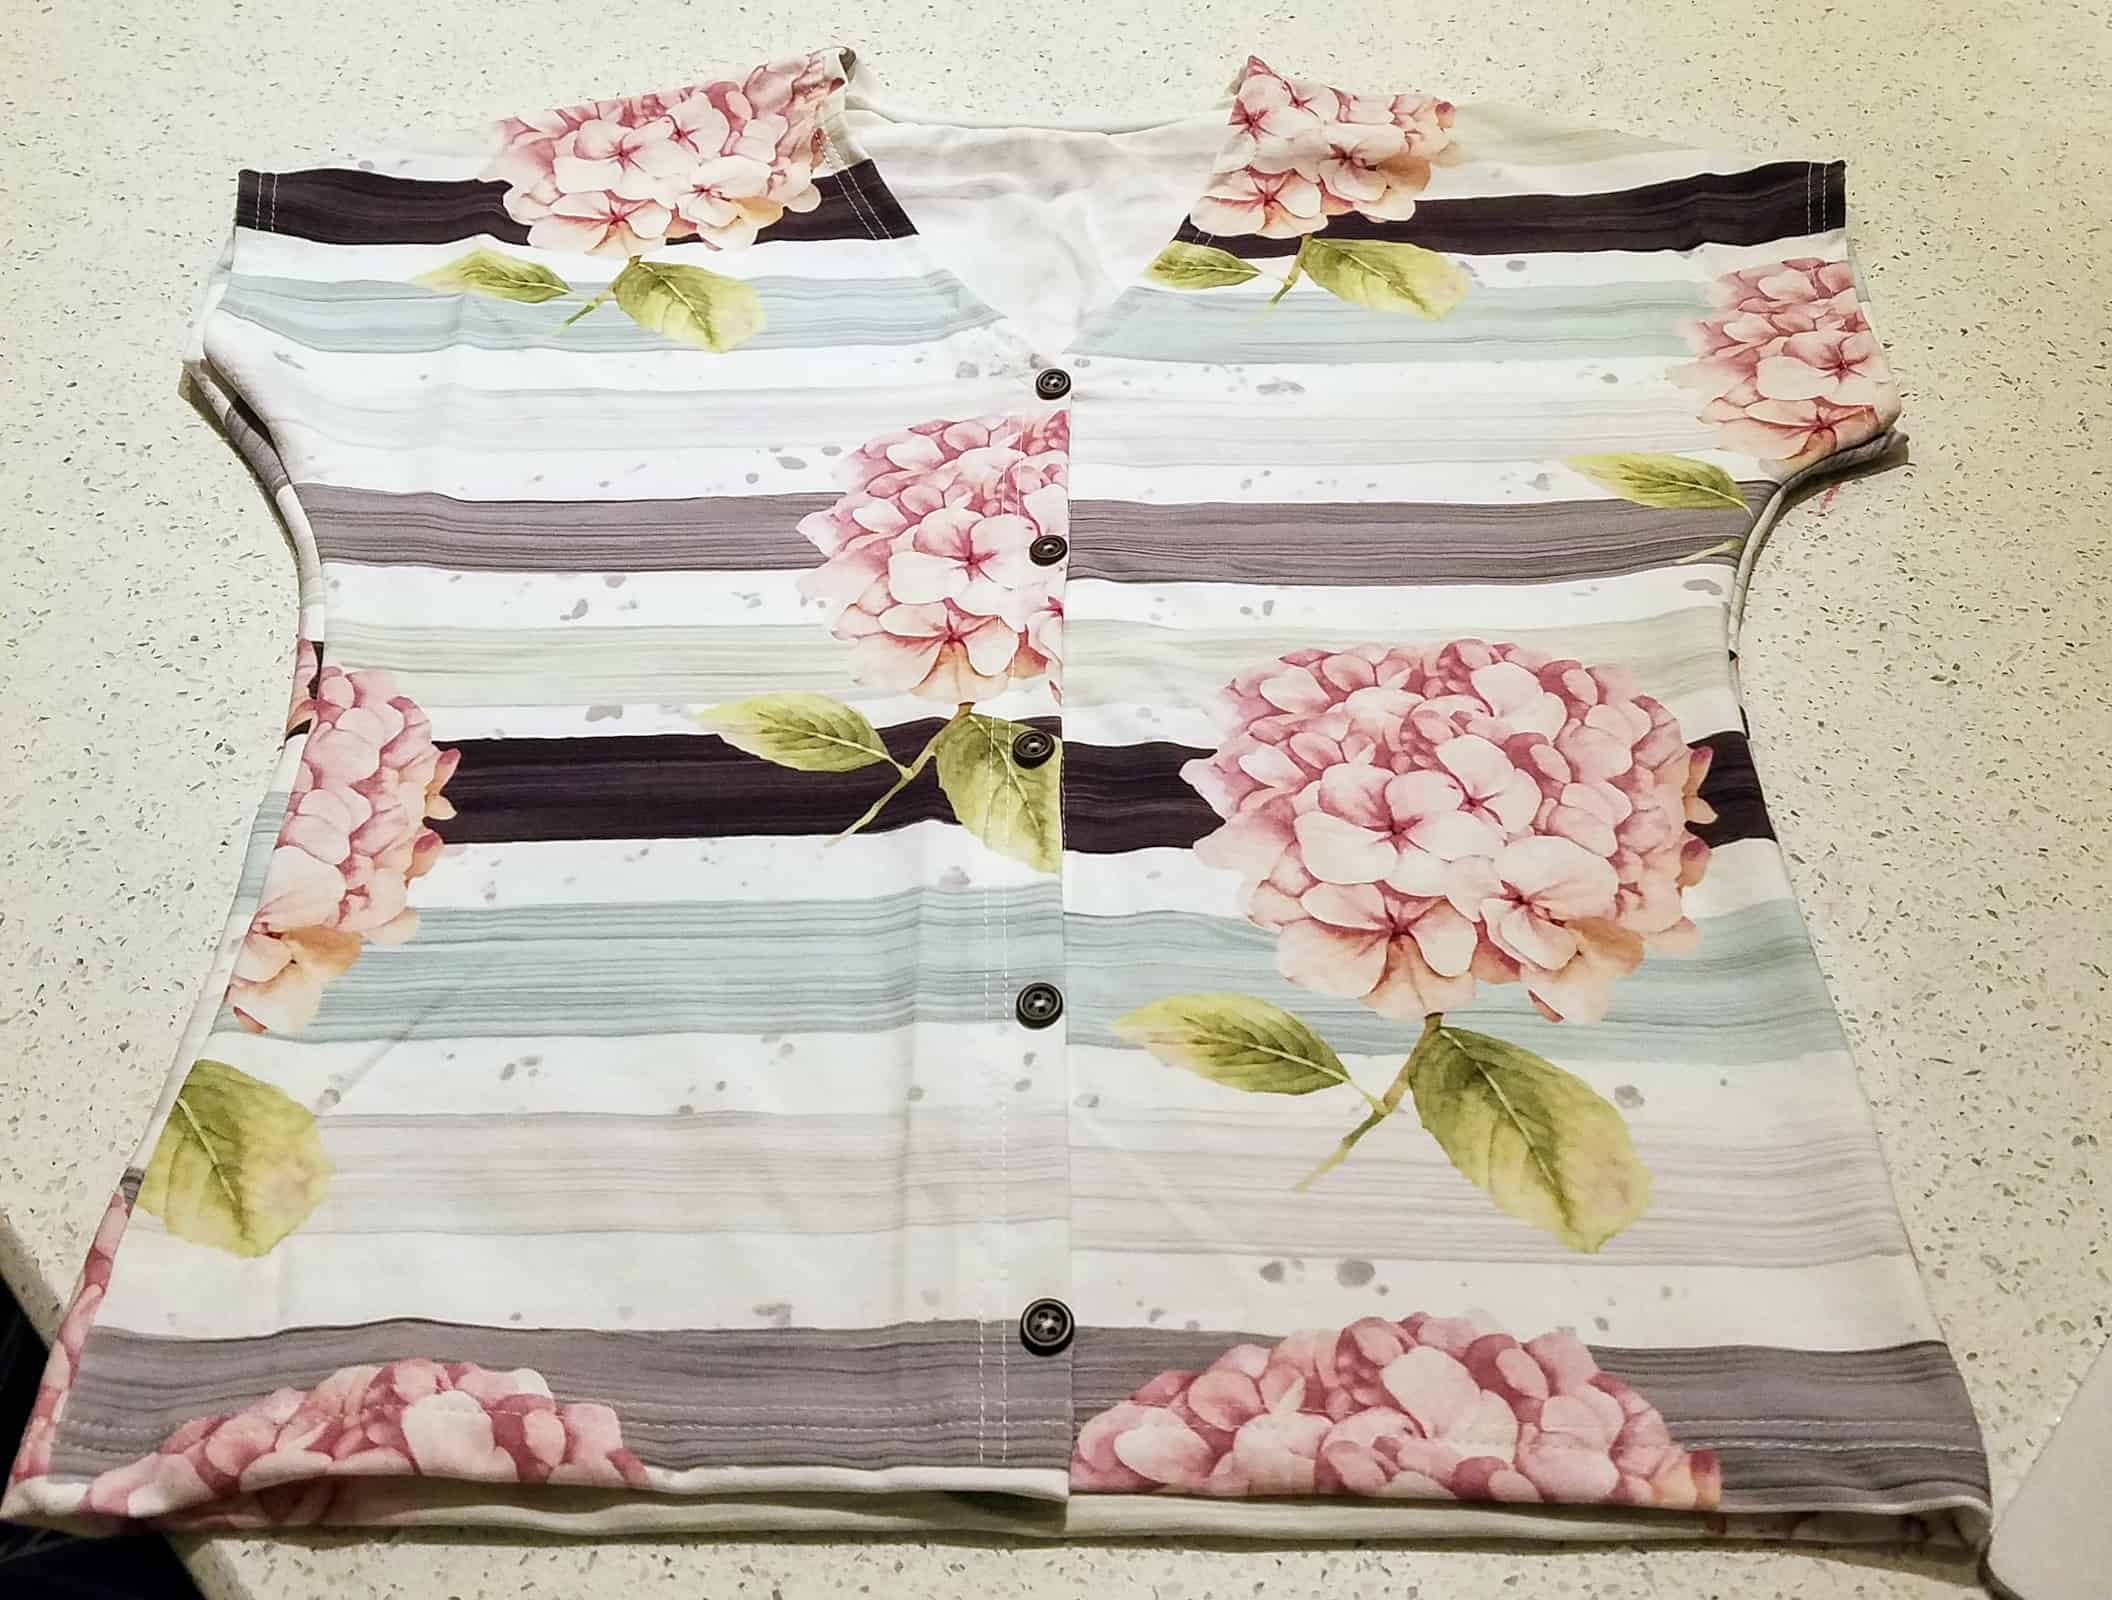
We love the look of the tie front on the button up version of Brenda, but if you don’t feel like fiddling with a tie, you can easily hack the button front top option to have a straight front hem without the tie!!
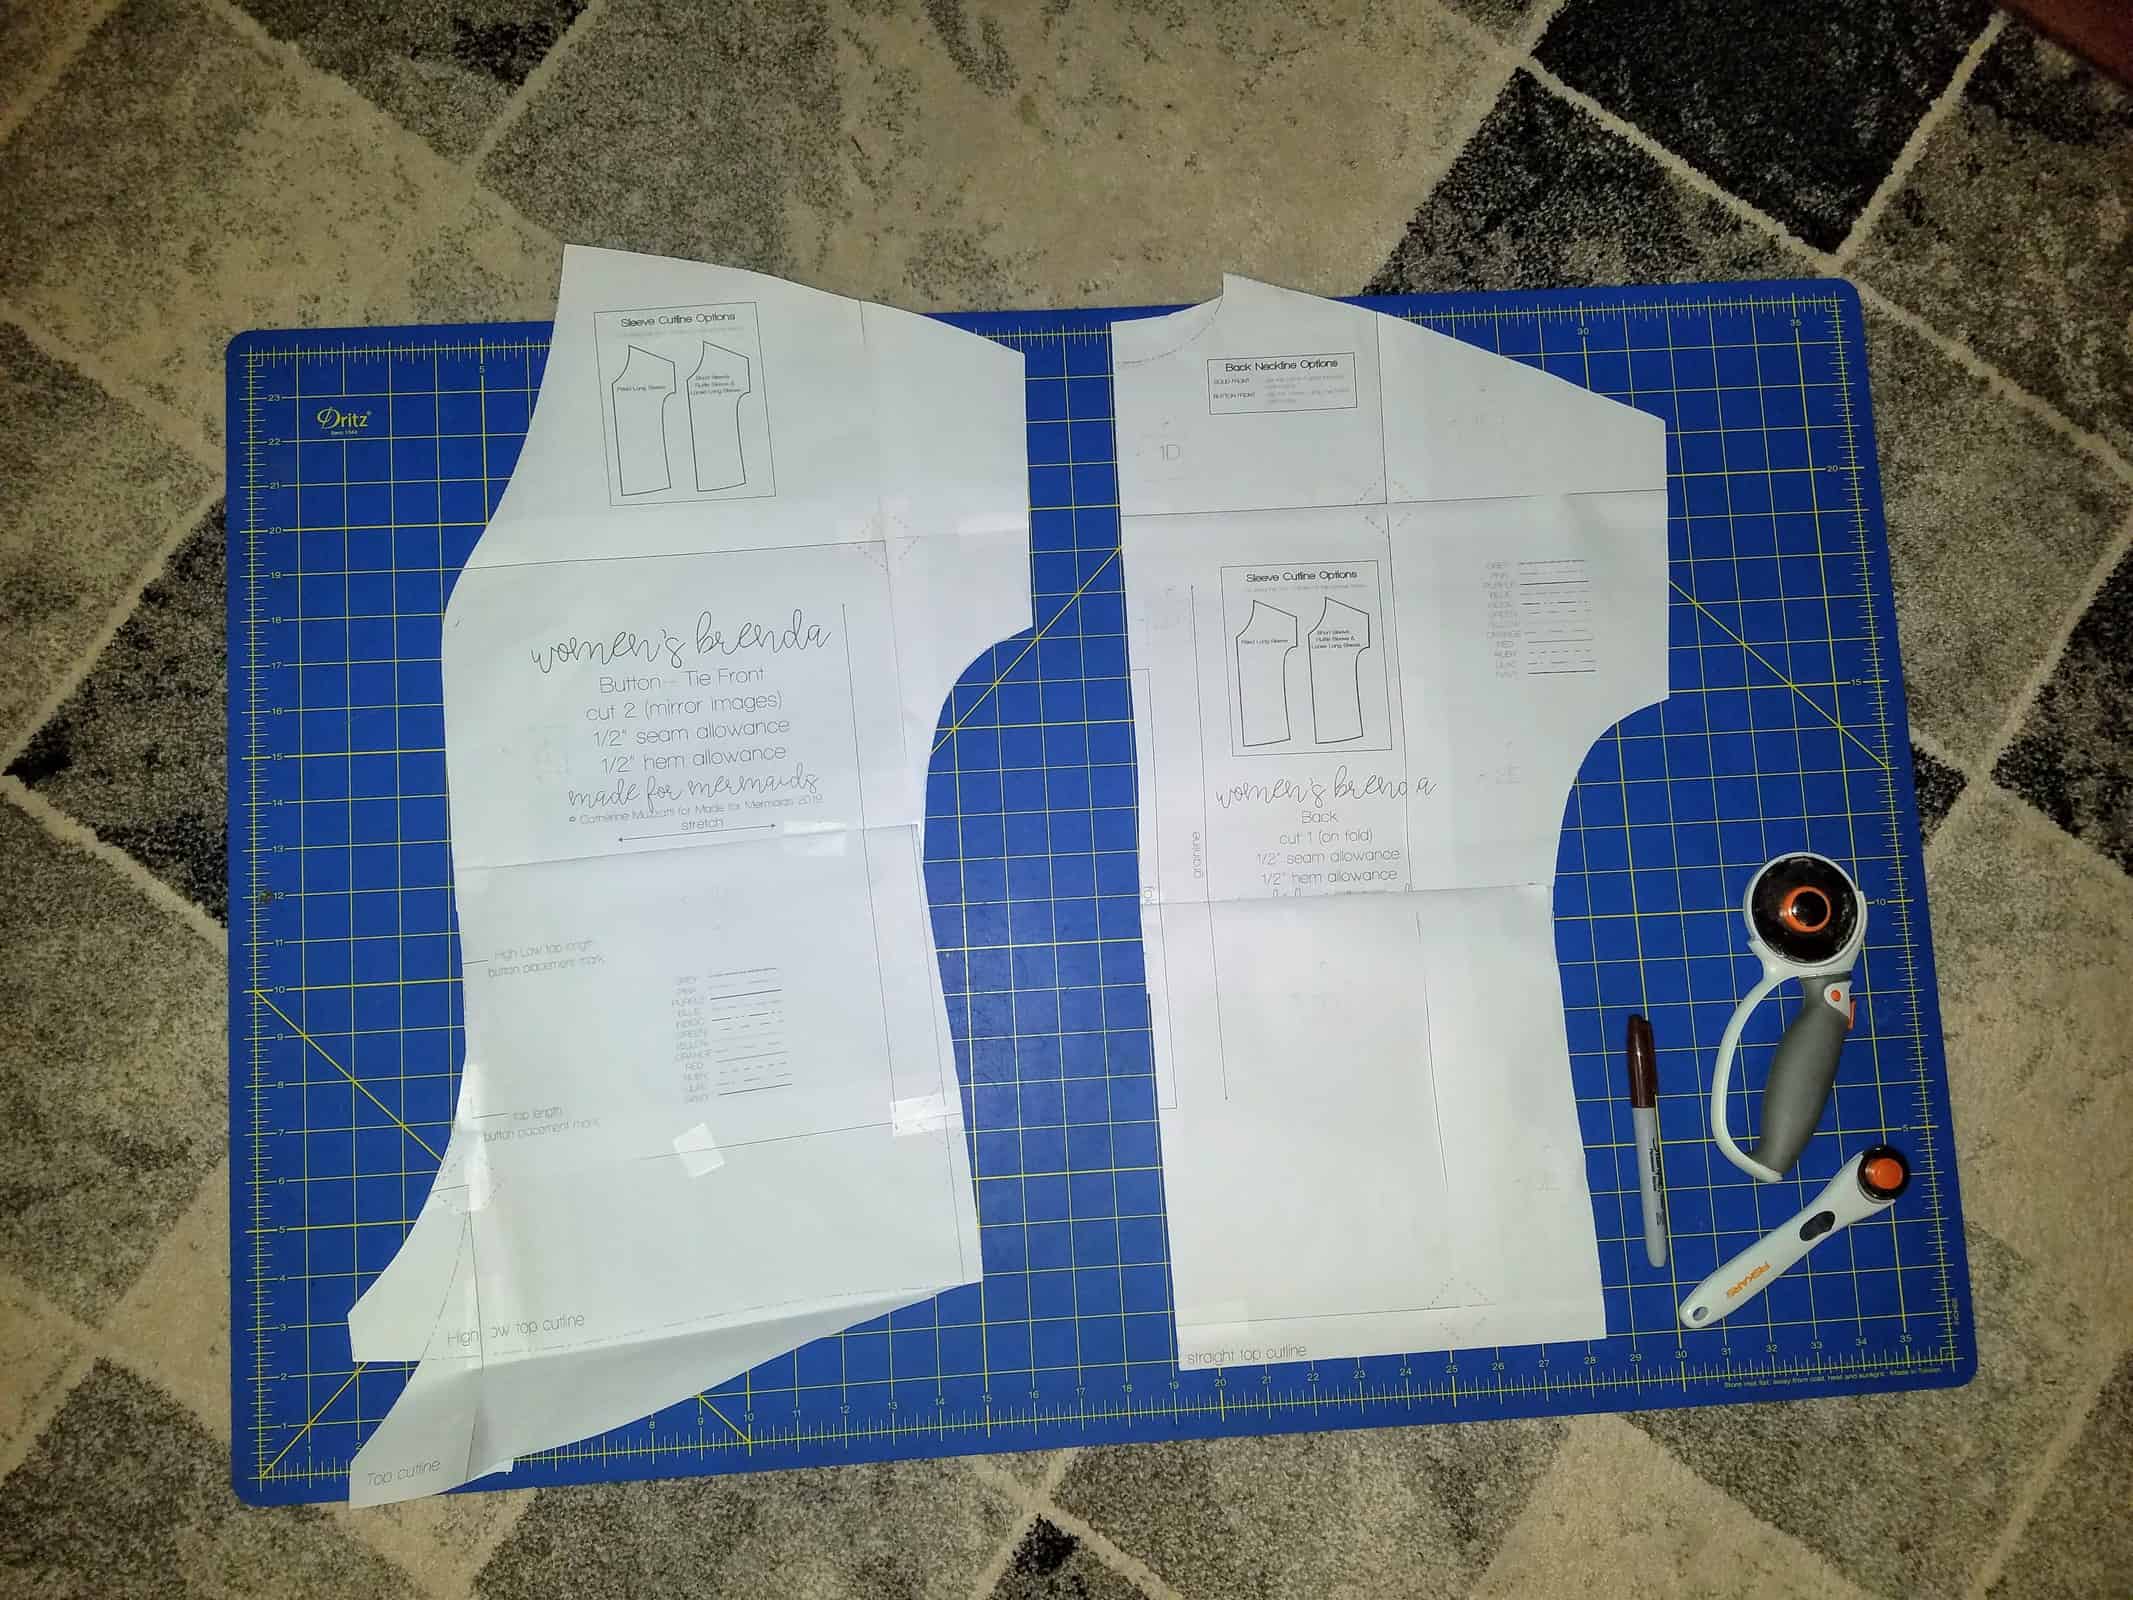
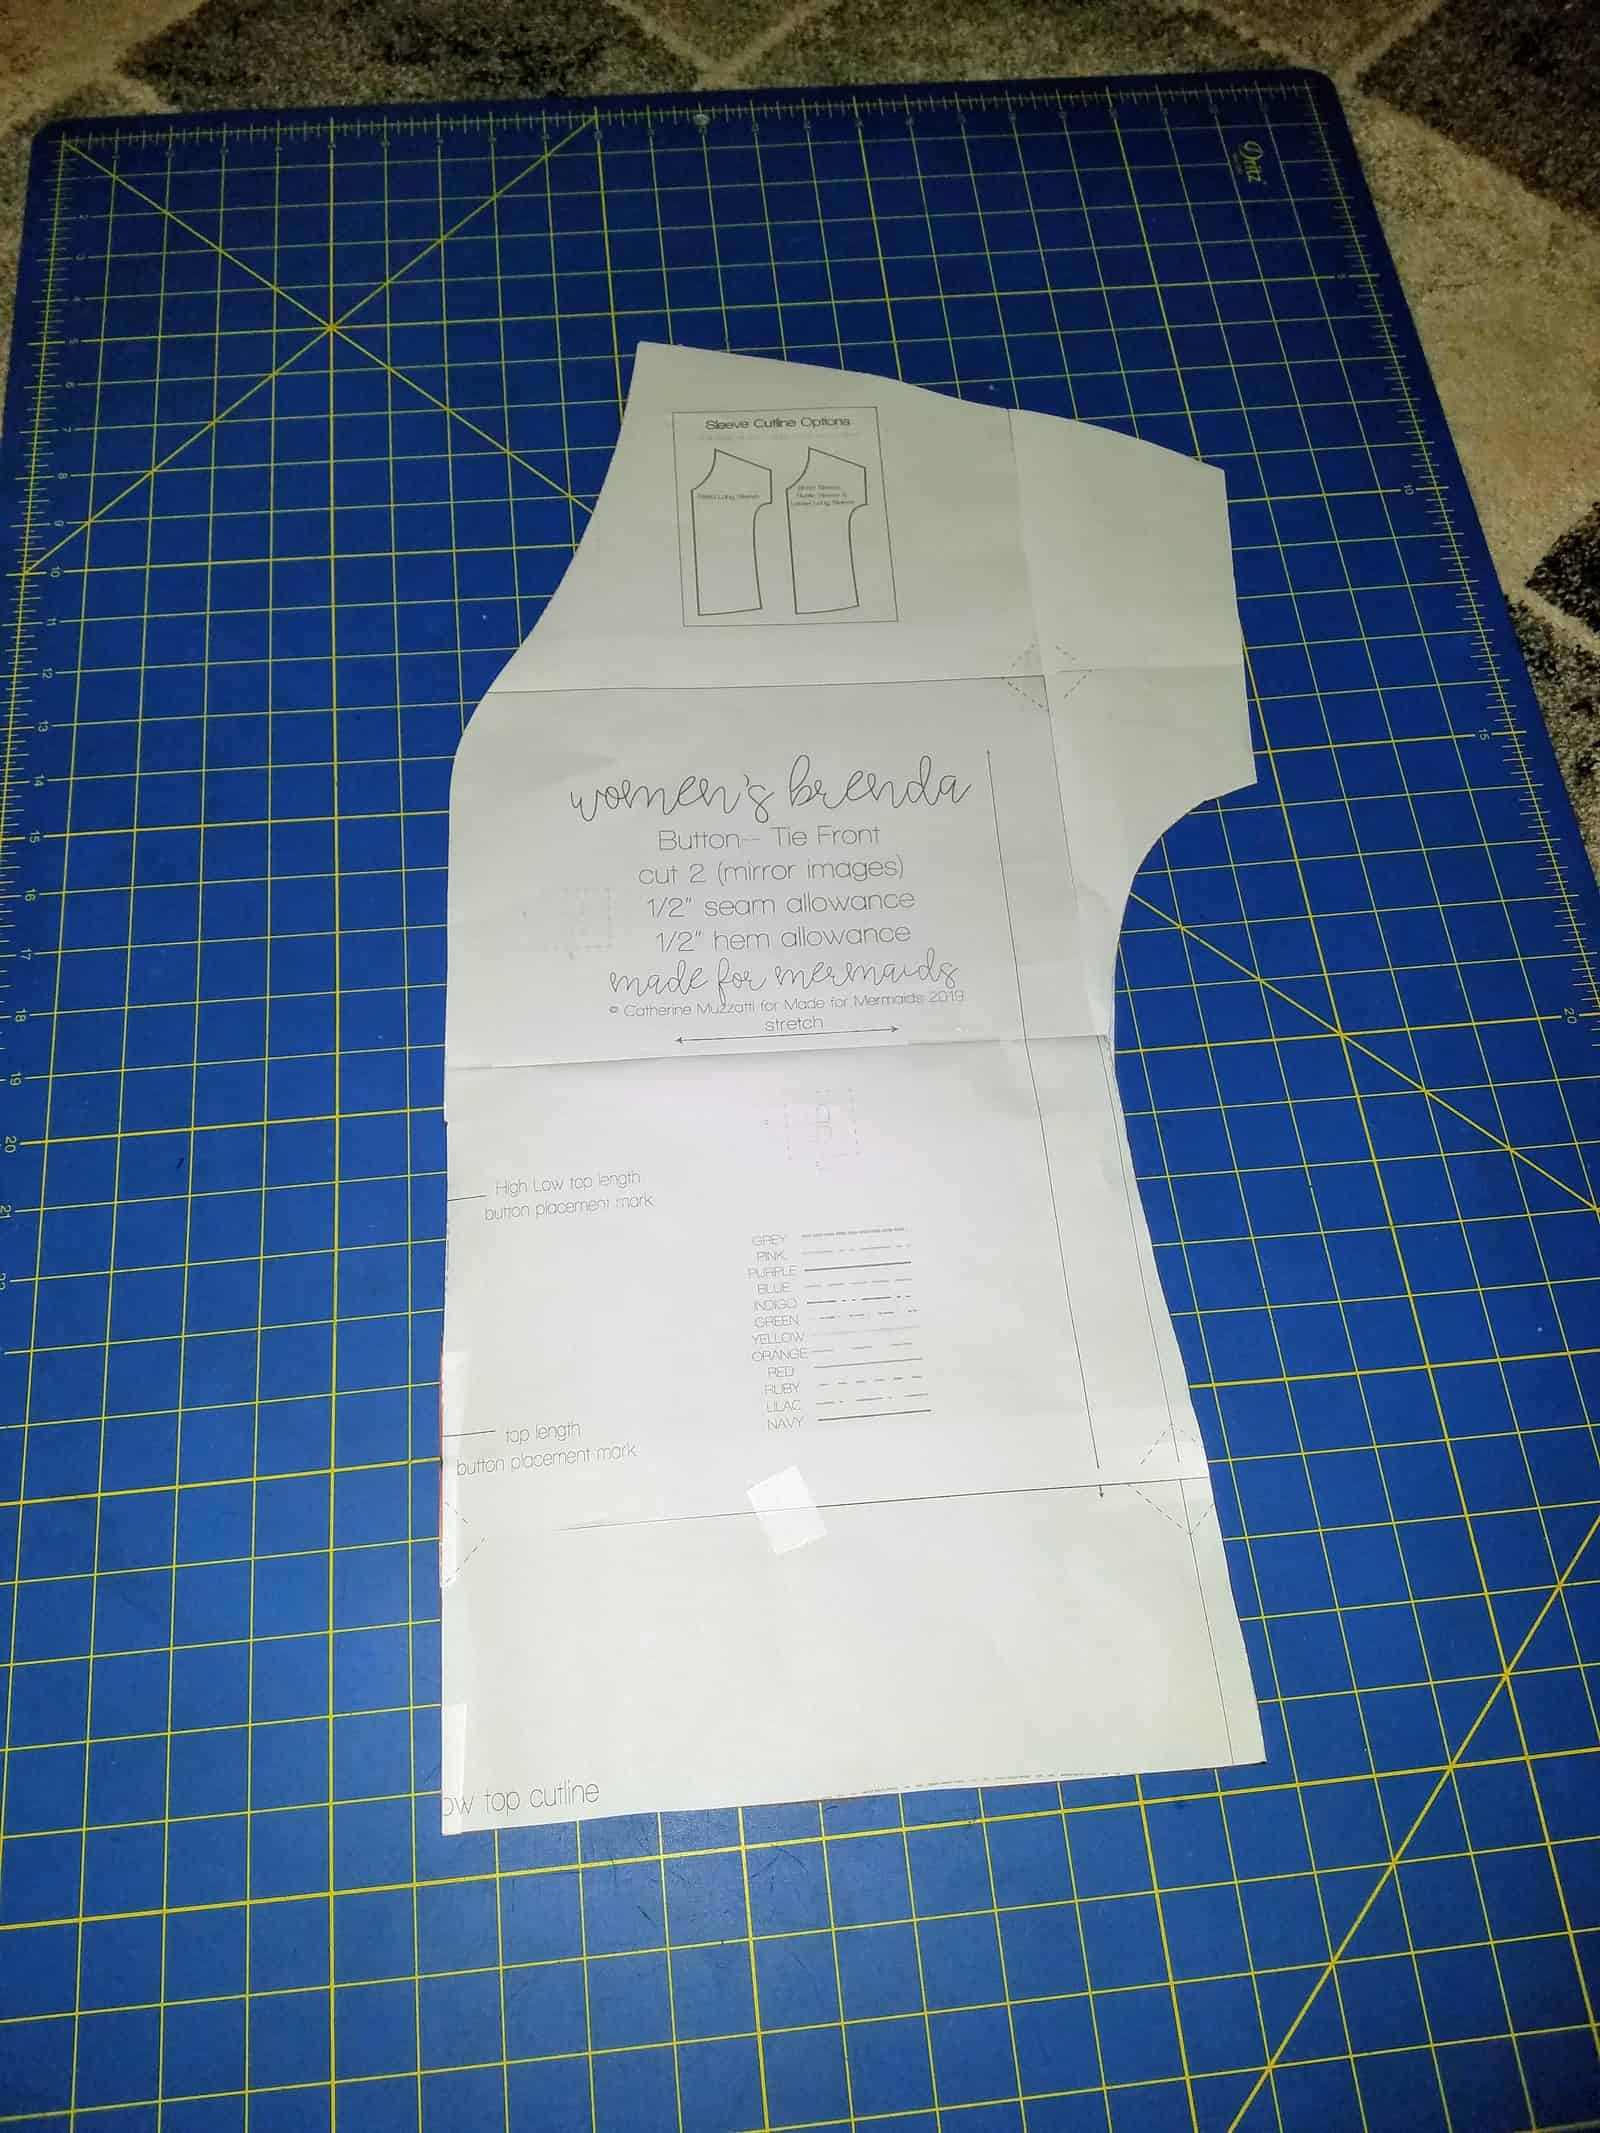
Using a ruler or straight edge, start by using the center front of the bodice to draw a vertical line straight down the pattern piece. Then starting at the side seam of the bodice, draw a straight line horizontally from the bottom edge of the top, until it intersects with the vertical line you just drew.
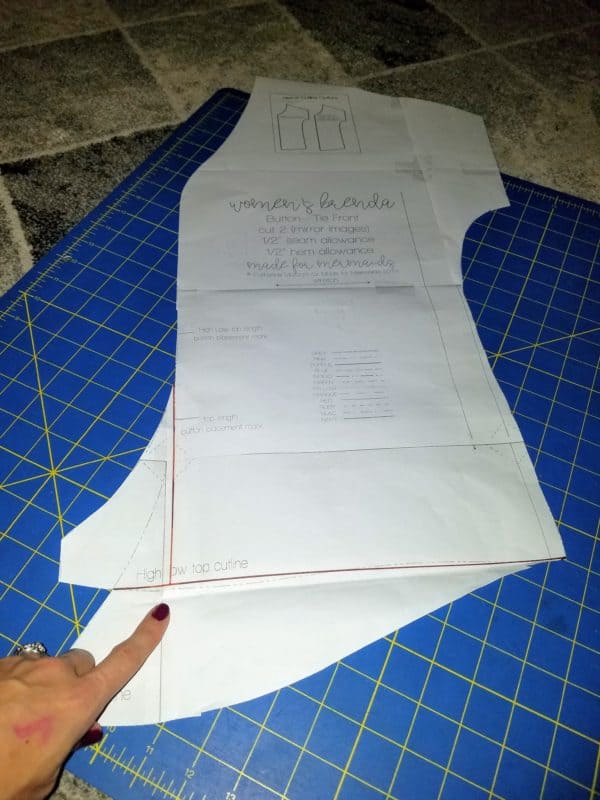
Cut your pattern piece along these two straight lines.
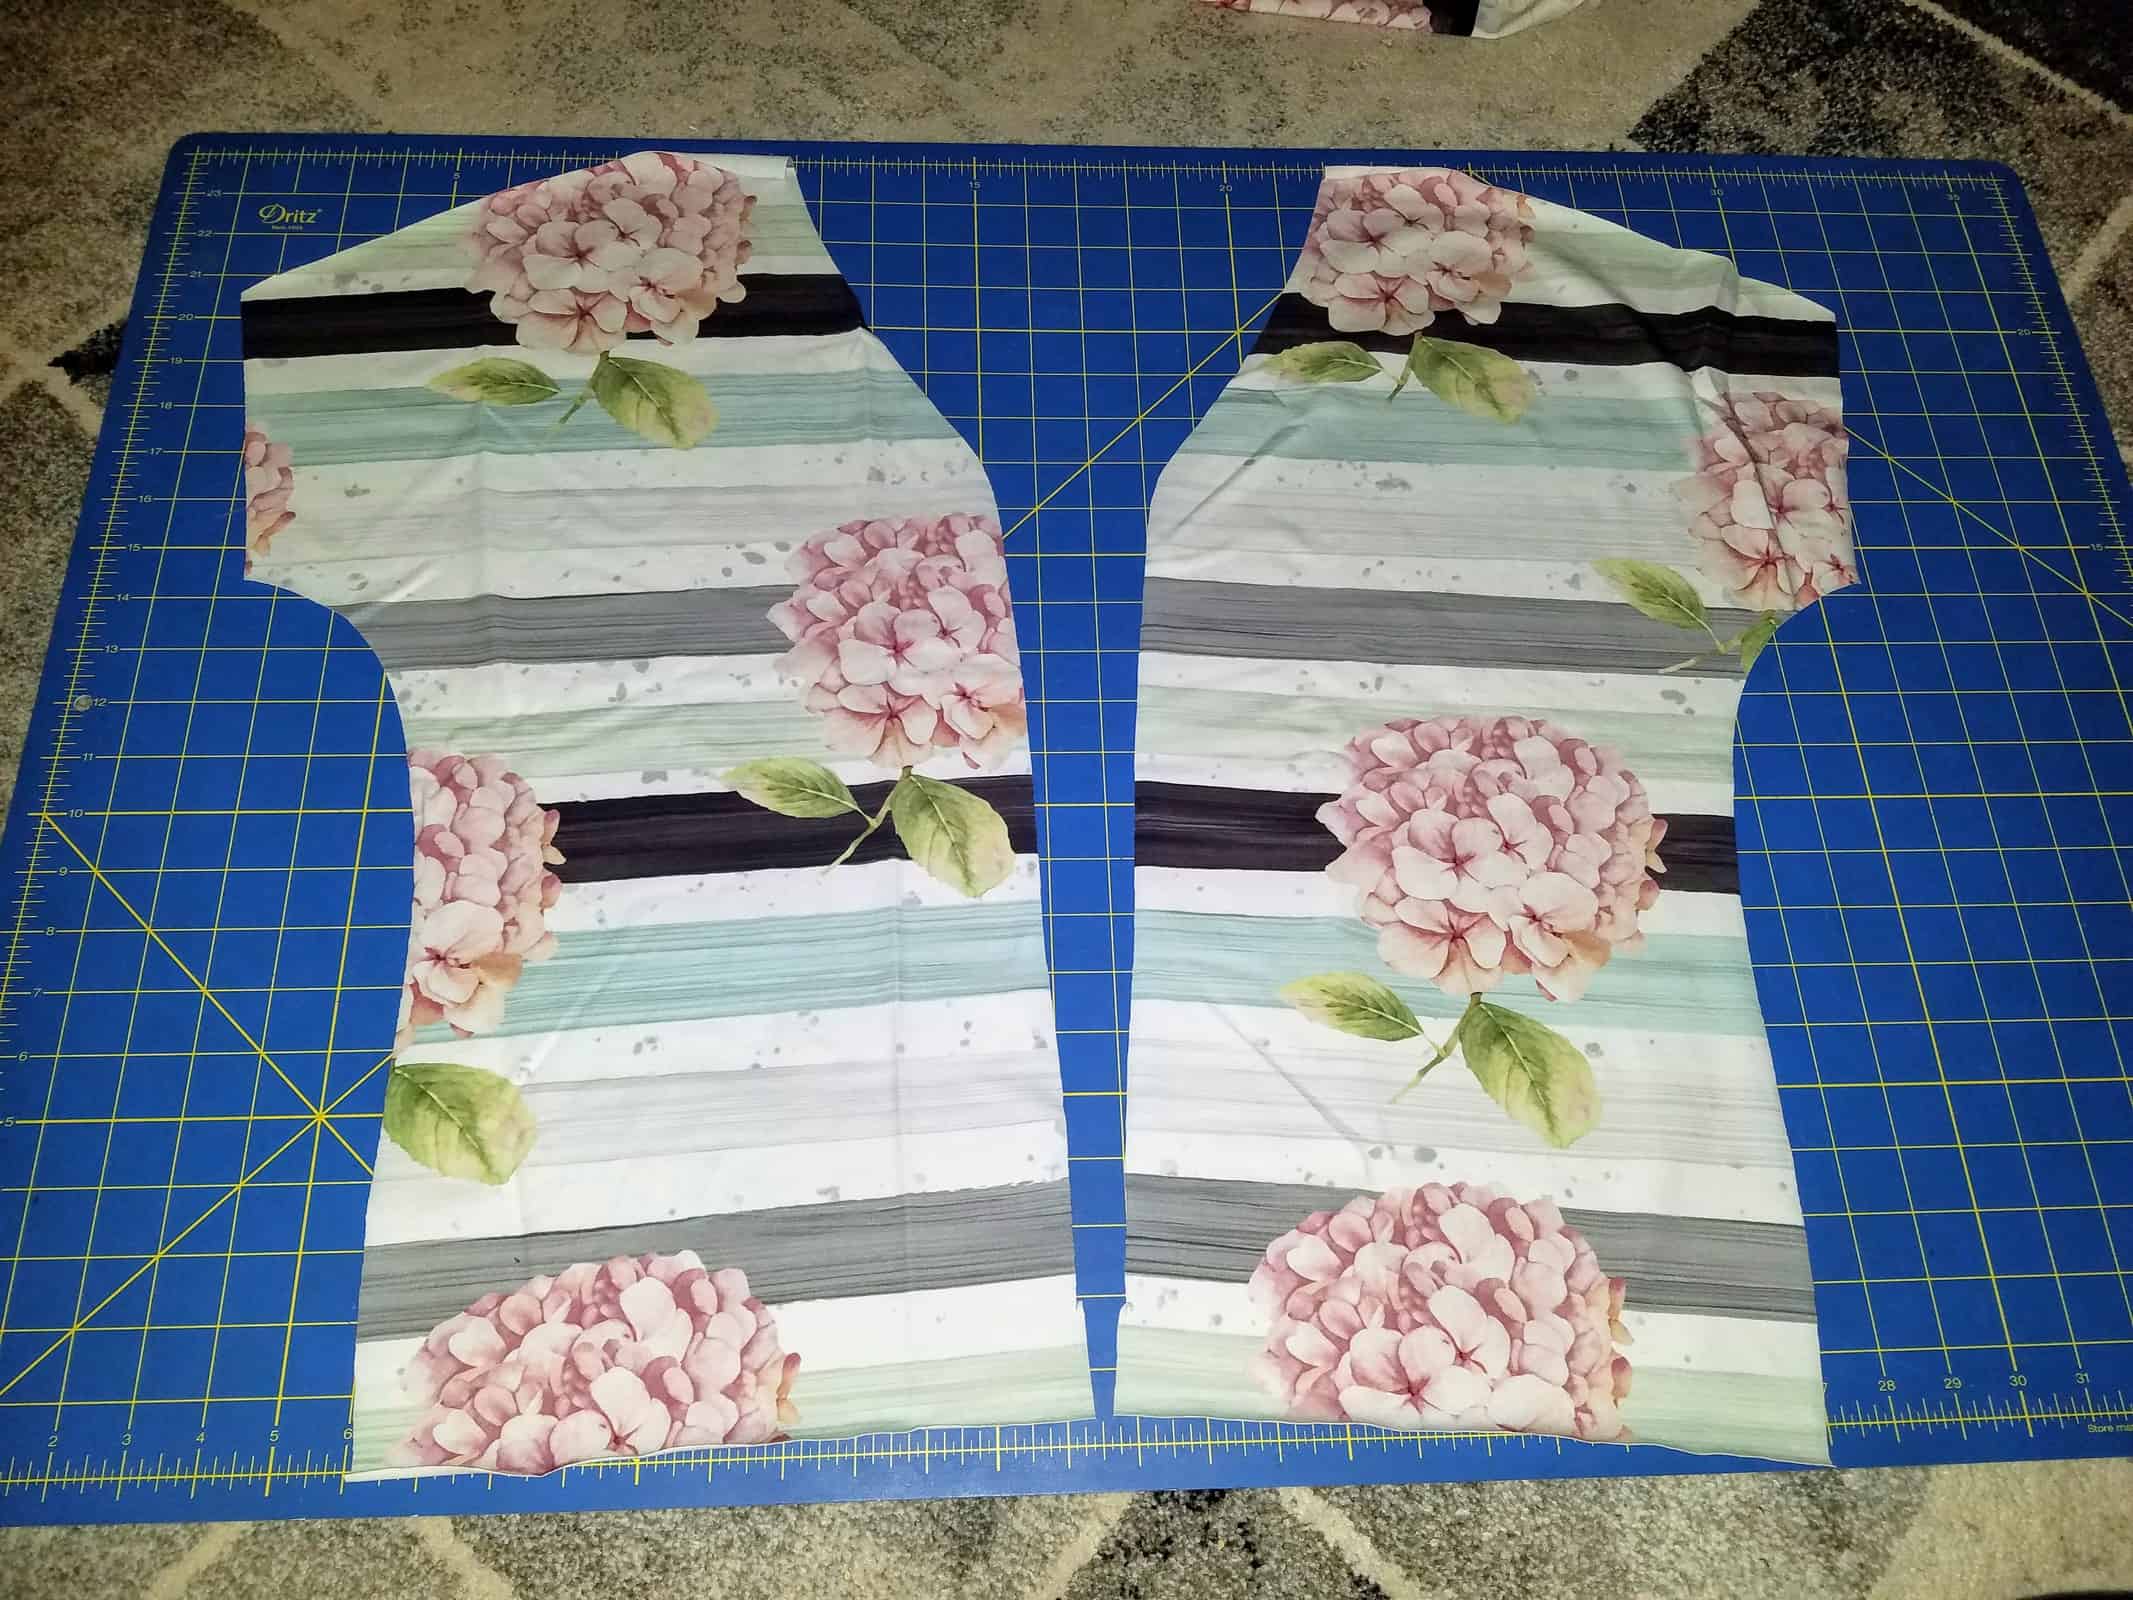
Now you can cut out your fabric and construct your top as instructed in the tutorial!!

Be sure to scoop up Baby Brenda, Brenda, and Women’s Brenda while they’re on sale! Which pattern or hack option is first on your list to try?!? Be sure to let us know in our Facebook group! We can’t wait to see what you sew up 🙂
















Leave a Reply