
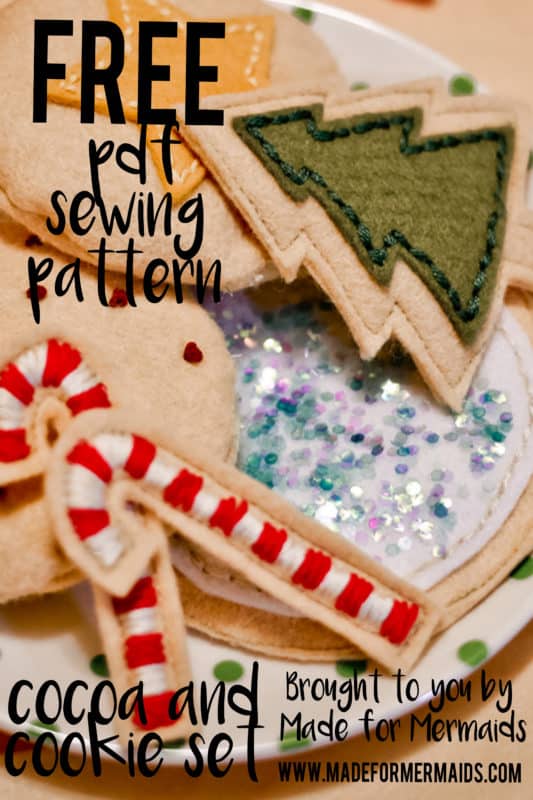
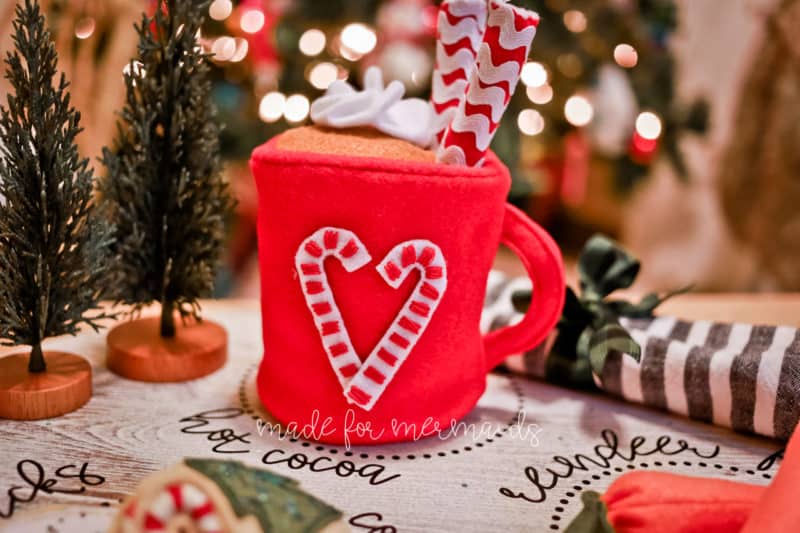
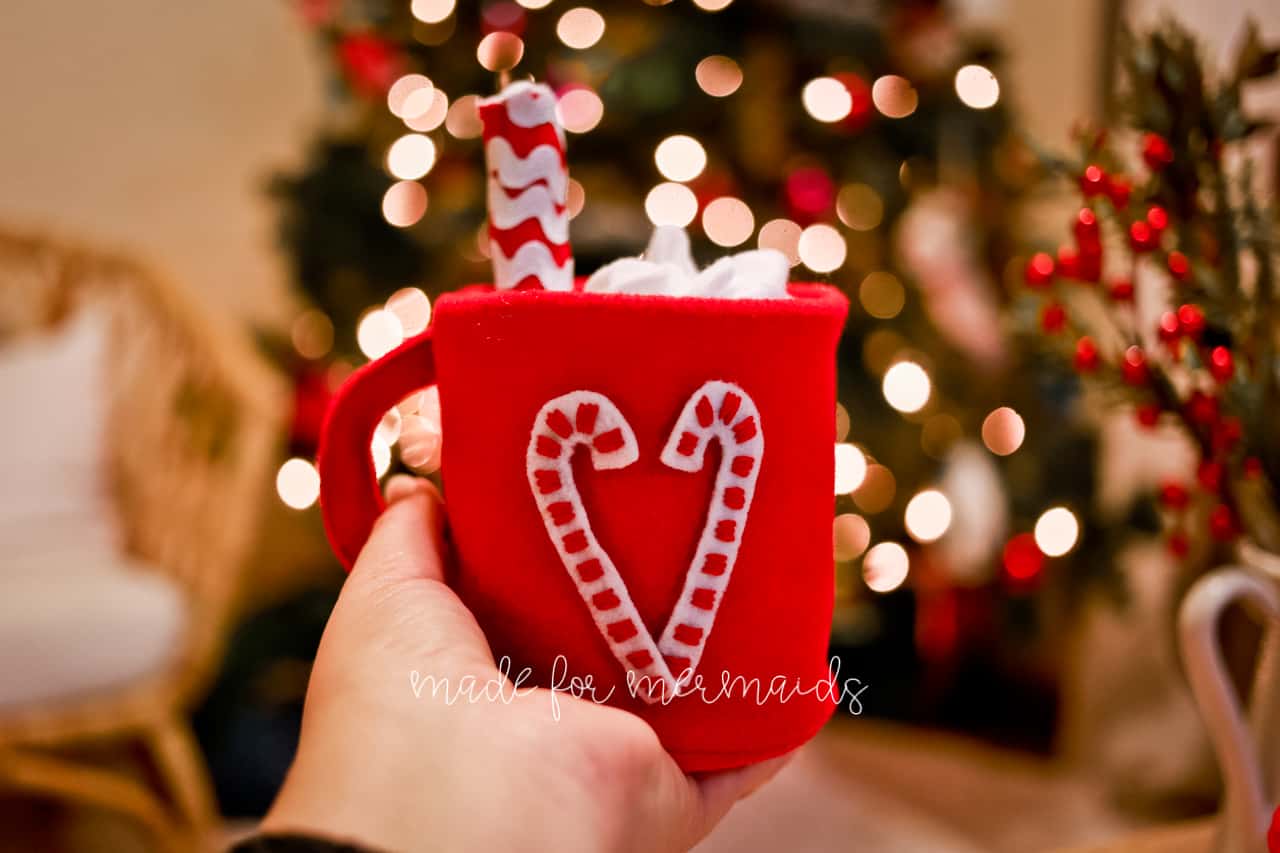
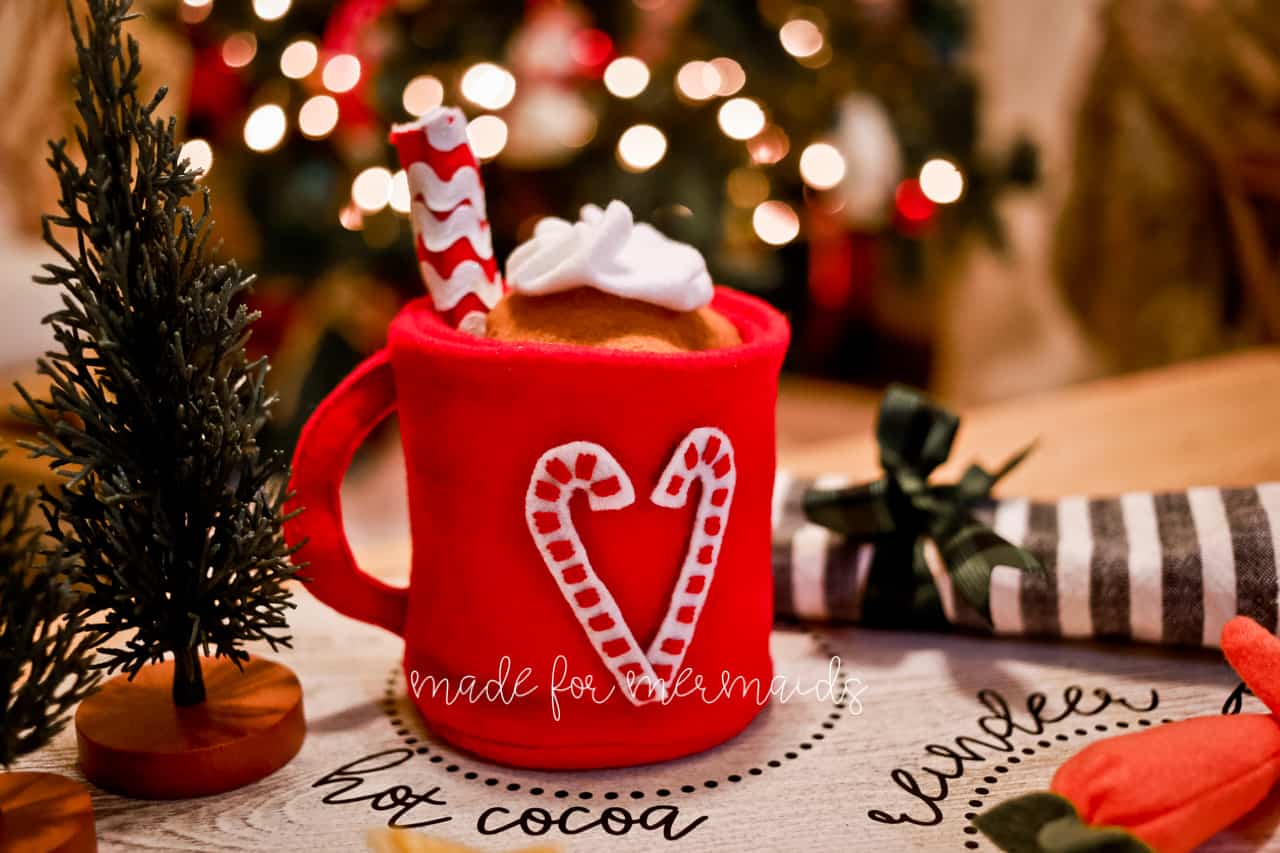
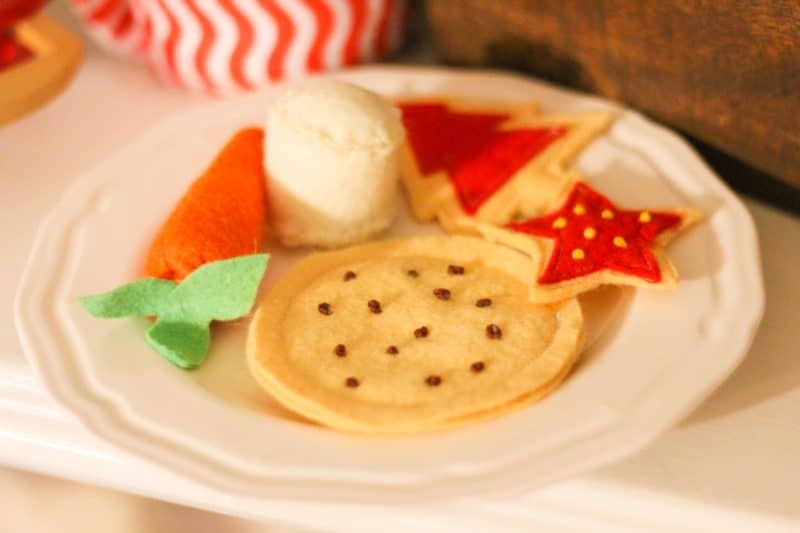
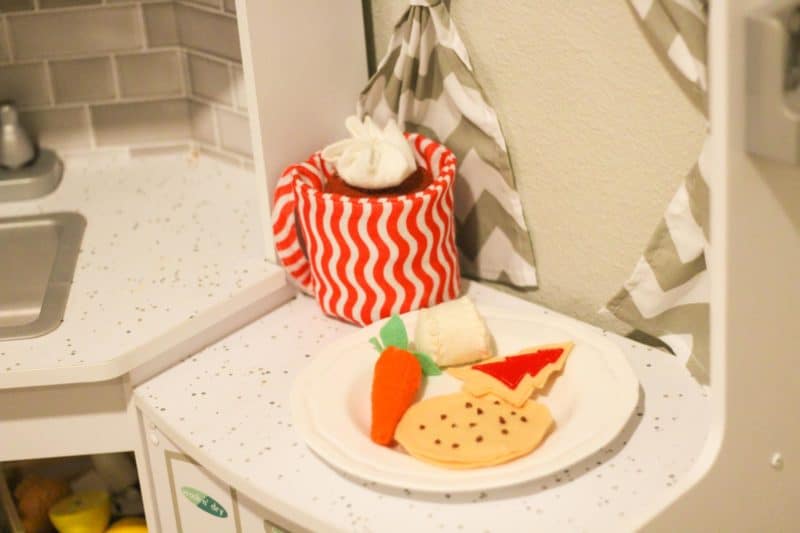
On the sixth day of Christmas, Made for Mermaids gave to me… pretend hot cocoa and adorable felt cookies!
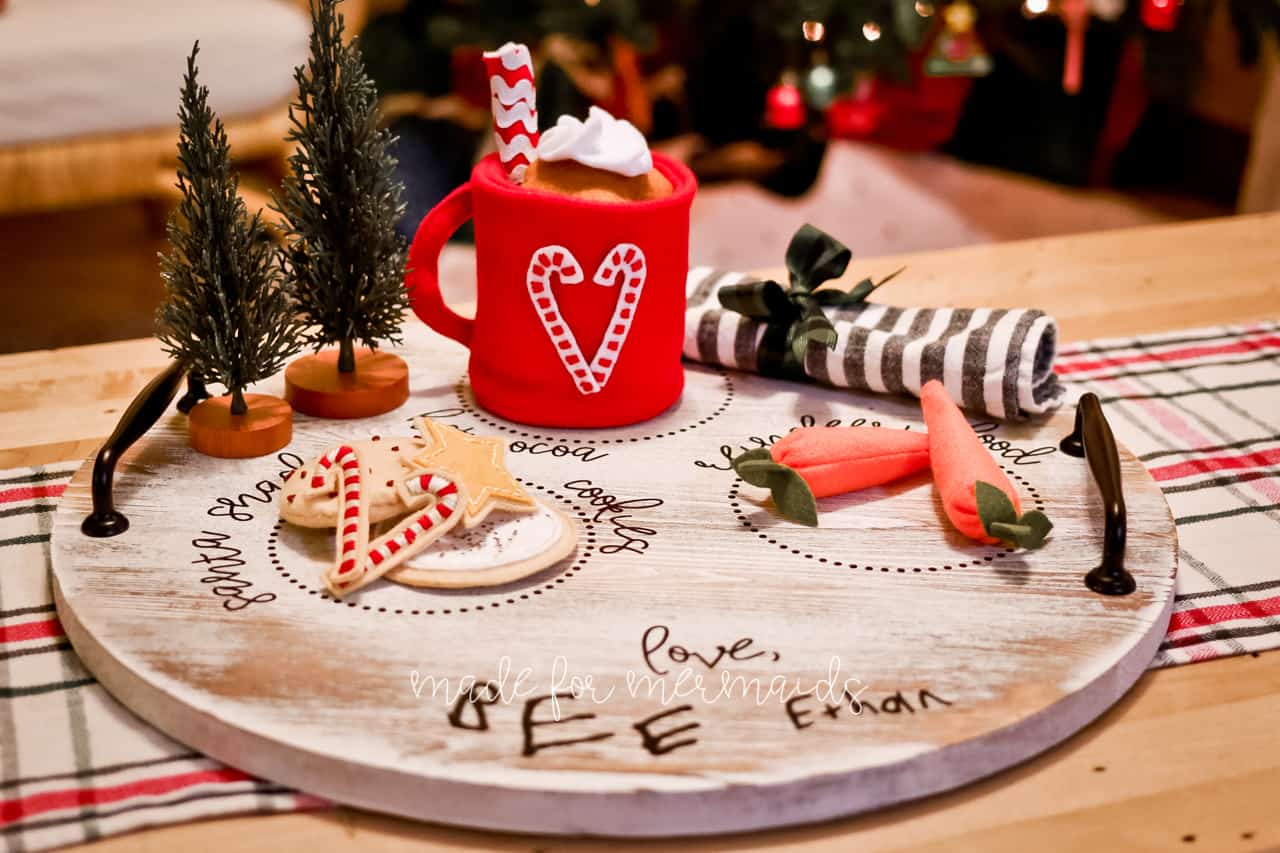
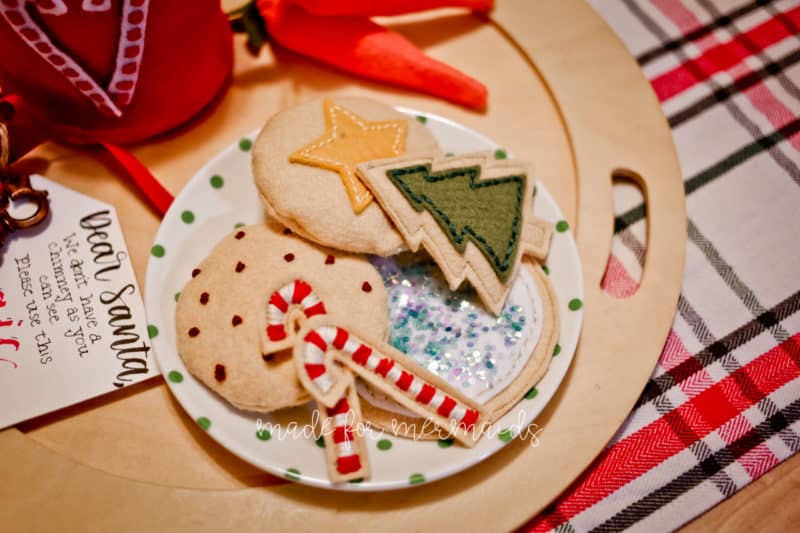
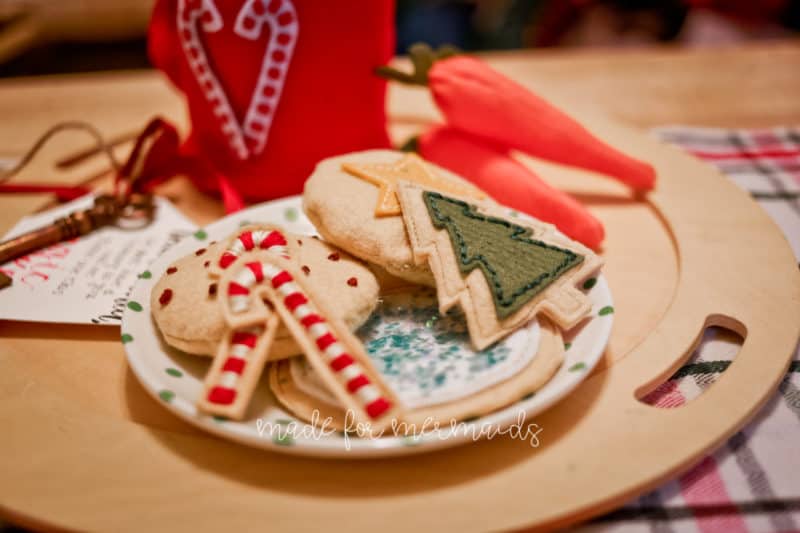
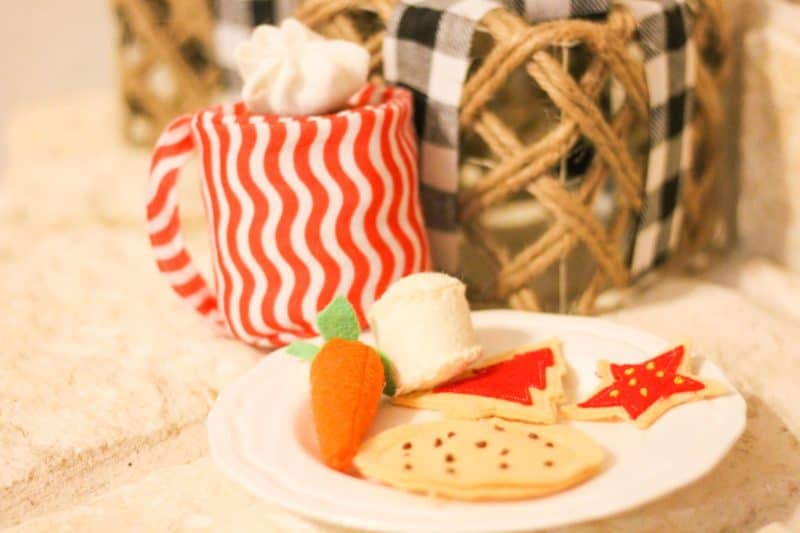
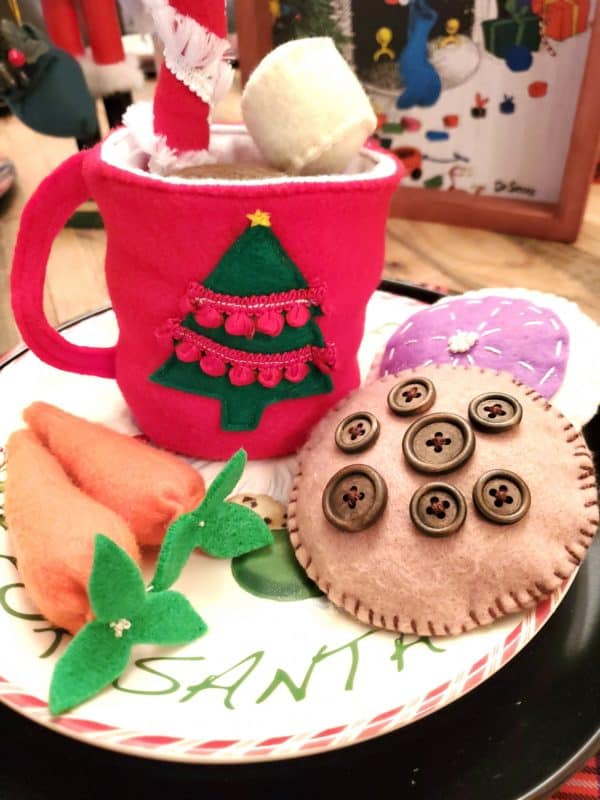
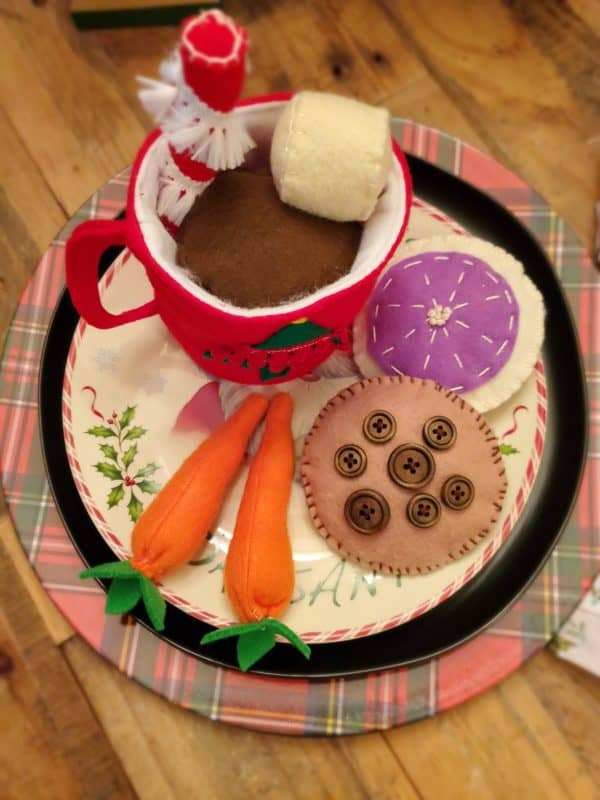
I think I decided on a hot cocoa set before 2019’s freebies had even wrapped up! It snowballed a little bit, turning into a Cocoa and Cookies set, complete with several varieties of cookies, carrots (for the reindeer, of course), peppermint sticks and marshmallows to top your cocoa, and even a sweet and simple cut file! Of course, this felt set is still totally usable even if Santa isn’t a part of your Christmas traditions. 🙂 I hope the little ones in your life love this set as much as my two do!
You can make this set using a combination of machine and hand stitching, or you can do it all by hand if you prefer. This is also a great pattern for kids or beginners that are interested in learning to sew!
SAFETY WARNING:
Safety is of critical importance when selecting supplies. If making this set for small children, especially those under 3, refrain from using small beads, sequins, or any other decorative material that may become loose and pose a choking hazard. Be sure to secure all threads. Made for Mermaids is not responsible for any accidents or personal injuries that may occur.
SUPPLIES:
- 1 or 2 mm felt – I would recommend 1 mm for smaller pieces, especially those that need to be turned (carrots, peppermint sticks, marshmallows, circle cookies)
- Embroidery floss and/or thread
- Polyfil – used for mug, carrots, peppermint stick, hot cocoa, marshmallows, and optionally for cookies
- Basic sewing supplies
- Optional -seed beads, sequins, ribbon, etc. for cookie/peppermint stick/mug embellishments
- Optional – adhesive vinyl, die-cut machine, plain tray or plate to make Santa cookie tray
LET’S GET STARTED!
Seam allowances vary!
Step 1: PREPPING
Go grab the pattern here! The pattern is 100% free, but you do need to add it to your cart and checkout. Then, it will always be available to download from your account. The pattern is a no trim pattern; if you need help putting the pattern together, pop over to the faqs and troubleshooting page or ask in our Facebook group .
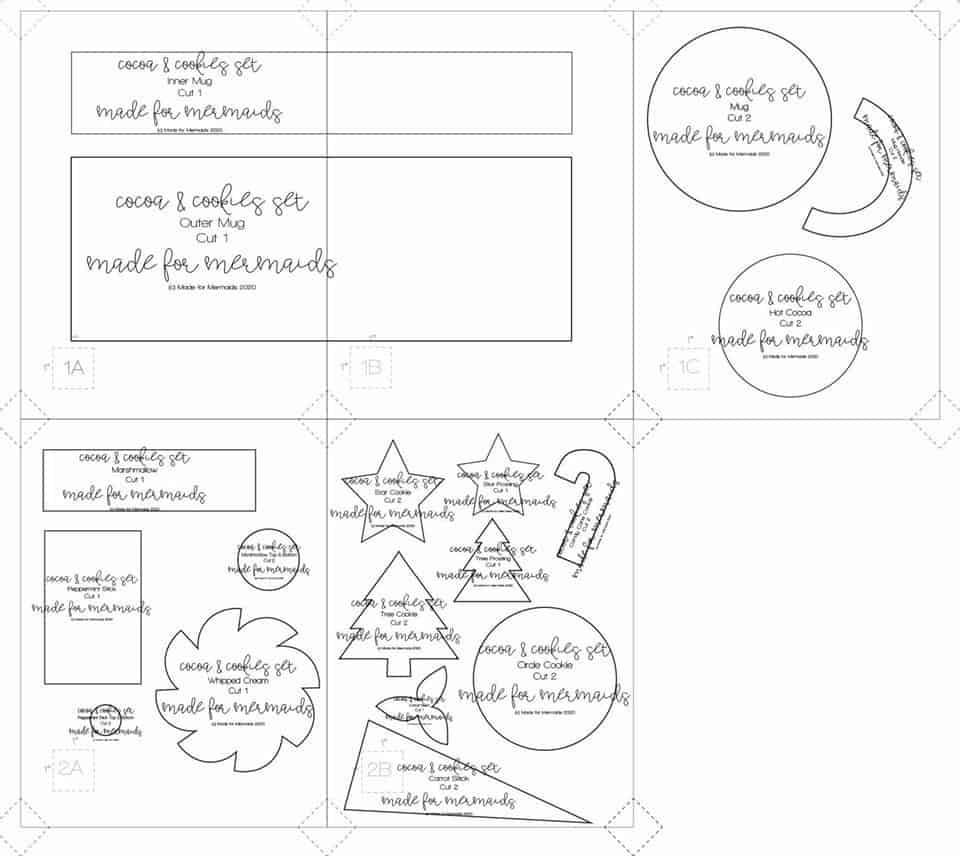
Print and assemble the pattern. There are 3 pages to print out. Pattern layout below:
Cut out all of your paper pattern pieces and collect your materials.
Step 2: CREATE YOUR COCOA & COOKIES SET
Mugs
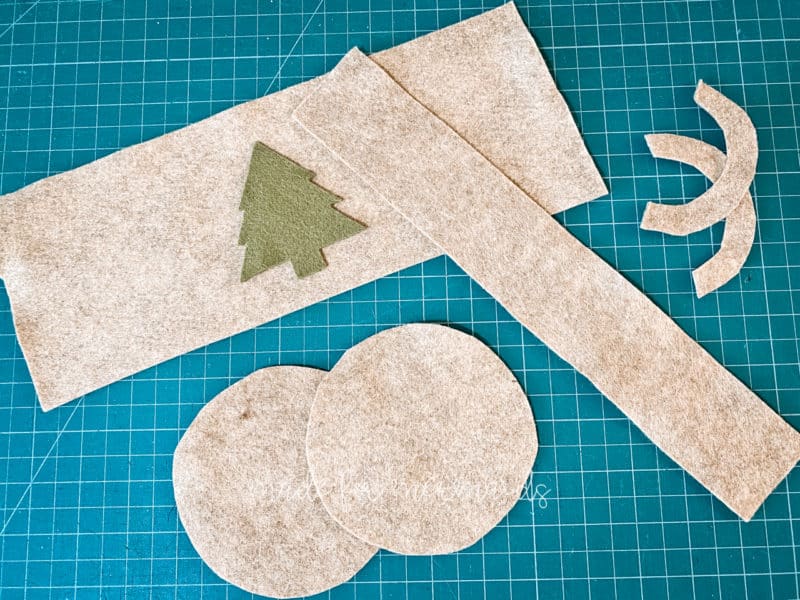
Cut 1 outer mug, 1 inner mug, 2 mug circles, and 2 handle pieces. If your felt piece is a little shy of the pattern piece width, you can reduce the seam allowance as needed.
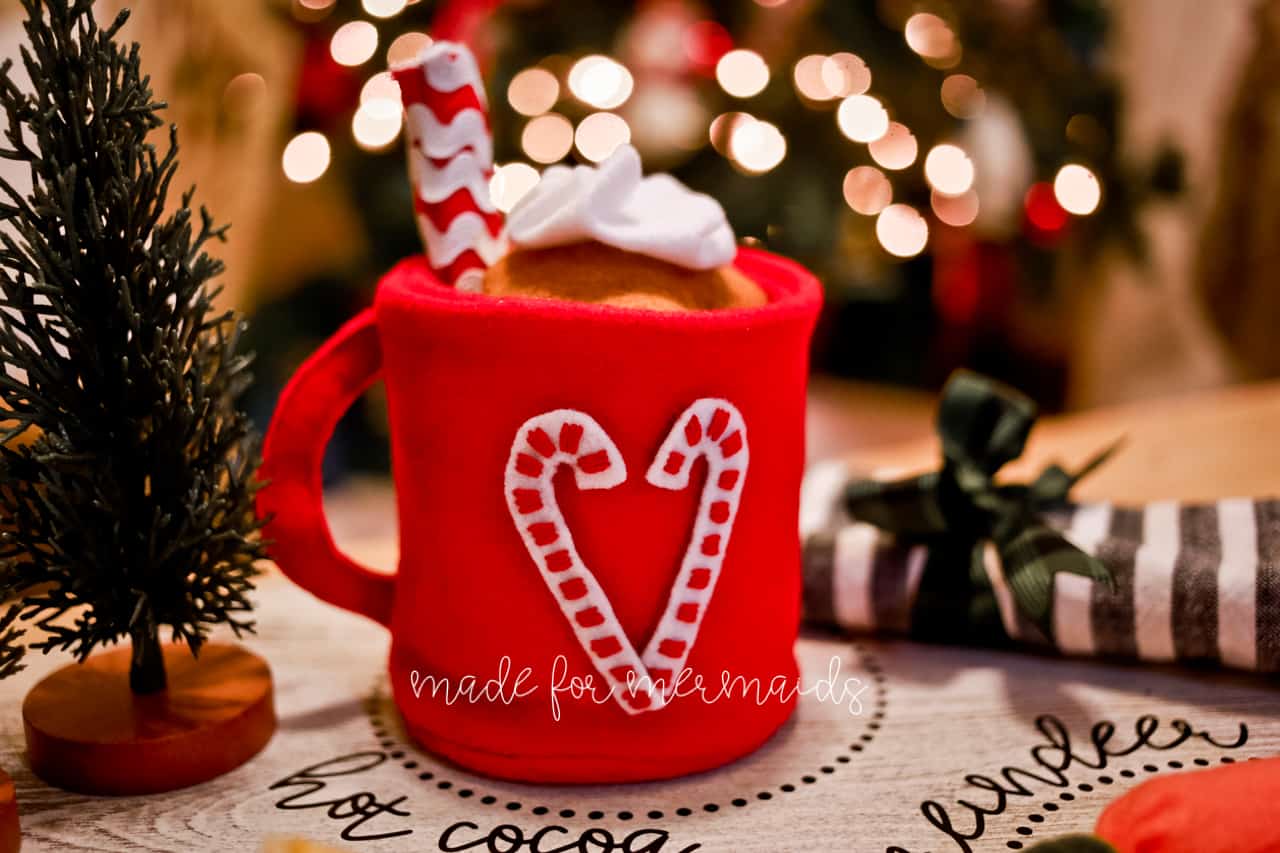
You can also prep your mug embellishment pieces, if desired. If you don’t want to create your own, the star, cookie, and candy cane cookie/frosting pieces are sized to fit the front of the mug! You can attach with fabric glue, hot glue, sewing machine, or handstitch using embroidery floss. NOTE: if you are going to glue, I suggest attaching after mug construction.
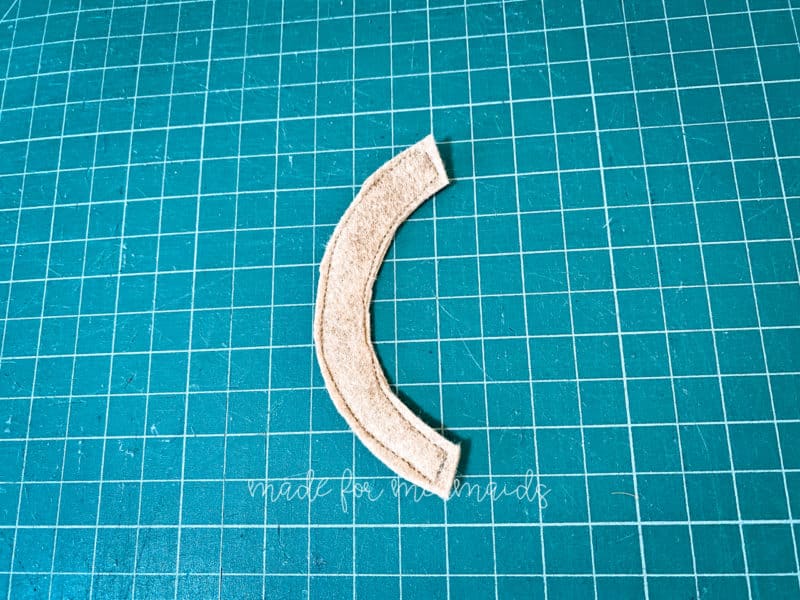
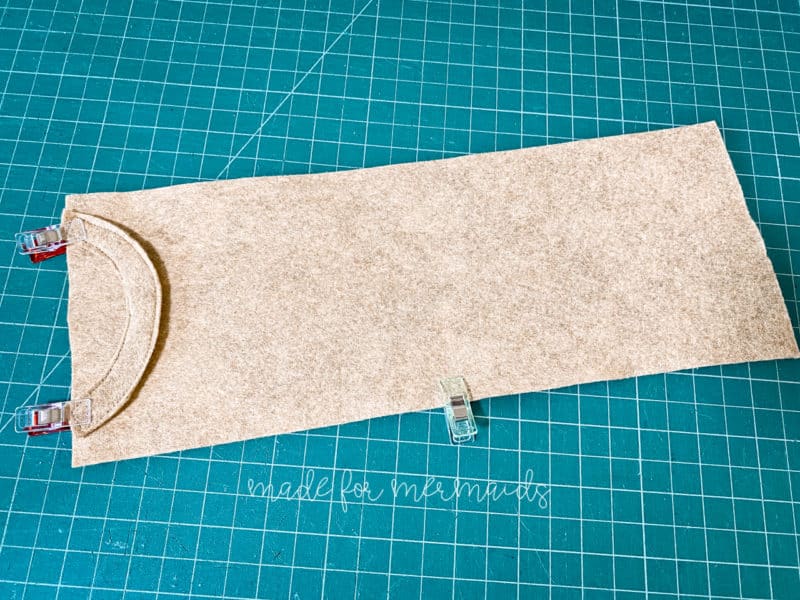
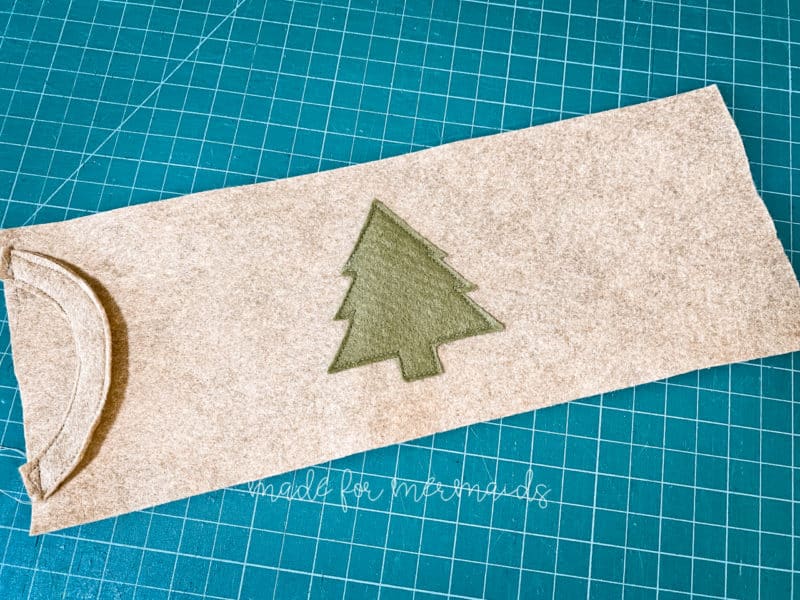
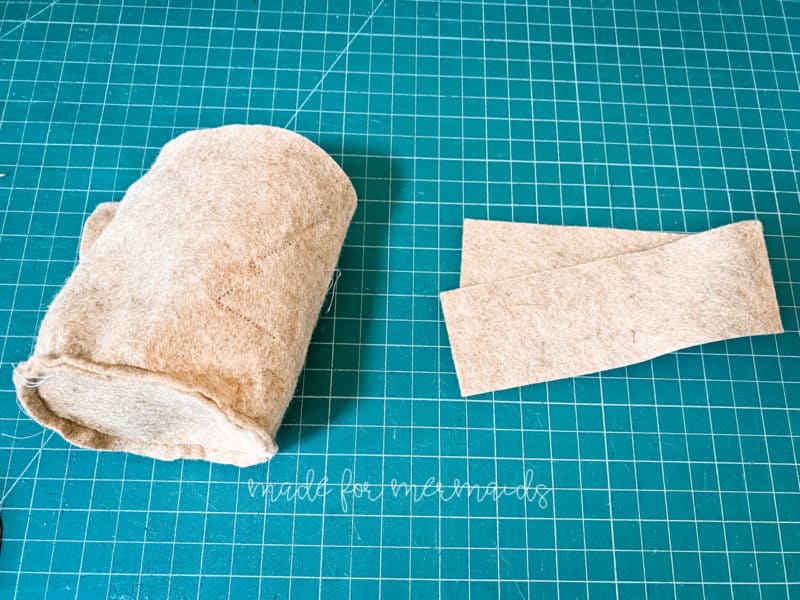
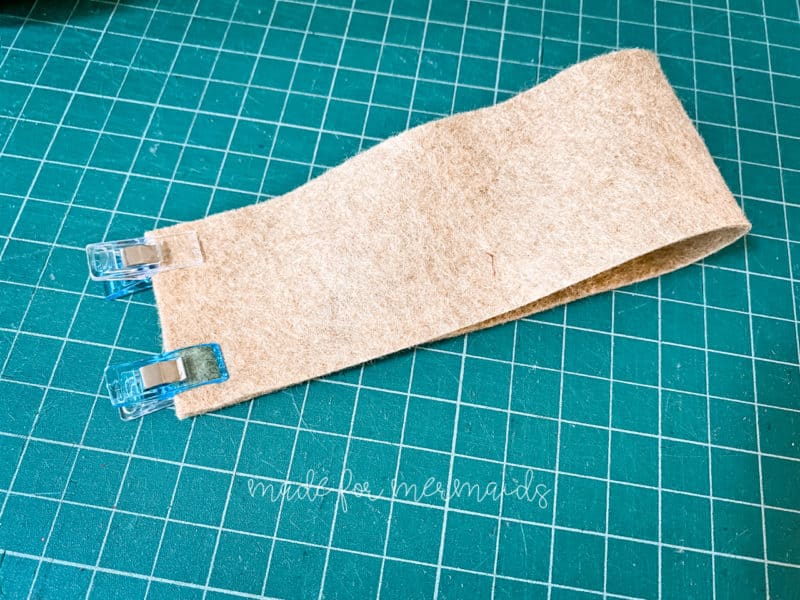
With right sides together, stitch your handle pieces together with 1/4″ seam allowance. Do not turn. Pin or clip handle to one short, right side of outer mug piece.
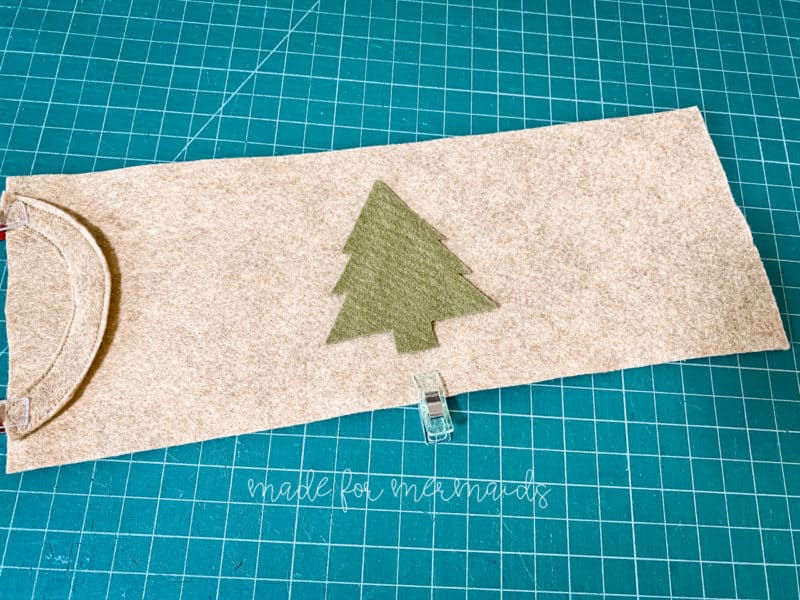
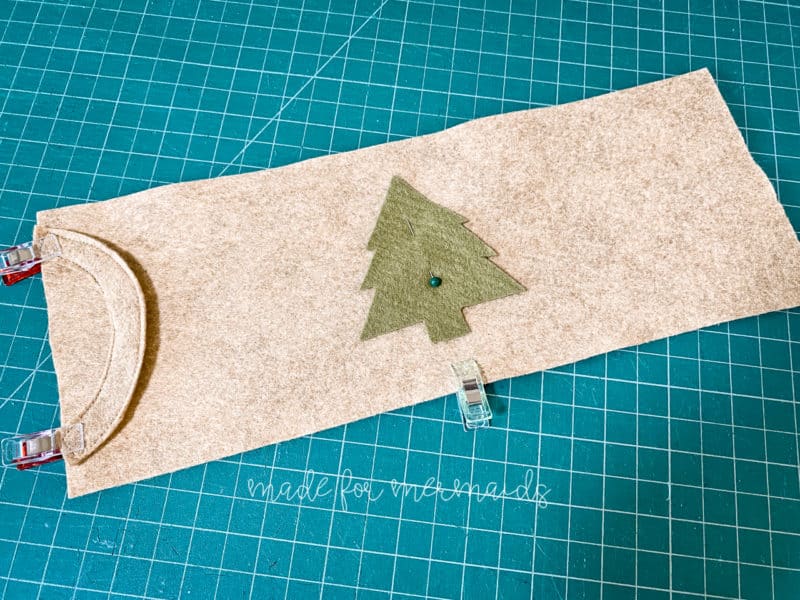
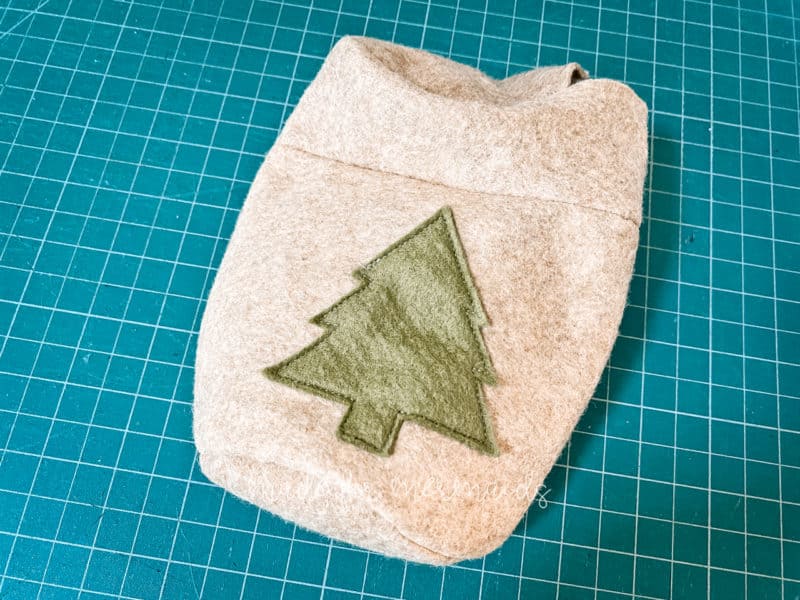
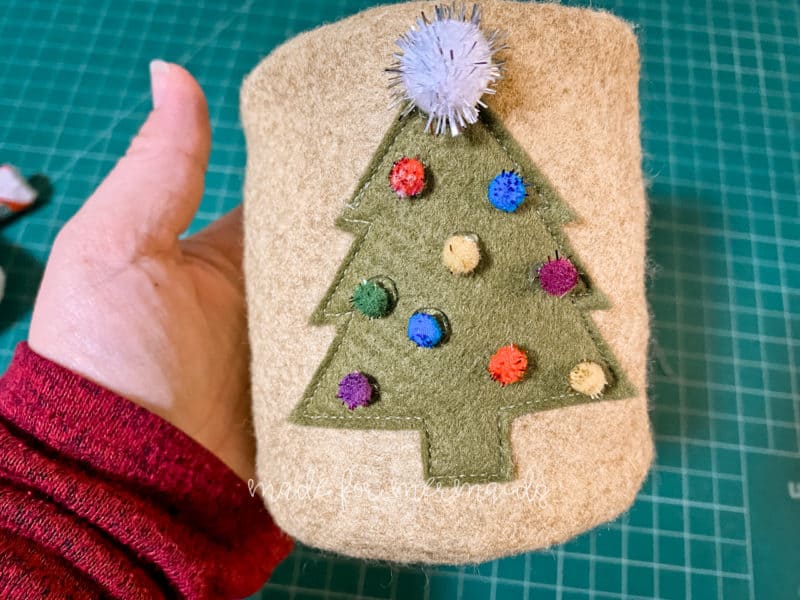
If you’re adding embellishments here, you can also determine where you’d like to place the embellishment (front, back, side, etc.). My kids asked for the tree directly across from the handle, but the candy cane mugs I made have the embellishment in the front.
Stitch handle to outer mug piece with 1/4″ seam allowance. Also stitch mug embellishments.
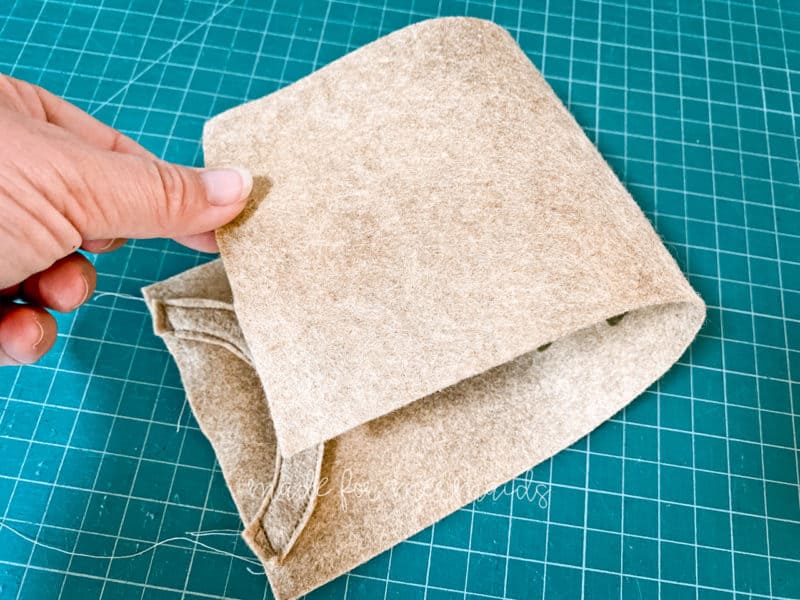
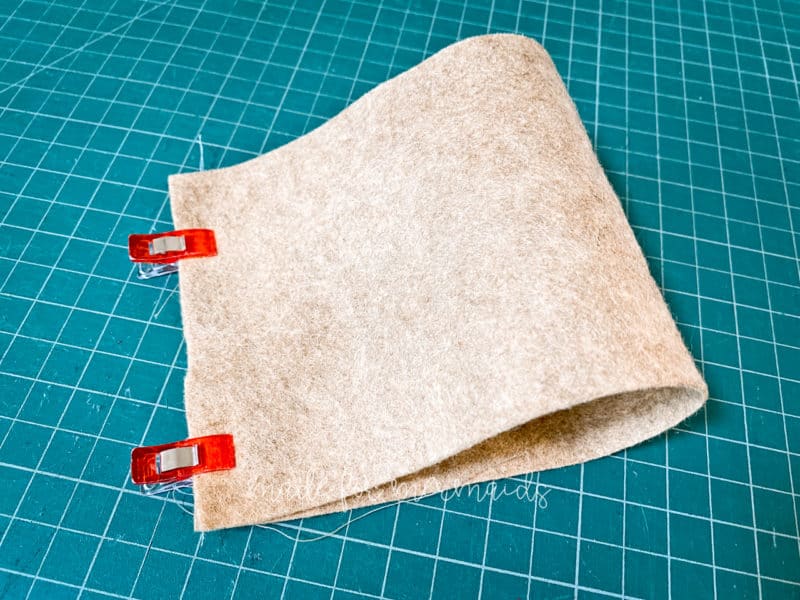
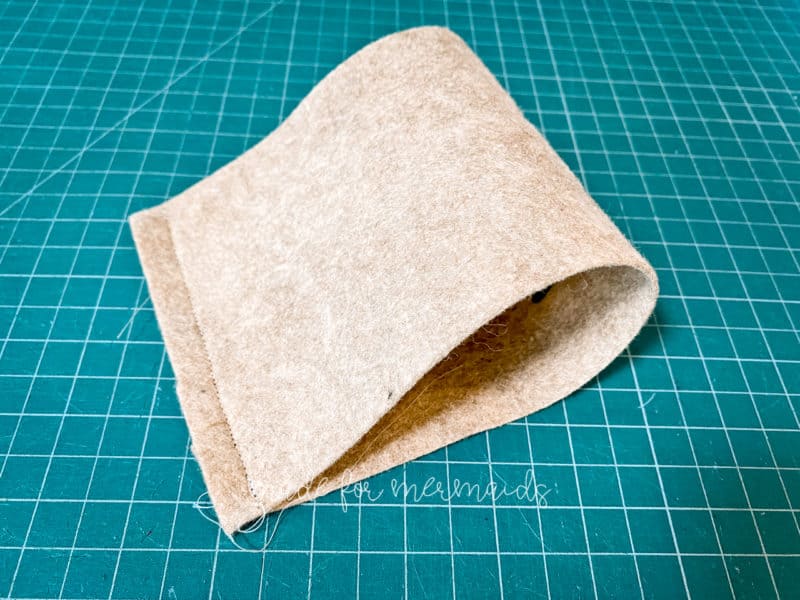
Fold outer mug piece with right sides together. Pin or clip the raw edges of the outer mug piece. Stitch together with 1/2″ seam allowance.
Grab one of the mug circles. This will become the base/bottom of the mug. Pin or clip the bottom mug circle to the bottom raw edge of the outer mug piece.
Stitch together, around the bottom of the mug, with 1/4″ seam allowance.
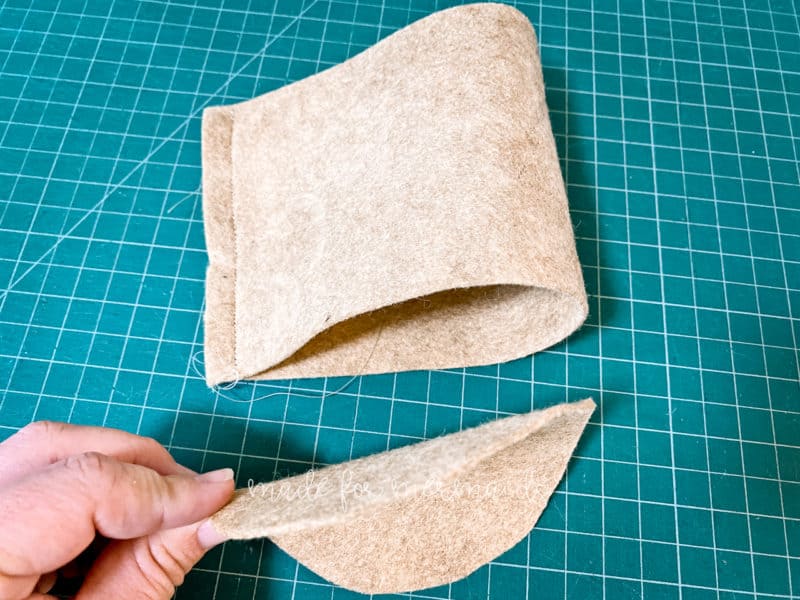
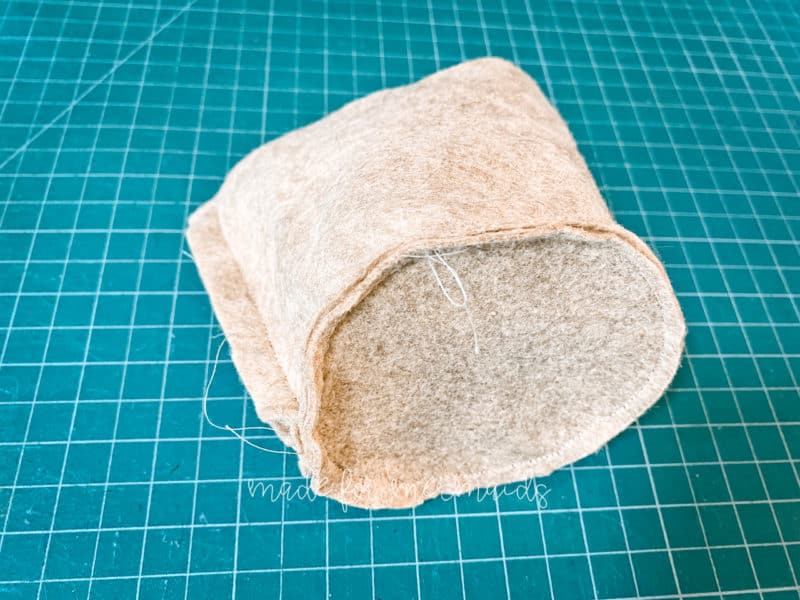
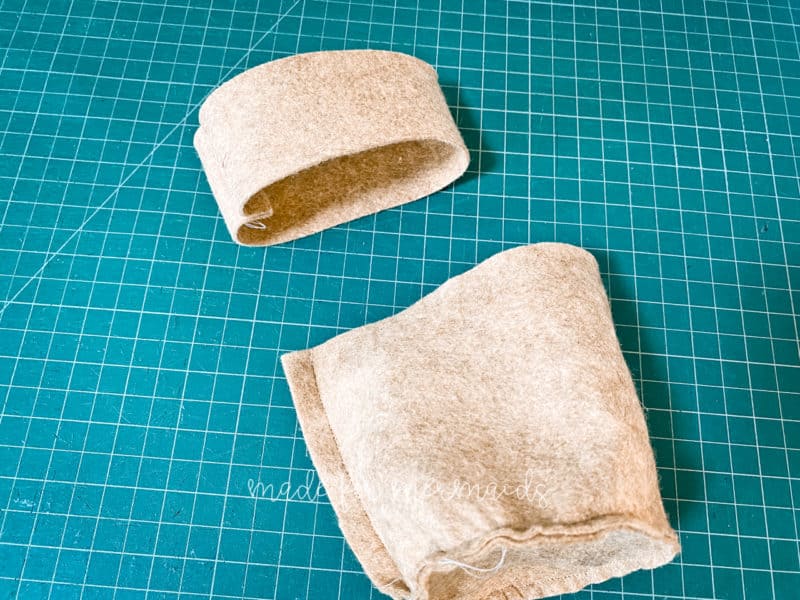
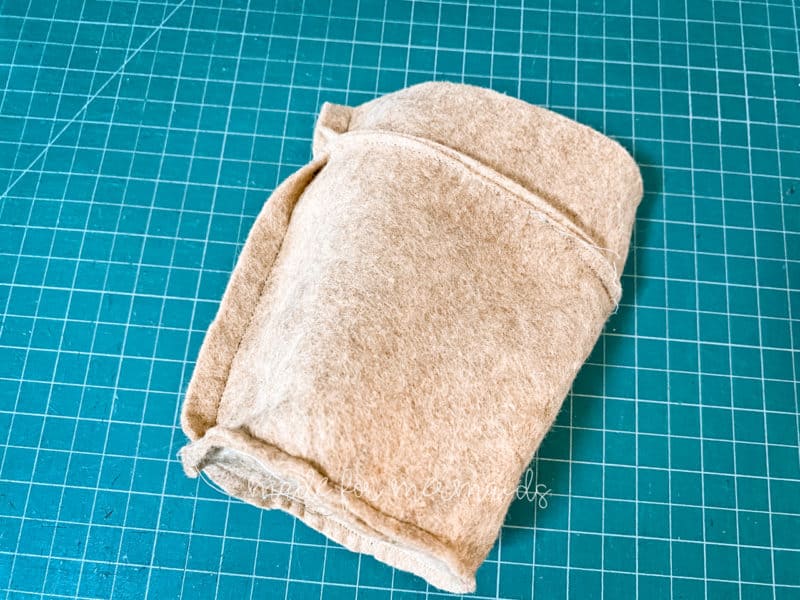
Next, we’ll attach the inner mug piece to the top raw edge of the outer mug piece. Pin or clip the short raw edges of the inner mug piece. Stitch together with 1/2″ seam allowance.
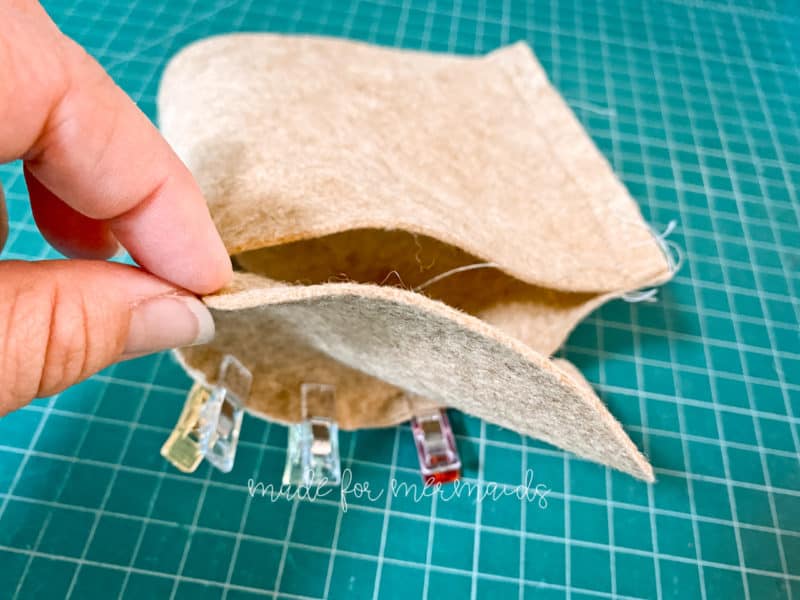
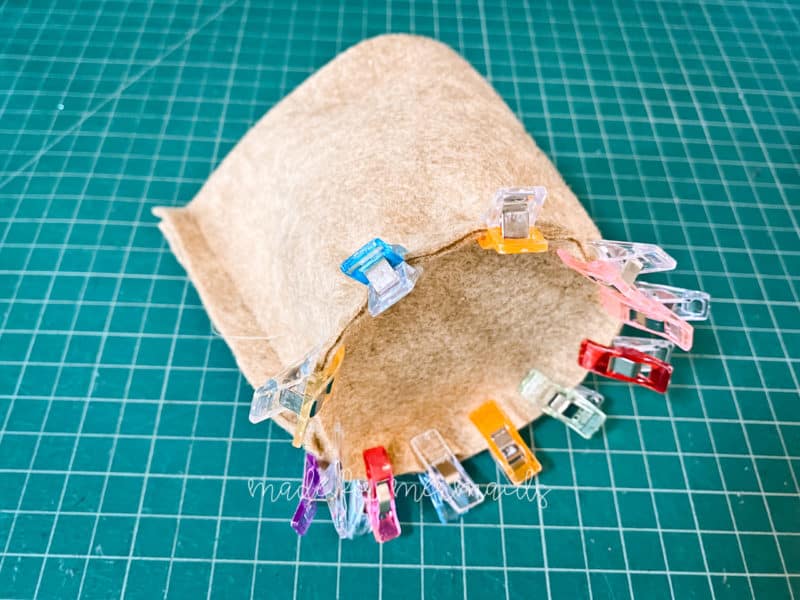
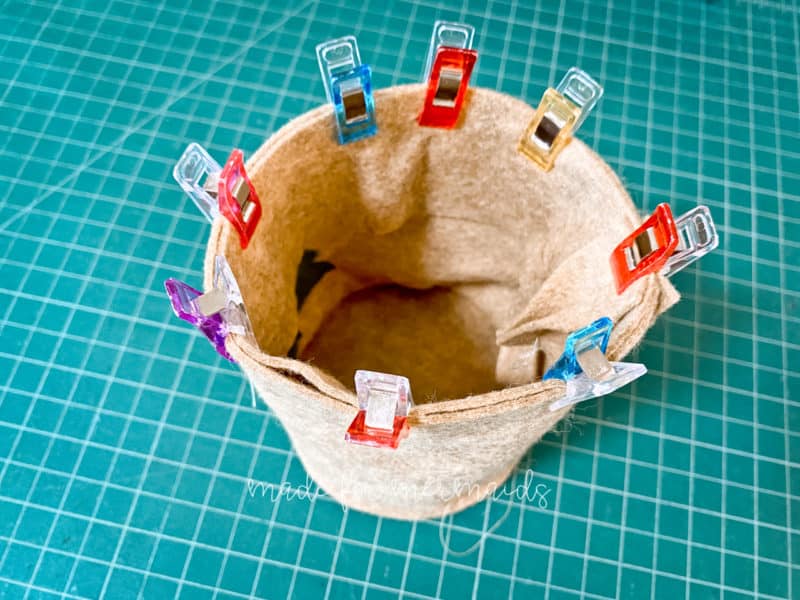
With right sides together, place the inner mug piece inside of the outer mug, and then pin or clip all the way around. Stitch together with 1/4″ seam allowance.
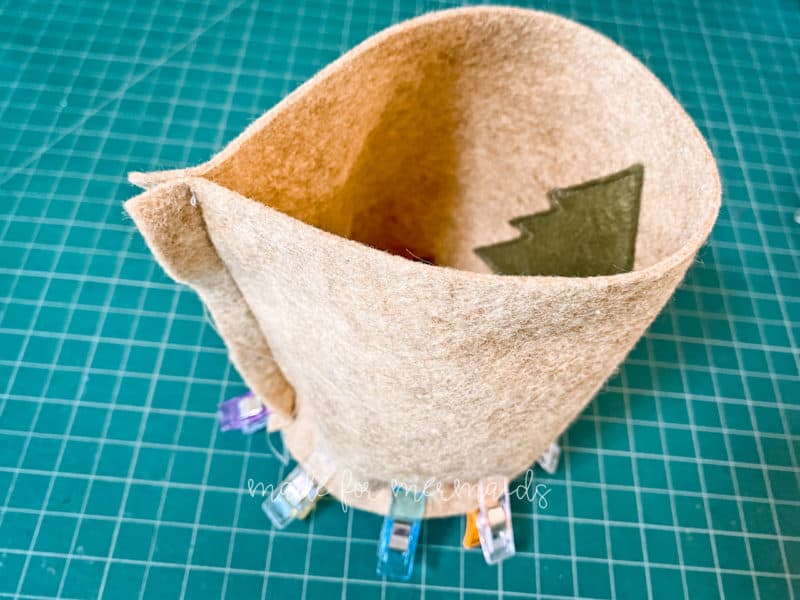
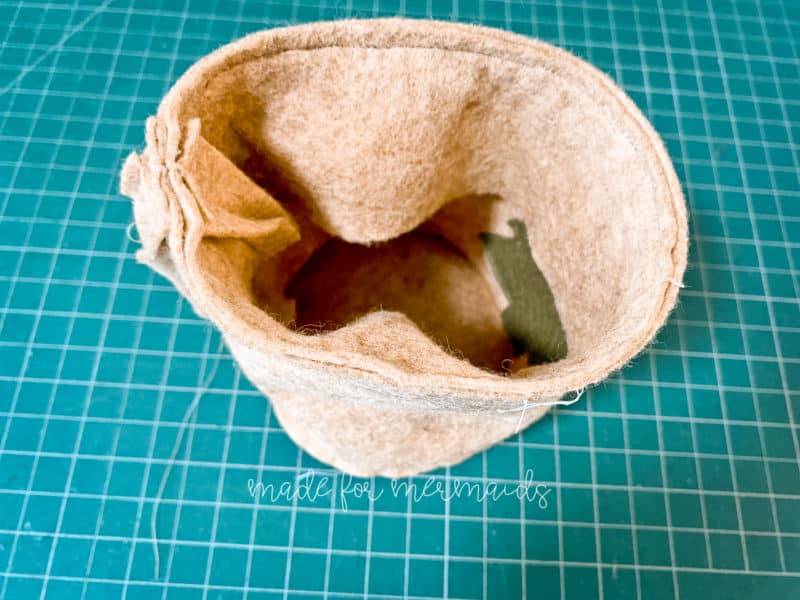
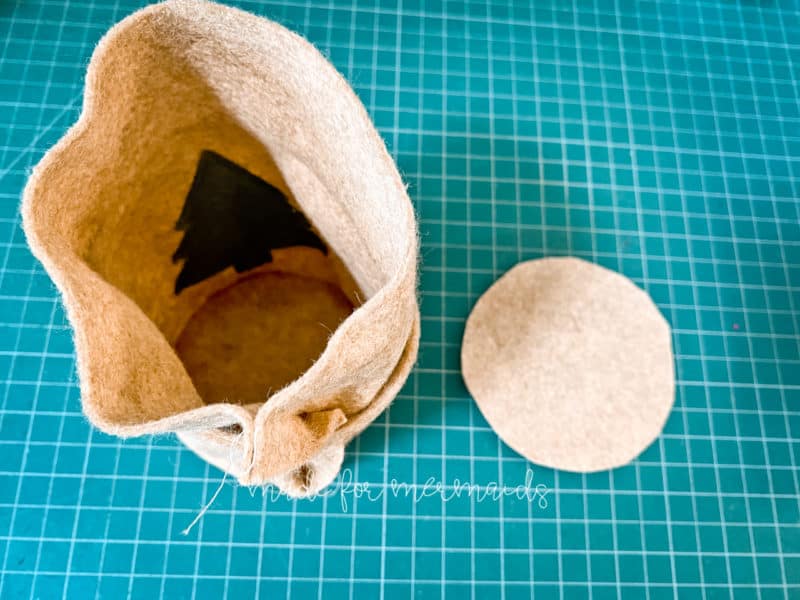
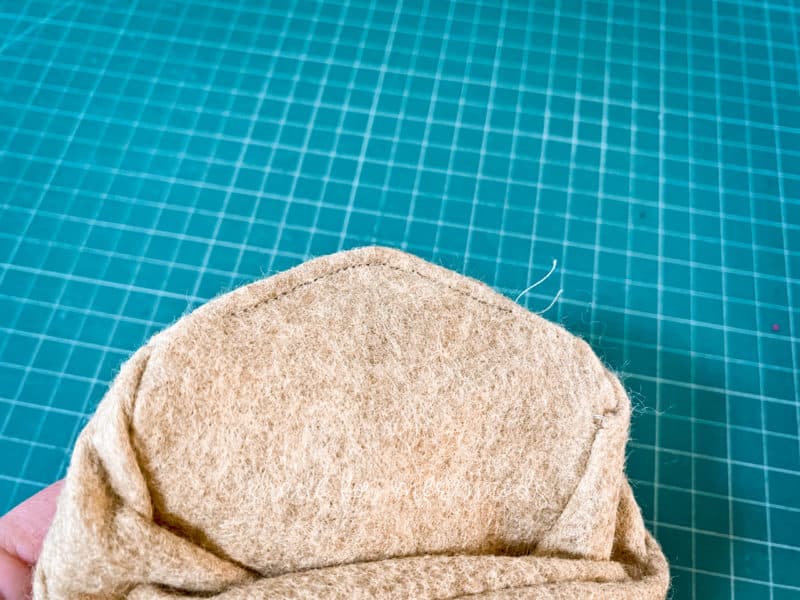
Unfold so that the raw edge of the inner mug is out of the mug. Now, we’ll attach the second mug circle.
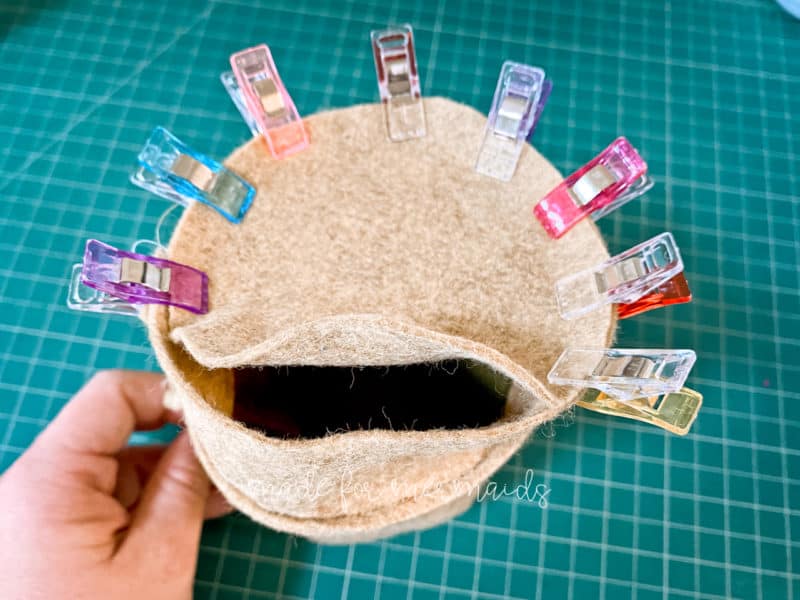
Pin or clip about 1/2 way around. You’ll want to leave a fairly substantial amount of turning space, since felt is bulky. This will also allow you to add an optional cardboard circle to the base of the mug for extra stability.
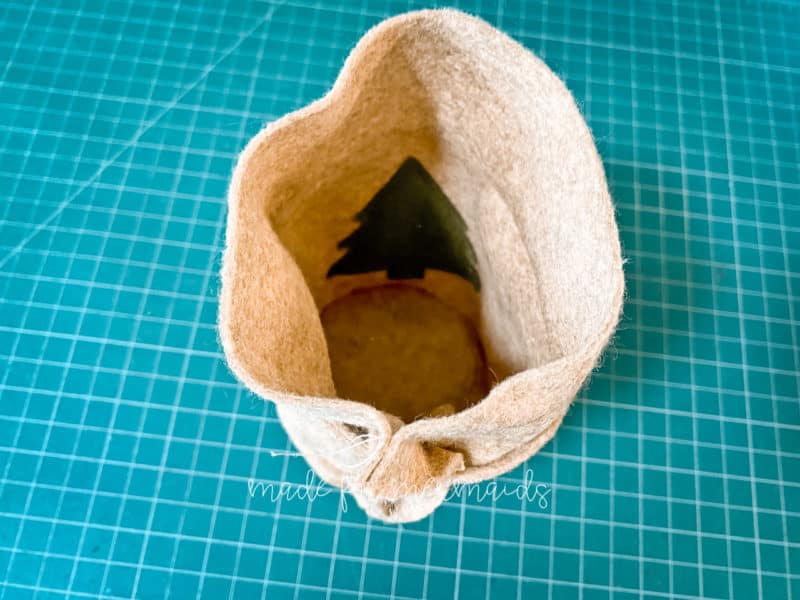
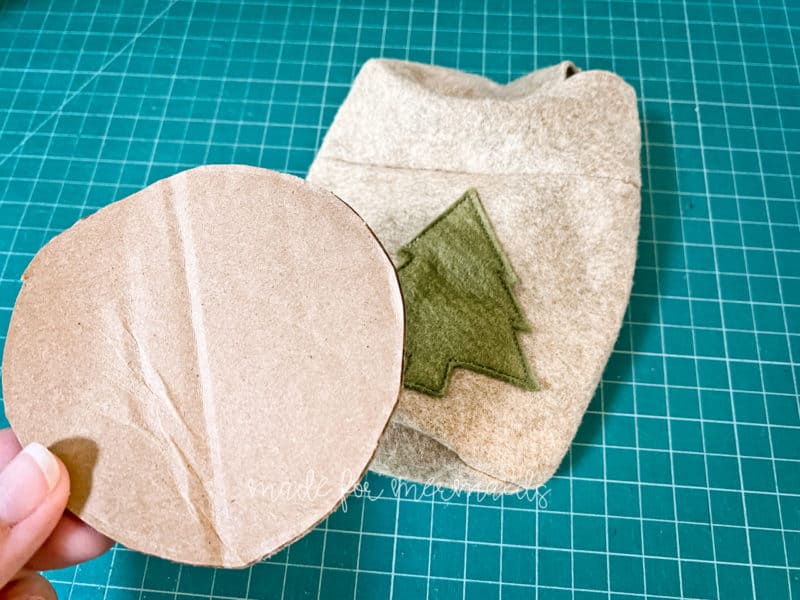
Stitch with 1/4″ seam allowance, remembering to leave space to turn. Turn right side out. OPTIONAL: Add a cardboard circle to the base of the mug for added stability. Use the cocoa piece as a guide.
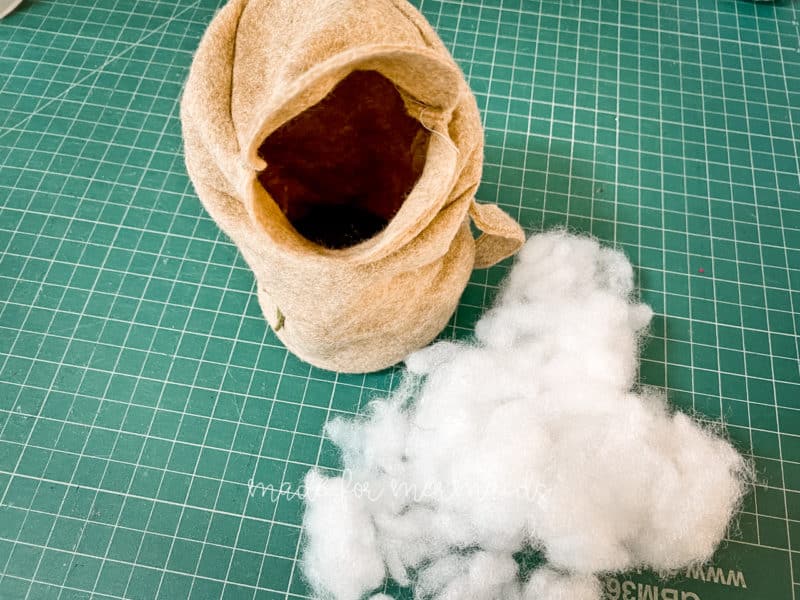
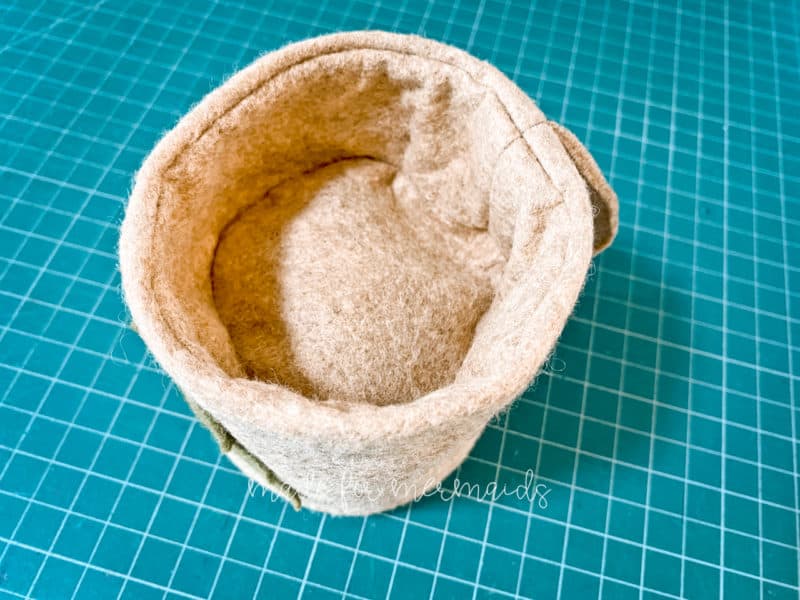
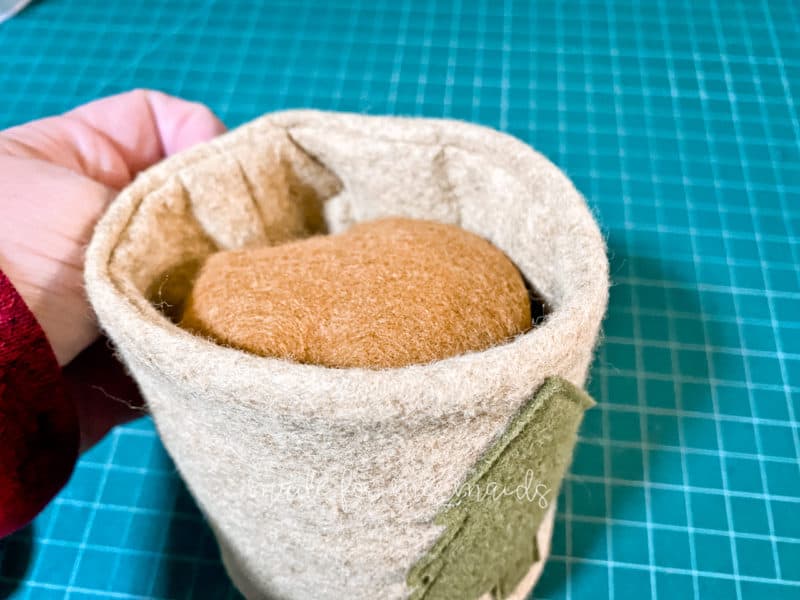
Fill bottom half of mug with polyfil.
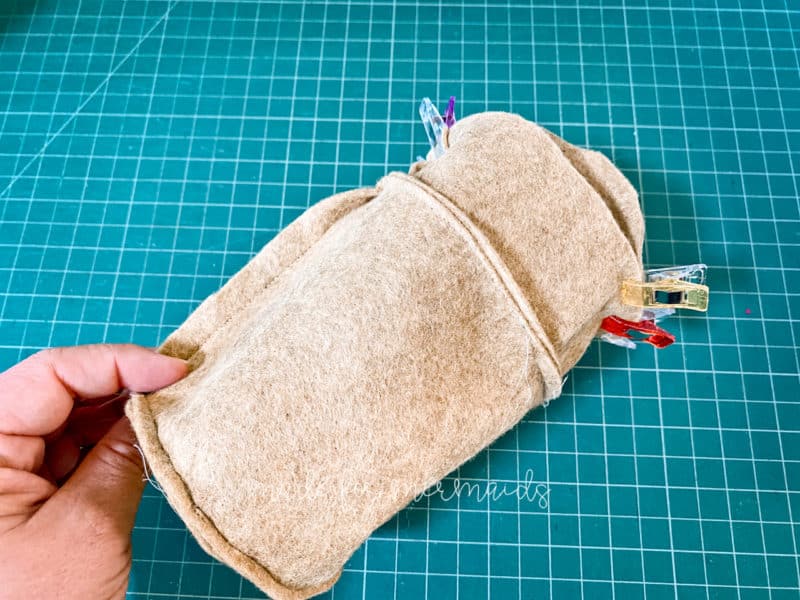
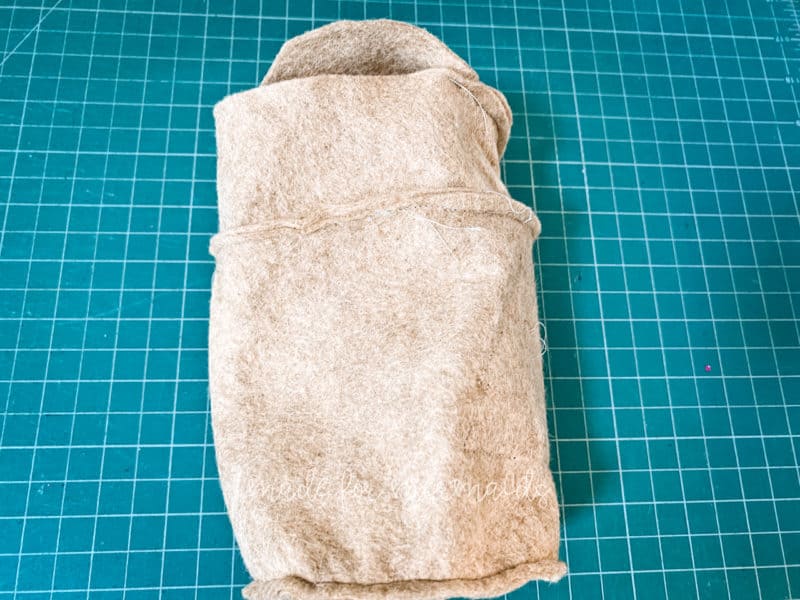
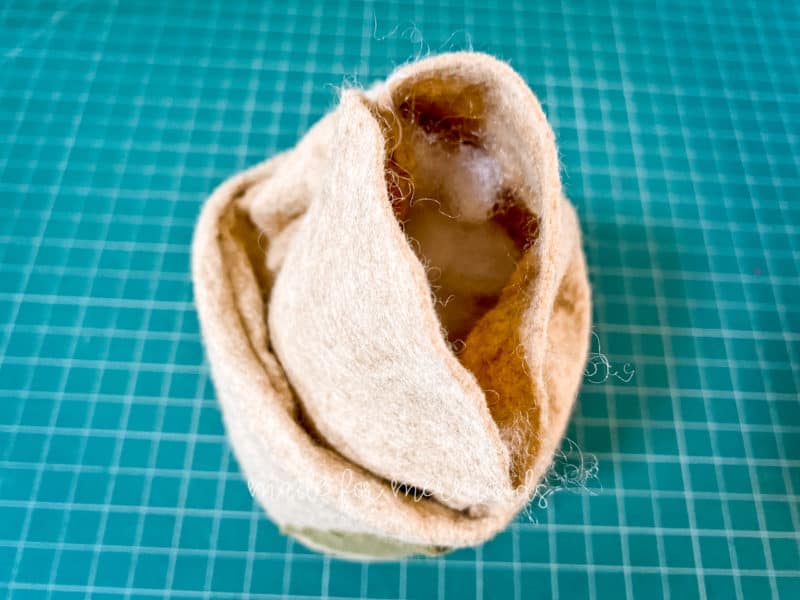
Sew up the opening using your favorite stitch. I just did it quickly on my sewing machine, since this seam won’t be seen. Push inner mug down into outer mug.
NOTE: You can also topstitch your mug if you’d like; just be aware that it may be a bit challenging due to the bulk.
Cocoa (or Milk!)
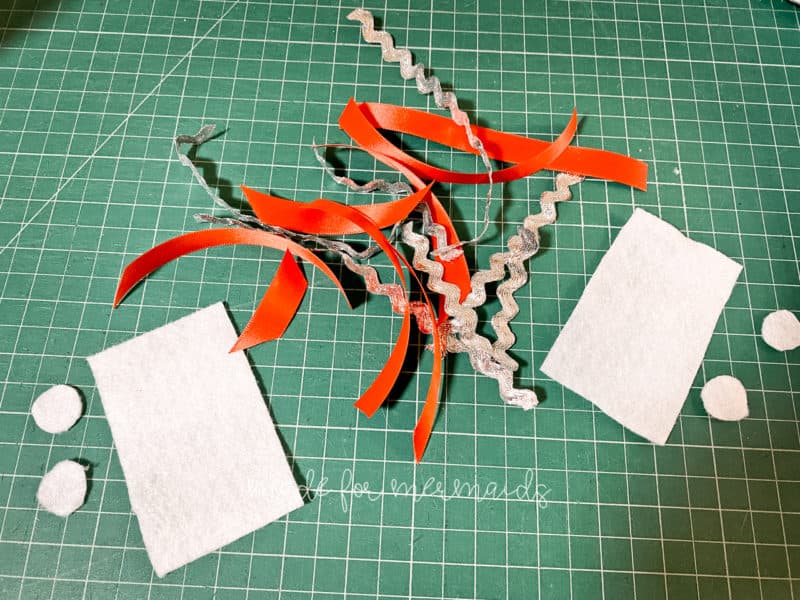
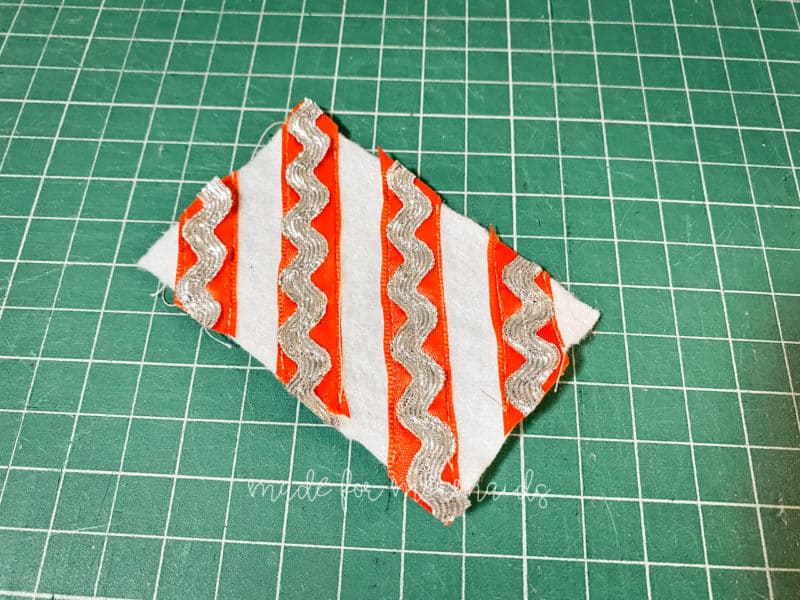
Peppermint Stick
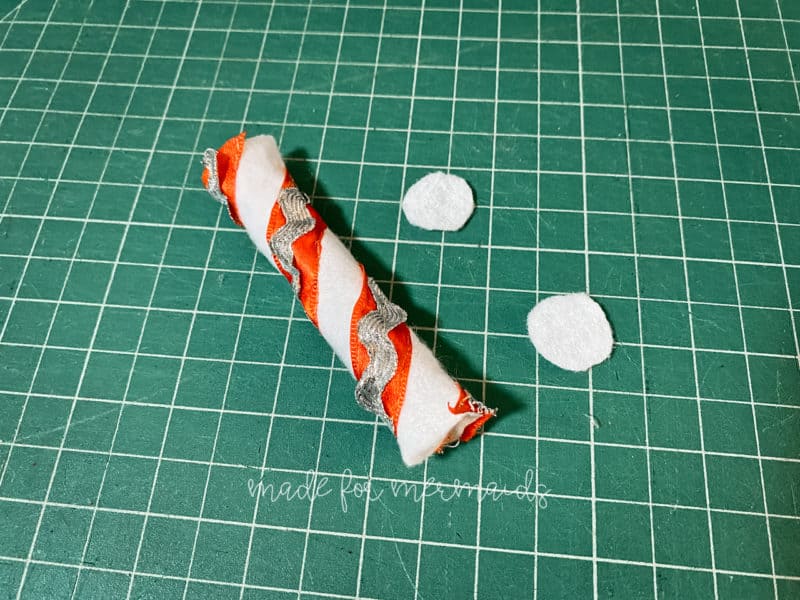
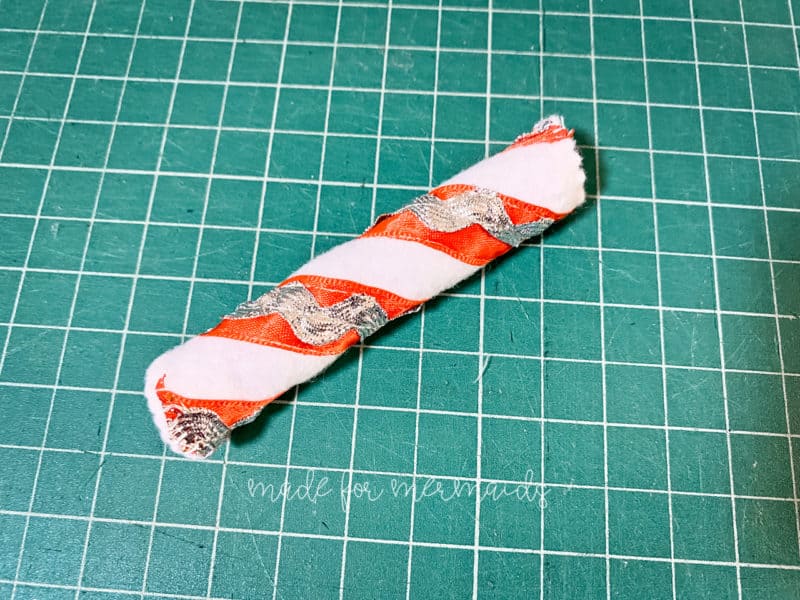
NOTE: I added ribbon before sewing on one version shown below; this made it very challenging to turn. For easier turning, I recommend embellishing after you sew, using a thinner ribbon, or simply using embroidery floss.
- ric rac trim added after sewing
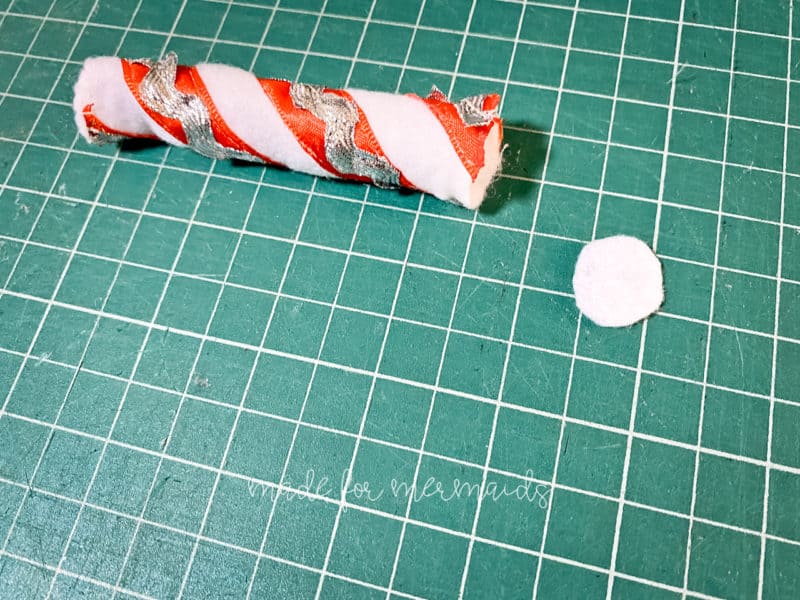
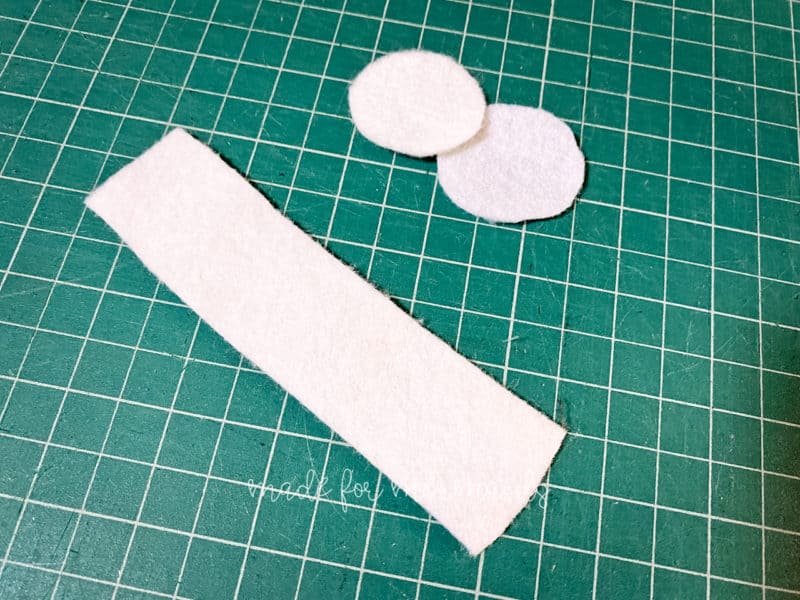
Cut 2 circles and 1 peppermint stick (rectangle piece) for each peppermint stick desired. Stitch trim in place, OR embroider.
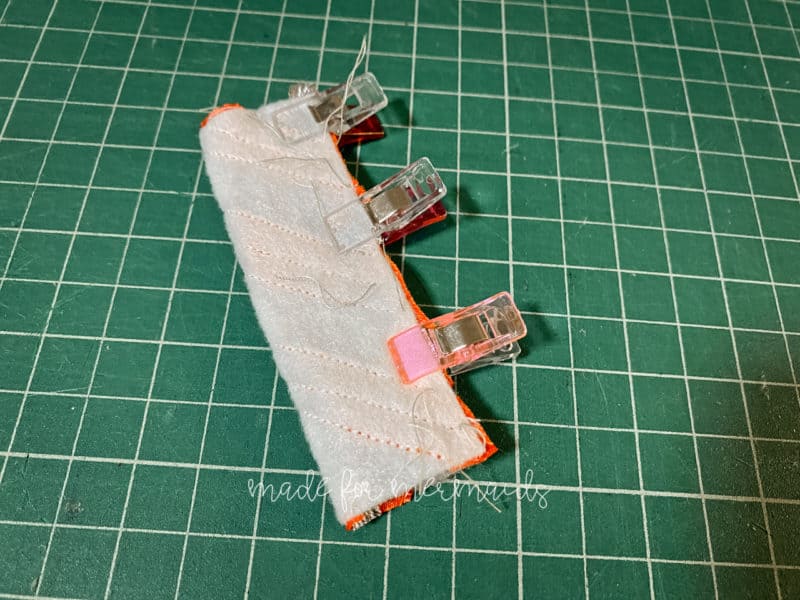
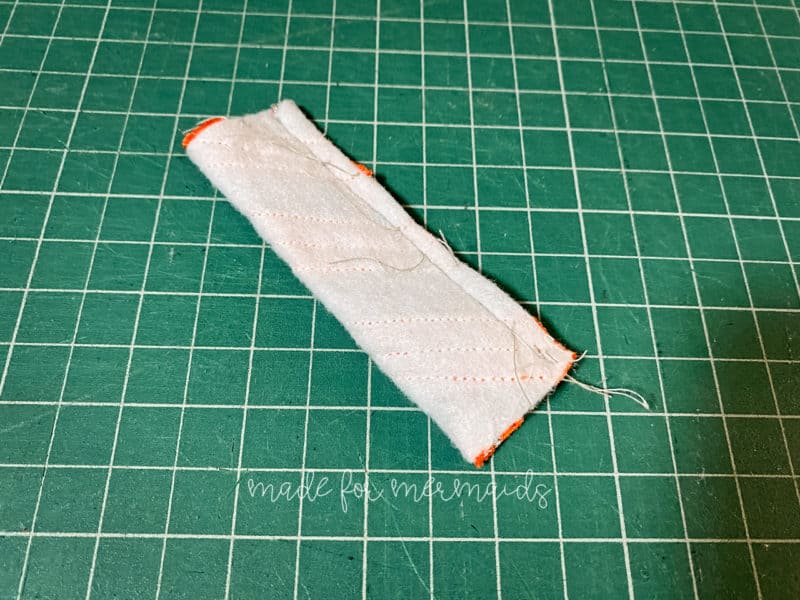
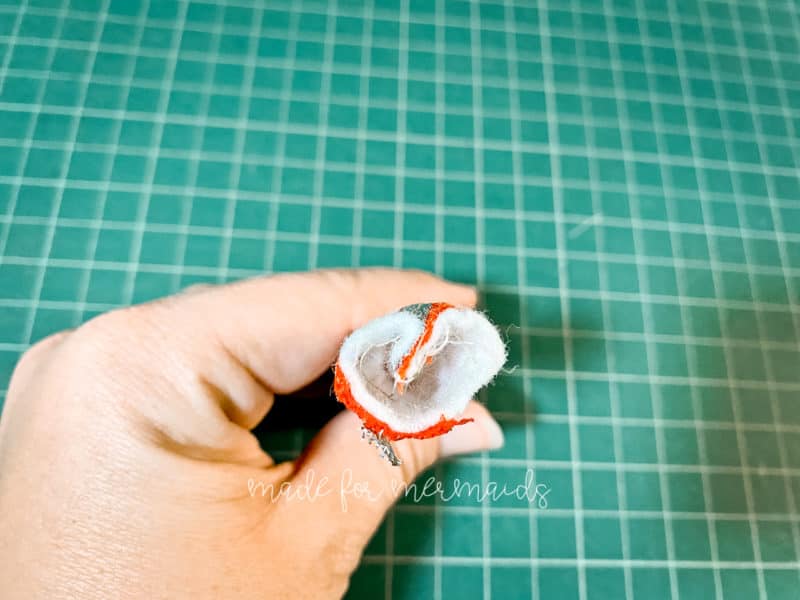
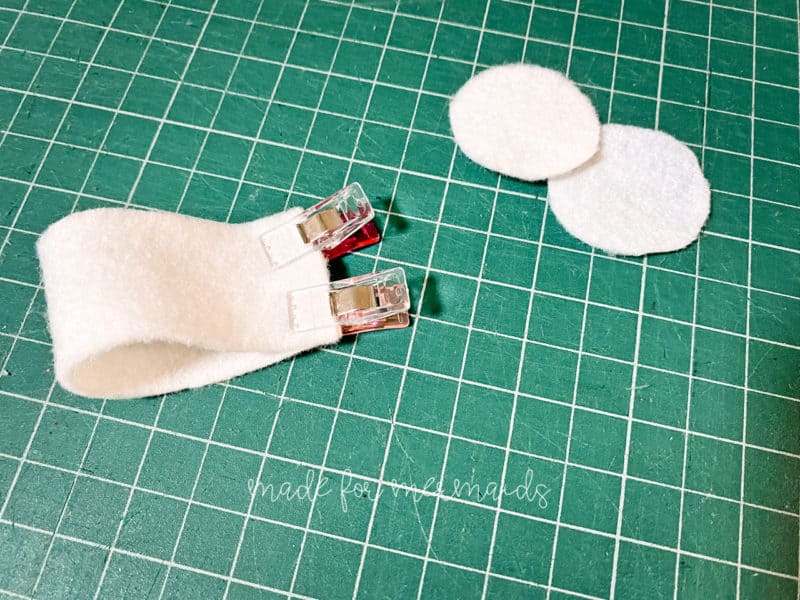
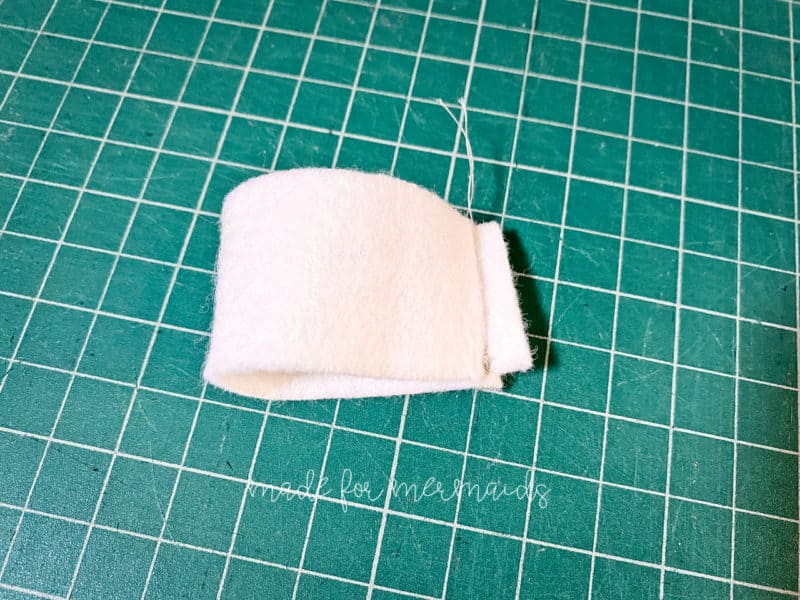
Fold peppermint stick in half with right sides together, and pin or clip along the long edge. Stitch with 1/4″ seam allowance.
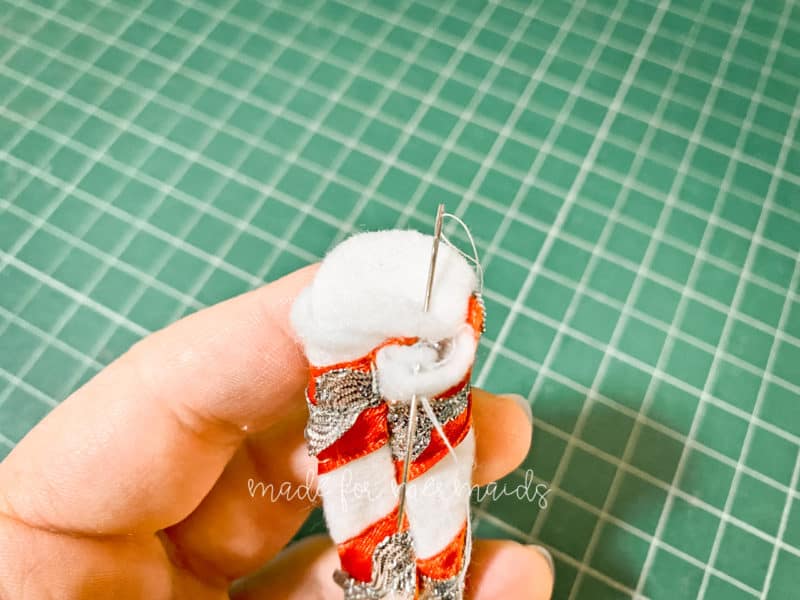
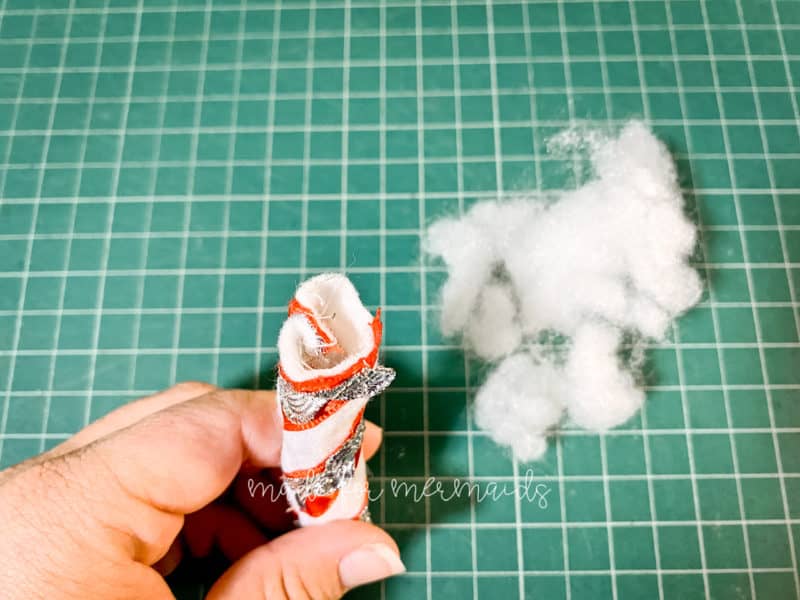
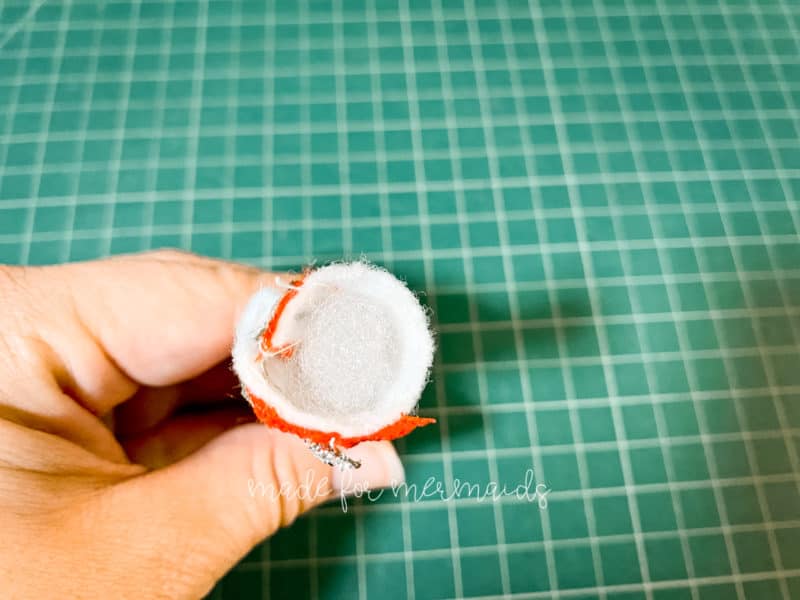
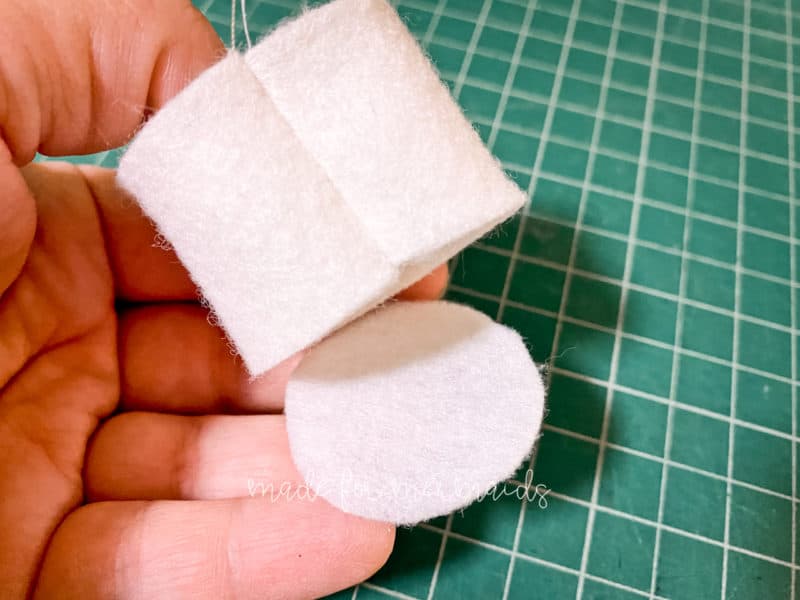
Turn right side out. Using your favorite hand stitch (I used a blanket stitch), attach the bottom circle.
Secure ends. Turn over. Fill with polyfil.
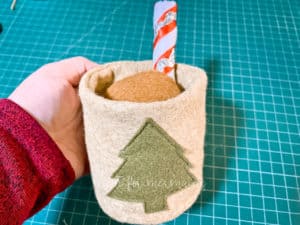
Attach the top circle using blanket stitch or similar. Stitch all the way around the top, securing your thread at the end. Add to your mug and cocoa!
Whipped Cream
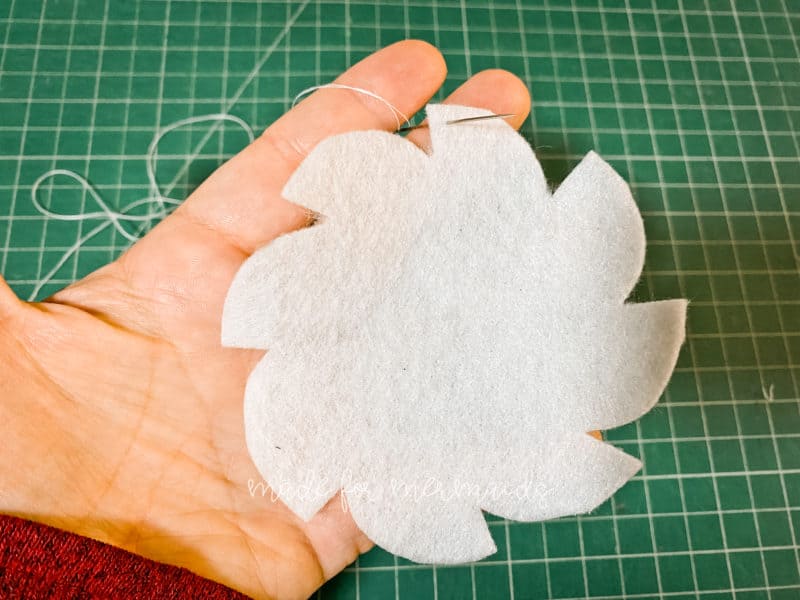
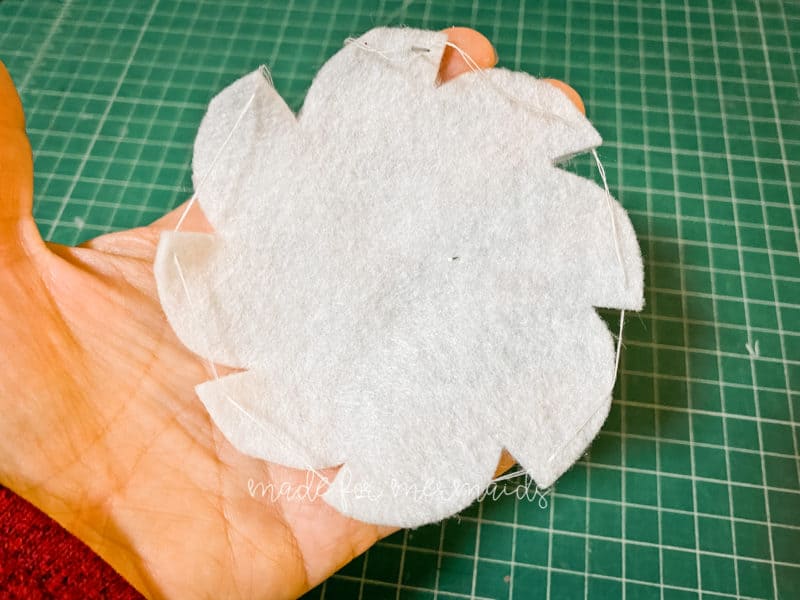
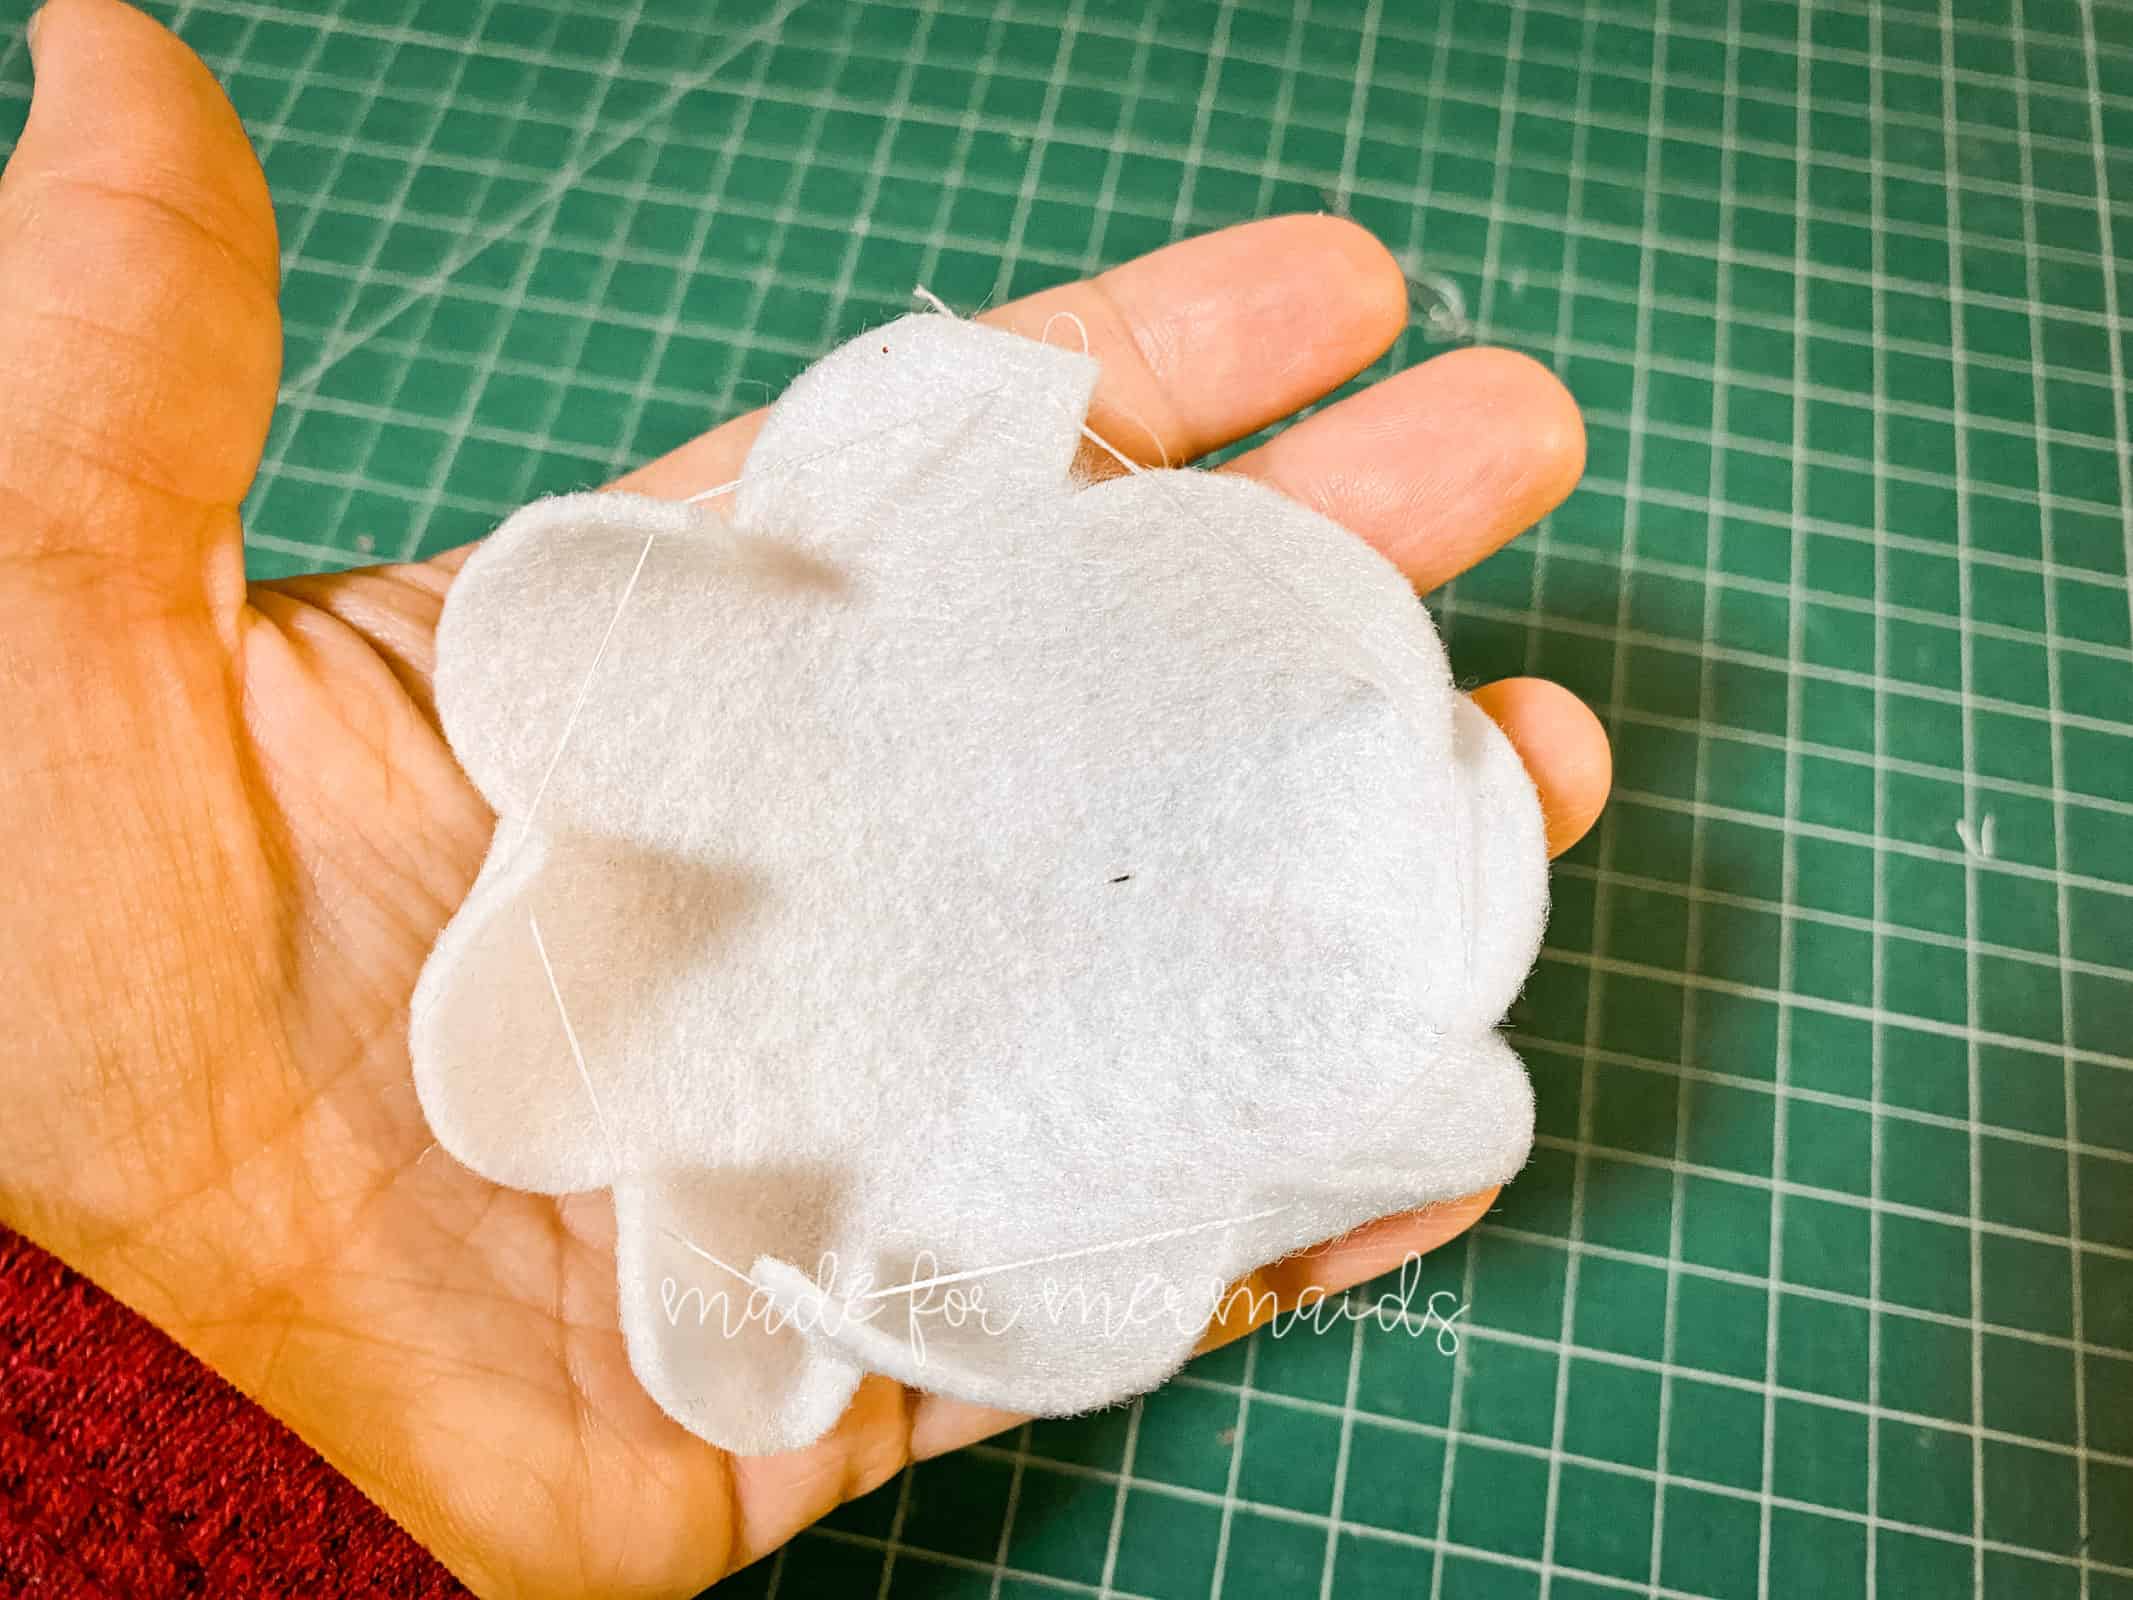
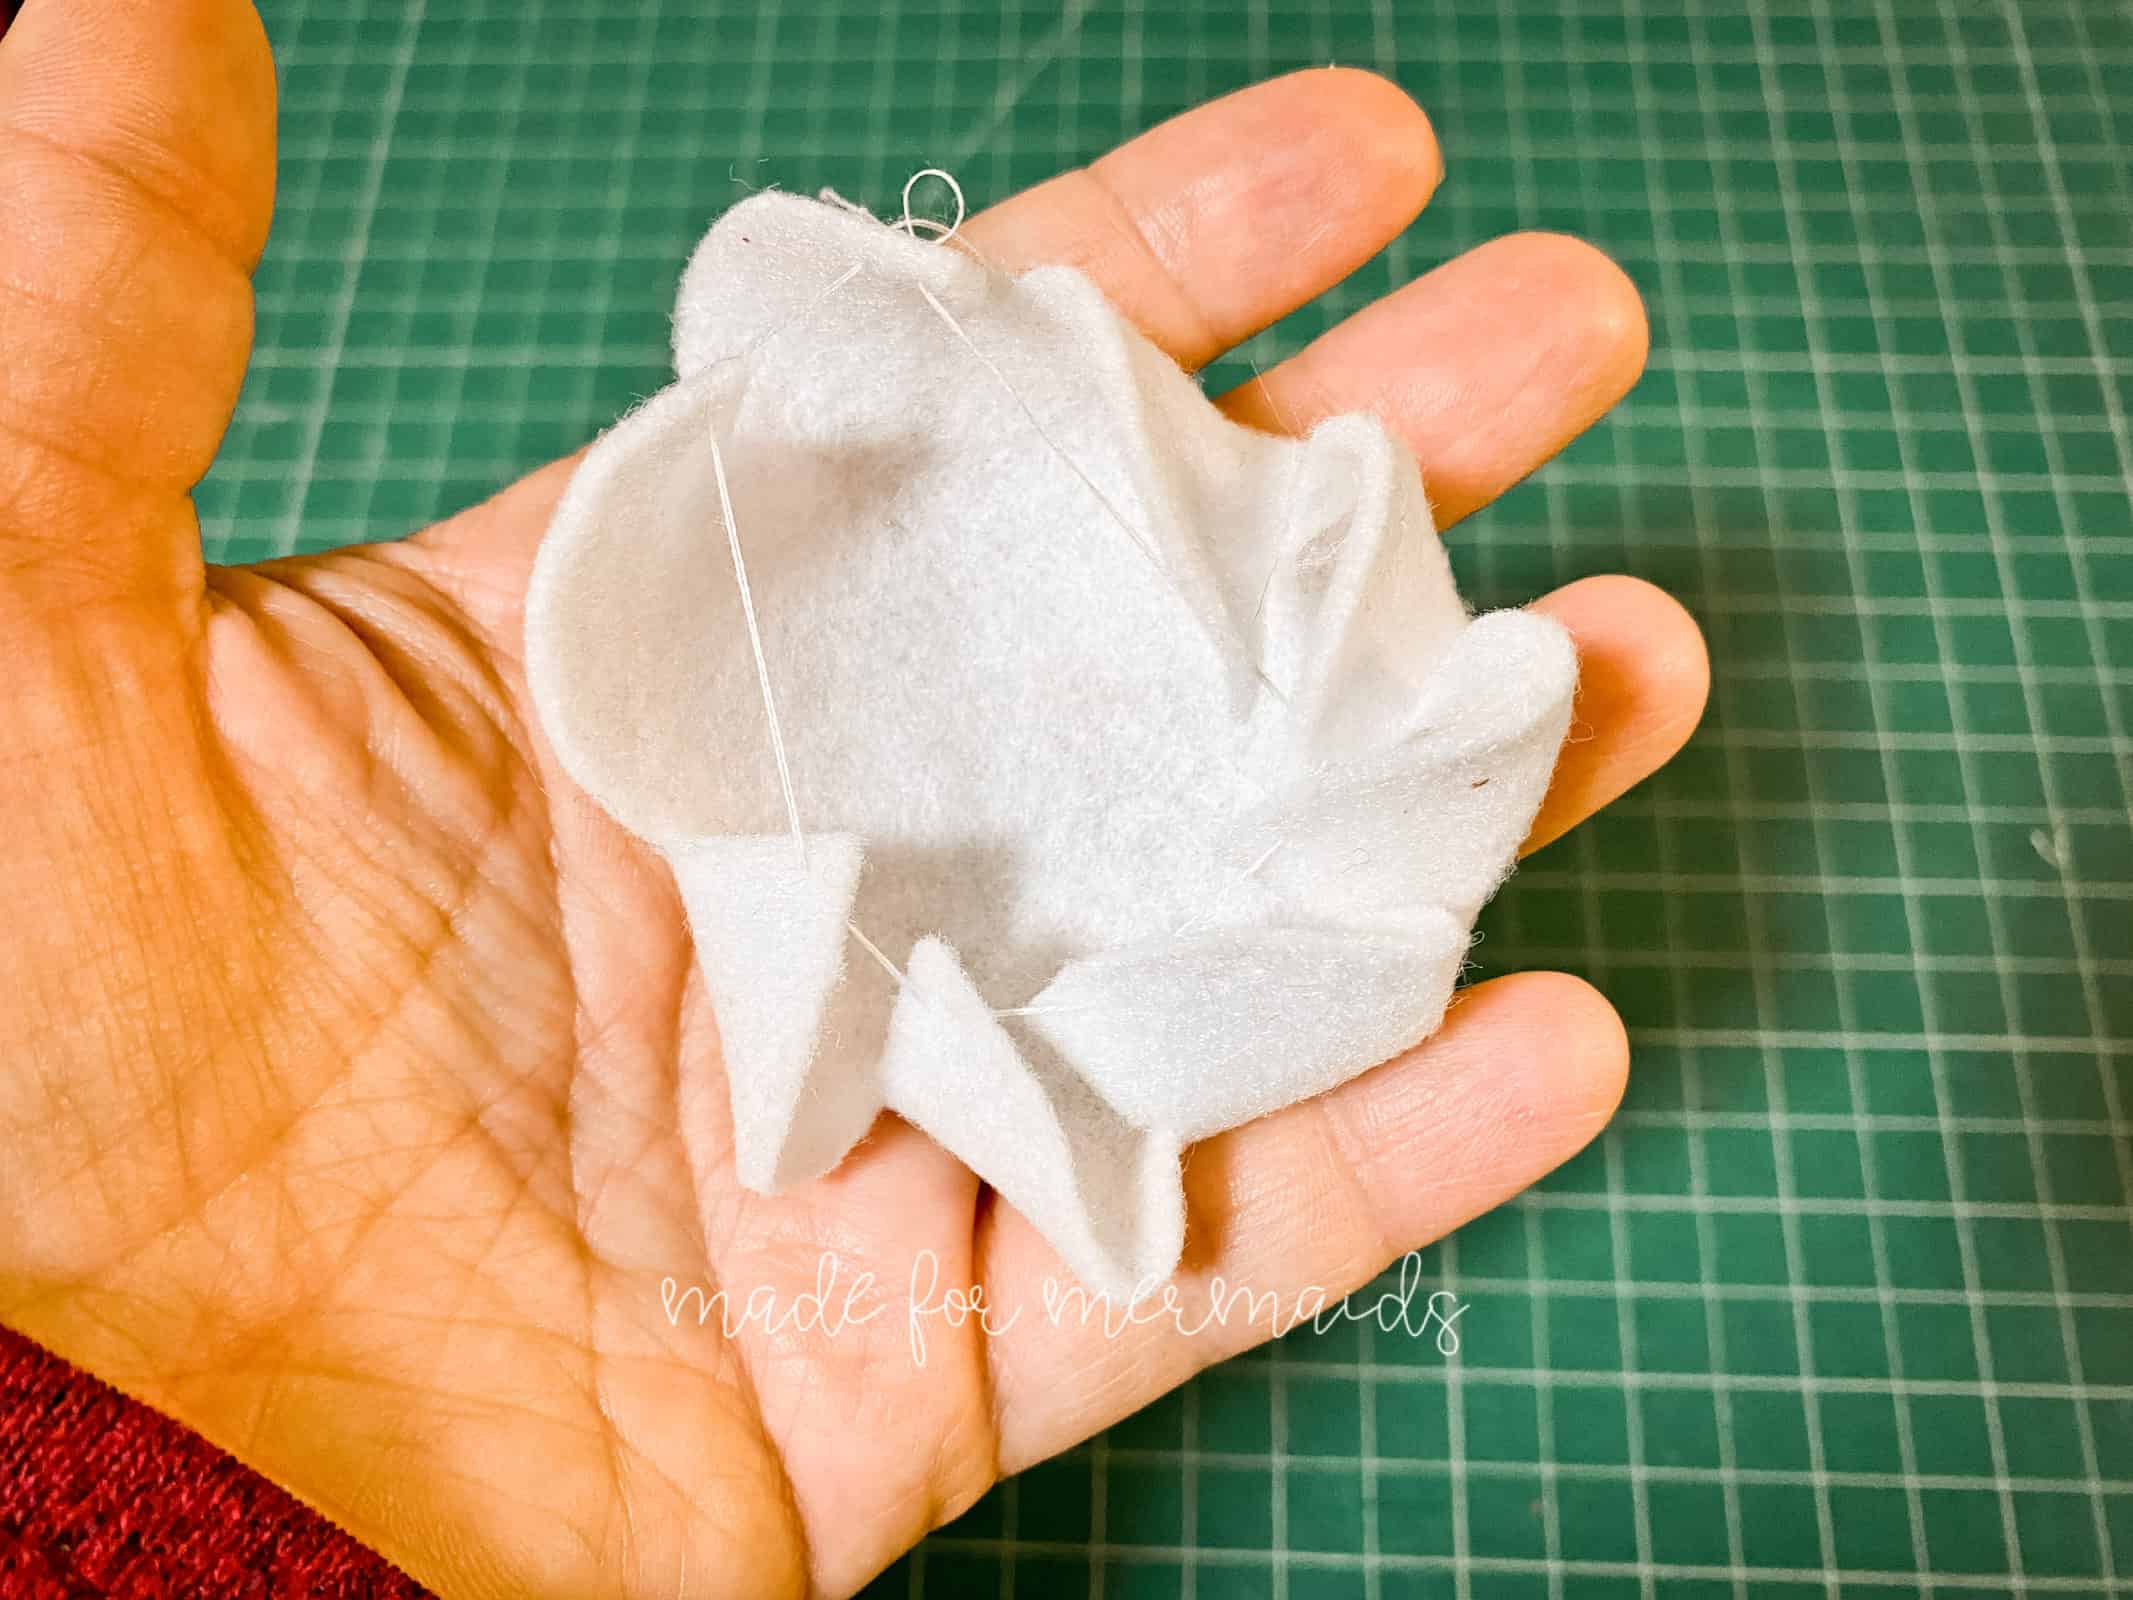
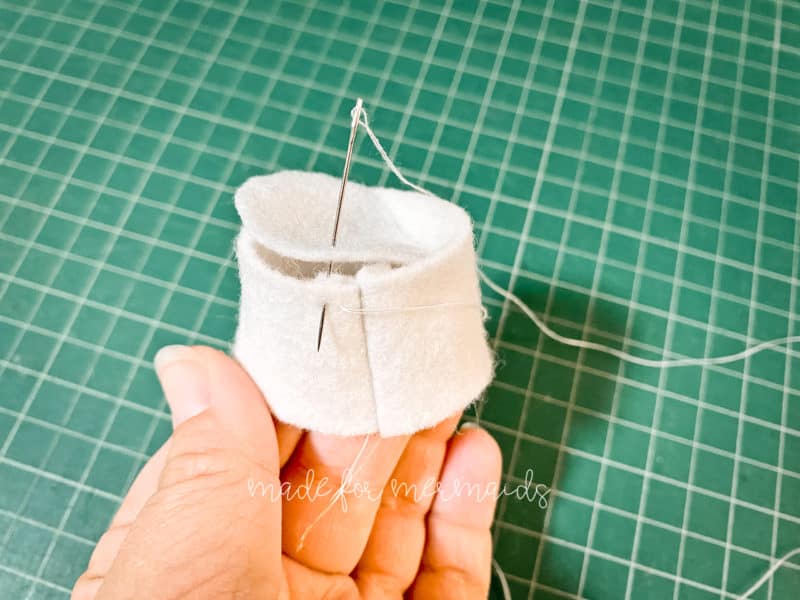
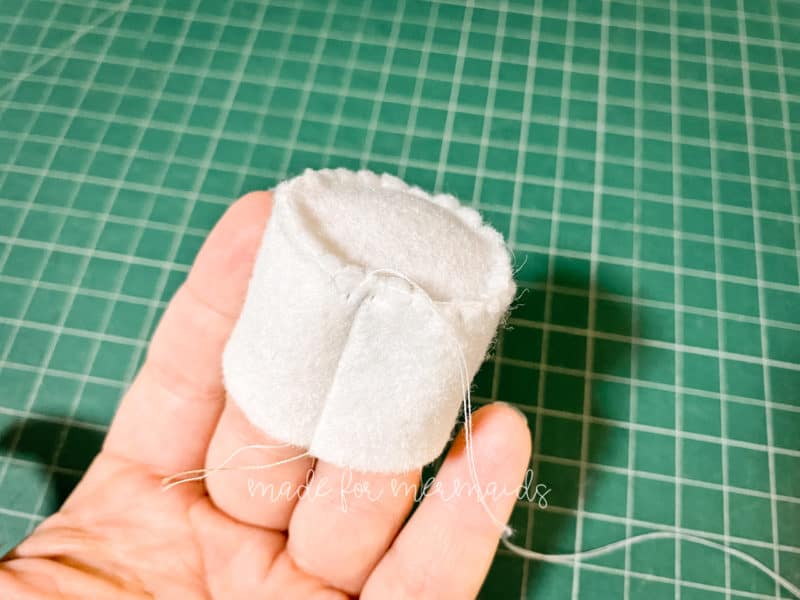
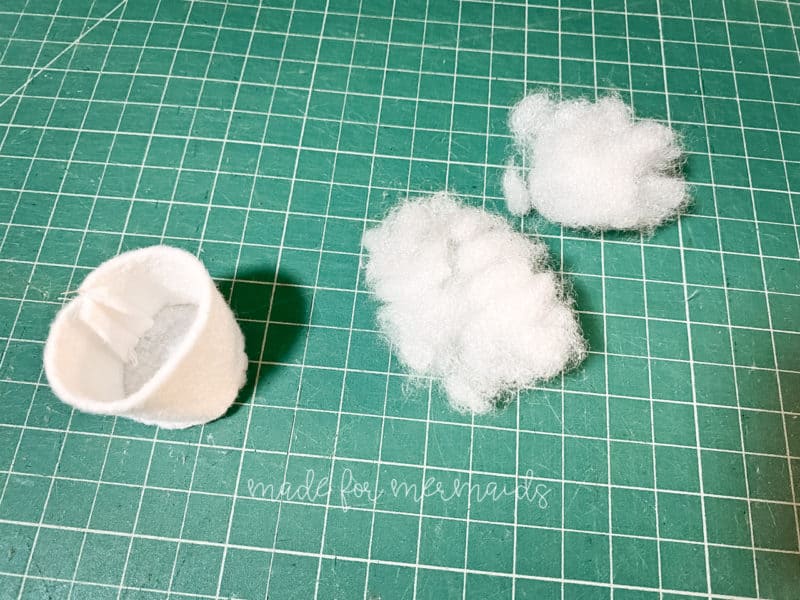
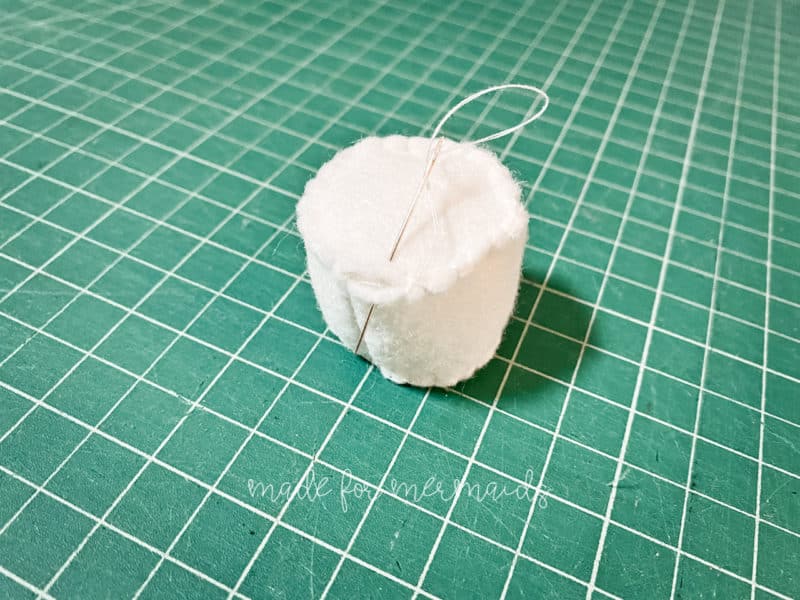
Pull lightly to gather and tighten. The “petals” will begin to fold up on each other. Secure your stitches. You can also add a tiny bit of polyfil to give it a little extra poof if you’d like! After you begin the gather the petals, you can arrange how you’d like to create different looks.
Marshmallow
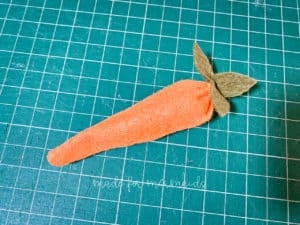
Carrot
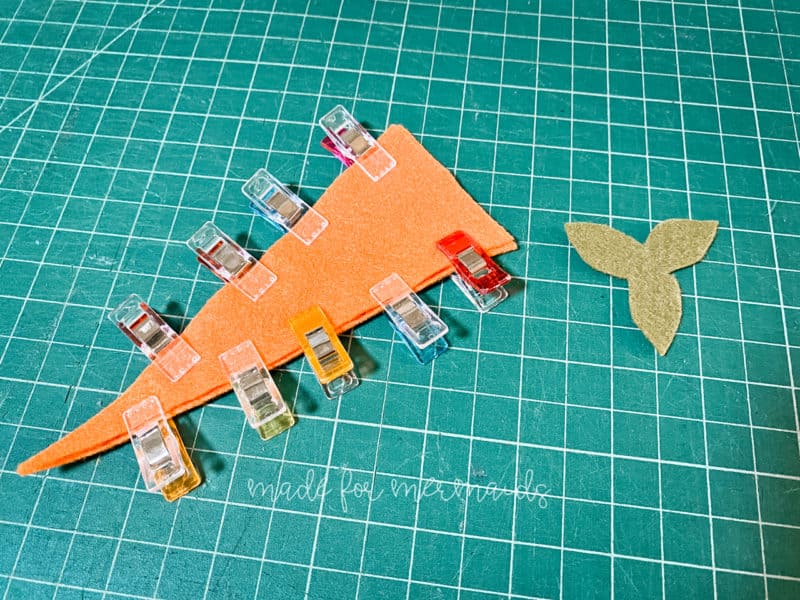
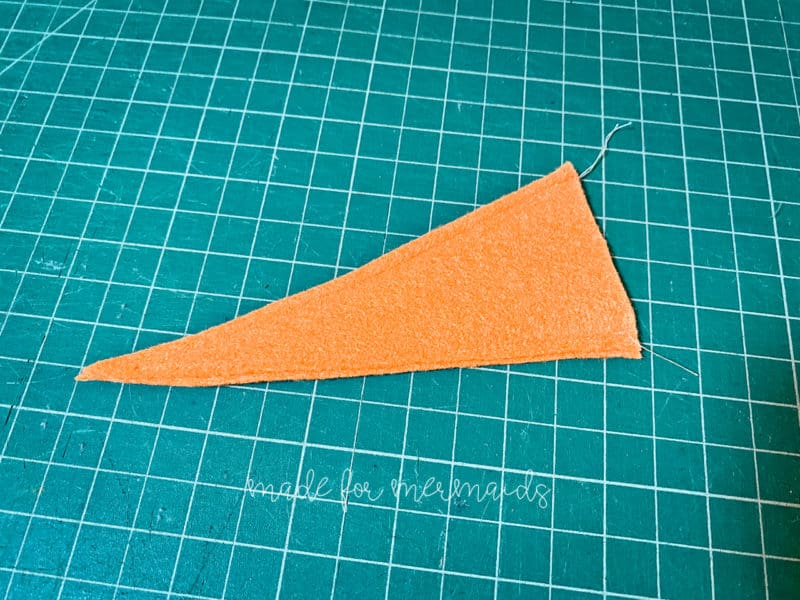
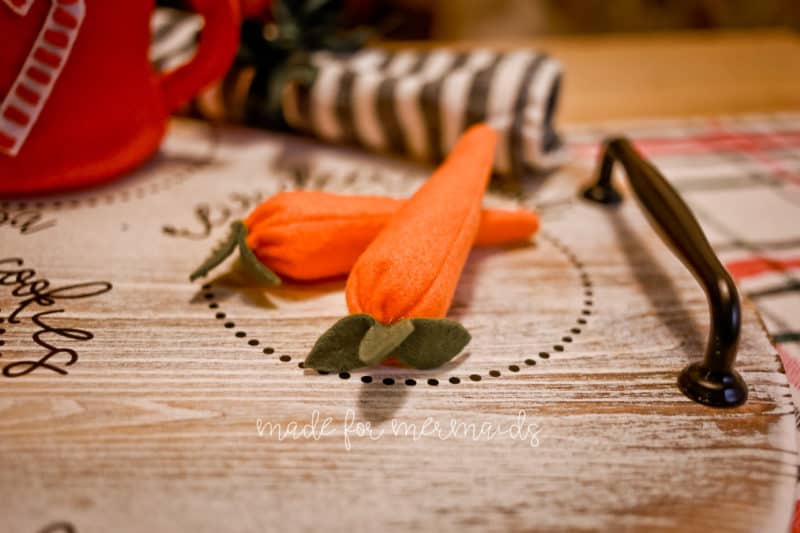
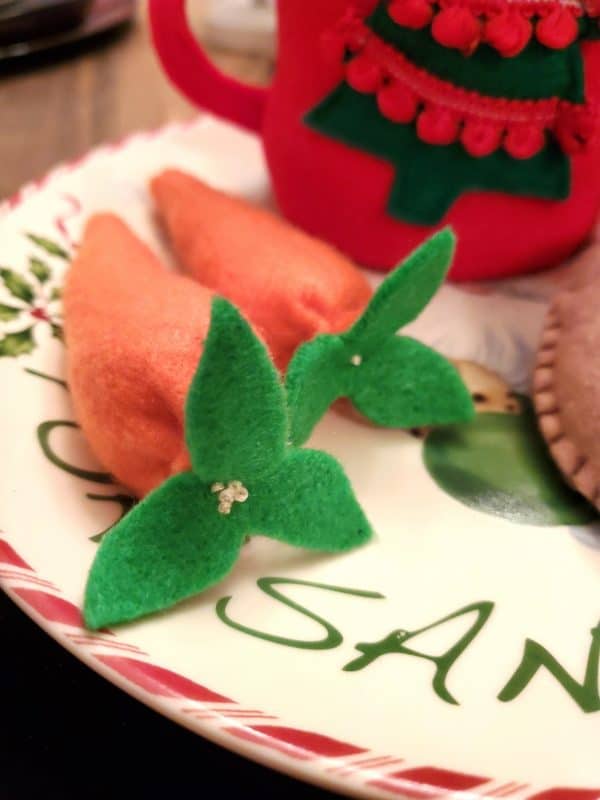
Cut 2 carrot pieces and 1 stem piece for each carrot desired. Pin or clip carrot with right sides together. Stitch down the long sides with 1/4″ seam allowance.
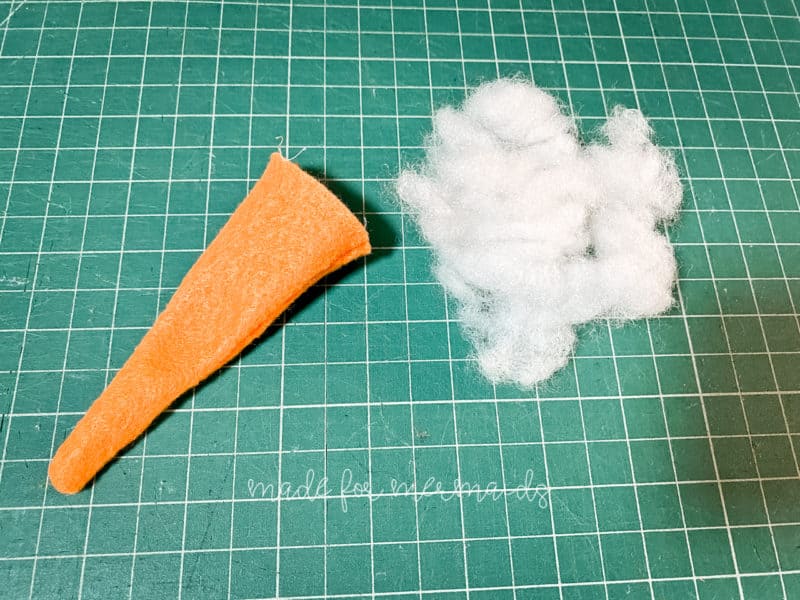
Leave the top open. Turn right side out.
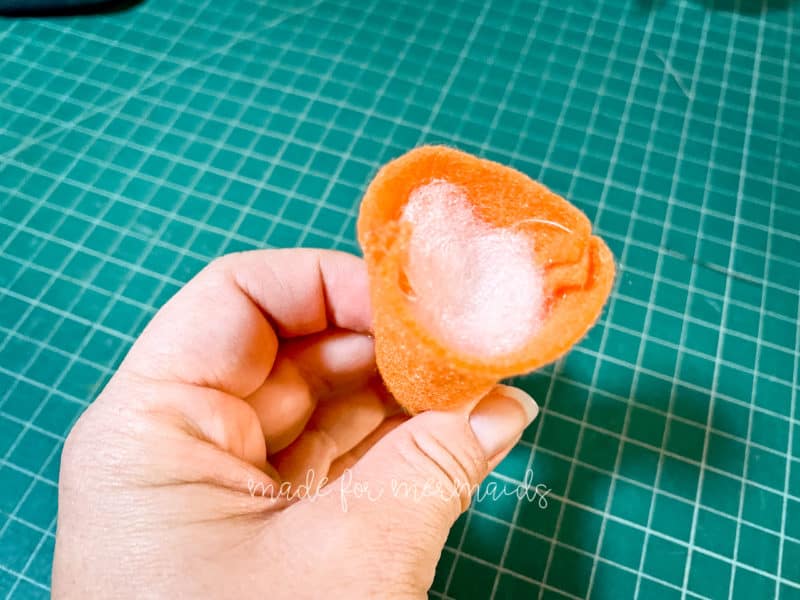
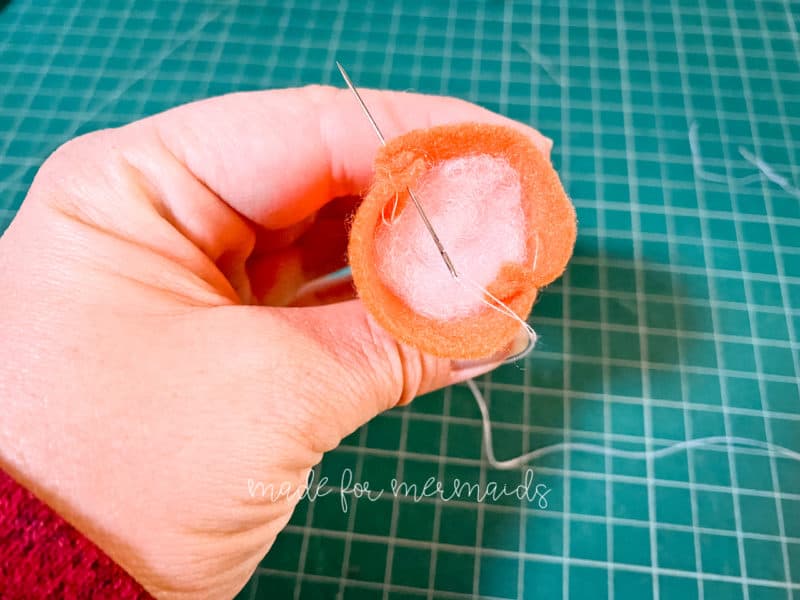
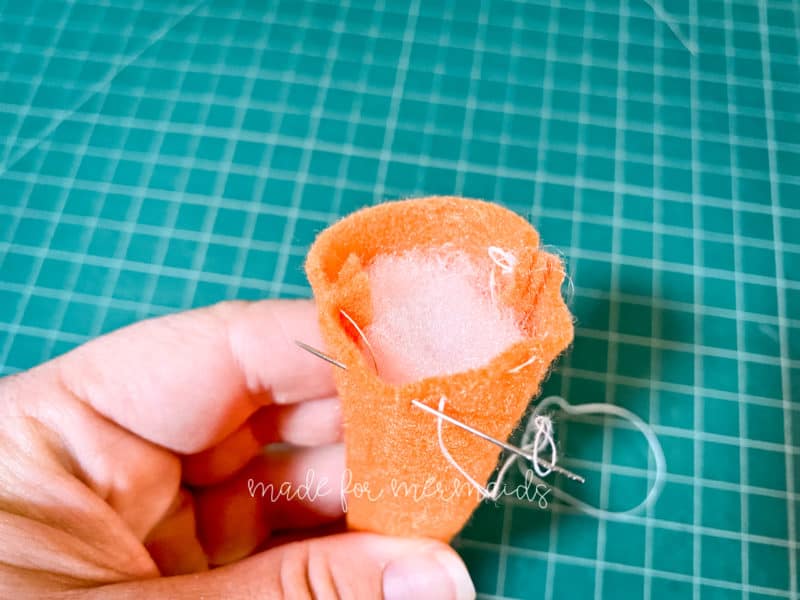
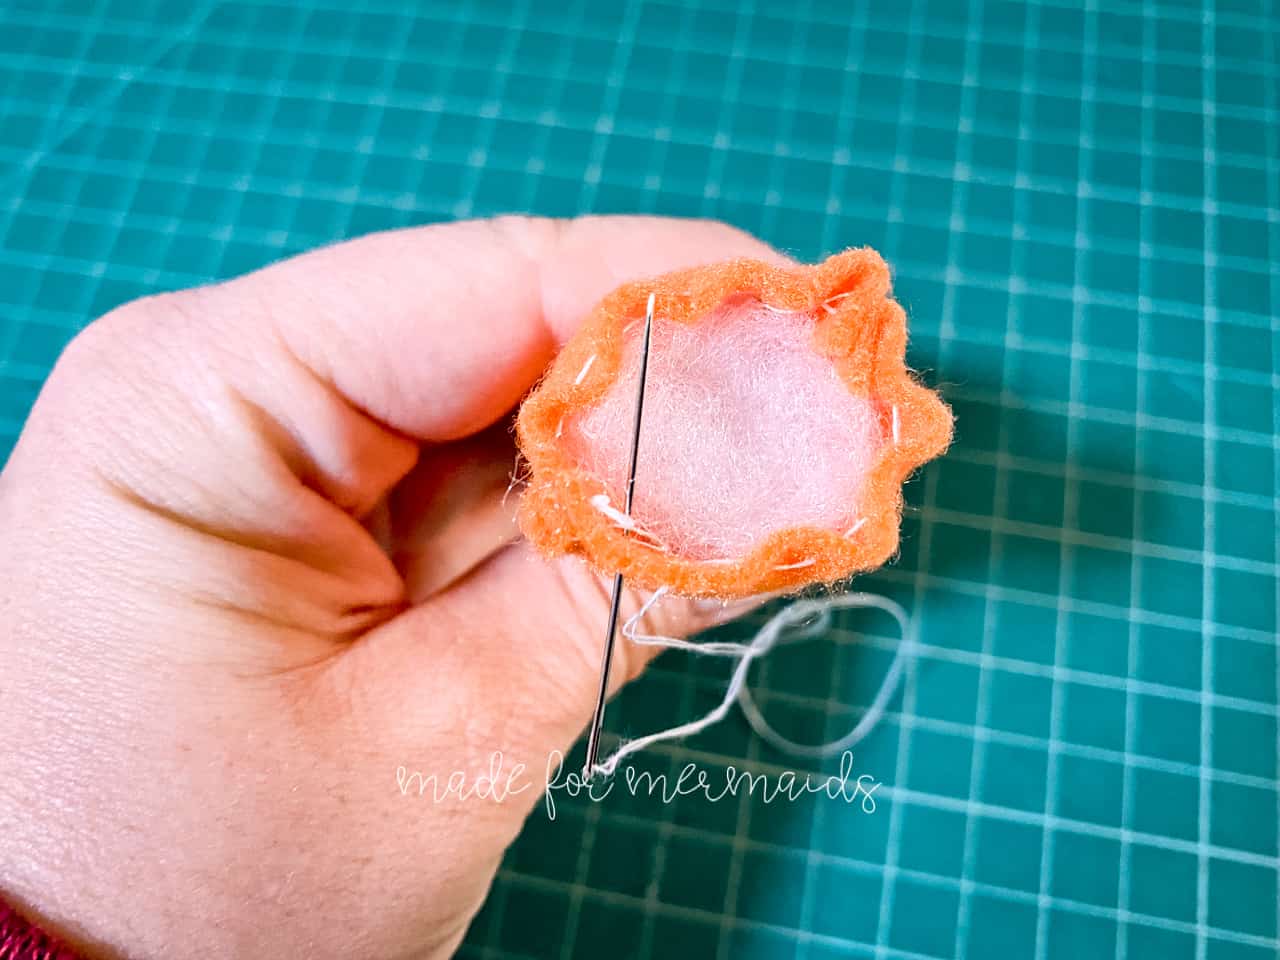
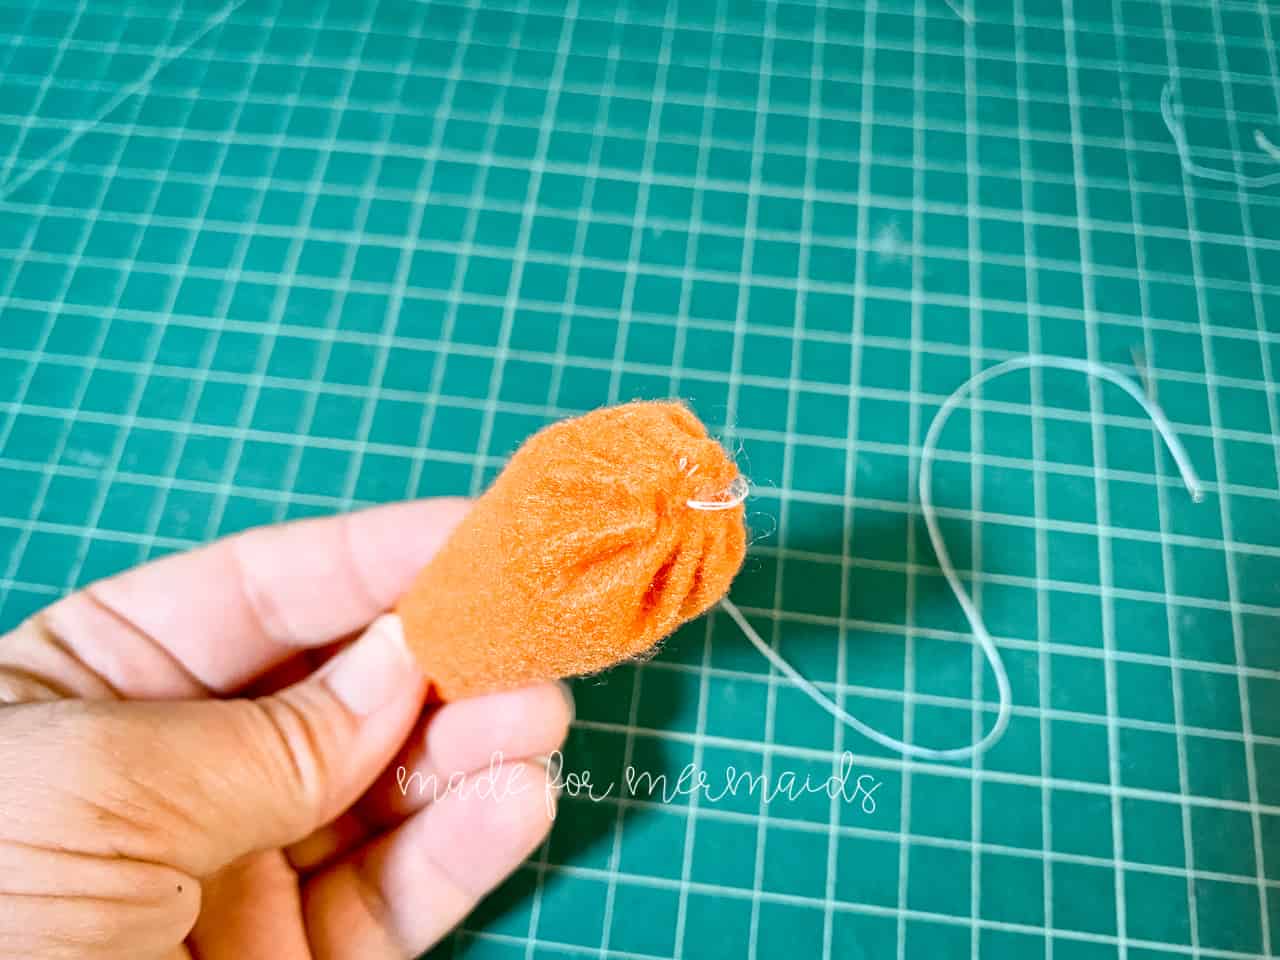
Fill with polyfil. Baste around the top raw edge of the carrot. Once you’ve stitched around the top opening, begin to gather.
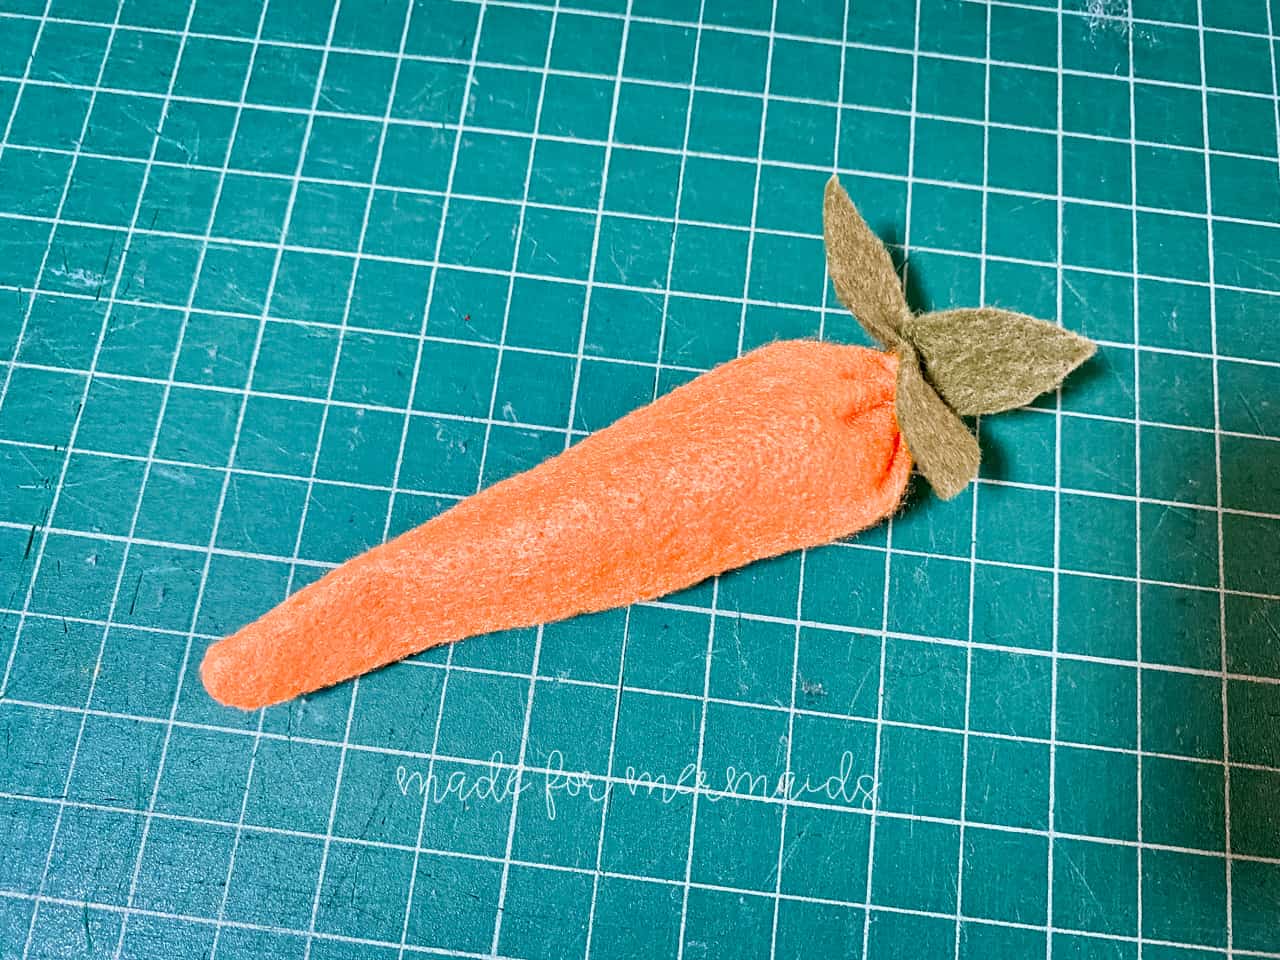
After gathering gently, secure with a few additional stitches and a knot. Attach stem using a few hand stitches.
Cookies
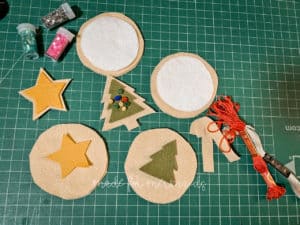
Gather all of your cookie supplies – you can use glitter, beads, embroidery floss, sequins, etc. to embellish if you’d like. Depending on what cookie options you use, you may need different pieces. However, all cookies need at least a front and a back piece. Frosting pieces are optional.
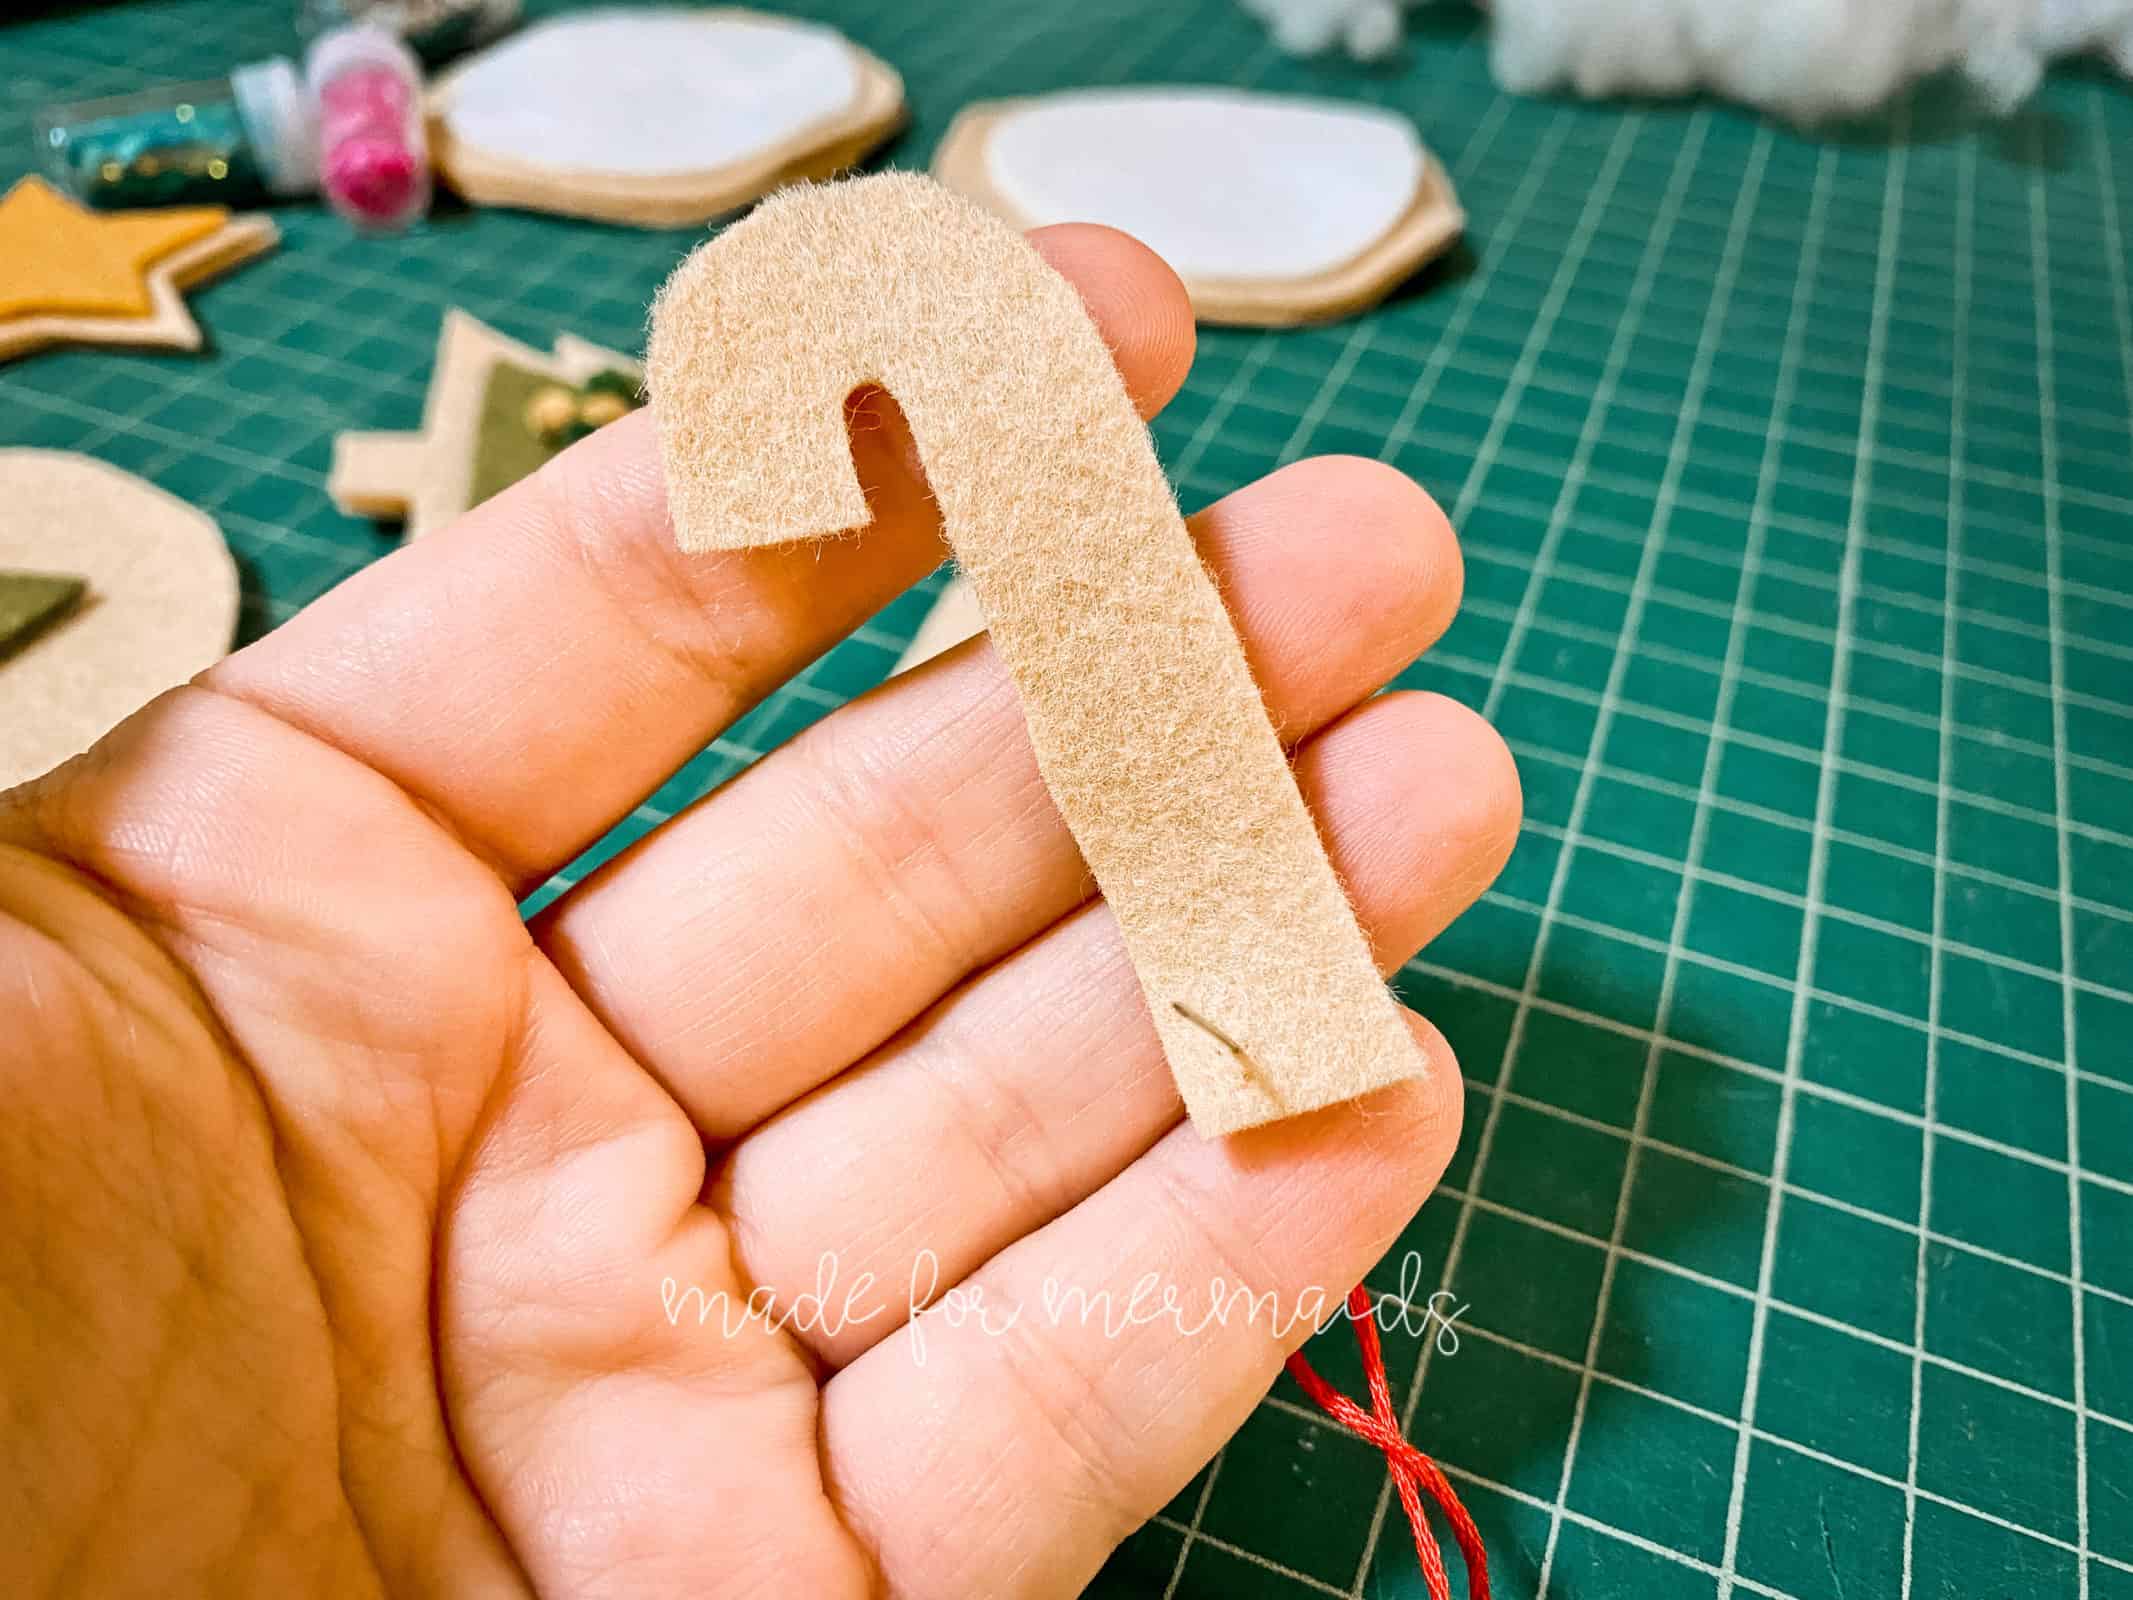
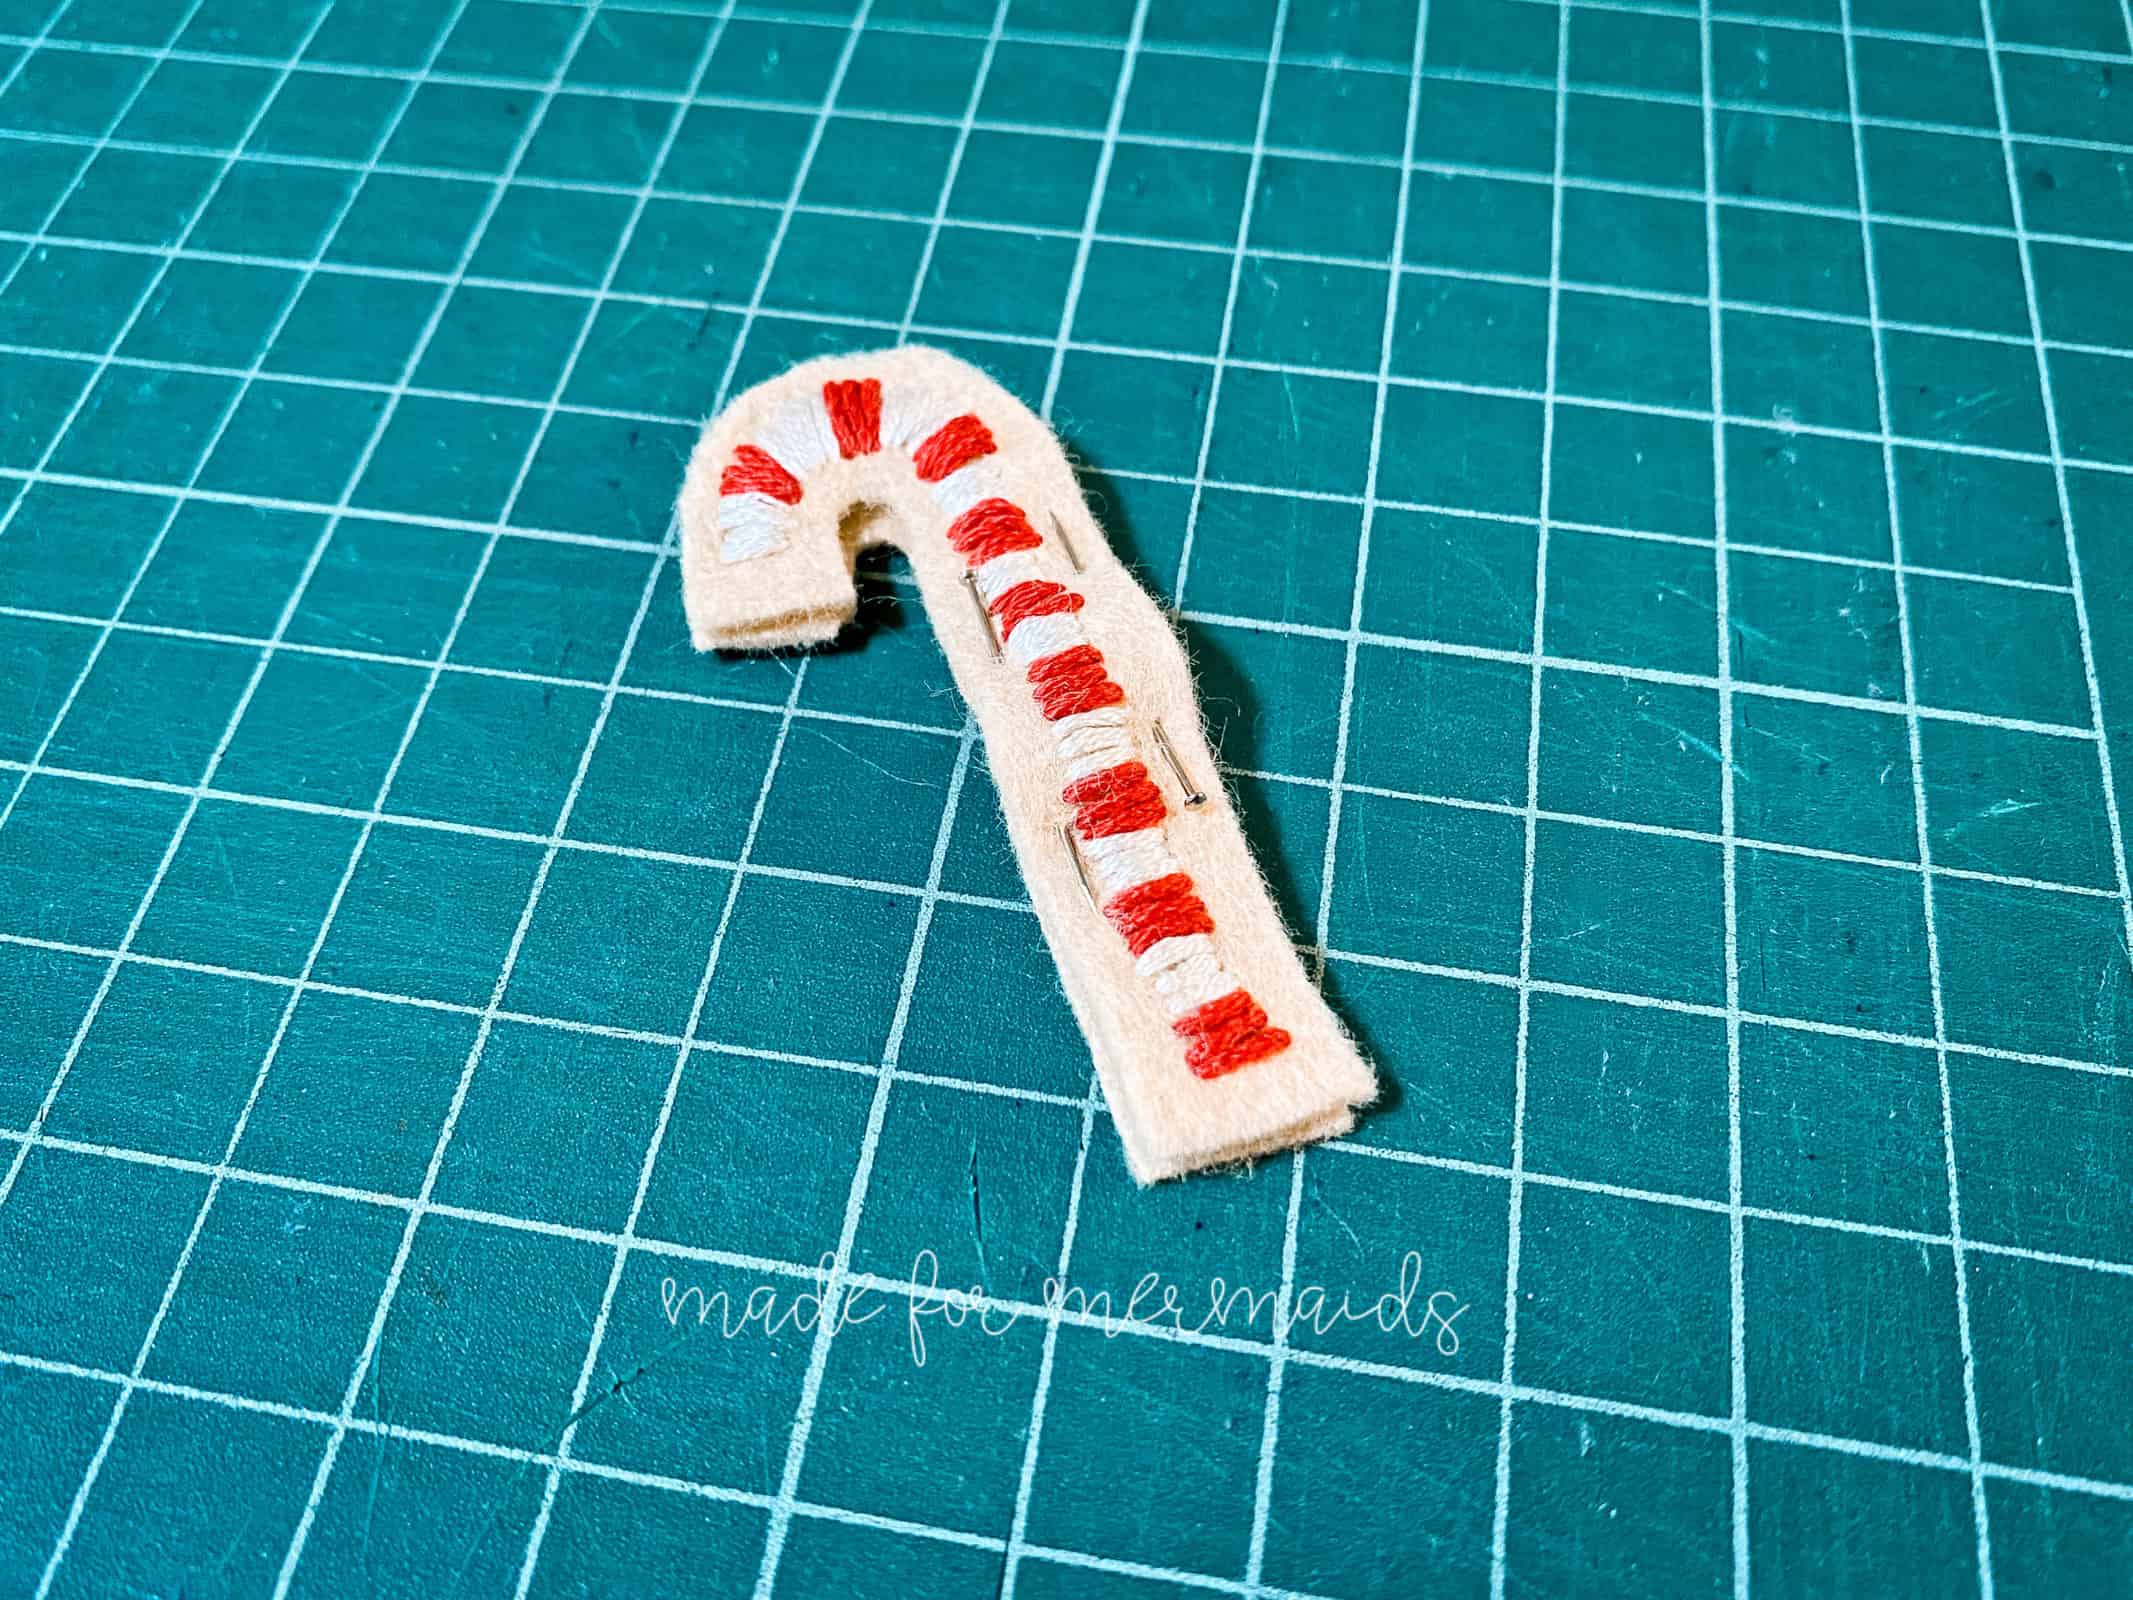
Candy Cane –
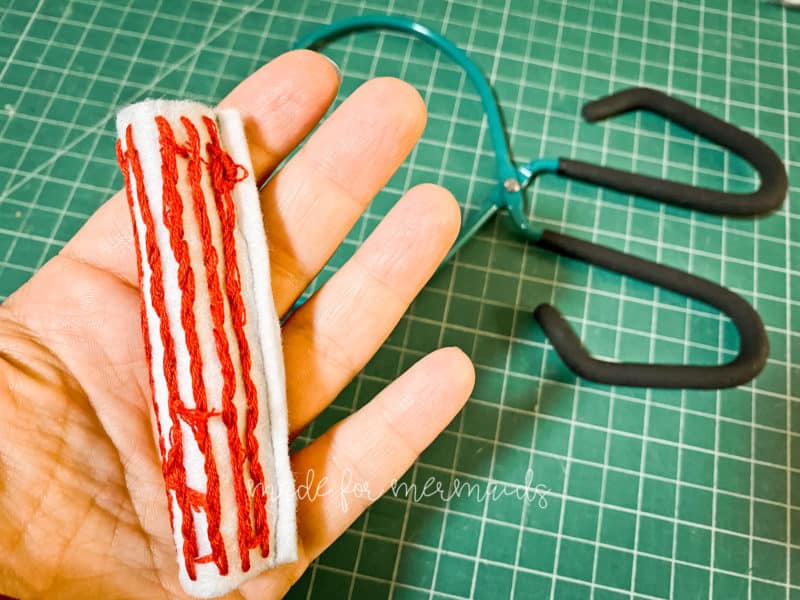
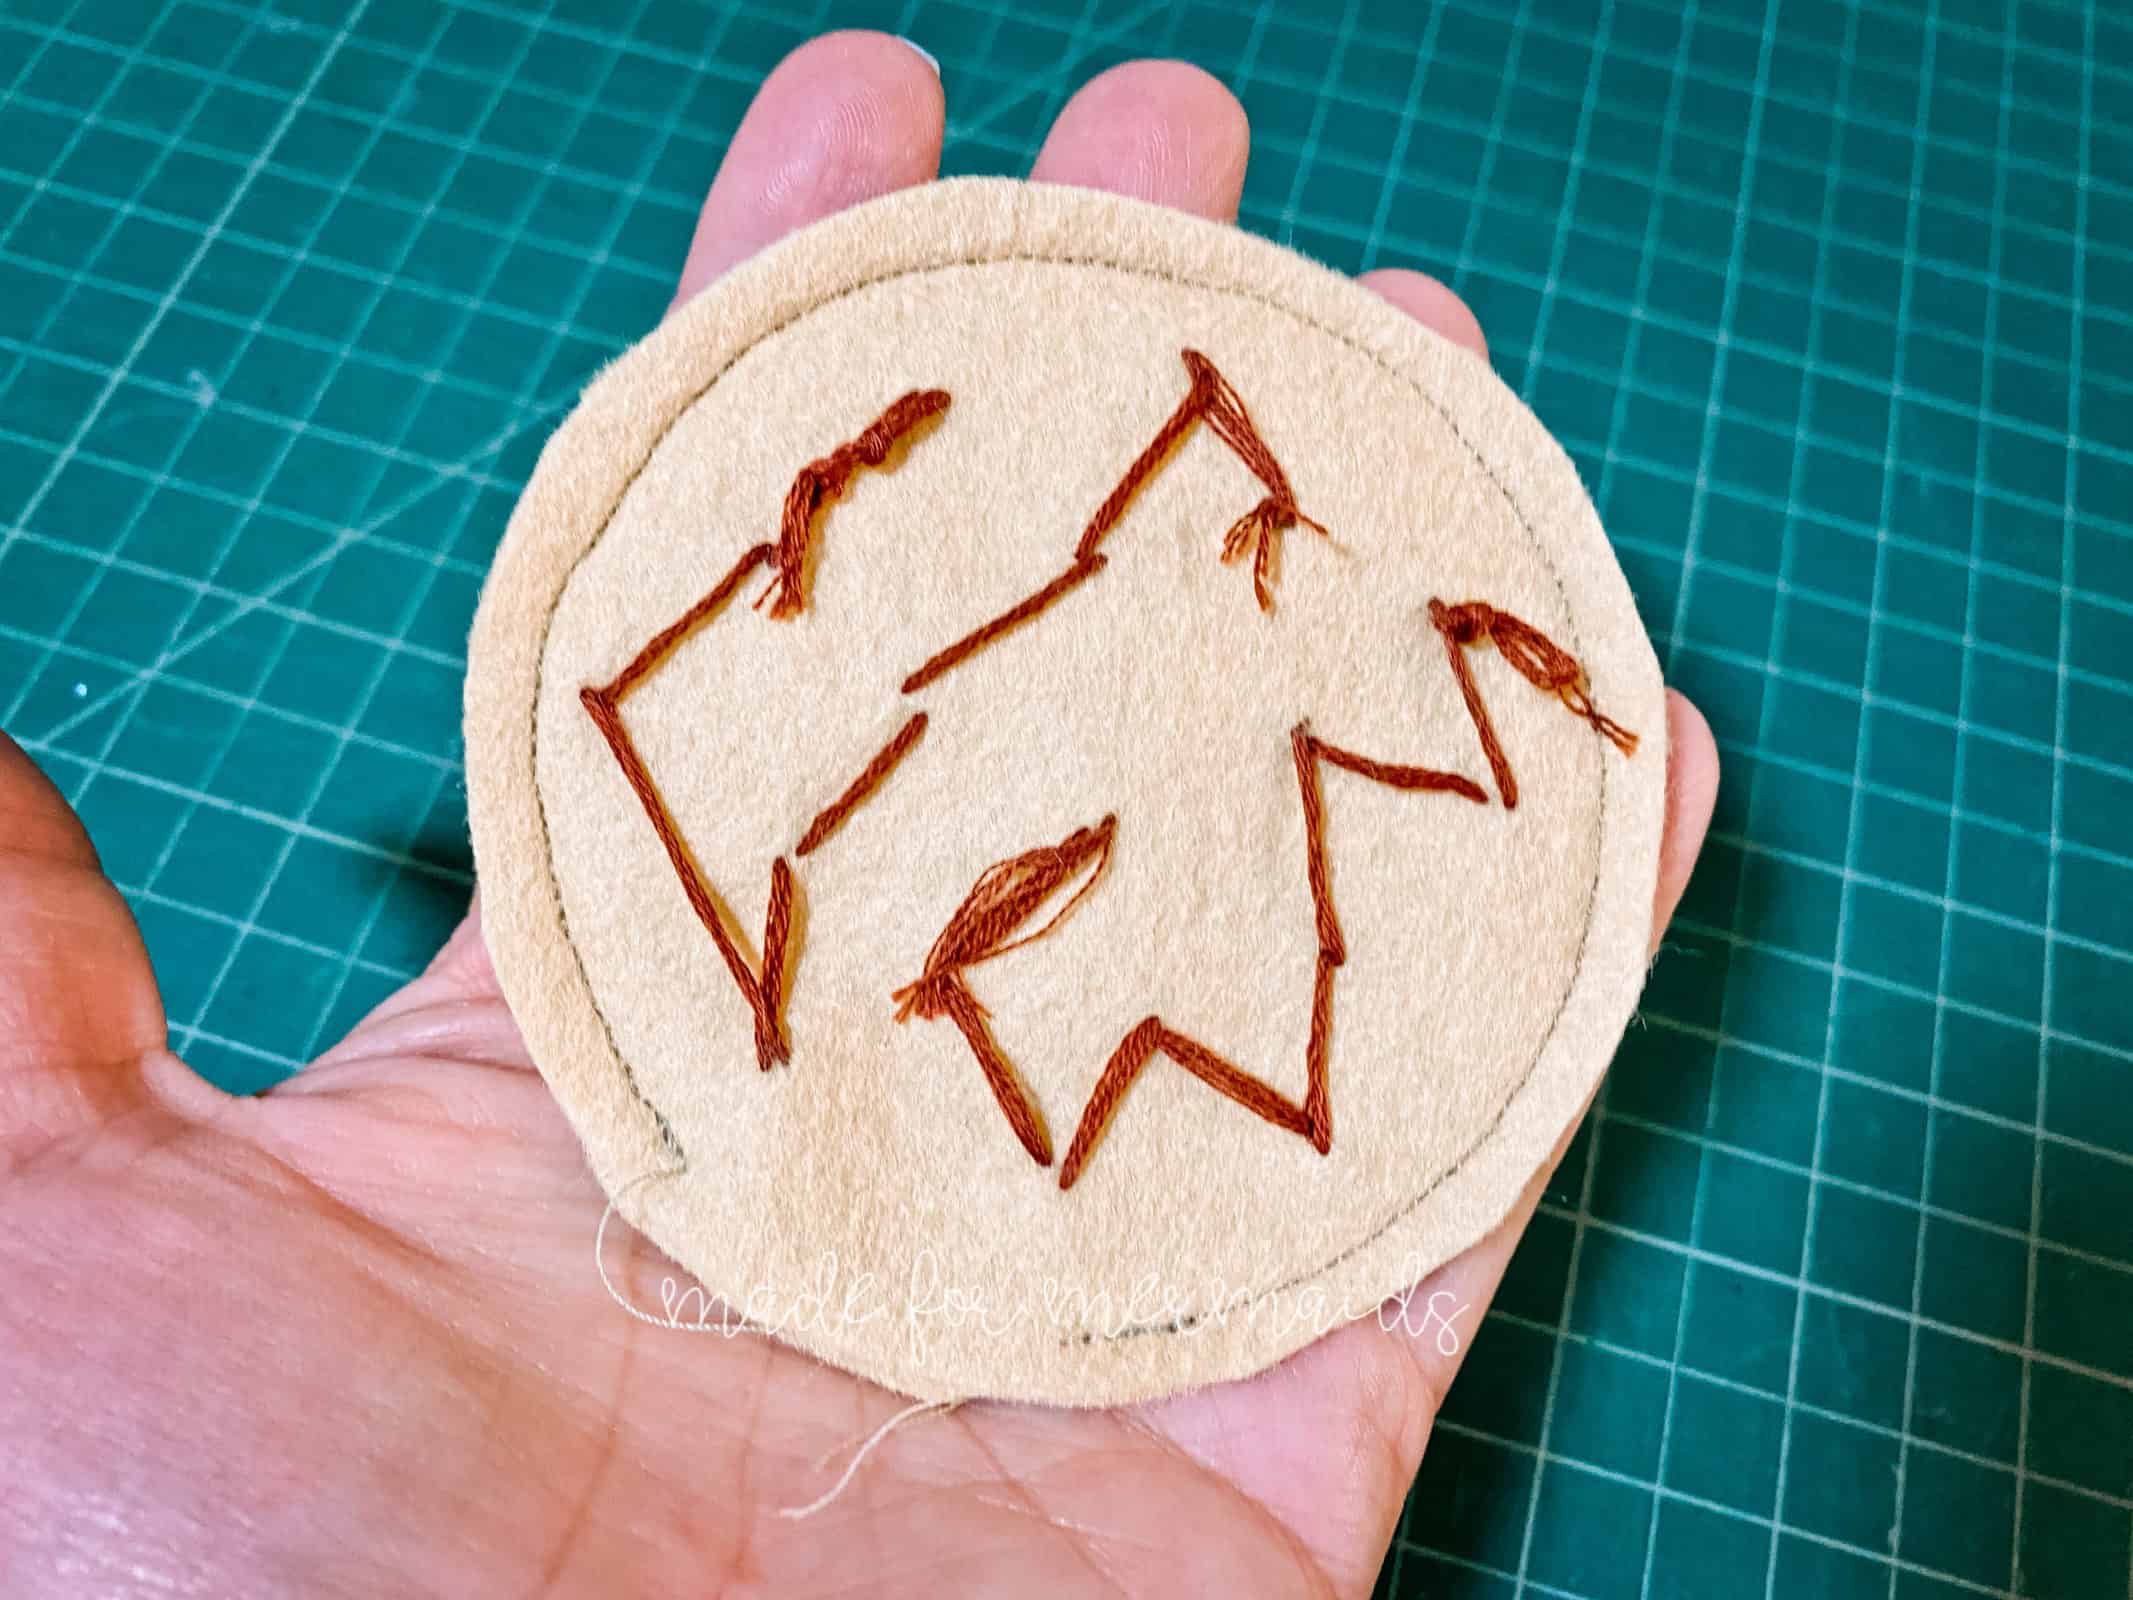
- Embellish using puff paint, embroidery, etc.
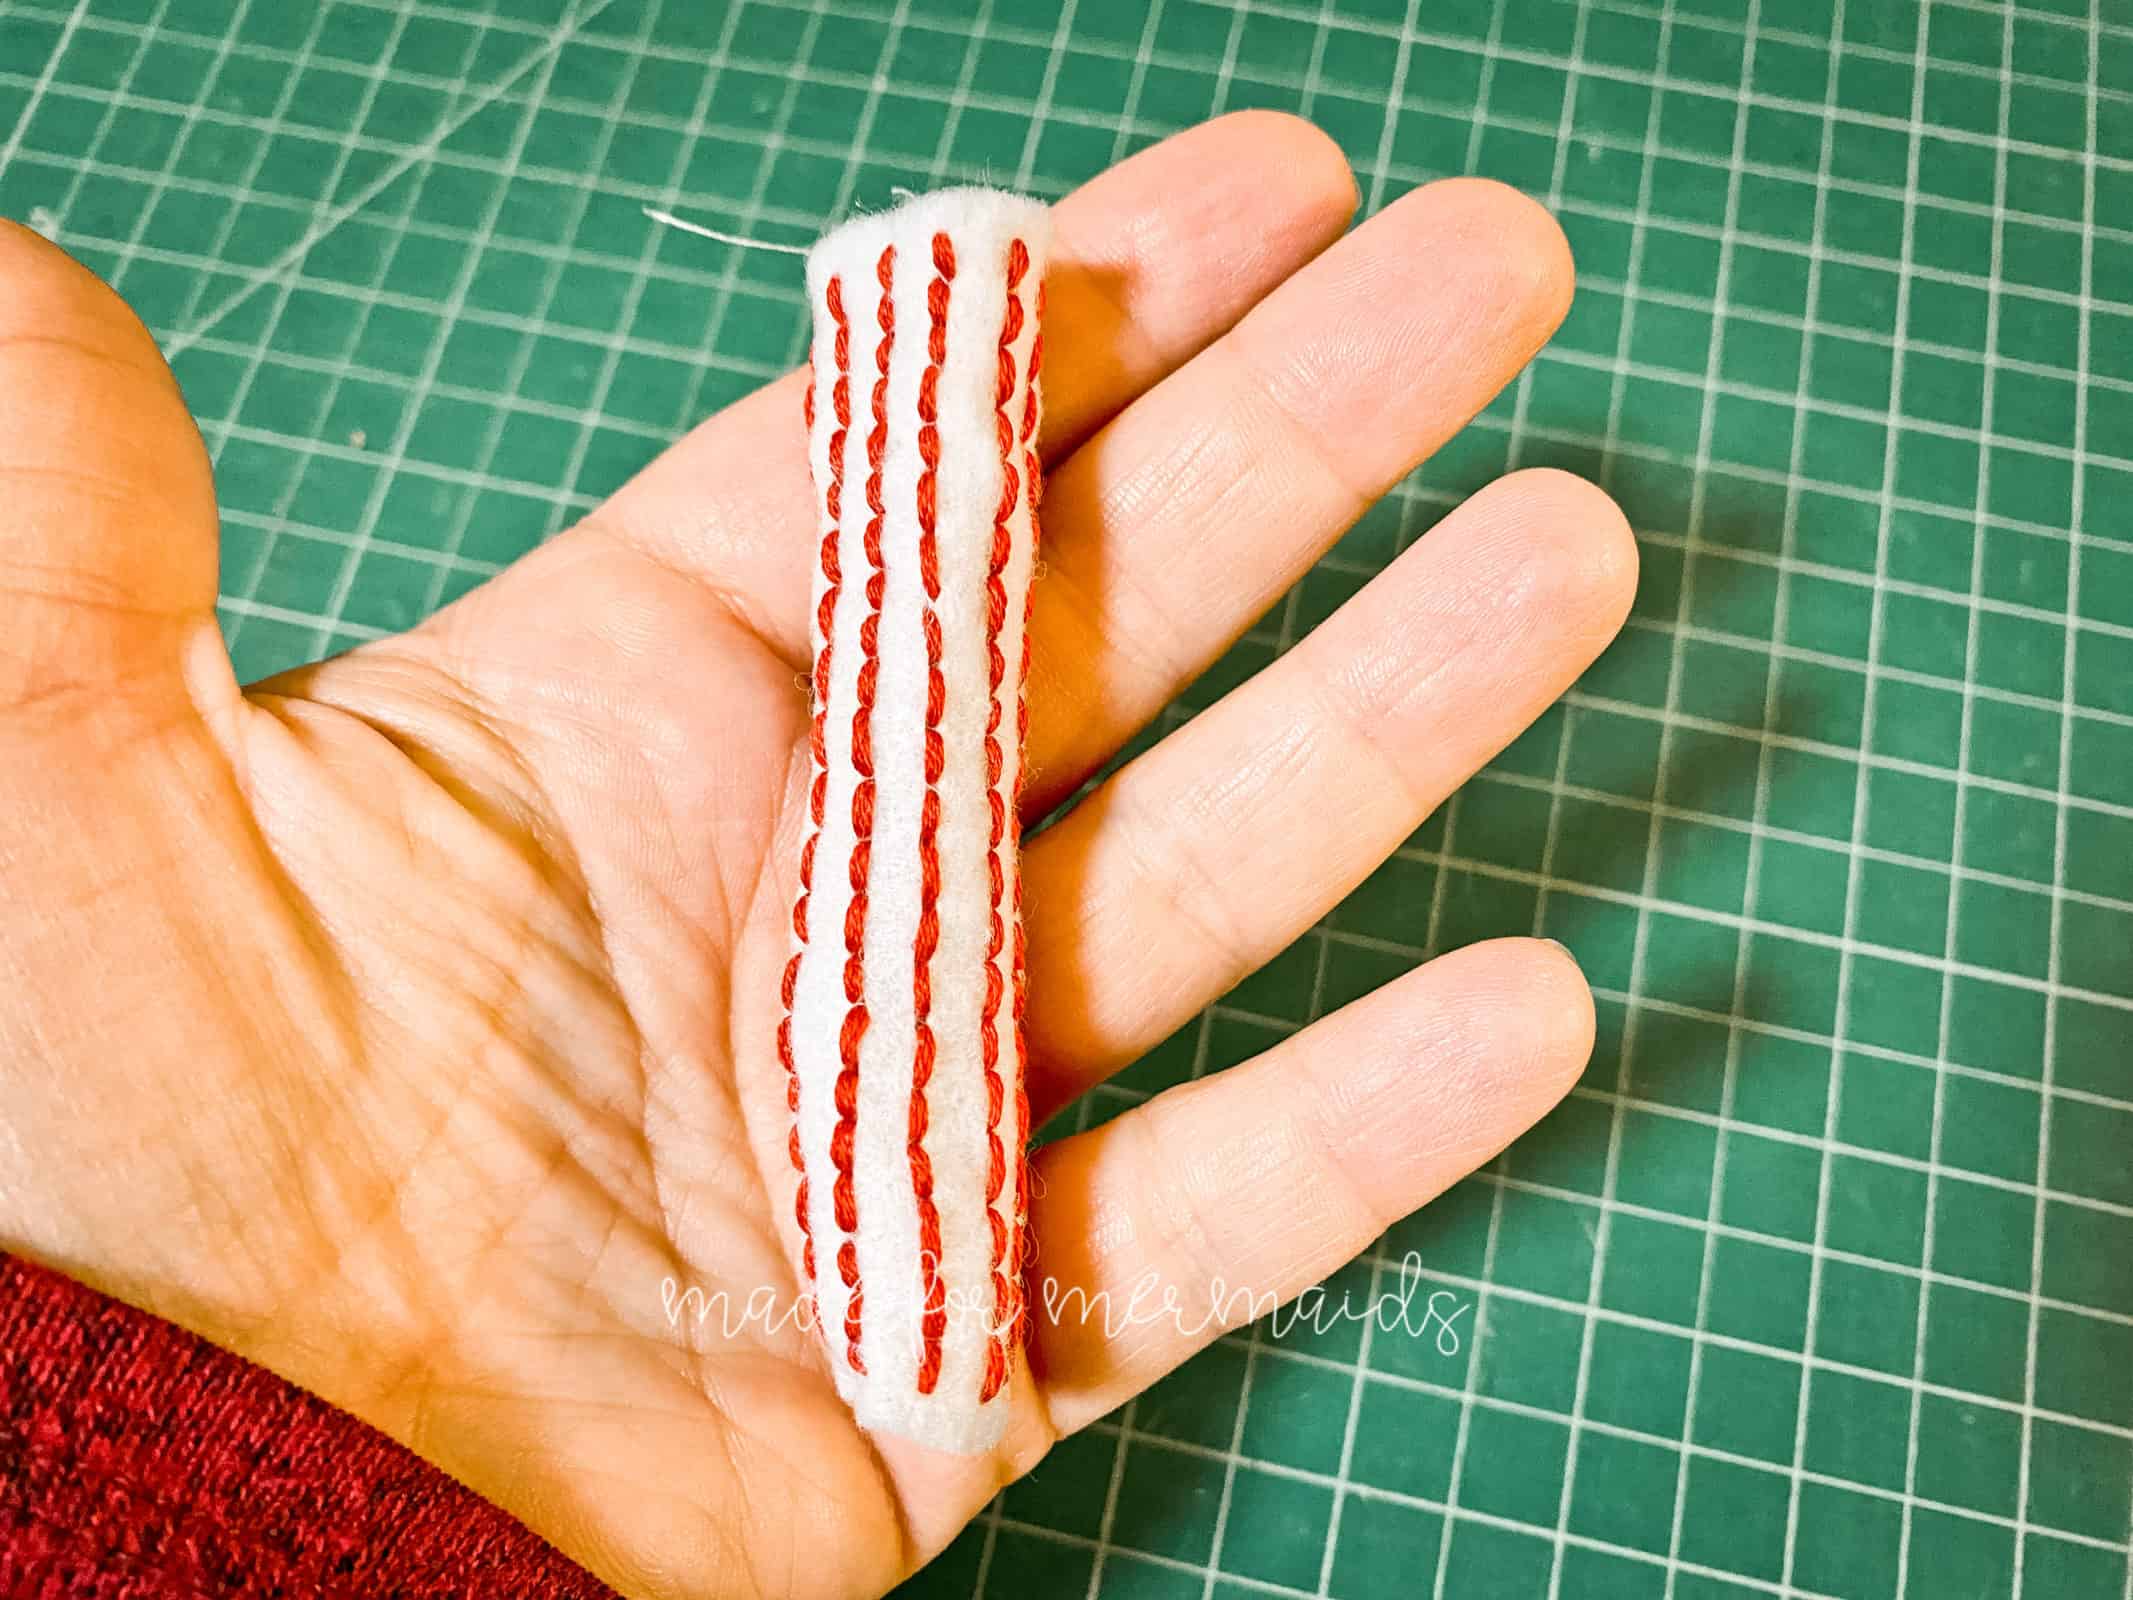
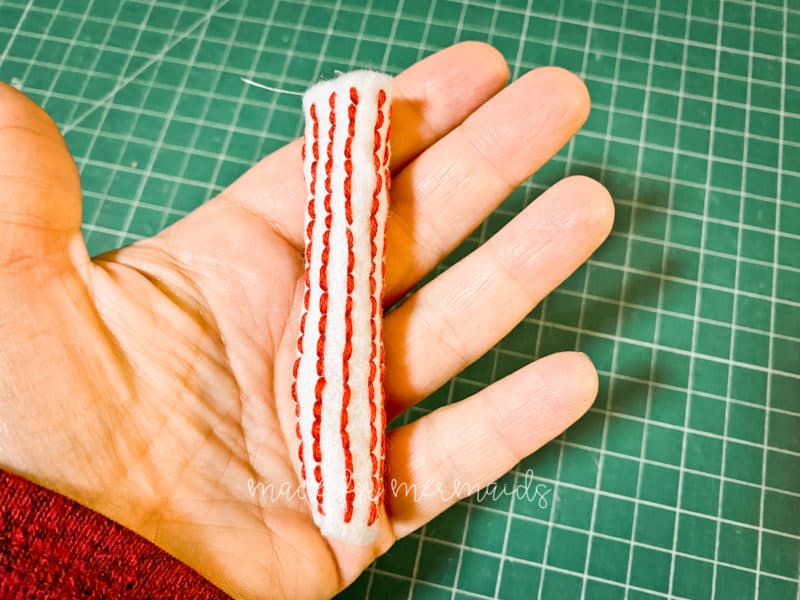
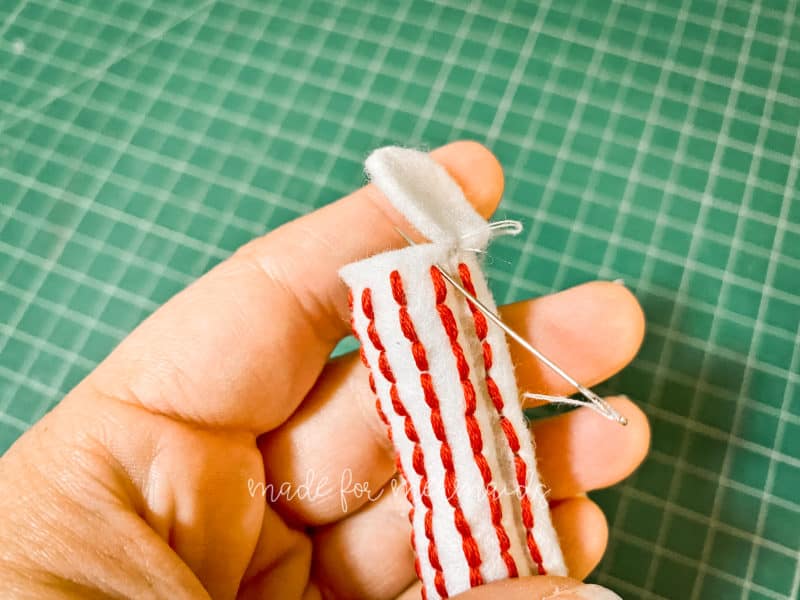
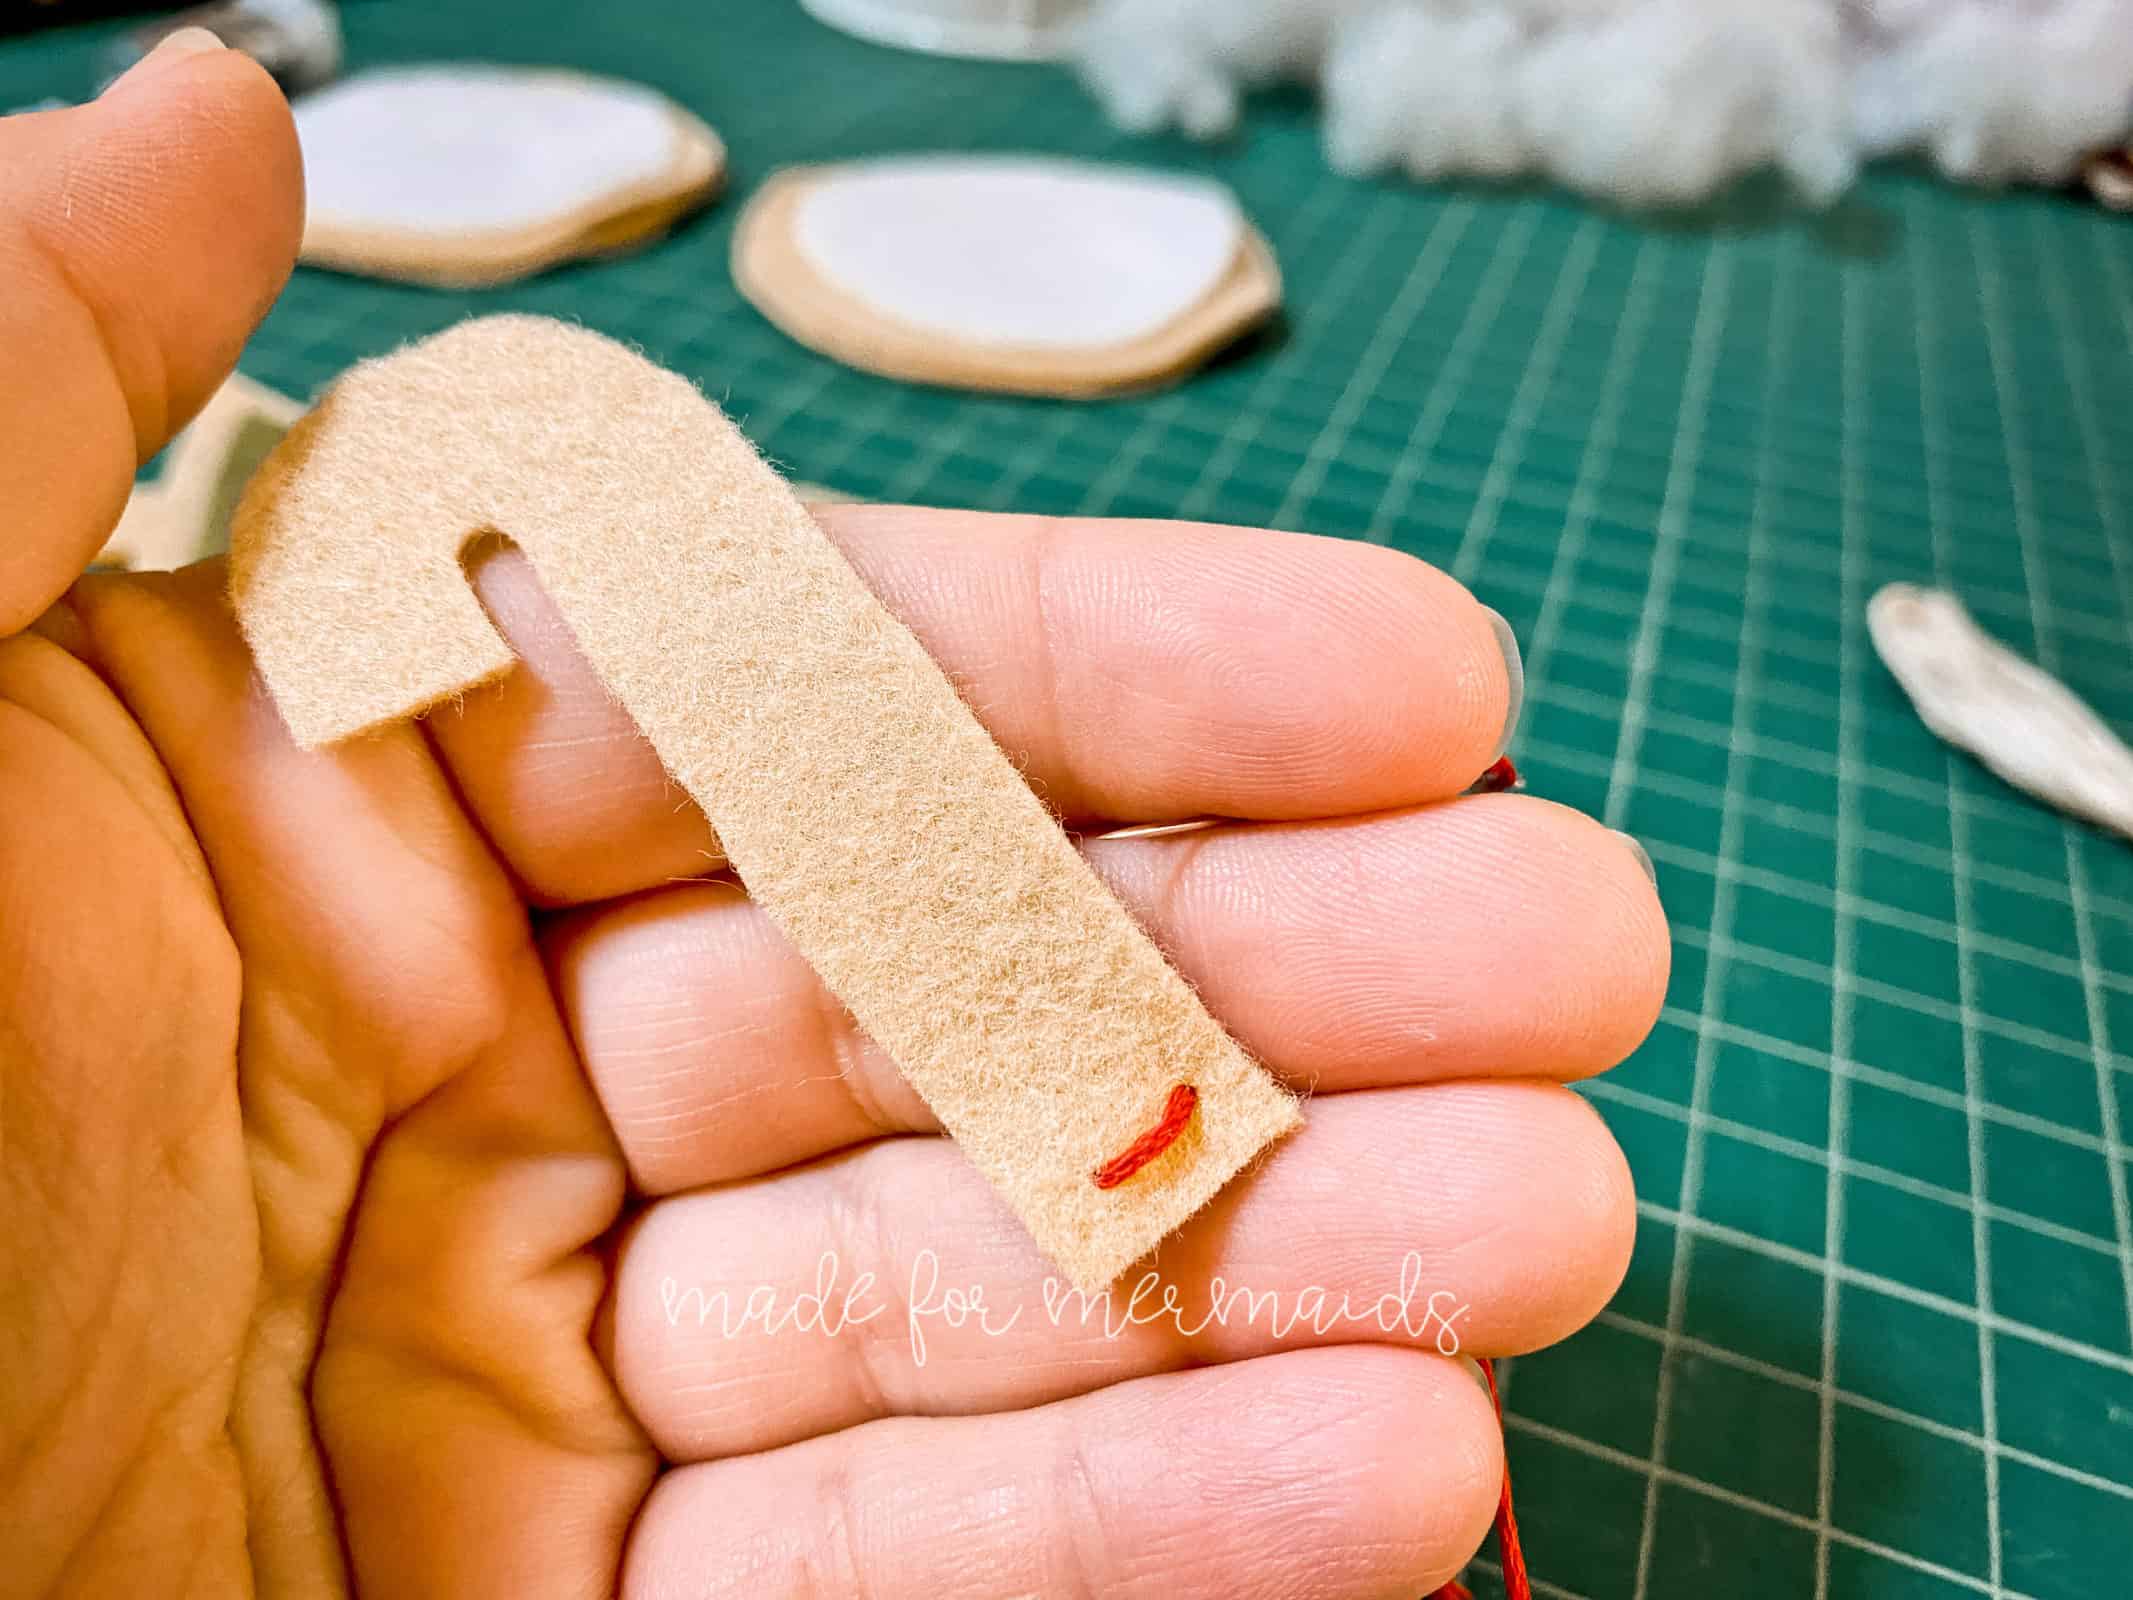
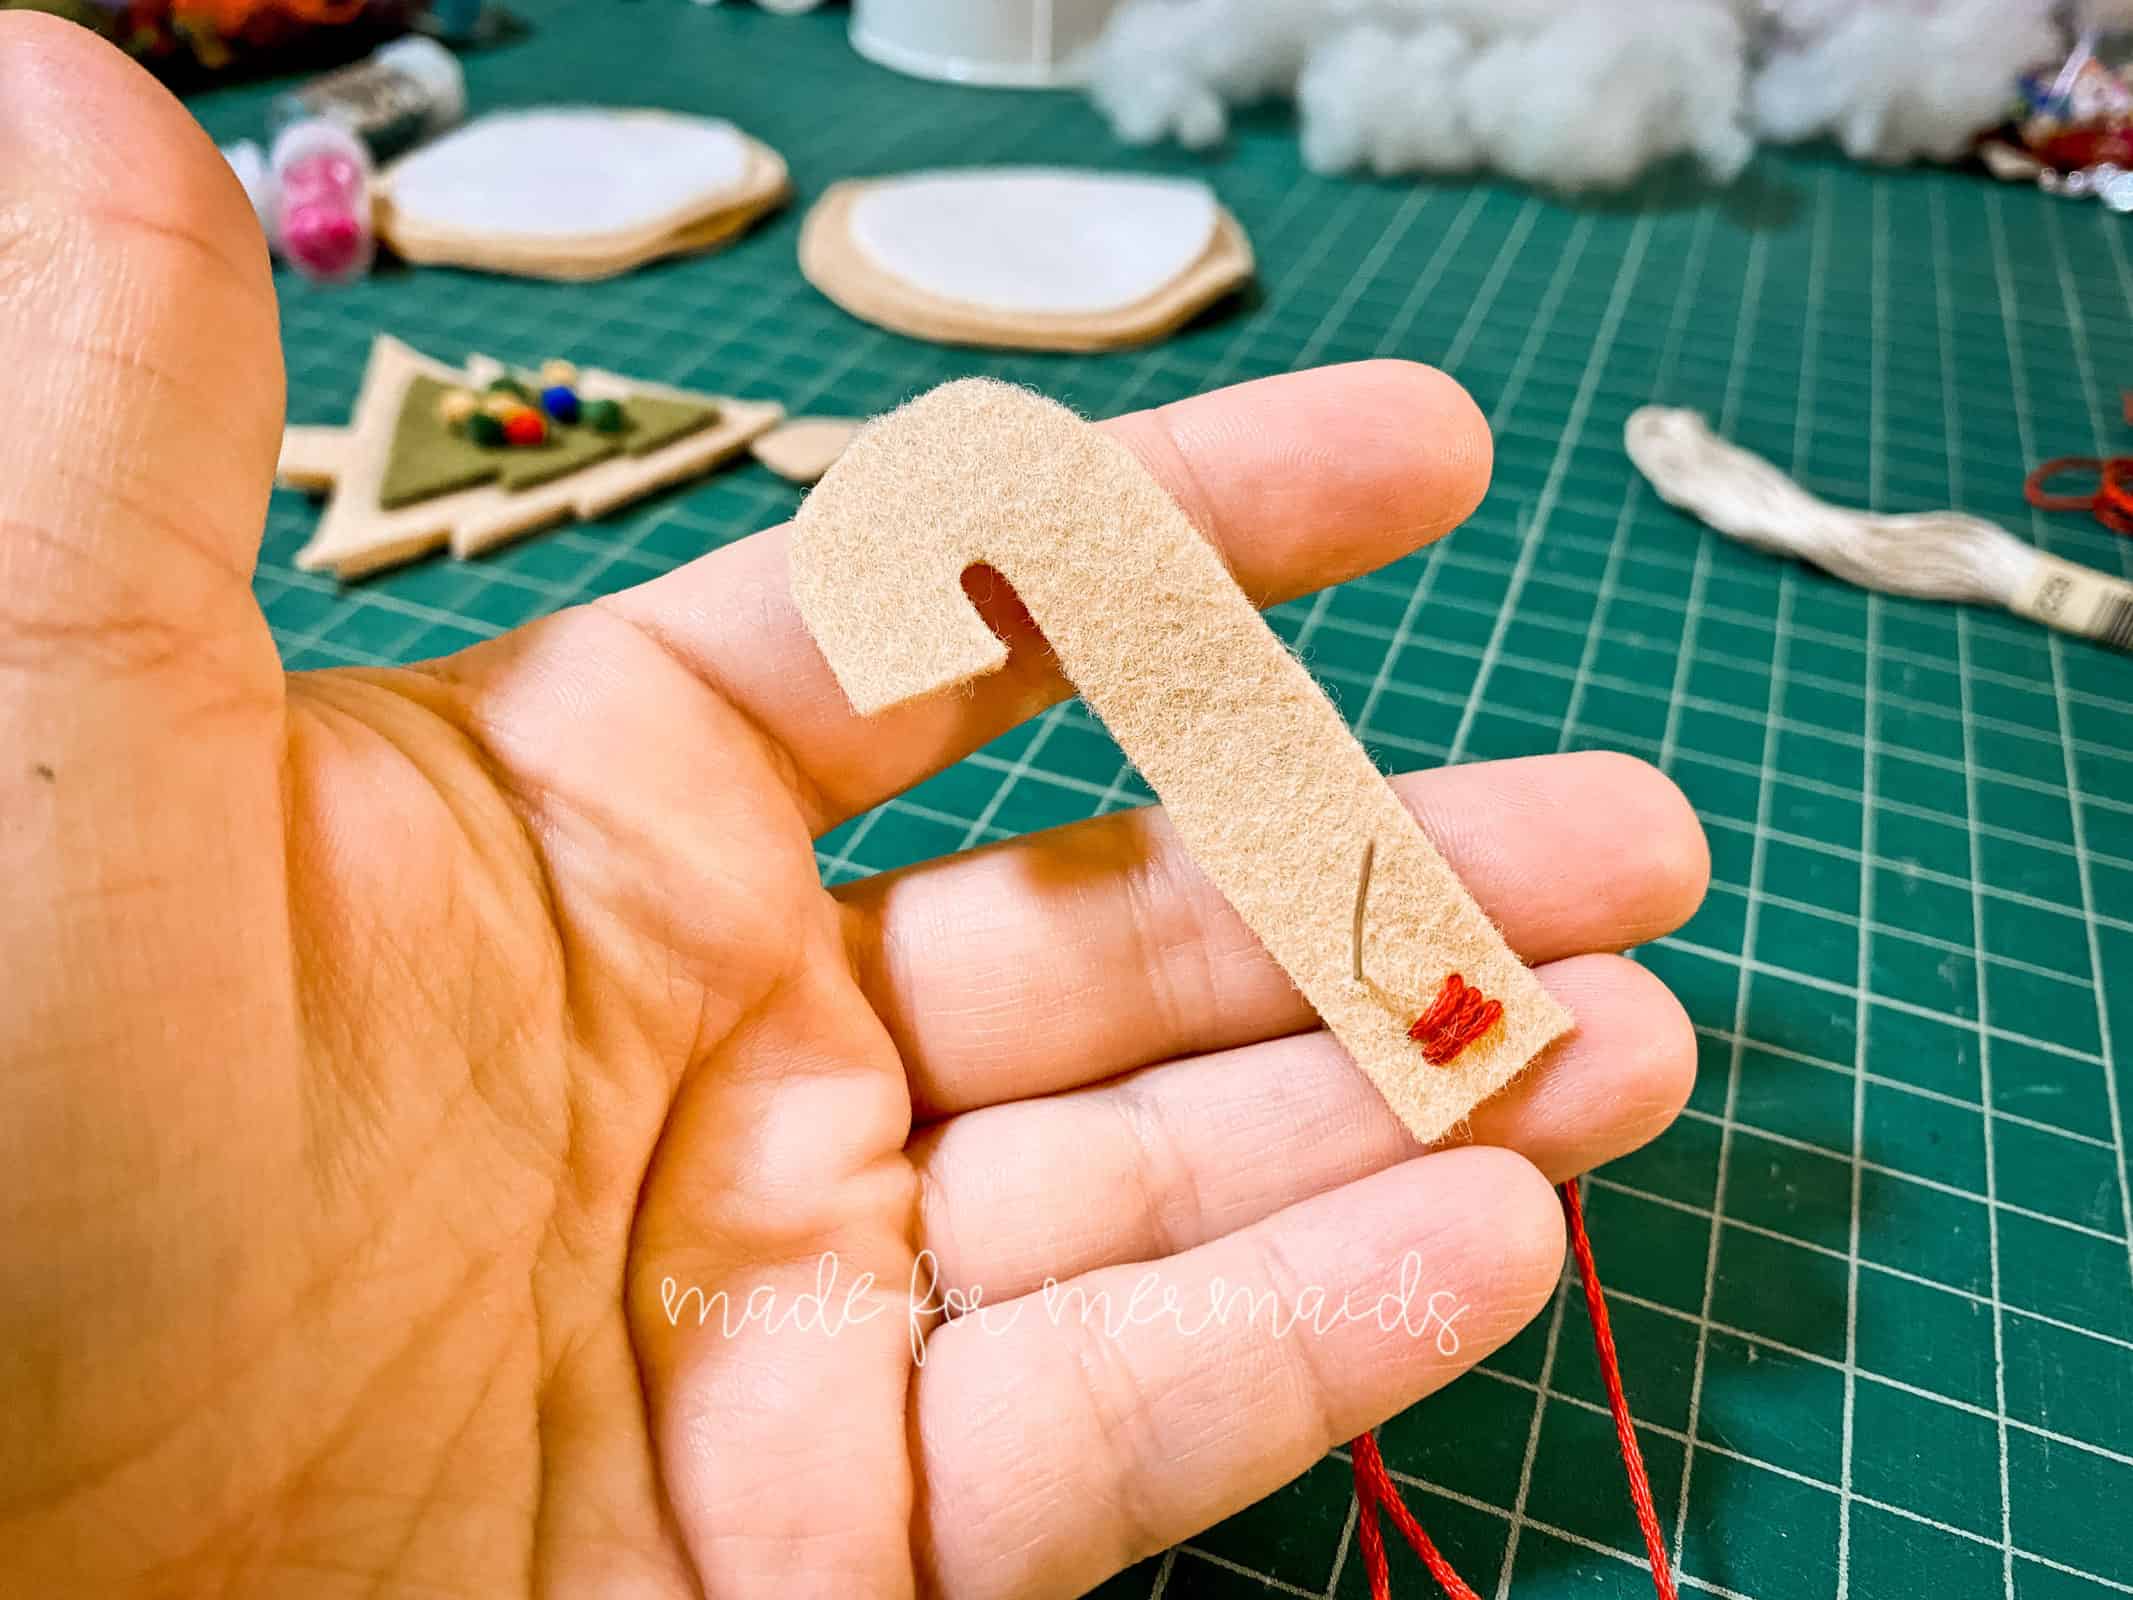
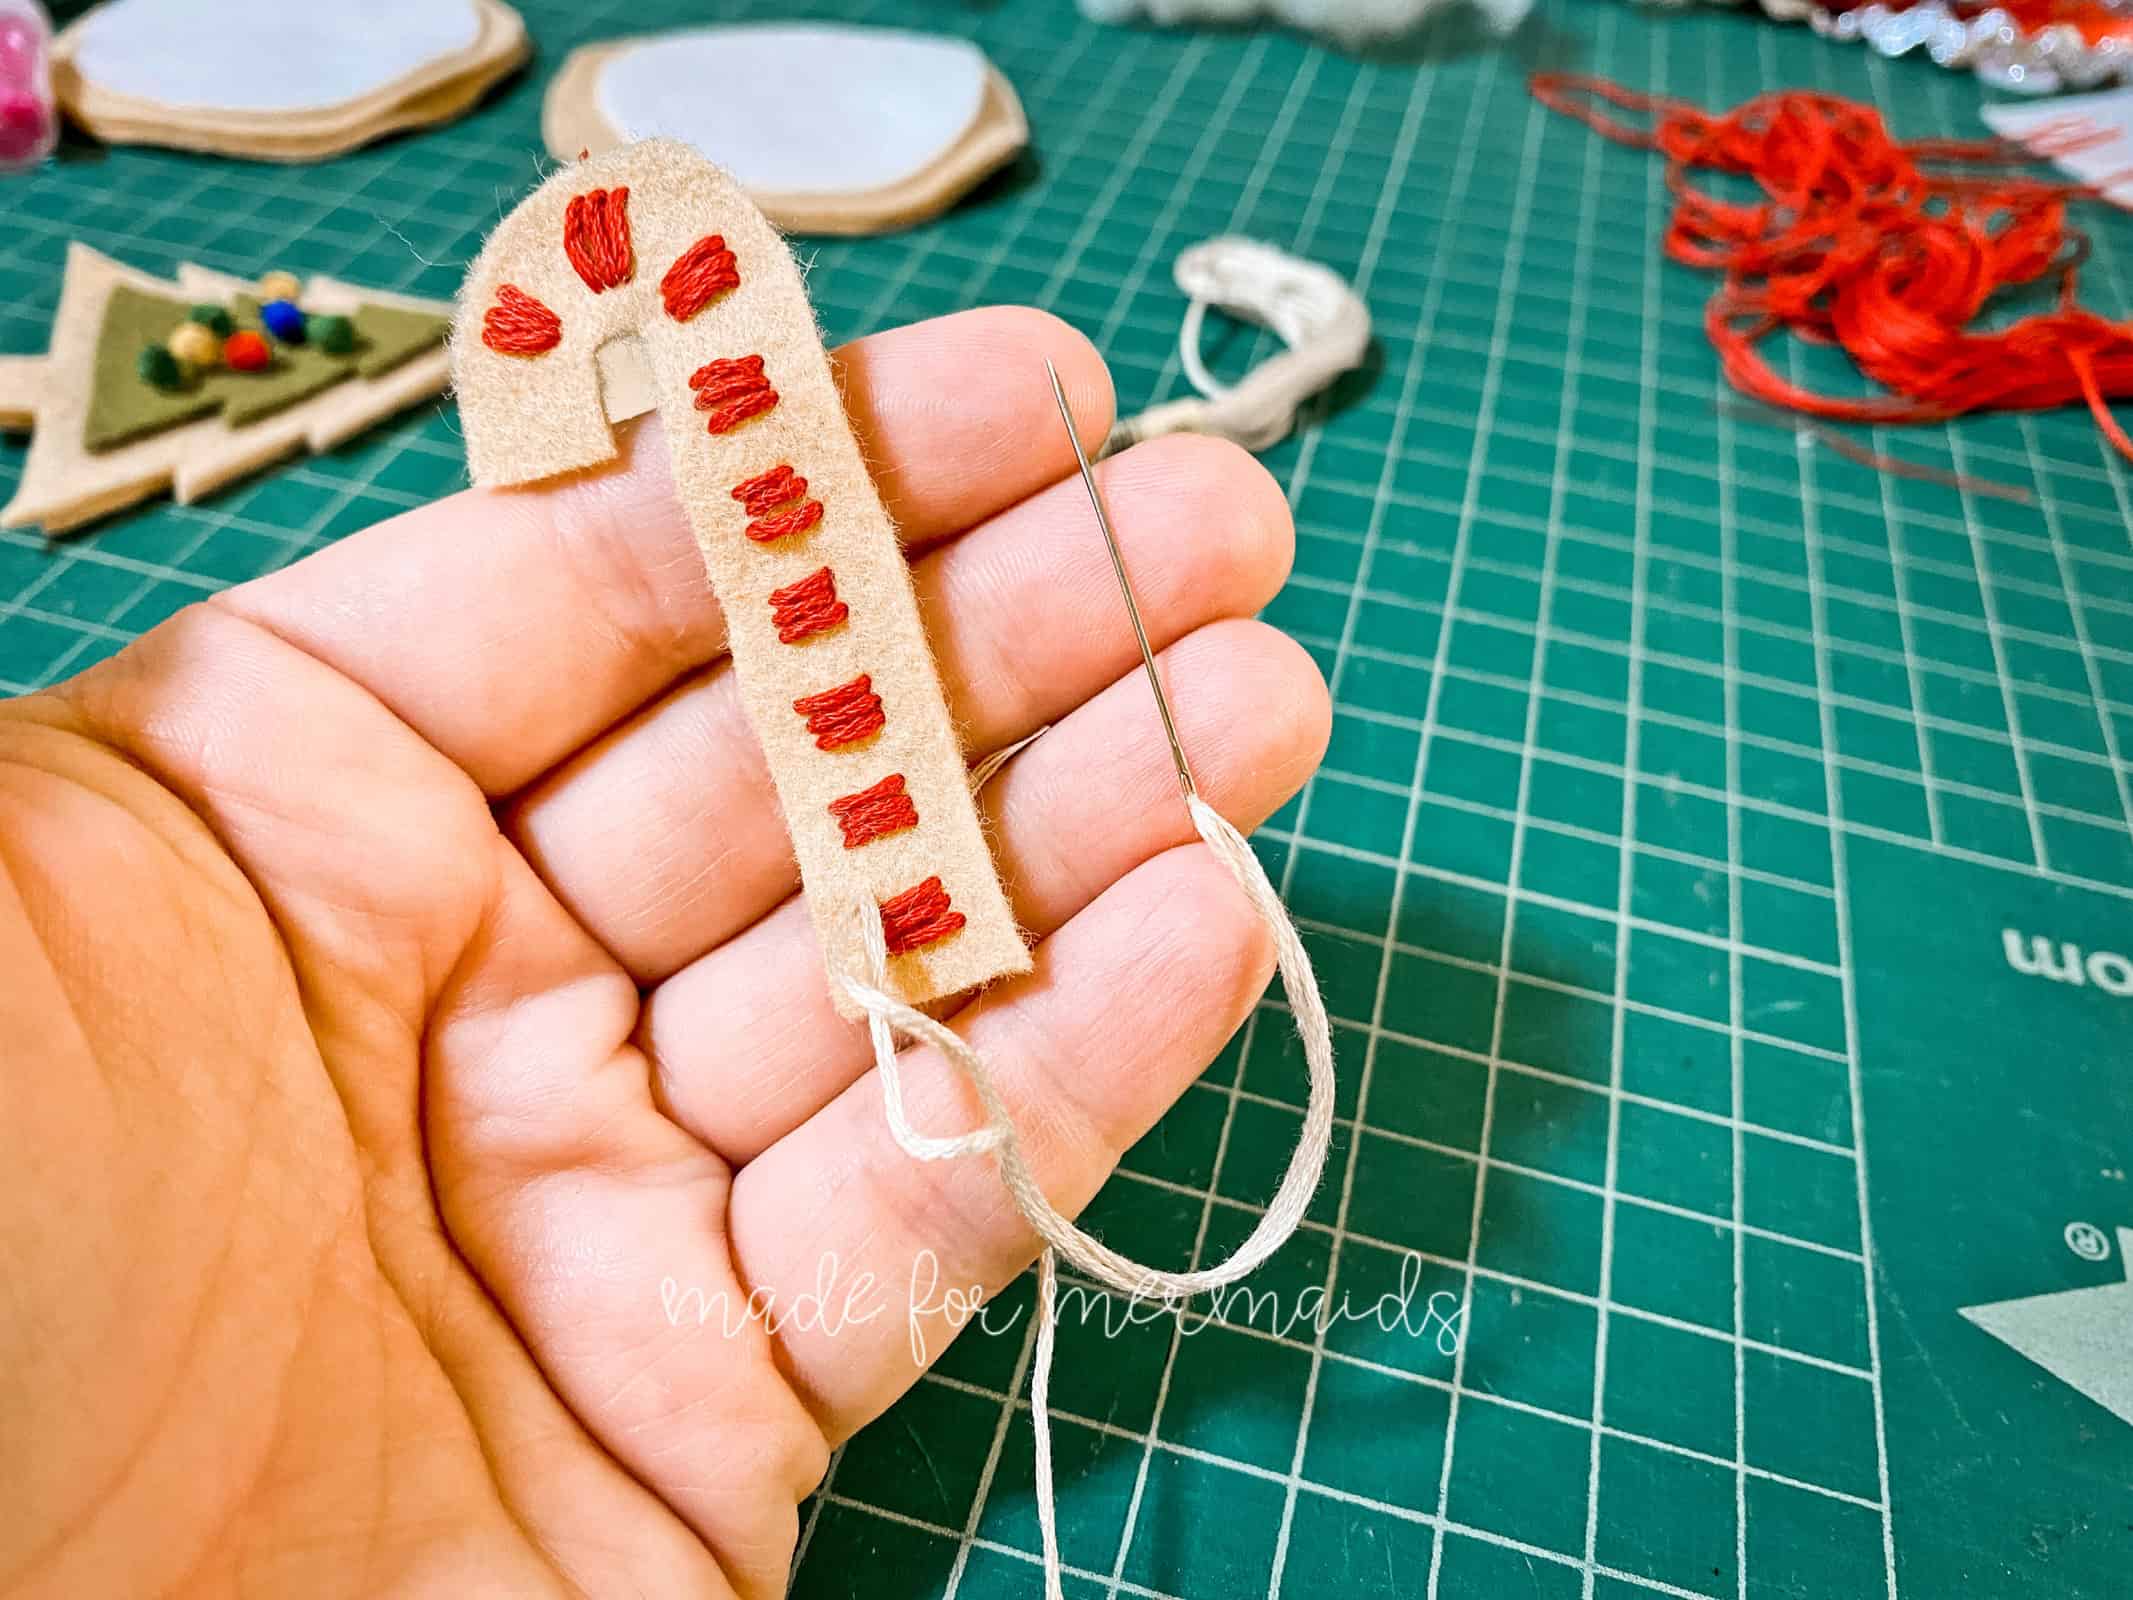
- I opted for embroidery, and alternated red and white.
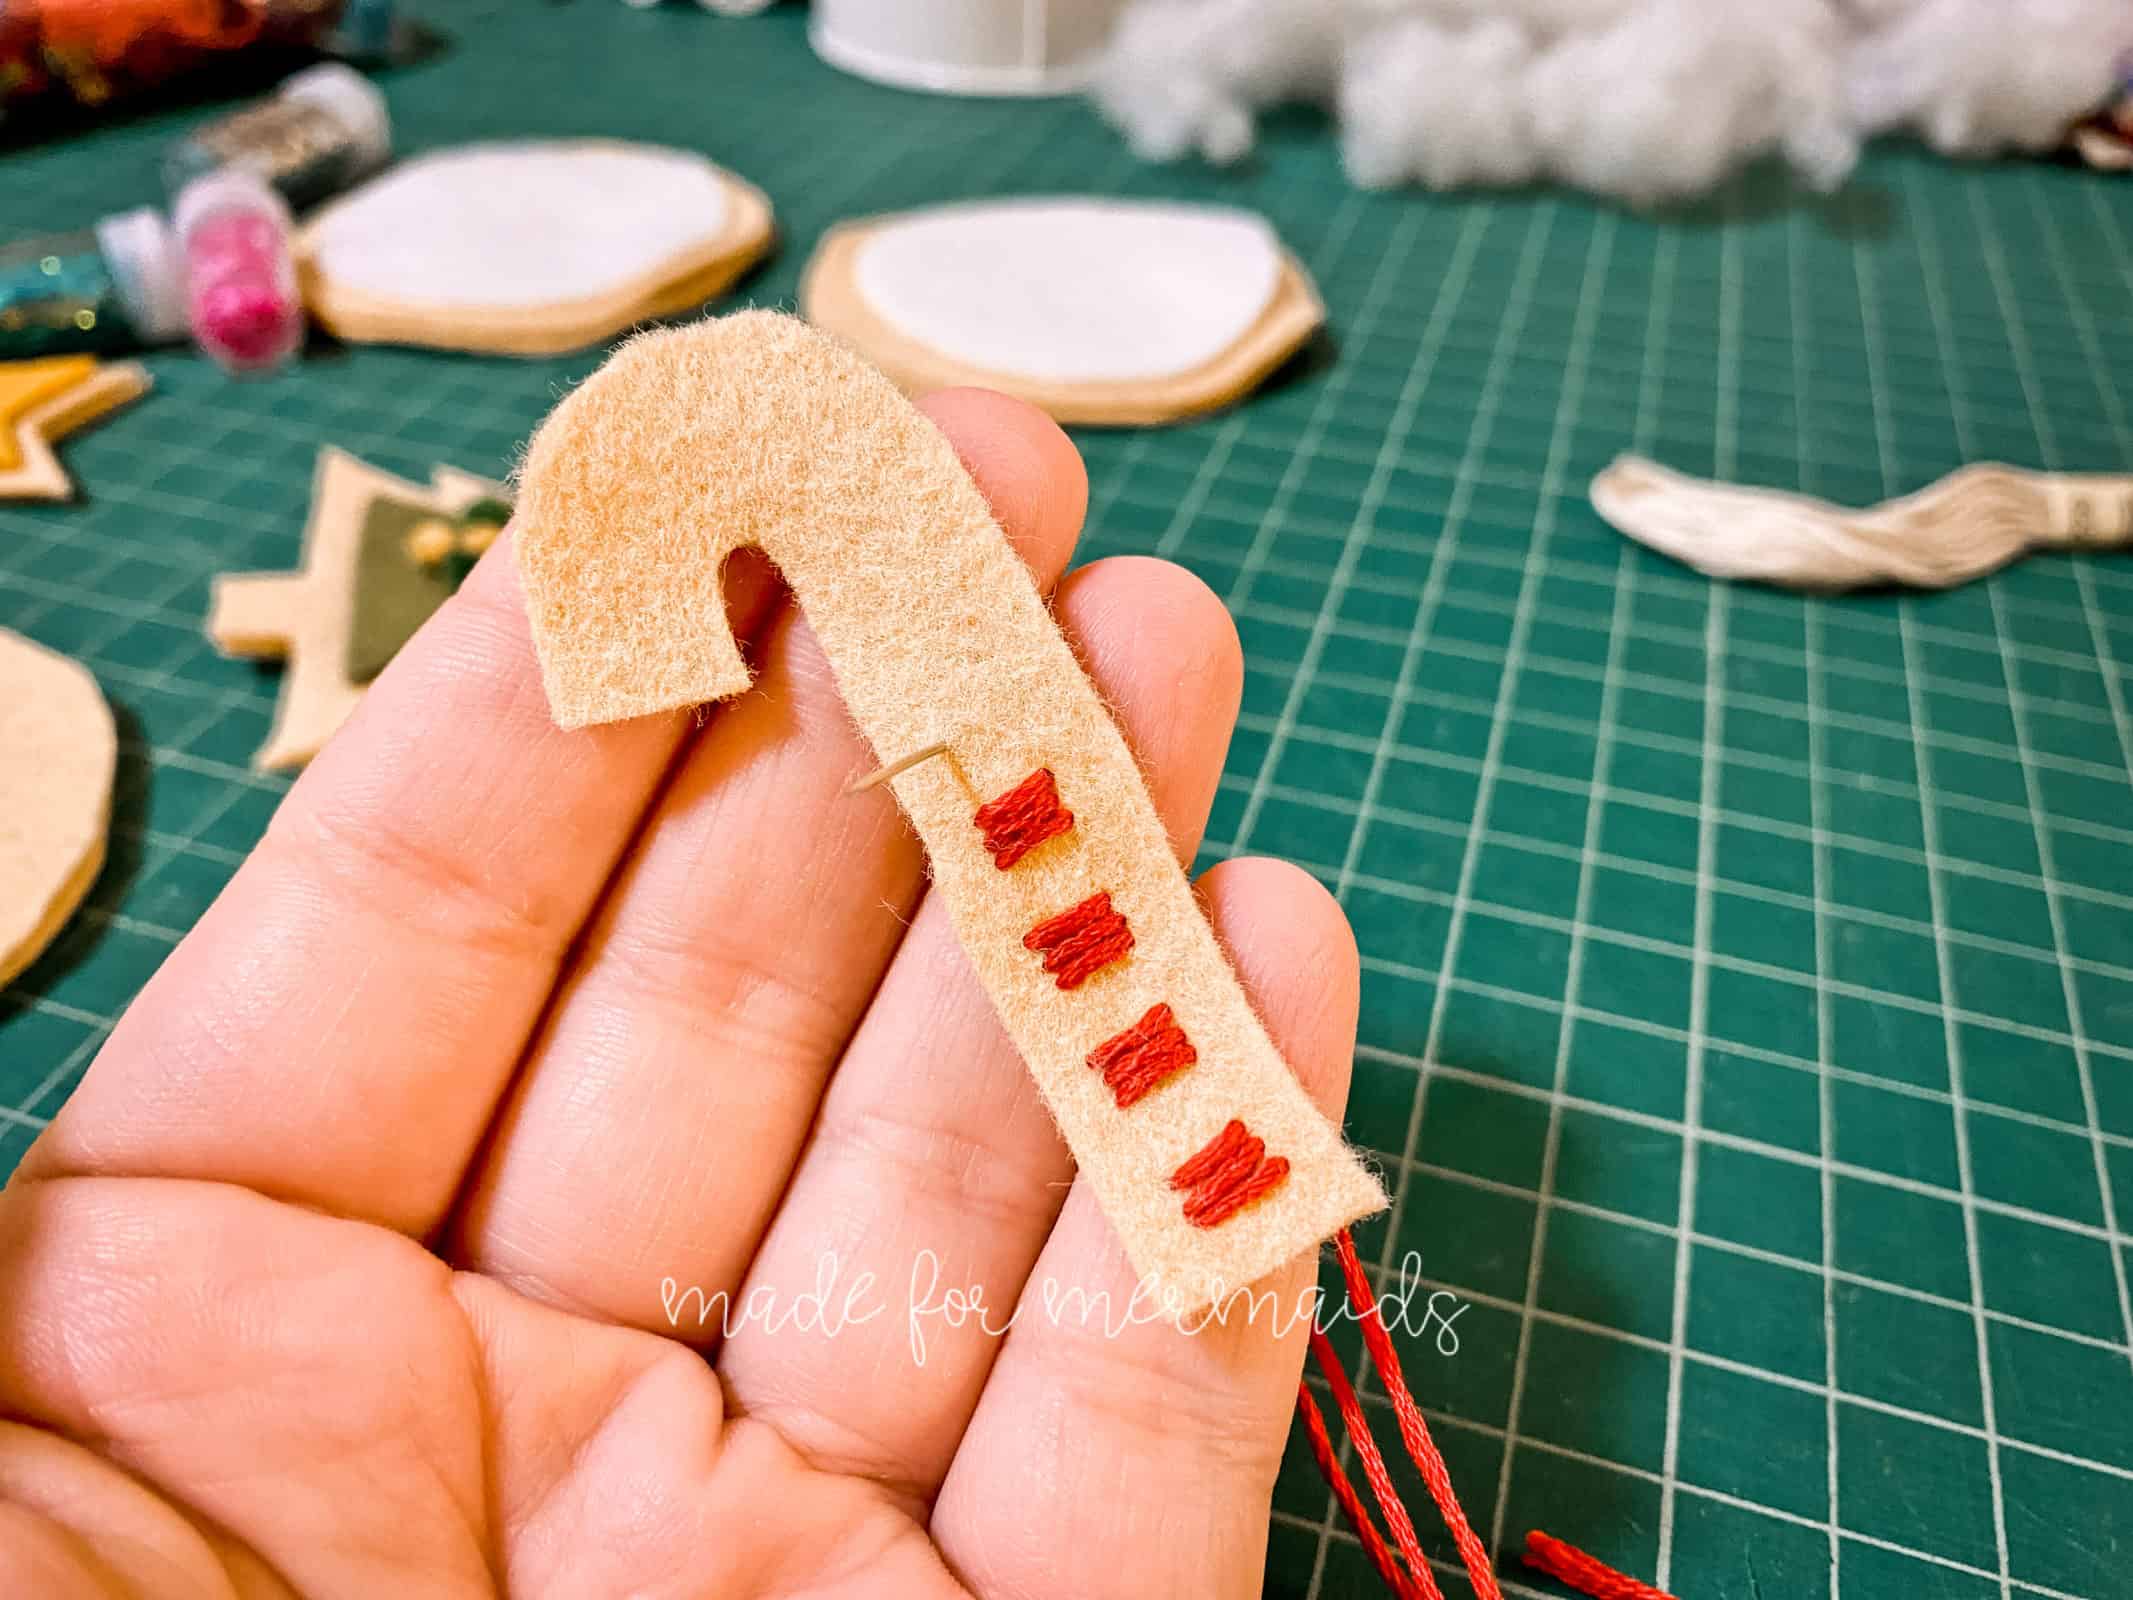
- First, I did rows of red stitches on one side of the candy cane piece.
- Continue through the length of the candy cane.
- Switch to white.
- Fill in spaces with white stitches.
- Secure threads.
- Place candy cane pieces together, with wrong sides together.
- Stitch all the way around with 1/4″ seam allowance.
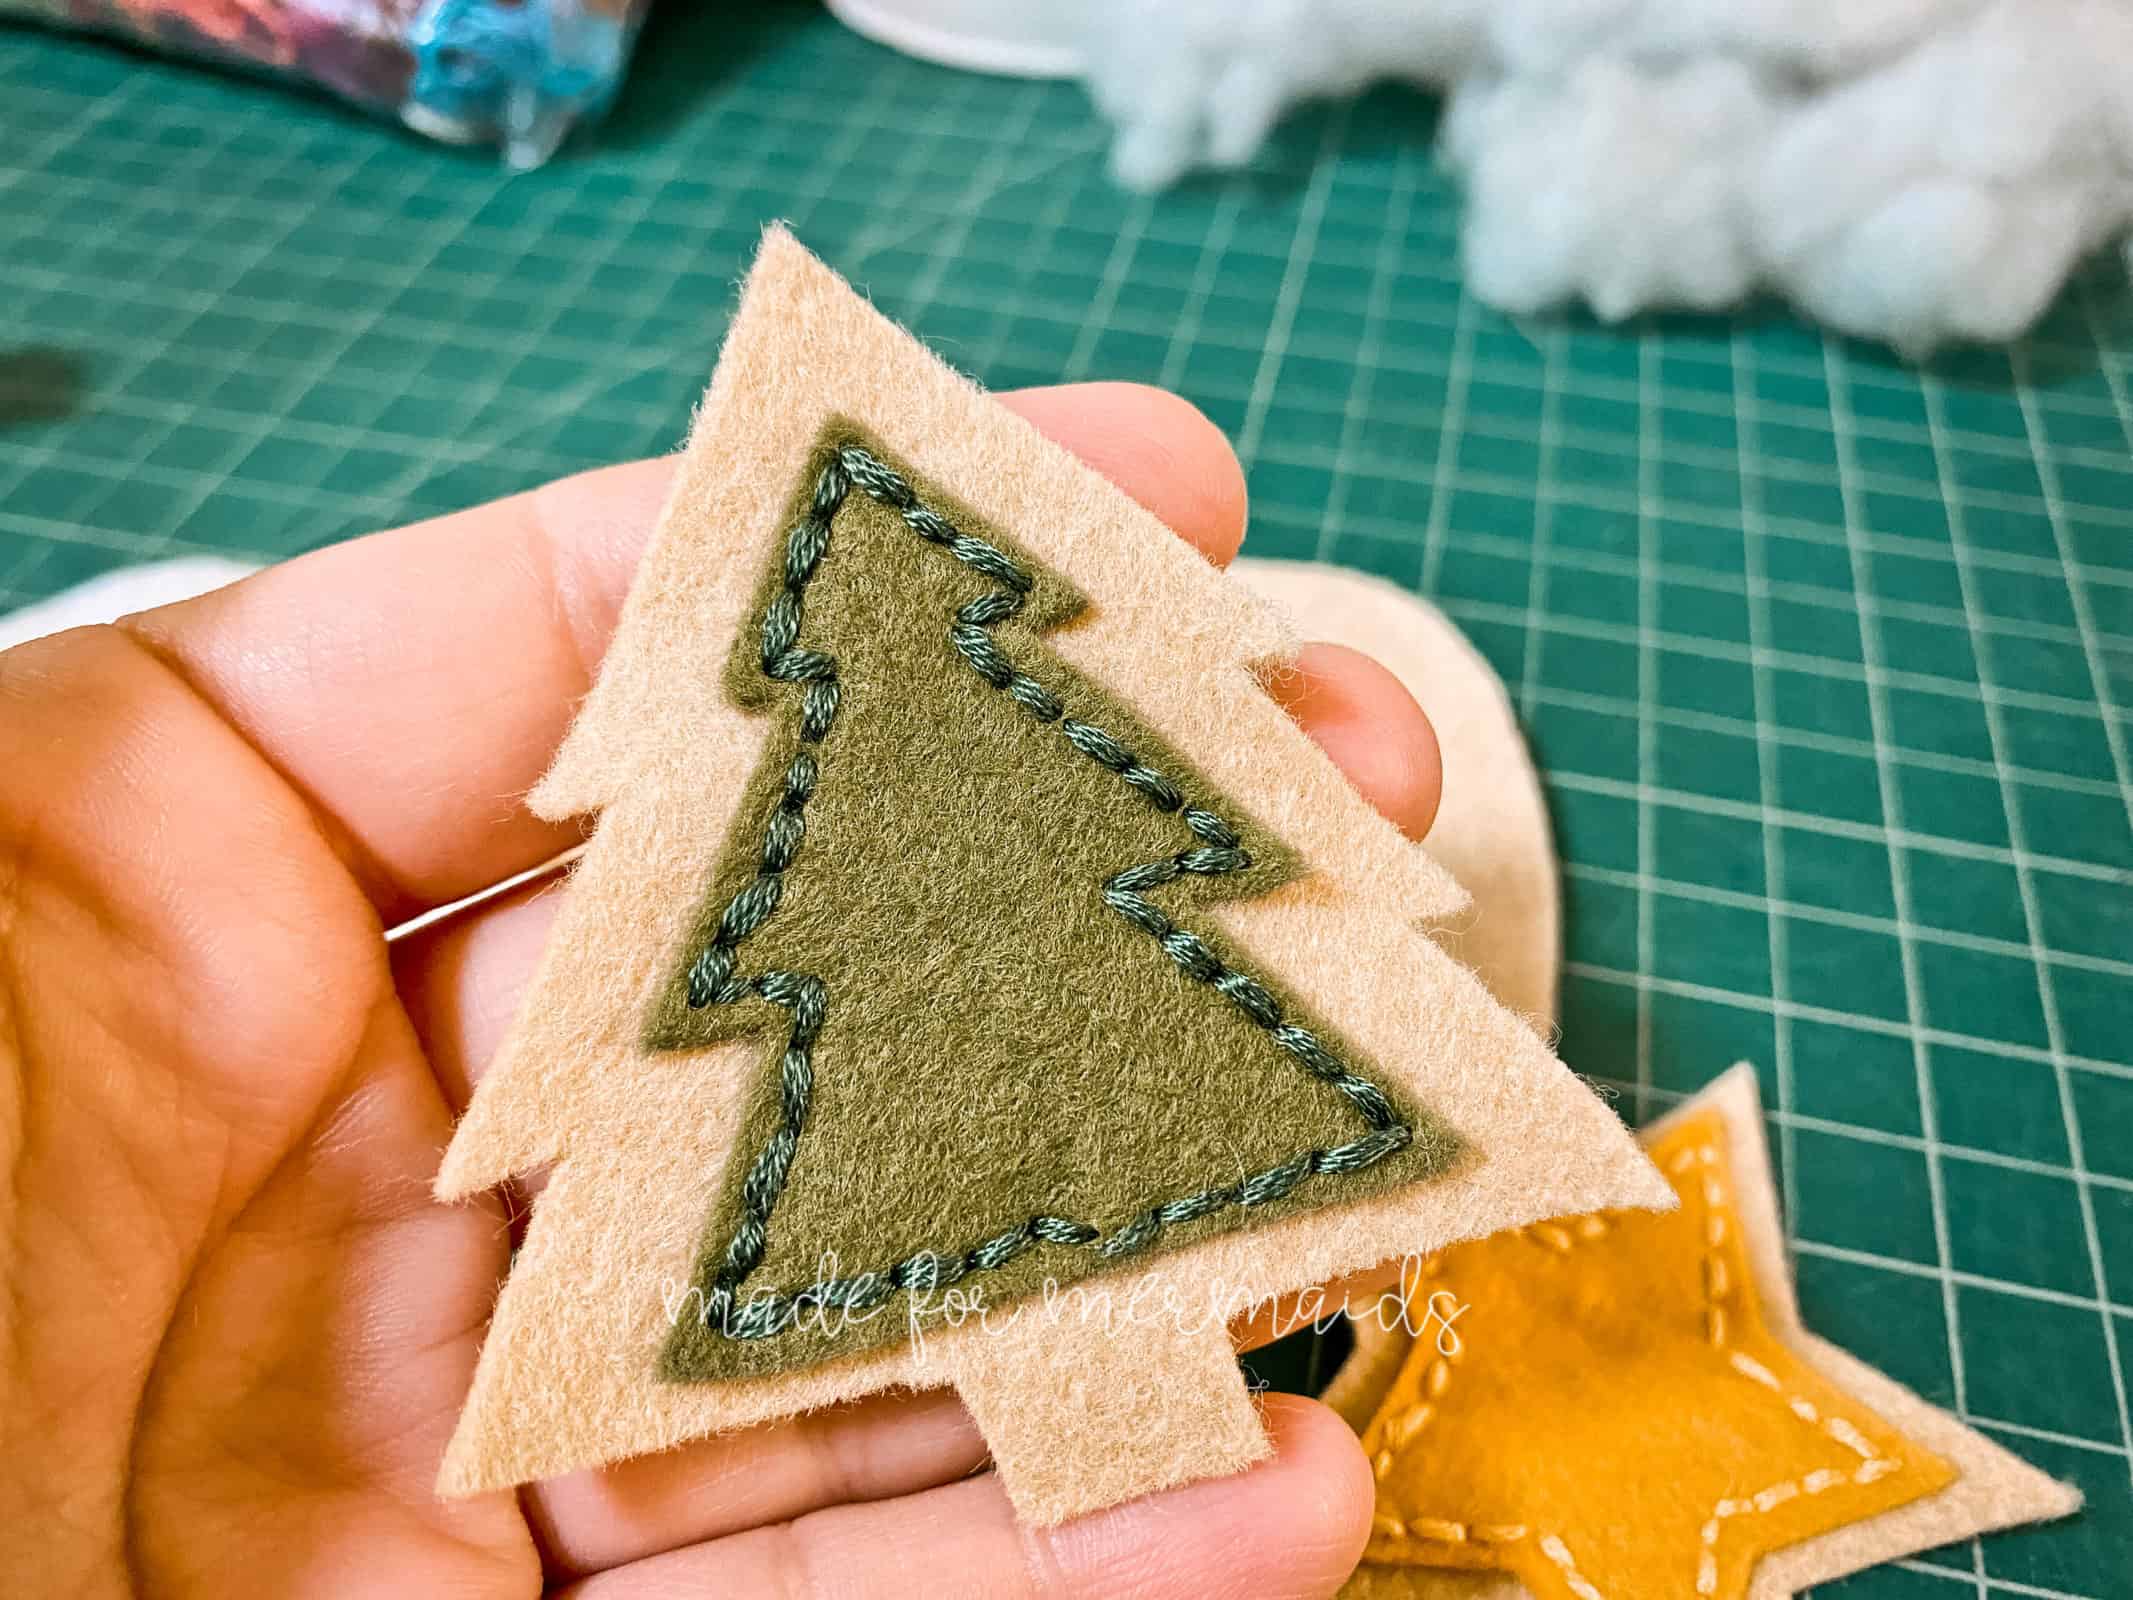
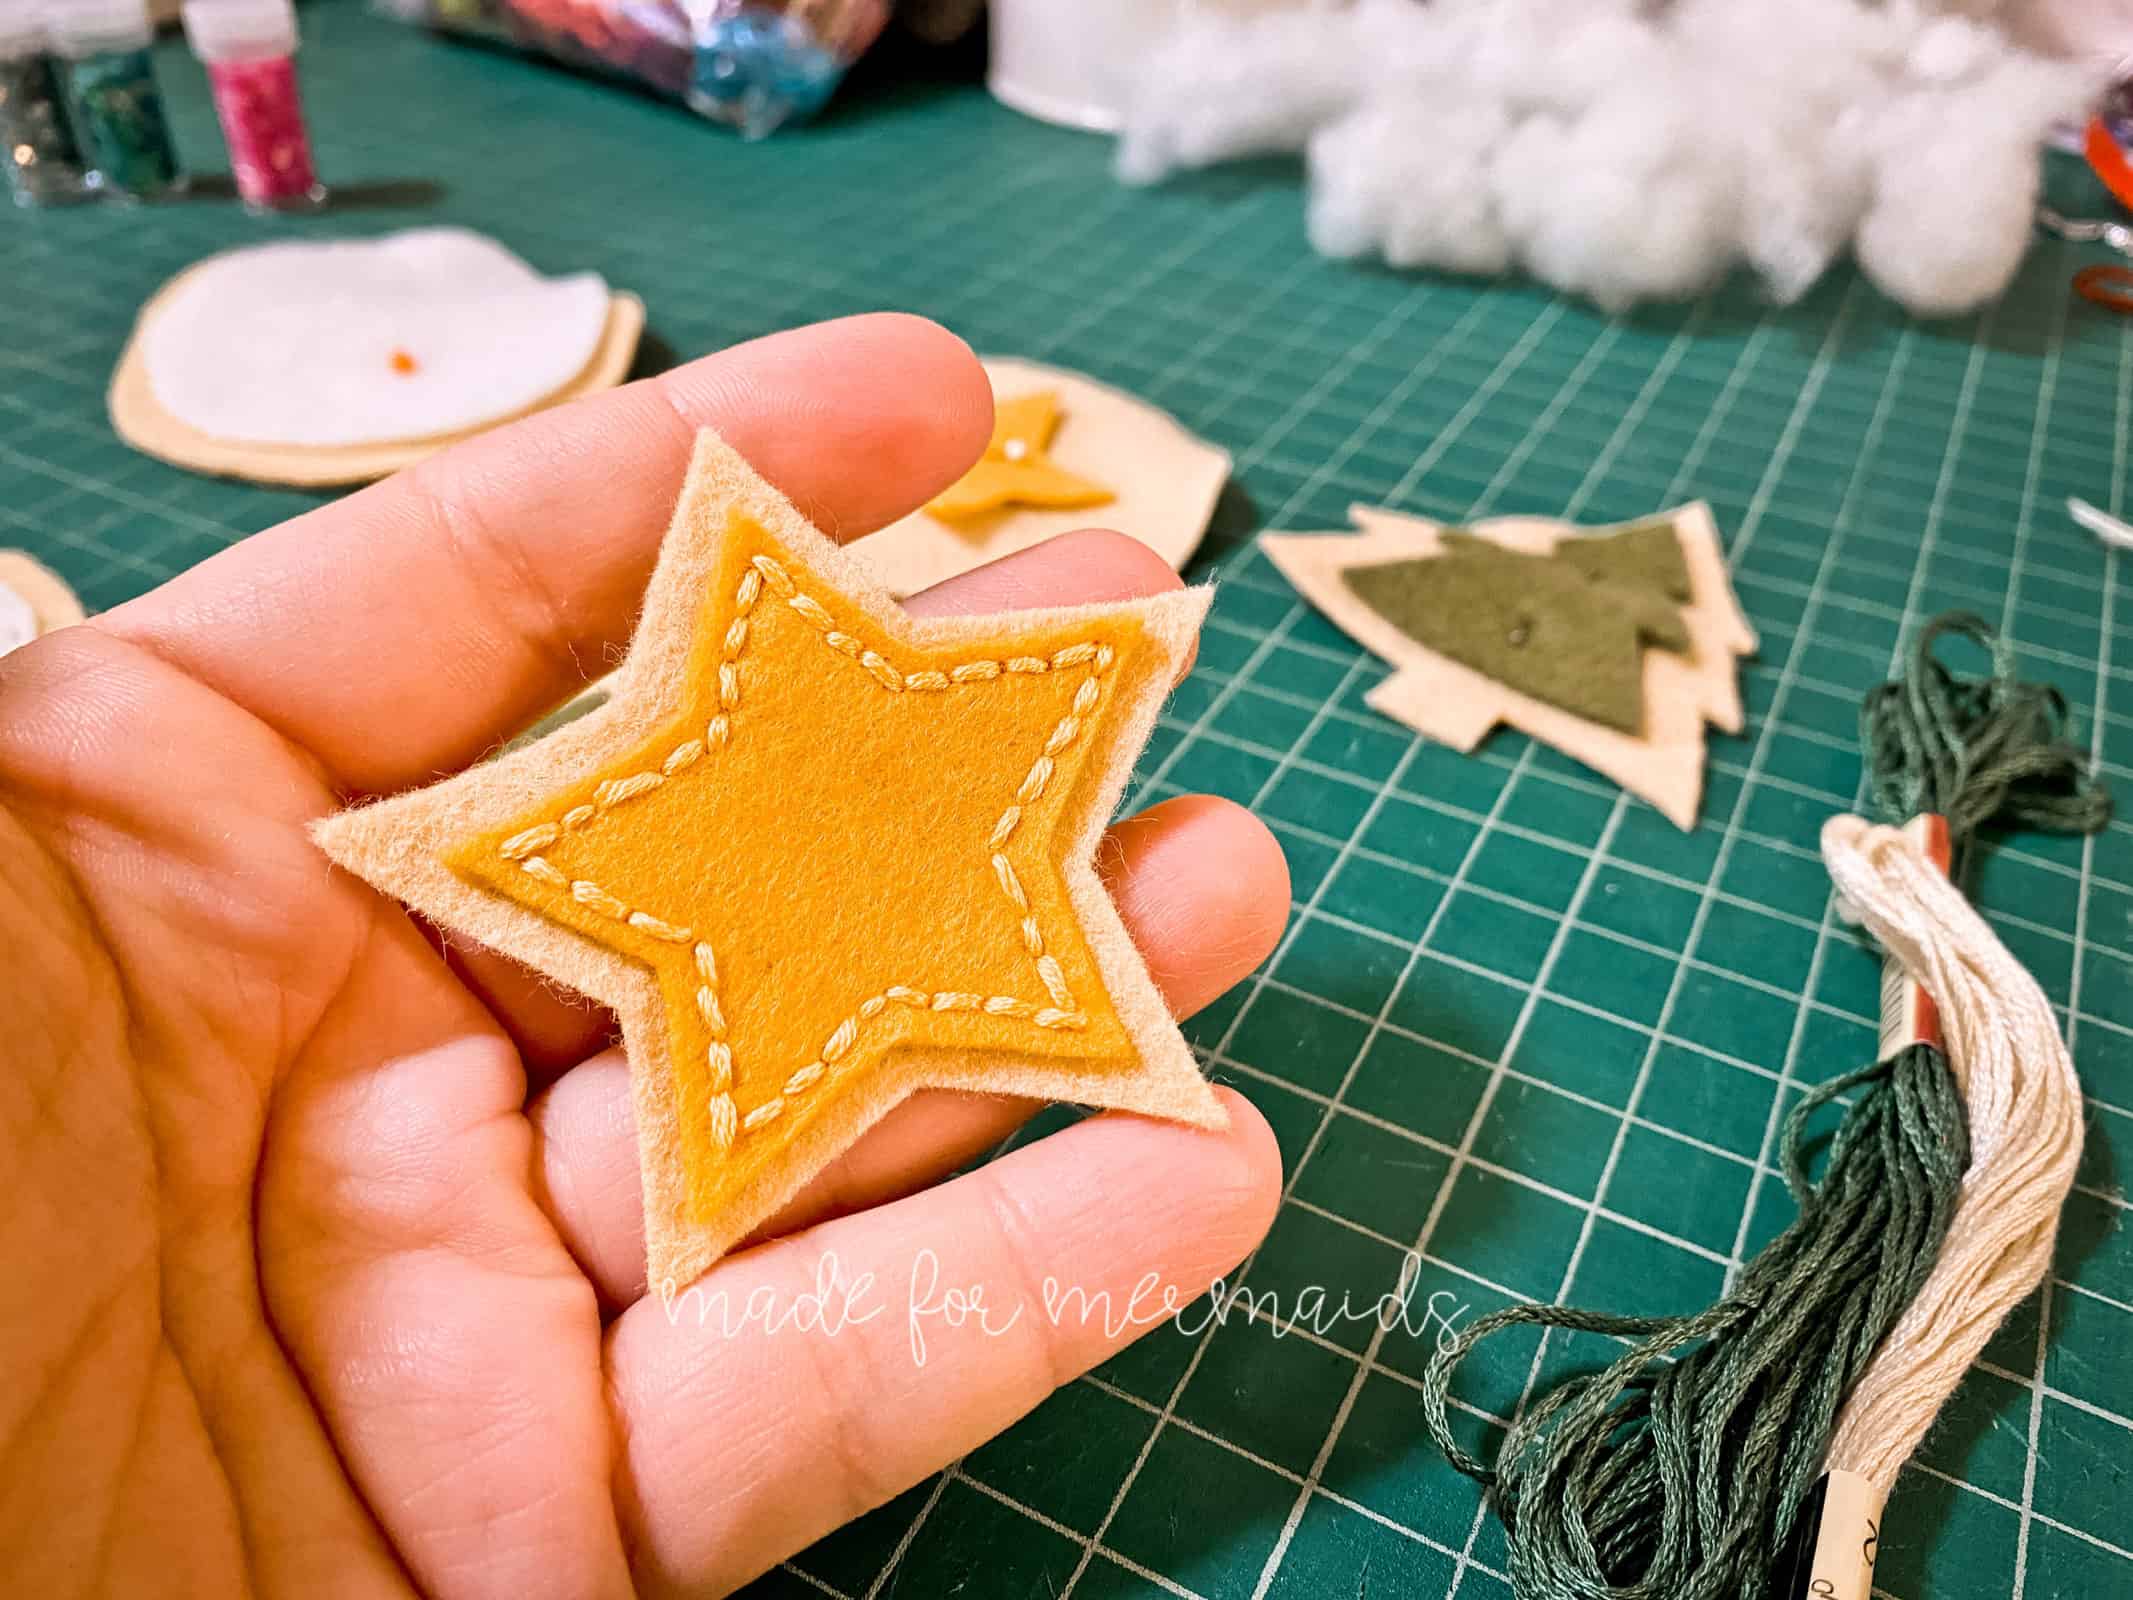
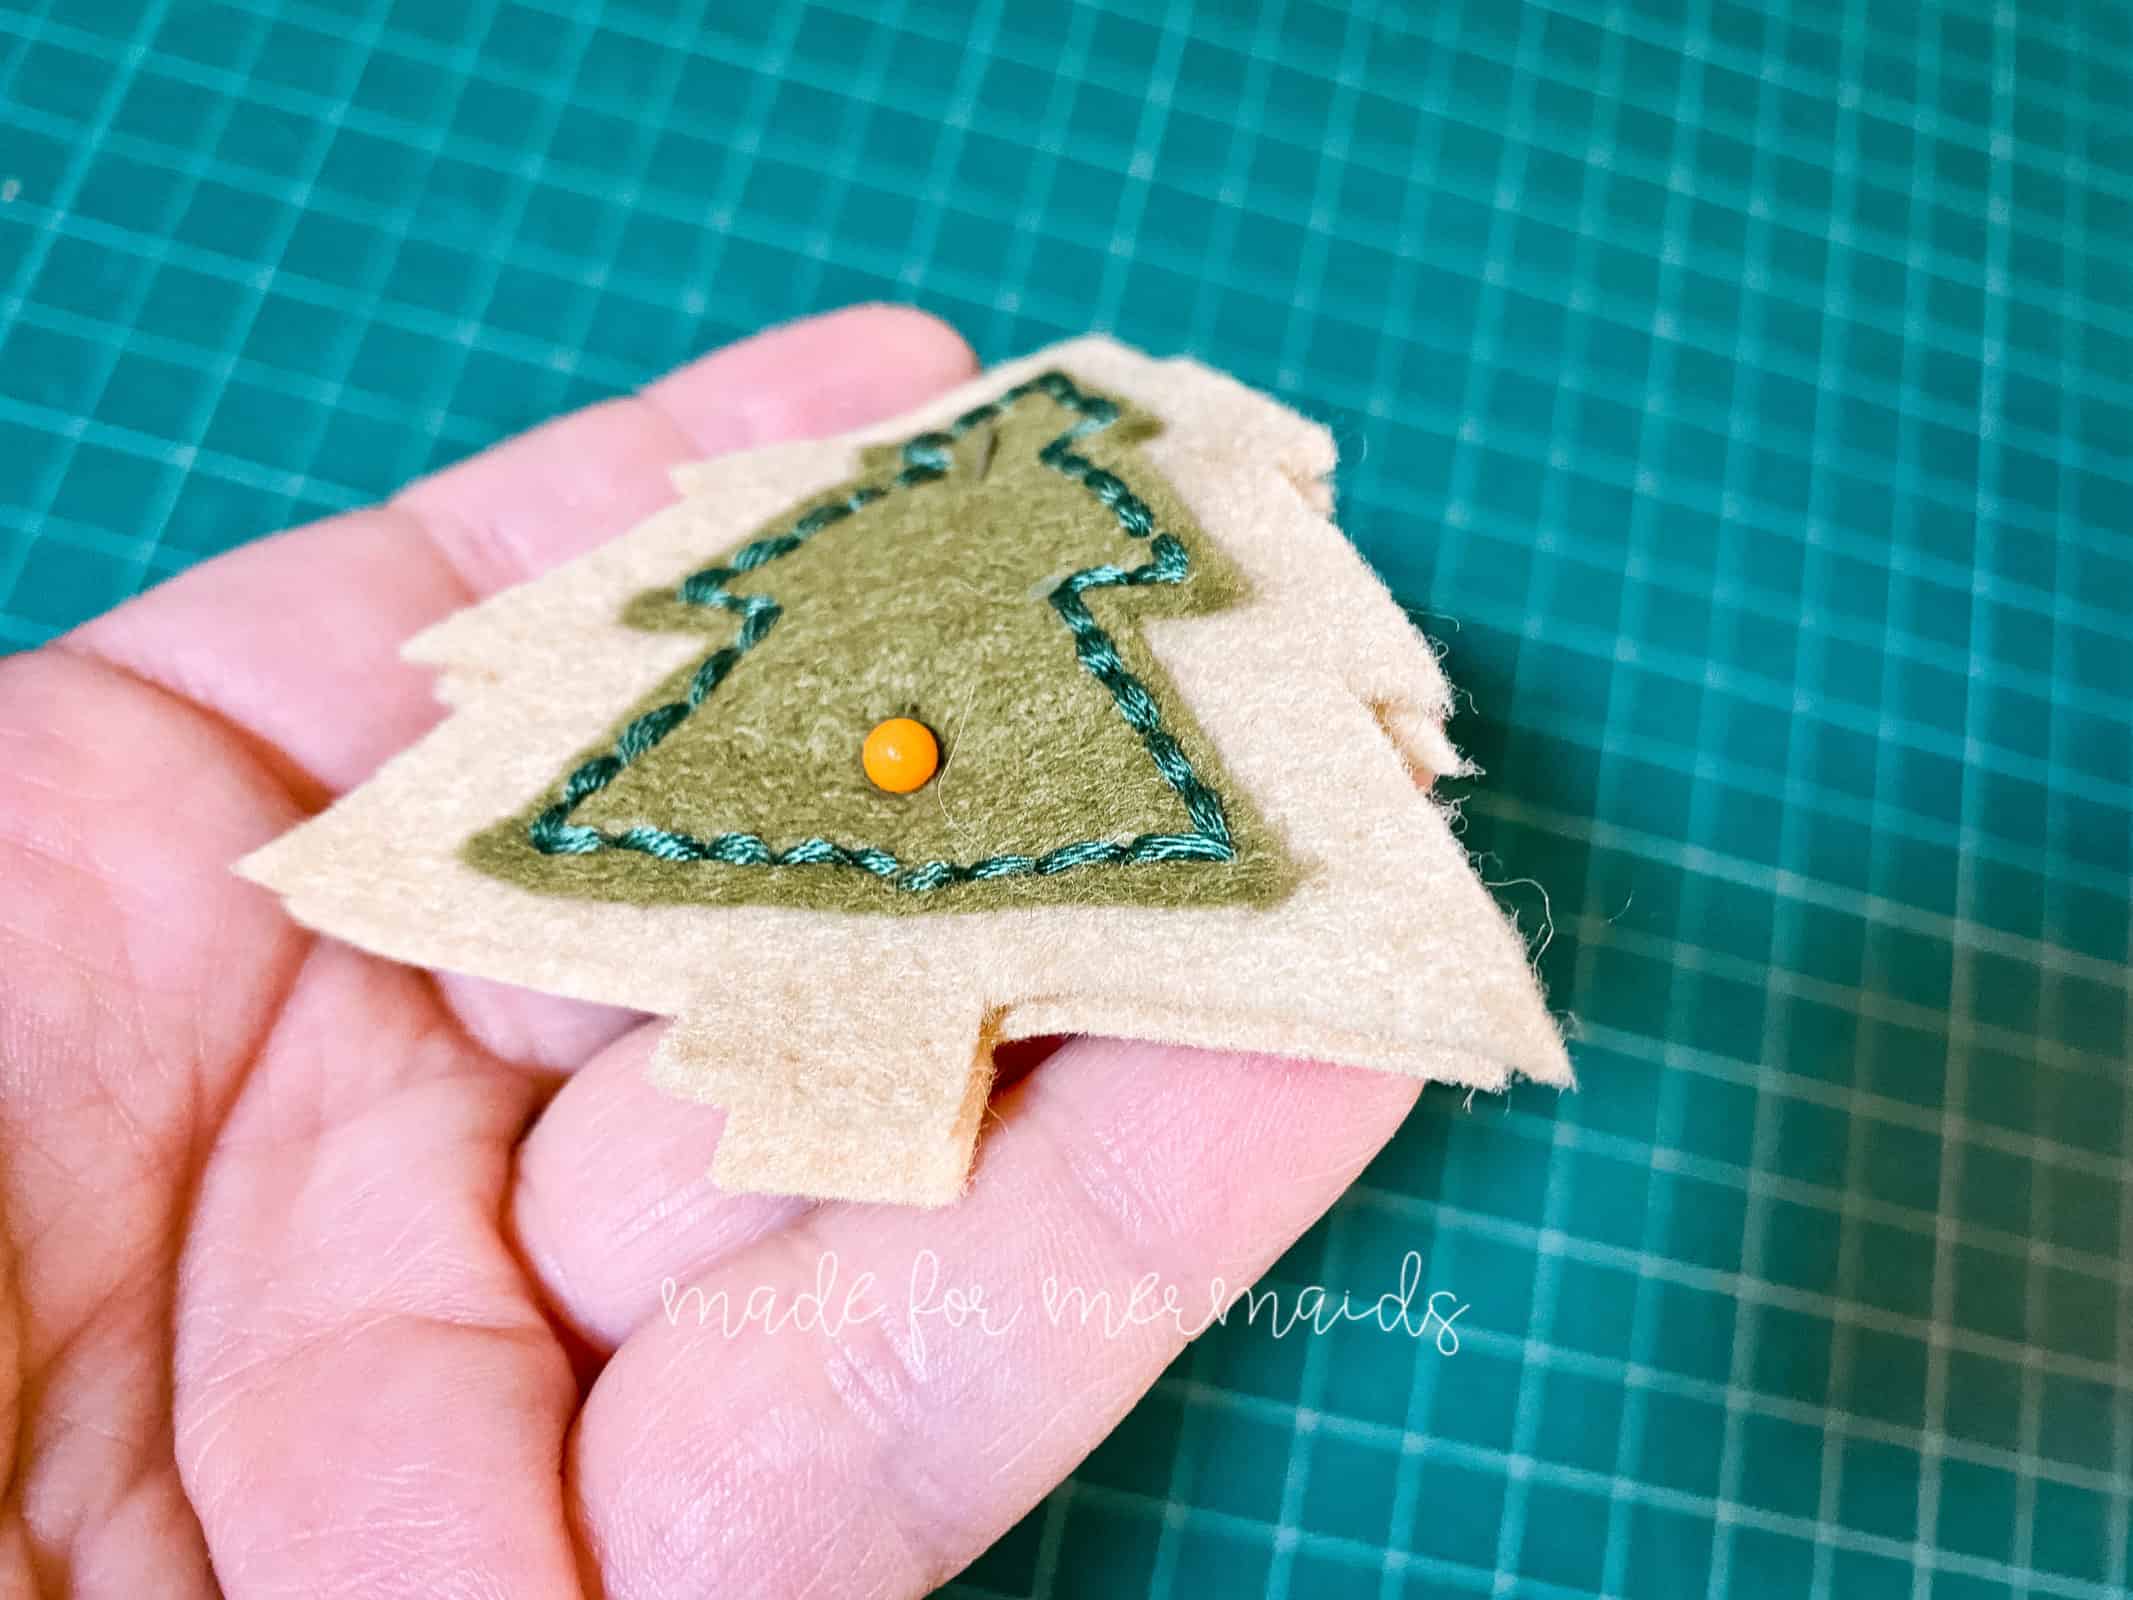
Star/Tree –
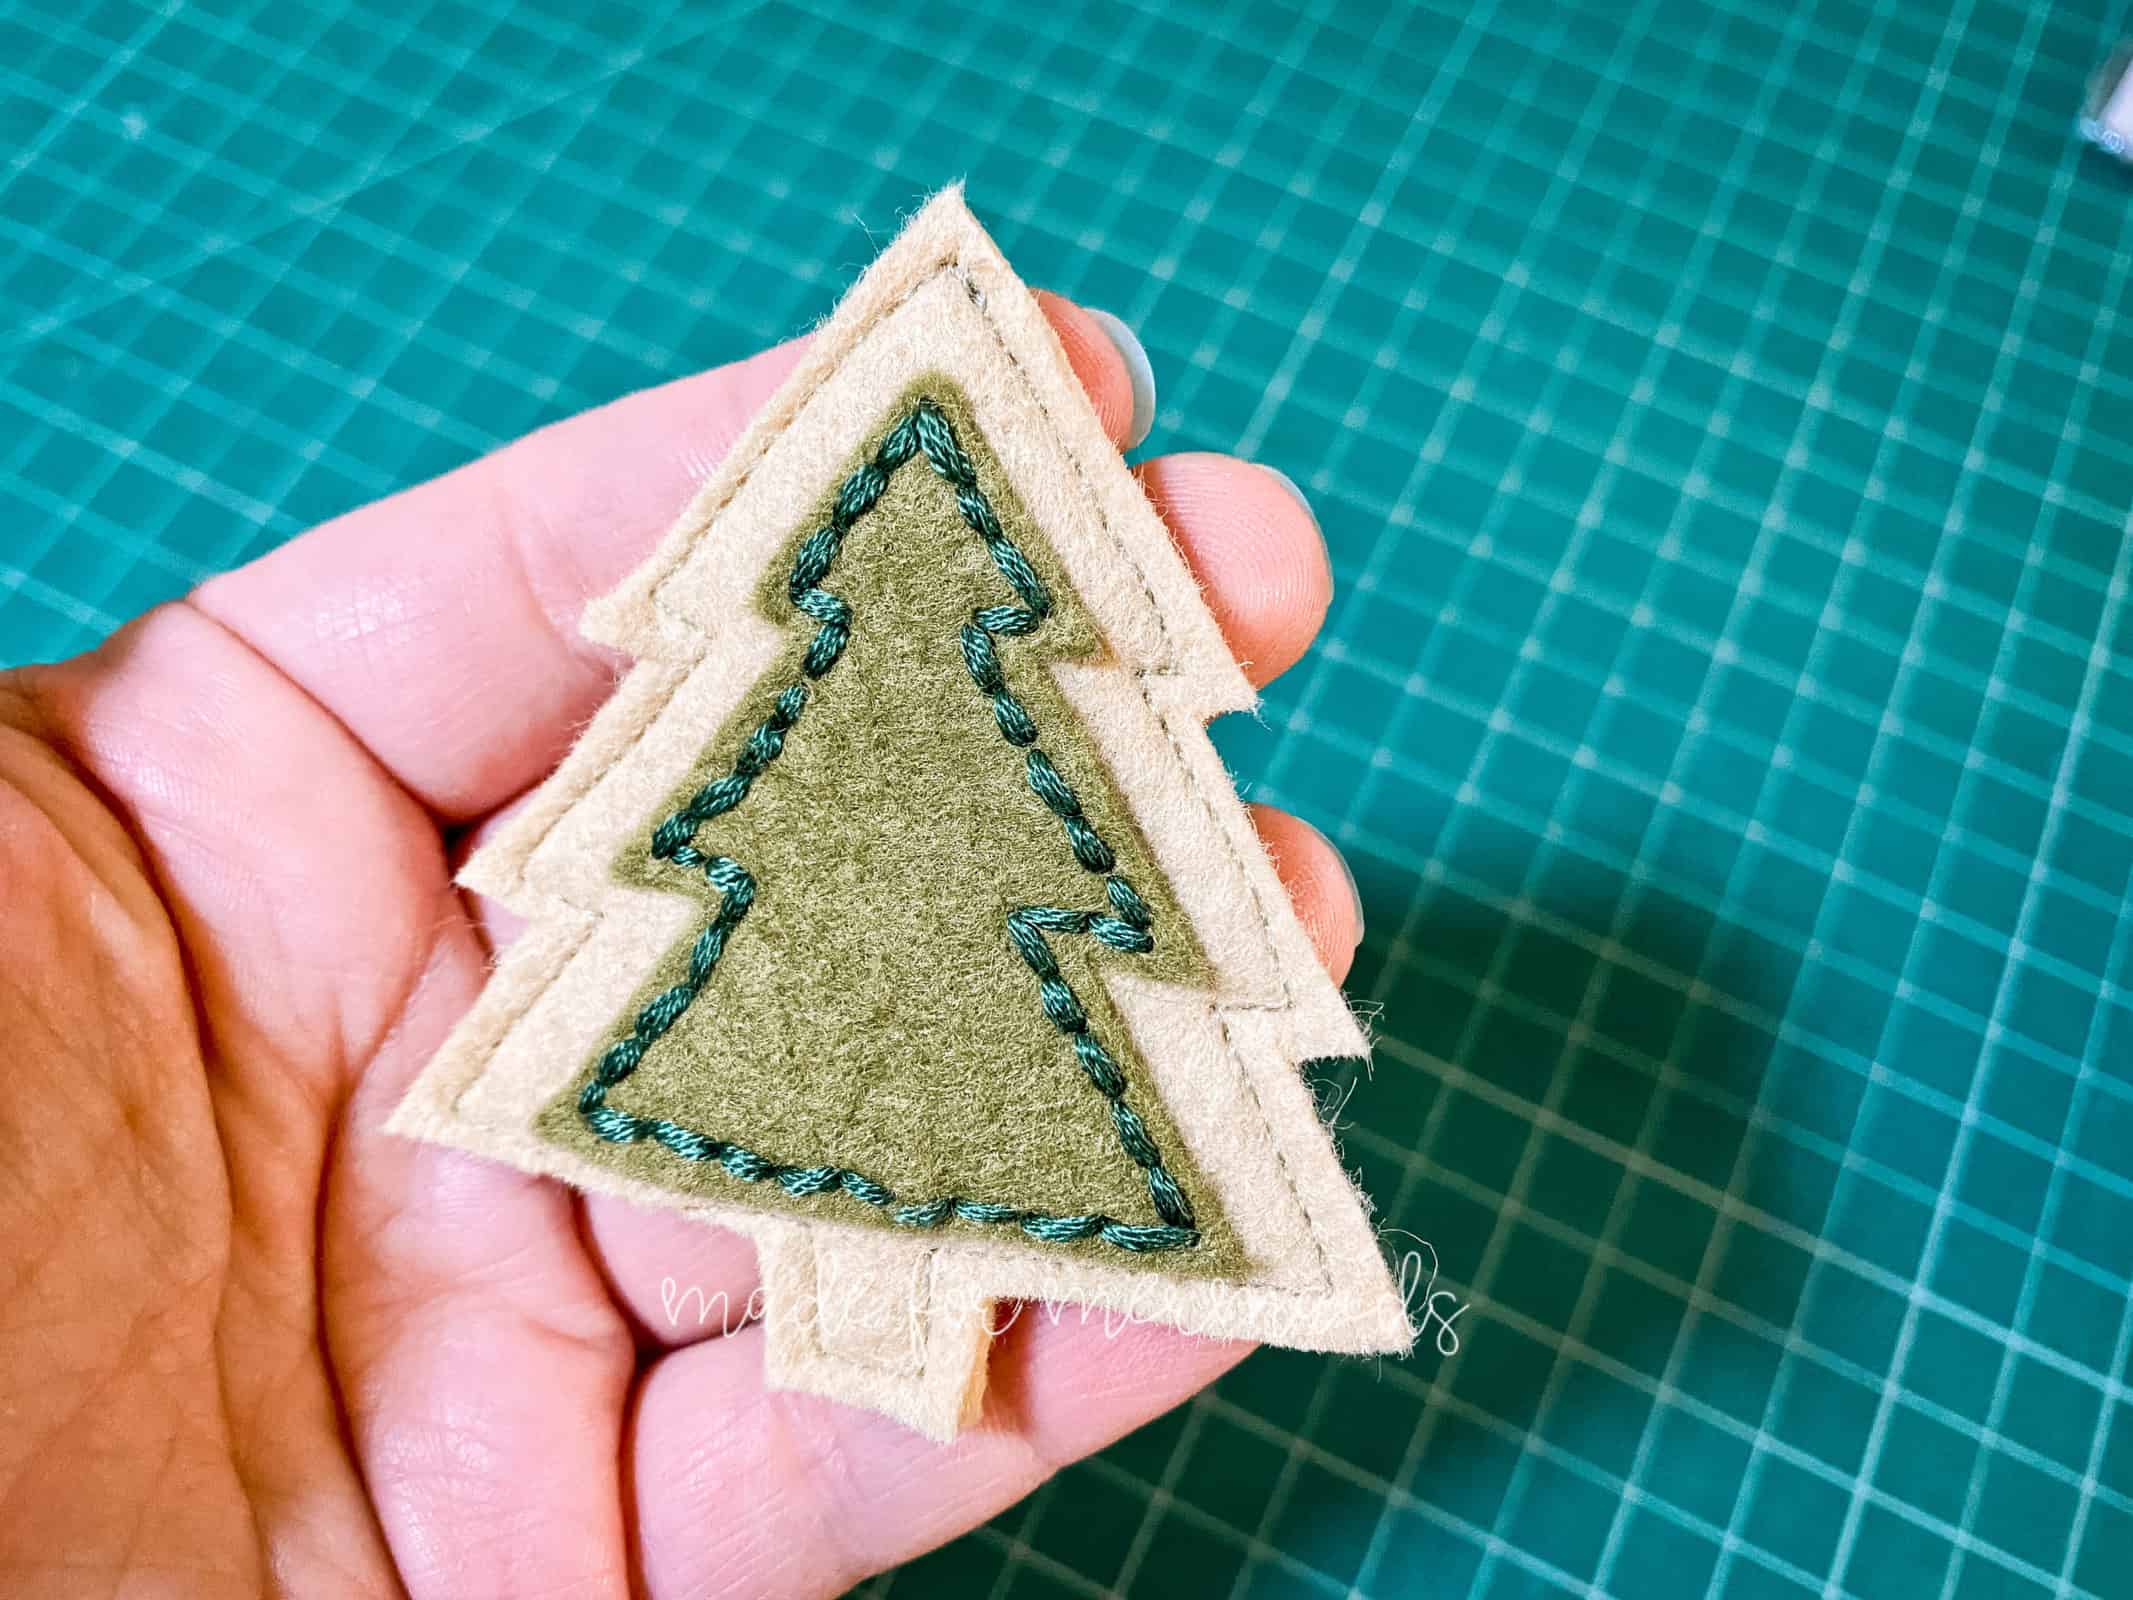
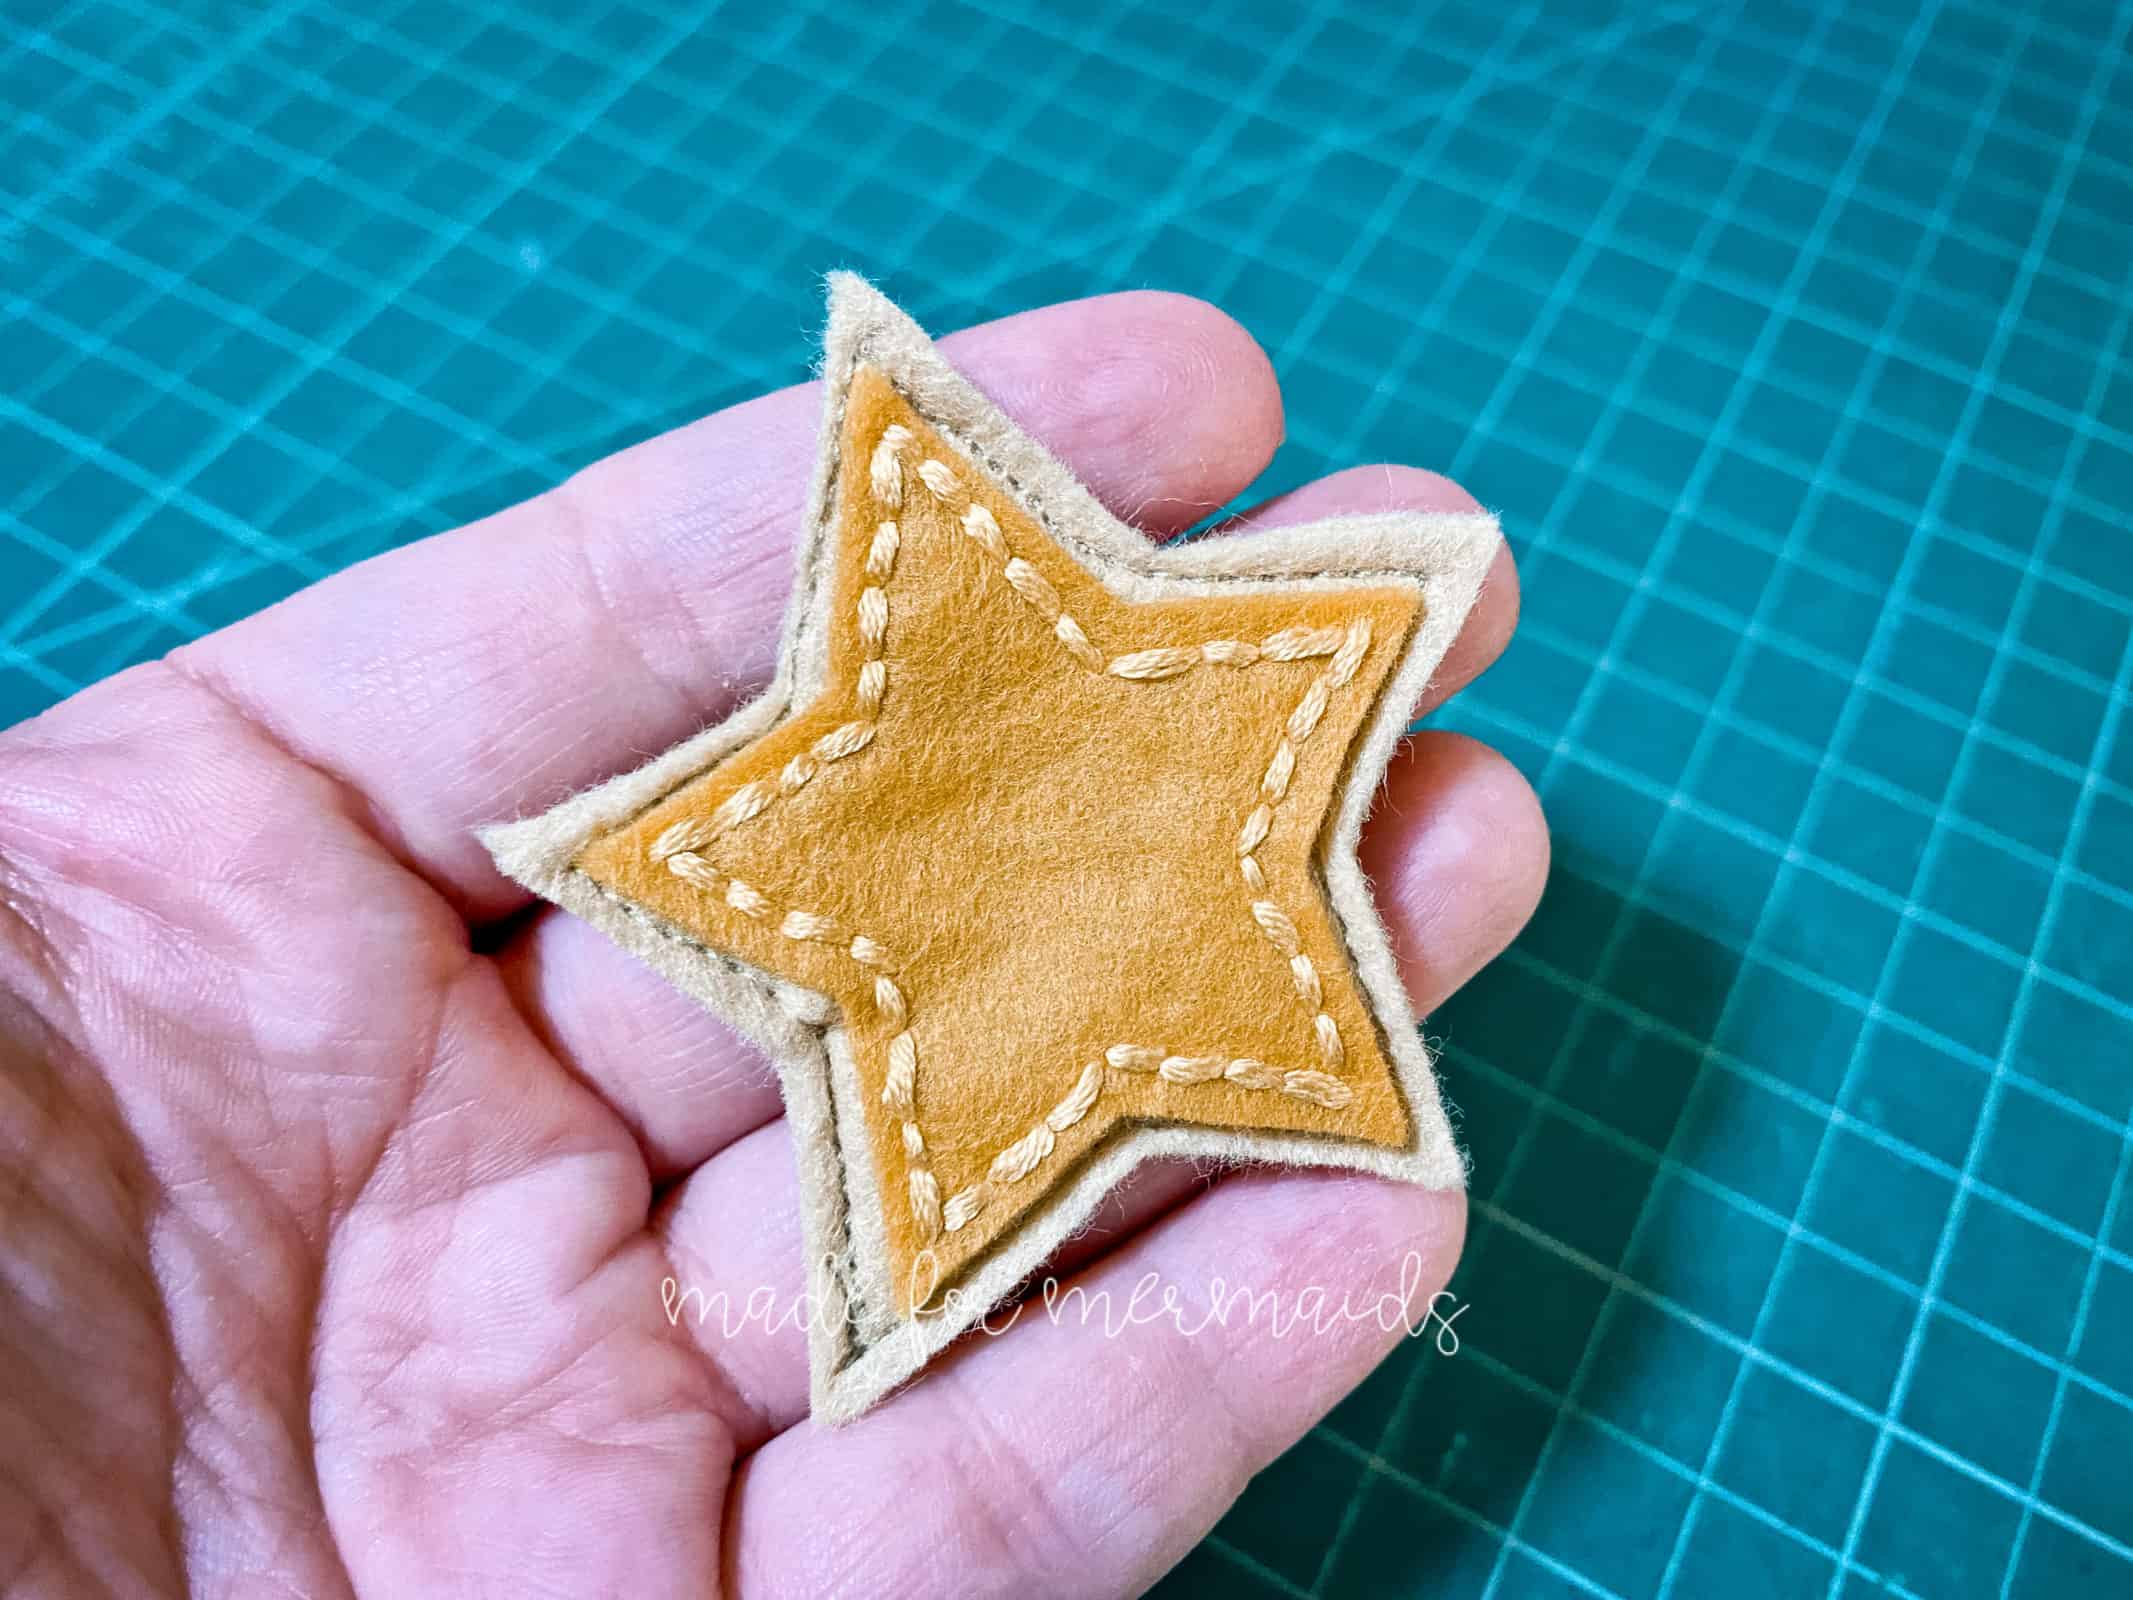
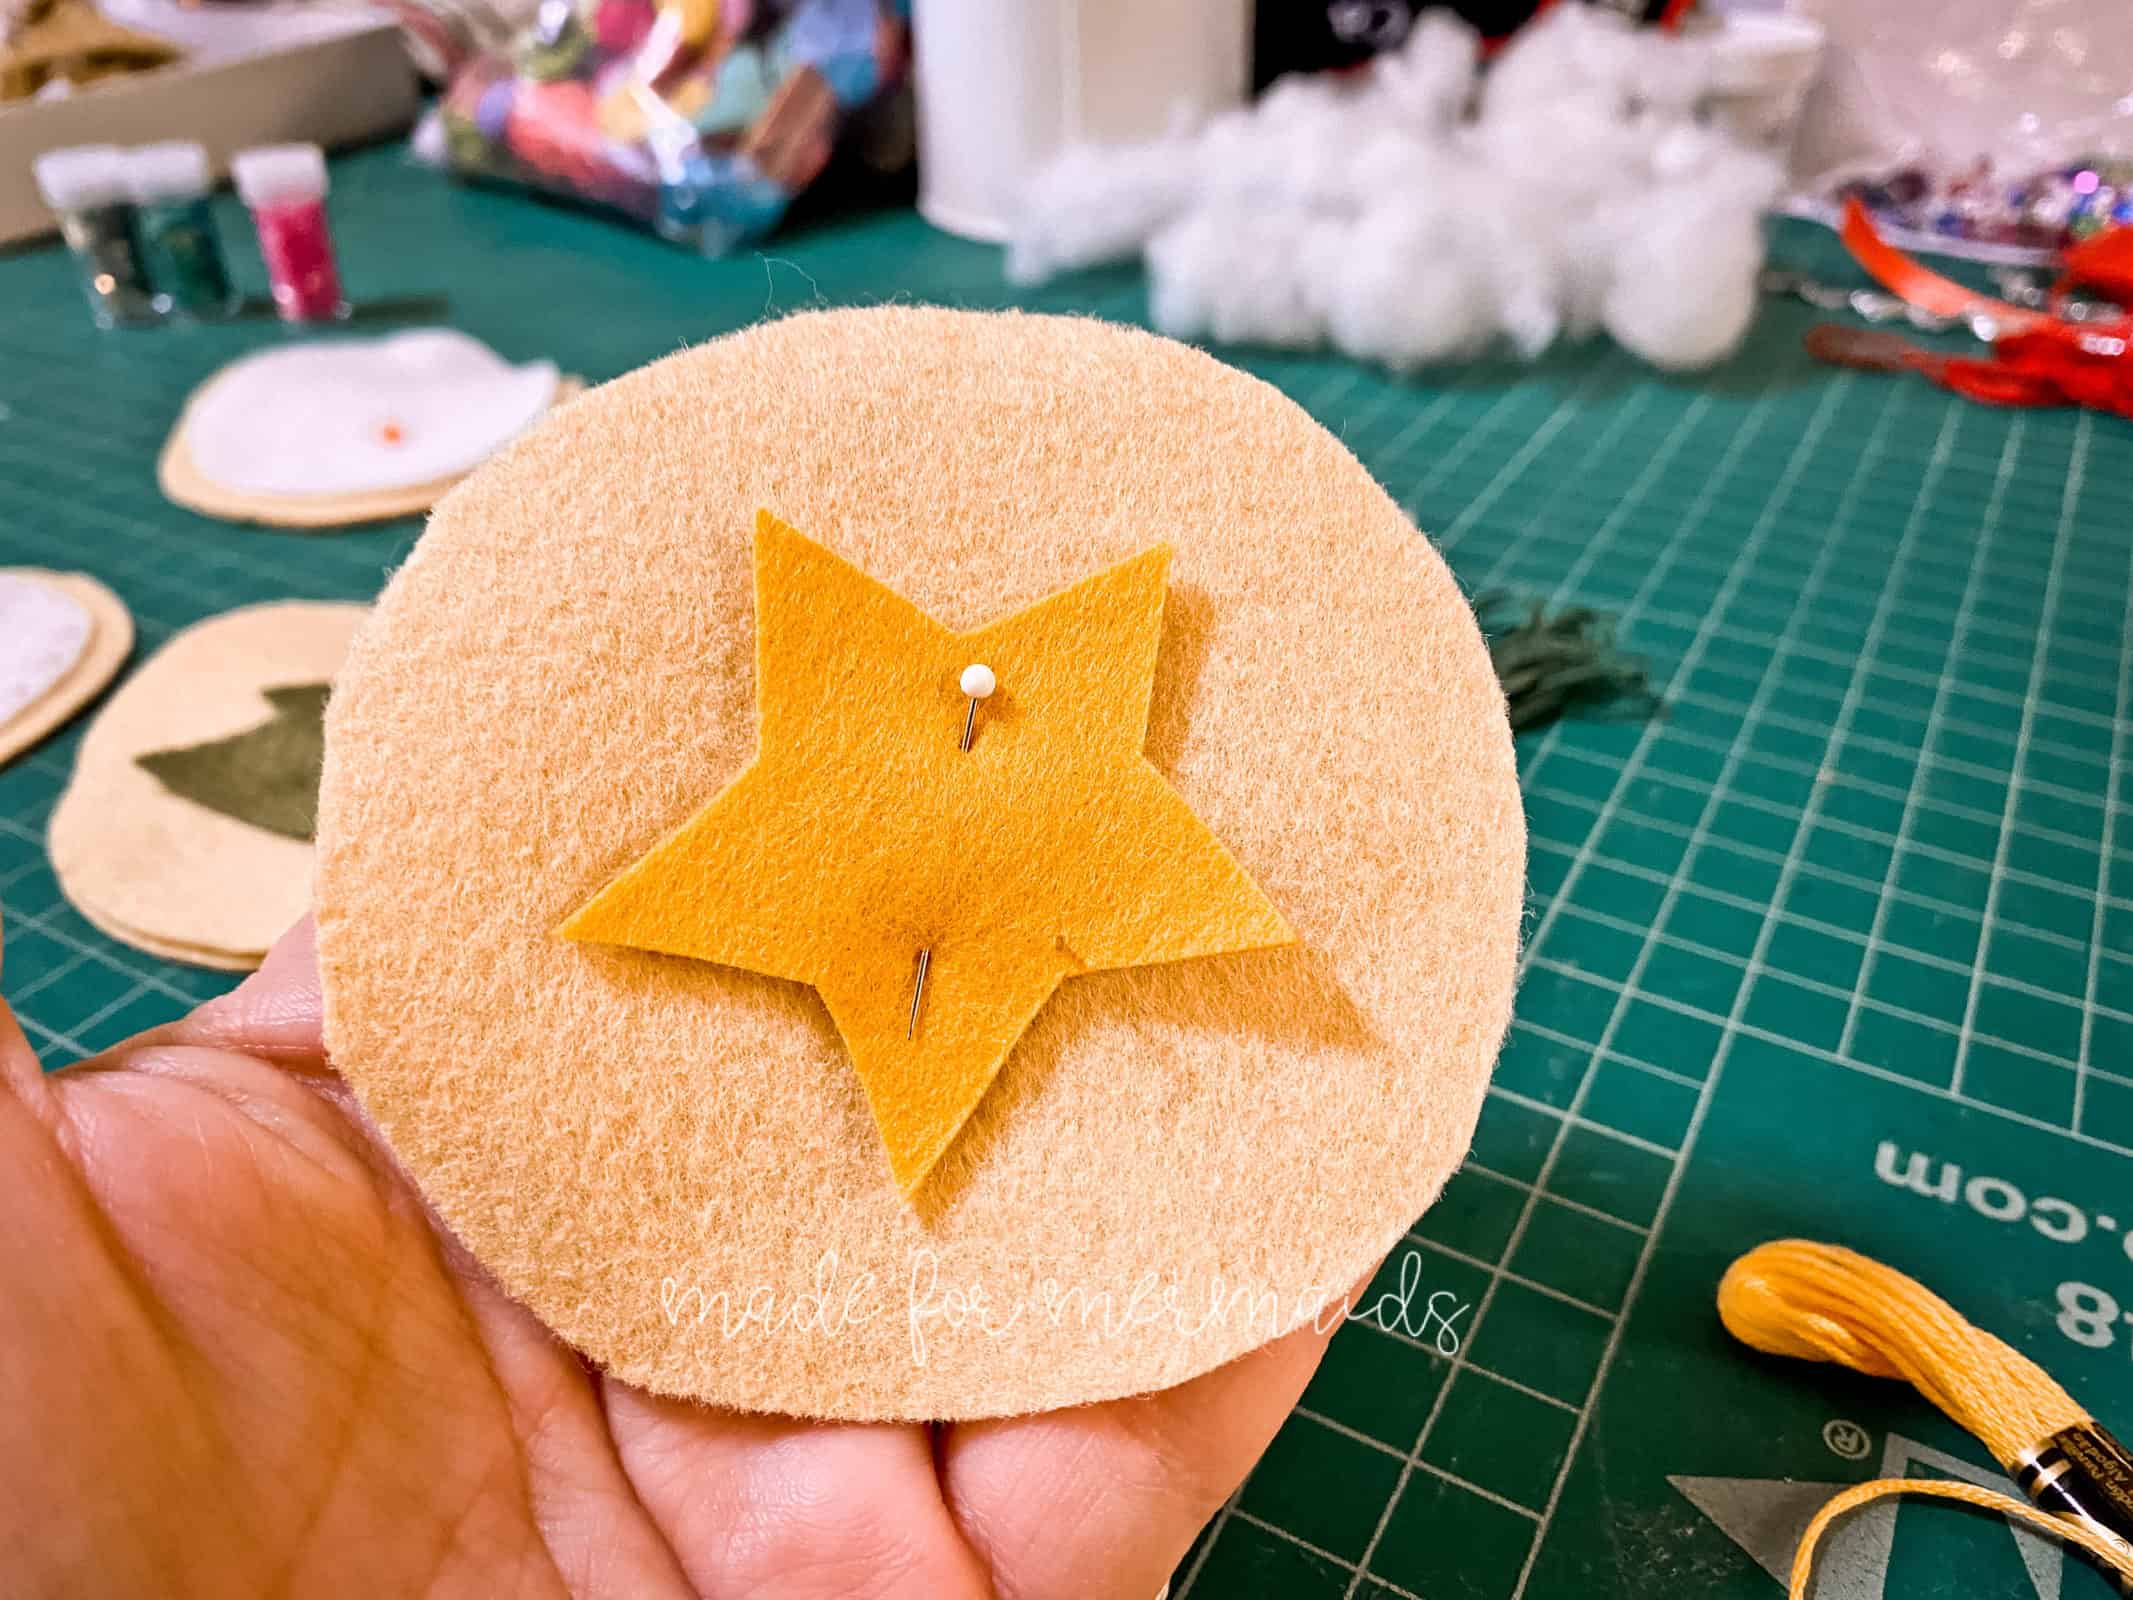
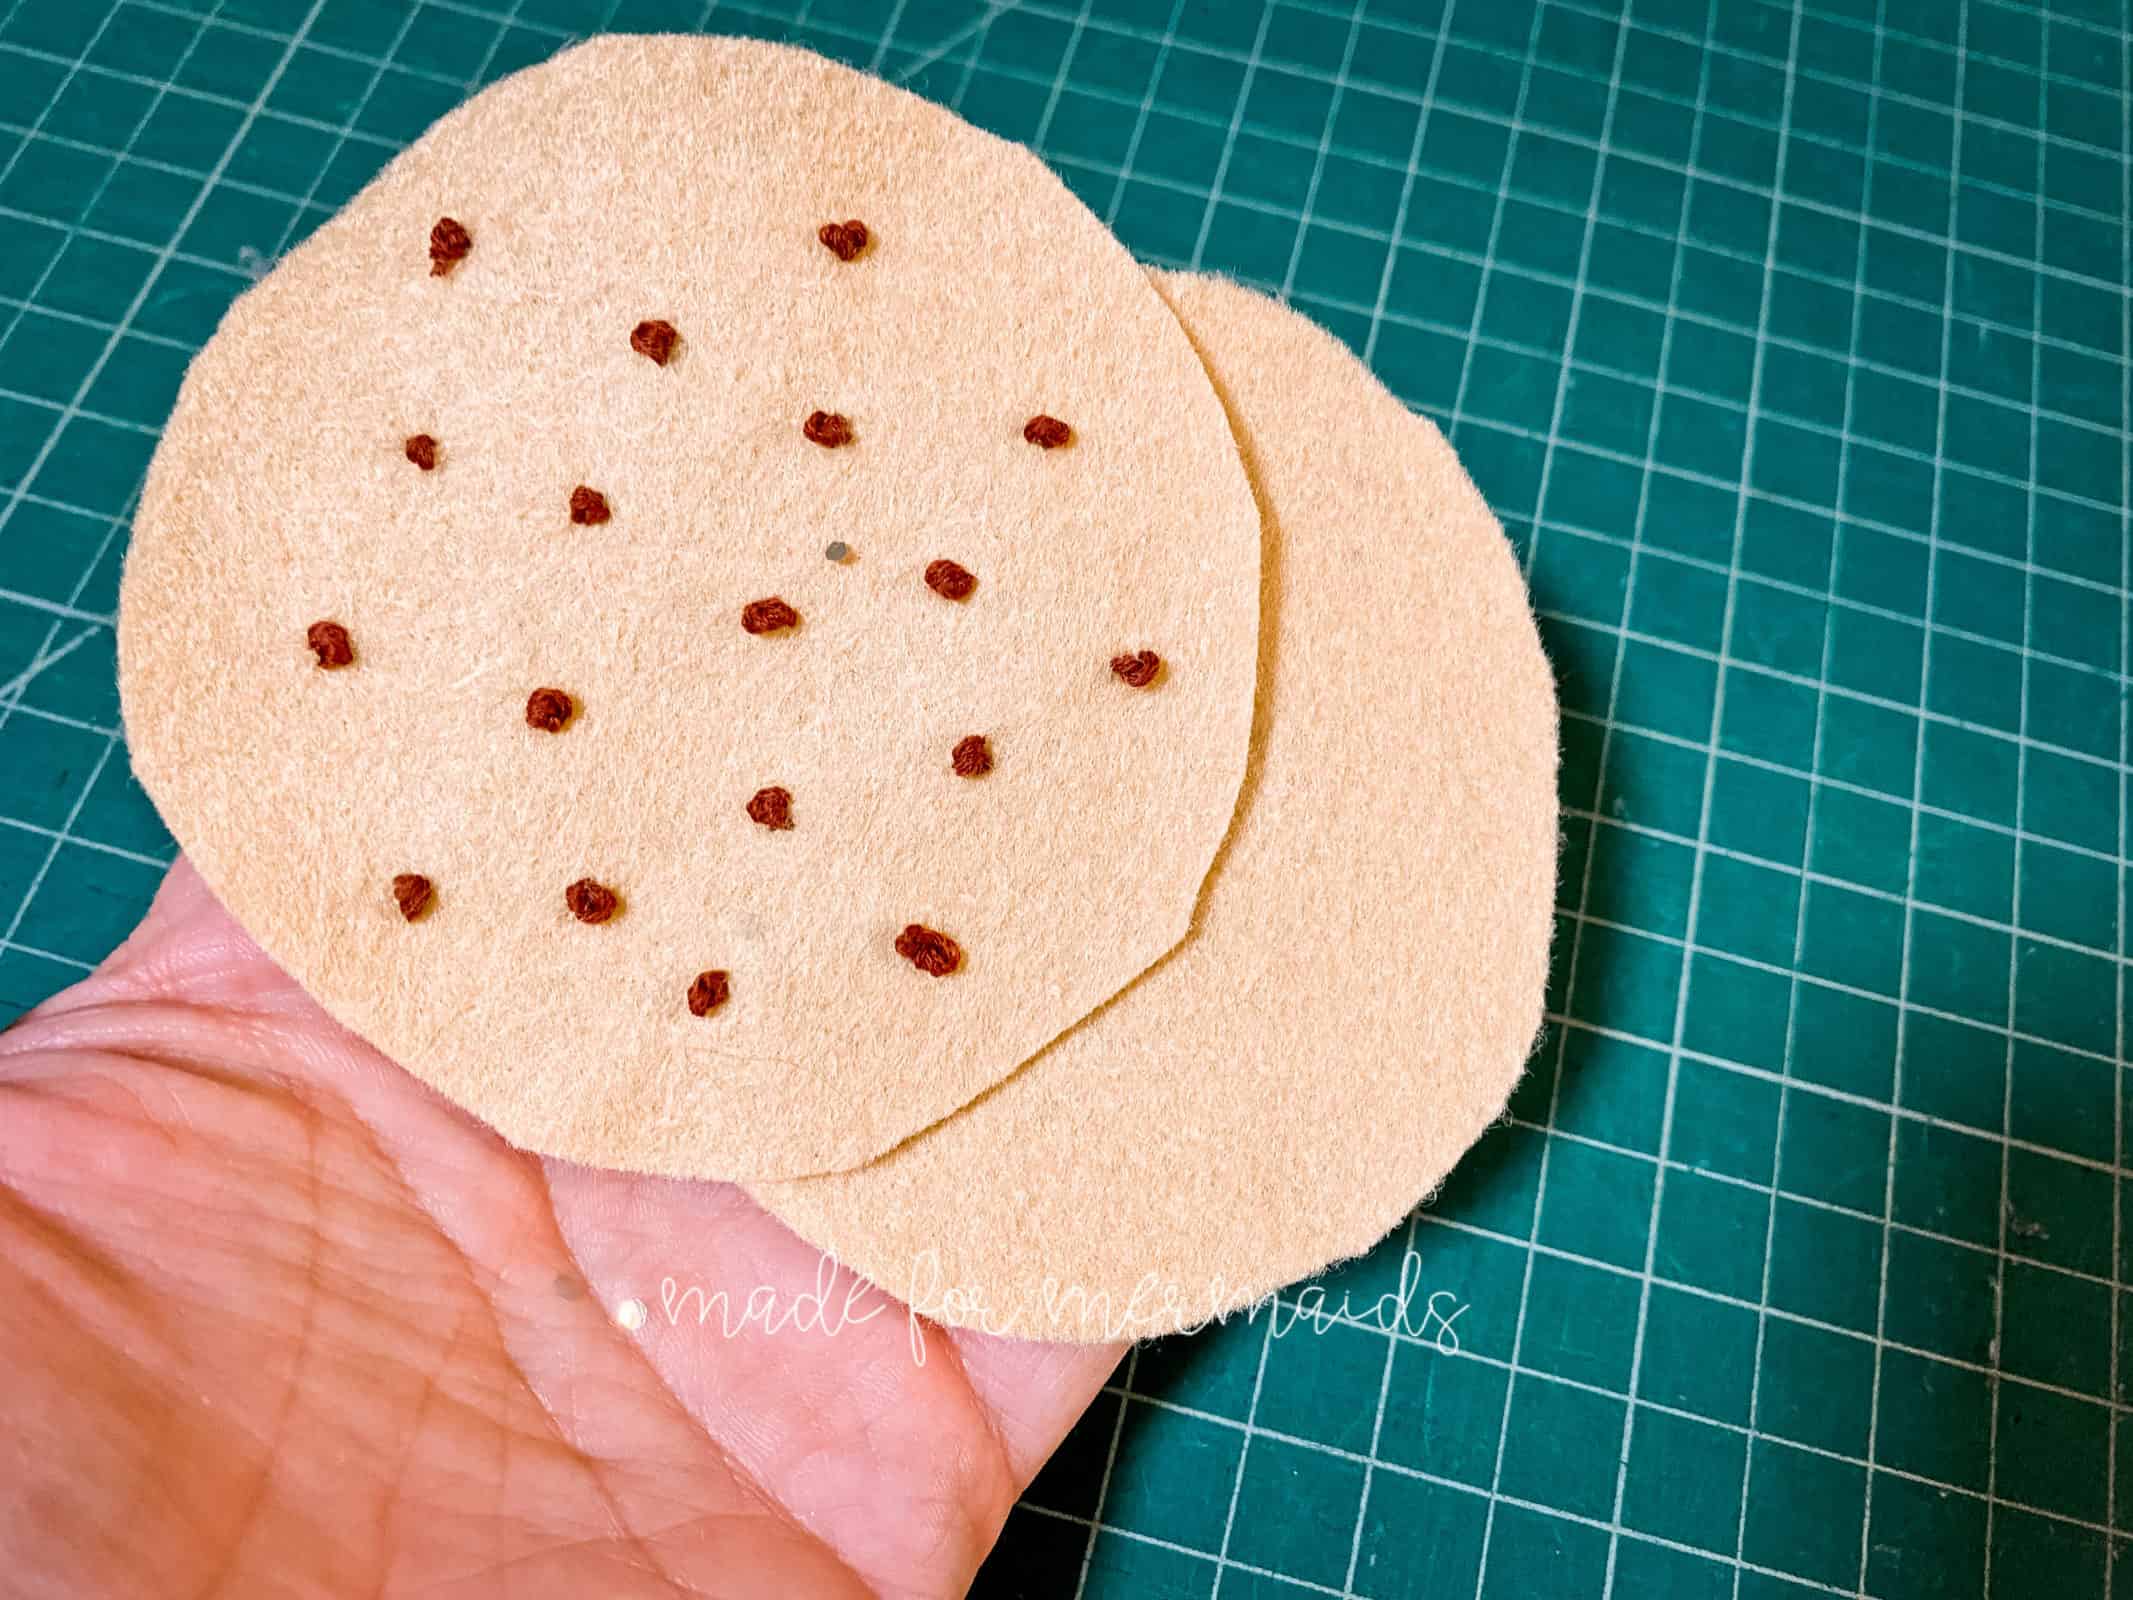
- Pin frosting piece to front cookie piece.
- Stitch frosting piece to front cookie piece.
- Stitch frosting to front cookie.
- Pin front cookie/frosting to back cookie, with wrong sides together.
- Stitch together with 1/4″ seam allowance.
- You could add a bit of polypill before closing all the way up if you’d like, but I find them to be thick enough without.
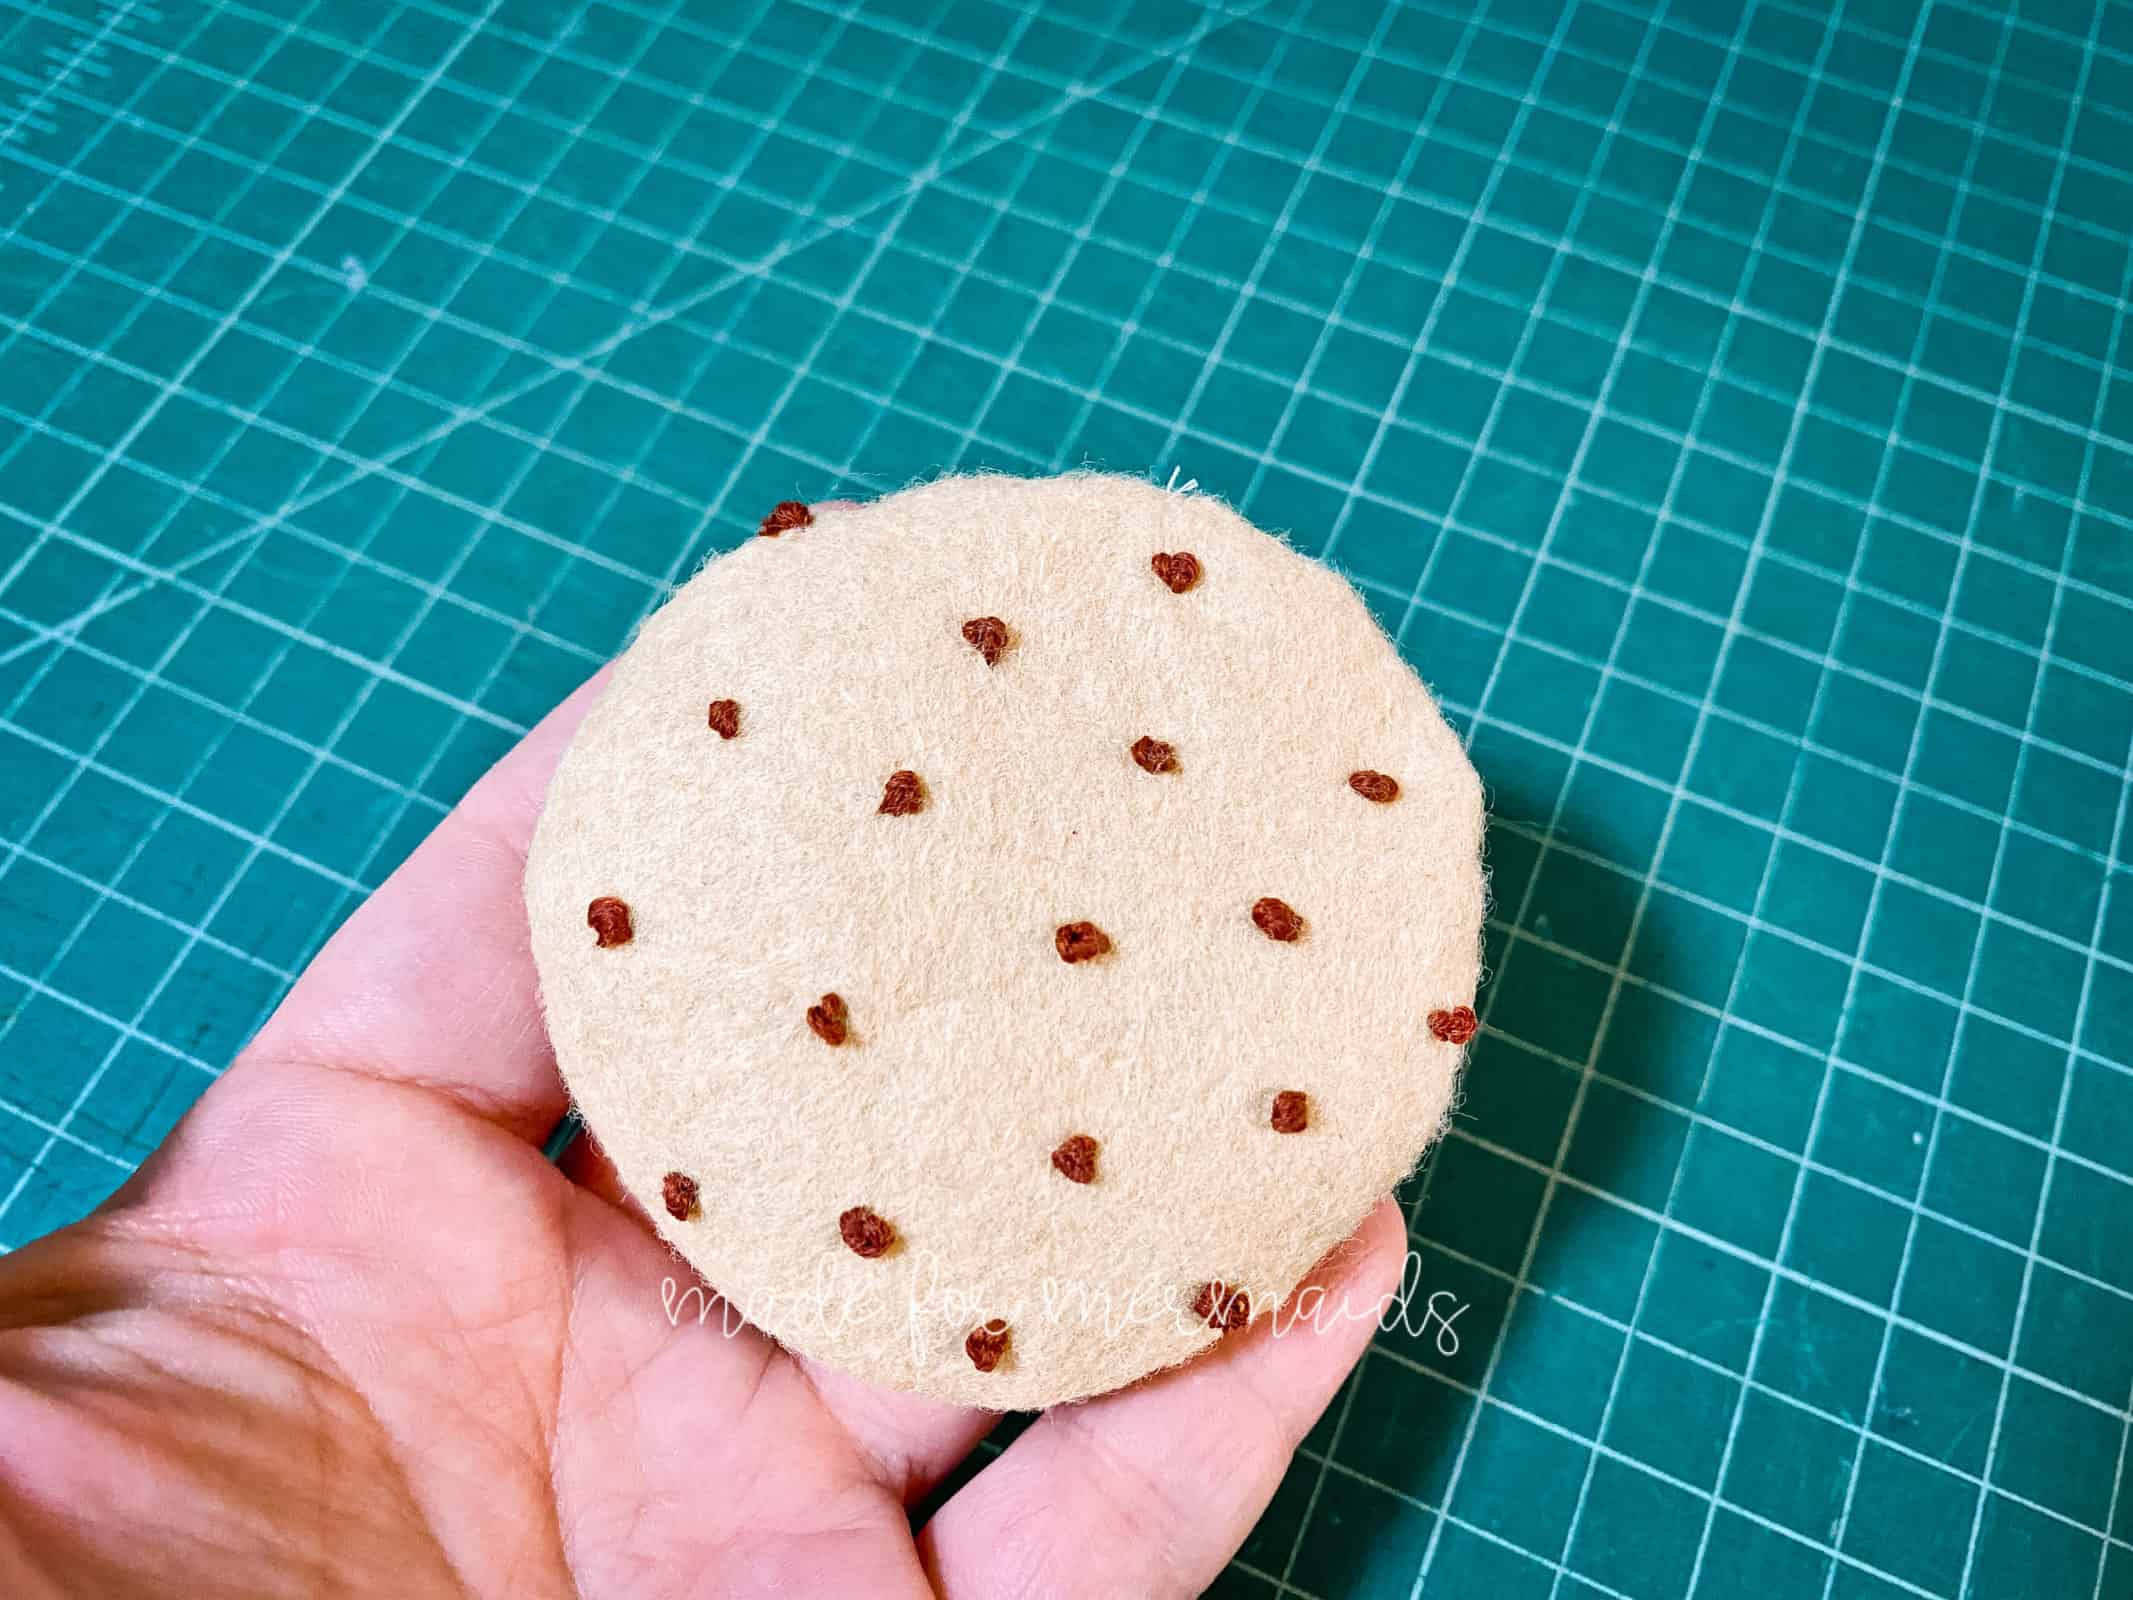
Round Cookie –
- You can use the star, tree, candy cane, or circle frosting pieces to embellish.
- Pin and stitch embellishments in place.
- You can also decorate using embroidery thread, beads, etc.
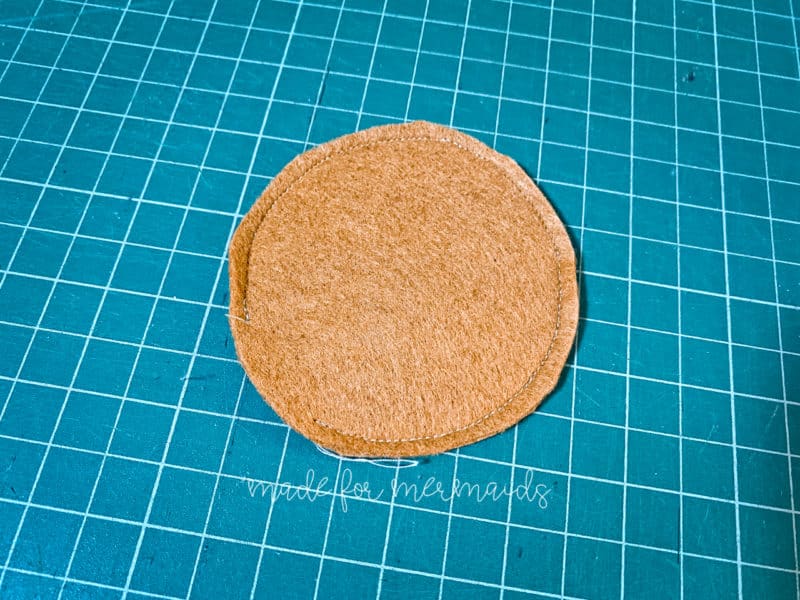
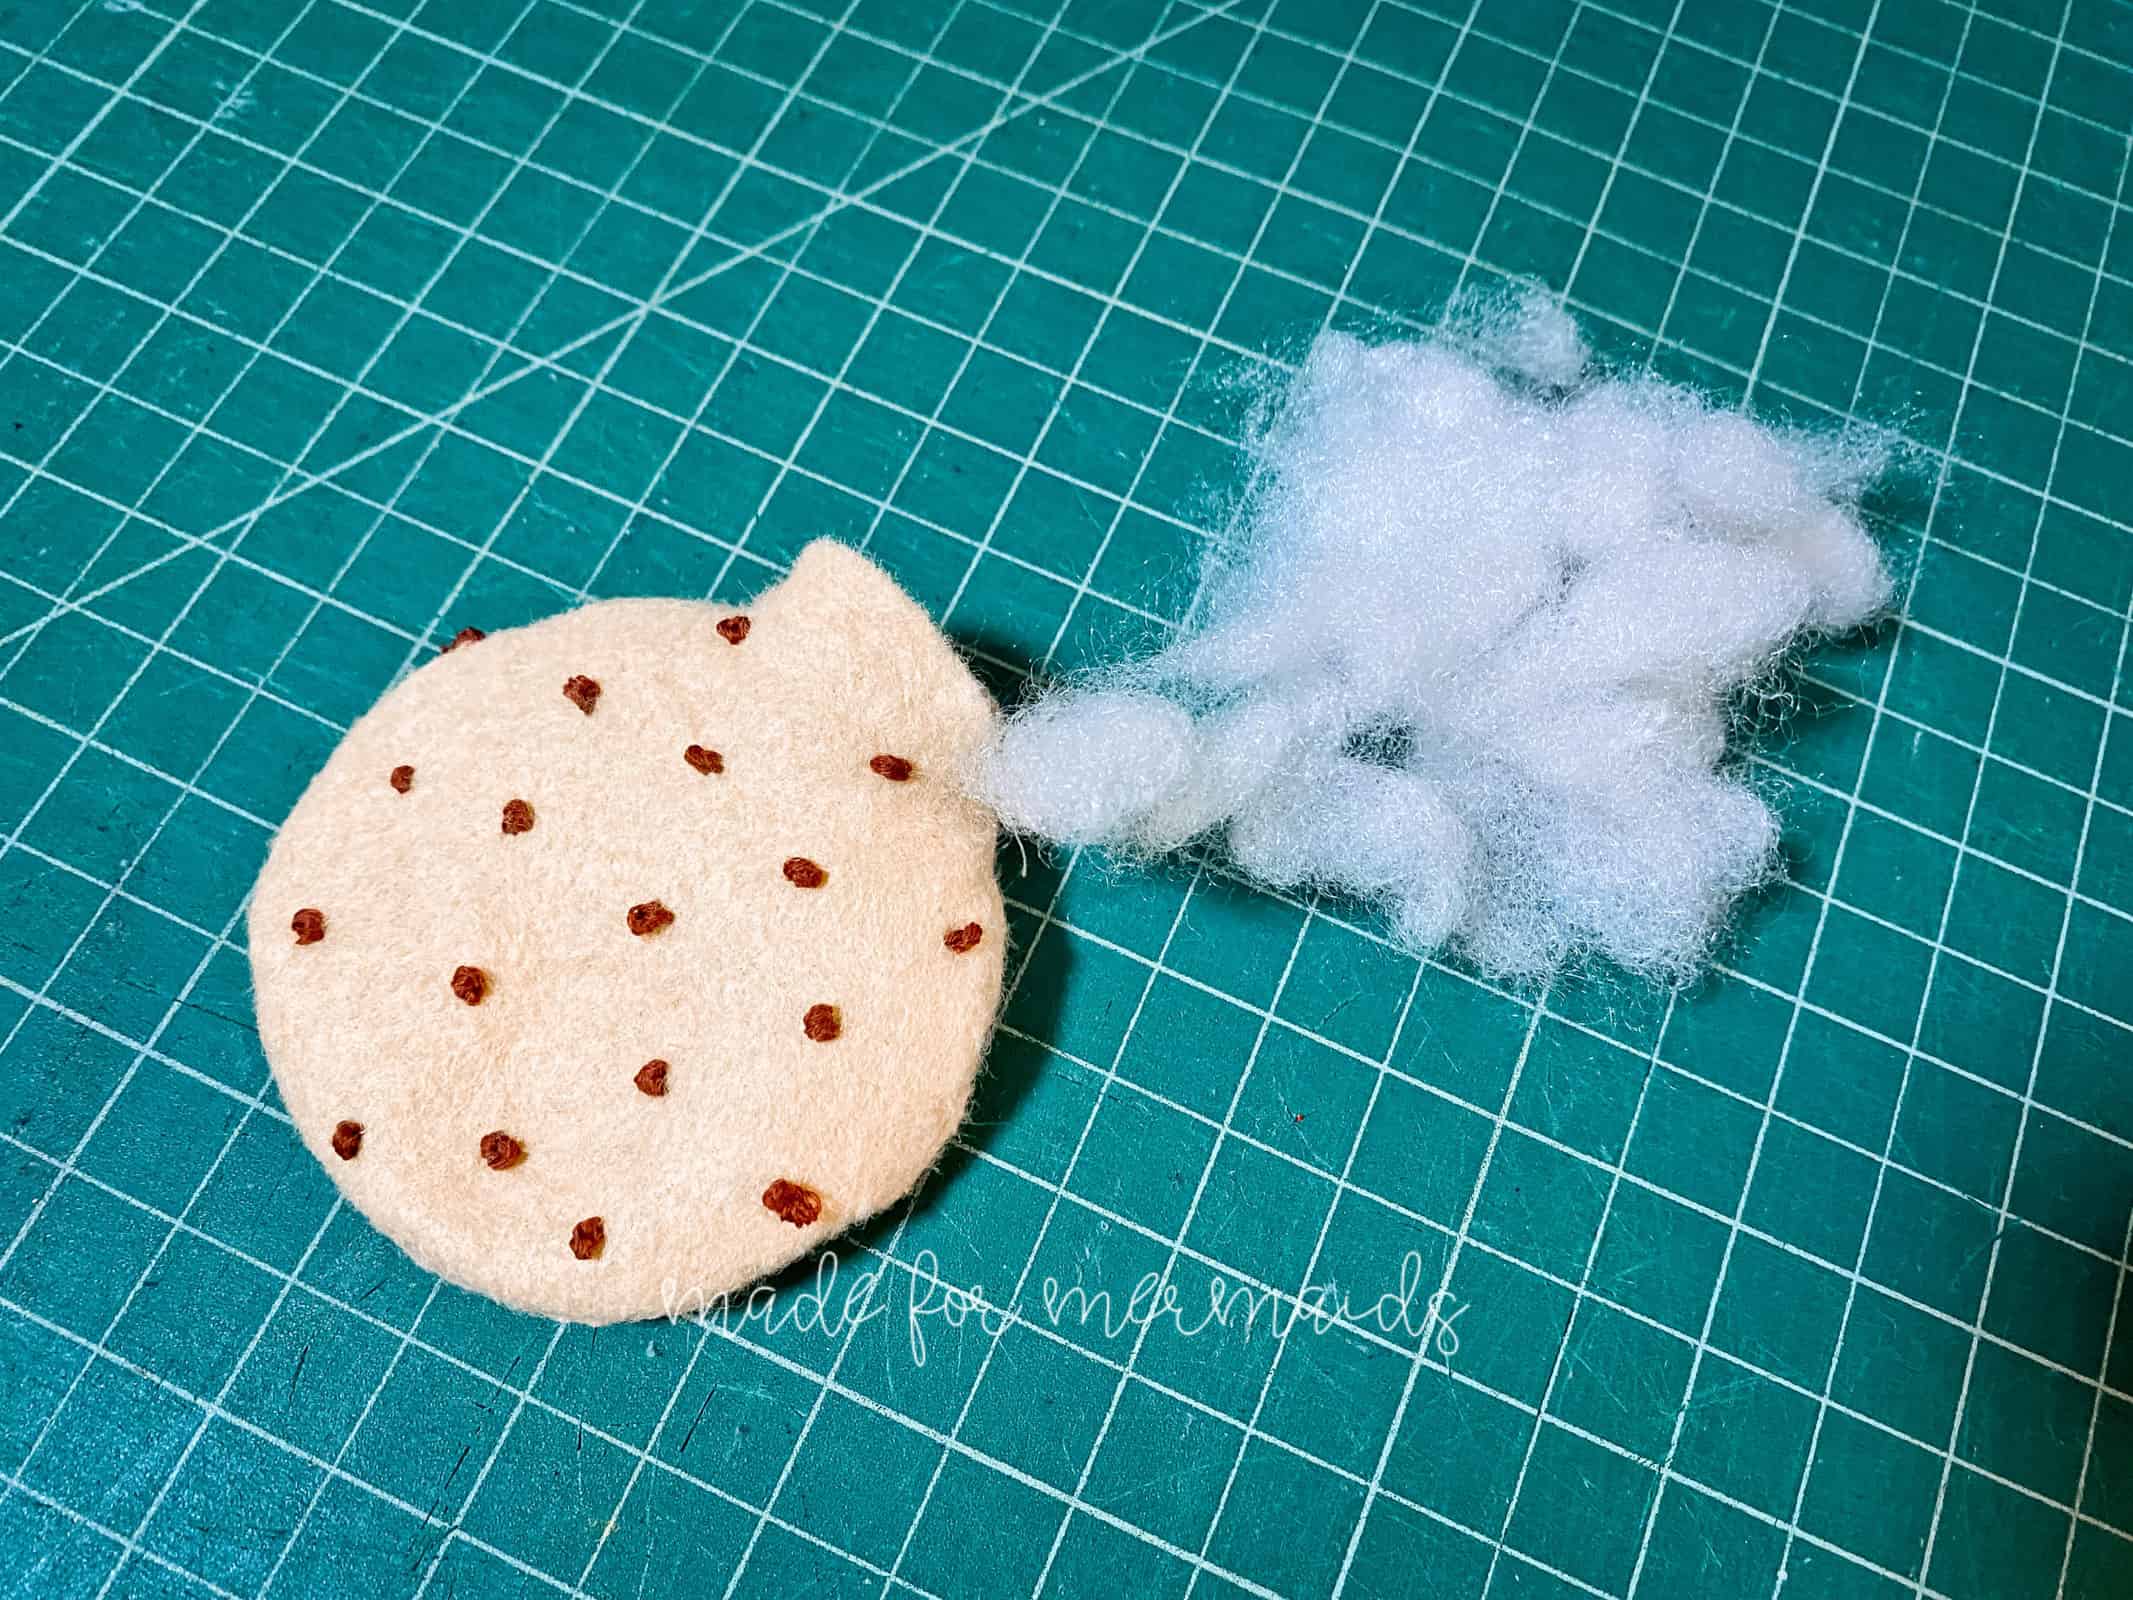
- If you’d like a “poofier” cookie, place together with right sides together. Stitch with 1/4″ seam allowance, leaving a small opening to turn right side out.
- Turn right side out.
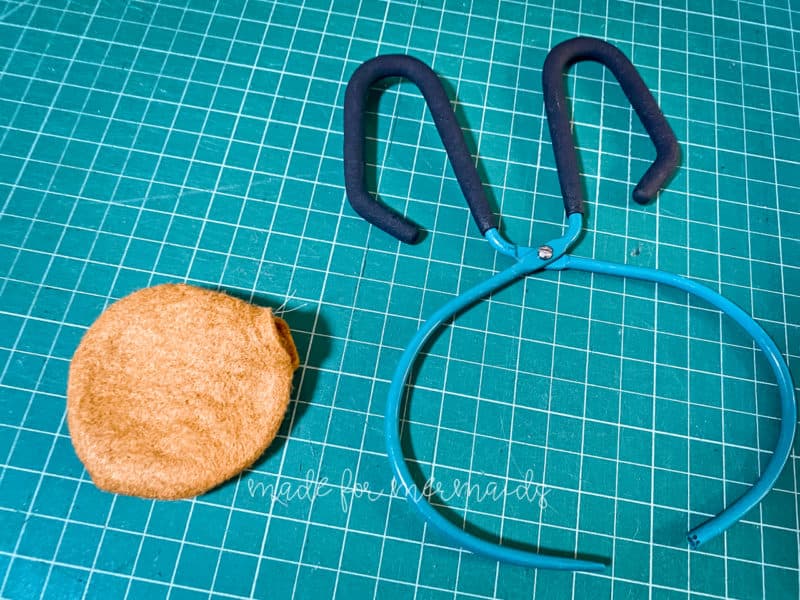
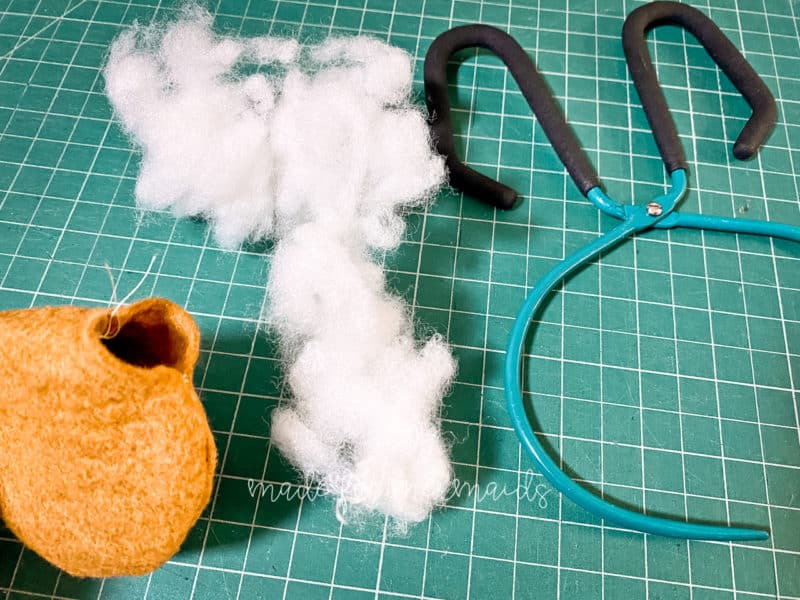
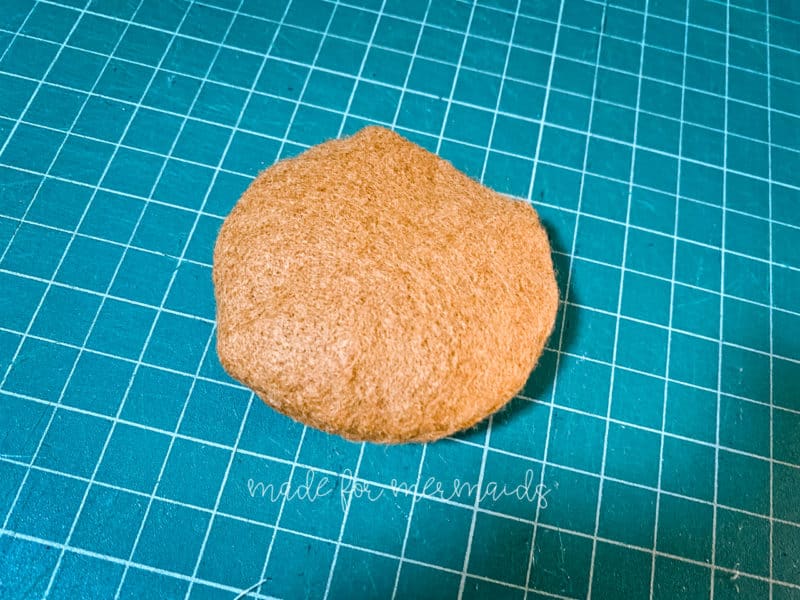
- Fill with polyfil.
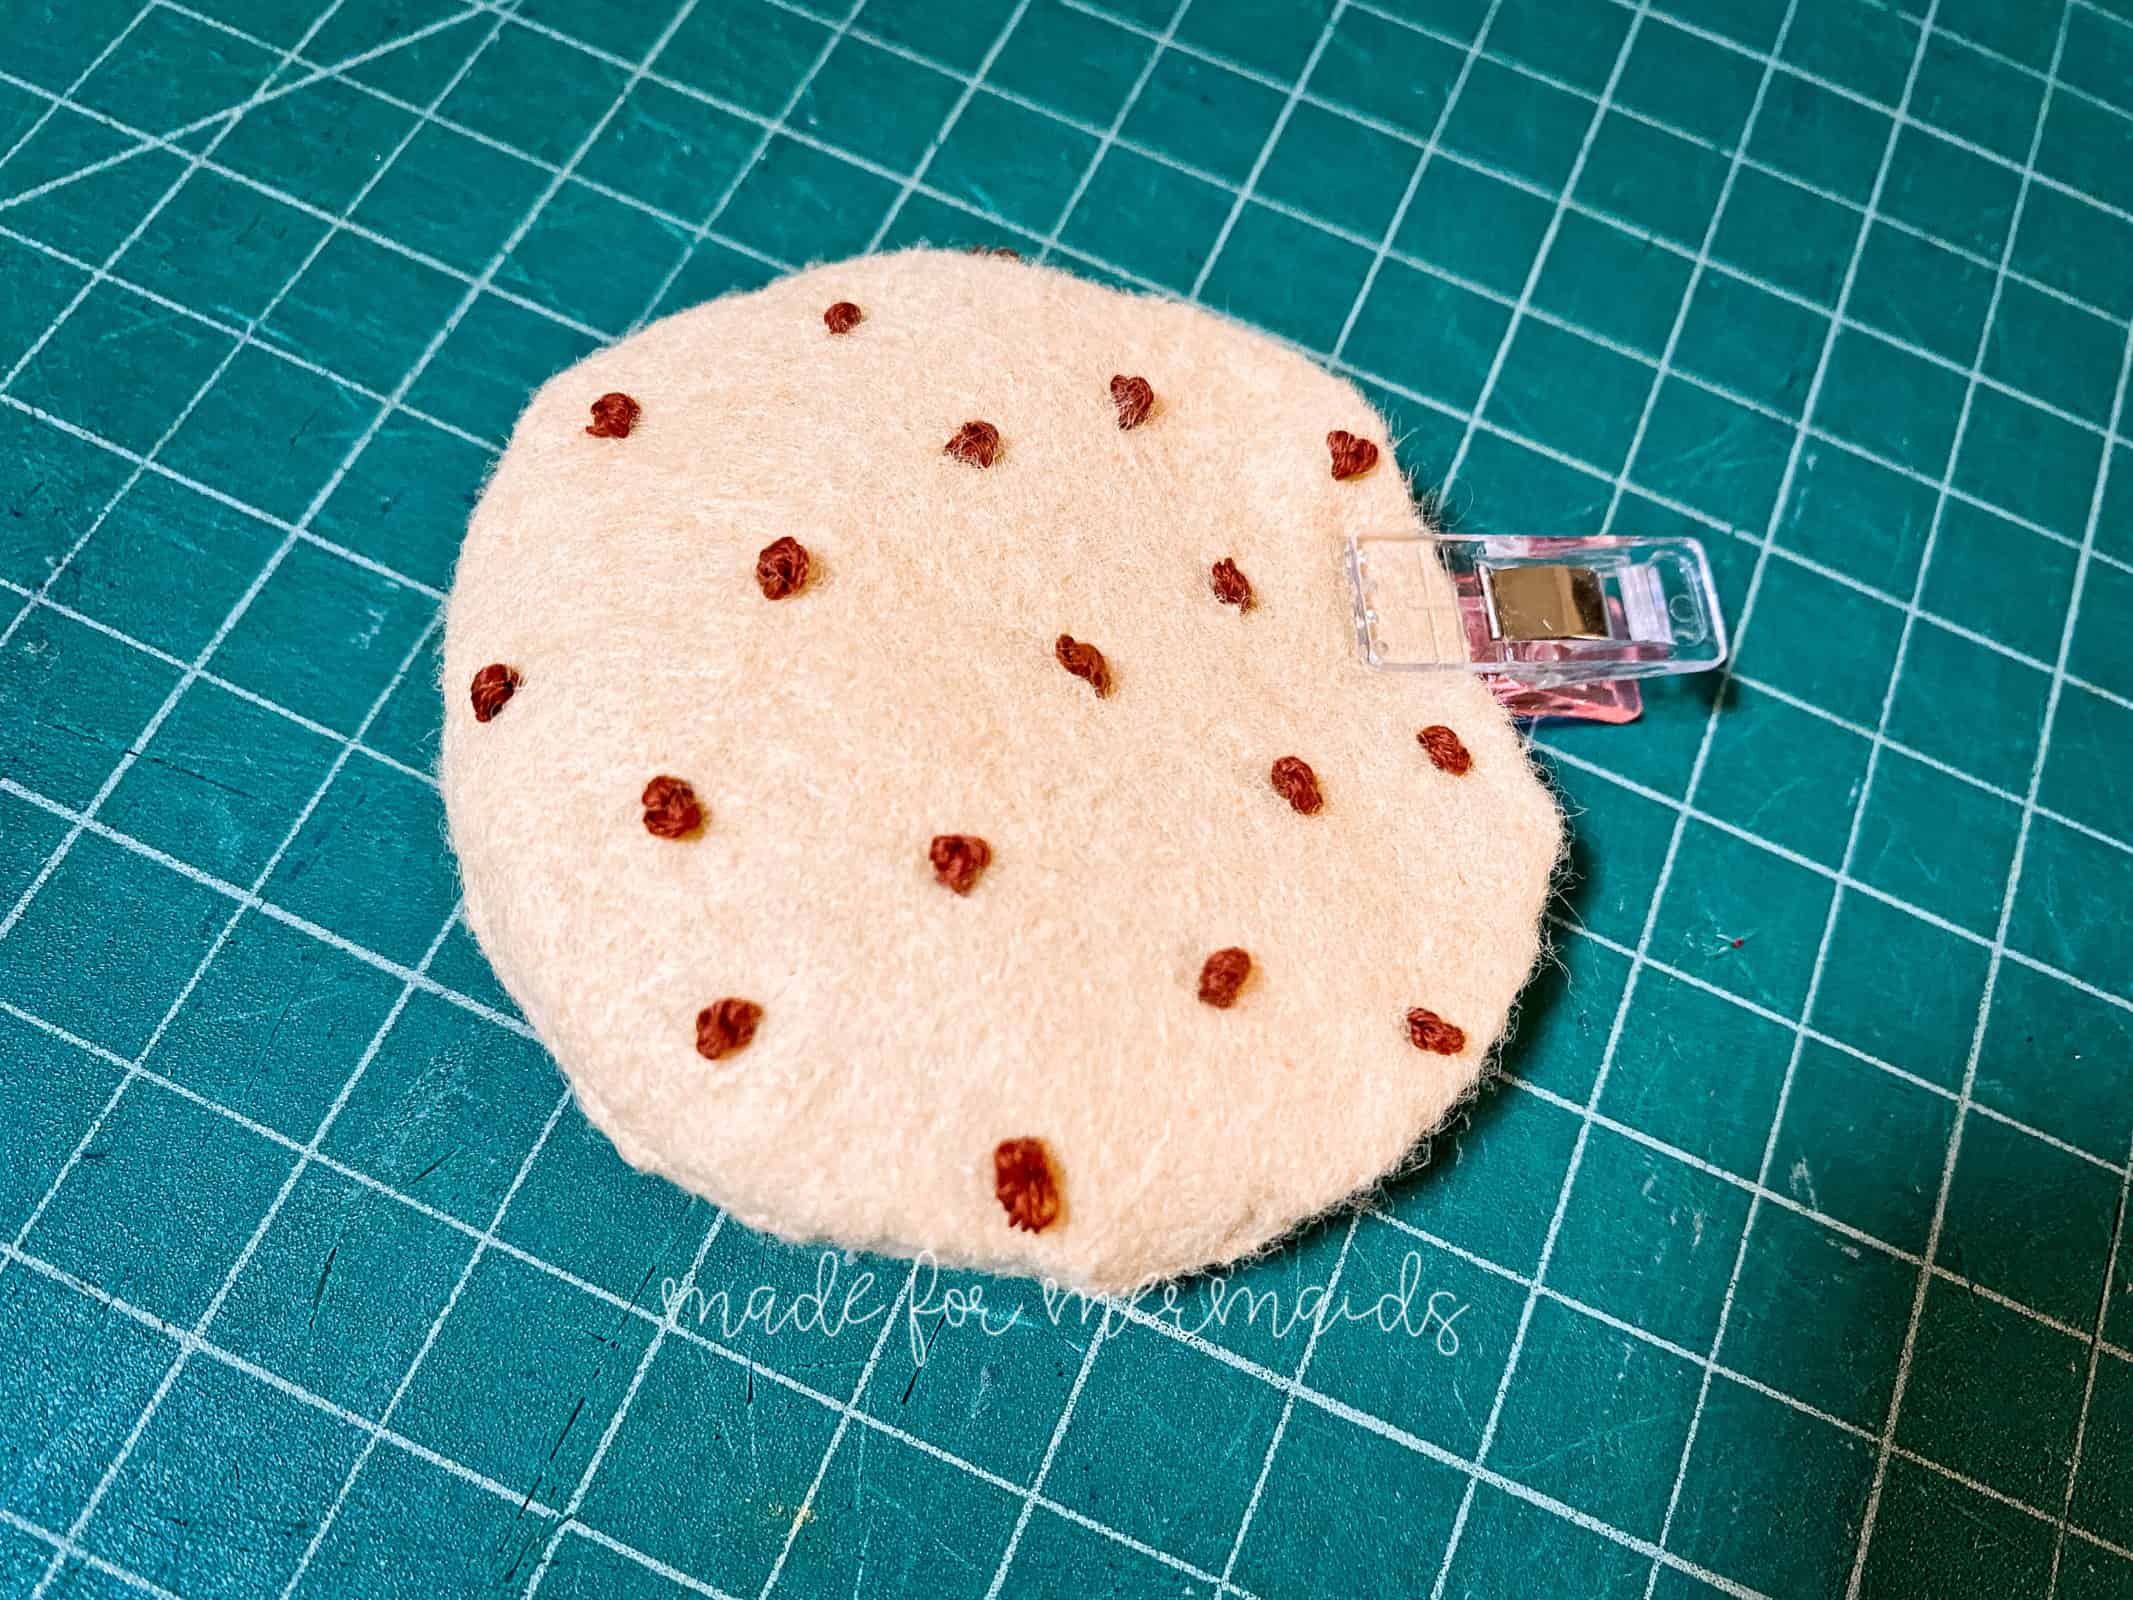
- Pin or clip opening closed.
- Stitch together using a ladder stitch or similar hand stitch.
- For “flatter” cookies, simply place layers together with WRONG sides together.
- Stitch around the outer edge with 1/4″ seam allowance.
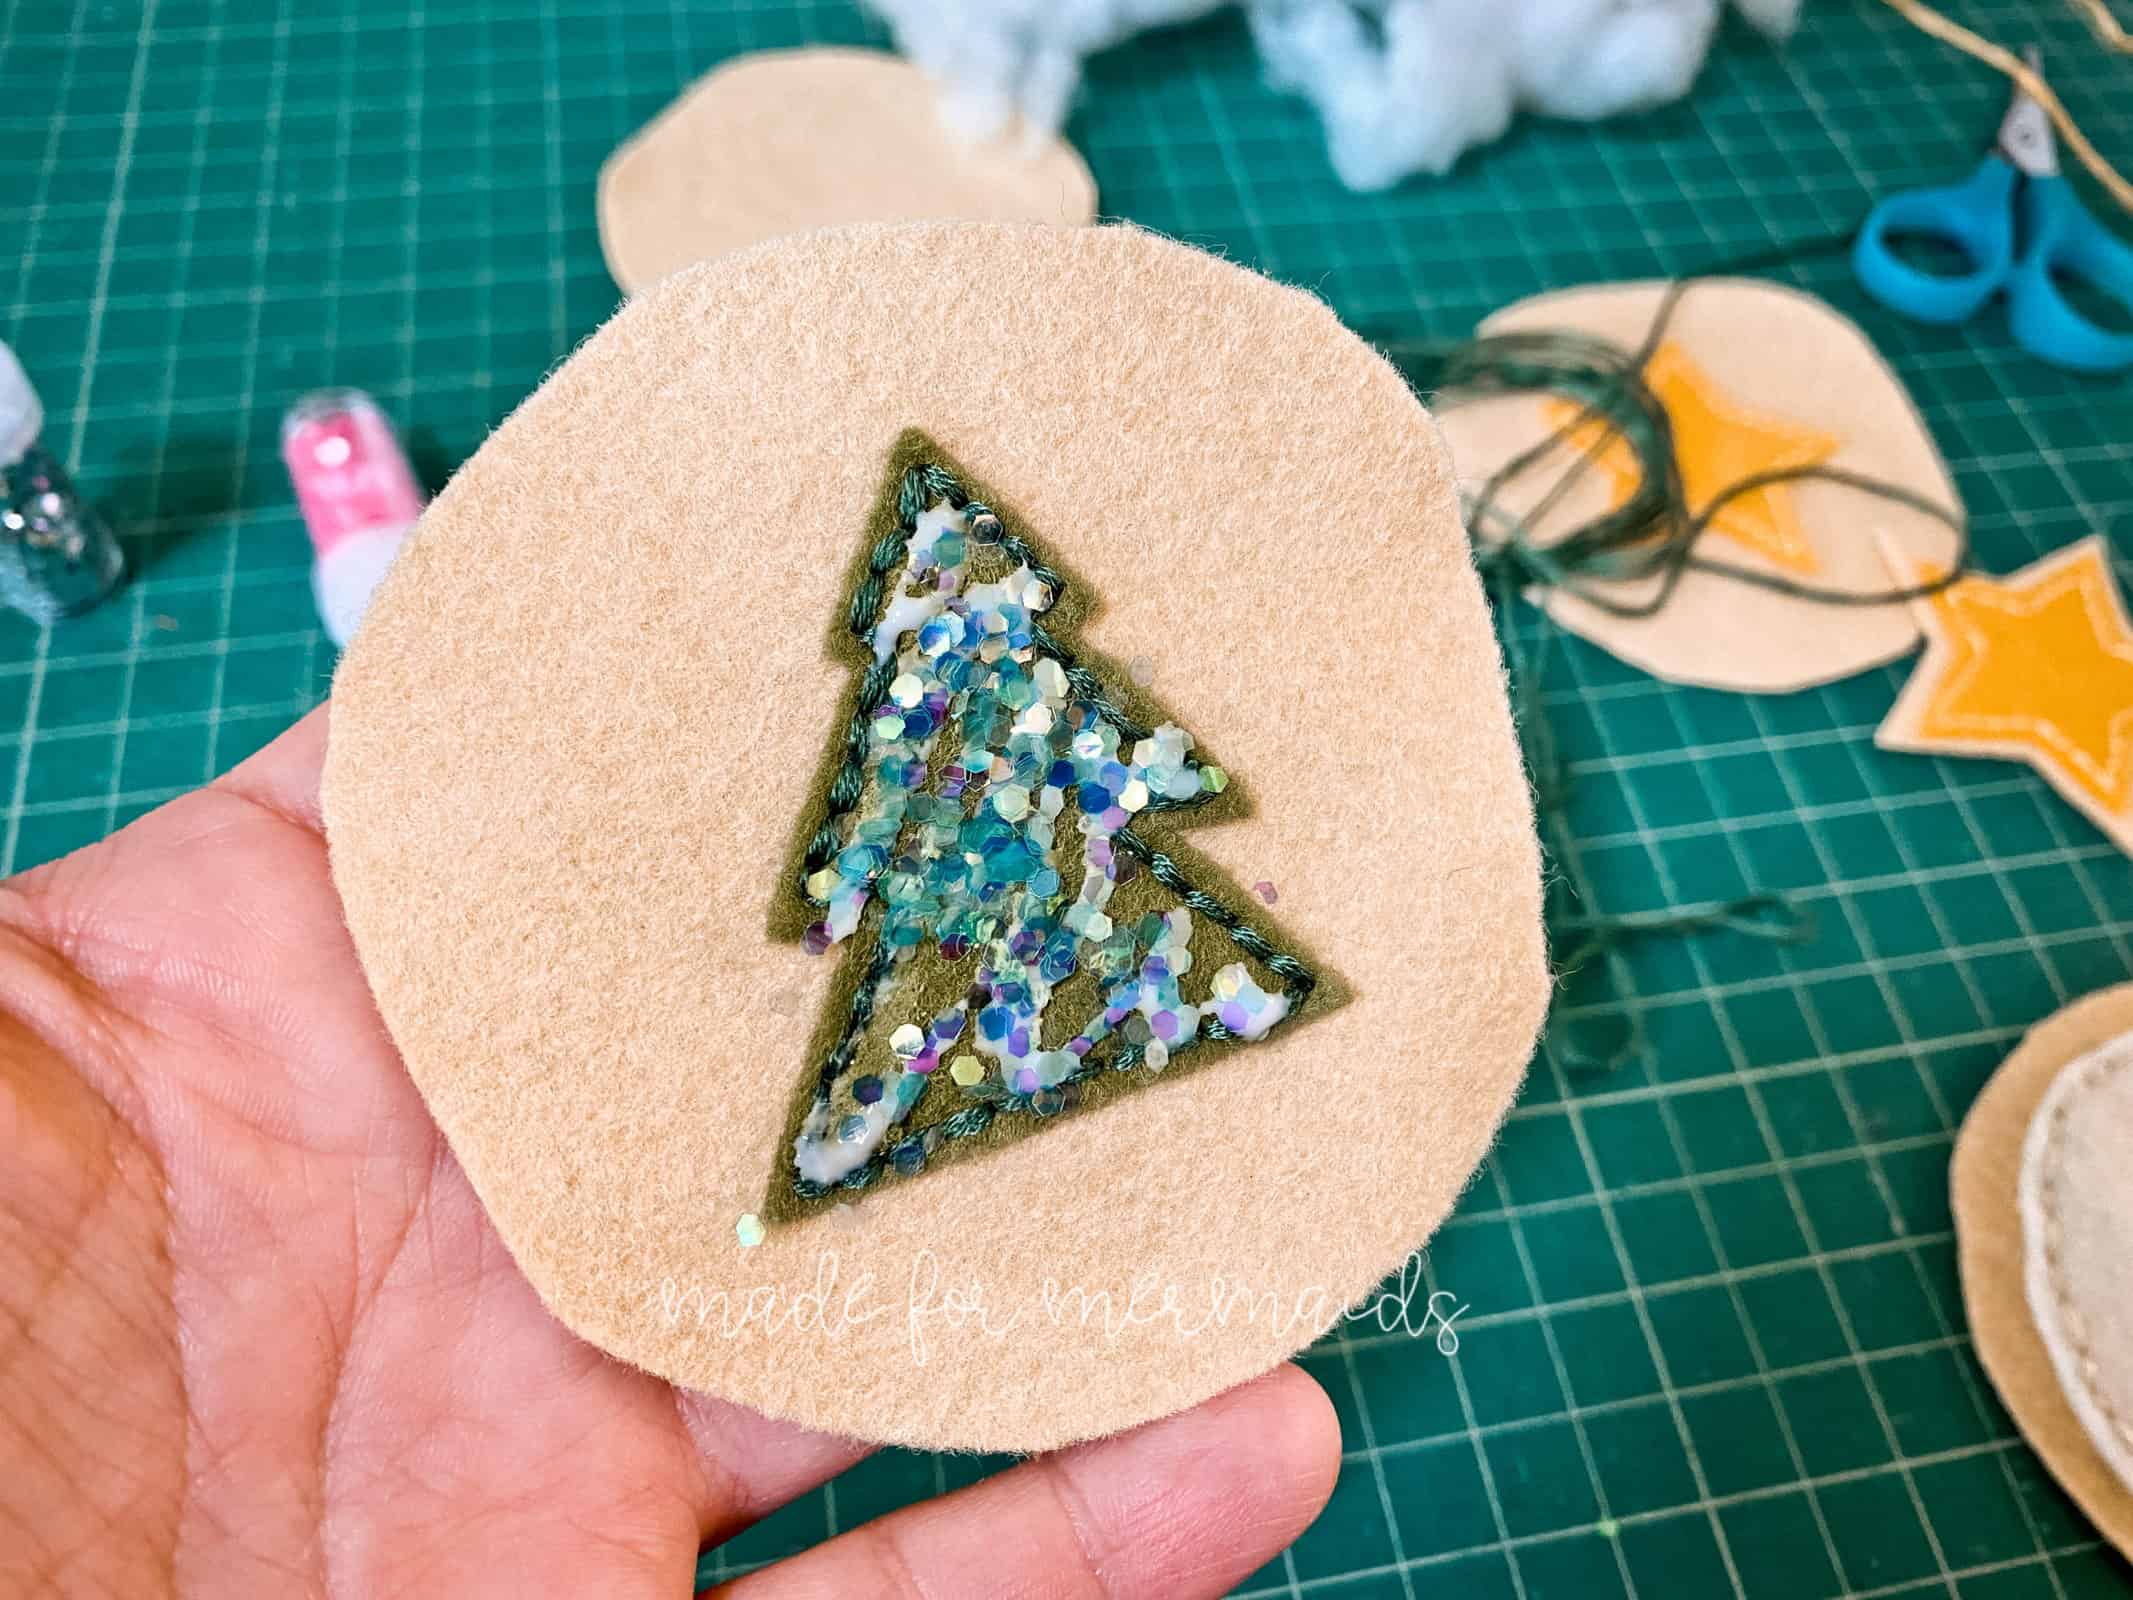
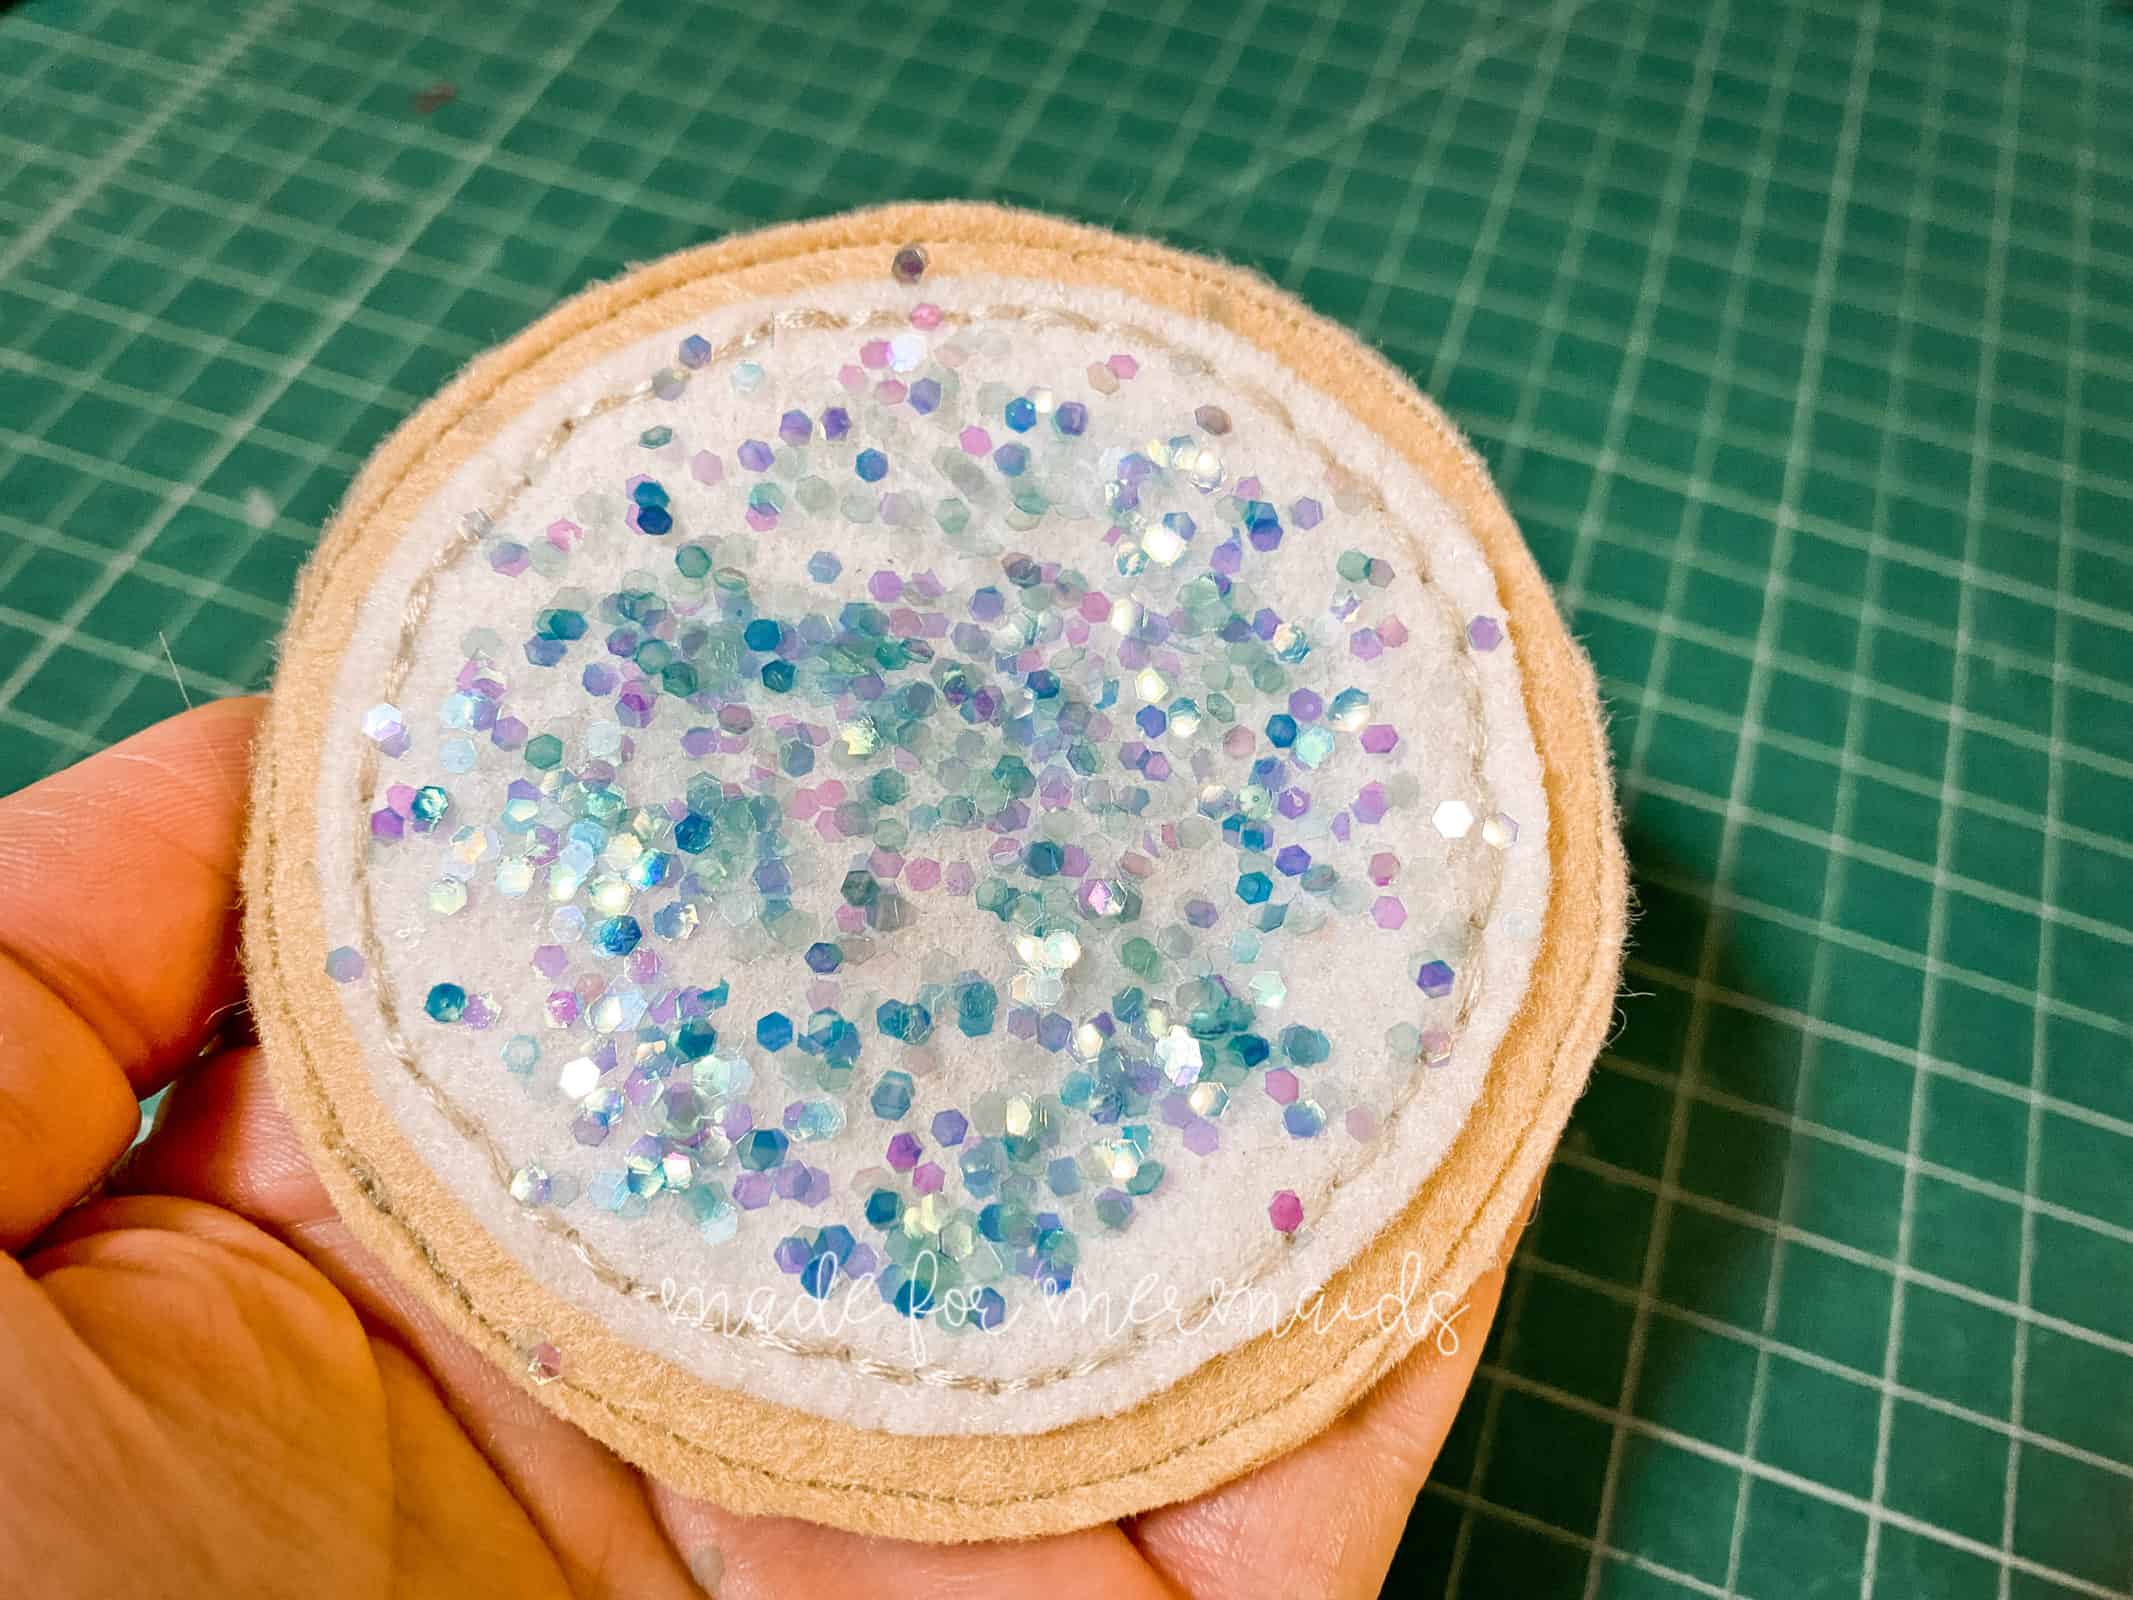
- Top with glitter “sprinkles” and enjoy!
Step 3: Tray
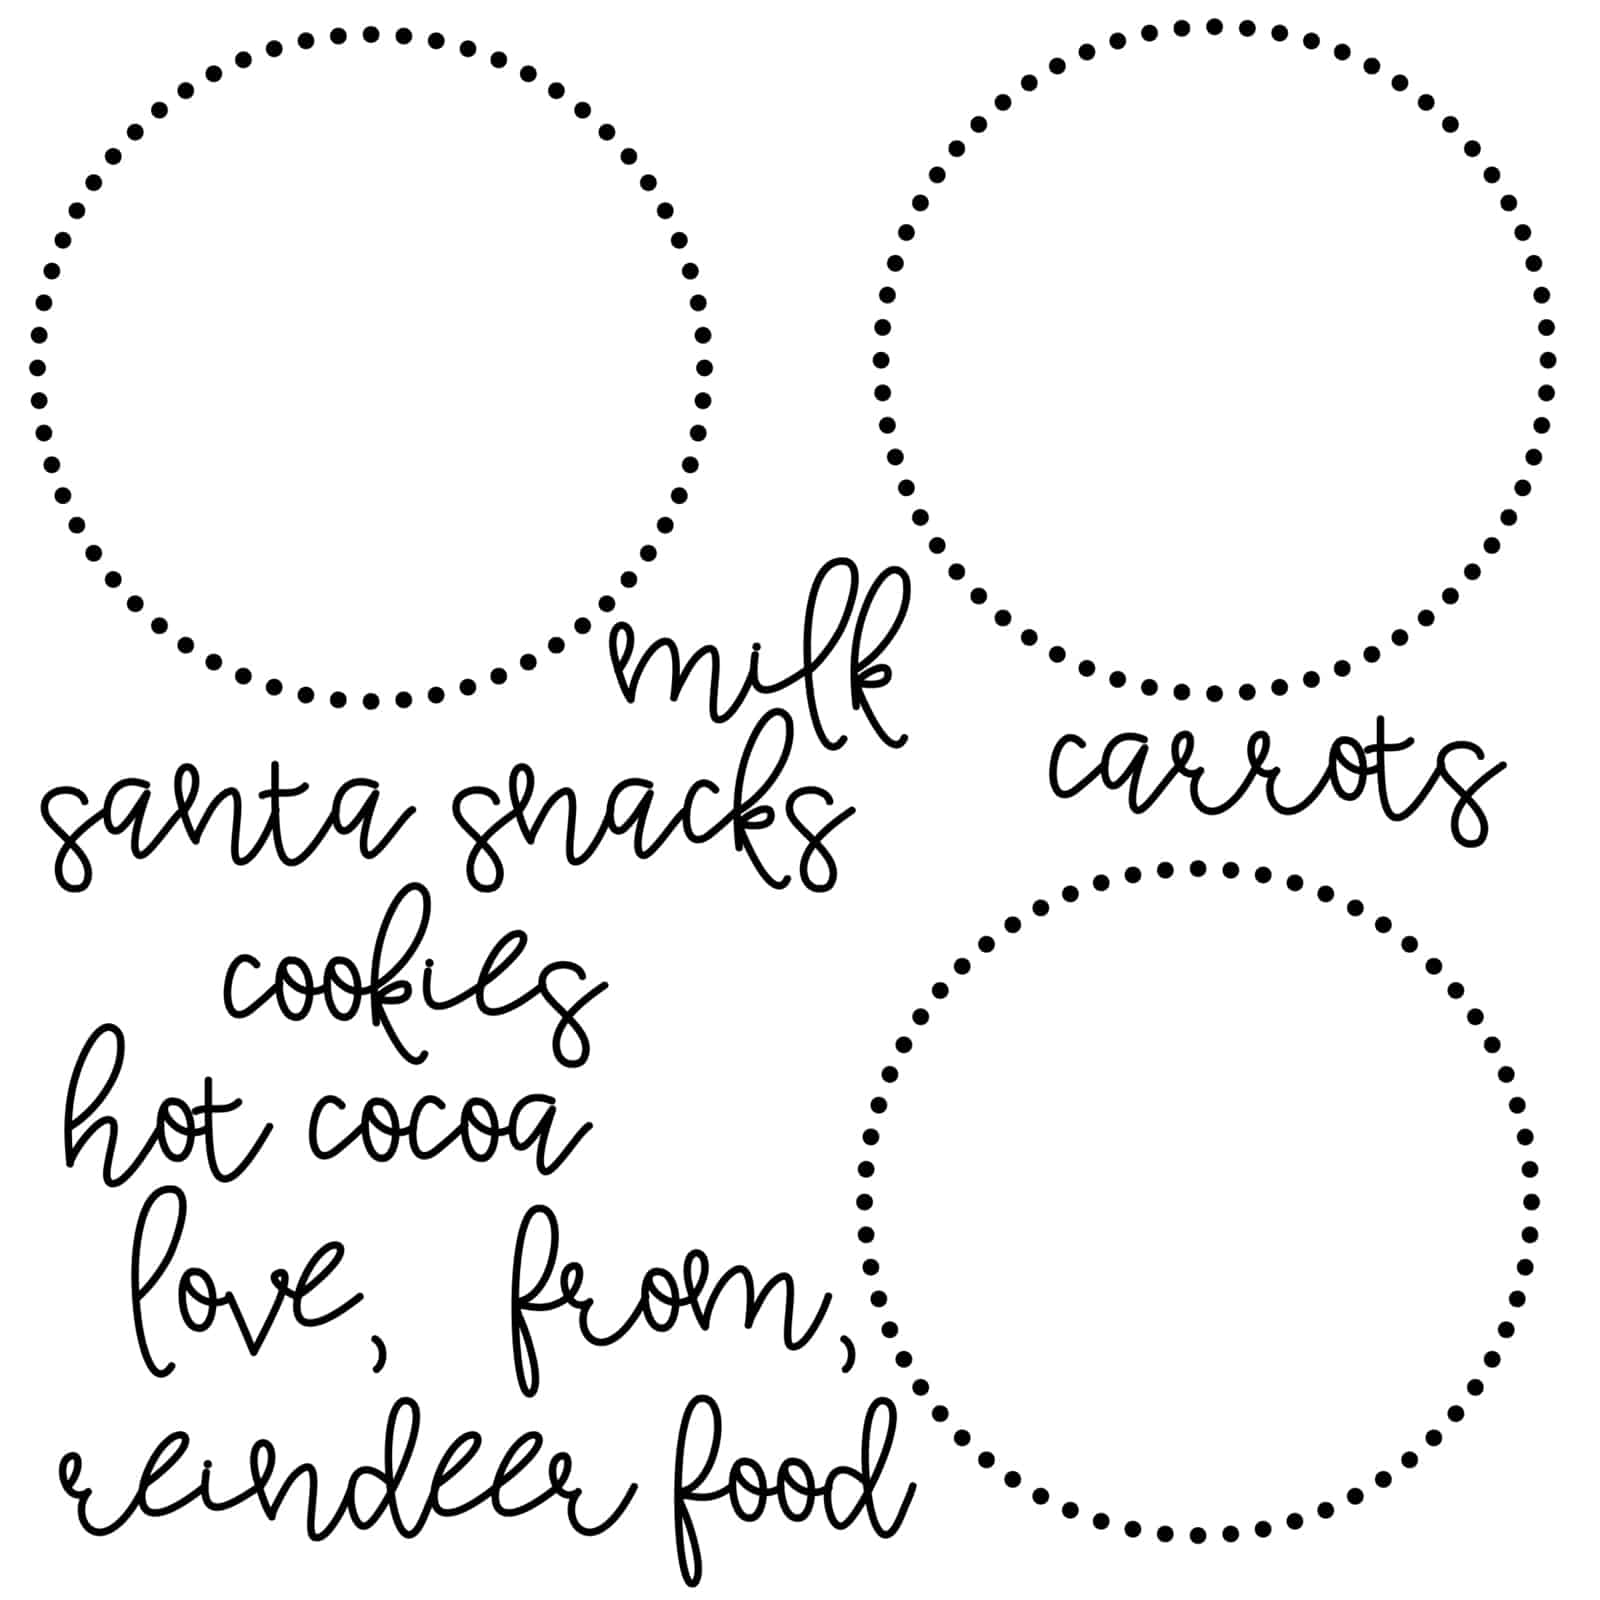
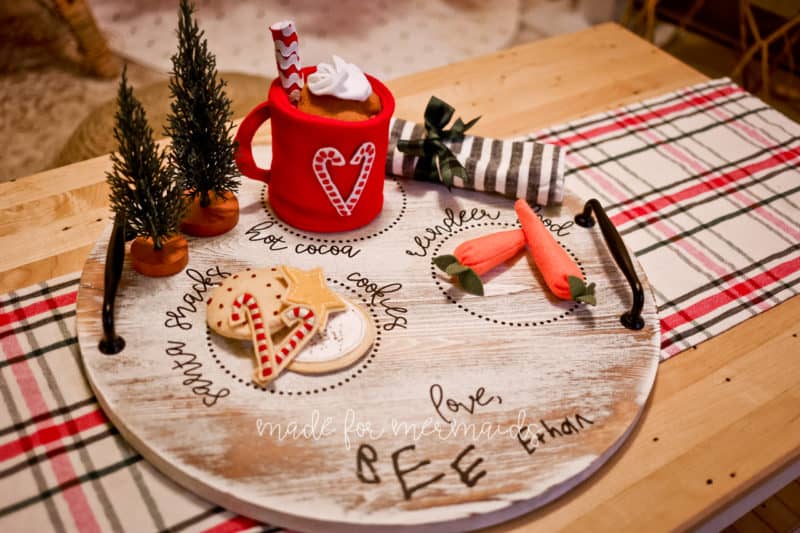
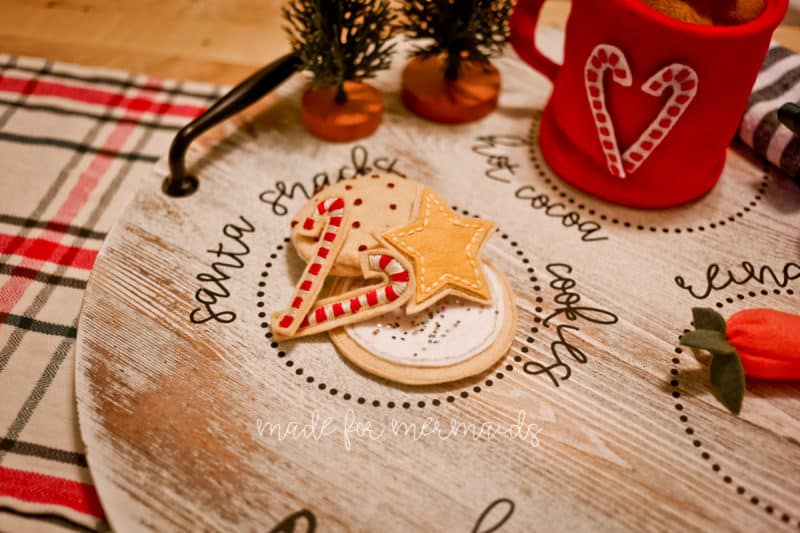
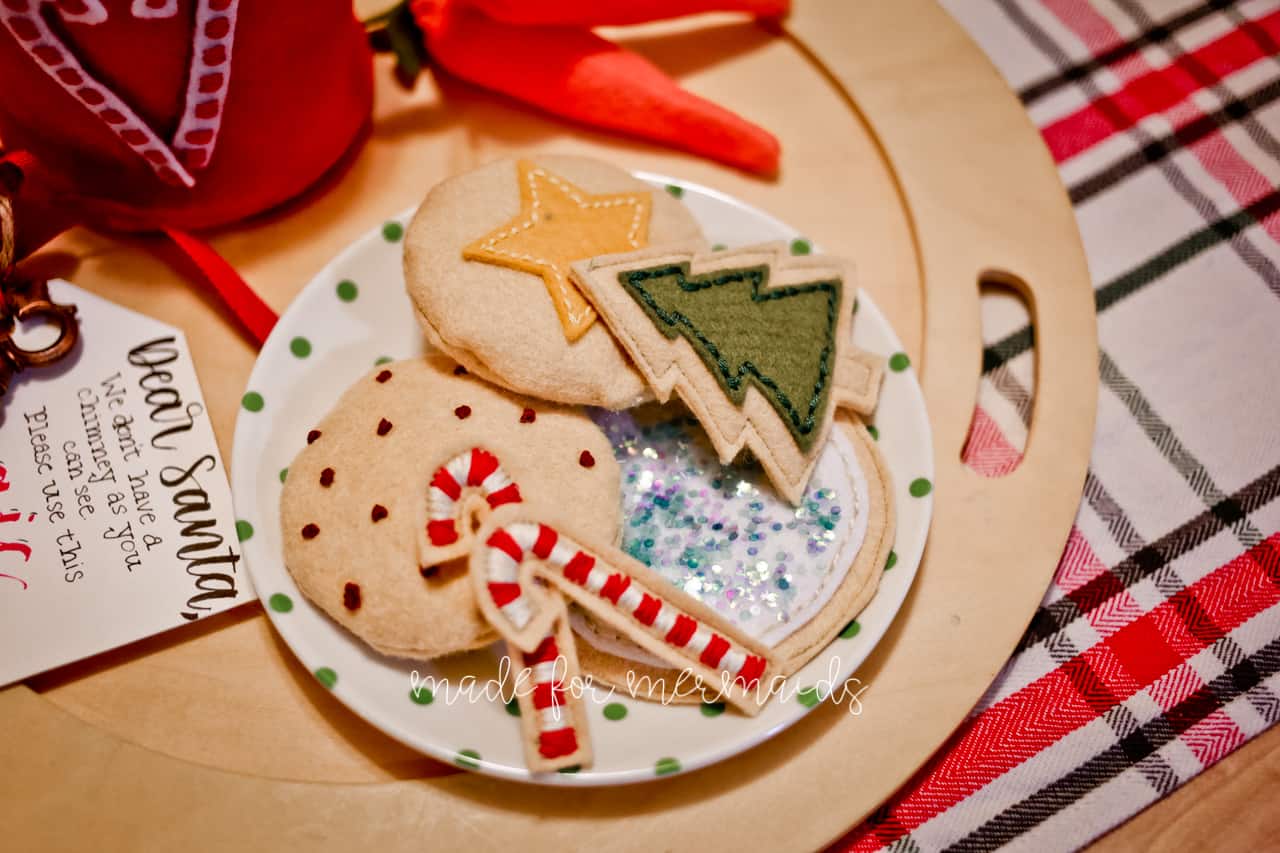
Simple dotted circles, some text, and a quick photo of my kids’ signatures made for an adorable Santa tray! Use the free cut file to create your own. Want to personalize with your kids’ signatures? It’s really simple! I just had my kids write their names in Sharpie on a piece of paper, snapped a pic on my phone, then opened in the Silhouette software. Since they had written in Sharpie, I was able to just quickly trace the outline and cut it right out! I used regular adhesive vinyl and a store bought wooden tray, but you could use most any top of plate/tray!
Step 4: ENJOY!
We hope you love your new breakfast set! It’s a great stocking stuffer or gift idea for little ones, teachers, daycares, and more! It also pairs great with lots of our other freebies, including: Annie Apron, Oven Mitt, Cloth Napkin, Felt Baking Set , Breakfast Set, and Drawstring Pouch. Keep an eye on our FB group to see what other fun freebies we have in store for you this week 🙂 Happy sewing!
DECEMBER 1 – 12, 2020
DAY 1 – SUPER SCRUNCHIE
DAY 2 – SPA HEADBAND
DAY 3 – CHEF’S HAT
DAY 4 – HOLIDAY STOCKING
DAY 5 – HAND SANITIZER KEYCHAIN






























Leave a Reply