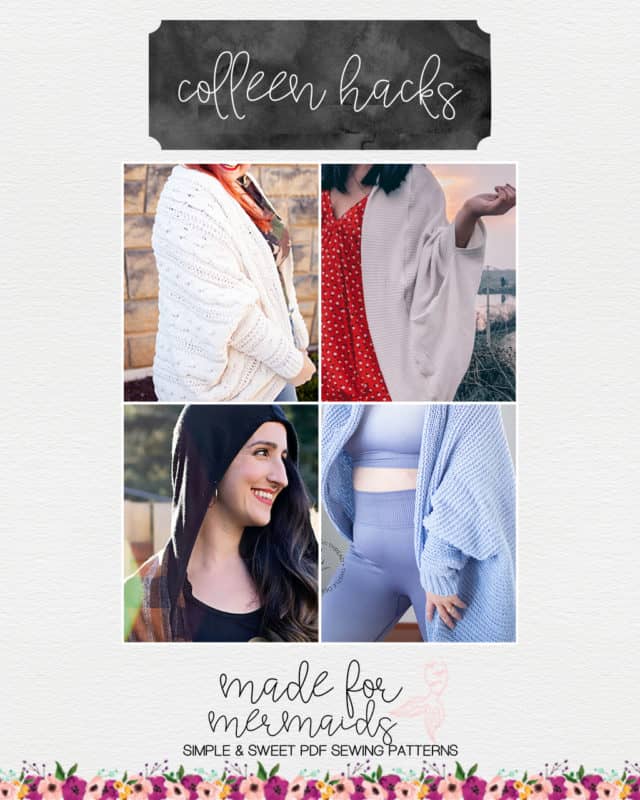
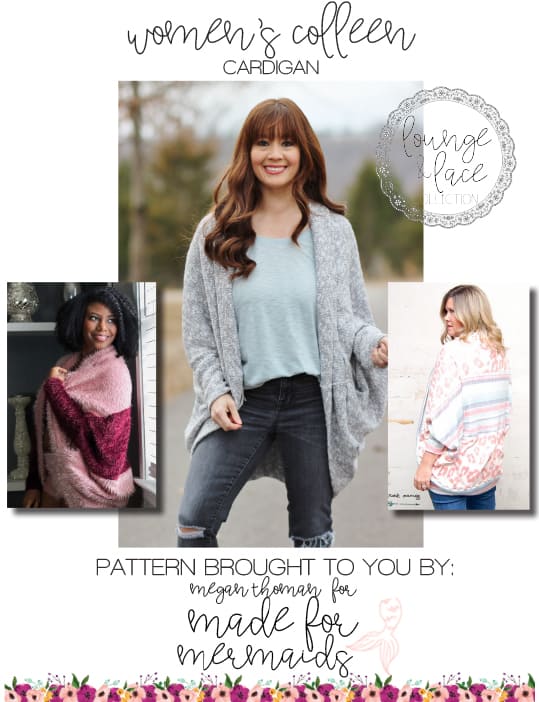
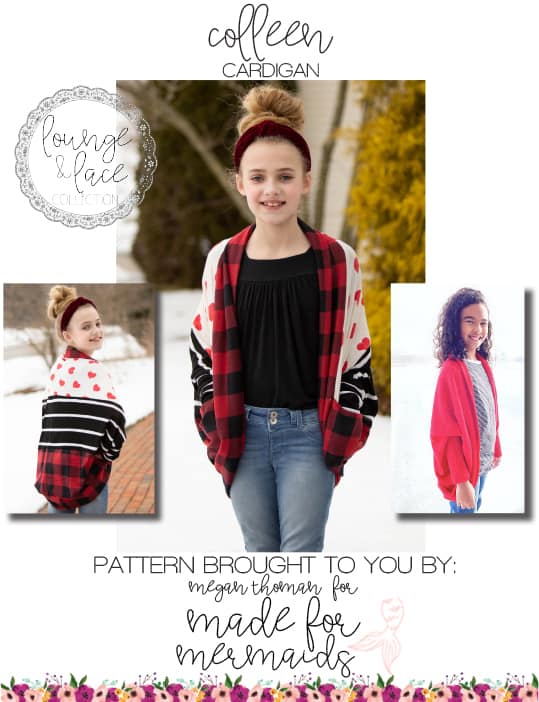
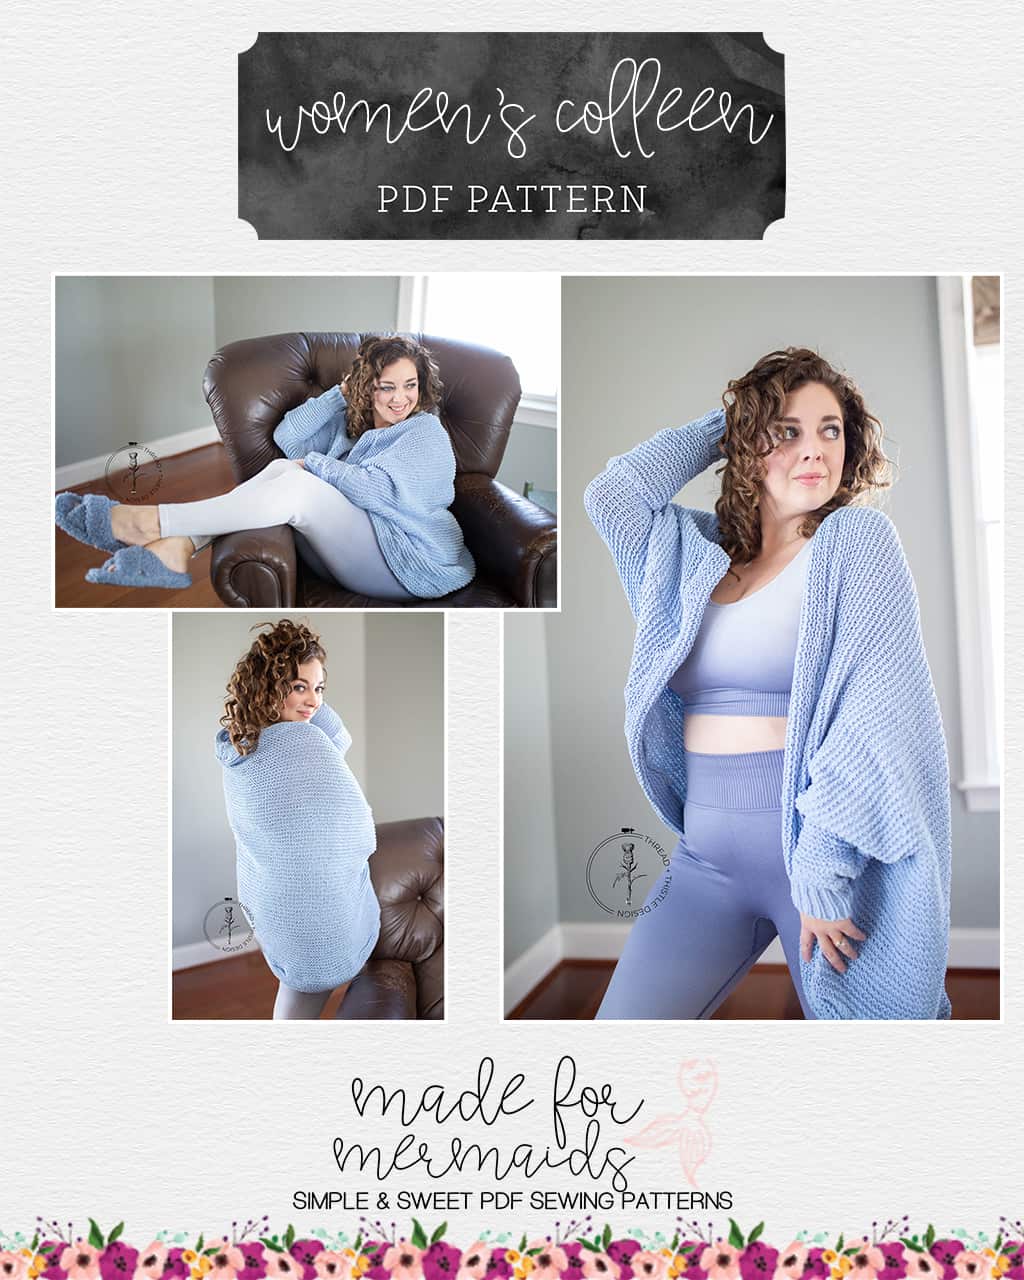
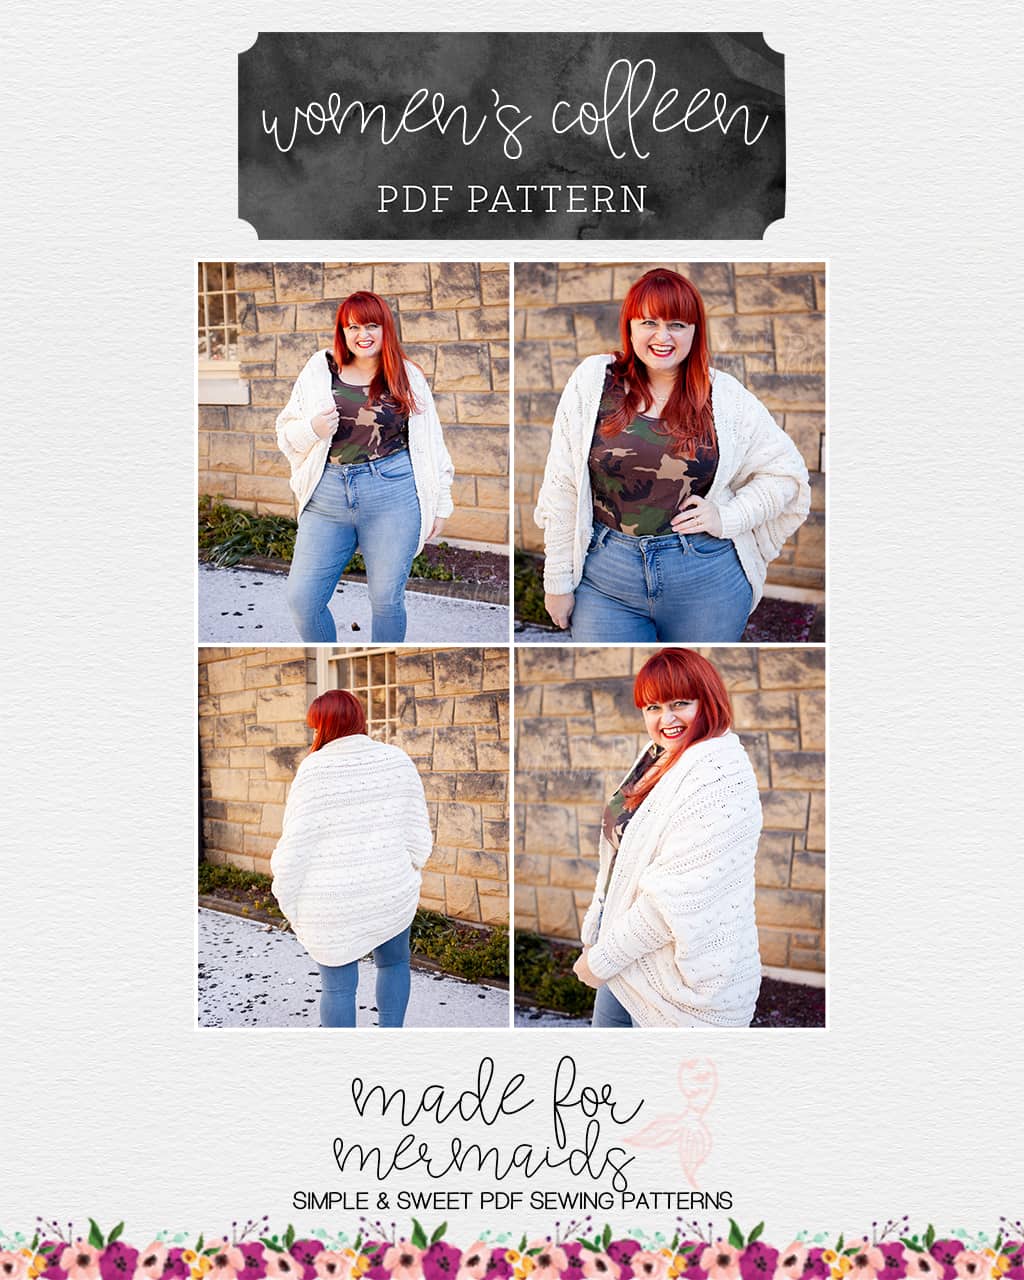
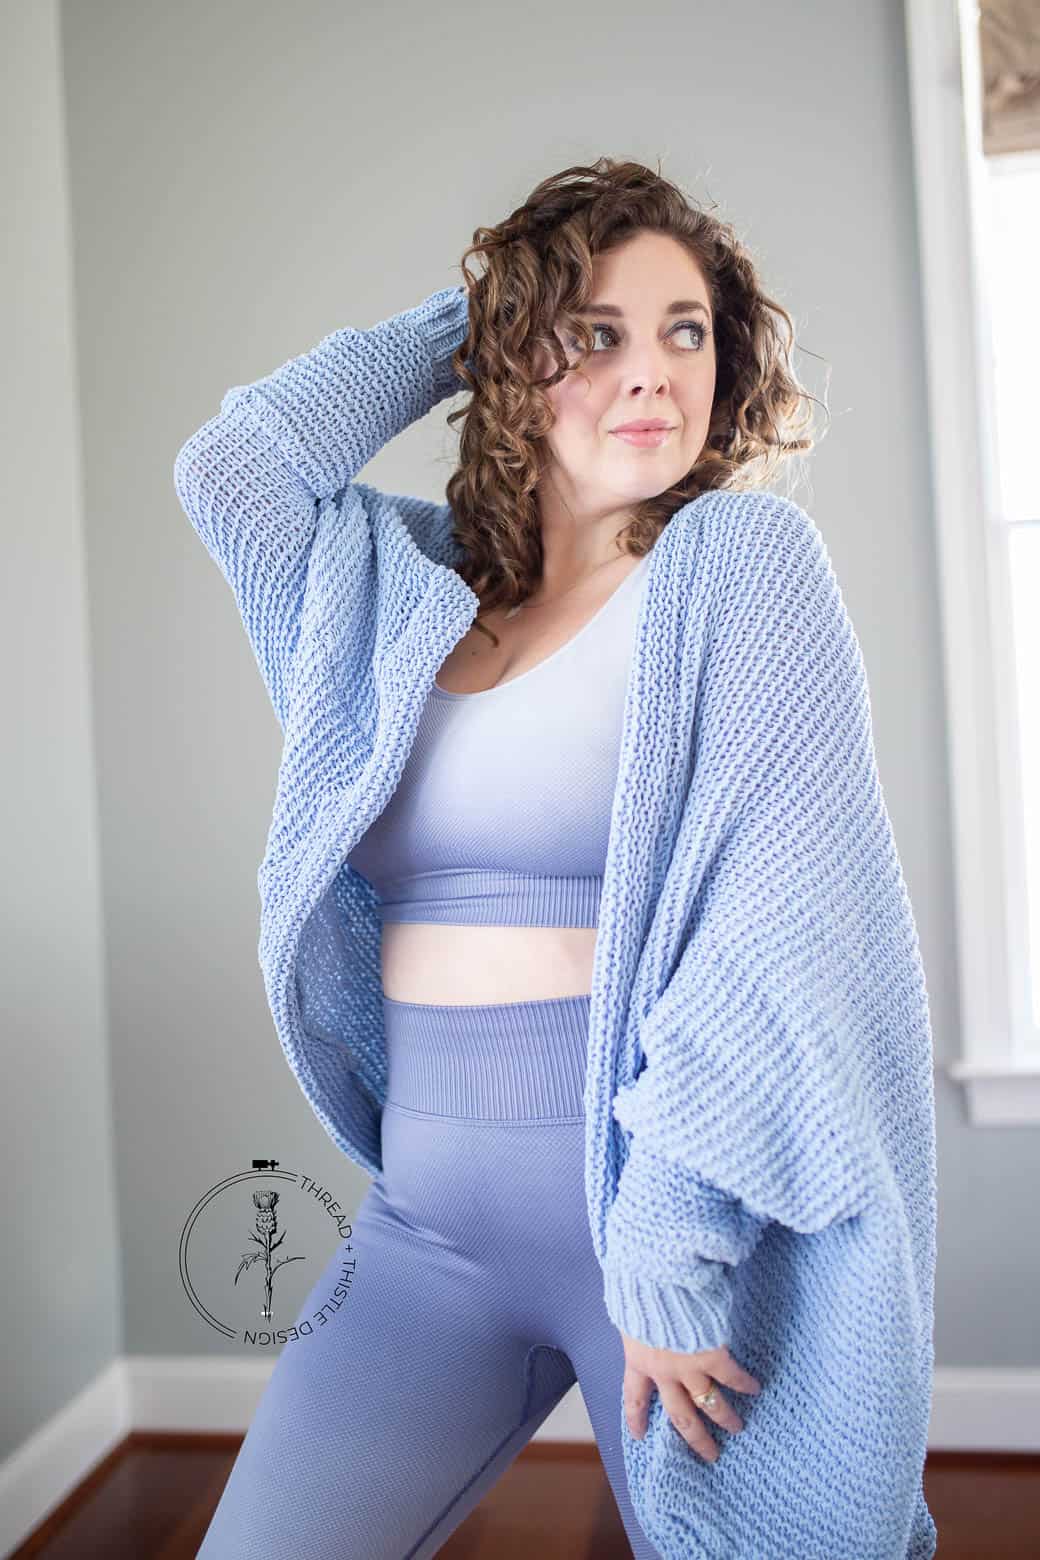
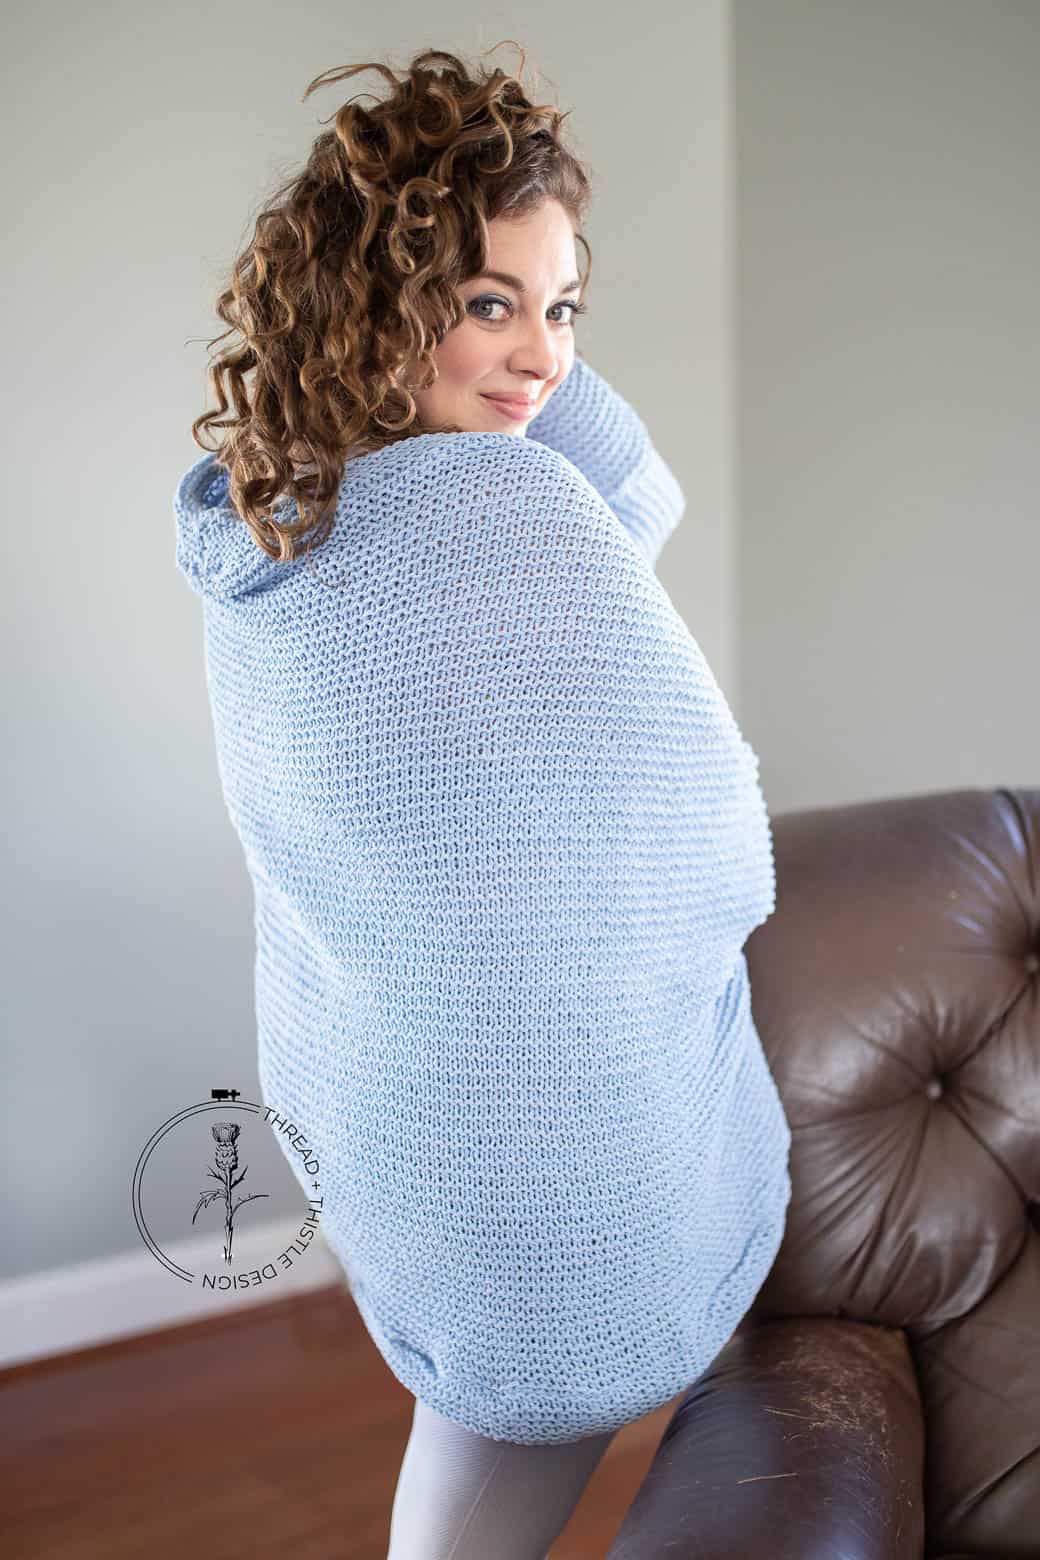
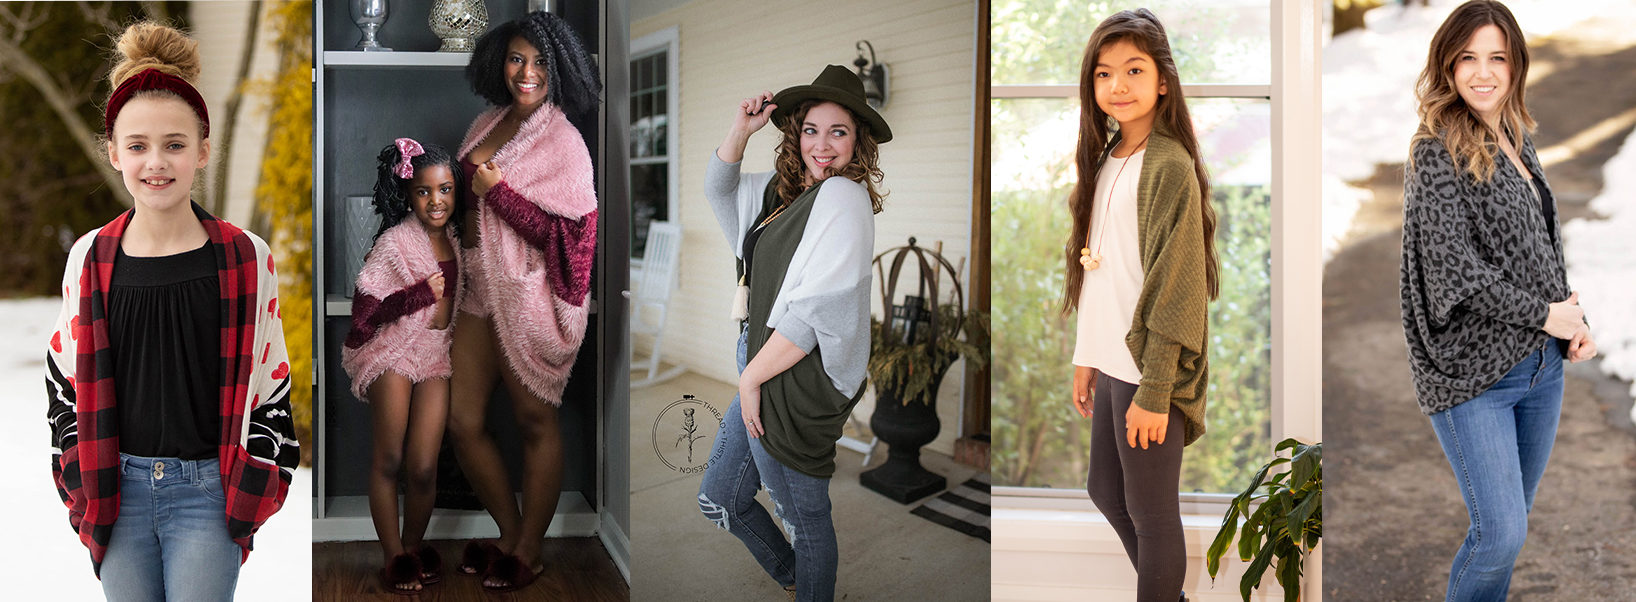
The Colleen Cardigan is here and is the CUTEST (and I’m not just saying that because I’m partial to the name – haha!!). It’s such a quick and easy sew, and makes the coziest addition to any outfit, whether you’re out and about, or staying warm indoors.
Colleen has a color blocked and a solid option, two sleeve length options, and two different collar options. PLUS, we have a few simple hacks for you! We hope the Colleen Cardigan brings you a little joy this month! It comes in both youth and women’s sizing.
Blanket Hack
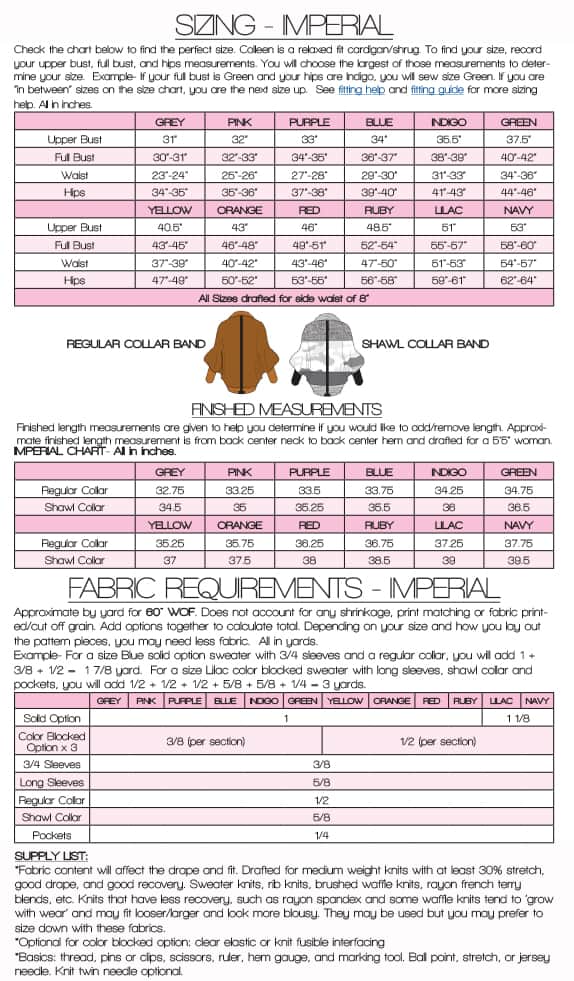
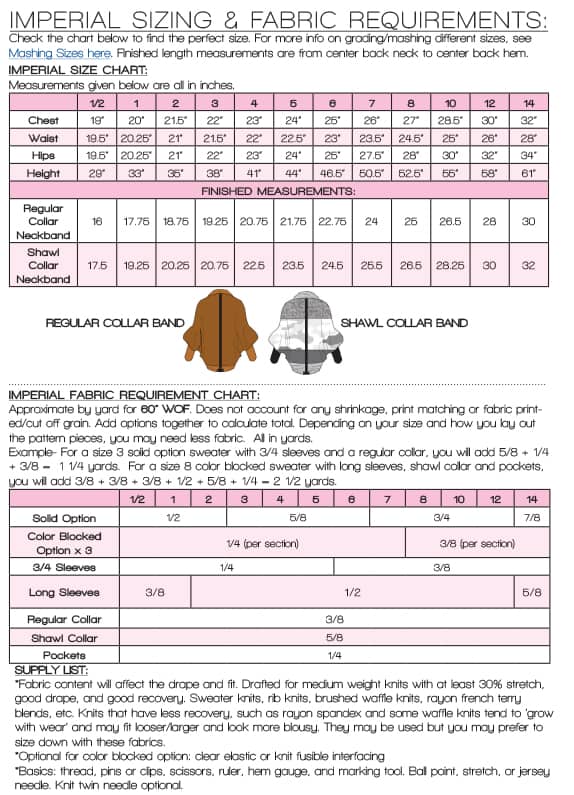
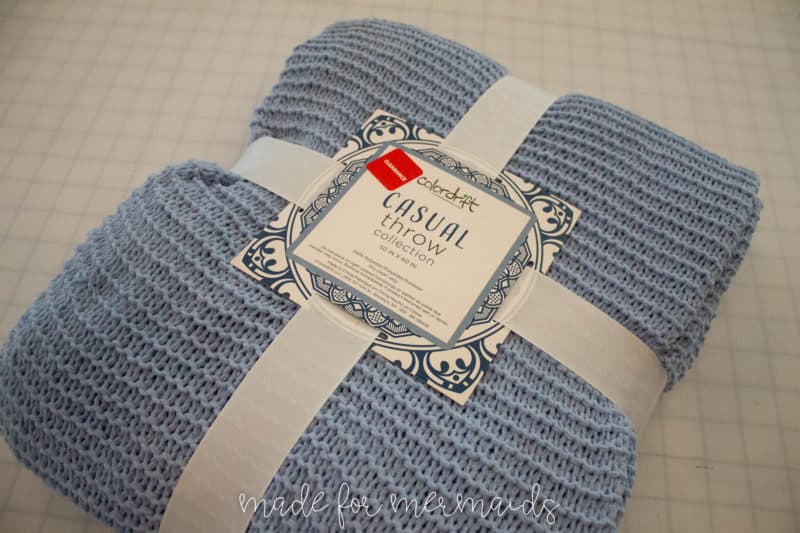
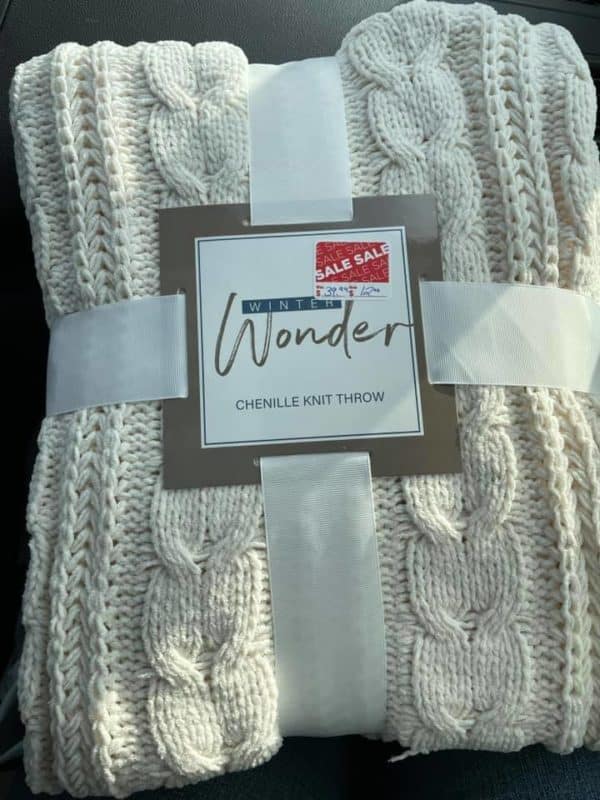
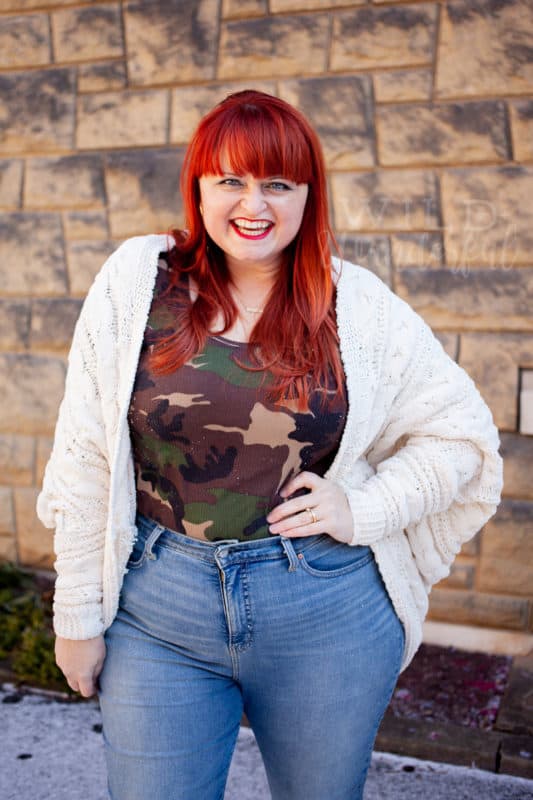
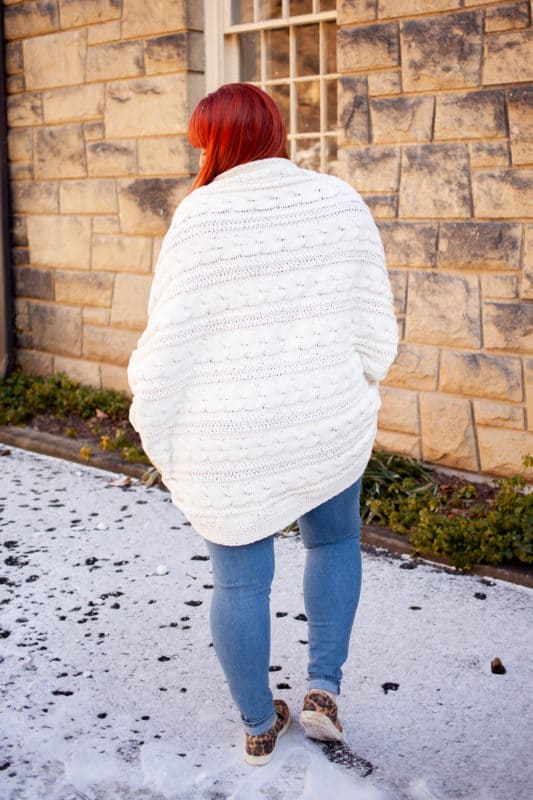
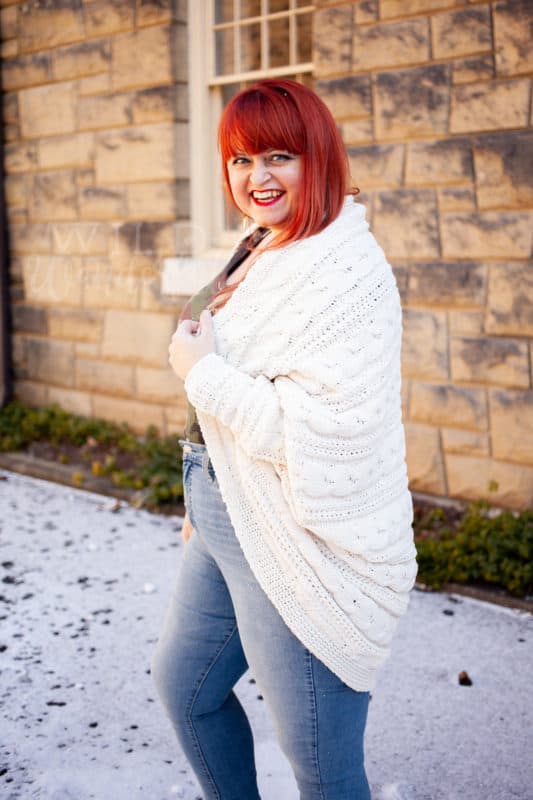
I was doing a little shopping last week and I came across a clearance chenille blanket. Being a lover of chunky sweaters and crochet, a light bulb went off!! What if I cut the blanket up to use as fabric to make THE COZIEST Colleen Cardigan?!?!?! I don’t think I’ve ever purchased something so quickly! At $15 for a nearly 2 yard cut, this thick, cozy knit is a steal; it was just enough to make a Colleen with only a few small modifications. Our friend, Katy, found an awesome deal at just $12, so she joined in on the fun too! Be sure to check the blanket size and compare it to the fabric requirement chart to make sure one blanket will be enough for your desired options.
Unpackage your blanket and lay out your pattern pieces, just as you would with regular fabric. Make sure your blanket has some stretch to it! You’ll want to find the direction of greatest stretch, and lay out your pattern pieces accordingly.
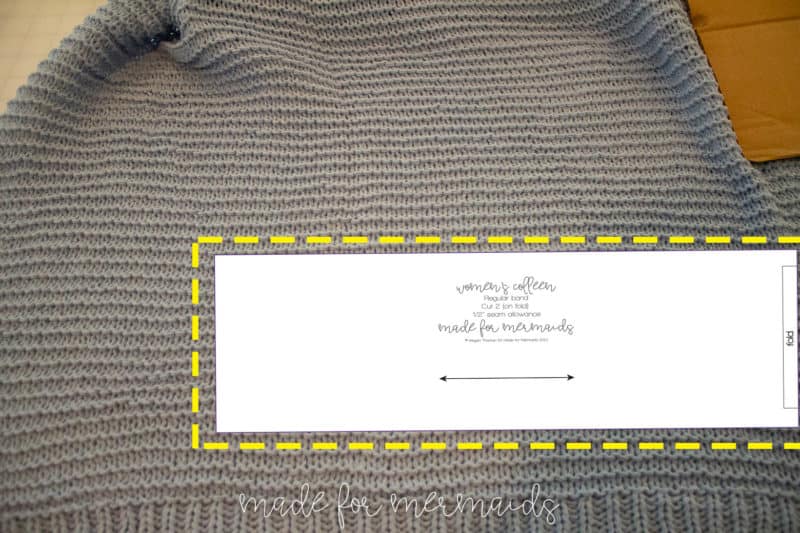
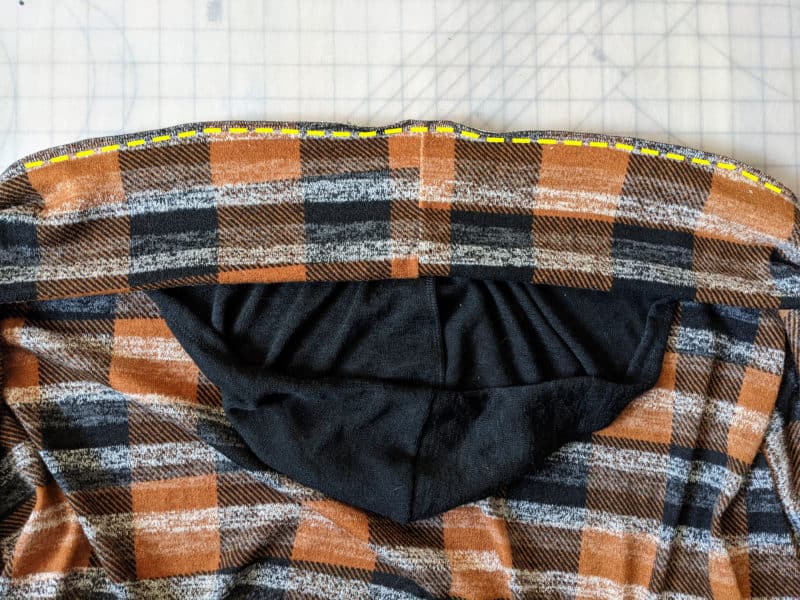
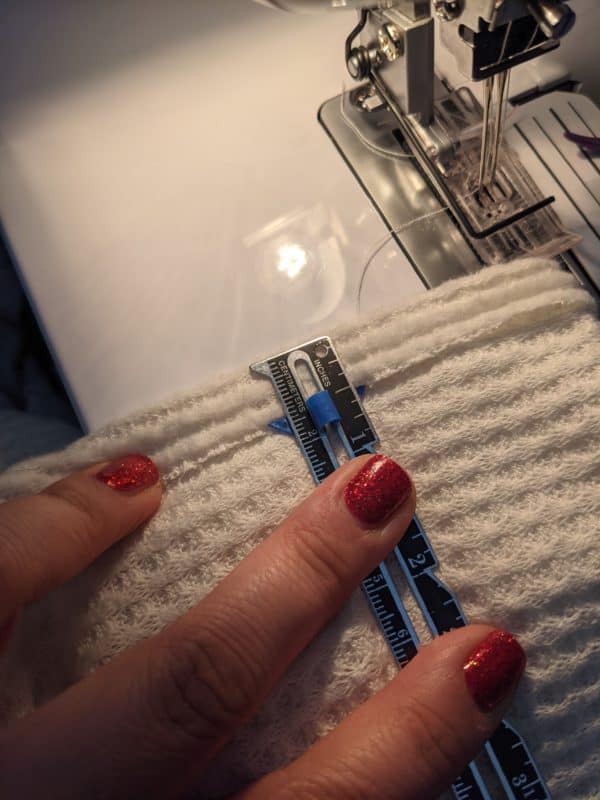
In order to keep the cut pieces from unraveling too much, I suggest cutting around your pieces with some additional allowance. I cut my pieces about 1/2″ bigger than the pattern piece. Then you can take a larger seam allowance and this should keep the blanket from fraying and stretching out too much. The yellow dashed line below is where I cut my neckband piece at.
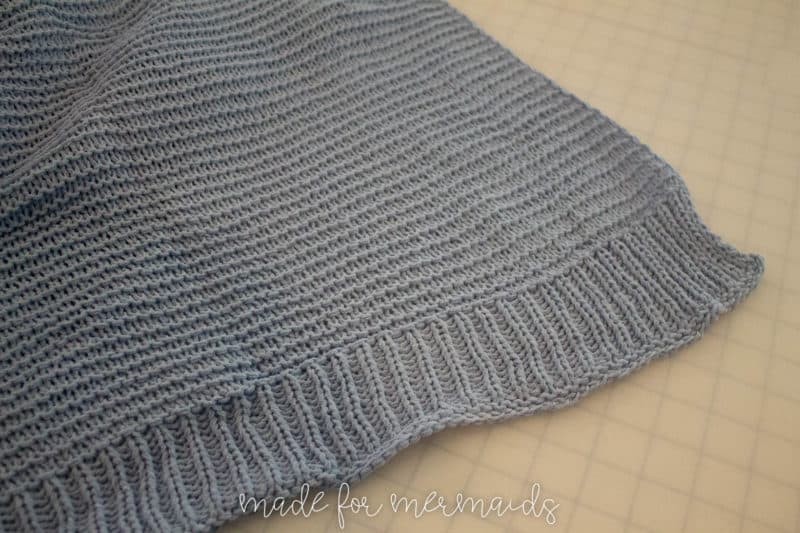
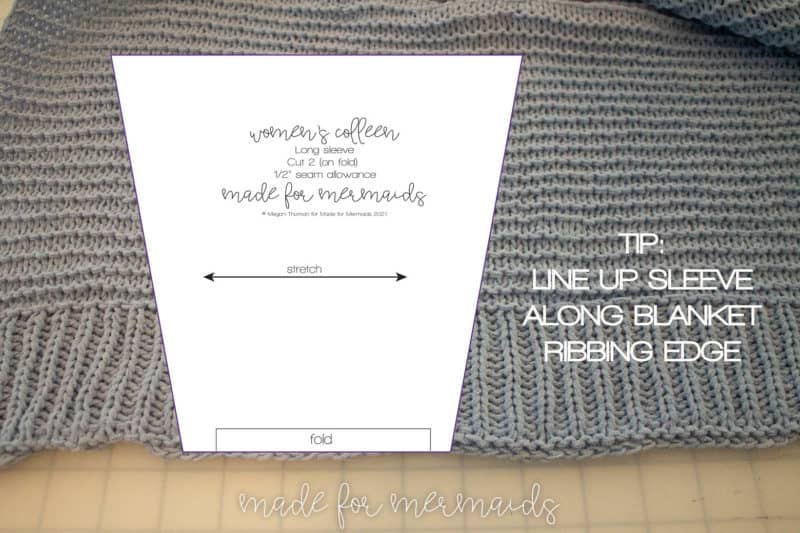
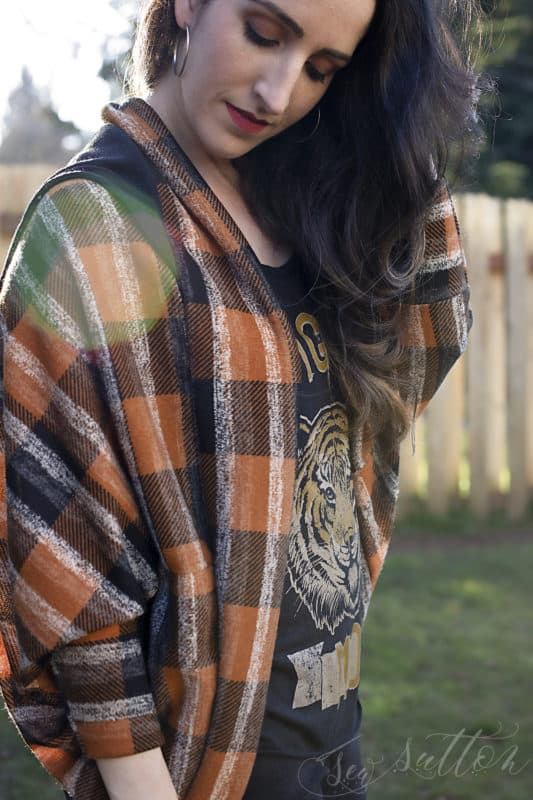
After cutting out the main sweater, collar neckbands, I didn’t have a ton of blanket left over. I decided to make my sleeves single layer and to use the beautiful blanket ribbing along the edge to make the bottom of the sleeve bands. Because this blanket is thicker, I wasn’t worried about the sleeves needing to be lined like they normally are. Line up the fold of your sleeve with the edge of the ribbing for a lovely, detailed cuff.
You want to keep in mind that blankets probably aren’t going to have as much recovery as a fabric would. So this means your pieces can get stretched out easily. The only other thing I’ll mention is that they are fuzzy and you’re going to have mess to clean up… picture chenille everywhere! Haha!
In the end, you will have an extremely comfy, warm, textured sweater that you’ll love!
Stay cozy,
Megan T.
Hood Hack
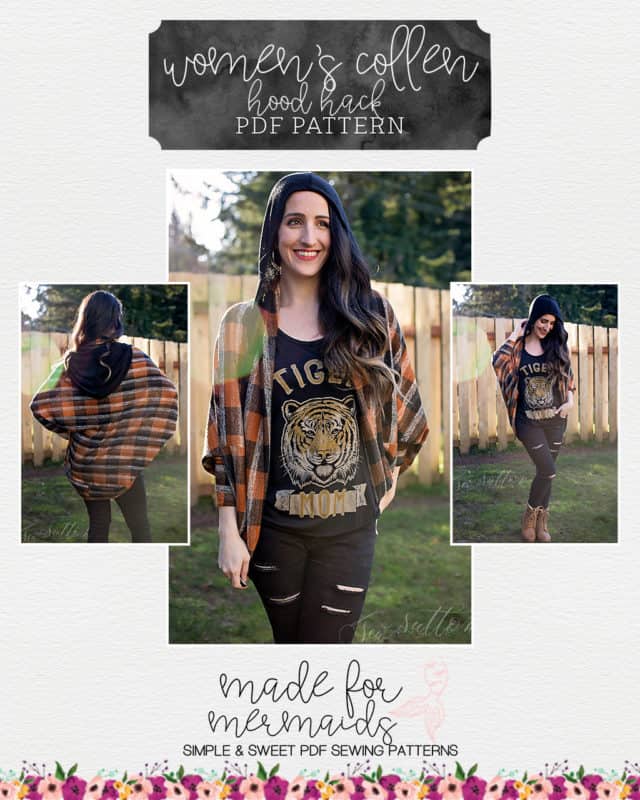
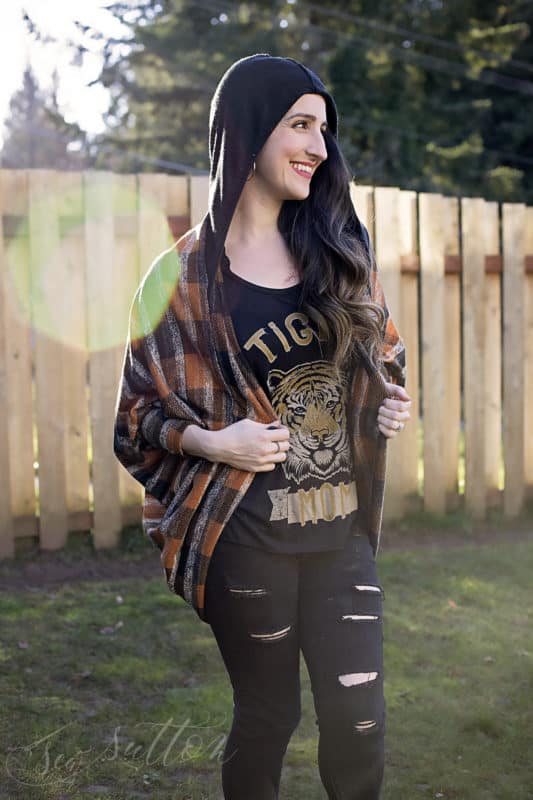
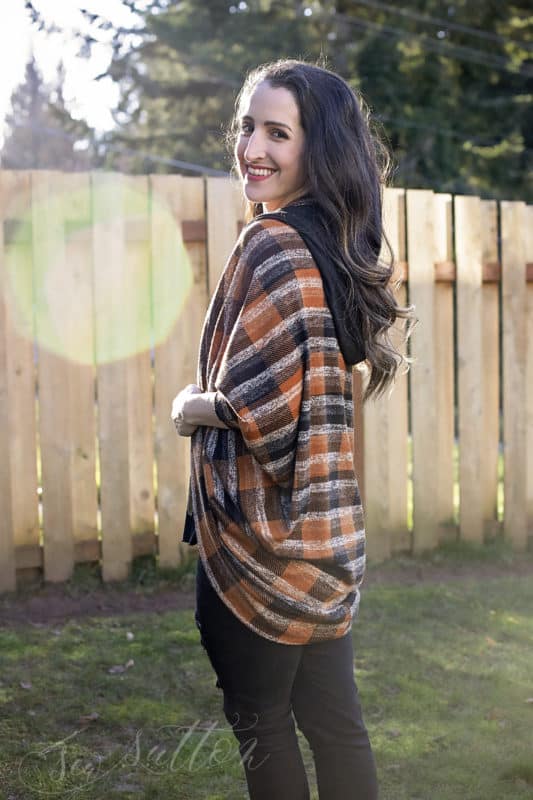
Anyone else out there have a slight obsession with hoods?? I’ll be honest- it doesn’t make much sense for me because I don’t actually *use* them, but if I can put a hood on it, I pretty much always do. So of course, I had to put one on Colleen and have zero regrets!! It takes the cozy level up another notch with minimal effort, and can save your hair from the certain doom of potential rain if caught outside!
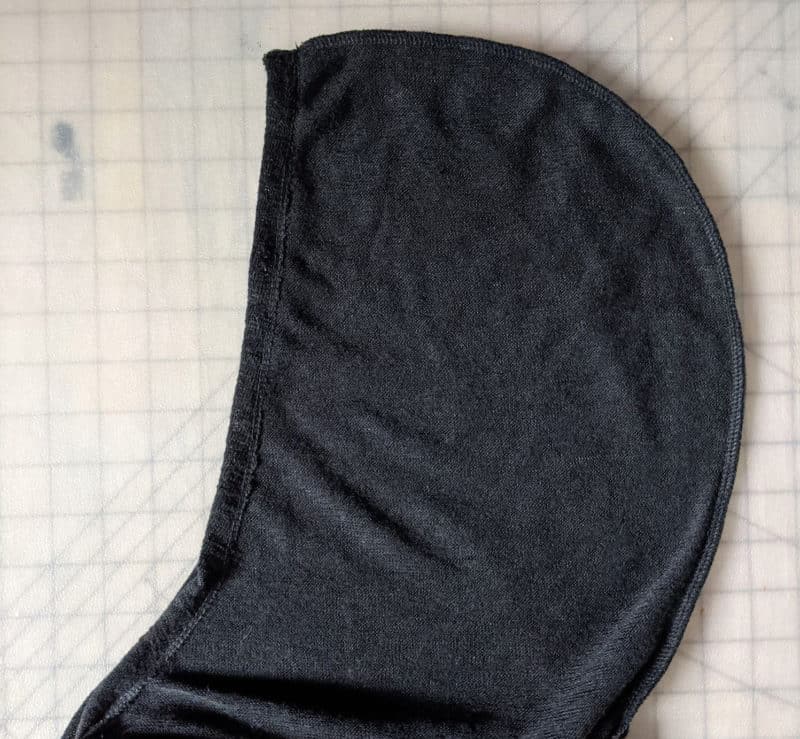
Adding the hood is super easy. I used the cross-over hood from the Women’s Rory (releasing shortly after Colleen!). I’m not sure if the hood will work for youth- you’ll want to baste and try out first as it doesn’t have quite as much height as the women’s version. You could always add a little extra height though! So go ahead and print and cut your size, sew together, and hem as normal using the Rory pattern tutorial.
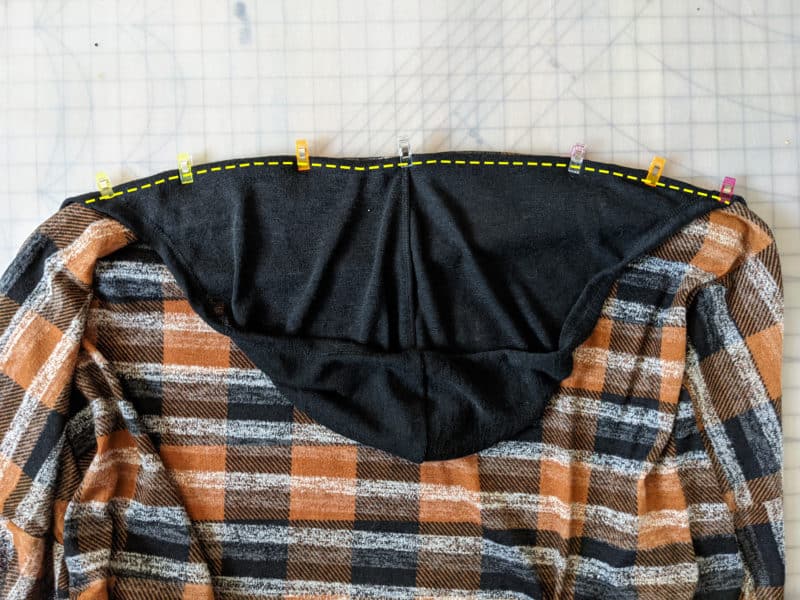
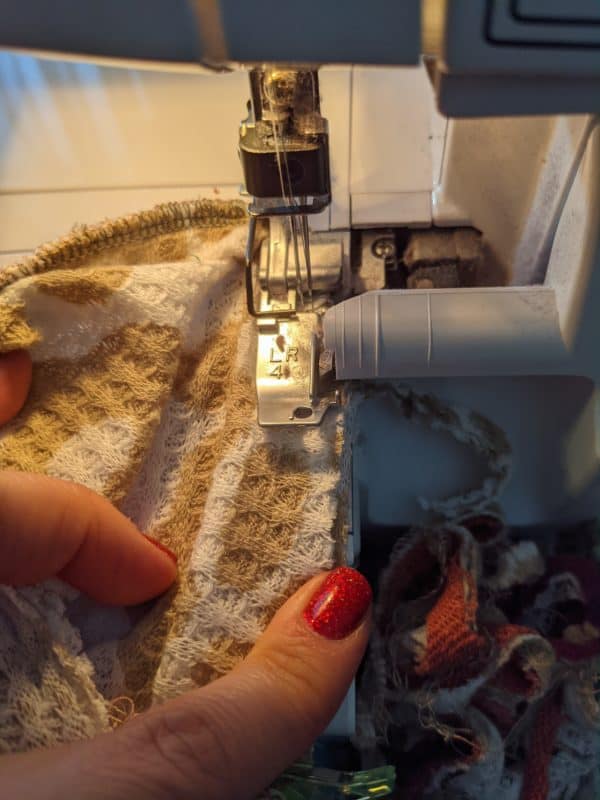
Assemble your Colleen all the way as directed until you get to the bands/shawl part. Don’t add those yet. Find the top center of your cardigan (there should be a notch), and you are going to want to match the center bottom of your hood right sides together and pin in place. Now you’ll pin the rest of your hood in place with a 1:1 ratio along your opening. I recommend basting it in place.
Then, continue to add your bands/shawl as directed in the rest of the Colleen tutorial. Your hood will end up sandwiched between your Colleen body and bands.
Now you’re done! Super easy and cute! I wish I’d had all one color for this cardigan, but I ran out of fabric; I can’t say I’m not digging the grunge vibe though! I can’t wait to see what you all come up with.
Happy Sewing!
Michelle
Short Sleeve Hack
Have you fallen in love with Colleen like I have? I haven’t even photographed them all, but I’m up to 8 as I write this post. Colleen is already such a quick sew, but it’s about to be even quicker with this sleeveless hack, and I’m really loving the look of that loose sleeve.
There are actually two ways to make Colleen sleeveless: hemmed or banded. I’ll go ahead and show you both ways since they’re so simple.
Hemmed
For the hemmed version, cut all pattern pieces out as needed except for the cuff pieces. Sew the pattern following the tutorial up to the point where you sew up the side seams.
Once the side seams are sewn, turn and hem the armscye 1/2″. Add your band of choice and voile!
Banded
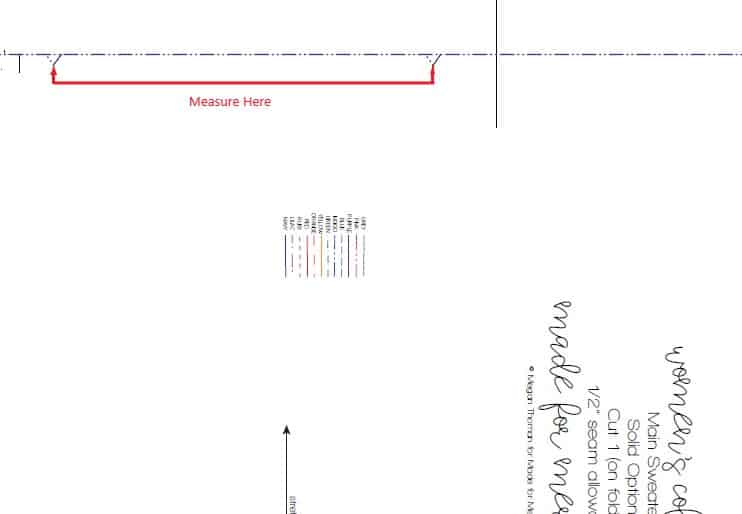
The banded version is a little more involved initially, but hardly. For the solid option, you’ll measure the space between the armscye notches.
For the color blocked option, just measure the length (the shorter end) of the middle piece.
Add 1″ for the seam allowance and that will be you’re band width. I made my band length 2″ which gave my band a 1/2″ thickness once attached. Once you determine the dimensions needed for your bands, cut 2.
Sew the pattern following the tutorial. When it comes time to adding the cuffs, instead you will add your bands. Sew your bands in a loop RST using a 1/2″ seam allowance. Once in a loop, fold in half, pin/clip to the armscye and attach. Band will be 1:1.
Again, add the band of your choice and you’re all set!
Can’t wait to see all of your Colleens!
Happiest Sewing!
Christina







Leave a Reply