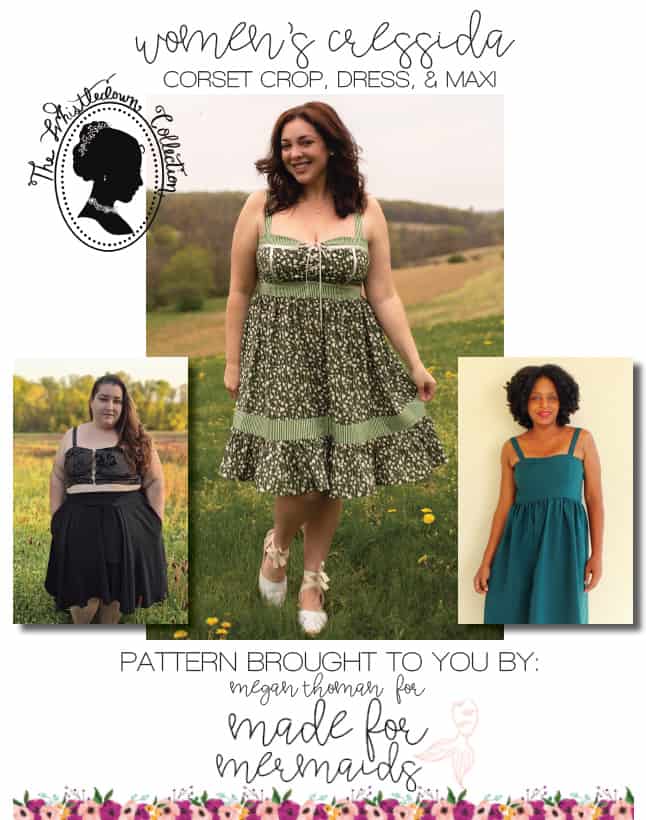
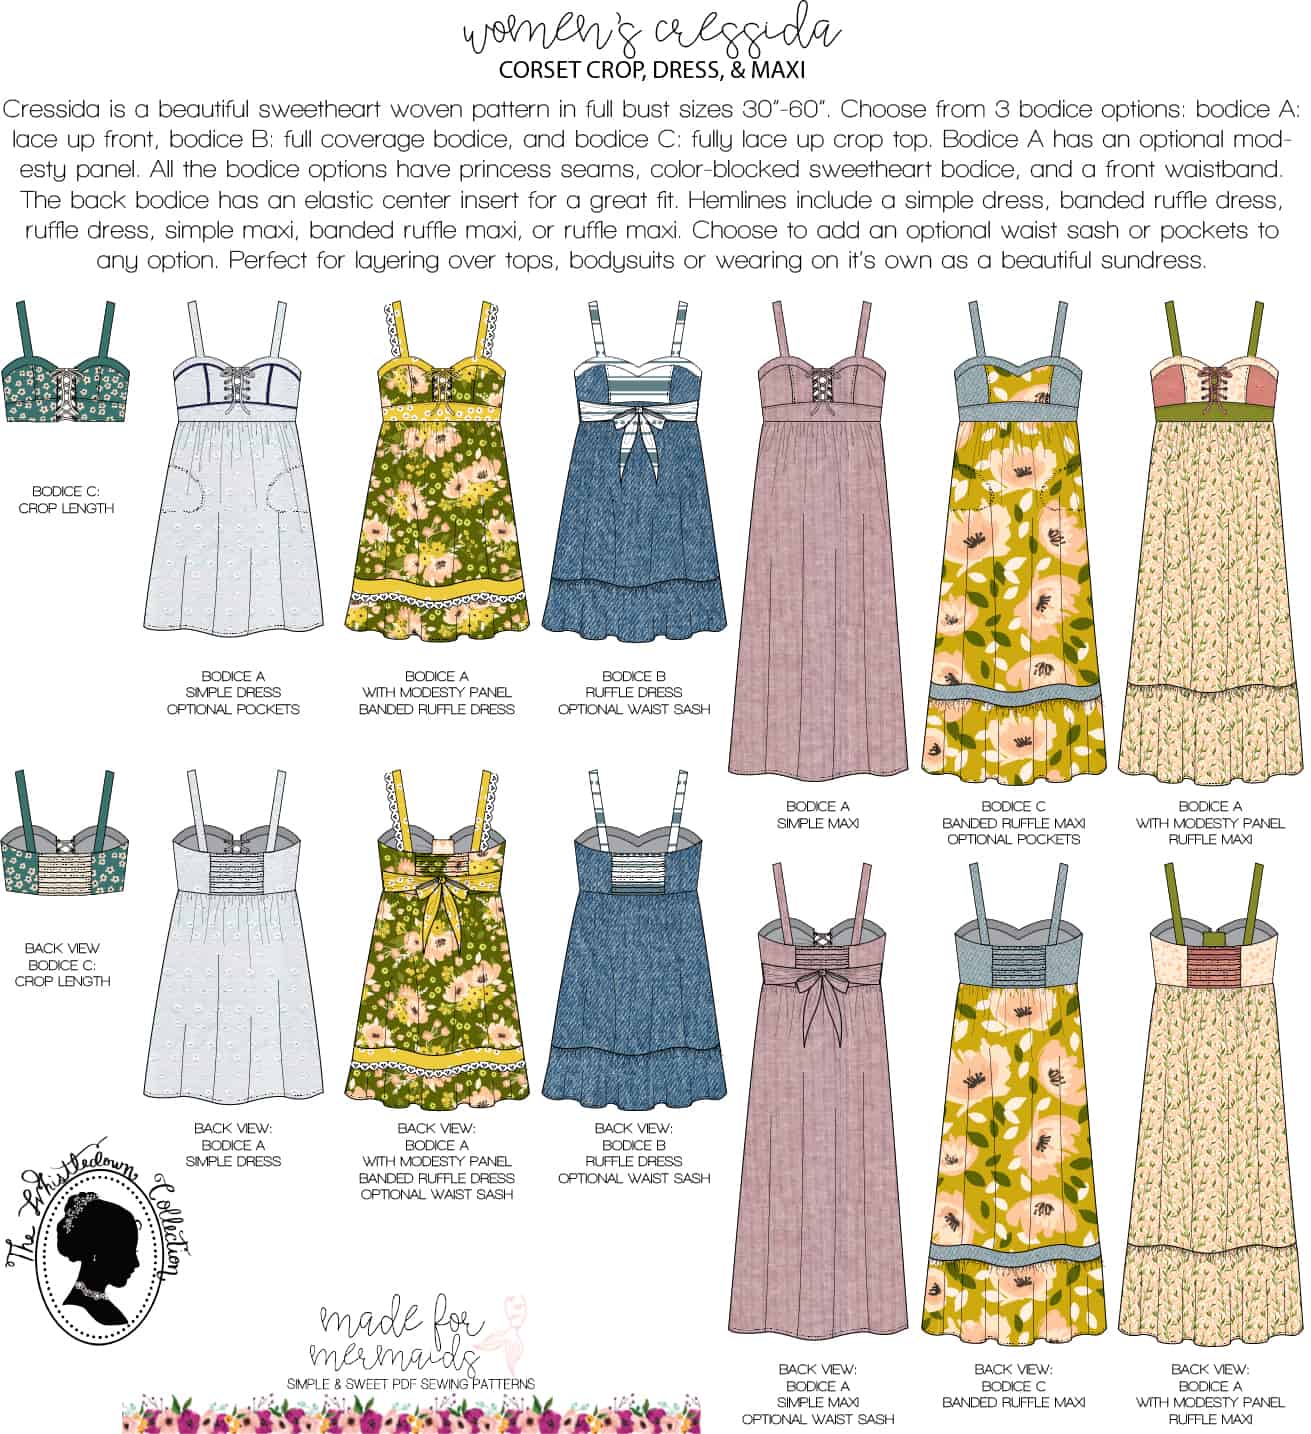
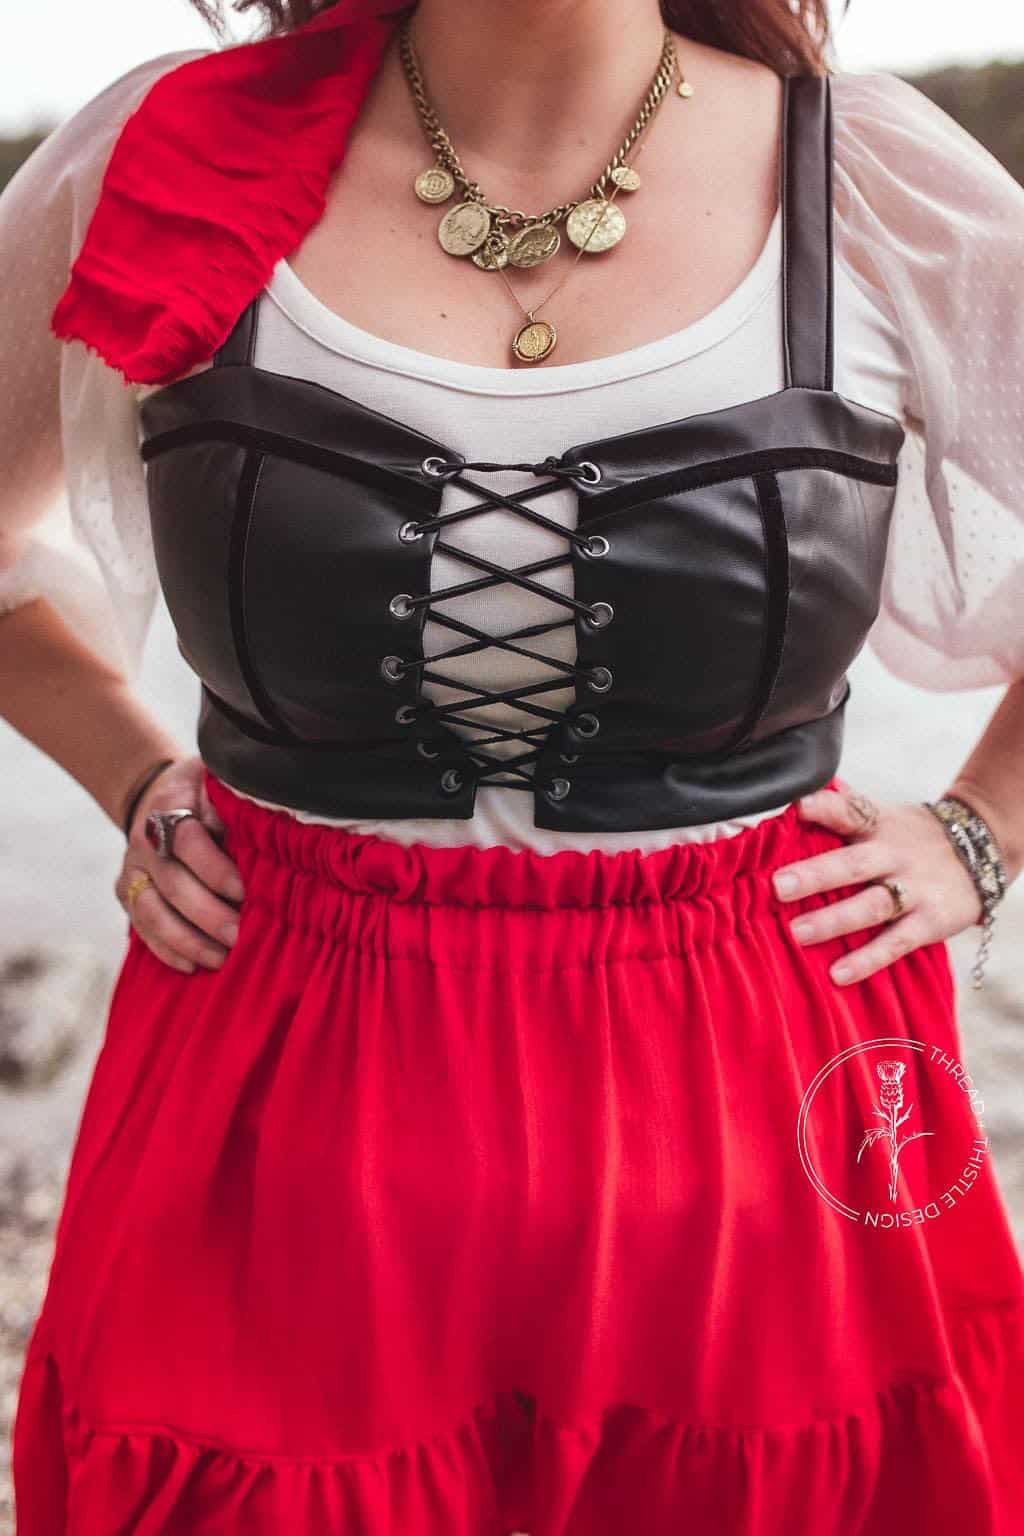
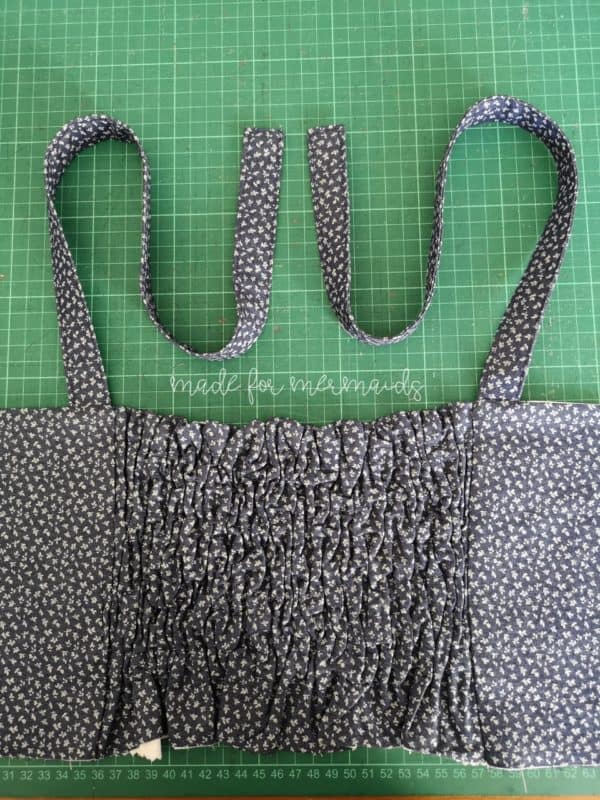
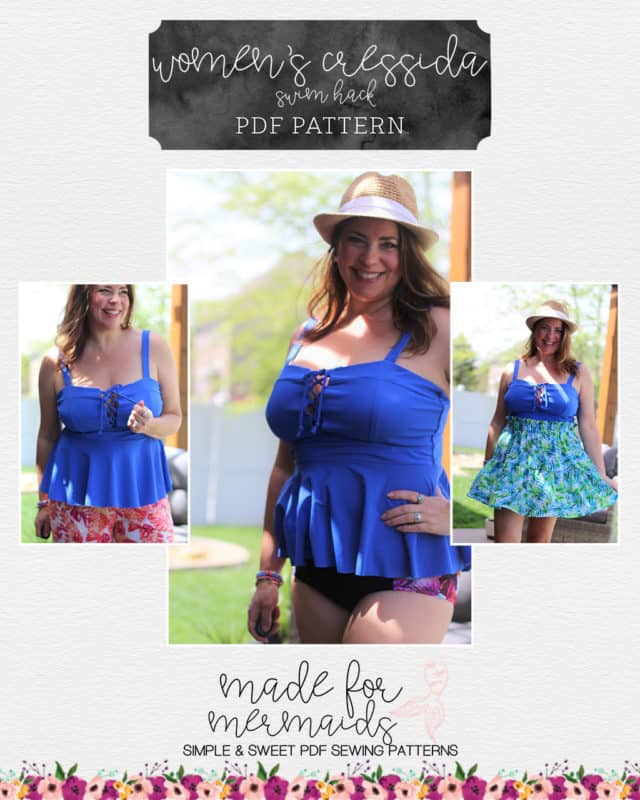
Women’s Cressida is next up in the Whistletdown lineup! It’s a beautiful sweetheart pattern designed for wovens. It includes three bodice options – a lace-up front, full coverage, and a full lace-up crop top. All options have princess seams, a color-blocked sweetheart bodice, and a front waistband. The back bodice has an elastic center insert to customize your fit even more. Choose from multiple hemlines – simple dress, banded ruffle dress, ruffle dress, simple maxi, banded ruffle maxi, or ruffle maxi. You can add an optional waist sash, and/or optional pockets for any of the dress options.
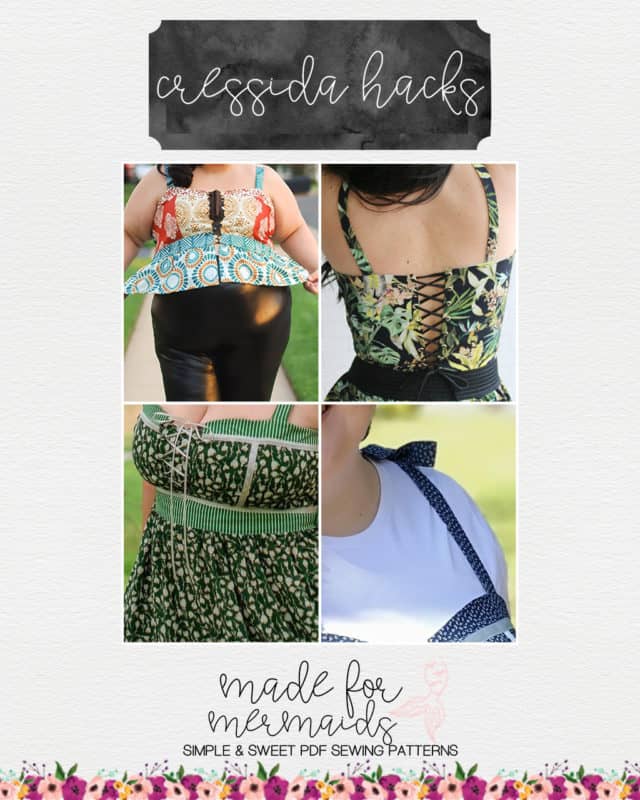
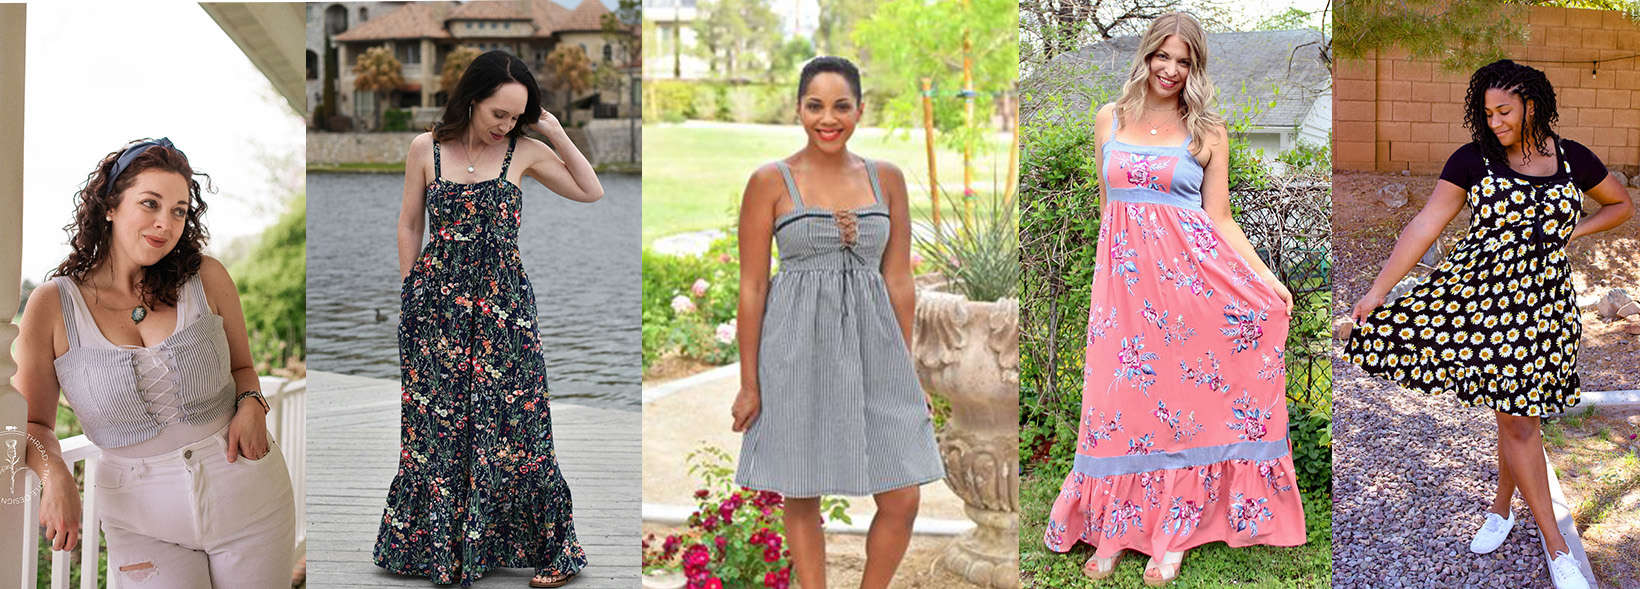
Our team and our testers had so much fun styling their Cressidas – from fun and trendy to full-blown pirates!
Even with all the options already included, we still had tons of hack ideas for you! Our team narrowed it down to some of our favorites below 🙂
Removable Modesty Panel
I am loving the lace-up detail of the Cressida bodice, but there are some times when I’d like a little more coverage. Let’s make a removable modesty panel!
You will need:
*2 modesty panel pattern pieces
*Sew-on snaps or velcro.
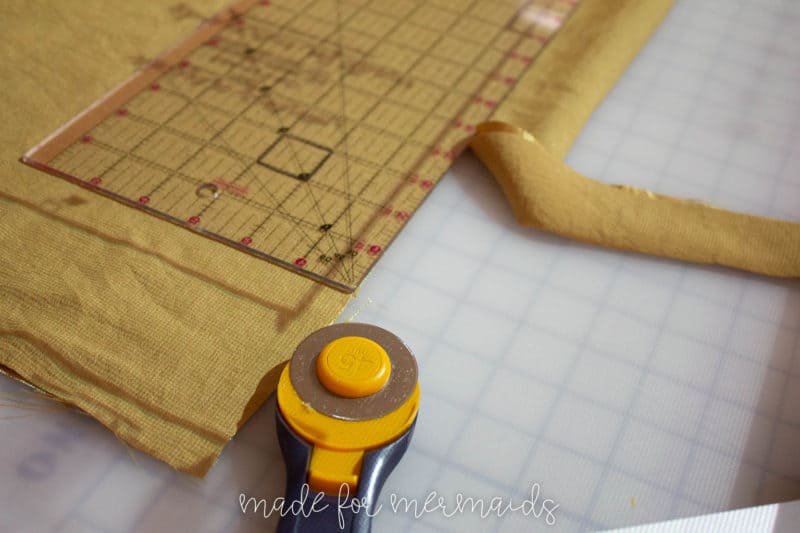
Cut 2 of the Optional Modesty Panel pieces, on the fold. Place the pieces right sides together, pinning the top and bottom edges. The notches will indicate the top center. Stitch the top and bottom edges with a 1/2″ seam allowance.
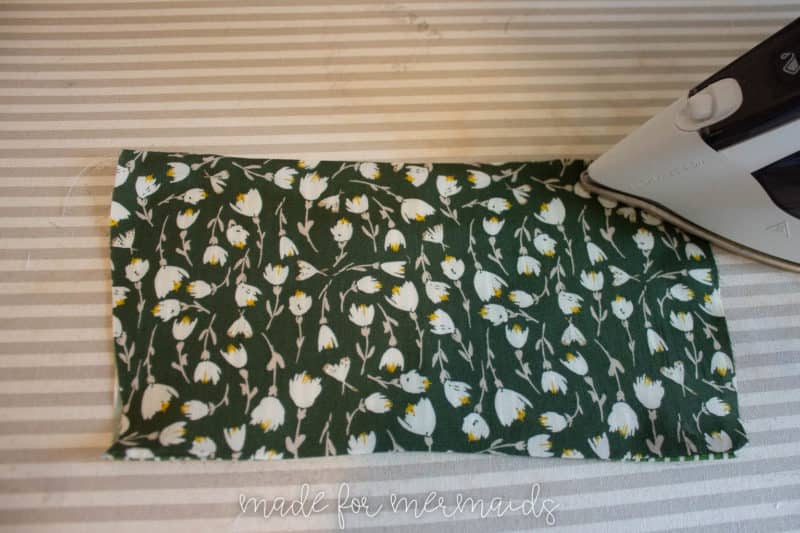
Finish the edges by serging, or use a pinking shear to trim seam seam allowance to 1/4″. Turn panel right side out and press well.
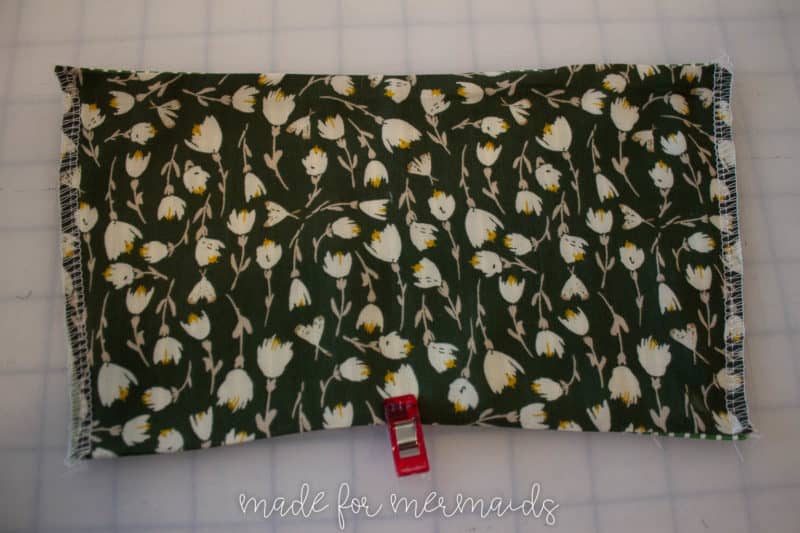
Finish the two short edges by serging or using a zig-zag stitch.
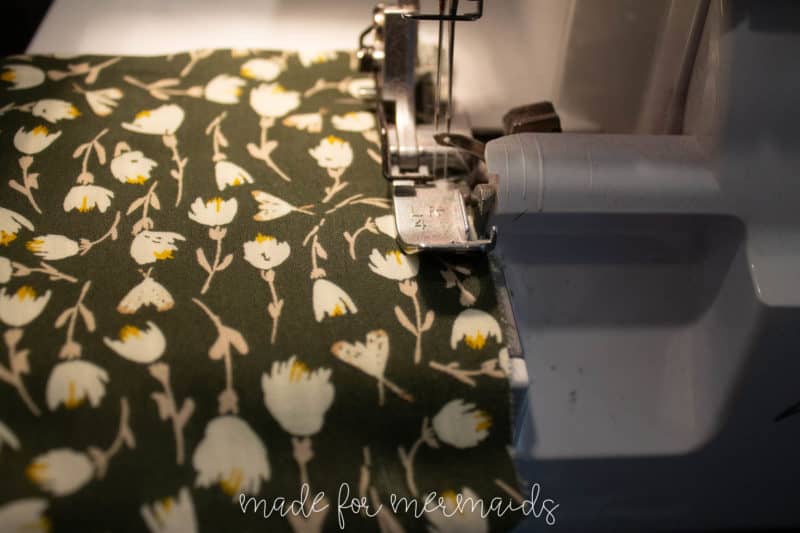
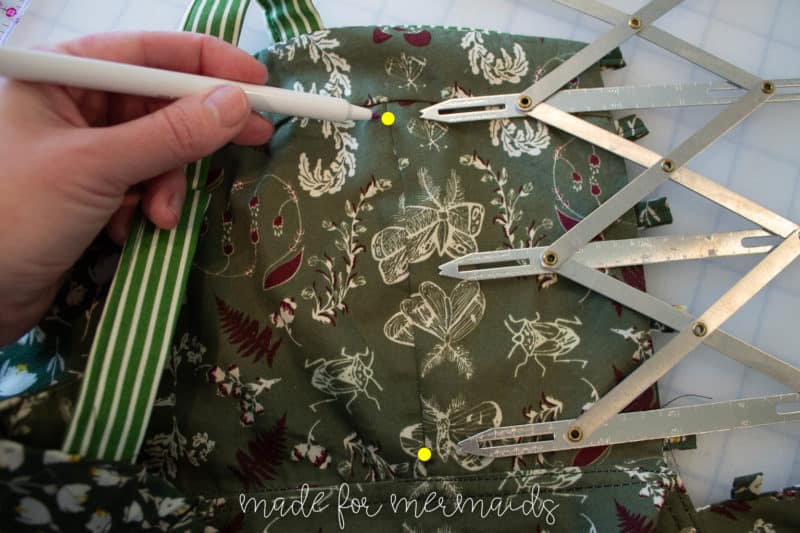
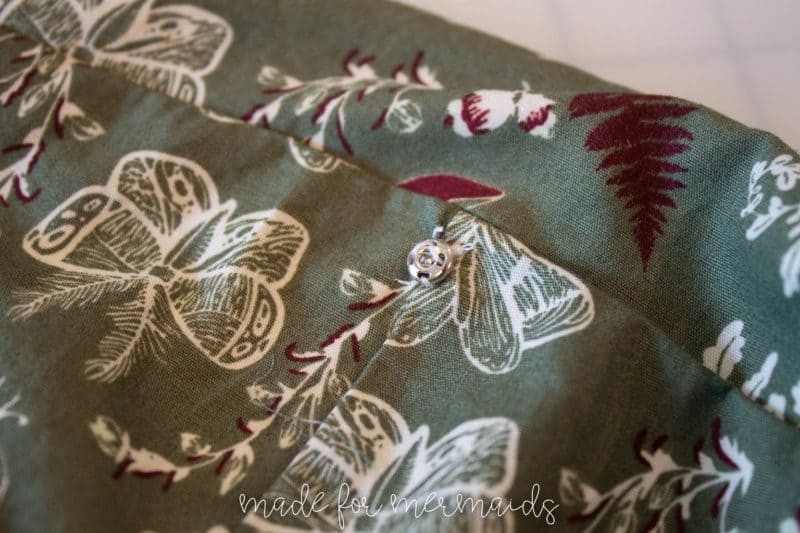
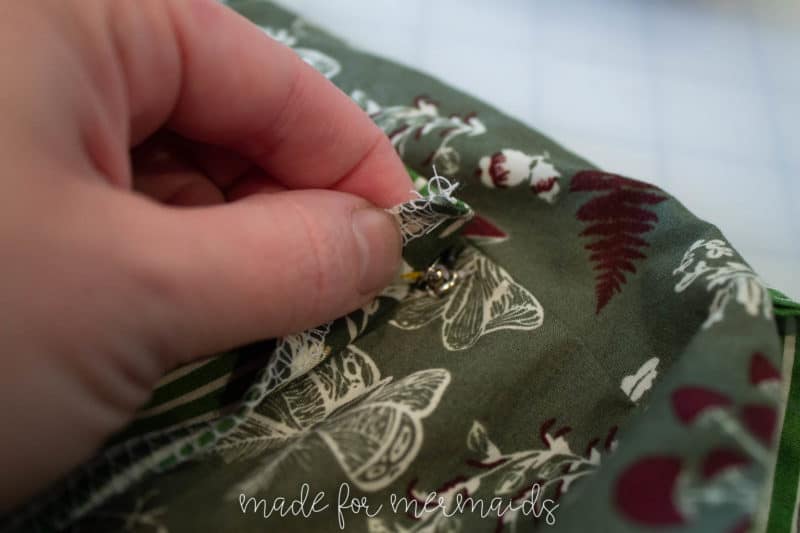
Mark the center bottom of the panel with a pin. Mark points along the princess seam where you are going to sew your snaps. NOTE: If you prefer using velcro, you can add a small strip of velcro along the seam. I also like to place a snap at the center of the waistband. Make sure you are sewing the flat part of the snap onto the bodice. You do not want the pointed part of the snap digging into your skin. 😉
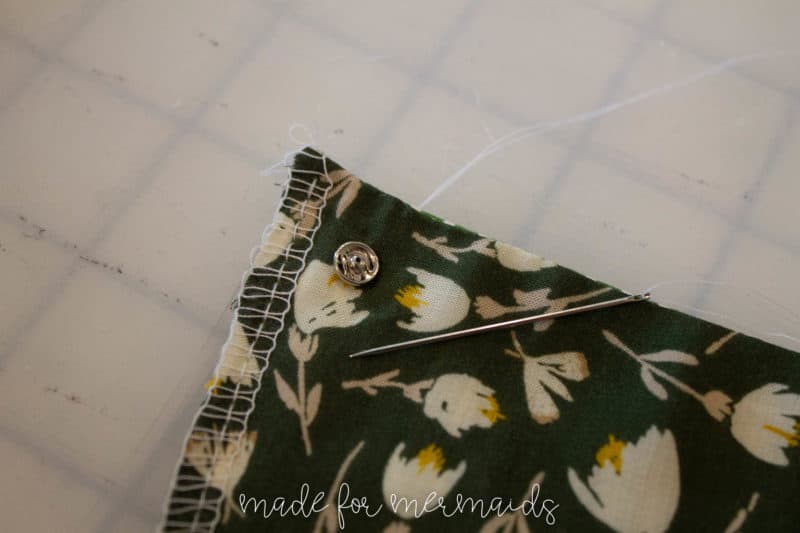
Hand sew your snaps or velcro on.
That’s it! Enjoy! – Megan T.
Tie Strap Hack
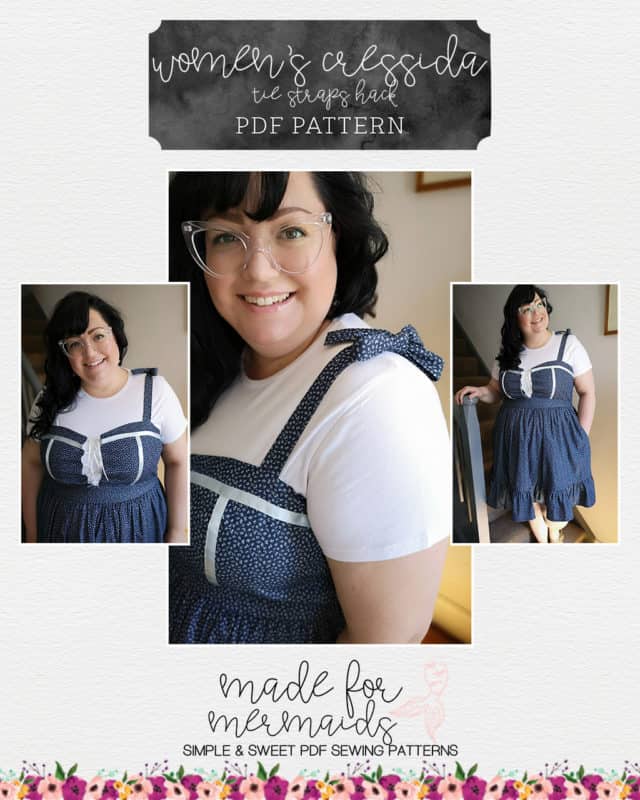
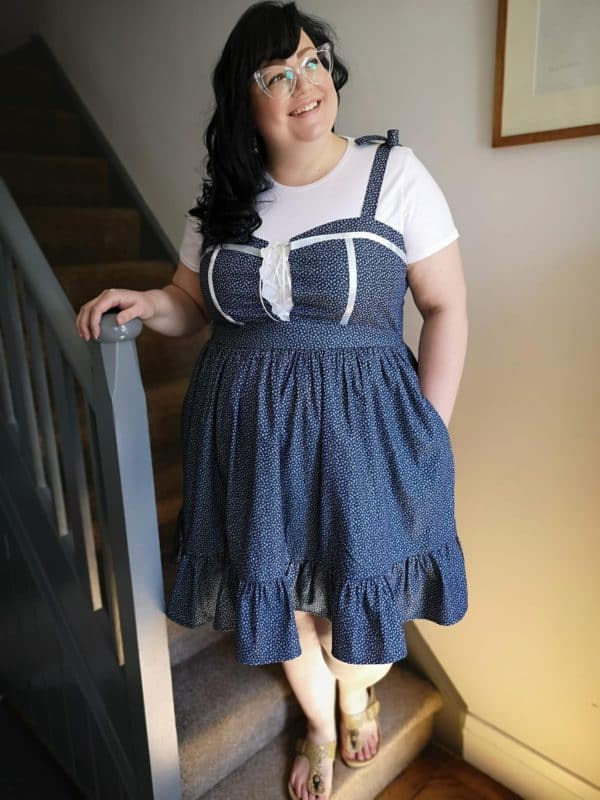
I had a little summer dress with tie straps back when I was a teenager in the 1990s, a very long time ago! I couldn’t resist doing a little hack to the new Cressida pattern to try and relive the days of my youth, by adding those cute little tie straps I remembered so fondly.
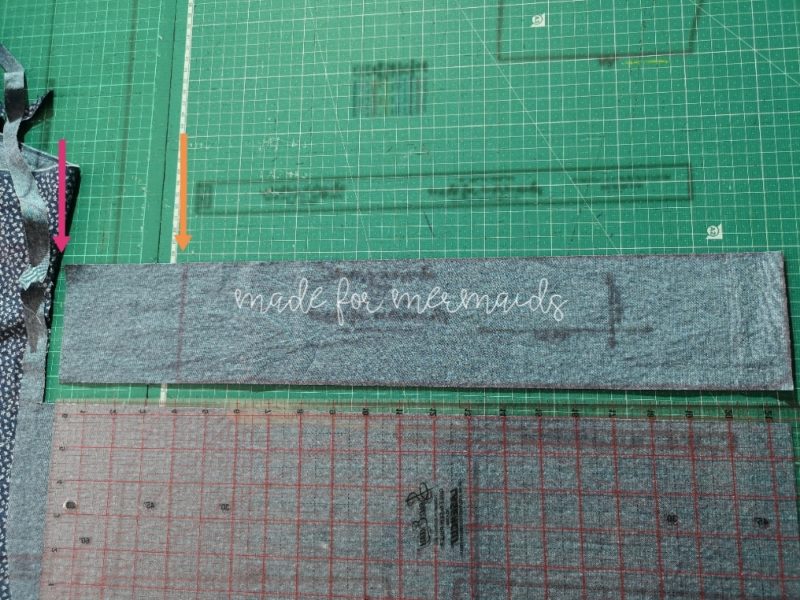
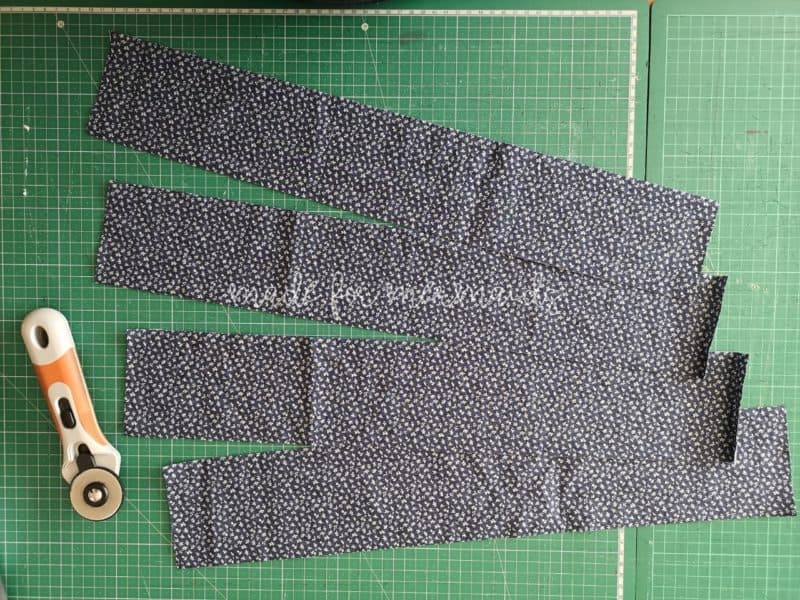
It was a pretty straightforward adjustment to the pattern, which involves cutting out the straps a little differently. Rather than cutting 2 straps as per the pattern instructions, I took the strap pattern piece and added an extra 4 inches in length, but how much extra you add will depend on how long you want the tails on your bow to be. In the picture below the orange arrow shows the end of the pattern piece on my projector file and the pink arrow shows the extra 4 inches I added to my piece. Then I repeated that another 3 times, so I had 4 of these lengthened straps.
Cut out the rest of your pattern pieces as usual.
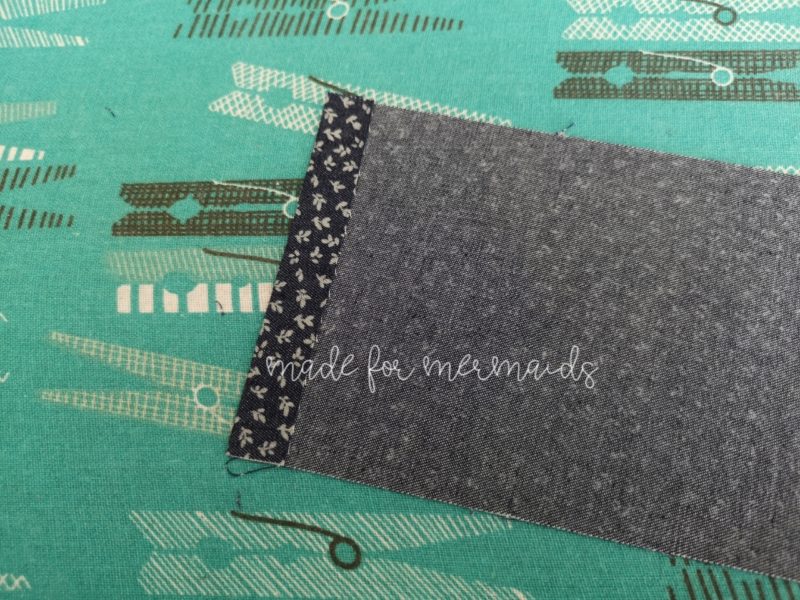
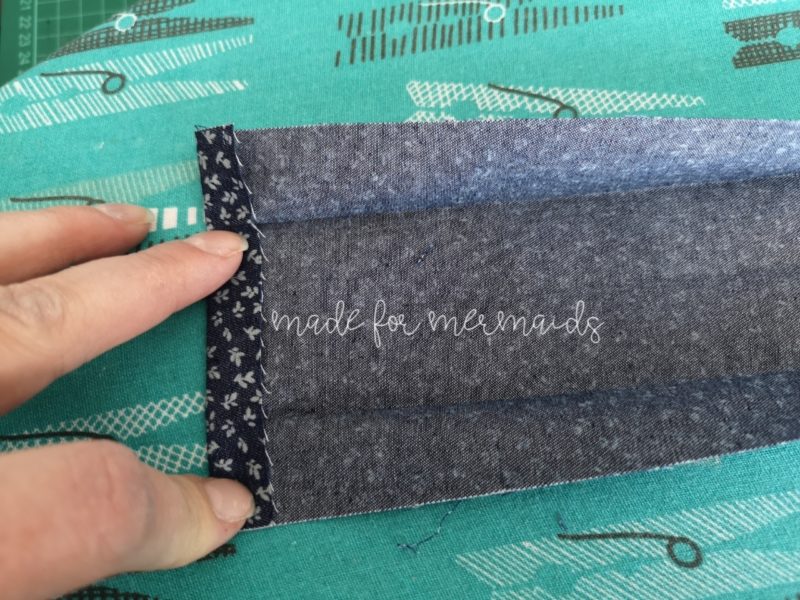
When it comes to sewing the straps together you will sew them together with one end finished. The way to do this is to fold over the short edge of your strap, wrong sides together by ½”, and press. Open this back out again, fold the wrong sides of the strap together along the long edge, and press.
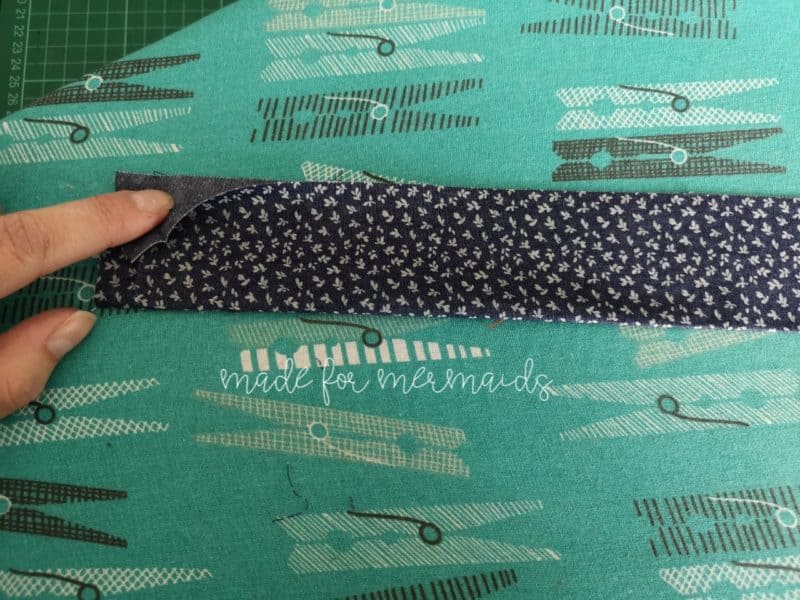
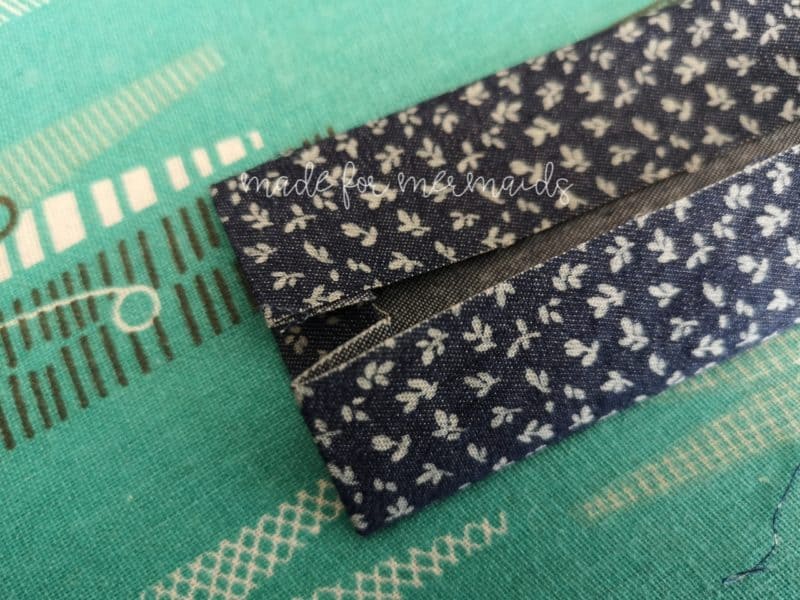
Open out again and press the two long edges in to the center crease you have just made press. Open out again and refold in the short edge on the first line you pressed.
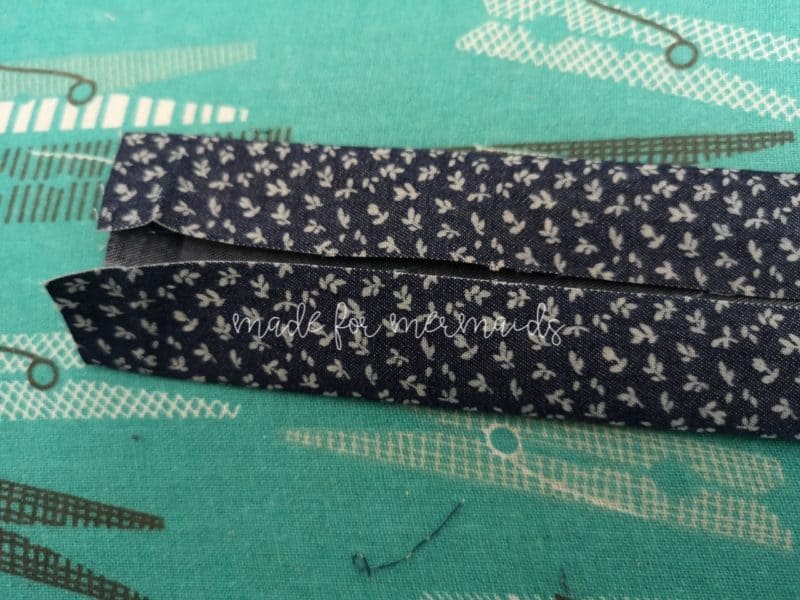
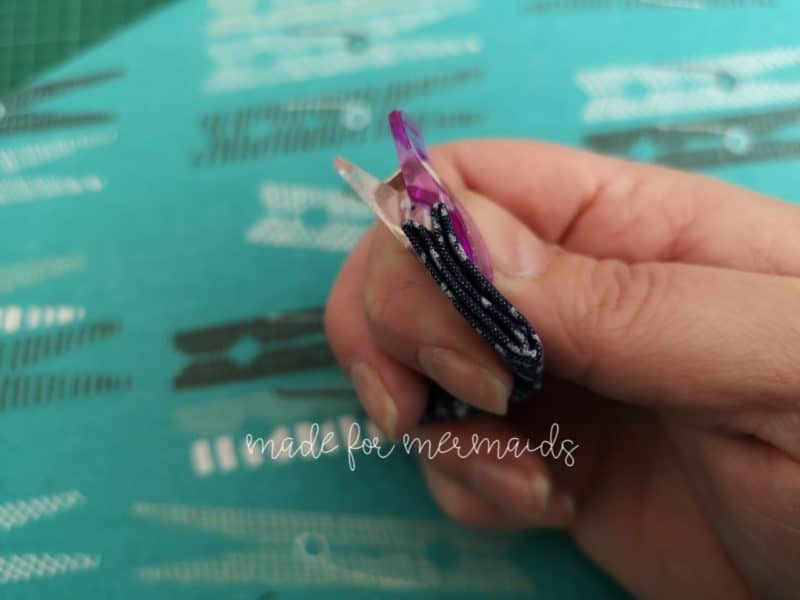
Then fold in the two long edges to the center, and then fold one over on top of the other, so all the raw edges are enclosed.
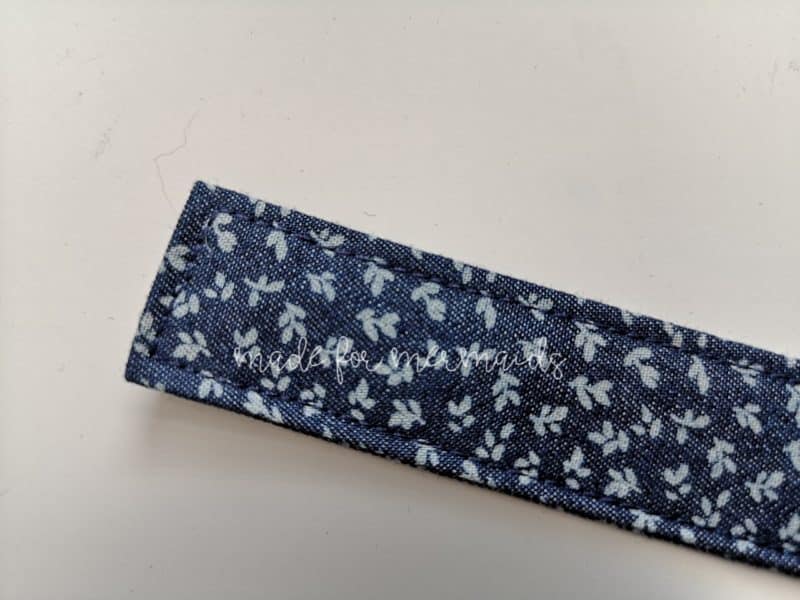
Starting at the raw short edge, sew up the open long edge, across the top with the edges folded in, and back down the 2nd long edge. Repeat for the other 3 straps. Press.
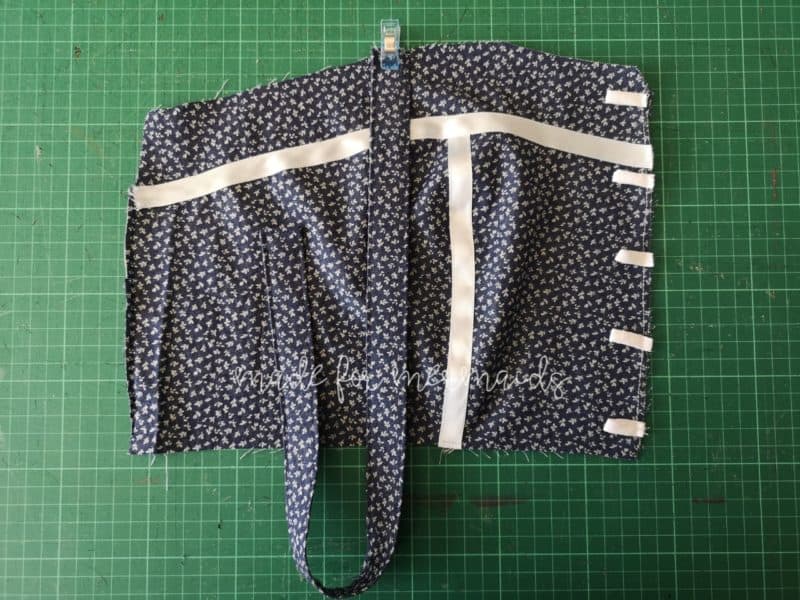
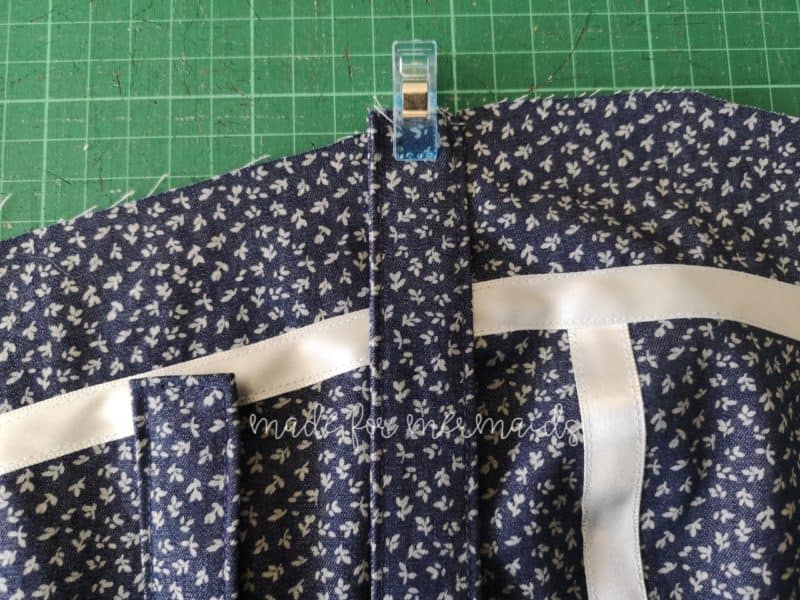
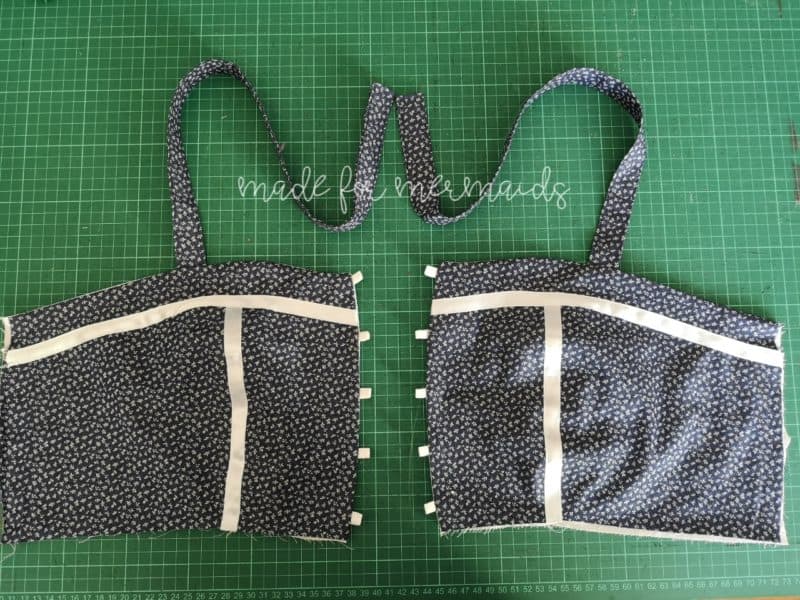
Then construct your bodice, as usual, however when you sew the straps to the front bodice, make sure you sew the raw short edge to the bodice, leaving the finished edge free.
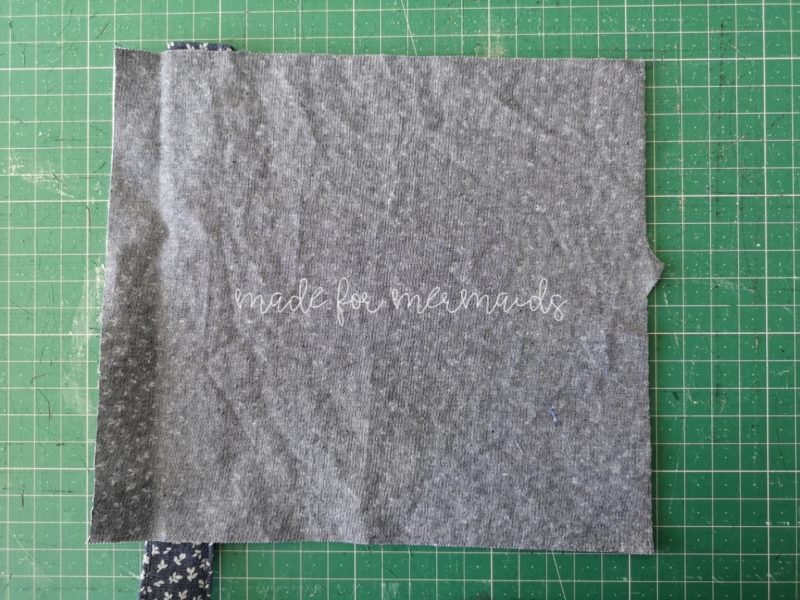
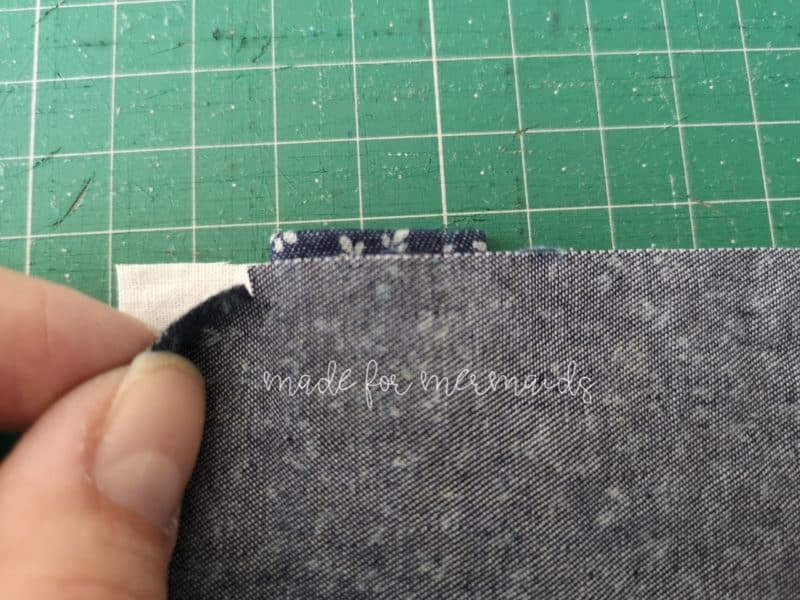
Before you sew the back sides lining and outer fabric together, sandwich 1 of the 2 remaining straps ½” in from the edge by the notch, raw edges together facing up, leaving the finished end free. Repeat for the other side with the last strap.
Complete the rest of your dress as usual, and tie the straps upon your shoulders when you have finished and are ready to check the fit.

Having tie straps is also a great idea if you often have to adjust the length on straps, as it means they are completely customizable, even after you have finished sewing.
I hope you love this little hack as much as I do.
Happy Sewing! – Dana x
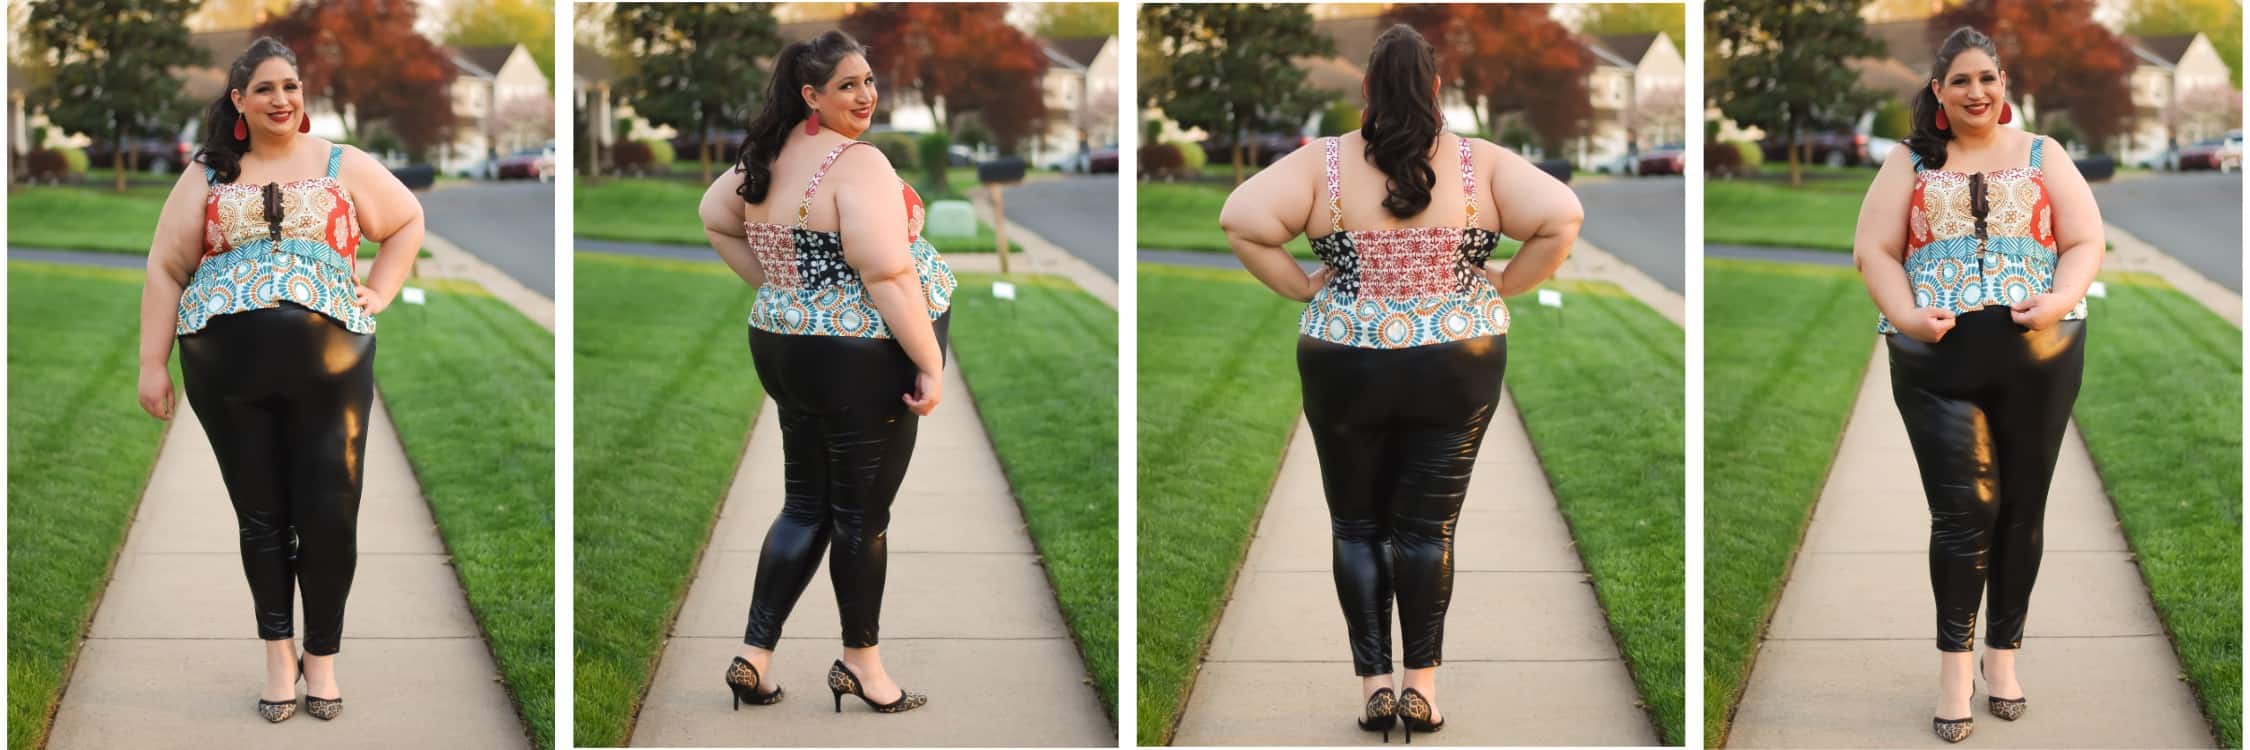
Peplum Top Hack
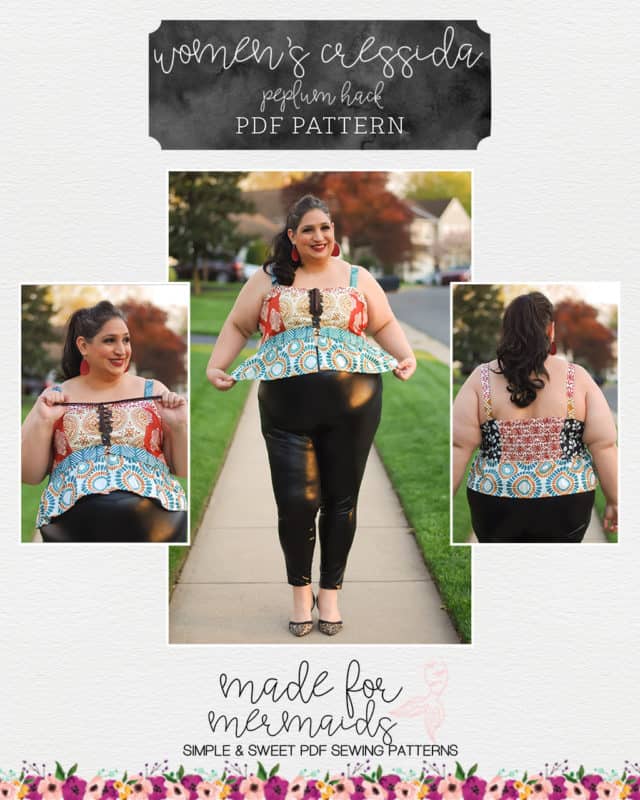
Heyyyyy! So where my peeps at that love the crop option Cressida offers but may want a tad bit more coverage?? I’ve got a hack for you!
It’s super simple to add a peplum/ruffle to the bottom of your Cressida crop (View C) to make a cute li’l modest crop that is also a li’l flirty!
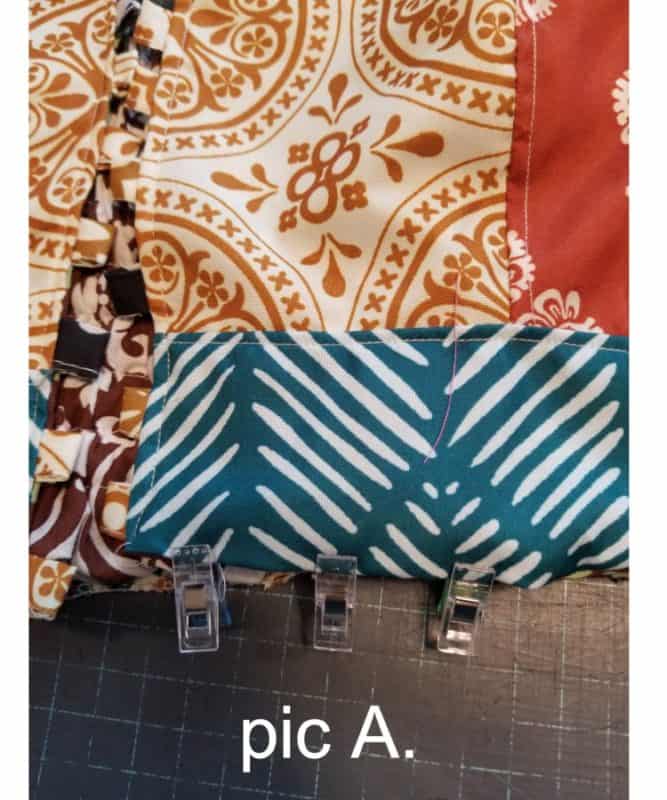
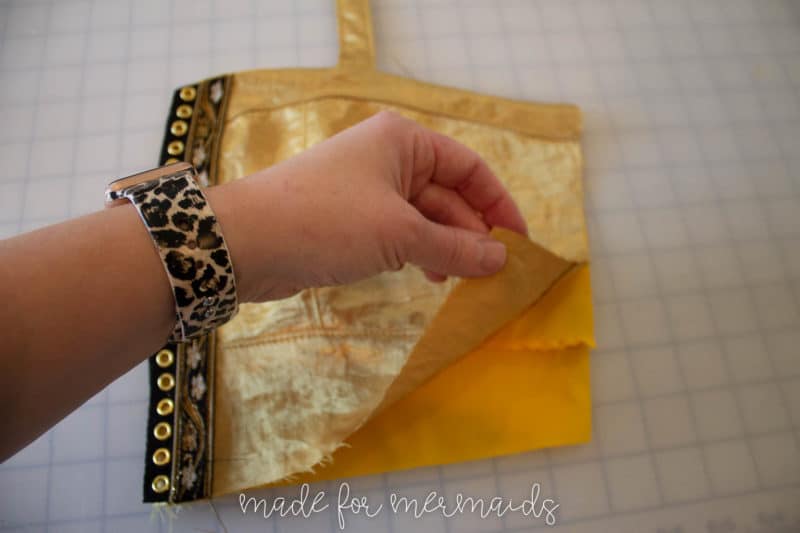
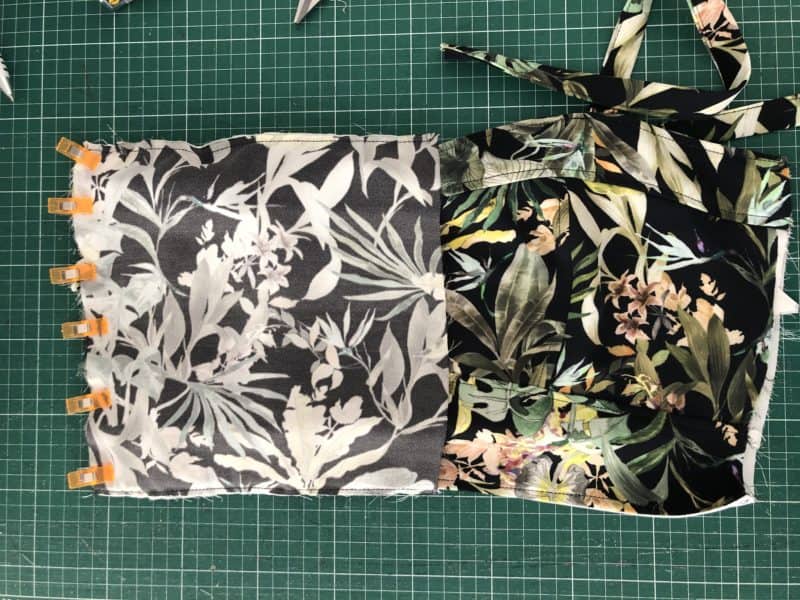
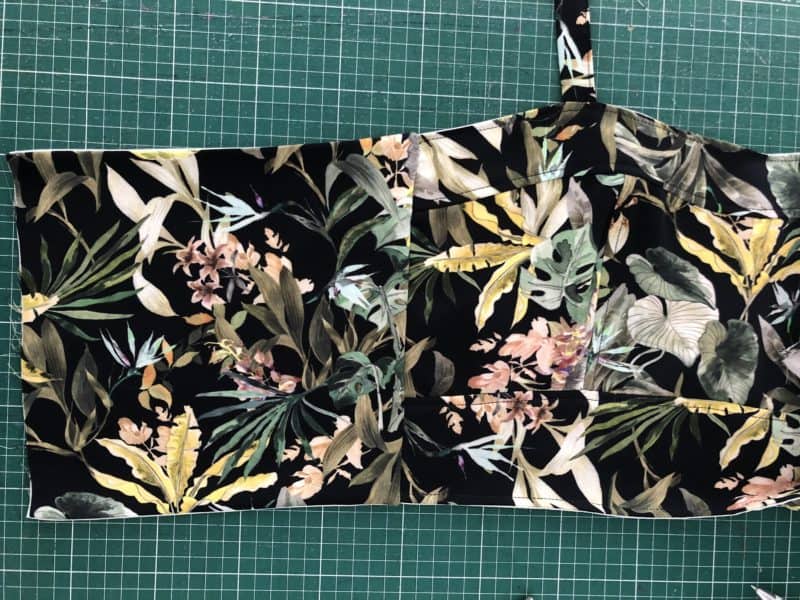
For mine, I just assembled my Cressida crop version as patterned. When it was time to close the turning holes on the bodice, I instead topstitched around the top and sides, leaving the bottom unfinished (pic A).
We’ll be closing that hole when we attach our peplum, but you can baste it shut now, just so it behaves better (especially on the first side you turn, so it doesn’t get all messed up when it gets turned through the 2nd bodice side. (I actually forgot my own advice on the right side of the top and topstitched it all shut before I remembered I had meant to leave it unfinished. Whoops! I made mistakes so you don’t have to, lol. It’s not a huge deal; just makes it a tad bit bulkier to stitch over when attaching the peplum)
Now that your top is ready, you need to cut your peplum/ruffle. A couple of options for ya here— first, you can use the skirt pattern piece and just cut it to the length you desire. So if you want a 3” peplum, you can cut the skirt to that length.
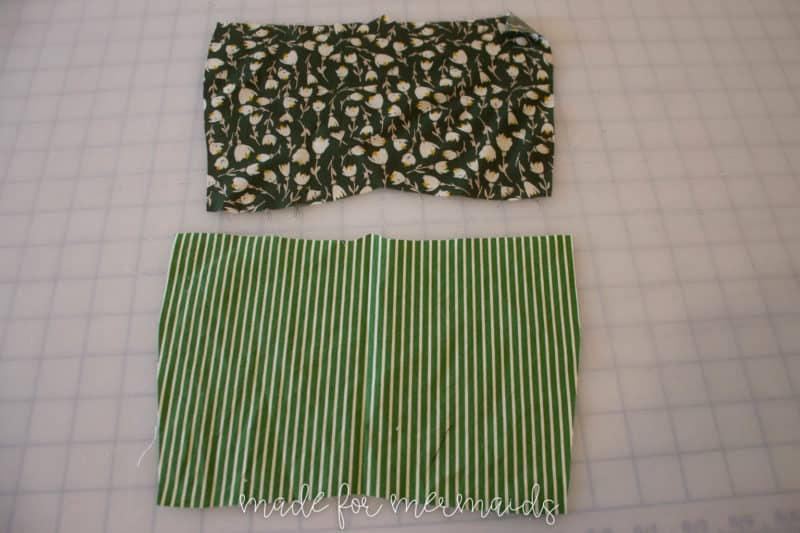
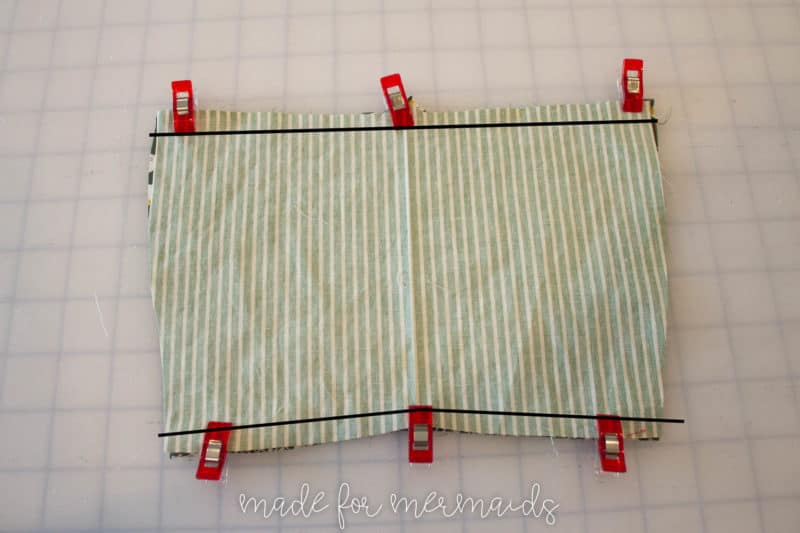
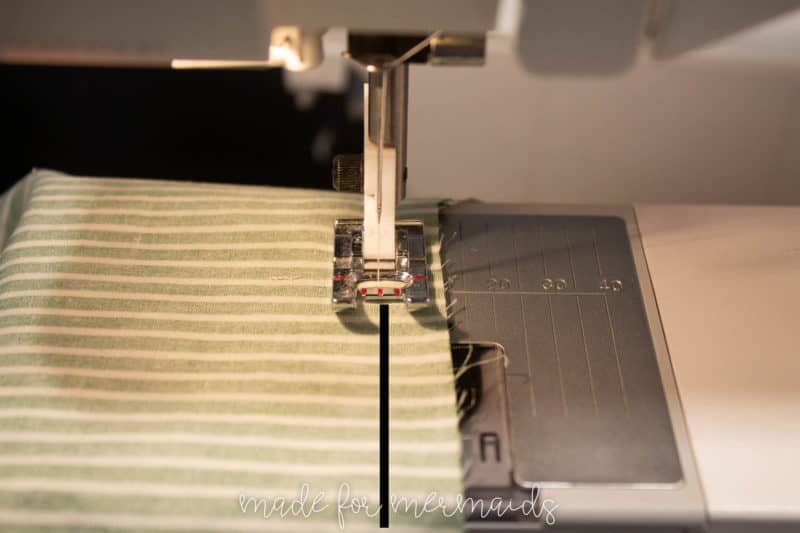
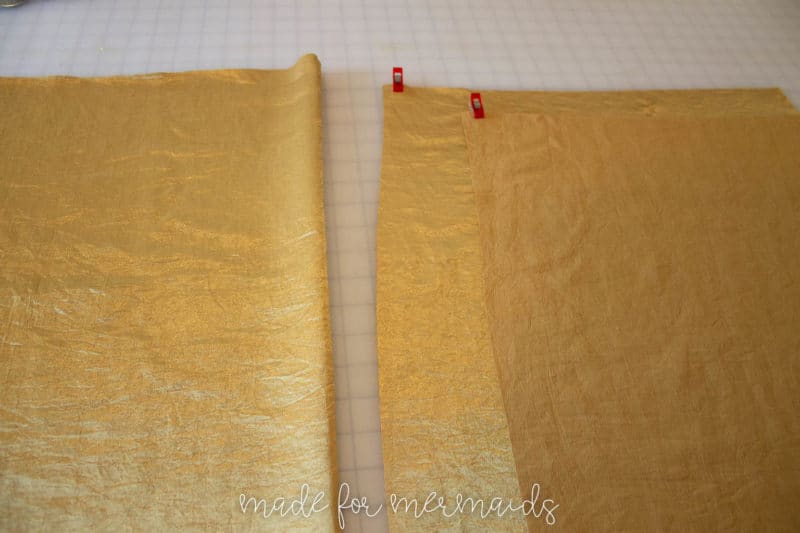
I cut up a striped shower curtain to make my top, so I couldn’t use a curved pattern piece like the a-line skirt the pattern piece provides. Instead, I cut a strip 1.5x my waist measurement (pic B), and kinda eyeballed the length. I held it up to me when I tried on my Cressida and went with the length that I thought would look best on me, which was about 6”, including hem allowance (pic C).
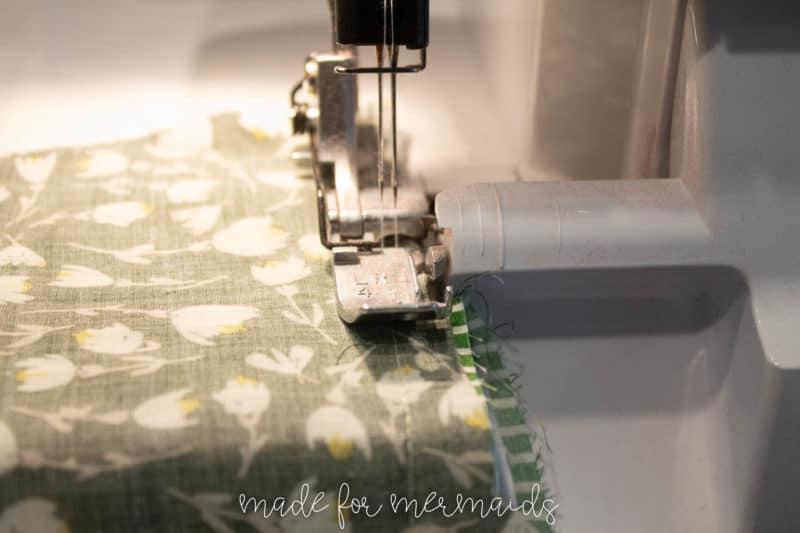
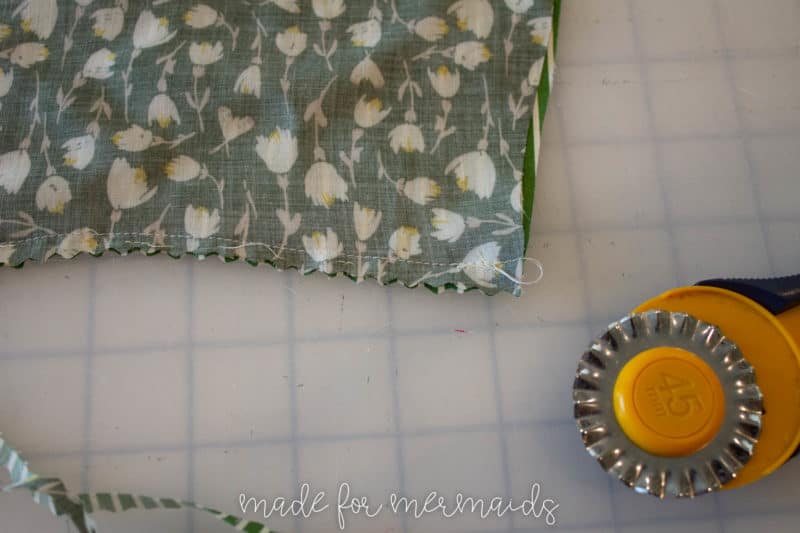
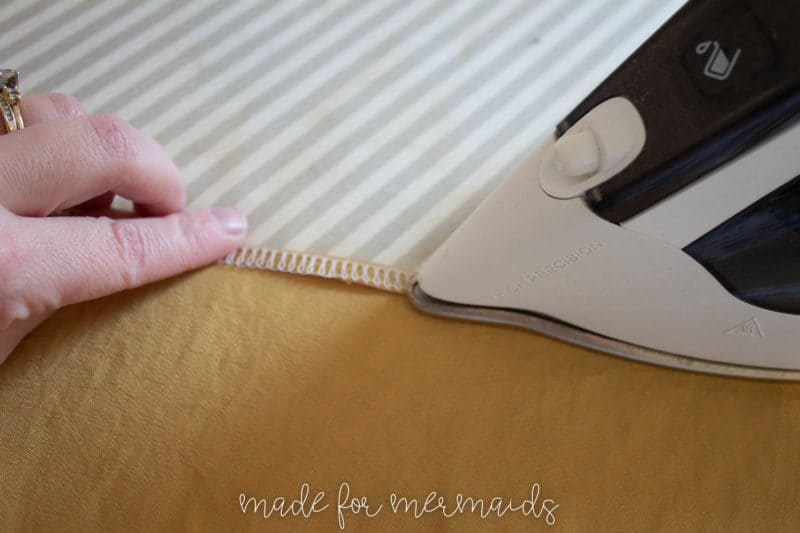
Once you have your peplum piece, go ahead and hem that real quick. (pic D.) It’s much easier to hem FLAT than after it’s gathered. Also, you’ll want to hem the end pieces that will align with the front bodice opening—I used the full width of the shower curtain so those sides were already hemmed for me. But you would hem the same way you hem the bottom–I just run a serger stitch along the bottom and then double fold it to hem, but you can do your preferred method!
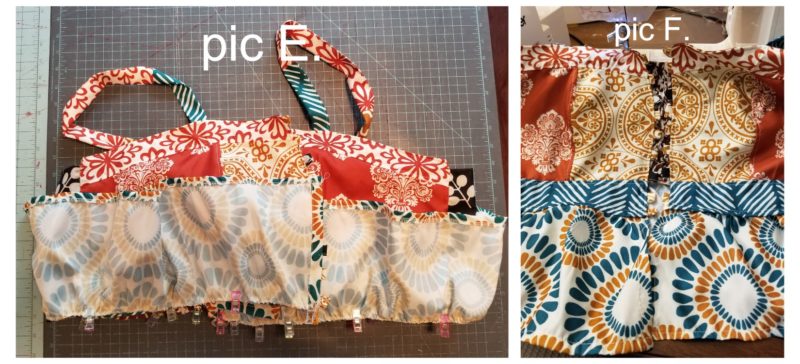
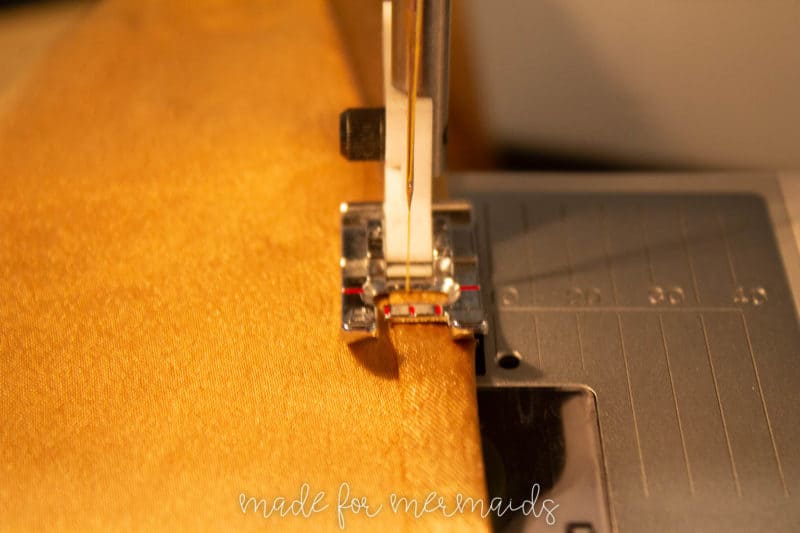
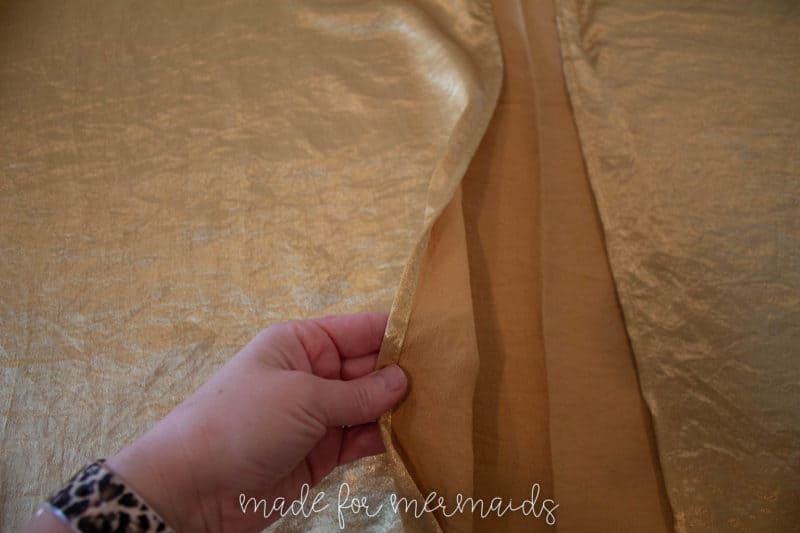
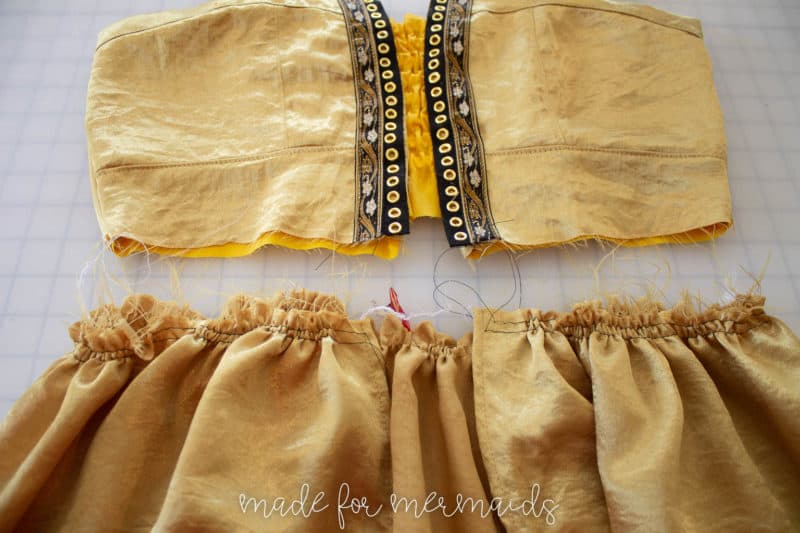
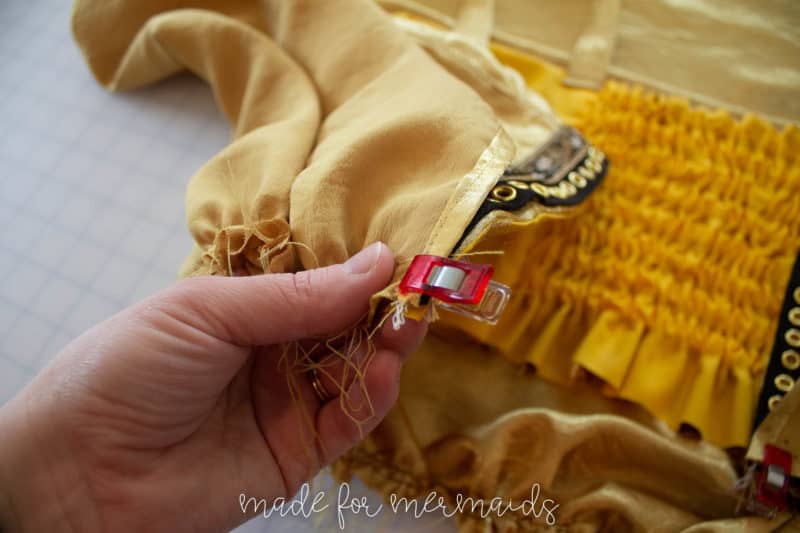
After that, you just gather to the width of your Cressida, and proceed to attach as if it were the skirt (pic E)! I pinned right sides together along the bottom of my bodice, sewed, pressed the seam allowance up, and topstitched. (pic F.)
Annnnd, you’re done! Go off and look absolutely FABULOUS in your new TOP and ENJOY!!
~jess
@jessawilcox
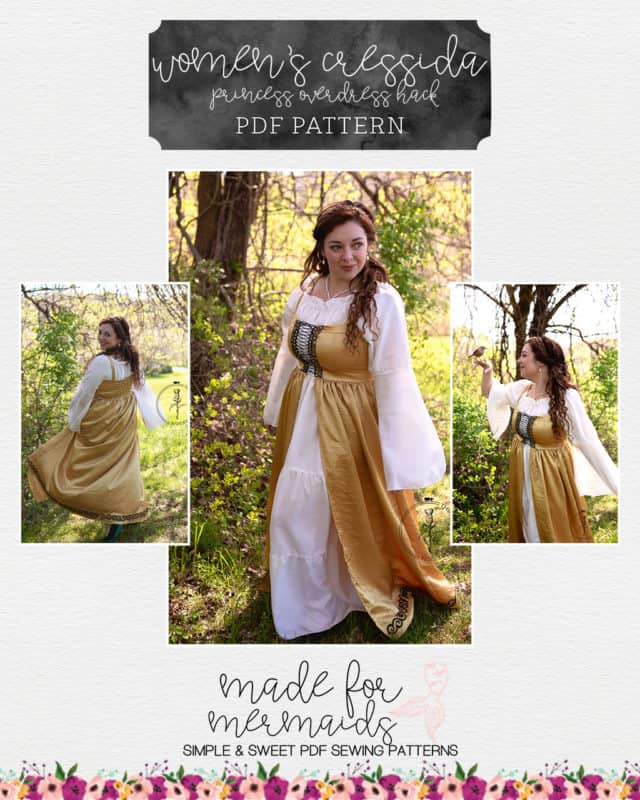
Princess Overdress Hack
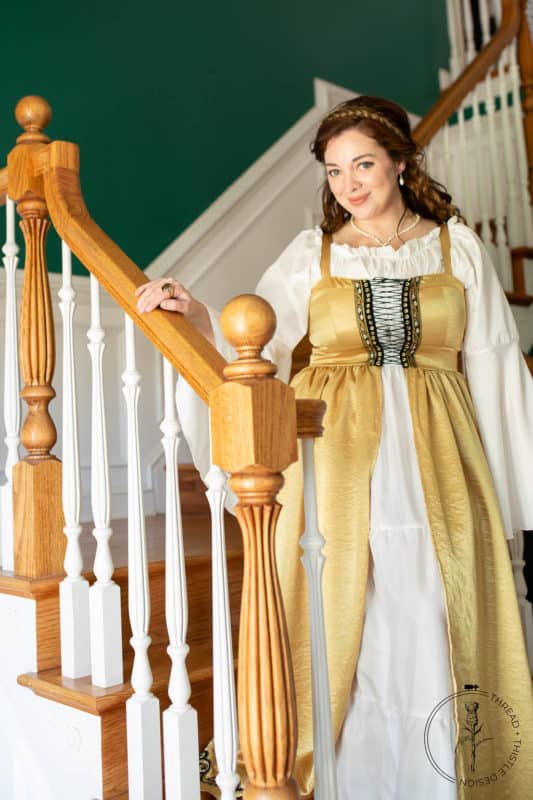
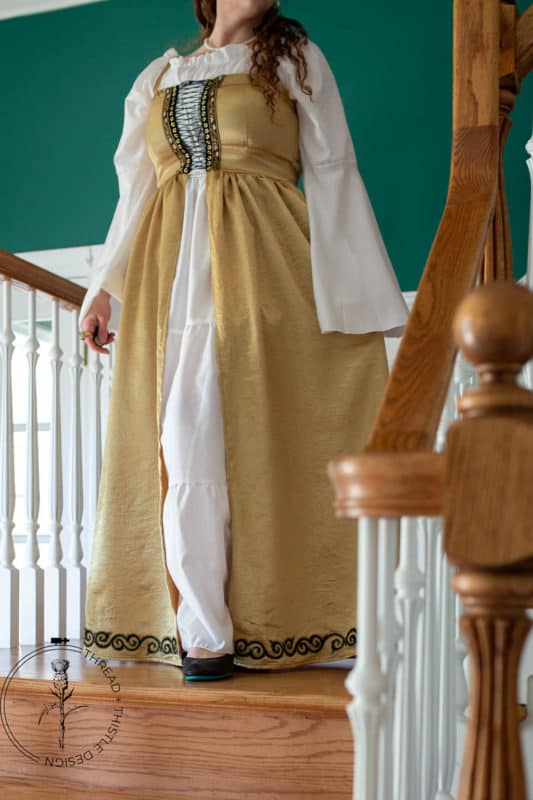
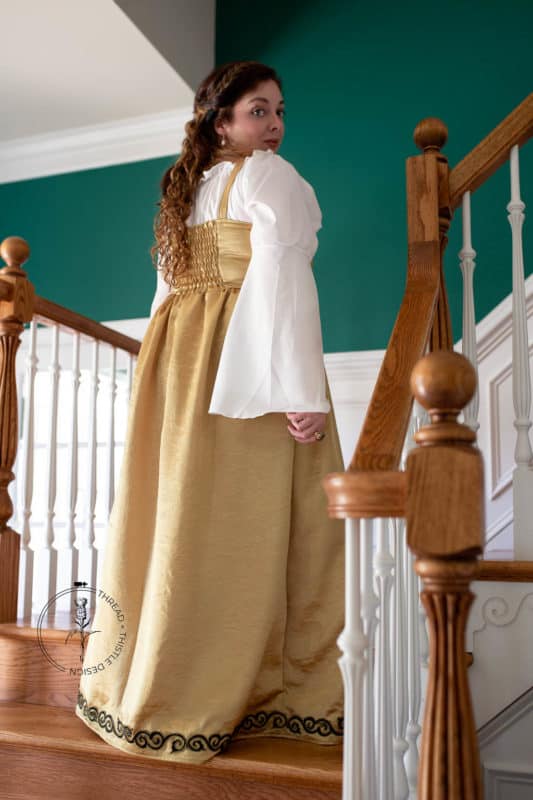
Super similar to Jess’s adorable peplum hack, I turned the Bodice C, crop into a princess dress simply by adding a maxi skirt to the bottom!
Instead of cutting two skirts on the fold, you will cut your back skirt on the fold and cut two front skirts, mirror images. I added 1/2″ seam allowance to the front center of each skirt to allow room for hemming. Finish the front center edges of your skirts by hemming them 1/2″ toward the wrong side of the skirt center.
Construct Bodice C up until you close the bottom edge, just as Jess showed you previously! You’ll gather the entire top edge of your maxi skirt and match it to the bottom edge of your bodice.
Add trim, a peasant dress chemise and you are ready to rock your local Renaissance Faire! This chemise is from Amazon, but our Daphne pattern would have been so much better, had I had the extra time to make one. 😉
Don’t forget to tag us in all your costume and cosplay makes!
Love, Your royal dressmaker,
Megan T.
Lace-Up Back Hack
Hello everyone!
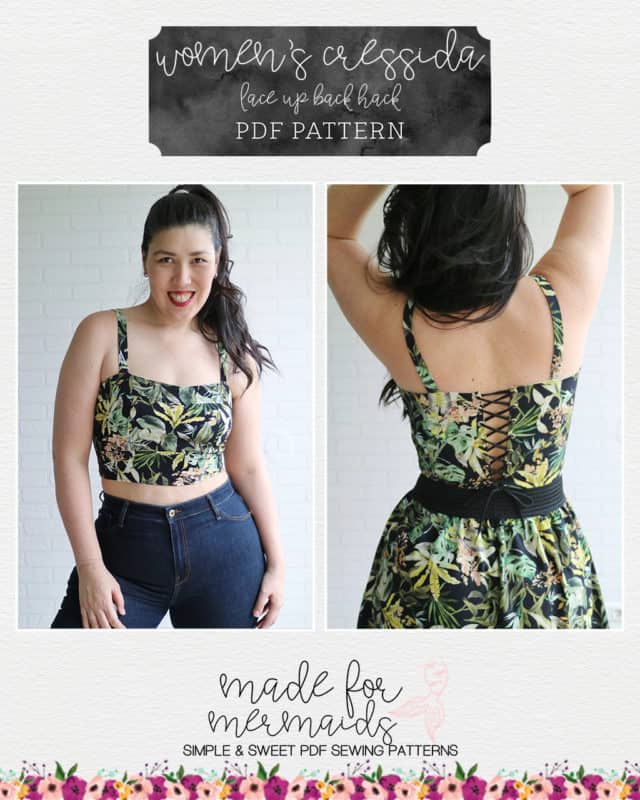
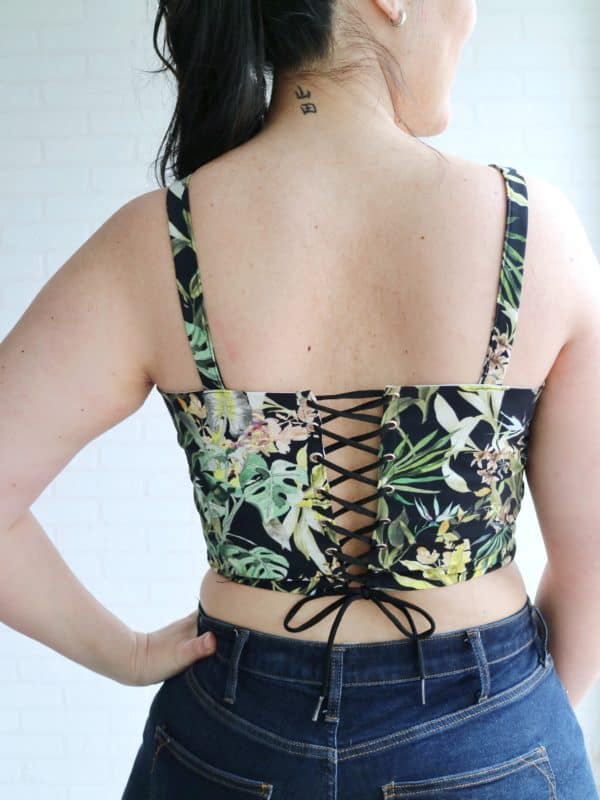
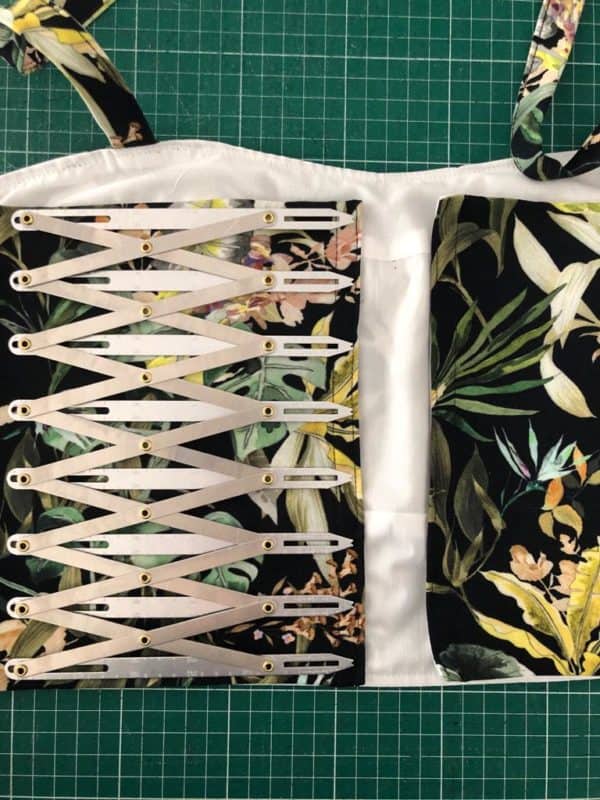
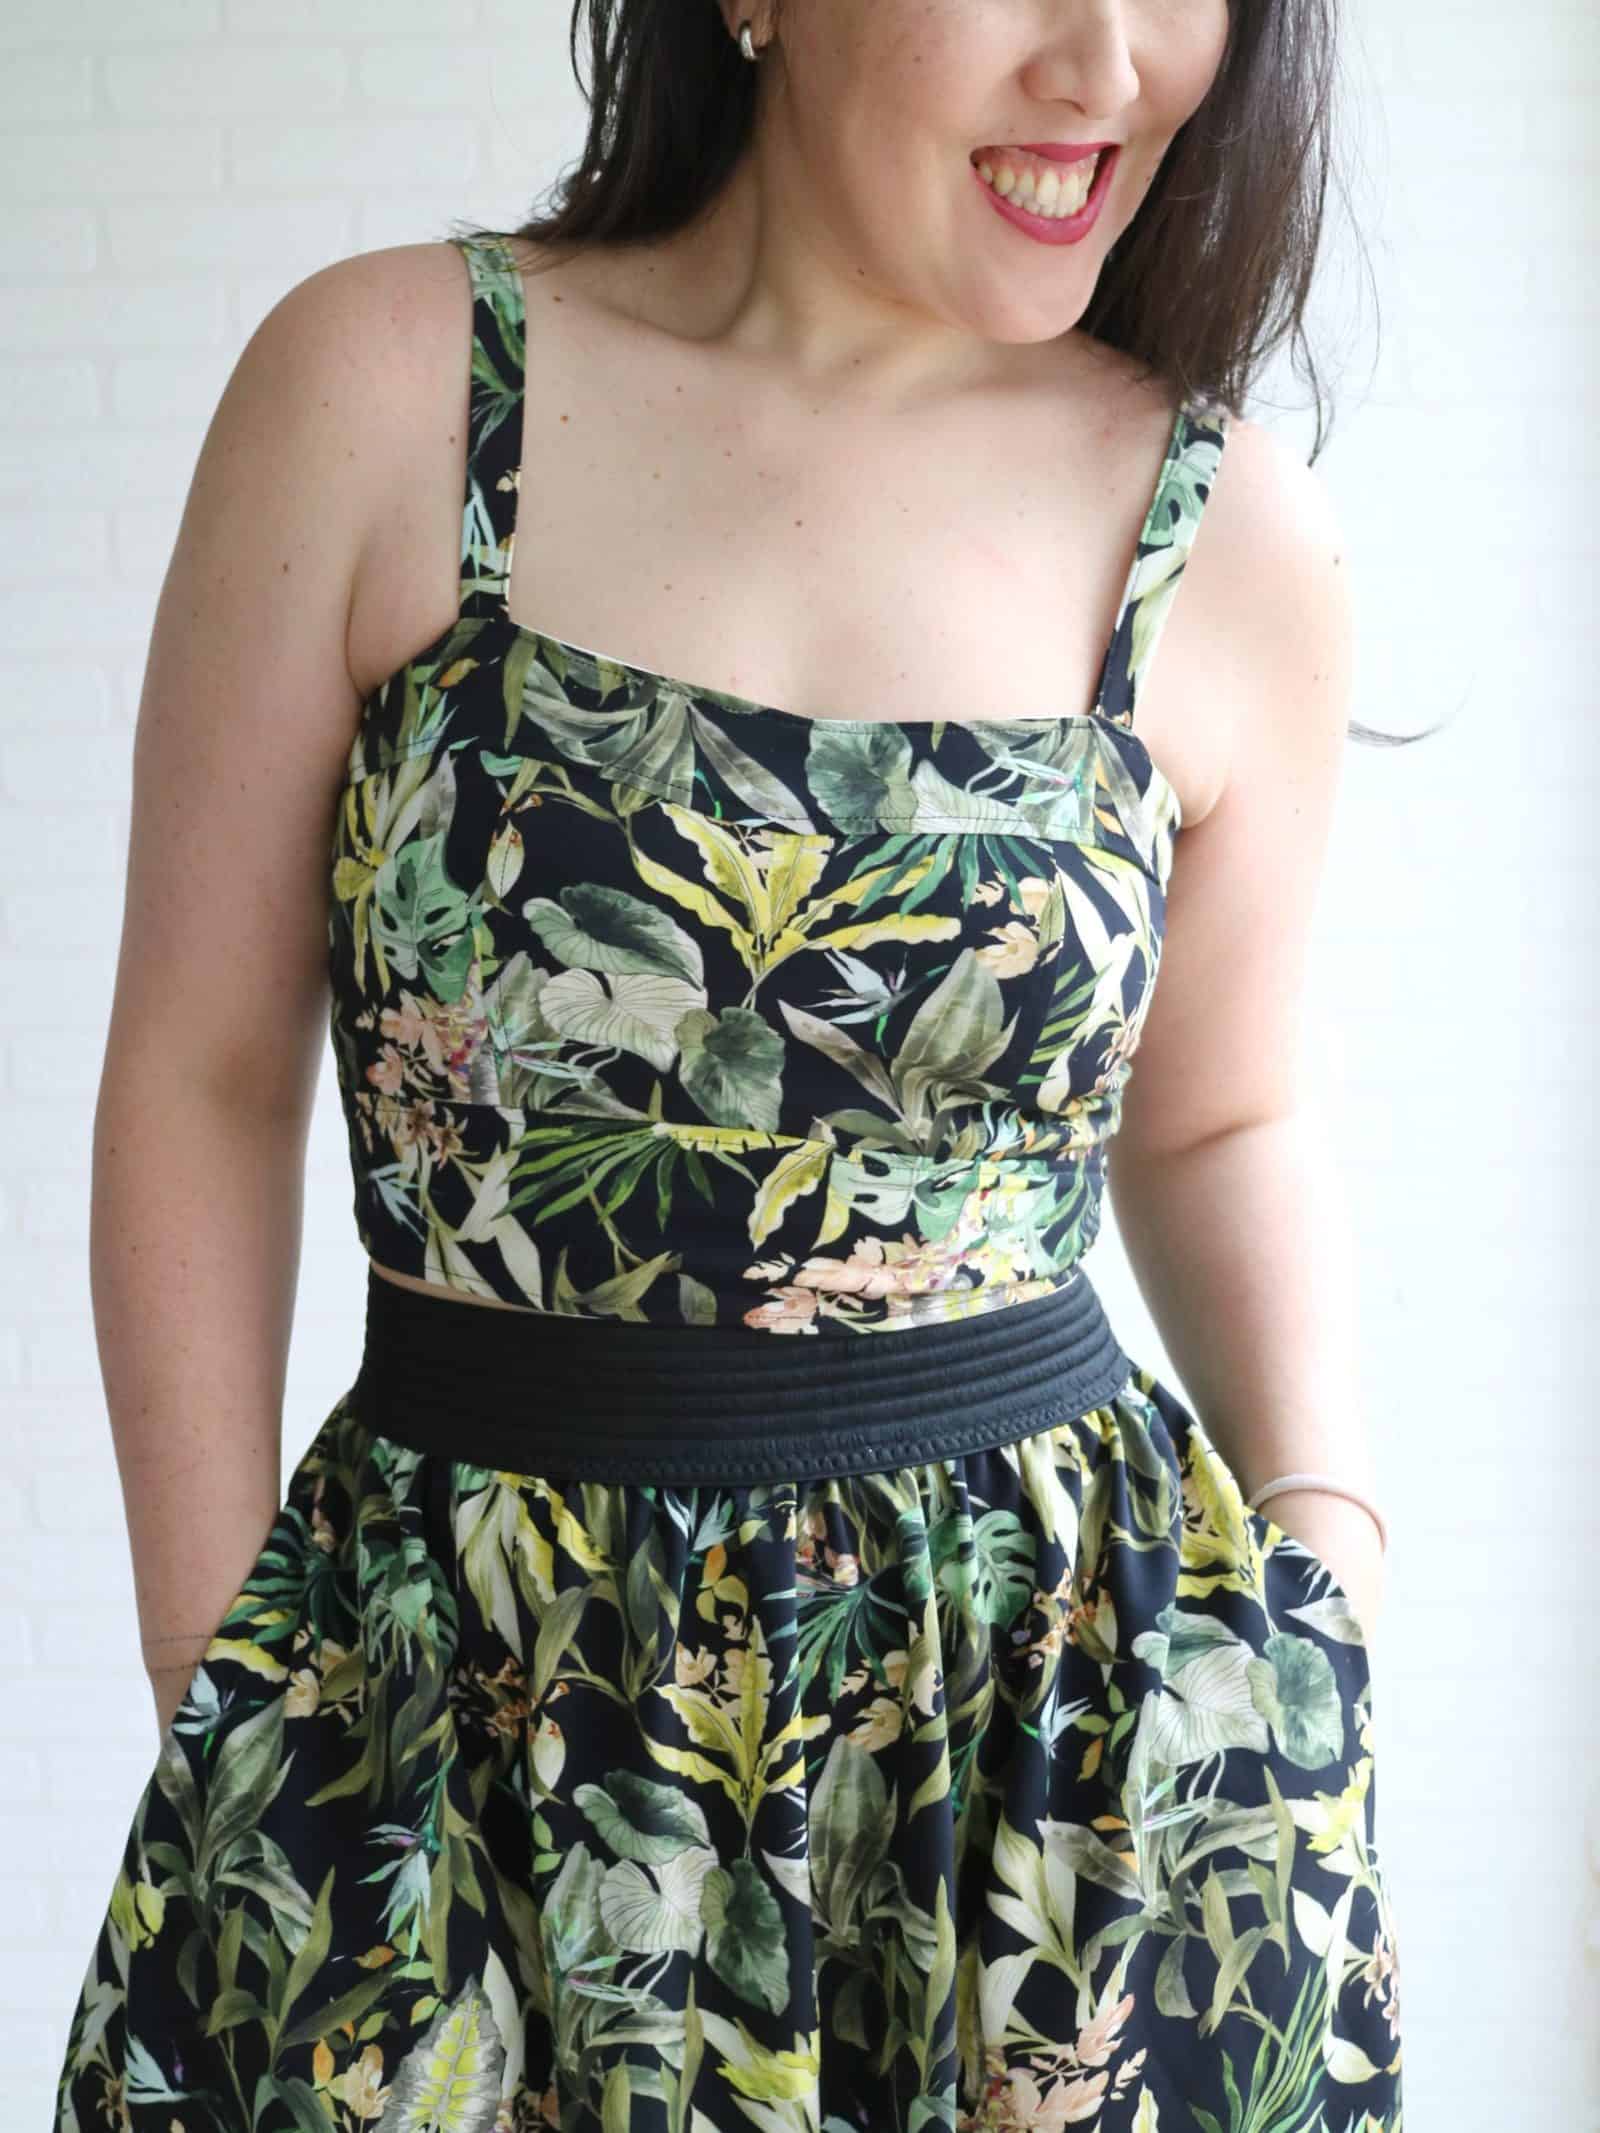
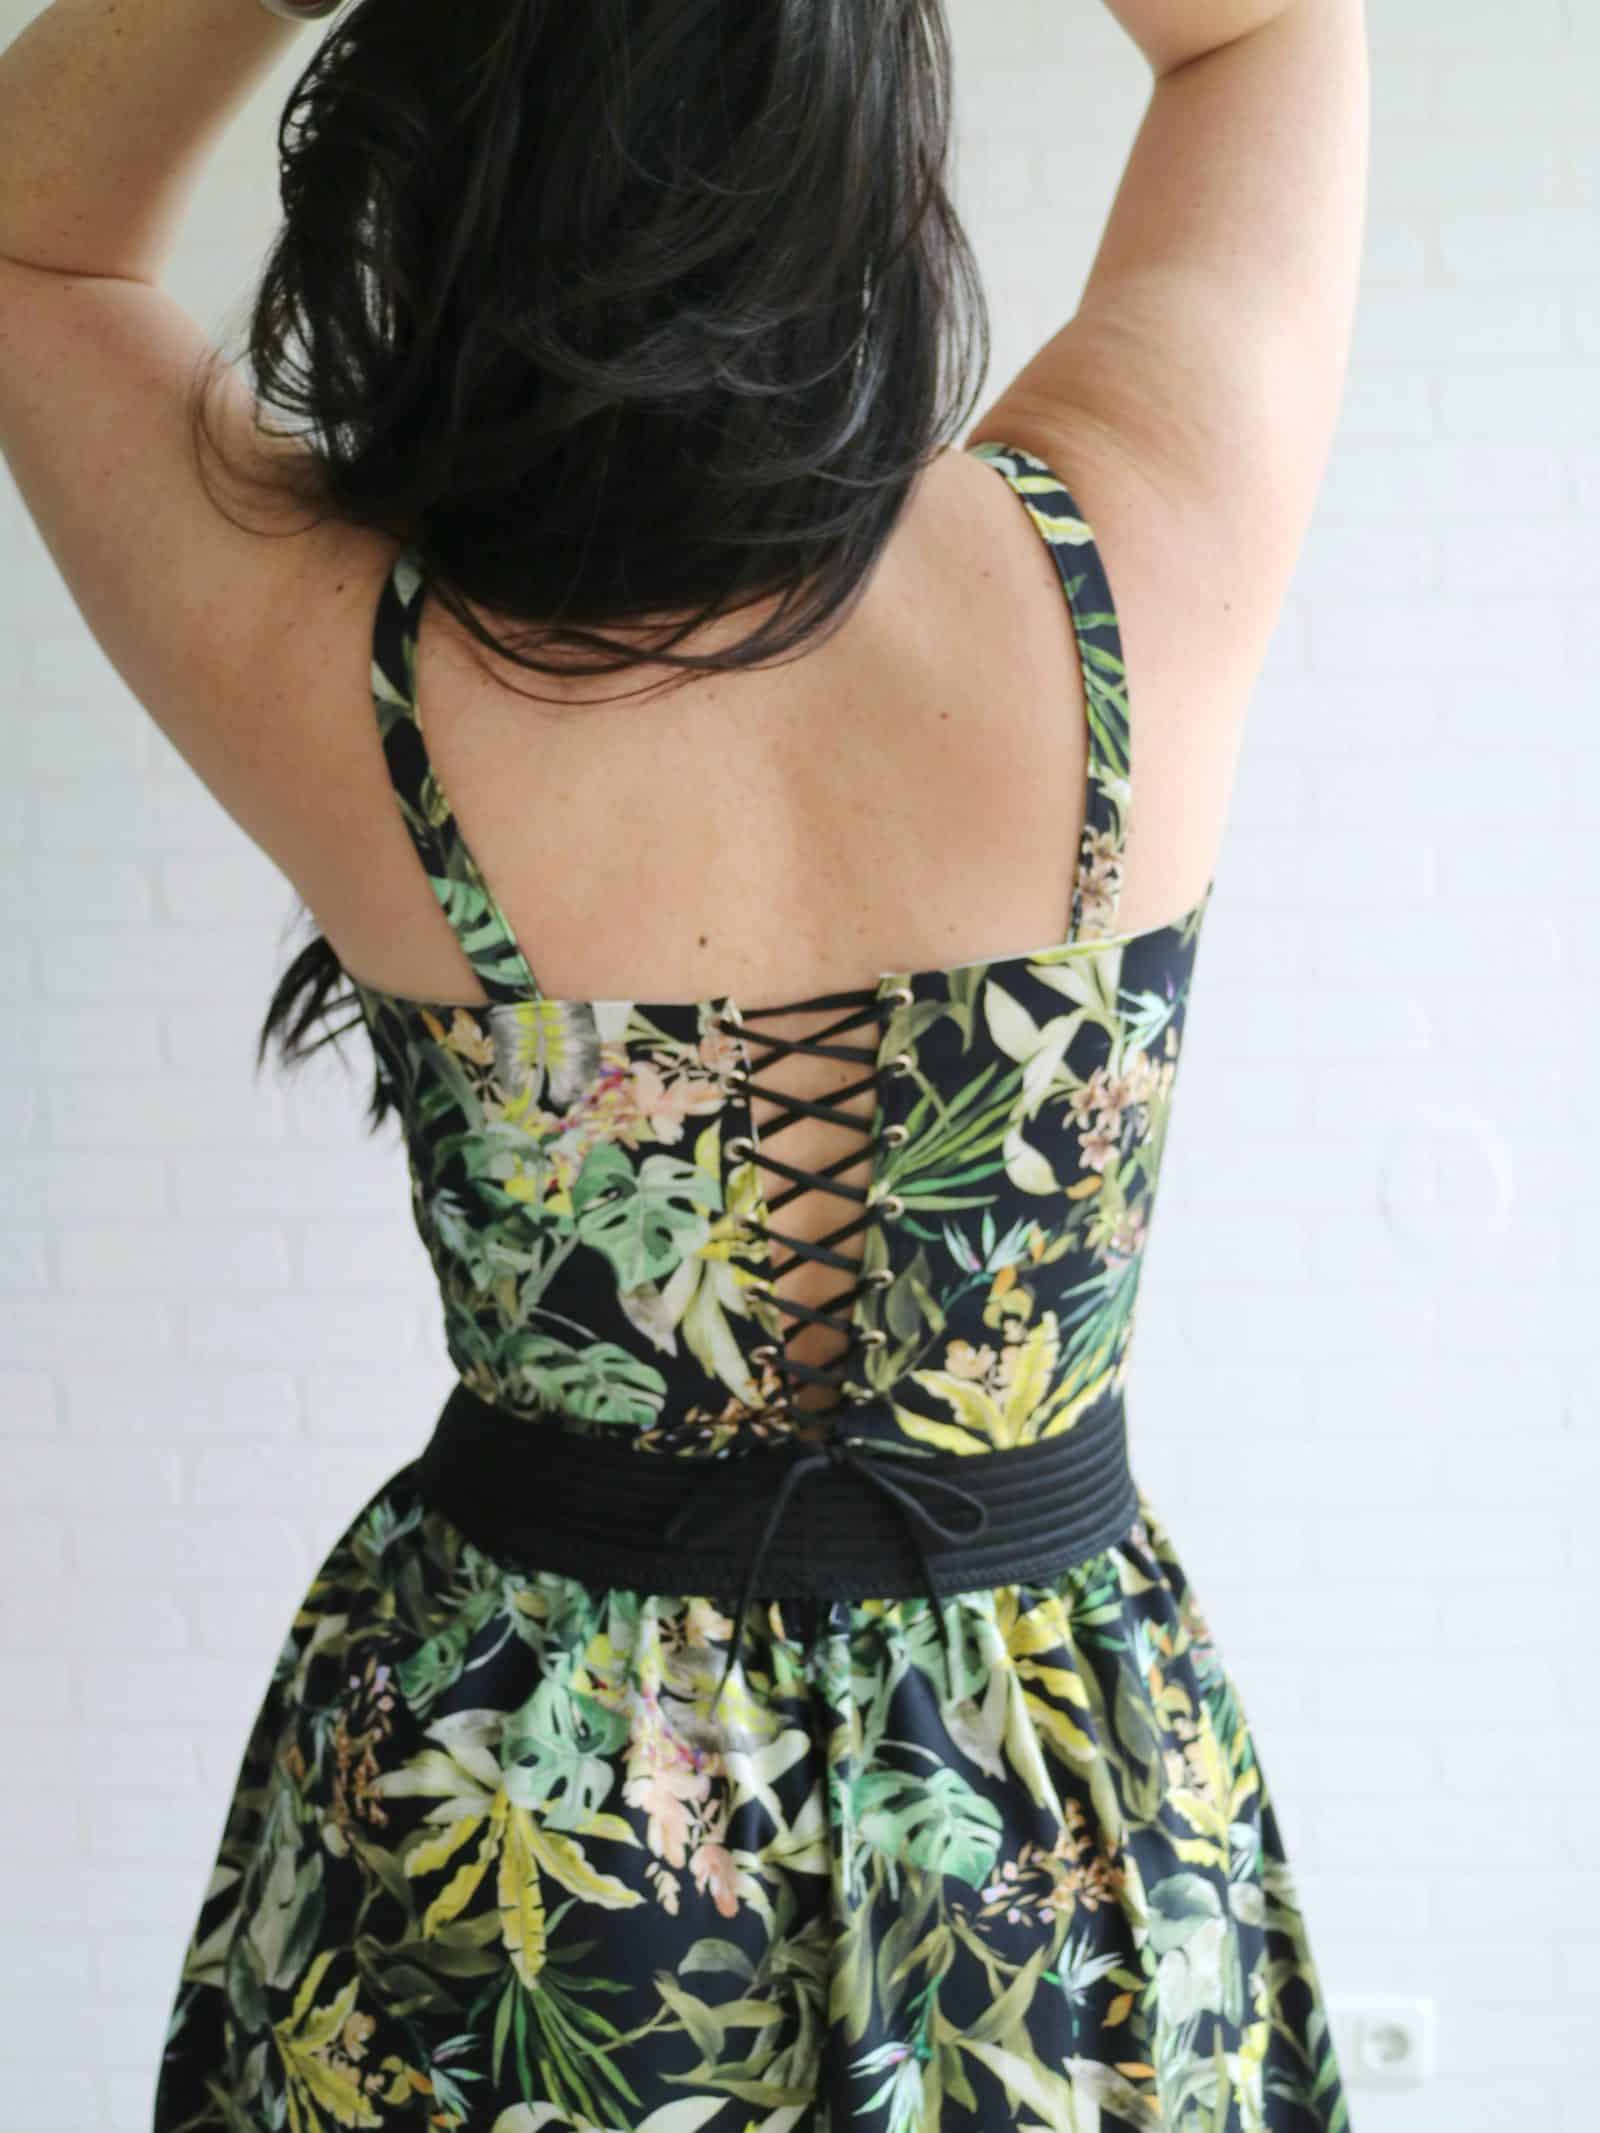
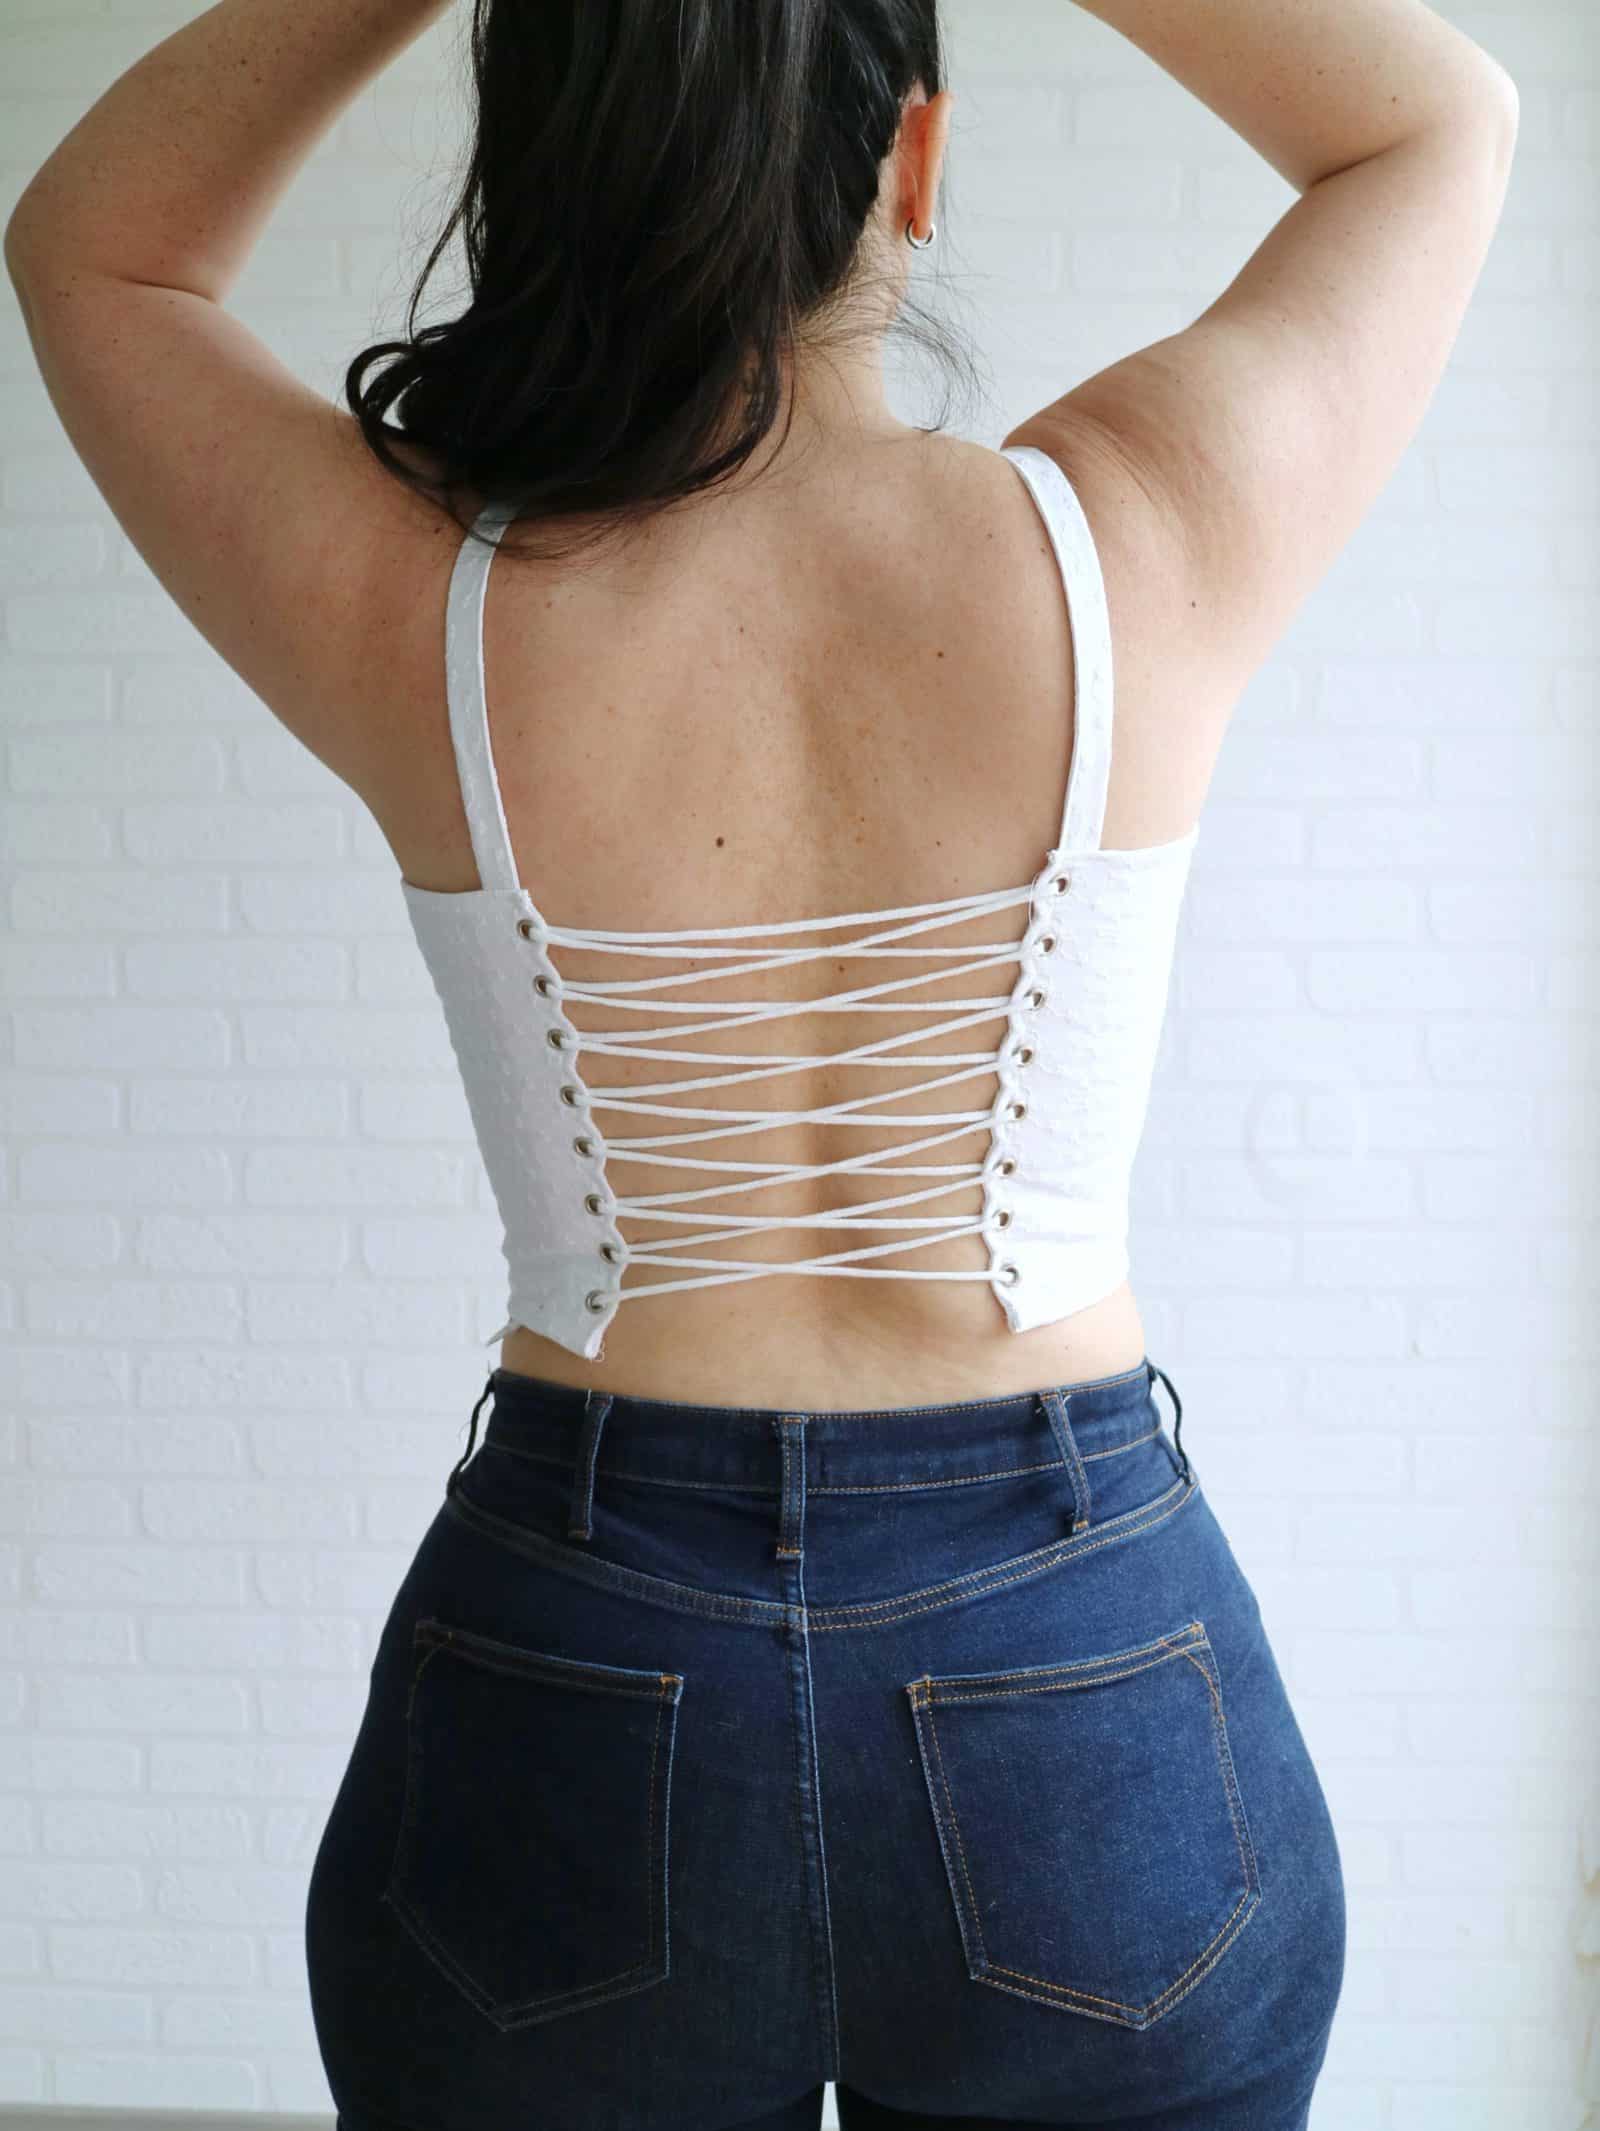
Today I’m sharing with you how I hacked the Cressida corset top to have a lace-up back.
What you’ll need
- Cressida pattern (all the pieces for making Bodice B, except for Center Back)
- Grommets/Eyelets
- String/Cord/Ribbon
STEP 1
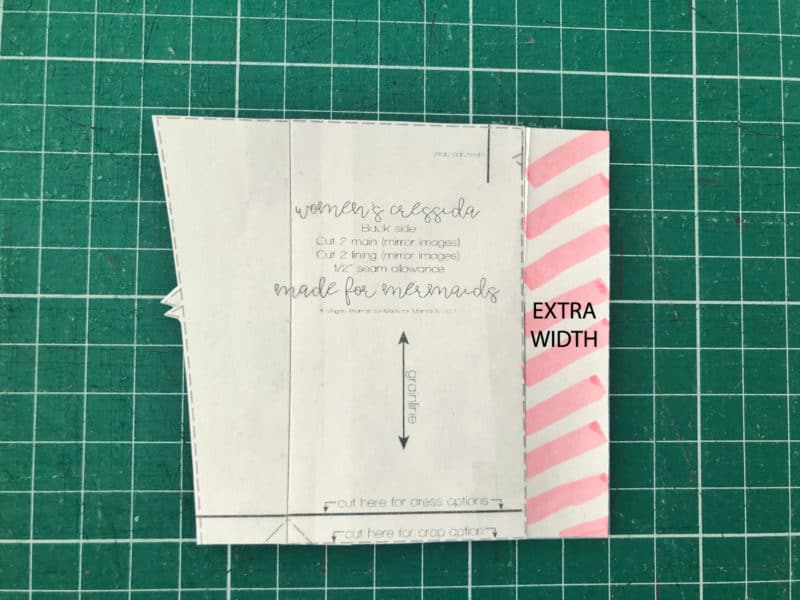
Here you’ll need to decide how wide you want your back opening to be and adjust the Back Side pattern piece accordingly.
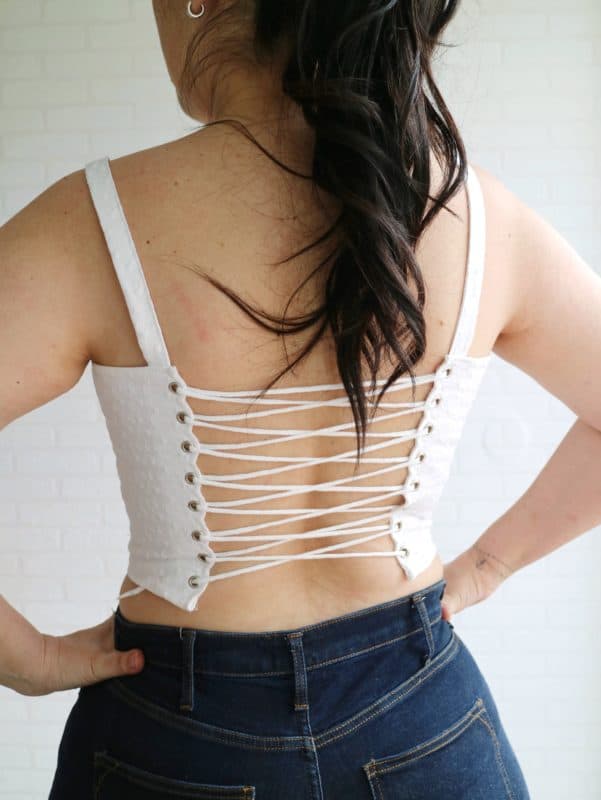
If you’d like to have a very wide open back, like the white top, no need to adjust. But if you’d rather have a smaller opening, you’ll need to add a bit of width to the pattern piece, as pictured below. I added 3 inches to mine, but how much you add is totally up to you and how you want it to look. 😉
Important: Don’t forget to account for seam allowance when adding extra width.
If using loops, there’s no need for extra SA. If using grommets/eyelets, you may need a bit extra depending on the size of them.
STEP 2 – FRONT BODICE
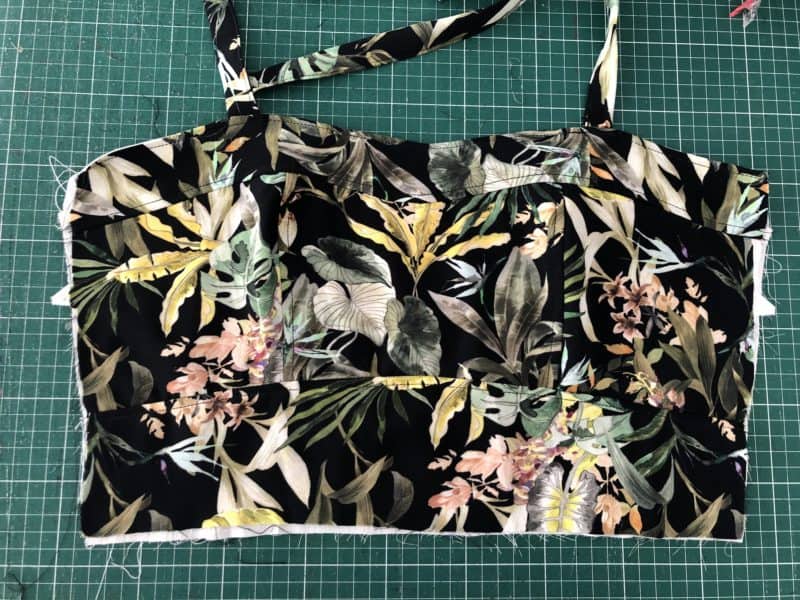
Cut and sew the front of your top following the instructions for Bodice B (step 11).
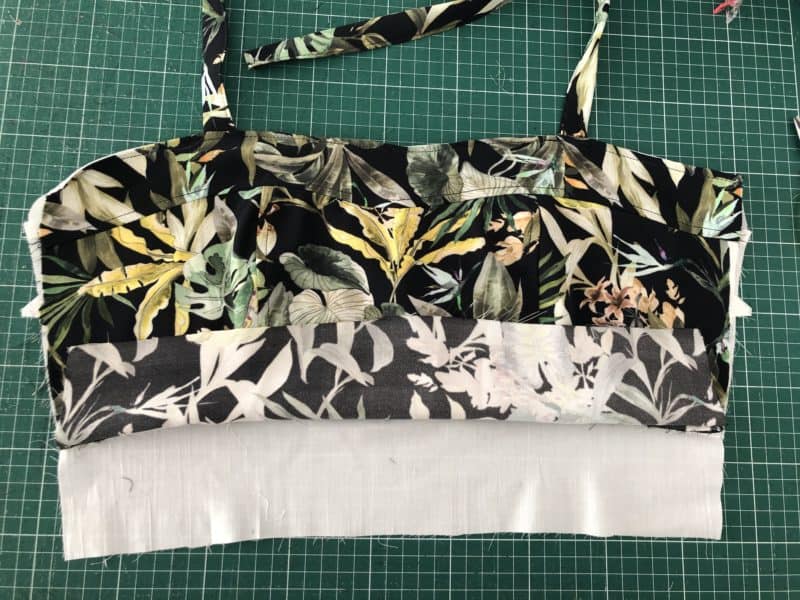
The sweetheart end of your bodice should be finished and the waistbands (main and lining) should be attached to the bodice by their top edge only.
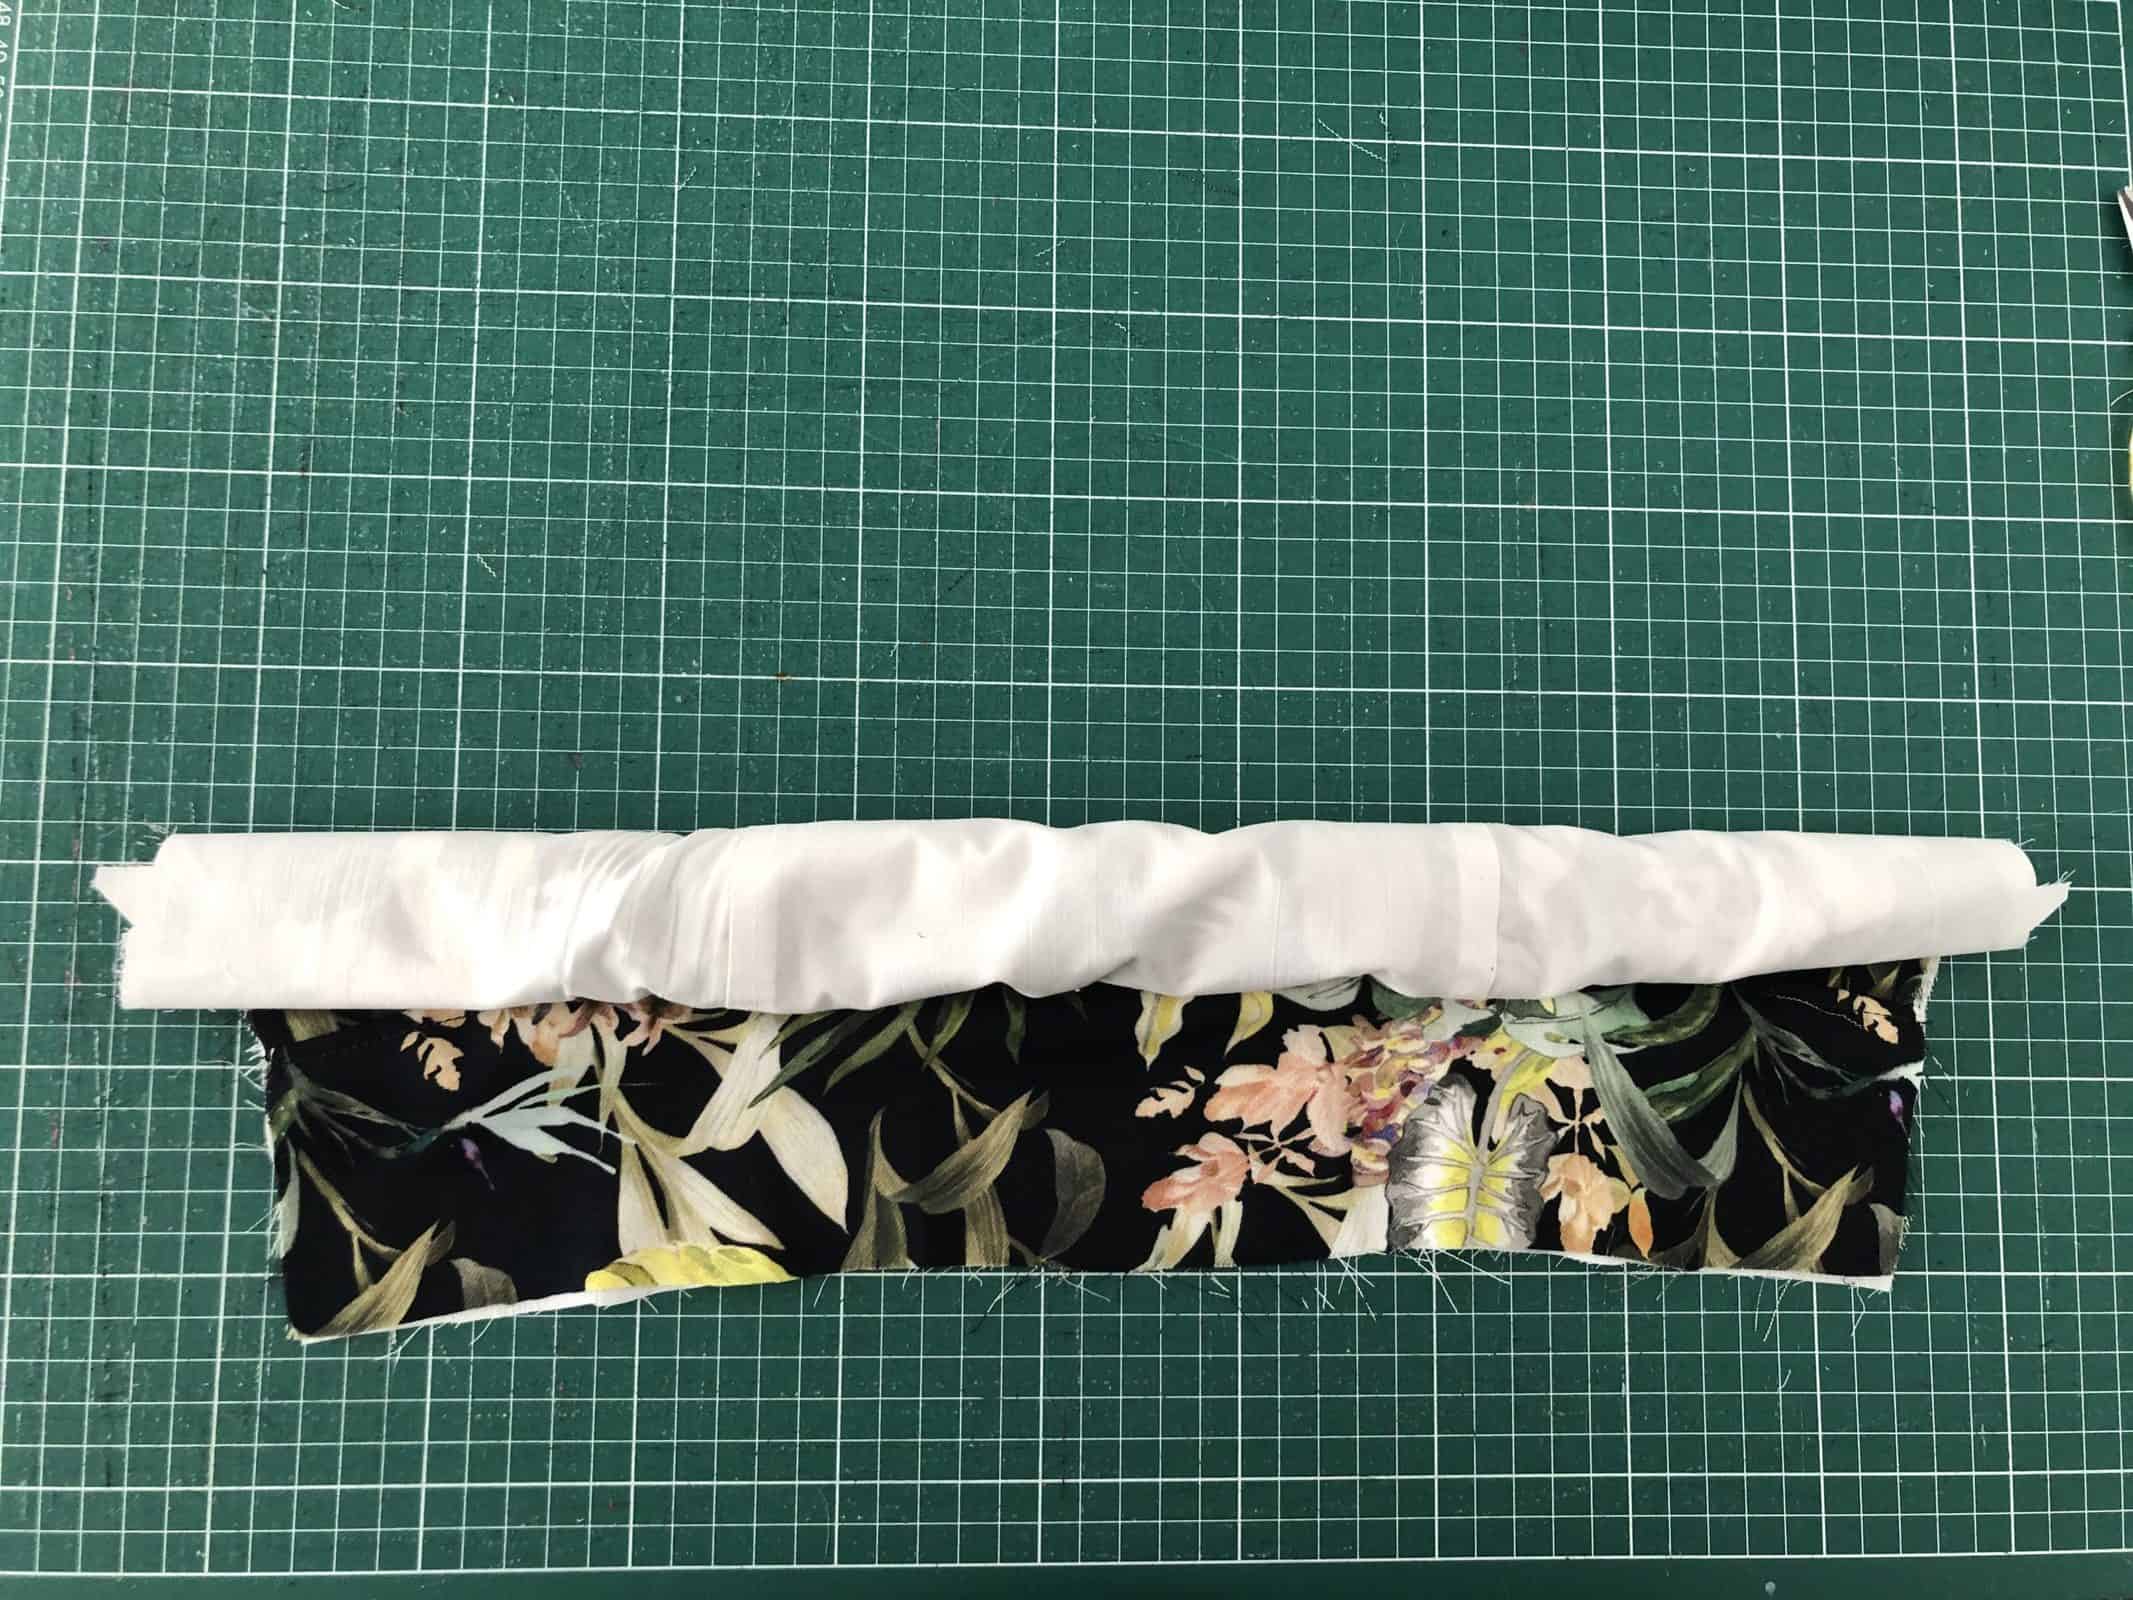
Before continuing and moving on to the back bodice, we’ll now finish the bottom edge of the waistband using the burrito method.
- Roll the finished end of the bodice towards the waistband – this is your “burrito filling”
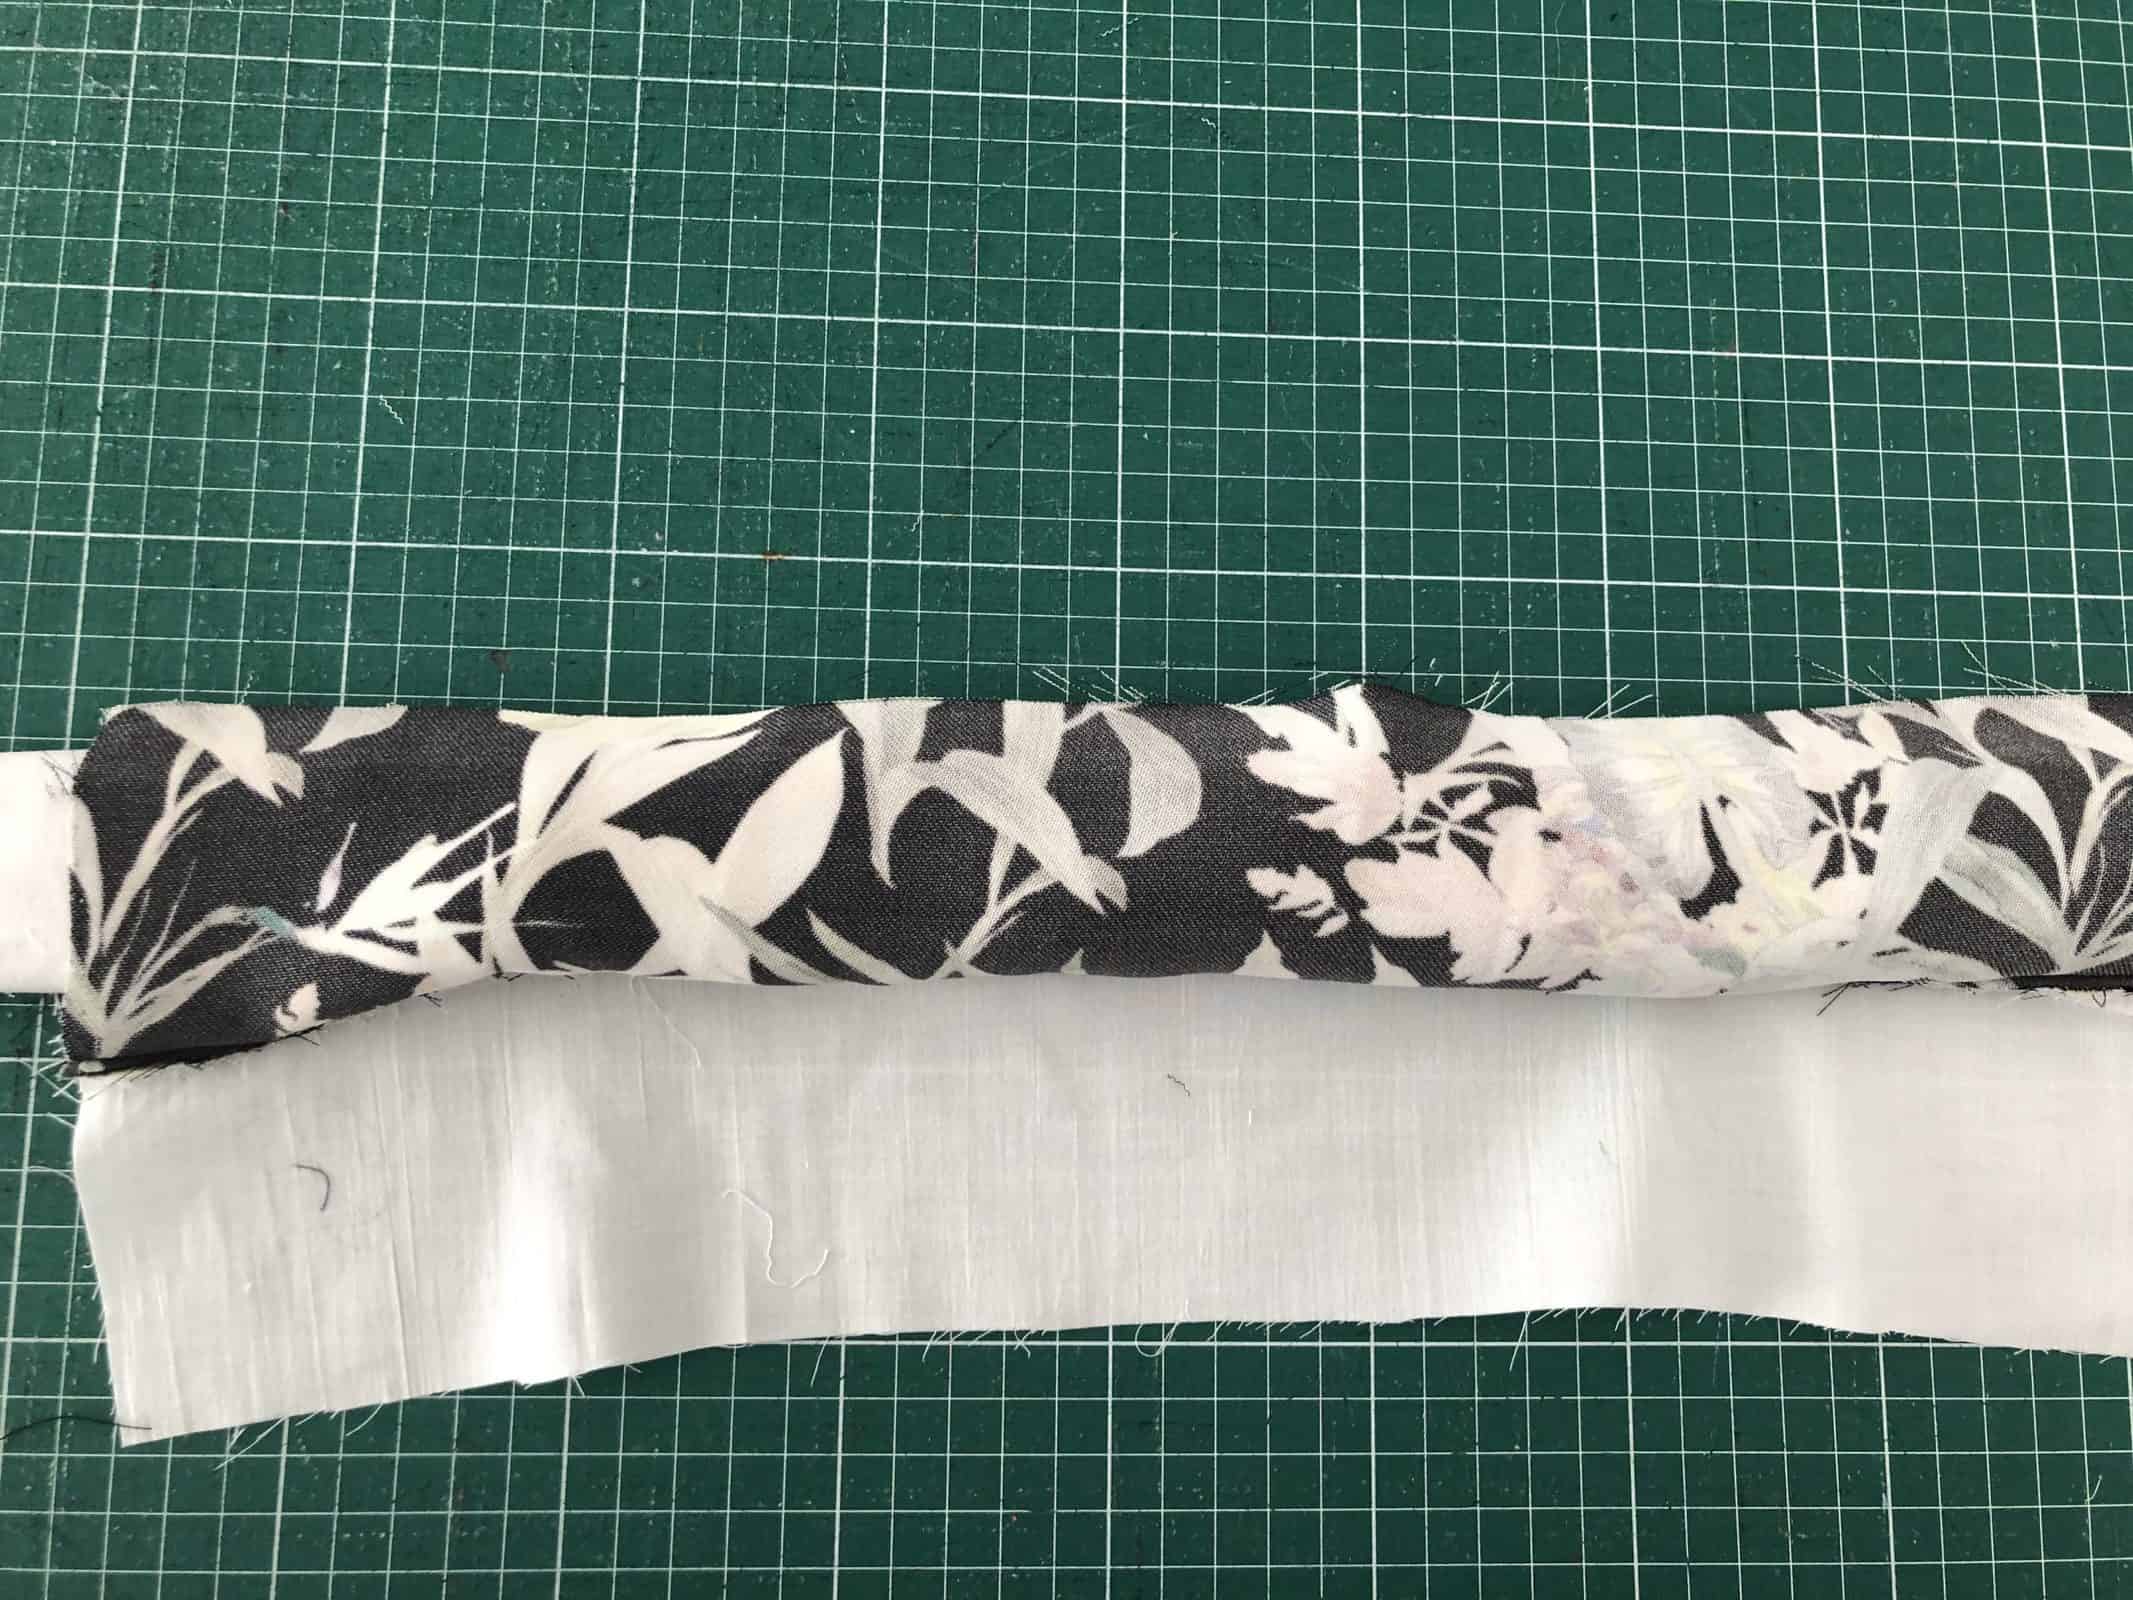
- Sandwich the roll between the waistband pieces (main and lining) – the waistband pieces are your “burrito wrapper”
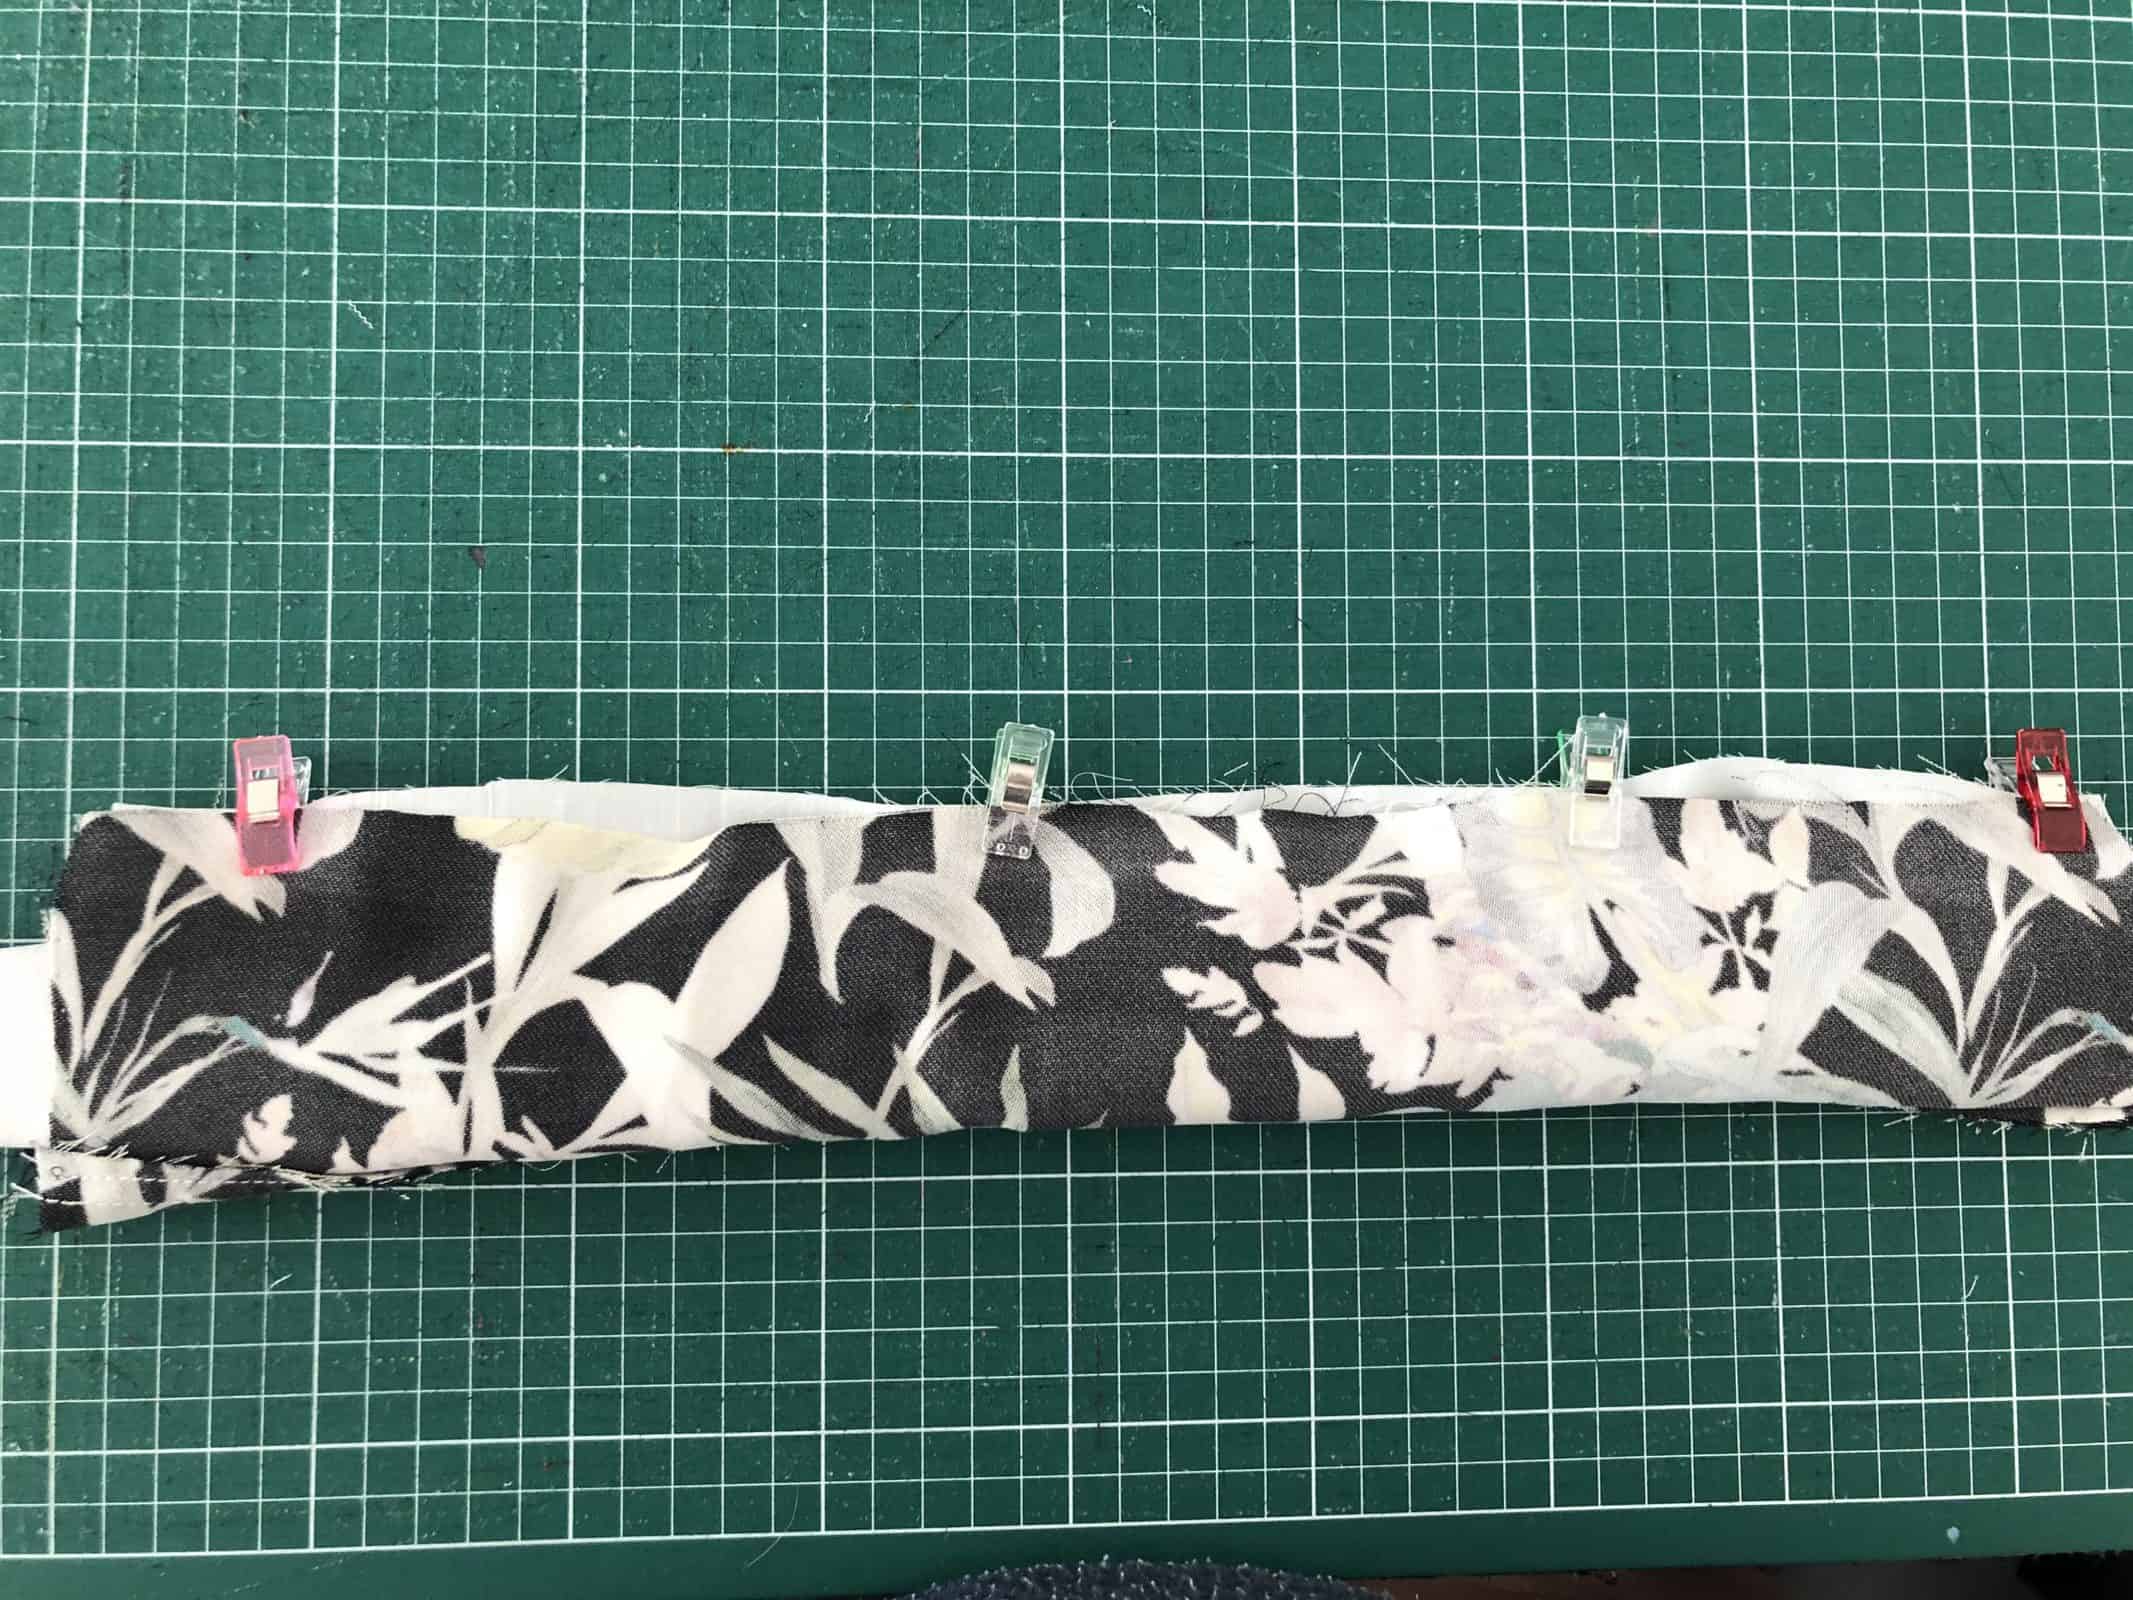
- Clip or pin the waistband pieces (they’ll be right sides facing) and sew your burrito closed making sure not to catch the “filling”.
Pull the bodice through one of the side openings and give it a good press.
STEP 3 – BACK BODICE
Before we start sewing we need to do a bit of prep work:
- If you’re using loops, make those following the direction on the pattern;
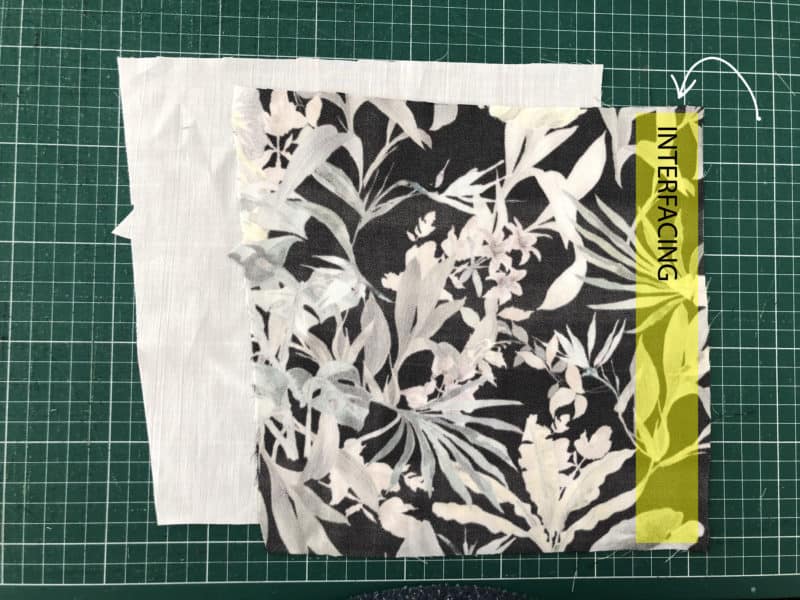
- If using grommets or eyelets, I’d recommend you add some interfacing to your fabric.
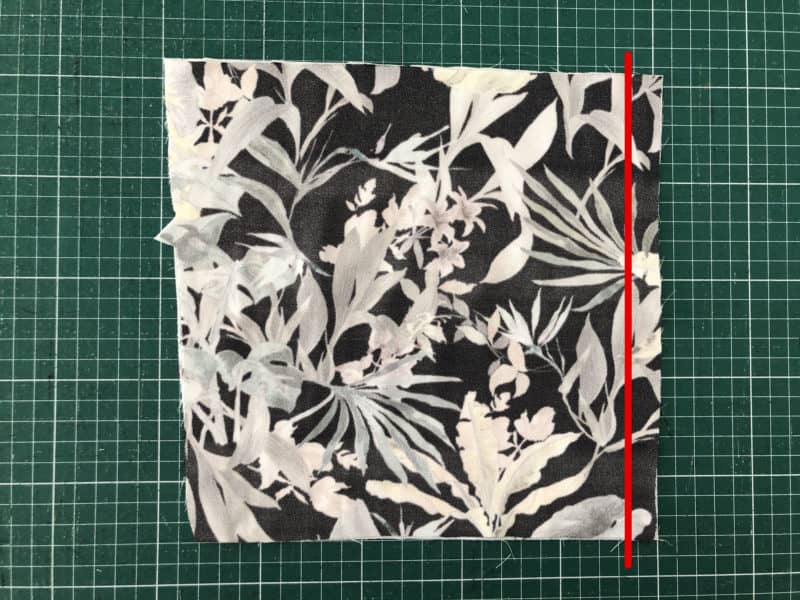
- Press a memory hem on the straight side edge of your pieces.
- Interfacing
- press a memory hem
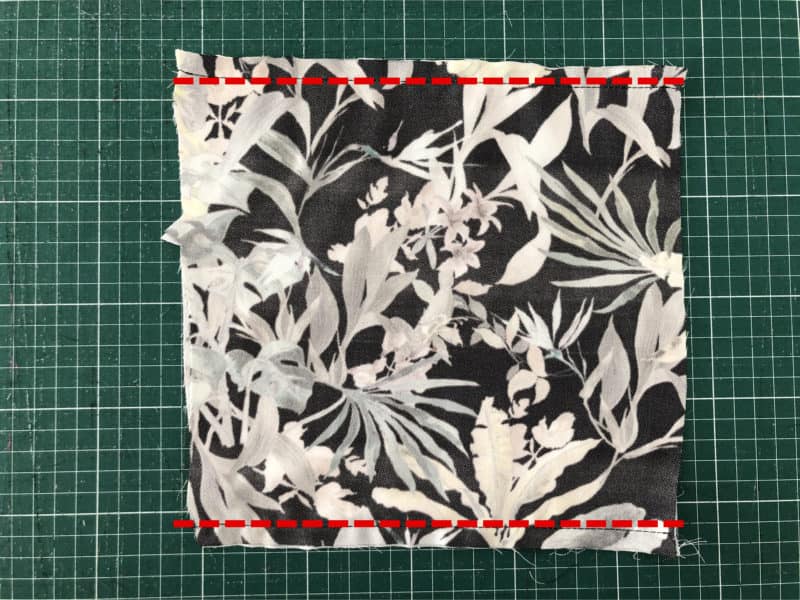
With main and lining right sides together sew along the top and bottom edges, creating a tunnel.
Now you’ll insert the front bodice into the tunnel, sandwiching it between the main and lining of the back bodice. Aline the side edges by matching the notches and sew. Flip the back bodice right side out and repeat for the other side.
STEP 4 – FINISHING YOUR TOP
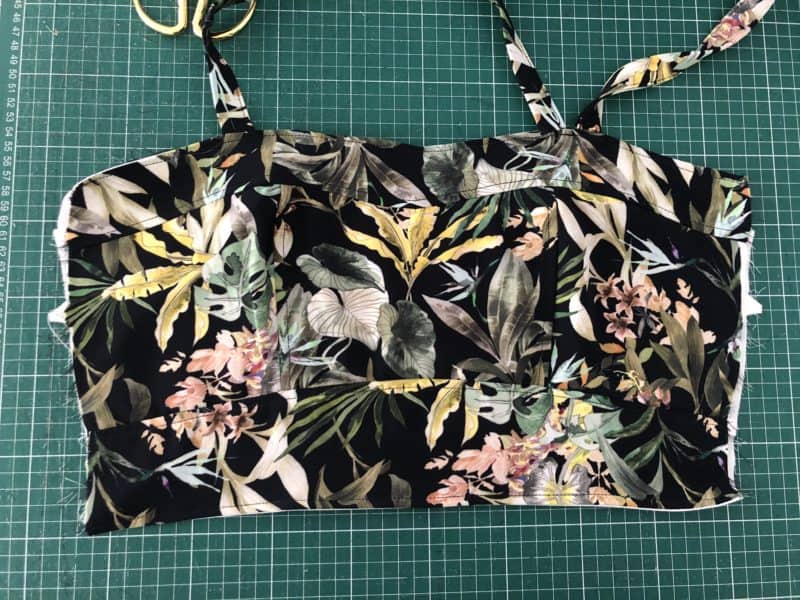
Using the memory hem you pressed before, fold in the raw edges and sew the sides closed (if using loops, insert those in first). Space the grommets/eyelets evenly and apply them following the product instructions.
Sew the straps to the back bodice as per the pattern, lace your top, and voilà, you’re done! <3
Extra little hack: I made the Cressida skirt as a separate piece and used a wide elastic as the waistband. Stephanie talks about how to do this on the Siena Hacks post.
I hope this was helpful to you.
If you have any questions feel free to give me a shout, and if you make this I’d love to see it!
xxx
Livia, @livia.jy
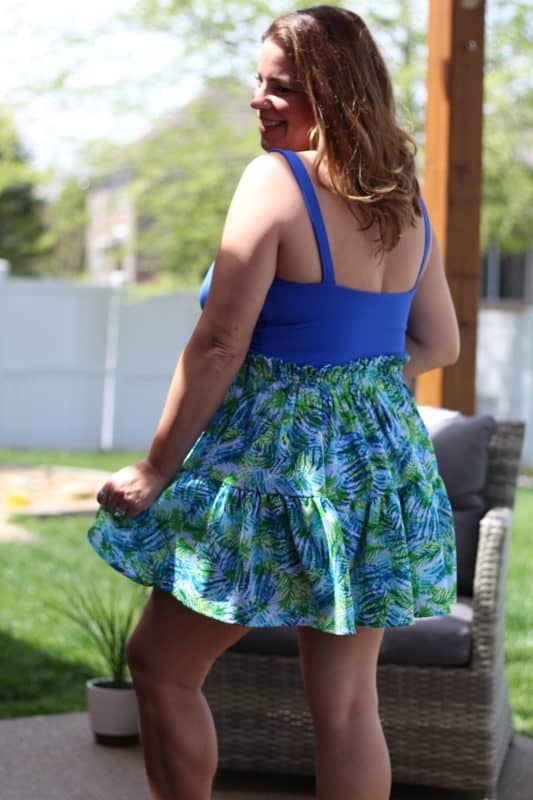
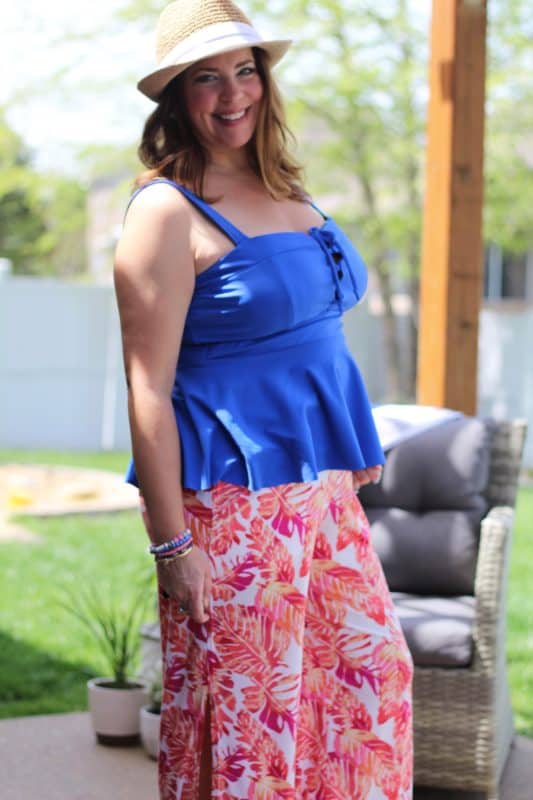
Swim Hack
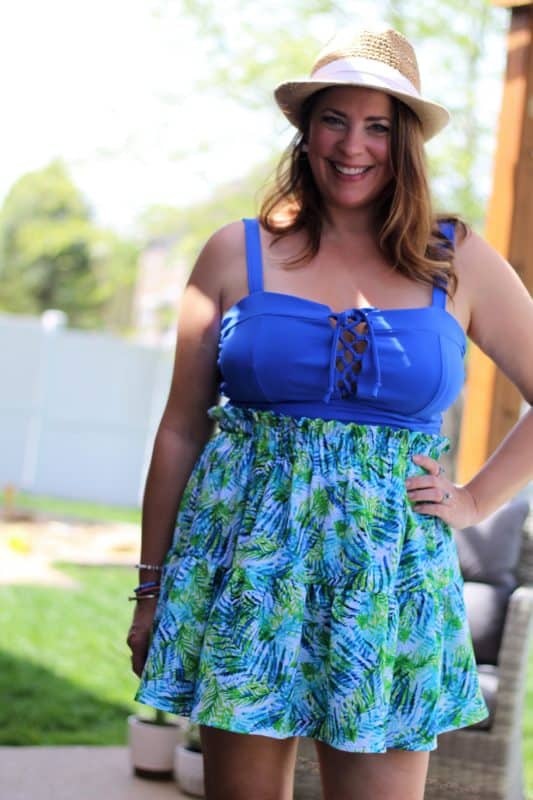
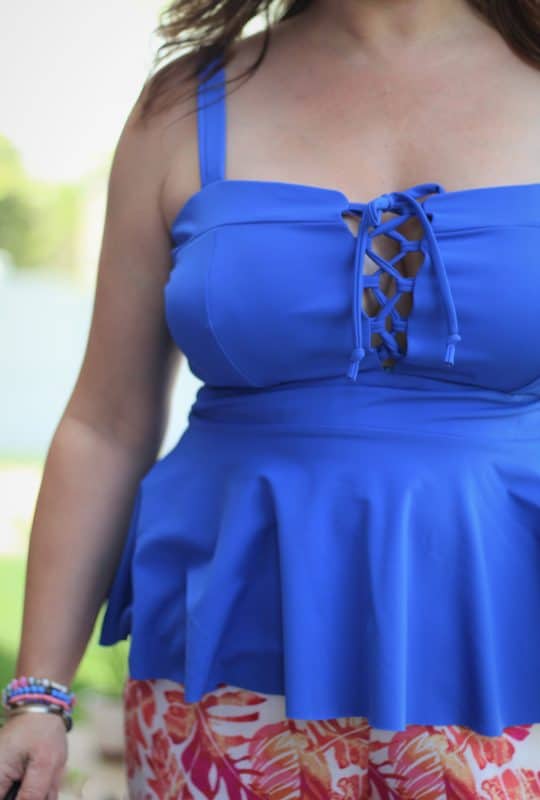
Cressida is such a beautiful dress; the lace-up option inspired this swim hack. I’m so excited when a dress pattern goes the extra mile and is easy to adapt for a swimsuit top.
For this hack you will need:
~Cressida and Roxy patterns (Roxy back bodice cut 2 on the fold and Roxy peplum pieces cut one on the double fold)
~ 3/8″ swim elastic or 3/4″ for the straps and underbust. I love cotton swim elastic you can buy online or at most craft stores.
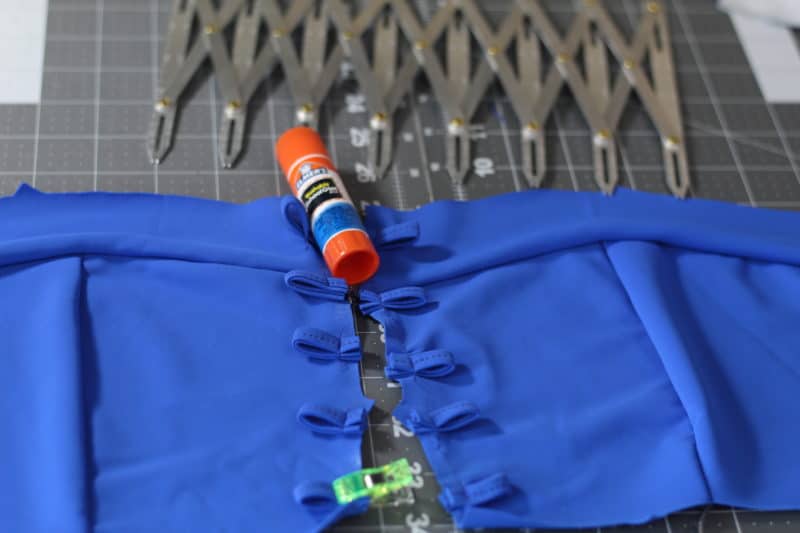
~Optional to help with slippery swim knit: a glue stick and a sewing gauge to get the loops spaced evenly. The glue stick was very helpful when holding the shoulder straps and elastic in place to sew, and the same for the skinny loops.
***I used the glue stick instead of my iron. The iron could damage or melt your swim knit***
~Optional- power mesh or cups could be added to the bodice, but I didn’t use it on this Cressida swim top.
Let’s get started: Since Cressida is a Woven pattern you can use your measured size, but I recommend sizing down the back and front bodice, and you might need to shorten the shoulder straps depending on if you add elastic to the straps or not. It’s best to baste and try it on first for this hack if you want a more snug swim top fit. I used my measured size Indigo with FBA, and next time I could go down a size and keep the FBA.
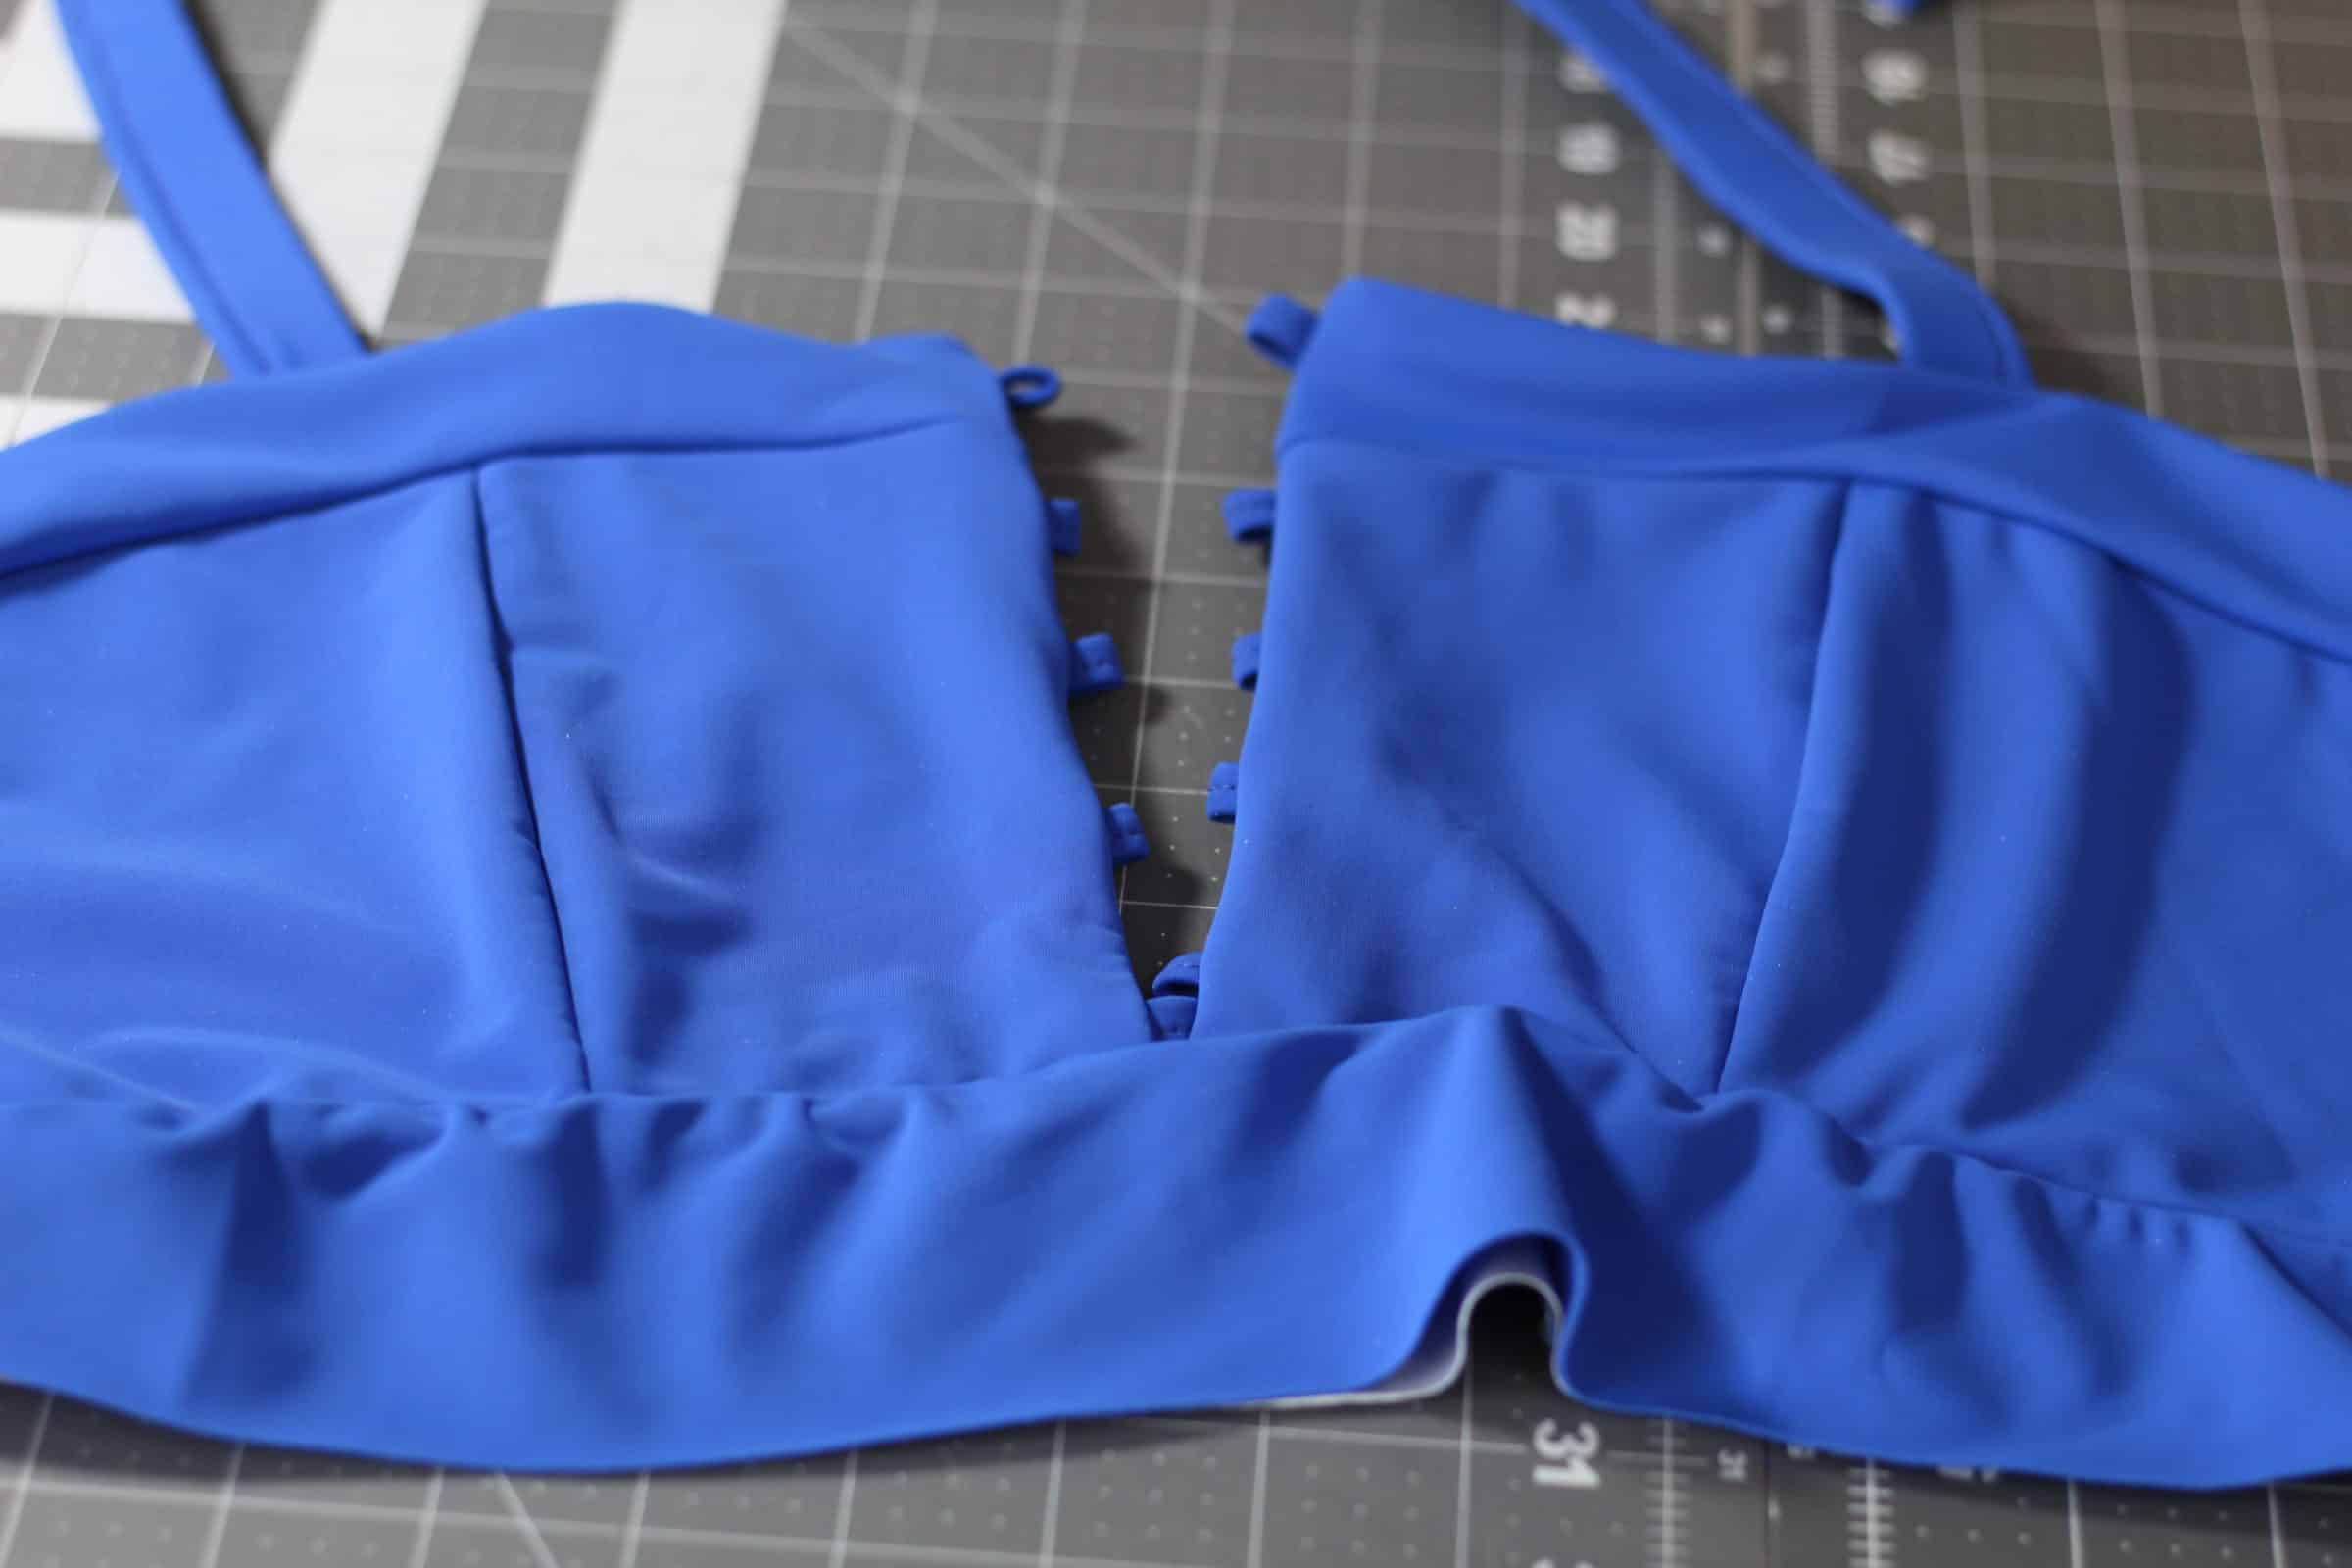
For the main fabric I used a blue swim knit, and the tie-dye print for the lining. Cut all the Cressida bodice pieces from the options you selected. I used the Bodice A- lace-up. So cut loops, and straps too. Since it’s a swimsuit, I cut 2 of the corset loop pieces to use one for loops and the 2nd one for the lace-up tie. Also, cut the Roxy peplum (or you can band it for a cropped length).
Sew Cressida per the tutorial. There are only 3 additional steps you need to do.
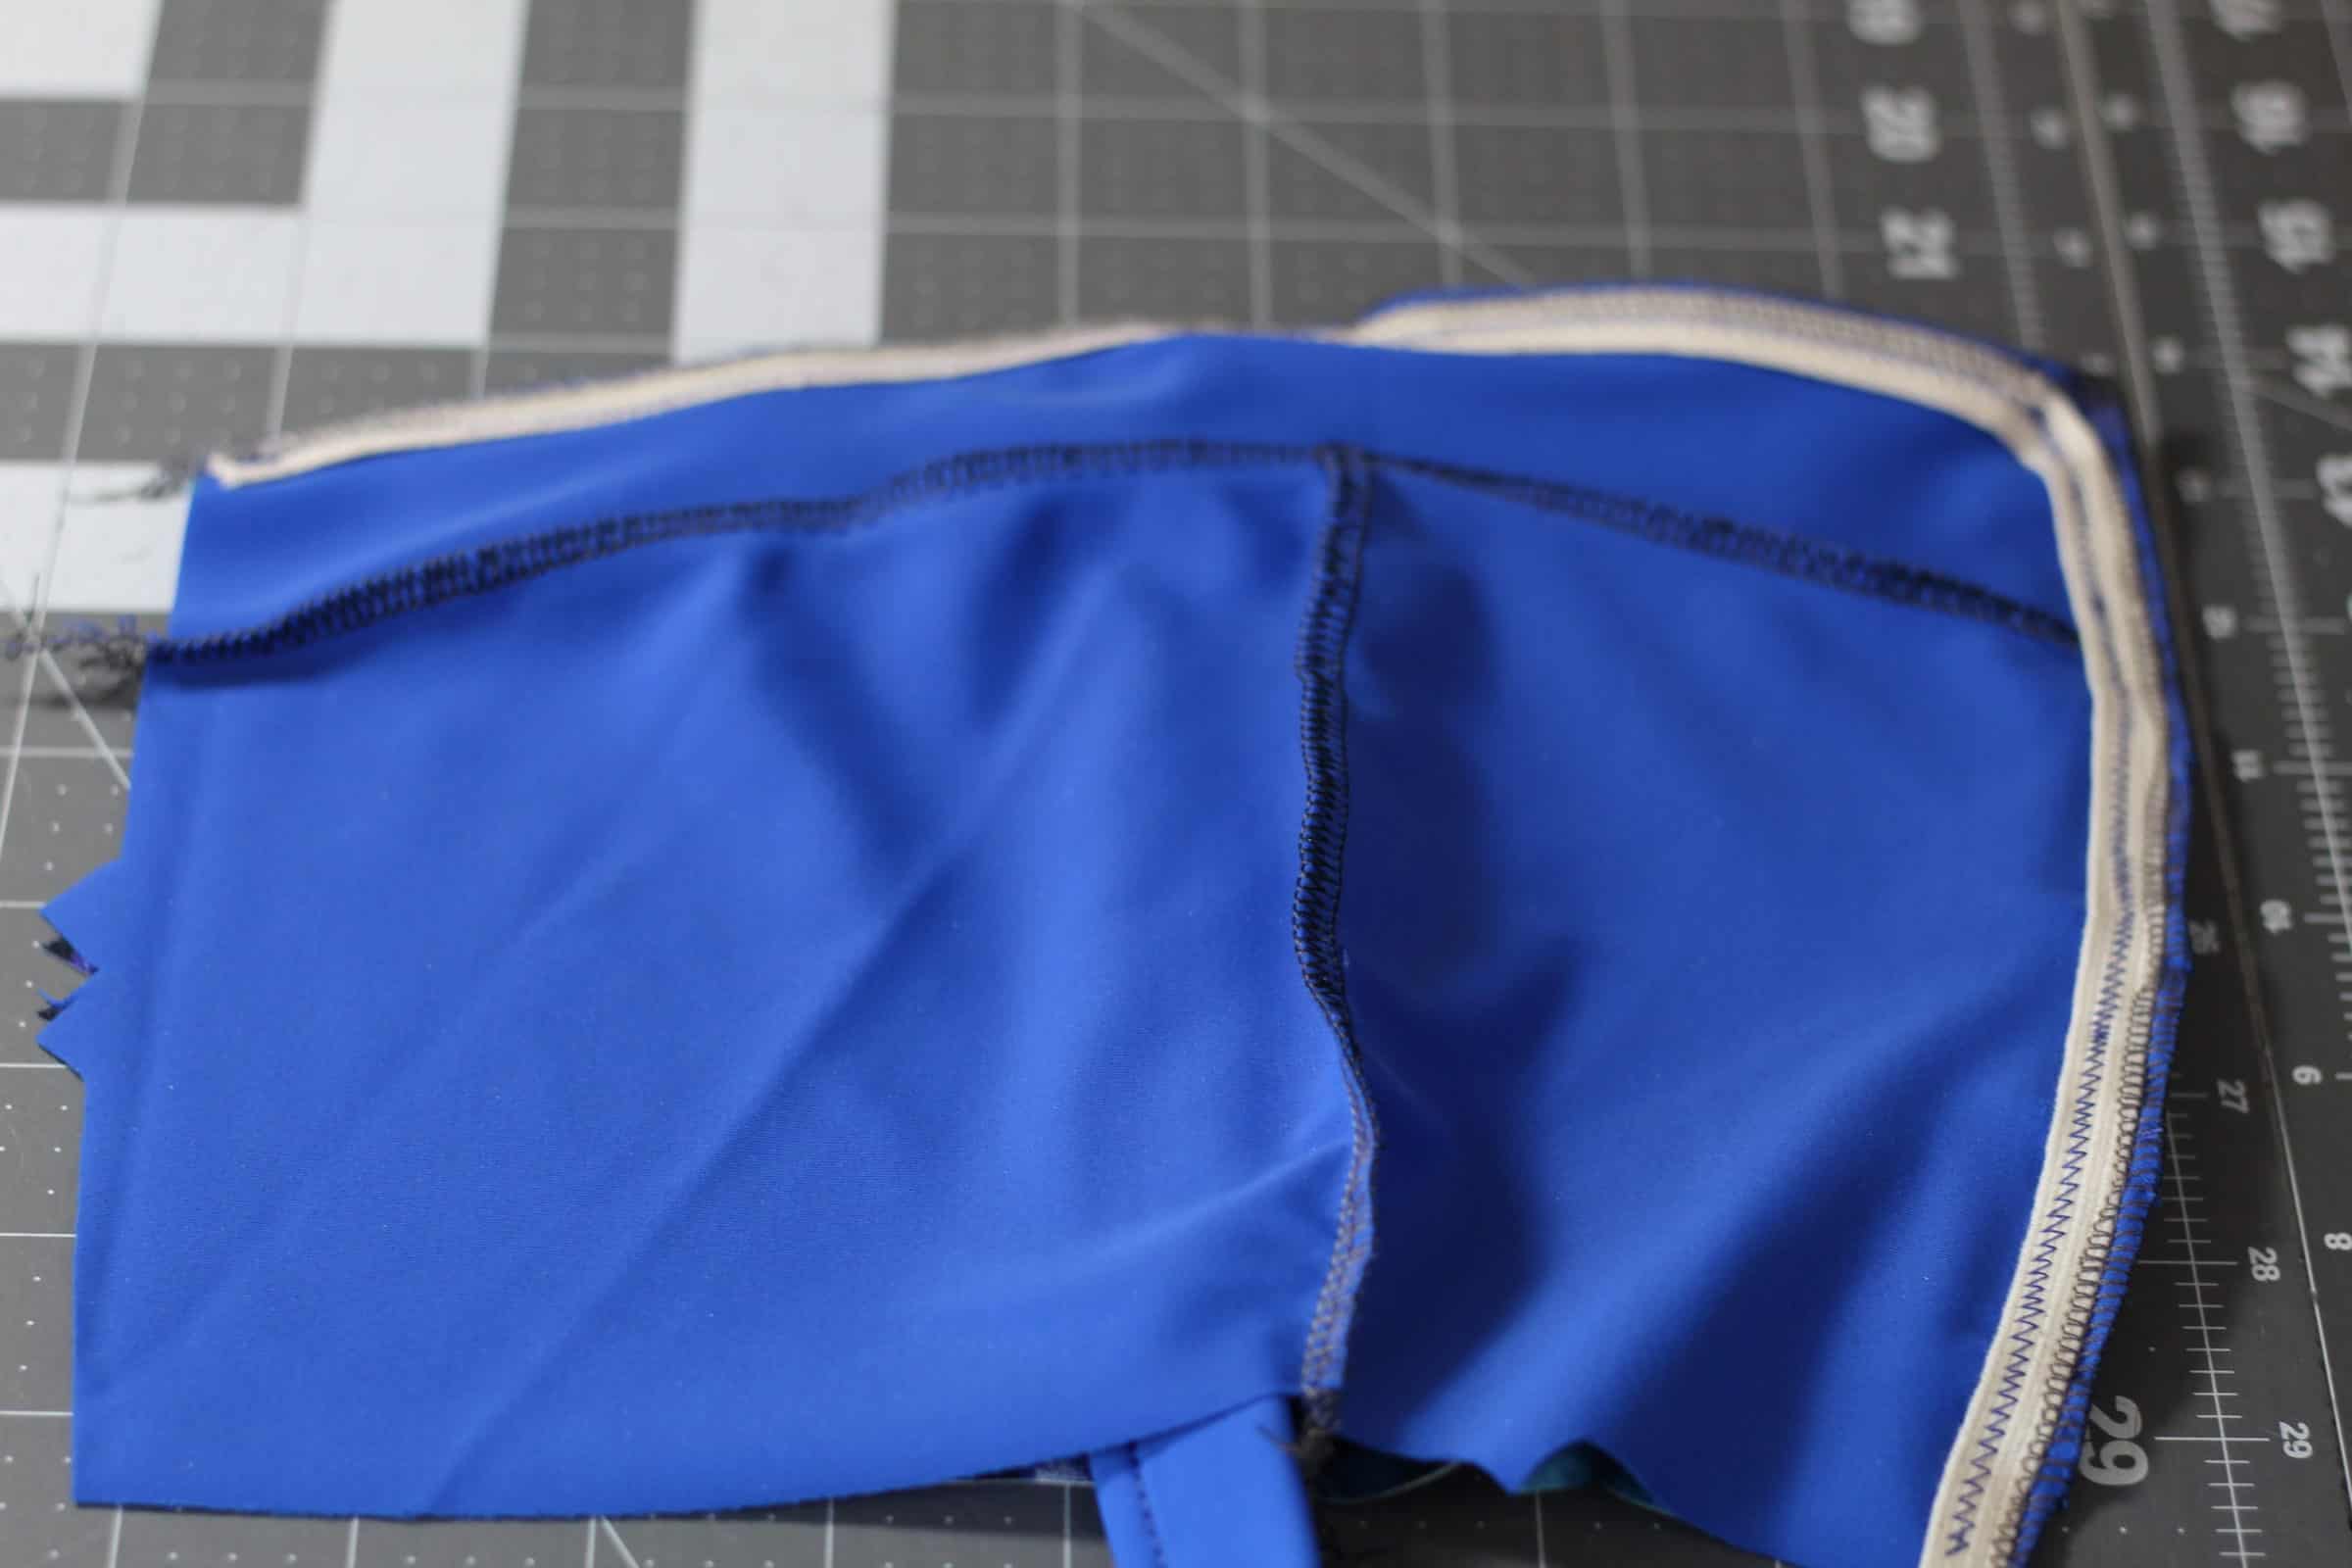
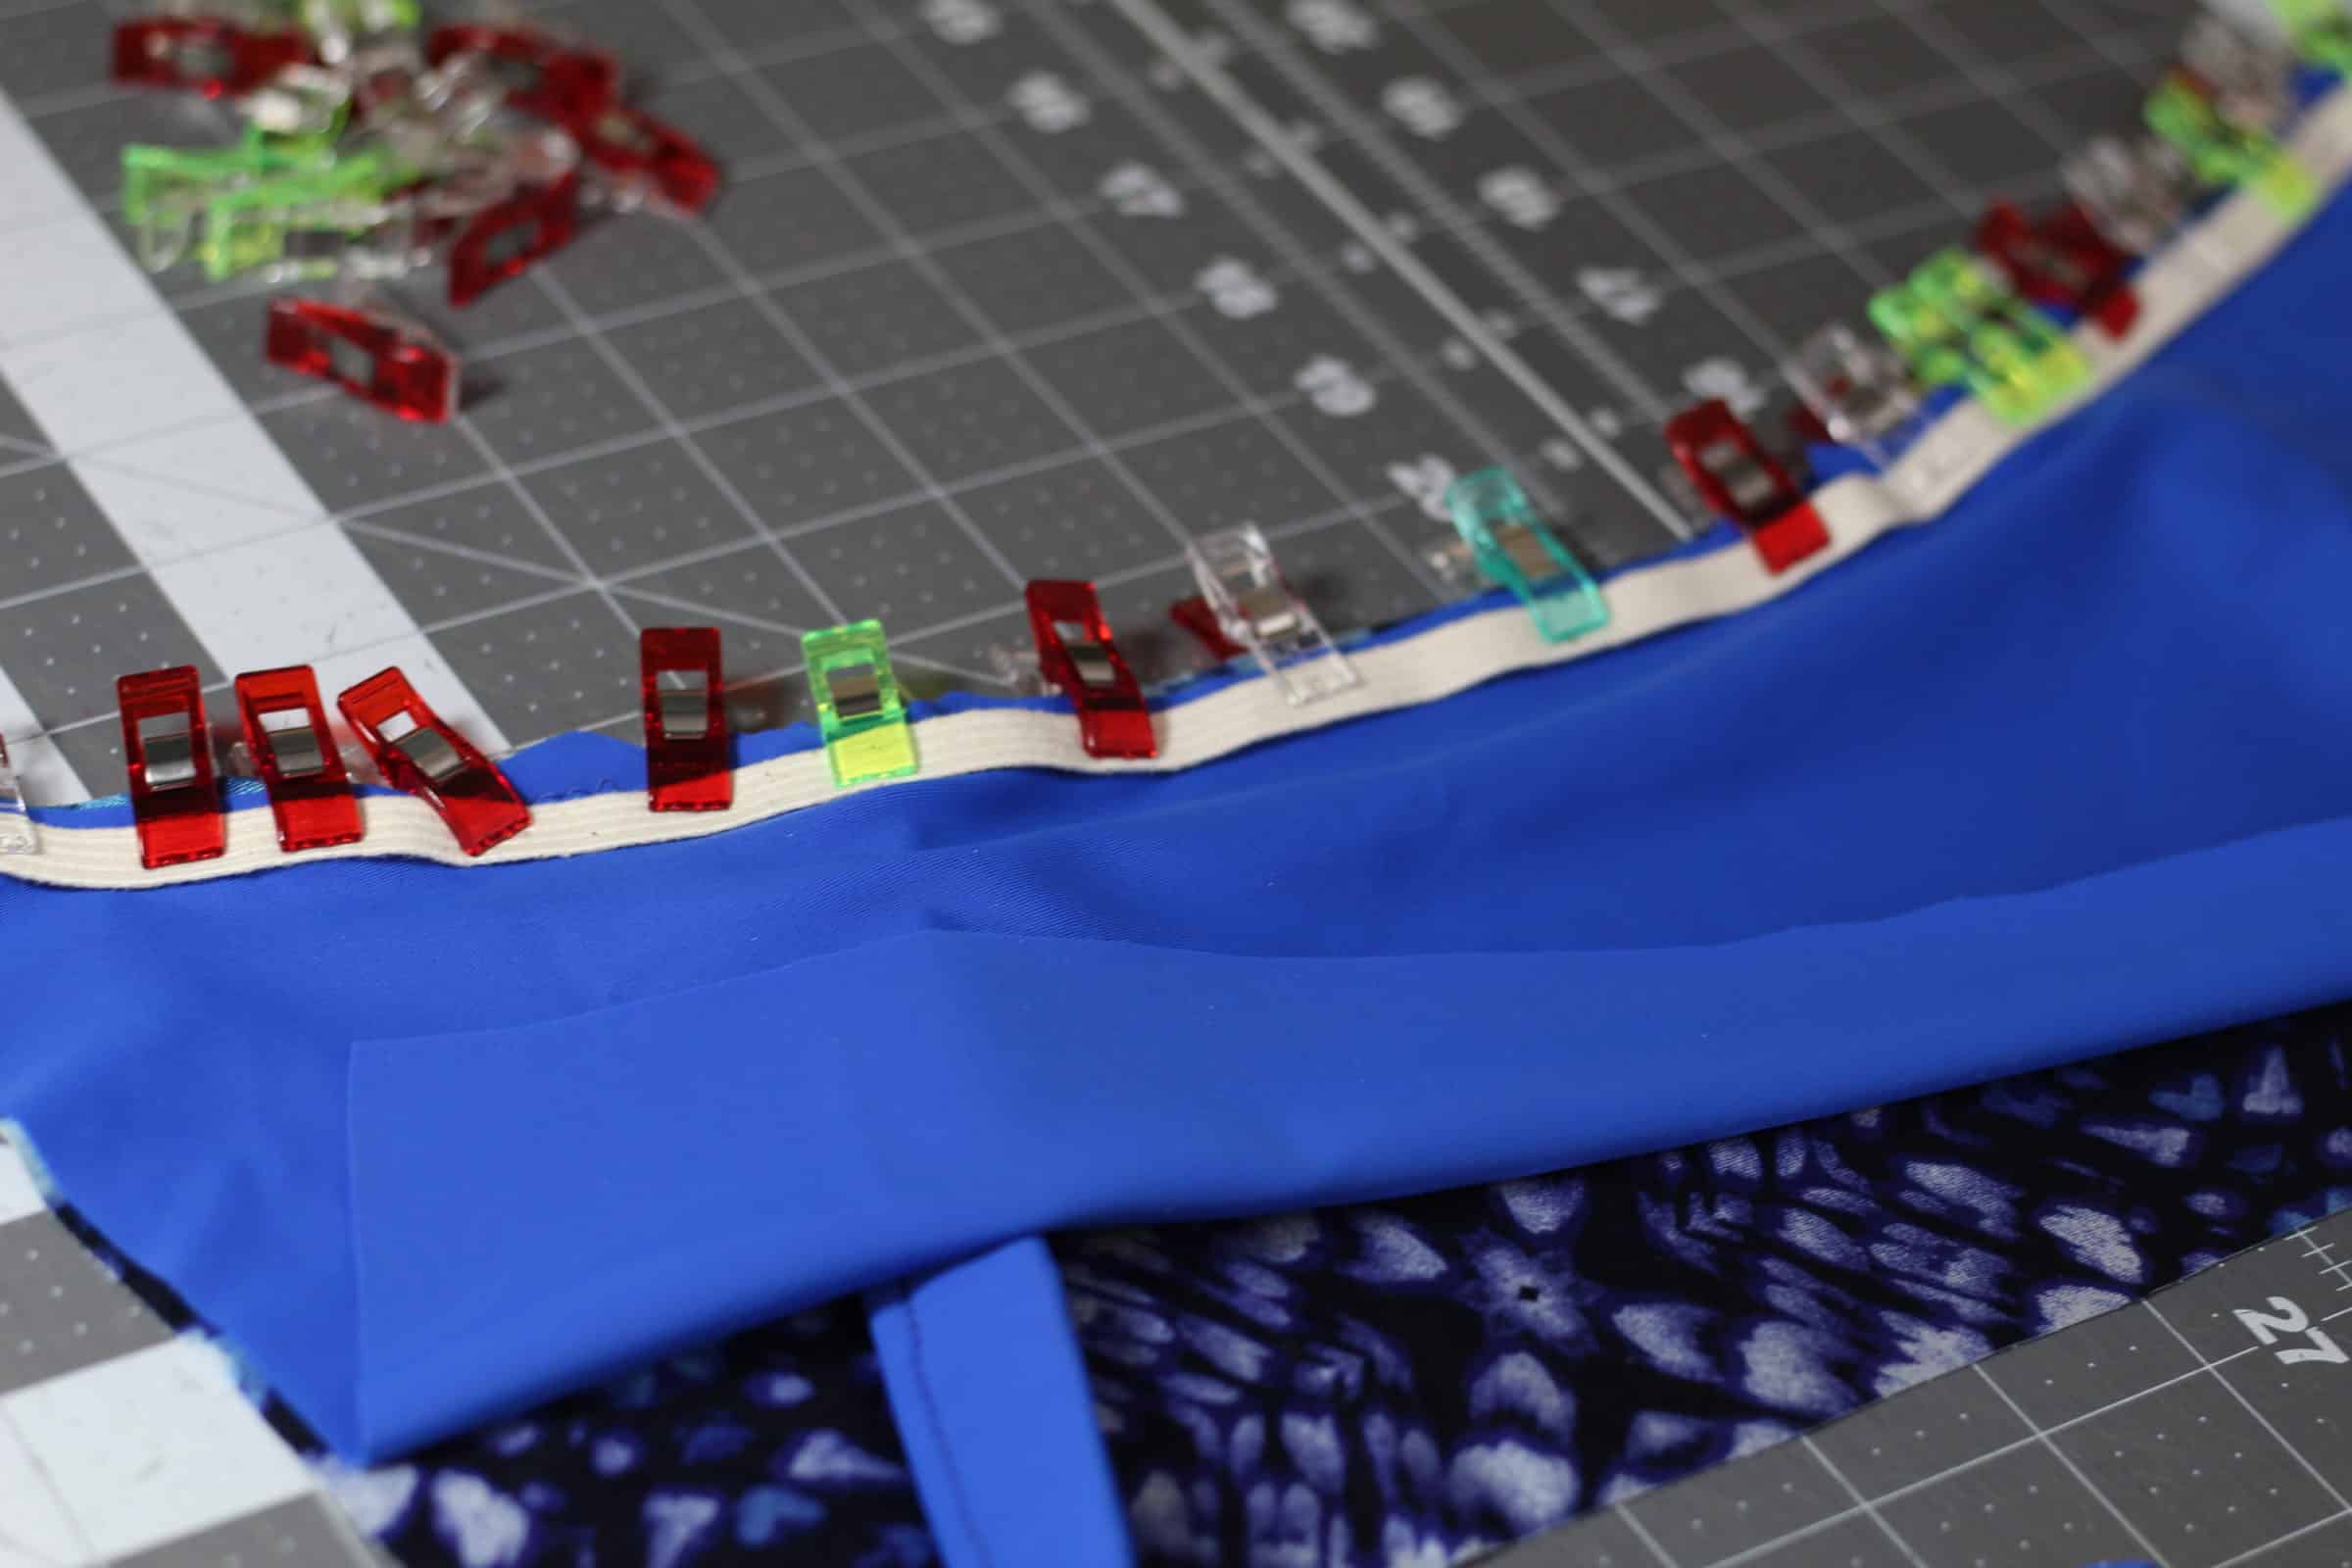
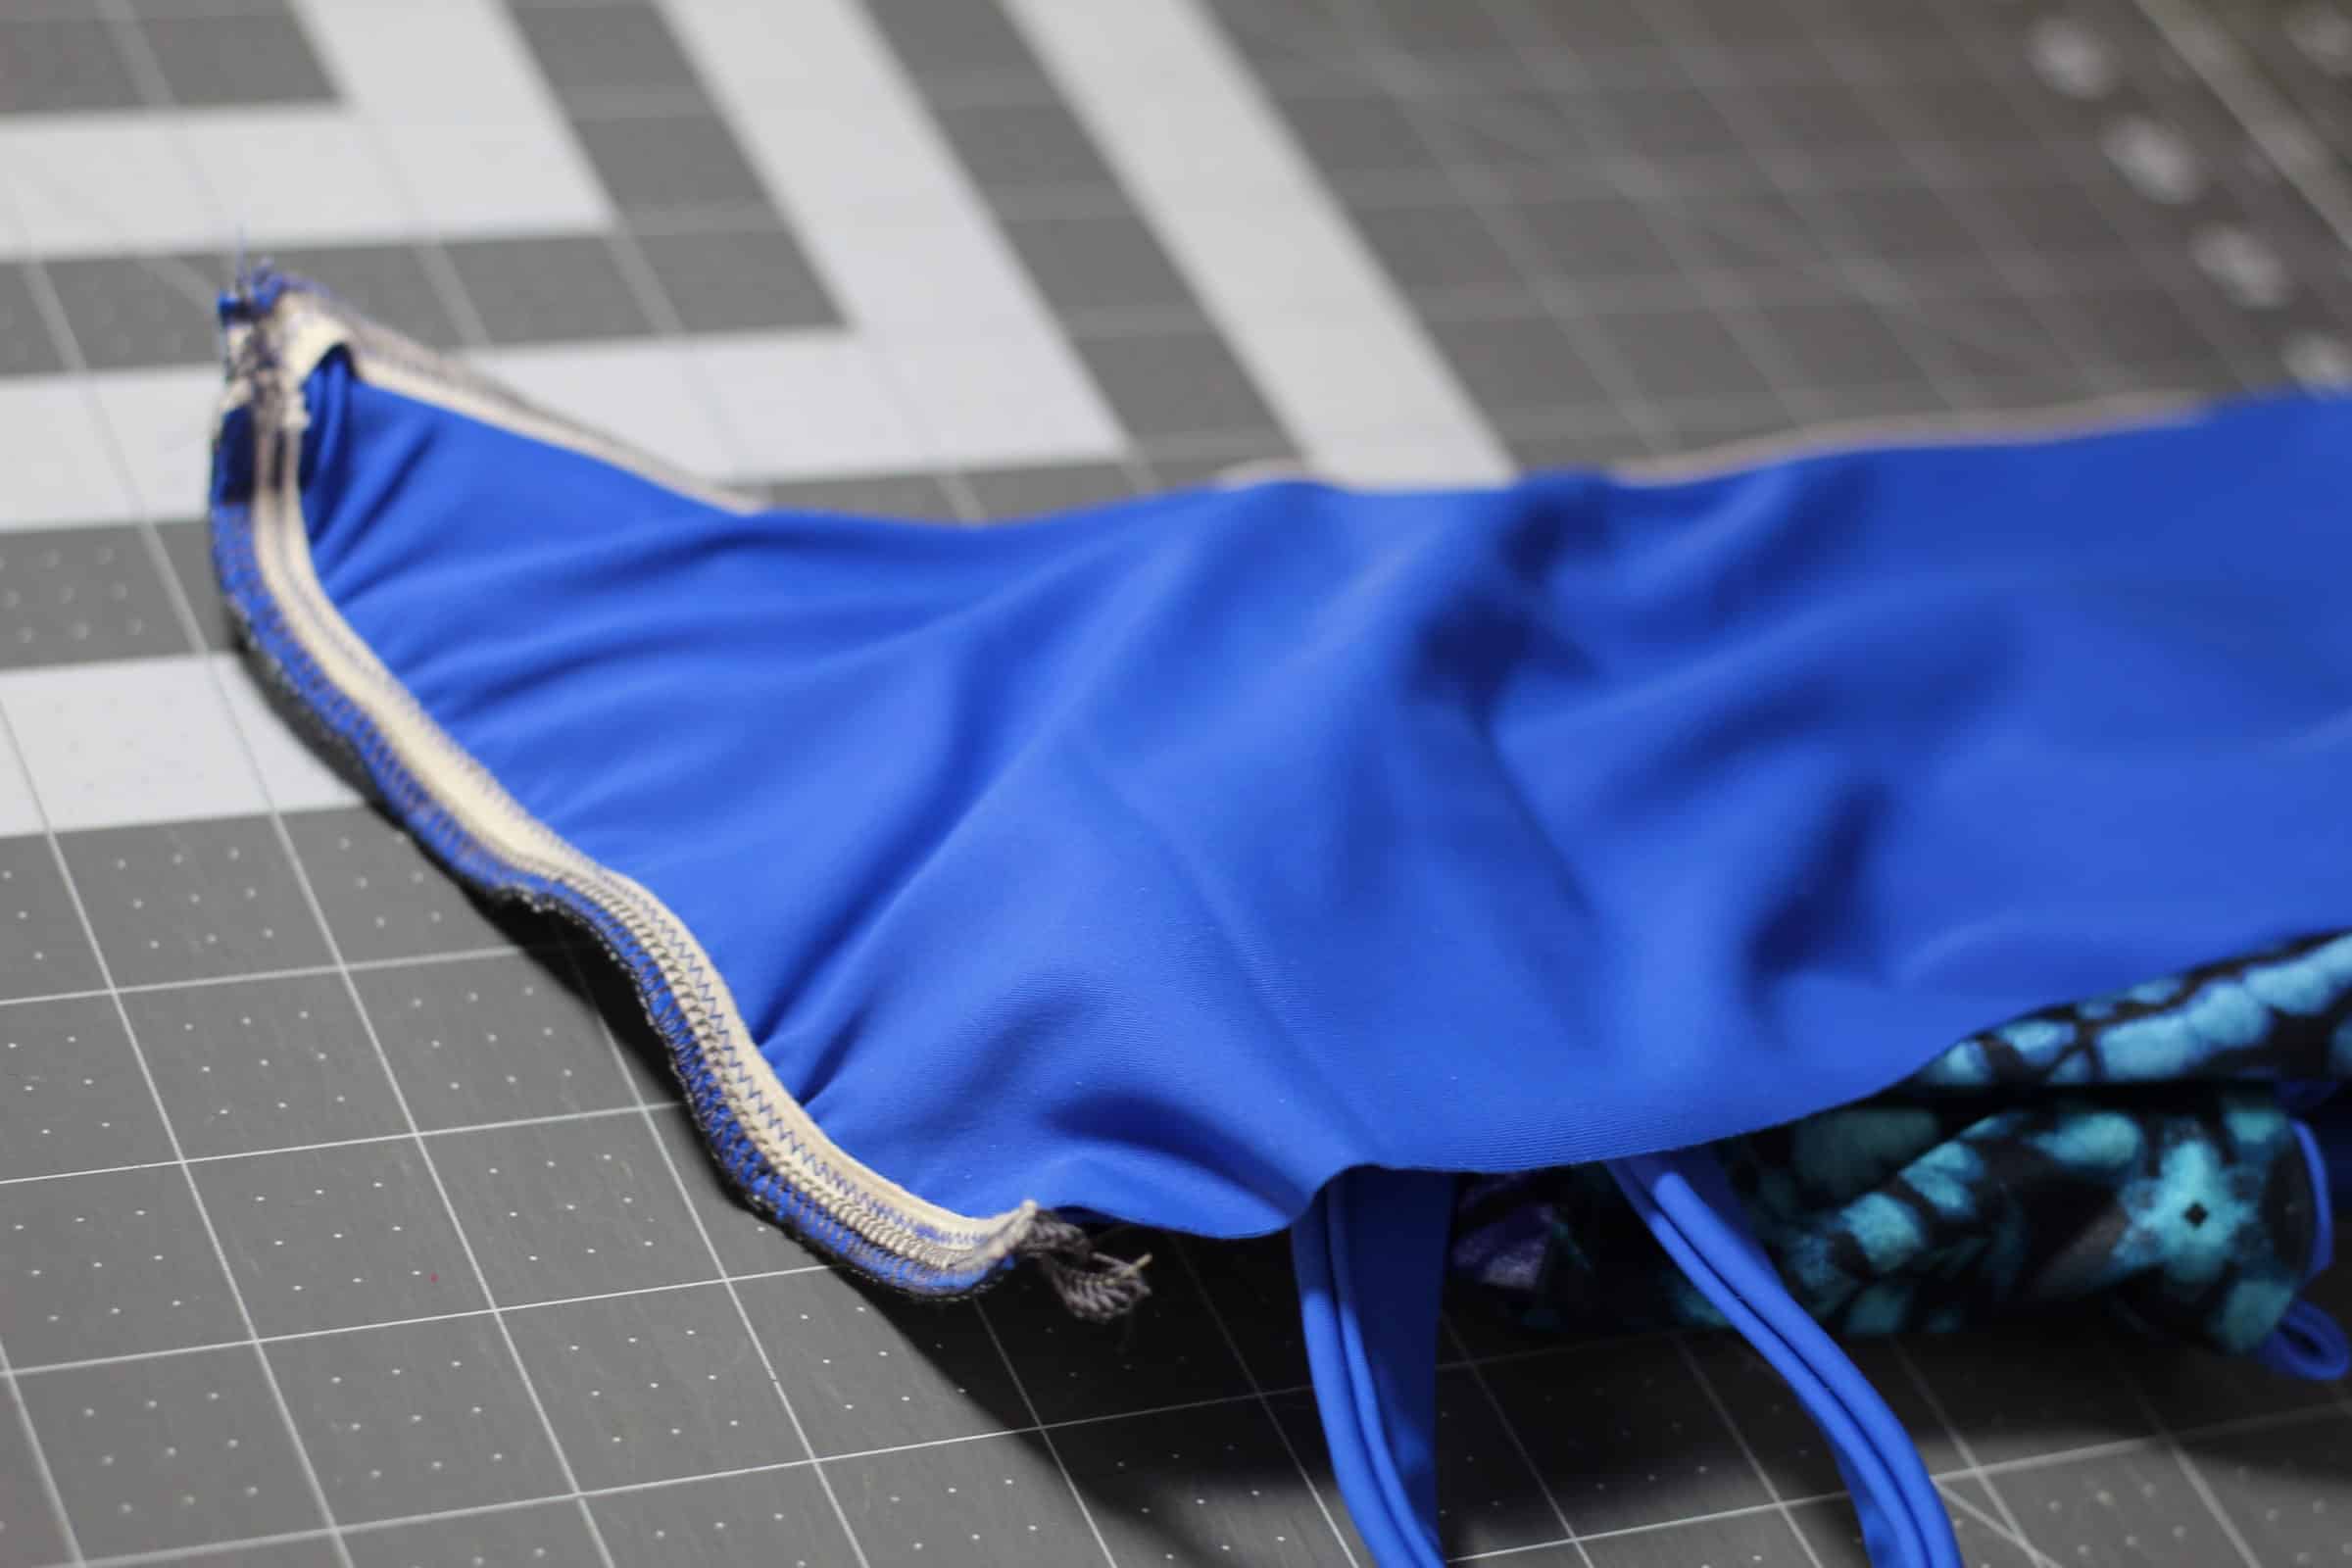
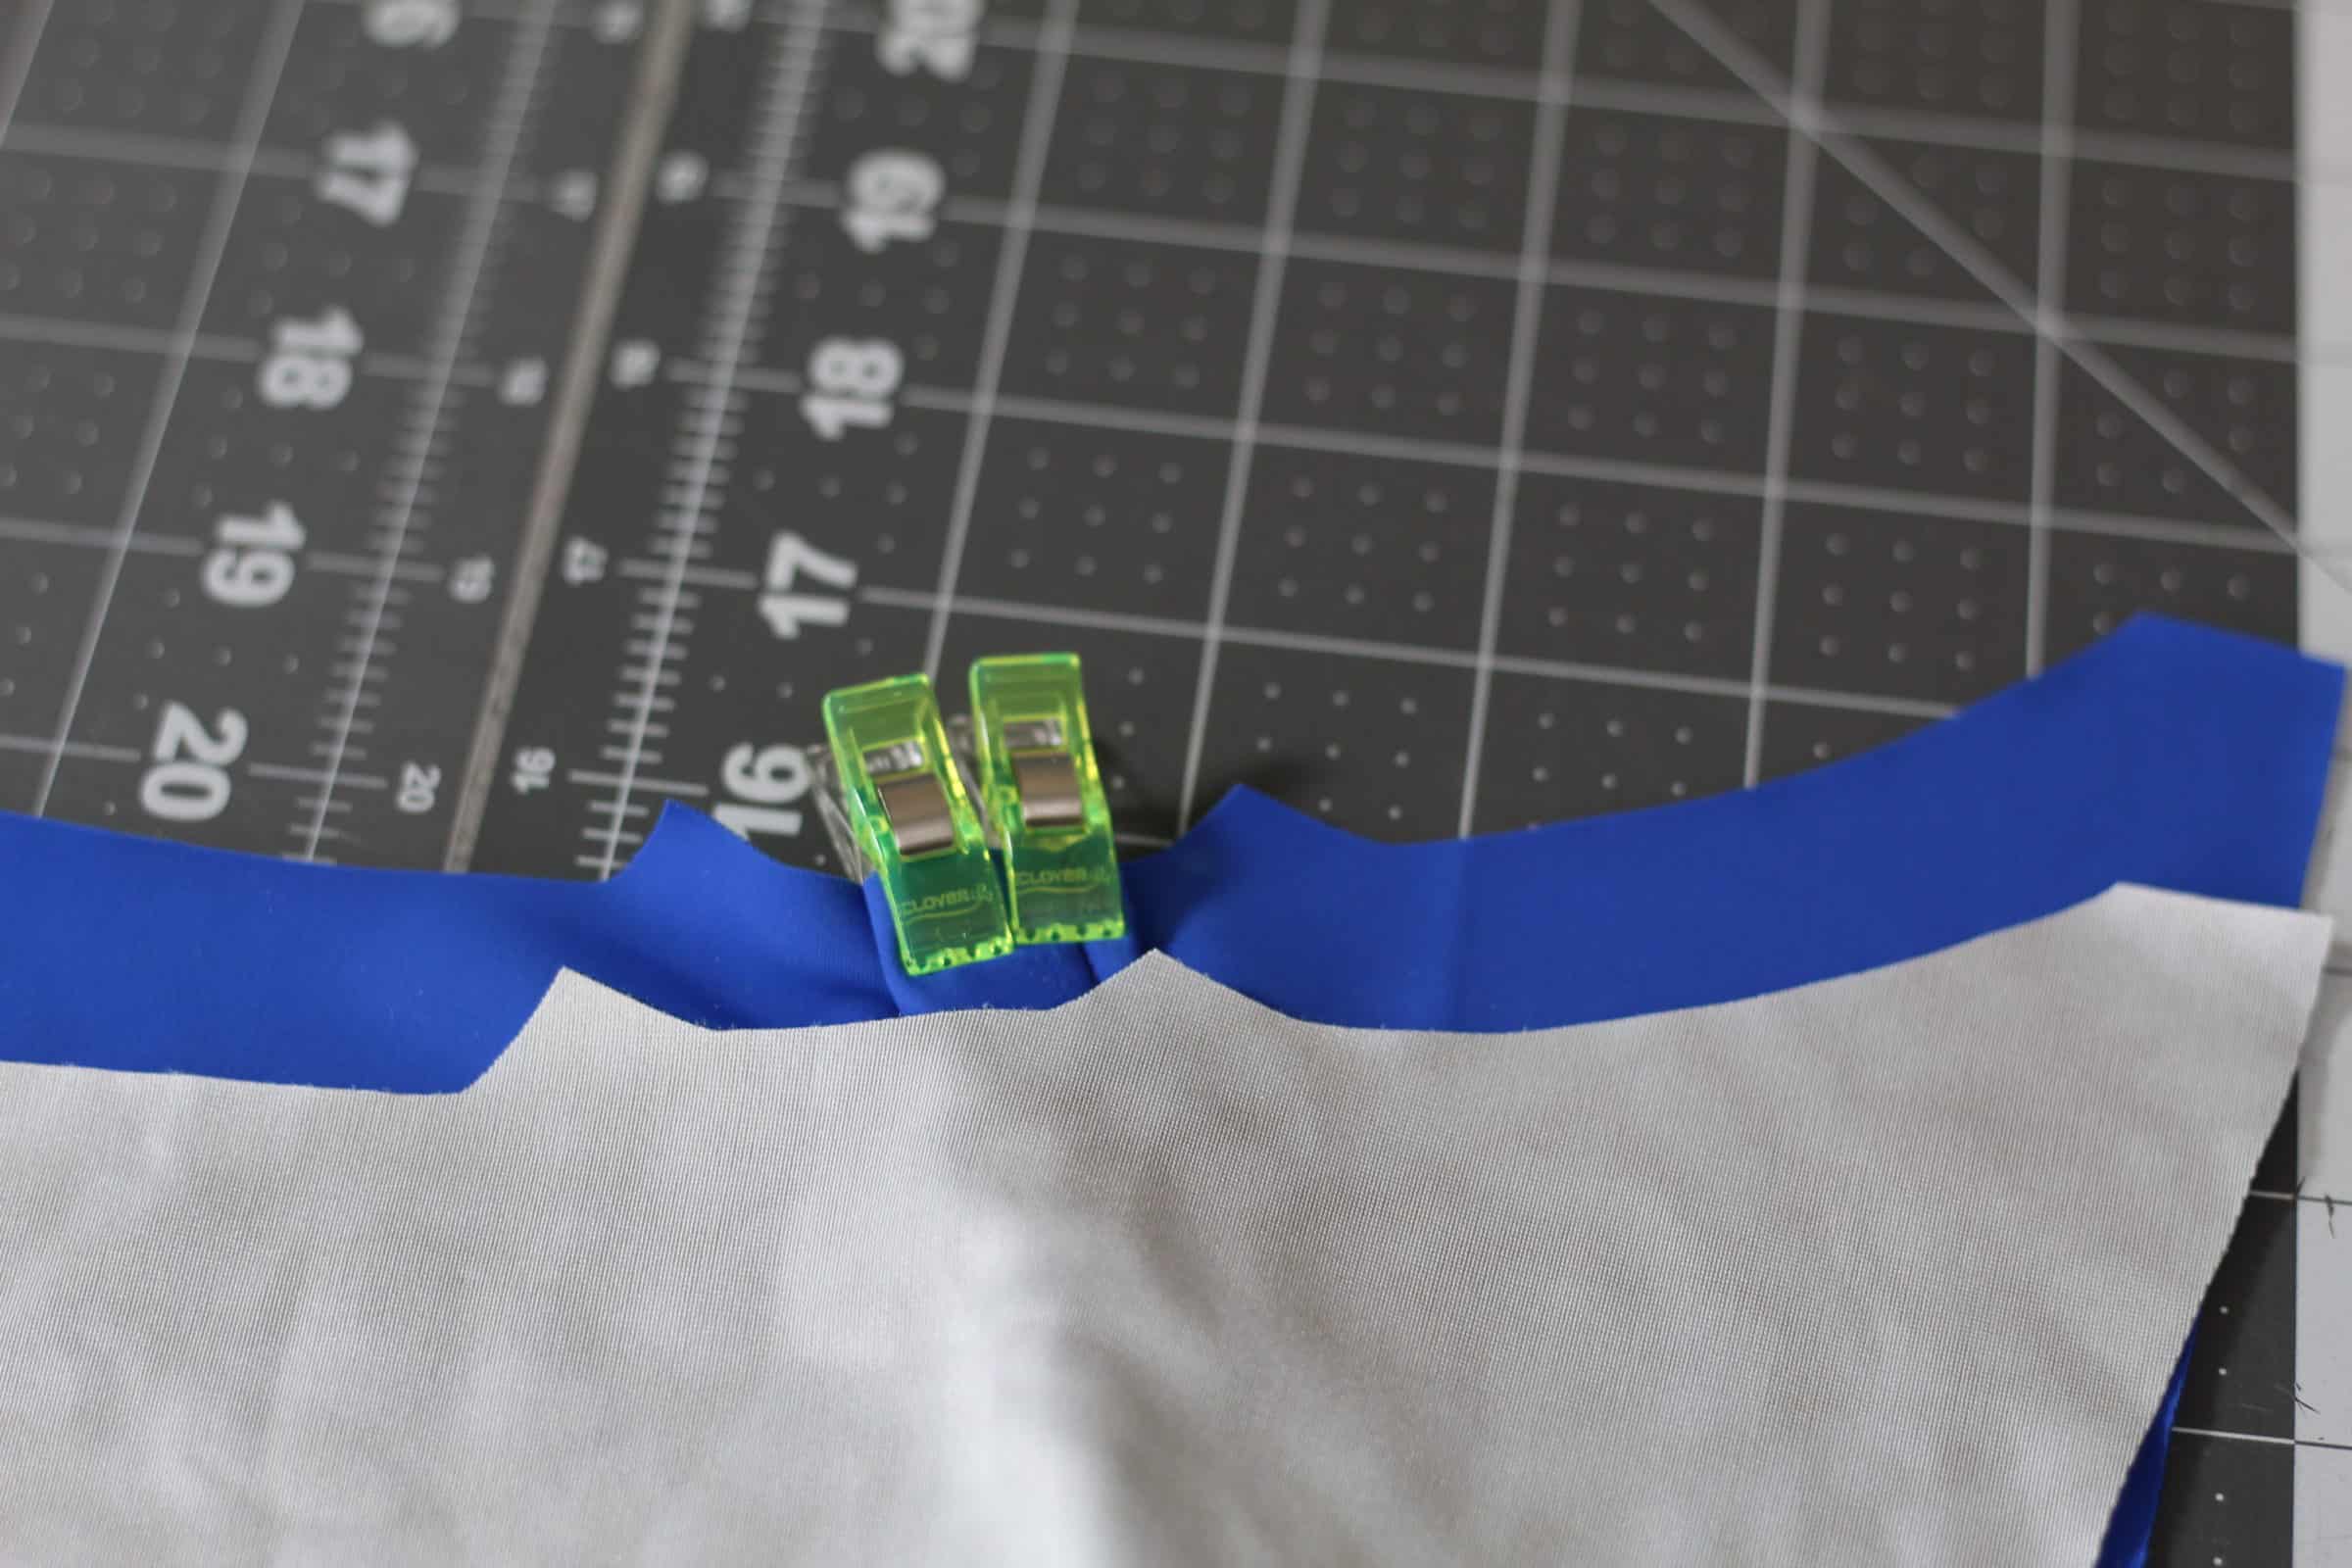
First, add swim elastic to the seams at a 1:1 ratio; you don’t need to pull or stretch the elastic. *Don’t skip this step or your swim top will not stay put while swimming* I like to baste swim knit together, then use a stretch stitch to add the elastic to the seam. TIP: Add the swim elastic to the wrong side of the main fabric. Doing this will help keep the swim lining from flipping out and showing.
Then, you can finish with the serger, but do not cut the elastic. Add elastic to the upper bust curve, the underbust, the top back of the back bodice, the side seam, & the straps.
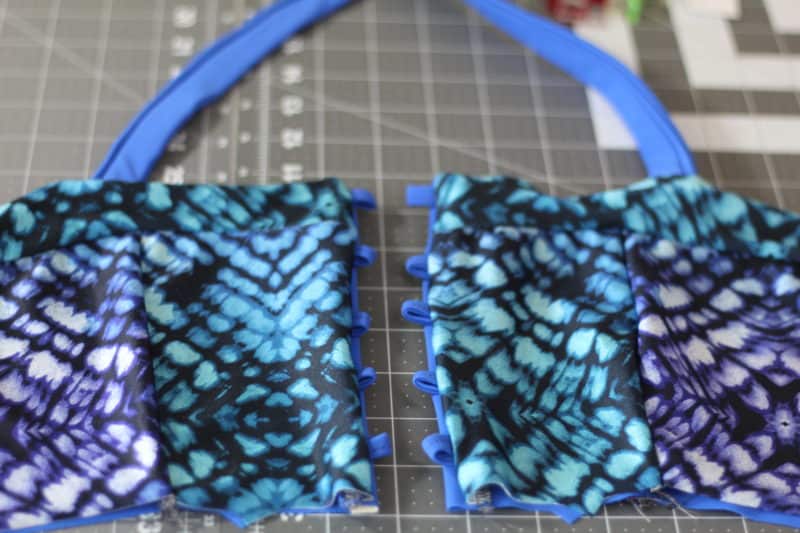
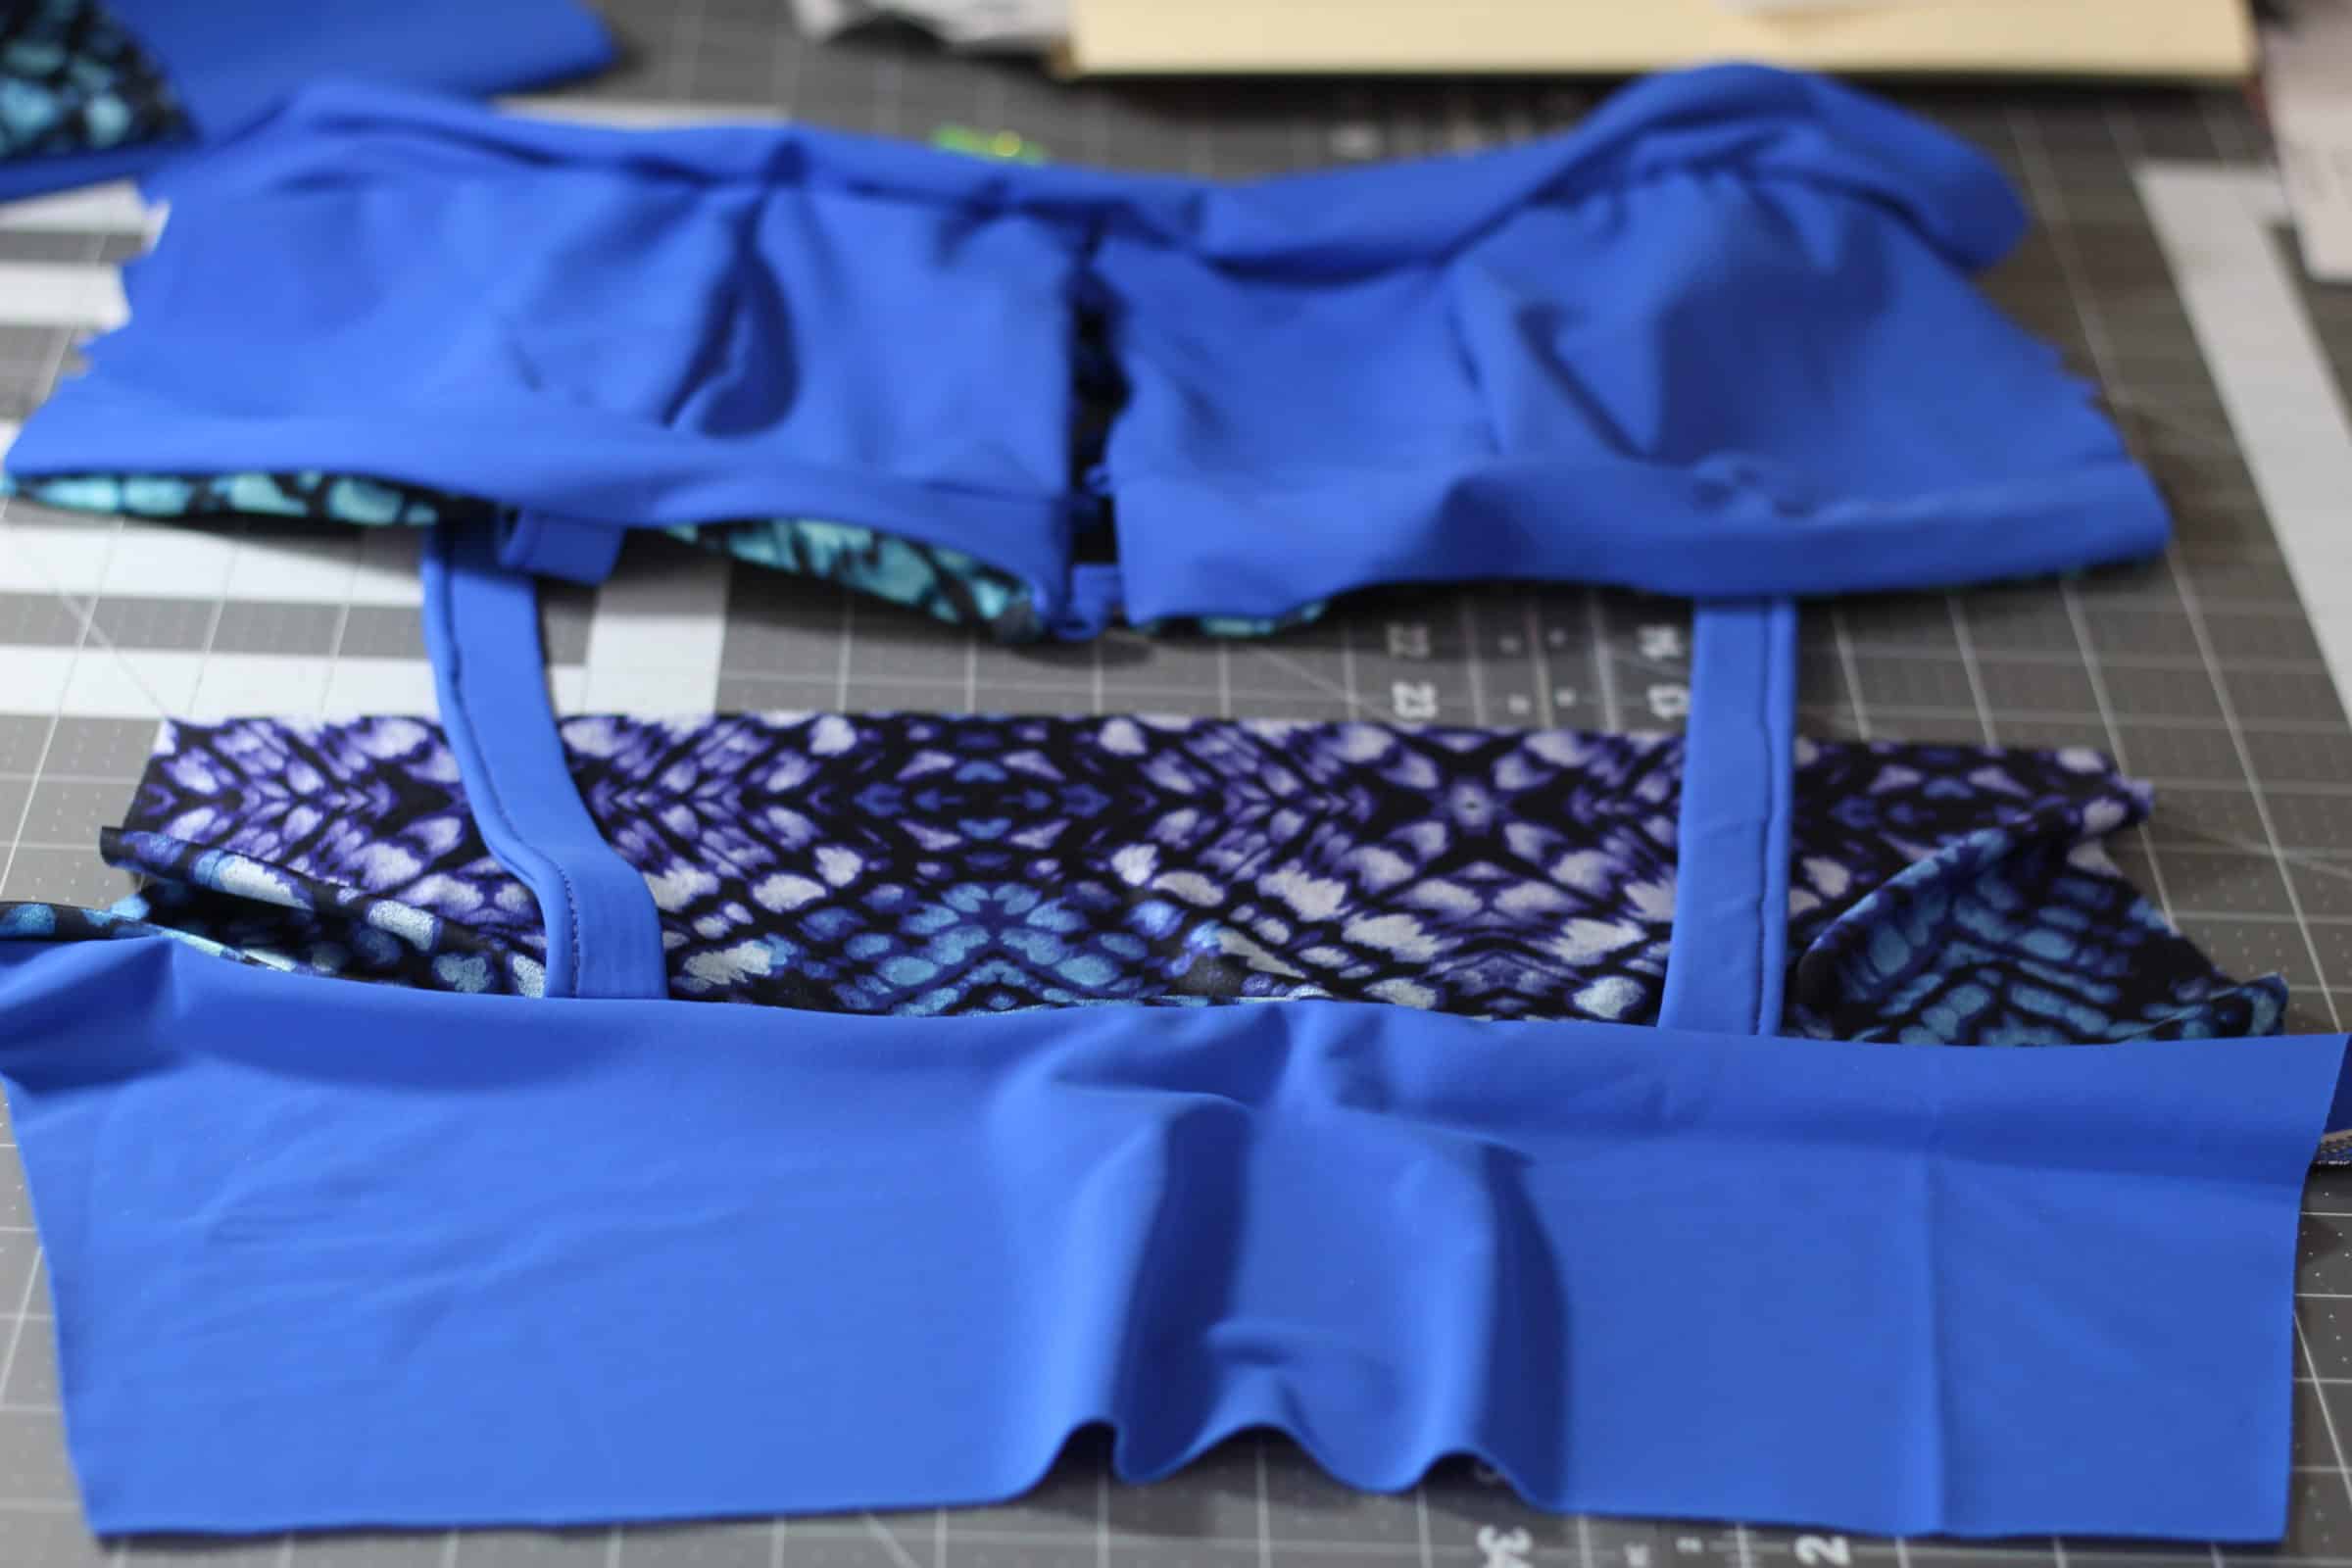
Second, give your swim top a nice enclosed finish when you add the straps and follow the tutorial to baste the front bodice between the main and lining. Then for the back bodice, lay the back main (blue swim knit) right sides up, and pin or clip the straps right sides together(following the pattern placement).
Next, layer the back lining piece on top of the straps right side down. Baste the back top seam, add elastic, finish the seam, and continue following the Cressida tutorial to enclose the side seams (I highly recommend basting the side seam with the 4 layers since it’s slippery- then check to make sure you got all 4 layers to finish the side seam). This step is worth it for a beautifully finished top. Bonus- if you choose the crop style, this could be worn reversible!!!
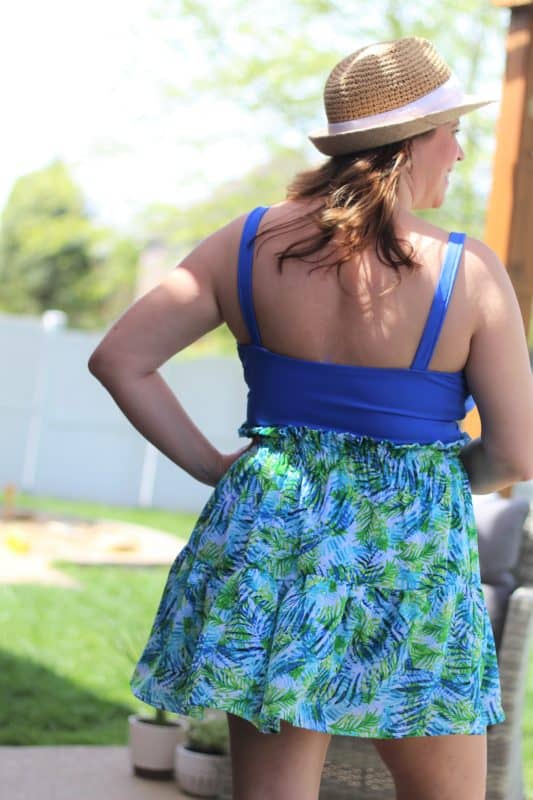
The third and final step, add the Roxy peplum to finish off the Cressida swim top for a cute tankini style. I love how this is a flattering, trendy swim top, and gives me the added midsection coverage. I’ll pair this Cressida swim top with swim bottoms like Roxy to easily mix and match with a Siena skirt to layer it. Or I’ll throw on some Mila pants with Cressida for a casual Summer lounge outfit.
Enjoy sewing up the Cressida swim hack I can’t wait to see what you make! We love when you share in the group!
~Amy~
Cressida + Kaia Mash
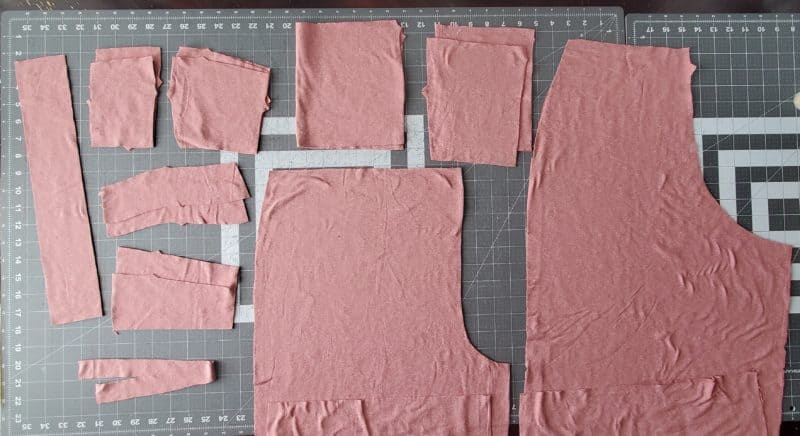
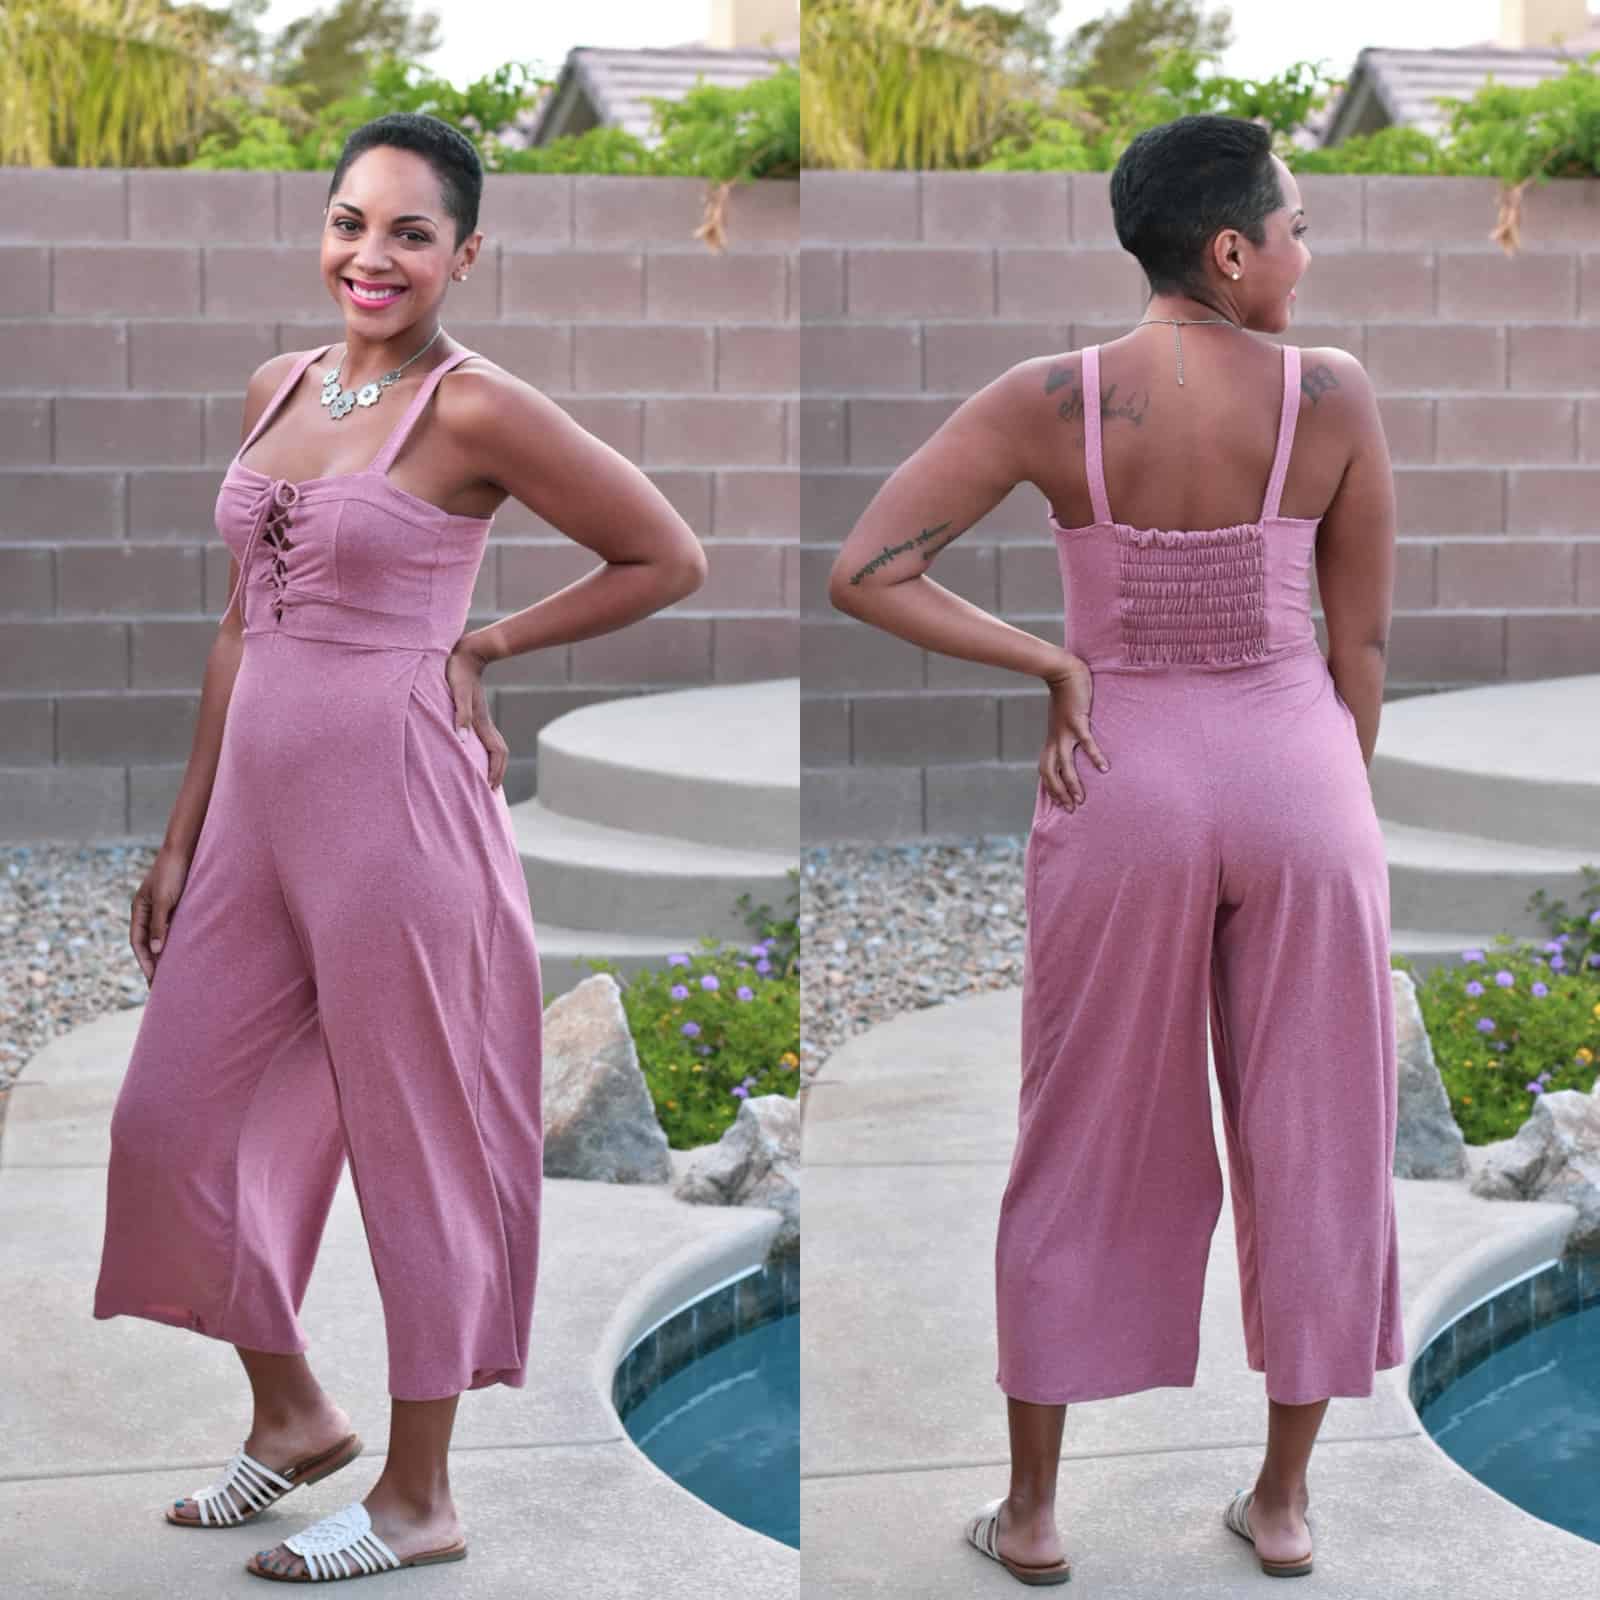
The lace-up Cressida bodice is so cute I had to try to turn it into a romper! I chose to mash it with the romper pants of Kaia. This is a pretty easy mash, all you need is your Cressida bodice and your Kaia pants. We are going to be making this in knit fabric, so you will size your Cressida bodice down once. You also need to make sure you cut the crop-length pieces, we need that extra bit of length. Cut out all of your bodice pieces and your Kaia pants.
You will construct your entire Cressida bodice. Follow every single step for the options you chose, except for finishing the bottom. Specifically, do not skip the interfacing step if you’re using grommets.
**After making this mash, I decided that adding 1/4 inch clear or regular elastic to the seam of the neckline would help the straps not to pull. You would add this elastic at the step where you attach your straps. Simply add the elastic with a 1:1 ratio while you sew that seam. Alternatively, you could also add knit interfacing to the wrong side of your sweetheart top pieces after you cut them out. Either way would help to stabilize your straps. It is also important to try on your bodice before attaching the back side of your straps to check the strap length. Since knit fabric stretches, you may find that you need to reduce your strap length significantly. **
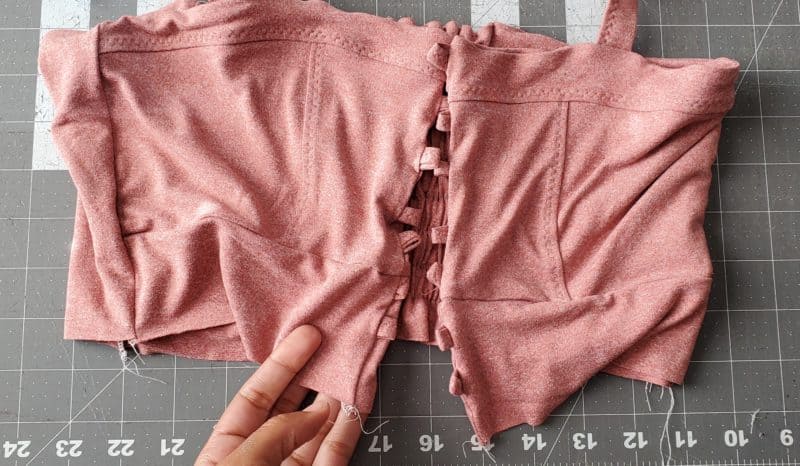
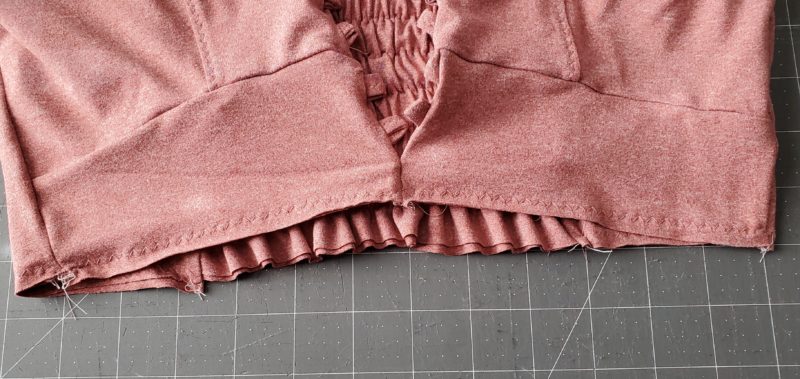
You also need to make sure you follow the instructions to construct the crop version. The crop version’s waistband pieces are added a little differently than the dress version. It’s important to add your waistband and loops/grommets per the crop length instructions. The only part you will skip is the part where you finish the bottom; you will leave the bottom open. There isn’t a need for a clean finish at the bottom as we aren’t actually making a crop top; we are going to be adding our romper bottoms. Take your bodice and slide your fingers into the corner front, below where you added your last loops/grommets and find the front center seam.
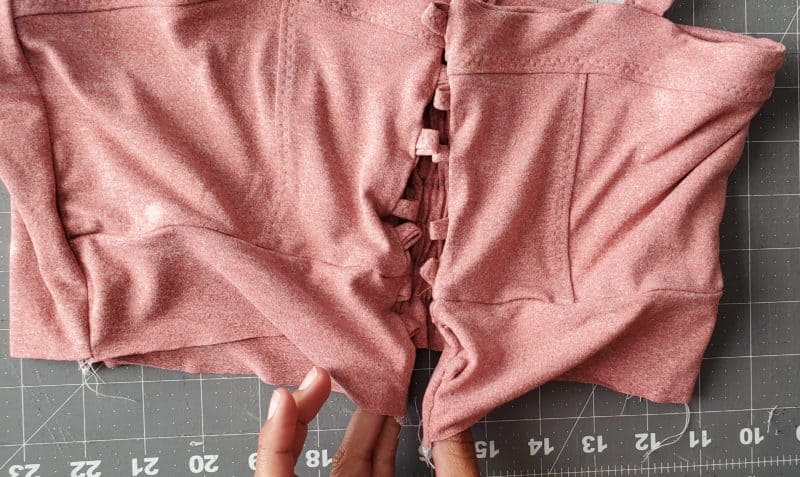
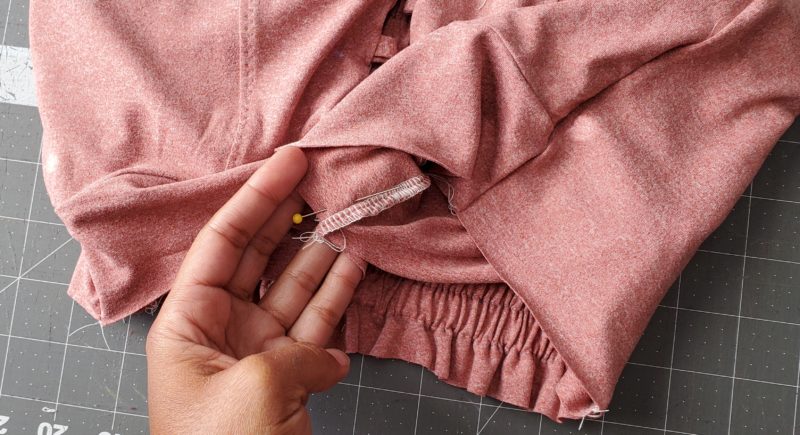
You are going to pin/clip these two seams right sides together.
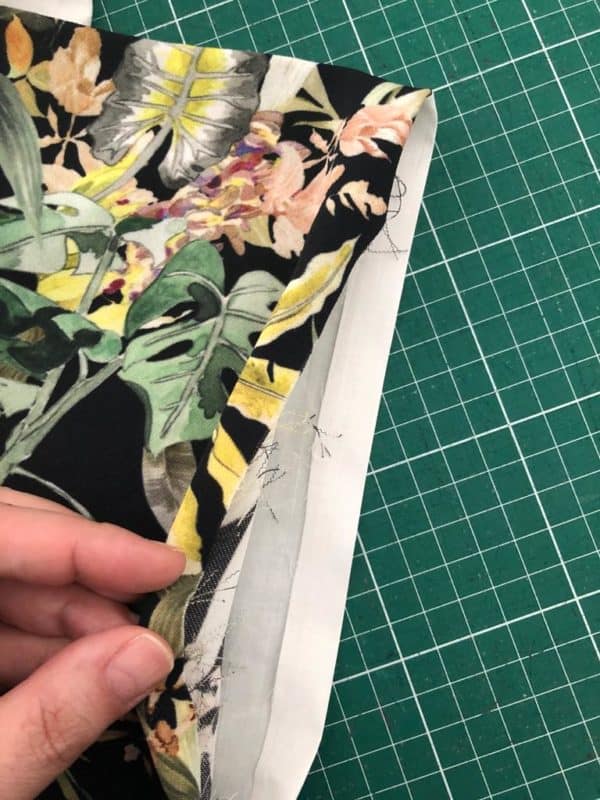
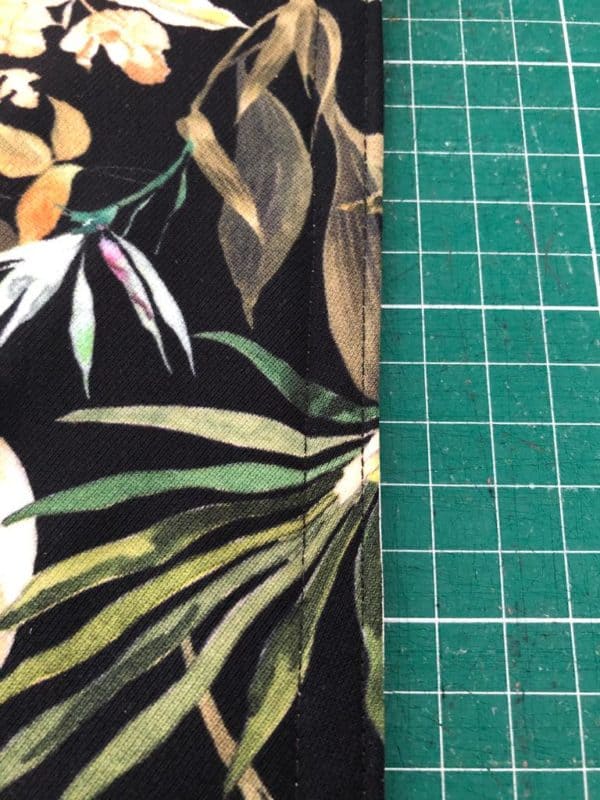
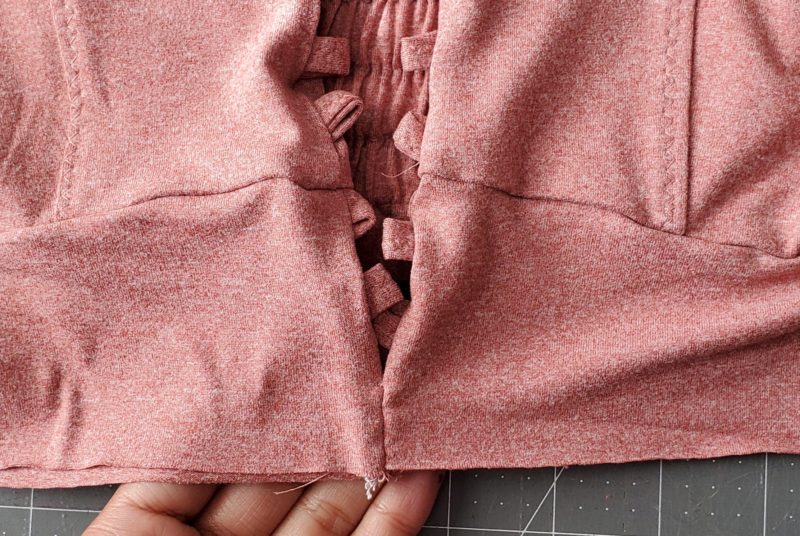
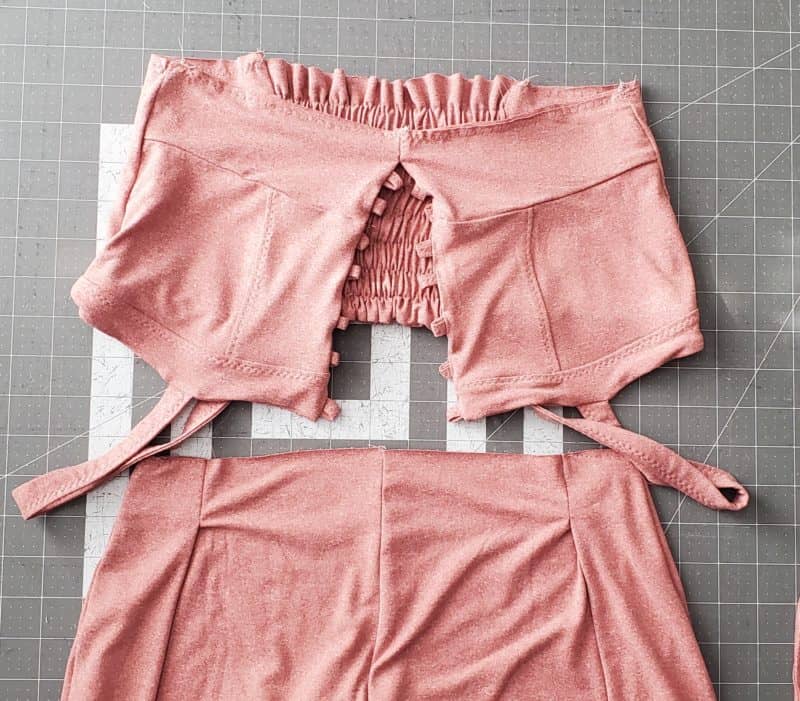
With your regular machine, sew about 1/2- 3/4 inch from the bottom edge up, right along the two seams. Your bodice should now look like this.
Now, baste around the entire bottom edge of your bodice.
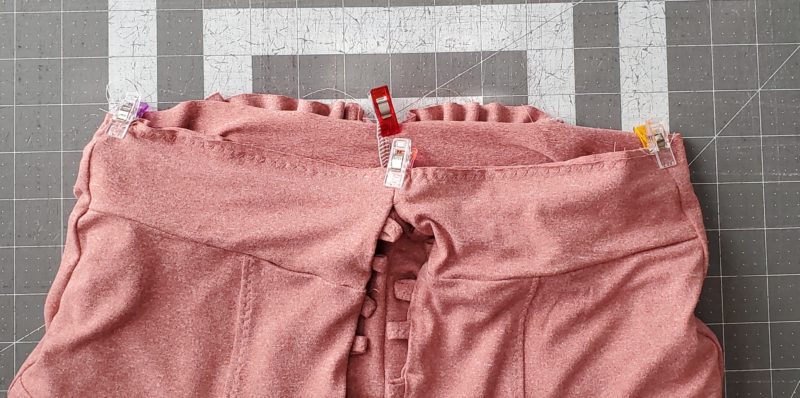
Now that you have constructed your entire Cressida bodice, construct your Kaia pants. These two mashed together perfectly, so you are almost finished! All you need to do is attach your bodice to your pants. Quarter both the top edge of your bottoms and the bottom edge of your bodice and pin/clip right sides together.
(Please ignore my Kaia pleats in the photos above. I did them wrong! )
Sew together with a 1/2 inch seam allowance. **You may also optionally add 1/4 inch clear or regular elastic to this seam.
You’re finished! You just made to cutest romper ever! -Stephanie
Cressida + Siena Mash
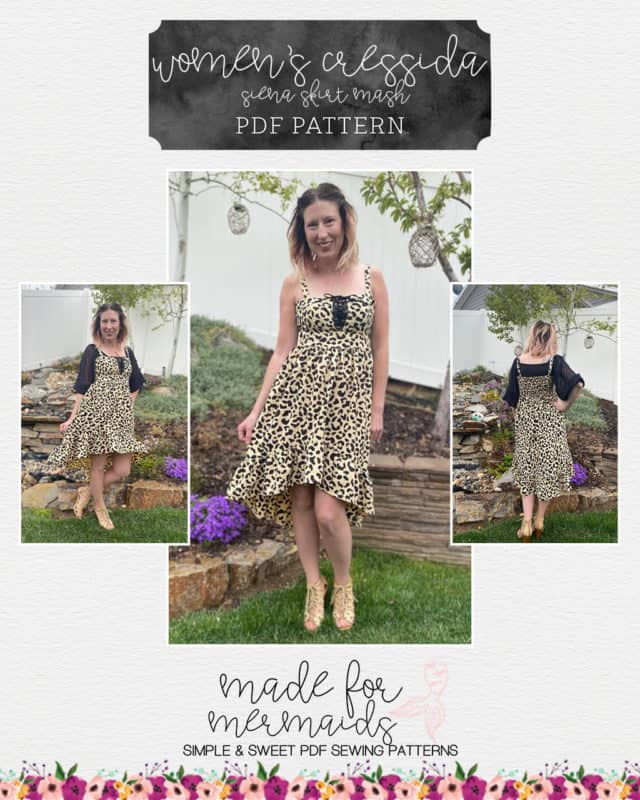
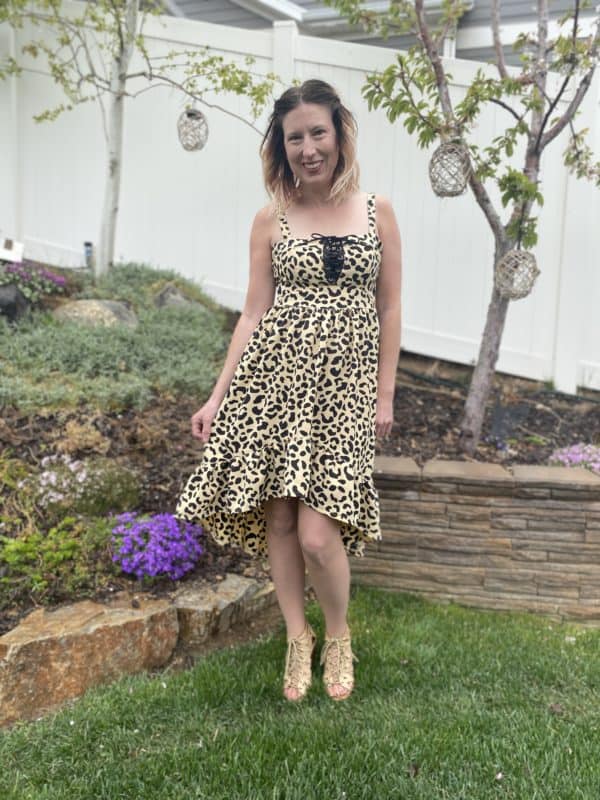
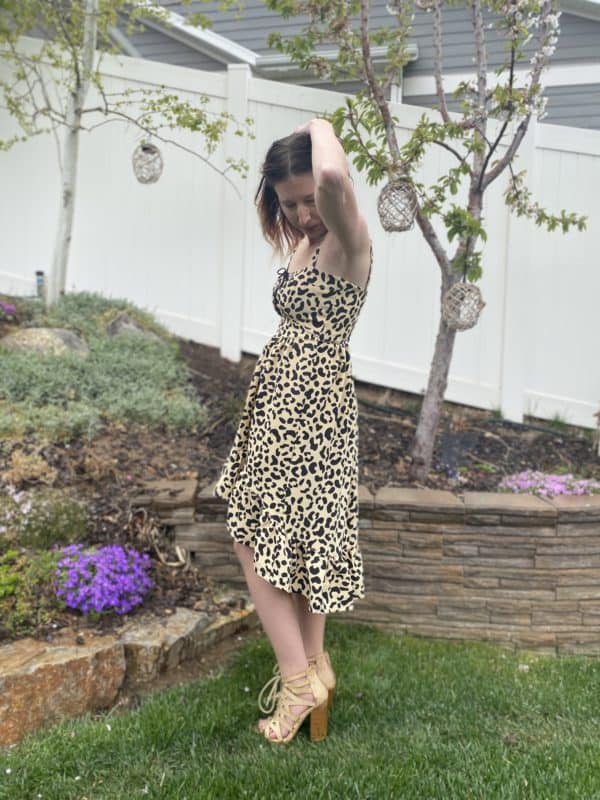
Want to mash Cressida with Siena? Use Stephanie’s instructions above to attach your Siena Skirt piece to your Cressida crop option! 🙂 So cute, and such a fun way to get a different look!
Cressida is so pretty for everyday wear, but it’s also so fun for special events, fairs, costumes, and more. Wear it on its own, or layer it over tees and bodysuits. We can’t wait to see how you decide to style yours! Don’t forget to share in our Facebook group and over on Insta – we love, love, love to see what you’re working on!













Leave a Reply