Welcome to Day 2! Today we are going to adjust our pattern pieces to add sleeves and cut out all our pieces. Lets get started!
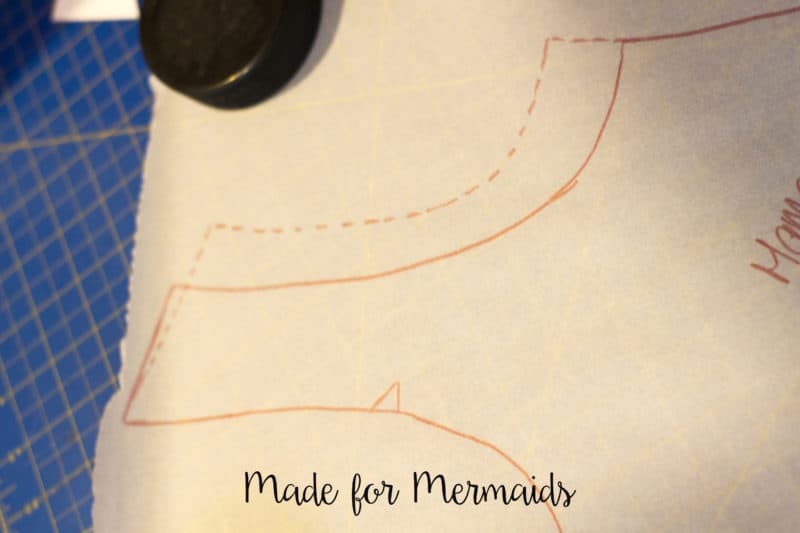
First thing we want to do is trace our Mama Ella or Ella on to tracing paper, you can use anything you like for tracing, I typically use freezer paper for mine but if I am out of that I always have parchment paper in the house and find that works well too. I do have to tape my paper together to make it wide enough to trace my pieces. You can trace off all the options or just the option that you are going to use for sleeves. Here is a picture of the top of my traced Mama Ella all ready to go. I like to use weights to hold my tracing paper in place. I use hockey pucks as my pattern weights like any good Canadian girl would do, right? You can use whatever you like though, even soup cans work well.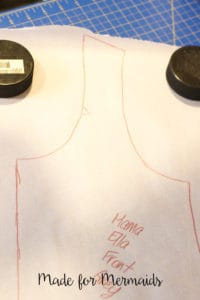
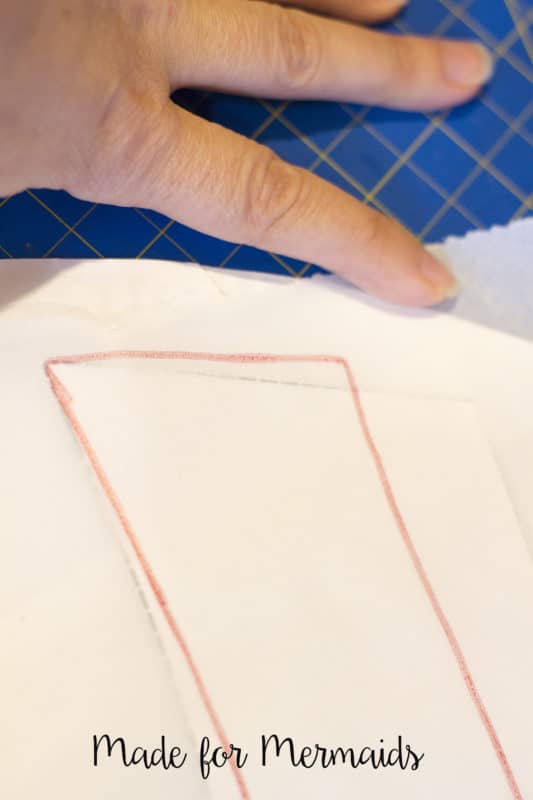
Next you are going to want to grab the pattern that you are using that has sleeves. For this example I am using the Mama Mya pattern, the same method applies to any pattern that you are using though and of course you can also do this with your girls Mya pattern as well. You are going to line up the inner shoulder seam under your tracing paper as shown here.
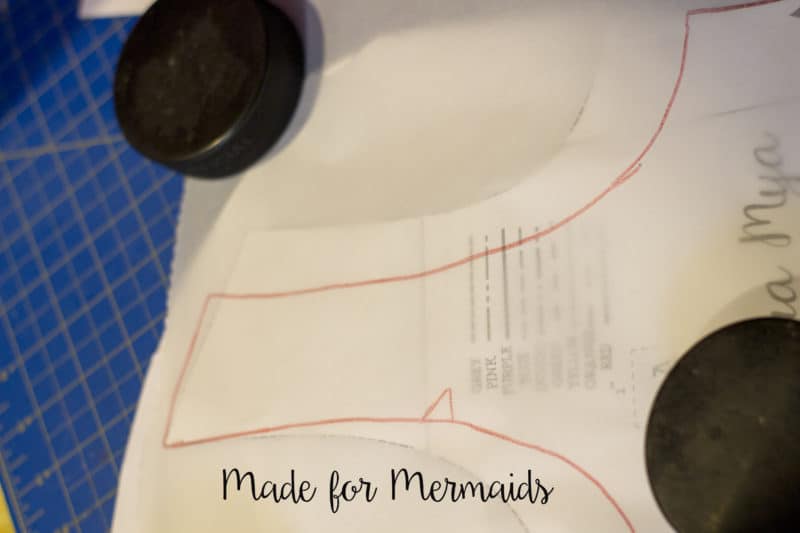
You now want to trace off your new shoulder and arm cycle and then blend down to your side seam. We need that shoulder and arm cycle from the Mama Mya to make the shoulder wide enough for a sleeve. If you just attached a sleeve to your Mama Ella without adjusting besides not fitting properly it would sit way to high on your shoulder. You can see here that I used little dashes for where I traced the Mama Mya portion.

Now that you are done tracing you are going to cut along those dotted lines and then continue cutting the rest of the Mama Ella Pattern you traced.
Now that we have our pieces ready to go you are going to cut your fabric. If you are sewing the sleeved version cut 2 sleeves from the pattern your using, along with a front and back from Mama Ella or Ella your neck binding and if you are adding an optional ruffle you will want to cut that too.
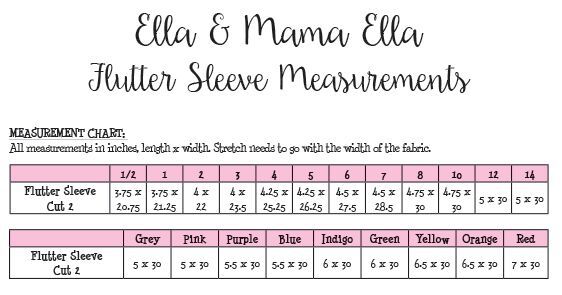
If you are adding flutter sleeves you will cut 2 flutters from the chart below instead of the arm bindings.
For all other options you will cut per the chart found on page 4 of the pattern. All options need a front and a back and neckline binding the rest of the options are up to you. Don’t forget your bands or ties for the back either! Here are my pieces all ready to go for one of the many that I will be sewing up!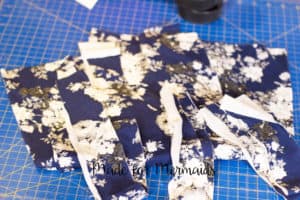
See you back here tomorrow for day 3 when we will actually sew, I promise! If you missed day 1 you can find that here. And all the sew a long info can be found here. And don’t forget to show us your pretty pieces all cut and ready to go for tomorrow, add them to the album in our Facebook group found here.

Leave a Reply