Day 6 of our 12 Days of Christmas Freebies! What little girl doesn’t love a doll?? My daughter got an 18″ American Girl doll last Christmas from my parents and you may have noticed over the year, just how much she loves Samantha. You also might have noticed, from the doll’s hair…. she plays with her a lot 😉 (click photo for pattern info)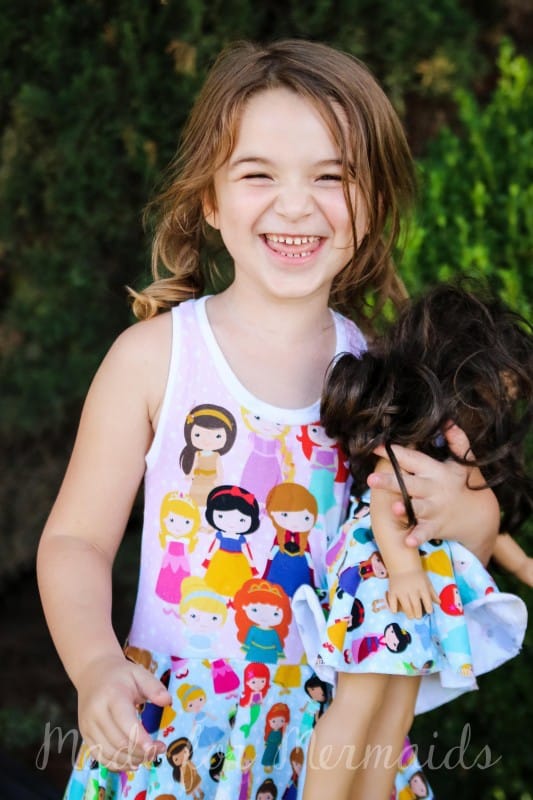
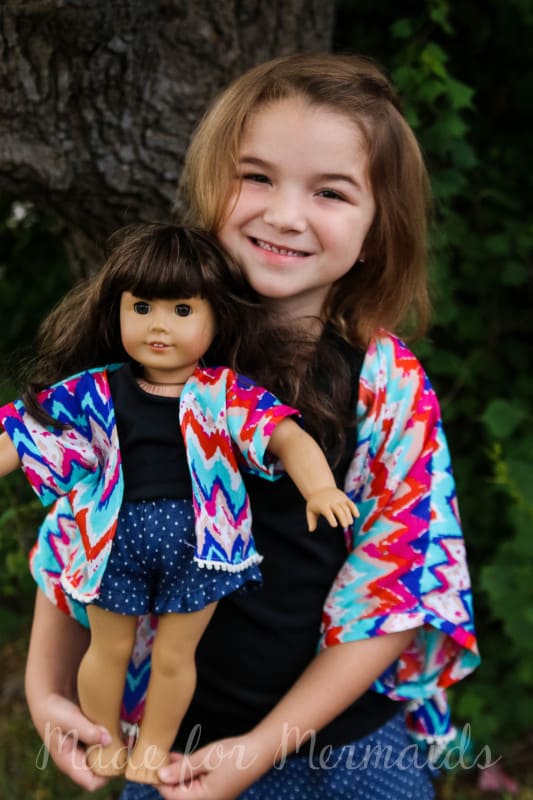
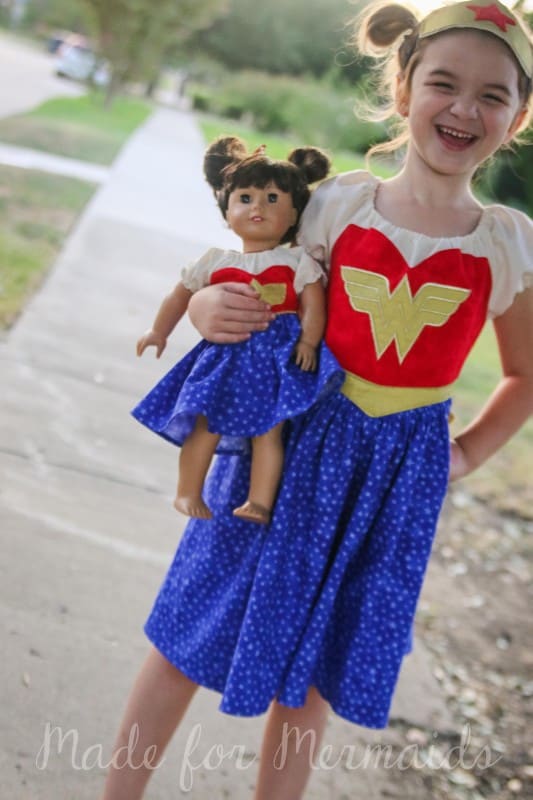
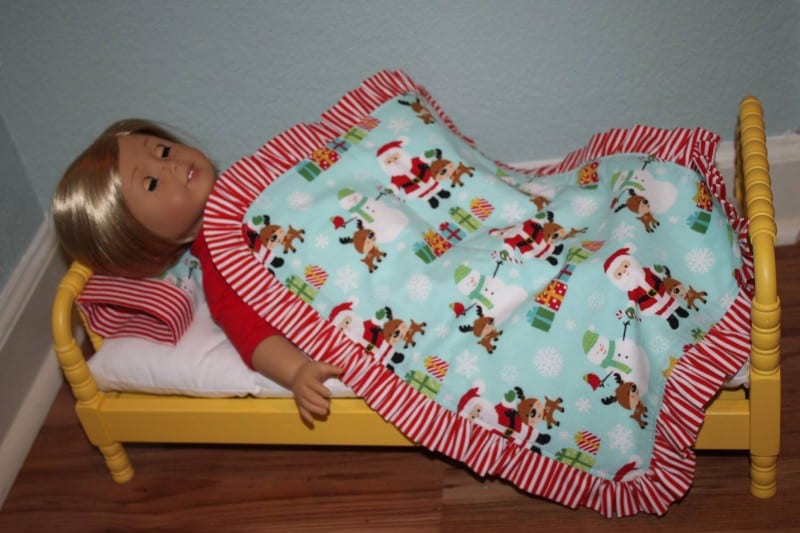
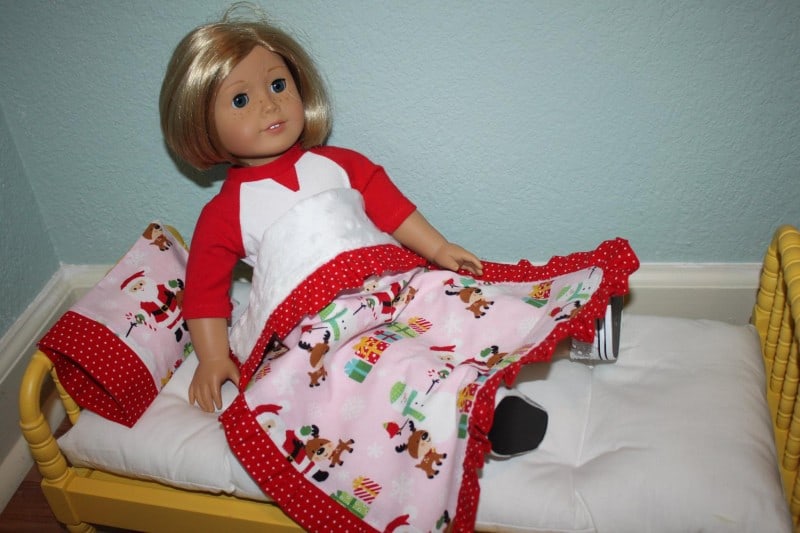
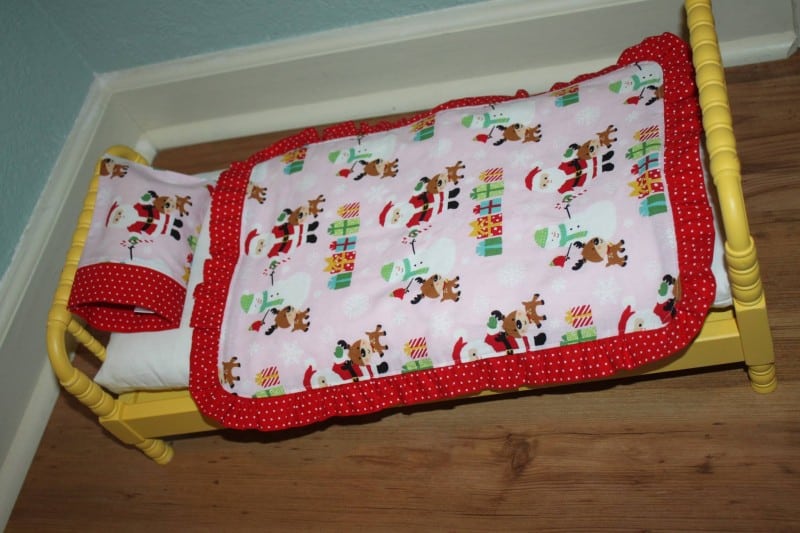
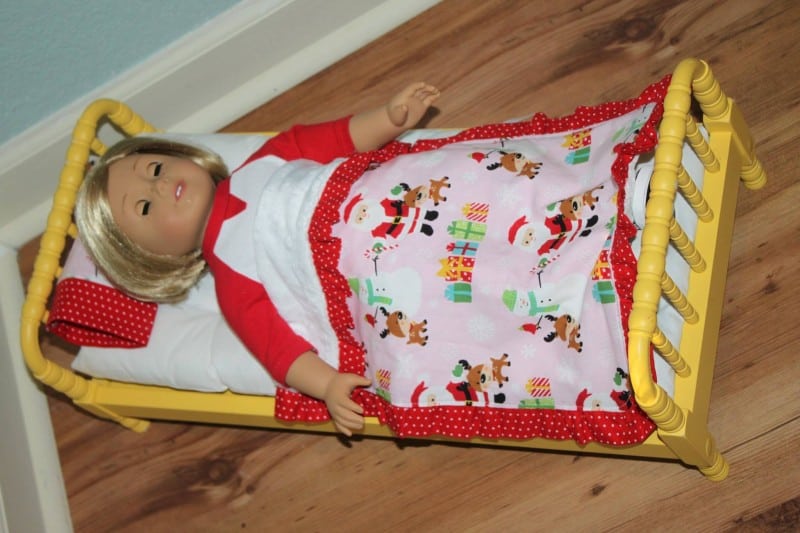
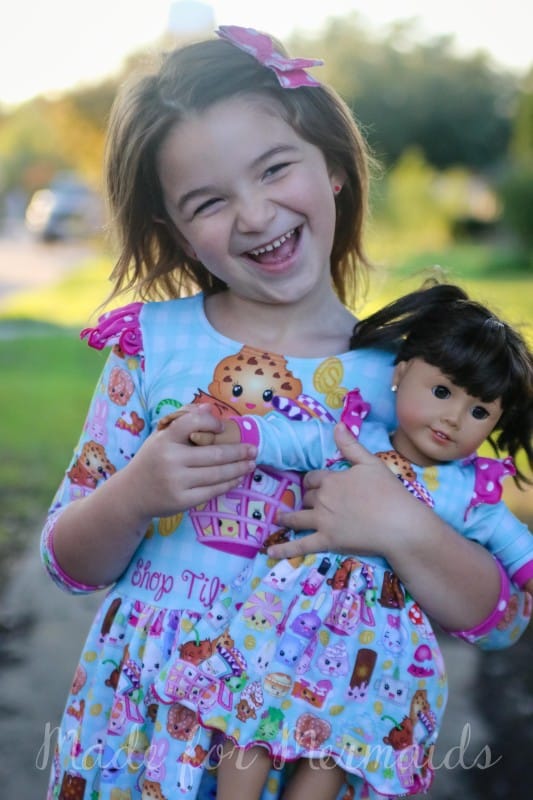 Her Christmas list consists of all thing dolly. Shhhh, the highly requested dolly bed will be under the tree this year! She will be even more excited about the bed with the matching bedding. You can use scrap pieces for this project. My daughter was eyeing some fat quarters at Walmart, so the next trip alone, I picked them up. You can use quilting cottons, minky, fleece, knit… almost any fabric you have on hand will work. You will also need a small amount of polyfill to stuff the pillow. I made this to fit a specific bed she’s getting for Christmas, but you can easily adjust to fit any.
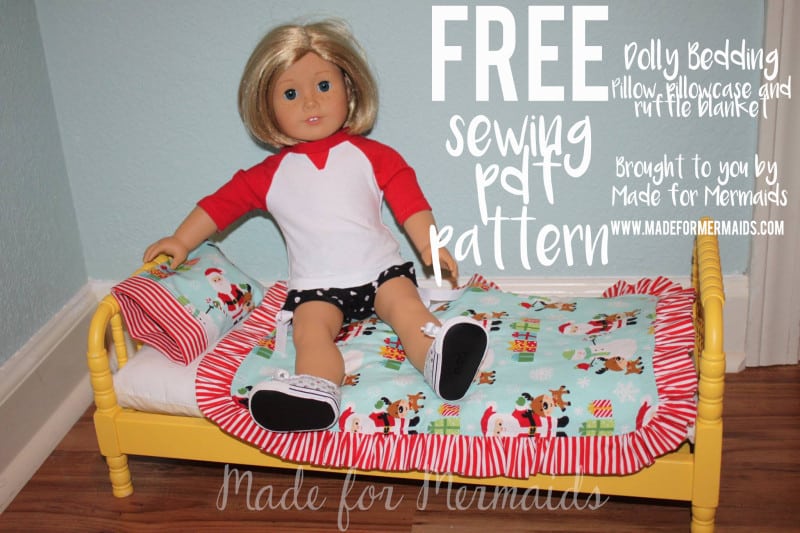
Finished measurements (length x width) :
Pillow: 3.5″ x 5.5″
Pillowcase: 4″ x 6.25″
Blanket: 15″ x 11″
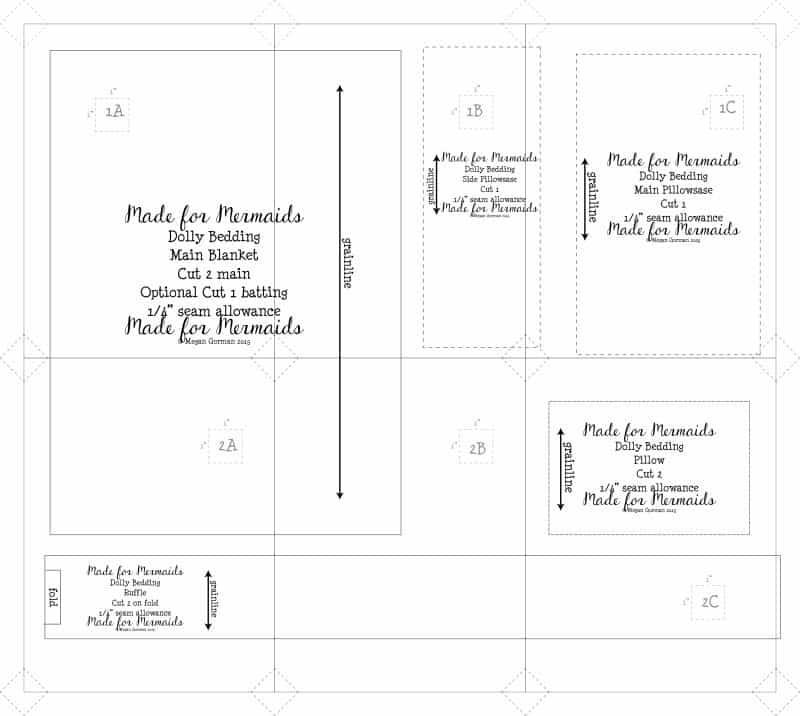
First get your pieces here. These are all rectangle measurements, so if you don’t want to print out the pieces, the measurements are below to cut with a rotary cutter and cutting mat. This is a really great beginner project, so I thought I would have the printed pieces for someone new. Another idea is to help your daughter stitch some of these our for her cousins, friend, sister, etc to give as gifts. It really is simple enough, a child could do with a bit of help. HELLO project for when the kids are out of school for Christmas break…. you’re welcome 😉
Pieces are length x width
Pillow- cut 2
4″ x 6″
Pillow case main- cut 1
5.25″ x 9″
Pillowcase side- cut 1
3.5″ x 9″
Main blanket- cut 2 (optional cut 1 batting)
14.5″ x 10.5
Ruffle- cut 2 (Note this ruffle is 1.5 times the width of the blanket. If you want a fuller ruffle you’ll want to cut 1 more piece 2.5″ x 22″)
2.5 x WOF”
Print your pattern pieces at 100% or no scaling. Your pattern pieces will go together like a bingo card- 1A, 1B, 1C, next row 2A, 2B, 2C. After you put your pieces together, then cut your pieces out. If you have more questions about how the pages go together or printing issues check my faqs and troubleshooting page here.
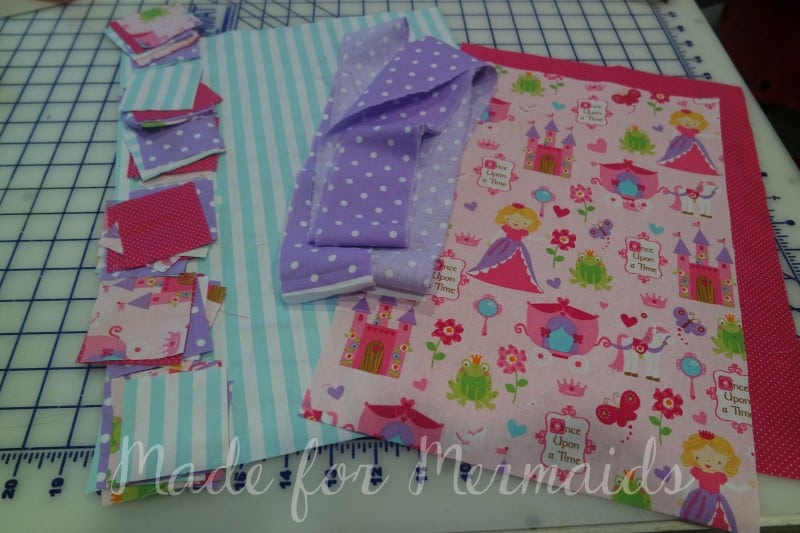
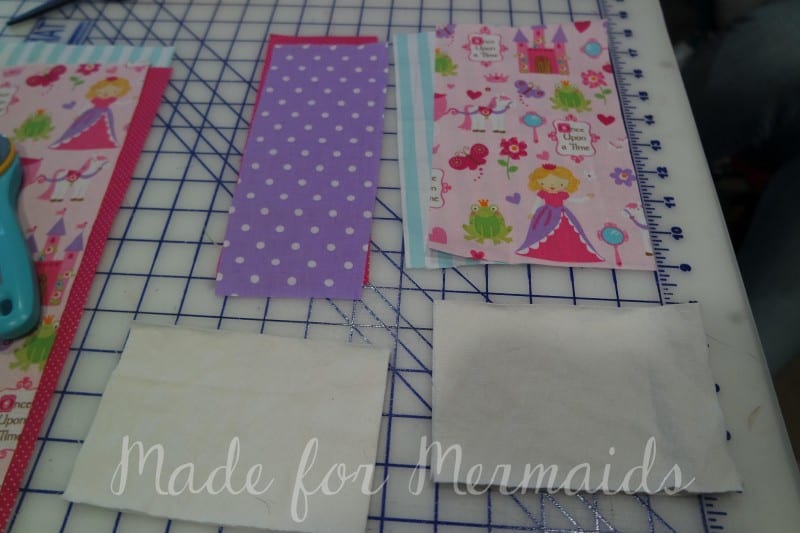
ALL SEAM ALLOWANCES ARE 1/4″.
We’ll start with the pillow. With right sides together, stitch all around the pillow, leaving a small 1″-1.5″ opening to turn. My sister added a small piece of folded ribbon in between the pillow pieces… it looks so cute!
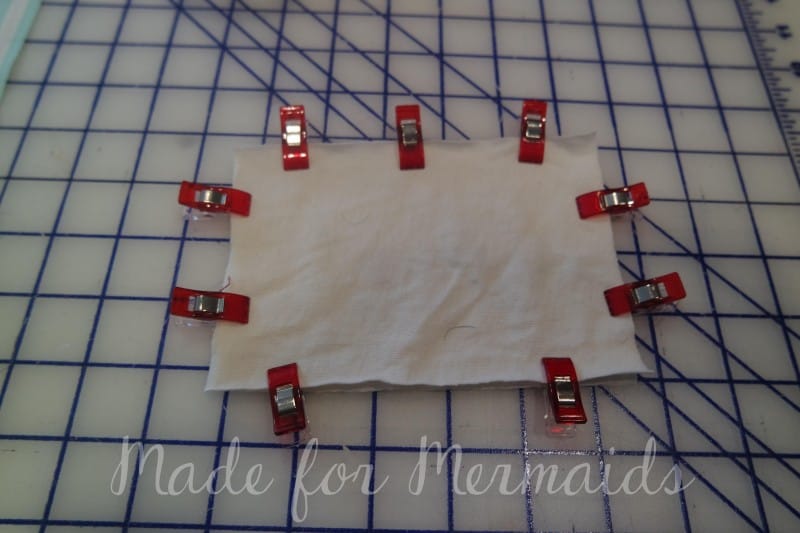
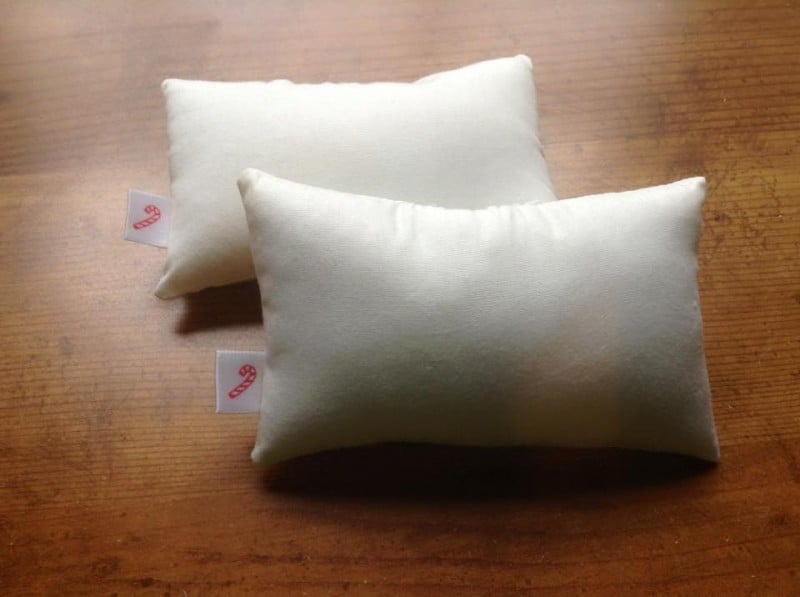
Clip corners. Turn and press right sides out. Stuff with polyfill. Whip stitch pillow closed and set aside.
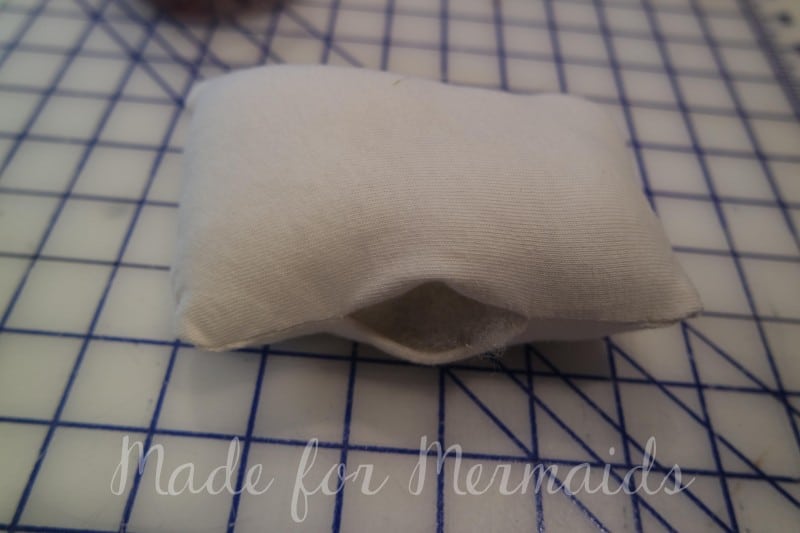
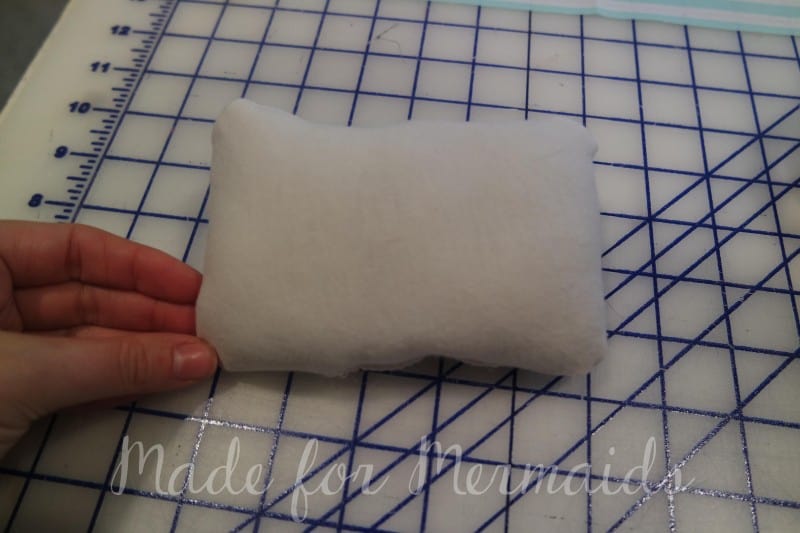
ALL SEAM ALLOWANCES ARE 1/4″.
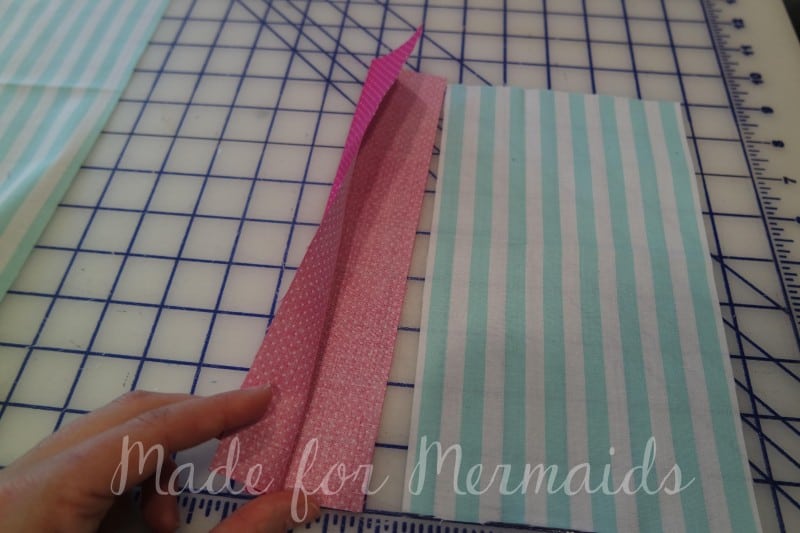
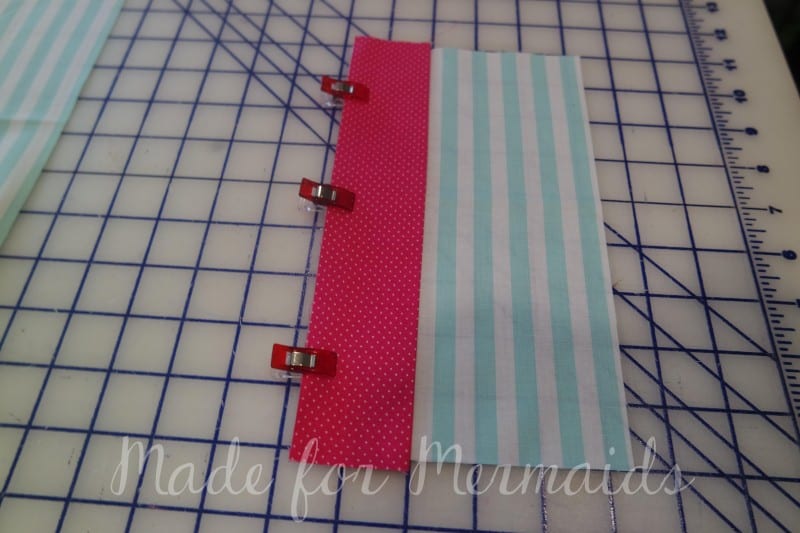
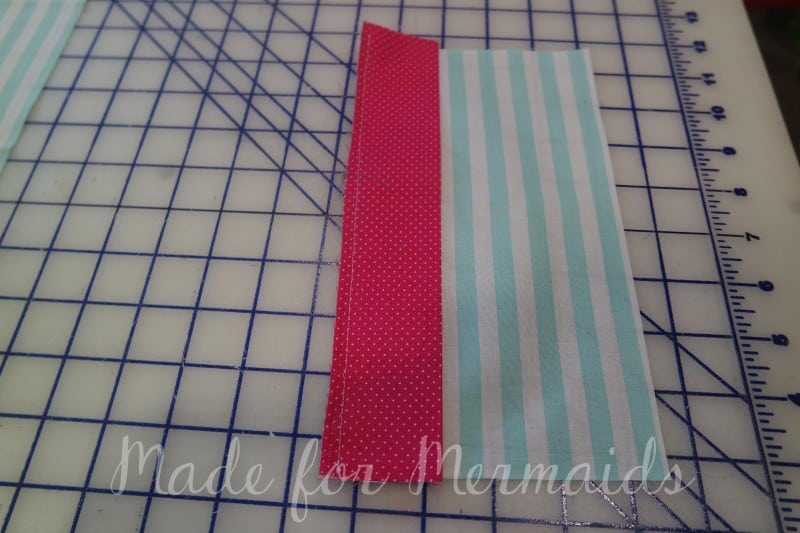
On to the pillowcase. Press the side piece in half widthwise, wrong sides together. Then with right sides and raw edges together, stitch the side piece to the main piece. Press side piece away from main piece and topstitch if desired.
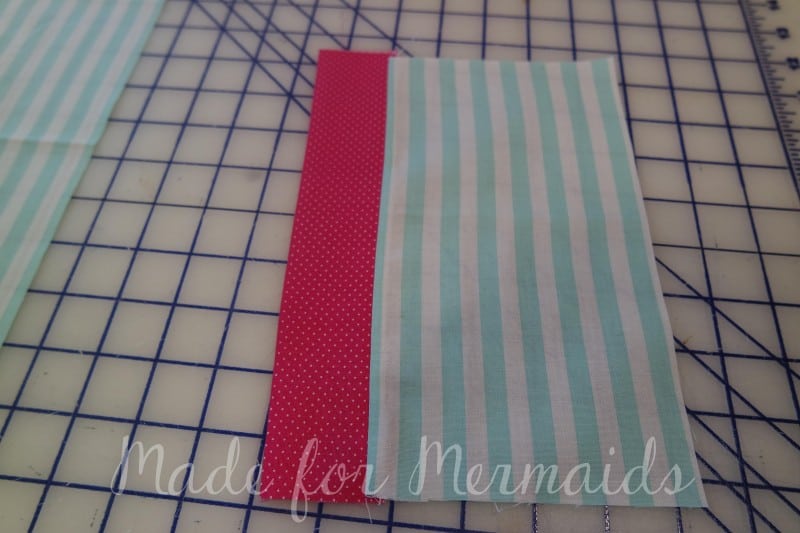
Press in half leastwise with right sides together. Stitch along main short side and top.

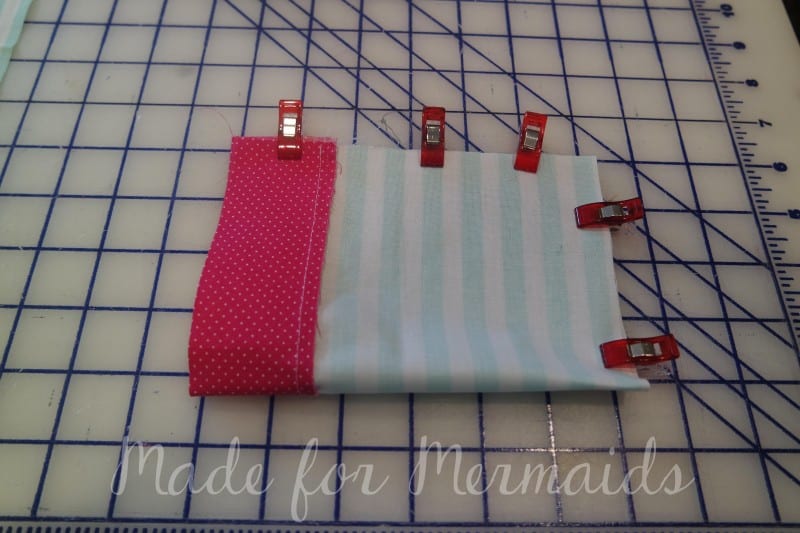
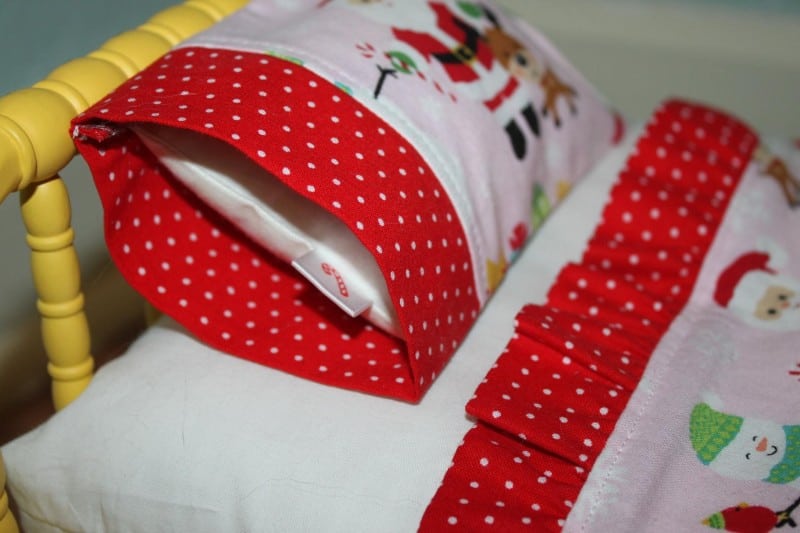
Clip corners. Turn and press right sides out. Slip your pillow inside your case and swoon! Eeekk, it’s so cute!
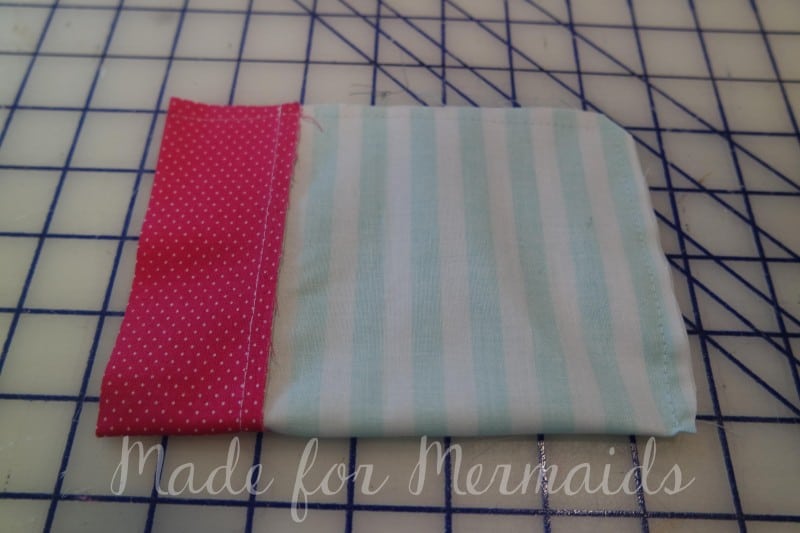
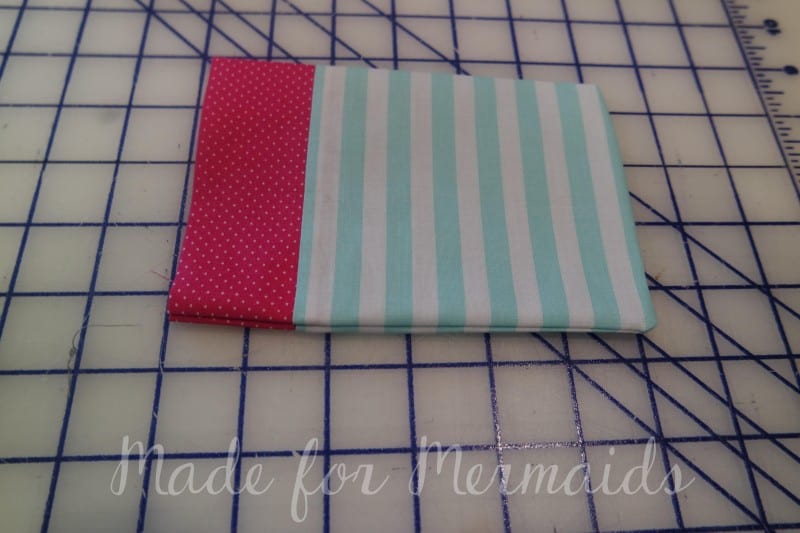
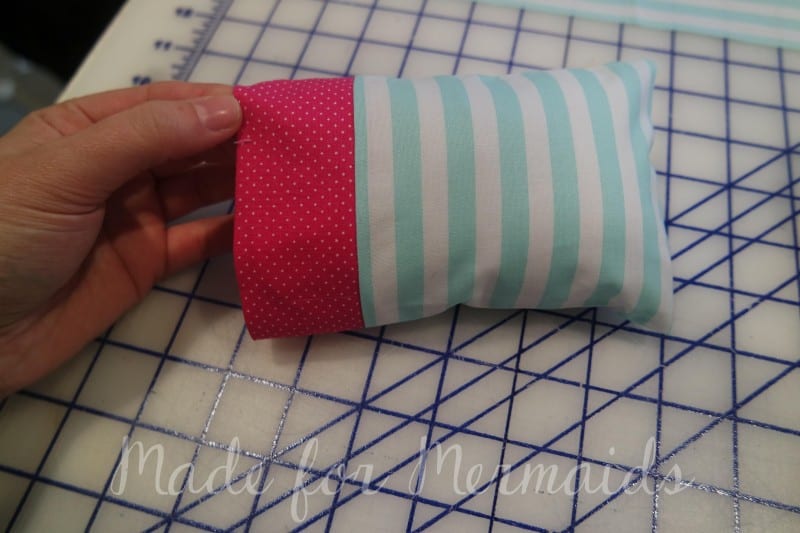
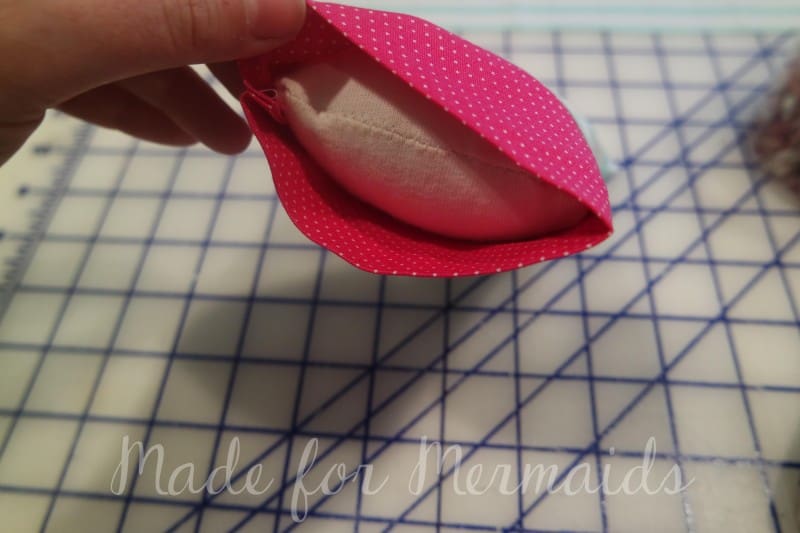
ALL SEAM ALLOWANCES ARE 1/4″.
Time for your blanket. Take your ruffle pieces and stitch 2 short ends together, so you have 1 long strip. Then press in half lengthwise, enclosing that seam.
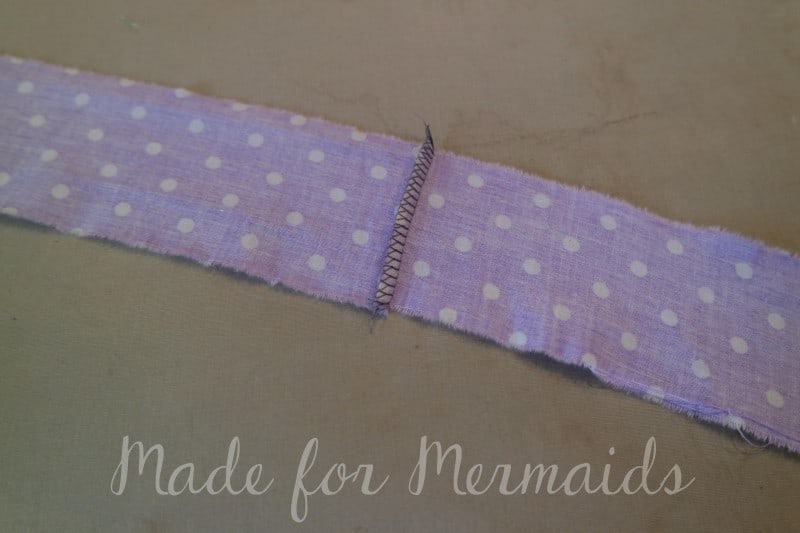
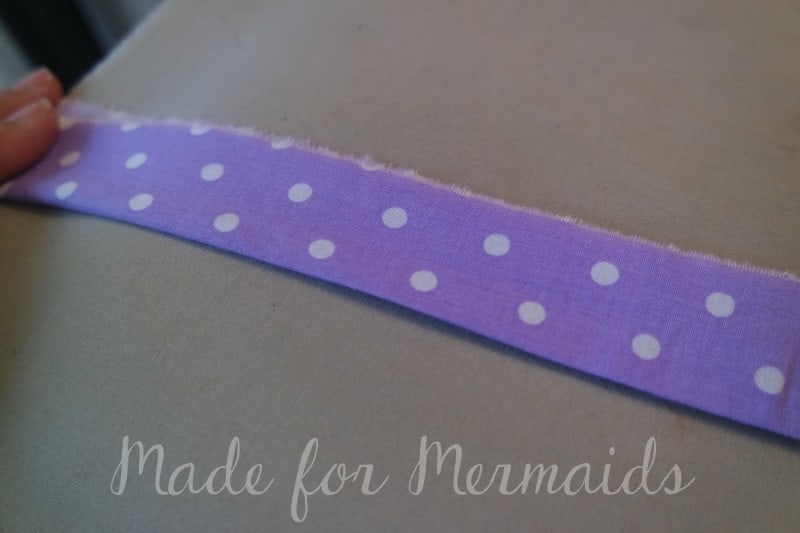
Use your favorite gathering method to gather the raw, unfolded edge.
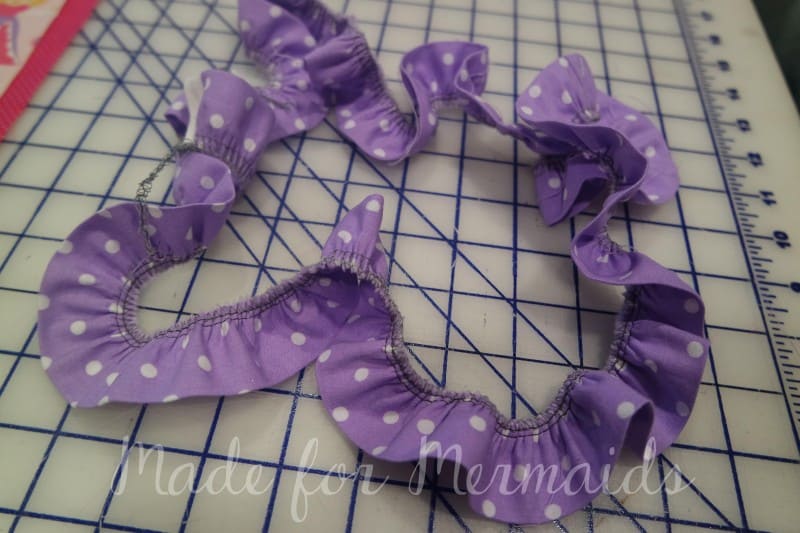
Lay your main piece on a flat surface, right side up. Pin your ruffle along the edge or your main blanket piece.
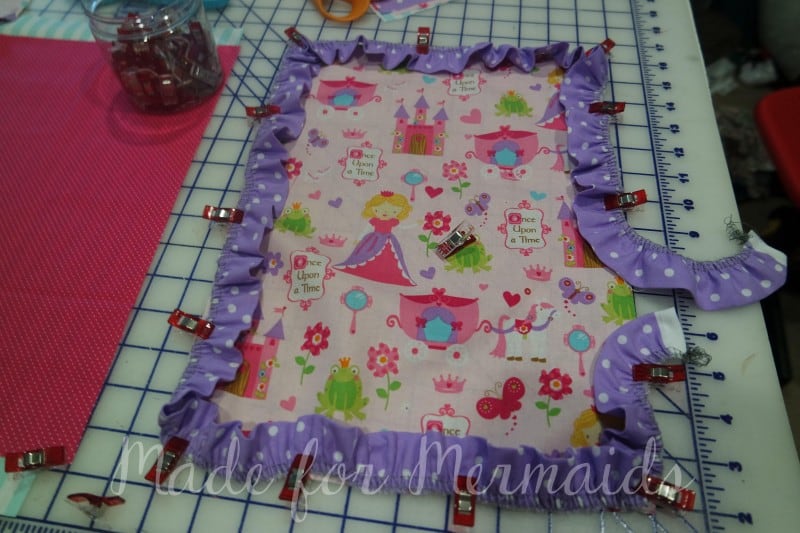
You will overlap and curve the end of your ruffle pieces off the side as show below. You want to overlap the ruffle ends by at least 1″ so it’s not noticeable once sewn up. Baste the ruffle in place. Then trim ends so your blanket edge is straight again.
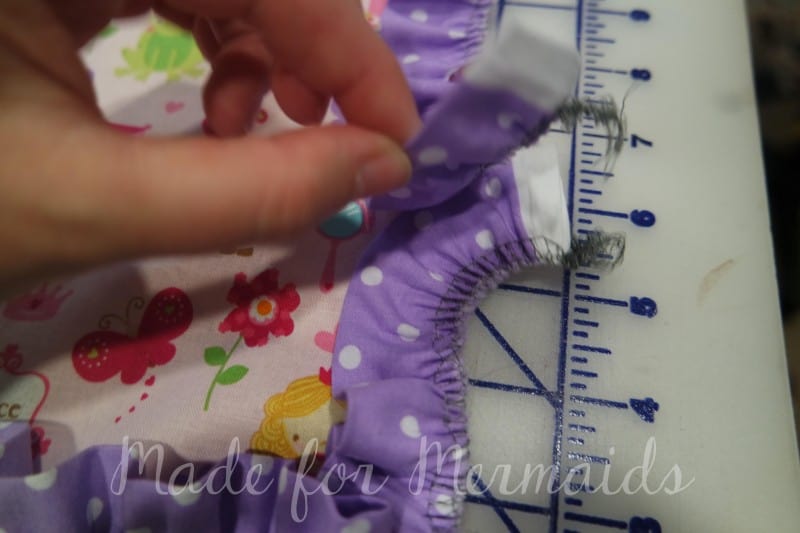
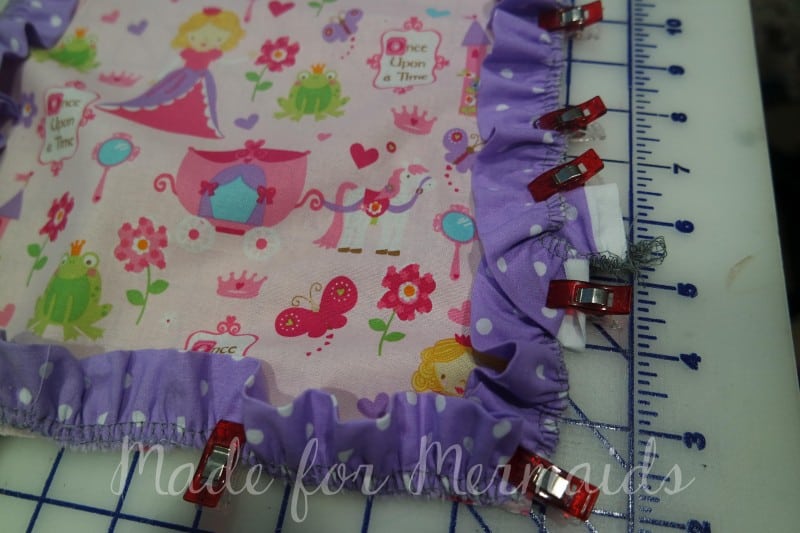
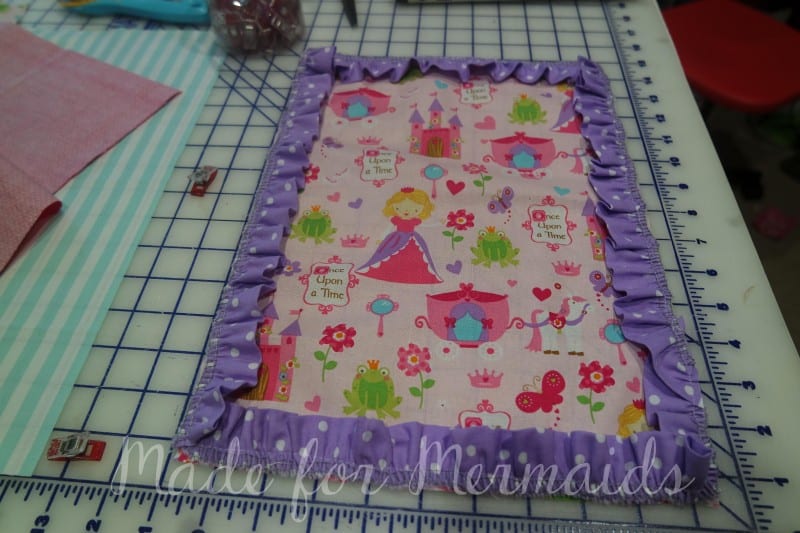
Place your other main piece, right side down, on your main piece with ruffle. If you are going to add batting, place it on top. Stitch blankets together, leaving a 2″-3″ opening to turn.

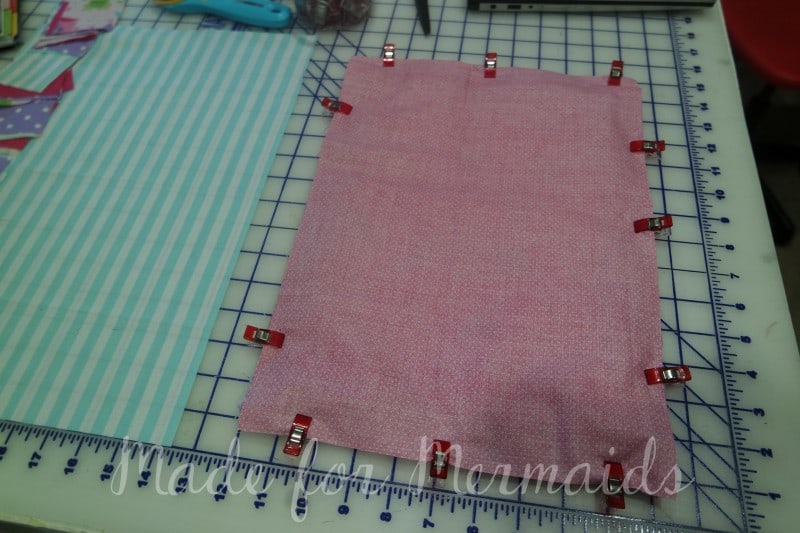
Clip corners. Turn and press right sides out. Make sure you didn’t catch your ruffle in any places. Topstitch along all edges, closing opening.
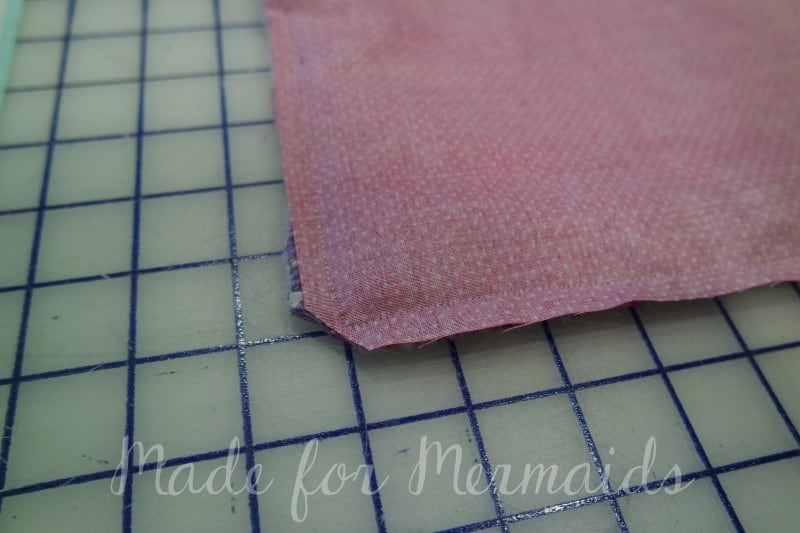
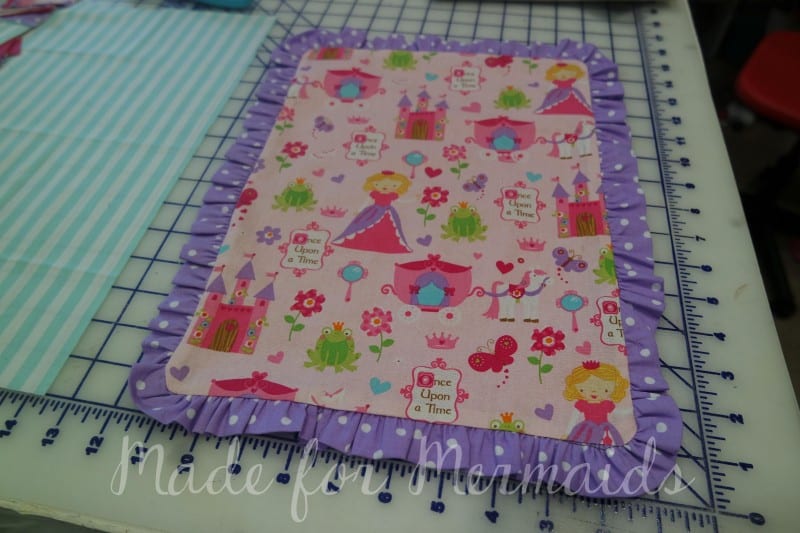
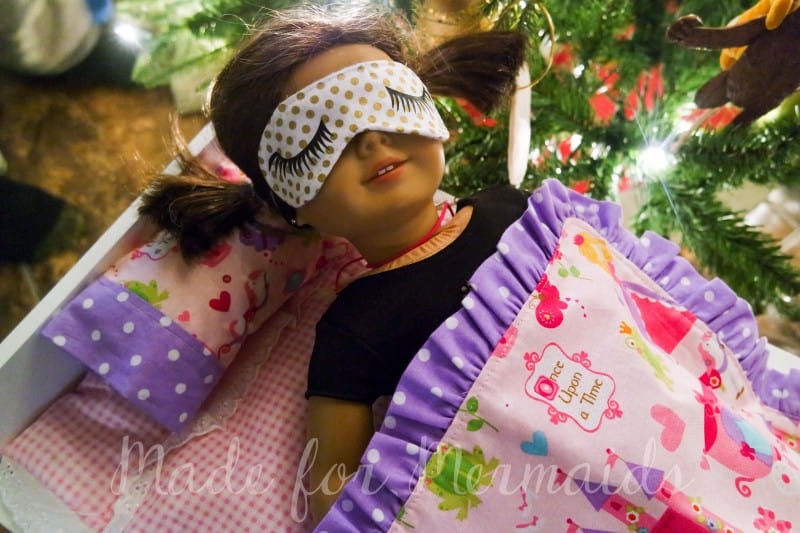
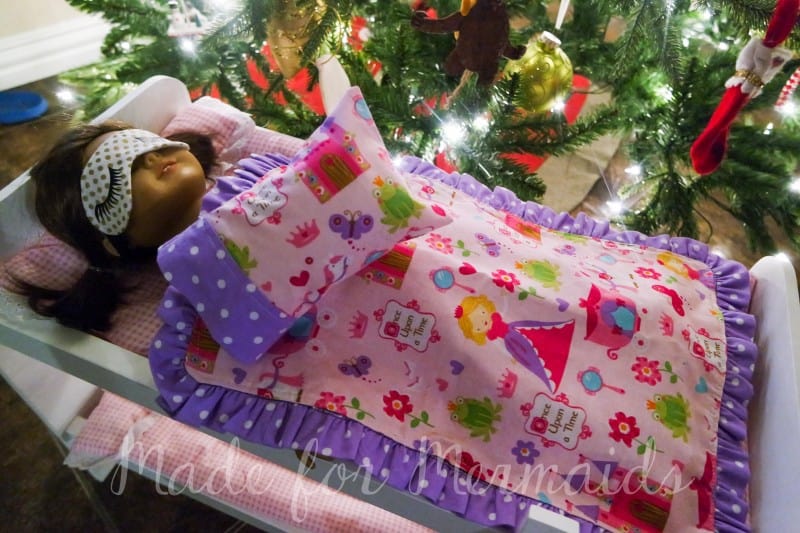
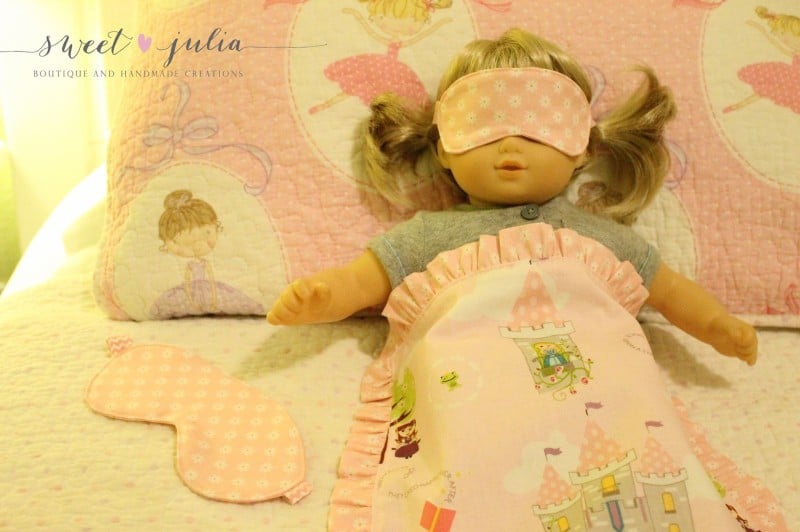
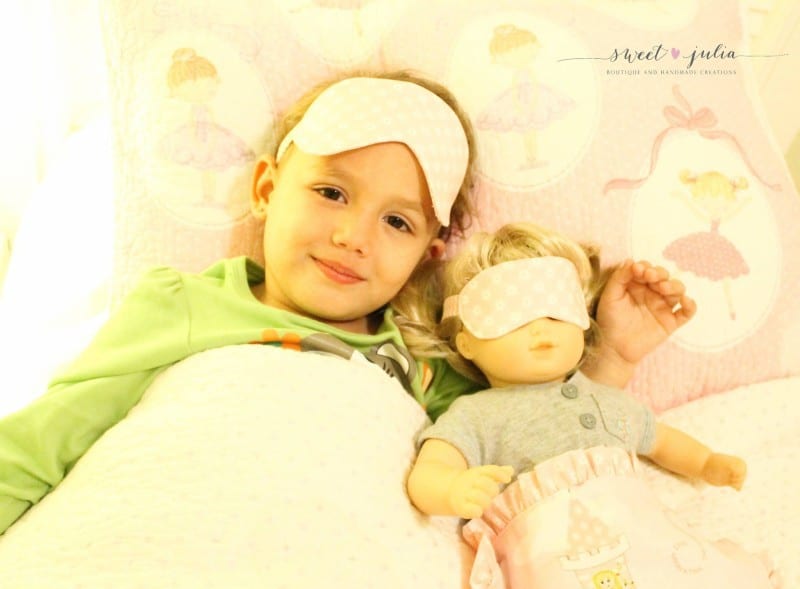
Put all your bedding on the dolly bed and ohh and aww! Just precious! If you don’t have the dolly sleepmask yet, go grab it from the freebie section. They go prefect together. Make sure you share your creations over in the facebook group or instagram #madeformermaids
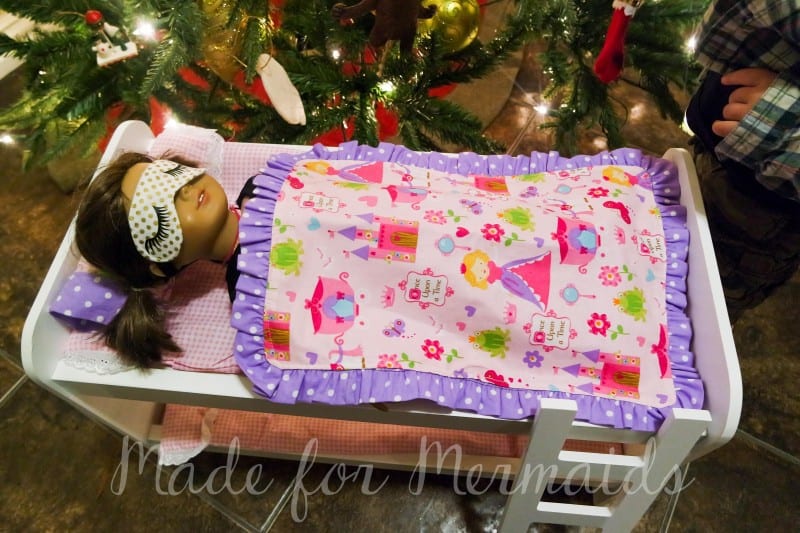
Don’t forget to check out the other 12 days of Christmas Freebies!
M4M’s 12 Days of Christmas Freebies
December 1 – 12, 2015
Day 1 – Mermaid Tail Blanket
Day 2- Tiffany Collar
Day 3- Sleep Masks

What is the best technique for gathering the raw edges?
It is very helpful and idea giving while I’m going to purchase a set for my kid’s doll.
Oh! Its cool and inspired me to prepare my baby’s doll bedding. Thanks for sharing this info.
What an amazing pattern and easy sew. Thank you for this! My daughter has now requested one for each of her dolls 🙂 I’m going to (happily) be one busy mama this weekend 🙂