There are many many different methods on enclosing seams- french seams, hong kong finish, flat felled seam, facings or how I will show here, enclosing with a lining.
Why don’t I always enclose my seams??? TIME. When I’m sewing, it’s usually during nap time or after the kids go to bed. I only have one daughter and while we do pass our clothes to cousins, she is an odd size…VERY tall with a small chest and booty, so they don’t always fit when they get passed down. Honestly, I usually don’t WANT to spend a lot of time on a garment for my daughter that she won’t get a lot of wear from. Hence my patterns are written so- quick and easy construction. Sometimes however, I want to spend extra time enclosing seams. My Grace pattern for example is a more intermediate pattern and calls for french and all enclosed seams. The design of the dress requires enclosed seams for a professional look, most my patterns do not.
If your daughter is sensitive, you sell your garments or you just love the look of a beautifully enclosed bodice this tutorial is for you! I’m going to be using my Alyssa pattern as an example…actually it’s a mash up of Alyssa and Molly, but you can use this same method for ANY dress with a lined bodice, Molly, Madison, Katelyn Jumper or even the Samantha skirt!
Ok, I won’t lie I took these tutorial pictures last August when my daughter went to preschool….. I have good intentions 😉

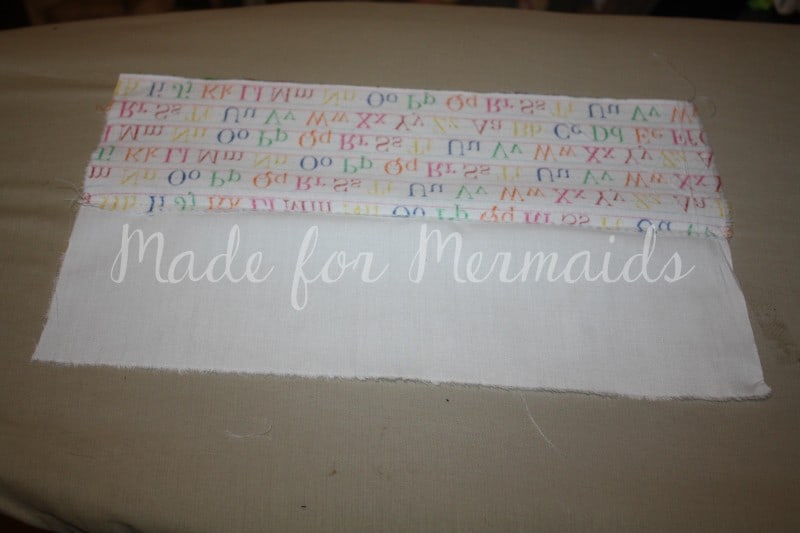
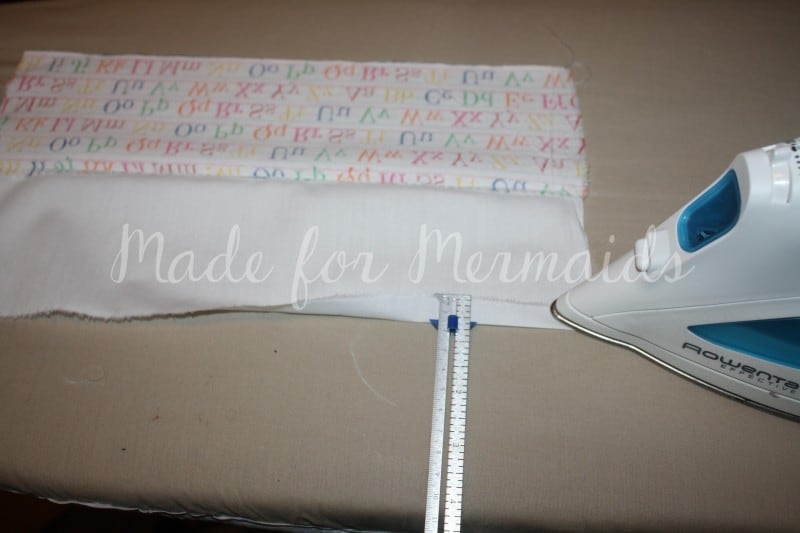
The alphabet print in my main bodice and white is the lining. First you will press the bottom edge of your lining pieces- both front and back- 1/2″ (or whatever seam allowance the pattern calls for) to the WRONG side.
Then stitch the side seams per tutorial, un folding the linings before you stitch.
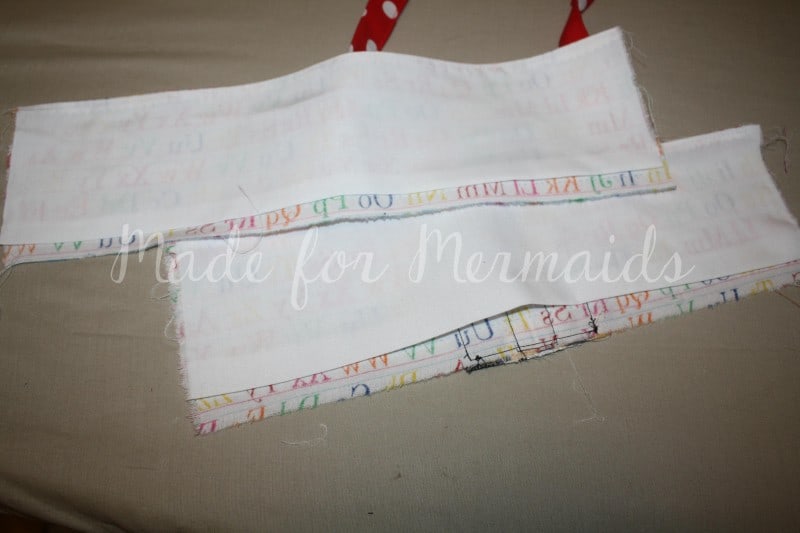
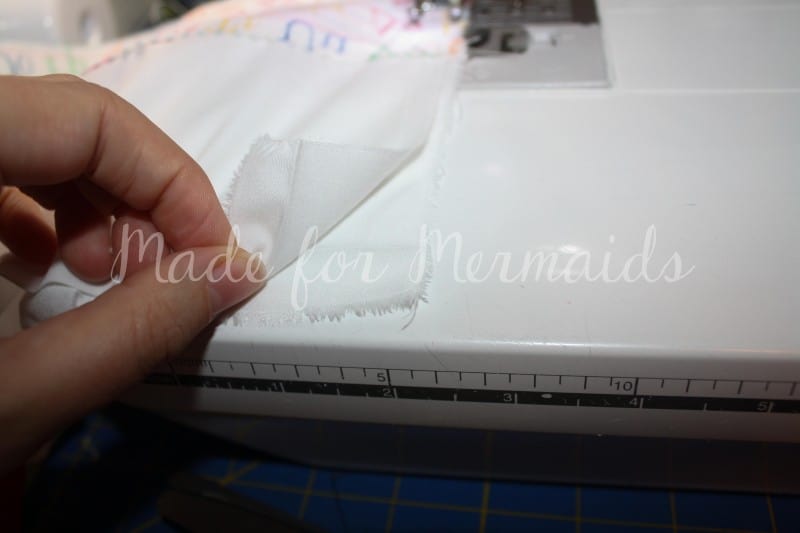
Under or topstitch per tutorial and flip right sides out. It should look like this.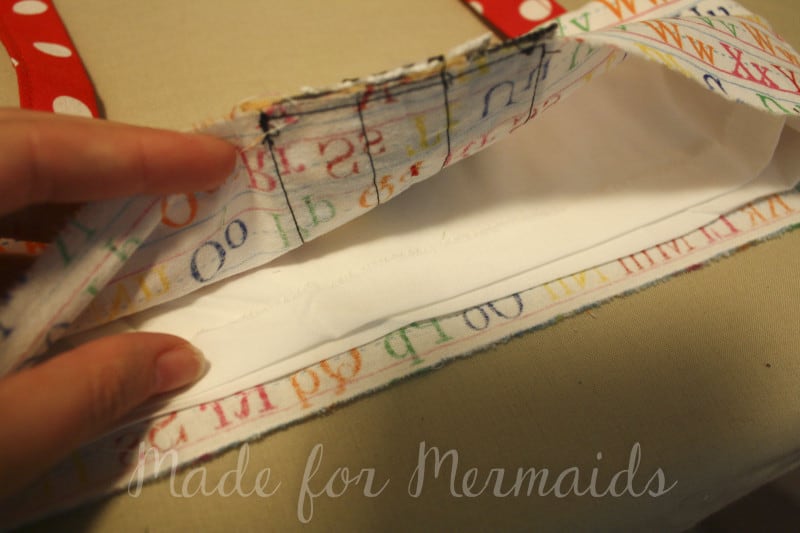
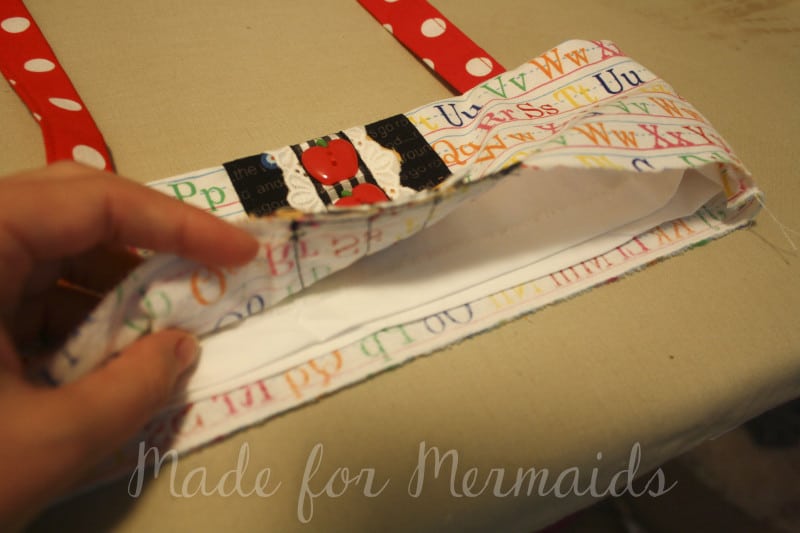
Then gather your skirt per the tutorial. Flip you bodice inside out and up side down. Then place your skirt inside your bodice, so they are right sides together. Match your sides seams and stitch your skirt to your MAIN bodice only. Make sure not to catch the lining!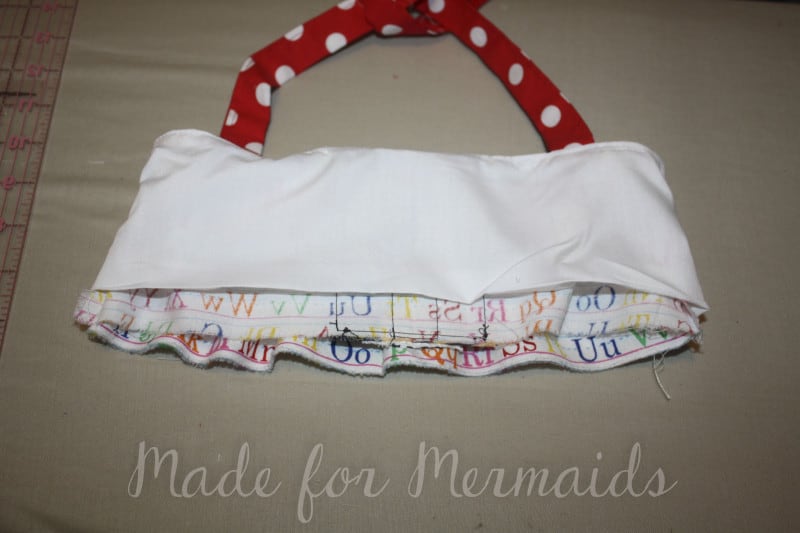
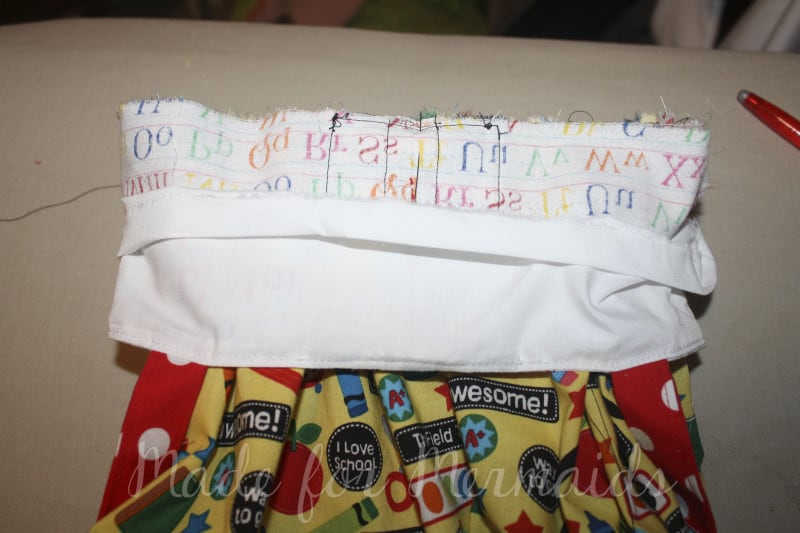
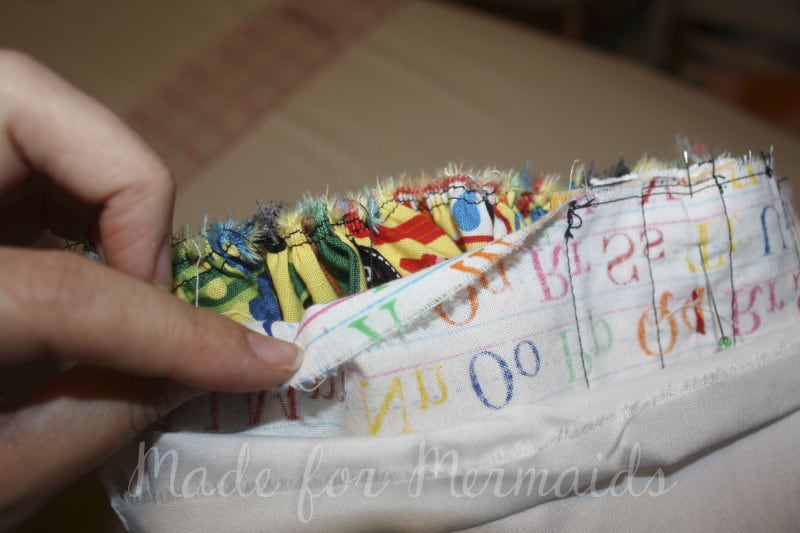
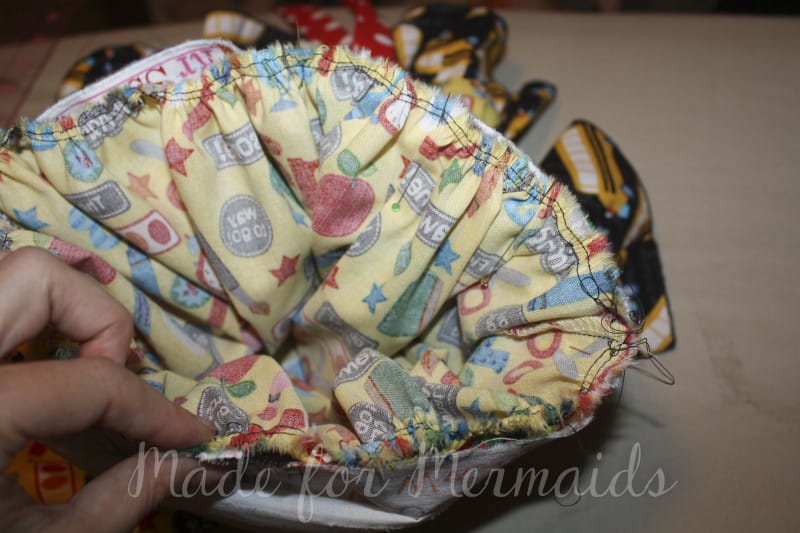
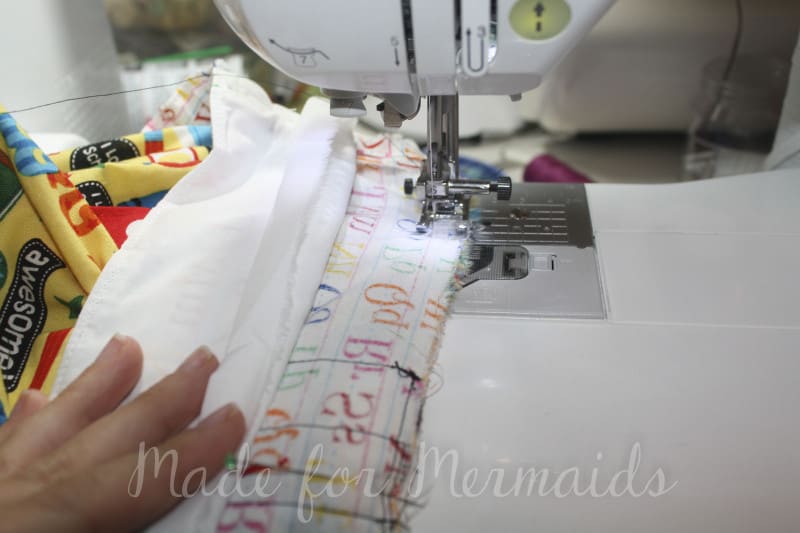
Press your seam toward your bodice. 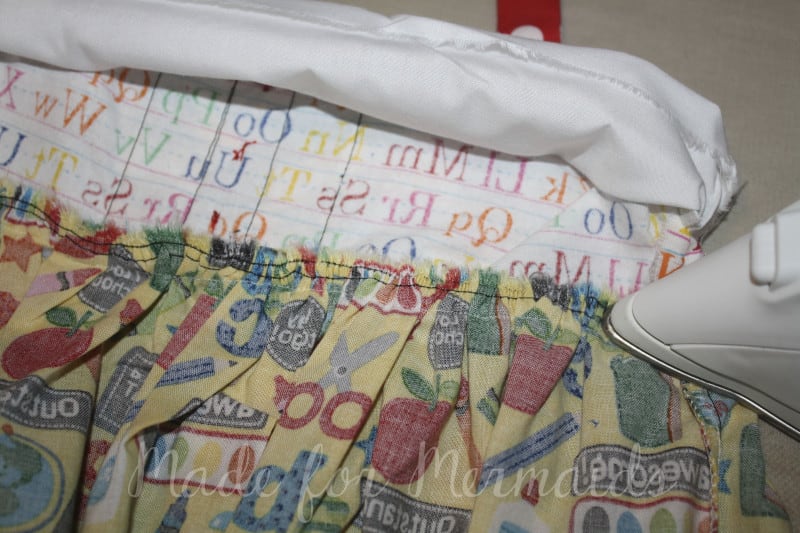 Now lay your lining OVER the skirt seam. You either need to use a lot of pins, stitch witchery or a glue stitch to hold the lining in place over the seam.
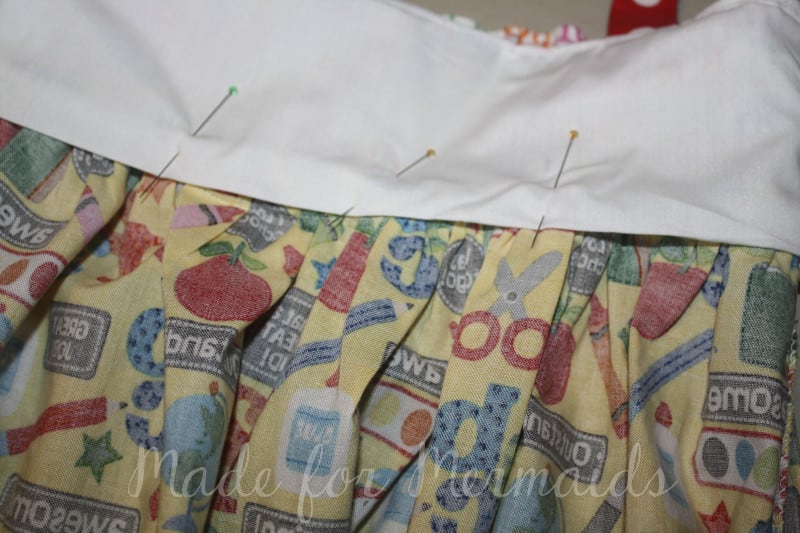
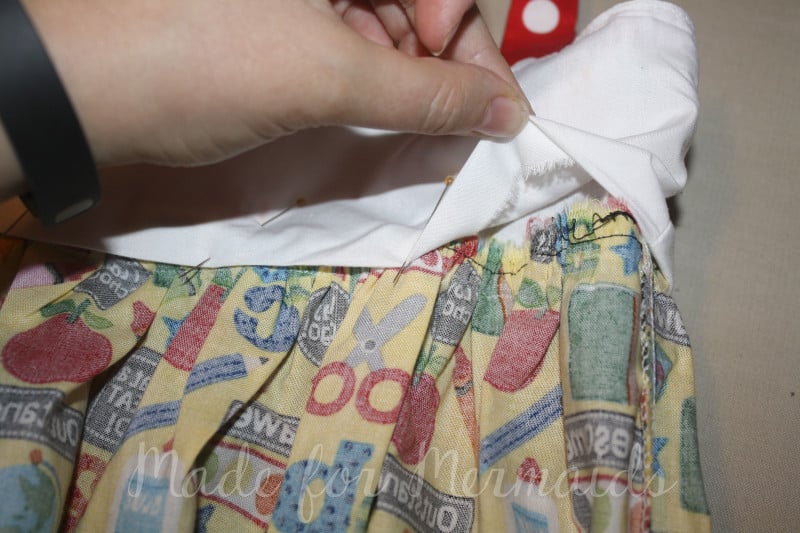
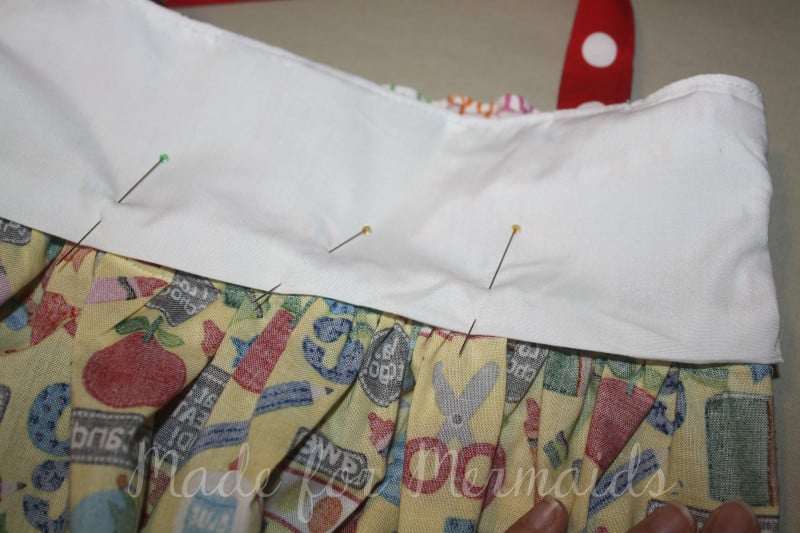
Now you can either whip stitch the lining closed OR top stitch the bodice from the right side, catching the lining under. The latter may take some practice.
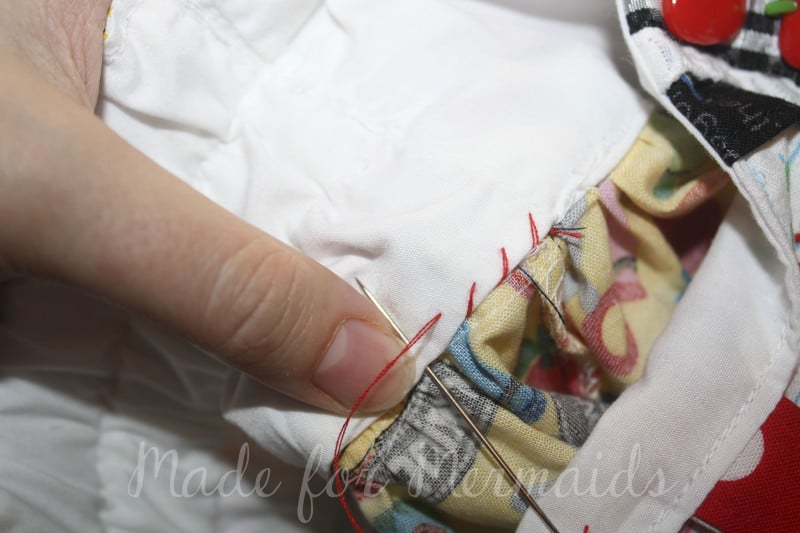
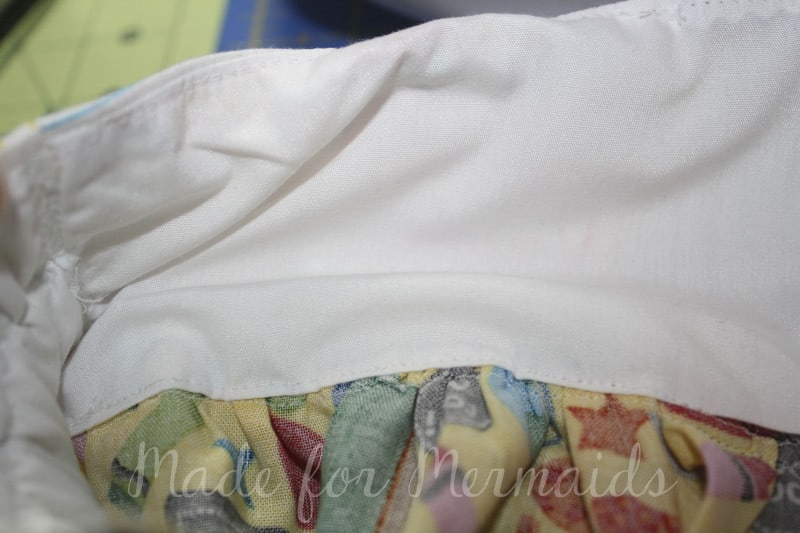
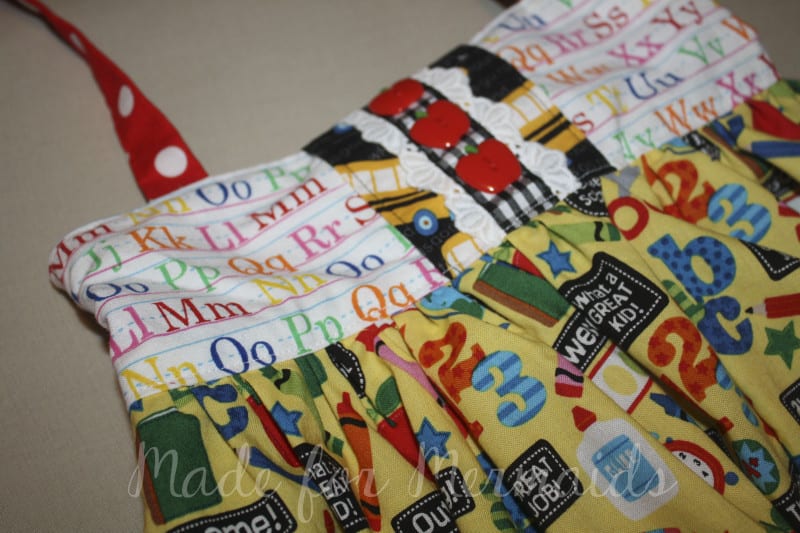
That’s it! Like any new technique, this may take a few practices to get right, but it is a simple process that gives you a nice clean finish! Do you have any other questions?? Want to see other techniques? Let me know here or over in my Facebook group!
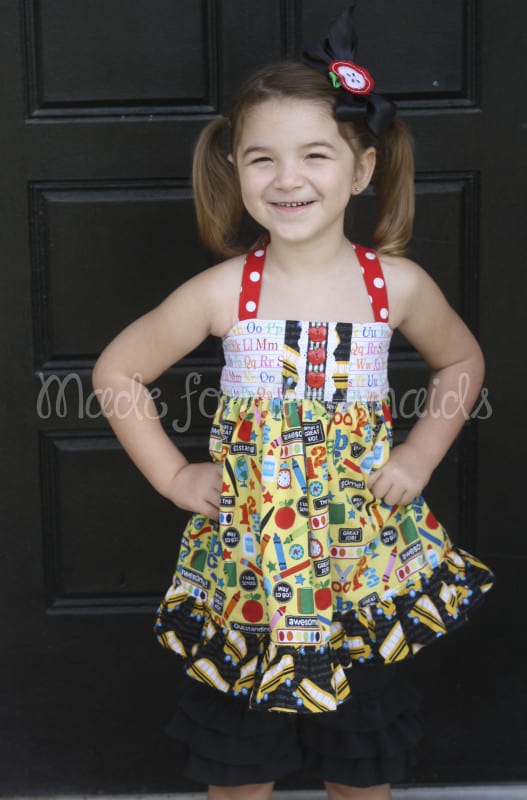


Quite honestly I’ve been surprised more pdf patterns don’t do this. I have done this for years with paper patterns. I prefer to do this but hate having to modify pdf patterns to do it .