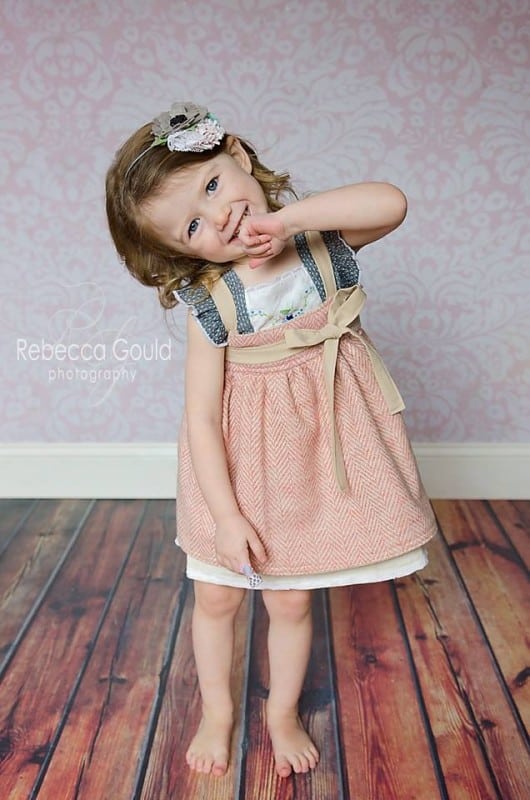
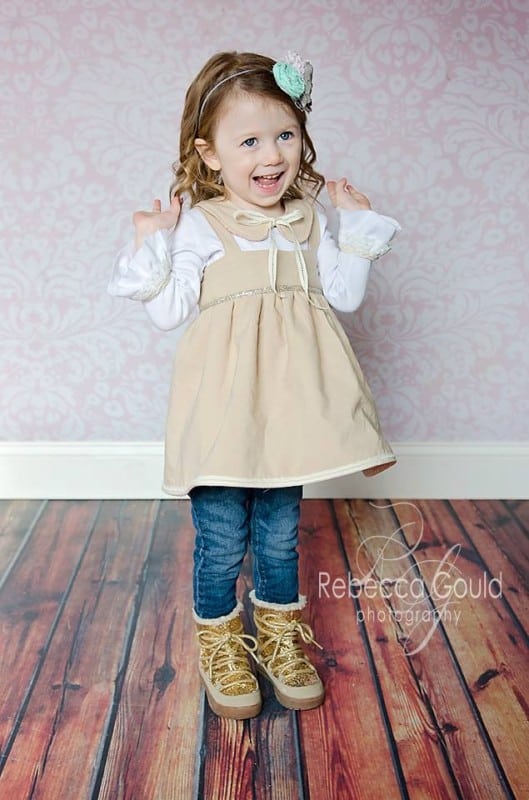
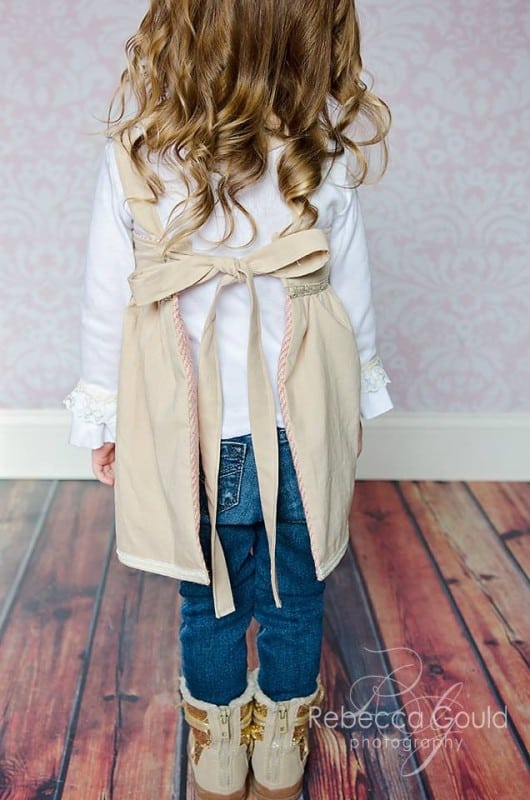
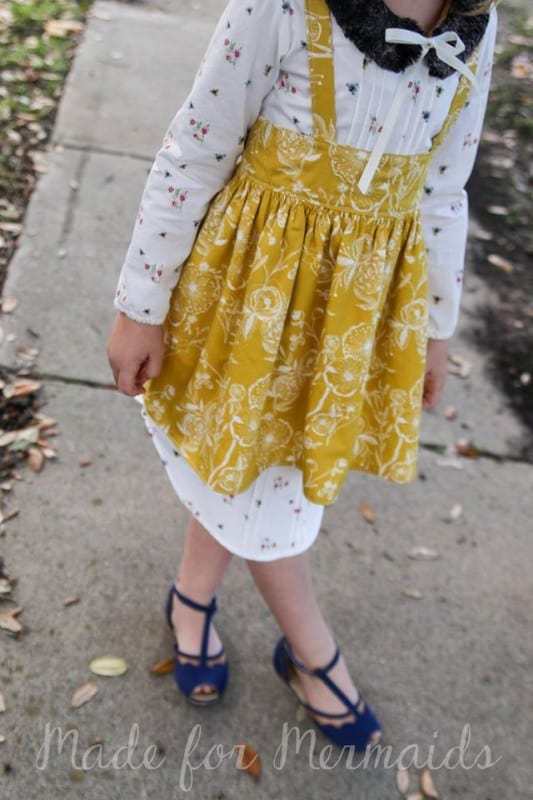
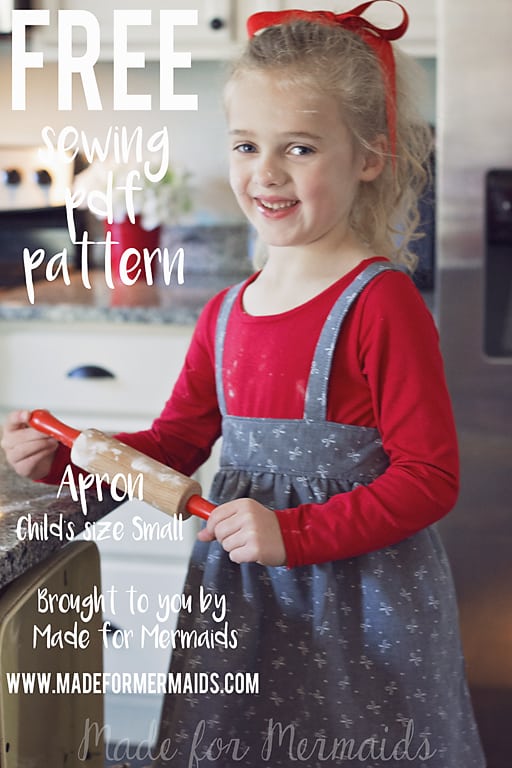
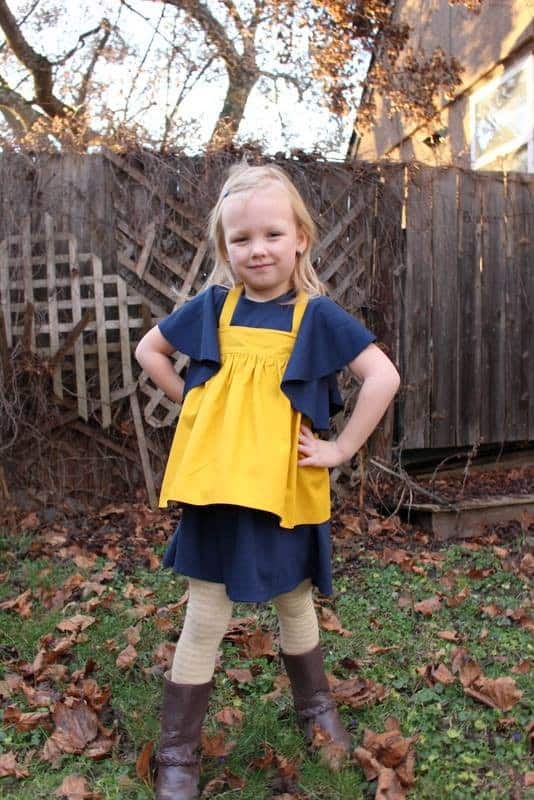
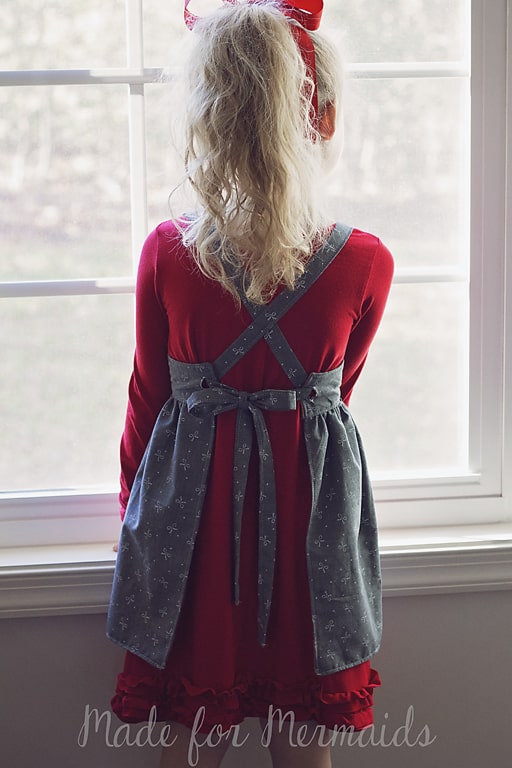
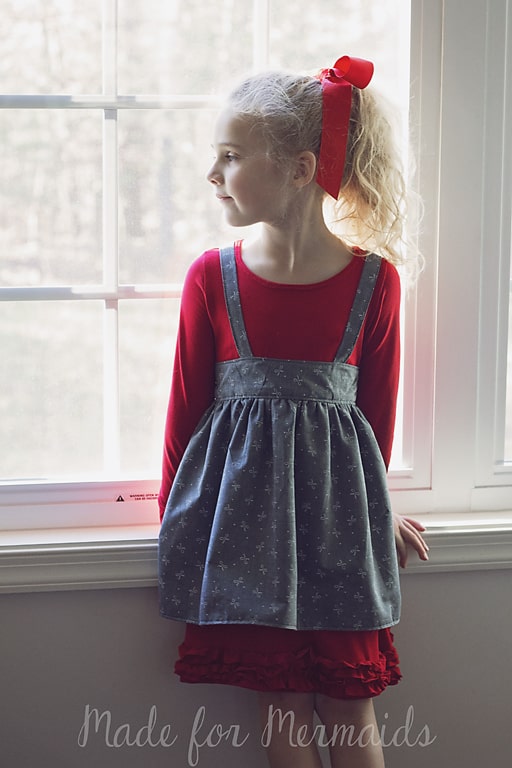
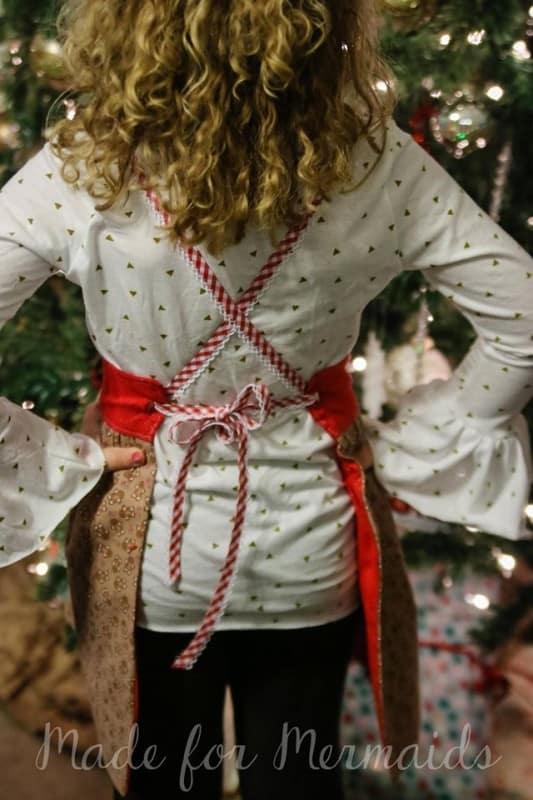
Today is Day 10 and we have a FREE reversible pinafore-style apron for you! It is very easy-fitting and designed for a small child. The straps tie through buttonholes and can be tied several ways so you can easily mix up the look!
Download your FREE pattern here!
Fabric Requirements: Intended for light to medium weight wovens: quilters cotton, chambray, corduroy, twill, poplin, light weight denim.
Straps: 1/4 yard
Waistband: 1/4 yard
Skirt: 1/2 yard for main, 1/2 yard for lining
Finished Length is 15″. Measurement is from top of waistband to hem.
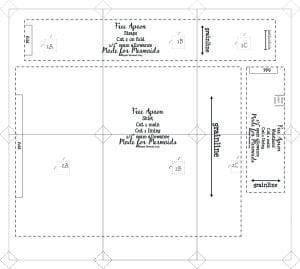
Print your pattern pieces at 100% or no scaling. Your pattern pieces will go together like a bingo card- 1A, 1B, 1C, next row 2A, 2B, 2C. After you put your pieces together, then cut your pieces out. If you have more questions about how the pages go together or printing issues check the faqs and troubleshooting page here.
Step 1: Cutting
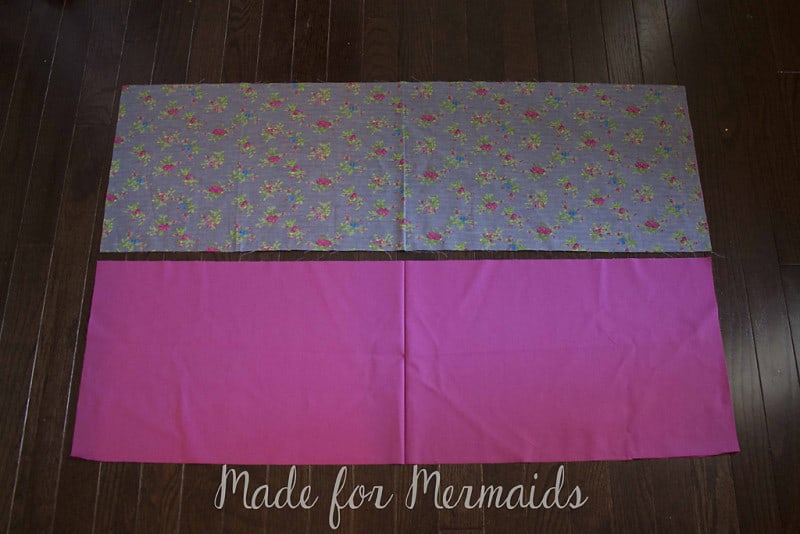
Cut 2 skirts, 2 waistbands, and 2 straps.
Step 2: Straps
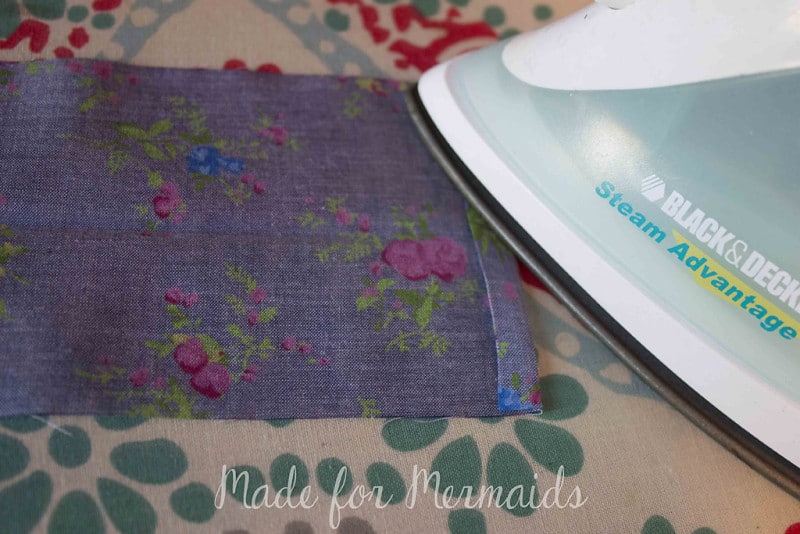
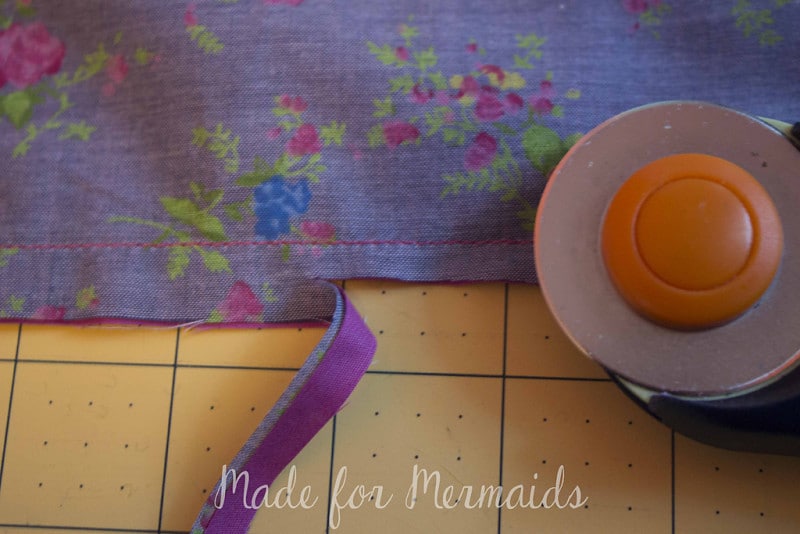
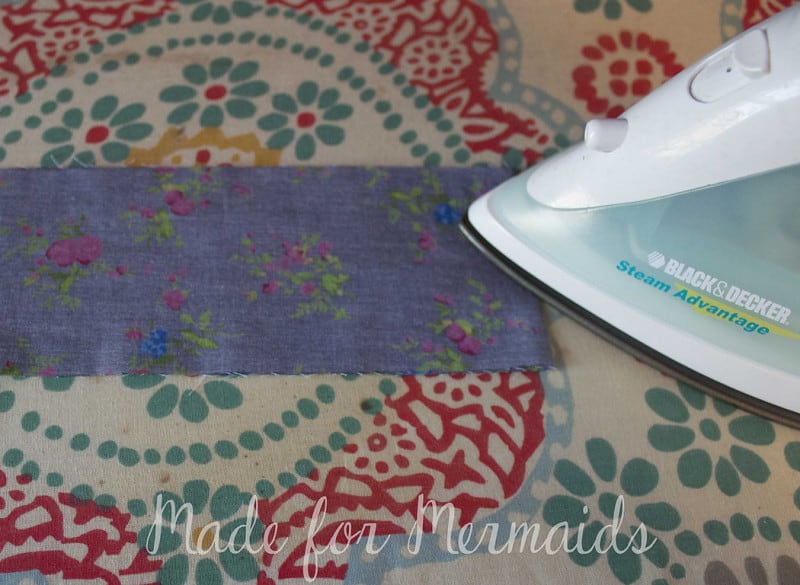
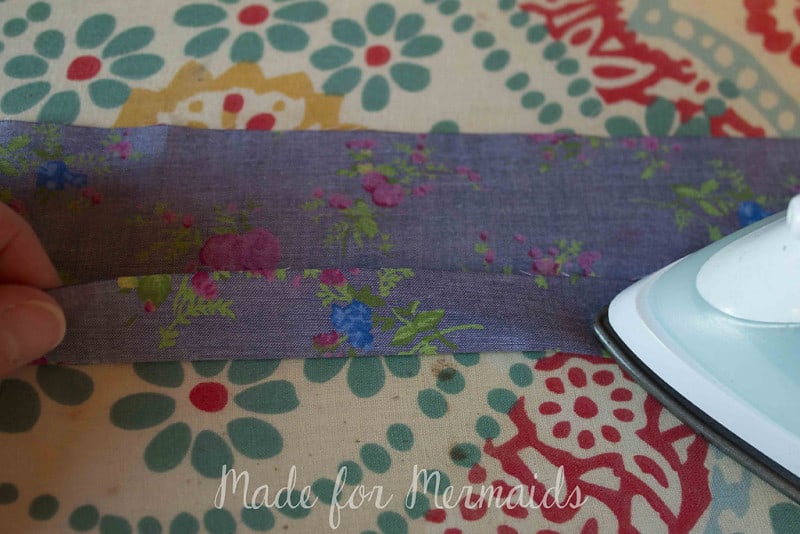
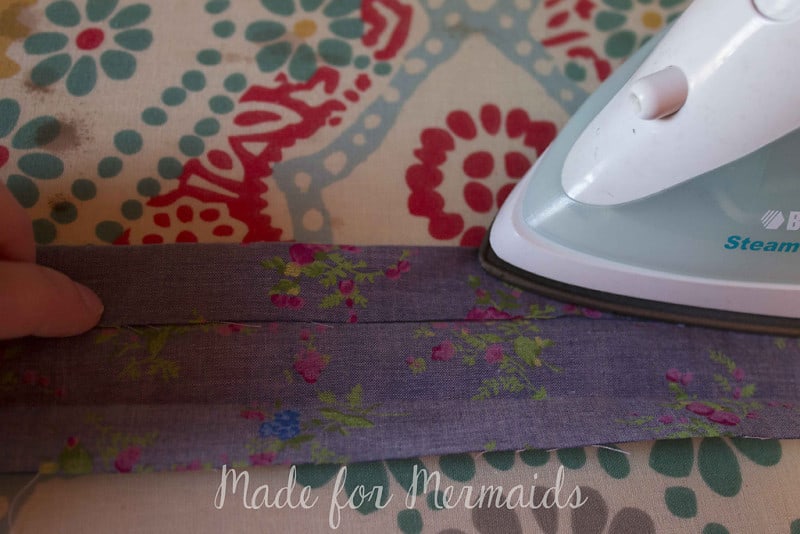
Use same method as if you are making bias tape. Iron 1/4” to wrong side along one short side. Iron each strap piece in half, wrong sides together, to find center. Open back up. Iron raw edge to center crease. Repeat on other side.
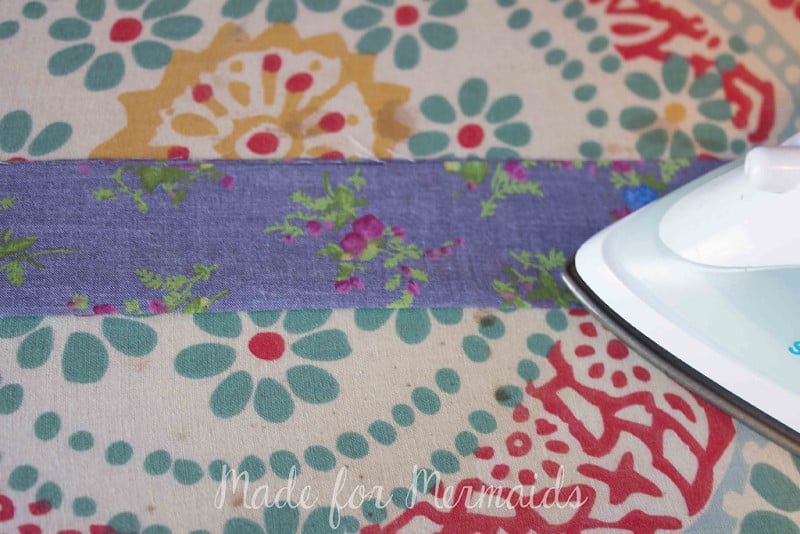
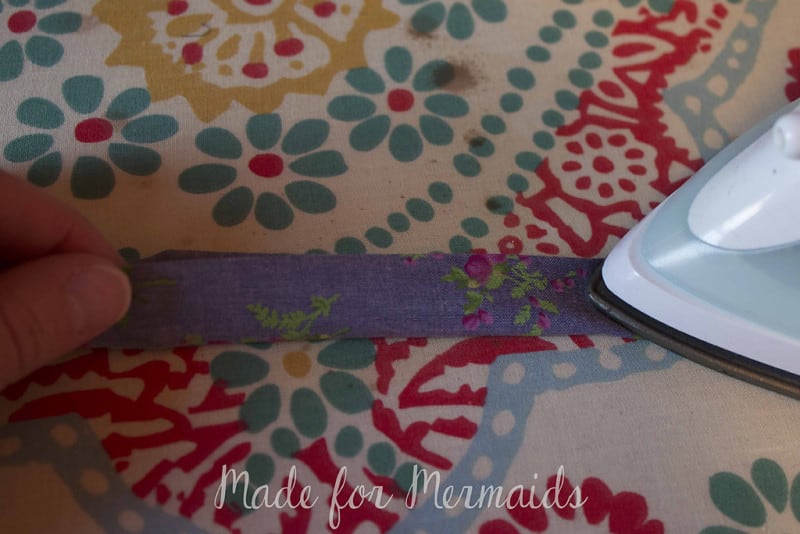
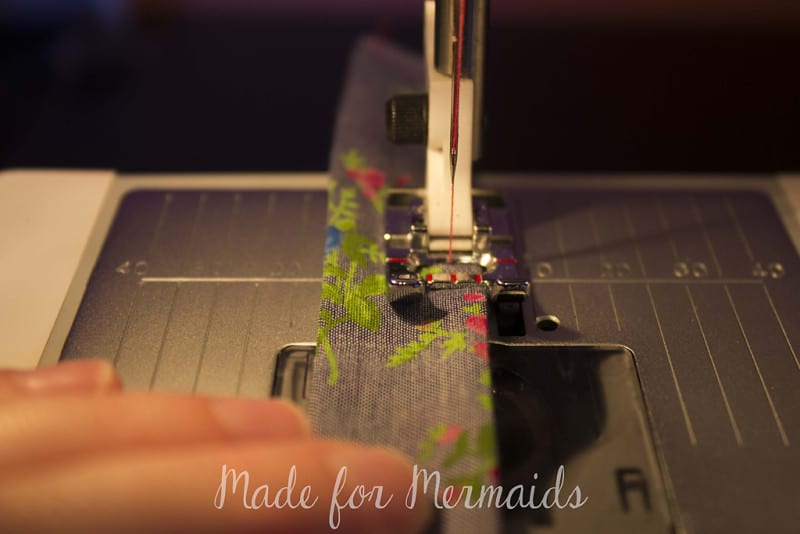
Iron in half again, enclosing raw edges. Edge stitch along folded short end and open long edge to close. Repeat on other strap. Set aside.
Step 3: Skirt
Place skirts right sides together and pin along two sides and bottom edge. Stitch sides and bottom with 1/2″ seam allowance.
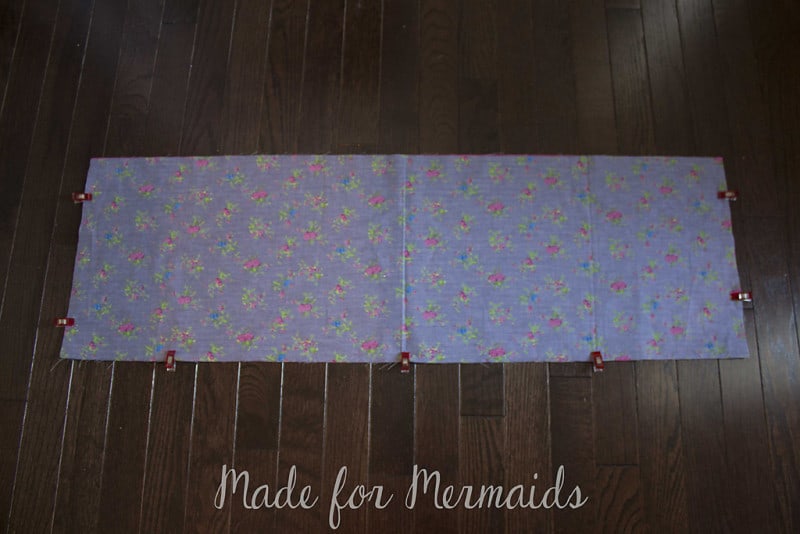
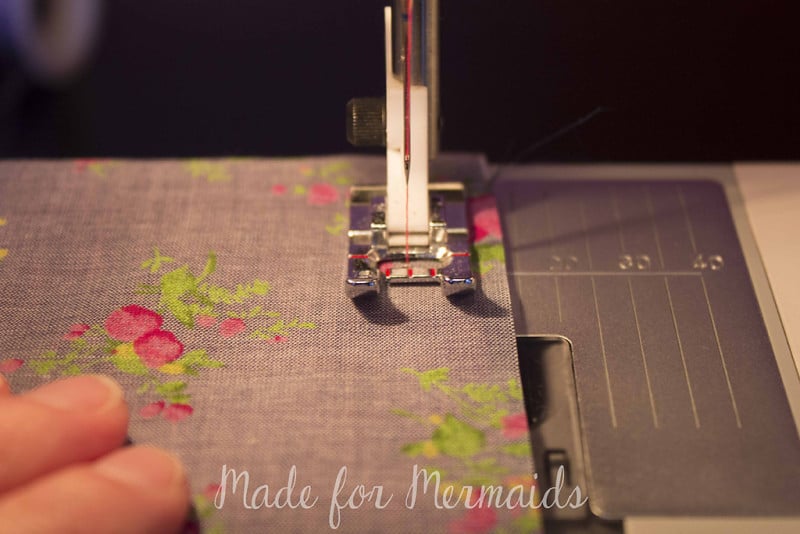
Clip corners and trim seam allowance to 1/4″. Turn and push corners out with a point former or chopstick. Press well.
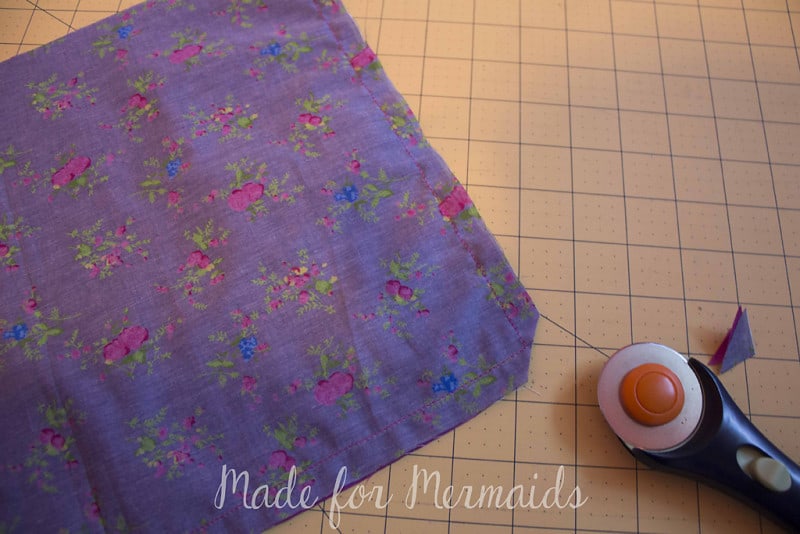
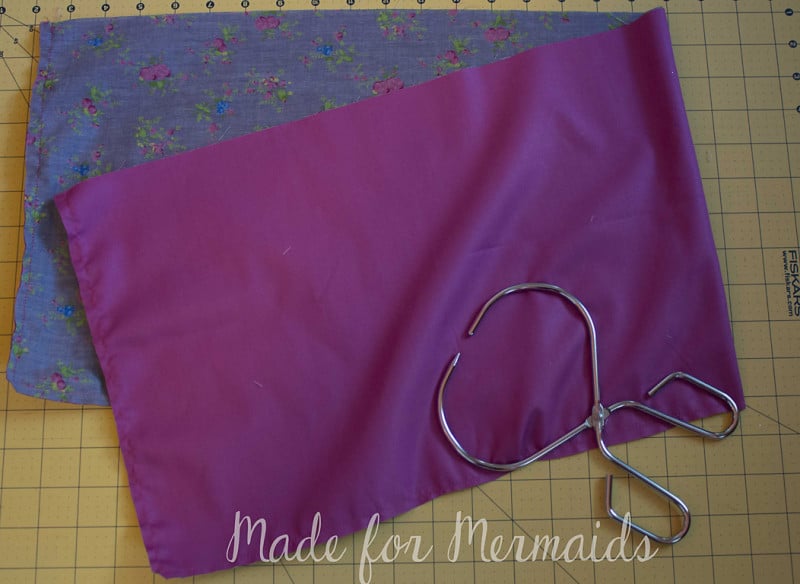
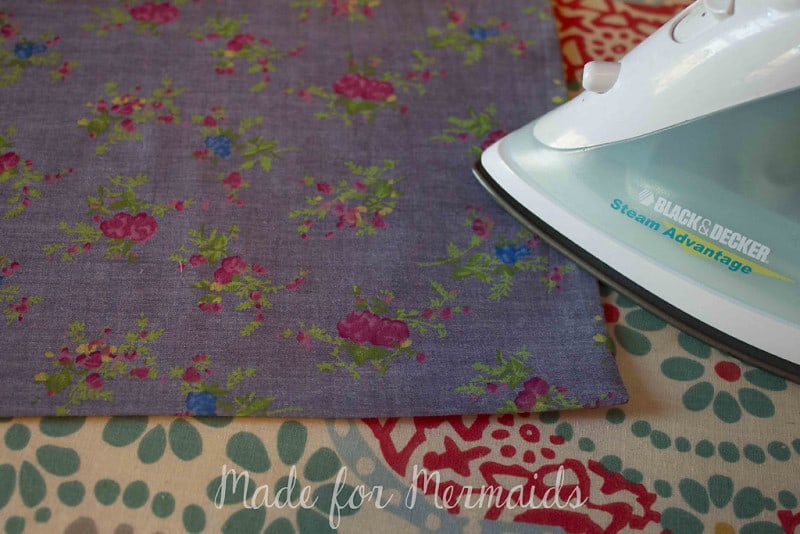
Top stitch 1/8″ along sides and bottom if desired.
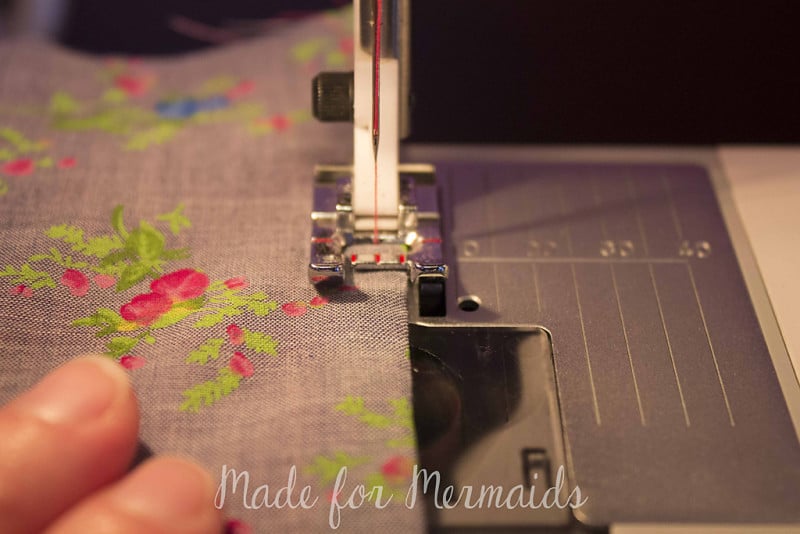
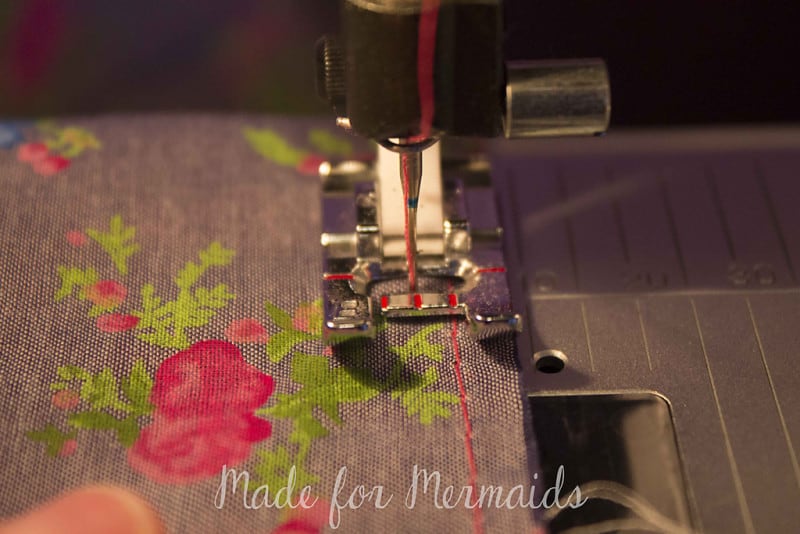
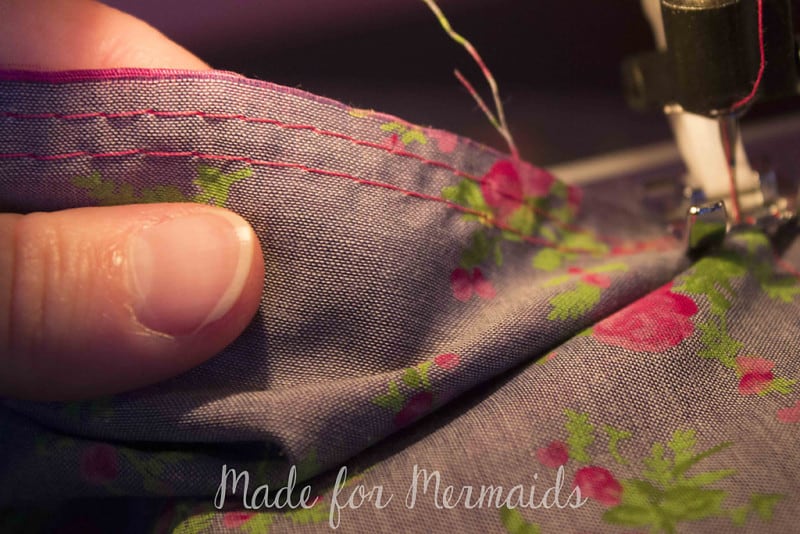
Run two lines of gathering stitches 1/8″ and 1/4″ from top. You can increase your stitch length to longest, usually 5. Do not gather yet.
Step 4: Strap Placement
Fold front waistband in half width wise to find center. Pin your strap so the inside edge of strap is 2.25″ away from the center crease. Raw edges of strap should line up along the top edge of the waistband. Straps should be facing down. Repeat with other strap. Stitch straps in place with 1/4″ seam allowance.
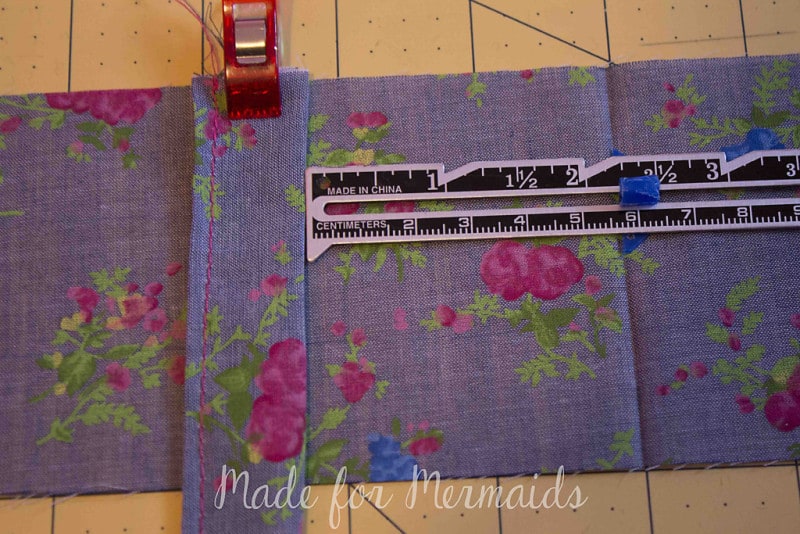
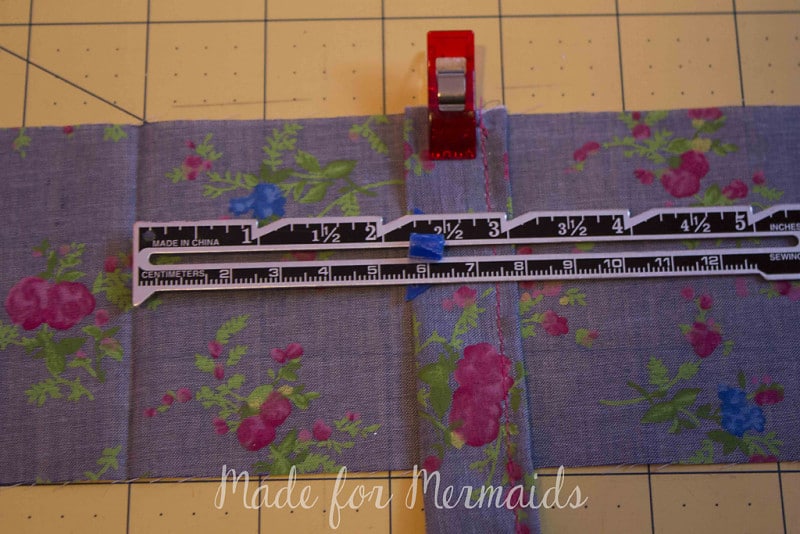
Lay your front waistband out with the straps flipped up and out of the way.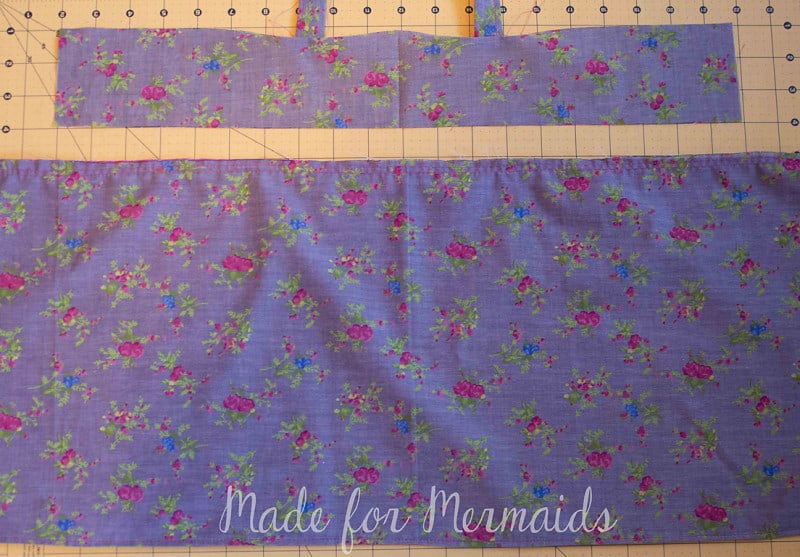
Step 5: Attaching skirt and waistband
Place top edge of skirt and bottom edge of front waistband right sides together. Pin the skirt 1/2″ from the side edges of waistband. Pull bobbin threads and gather skirt until it fits the waistband. Pin. Stitch skirt to waistband. Press seam allowance up towards straps.
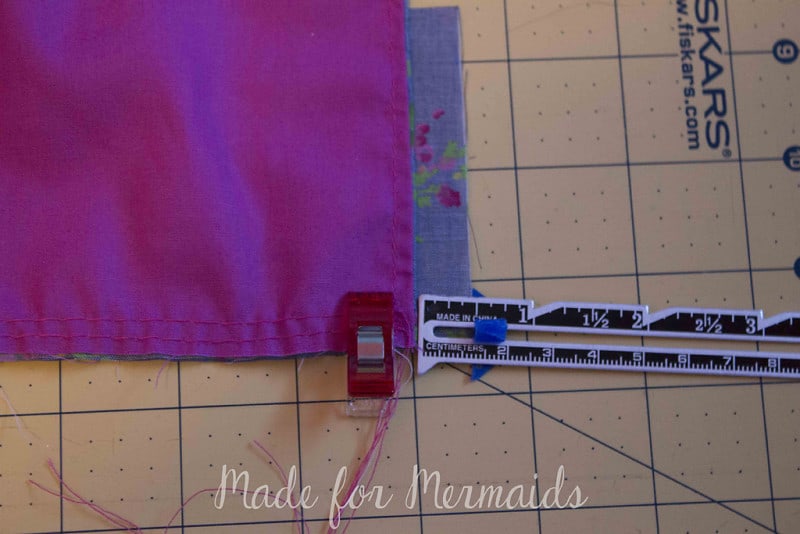
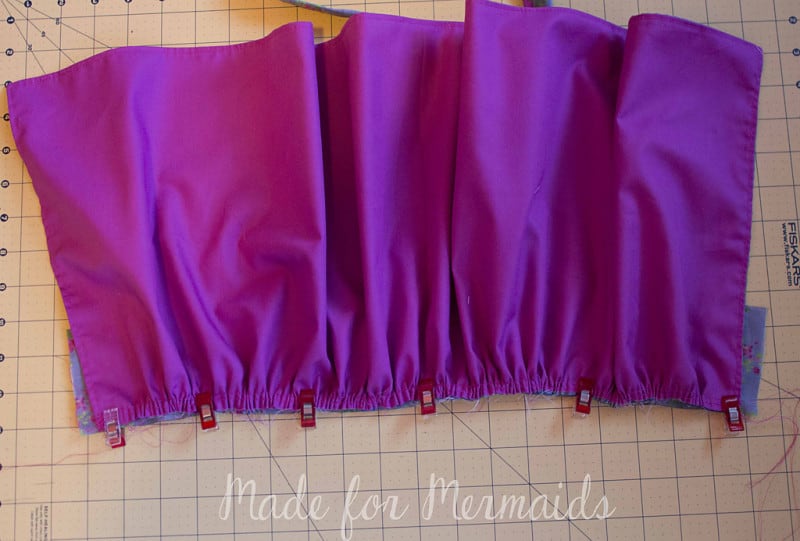
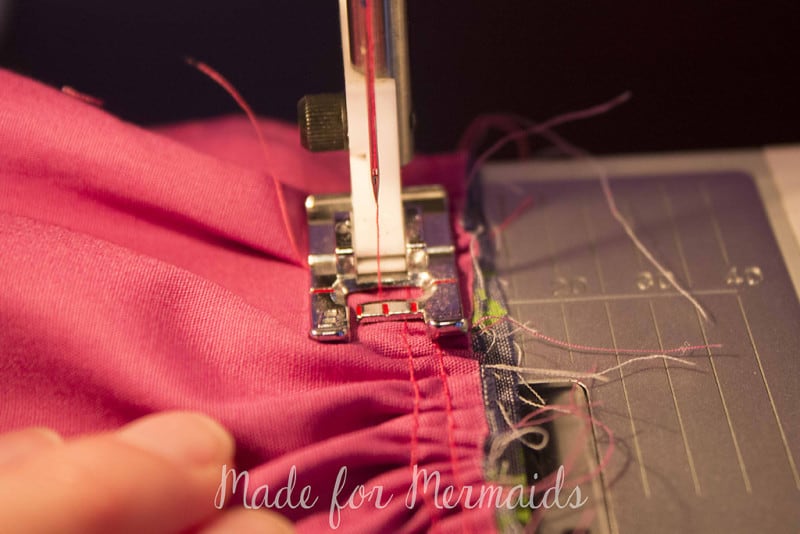
Step 6: Finishing
Take your waistband lining and press the bottom edge up 1/2″ towards the wrong side.
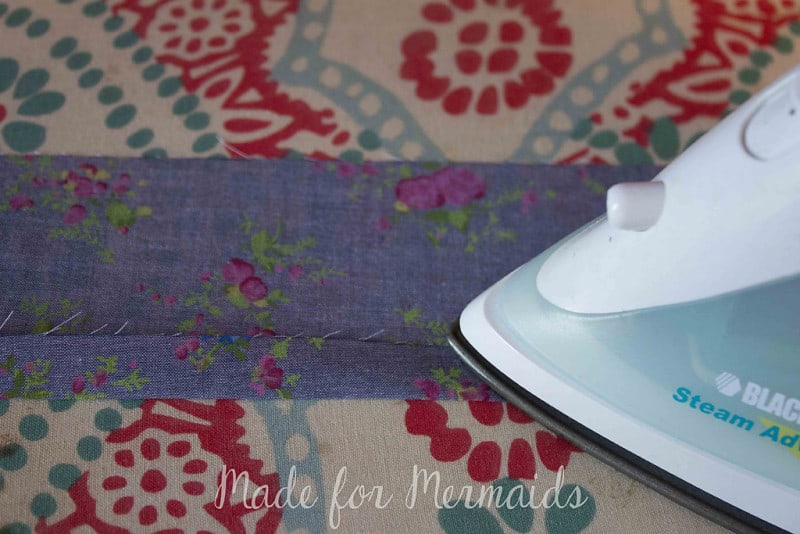
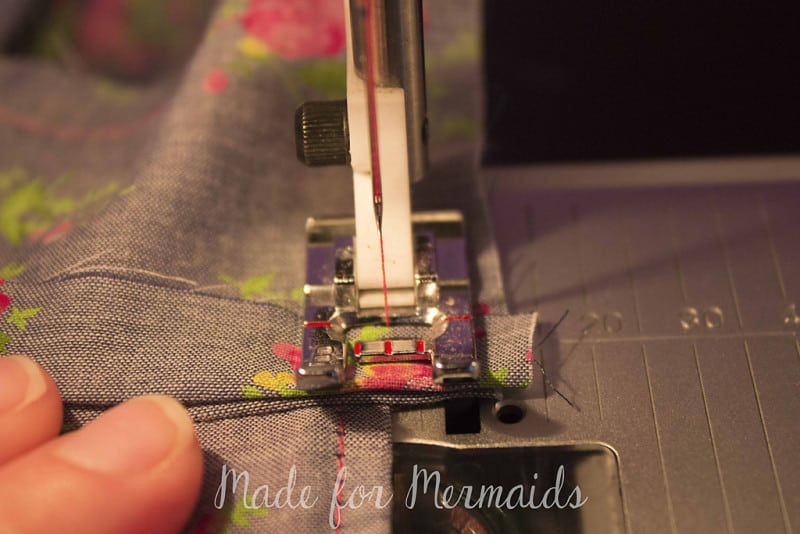
Place waistband lining face down on skirt and front waistband. Your straps will be pointed down and sandwiched between the waistbands. Do not unfold the lining edge you just pressed! Pin and stitch together with 1/2″ seam allowance. Carefully stitch the sides so your stitch will be directly in line with the edge of your skirt. (see photo #3).
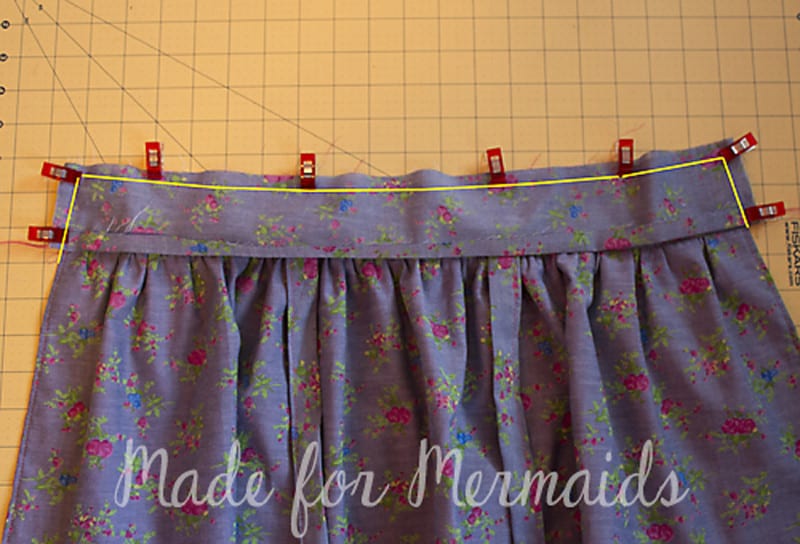
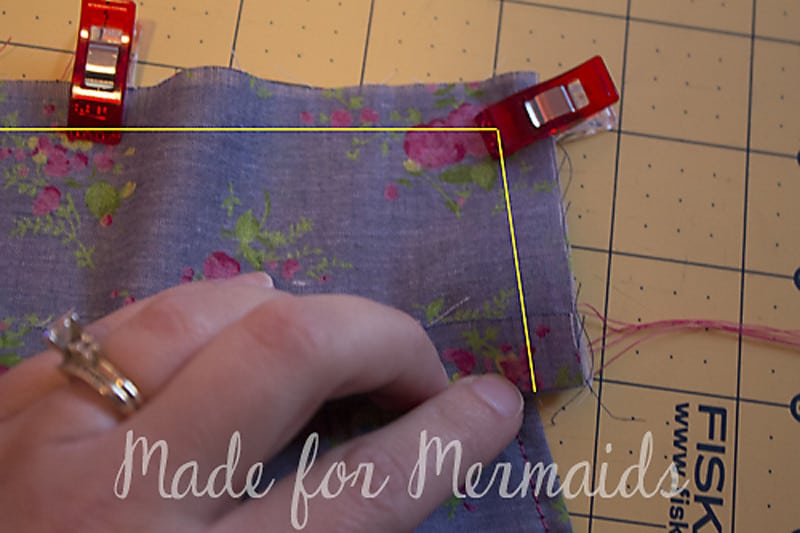
Clip the top corners and trim waistband seam allowance to 1/4″. Turn right side out and press well.
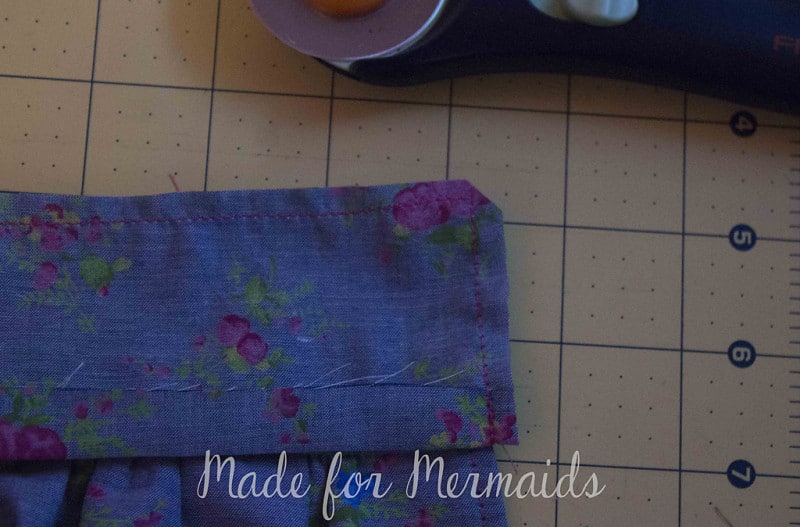
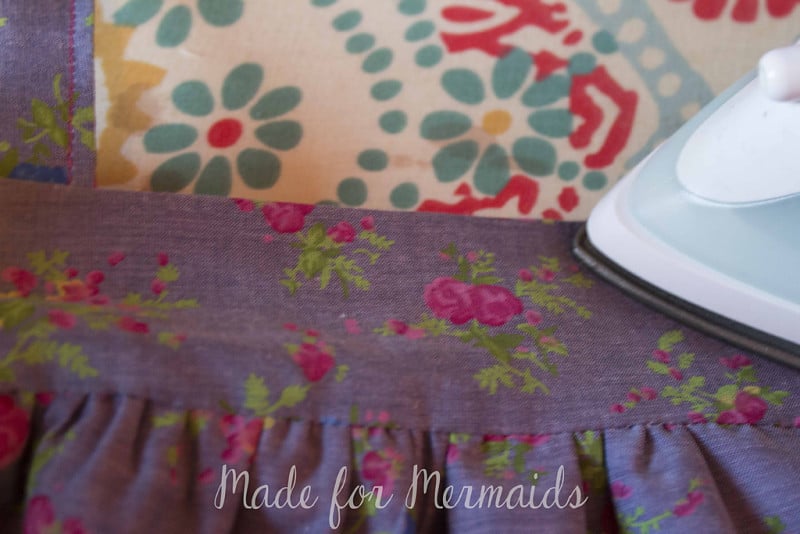
Use hem tape to hold waistband lining in place.
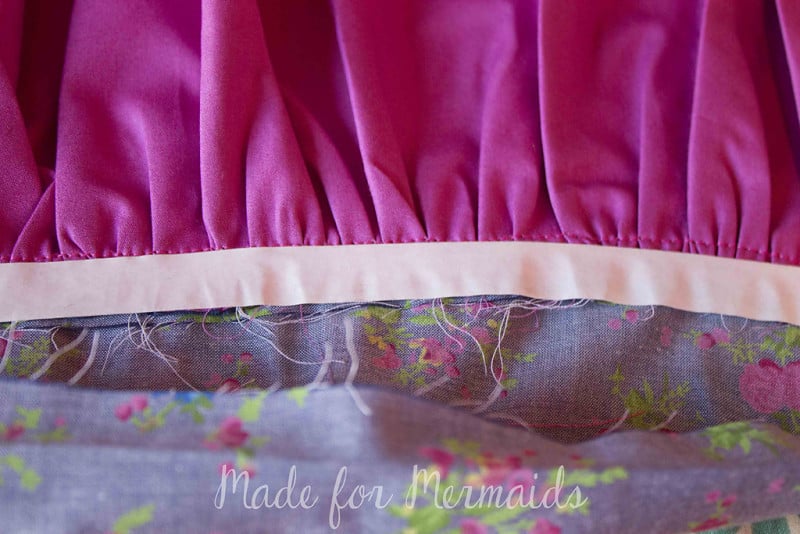
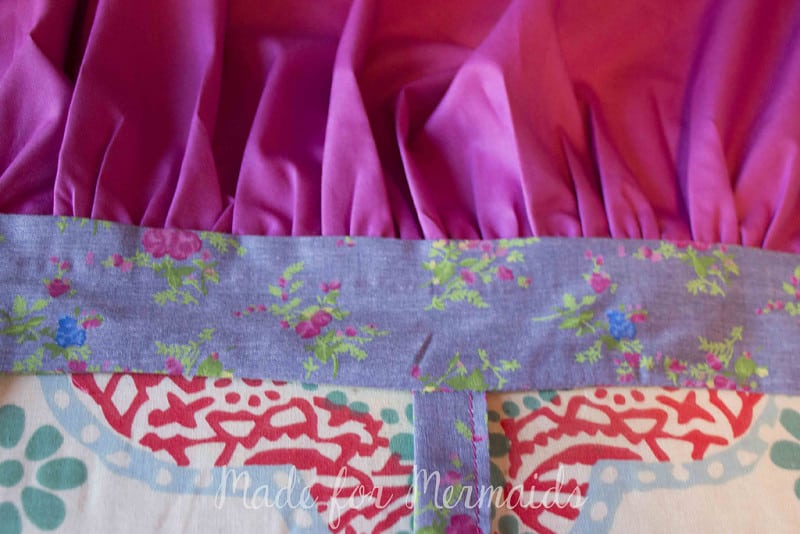
Top stitch around the entire waistband using 1/8″ seam allowance.
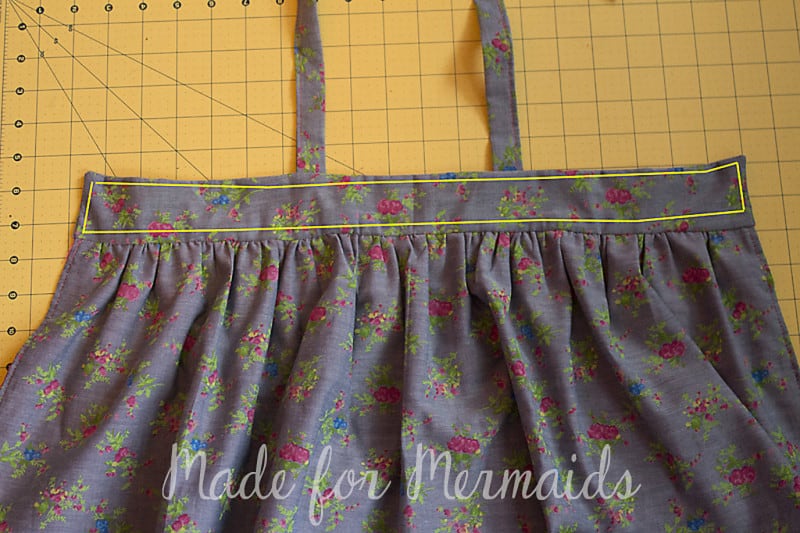
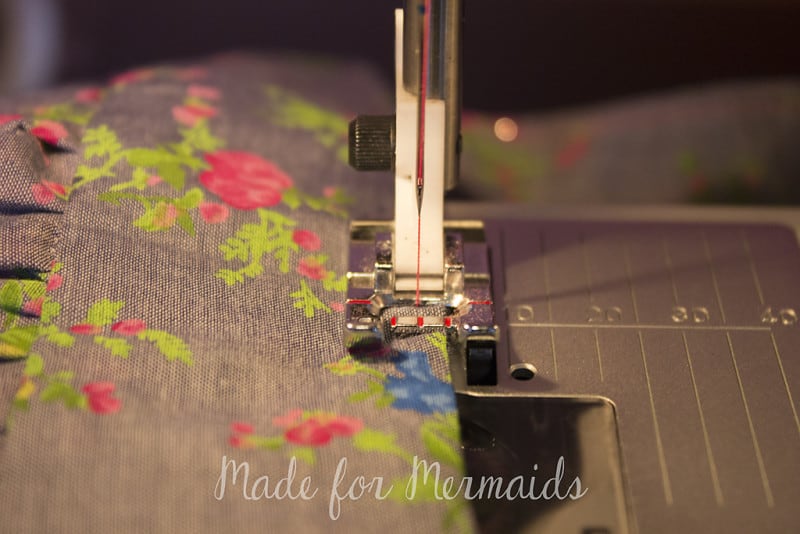
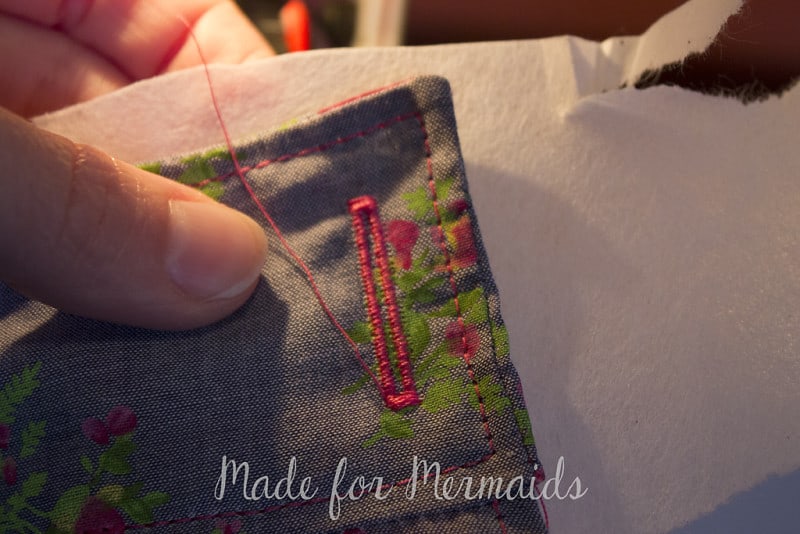
Add a buttonhole to each side of the waistband. You need it large enough for your strap to fit through. I recommend a 1″ to 1.5″ buttonhole. Tip: Use tear-away stabilizer under your buttonhole to help your machine. Use a seam ripper to carefully open up your buttonhole.
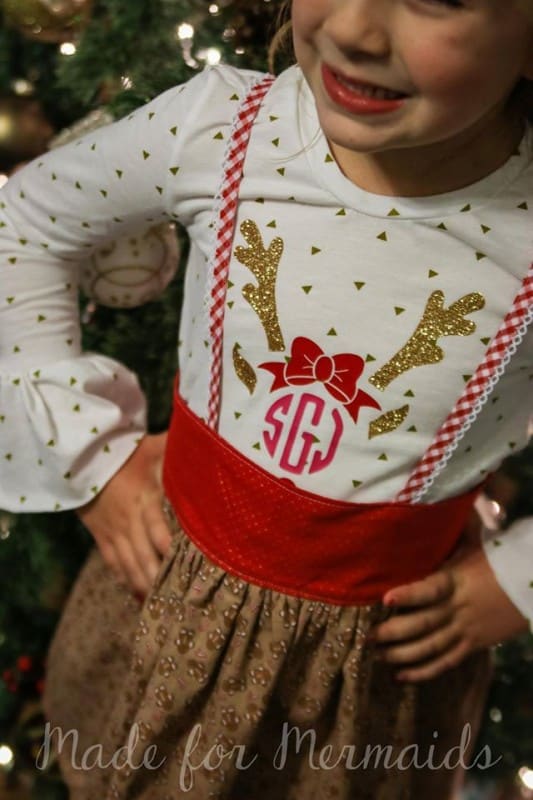
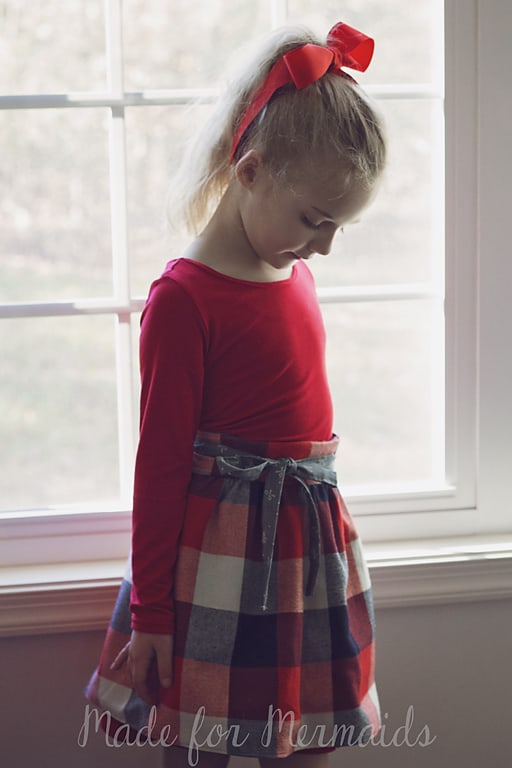
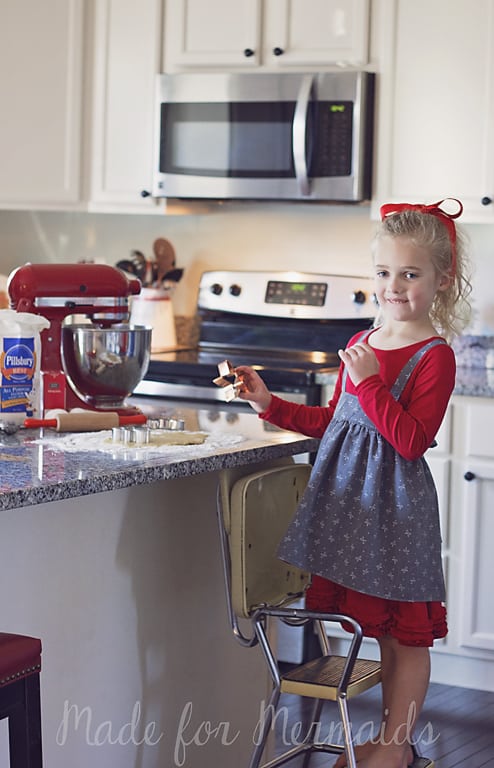
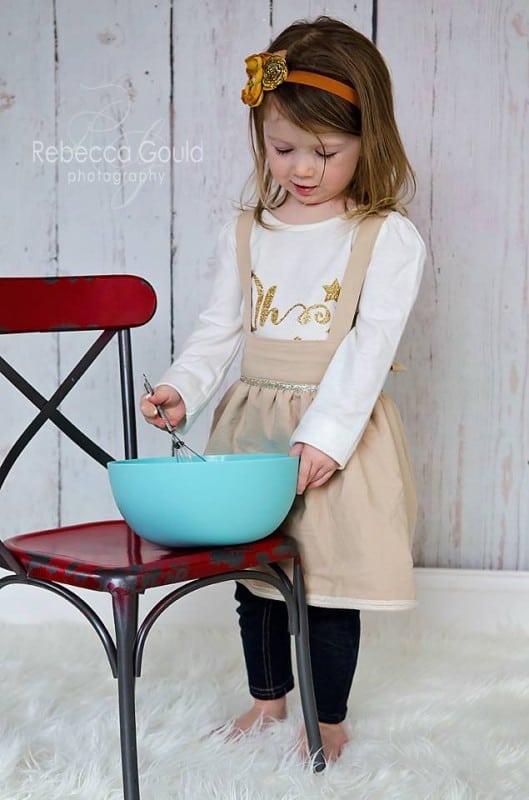
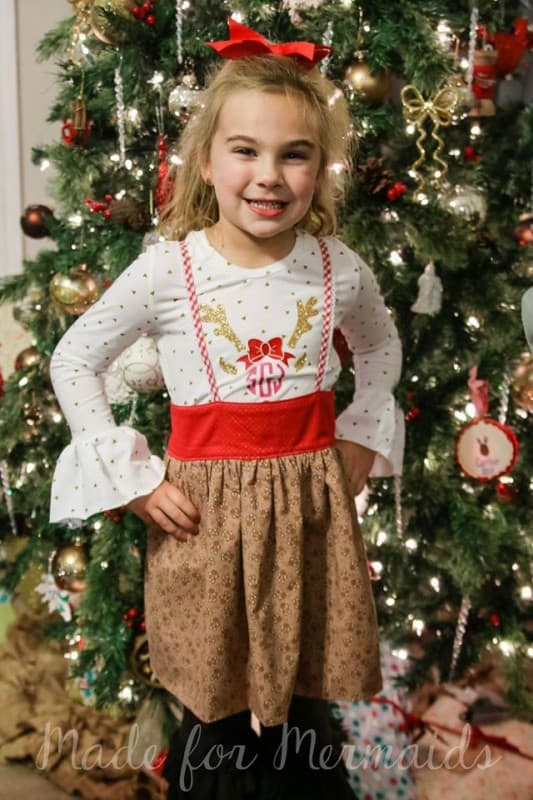
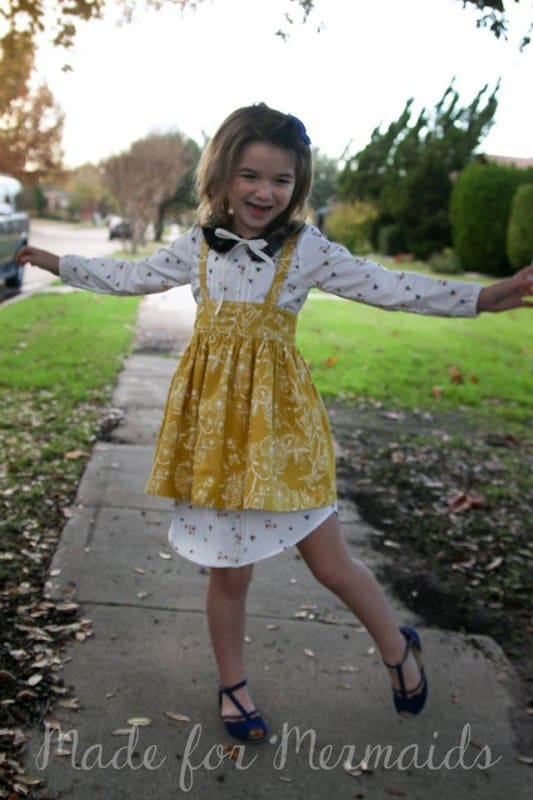
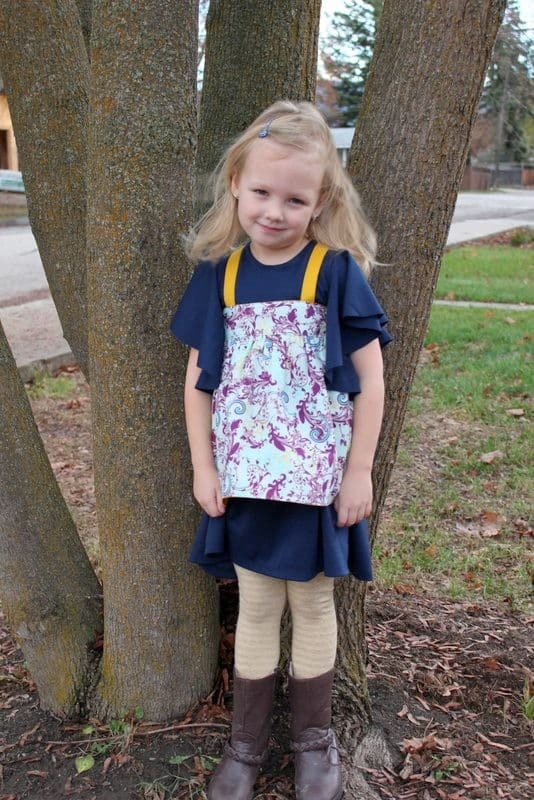
The apron makes an adorable pinafore over your child’s outfit or dress. It also works perfectly for helping out in the kitchen or providing some clothing cover when working on art projects!! Check out some amazing photos from our testing team for inspiration and ideas on how to wear and style your apron…
Don’t forget to join us in the Made for Mermaids Pattern Group to share what you’ve made and to see more sneak peeks of our 12 Days of Freebies!
M4M’s 12 Days of Christmas Freebies
December 1 – 12, 2015
Day 1 – Mermaid Tail Blanket
Day 2- Tiffany Collar
Day 3- Sleep Masks
Day 4- Coffee Cozy
Day 5- Dolly Bedding
Day 6- Pillow Cover with svg files
Day 7- Knit Beanie
Day 8- Infinity Scarfs
Day 9- Faux Fur Vest




Leave a Reply