Bonny blog-a-long moving along!! Today I will show you how to insert a gusset piece in your Bonny Leggings or Peg Legs. There is a free file with layered pieces for all sizes in my facebook group, in the file section. Did you miss the hem bands, exposed or enclosed elastic posts?? Go check them out too!
Why would you need a gusset?? For every day wear you really don’t. But if your little one is in gymnastics, karate OR you are lifting weights, running or any kind of work out you will want one. It will prevent any seam popping when squatting, stretching or running! It gives you more room to move and prevents chaffing. Win all the way around!
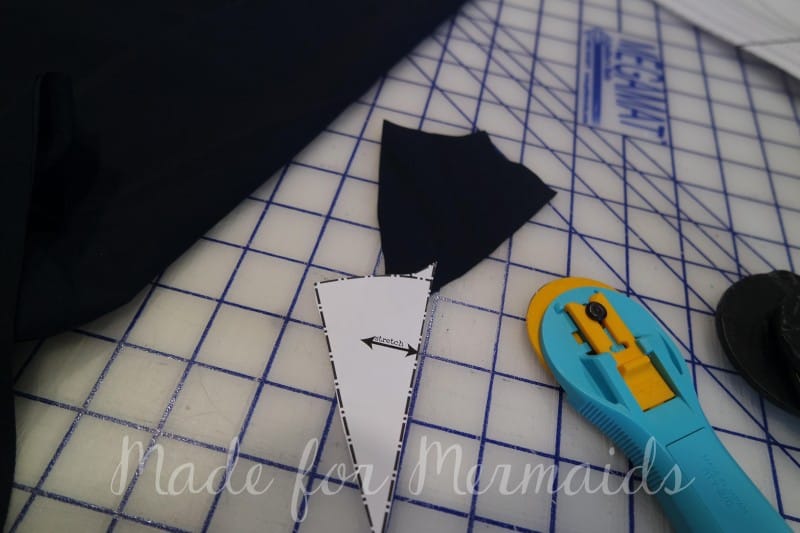
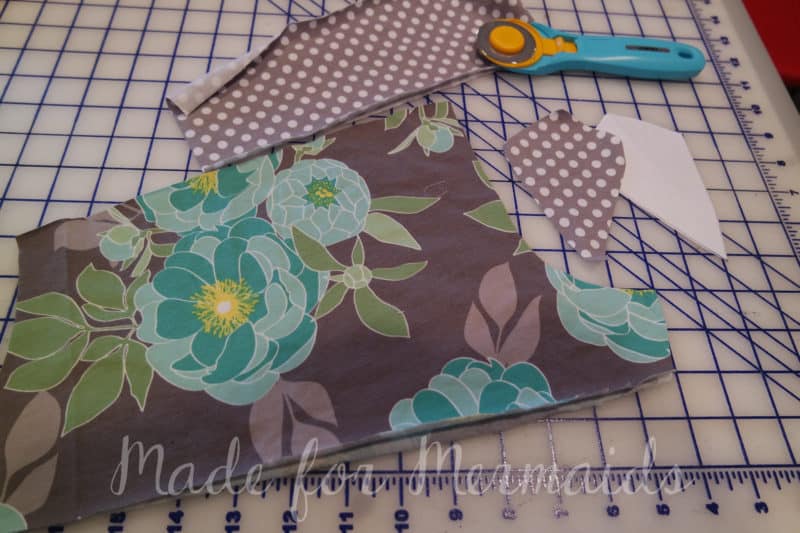
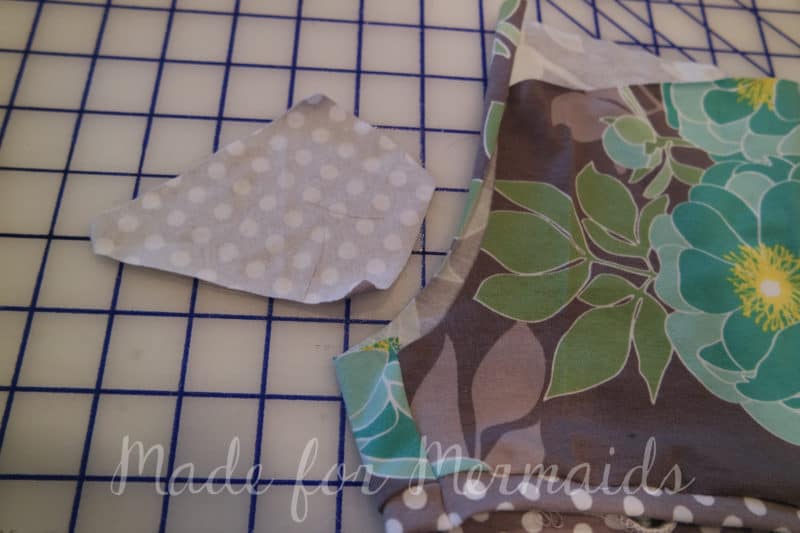
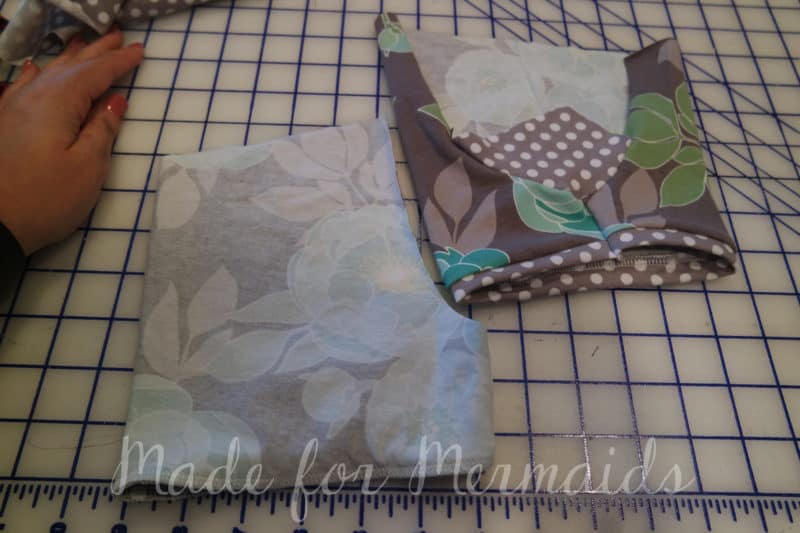
I will pre-warn you this may seem confusing… but look at the pictures carefully and after you do it once, it’s a cinch! If you want video, let me know in the comments or on my facebook page. First print your tiny gusset pattern piece and cut your pieces.
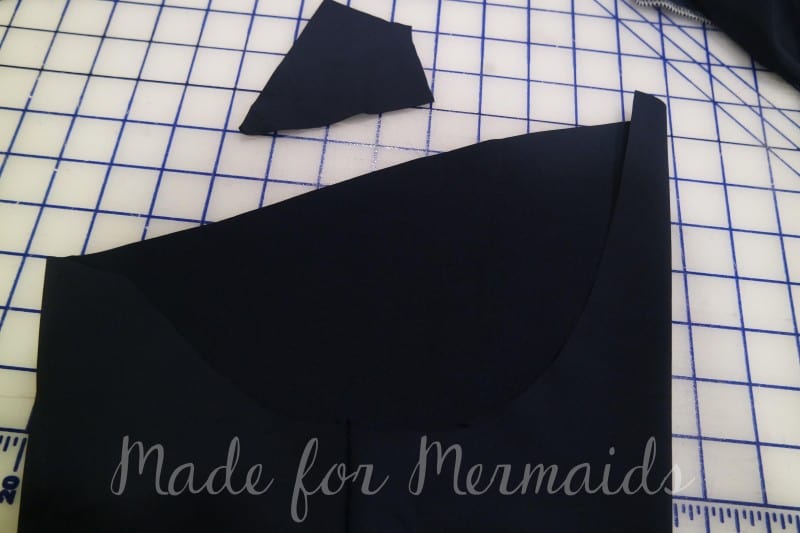
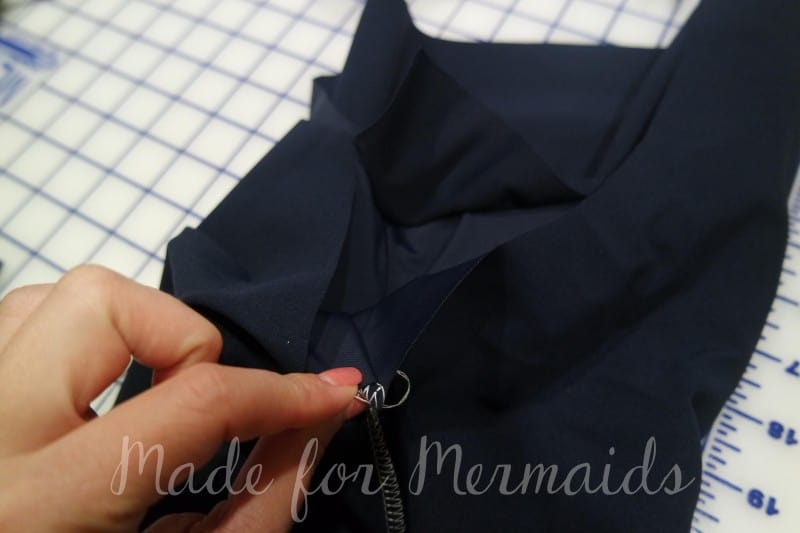
Sew your pattern per tutorial until you get to the crotch seam. Flip one leg right side out and lay so the crotch curve is flat and centered.
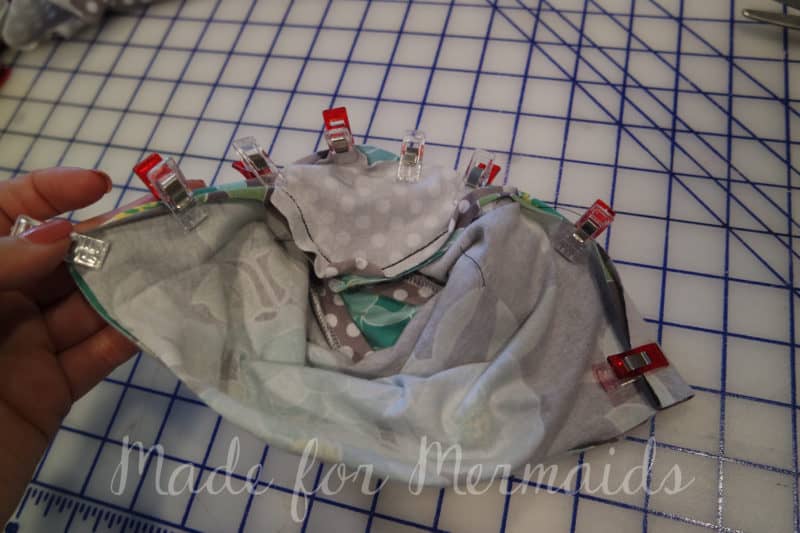
Lay the gusset piece out so the longer sides are going toward the back. With RIGHT sides together, match the corner of the gusset piece to the inseam of your pant leg.
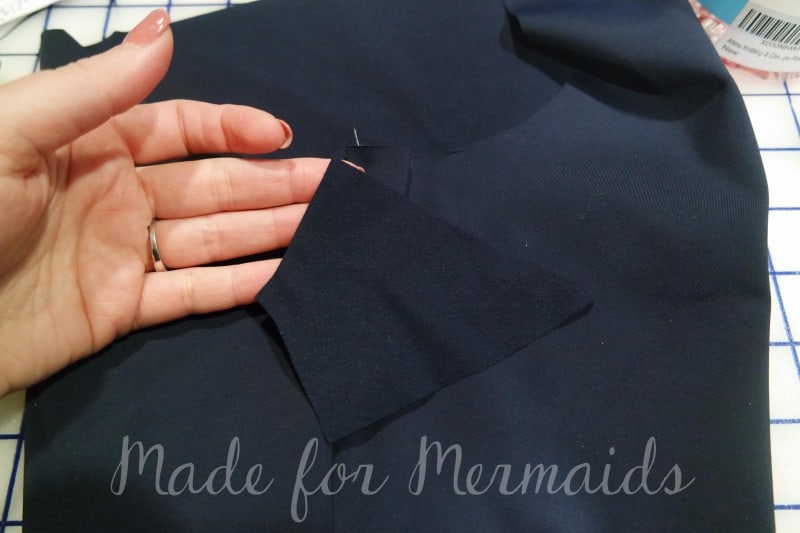
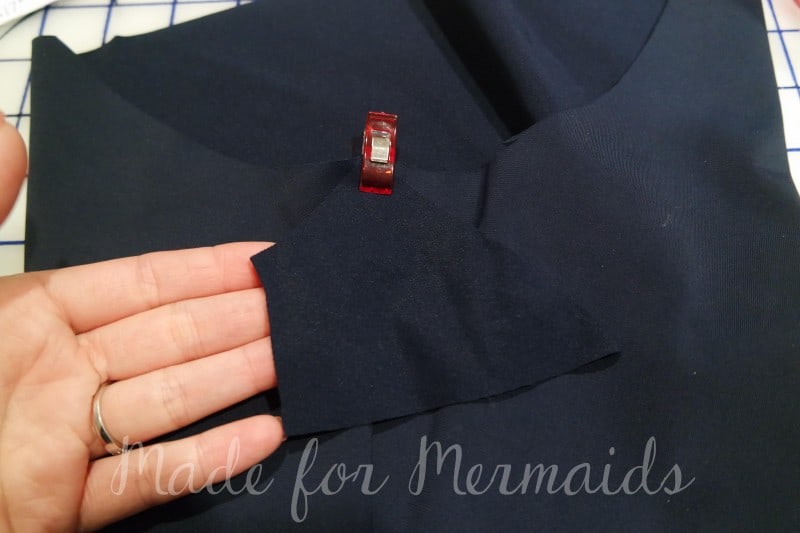
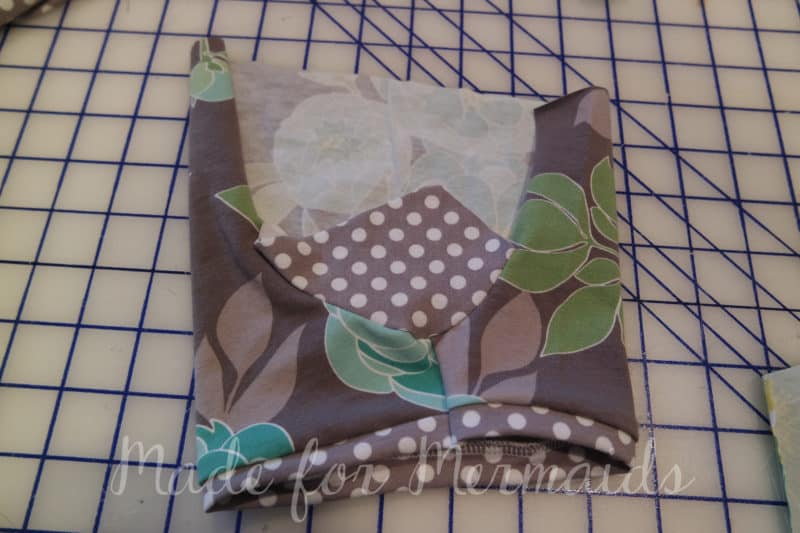
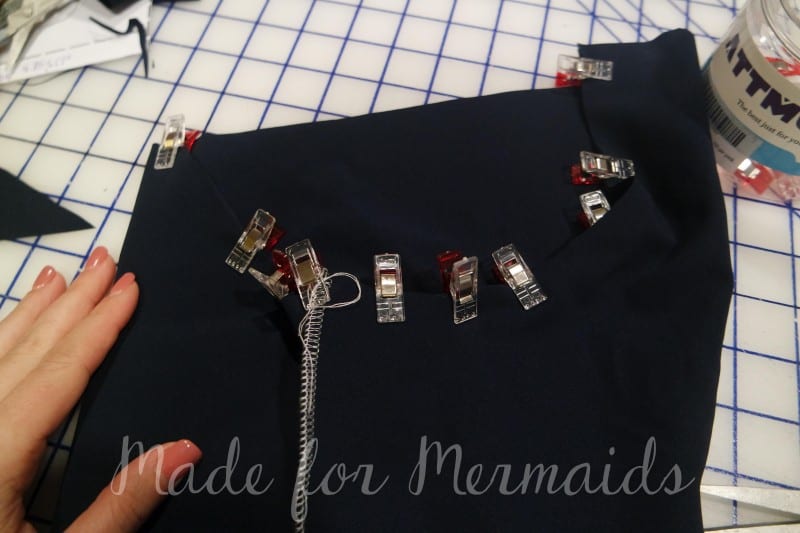
Pin the longer gusset edge along the back crotch curve.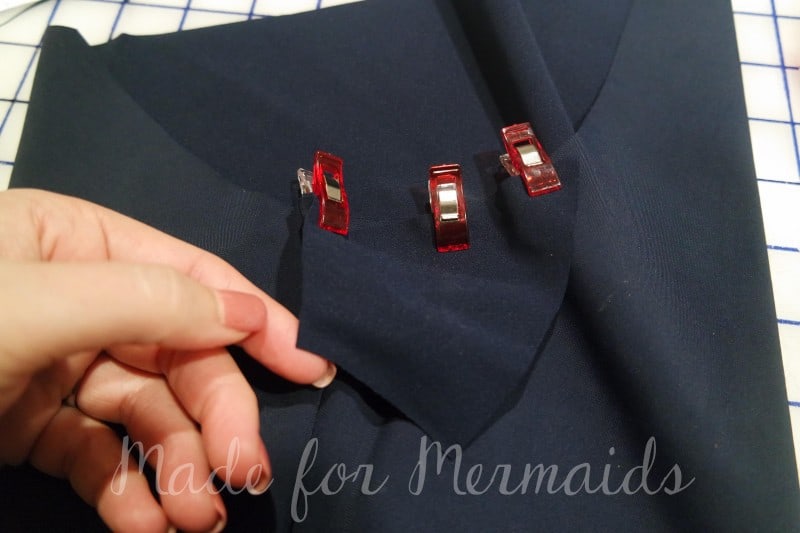
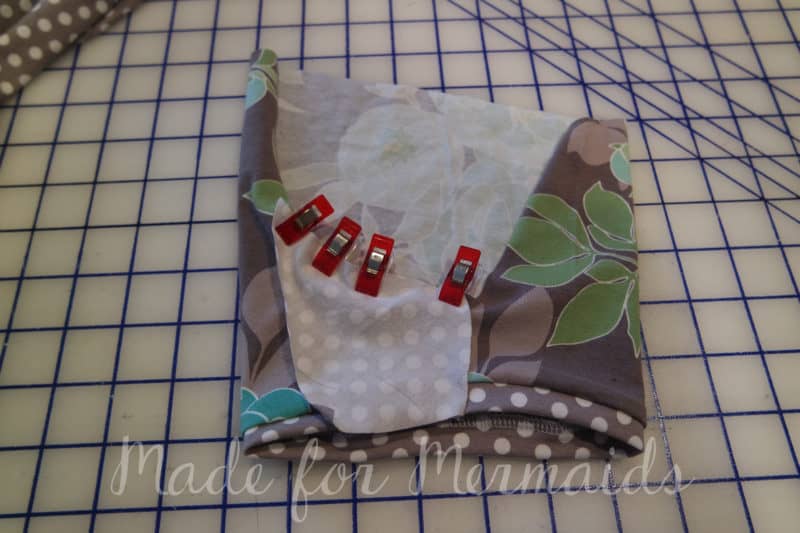
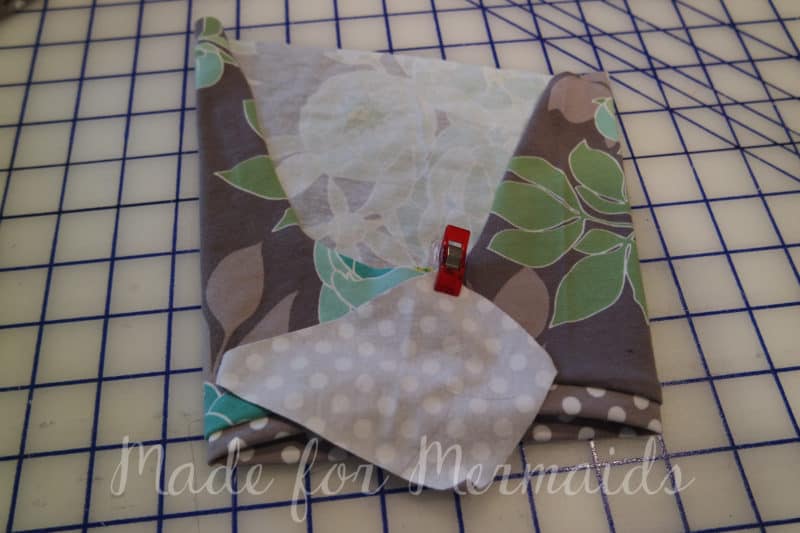
Then pin the shorten end, stopping at the center notch, on the front crotch curve.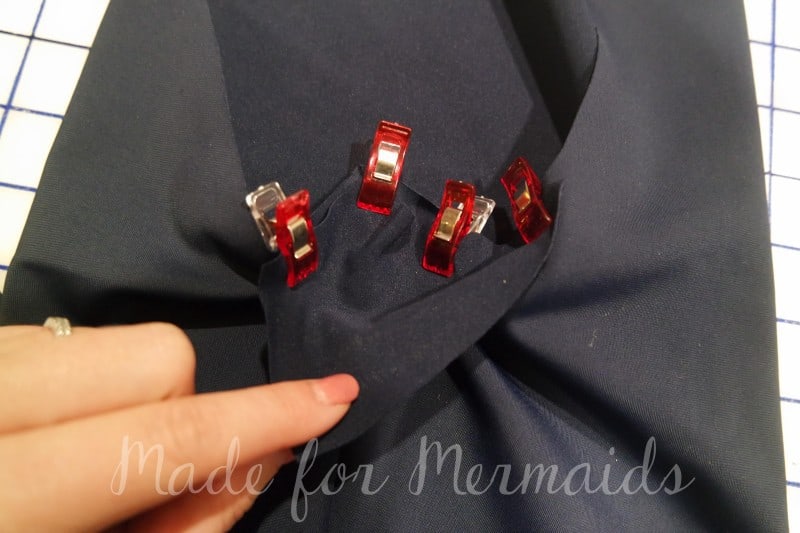
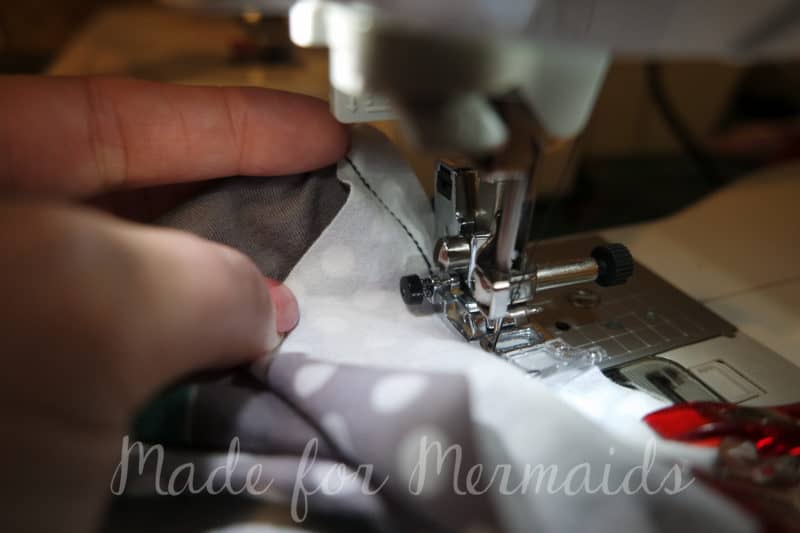
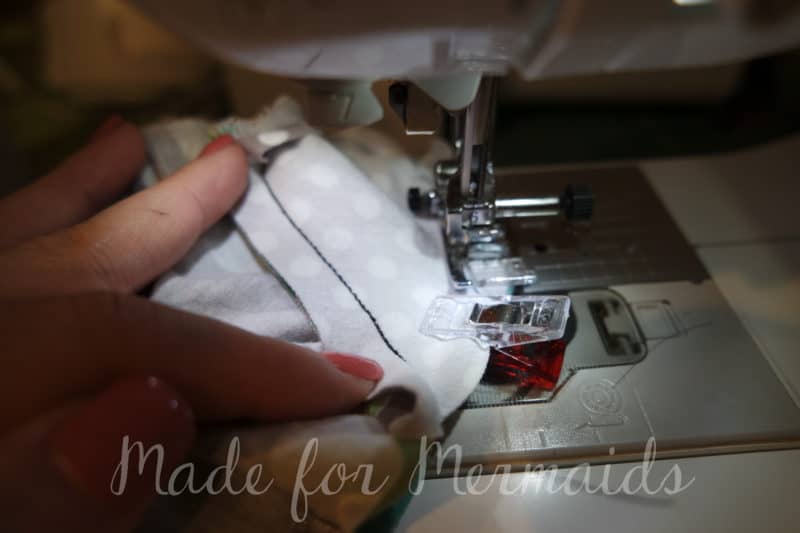
Then with a stretch stitch, I like the triple stitch on my machine, stitch the gusset piece to leggings using a 1/2″ seam allowance. Go back and stitch again to reinforce if you’re going to be working out hard or are blessed with a round booty! Make sure not to stitch past the center notch. I like to trim my seam here, ONLY where the gusset was stitched so it’s less bulky.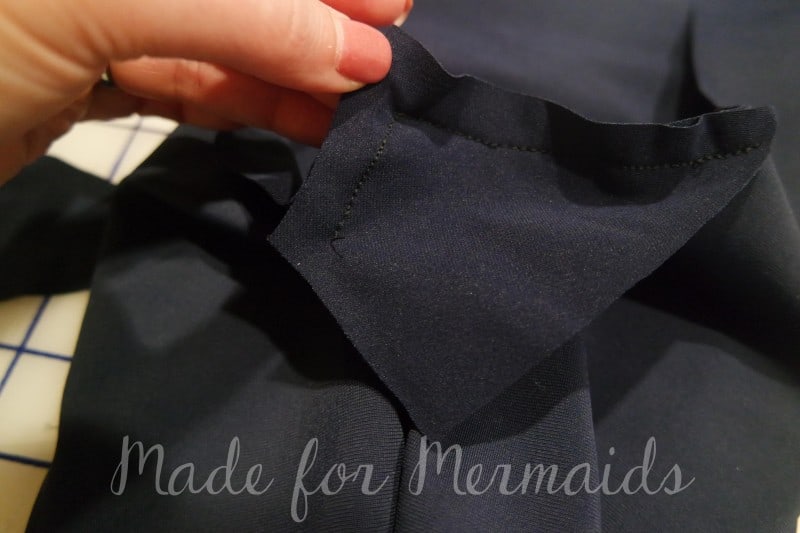
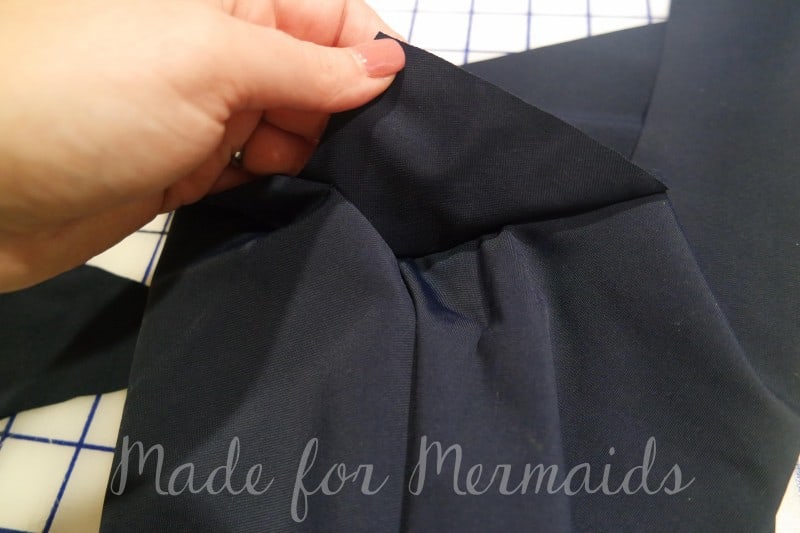
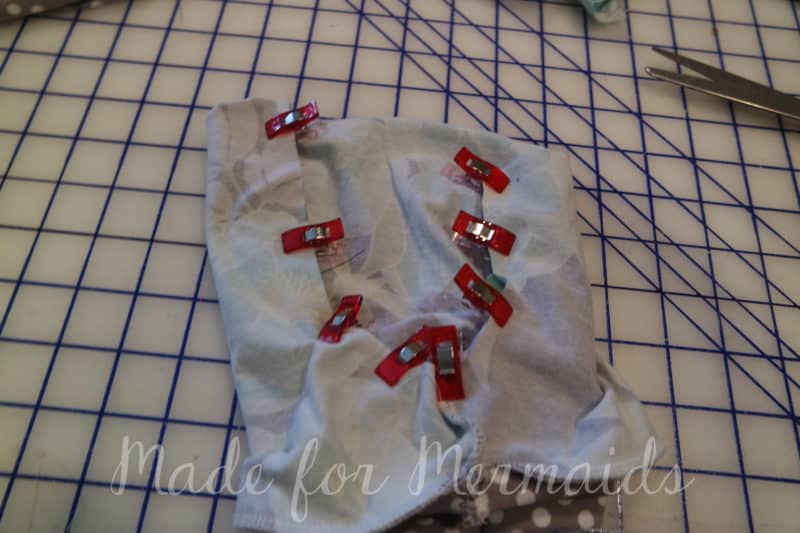
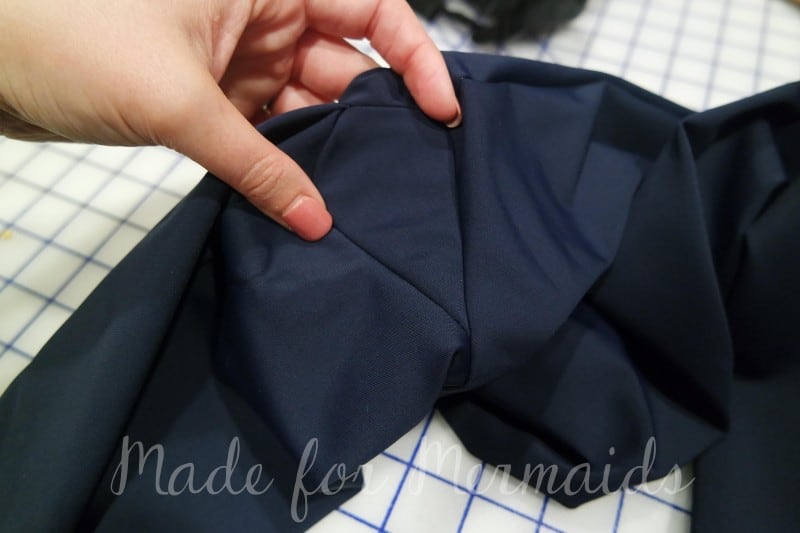
Now slip that pant leg inside the other, just like in the pattern. With right sides together and matching crotch curve. 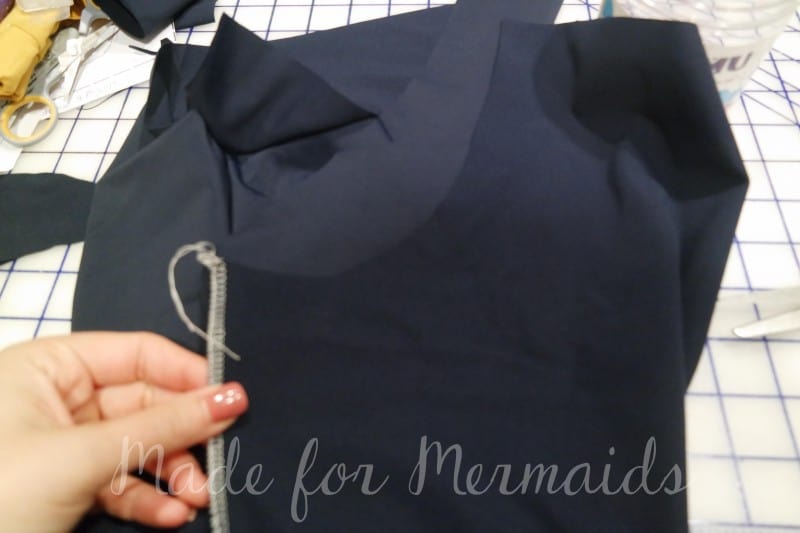

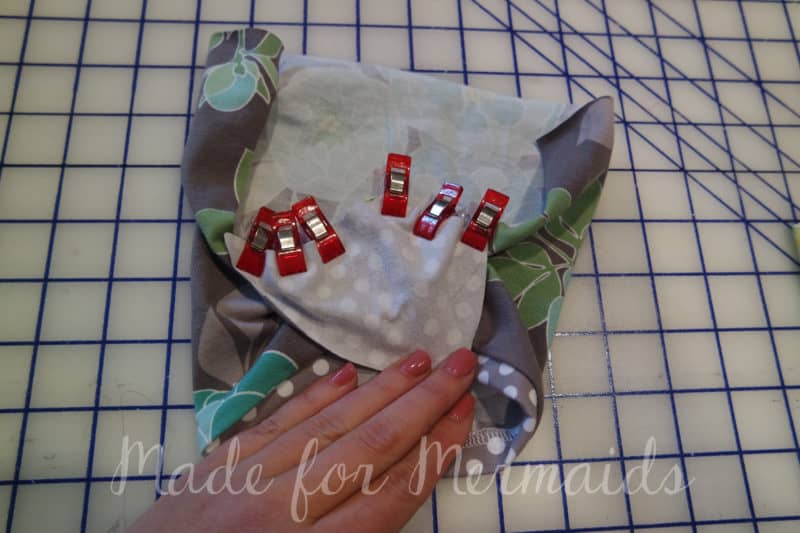
We’re going to repeat the pinning process on the other leg. Match the inner leg seam to gusset corner. Pin long side of gusset, along back crotch curve. The pin shorter side of guess to front crotch curve. Then continue to pin the crotch curve from front to back to the other leg. So around the gusset your two leg pieces should be pinned together, just like you are sewing them normally. 

Again, with a stretch stitch, stitch the WHOLE crotch curve, from the top of front crotch curve, gusset piece and top of back crotch. Stitch again to reinforce. Trim seams.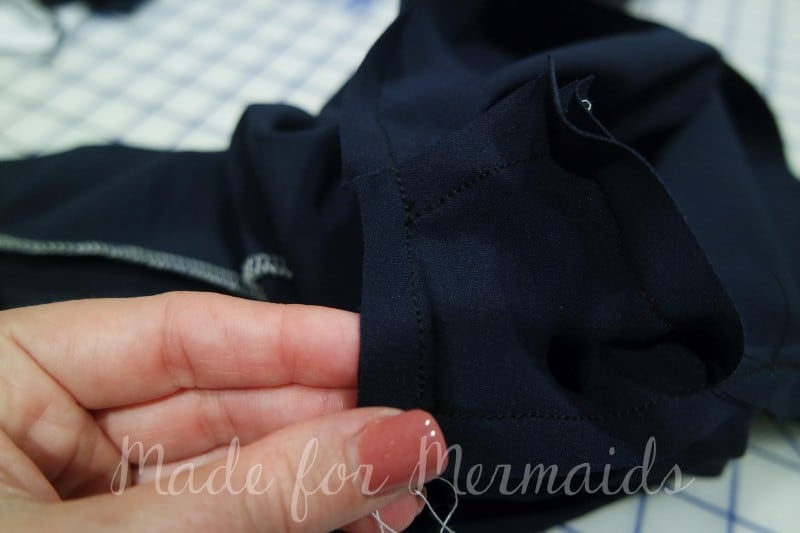
Then attach your waistband and you’re ready for your workout or your daughter will be ready for cartwheels! I’ll be honest, I tried taking photos with the leggings on and the gusset piece…. but it was just awkward to photograph, so you’ll have to make do with product shots 😉 you’re welcome!!!!
Don’t forget to enter the giveaway here!!!!!
a Rafflecopter giveaway
I can’t wait to try this. Thank you!
This is awesome! So helpful!
Can’t wait to try! This is the part I always mess up
Keen to try my bonny leggings, new to knit, hope to try more know it items 🙂
Is this how we can accommodate man bits too?
Great explanation of a gusset!Feeling spoiled this week with all of the Bonny blogging!! Thank you.
This looks super easy and quick. I’ll have to add these to my next ones for my dance kiddo.
Could we still have a video?
Yes please! I can’t see what is inside out or right side out with the dark fabric
Super helpful to learn how to do this! Thanks for shRing!
Thank you!! Can’t wait use this for the leggings!
The best PDF pattern company ever
I can’t wait to try this pattern!!!
I would love to see a video of this process. Thanks!
I can’t wait to make some bonny shorties for gymnastics.
Awesome! Thank you so much for this addition to the pattern!
Love love love this pattern so many variations
This is awesome will definitely adding this
Thank you! Love this, is there a file for the gusset piece?
never knew what that was called!! Thank you!
Thank you for the addition! I’m always paranoid my pants will split at the gym :/
Thank you for this gusset tutorial!!
Awesome tutorial! Thank you!
I was just asking about having a gusset in pants – Thank you!
Thank you for the pattern!
Can’t wait to try this for running Peg legs. Thanks!
Will this make the leggings work better for my ballet-dancing boy?
Thanks for the tutorial! Hard to see what’s happening in the photos, but I’ll work through it and I’m sure I’ll get it in the end!
How old is he Megan?? I think it will work fine until the start maturing a little, then they are going to need a different crotch curve (deeper).
now to figure out which is a stretch stitch !
Zig zag, lightening bolt and triple stitch are most common!
I love this! off to print this now!
Can’t wait to try! Thank you!
I would love a video tutorial pretty please!
Thank you for the tutorial. It is very hard to see exactly what you are doing with the dark fabric.
A video will help us newbies tremendously. You were right, the photos are a bit confusing. I was blessed with a big booty. I totally need this.
Thanks, I think this a great idea. I would also like to try it for my leggings but not sure about the size to cut the gusset piece. Thanks for sharing
Thank you!!
Thanks so much for the tutorial. Is this necessary if I’m using a serger?
Video please! When I sew it, the crotch becomes so uncomfortable. I can’t figure out how to do it correctly. Thanks!
This is very helpful. I’m confused though with the shape of gusset. The download from m4m Facebook is a pie shape but tutorial is diamond shape. Was there an update?
The piece is cut on the fold 😉
I’m trying to figure out how to sew the gusset. Where can I find the video? Thank you
There is only the photo tutorial, no video.