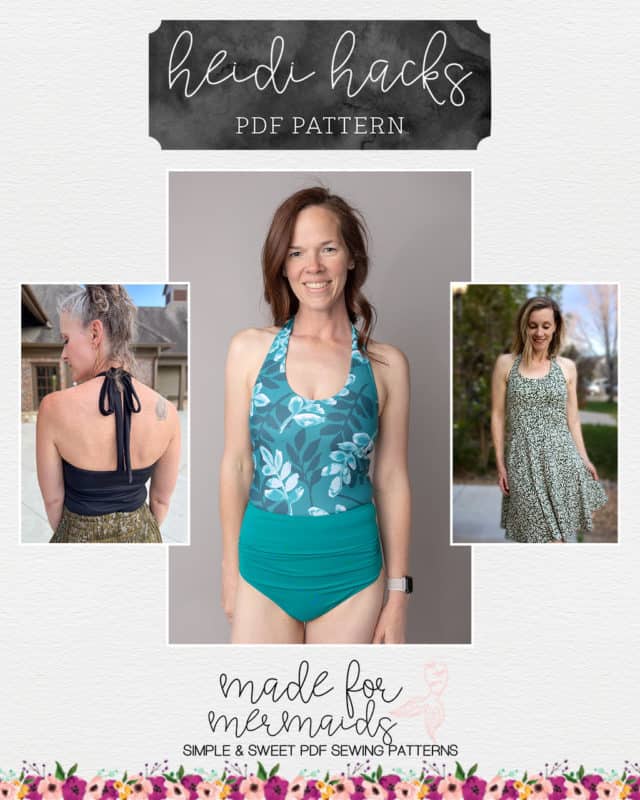
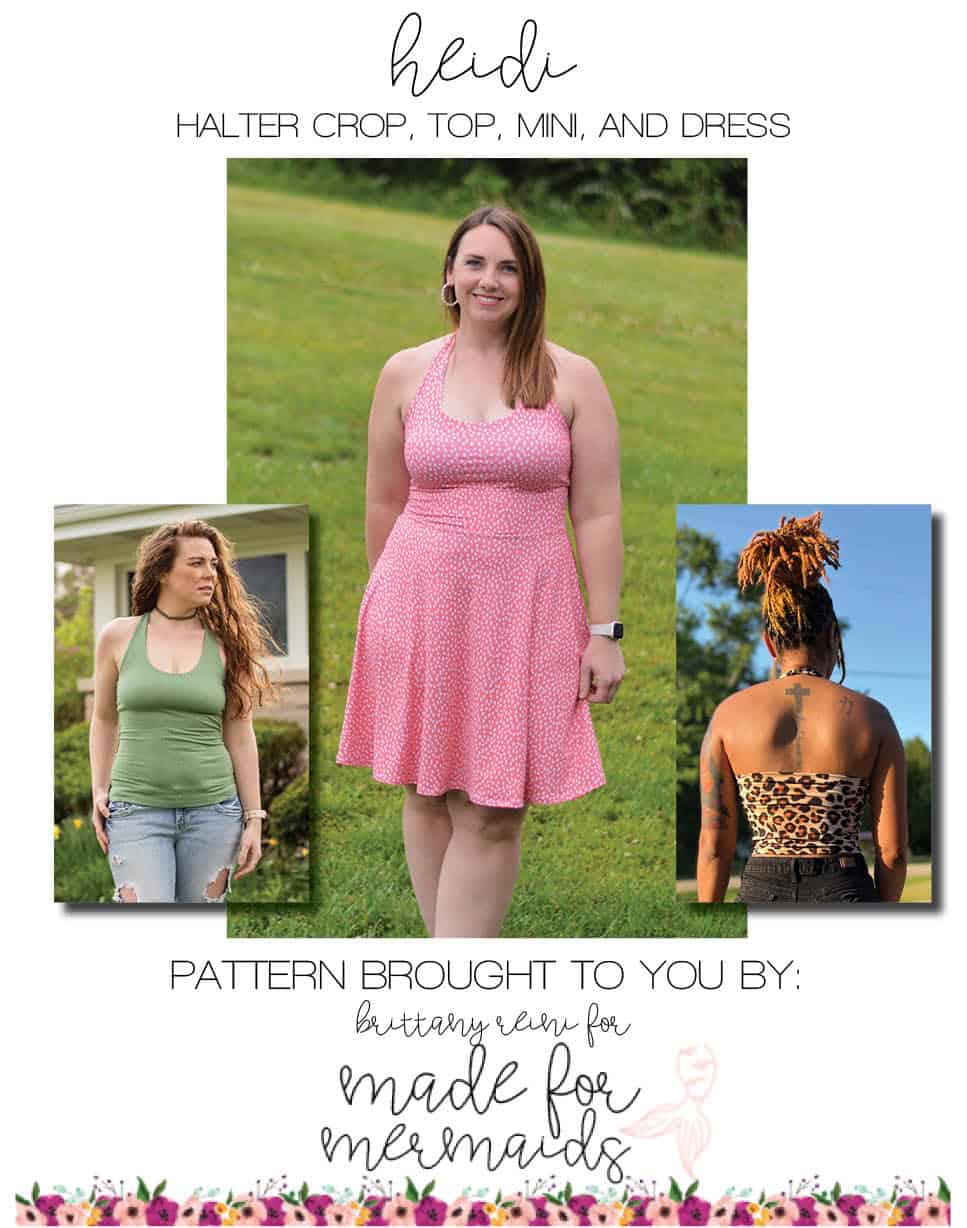
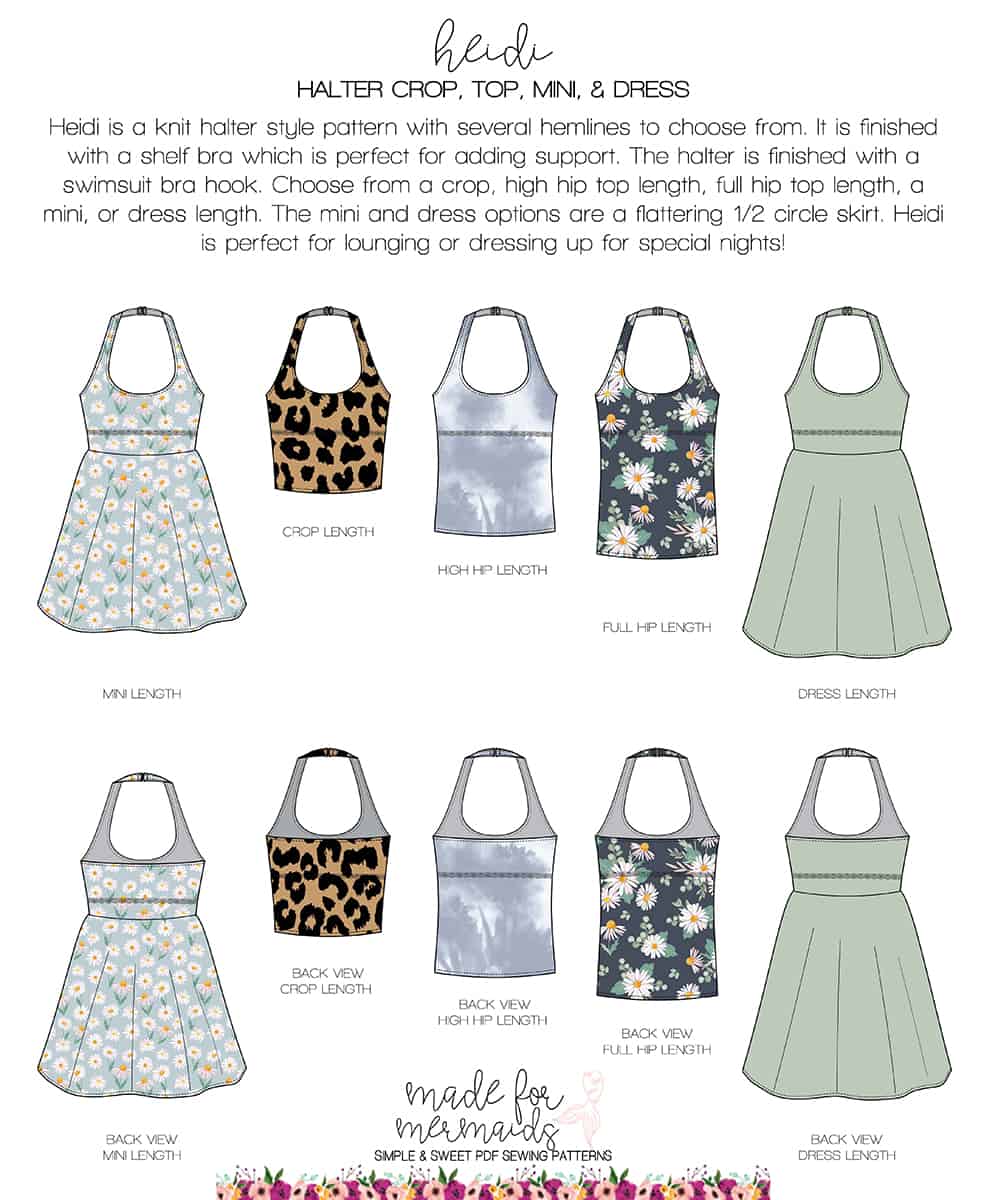
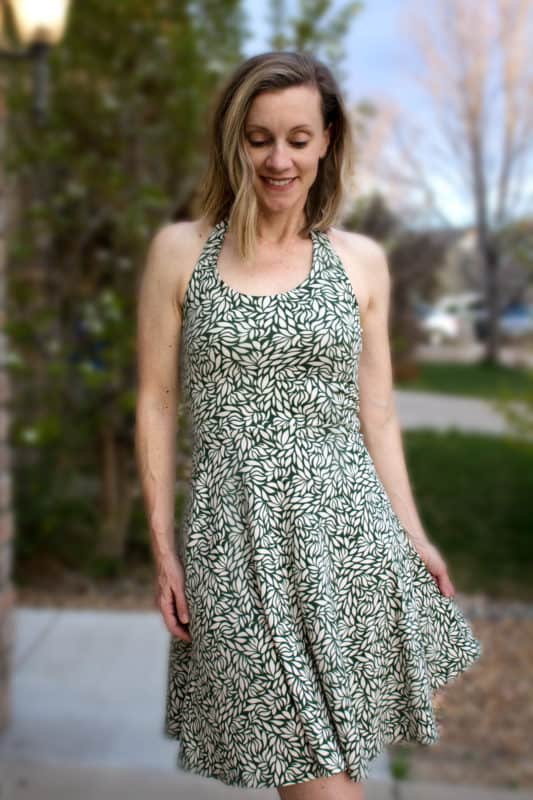
The new Heidi is such a quick and fun knit halter pattern! Heidi can be worn as a lounge brami piece, casually for every day, or dressed up! It has a classic halter neckline that is finished with a shelf bra and swim bra hook. It includes a crop top, a high hip length top, and a full hip length top. Plus a 1/2 circle skirt in a mini or dress length! As always, we have some simple and fun hacks for you to have even more options with Heidi!
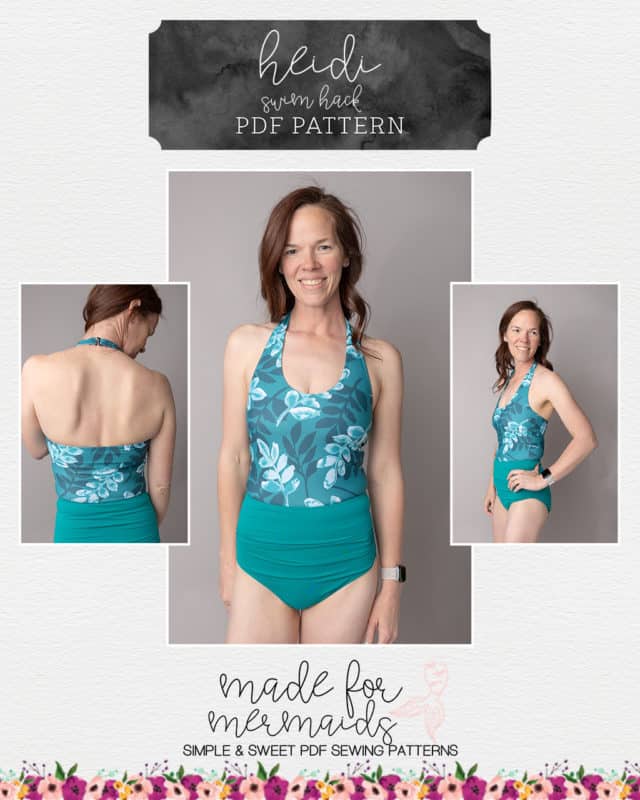
Swimsuit Hack
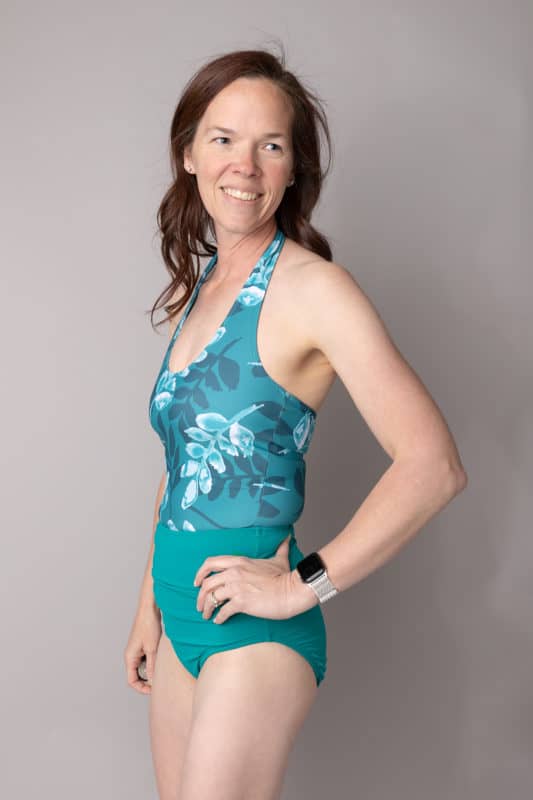
When I saw Brittany’s new Heidi design, I immediately thought about trying it in swim. I mean, what a perfect pattern for a cute swim top! I paired my top with the Roxy bottoms for the perfect pairing.
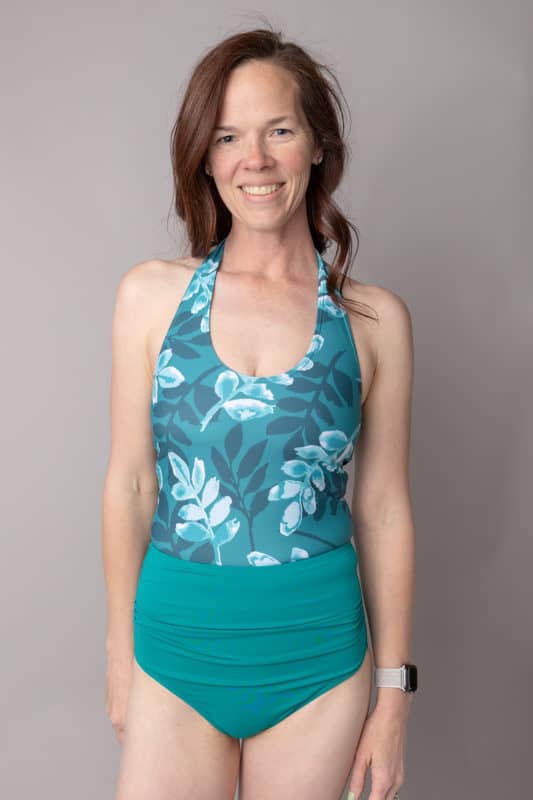
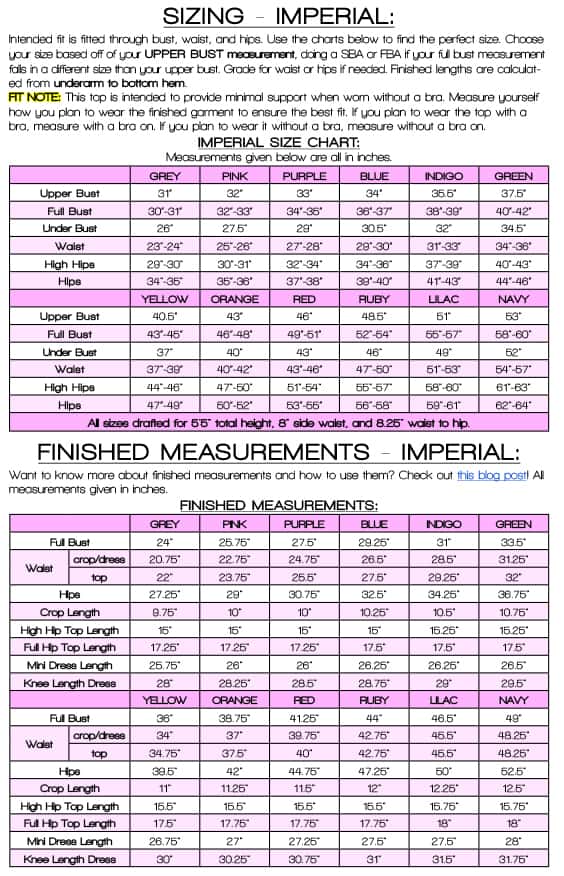
So first of all, for swim, you typically want more negative ease that what the Heidi pattern is drafted for. Depending on where you fall in the size chart, whether you’re at the top or bottom of the size range will depend on if you want to size down all the way, or size down and take a smaller seam allowance. For me, I fall near the top of the size range for the size I measure into. Meaning that if my full bust was 39″, I would be at the top of the Indigo size range. In this instance, I would suggest cutting the size blue and then taking a smaller seam allowance (maybe start with 1/4″ or 3/8″). You can always take it in on the sides if you feel as though it’s too loose. Since I fall this way, I cut a size smaller and did a 3/8″ seam allowance, which worked out well for me.
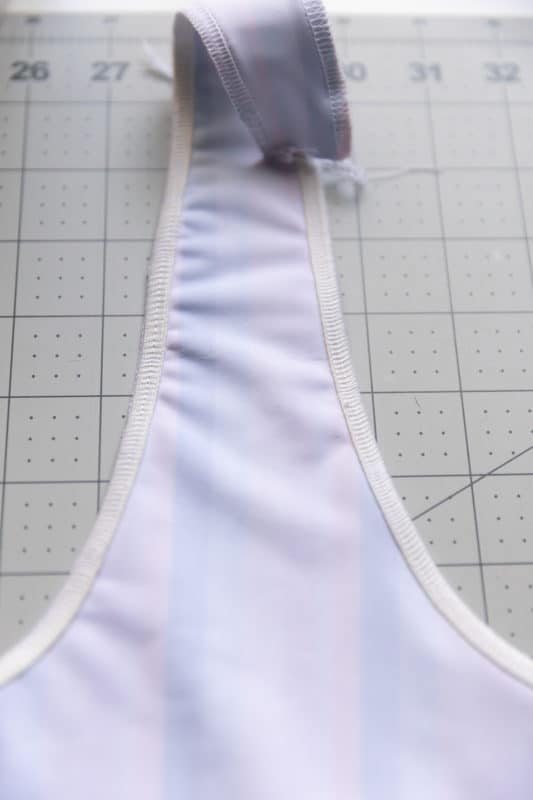
Also, since we’ll be adding 1/4″ swim elastic to the neckline and armscyes you’ll want to add some length to the strap since the elastic will pull tighter on the straps. To do this, I cut my pattern about halfway up the strap and added an inch to lengthen the strap and then graded the strap to match, as you can see below.
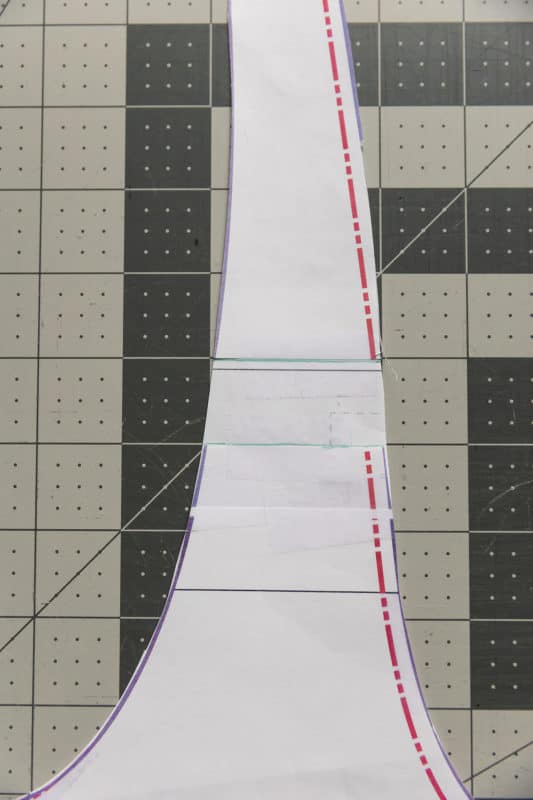
I use a projector to cut out my pattern pieces, so instead of printing the entire front bodice, I only printed the two pages with the strap and then laid my pattern piece over the projected image and cut from there.
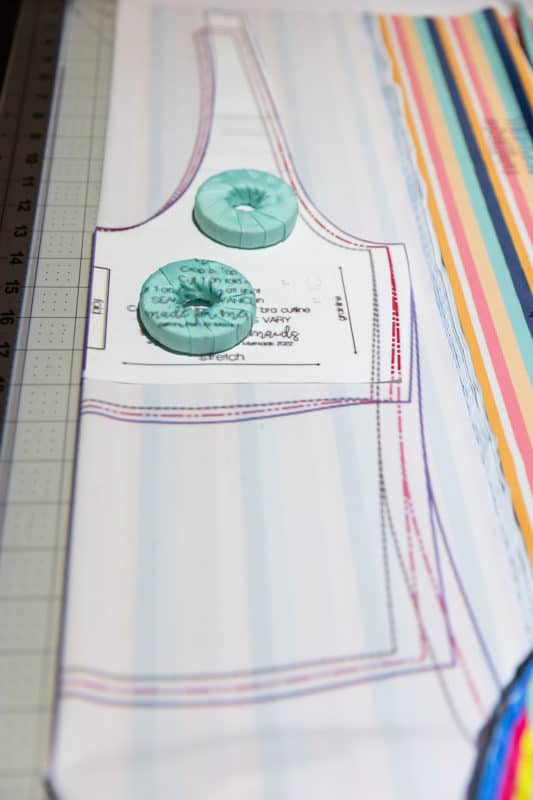
You’ll need to cut a main front and back at the crop cutline and then a lining front and back at the shelf bra cutline (in the smaller size that you selected). I used the same swim for both so that I had a nice a snug fit for the shelf bra, as I need lots of support in that area.
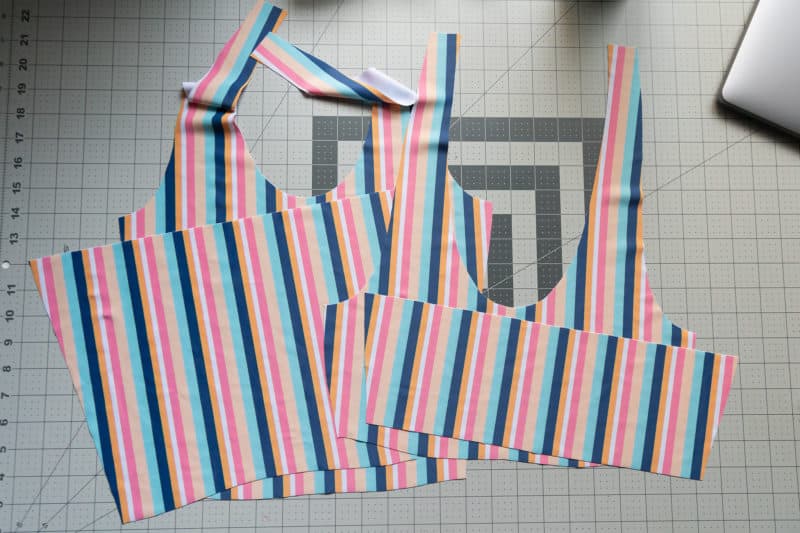
Using the tutorial, you’ll sew together the front main and lining at the neckline and armscyes and add 1/4″ swim elastic to these seams while keeping the elastic taut. You’ll do the same for the two back pieces while also adding the 1/4″ swim elastic to the top back seam. I like to lay my elastic on top of the main fabric when I sew so that when it is turned to the right side it tends to lay nicer and keep the lining inside.
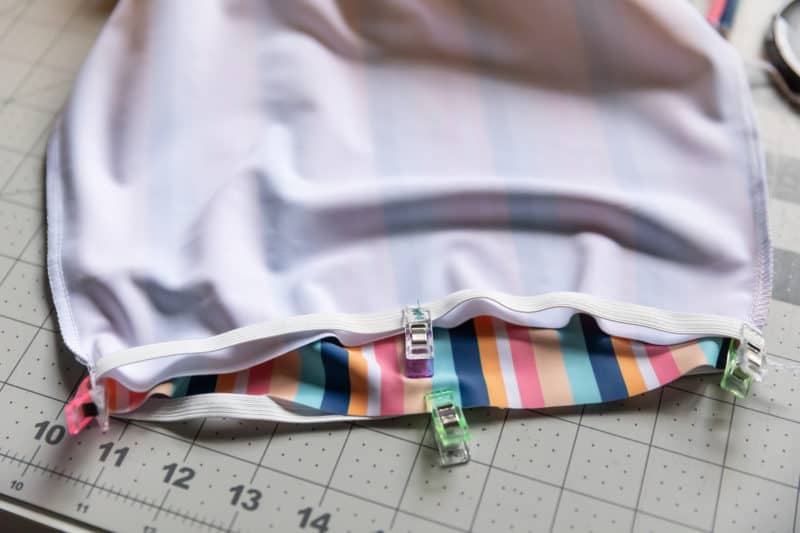
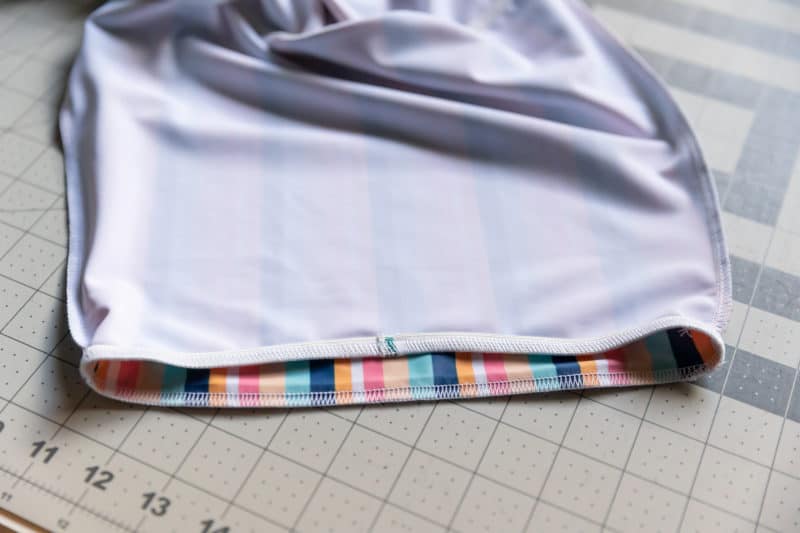
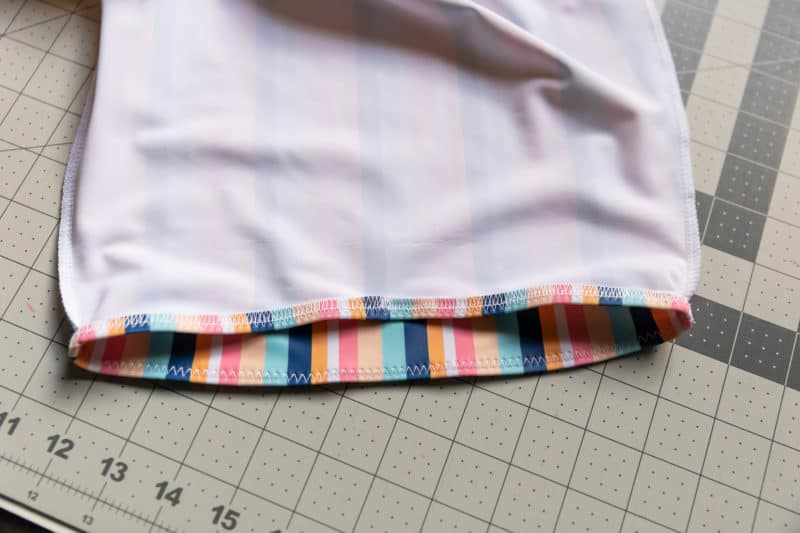
Following the tutorial, you’ll turn the front and back right sides out and sew the side seams. Then, you’ll add the shelf bra elastic (be sure to use swim elastic, regular elastic tends to wear down faster in chlorine) and the swim hook at the neckline per the tutorial. Finally, you’ll want to finish the bottom edge of the top. I suggest adding elastic to the bottom edge and turning up. You can either sew 3/8″ swim to the bottom wrong side and hold it taut, or you can measure the opening and cut 1:1 or calculate a slightly smaller elastic (95-98%), sew it in a loop and then sew to the bottom edge. Lastly turn up the edge and top stitch. You can also top stitch the neckline and armscye edges as well. After trying on your top, you can easily mark and add swim cups to the shelf bra lining, if you prefer.
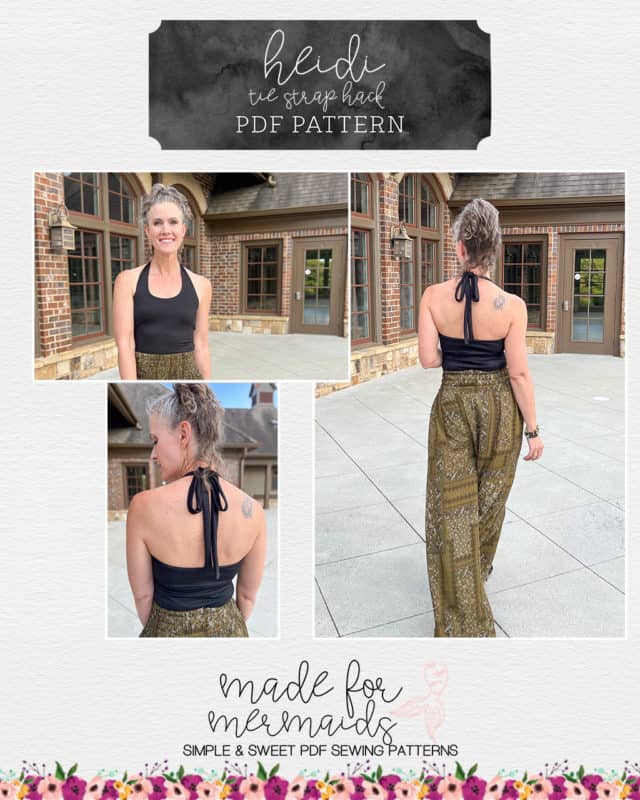
Tie Strap Hack
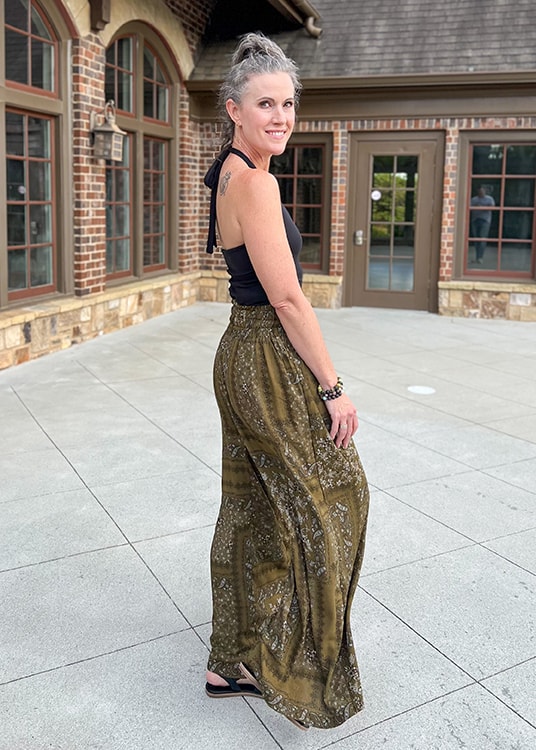
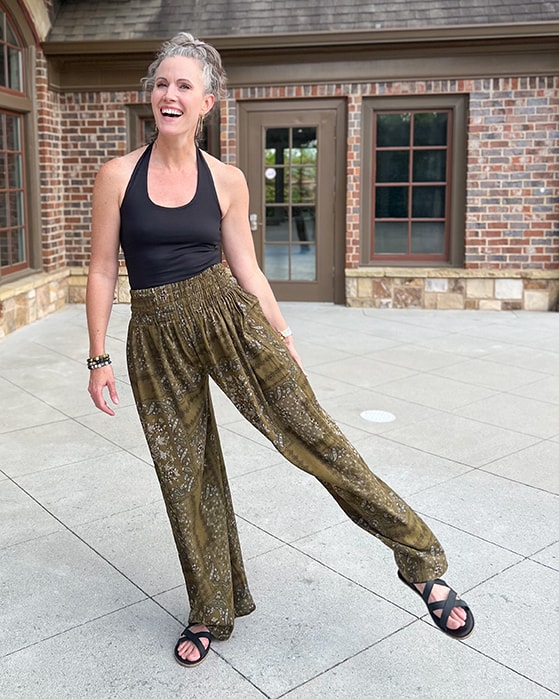
No hardware? No problem! Adding tie straps to your Heidi halter is so simple.
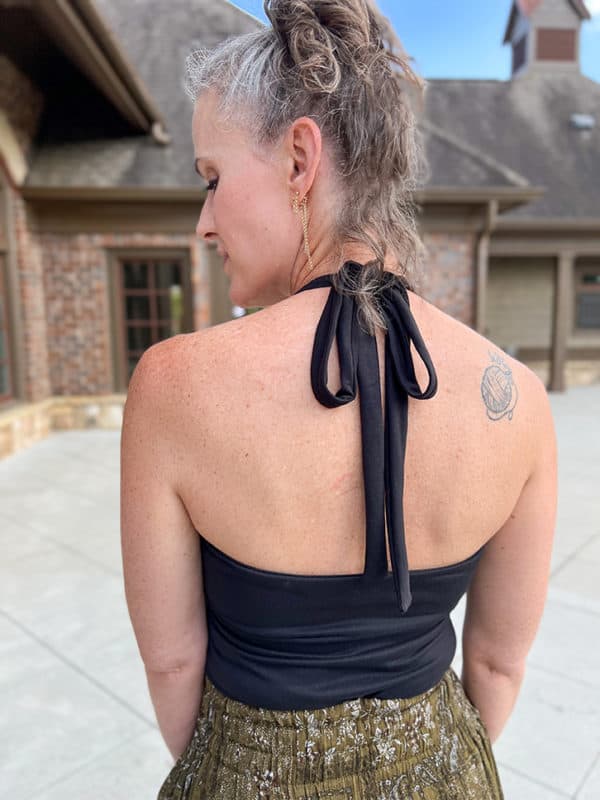
Start by cutting the bodice pieces per the pattern instructions.
Cut four (4) strips of fabric that are the same width of your bodice strap – mine in Size Pink was 1 ⅜” wide – by 24”. You can absolutely make the ties shorter or longer depending on your preference. I like the drama of a longer tie.
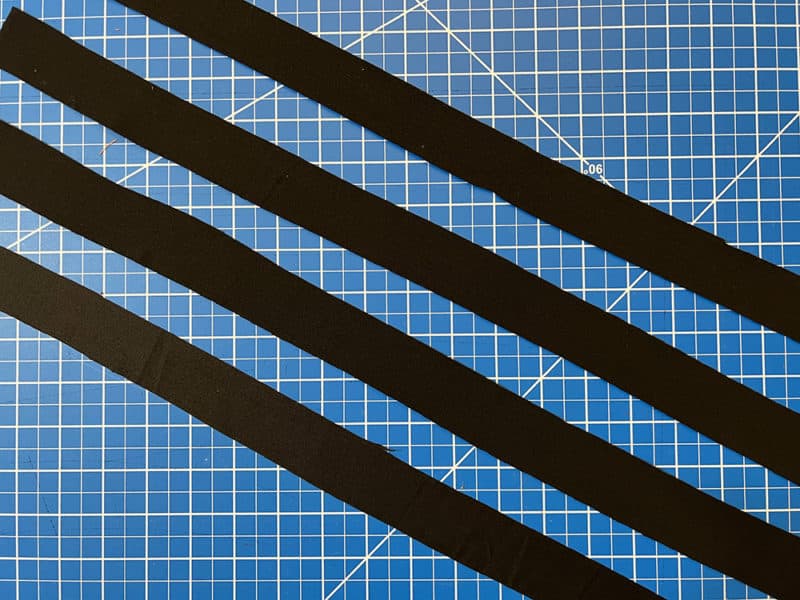
Sew one strip to each bodice strap (main and lining), right sides together. You will now have 2 front bodice pieces – main and lining.
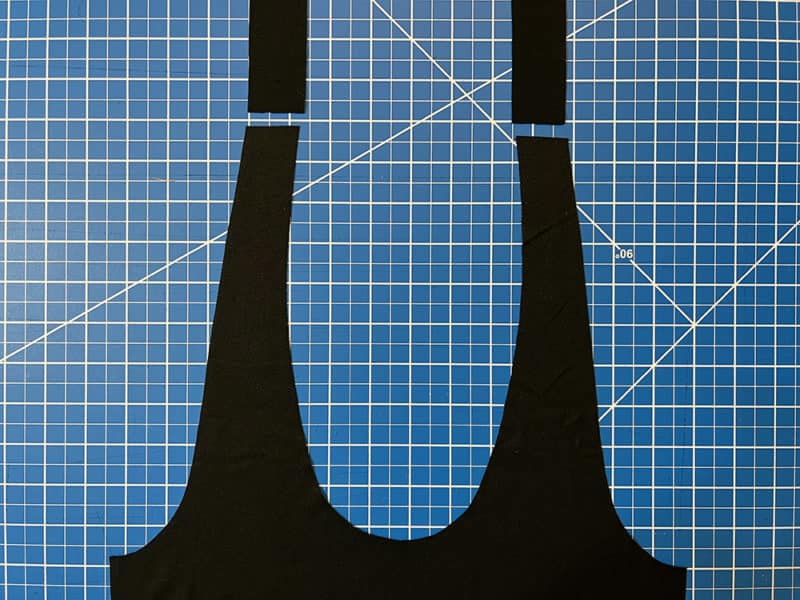
Assemble bodice pieces per pattern instructions, making sure to line up your strap seams.
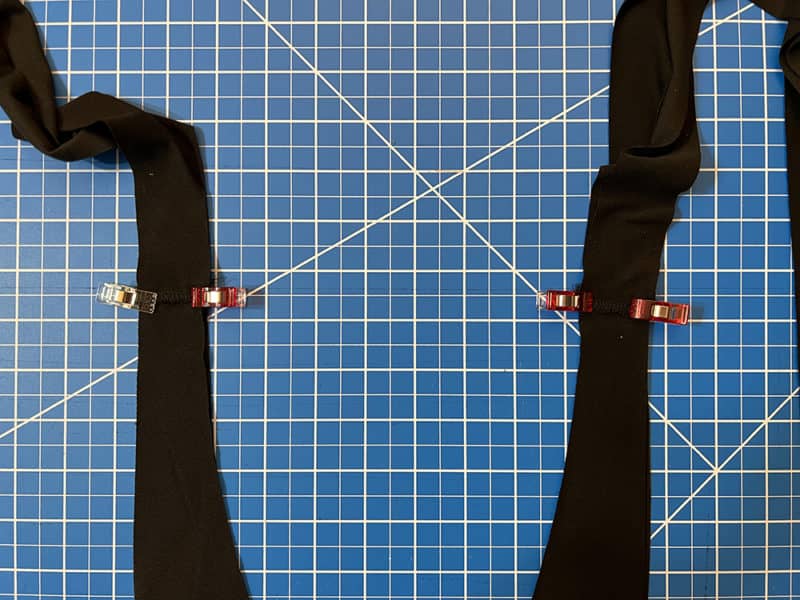
Run a seam across the end of each strap to close your tie before turning right side out. If you prefer, you can angle the end of your straps before sewing closed.
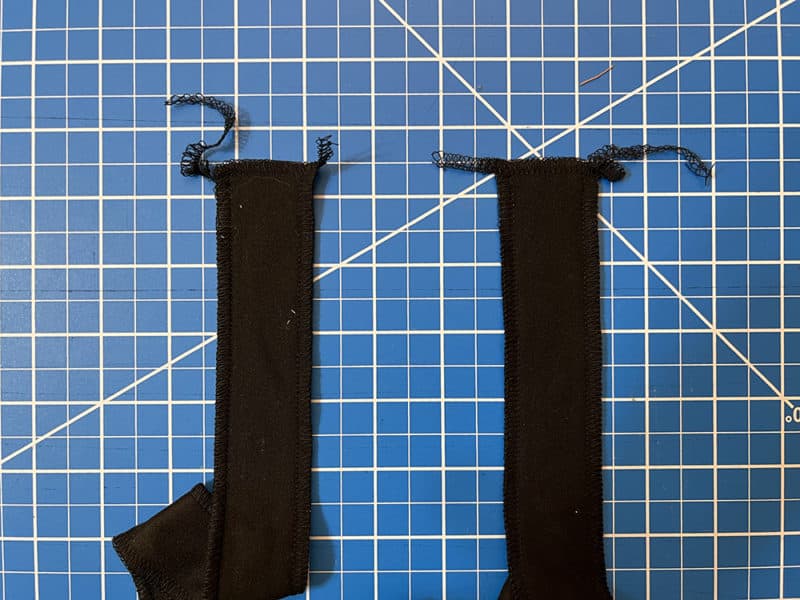
Finish your top per the pattern instructions.
All done! Enjoy the fastest make of summer!
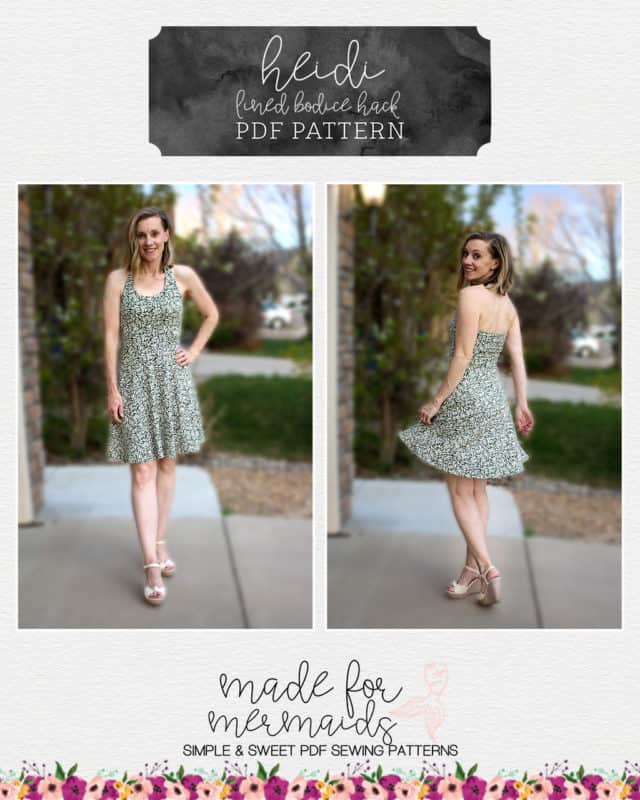
Fully Lined Dress Hack
The new Heidi pattern is such a great summer top or dress. I love the included shelf bra, but it is nice to have the option of adding a lining instead if you prefer. Adding a lining is great for more structure on the bodice when pairing with a bra or for use with more sheer fabrics. Here is how you can easily add a lining to the Heidi dress bodice.
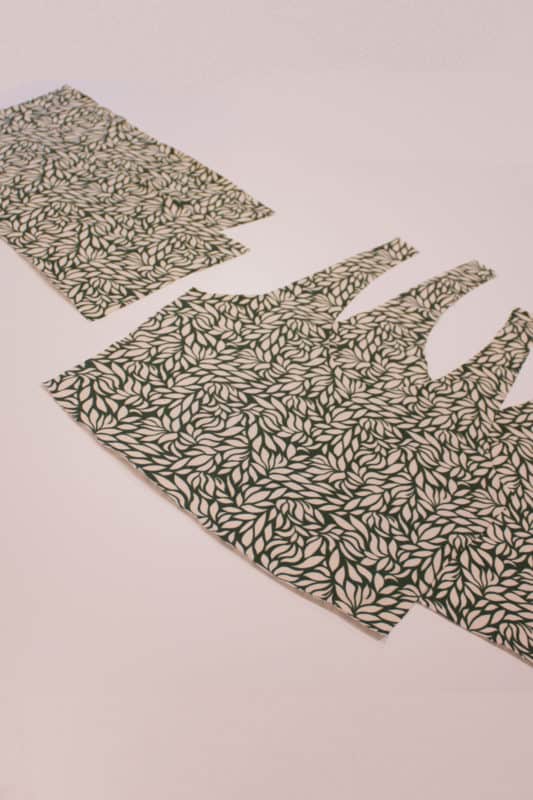
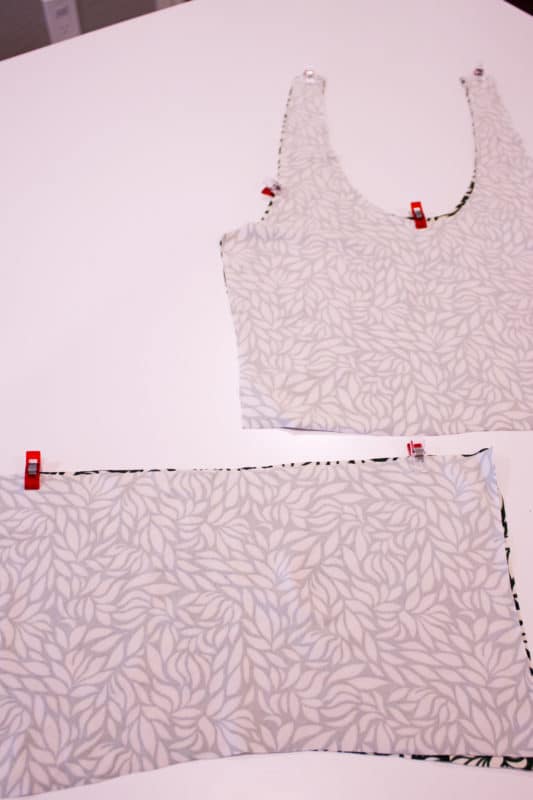
Begin by cutting out 2 main dress bodices, one from your lining and one from your main fabric. For this example, I used the same fabric for both the main and the lining. Then cut 2 back bodice pieces, one from your lining and one from your main fabric. Next, sew the front bodice main and lining pieces, right sides together, as instructed on the pattern. Repeat for your back main and lining bodice pieces. Make sure you include the clear elastic in this back seam as the pattern instructs you to do. Turn right side out and press the bodice. **Optional – add understitching to your bodice to help prevent the bodice lining from rolling out during wear.**
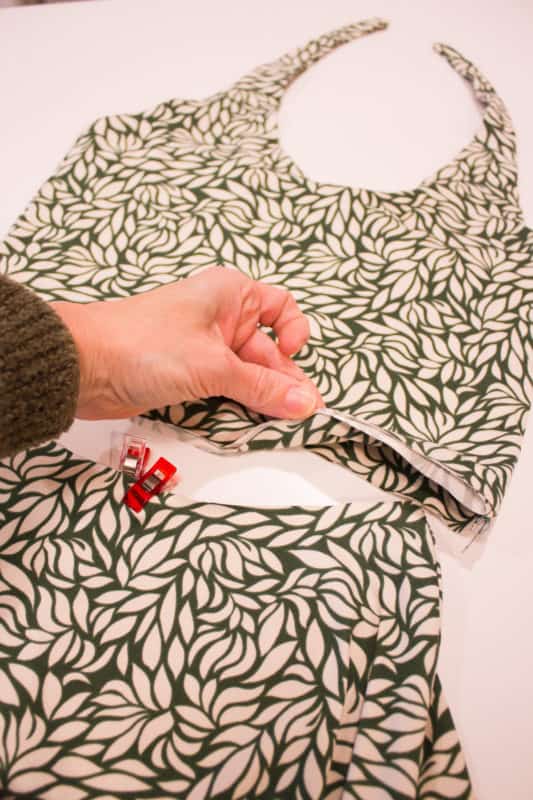
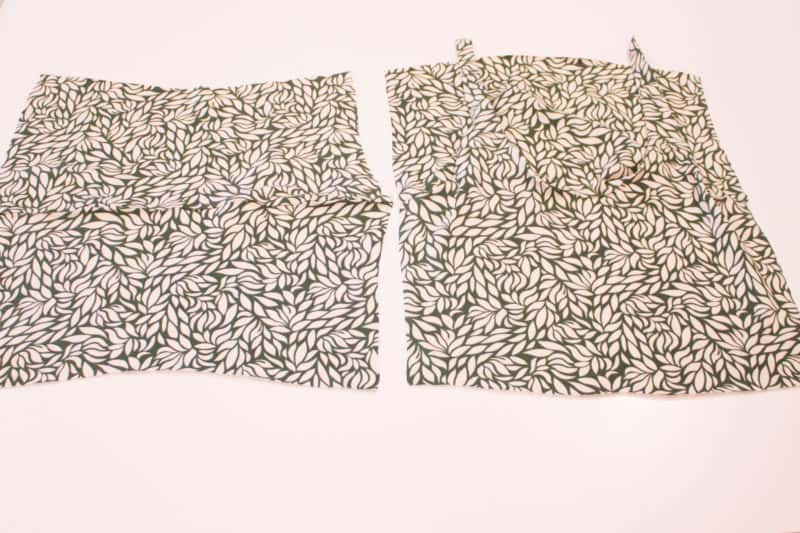 Open up your bodice pieces and lay your front and back bodices out flat. The lining should be pulled away from the main pieces. Place the back bodice piece on top of the front, lining up the side seams. Your lining and main pieces should line up perfectly at the sides (Lining matched to lining, main fabric front to main fabric back). Pin and sew the side seams.
Find the quarter points on the skirt and the quarter points on the bodice (making sure you are grabbing both layers on the bodice.)
**Optional – baste the bodice main and lining together along the bottom edge prior to quartering.** Attach the skirt and bodice together according to the pattern. Finally, complete the hem and hook instructions on the pattern. You now have a lined bodice.
We hope you love your new Heidi makes! Don’t forget to share with us in our Facebook group or Instagram! We love to see what you’re sewing up.


Leave a Reply