

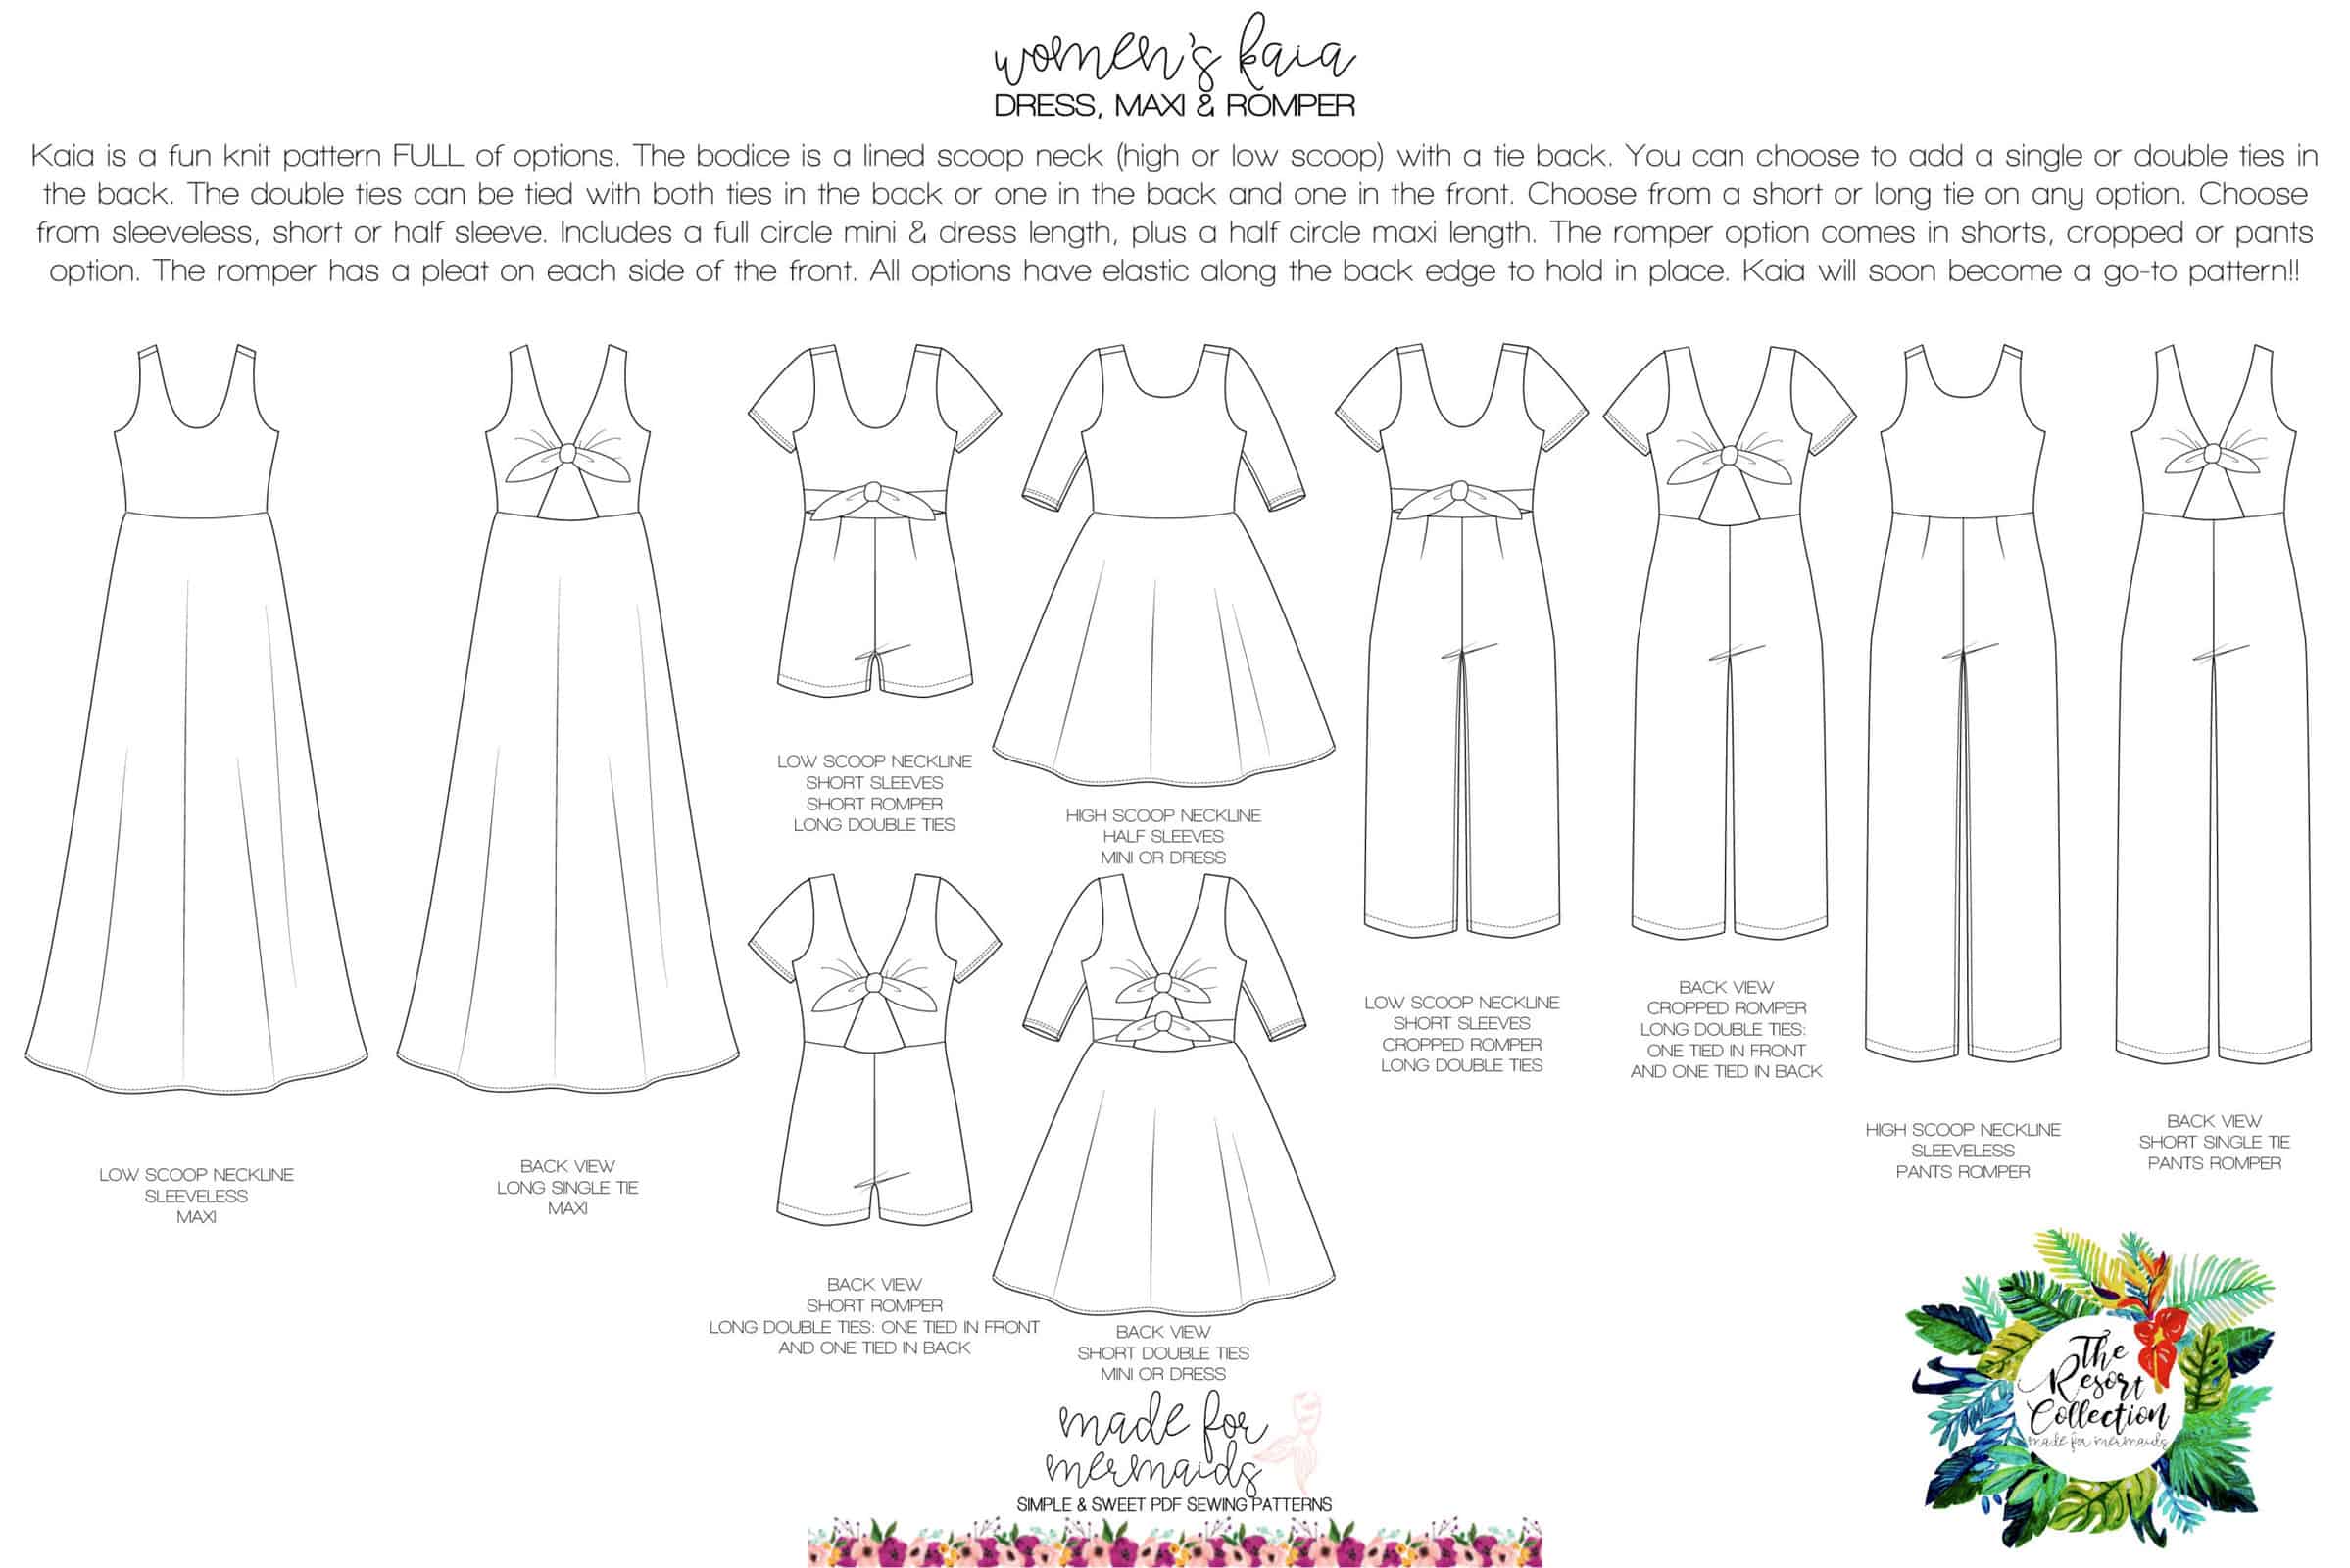
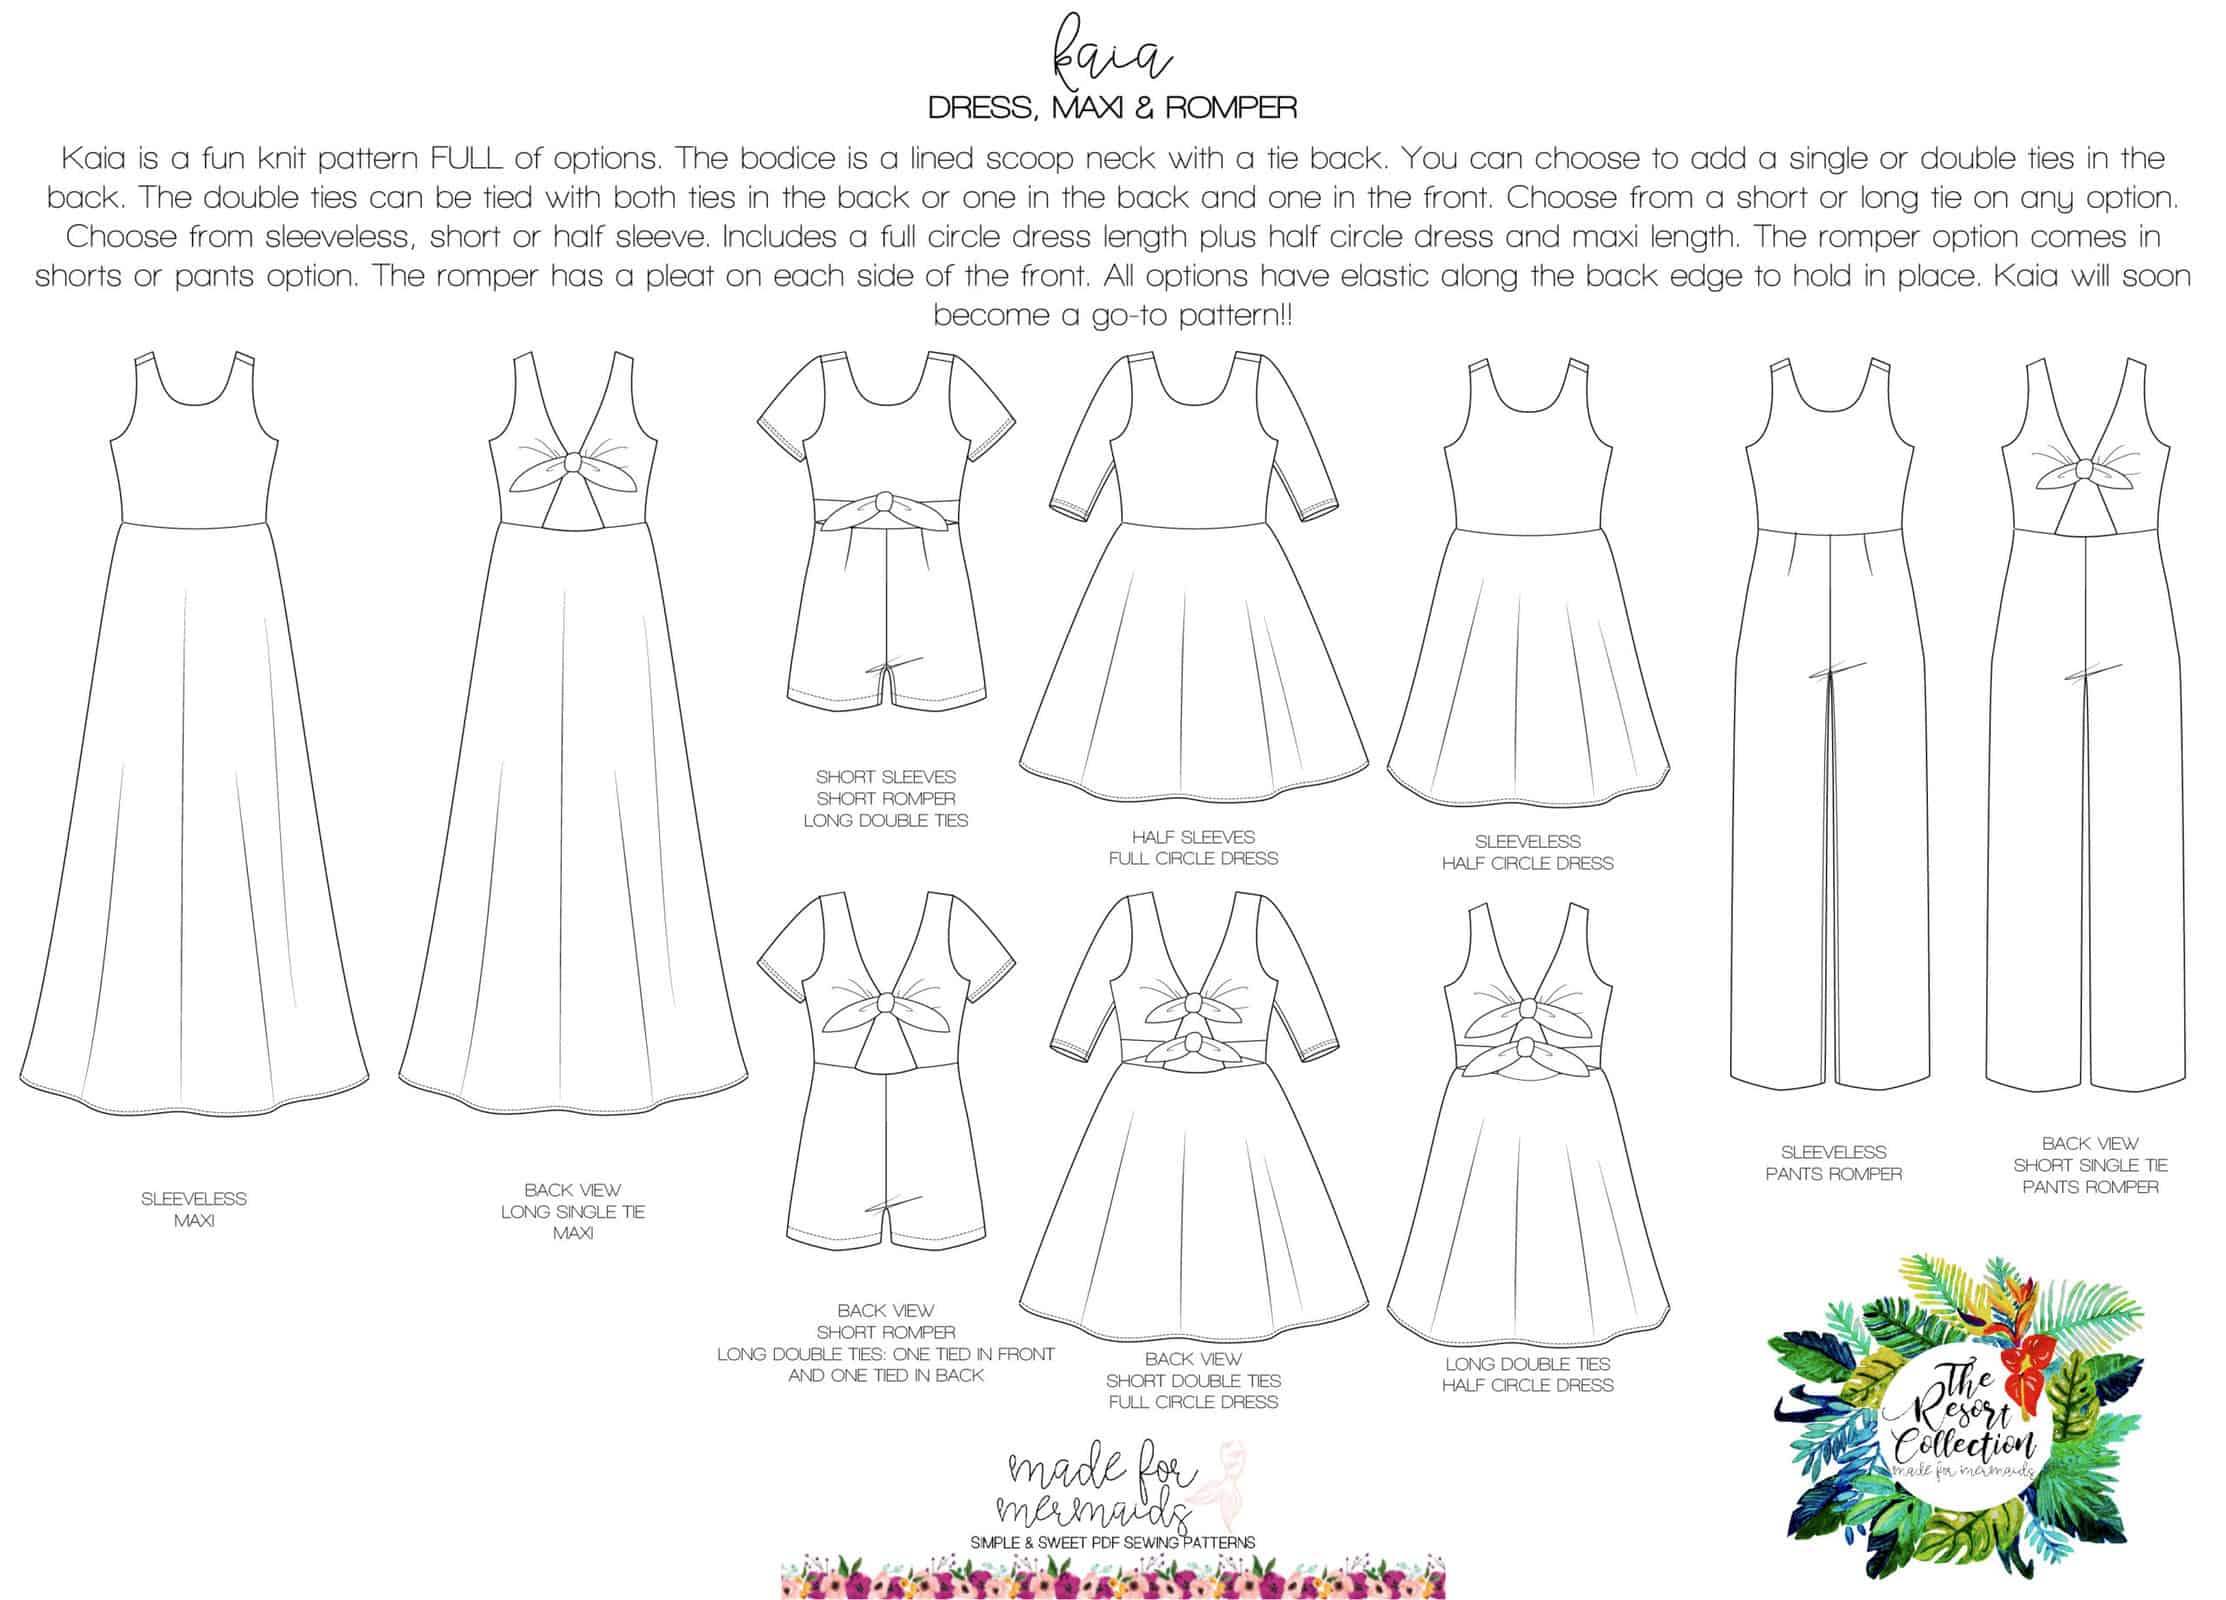
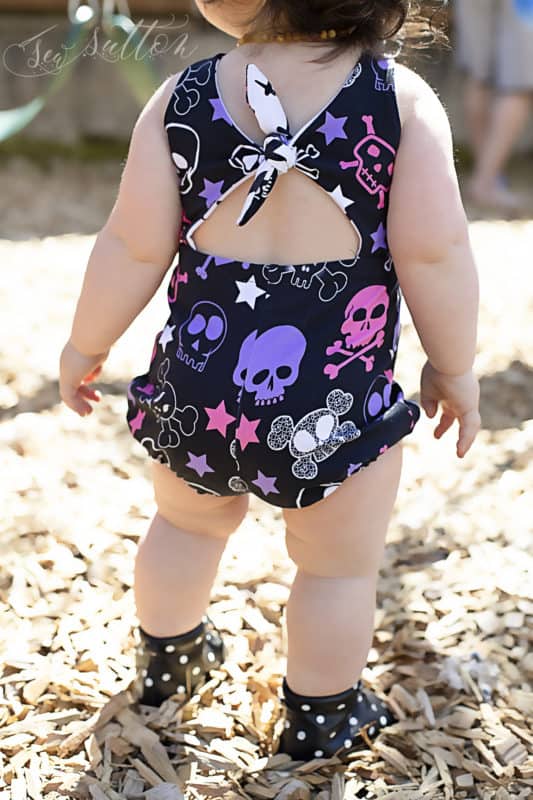
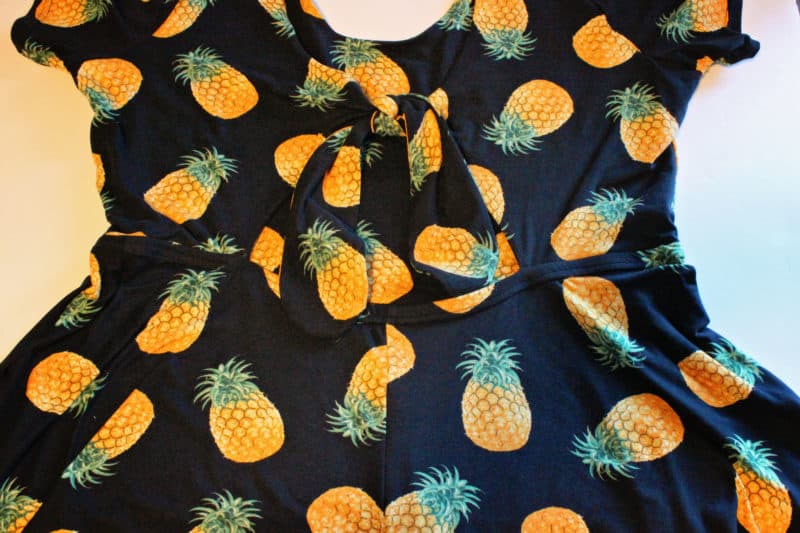
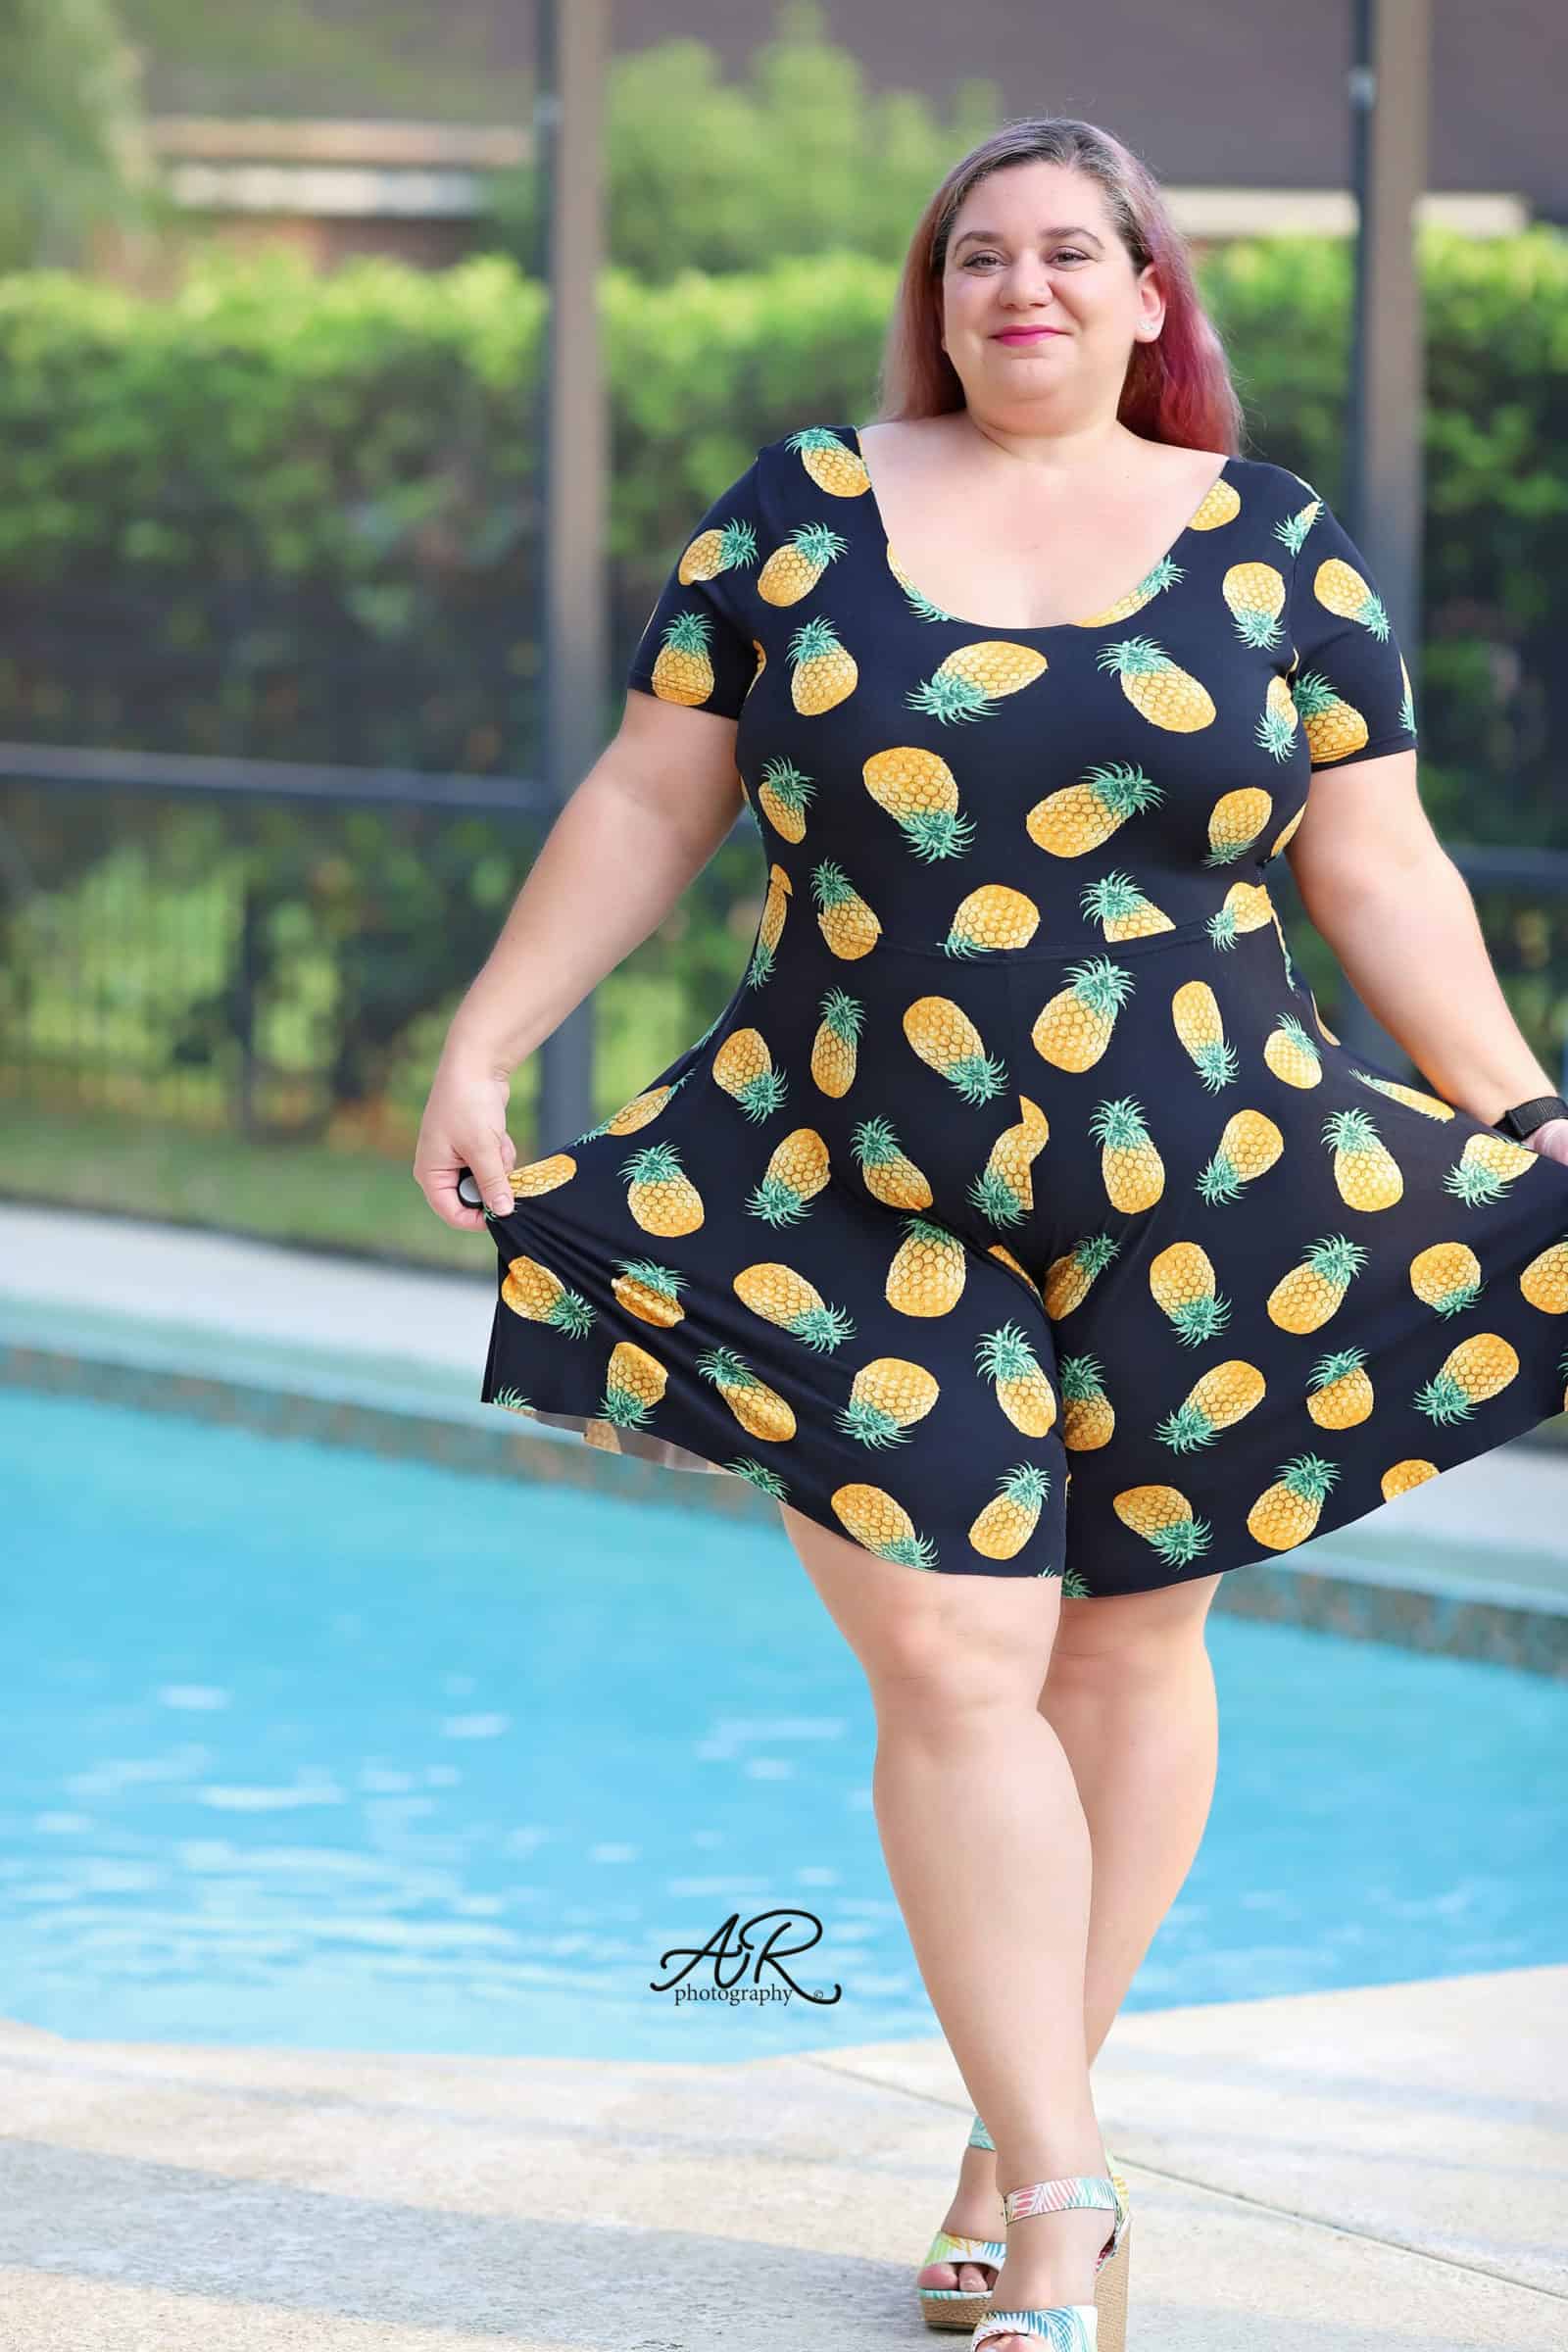
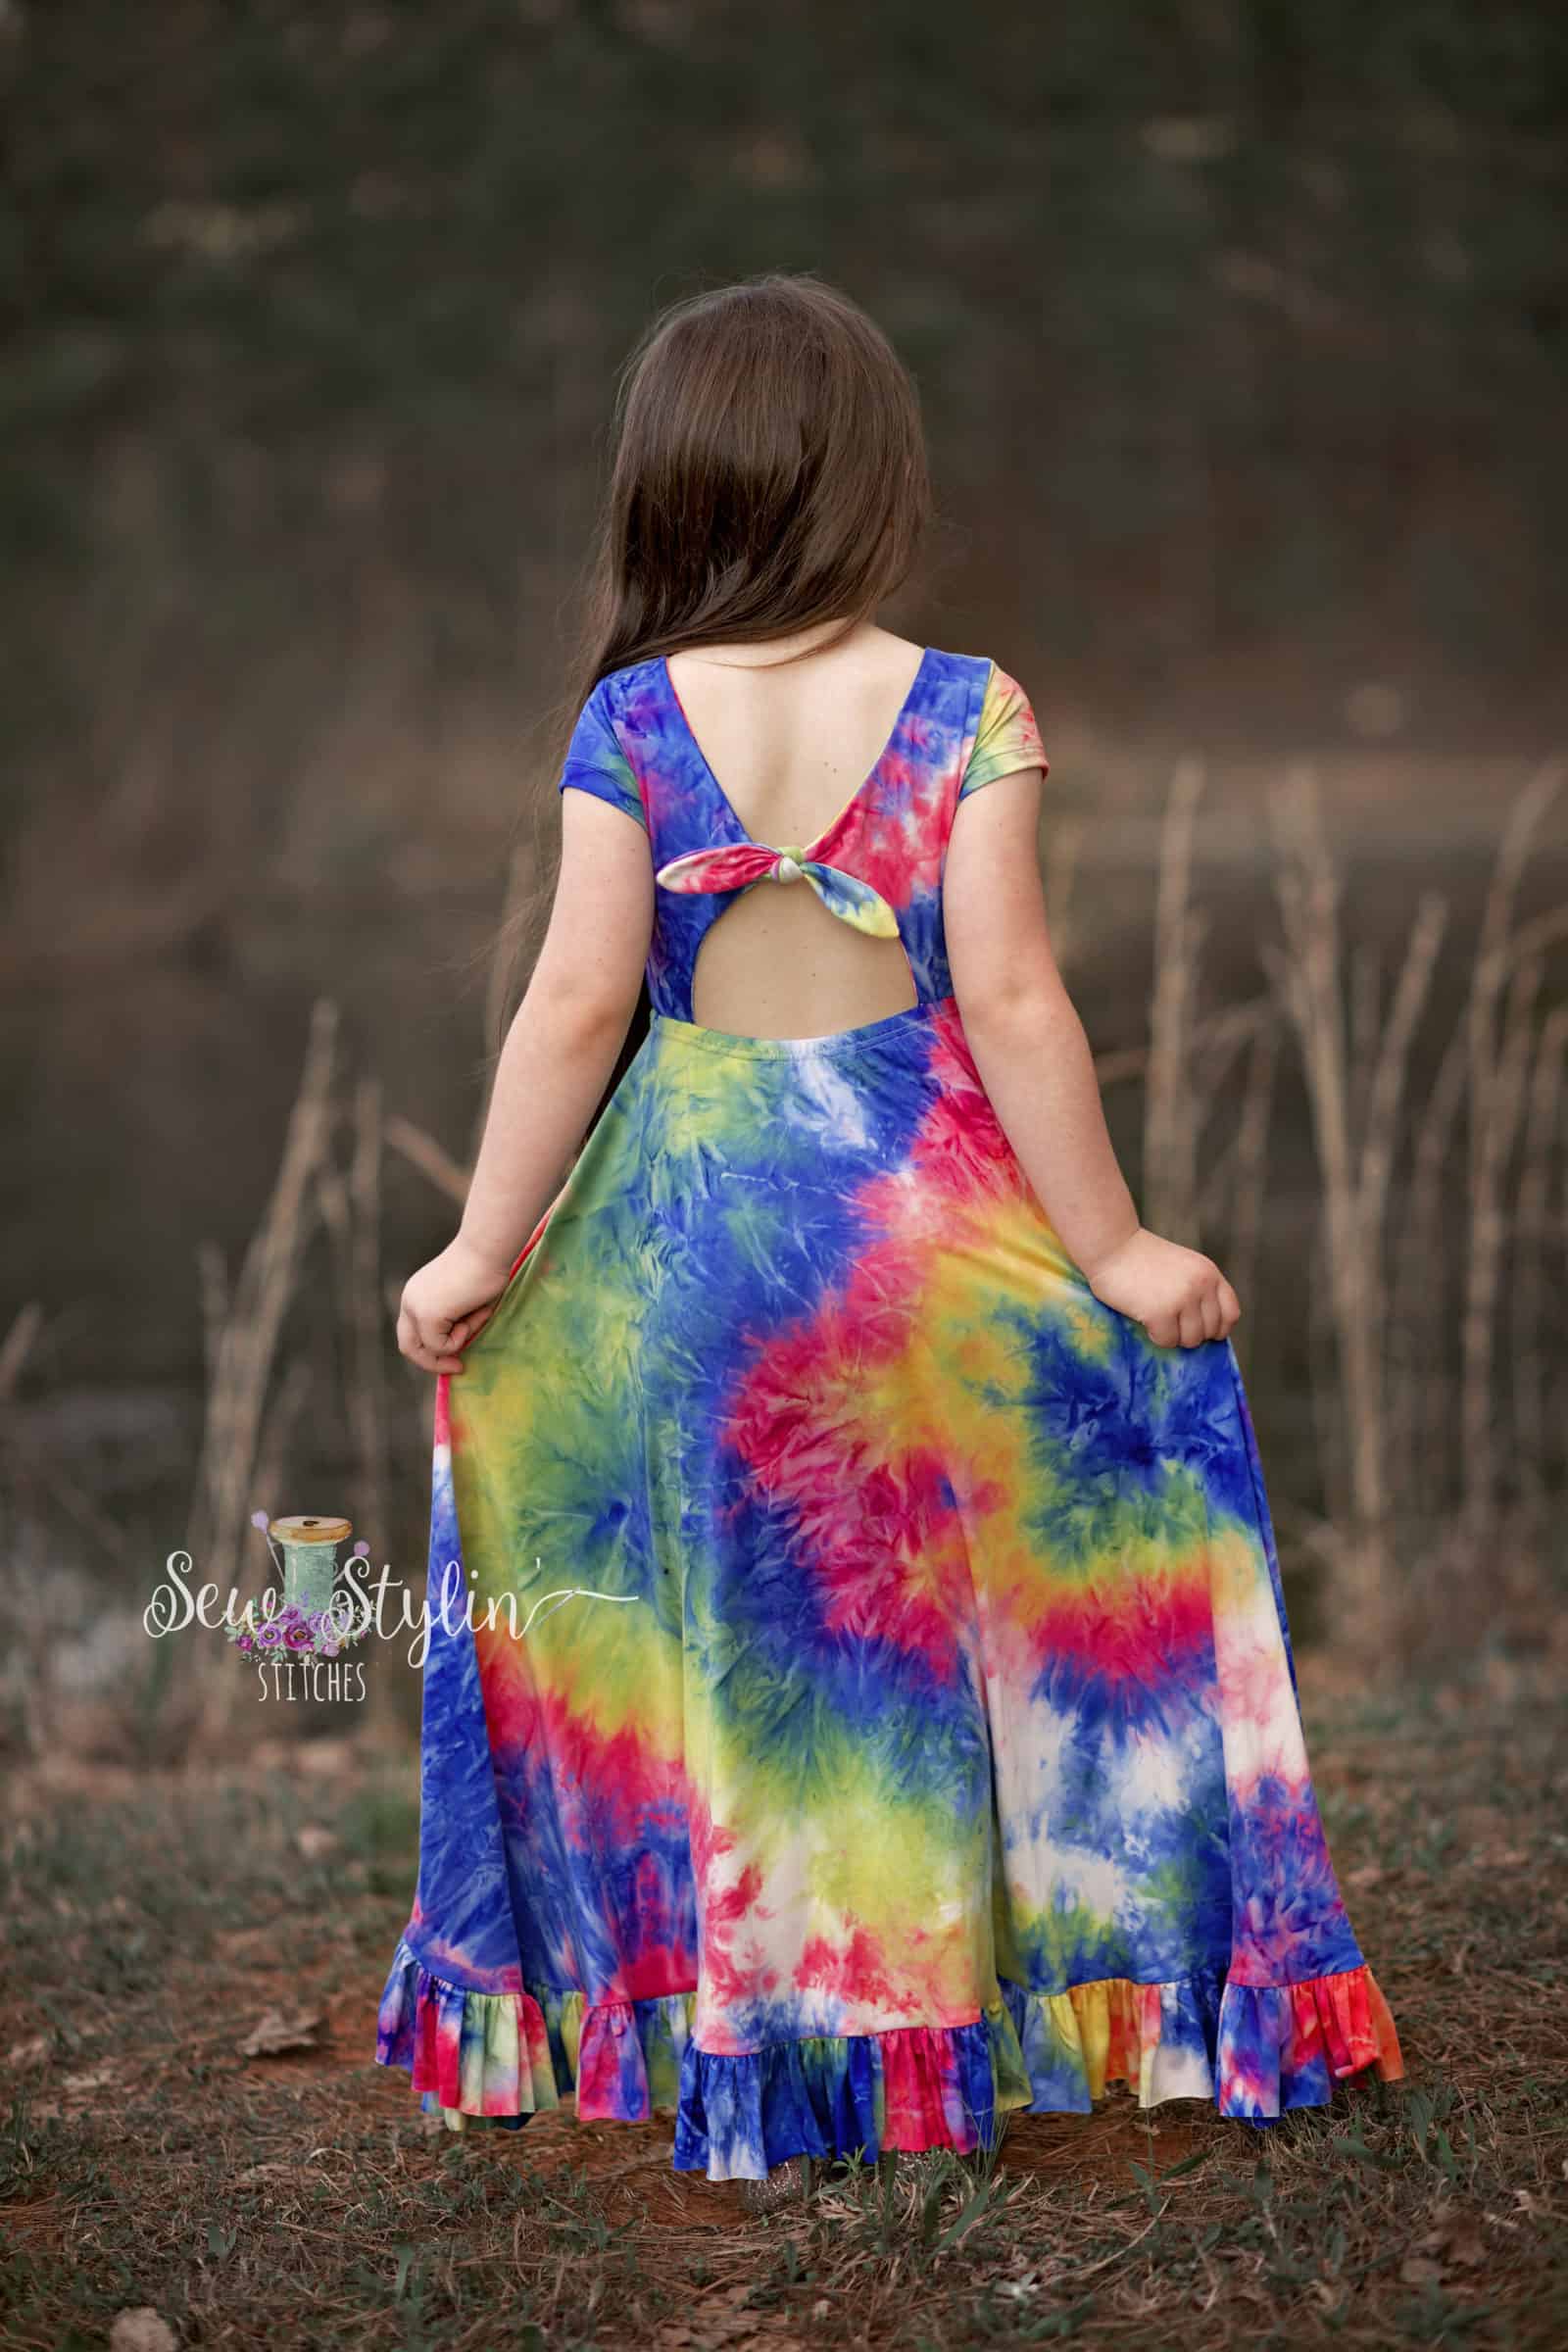
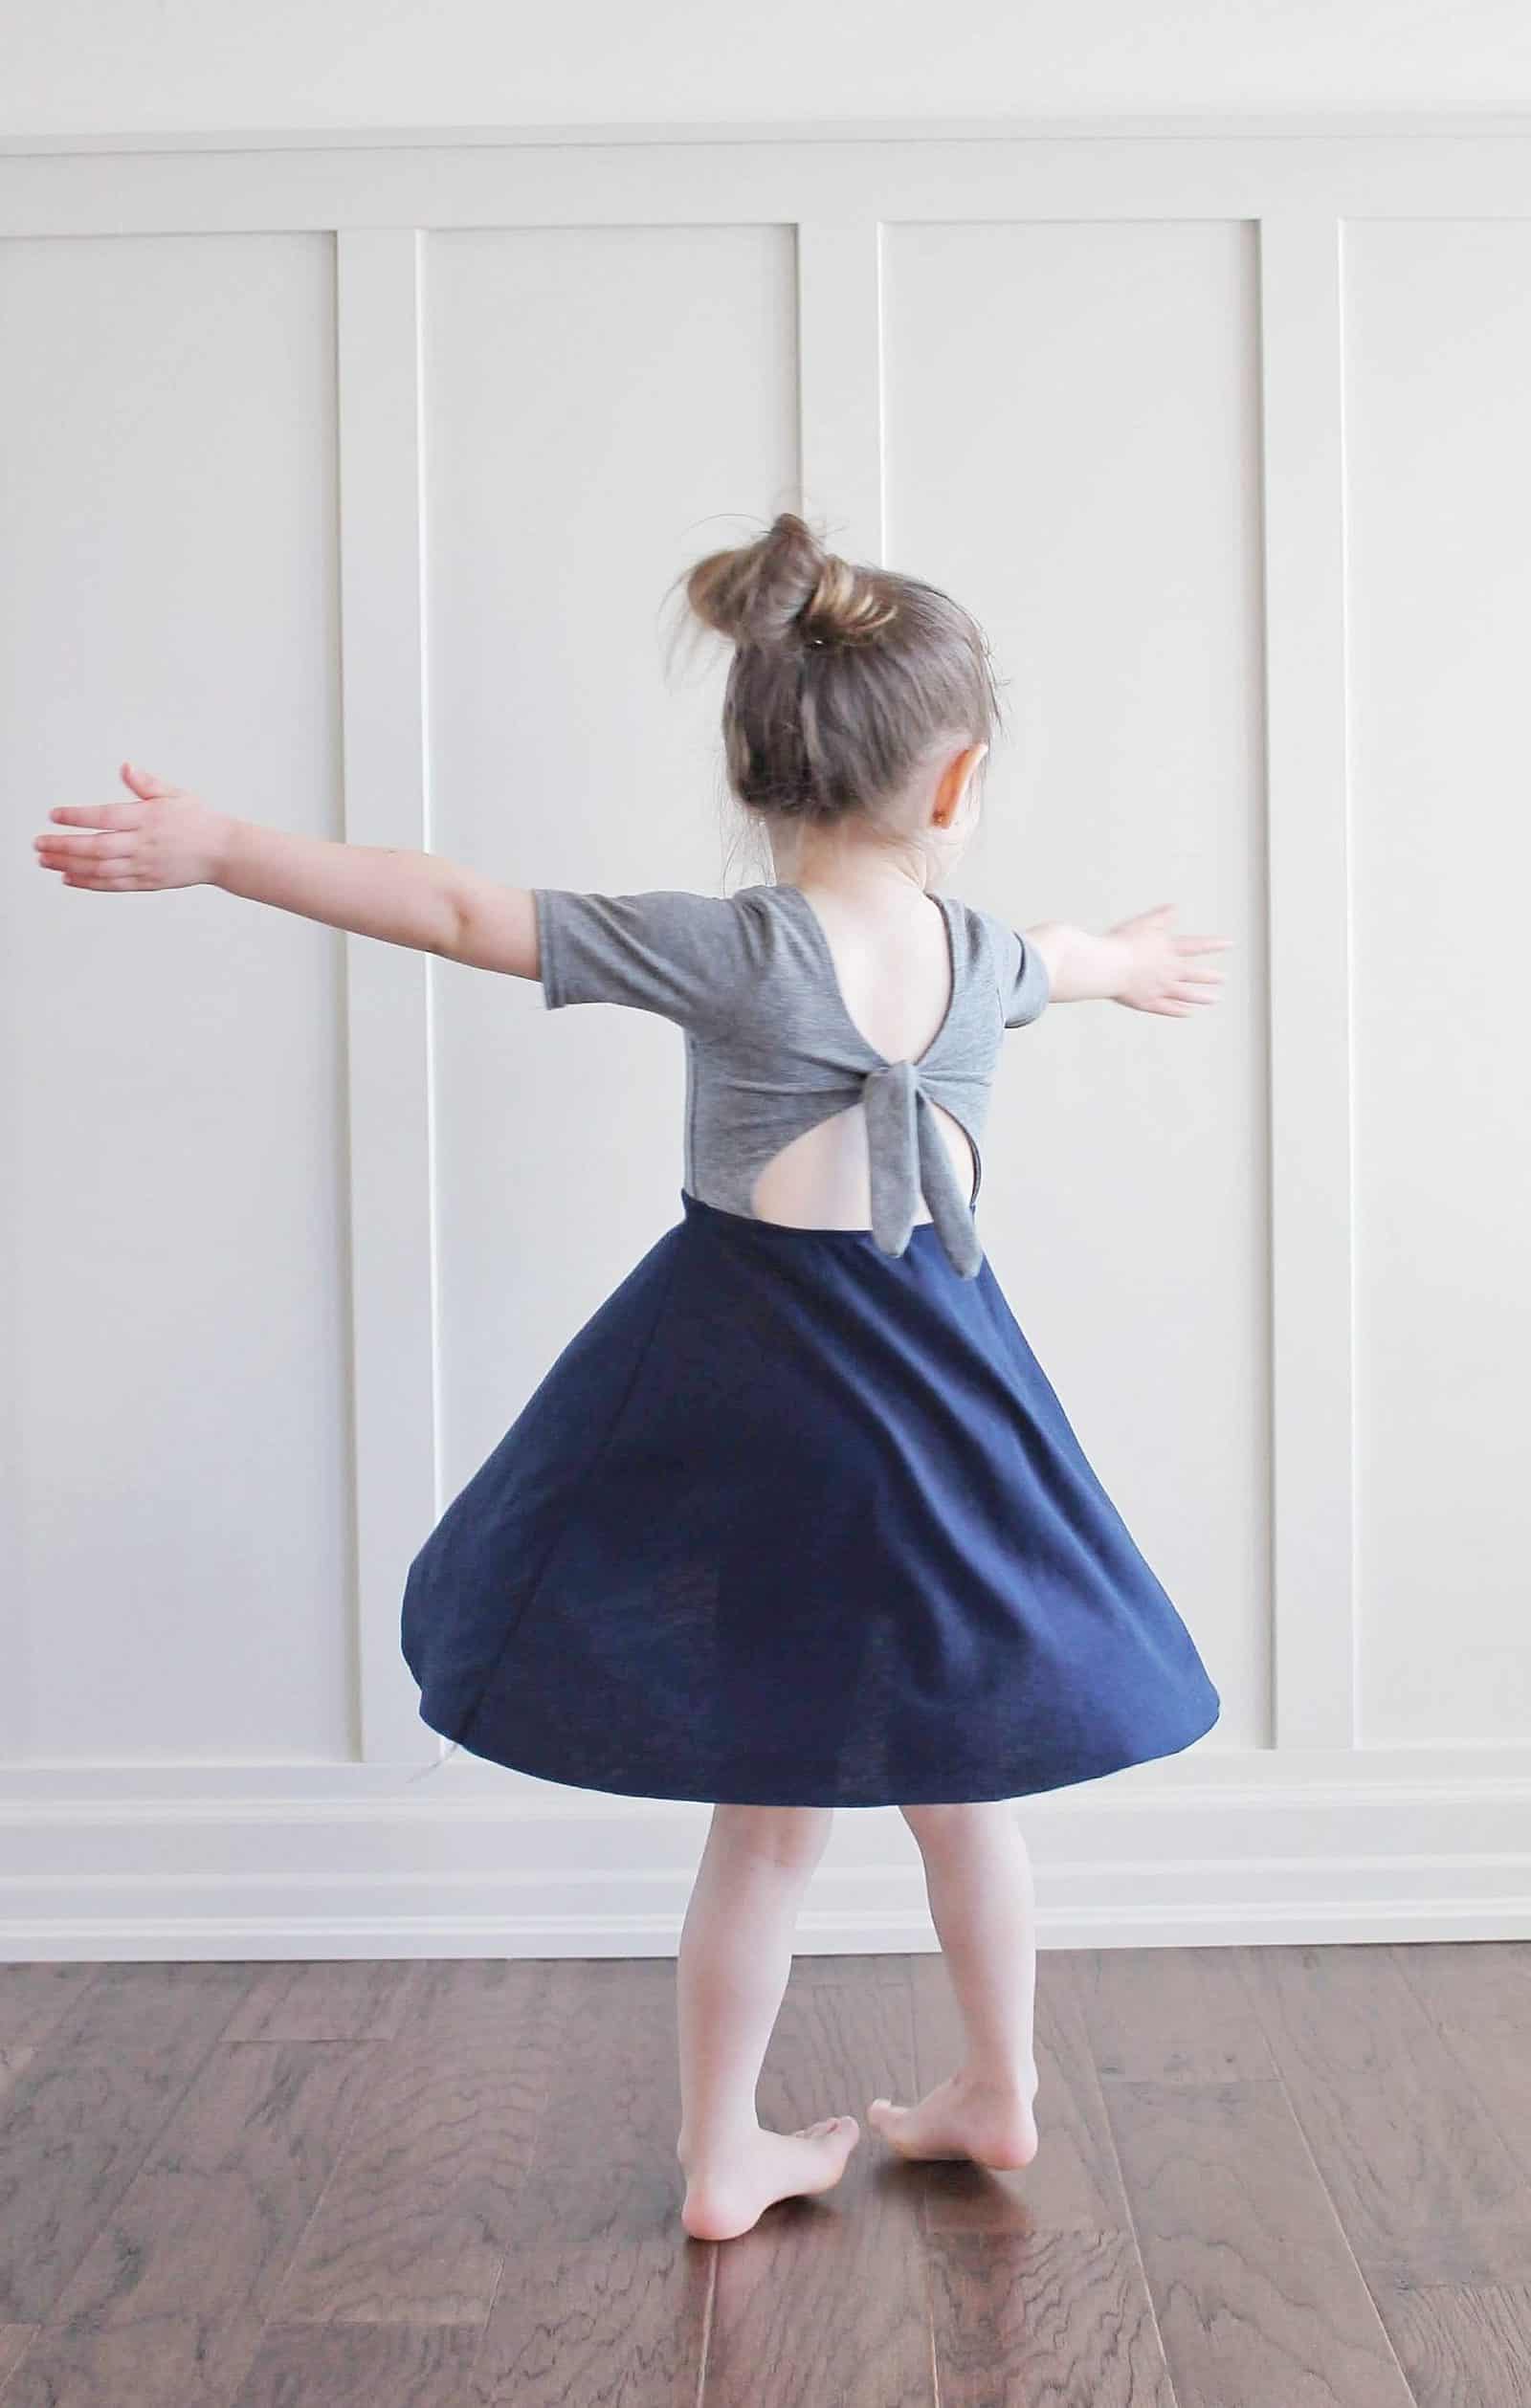
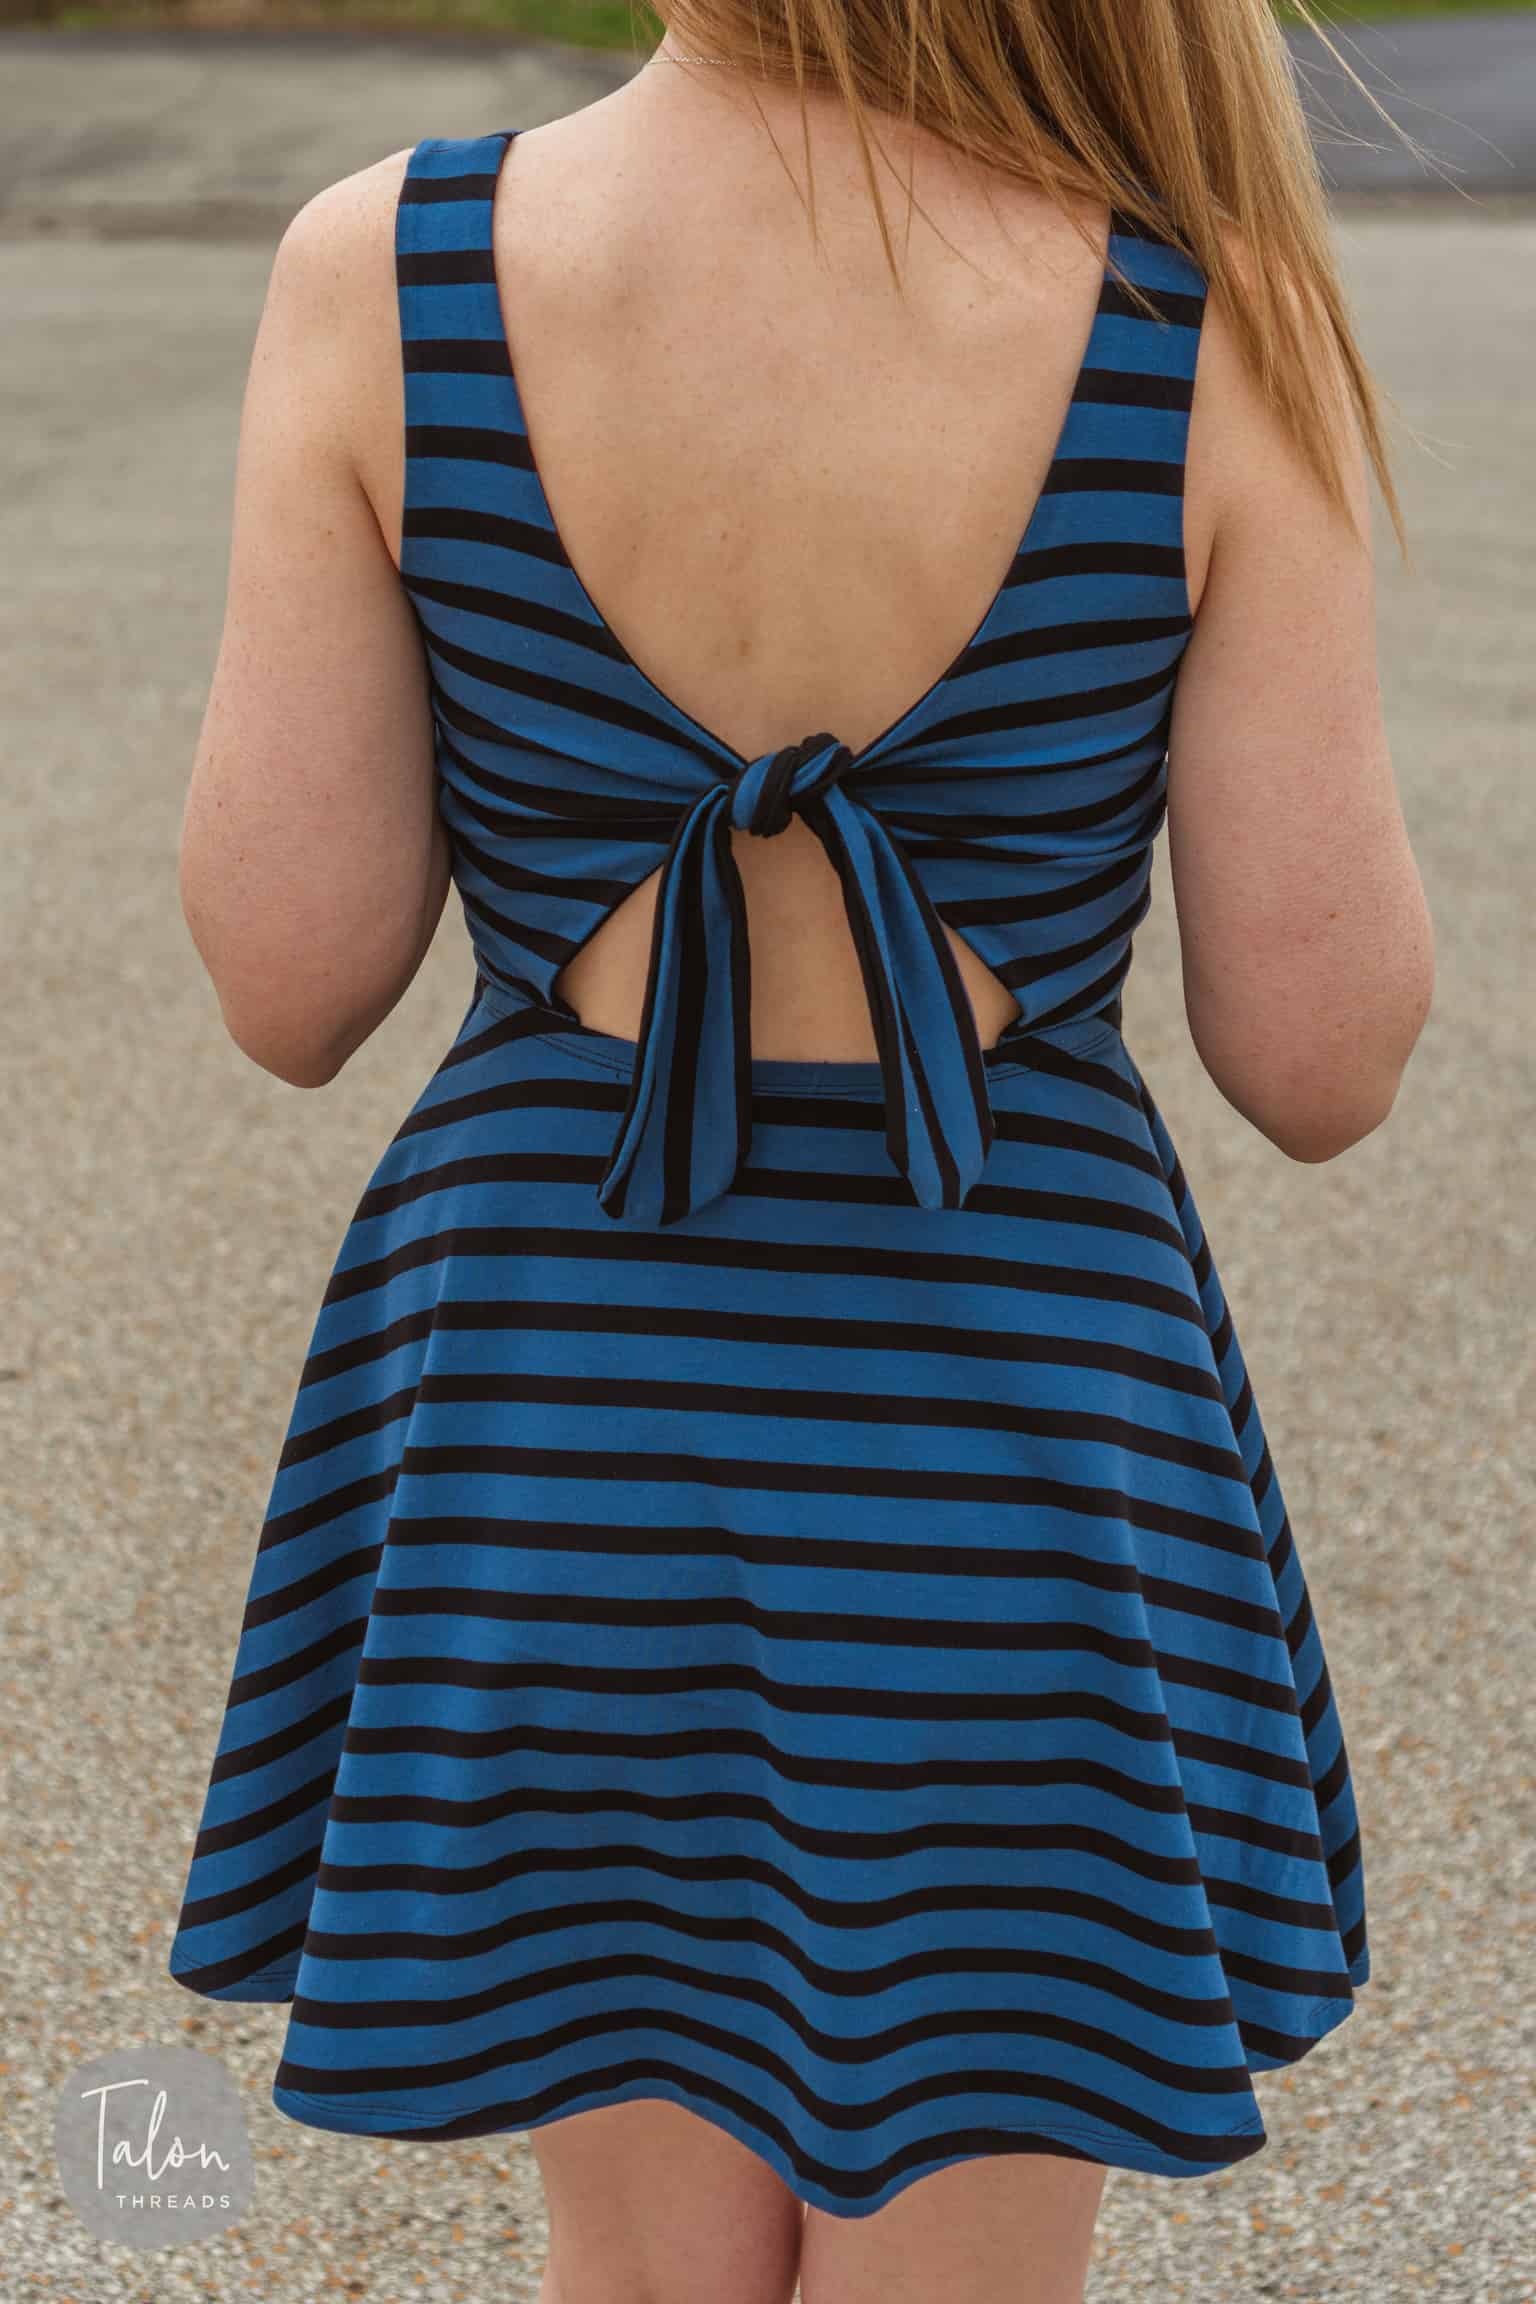
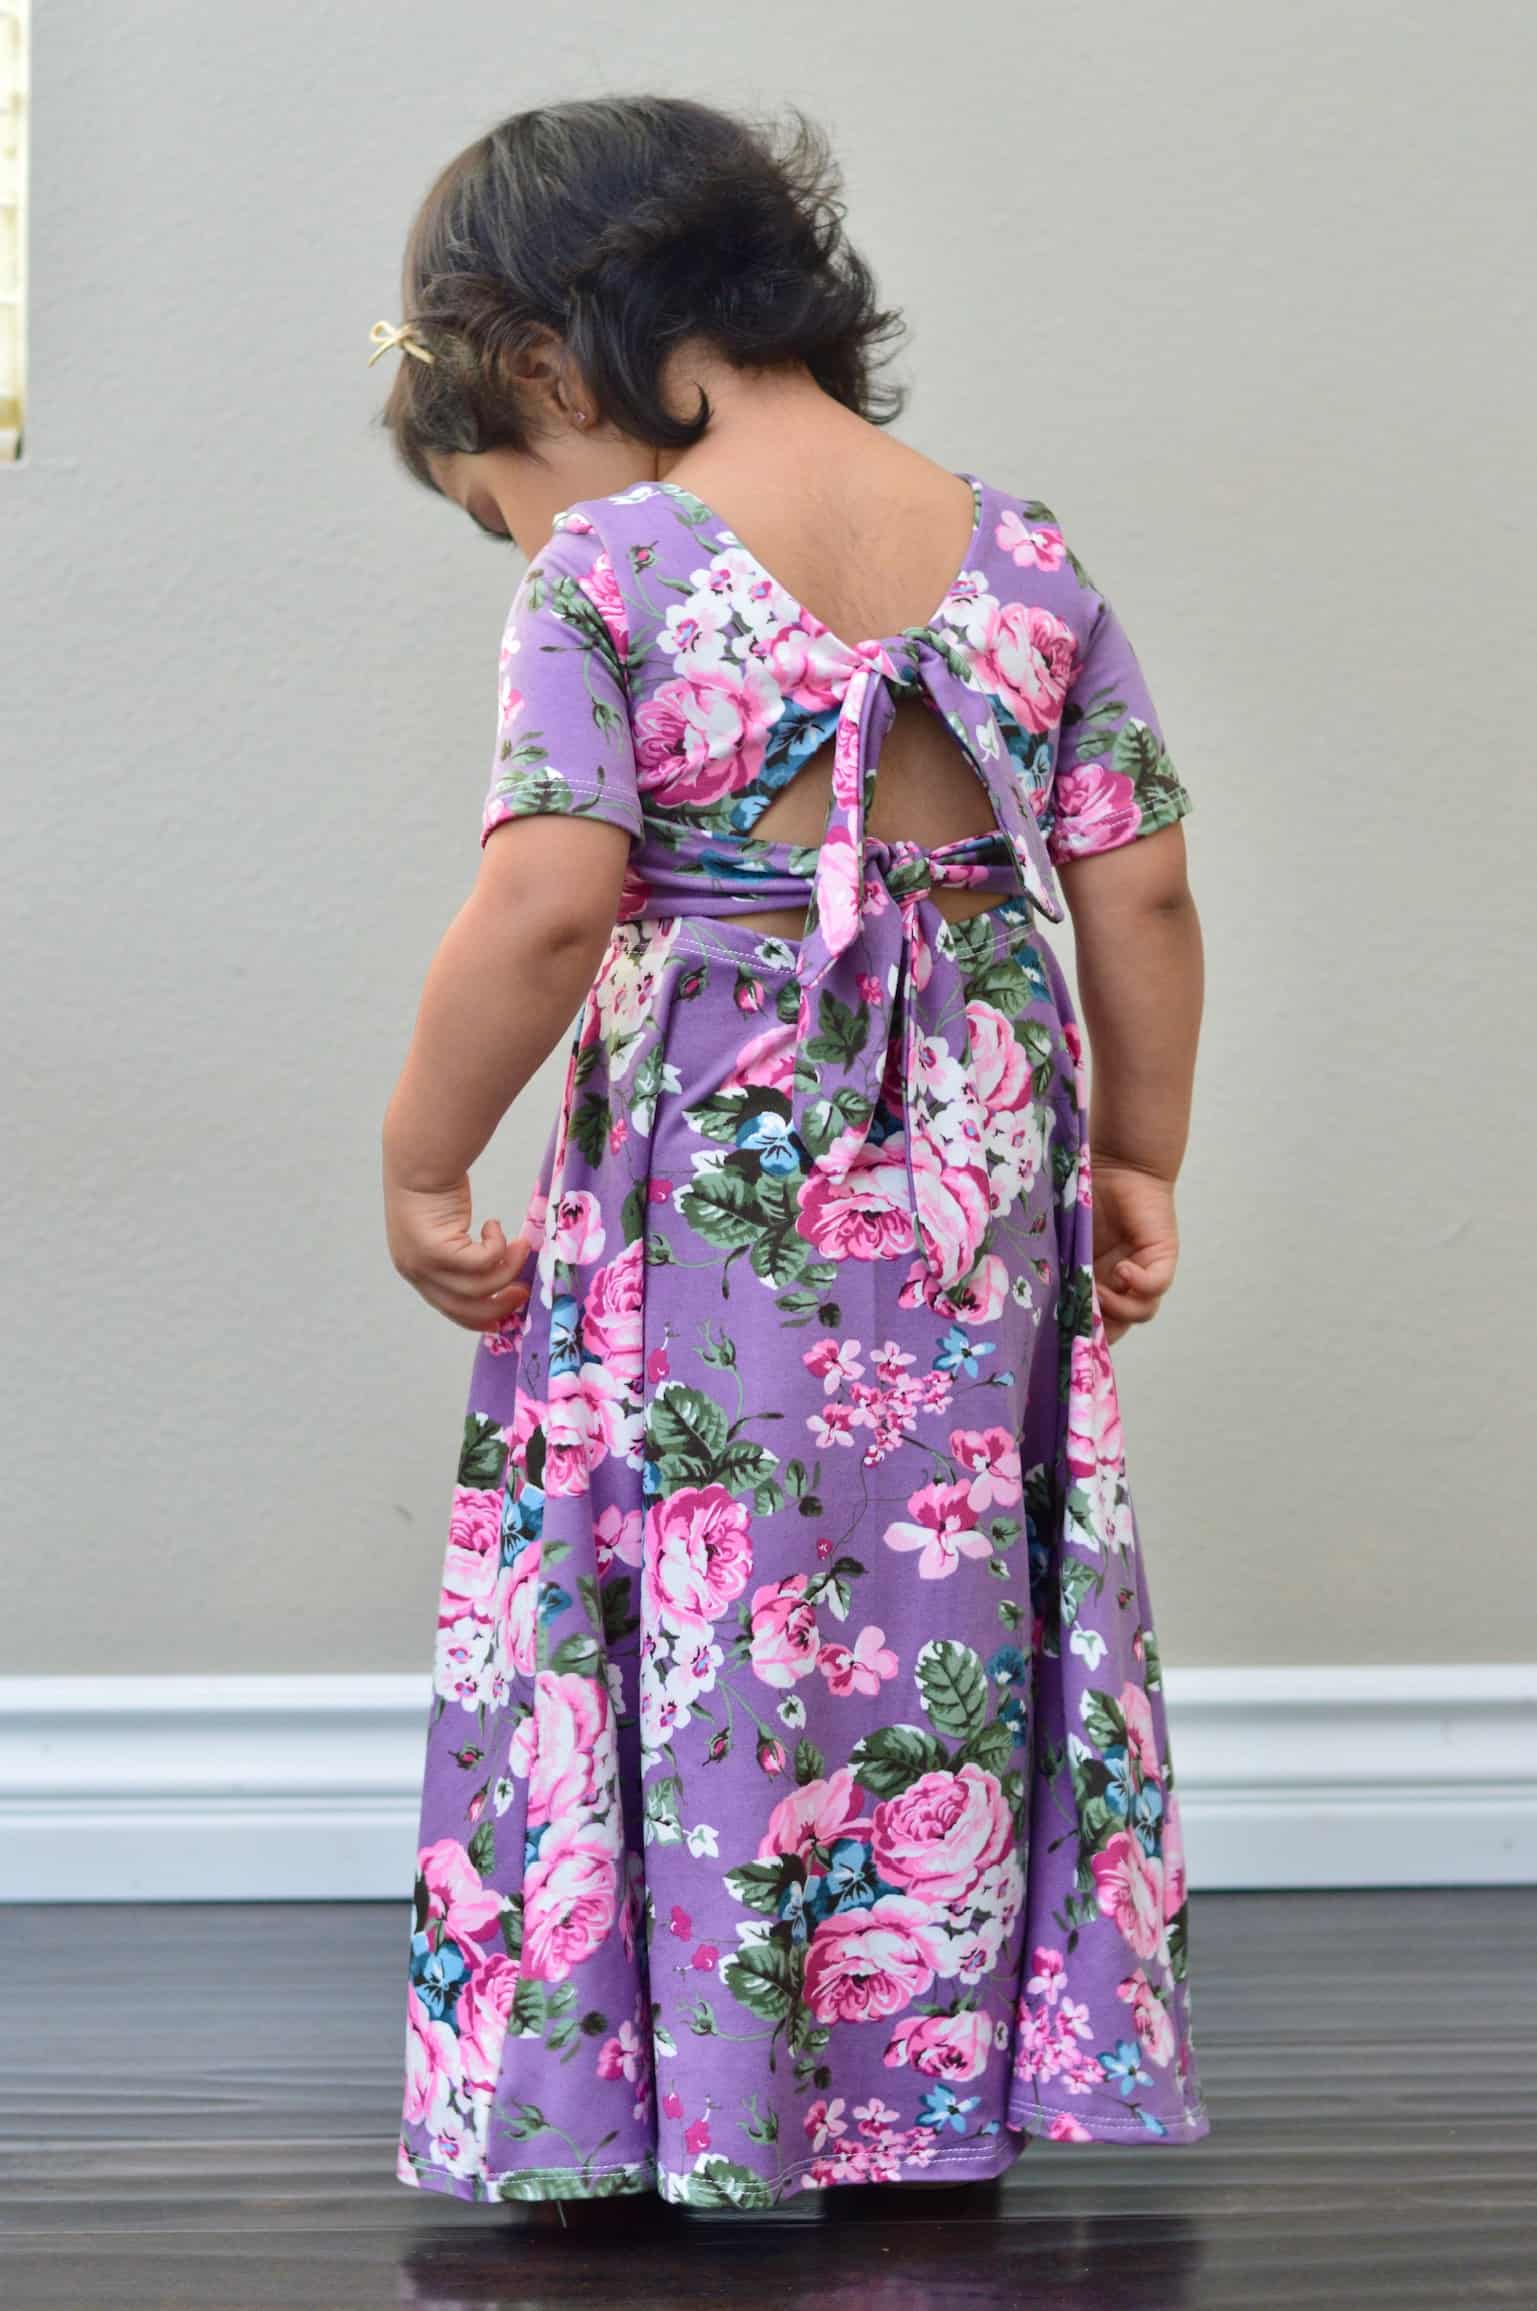
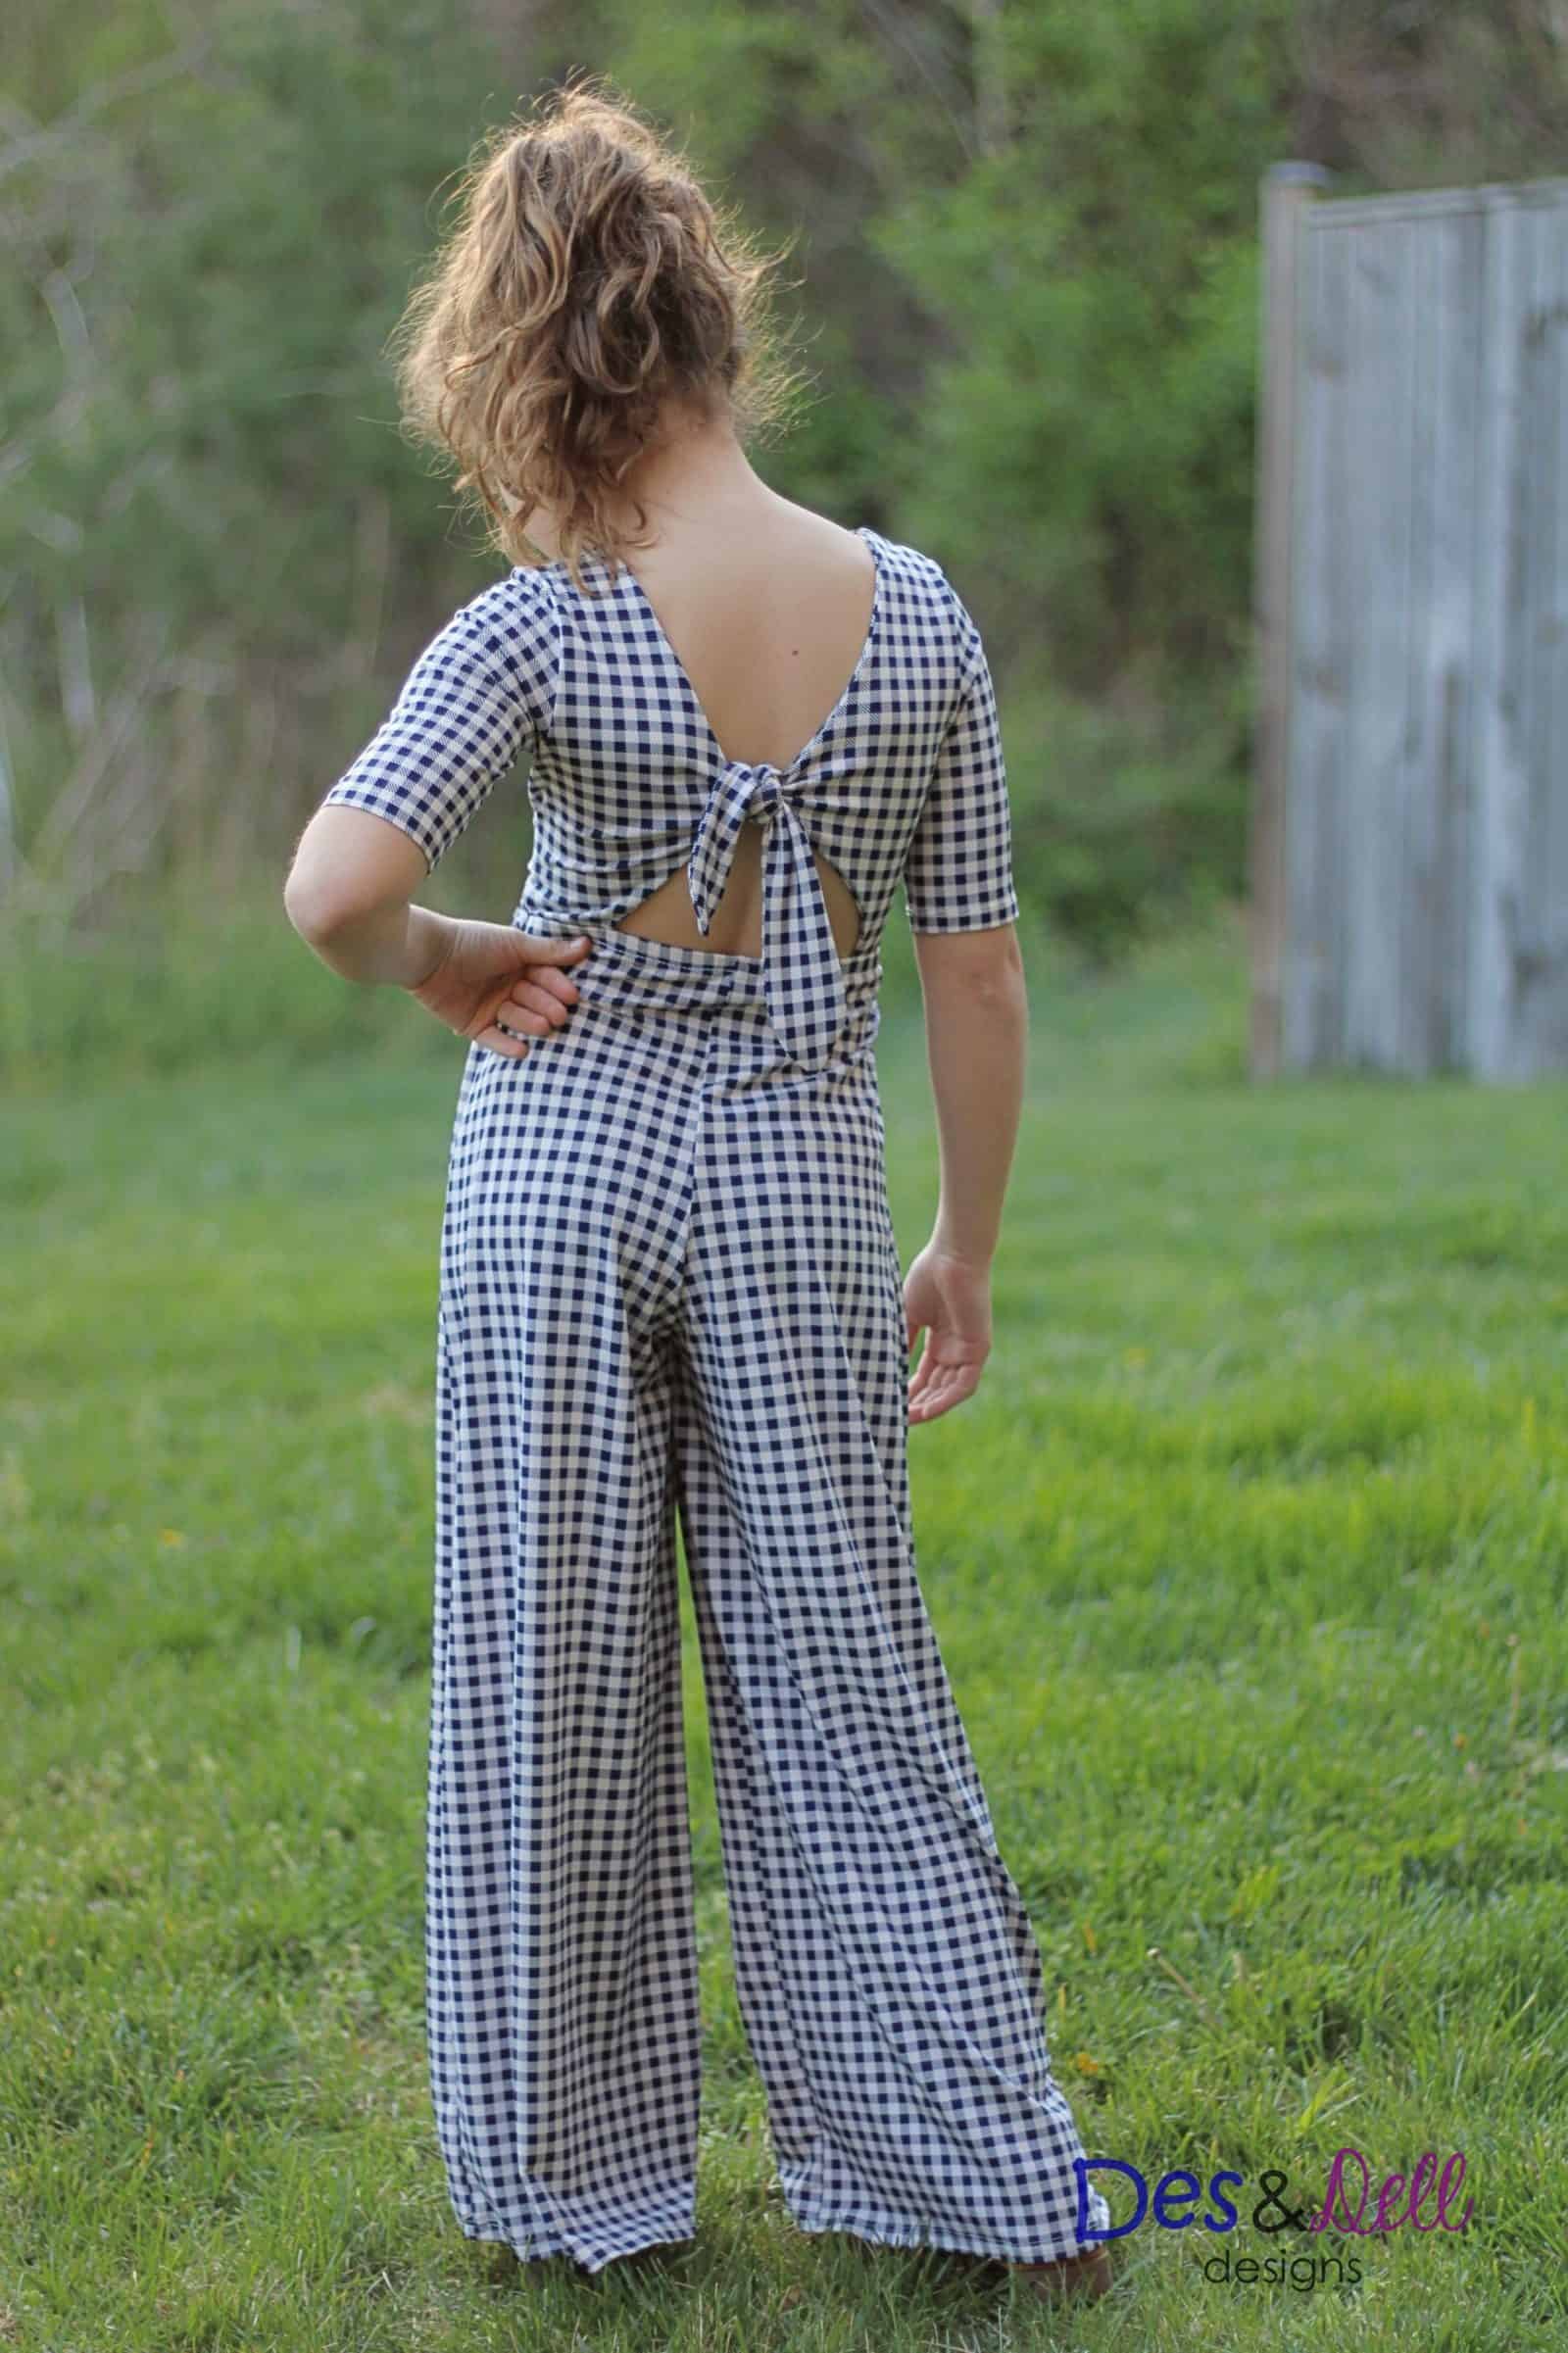
The Kaia Knit Dress, Maxi, and Romper is the next round of patterns to join our Resort Collection. The back bodice features a single OR a double tie, and the double tie can be worn tied in the back, or tied in the front as a sash. For bottom options, Kaia includes dress, maxi, and multiple romper lengths. You can make your Kaia sleeveless, or use the short or half sleeve options for cooler weather. Our testers looked stunning in all of their versions, and it was a huge hit with our picky tween tester crowd!! Comes in both Youth and Women’s sizing or grab the BUNDLE of the two!


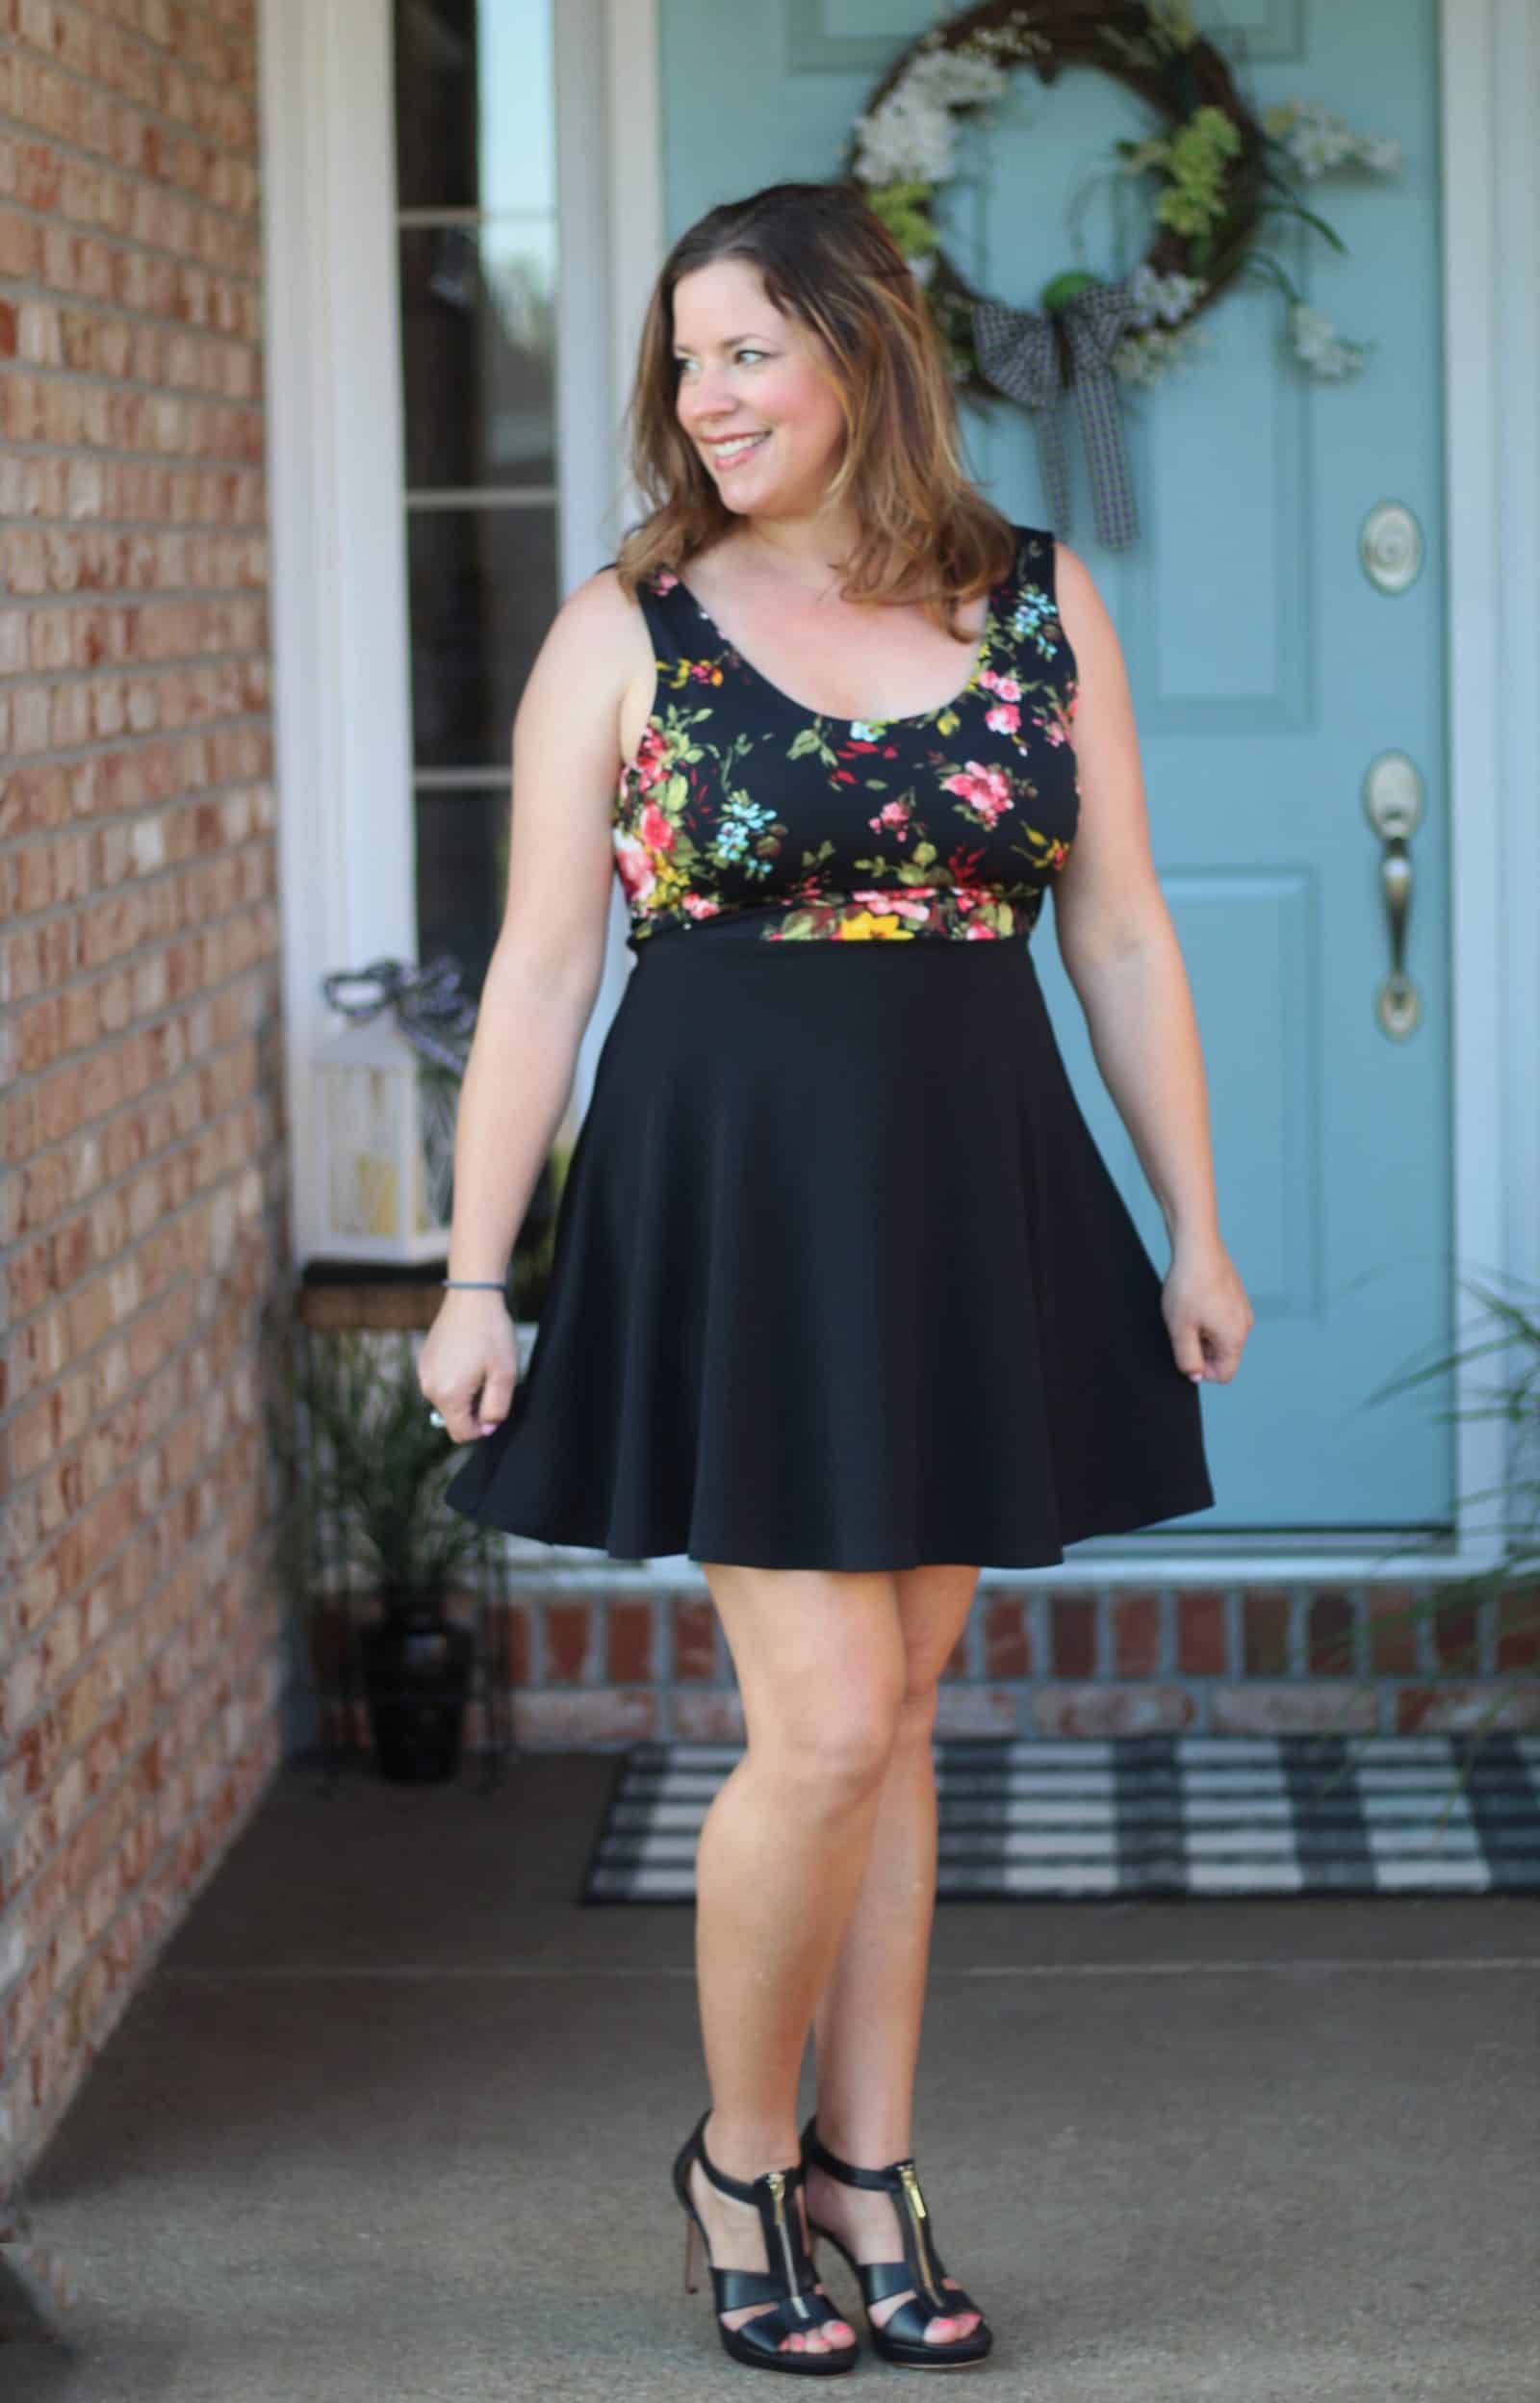
It’s so easy to create different looks with Kaia just as written. If you’ve been around Made for Mermaids for a bit, we KNOW you’ve seen the beautiful Stacey. She’s always creating stylish looks, and I’m obsessed with this Kaia that gives the look of separates just by using two different fabrics:

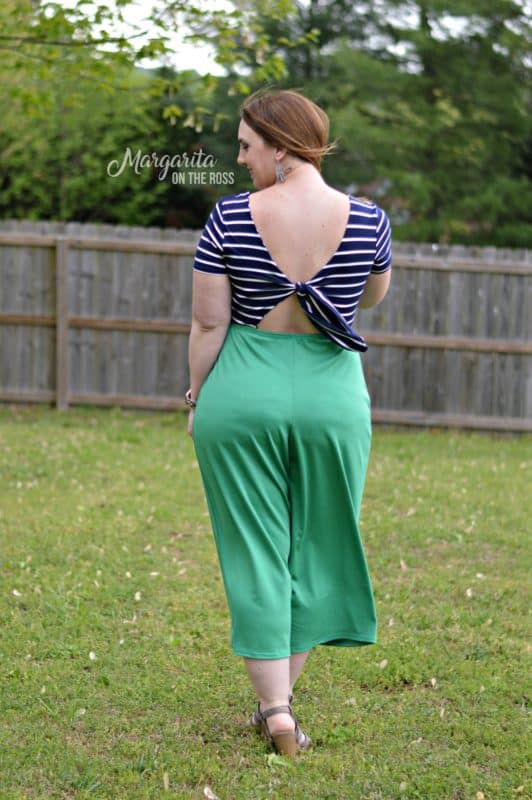
Of course, we had other stunning testers opt to use two fabrics as well:


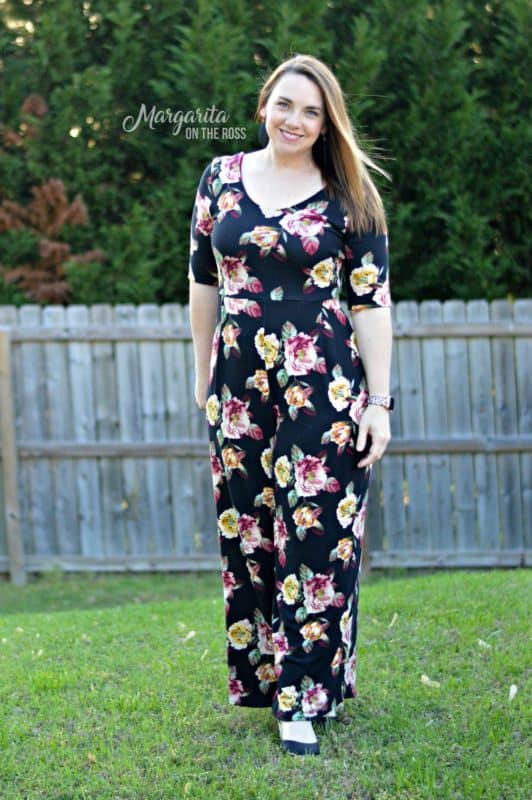
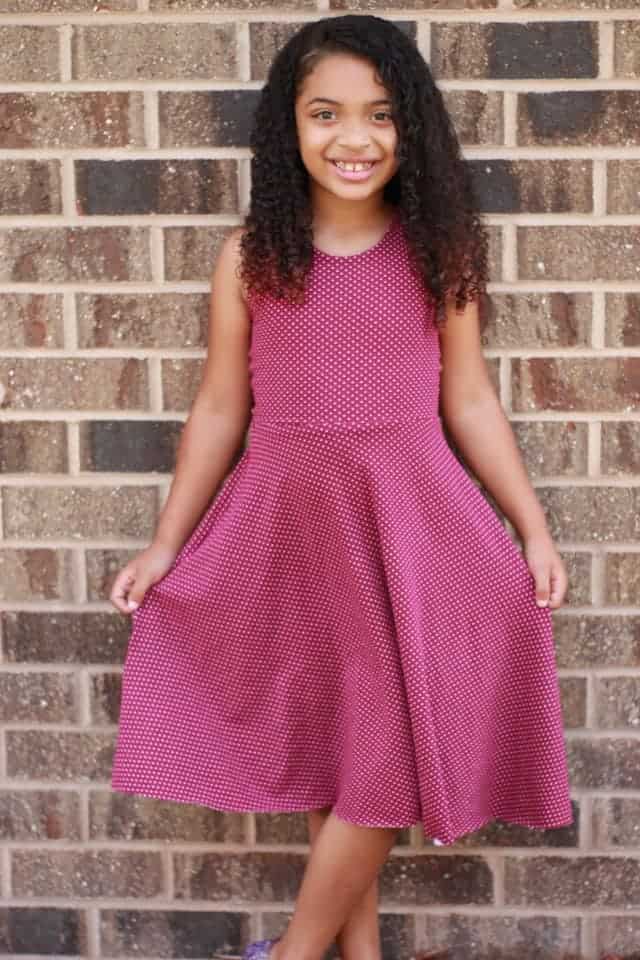
Kaia looks just as good in solid colors, too!


No matter your style, we think you’ll be able to find a Kaia that’s just right for you.


We hope Kaia brings you some joy during these strange times. Looking for other ways to sew up your Kaia patterns? Be sure to check out our fun hacks and mashes below!
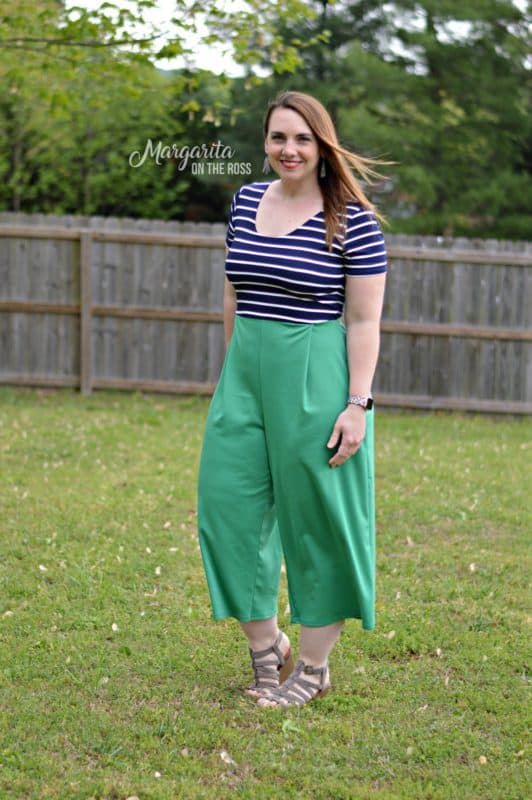
Separate Pants Hack
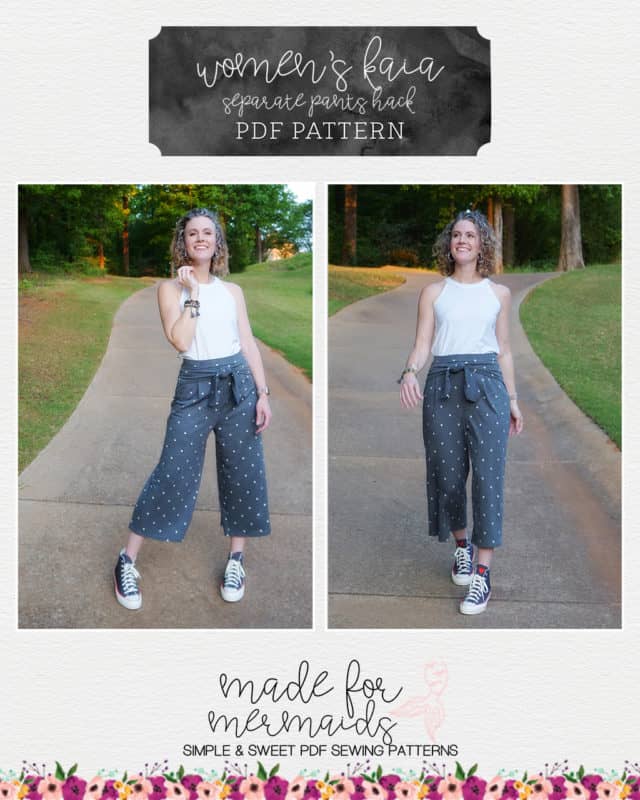
There are so many gorgeous outfits that can be made with the Kaia options!
When I saw the waist ties, I fell in love with the idea of tie waist pants… and they turned out perfectly!
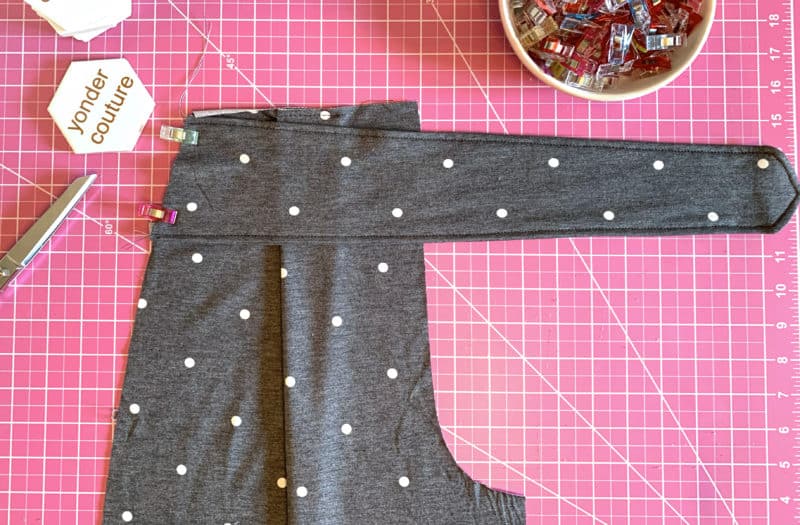
To begin, cut the Kaia romper pants pattern pieces, at your preferred length, and the double tie pattern piece. In addition to the Kaia pattern pieces, you will need the separates waistband from the Alice Pattern. It is the perfect match to the narrow waist of the Kaia!
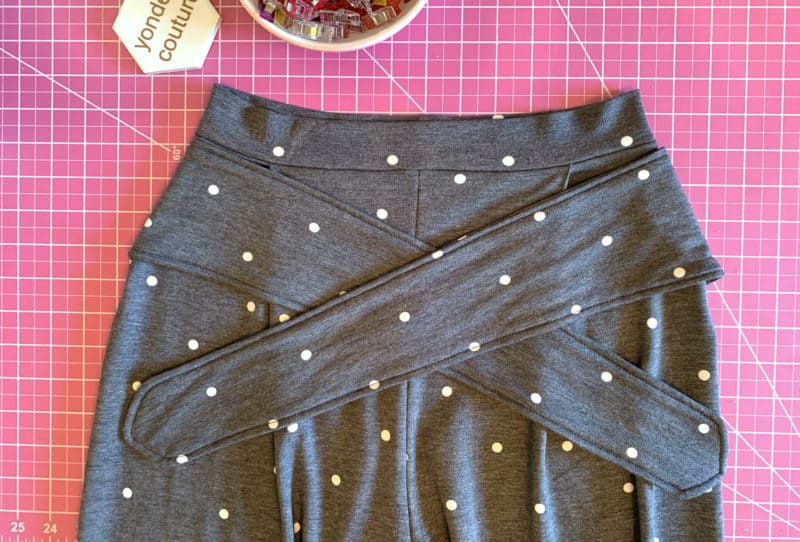
Follow the Kaia pattern instructions for assembling the double ties and baste them to the pants front pattern pieces, 1/2 inch from the top of the raw edge. The ties will be flipped upside down – with the labeled “top” of the pattern piece pointed down when basted to the pants.
Proceed with assembling the romper pants, per the pattern instructions.
Now, you’re ready to add your waistband to your pants!
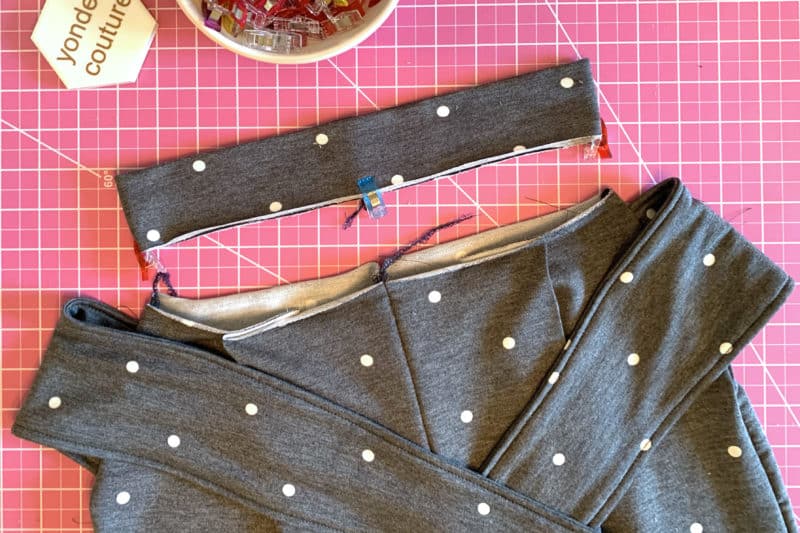
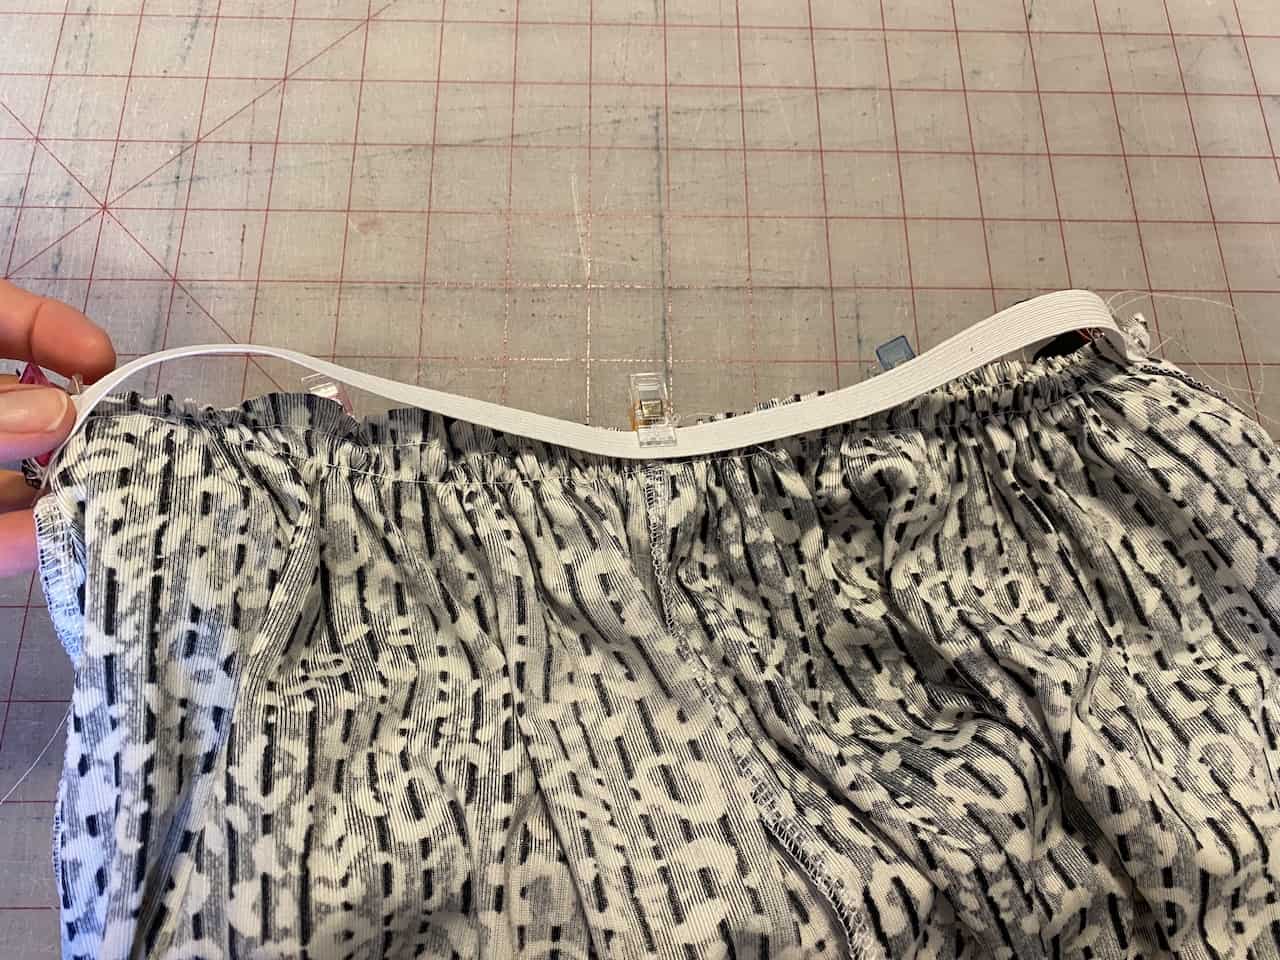
Fold the band width in half, right sides together, and sew a ½” seam to create a circle. Fold your band height in half with wrong sides and raw edges together and press.
Find your quarter points and mark with clips. Clip your waistband to your skirt, right sides together, matching quarter points on your band with quarter points on the top of your pants.
Sew together with a ½” seam. You will have to stretch your waistband slightly to fit as you go. Take care not to catch your ties in the waistband seam.
Hem your pants per the pattern instructions and you’re ready to go!
I am wearing the Fiona Pattern, too! Be sure to grab that one when you buy the Kaia! – Rachel


Built-In Bra Hack
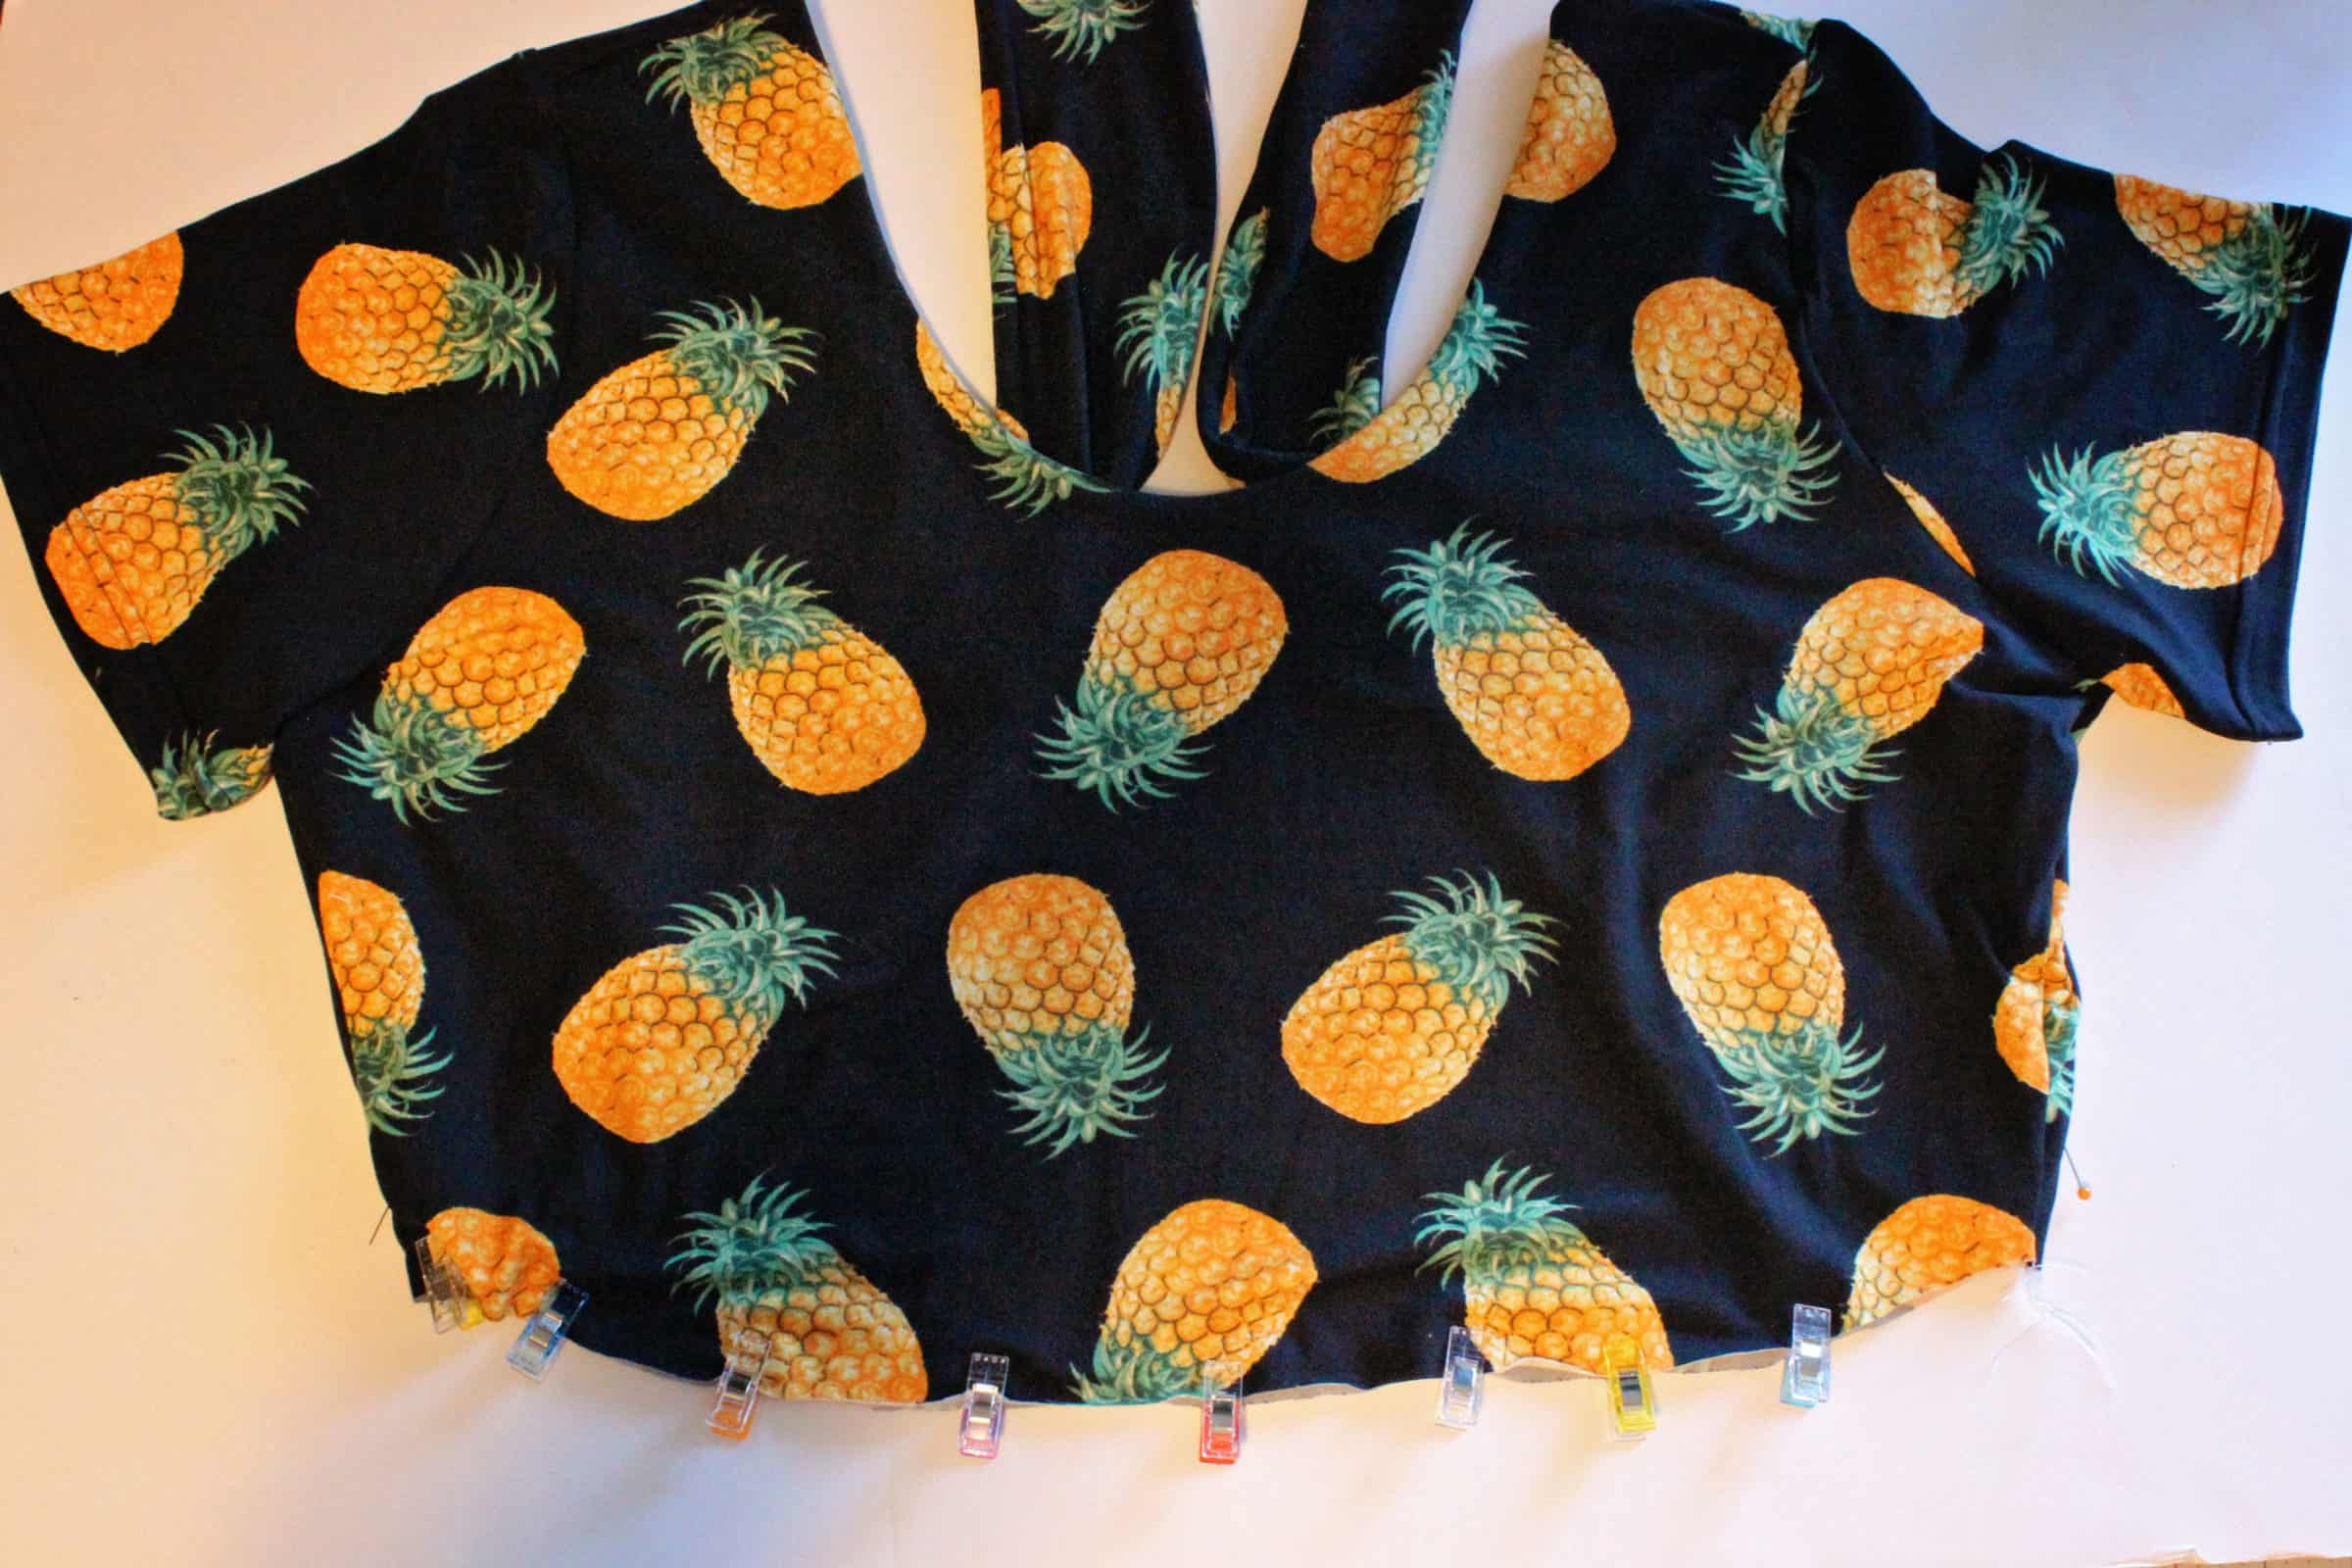
As much as some of us may love the open back looks, not all of us are comfortable going sans bra. And, it’s totally okay to feel that way! Want to wear Kaia without worrying about bra straps/backs/clasps showing? Nikki shows an easy way to add cups for a built-in bra hack!
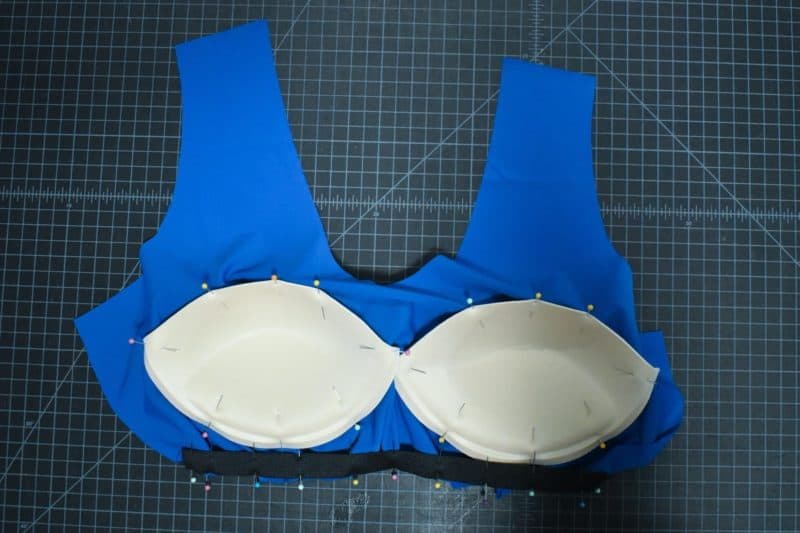
Gather your supplies. You will need two bra cups, elastic, + the Kaia pattern.
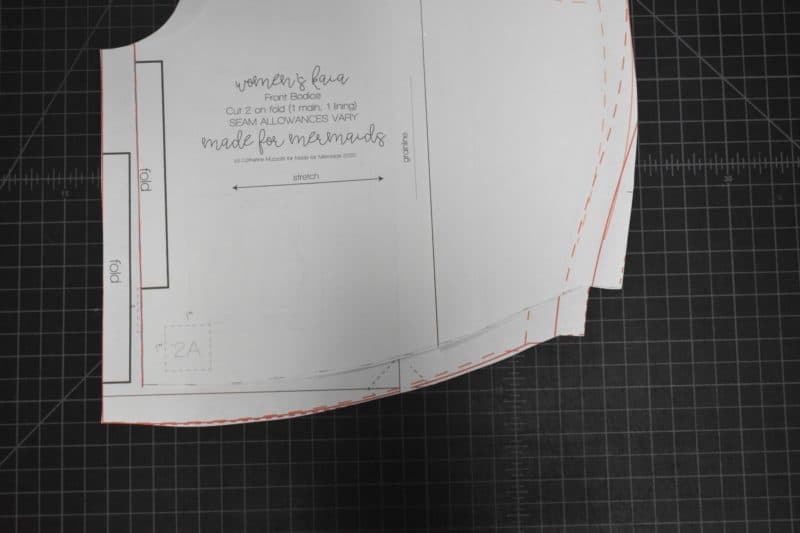
Measure 1″ up from the bottom of your front bodice LINING piece. Mark on the paper pattern.
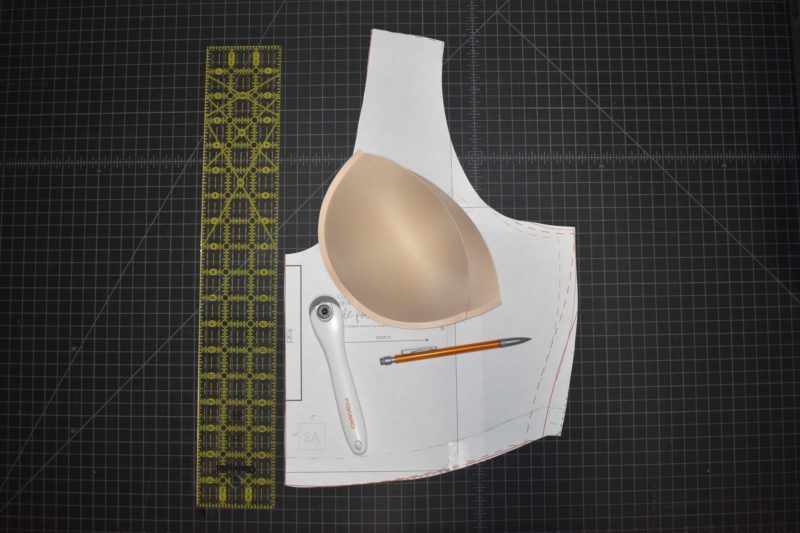
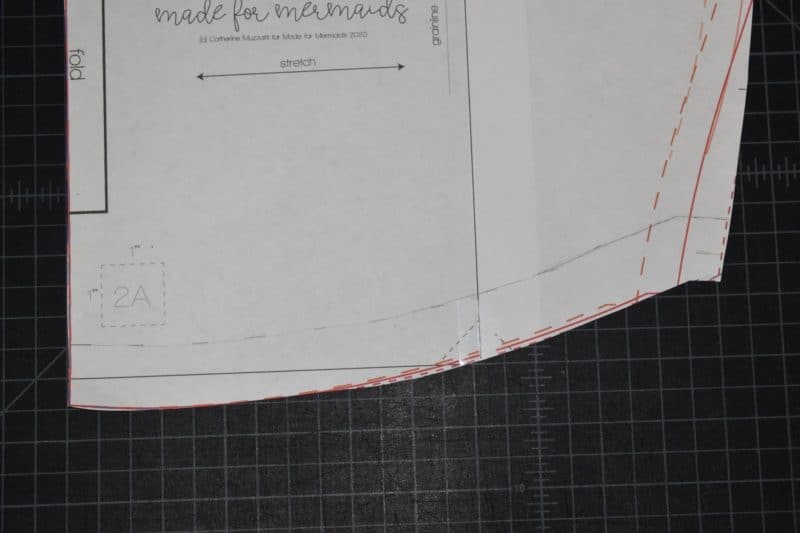
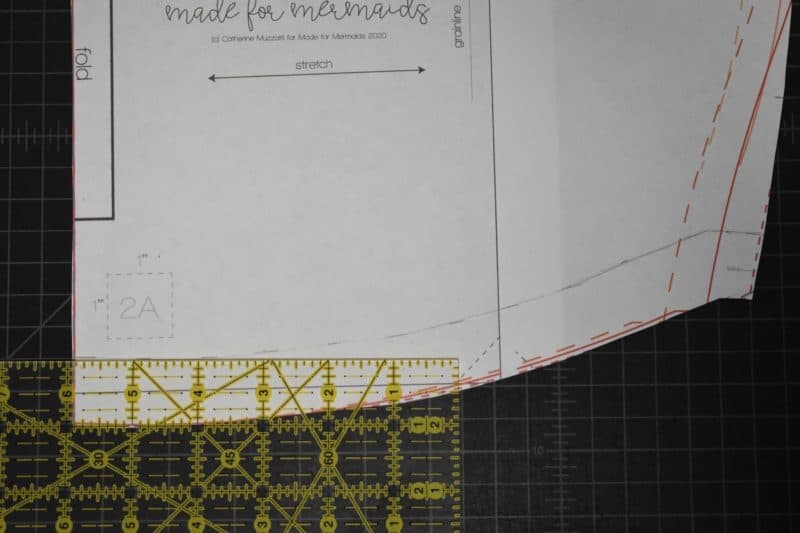
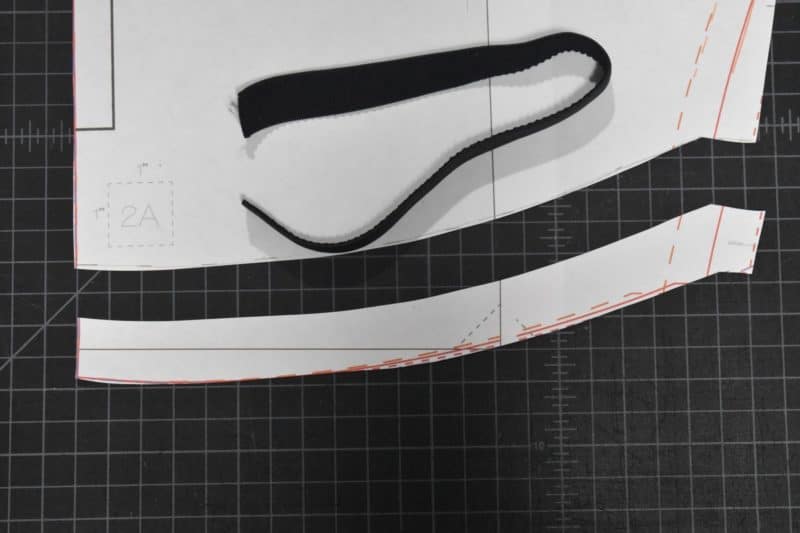
Next, cut the 1″ off of the LINING piece. Measure your elastic. I measured it just by holding it up from side seam to side seam, until it was as tight as I wanted it.
-

- Difference in length between bodice main and bodice lining
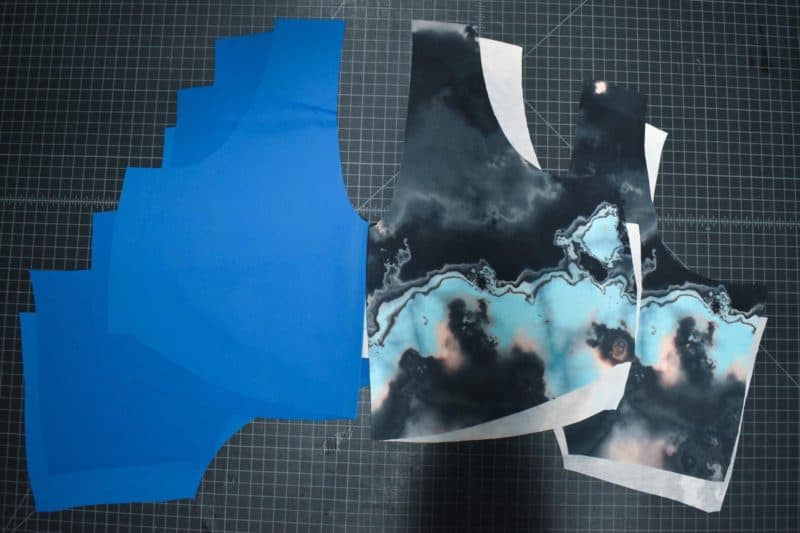
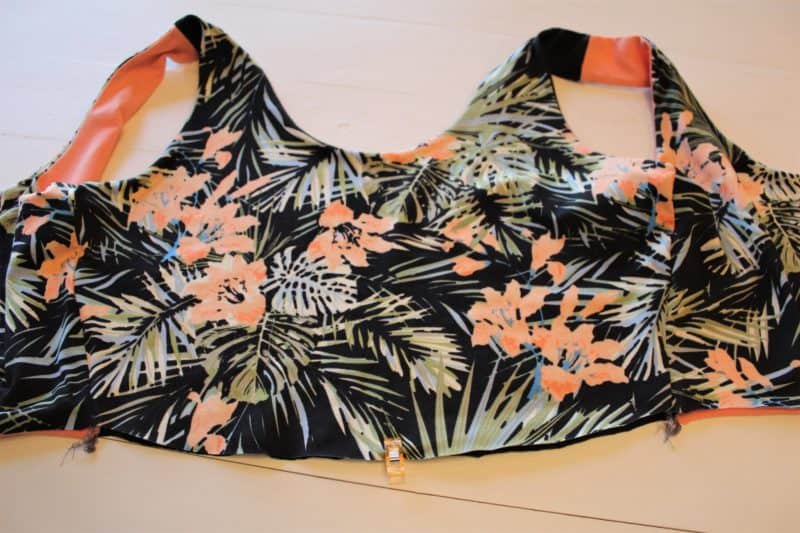
Cut your fabric bodice pieces out, for both lining and main.
Pin elastic to the bottom raw edge, and pin your cups in place to the wrong side of your lining. . Cups should be about 1/2″ apart from the center. Sew with a stretch stitch around the cups. Also stitch the elastic to the bottom raw edge. Flip the elastic upward so that it is enclosed, then topstitch down.
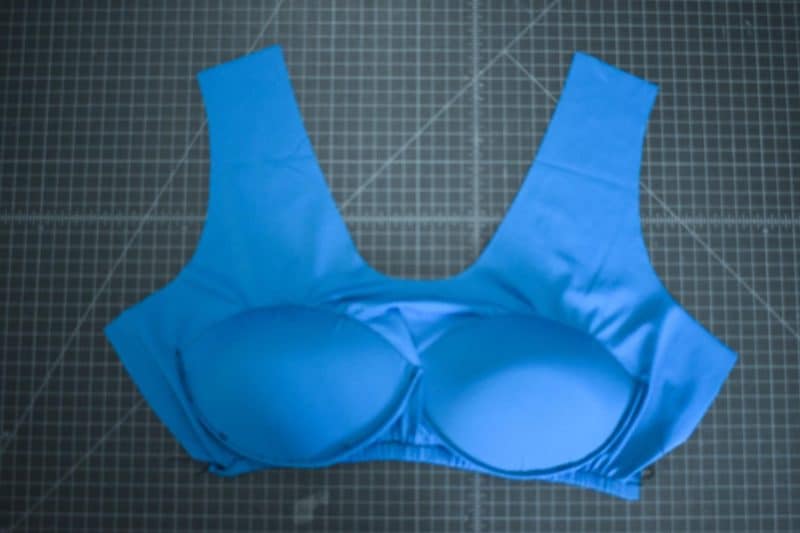
Sew your side seams as normal, but remember that now your lining will not reach the bottom of your main bodice.
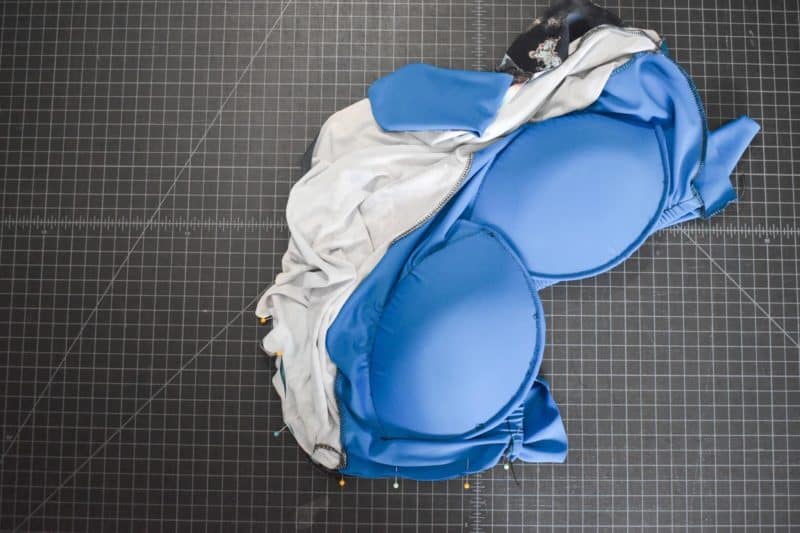
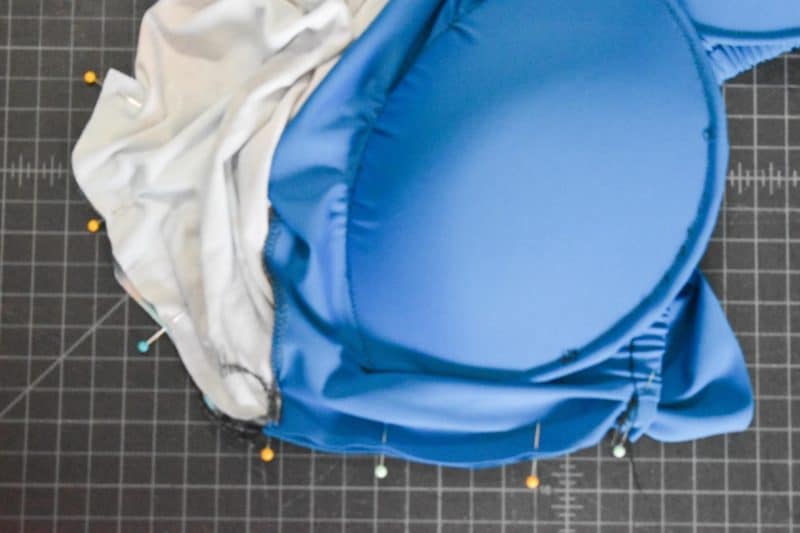
After your side seams are stitched, continue the written Kaia tutorial as instructed. Be careful when sewing the bodice to the skirt, as you will only have one layer instead of two. Once you attach your skirt/romper bottoms, you’re all done! – Nikki


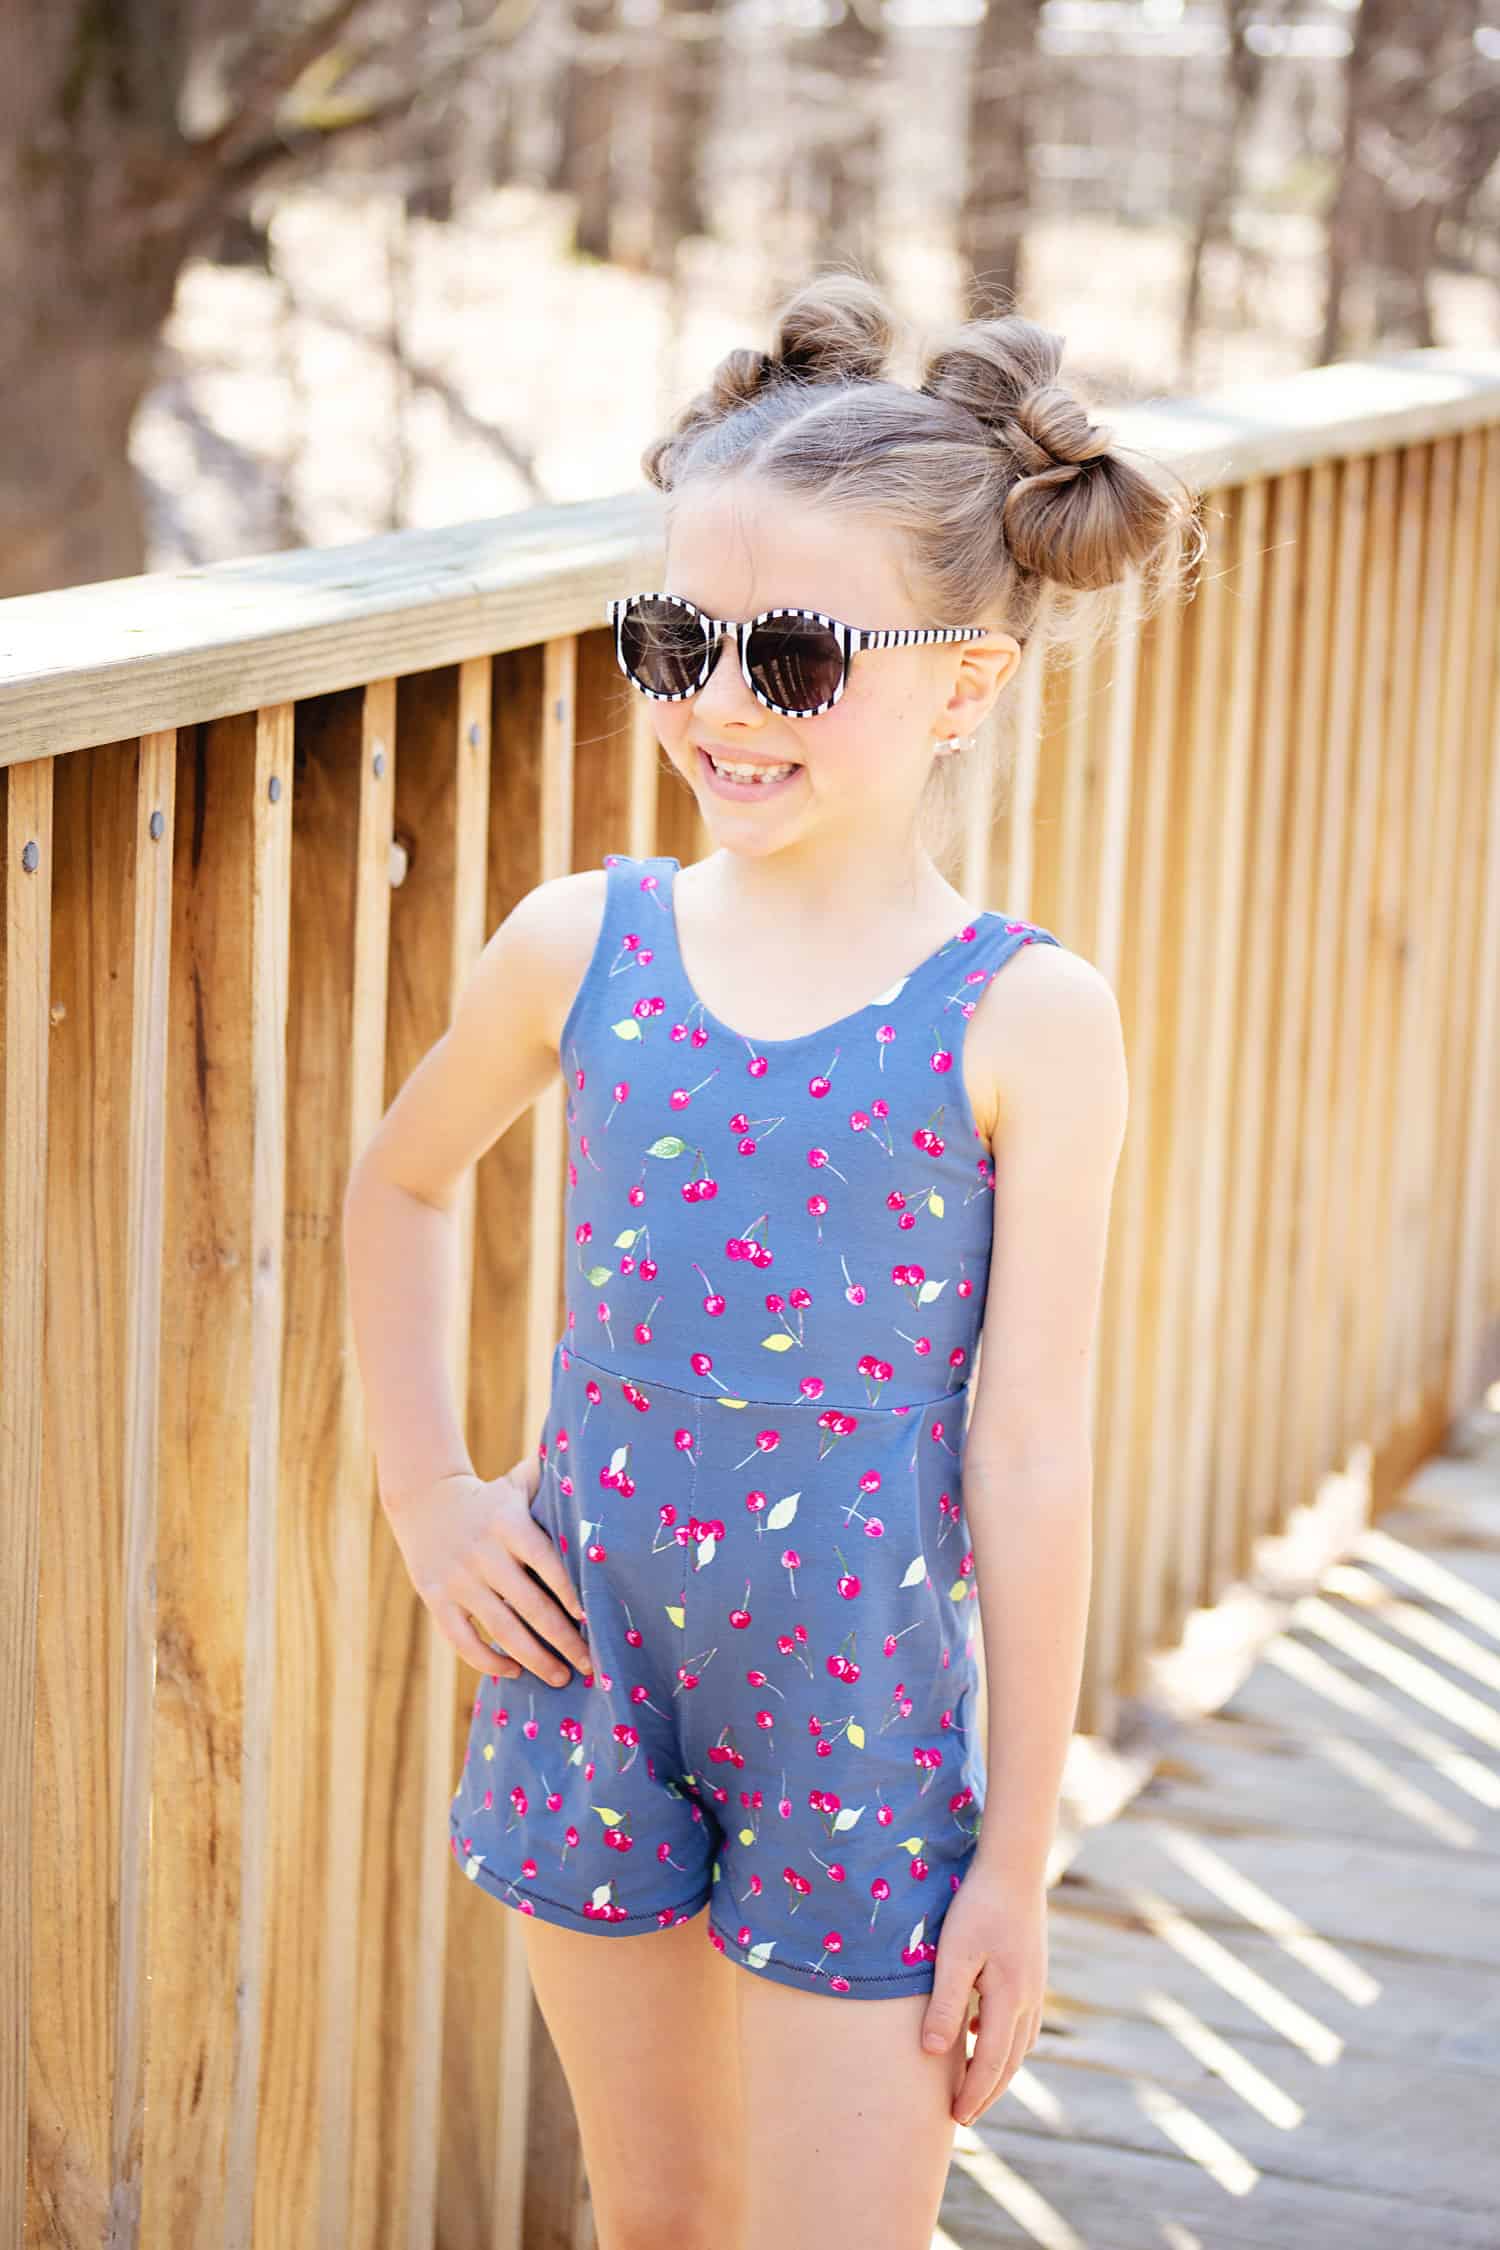
Romper Leg Elastic
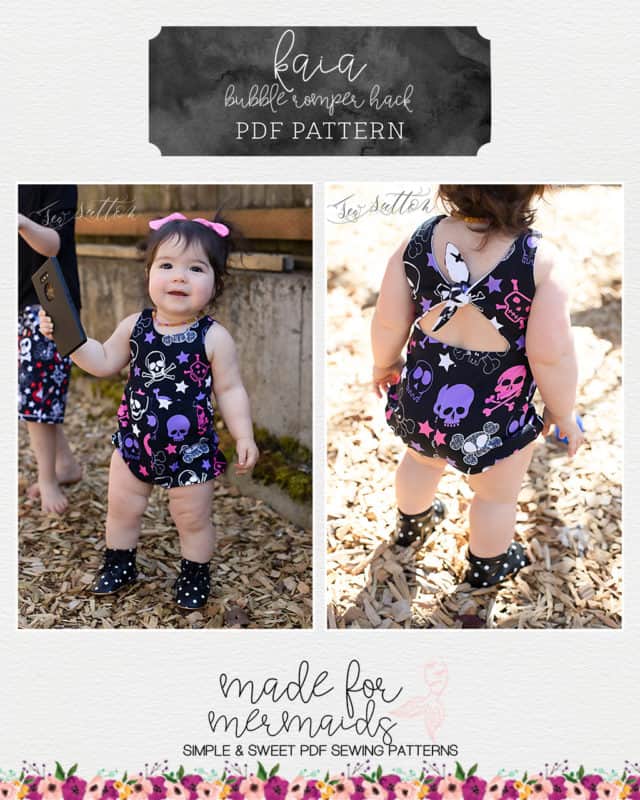
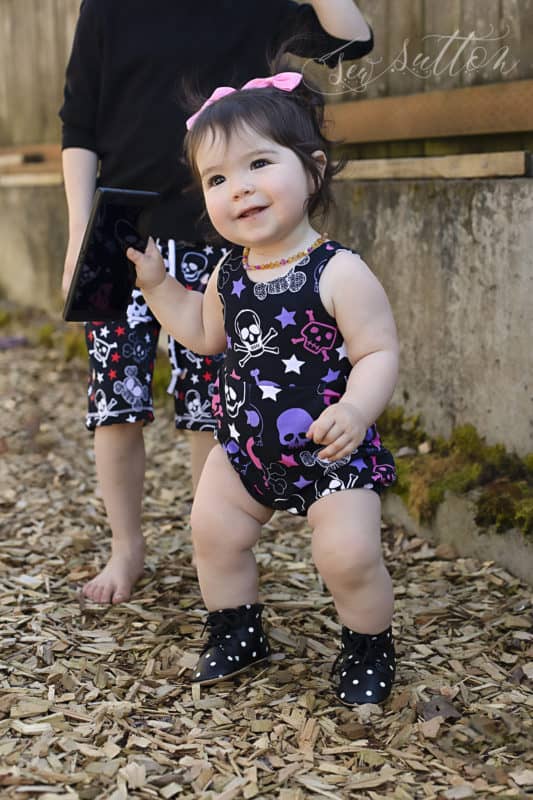
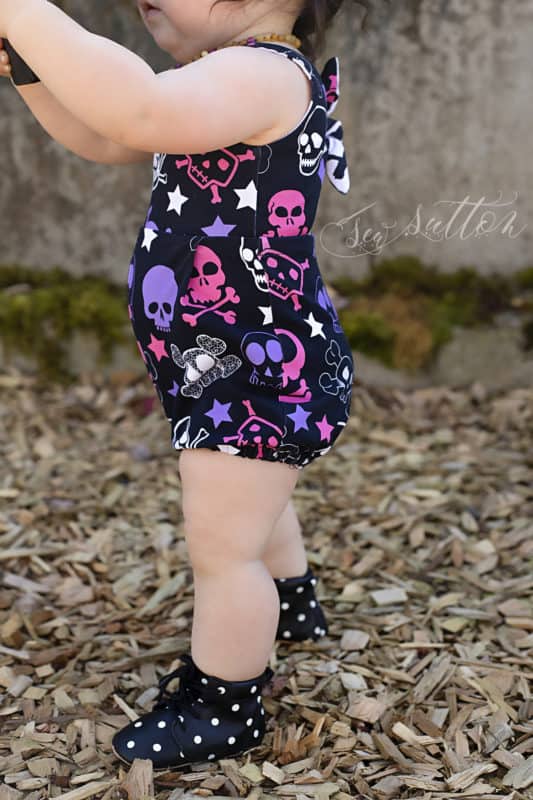
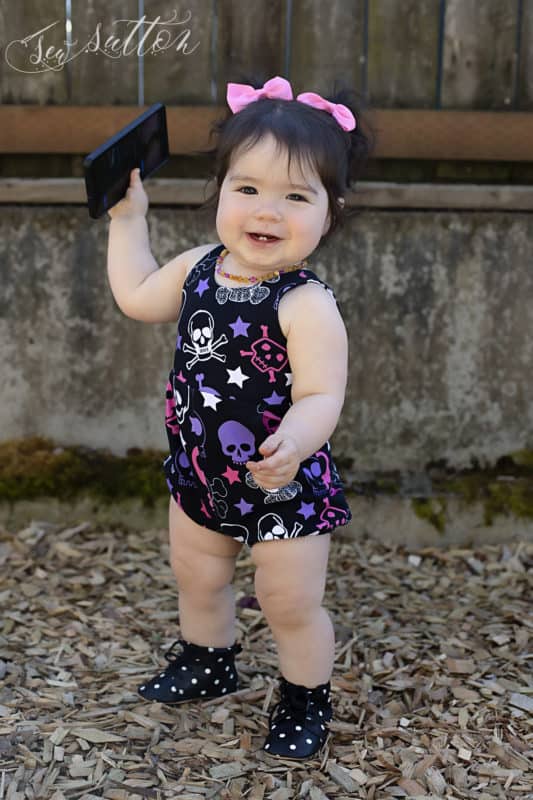
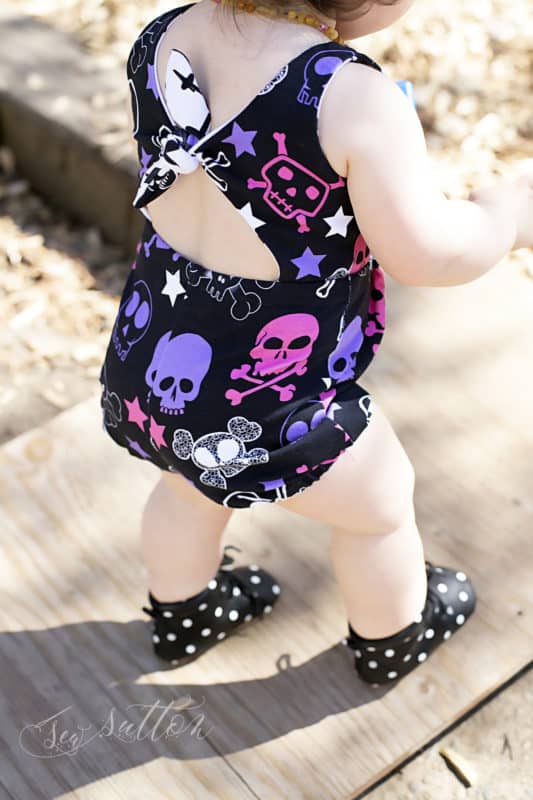
There’s something special about bubble leg shorts, especially on little ones! I knew adding a bonus hack of leg elastic to the already adorable Kaia romper would be the perfect addition. Even better – it’s super easy to do.
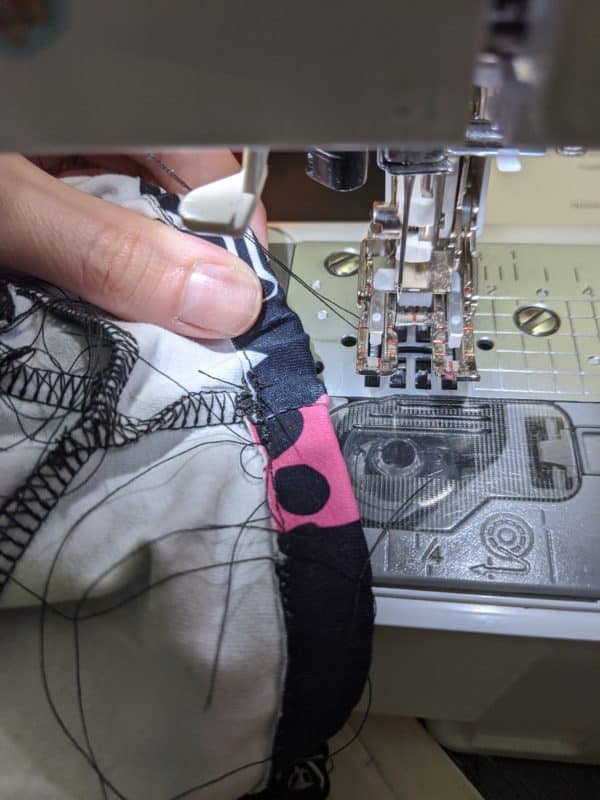
First, you’ll sew your romper as directed in the pattern but DO NOT HEM!
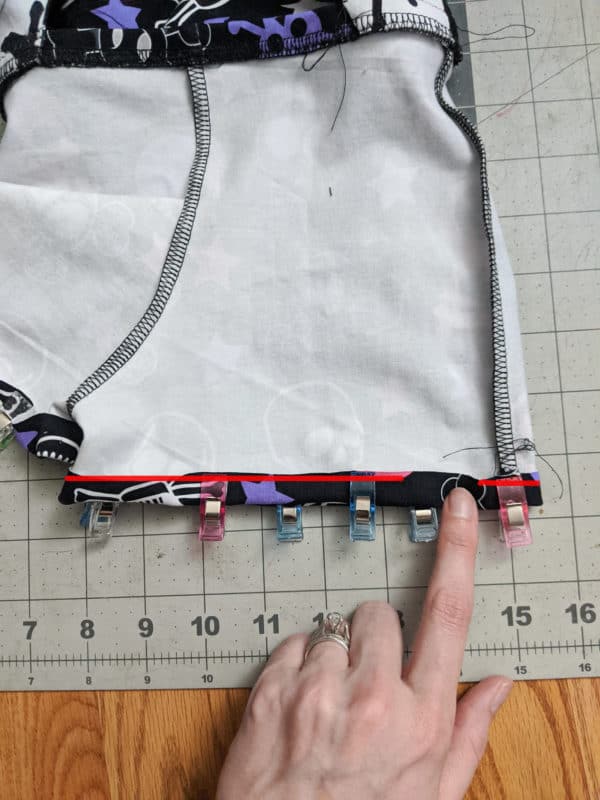
When you have done that, you’ll pin your 1/2″ hem and stitch all the way around with a sewing machine (not a cover stitch), leaving about a 1″ opening in the seam , creating a casing to thread your elastic through
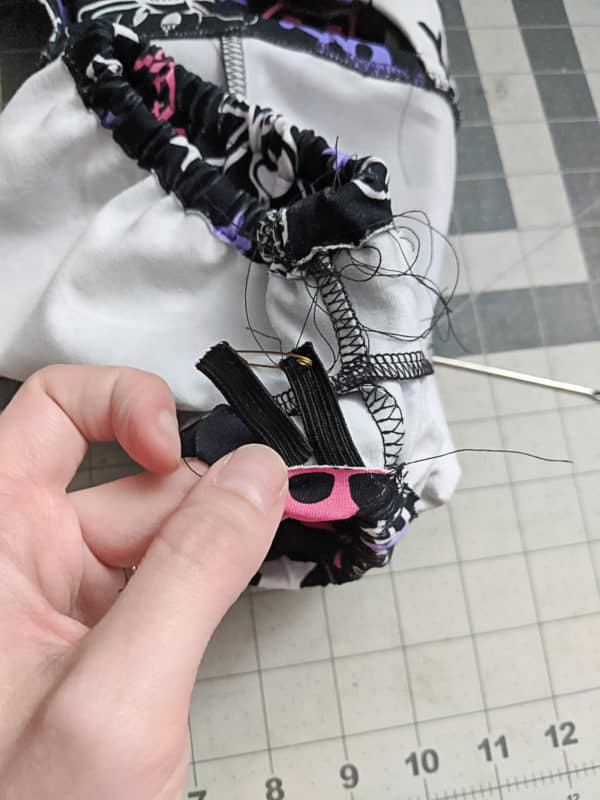
For your elastic, you’ll use either 3/8″ or 1/4″ elastic. To get the measurement, I recommend wrapping it around your child’s thigh to decide on your width. You want it to end up a little tighter than their thigh measurement, but not too tight of course. Once you have your two elastic pieces cut, grab a safety pin and thread it through the casing you just created.

Make sure you leave the end of the elastic out of the beginning of the casing and pull the other end all the way through so both ends of the elastic are sticking out of your casing. Be careful and make sure you don’t twist your elastic in the casing.

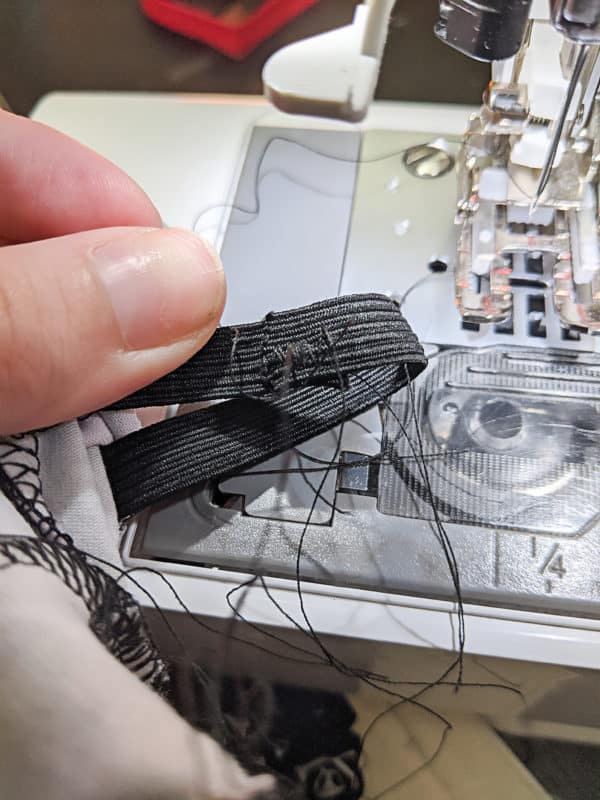
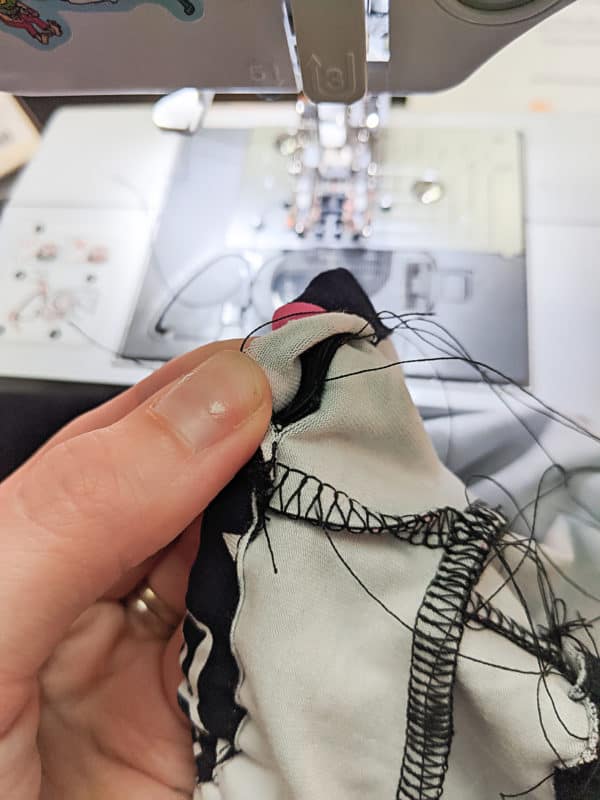
Now, you’ll overlap the two edges of elastic about 1/2″ and use a zig-zag stitch to stitch them together. Tuck the elastic back into the casing and then sew up the hole in your casing.
Repeat with the other leg and you are done! Adorable little bubble shorts.
Happy Sewing! – Michelle
Kaia + Sierra Mash

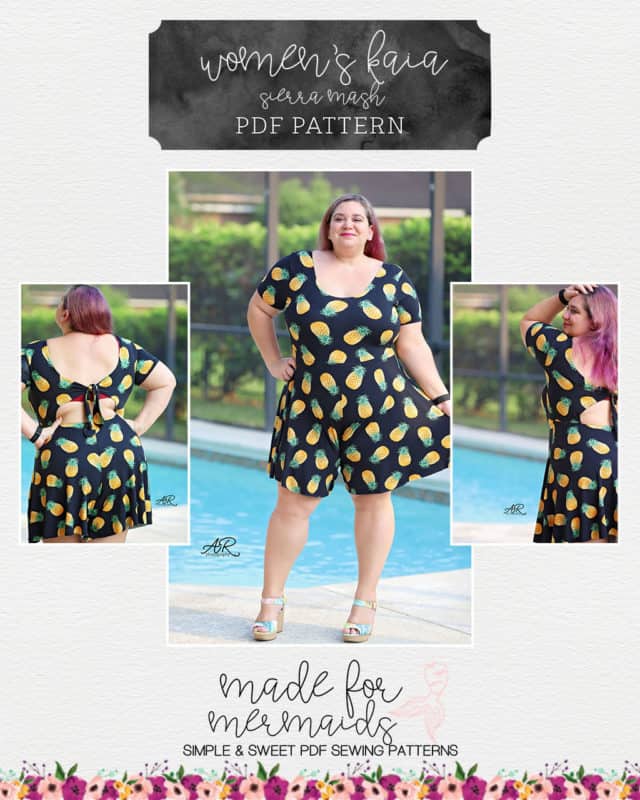
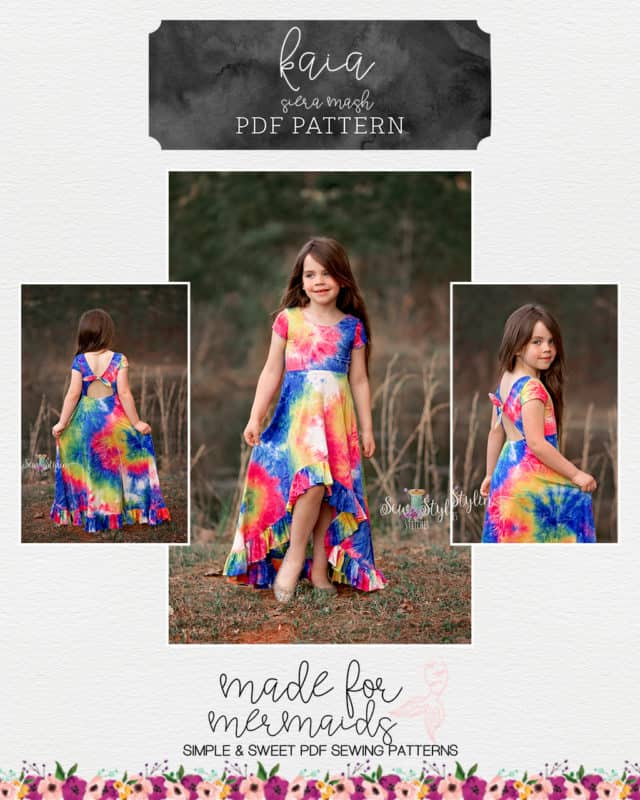
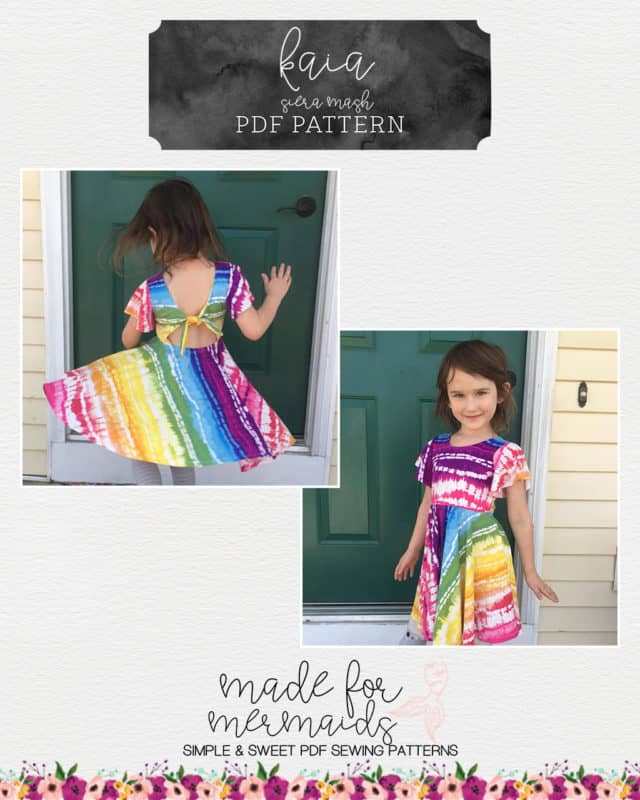
Sierra mashed with Kaia makes for such a fun look! You will follow the same general steps as the Jade hacks, but we will also include the steps here for you.
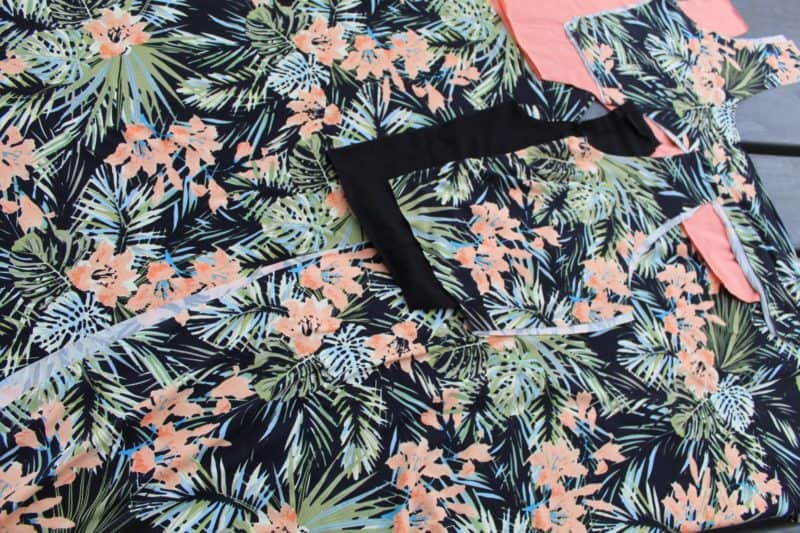
First, cut out your Kaia bodice pieces and Sierra bottom pieces. For mine, I cut out the bodice main and lining from Kaia, and the skirt portion of Sierra. If you’re using the romper bottoms, you will cut those out instead.
NOTE: I have a seam down the back of my Sierra skirt, since I was trying to use a 3 yard piece. The Sierra pattern as written does not have a back skirt seam.
Sew the Kaia bodice per the written tutorial. I opted to use the sleeveless version for my mash.

After your Kaia bodice is constructed, construct the Sierra skirt per the written tutorial.
Next, we’ll attach the bodice to the skirt, just as we would in the Kaia tutorial. Attach your clear elastic across the back, from side seam to side seam. Pin or clip the remaining portions of the bodice to the skirt.
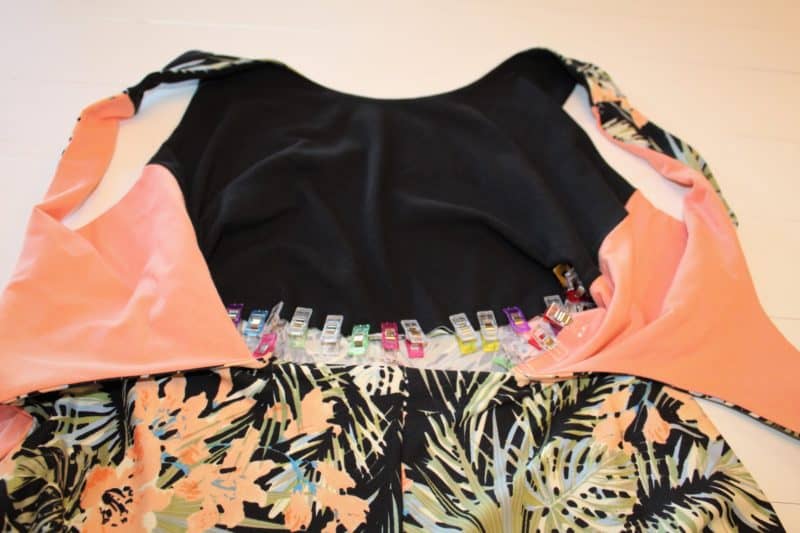
Topstitch the elastic, hem if desired, and you’re all set to wear your new Kaia + Sierra mash! -Amy


Want to mash with the Sierra bottoms instead?? Alex has got you covered!
I couldn’t let the new Kaia release happen without showing you how super easy it is to get even more options out of it…simply by mashing it with the Sierra pattern. For my example, I chose the Kaia top and Sierra 8″ romper.
-

- Sew the Kaia top as instructed in the tutorial
-
- Sew the Sierra romper bottom according to the pattern.

All you have to do is add the bottom to the top following the instructions for the Kaia romper. Did I mention this is the easiest hack ever? 😉
I left my romper un-hemmed because I prefer the added 1/2″ length. This is a double brushed poly, but you can make the same style using rayon or bamboo spandex too.


Next Kaia/Sierra hack I plan to make myself will be the Kaia top with the hi low skirt. Just look how gorgeous little Ella looks!


Happy sewing! -Alex
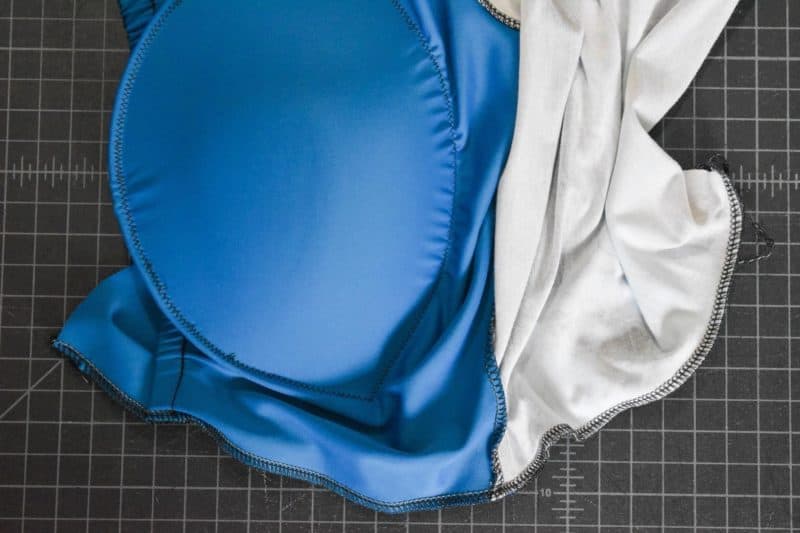
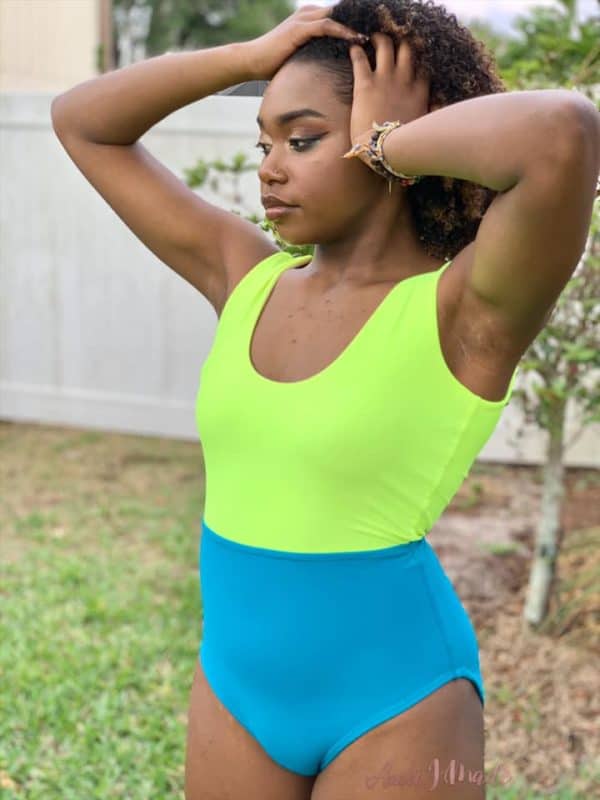
Kaia + Roxy Mash

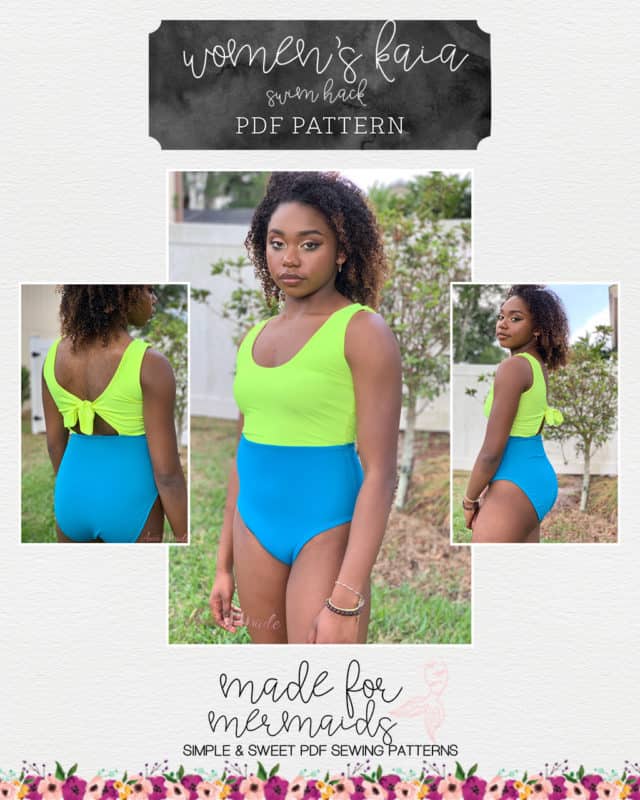
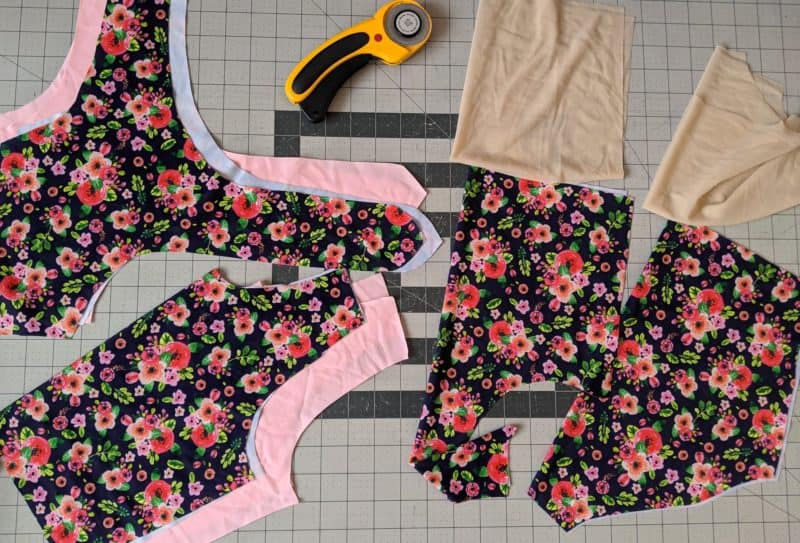
Kaia and Roxy make the perfect swimsuit mash! If you fall between sizes for Kaia, you may wish to size down for swim. We HIGHLY suggest making a muslin first, in case you need to adjust the length removed from the Roxy bottoms.
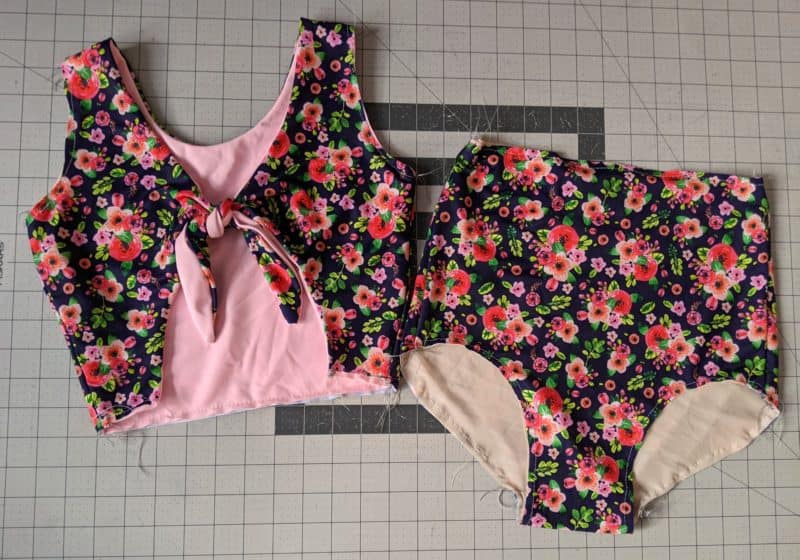
You’ll construct your Kaia bodice per the written tutorial, with the exception of adding swim elastic to the Kaia armscyes. You’ll want to add the elastic at 90% of the armscye.
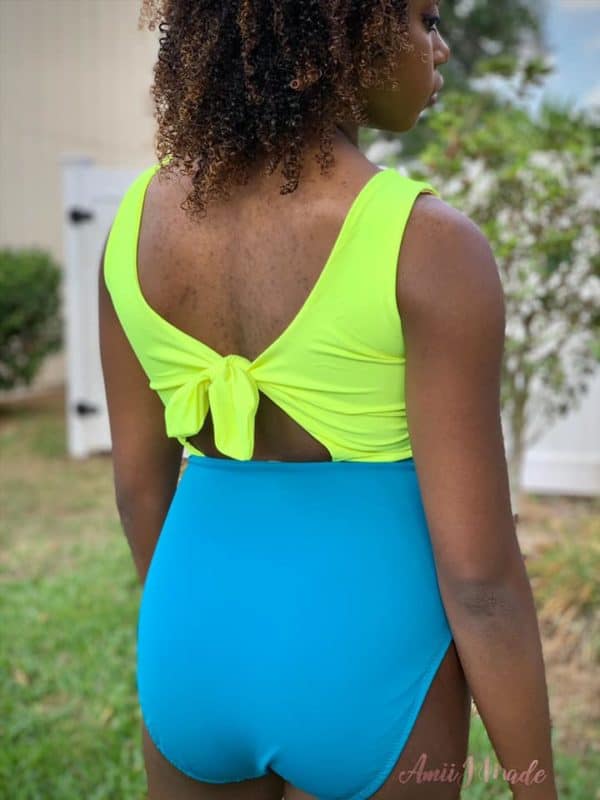
To mash the two together, take 1-1.5″ off the top of the Roxy bottom.
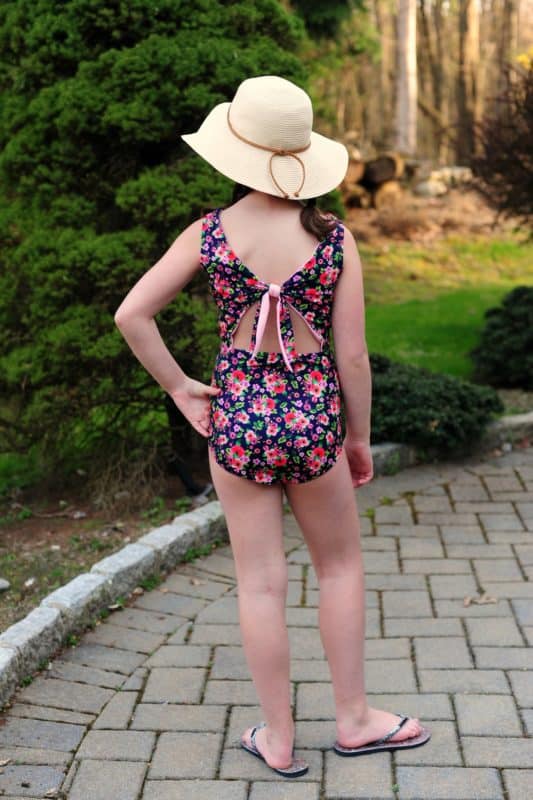
Attach the Roxy bottom as you would the Kaia bottom, being sure to add swim elastic instead of clear elastic to the back.
That’s it! Enjoy your new swimsuit, even if you’re just vacationing in your living room. 🙂


Kaia + Jade Mash
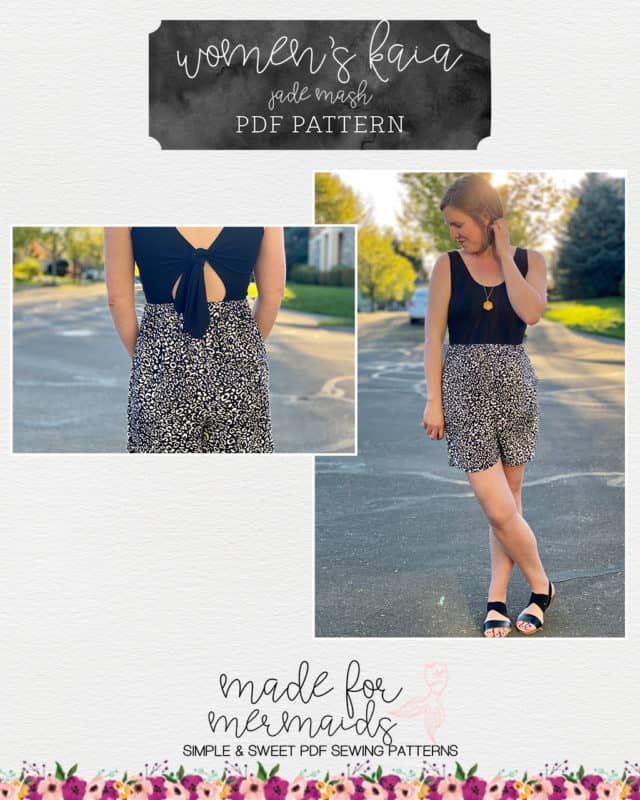
Last year, Jade was my favorite romper pattern but this year, Kaia is quickly trying to take that top spot. I love the fitted look of the Kaia romper, but the flow of the gathered Jade romper bottoms are fun too. So then I thought, why not put both together?! So here’s my mash of the Kaia top with the gathered Jade romper bottoms!
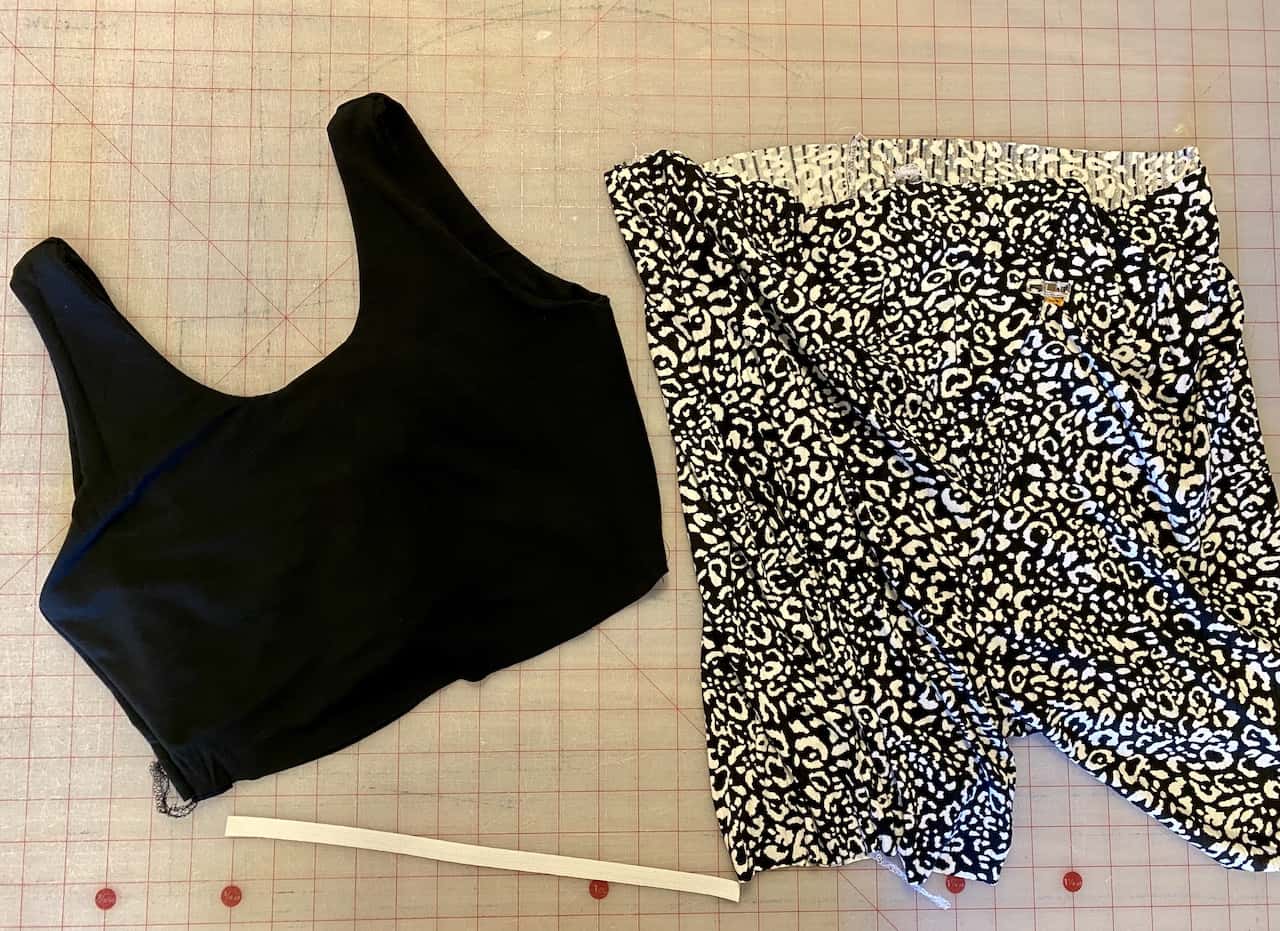
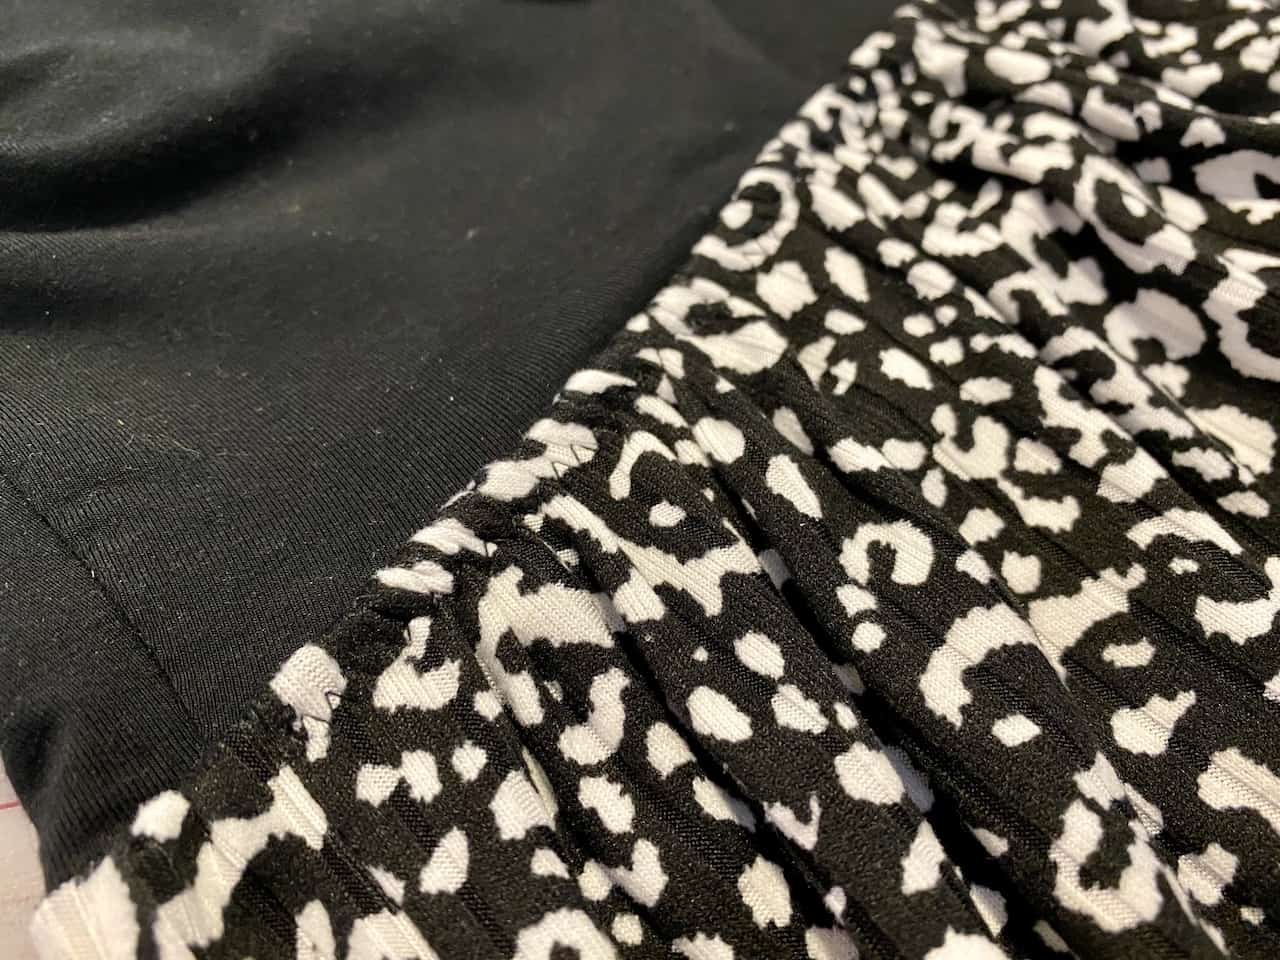
For this mashup, you will need your pattern pieces for the Kaia top. I chose to make this one sleeveless but you can use the sleeved version too. Then you’ll need the Jade romper bottoms. You can use any romper bottom length, shorts or pants, with the same construction steps. Cut out your pieces plus cut the 1/2″ elastic according to your sizing for Kaia. I used the solid black for my Kaia sleeveless top and cheetah rib knit for my Jade shorts.
NOTE: if you need to make trunk adjustments, make sure those are done before cutting.
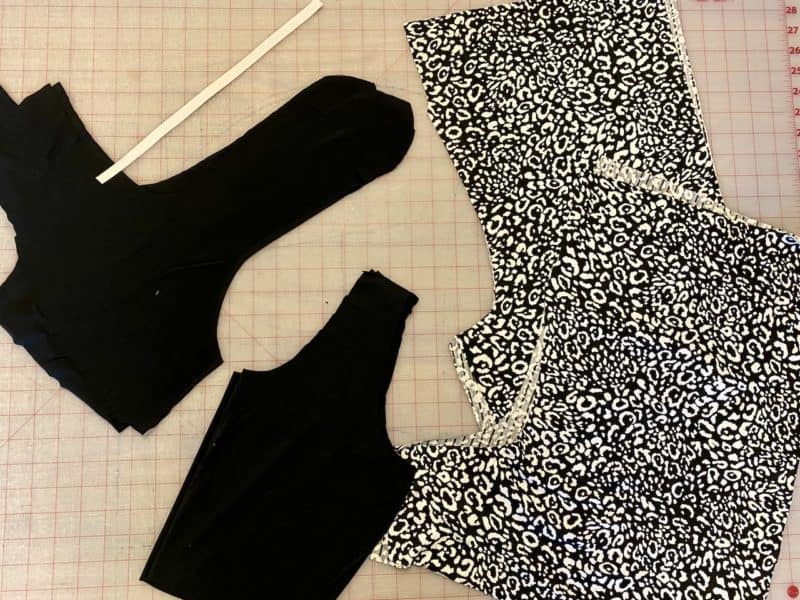
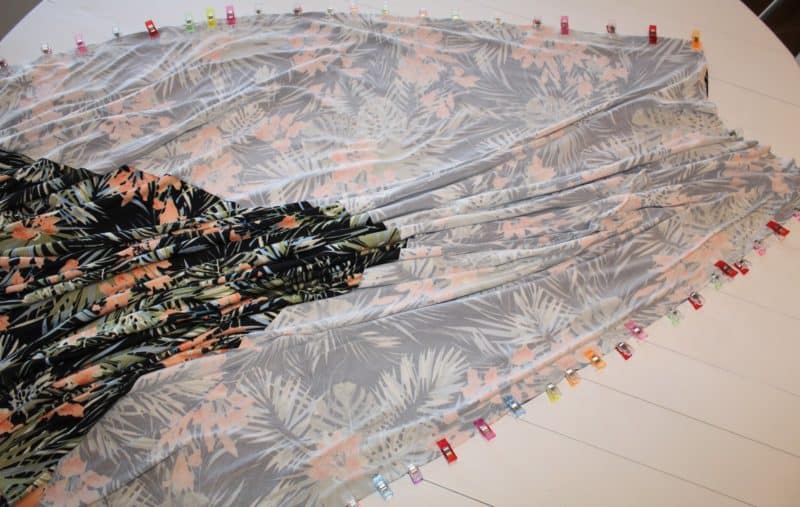
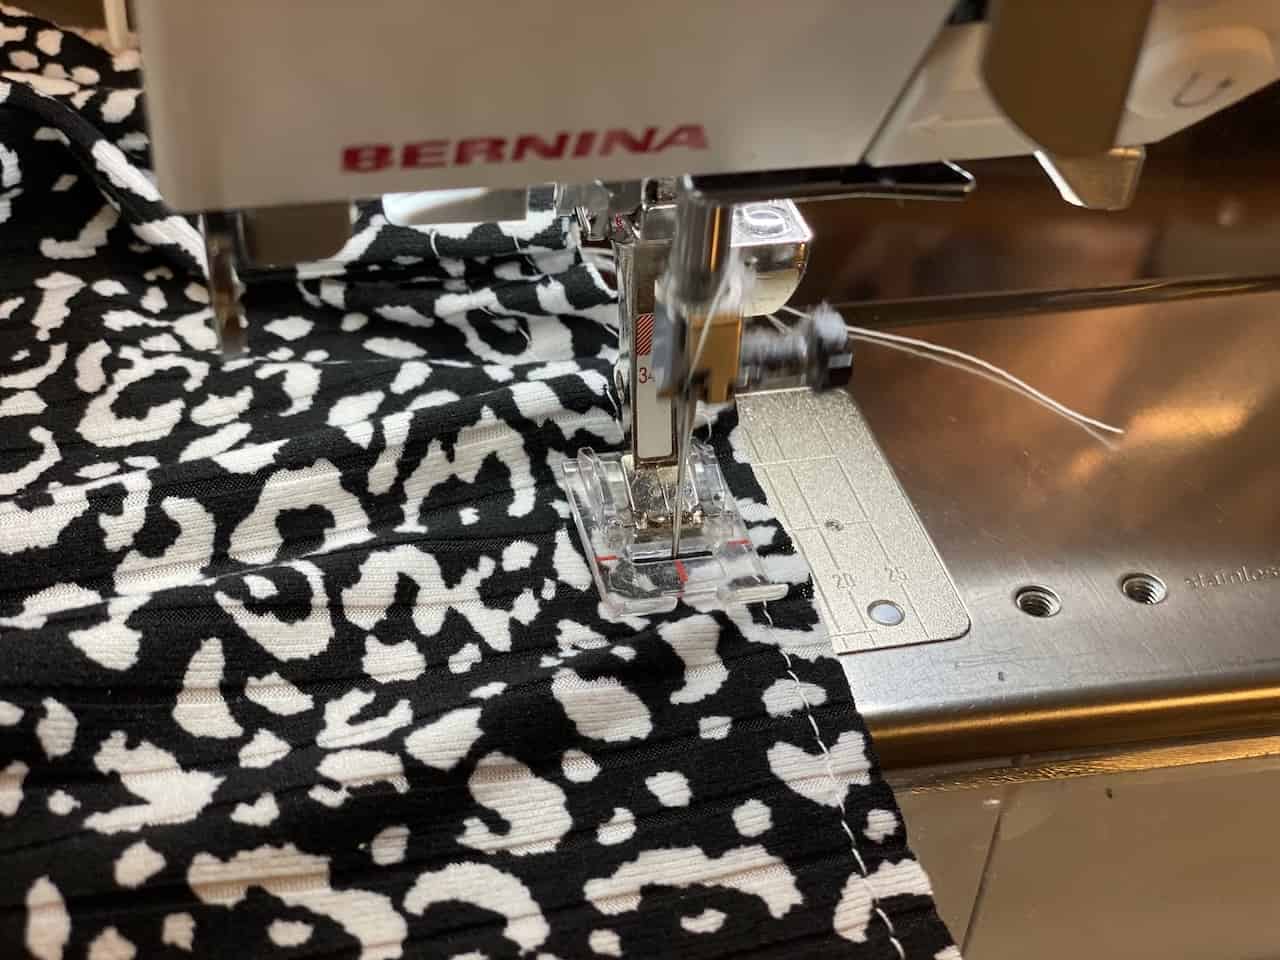
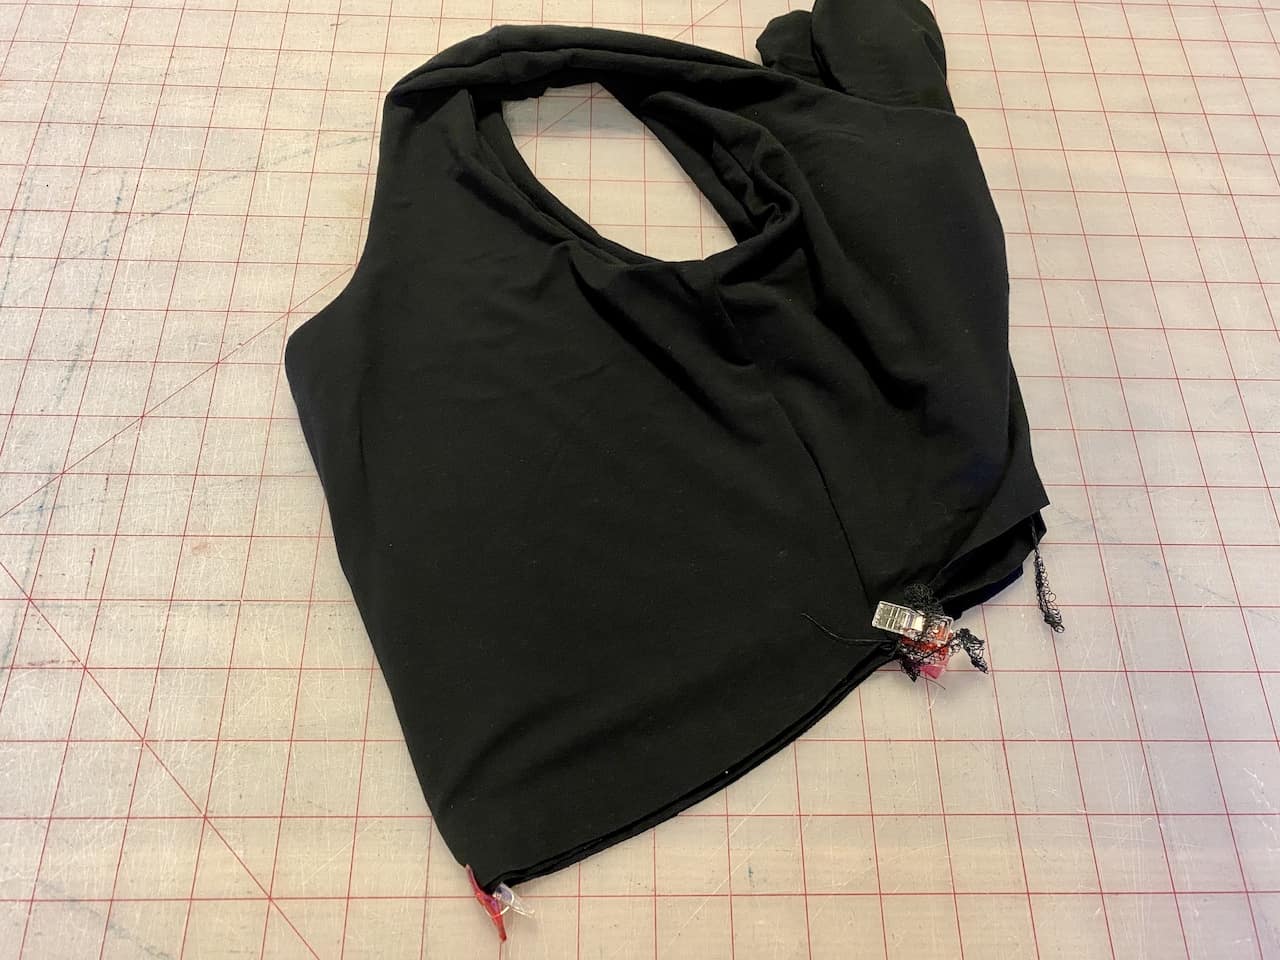
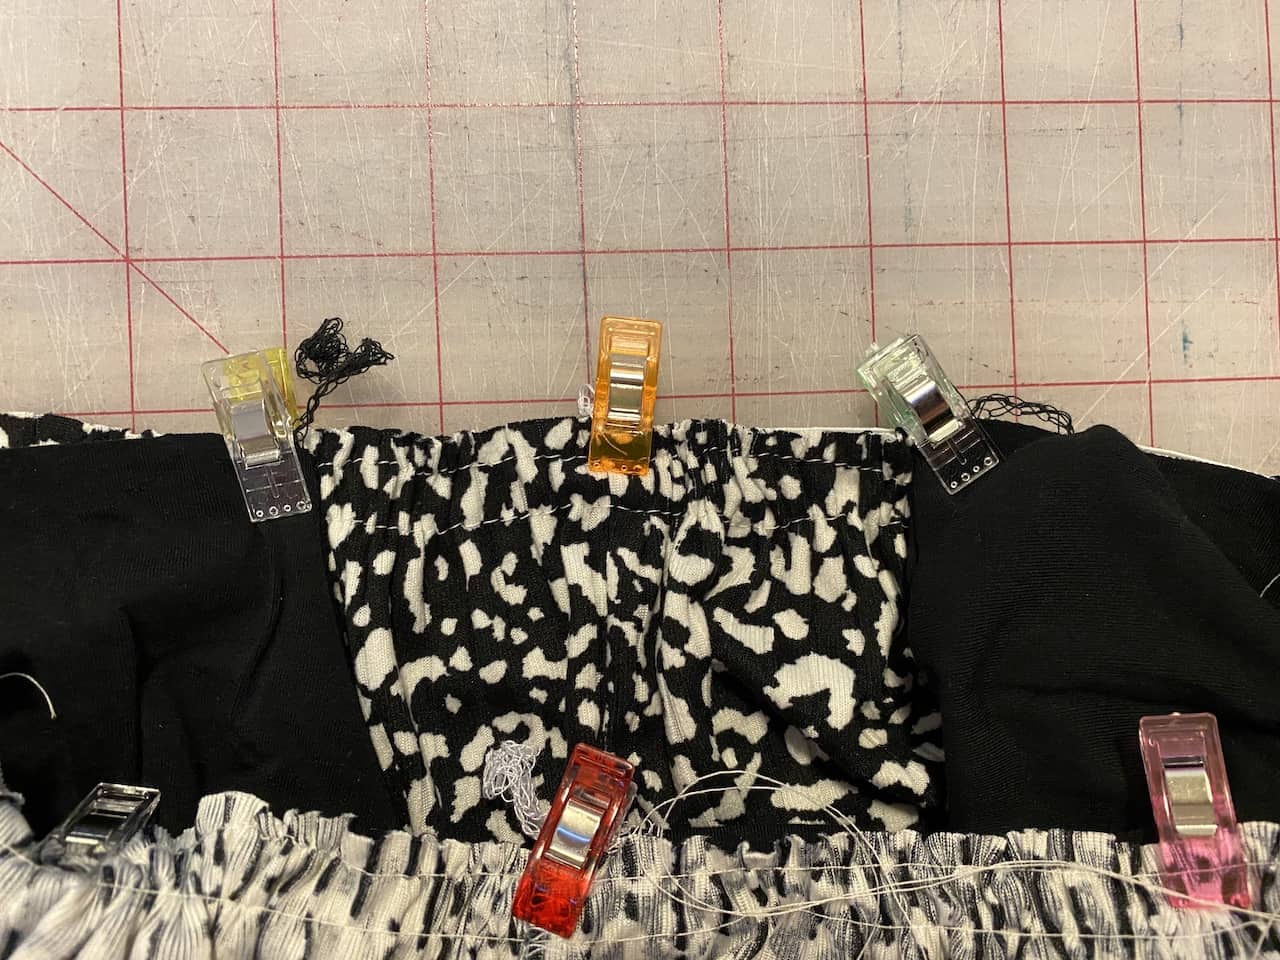
Following the Kaia tutorial, construct the bodice. Following the Jade tutorial, construct the bottoms. For the Jade gathered bottoms, run 2 lines of gathering stitches across the front and back at 1/4″ and 5/8″. I prefer to pull my gathers tight at this point and adjust them looser later. Turn them wrong side out and set these aside. Fold the bodice in half and add a clip or pin at the front center bodice. This Kaia top I used the same fabric for my main and lining. If you didn’t, just make sure that your main is right side out. Insert the bodice into the romper bottoms making sure the front of the bodice is matching the front of the romper bottoms. Clip the side seams and center front together. Adjust the gathers for the front so that they match the bodice length.
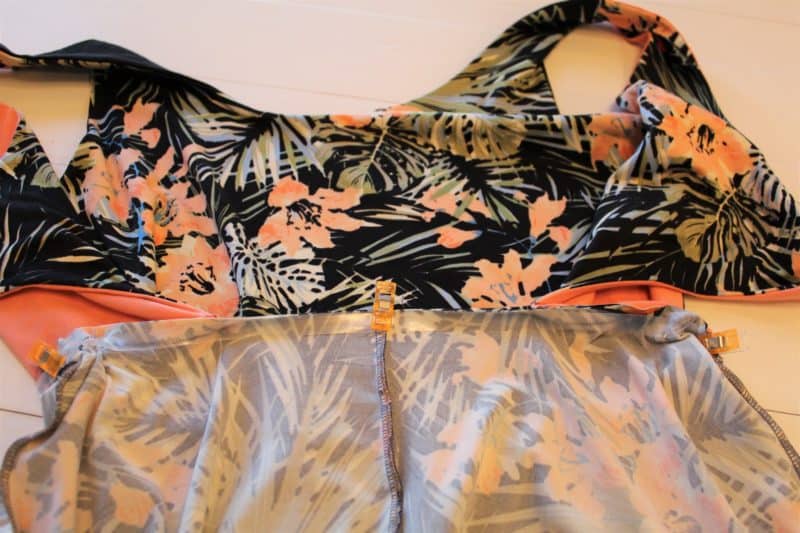
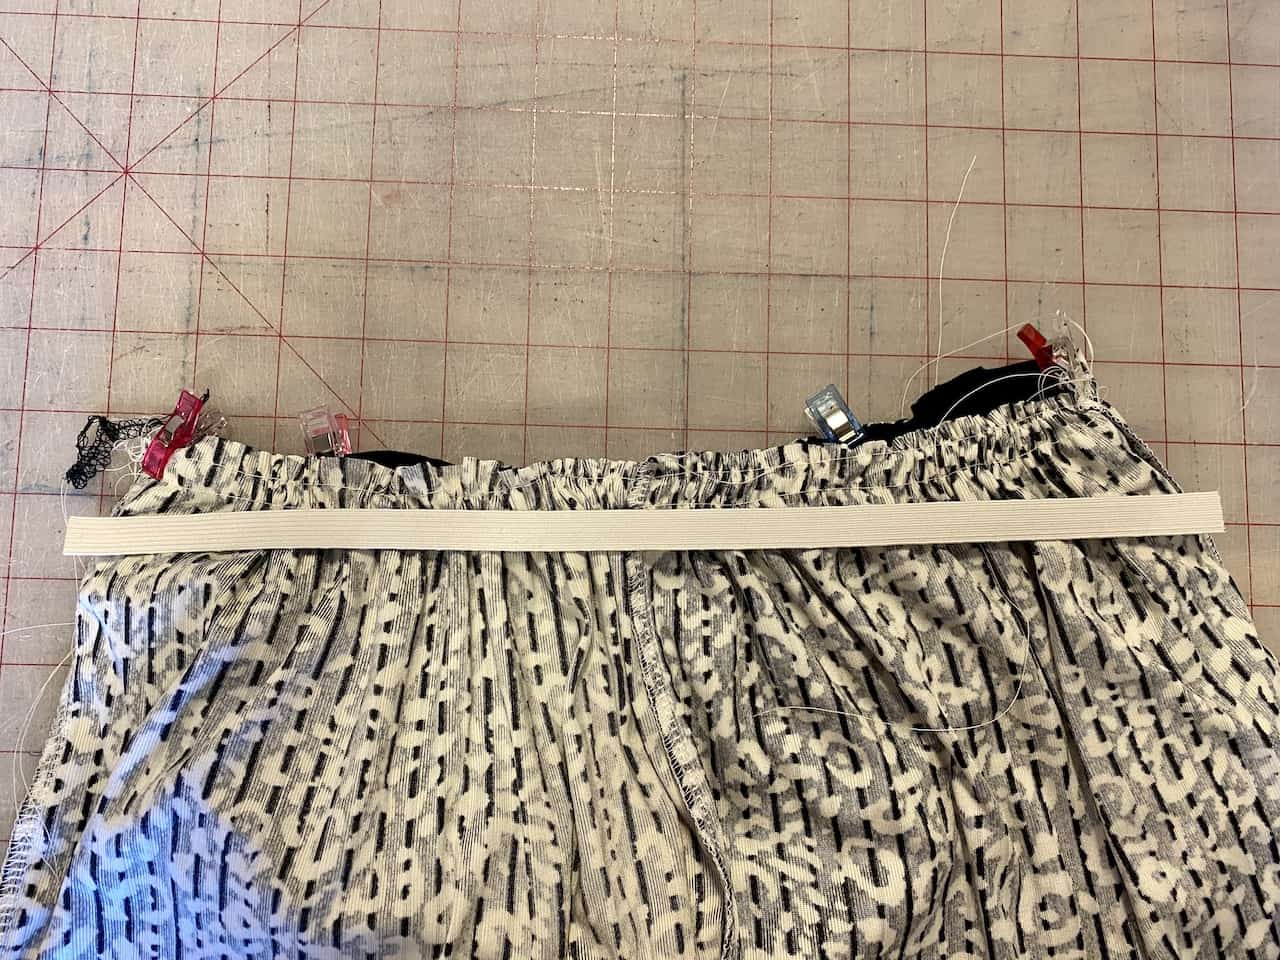
Flip the bottoms over so the back is facing up. Exercise your elastic. Fold the elastic in half and place a clip there. Match the elastic center with the center back of the bottoms clipping the elastic to wrong side of the romper. Clip the elastic to the side seams as well. Adjust the bottom back gathers so they match the elastic length. Now clip the bodice back to the bottoms and elastic without stretching. Make sure both sides are the same distance from the back center and adjust if necessary.

The next step is to attach all of these layers together. I’d highly recommend using a sewing machine with a zig zag or stretch stitch. Starting on the side seam and making sure to backstitch, stitch at 1/2″ seam allowance attaching all pieces together all the way around. I found it easiest to stitch with the elastic on top. If you prefer, you can serge this seam now after using the sewing machine but make sure not to cut the elastic with your serger knife. To finish the back, flip the elastic down. With a stretch stitch on the sewing machine or coverstitch machine, topstitch the elastic on the back down from side seam to side seam. I found using a wide zig zag stitch and adjusting the gathers as I went worked well. Finish by hemming the bottoms.

Now all that’s left to do is enjoy your new romper! ~Katie


Be sure to check out our tester albums in the main group to check out even more inspiration! Stay safe and well; we can’t wait to see the photos of Kaias from front porches and backyards all over the world! 🙂


Leave a Reply