
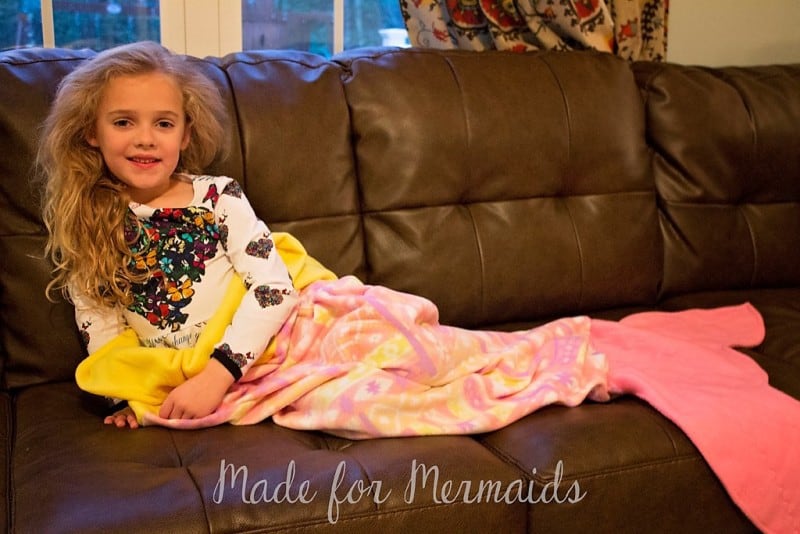
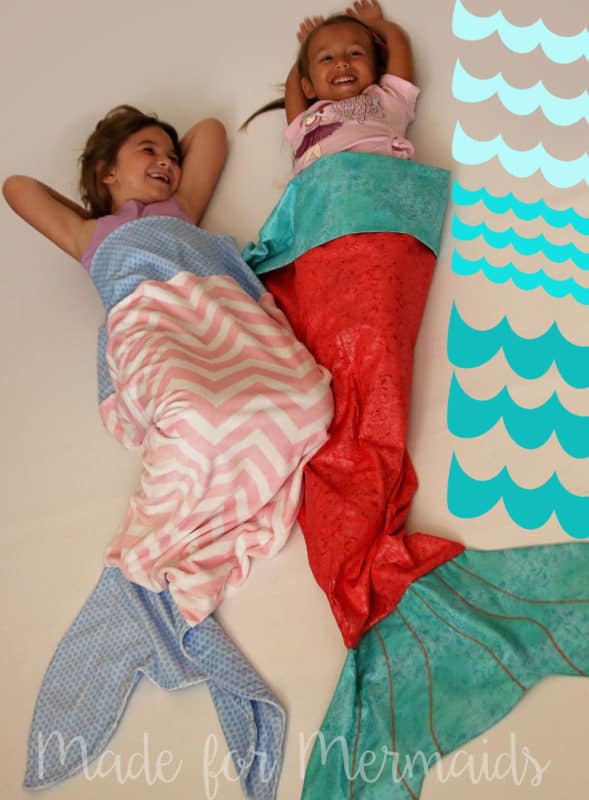
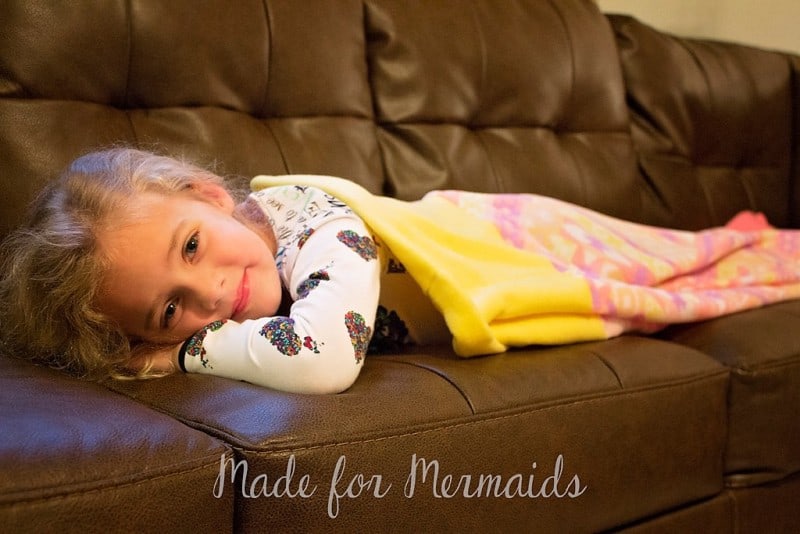
Day 1 of our 12 days of Christmas FREEBIES! We have some great free patterns and tutorials for you that make FANTASTIC gifts. They are all quick sews and take little fabric. Let’s get started!! If you haven’t seen a mermaid tail blanket yet, just wait… are you ready??? They are OH so cute!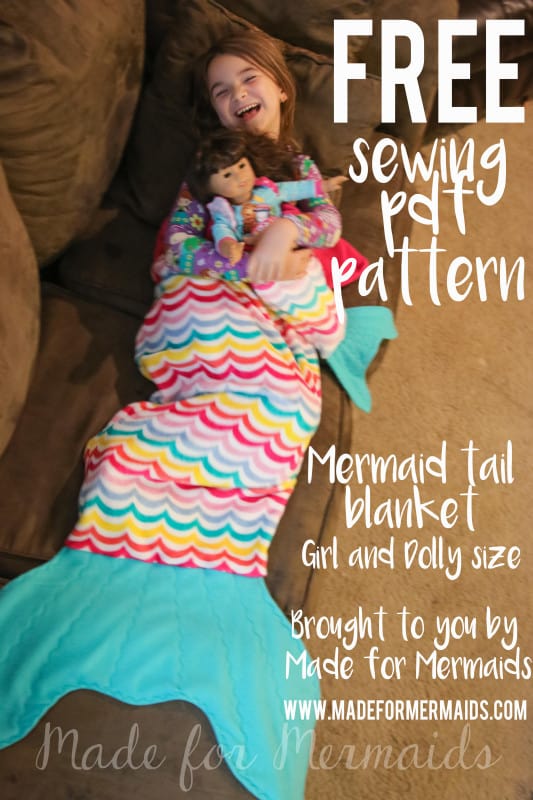
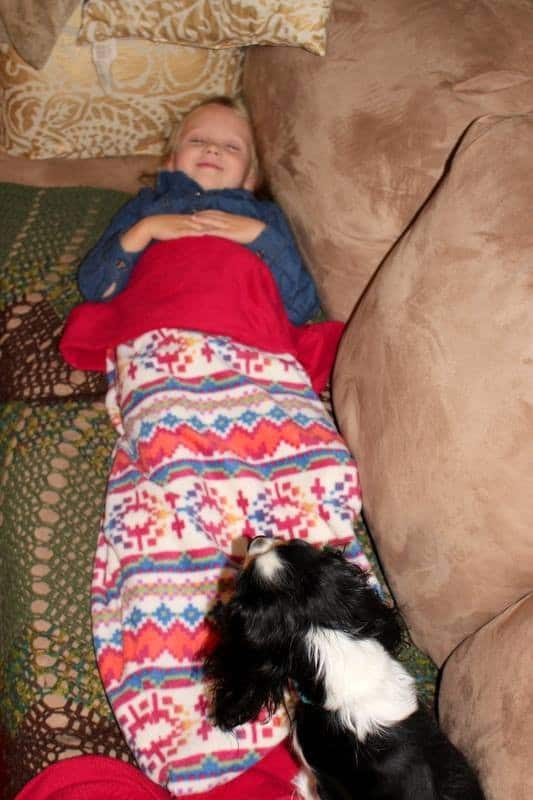
AND they aren’t just for girls! A few teeth added, color change and viola perfect for a boy too. 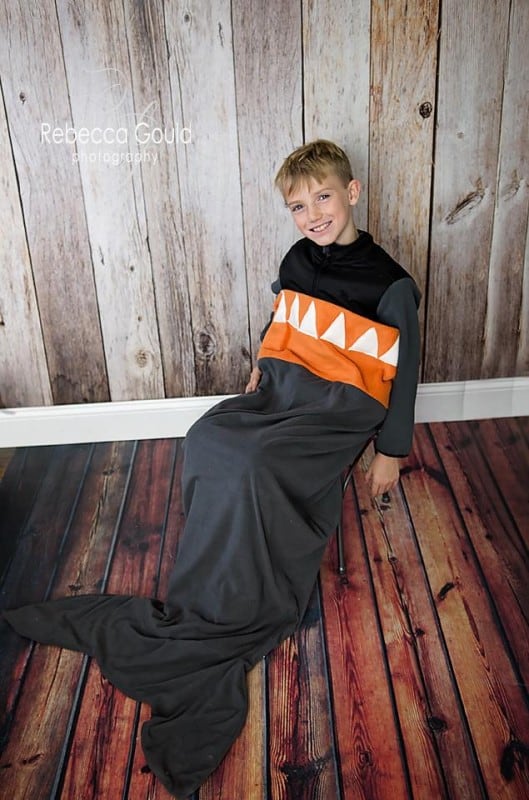
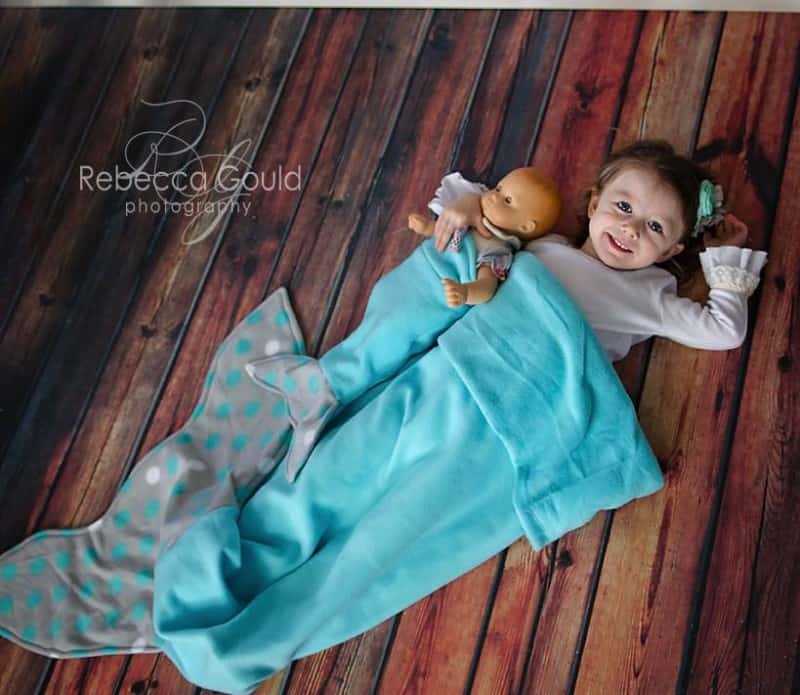
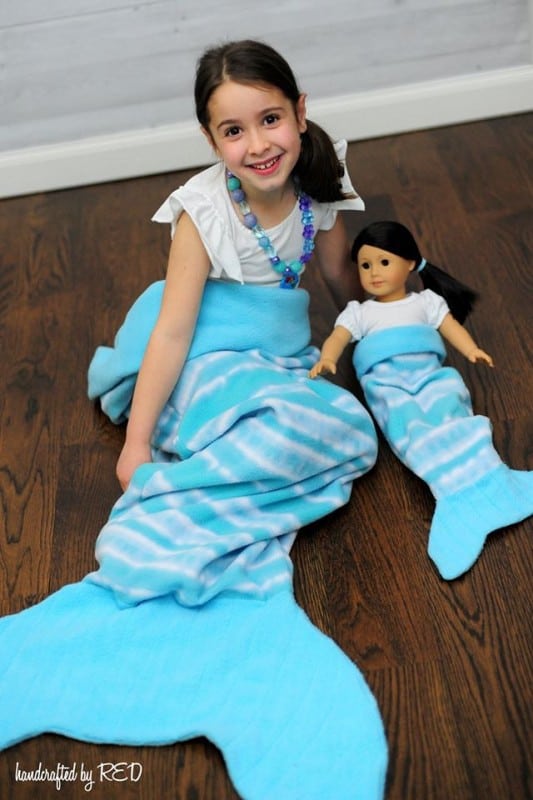
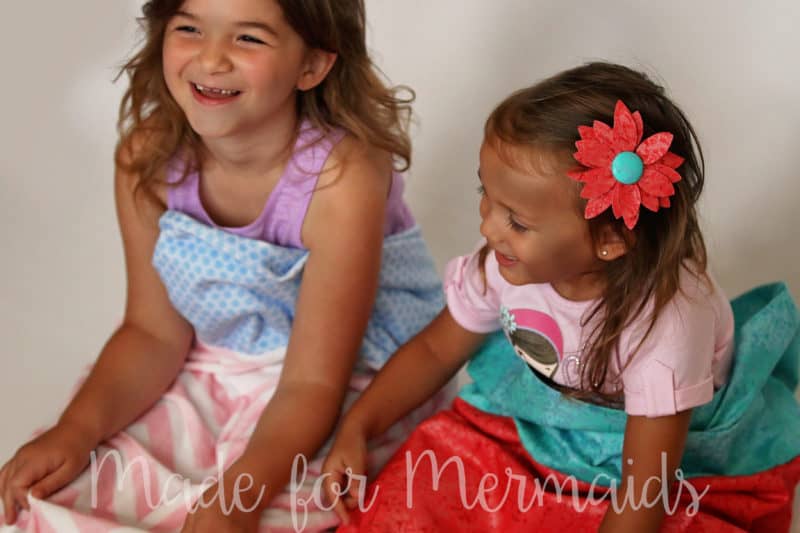
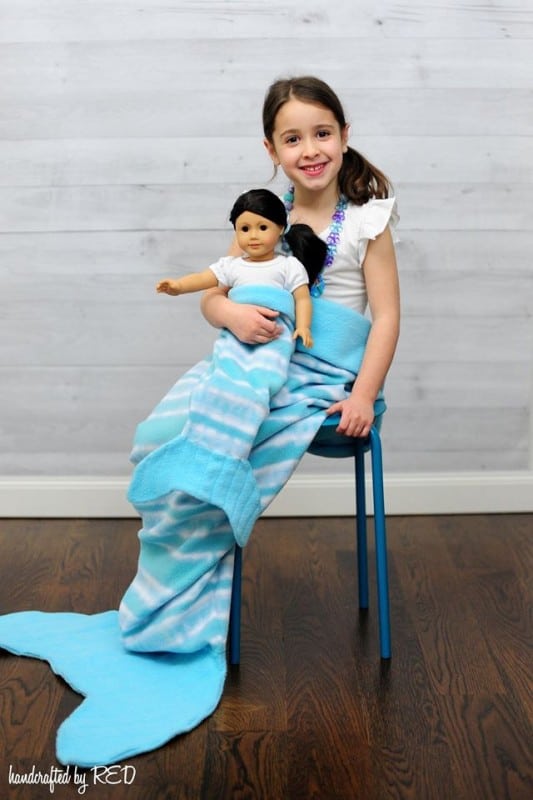
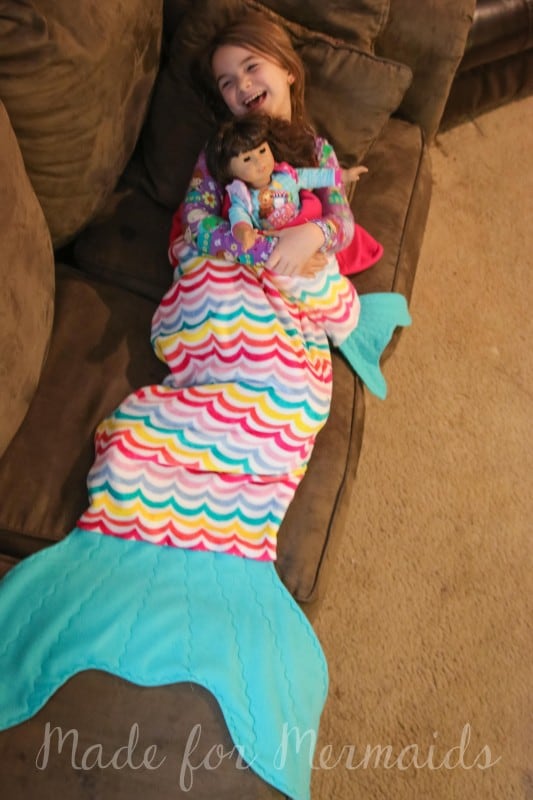
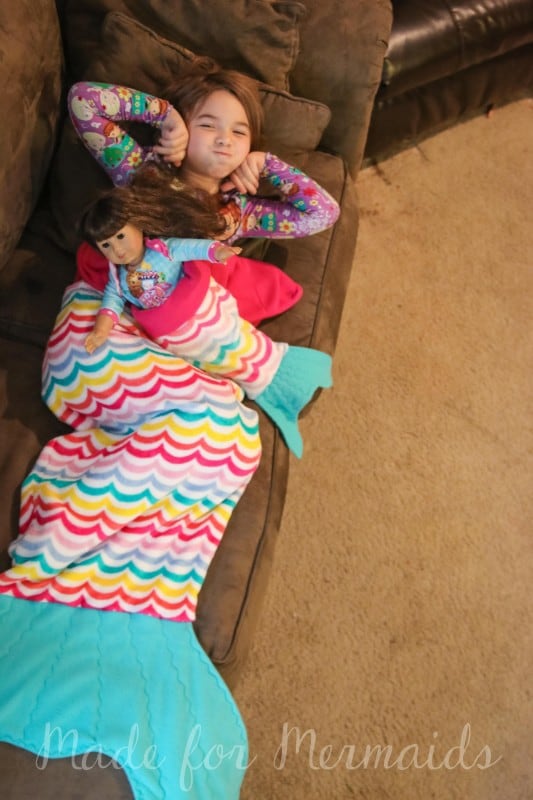
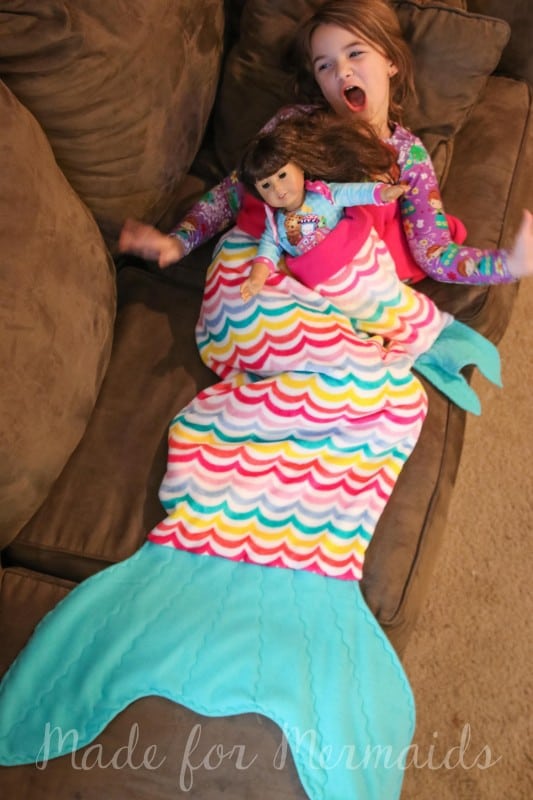
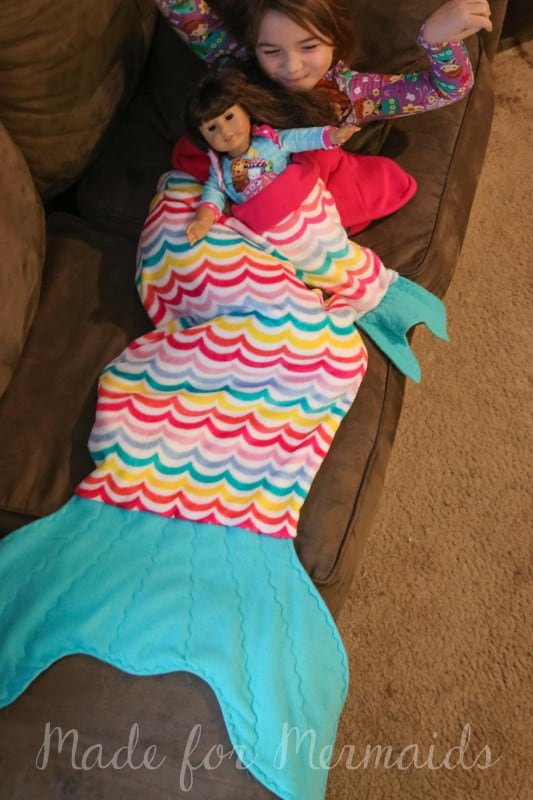
They are so adorable! As soon as my daughter saw one earlier this fall, she started begging for one. I figured your daughter, niece, granddaughter, goddaughter, neighbor… someone you know might love it too. You can use a variety of affordable fabrics to sew these up. Bonus, you can make a matching dolly one too, and without buying any extra yardage. Score!! You can sew these up for Christmas, Hanukkah, birthday parties, etc.
Sizing is a bit fluid as this isn’t a tight or snug fit. There will be several different construction options given through out to help you make larger or smaller. I will have finished measurements at the end for anyone that plans on adding them to their handmade shop or needs help choosing what construction method to use.
You will need fabric; fleece, minky, flannel or even a quilting cotton will work. These blankets are not tight, so you could easily line (just cut 2 main blankets) or add batting to the tail if you want more body/weight there.
Fabric requirements for 59″ fabric:
1/2 yard for top band
1 yard for main blanket OR 1 1/4 yard for an older child
1/2 yard for the tail
Pop over and grab the free pattern pieces here. The pattern is a no trim pattern; if you need help putting the pattern together, pop over to the faqs and troubleshooting page or ask in my facebook group . Print and assemble the pattern. I’m going to use my serger for most the construction, if you don’t have a serger and are using fleece or minky, get your walking foot out! It will help feed the fabric through your sewing machine.
First cut your pieces (note this is printed on the pattern pieces too) Given in length x width:
2 top blanket cuffs- 18″ x 23″
2 main blanket pieces- 36″ x 23″ OR for an older child 45″ x 23″
2 tails on the fold
Dolly size (will fit 15″ and 18″ dolls):
2 top blanket cuffs- 7″ x 8.75″
2 main blanket pieces- 12″ x 8.75″
2 tails on the fold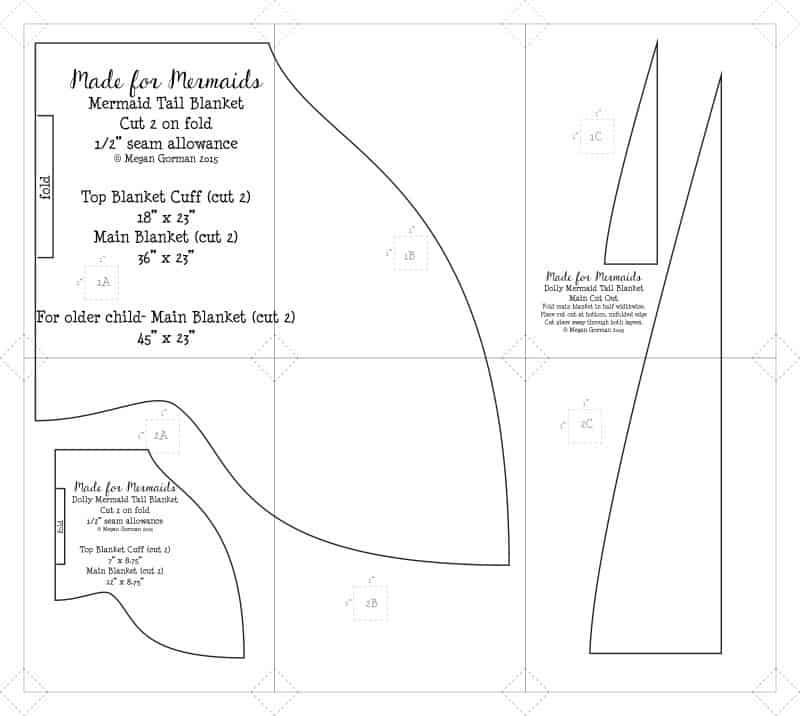

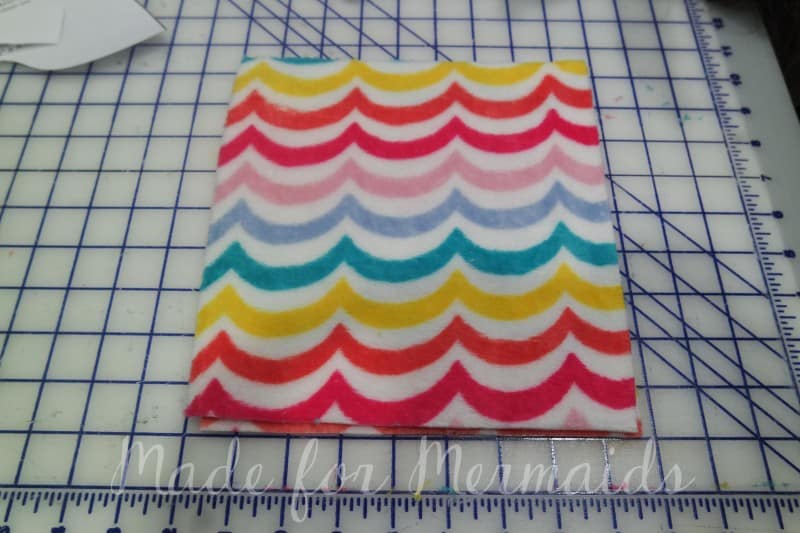
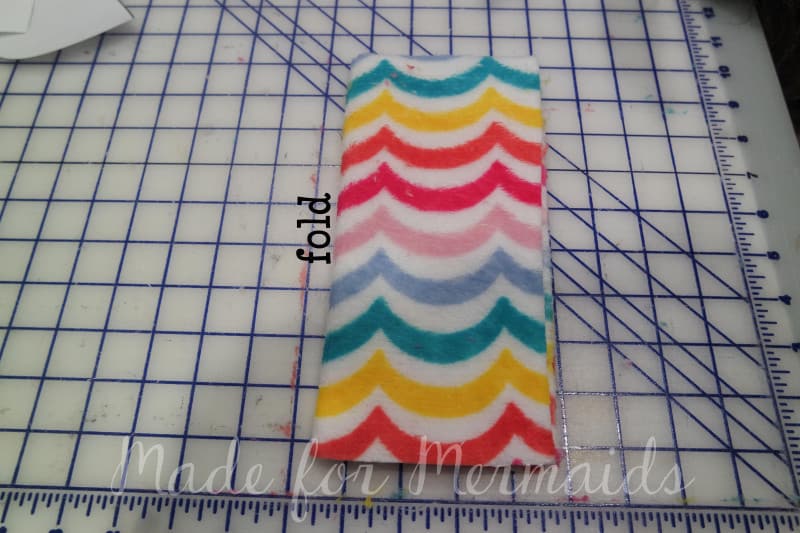
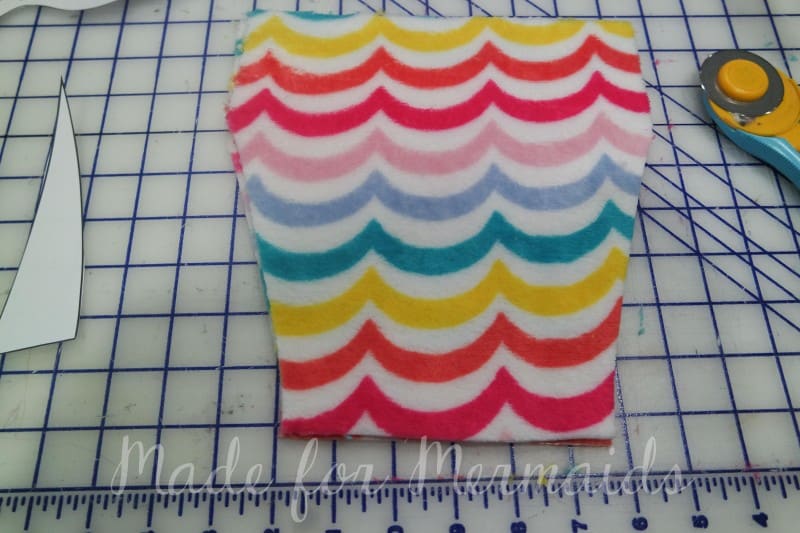
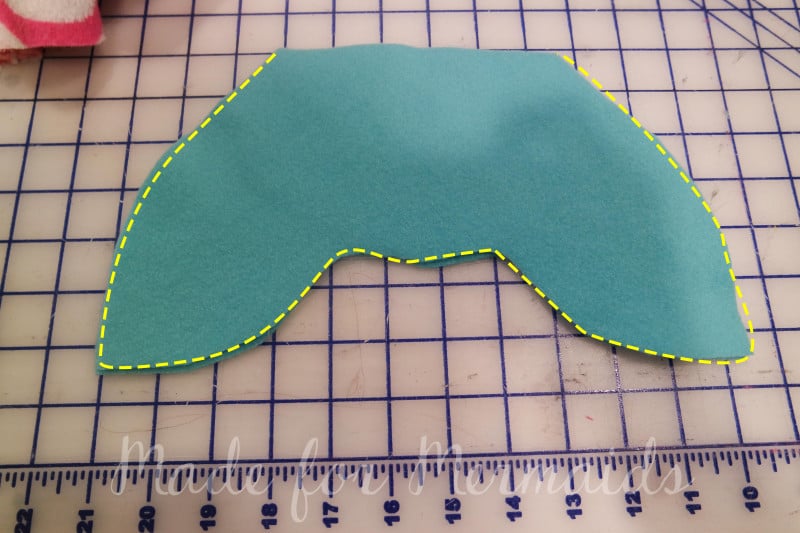
First we need to shape our main blanket piece. Fold both your main blanket pieces in half width wise.
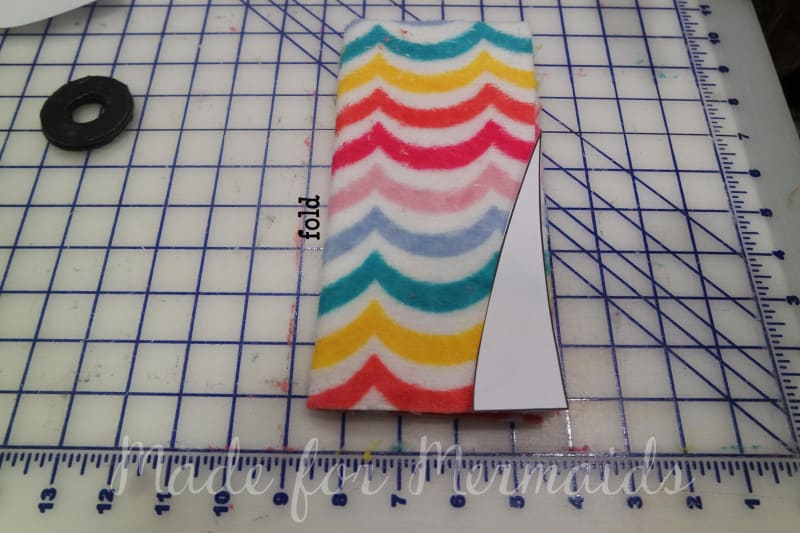
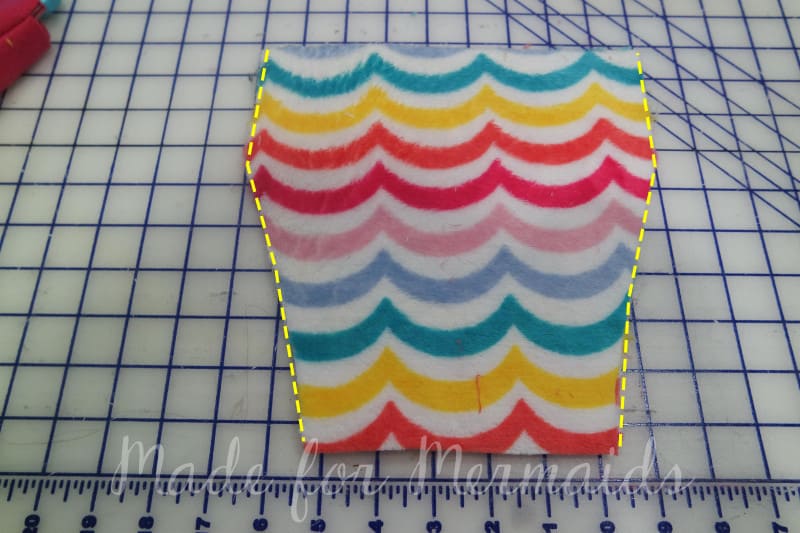
Place your cut out piece on the bottom edge- NOT on the fold side. Cut piece away through all 4 layers. I do this with both my pieces at the same time, you can do them separately if your fabric is moving around too much.
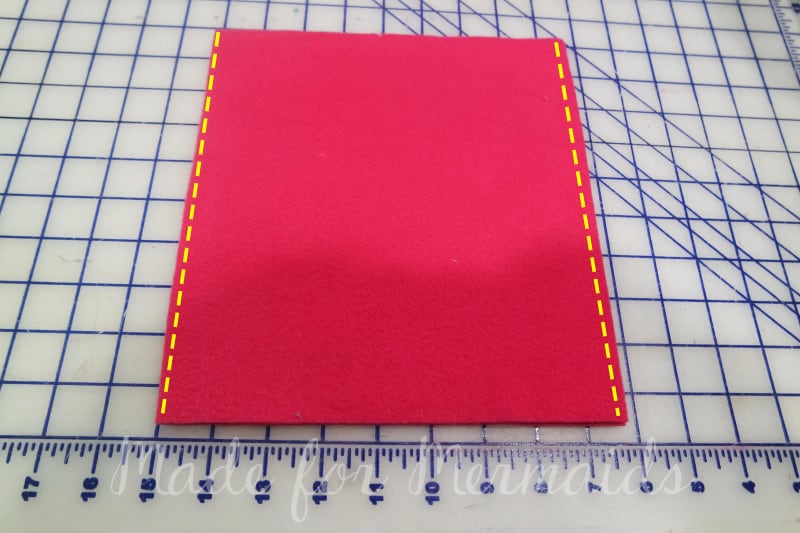
With right sides together, stitch the blanket together at each curved side. If using a quilting cotton, finish edge. Set aside.
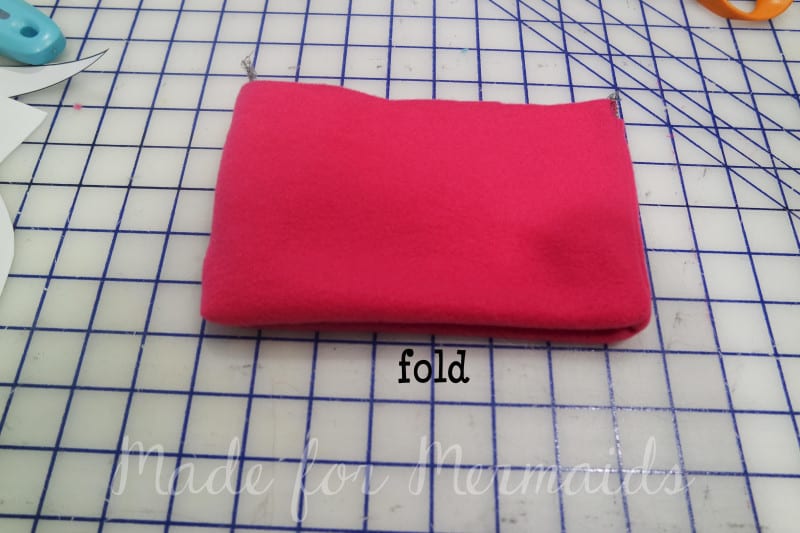
With right sides together, stitch your top blanket cuffs together at both short ends, creating a loop.
Fold cuff in half lengthwise, enclosing seams.
To make a “shark” tail, one of the testers, Rebecca, simply cut an stitched a few triangles on the front edge of the cuff.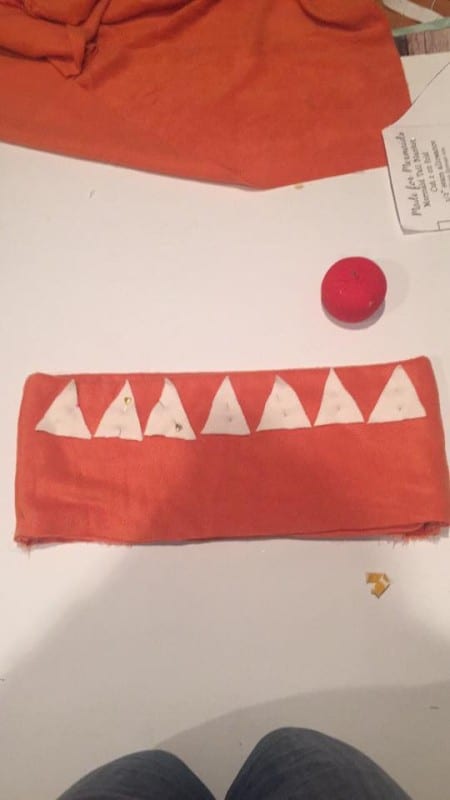
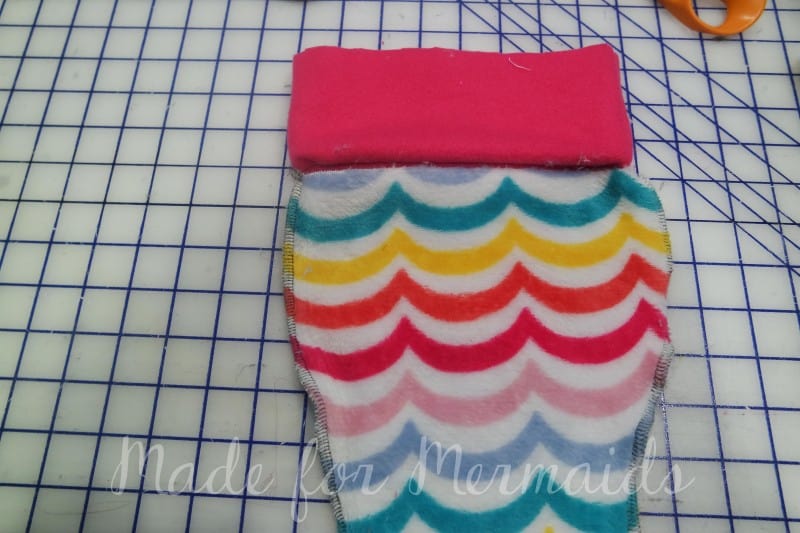
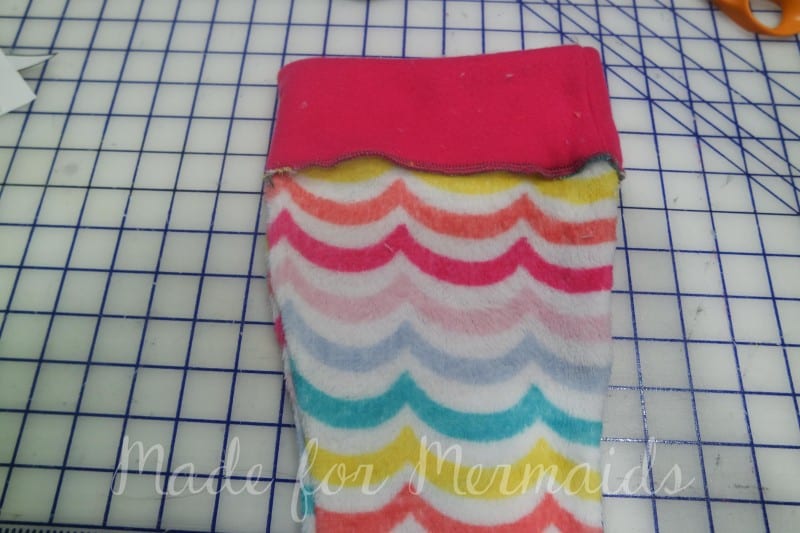
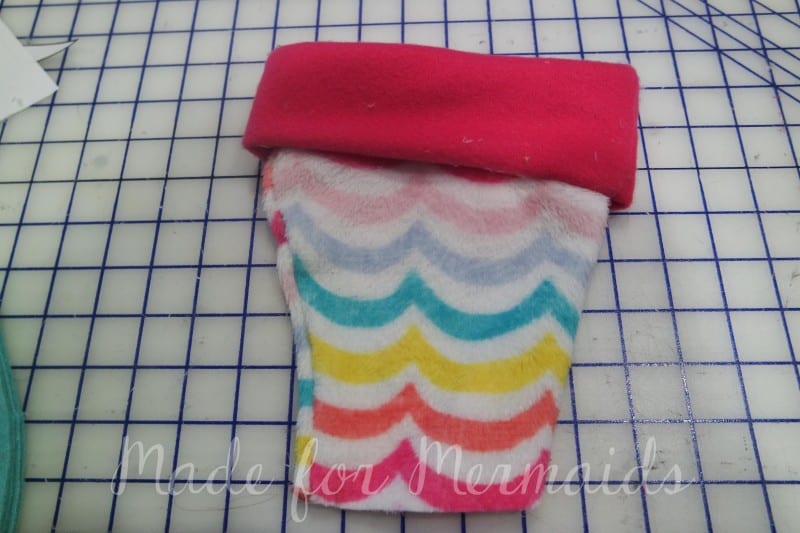
With raw edges together, stitch your blanket cuff to your main piece. First construction option- If you stitch right side of cuff to wrong side of blanket (as shown below) you can fold the cuff UP, over the seam allowance and make the blanket shorter. If you stitch your cuff right sides together to your main blanket, the cuff will stay up (or if folded down, the seam will be seen) and it makes the blanket longer. I did one of each. Set aside.

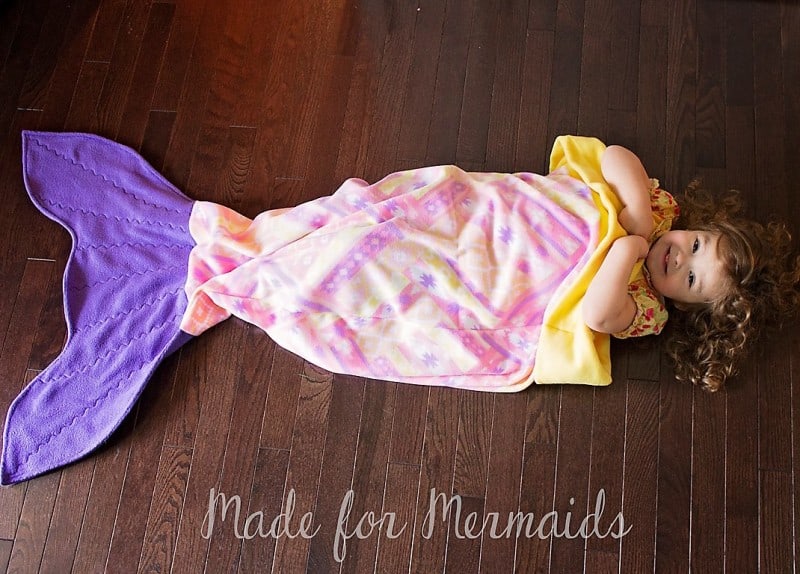
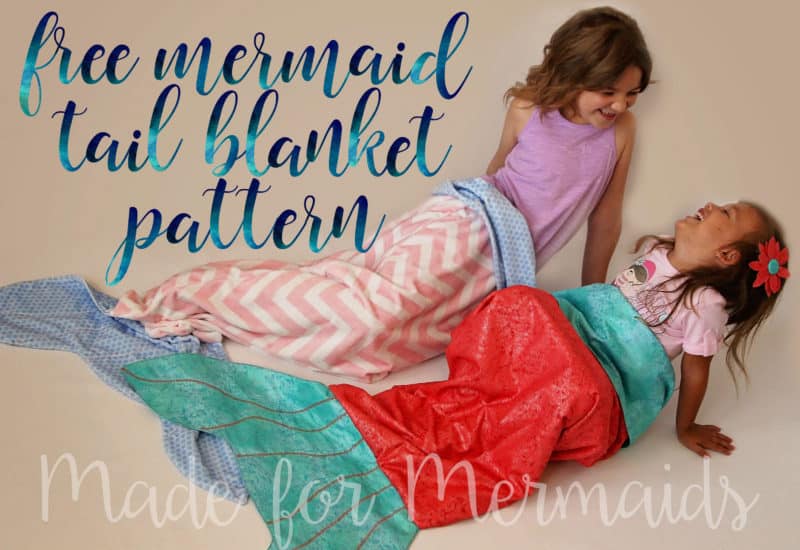
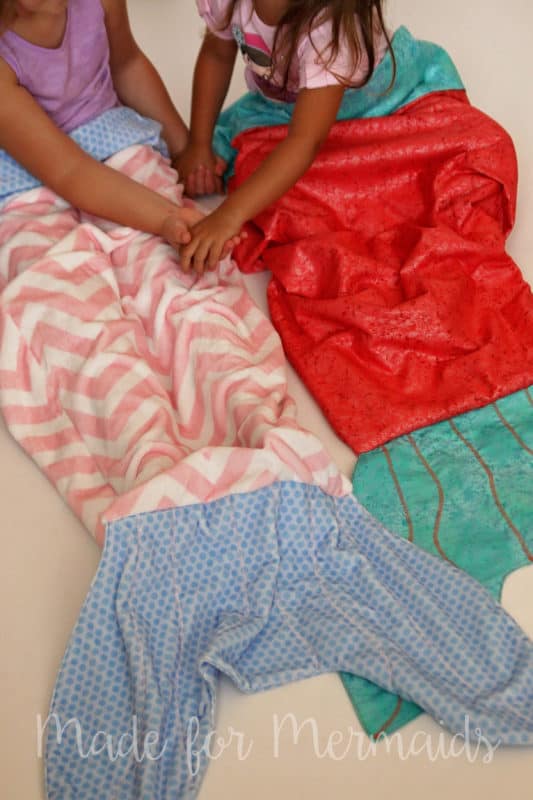
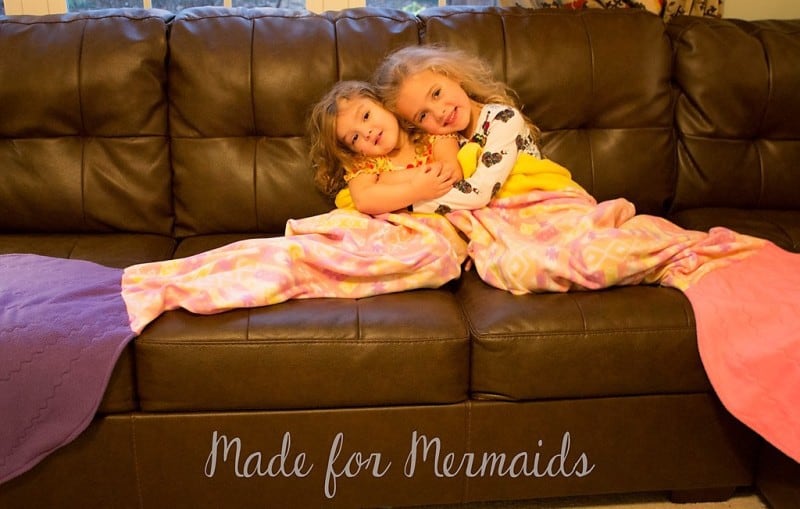
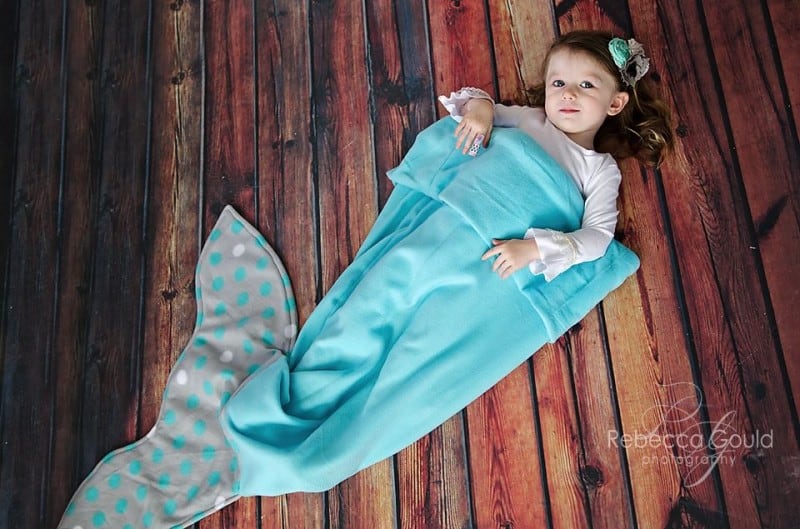
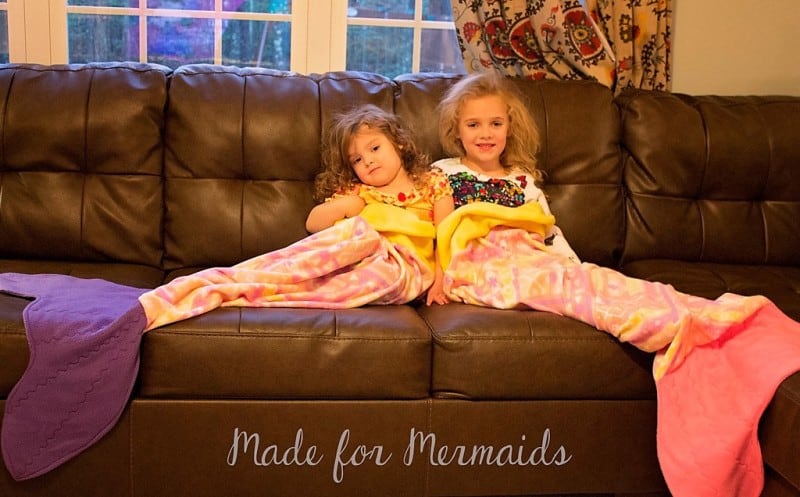
Next construction option, do you want your tail fin open or closed?? If you leave the tail open you will have a much longer tail than if you choose to close. I did one of each. My daughter was way too crazy with tail open…. she had her ankles in the bottom, hopping around the house. I didn’t want a broken ankle, so I closed the next one! BUT if you’re wanting a longer tail, leaving open is a great option.
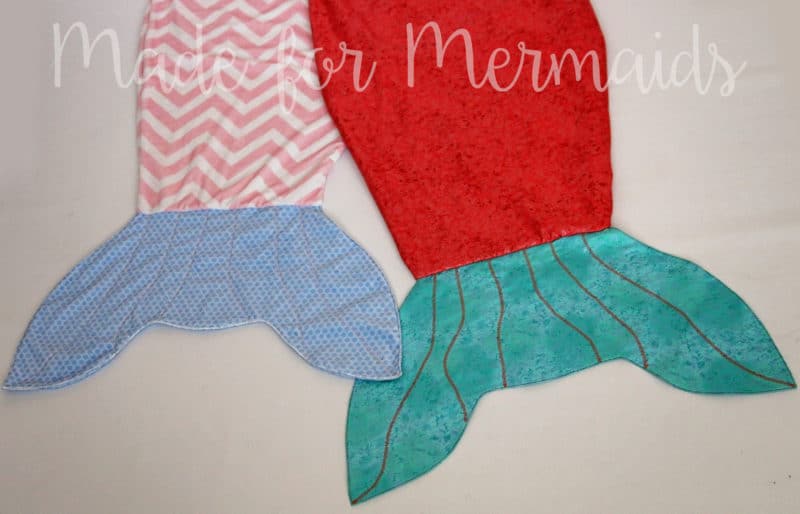
If you want to leave your tail open AND have decorative stitching on the fin, do so now to each tail separately. I just free hand some lines on my tail with a decorative stitch from my machine.
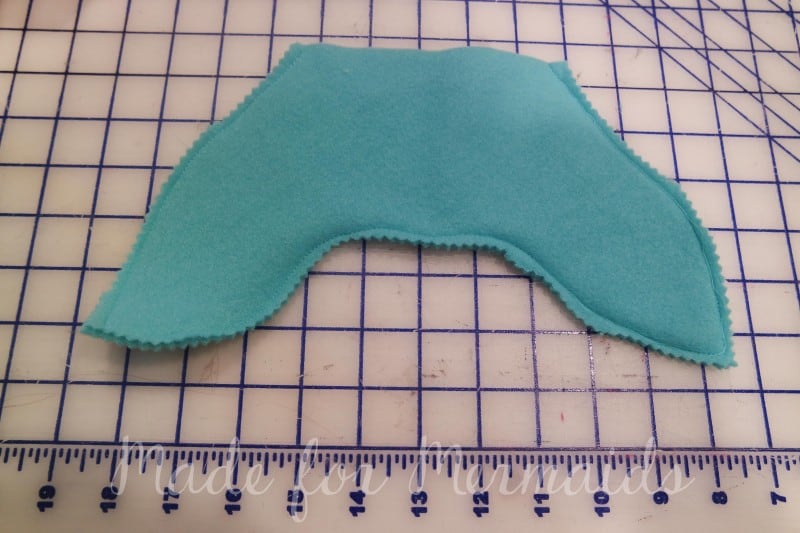
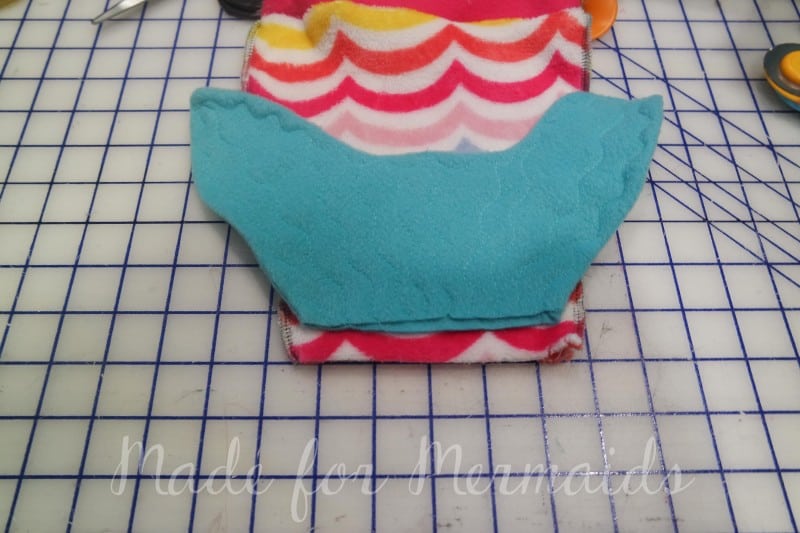
With right sides together, stitch tail together at curved edges, leaving the top open.
Trim and clip seam allowance. I use my pinking shears for this, works perfect!
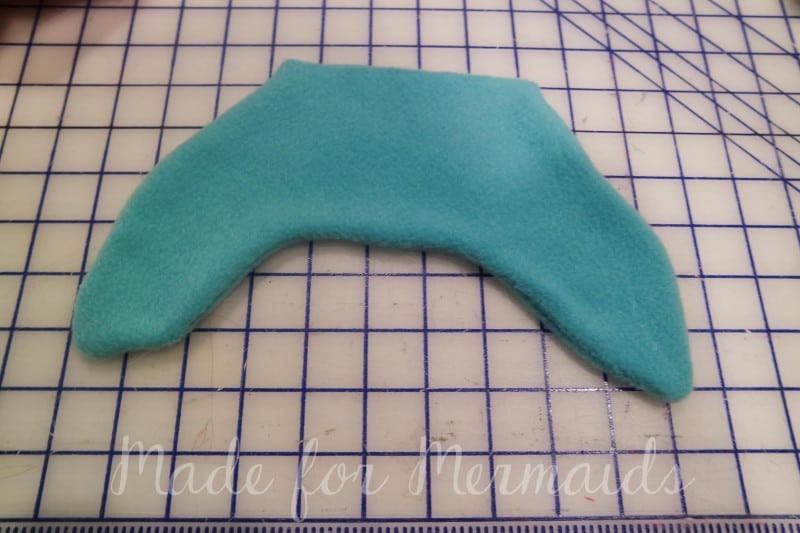
Turn right sides out, using a chopstitck or your fingers to press all the seams out. Topstitch along curved edges. Add decorative stitching now if desired; remember if you want your tail open, you need to add “scales” prior to stitching the tail together. You could get SUPER fancy and creative here, go for it!!
Flip your main tail wrong side out.
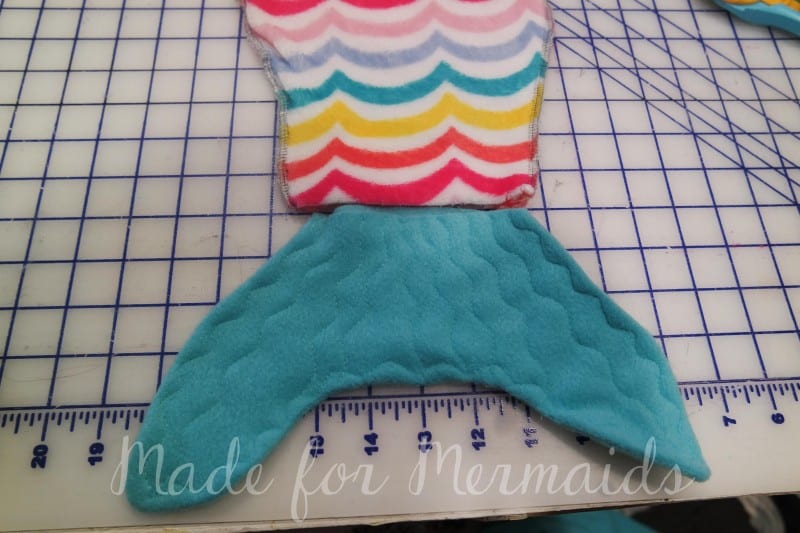
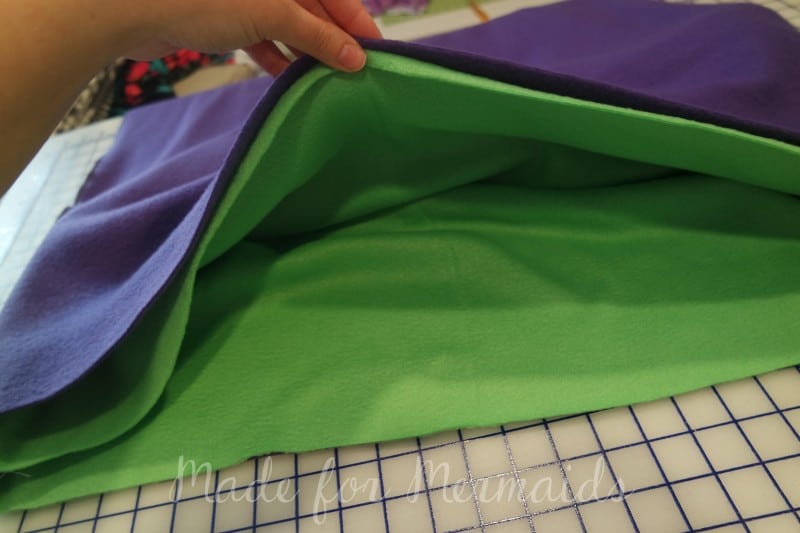
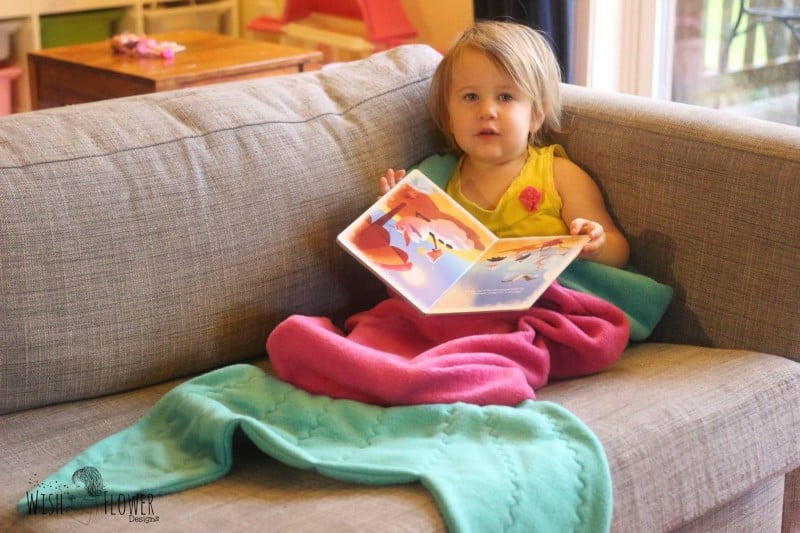
Flip your tail upside down. Place your tail inside your main blanket with right sides and raw edges together. If you are sewing your tail closed, you will stitch through ALL 4 layers at once. If you want your tail open, you will stitch the tail like the cuff above, just through 2 layers around the entire tail (see green/purple tail photo).
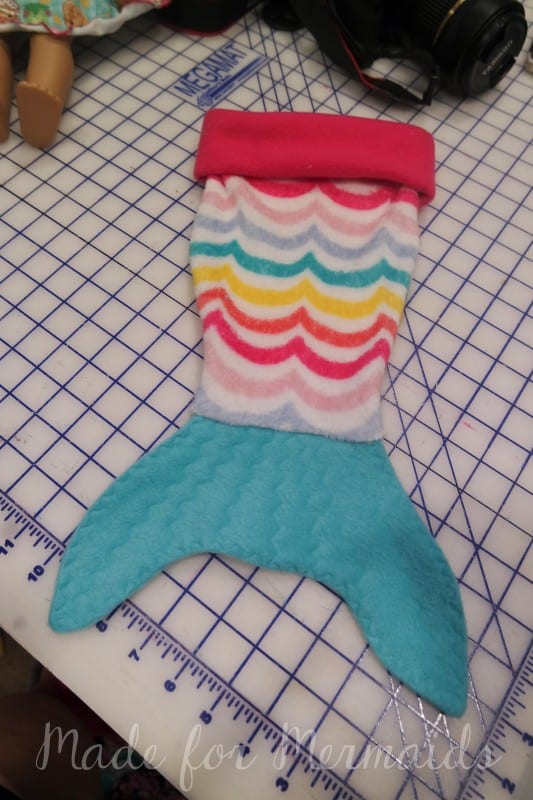
Flip your tail right sides out and admire how adorable!
Need more help?? Here is a youtube video of the process 🙂
***Added July 2016*** Tutorial on Fabric.com on lining or using woven fabrics can be found HERE. 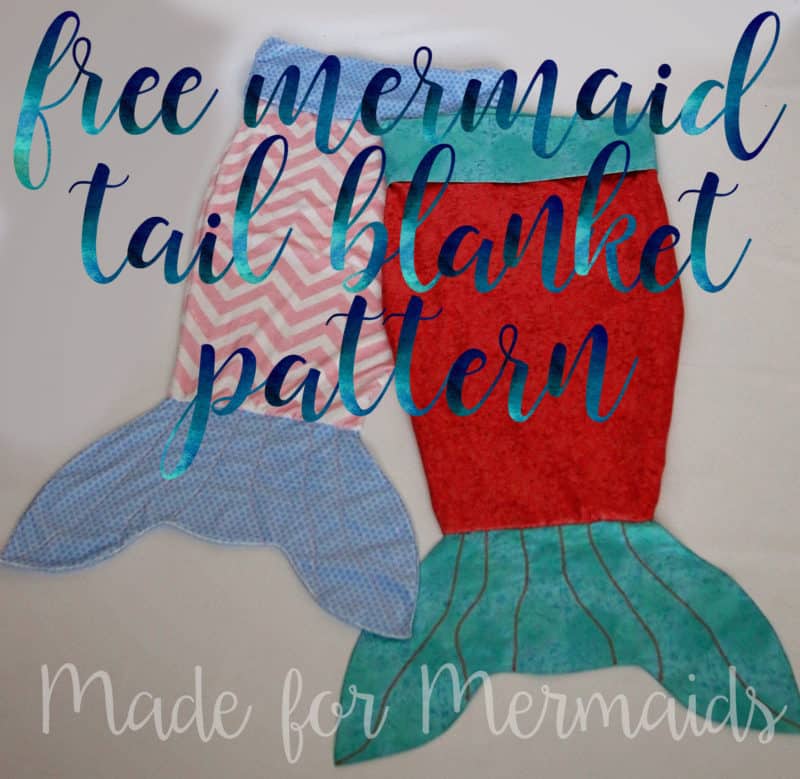
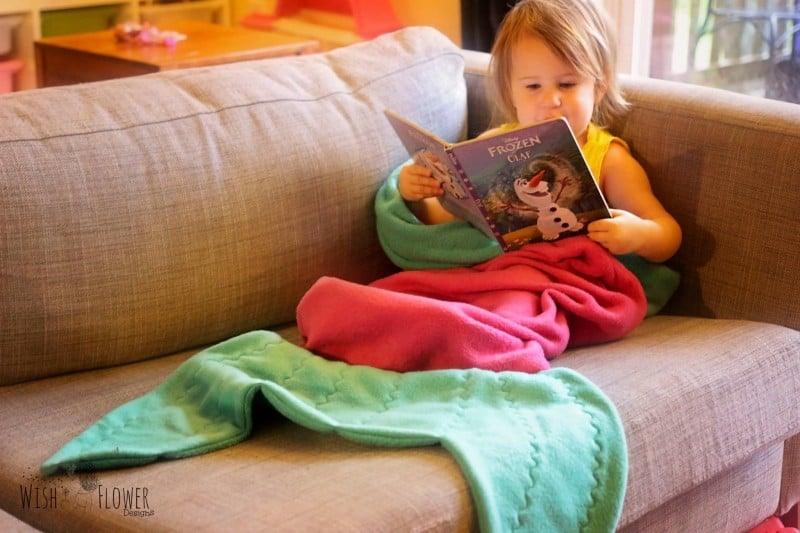
Picture montage 

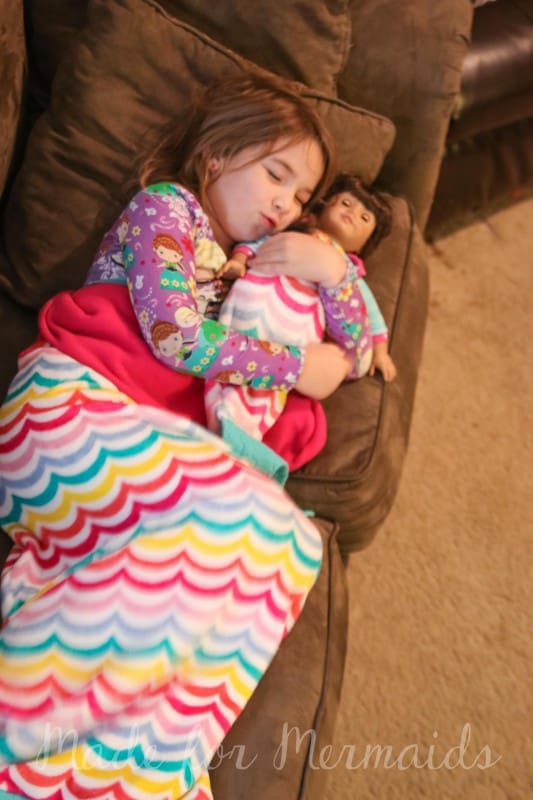
I hope your little ones enjoy it as much as mine and the other testers! If you have ANY questions, head over to my facebook group and ask. I, several admins and helpful friends are there to help. Please share your creations in the group, on instagram#madeformermaids and on my facebook page! I CAN NOT wait to see!! Come back tomorrow and the next 11 days for more freebies
Finished size:
Top opening (laying flat) finishes 23″ wide.
Smaller finished Length
Length from top of band to bottom of tail if you leave tail open- 56″
Length from top of band to bottom of tail if you sew tail closed- 43″
*Note* You can adjust for a smaller child by sewing the band differently so it folds over- that finished length from top of band to bottom of tail if you sew closed- 34.5″
Older finished Length
Length from top of band to bottom of tail if you leave tail open- 65″
Length from top of band to bottom of tail if you sew tail closed- 52.5″
Oh thank you
Can’t wait to try it!!!
I am so excited to make these! I have been asked for some as Christmas gifts and LOVE the boy – shark option. We are huge San Jose Sharks (Hockey) fans, so I see some sharks in our house. Will probably figure out a fin for sure.
Thanks again! Deb
Thank you!!
Thanks so much for the mermaid tail pattern. I know my little mermaids will love them.
You just solved so many of my gift-giving challenges this year! Thanks so much for your generosity!
This is fantastic! I was literally searching for a similar pattern. All the kids are getting these this year! Thanks so much!!
Thank you soooooo much for this free pattern. I was only able to afford one present each this year for my 3 kids due to some unseen circumstances that came up at work. I have been trying to come up with things to sew/make for them as gifts. Two of my kids have been begging for me to try to make them these but I didn’t have money for patterns. When I saw this last night on the Facebook page I broke down in tears cause I knew I would be able to give 2 of my babies a Christmas present they will love. Thank you again for this free pattern I really do appreciate it very much.
Thanks Megan. U r a sweetheart!
This is wonderful! I have been searching the internet for a mermaid blanket pattern/tutorial, so I could make some for my girls for Christmas. This is by far my favorite free or paid for that I have found. Thanks so much for sharing!
Love the pattern…thank you !!!
Great fun project Thank you
Is there a printable version of the directions?
No Diane- you could “print as a pdf” to save.
Thanks for the pattern! I have a happy toddler with a tail, matching doll tail too. I used minky for the outside and made a full fleece liner to hide all the served edges. It is amazing and I may make one for myself with pockets.
I want to line mine completely too (including bottom tail). How did you go about attaching yours? Did you sew one entire inside liner or a separate top and bottom?
Just finished sewing my 3rd mermaid tail. 2 kid versions and 1 doll version. The doll version was a nice trial run to make sure I knew how I was piecing all the parts together. I don’t sew often, so the pattern and tutorial were very helpful in these last days before Christmas. They even look cute with a single pattern of fleece. My girls will adore these this Christmas as they were using body pillow cases to mimic mermaid tails. I can’t wait to see their faces. Thank you for the free pattern!
Thank you so much for the pattern. My Grandaughter has hinted that the Great Grandgirls would love these. I’ll make them as a post-Christmas gift(s).
Thank you so much! My little granddaughter will LOVE this!
I love the fabric that you used in the first picture and in the tutorial. Do you remember where you got it or what it’s called?
Hi Jill! It is from Walmart 🙂
Thank you SO much! My granddaughter (and DIL) have been wanting one so this will satisfy the request. Will have to make the shark one for my grandson. Did I miss it, or how is the pattern delivered? –by email or regular mail?
I cannot seem to find the pattern. Do I have to order this?
http://www.madeformermaids.com/product/mermaidblanketpattern/
At last some ralainotity in our little debate.
What a fun idea .I was going to crochet 3 for Christmas next but now I can make 6or so . Thanks for the patern
Is the pattern emailed to me? Just want to clarify. Thanks for this amazing pattern can’t wait to get started on them!
Hi Deanna,
You will get an email link (check your junk folder) and you can log in to your account at any time and download!
Thank you!! I’ll check my folders! Thanks for the quick response. Excited to get this project started.
Can you tell me what kind of stitch you would recommend in sewing these together? I want to make sure that with all the moving around in them that is sure to happen that the seams don’t pop open. Thanks for your help!
Hi Heather- I use my serge for construction, except for the tail, I use my sewing machine with a longer straight stitch.
Where do I find the pattern piece for the cuff? What size is the blanket? Small, medium or large? I am making for a six year old girl. Thanks!
There is no piece, it is a rectangle measurement written in the tutorial and on the pattern piece.
I have clicked on the link for the pattern several times, and it keeps directing me back to the tutorial instead of giving me the pattern to print. Help!
Hi Amy-
It directs you to the pattern listing, you will need to add it to your cart and check out. You will be able to download the pattern after you complete those steps 🙂
Thank you!
Hi!
Do you remember what fabric that was? I like the rainbow lines it makes it look like scales. Thanks!!
It was from Walmart last fall!
Have been trying to print the pattern on our home printer and having trouble getting it to fit the paper..is a lager paper being used in the video other then standard typing paper?
Thank you for this pattern. My granddaughter loved it xx do you mind if I use the pattern to make some for my madeit shop ?
Thanks again
Chris varela x
Thank you for the tutorial and pattern. I sewed one for my daughter and can’t wait to give it to her for her birthday.
Hi Megan.So happy to find your blog on Pinterest. I so heart this project so I included it on my round-up post about sewing projects you can make for your kids.
You can see the post here, http://sewuber.com/make/things-to-sew-for-kids/
Please let me know if I missed something about your blog and do let me know if you want to change or add anything.
Xoxo,
Sandra
P.s. I’m a new fan 😉
Great tutorial. These look amazing – I’m pretty sure the kids will love helping too 🙂
Thank you for this!!!
Loved this tutorial, the video was really helpful as I am a visual learner.
Made this for my Granddaughter for Christmas and made her the doll version of the Mermaid tail too. I also bought her, her first 18″ doll as she is only 3 years old. I know she will love it. I wondered if you had a night mask pattern that you have on the doll. I would like to make that too!
Thanks again, Joan
Thank You for this adorable pattern. I had Minky in my closet waiting for a project. It made a beautiful mermaid tail and one for Dolly.
Thank you for this. I just went and purchased my fabric and printed your pattern but I’m now realizing that it’s for a doll, the pictures are for the doll pattern and the youtube video is also for a doll. I want to make this for my daughter and don’t know how to cut out the main part with the triangle you put in the pdf? I wish you would’ve included clear pictures and a video of how to do the real thing. Please help! This is supposed to be a christmas gift….
There are pattern pieces and measurements for 2 child size and doll size. Doll sized was used in the tutorial so I could easily get the shots.
Thanks for the tutorial. I successfully made 2 mermaid tails for my sweet nieces for Christmas.
thank you so much
Hi,
Thank you for making such a great mermaid blanket tutorial.. I am making 3 for my granddaughters and one shark for my grandson. I would like to confirm that the “fin” for the shark blanket is inserted into the side seam. I am not on facebook and the photo on this blog doesn’t show where it is inserted.
thank you so much.
Joan Nemirow
Yes that’s correct Joan- the fin is attached in the side seam 🙂
Easiest pattern I have ever made! Thank you so much for the doll pattern especially. I have 9 little girls that are going to love them for their babies. I used fleece in a variety of aquas, purples and ocean themes. Watching the video really helped.
Thank you so much for your pattern! This is by far the best pattern + instructions + visual aid I have found- for any sewing project! I am such a visual learner, and your video was a great help!! Thank you so very much!!
This video is incredible its beneficial to all those people who wanna make mermaid tail blanket by own self so now no any need to pay anyone for buying this. Now I am going to make these colored mermaid tail blanket for my little son and daughter. Once again thanx for sharing.
Thank you so much for the free pattern, tutorial and clip – it answered so many of my questions/concerns. I have been searching all over for a pattern to follow. I had bought some cute fleece mermaid a while ago, and thought maybe I could try to figure out how to make a stroller mermaid blanket. Instead, I made one (well, almost) for my daughter’s friend’s daughter who is going to be a big sister soon. I made the tail and cuff raspberry and also lined it with some under the sea animal print flannel fabric. It was a bit harder to sew through (only broke one needle), but I think the little preschooler might like the comfiness of having a liner to keep her toes from rubbing against the seams. Next I’d like to make a mermaid tail blanket for my 1 year old granddaughter, and a couple of sharks/whales for my two little grandsons. So much fun when I have the time to sew!
Do I cut 1/2 outside of the pattern for the seam allowance?
The seam allowance is already included, you don’t need to add it.
These mermaid tails were so fun to make! I made 5 for my granddaughters and a shark tail for my grandson! Thank you for the pattern and tutorial!
These mermaid tails were so fun to make! I made 5 for my granddaughters and a shark tail for my grandson! Thank you for the pattern and tutorial!