Welcome to our August Sew-a-long at Made for Mermaids! Mya is one of my most used patterns, both for myself and my daughter (and for customers and gifts, too!!). It is so versatile, and just loaded with options. It was updated in summer 2018, so if you purchased prior to that and haven’t re-downloaded, go ahead and get the newest version!
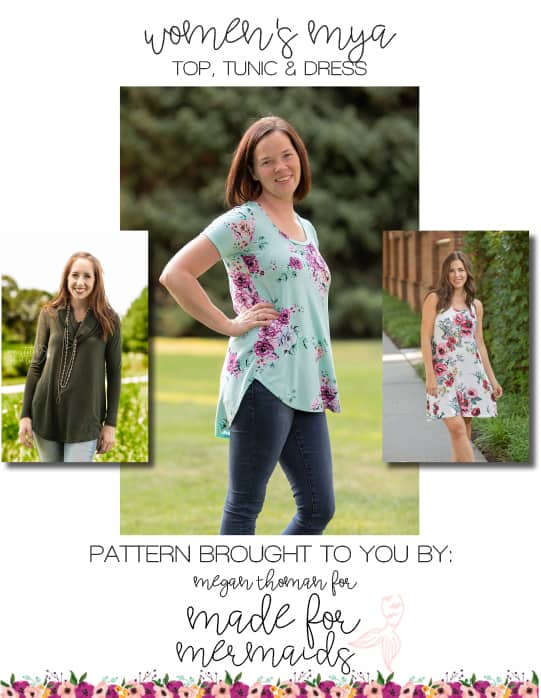
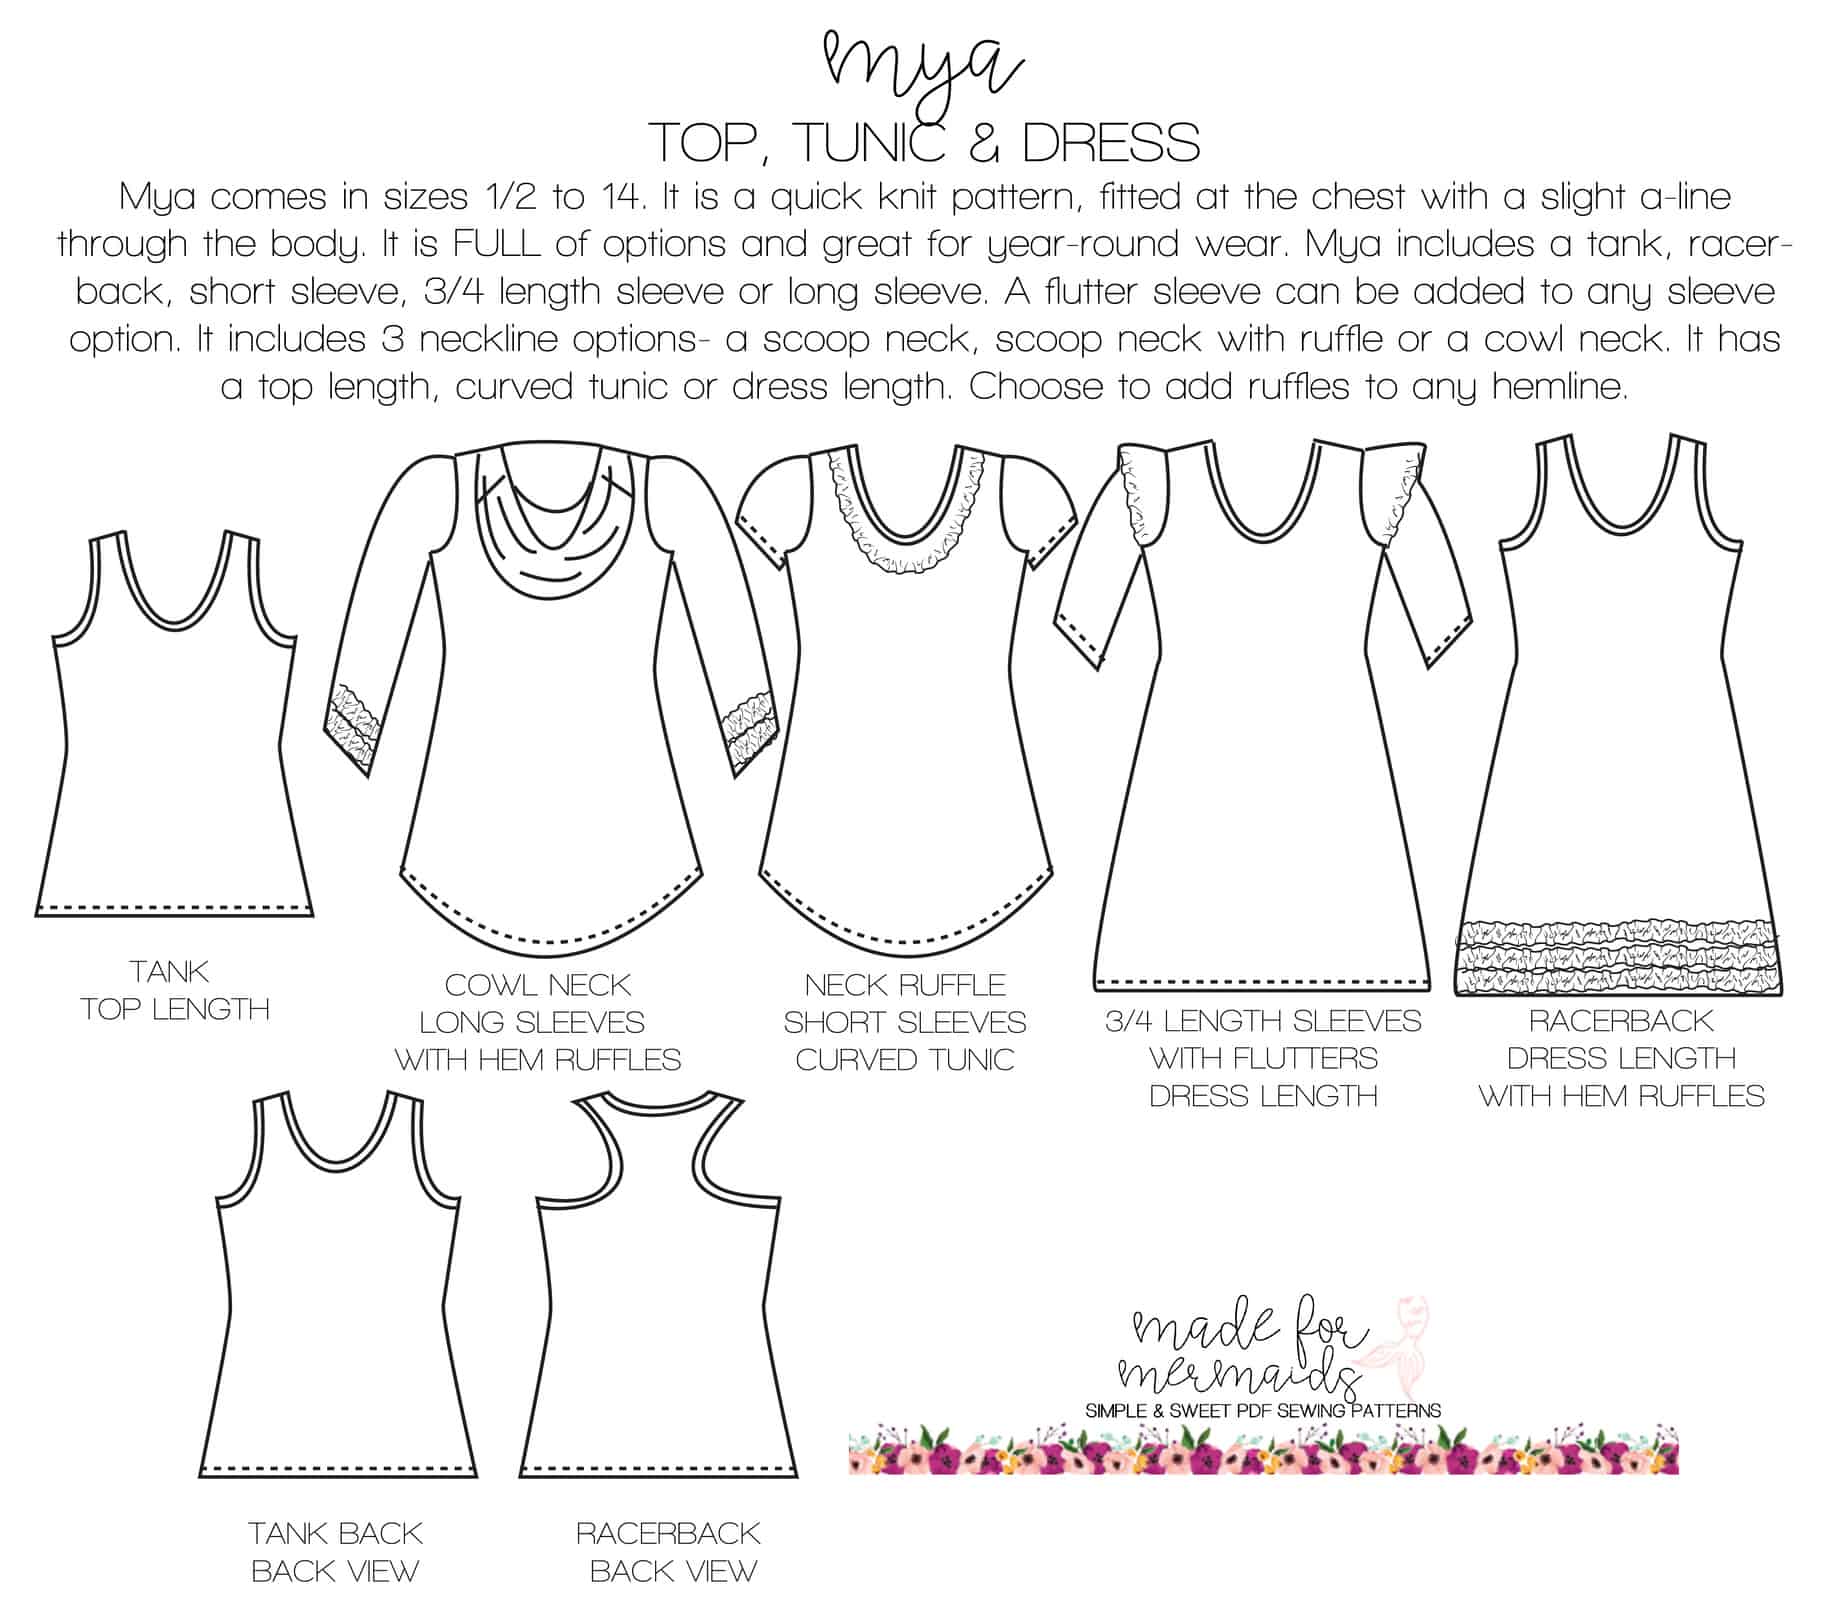
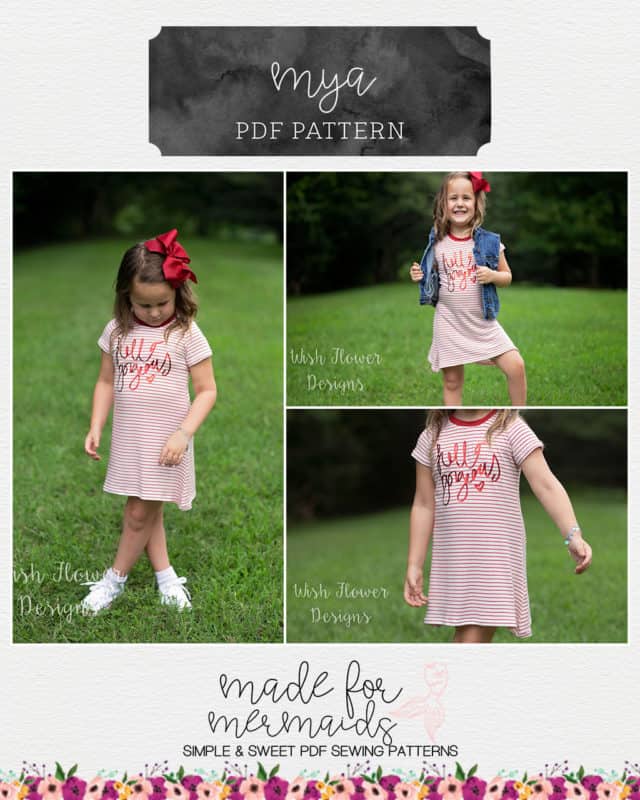
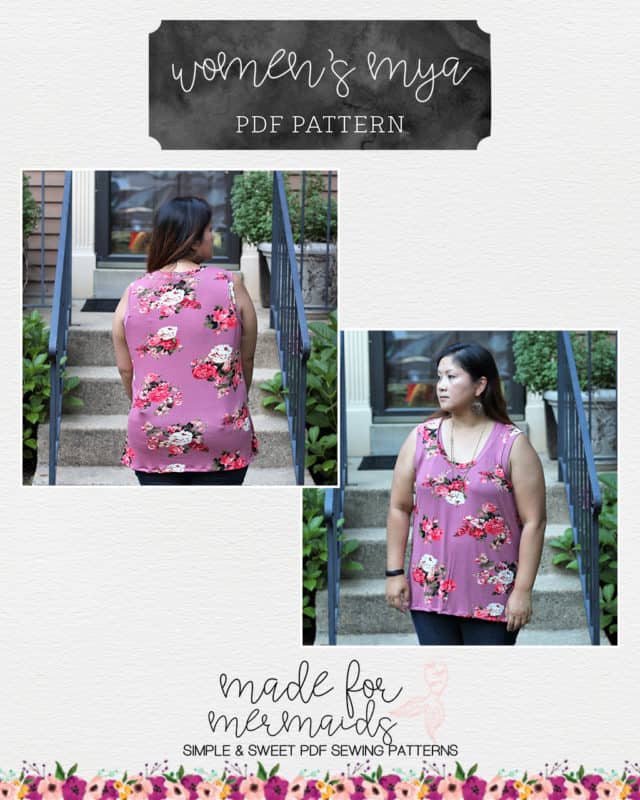
The Mya patterns (women’s, youth, and dolly) are the perfect answer for every season. Featuring multiple lengths, three neck line options (including a cowl), and lots of optional ruffles, Mya really does have something for everyone.
Before we get started, there is a ton of helpful beginner information between the M4M and P4P blogs, in case you are new to knits, or new to PDF patterns in general:
- New to PDF patterns? Check out our helpful tips here
- New to sewing with knits? Brittany has some great info here
- Not quite sure how to measure yourself accurately? Don’t worry; check out the post here!
- Having issues printing? Most issues can be resolved by using our FAQs/troubleshooting tips
- Looking here for more extensive grading help!
- Not in our official SAL group yet? Join here 🙂
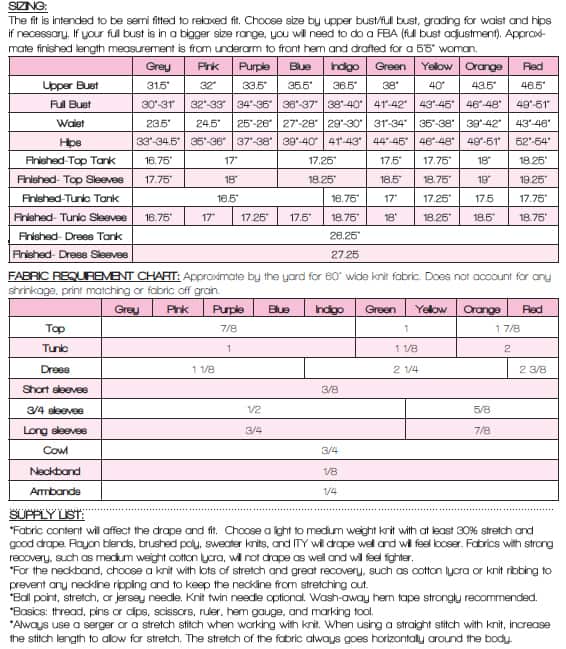
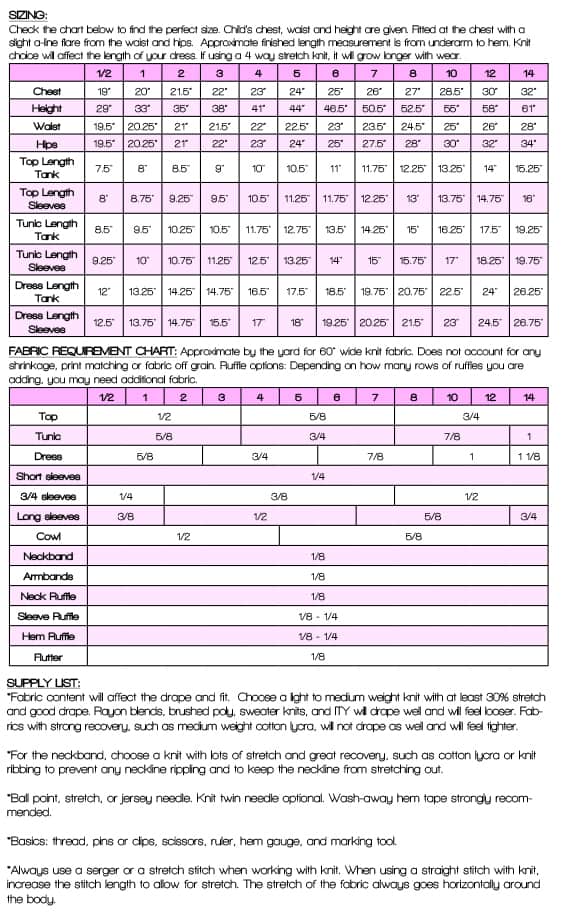
Our first day is all about prep! First, be sure to measure yourself (or the person/people that you are sewing for) accurately. The tutorial includes information about grading and mashing, but you can also check out the blog linked above! I mash sizes for both of my kids, and have to grade a bit for myself as well most of the time! I always like to get fresh measurements before I sit down to sew anything, especially for the kids, because they change so often.
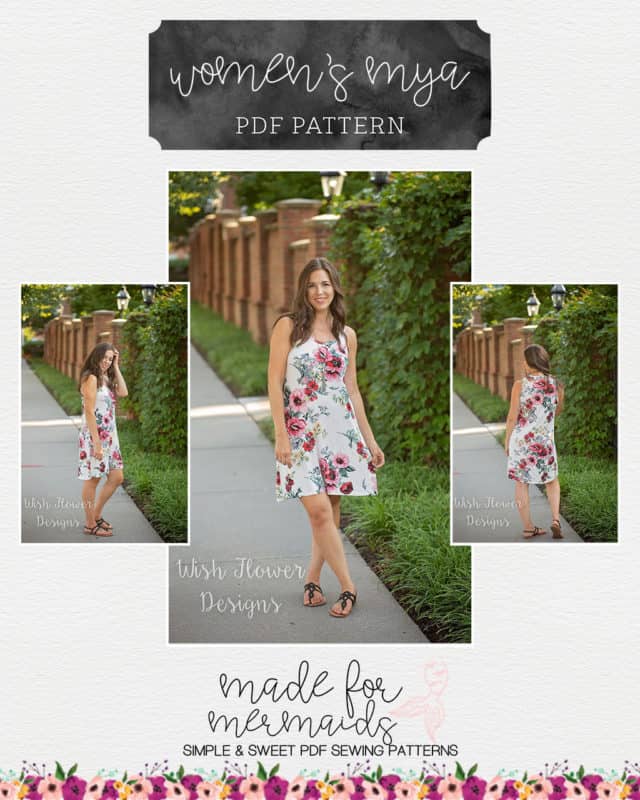
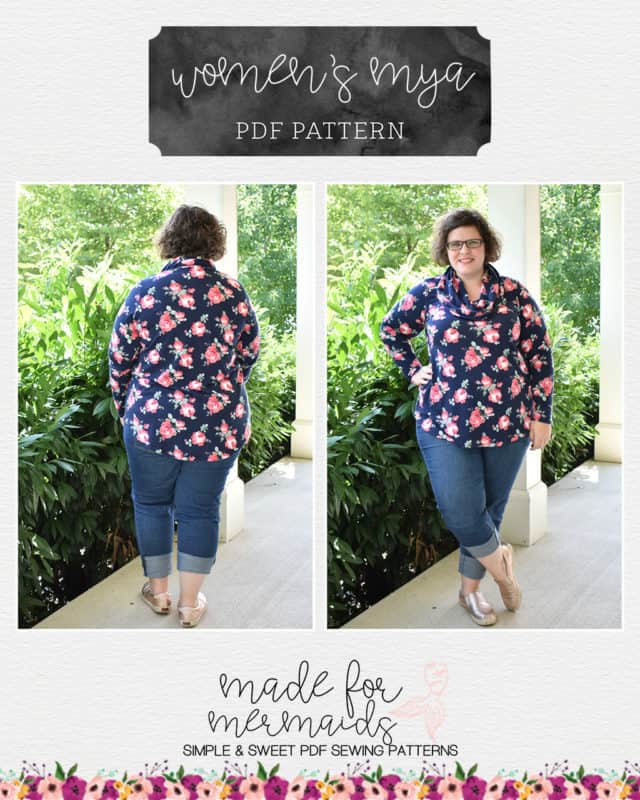
As designed, Mya is intended to be fitted through the bust and then a-line through the waist/hips. Flowy, drapey fabrics like rayon spandex, bamboo, modal, double brushed poly, etc. will give the most flattering fit. Of course, if you personally prefer a more fitted look, or are desperate to use your cotton spandex custom print, you can always modify to suit your personal preference!
After you’ve measured, you’ll want to choose your fabric and gather your supplies. Decide if you want to create your Mya pattern per the written tutorial, or if you want to use one of our Mya hacks. The hacks won’t be shown in the videos (except for one), but the tutorials are on the blog!
Next, go ahead and print your pattern! Be sure to print a test page and measure your 1″ square before you print the whole pattern. Once you’ve got your pattern pieces printed and assembled, go ahead and cut out your fabric.
Don’t forget:
- Cut on the correct sleeve line for both front AND back; there are three cut lines, so be sure you cut on the correct line for what you wish to make!
- Seam allowance is 1/2″ unless otherwise indicated in the tutorial
- Check your stretch to make sure you have it going the right way
Want to sew along with me? Check out today’s video!
If you have questions about measuring yourself, printing, putting your pattern together, or cutting your fabric, you are always welcome to post in our SAL group so we can help you! Be sure to check in each day during the SAL, and look for daily posts to enter our giveaways. We can’t wait to see what you create this week!

MYA SEW-A-LONG
DAY 1: PRINT, CUT, & PREP
DAY 2: SHOULDER SEAMS & OPTIONAL SLEEVE FLUTTERS
DAY 3: OPTIONAL SLEEVE RUFFLES & SLEEVES
DAY 4: SIDE SEAMS & ARM BANDS
DAY 5: NECKBAND & COWL
DAY 6: HEMMING
DAY 7: WINNERS ANNOUNCED
ABOUT OUR SPONSORS:
- Handcrafted goods. Digital designs. Made in West Virginia.
- prettyposhprints.com Pretty & affordable fabrics!



Leave a Reply