We have some great hacks and mashes for you- check them out!
POCKET HACK
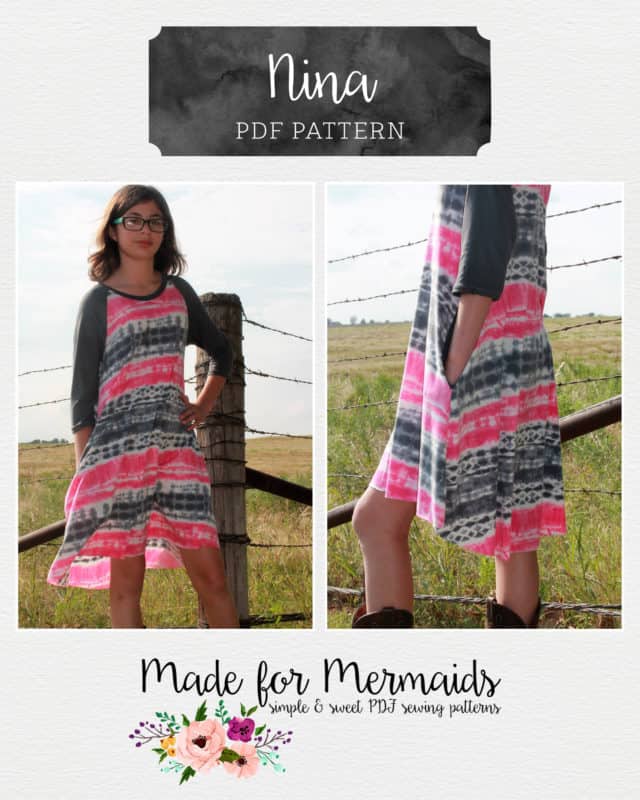
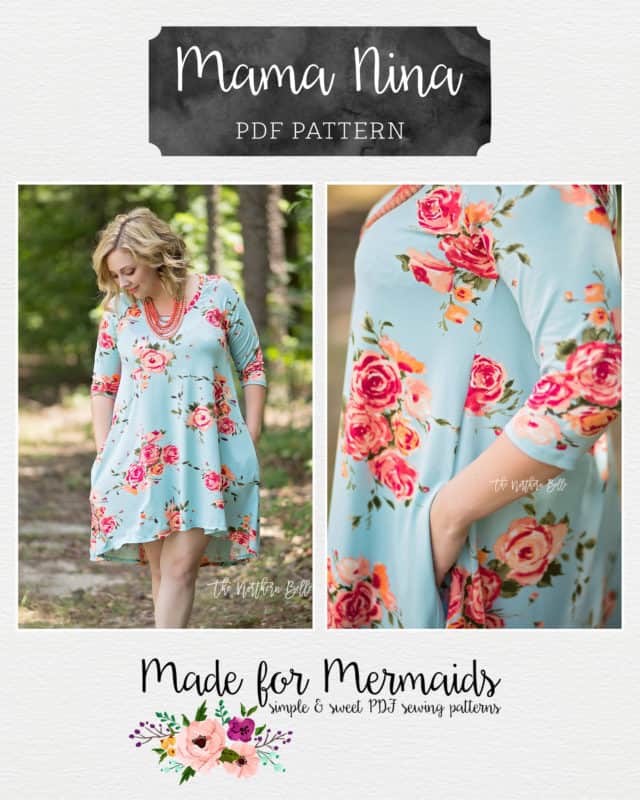
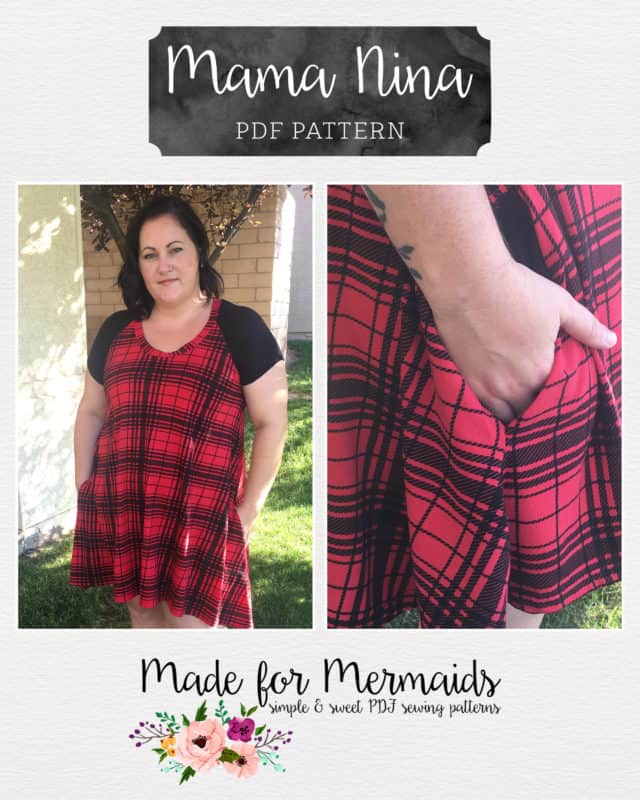
If you’re wondering what could make the Mama Nina and Nina patterns any better than they already are….. what about Mama Nina and Nina dresses with pockets?! I know I LOVE a dress with pockets and so do both of my girls! Even my two year old walks around with her hands in her pockets if she has them.
For this hack, I used the pockets from the Lea pattern, but you can use the pocket from any of our other patterns. You will cut 4 pockets (two sets of mirror images) in either the same fabric as your dress, or a corresponding fabric of your choice.
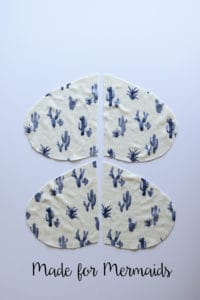
The best way to accurately place your pockets on the dress is to hold it up to the wearer, but since that’s not always possible, a good “starting place” is to place the top edge of the pocket about 1/3 of the way down from the armscye point. (To ensure that all of your pockets are stitched in the exact same place, measure how far down from the armscye you place the first pocket and, using a fabric pen, mark both sides of the front and back pieces at this point.)
Lay one pocket piece right sides together on your front dress piece, aligning the top edge of the pocket with the placement mark you made. Stitch together with a 1/2″ seam allowance.
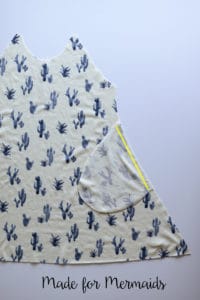
Flip the pocket out so it is right side up. The seam allowance should be facing toward the pocket (in other words, do not flip this under the dress when you flip the pocket out). At this point, I like to understitch my pocket so that it can’t be seen when wearing. It results in a cleaner finish overall. To do this, I simply stitch just inside the previous seam. See image below:
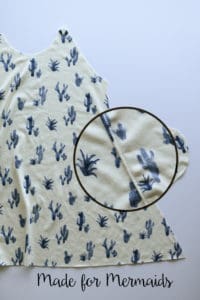
Repeat this process for the 3 remaining pockets on both sides of the front and back dress pieces. You will continue following the steps in the tutorial for attaching both sleeves.
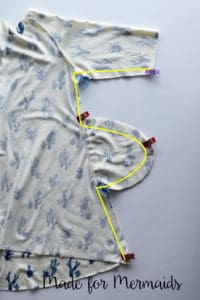
When you reach the point of stitching the side seam, you will lay the front and back pieces right sides together, with pockets flipped out and also right sides together. I like to stitch the corners of each pocket on my sewing machine first to ensure I am using the full 1/2″ seam and to provide a little extra stability.
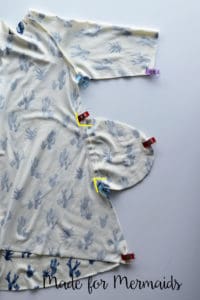
Now you can use your serger to stitching from the sleeve hem, to the underarm seam, along the side and around the pocket. Go slowly around the corners to be sure you are not stitching into the 1/2″ seam allowance.
Repeat this process for the opposite side seam and then continue to follow the directions in the tutorial for hemming and adding the neckband. There you have it! Super simple hack to get even more options out of your Nina and Mama Nina patterns!
CROP HACK
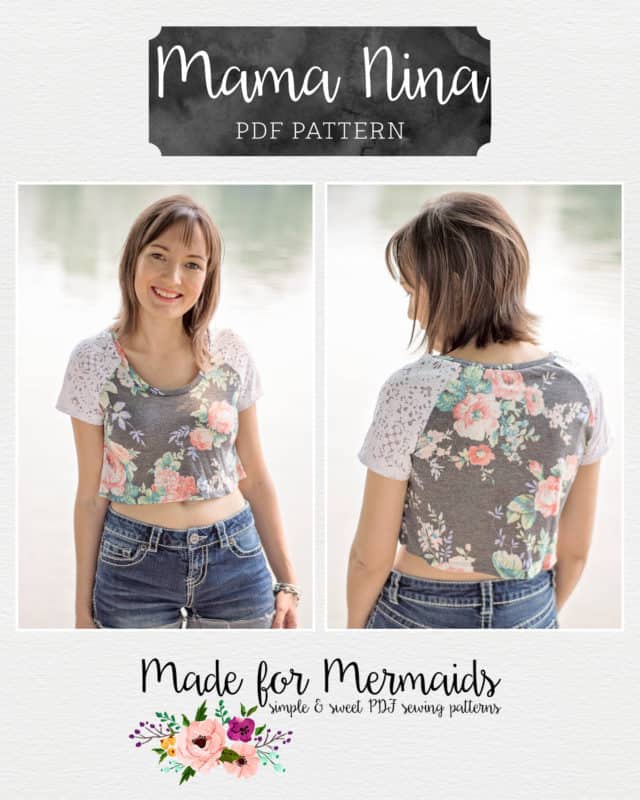
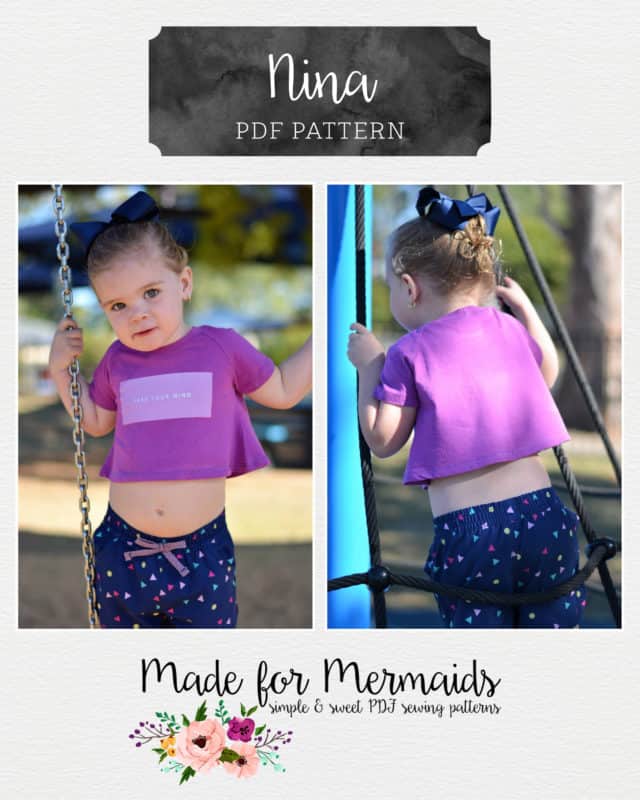
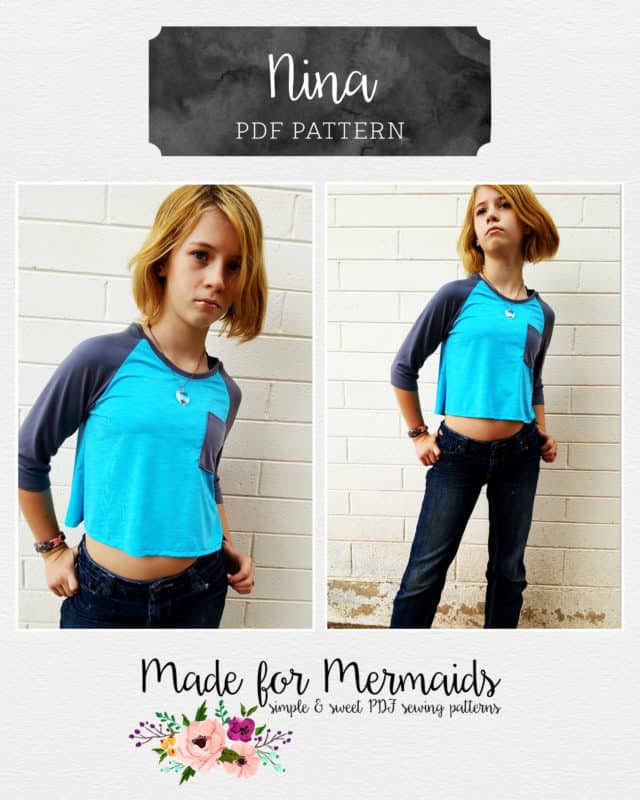
Another quick easy hack to the Mama Nina & Nina pattern is a cute crop top! For this hack all you will need is a pen, ruler and some tracing paper.
First thing that I did was measure from the underarm to where I wanted my crop top to hit. I used a measurement of 8 inchs and just made a little mark there. Next time I would actually make it a bit longer as there will be no throwing my arms up into the air and dancing in this crop top, I would recommend using 9 inchs as a starting point but feel free to adjust the length to whatever you prefer. Remember if you have a longer torso you are going to want to have a bit more length.
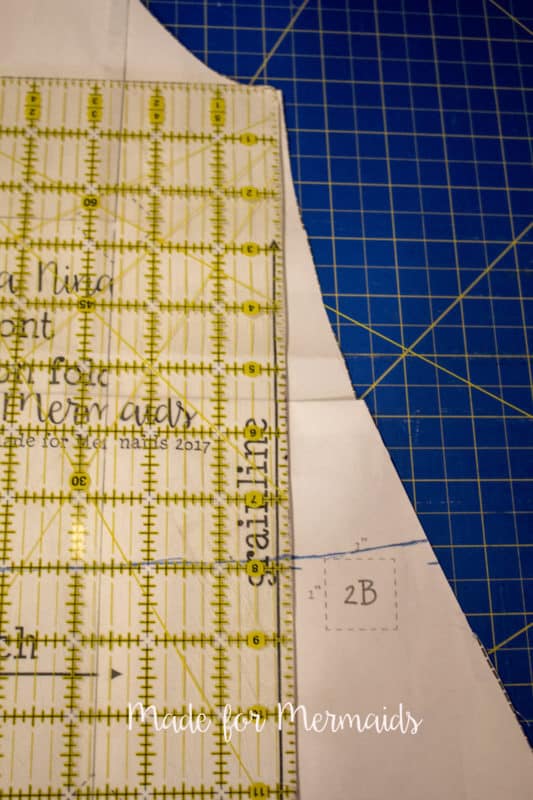
Next I measured up from the hem to that line and it was just under 10 inchs from the hem. I measured from the shirt hem line all the way along 10 inchs and made my new hem line. You are going to repeat this same process on your front and your back pieces. I then traced my new pattern pieces and cut out my crop top pieces. 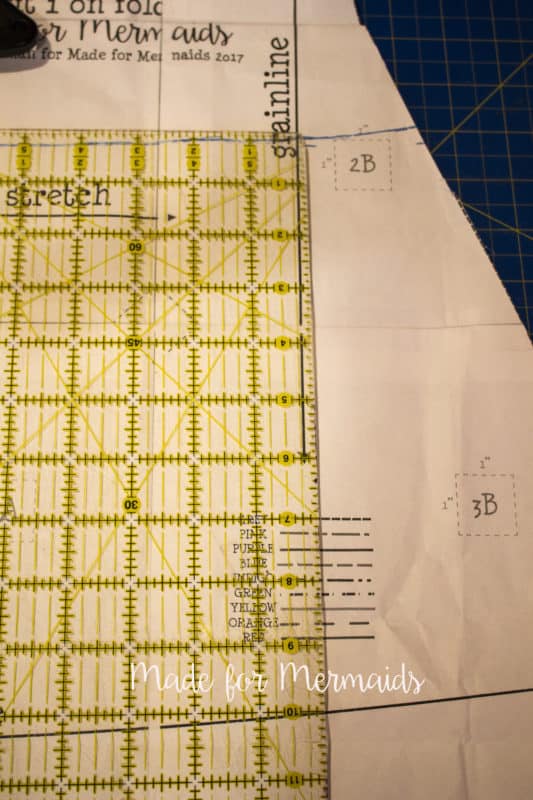
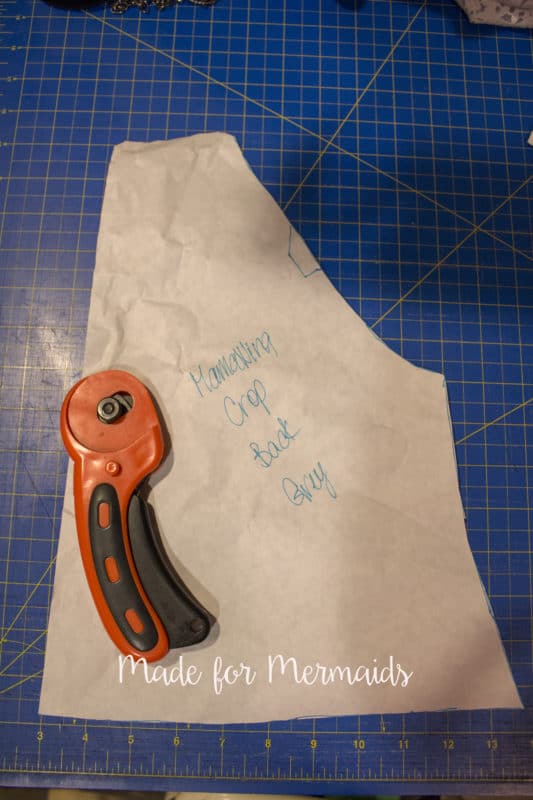
Sew up your crop top the same as any of the other versions included in the pattern and voila you have a cute crop top for summer!
LOW BACK NINA WITH THE ELLA PATTERN
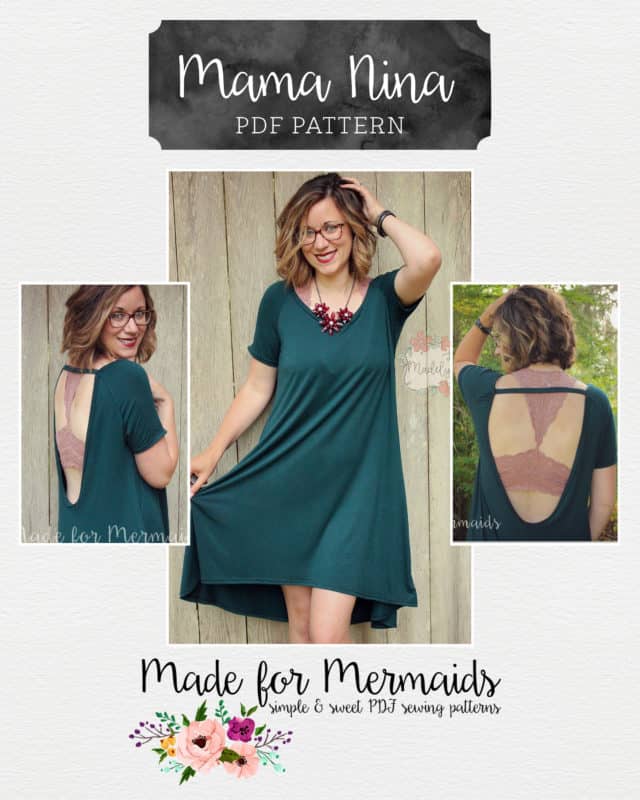
Truth time- Hi, my name is Erinn and I’m addicted to the new Mama Nina. I have already made so many of these and while I was searching for styling ideas, I came across an open back dress that had a similar silhouette. I knew I had to have it! Enter the Mama Ella, which works perfect to create this open back look.
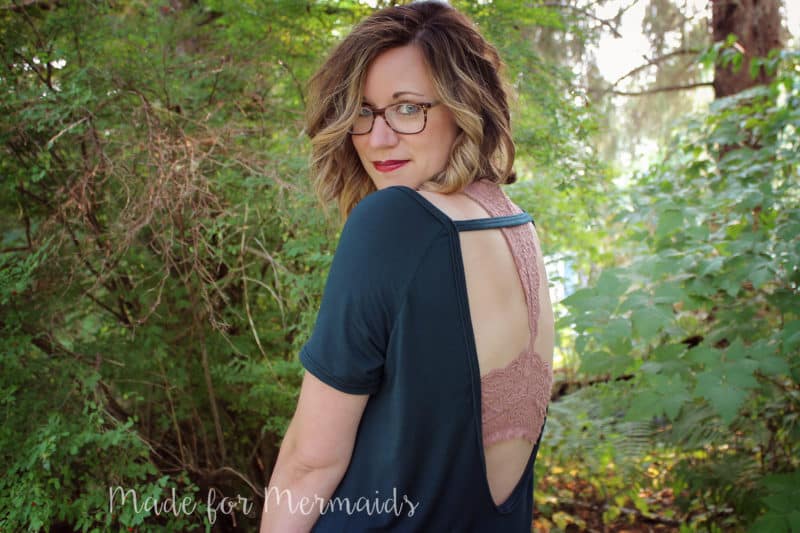
First, you will cut out your pieces for the Mama Nina as directed (with the exception of the neckband). I recommend using the dress length for this hack to help create a nice drape. Once you’ve cut your pieces, you will take just the back from the Mama Ella to create your cut-out. I used the low back version, however you can also use the high back for more coverage. There are several points that I used to line it up and then removed the cut-out
-
-
- Align the underarms
- I lined up the top section 2” from the fold. Depending on your size, you may need to adjust this. You can also do a smaller amount if you’d like less cut-out. You just need to make sure that there will be enough space left for your seam allowances and binding.
- Your back piece will need to be slightly angled. The Mama Nina has more flair to it than the Mama Ella, so I rotated the piece just slightly off the fold.
-
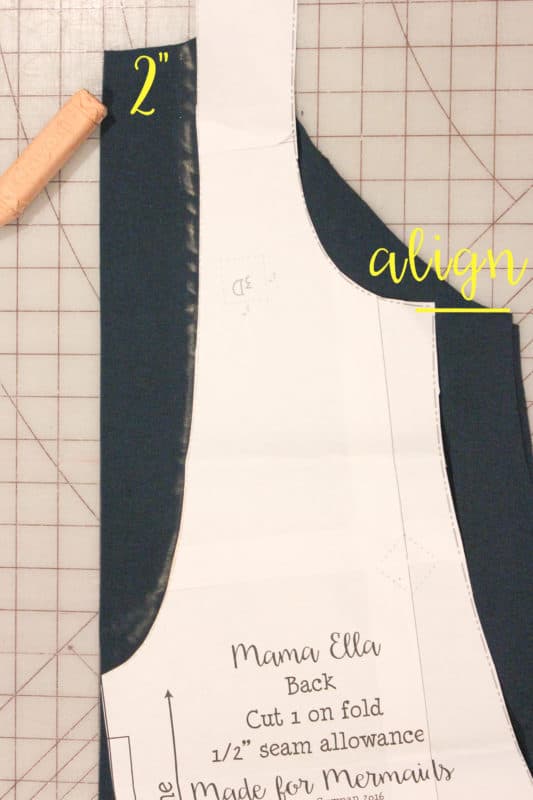
If you’d like, you can sketch the outline with chalk/fabric marker, check to make sure you’ve got enough room for seam allowances/bindings and then cut. Once you’ve removed the cut-out, assemble as directed.
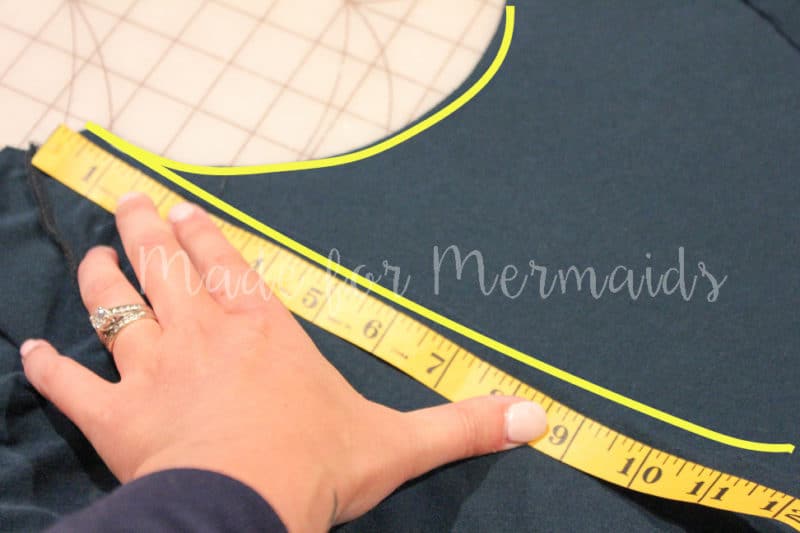
Then, you will attach the binding as directed in the Mama Ella. For the binding, you will need to measure around the neckline as well as down the cut-out. Together, mine totaled 51”. I used 85% to find the needed length. My final binding piece was 2” x 44″ (0.85×51 plus my seam allowance). You will now follow the directions of the Mama Ella to attach the binding.
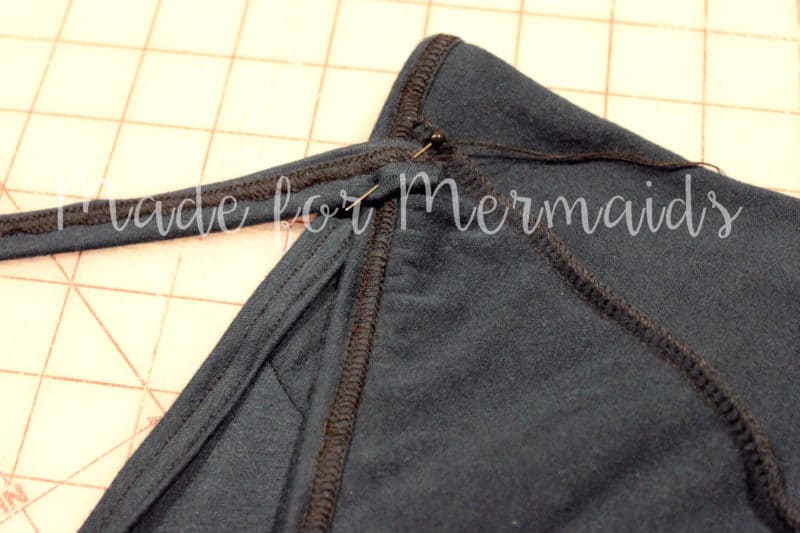
Lastly, you will want to attach a band across the back to help hold the dress on your shoulders. This is also outlined in the directions for the Mama Ella. There are several ways you can attach this, such as a single band, double band, criss-cross, etc. I recommend pinning or basting in place first and trying on to see if you need it tightened. After trying several different locations, I found placing my strap where the sleeve attaches worked best.
Lastly, hem the sleeves and hemline accordingly and start turning some heads with your fancy new dress!! If you recreate this look or any of the other hacks, please make sure to share them in the Made for Mermaids Patterns Facebook group! We love to see your creations!
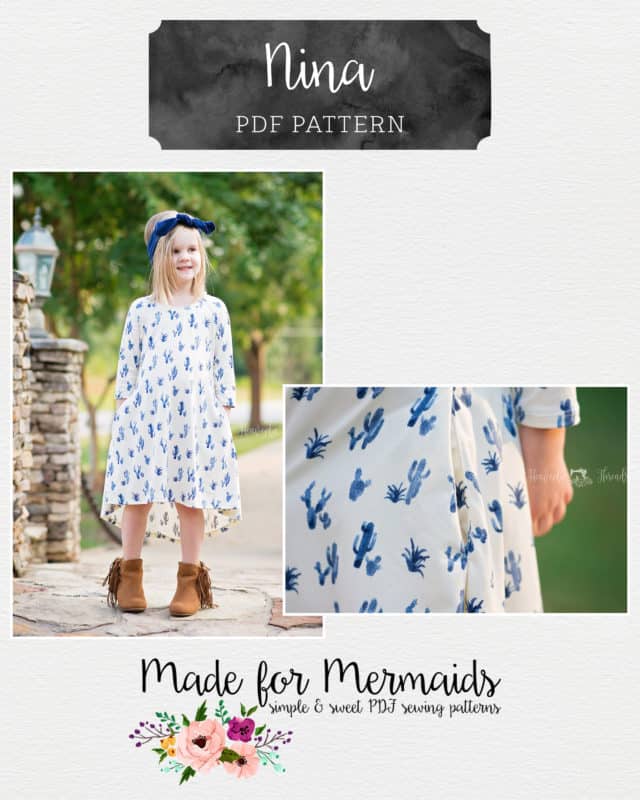
I will be making quite a few of these lovely Nina’s this weekend. May I please ask where I can find the blue cactus fabric? I live in Arizona an I must get my hand on some, I just love it. Thanks for all the inspiration, I love everything about your patterns!!!
Hi Patti! The blue cacti fabric came from Pretty Posh Prints (http://prettyposhprints.bigcartel.com/product/cacti-blue-brushed-poly-spandex), but it looks like she is sold out. Knitpop has some in different colors (http://www.knitpop.com/products?utf8=✓&search=cactus). Thanks so much for the love!