
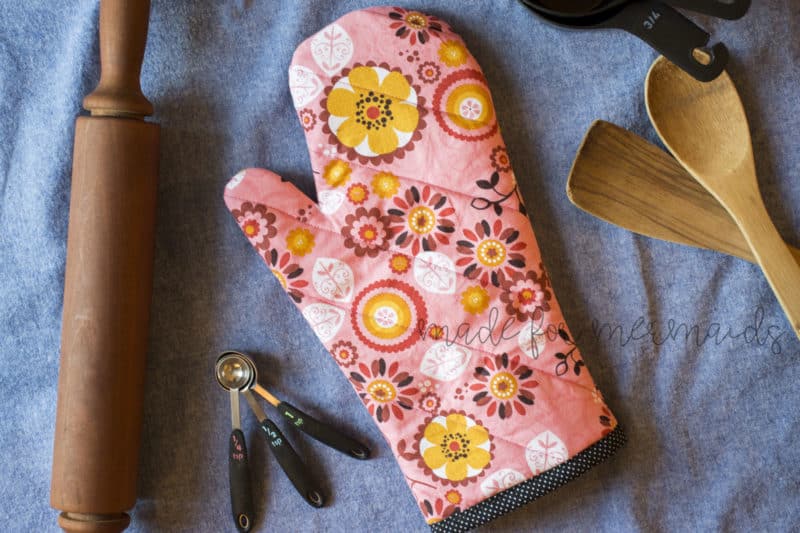
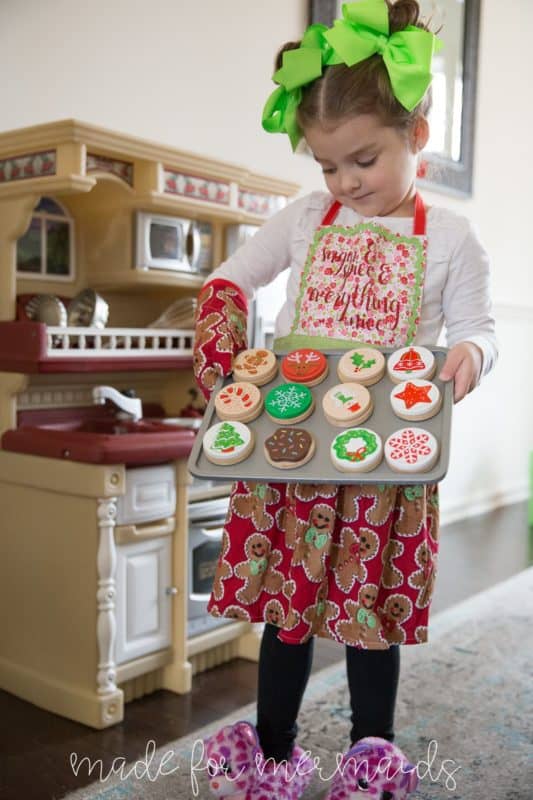
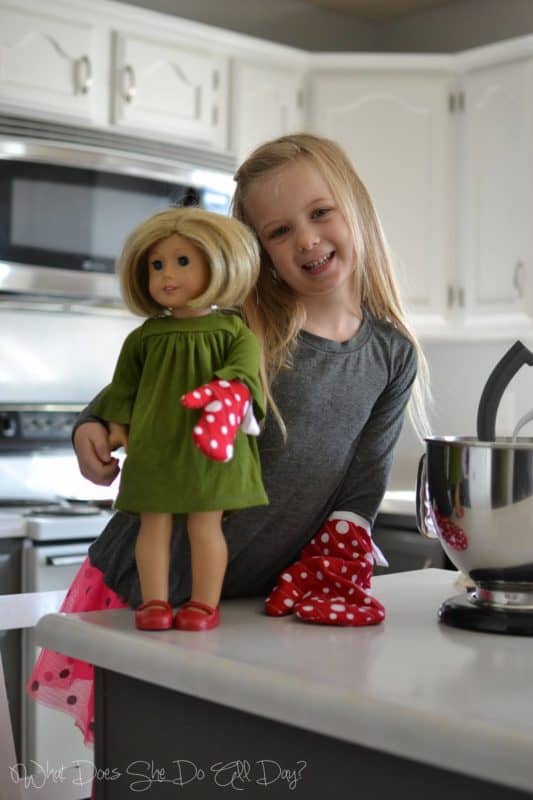
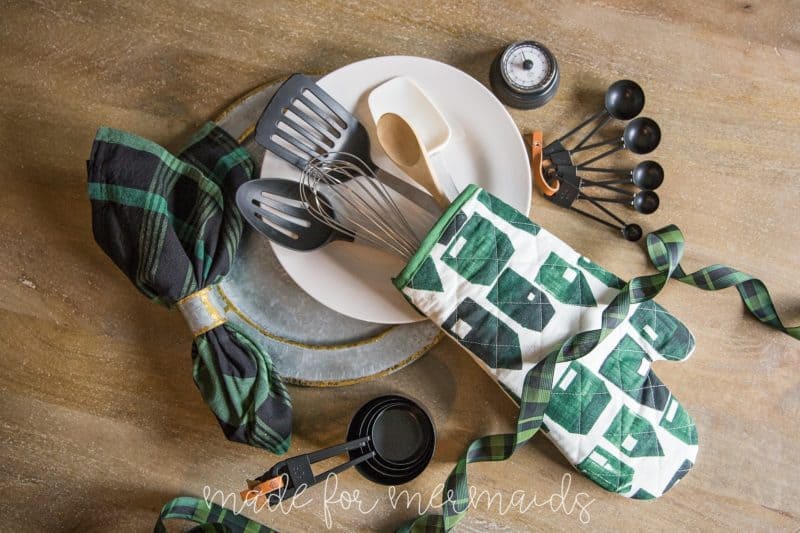
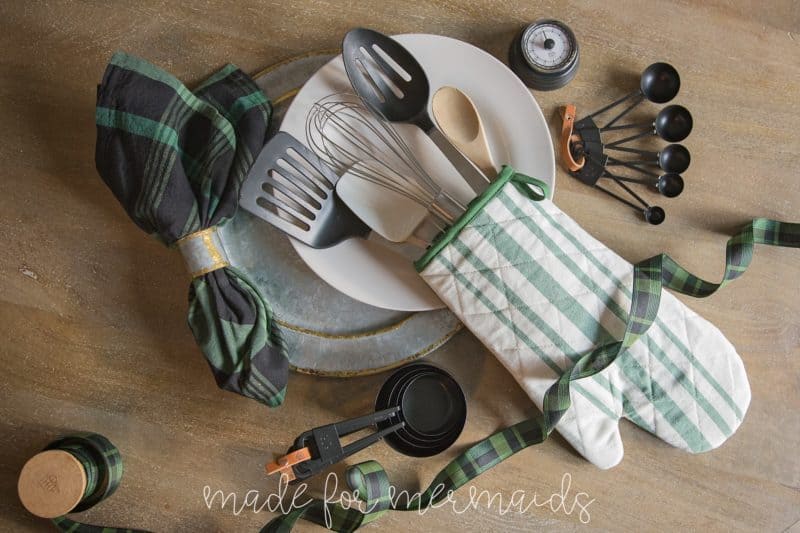
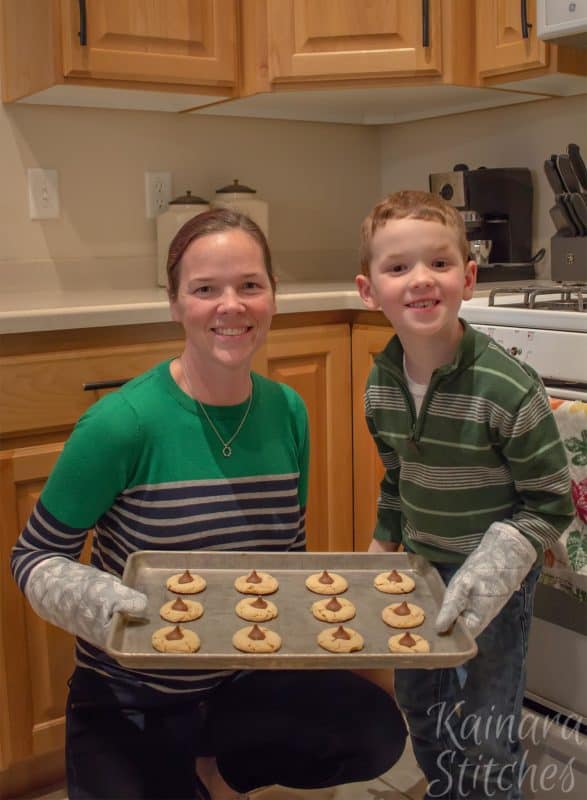
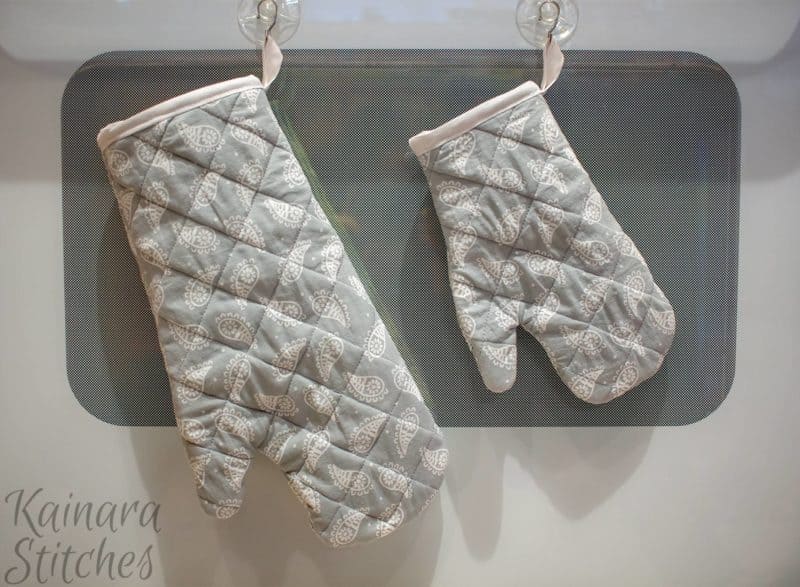
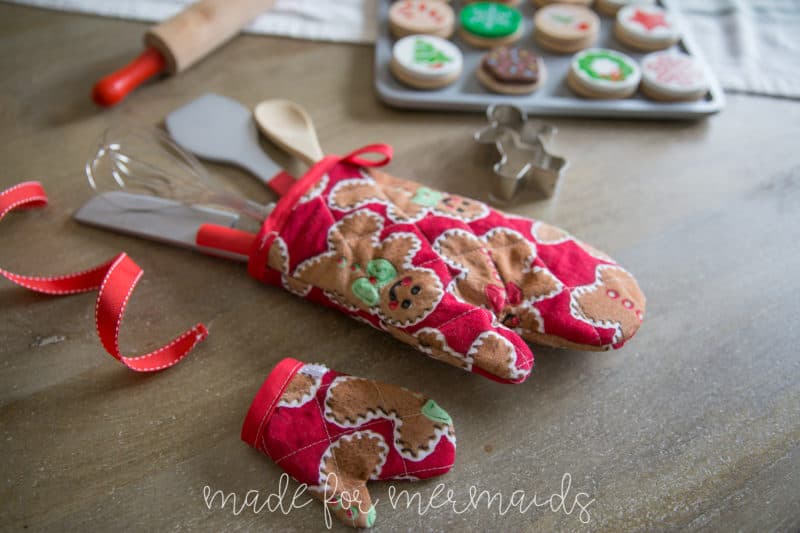
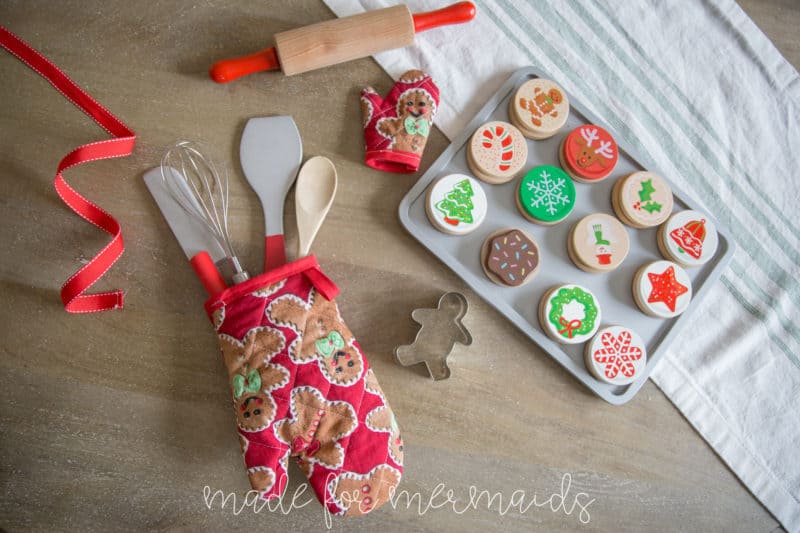
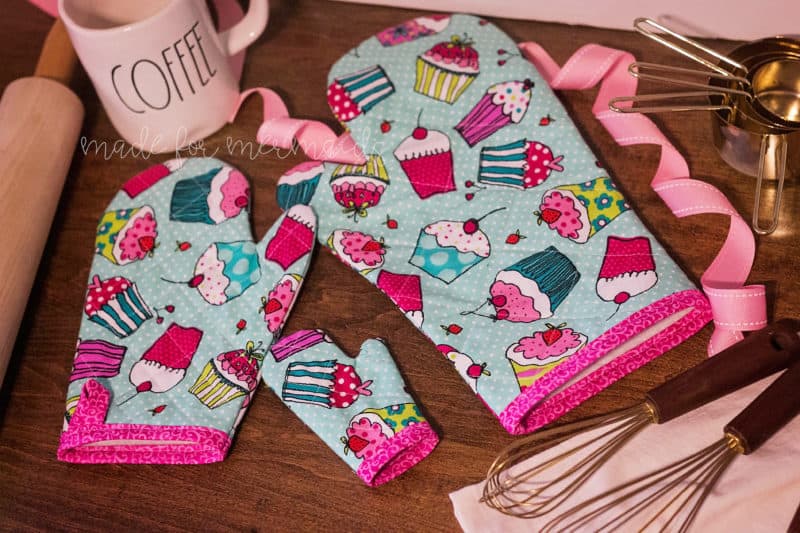
Today’s free pattern is a fun one to sew, uses scraps or fat quarters, and is PERFECT for gift giving this time of year! Yes, you can gift these to yourself too 🙂 Everyone always loves an update to their kitchen tools! Best of all, it comes in three sizes, adult, child, and dolly! My children love helping me in the kitchen, I’m excited to have some mitts in their size that will feel more comfortable, and be more fun for them.
You can download the Oven Mitt pattern in the Freebies section of our website, right HERE!
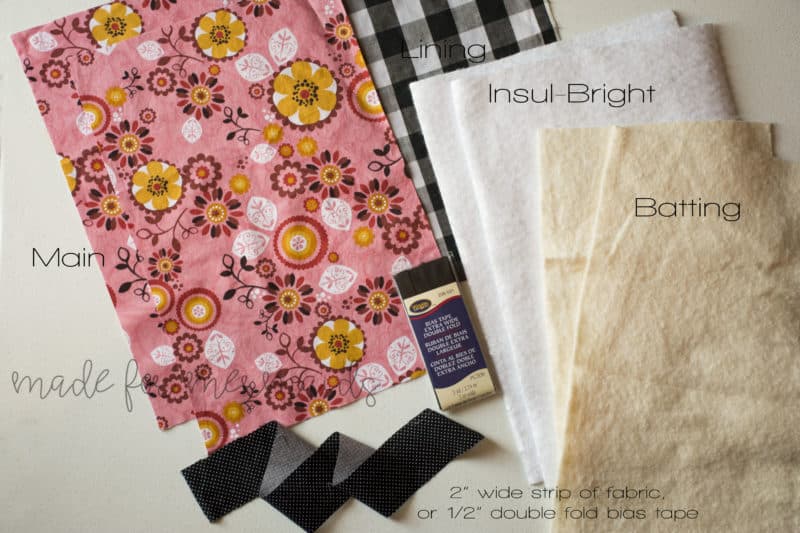
Supplies:
1/2 yard quilting cotton each of your main, and lining fabrics. You could also use flannel, some lighter weight home decor fabrics, or duck canvas for your main fabric.
1/2 yard Insul-Bright
1/2 yard batting
Pinking shears
Basic sewing tools: Thread, sewing machine, marking tool, pins, ruler.
LET’S GET STARTED!
1/2″ seam allowances included.
Step 1: PREPPING
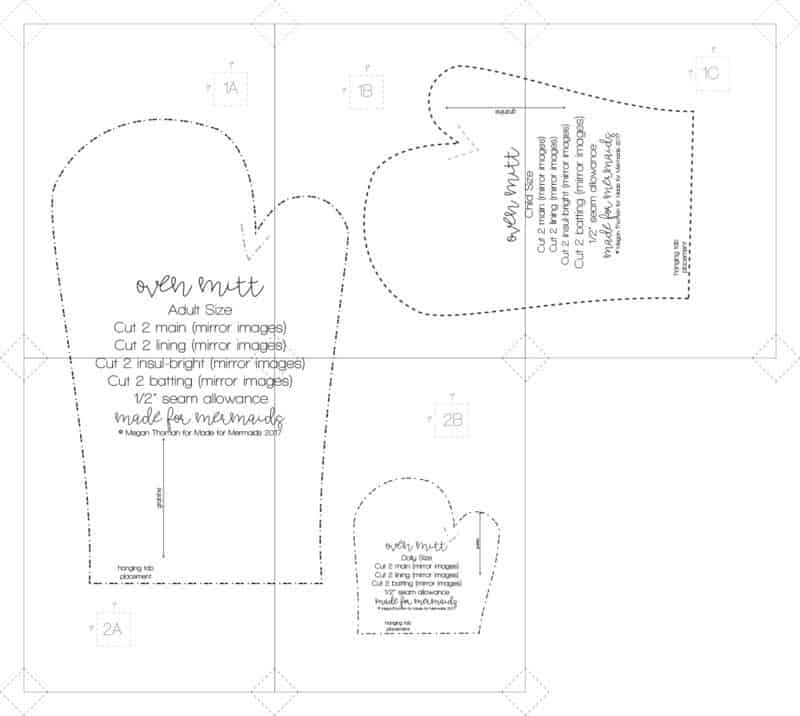
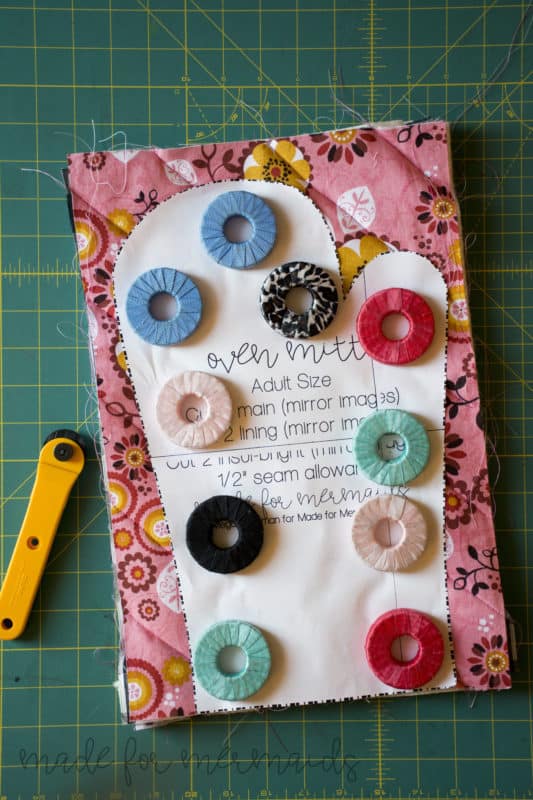
Go grab the pattern pieces and cut files HERE! Print and assemble the pattern. Pattern layout shown below. The pattern is a no trim pattern; if you need help putting the pattern together, pop over to the faqs and troubleshooting page or ask in our Facebook group . Now set your pattern aside. We will use them to cut later, after we prep and quilt our fabrics.
Cut out your fabric. You will need 2 rectangles each of your main fabric, lining fabric, Insul-Bright, and batting. For dolly size, you do not need the Insul-Bright. All measurements are W x L.
Adult: 10″ x 15″
Child: 9″ x 11″
Dolly: 6″ x 6.”
You will also need 1/2″ double fold bias tape. You can make your own, or use store bought. If you make your own binding, it does not have to be cut on the bias. To make your own, cut a strip of fabric 2″ wide by the specific length you need.
Adult: 20″
Child: 15″
Dolly: 10″
Step 2: QUILTING
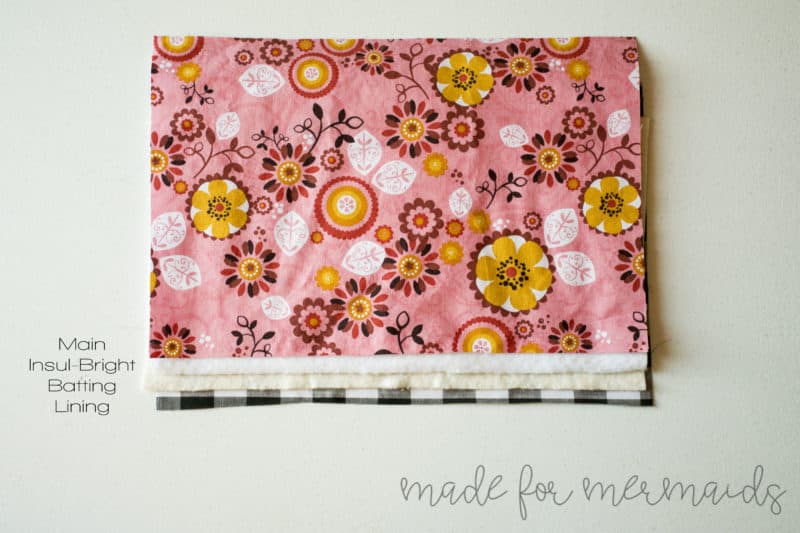
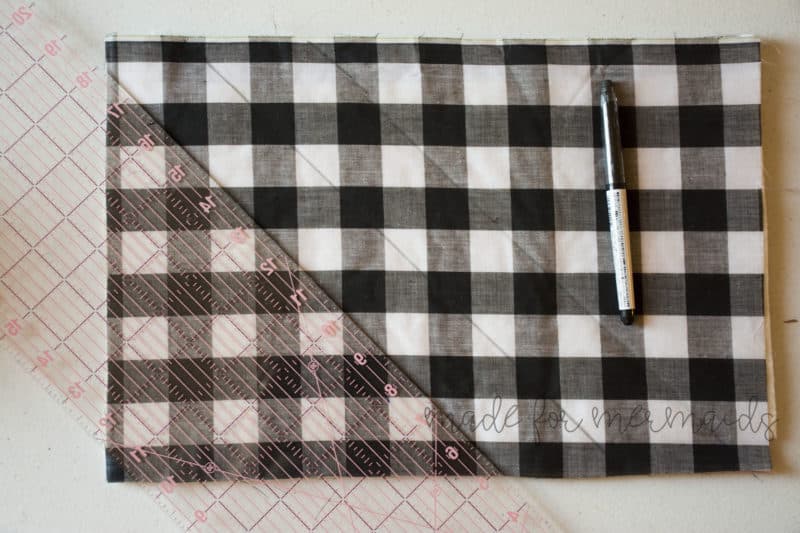
Layer your fabric in this order. Lining – wrong side up, batting, Insul-bright, Main – right side up. Now you need to quilt your fabric together. You can do this however you want. I just did straight lines, but you could get as fancy as you want! I marked them on the lining side, with my pen, 2″ apart, at a 45 degree angle.
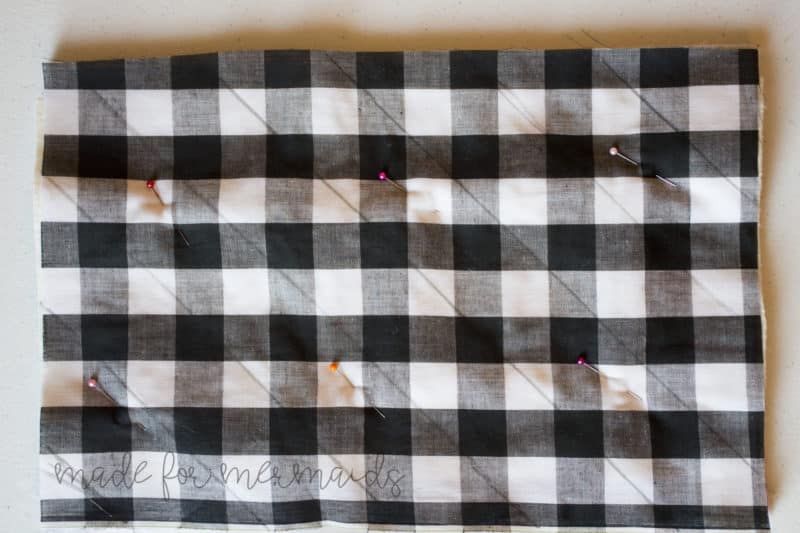
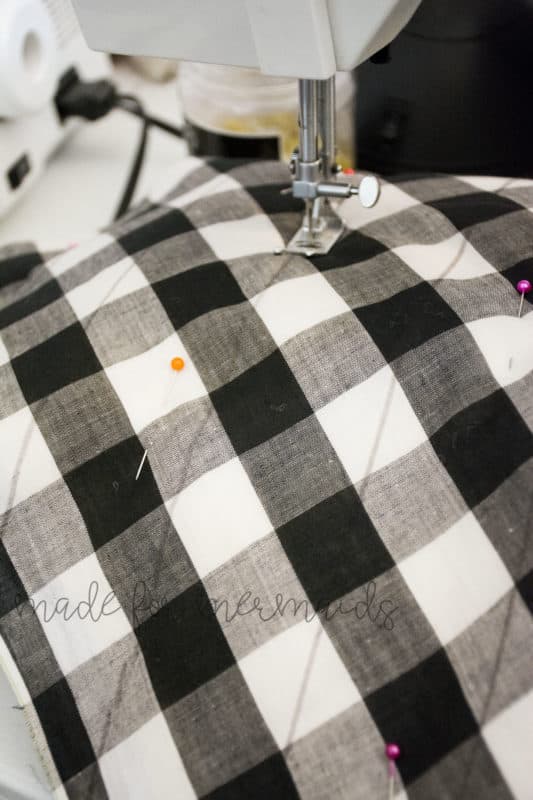
Pin all your layers together in several places. You will keep the pins in while you sew so your fabrics don’t shift around. Stitch through all the layers to quilt your fabrics together. Do this to both pieces.
STEP 3: CUTTING
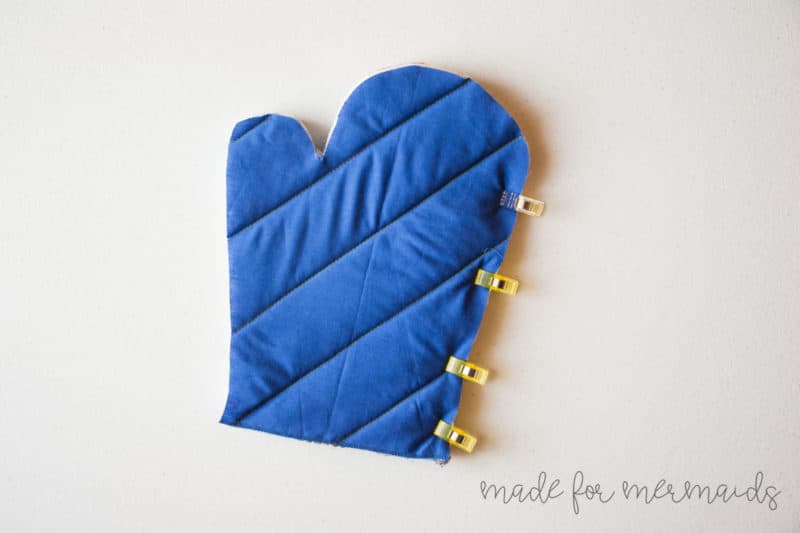
Place your 2 quilted pieces lining sides together, and place your pattern piece on it. You may be able to use the bottom edge of your rectangle as the bottom, or if things got shifted a little while sewing your layers together, you can move the pattern up a bit. The rectangles are slightly generous for this reason. Cut out your pieces. You will need mirror images, so if you cut them separately, not stacked, be sure to pay attention to that! Use chalk or erasable pen to mark the guide line at thumb joint. If you are making the child or dolly size, skip ahead to the end now to find the steps to insert your binding in flat.
Step 4: SEWING
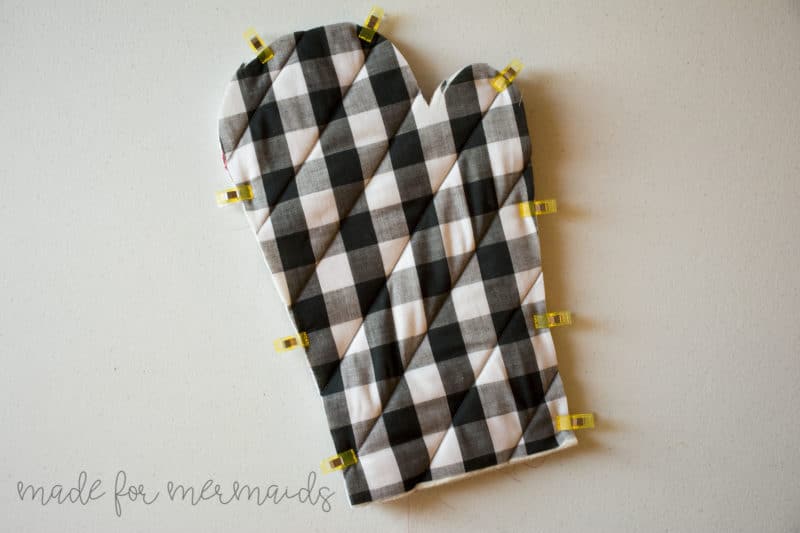
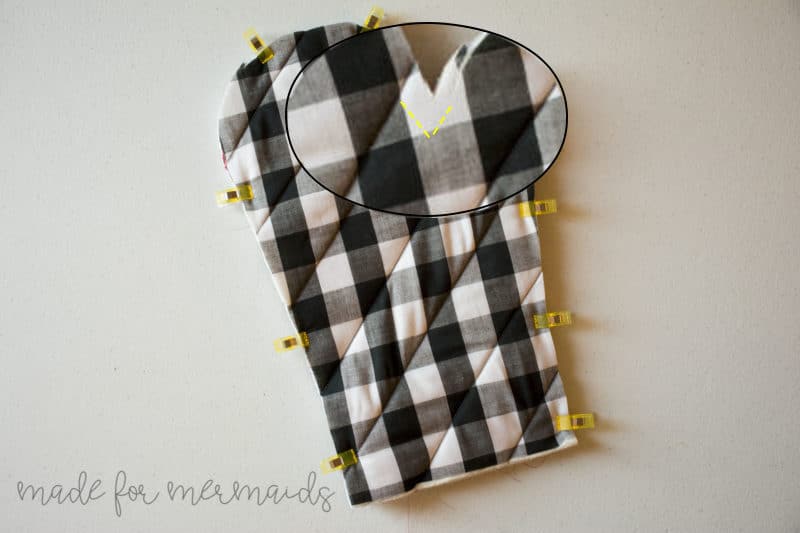
Clip or pin the two mitt pieces, right sides together, and stitch around it with a 1/2″ seam allowance. You will start at the bottom of one side, make sure you stitch the thumb joint carefully. Stitch down to the guide on the pattern piece. Drop your needle at the point, lift your presser fit, and pivot it to go around the thumb, and stitch down to the bottom of the other side.
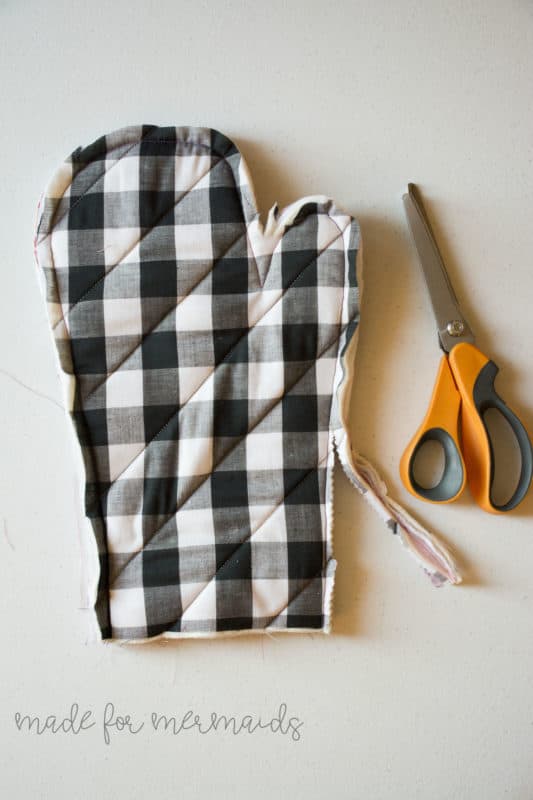
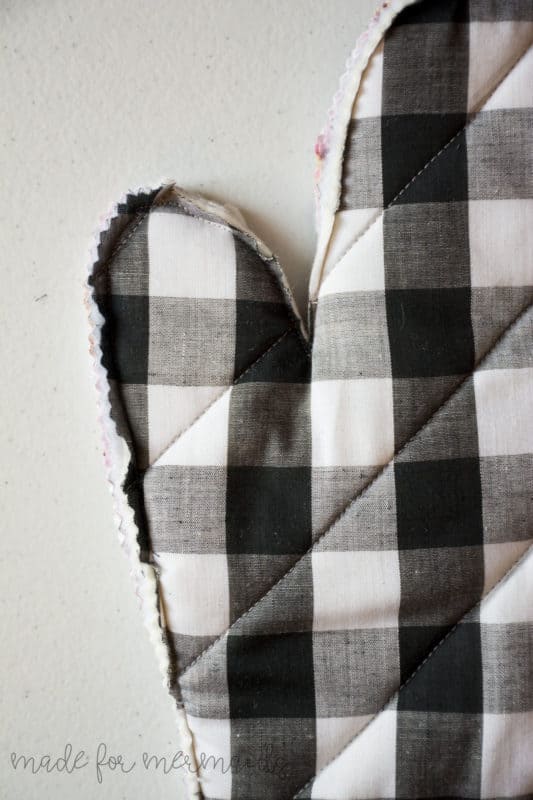
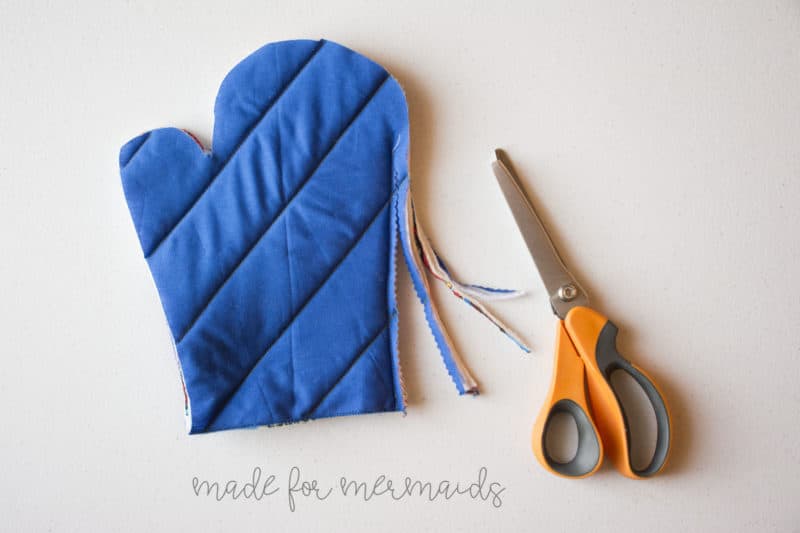
Trim all the way around with a pinking shears to finish the edges. When you get to the part in-between the thumb and the hand, you can use a regular scissors, and trim the seam allowance down, making sure to cut almost up to the stitches at the point, but not through.
Skip to step 6 if using store bought binding.
Step 5: CREATING YOUR OWN BINDING
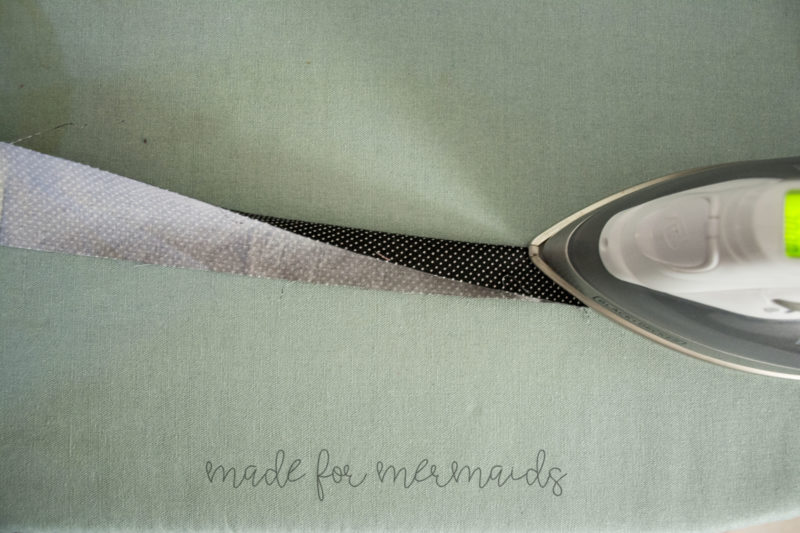
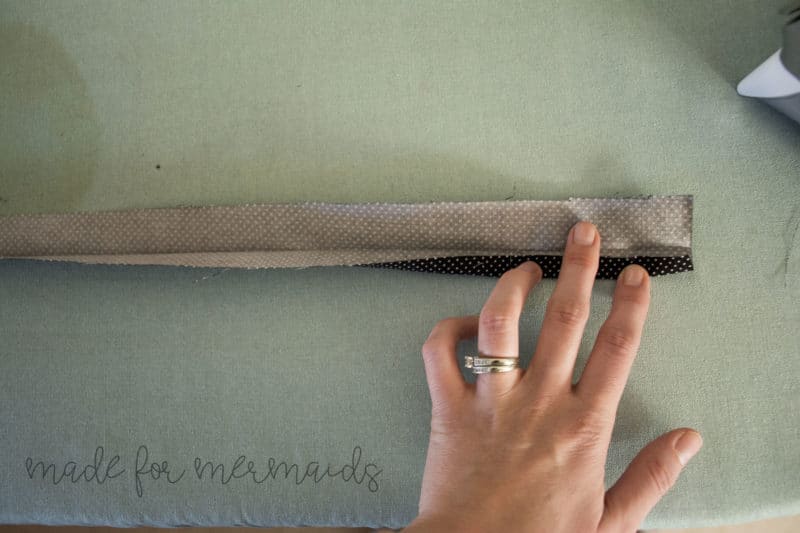
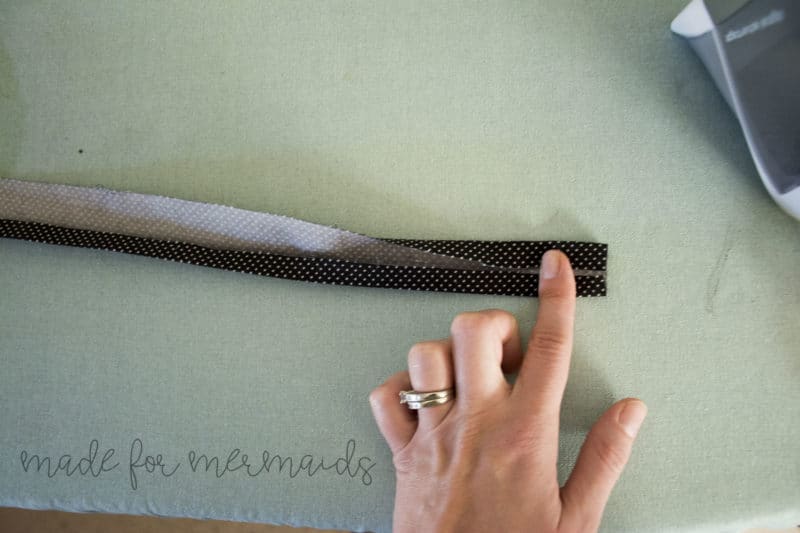
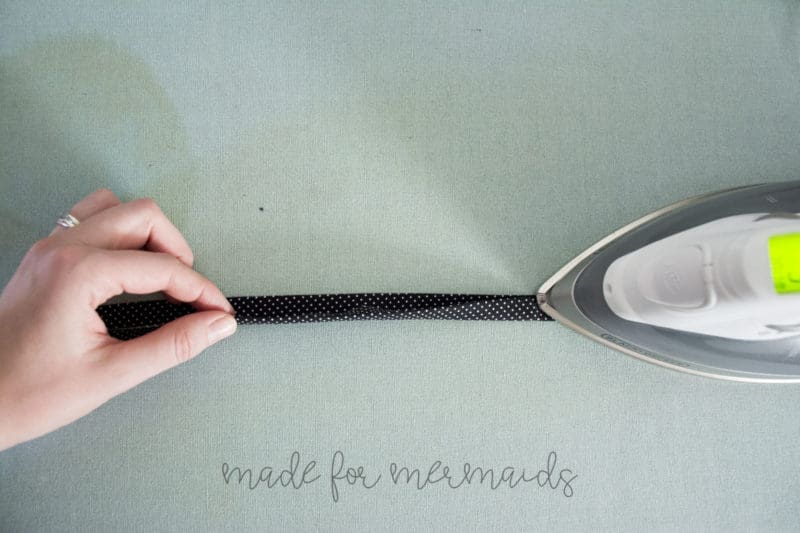
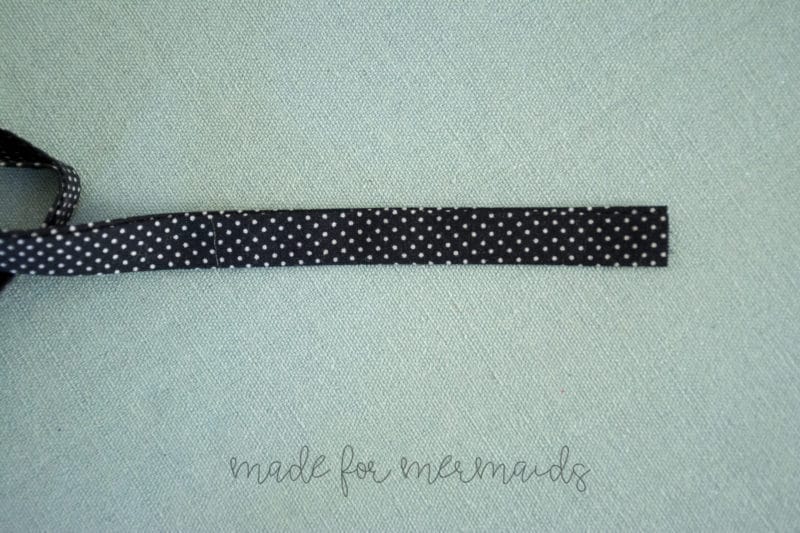
Take your binding, and fold it in half, with the long sides together, and press. Now open up the binding, and fold one of your long edges almost to the center fold, and press that side down. The other side you will fold all the way in to the center fold, and press. Re-press your whole binding again on the original center fold. You should have a piece of binding that is slightly taller on one side, just like store bought bias tape.
Step 6: ATTACHING BINDING
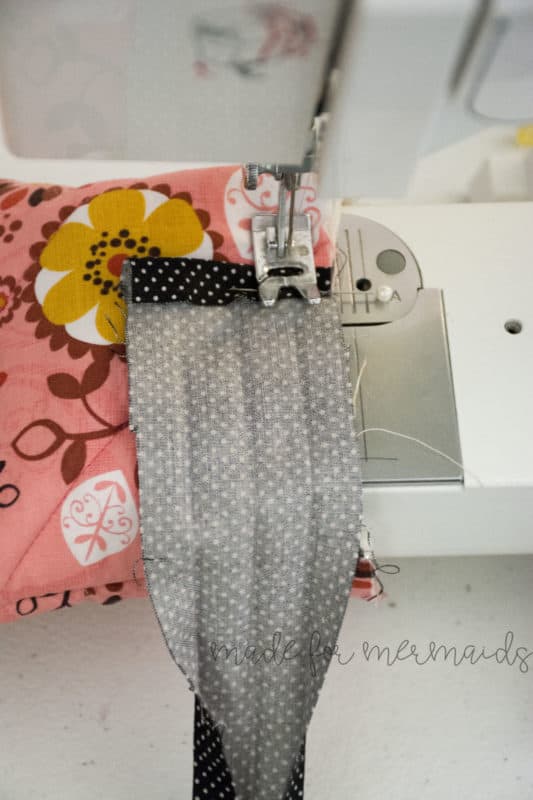
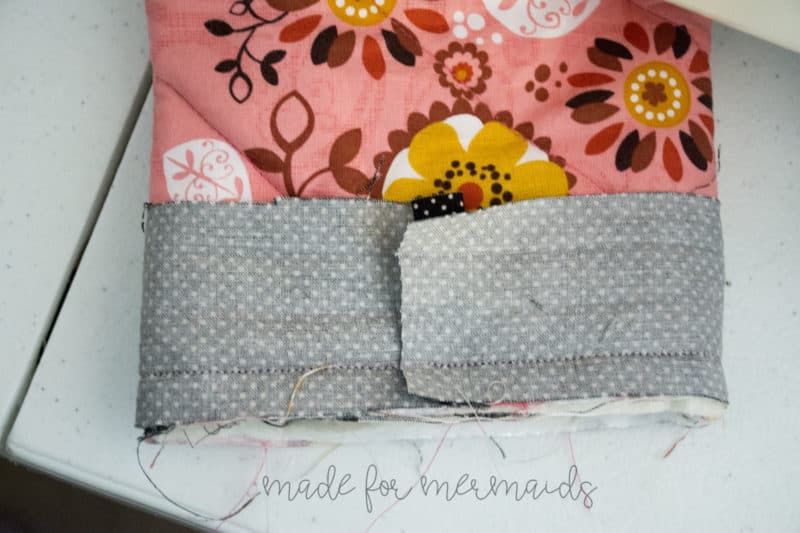
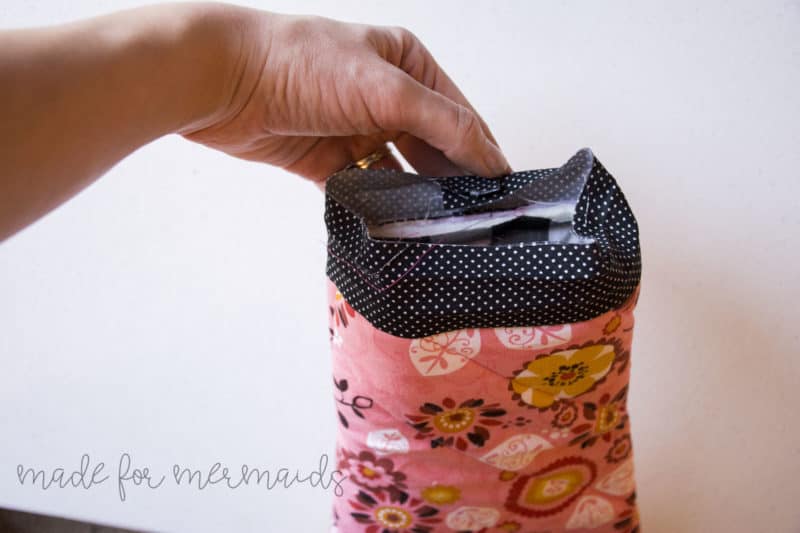
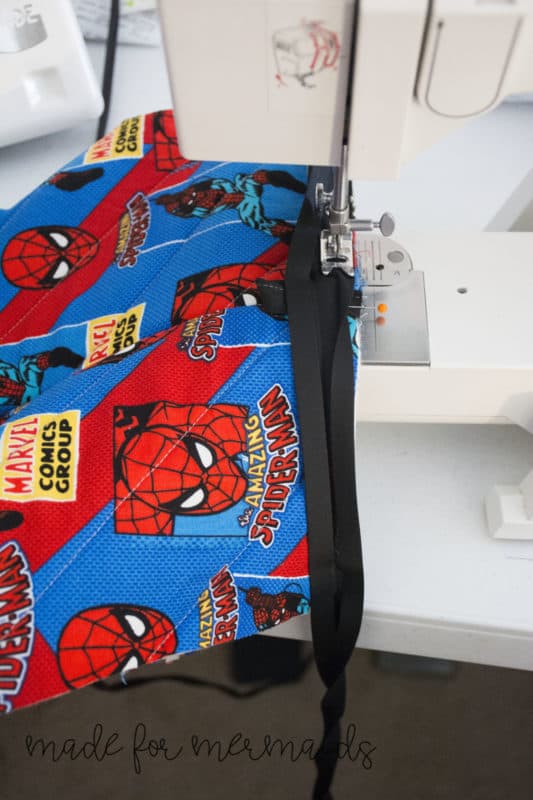
Turn your mitt right side out, and place your binding along the raw edge of the opening of your mitt. Place the shorter folded side, the side you folded all the way into the middle, on the bottom, right sides together. Fold 1/4″-3/8″ over to conceal the raw edge, and pin in place. If you are adding a hanging tab, skip to the end now to find the steps to insert it.

Stitch the binding all the way around your mitt, right in the bottom fold. Go a bit past the folded edge where you started. Trim off the excess binding.
Step 7: FINISHING
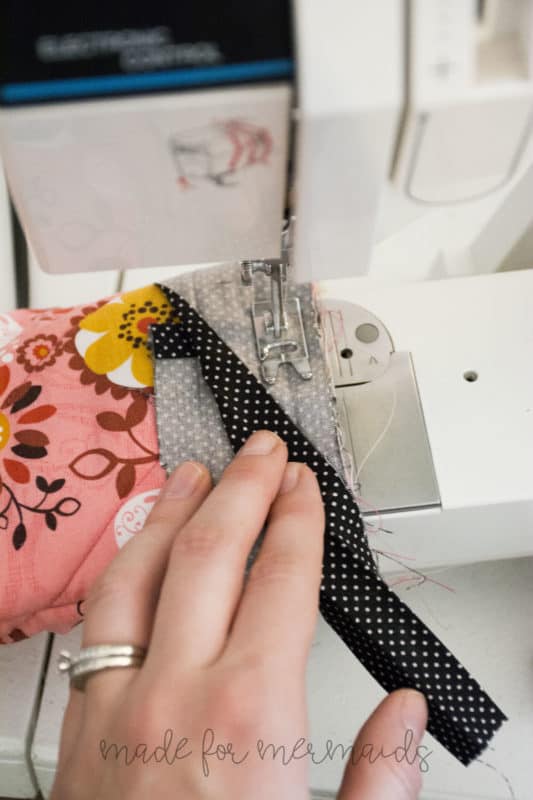
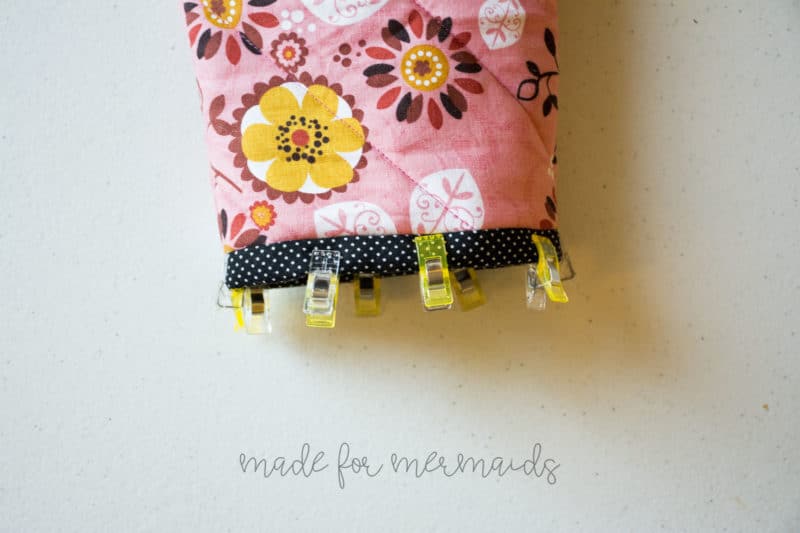
Pull the binding away from the mitt, fold the top fold down, and then fold the binding around the raw edges of the mitt, and pin or clip in place. Now edge stitch around the binding, from the right side. The longer side of the binding that you folded into the mitt makes it easier to catch that edge while you’re stitching.
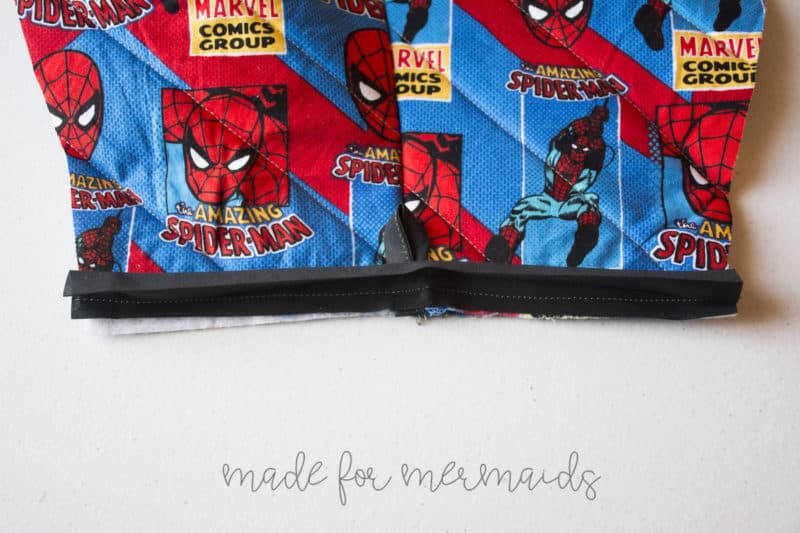
Directions for sewing the binding in flat, which is easier for child and dolly sizes:
Instead of stitching all the way around, just sew several inches up one side. Trim that section you sewed with pinking shears.
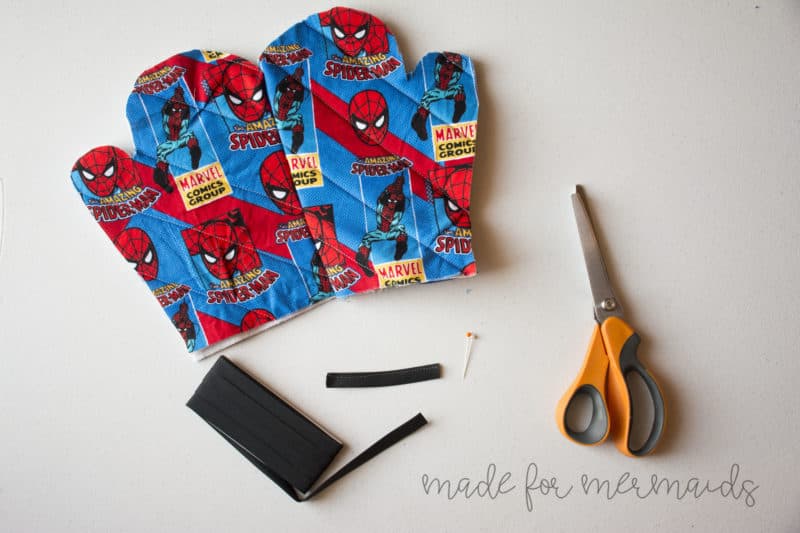
Open your mitt, right side up. To add a hanging tab, cut a piece of your bias or binding 4″ long, and edge stitch it shut. Form it into a loop, and pin it at the side seam, raw edges aligned. Now stitch in the bottom fold of your binding all the way across, your tab will be caught in the seam.
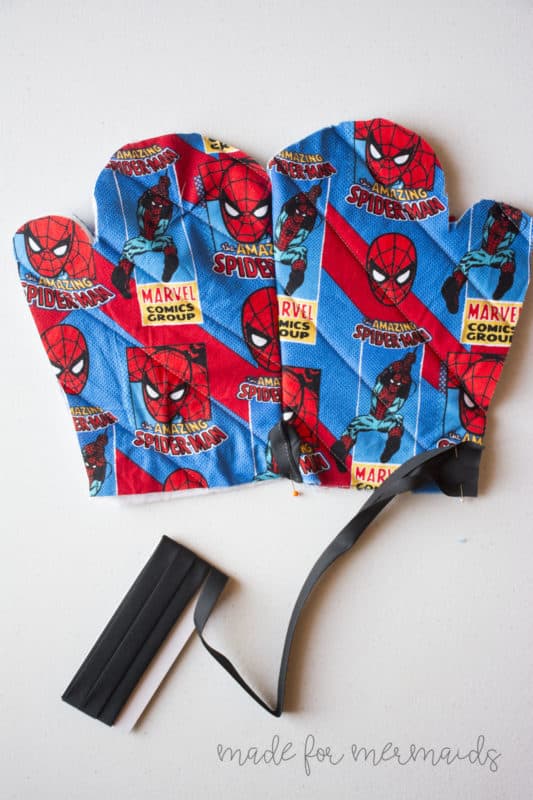
Fold your binding over the raw edge of the mitt, to the inside, and top stitch along the whole bottom edge to secure both sides in place. Jump back to Step 4 to sew the rest of your oven mitt.
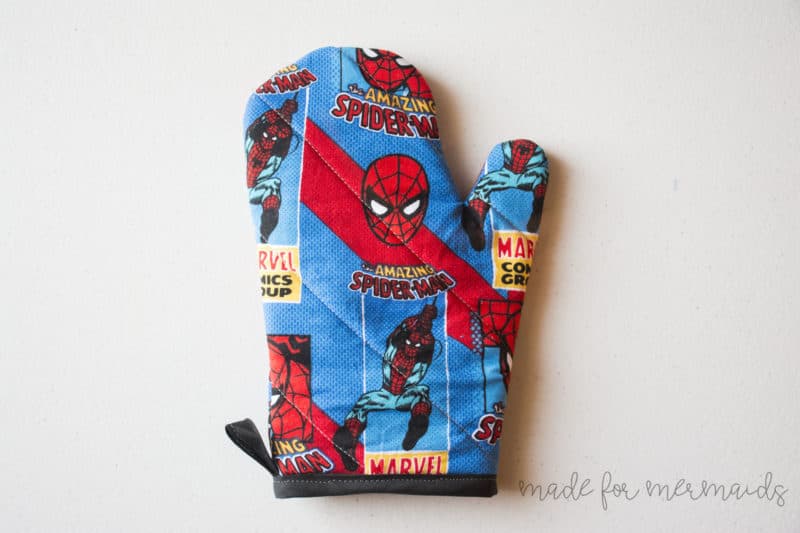
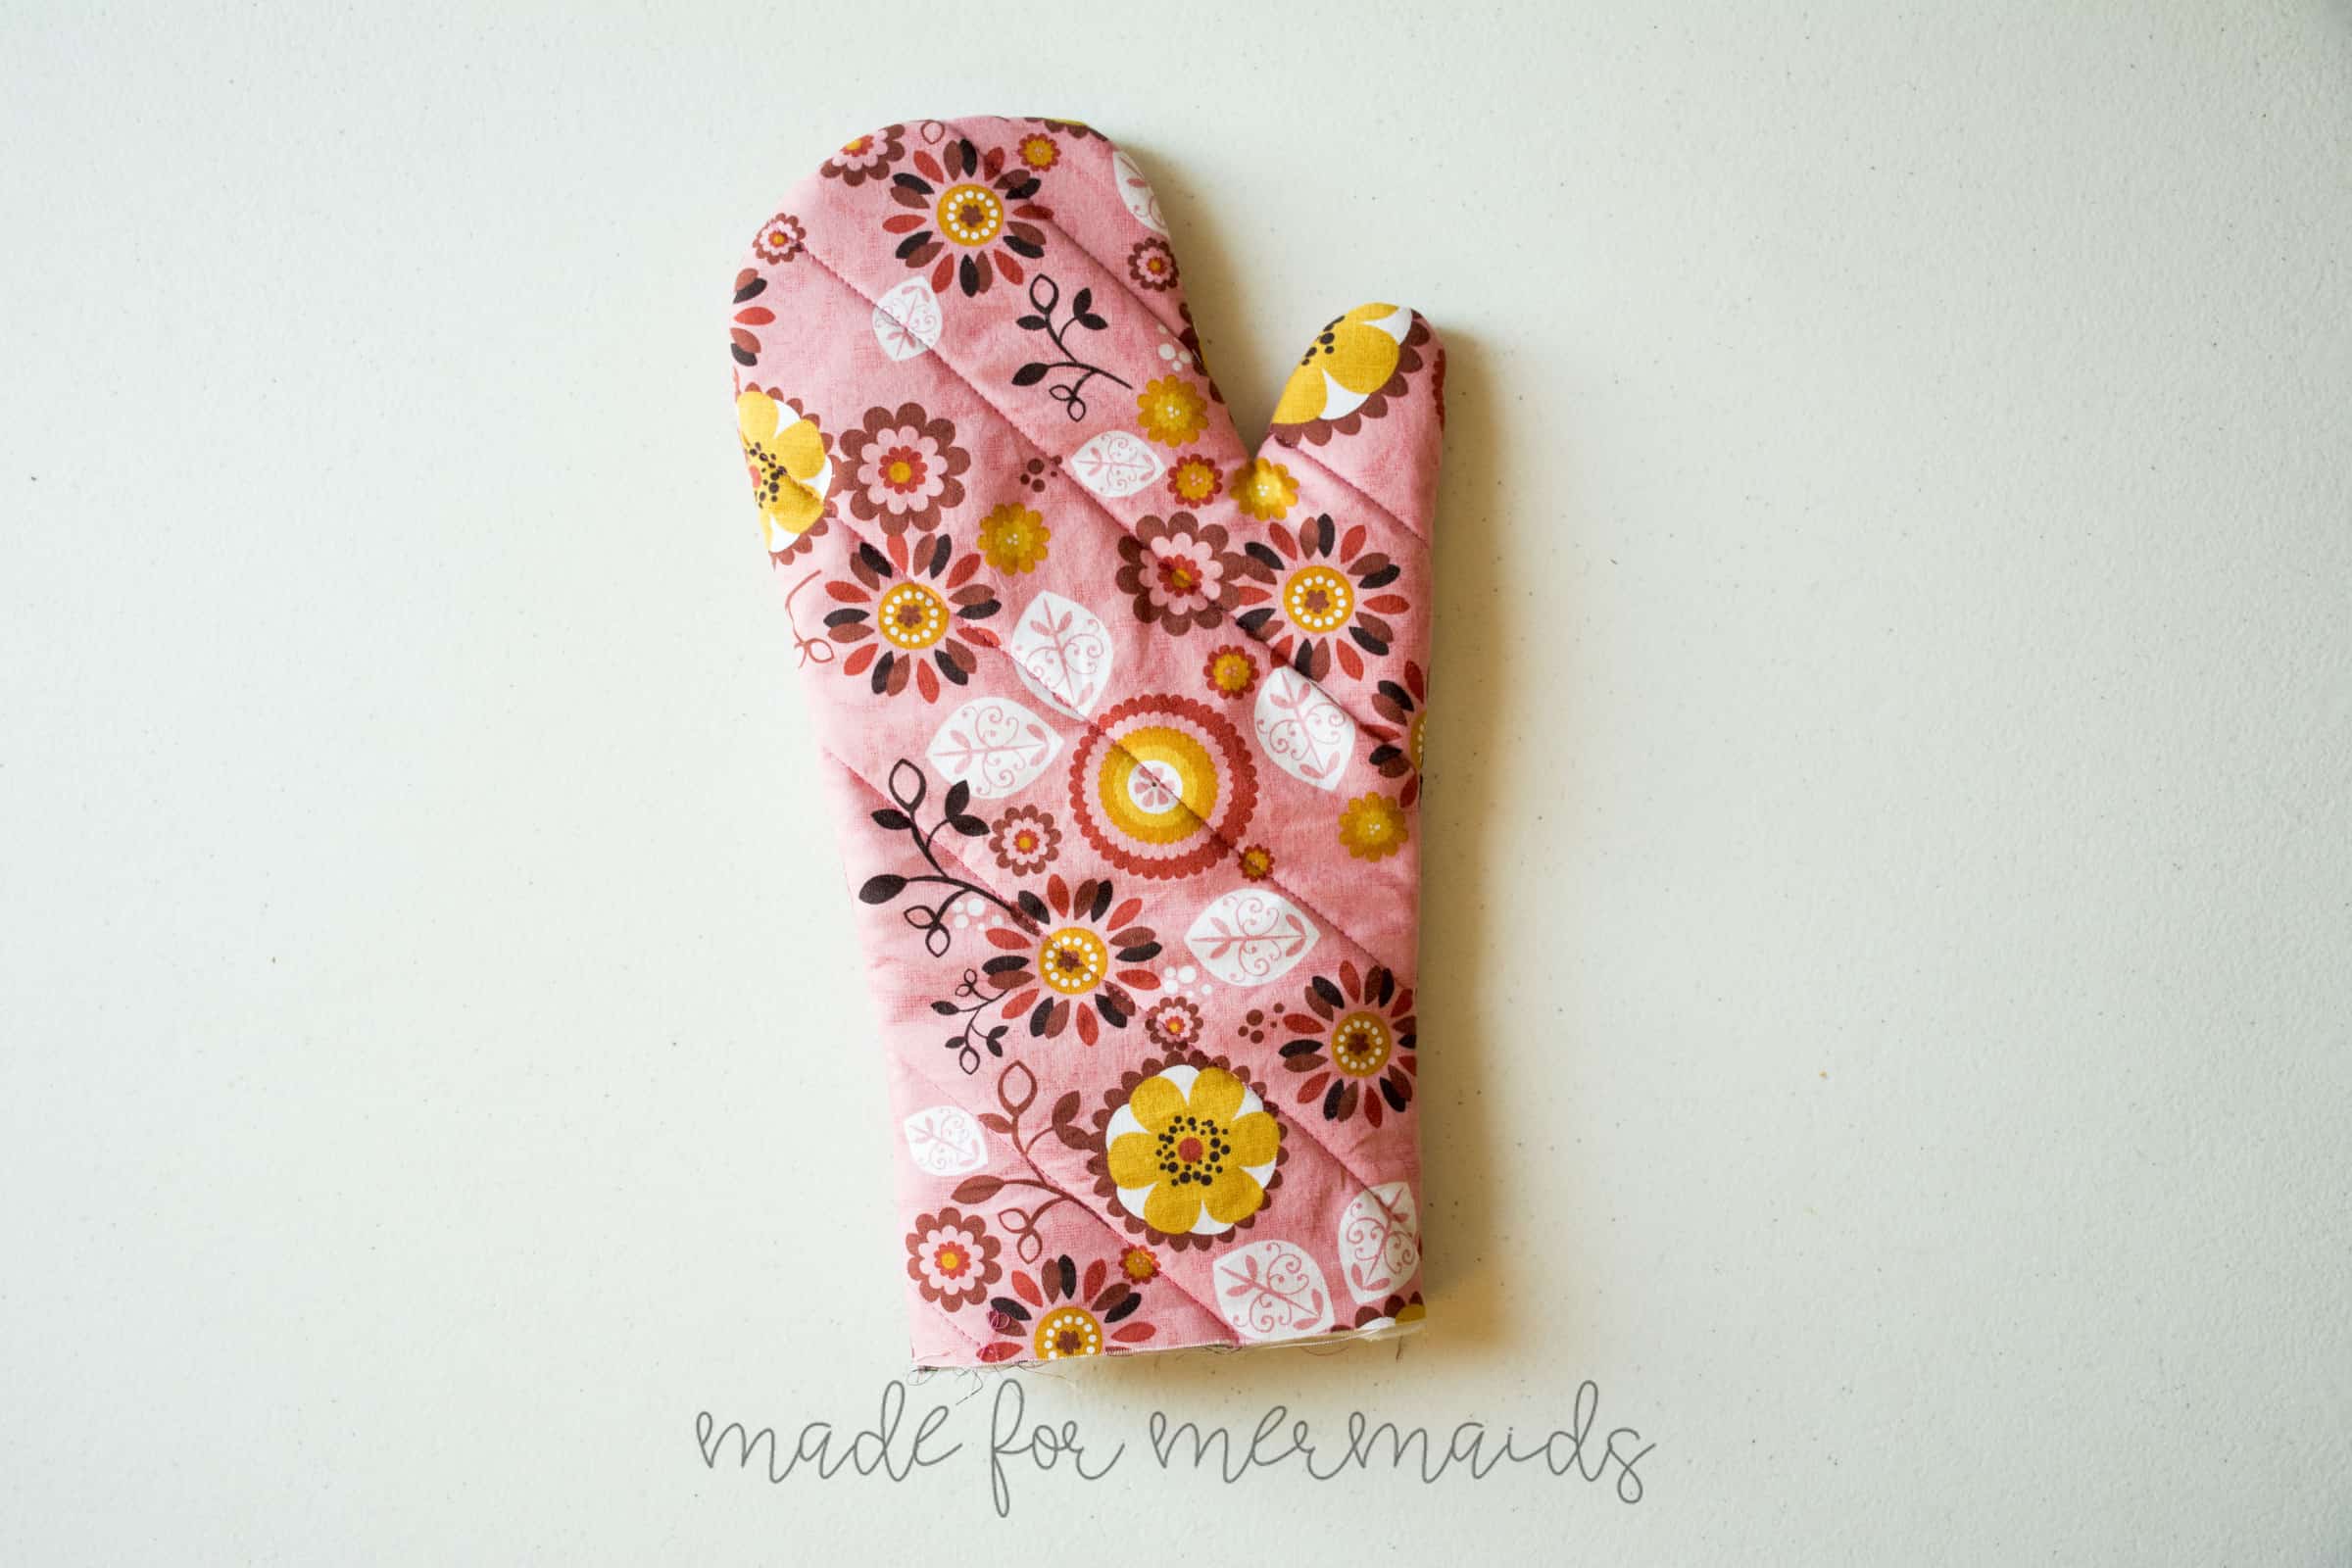
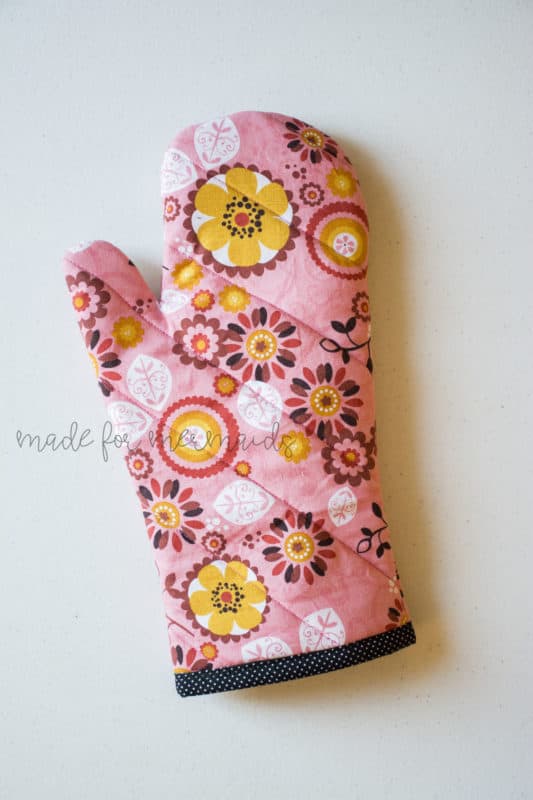
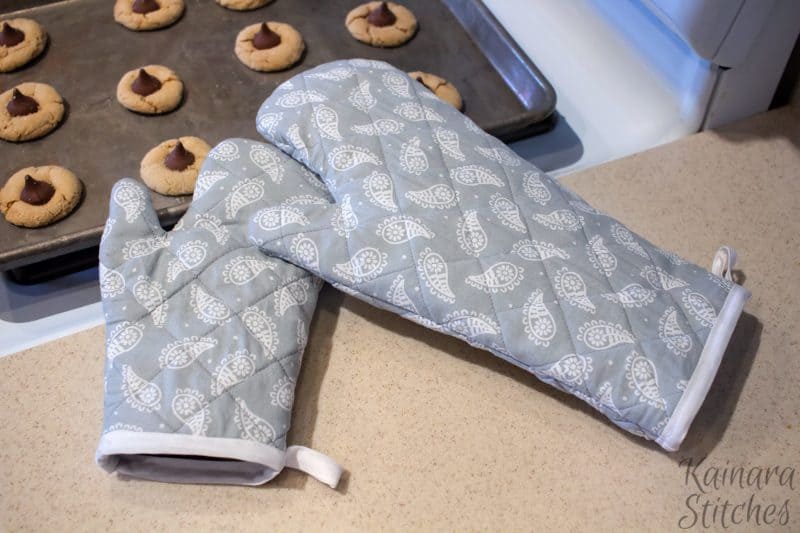
And you’re done!
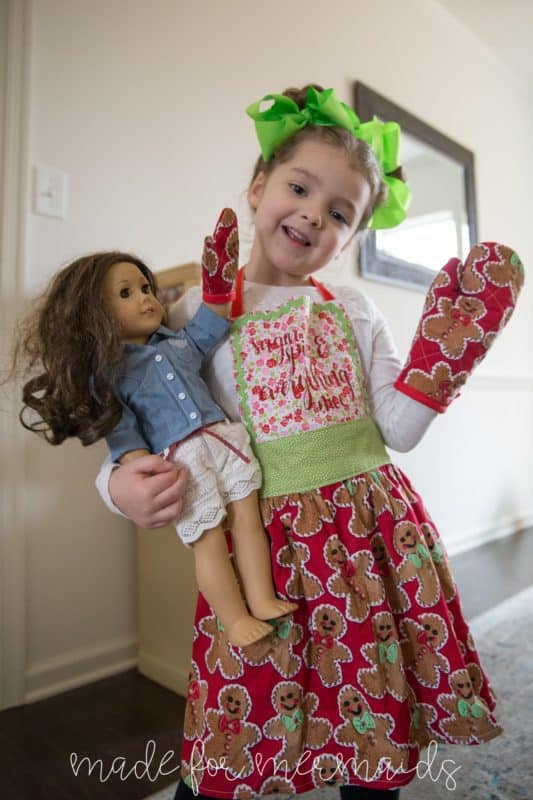
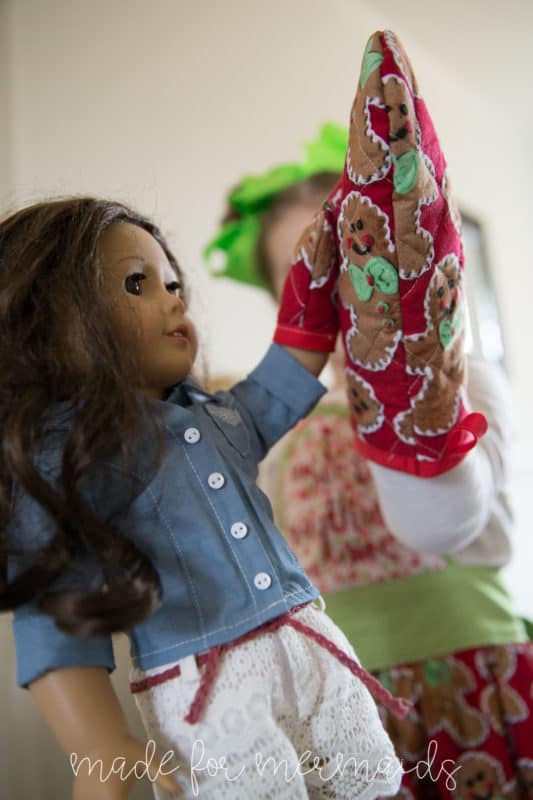
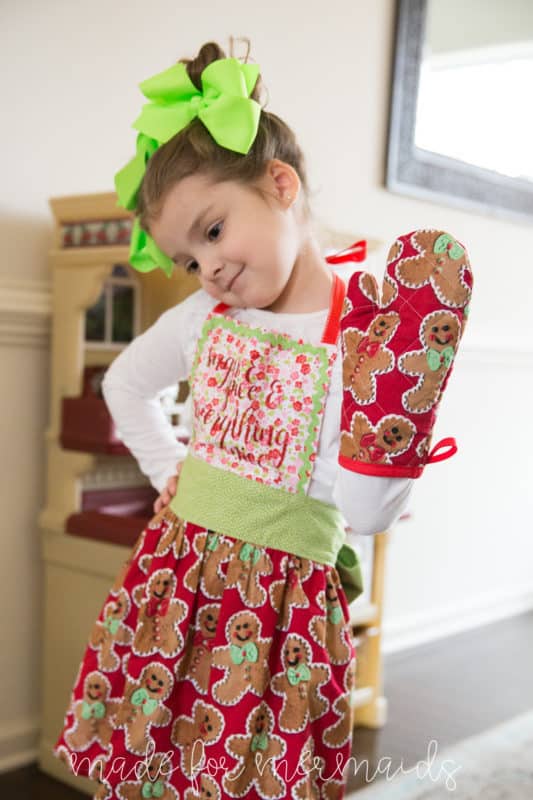
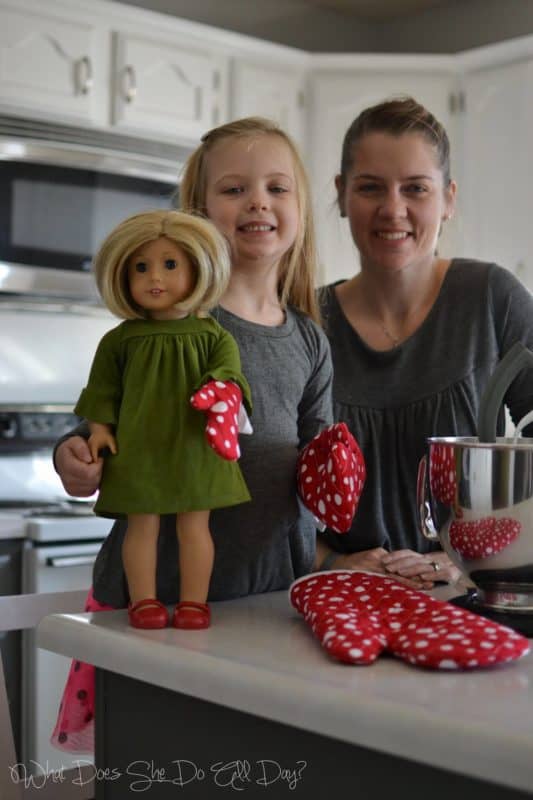
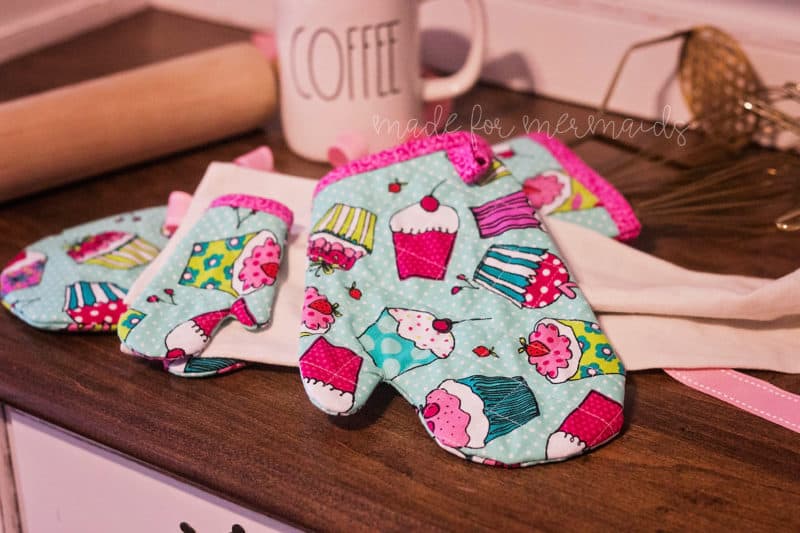
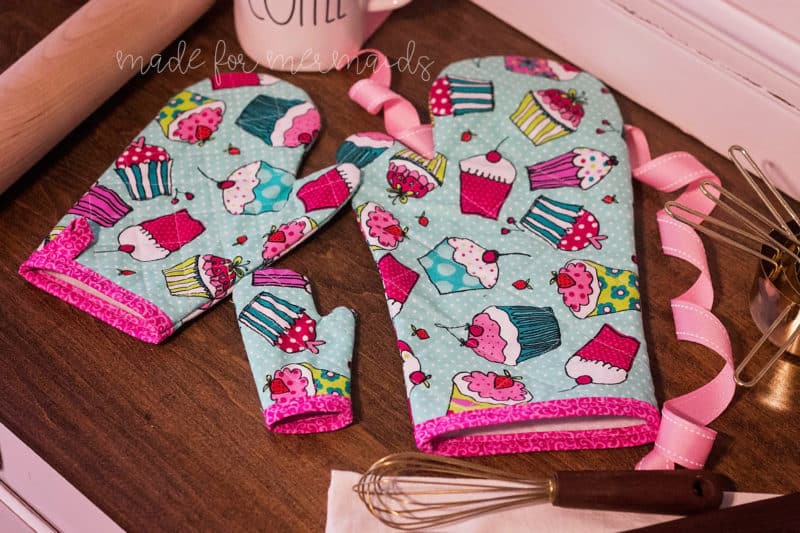
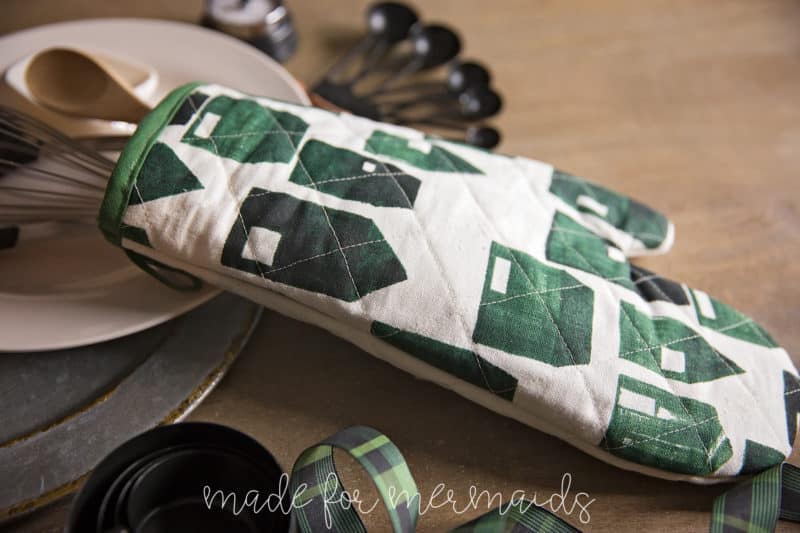
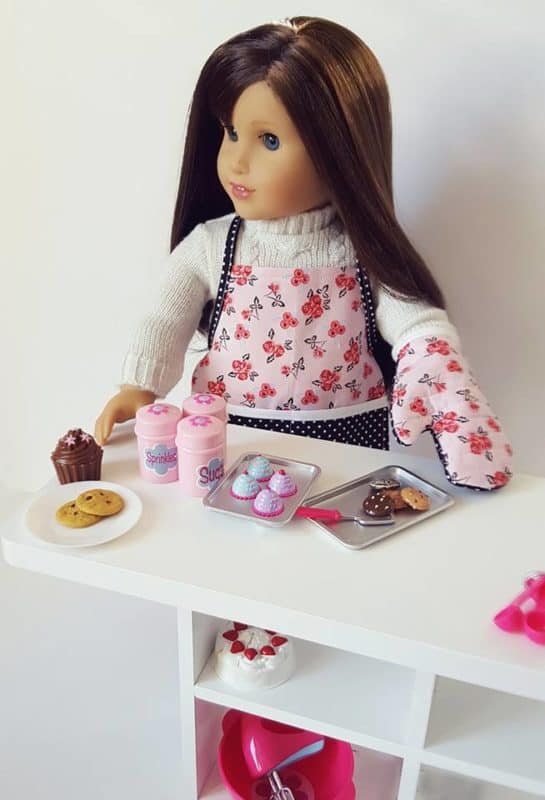
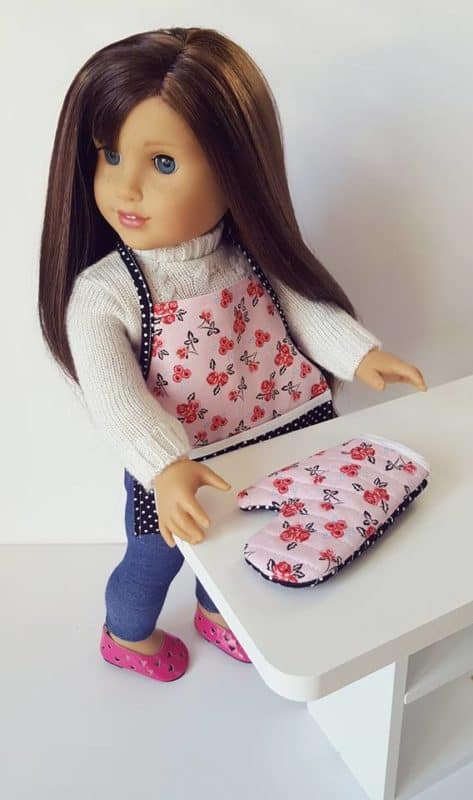
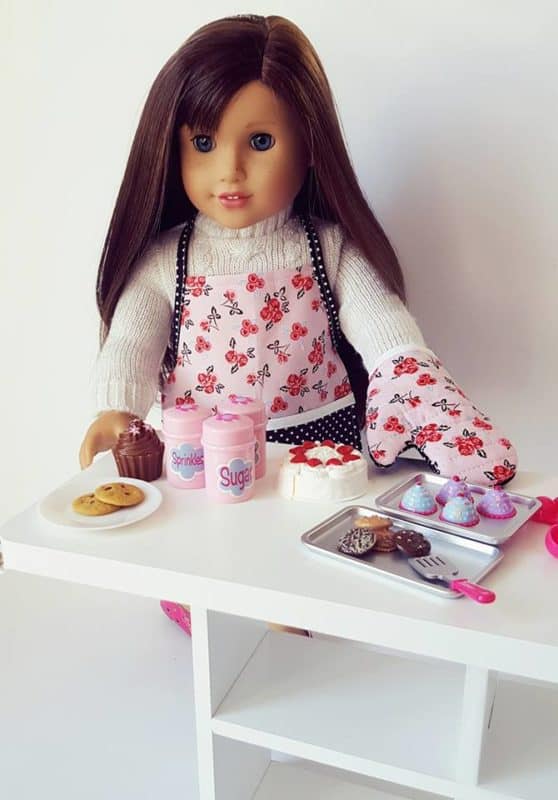
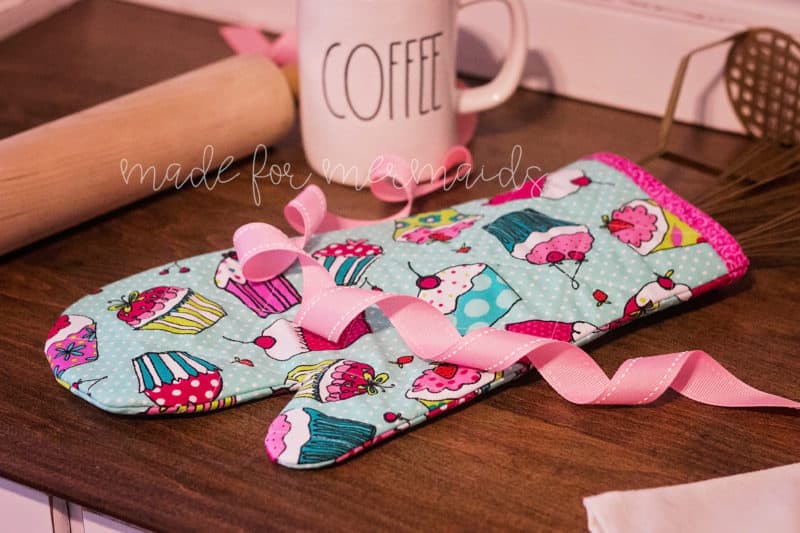
Check out these talented testers’ photos, and be sure to join the Made for Mermaids Facebook group to see what freebies are coming next!

Made for Mermaids’ 12 Days of Christmas Freebies
DECEMBER 1-12, 2017
DAY 1 – BARNACLE BUDDIES
DAY 2 – HAIR SCRUNCHIES
DAY 3 – TREE GARLAND
DAY 4 – SAILOR BOWS
DAY 5 – MASON JAR PIN CUSHION
DAY 6 – HAND WARMERS
Leave a Reply