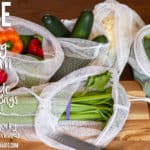

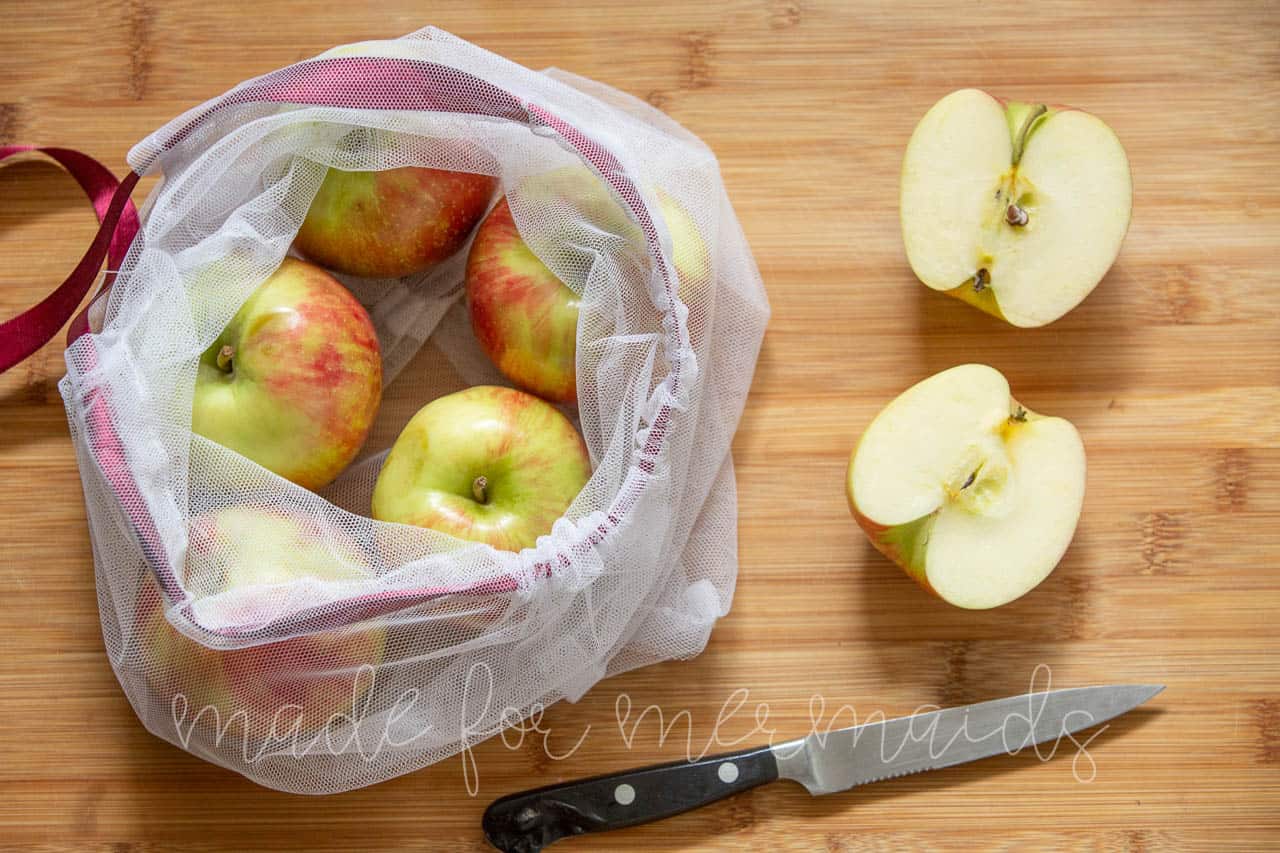
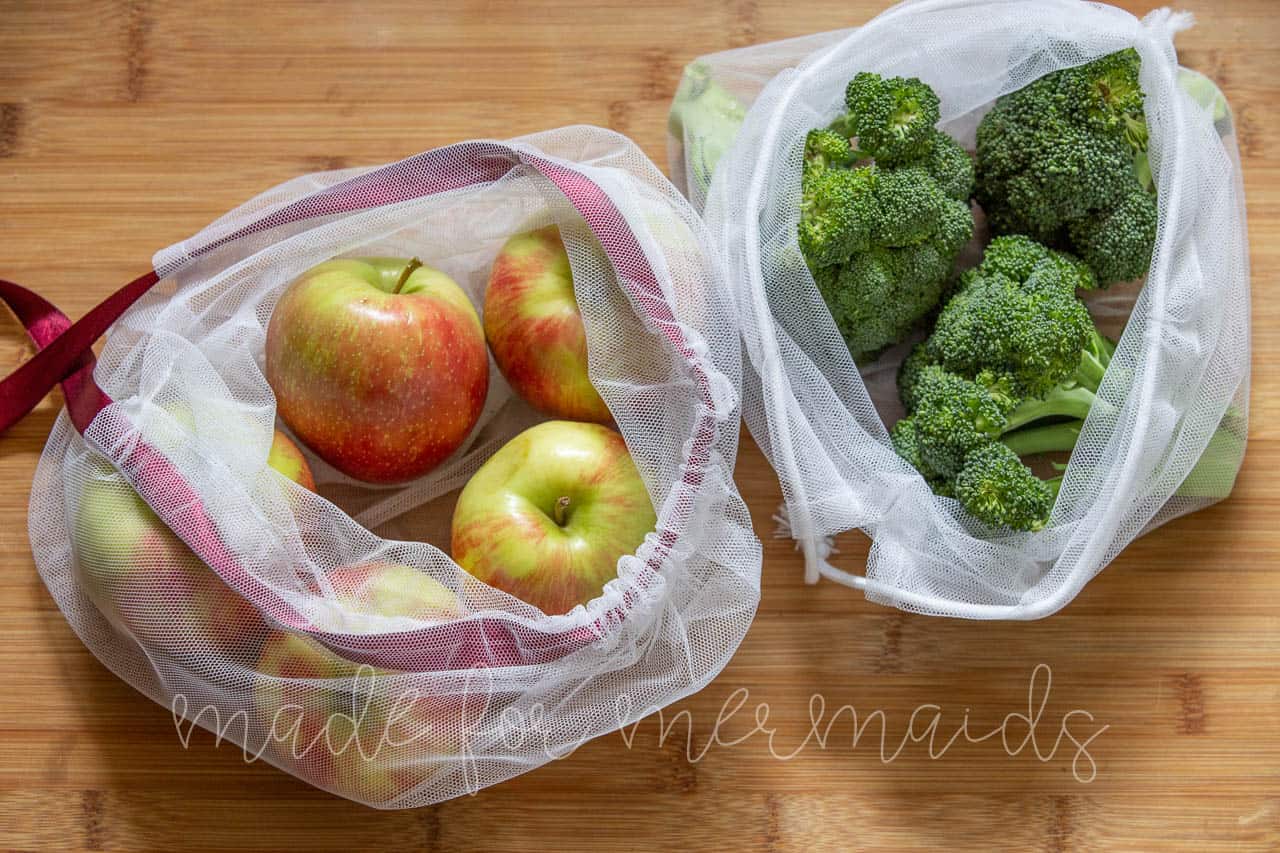
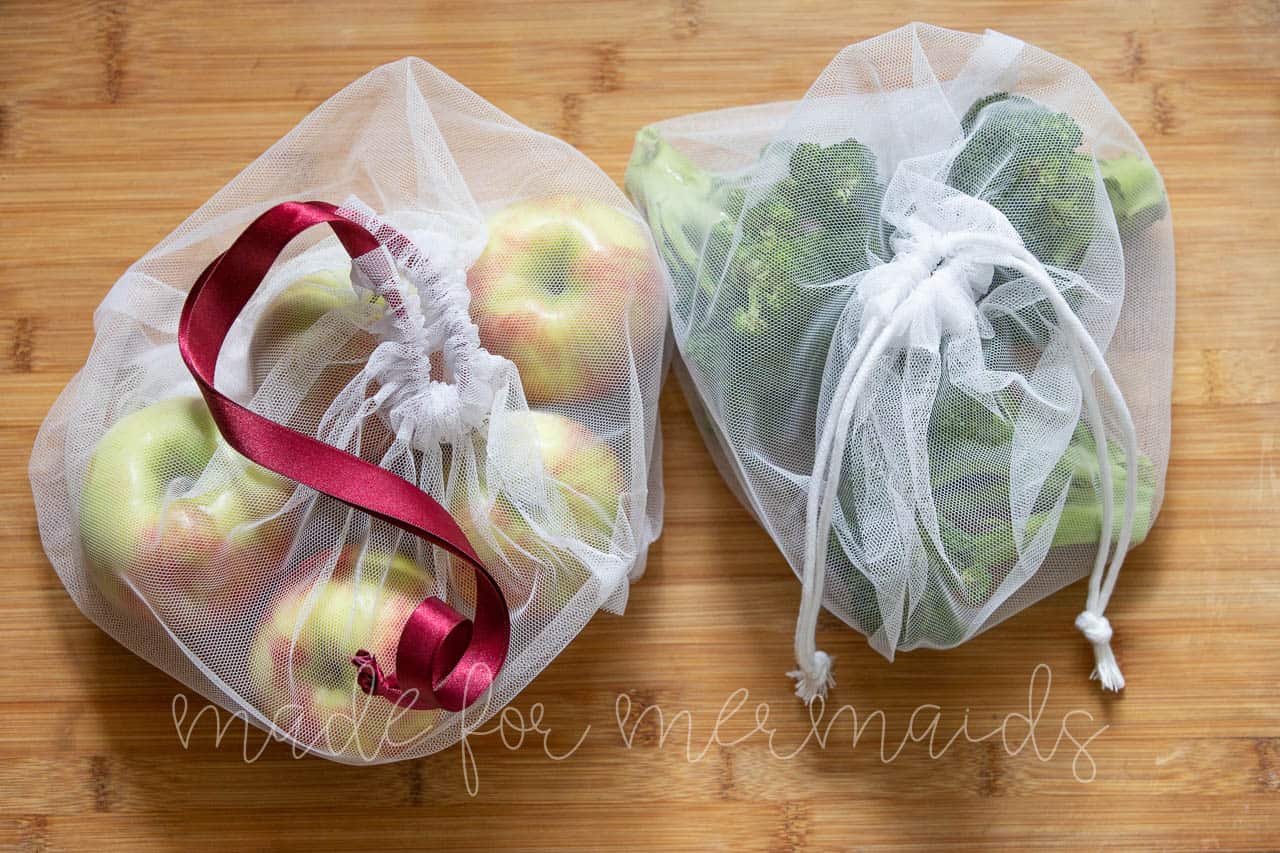
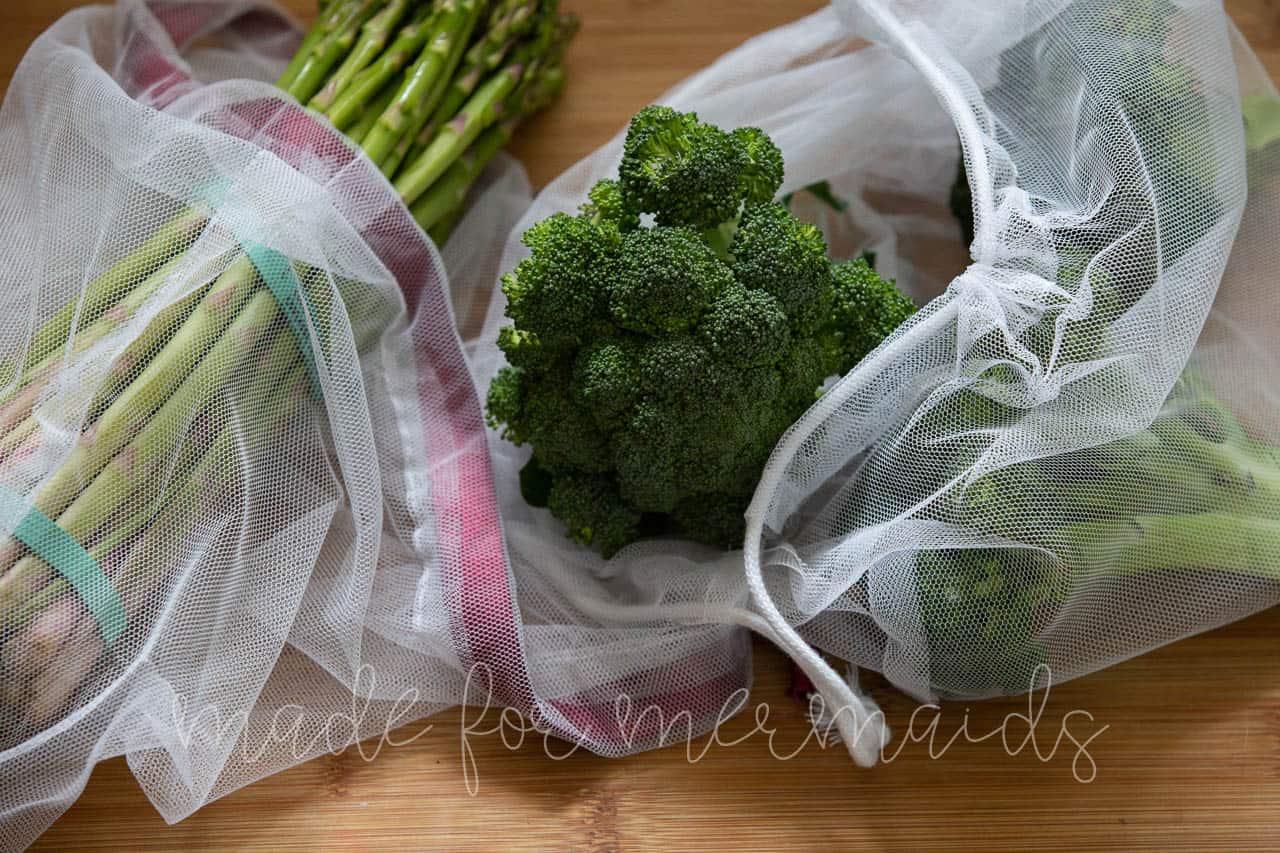
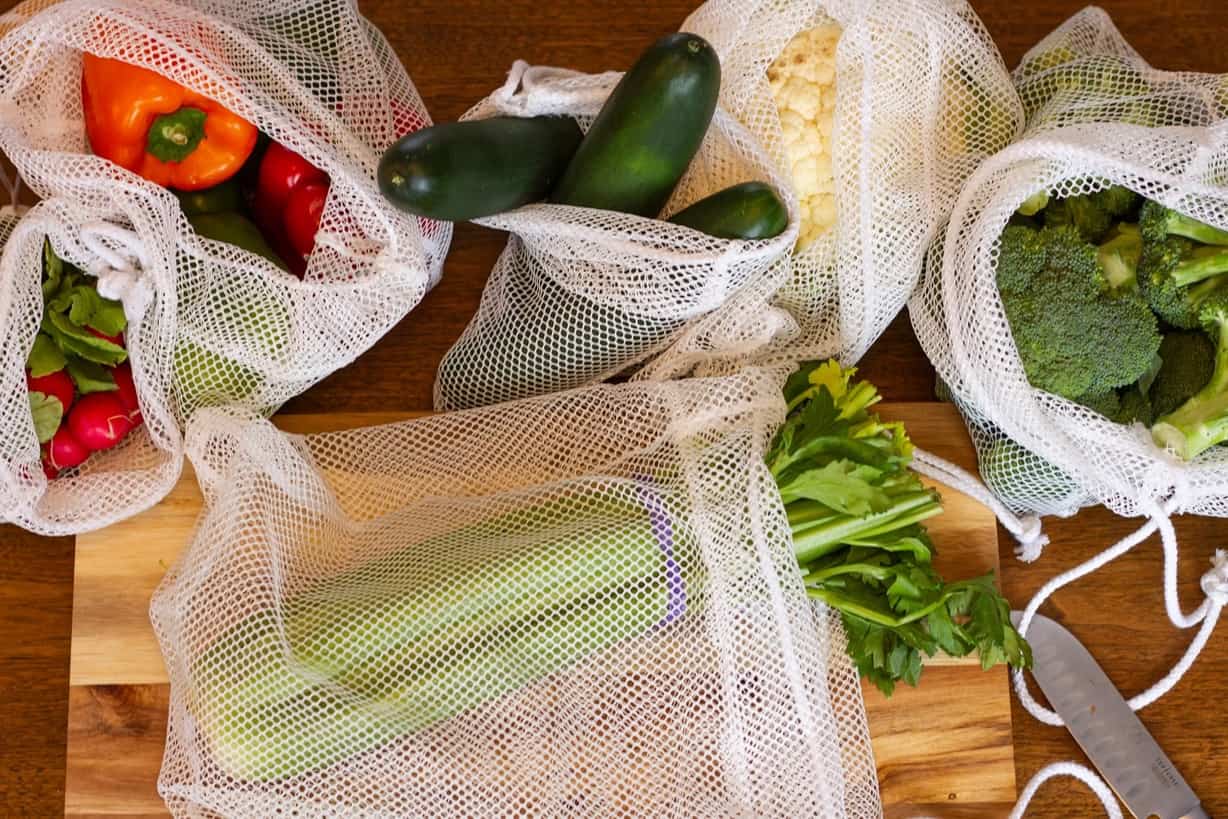
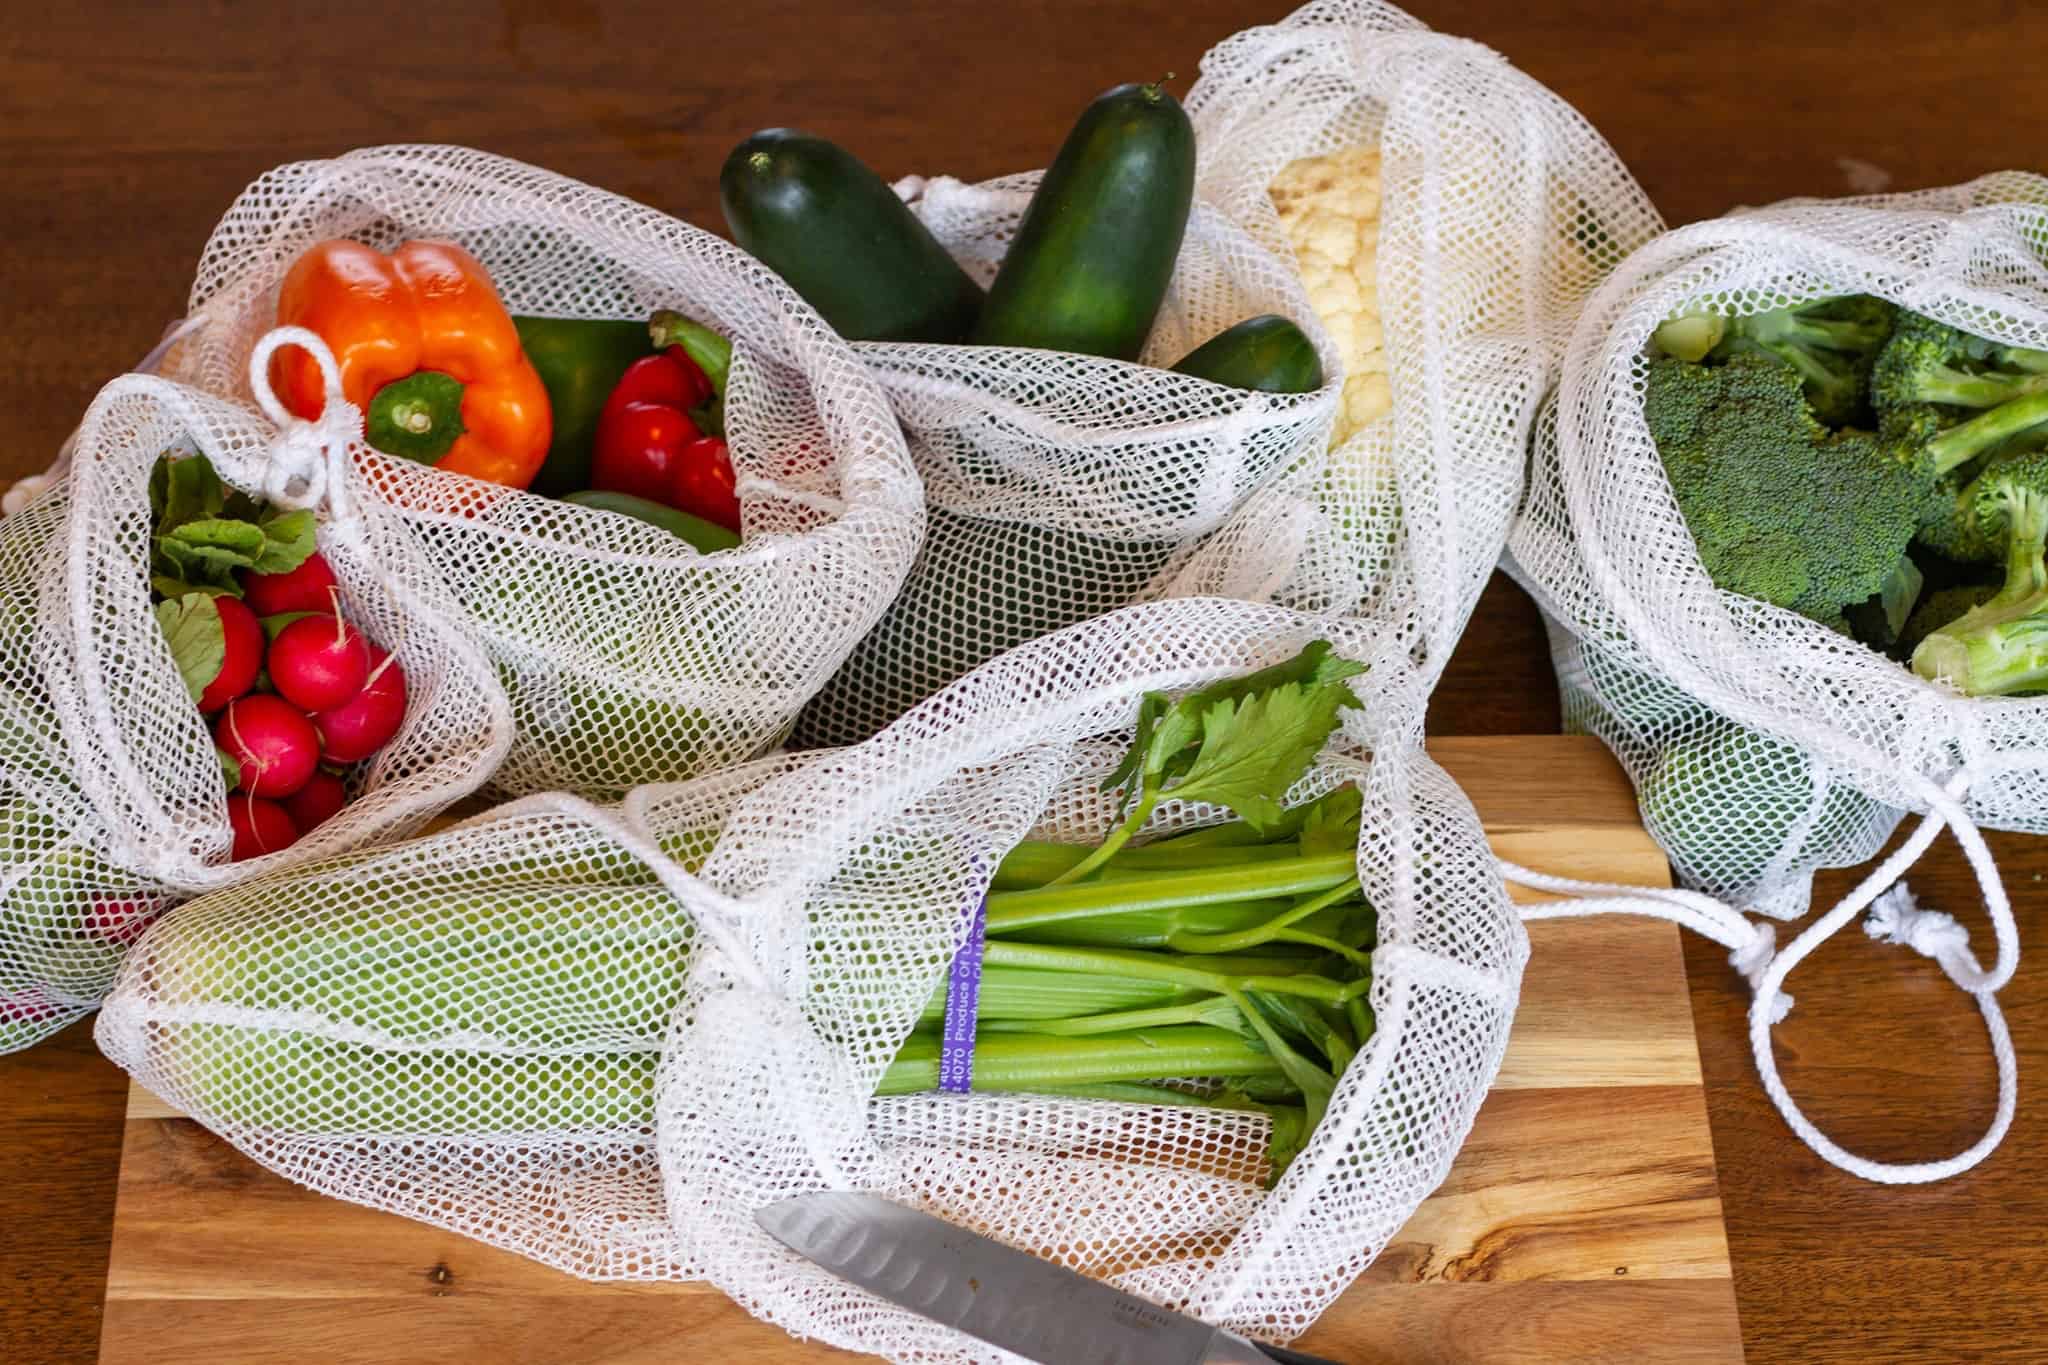
On the 11th day of Christmas, Made for Mermaids gave to me….. a reusable produce bag in 3 different sizes!! They are a quick and easy project that are perfect for those looking to reduce their use of disposable plastic bags from the grocery store.

SUPPLIES:
- 1/2 yard of lightweight sheer fabric, such as:
-Netting. I liked mosquito netting or mesh lining from joanns. While a netting is slightly harder to work with, you can easily see the produce inside.
-Voile, or muslin fabric. Both are lightweight, which will help when the produce is being weighed, and semi-sheer. - A piece of cording, or 3/4″ width or smaller Ribbon or twill tape.
-Small Bag – 36″
-Medium Bag – 38″
-Large Bag – 40″ - Optional – cord stop
- Marking tool
- Sewing basics – thread, scissors, etc.
LET’S GET STARTED!
1/2″ seam allowances included.
Step 1: PREPPING
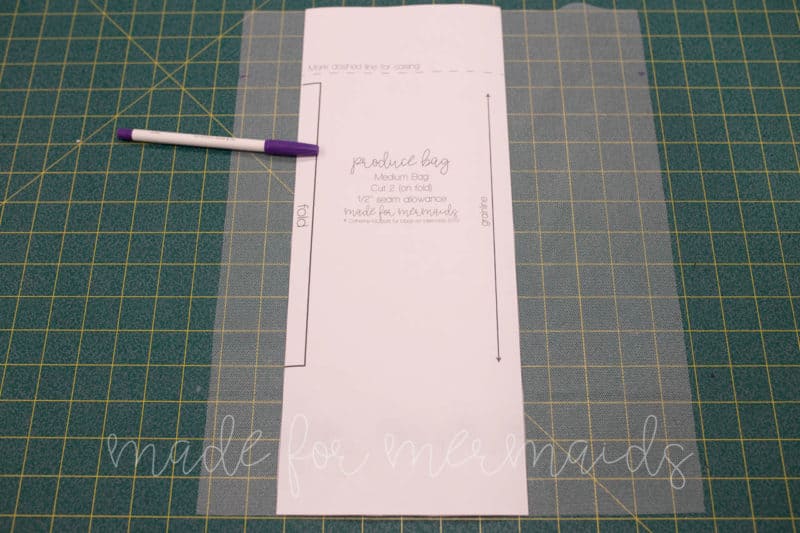
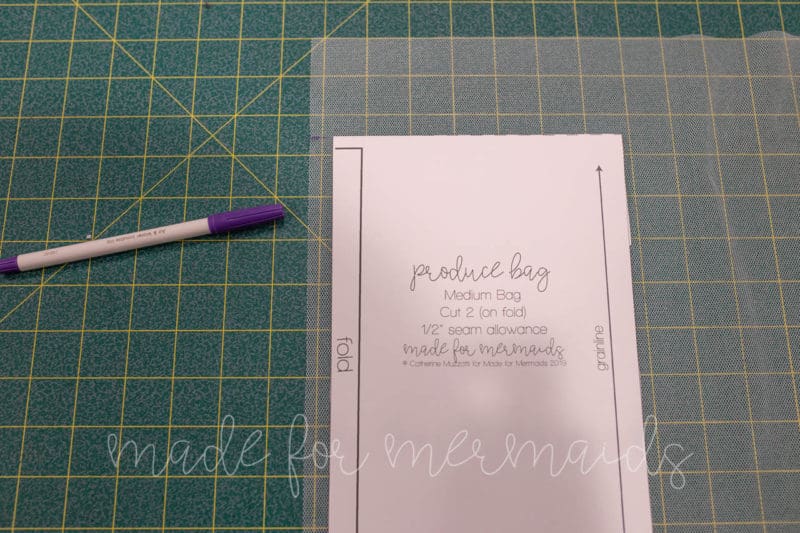
Go grab the pattern here! The pattern is 100% free, but you do need to add it to your cart and checkout. Then, it will always be available to download from your account. The pattern is a no trim pattern; if you need help putting the pattern together, pop over to the faqs and troubleshooting page or ask in our Facebook group .

Step 2:
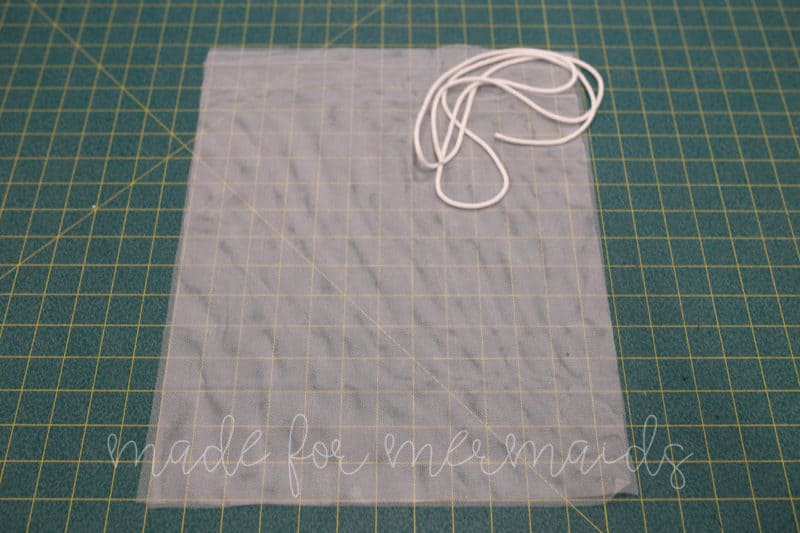
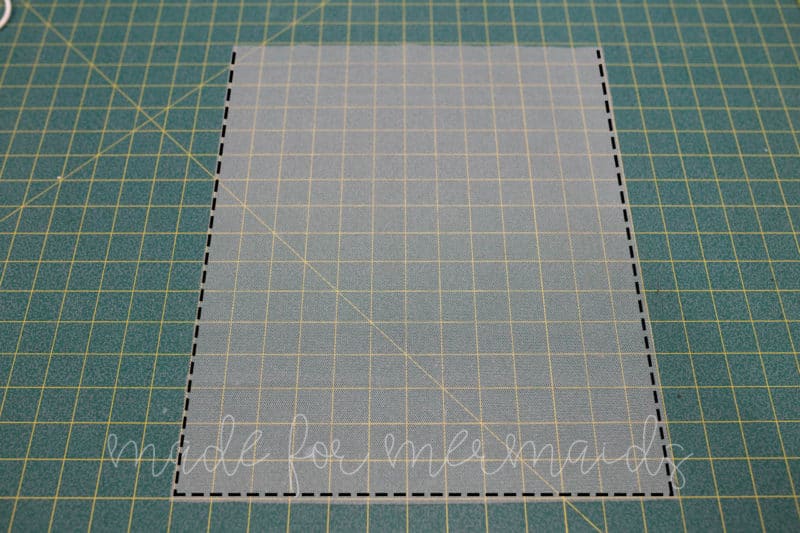
Using the pattern piece, cut out two bag pieces on the fold.
Step 3:
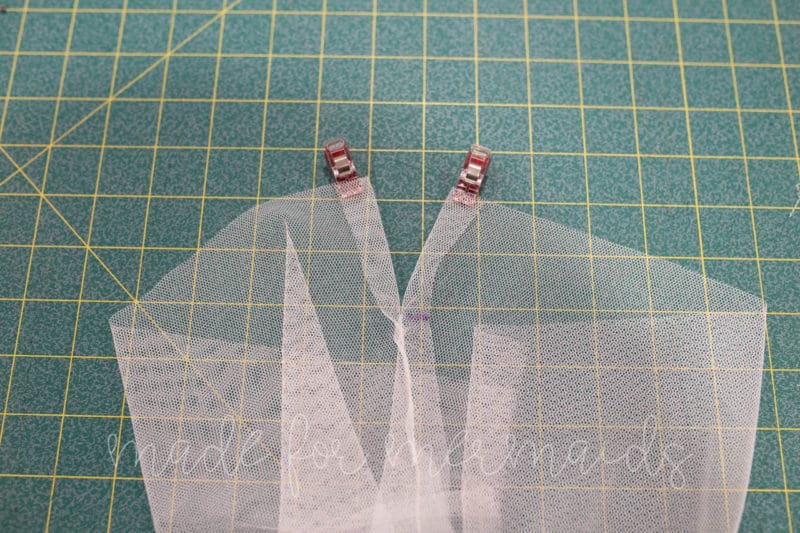
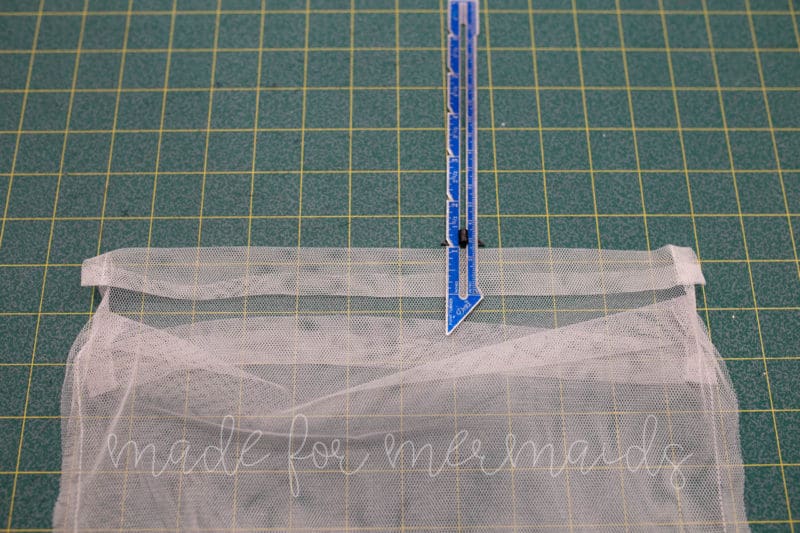
Using the dashed line on the pattern piece, place a mark at one or both side seams. Decide is you plan on making a single-sided drawstring bag or double-sided drawstring bag. Mark on one side seam only if would like the drawstring pull on one side only, or mark on both sides if you want the drawstring pull on both sides. This mark is located 2.5″ below the top edge of the produce bag.
Step 4:
Optional if using a voile or muslin fabric that will fray – finish the side seams and bottom edge of the produce bag pattern pieces with a serger or overlocker.
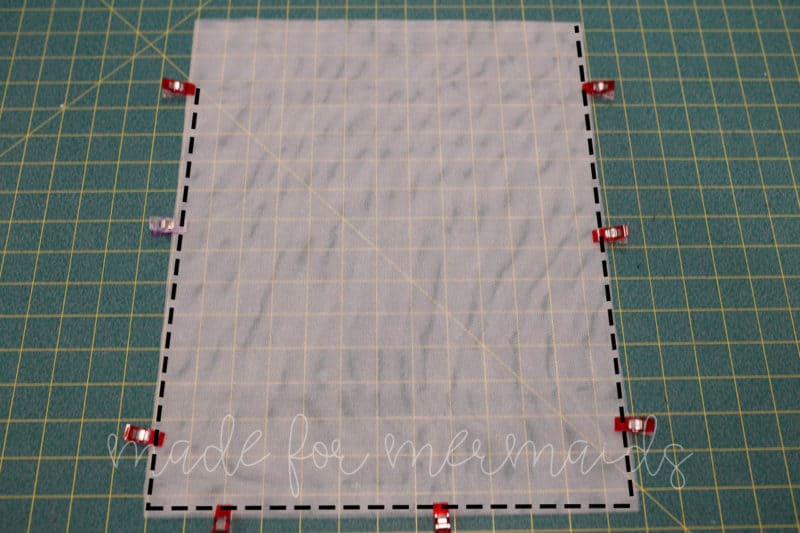
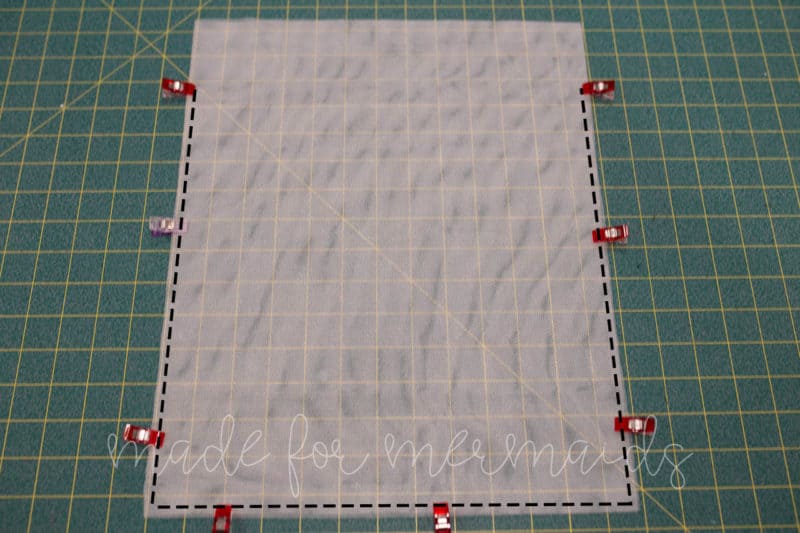
Step 5:
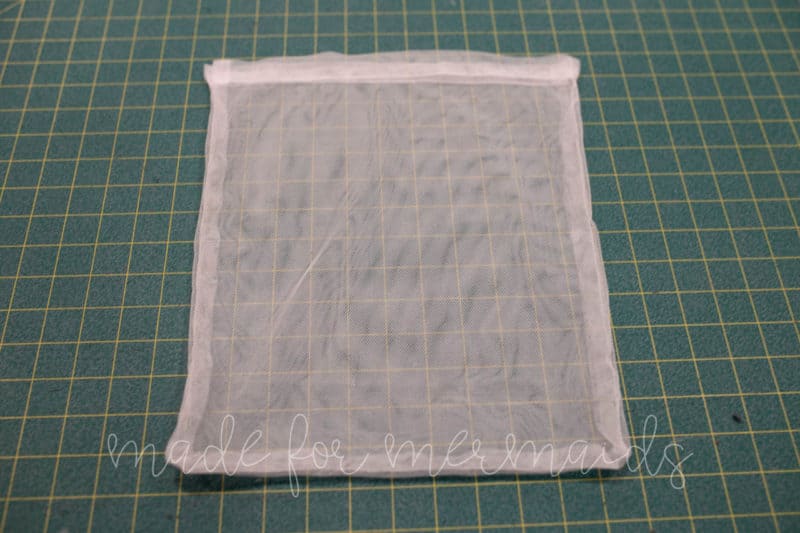
Place the two sides of the produce bags right sides together. Pin together along the sides and bottom. Starting at the marked point, sew down along the side seams and bottom seam. If making the one-sided drawstring option, sew from the marked point on ONE SIDE ONLY. On the opposite side seam, sew along the entire side seam.
-

- one-sided drawstring option.
-
- double-sided drawstring option
Trim the bottom corners of the bag to help reduce bulk at the corners.
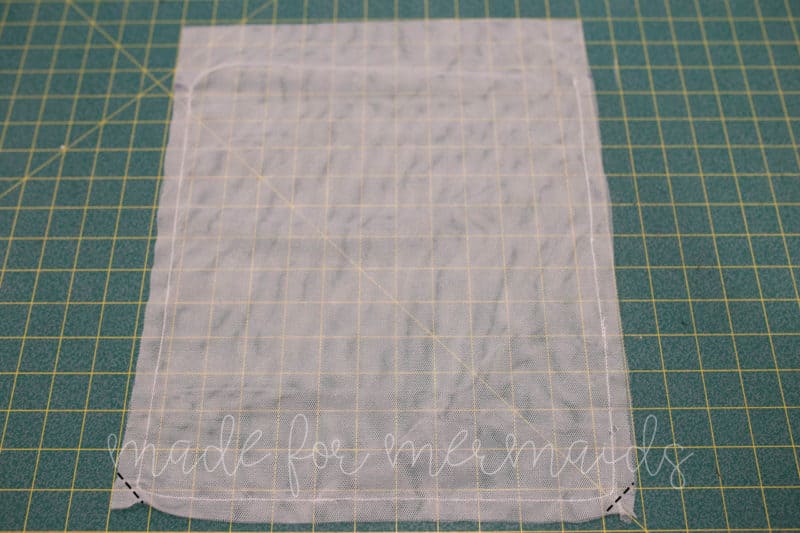
Step 6:
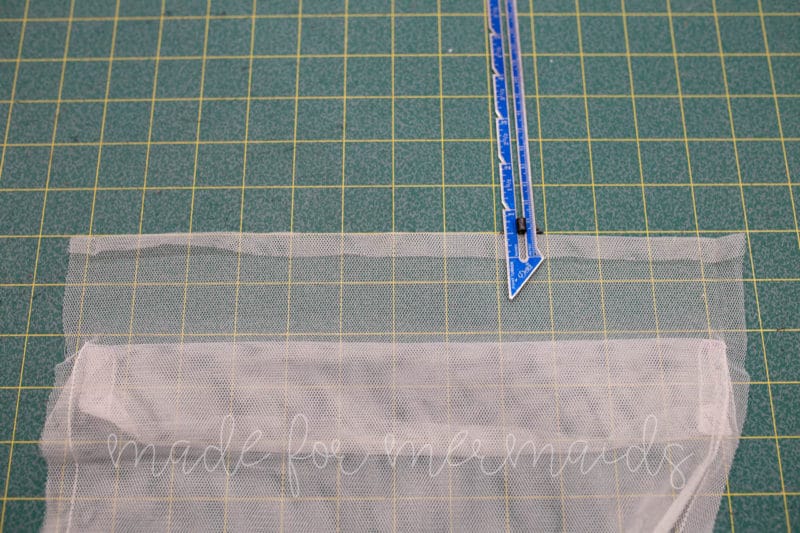
Carefully press the seam allowances along the unsewn portion of the side seam 1/2″ towards the wrong side. If using a netting, make sure to use a pressing cloth or to use low heat on your iron. Repeat on the other side if making the double drawstring option.
Unfold the side seam the was just pressed. Fold the top edge of 1/2″ of one side towards wrong side and press. Repeat on the other side.
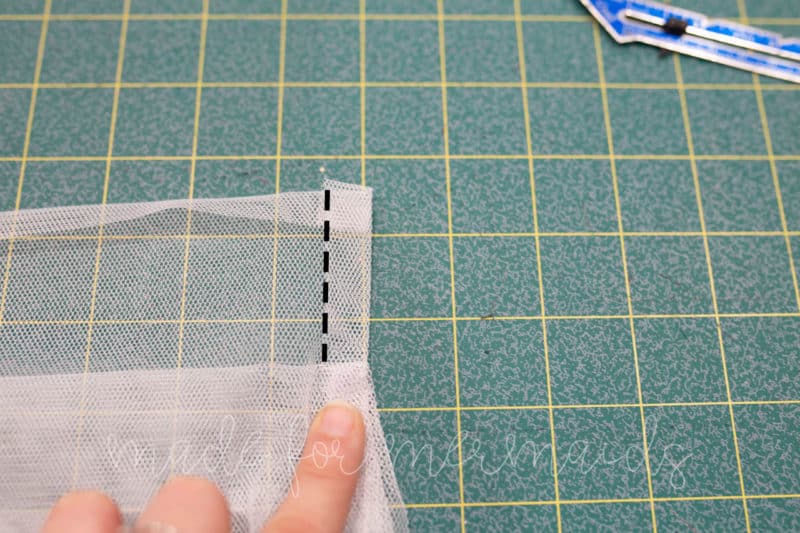
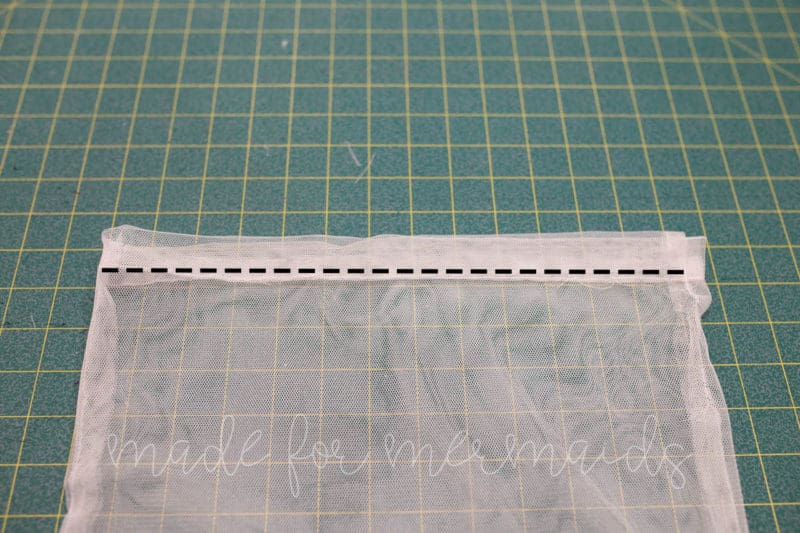
Re-press the side seams that were previously pressed. Edgestitch along the side seam from the top of the produce bag to the marked point. Repeat for all open sides.
Step 7:
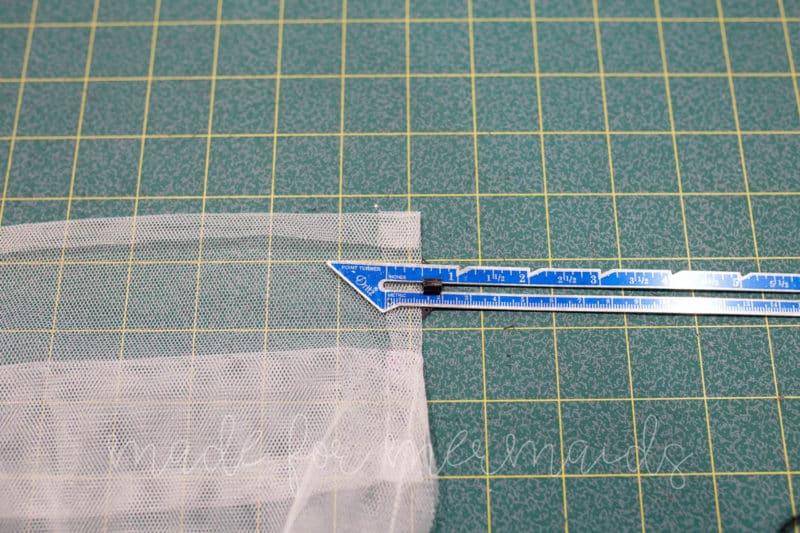
Fold the top edge down again 1″ towards wrong side.
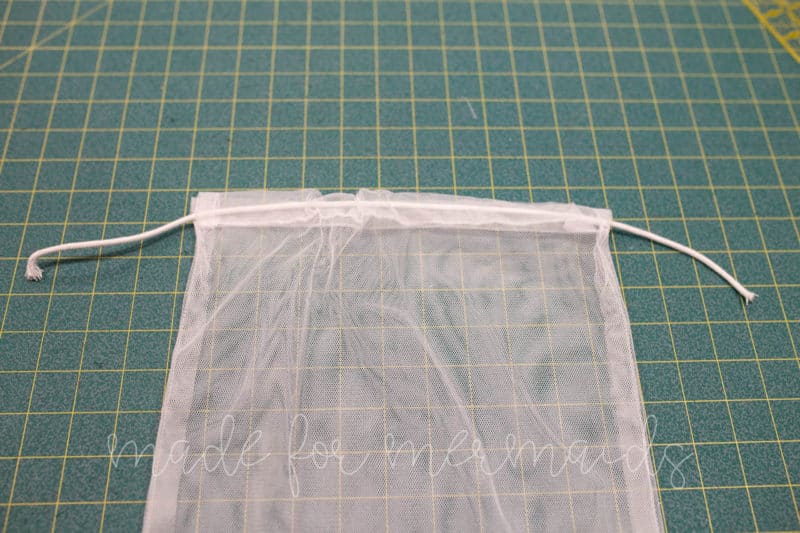
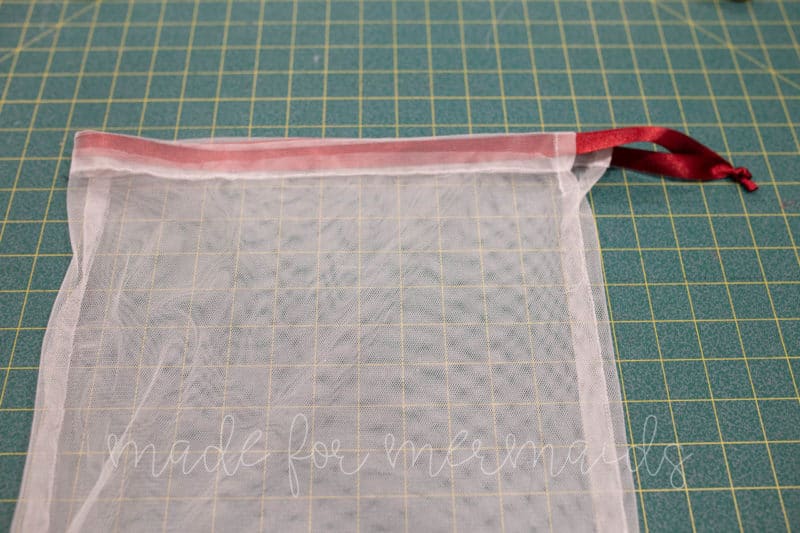
Turn the bag right side out. Edgestitch along the bottom edge of the casing closed
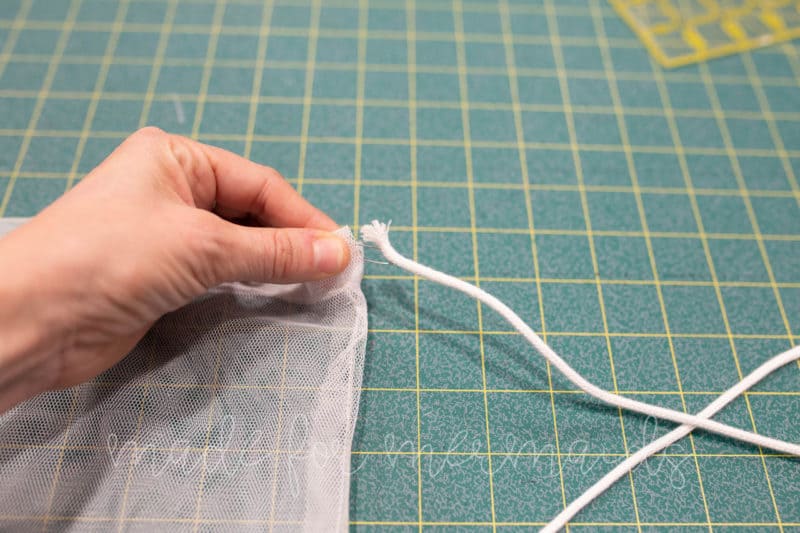
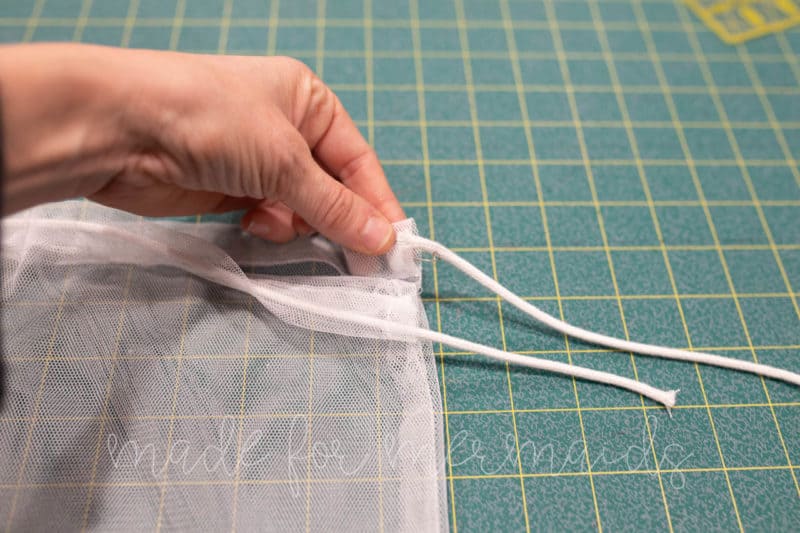
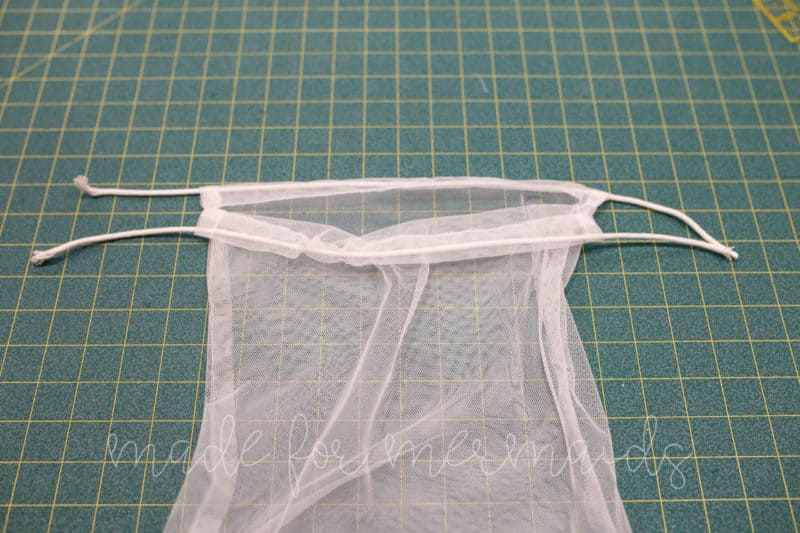
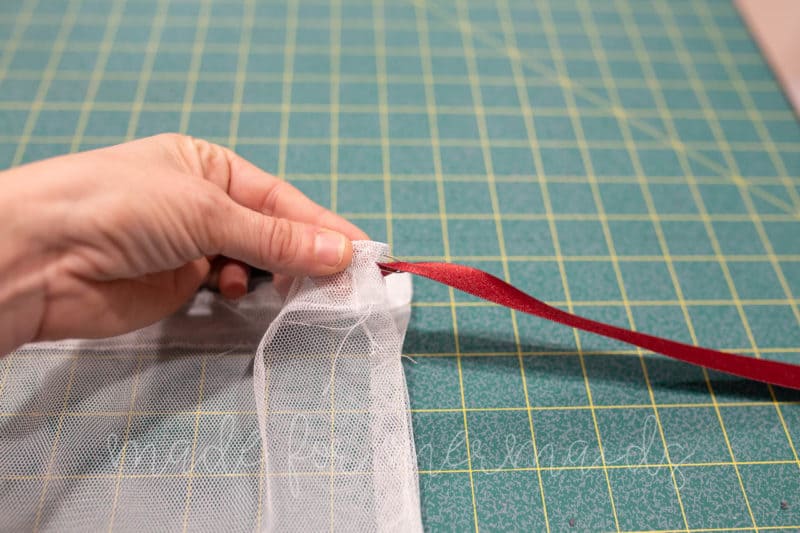
If making the double-sided drawstring option, cut the piece of cording or ribbon in half. Using a safety pin, thread the cording or ribbon through the casing(s).
DOUBLE-SIDED CASING OPTION:
SINGLE-SIDED CASING OPTION:
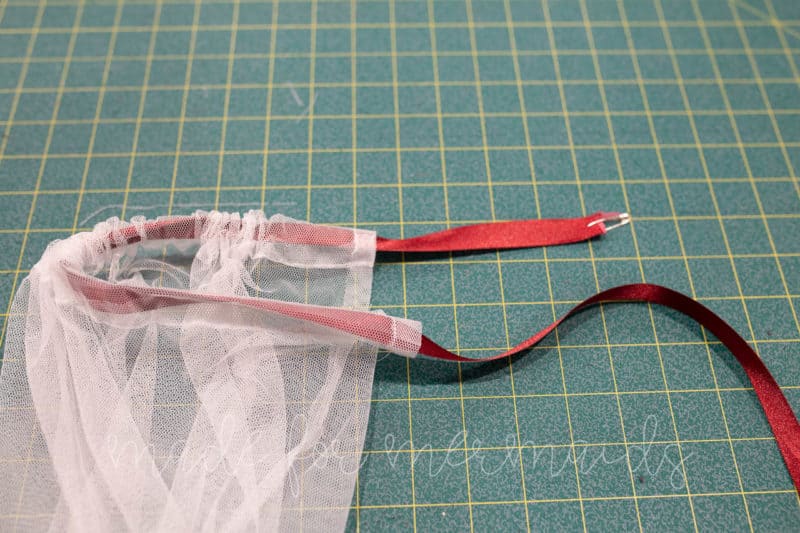
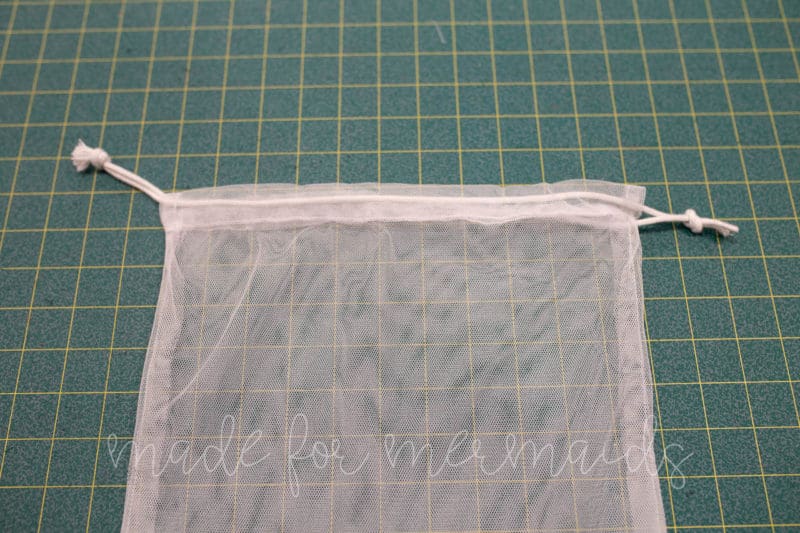
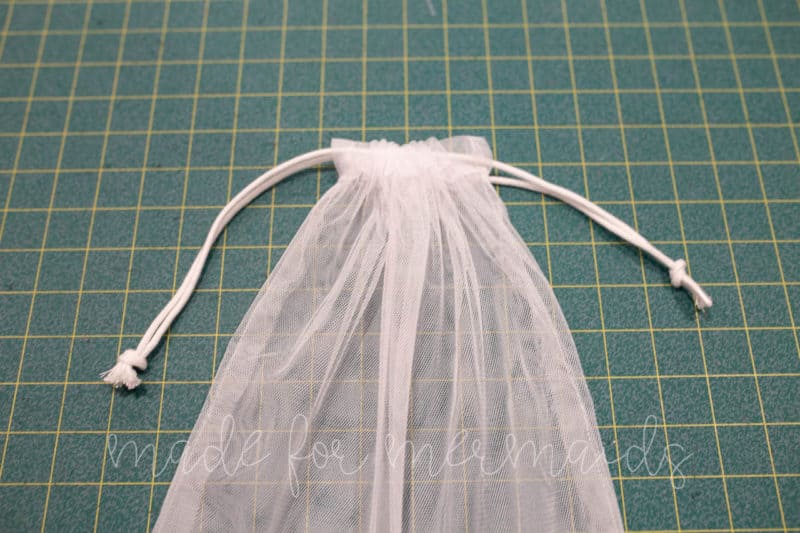
Knot the ends of the cording or ribbon together. If using a cord stop, attach the cord stop prior to knotting the ends of the cording. Follow the instructions on the cord stop package for how to attach.
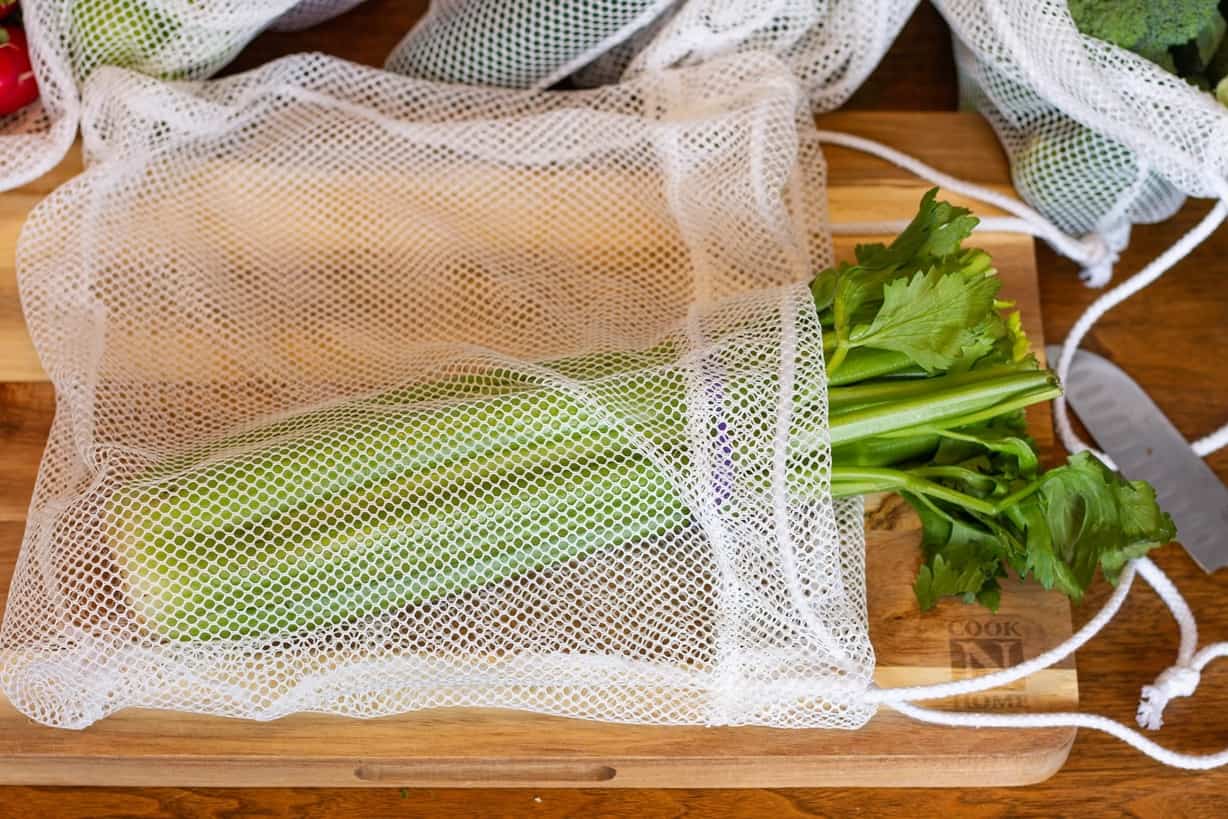
That’s it! You are now ready to use your produce bag!


DECEMBER 1 – 12, 2019
DAY 1 – FELT BREAKFAST SET
DAY 2 – BIANCA BLANKET WRAP
DAY 3 – BOW & SCARF SCRUNCHIE
DAY 4 – DOG BANDANA
DAY 5 – PLANNER BOOKMARK
DAY 6 – TREE SKIRT
DAY 7 – HADLEY HAND TIED BOW
DAY 8 – LUGGAGE TAGS
DAY 9 – LIBRARY BAG
DAY 10 – LIP BALM KEYCHAIN
Leave a Reply