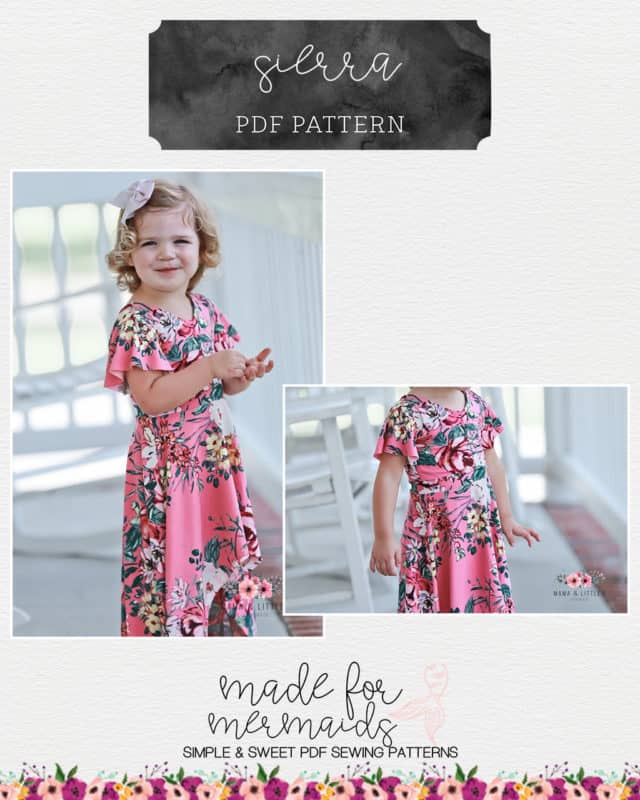
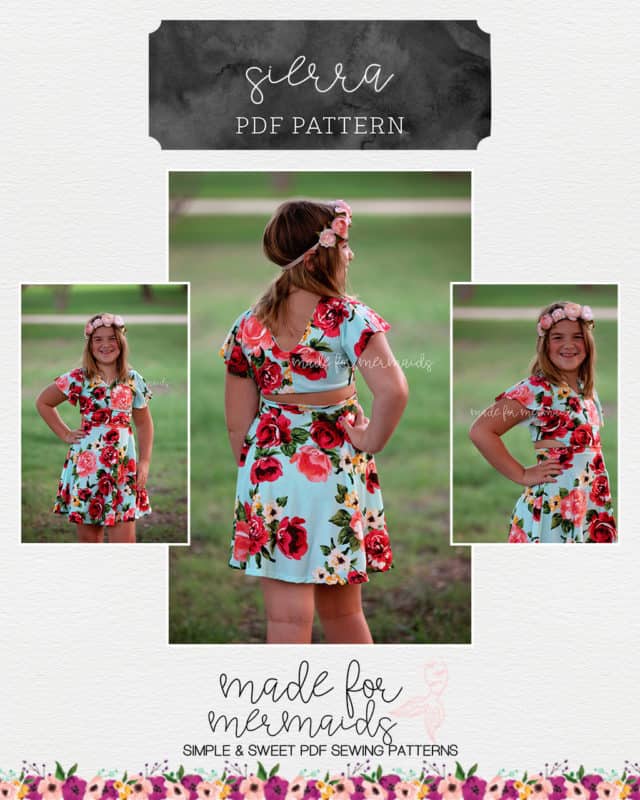
If you’ve opted for flutter sleeves (or the Adeline sleeve hack, if you prefer the long bishop style sleeve or a short but more fitted sleeve), we are working on those bodice options today! As with the tank bodice, there are three bodice styles – full bodice, side cut-outs, and open back. You’ll see all three styles in today’s video.
You will be finishing all but the bottom seam of your bodice today. Keep in mind that seam allowances vary a bit in this pattern! I try to mention it in the video as much as possible, but it will vary between 1/2″ and 1/4″ so make sure to reference your tutorial. There is a little less burrito rolling with the flutter sleeve version since we will attach the sleeves in the round!
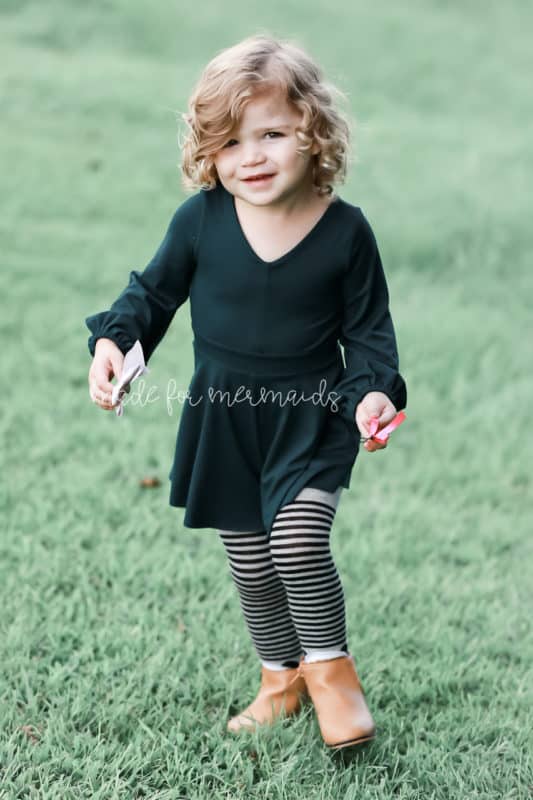
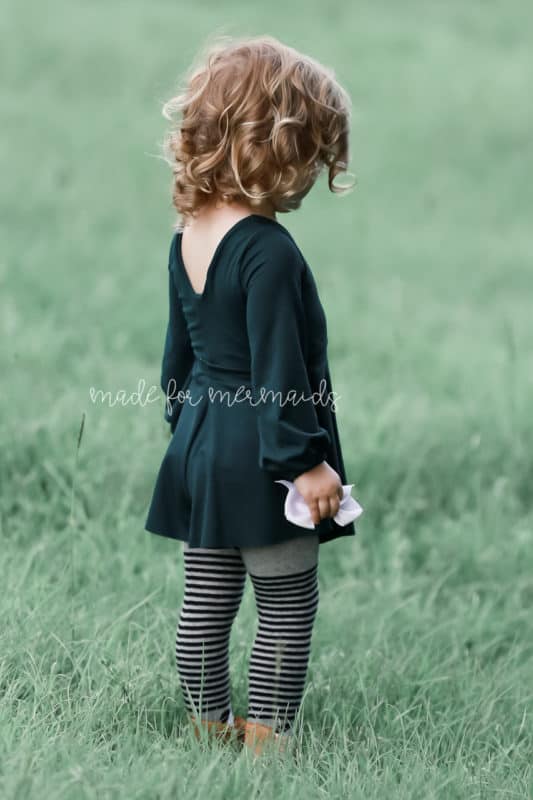
Don’t forget – if you’re looking ahead for fall & winter sewing, our Adeline sleeve hack is an easy to way to make Sierra work for multiple seasons.
If you still have questions about finishing up your flutter sleeve bodice, you are always welcome to post in our SAL group so we can help you! Be sure to check in each day during the SAL, and look for the daily posts to enter our giveaways. We can’t wait to see what you create this week!

Day 1: Cutting – printing/cutting/assembling your pattern, cutting fabric
Day 2: Tank Bodice Options
Day 3: Flutter Sleeve Bodice Options
Day 4: Waistband
Day 5: Romper/Skirt Bottoms


Leave a Reply