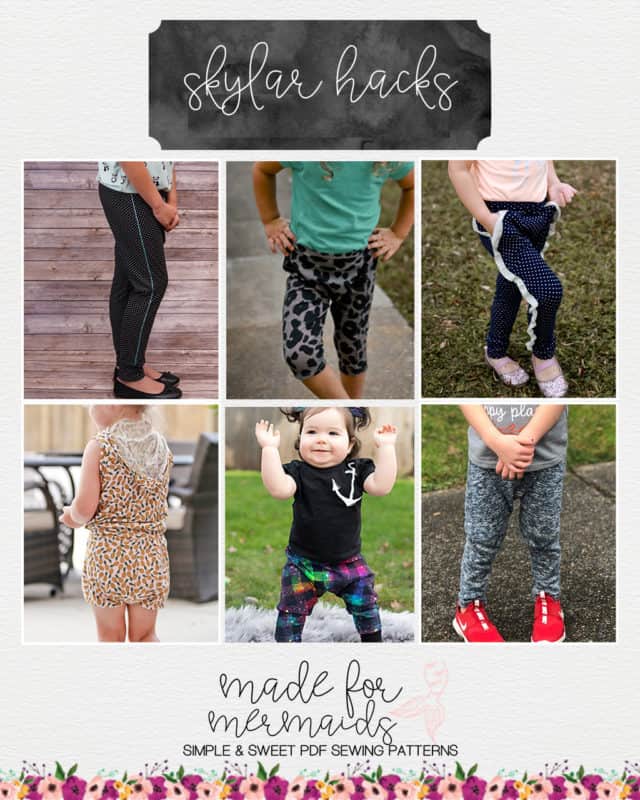
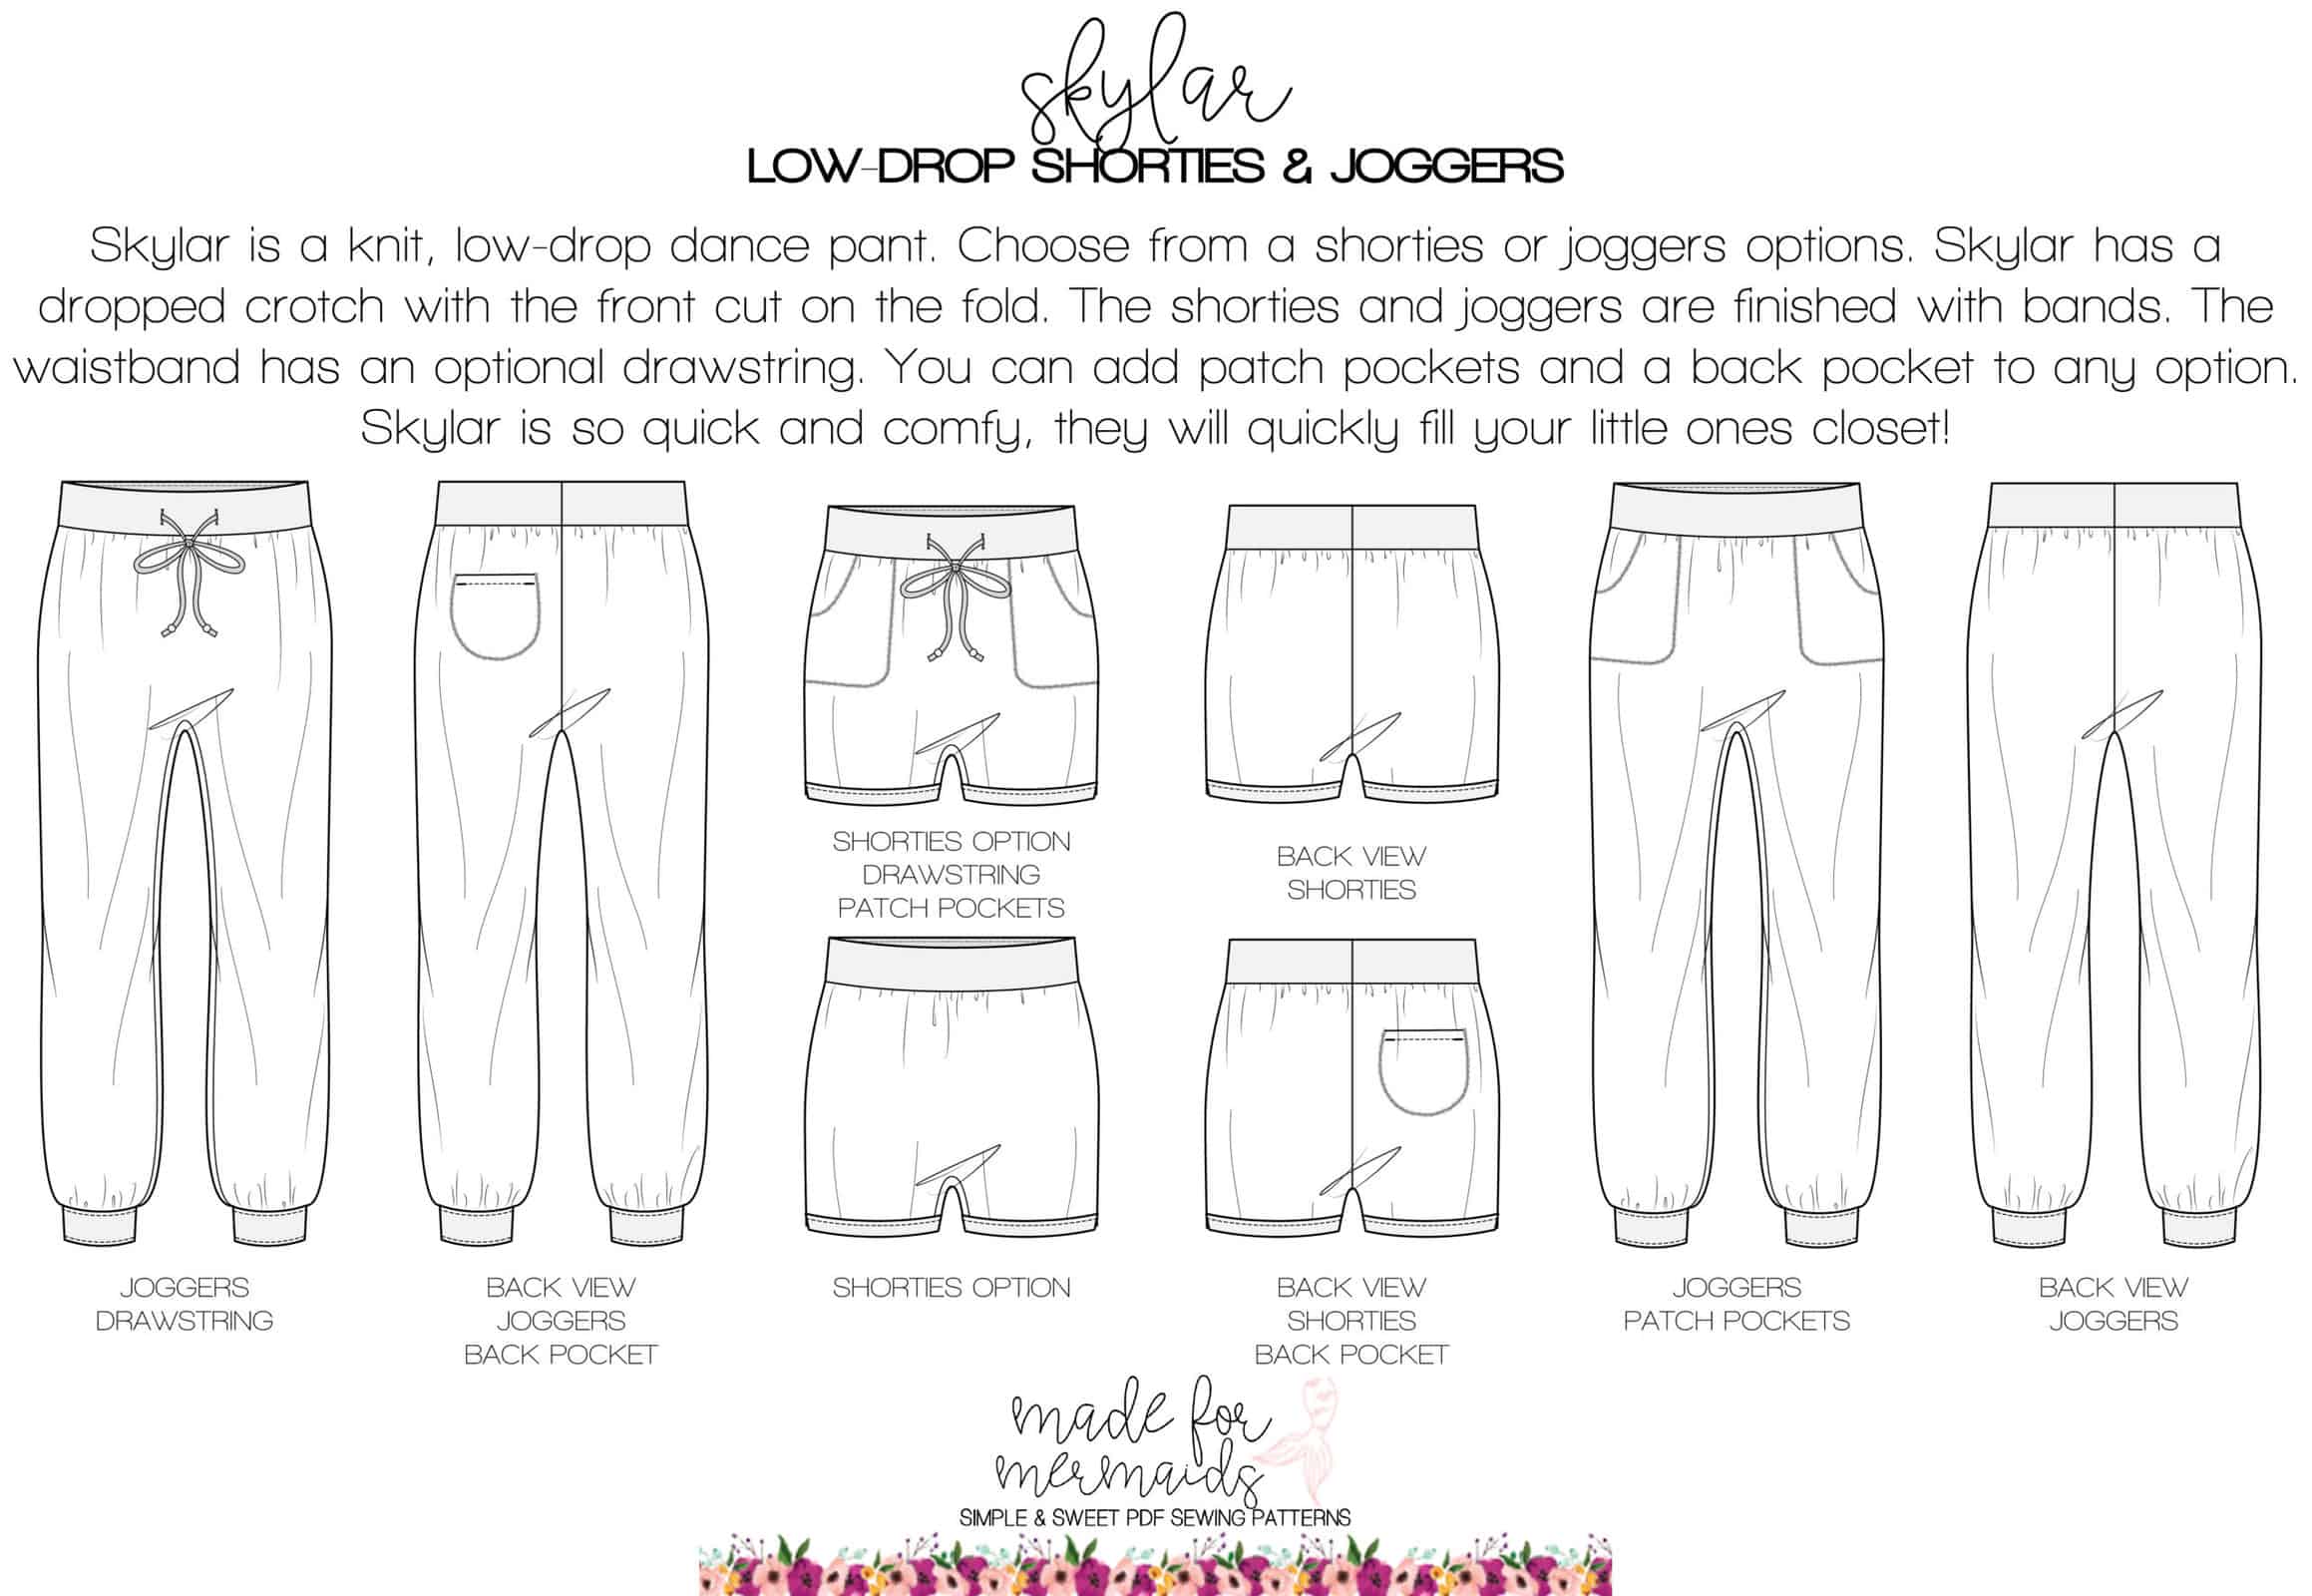
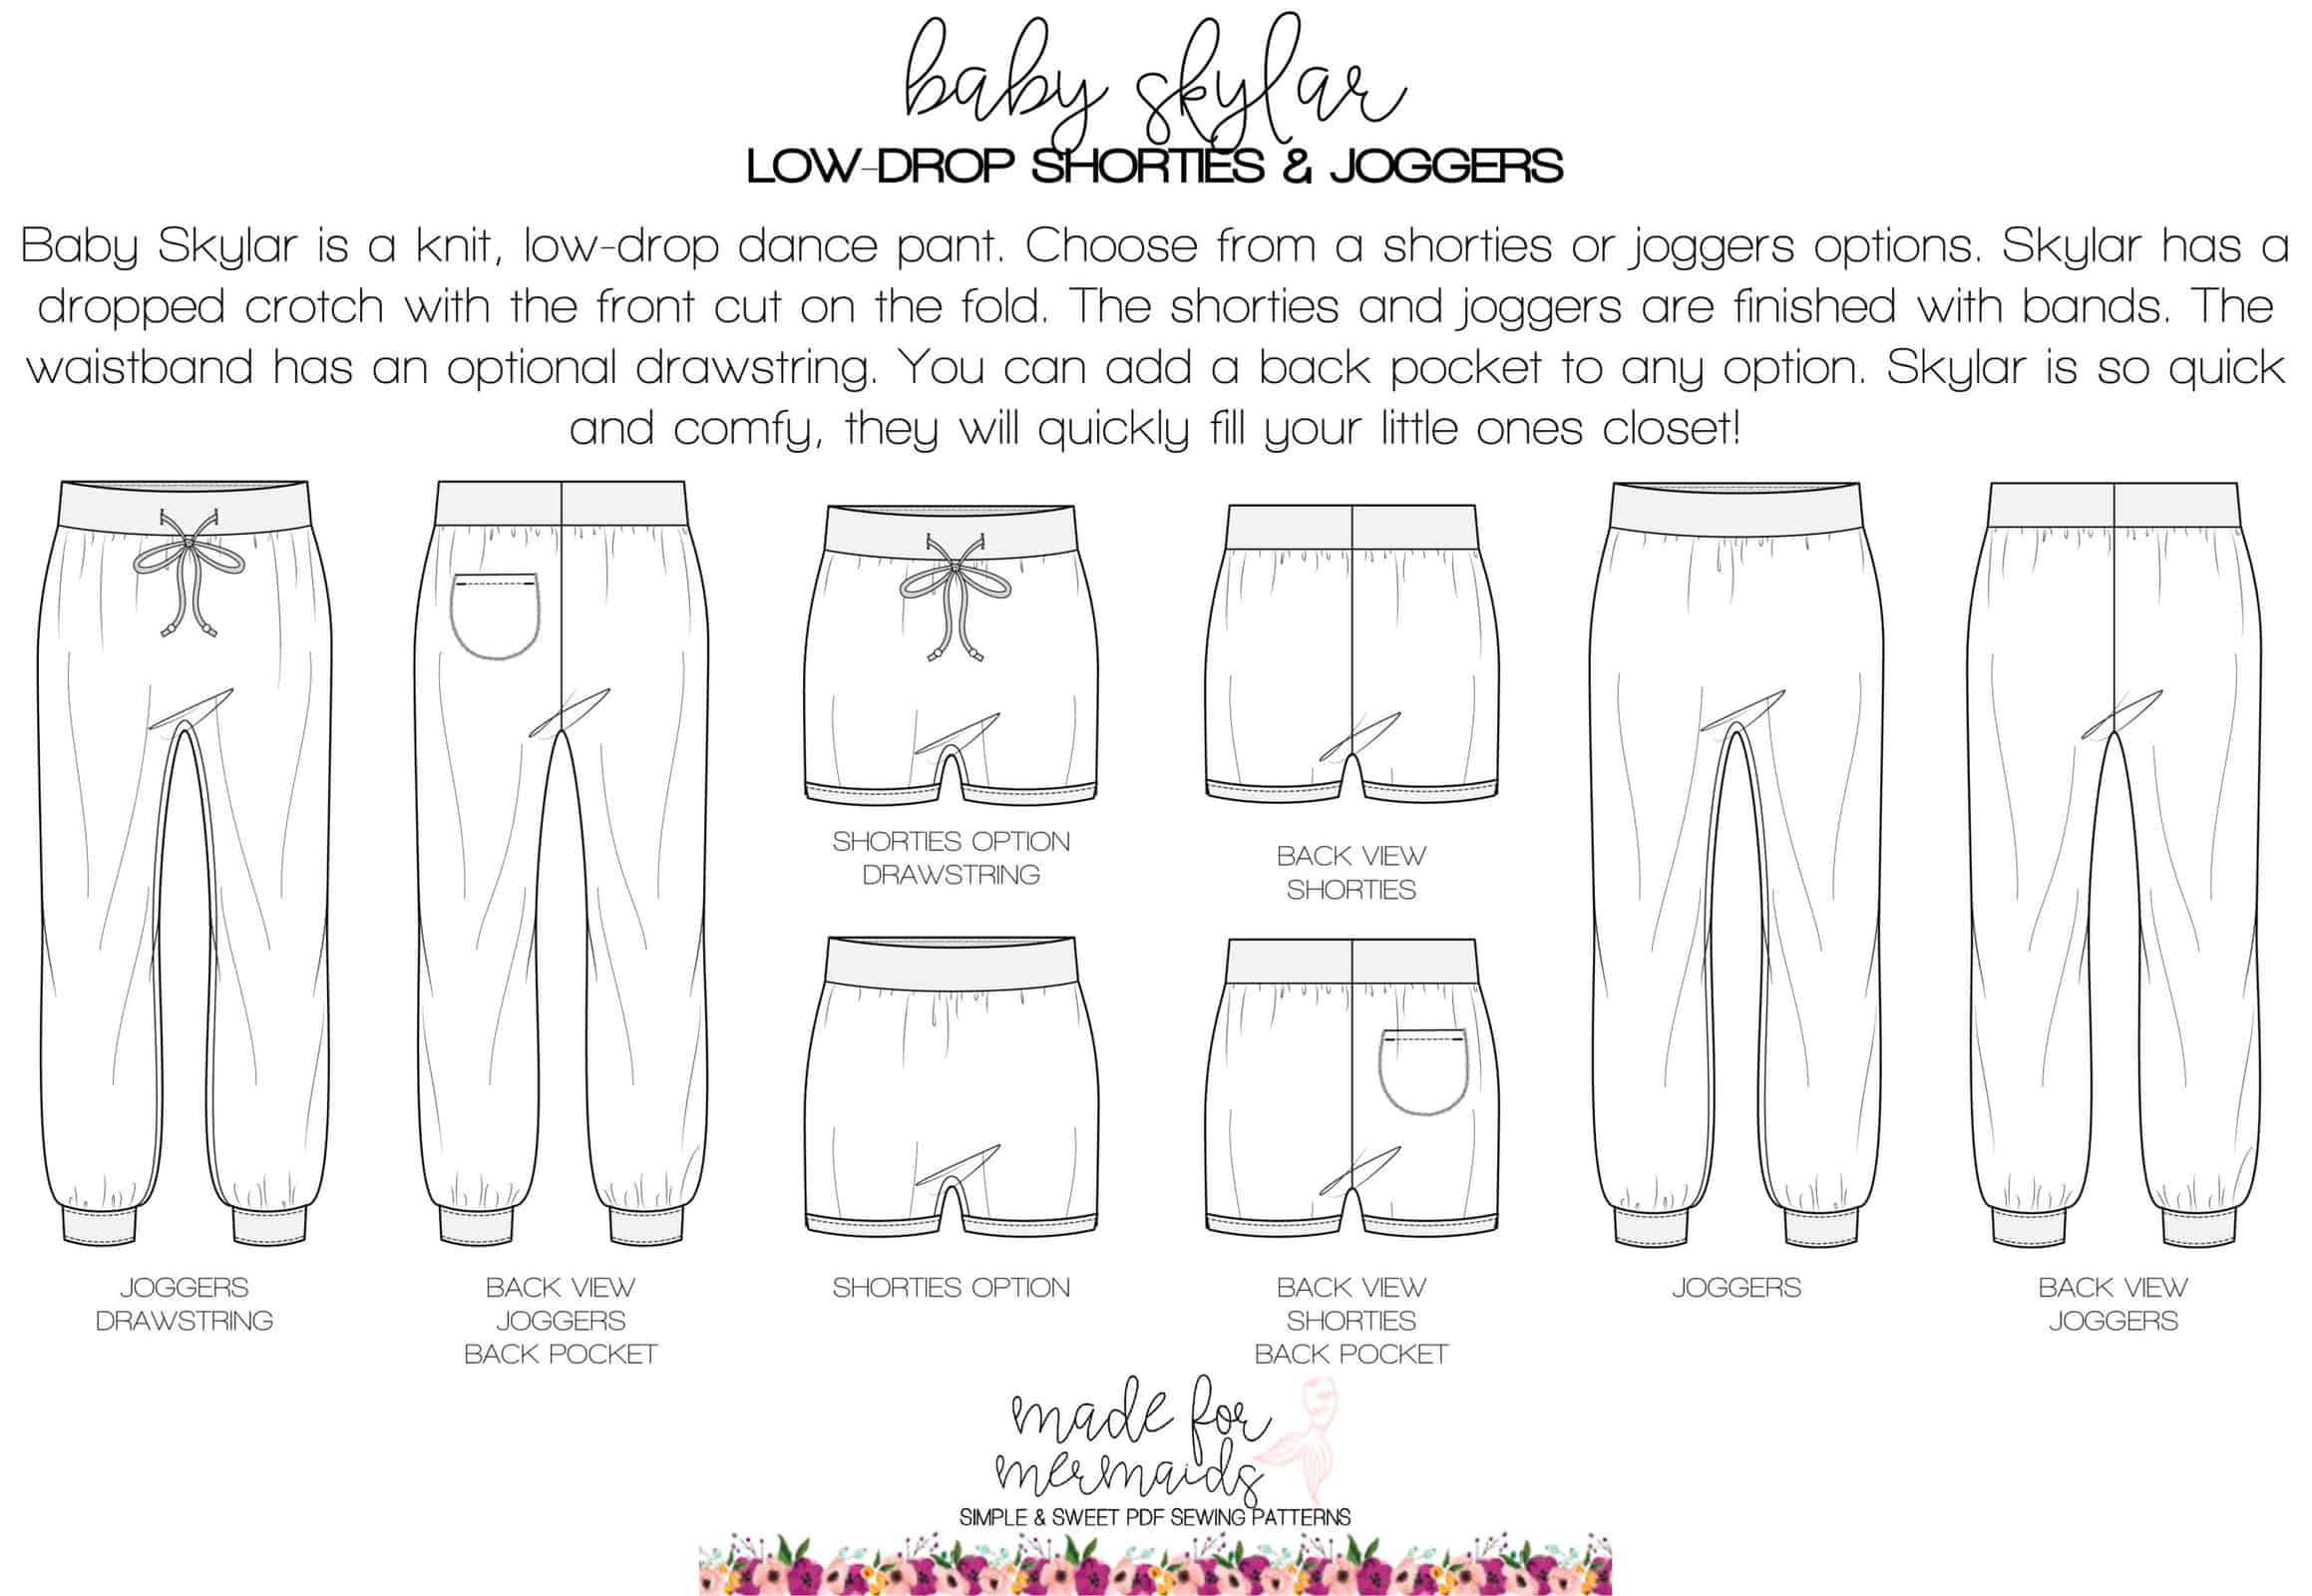
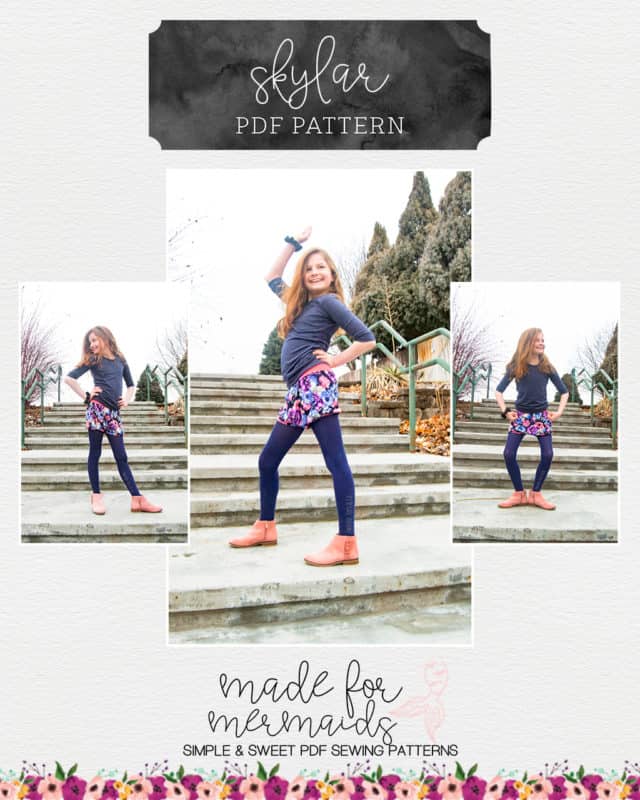
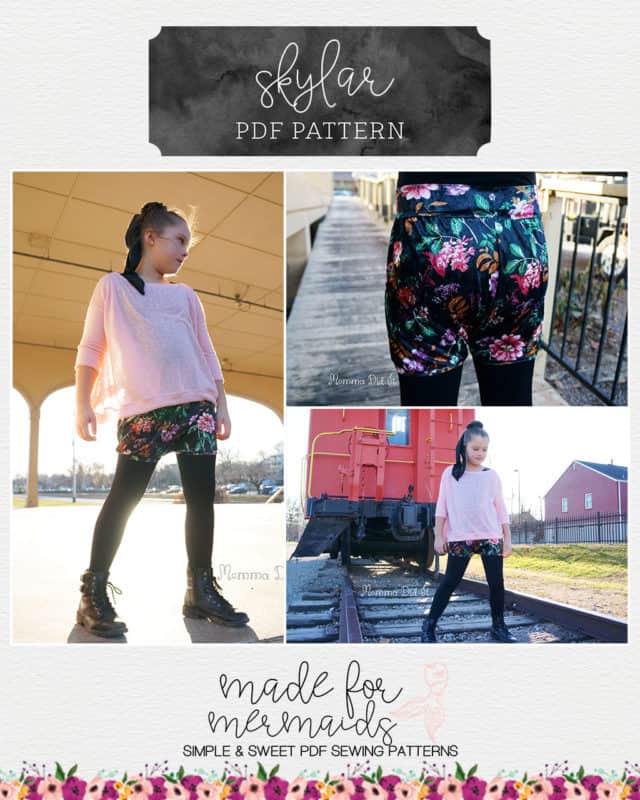
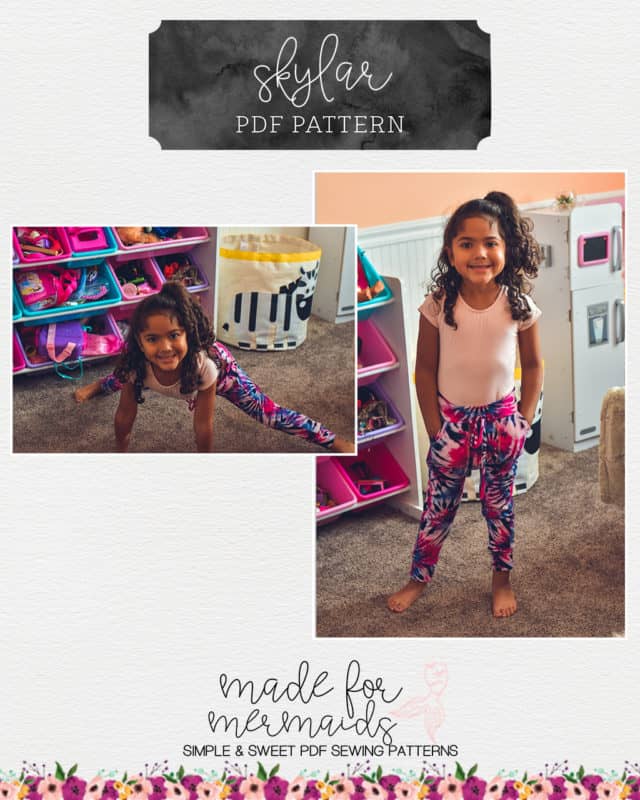
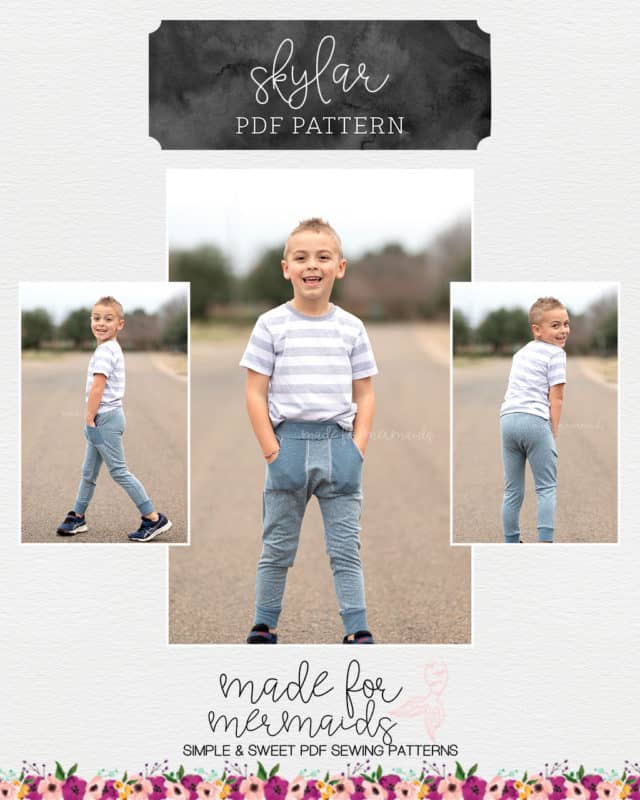
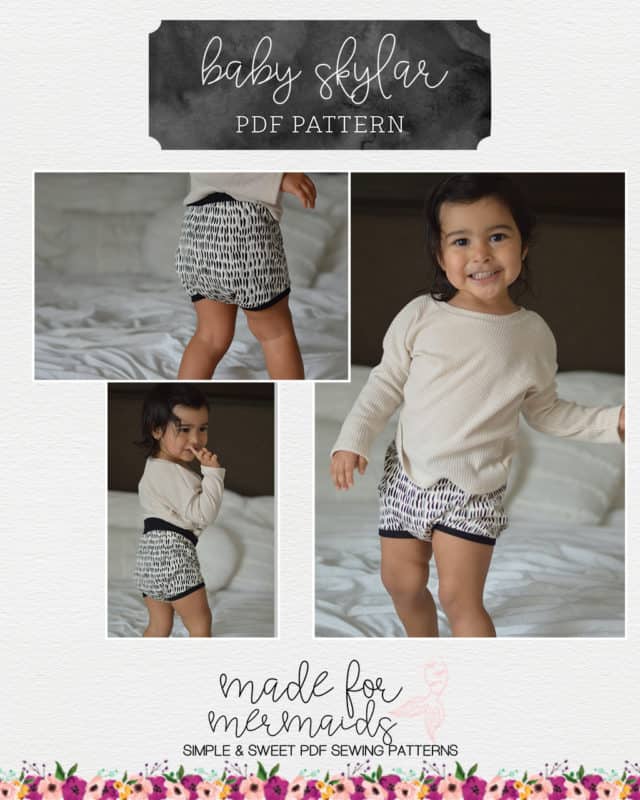
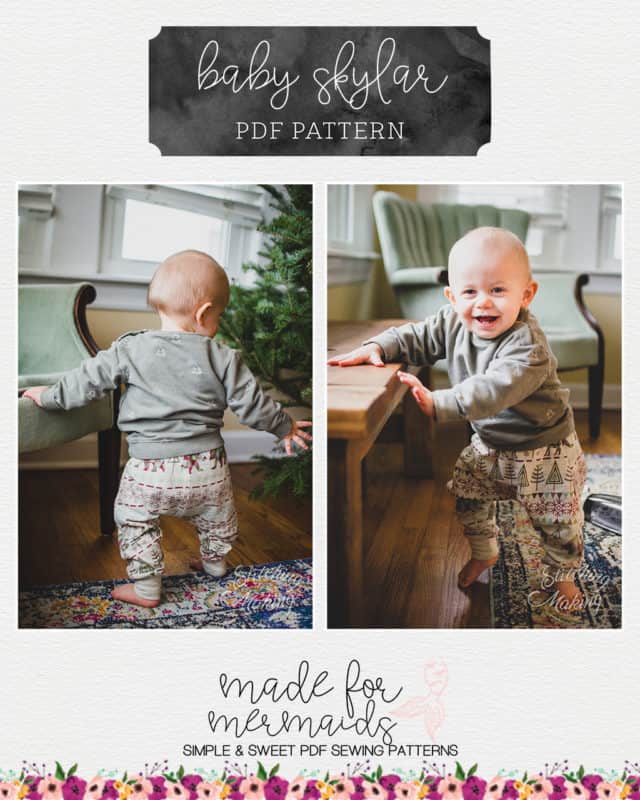
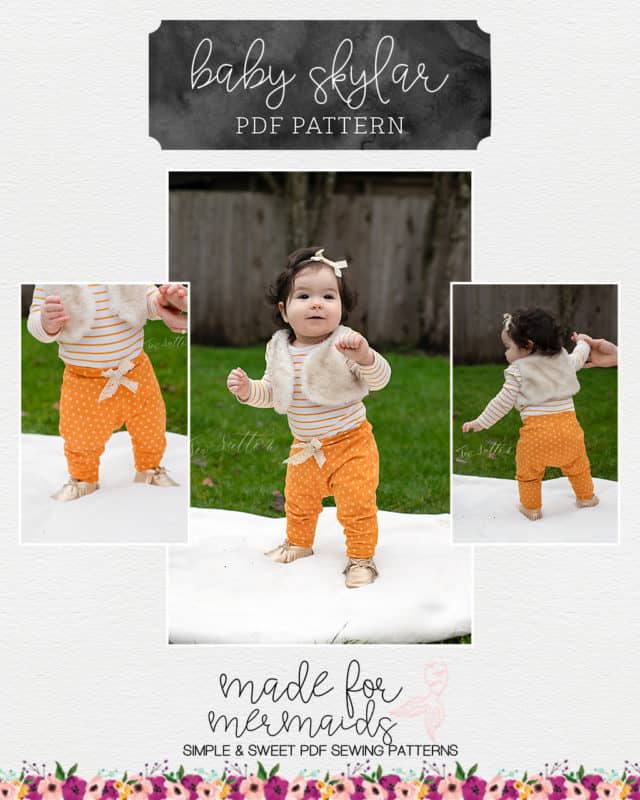
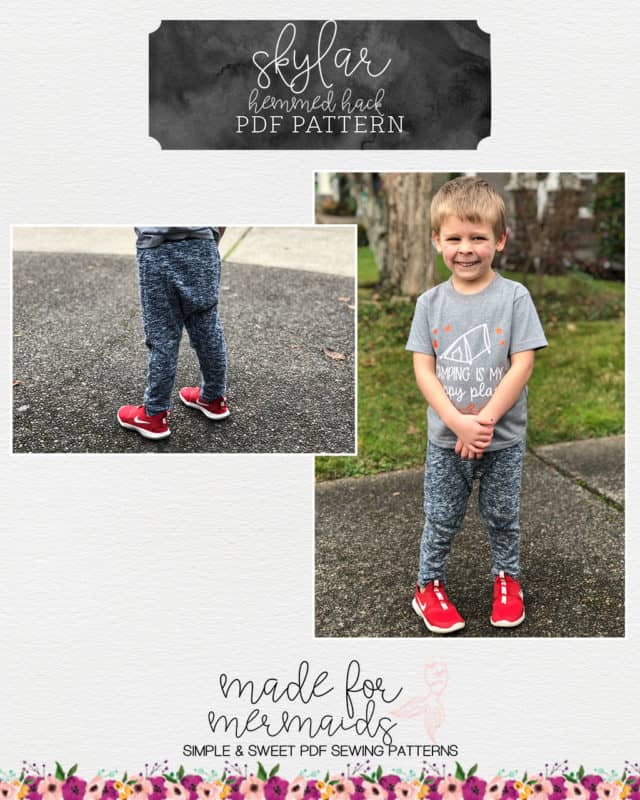
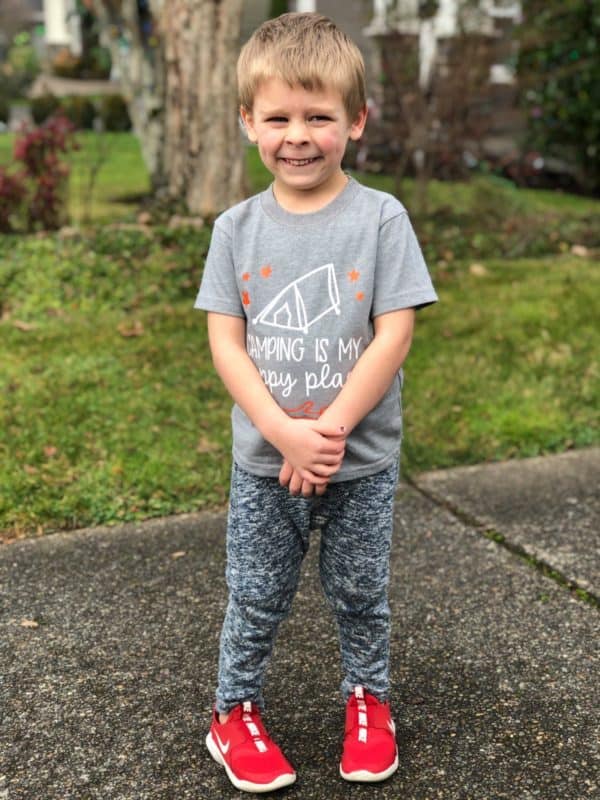
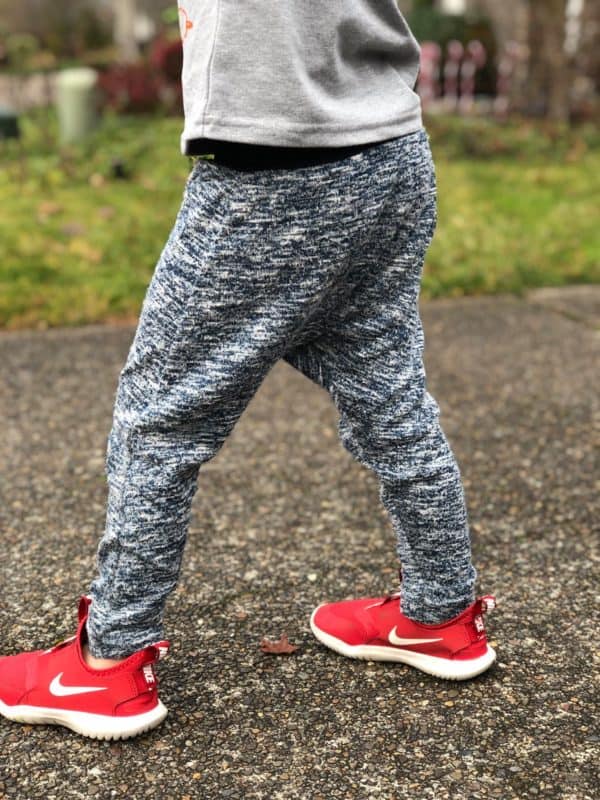
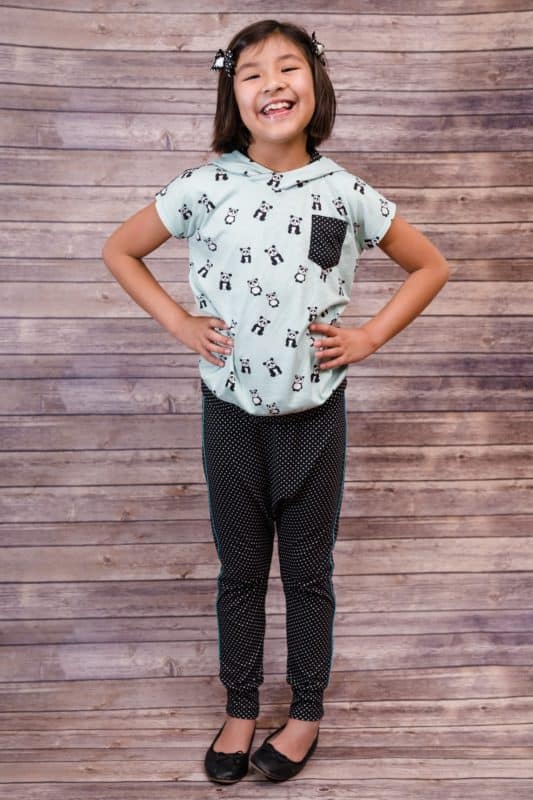
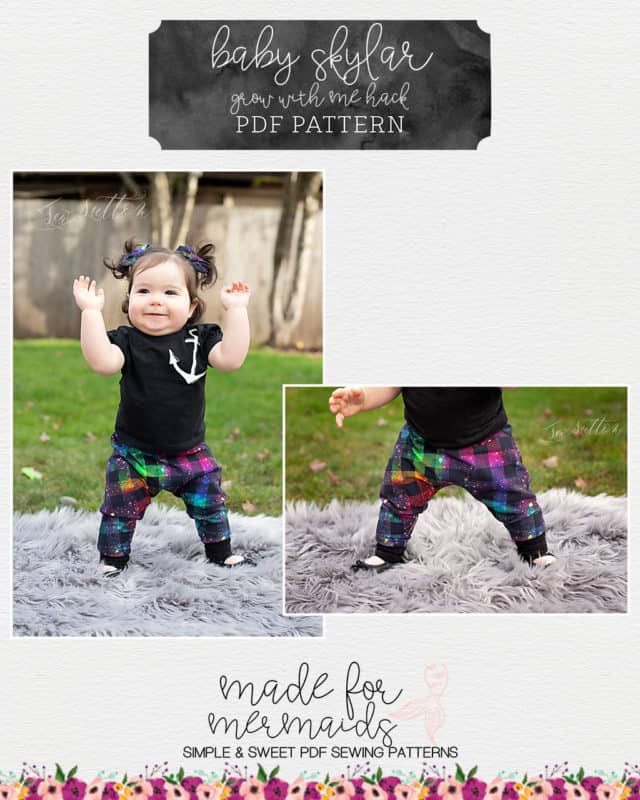
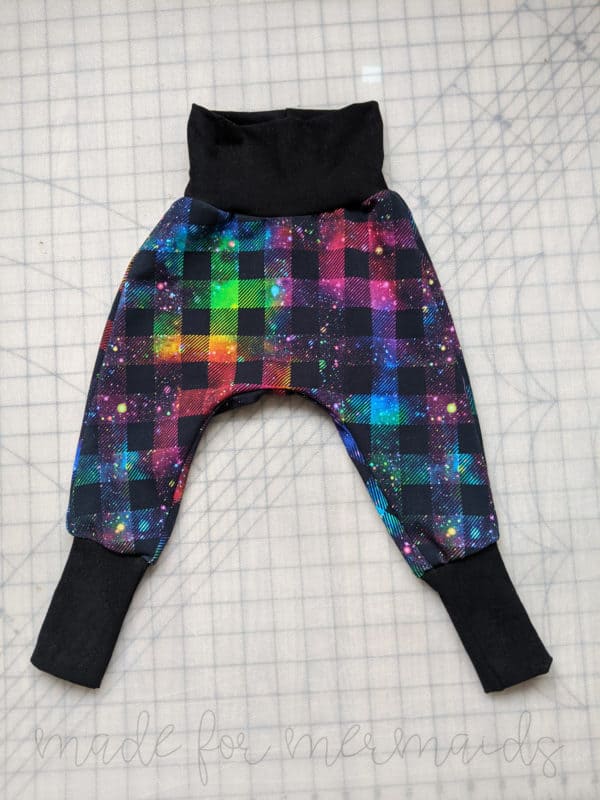
The Skylar Low-Drop Shorties and Joggers in youth and baby are our first patterns of the new year! All of our littles were loving their Skylars during testing! They feature a dropped crotch that’s perfect for casual and athletic looks, optional back and patch pockets, optional drawstring, PLUS several hacks!
Not sure you’ll ever be done with cold weather where you’re living?! Some of our testers layered their shorties over tights for a cute but warmer look. We hope you love Skylar for lounging, dancing, everyday wear, and everything in between!
Want to get the most out of your pattern? Check out our hacks below!
Faux Drawstring
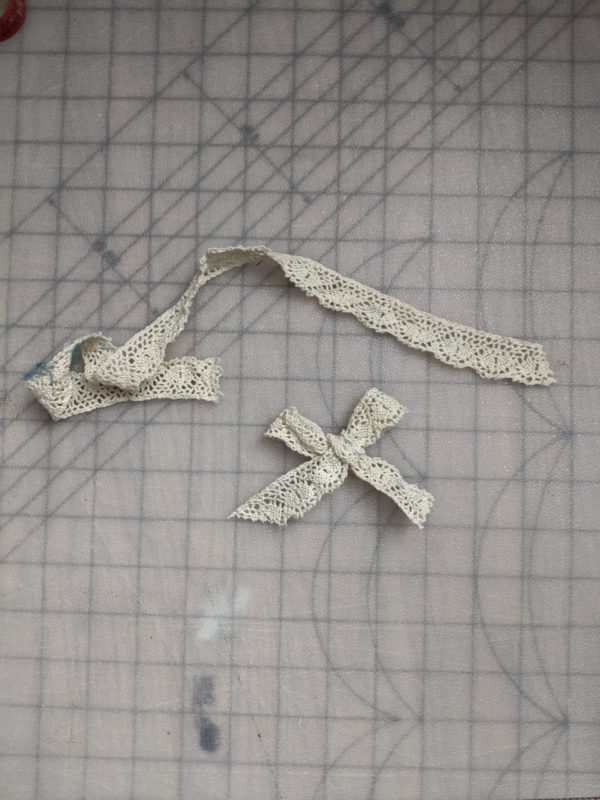
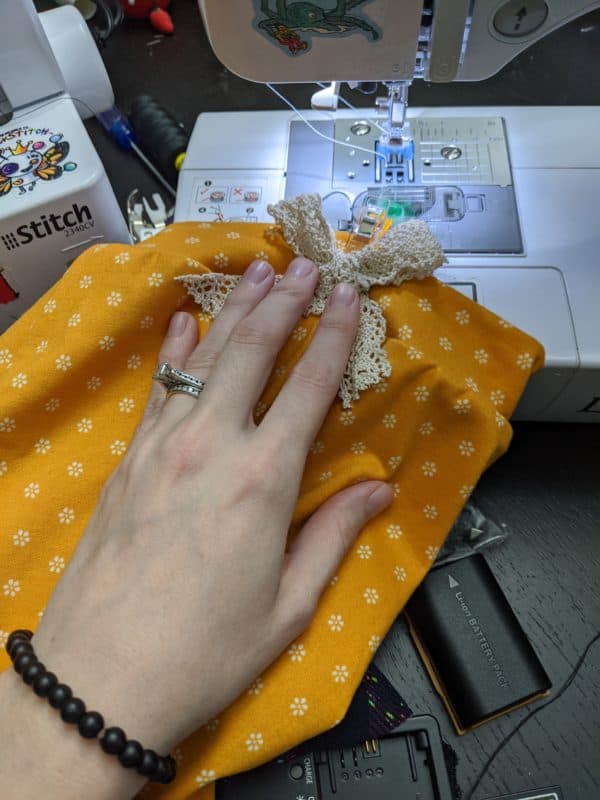
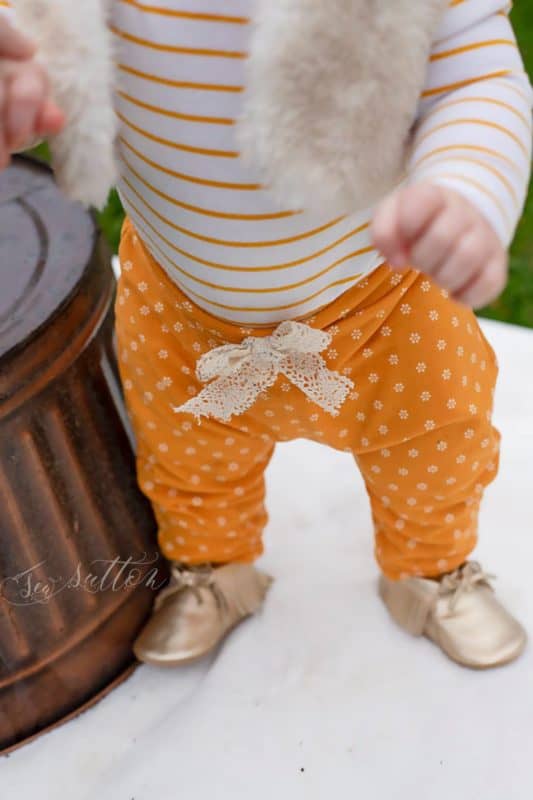
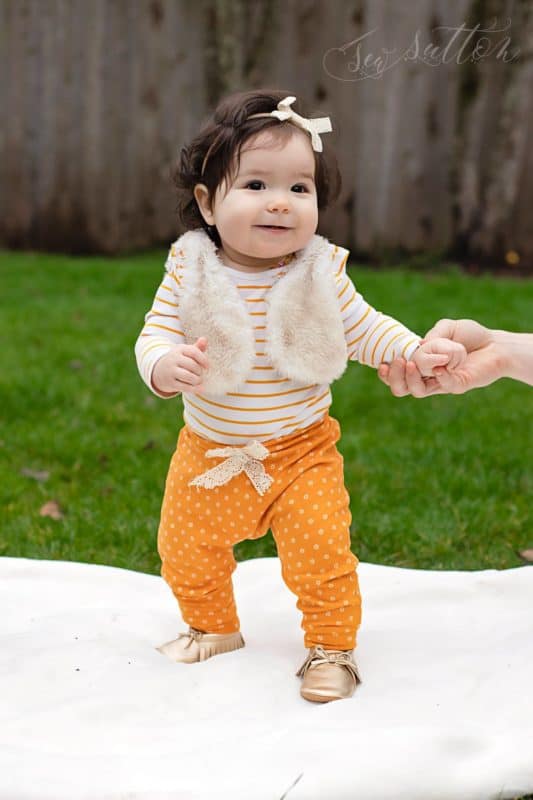
Love the look of a drawstring but your kiddo pulls them out? Don’t have a lot of time? Always losing them? Well, skip all those issues with a simple Faux Drawstring. Simply cut a small piece of whatever drawstring you choose – long enough to tie a small bow (or not – your choice!). You can either stitch it directly on the center of your pants and then tie, or tie first as shown below and stitch on so you never lose your tie.
That’s it! Easy as pie, and adorable to boot! -Michelle
Hemmed Hack
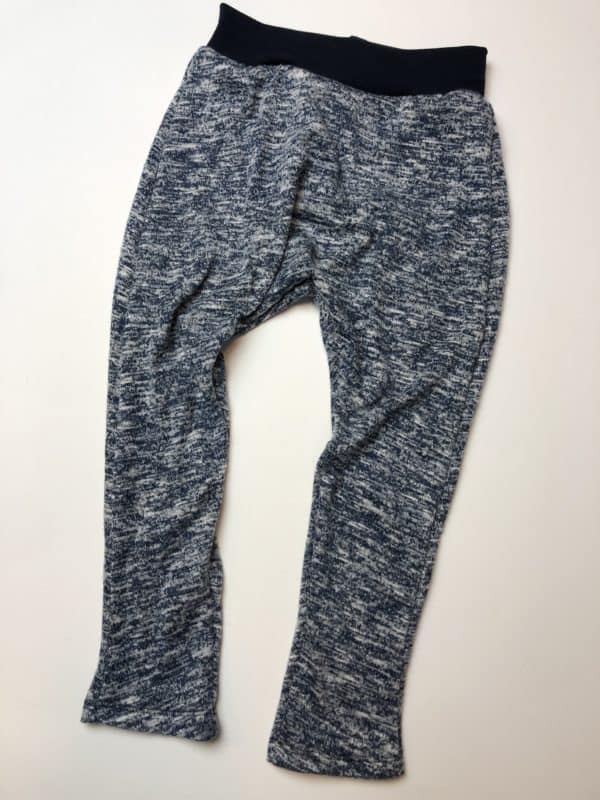
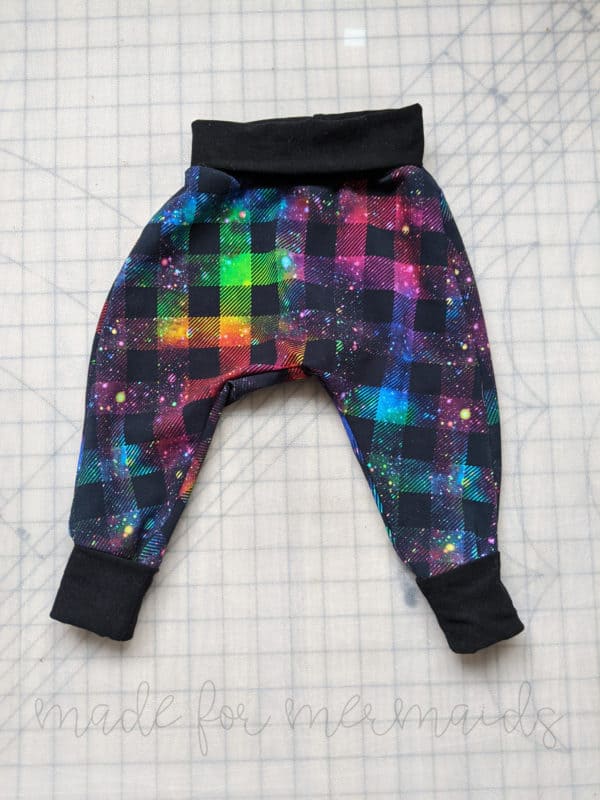
Cuffs are fun, but sometimes I want a different look without too much extra work. A hemmed leg finish gives a different look and takes no time at all to do. Here’s how I did it.
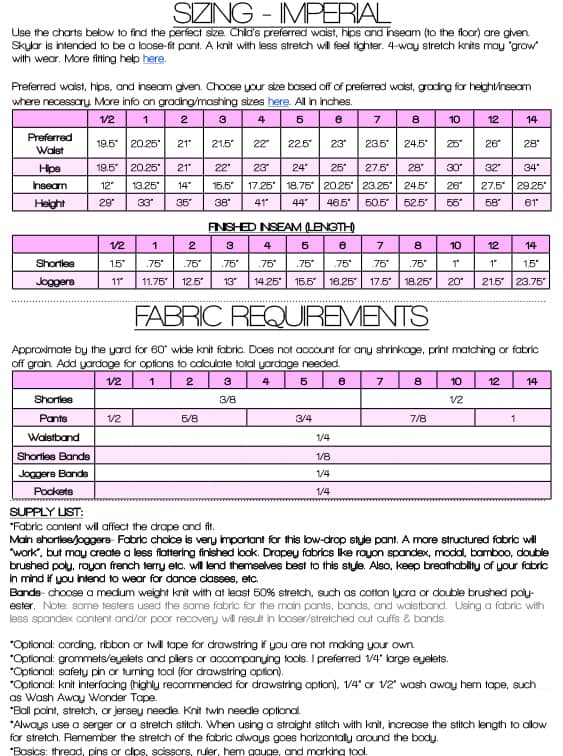
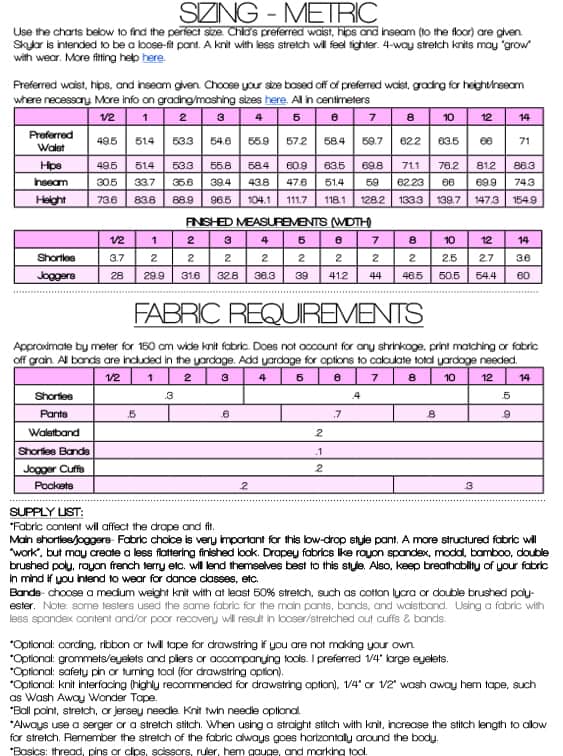
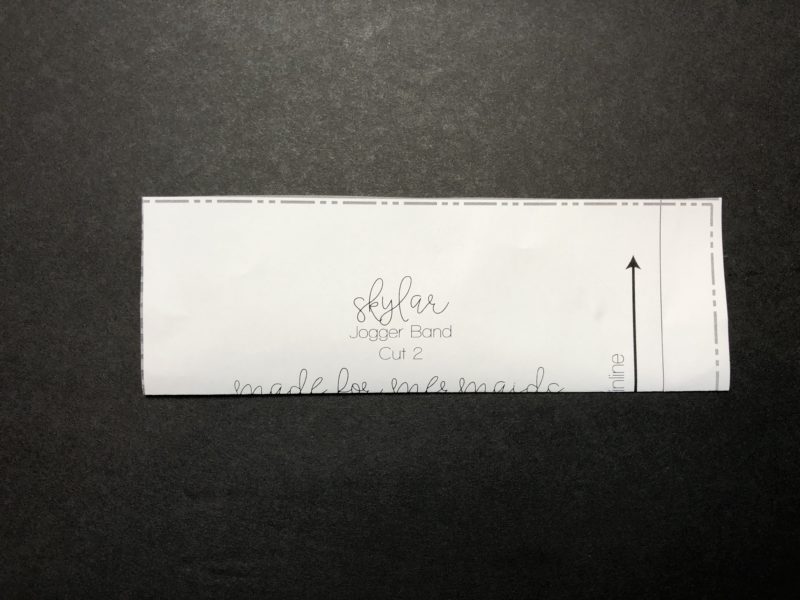
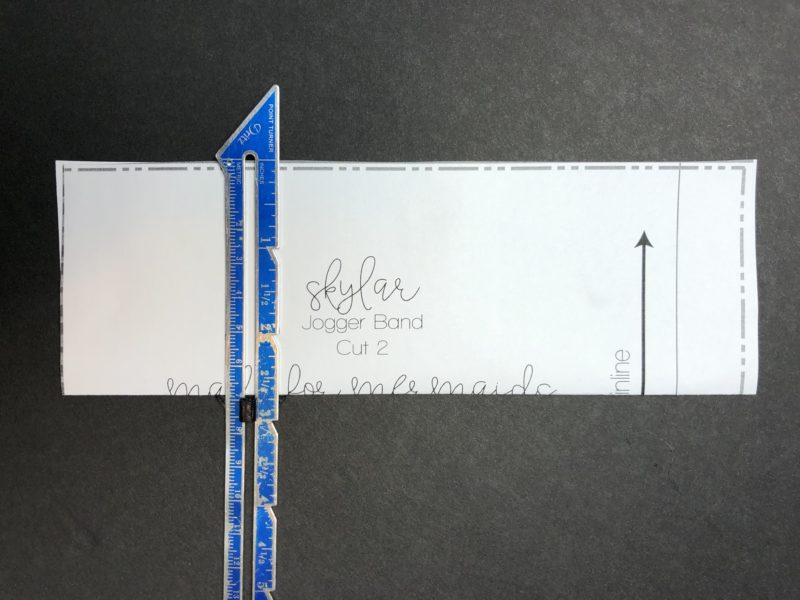
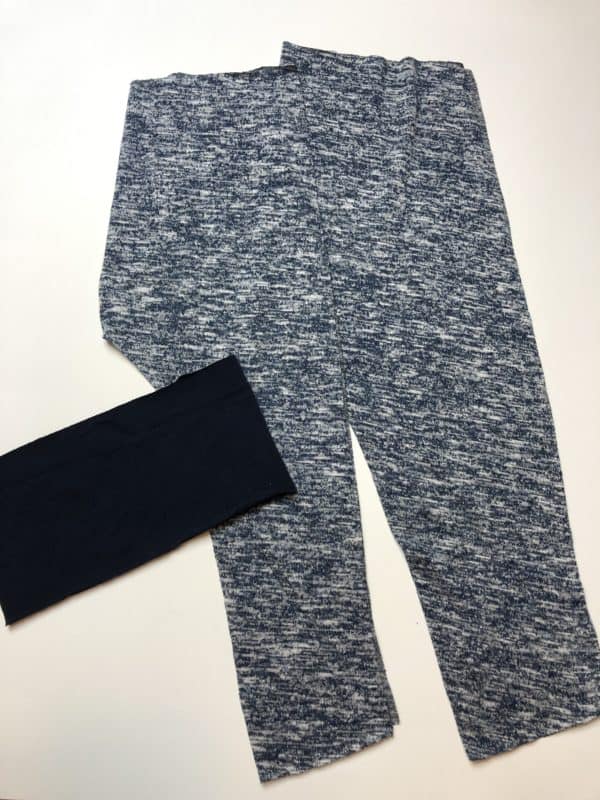
First, you will need to add length to the front and back pant legs to account for not adding the cuffs. The easiest way to figure out how much length to add is to fold the band in half and measure it. For the size 4 height pants I made, it measured 2.75″.
NOTE: You may wish to remove 1/2″ for seam allowance. I opted to keep the extra 1/2″ in length based on personal fit preference.
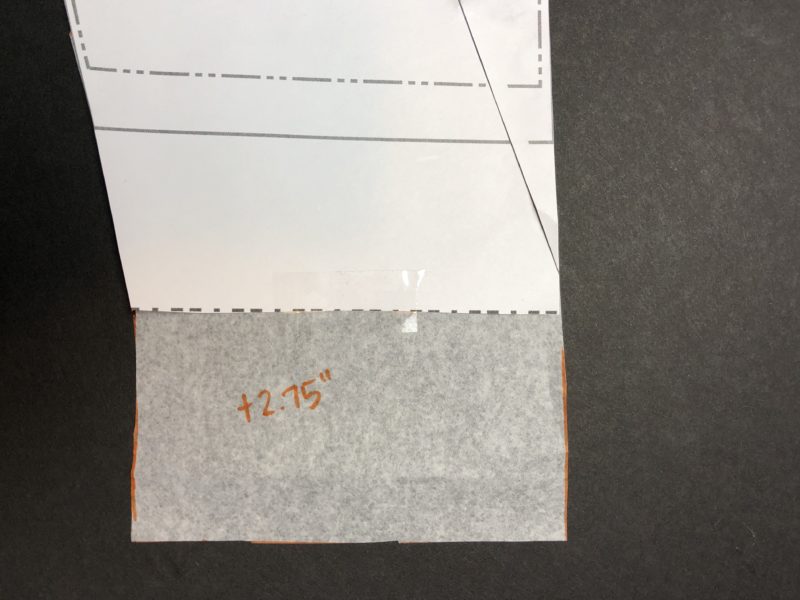
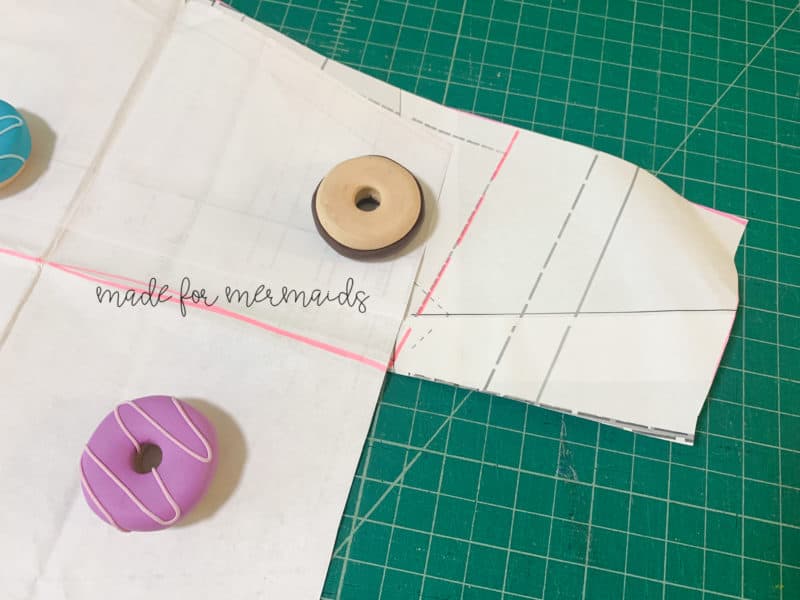
Then I took my tracing paper and extended the front and back legs 2.75″. Here’s the important part though; make sure to add the length without tapering the leg any more. If you continue the diagonal line, the ankles will get too skinny to fit over your kiddo’s feet.
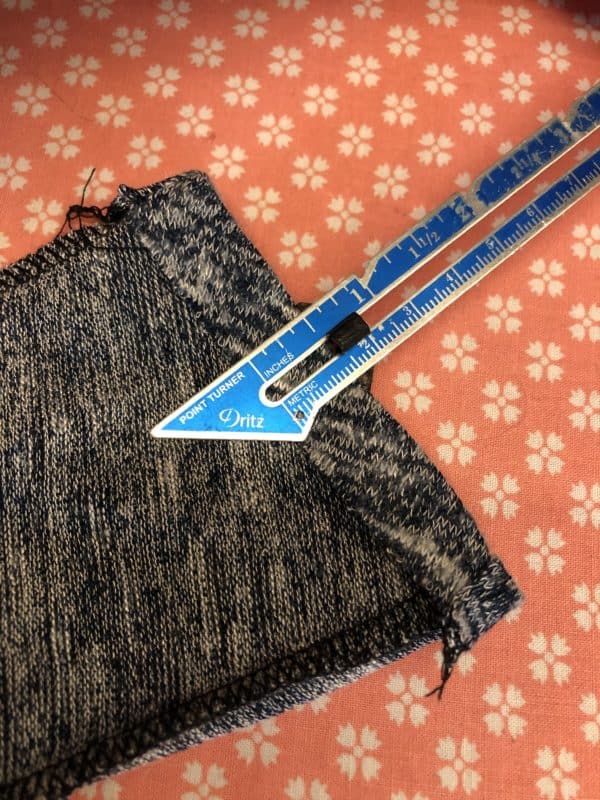
Now cut your new front and back pattern pieces on the fold as well as your waistband. Assemble according to the directions. When you get to adding the bands, turn the bottom 1/2″ to the wrong side and hem instead. –Katie
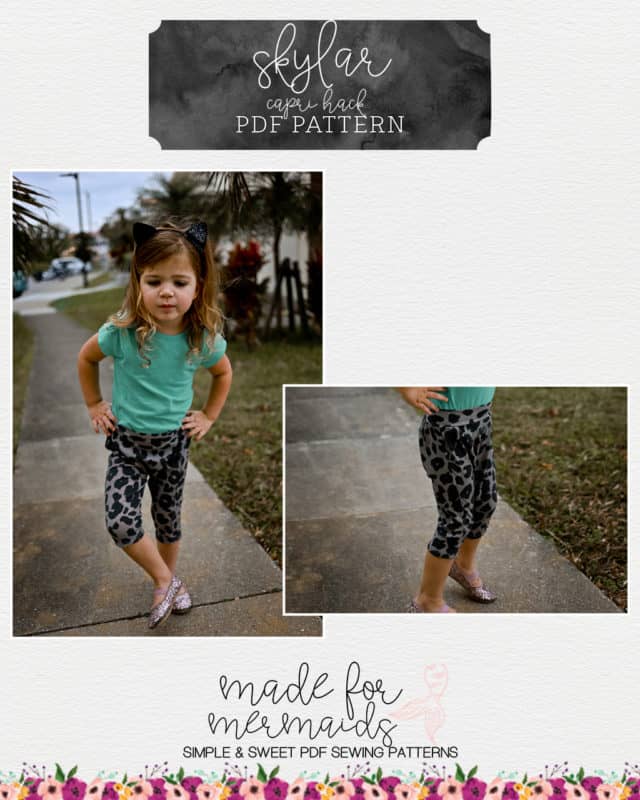
Capri Hack
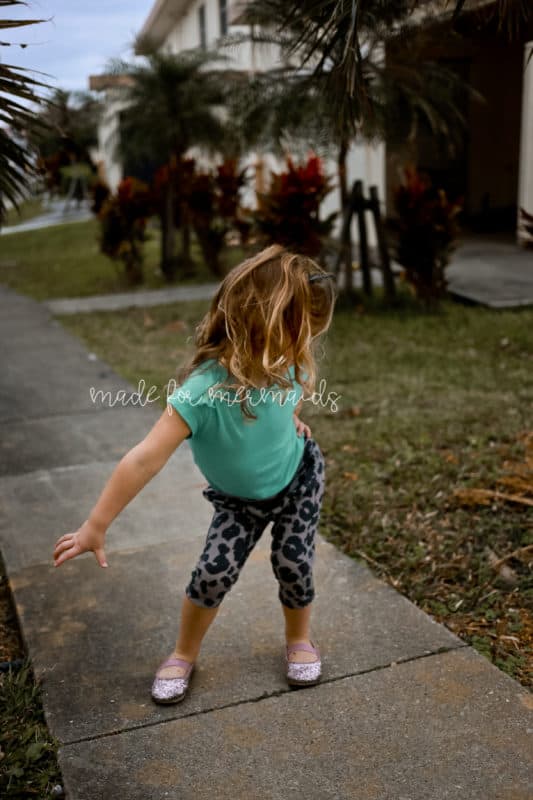
The Capri Hack is super easy! Use the {free!} Bonny Legging pattern to determine your capri cut line, or you can just cut to your preference. If you’re using the Bonny pattern, match up the Skylar side seam with the Bonny side seam. Your crotch seams will not match up, so only worry about the side seam.
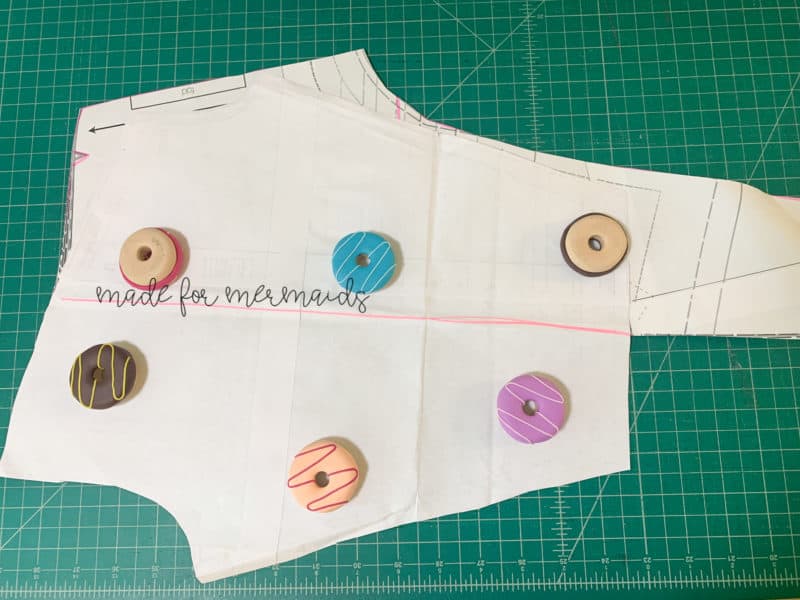
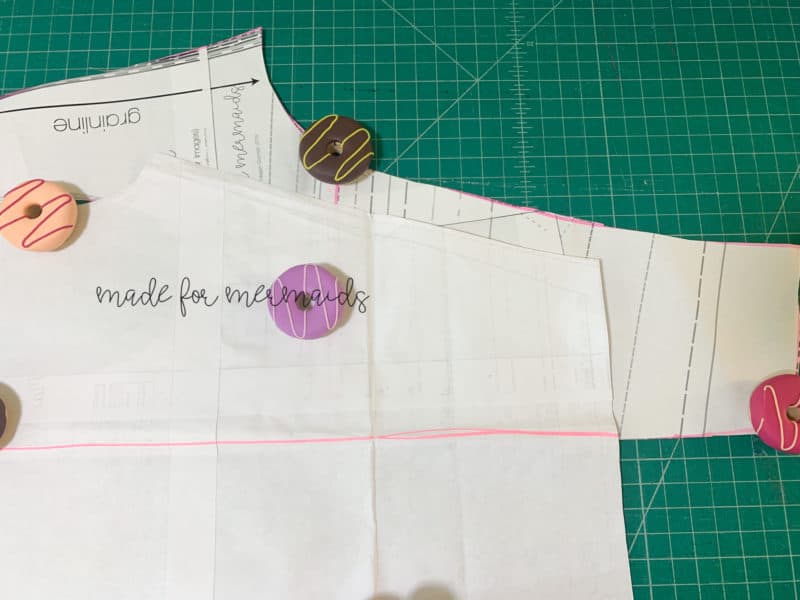
Once you’ve matched those up, you’ll need to draw a new cut line for the capri length on Skylar. Using the cut line on Bonny as a starting point, use a straight edge to ensure that you match the angle of the existing cut lines on Skylar. Since the pants fit differently than Bonny, your Skylar cut lines will NOT have the same angle.
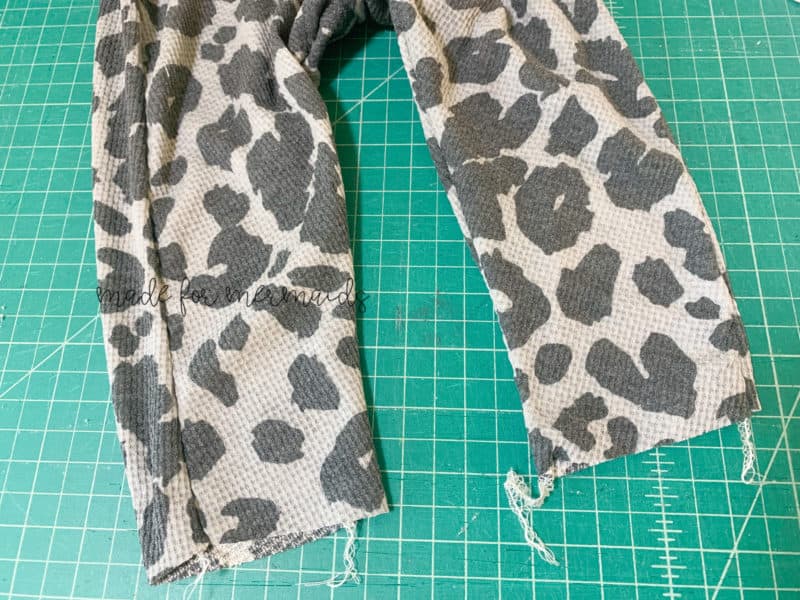
After you’ve drawn the line on the front piece, repeat the process for the back piece. Cut your fabric out. Construct per tutorial. When you get to the step for adding cuffs, you can either hem instead, or you can calculate new cuffs. I opted to hem, but you can easily add cuffs if that’s your preference. Just measure the leg opening, calculate 85% of that measurement, add 1″ for seam allowance, and then cut! You can use the same length (height) as the cuffs for the pants, or you can shorten them if you prefer.
Piping Hack
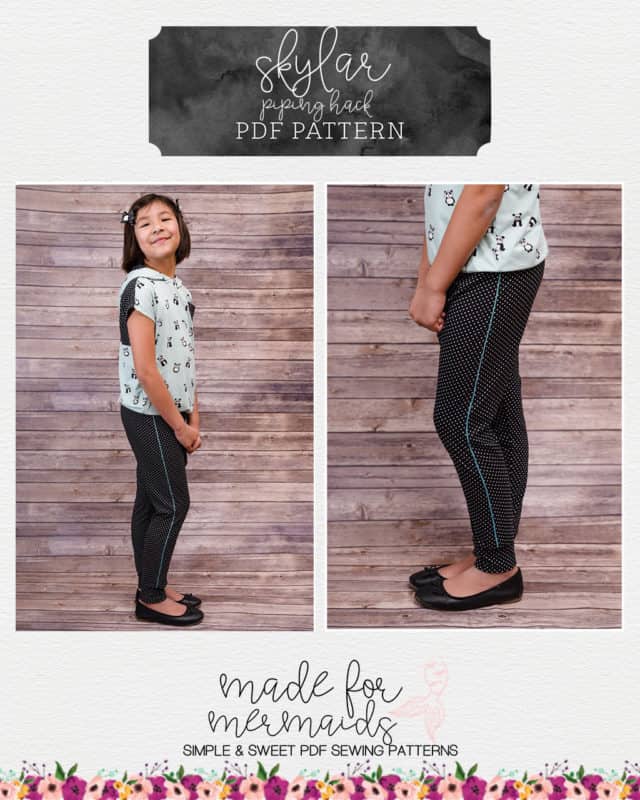
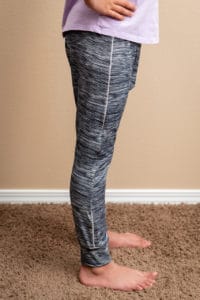
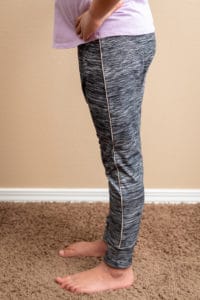
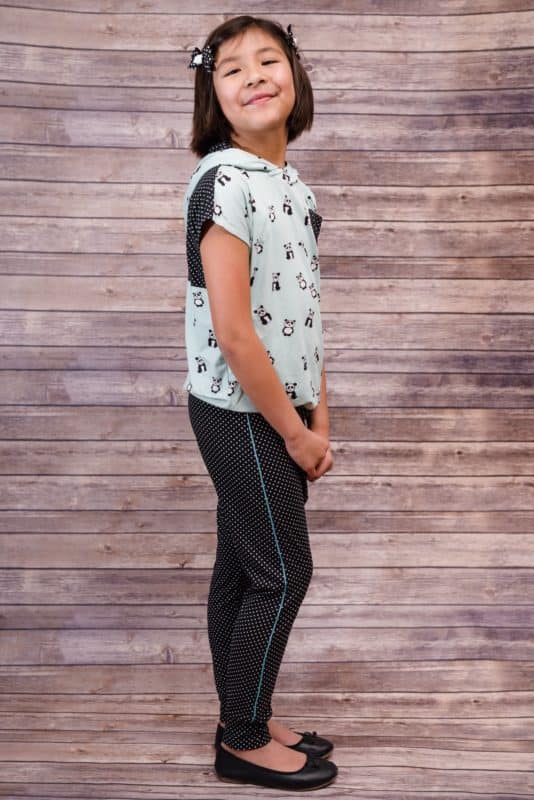
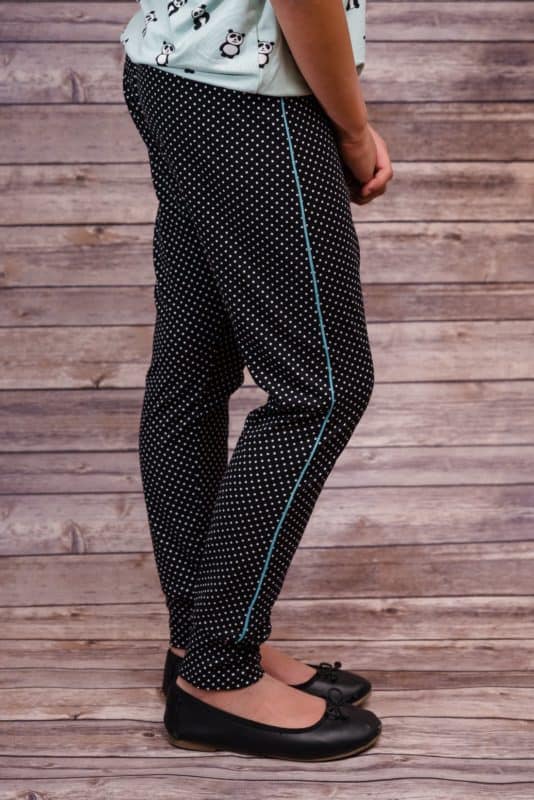
Piping is an easy way to add a bit of color detail on your Skylar shorts or pants. I used a non-stretch piping trim I found at JoAnn.
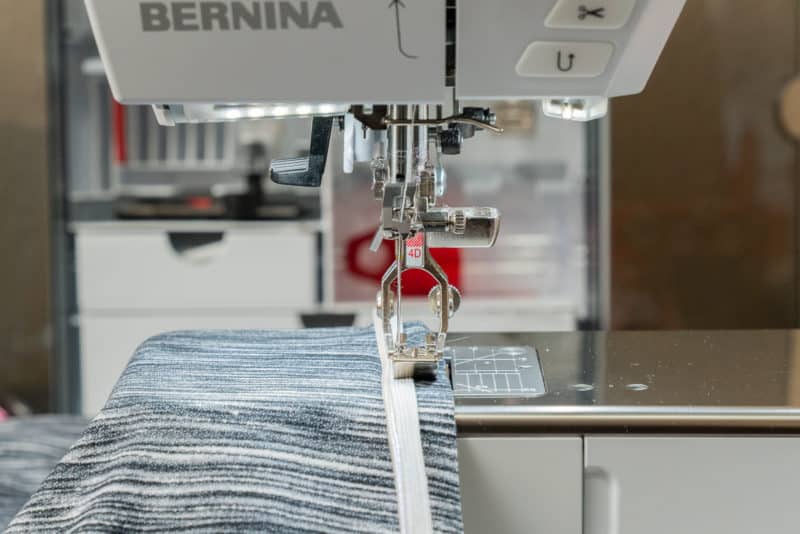
Construct your pants per the tutorial until you get to the side seams. Baste the trim in place with the piping edge ½” from the raw edge. A zipper foot makes this so much easier! Take your time and be sure to use a long stitch to help keep the fabric moving under the zipper foot. Once the trim is basted sew the side seams. Press your seams towards the back and construct per the tutorial.
Note: I did not pre-measure and cut the trim. Simply add it 1:1 and cut when you reach the end.
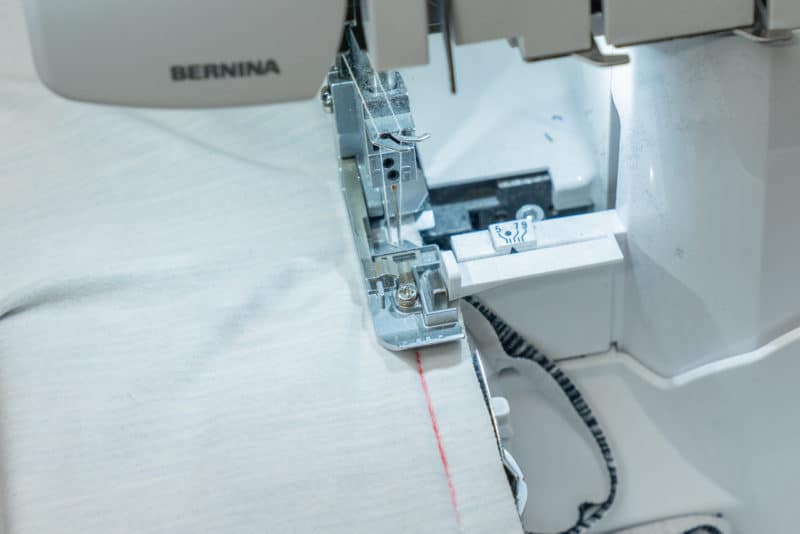
Stop and learn from my mistakes here. Sew the side seams with your basting stitch facing up. This will allow you to follow it as a guide. My serger has the needle placement marked on the foot. I made sure the basting stitch stayed just outside of the left needle. I didn’t do this on my first try and it shows. Oh well! It just meant that I got to make more Skylar pants that my kiddo loves.
- Just winging it. Whoops!
- Follow the basting stitch!
-Alexandria
Grow-With-Me Hack
Looking to make your Skylar pants last a little bit longer?? Check out this super easy hack on how to make them “grow with me”.
To start, you’ll print all your pattern pieces as normal and grade as directed in the pattern.
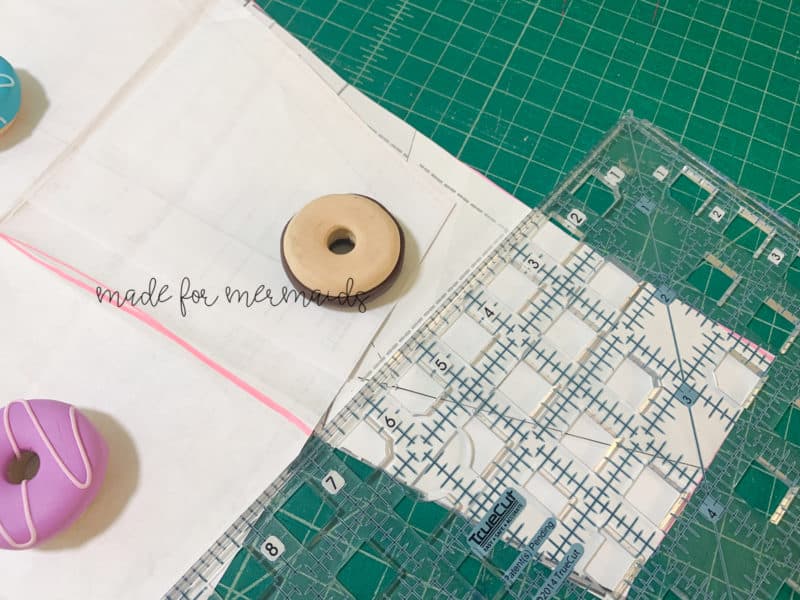
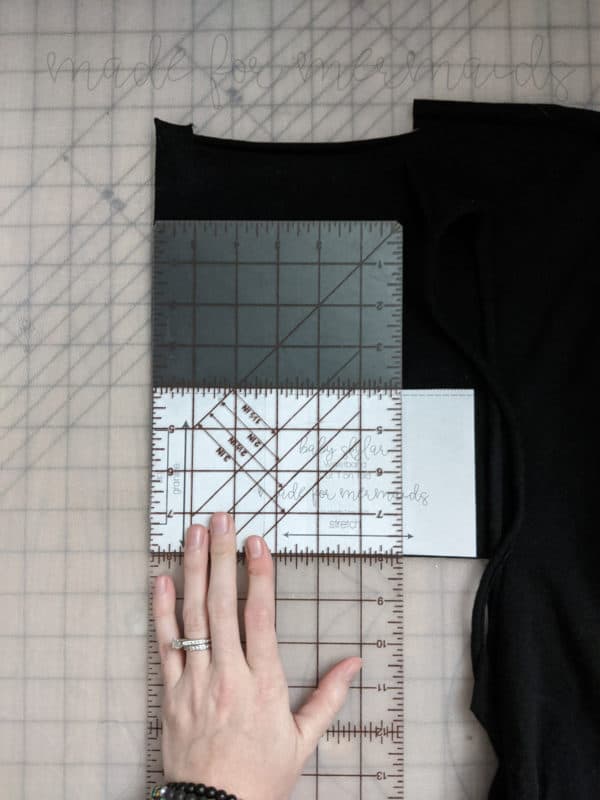
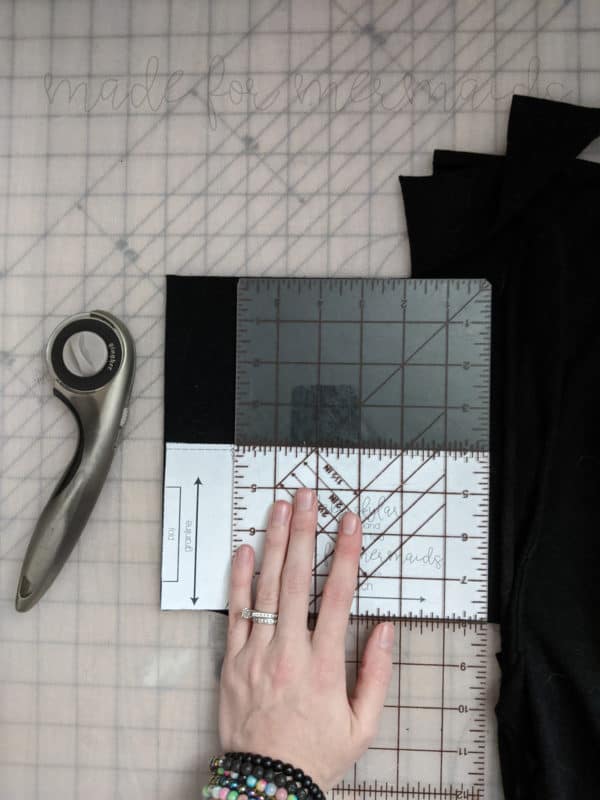
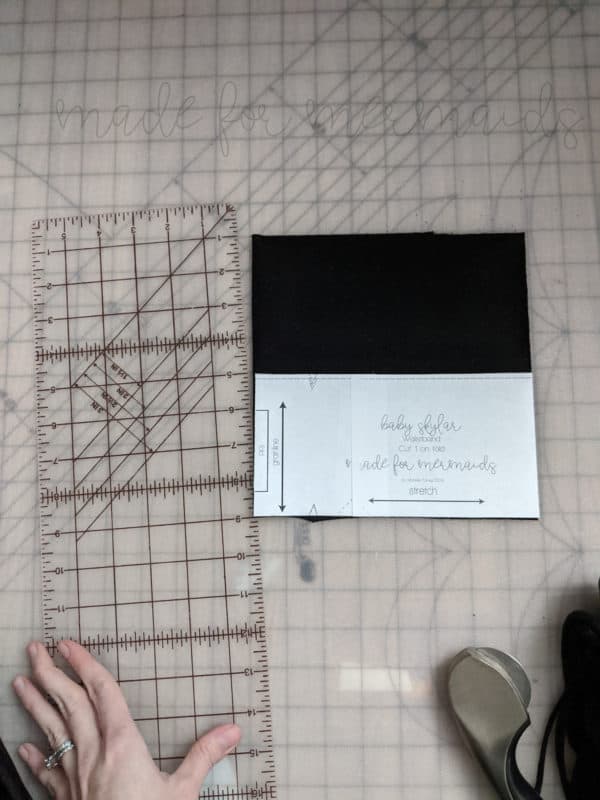
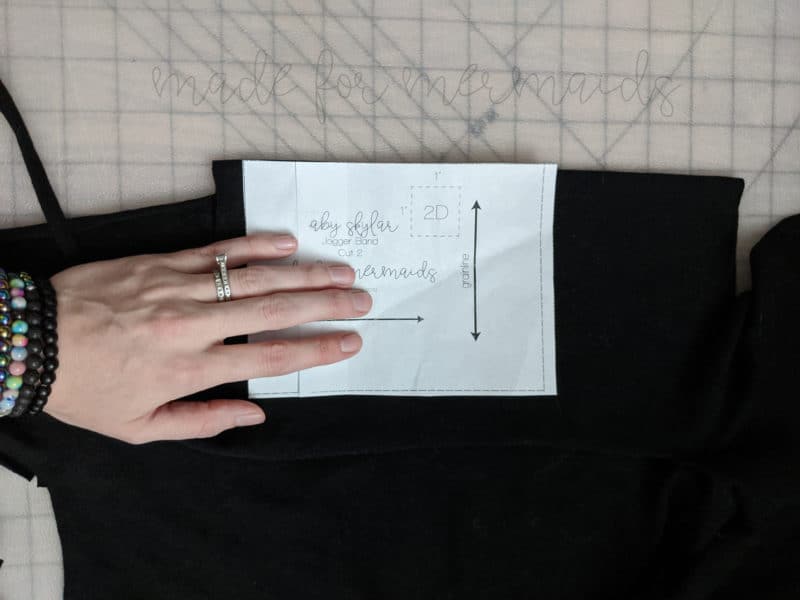
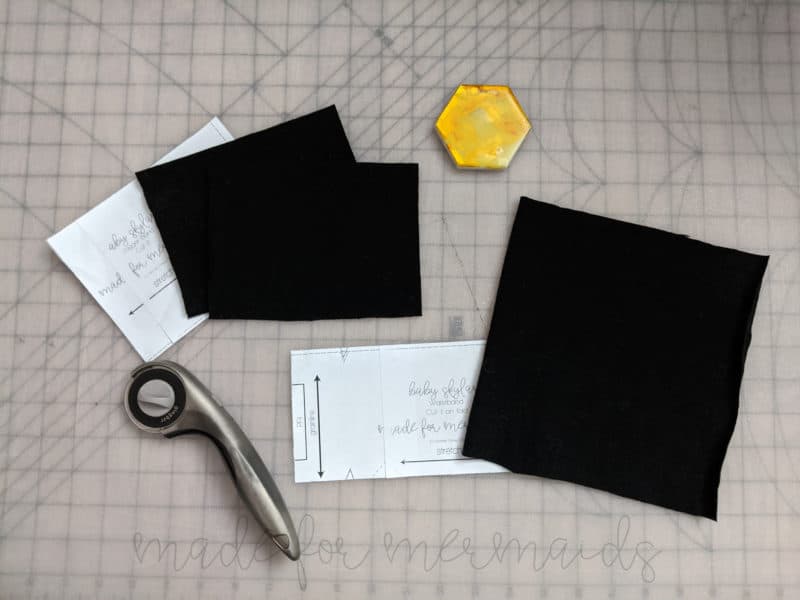
The hack is simple; grab your waistband and pants cuff pattern pieces. You’ll simply want to double the length (height) of them. You can do this by making the actual pattern piece taller, or use an acrylic ruler as shown below.
You should have all your bands the same doubled length (height). From here, you’ll just attach them as directed in the pattern.
For wear, just simply roll the bands up or down for the added height.
Now you’ve got super cute Skylars that will last that much longer!
Happy Sewing! -Michelle
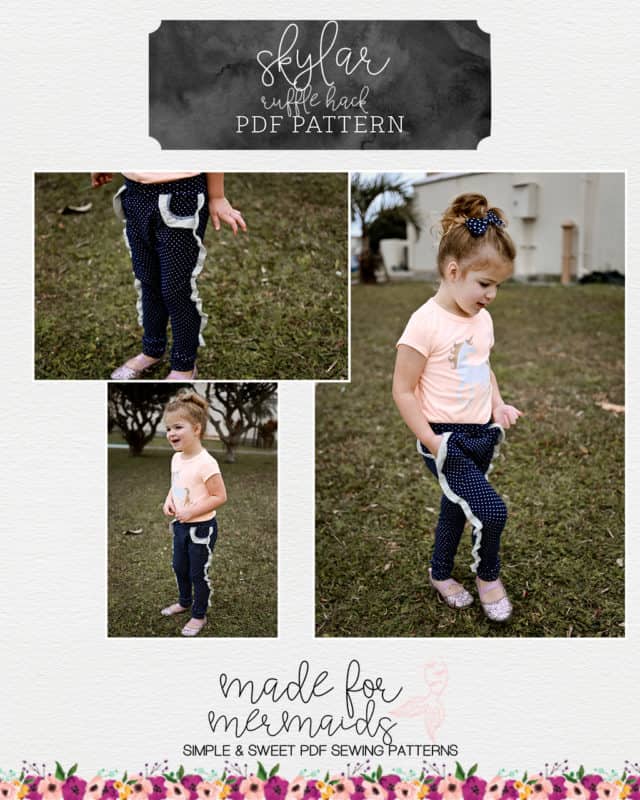
Side Seam Ruffle Hack
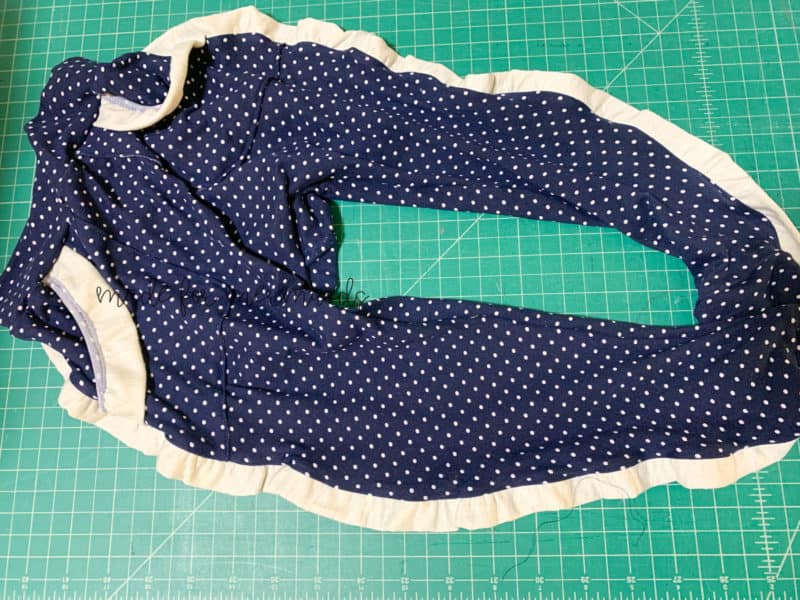
I wanted to add a little something extra to this pair of Skylar joggers for my daughter, so I added a little ruffle!
NOTE: I would recommend using the same type/weight of fabric for both the main fabric and the ruffle fabric, OR a lighter fabric for the ruffle. I used a French Terry, but it’s a little bulkier than I’d prefer. You can also just do a single layer, instead of a double layer, if you want even less bulk.
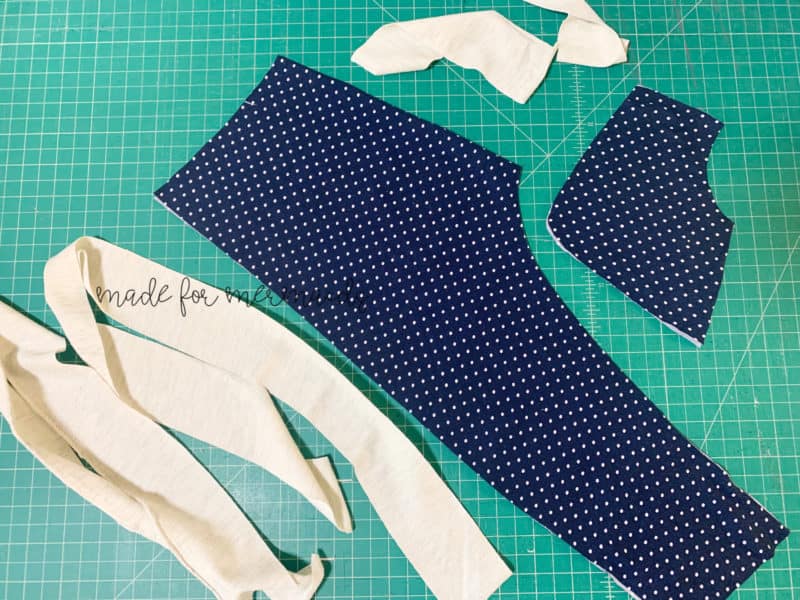
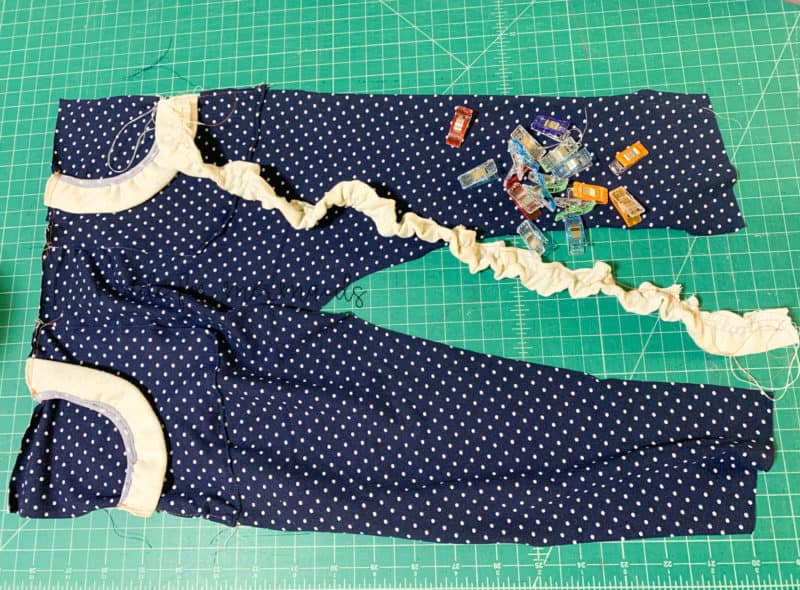
Cut your Skylar pieces per pattern instructions. Additionally, you will cut two side seam ruffle pieces and two patch pocket ruffle pieces (optional). I cut the length (height) to 2″ for all four ruffle pieces. To determine the width of the side seam ruffles, I measured the Skylar side seam and multiplied by 1.5. I did the same for the pocket ruffle pieces. If you wish to have a fuller ruffle, you could cut your pieces at two times the width instead of 1.5.
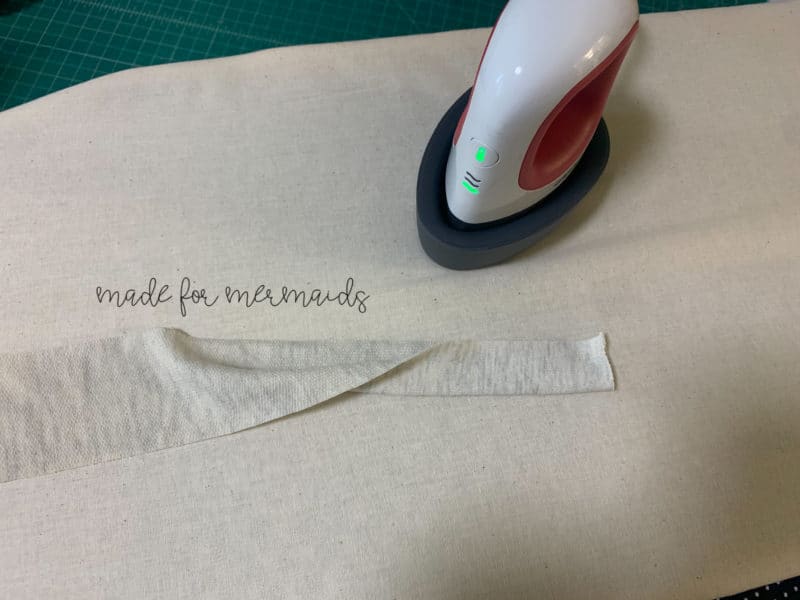
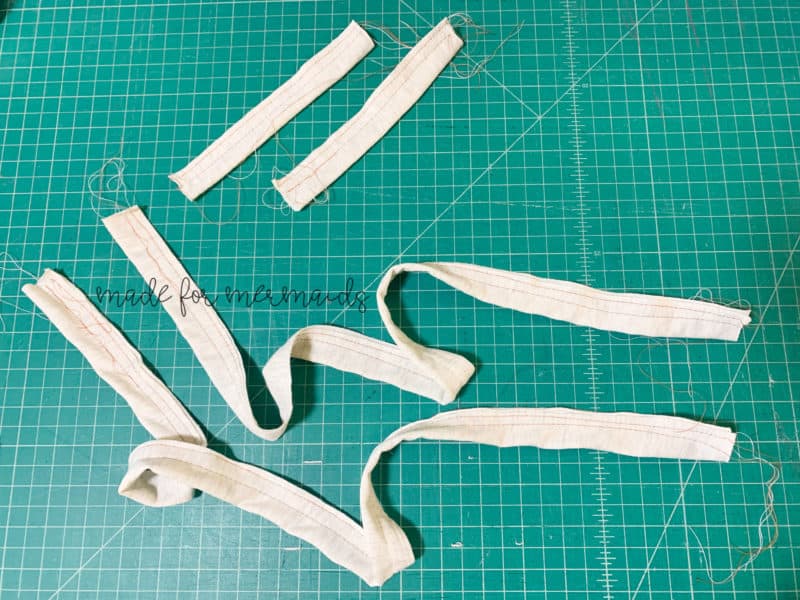
Press all ruffle pieces in half, lengthwise, with wrong sides together. Run two rows of gathering stitches along the raw edges of your ruffle pieces; one at 1/8″ down from the top raw edges, and the other at 5/8″.
Gently pull the bobbin threads to gather your ruffle pieces. You’ll ruffle pieces will be 1:1 to your pocket/side seam after you’ve gathered.
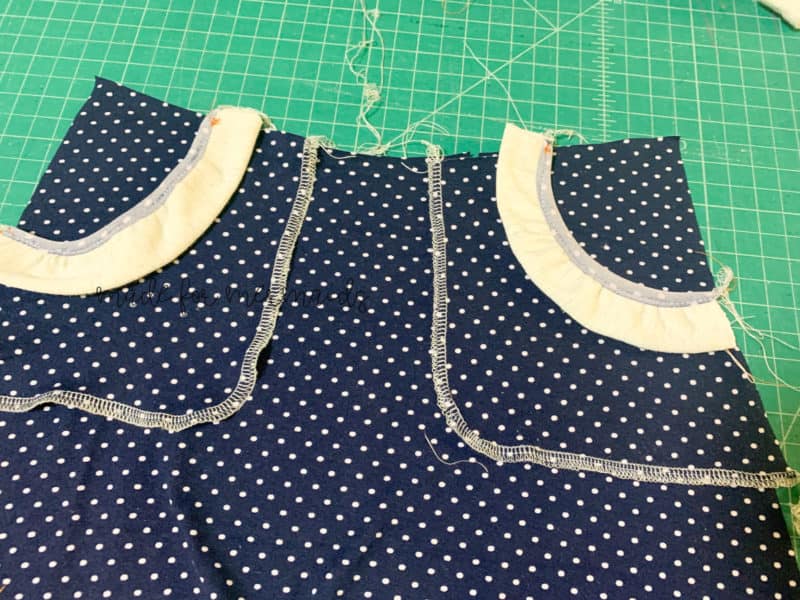
For the pocket ruffle, pin or clip the ruffle to the WRONG side of your pocket piece. Attach with 1/4″ seam allowance.
After attaching, flip your ruffle piece to the RIGHT side. Top stitch in place, enclosing the seam. I folded over so that 1/4″ of the wrong side of the fabric was showing. Attach your patch pockets per the Skylar tutorial.
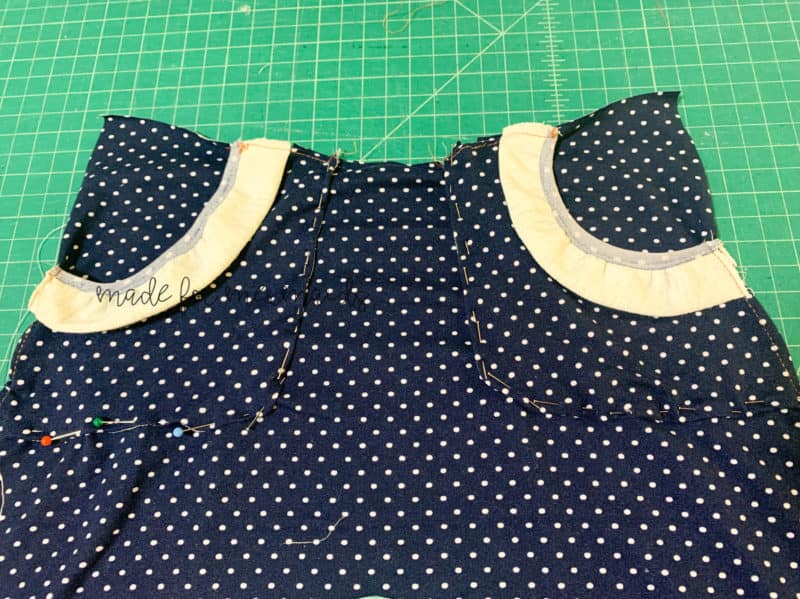
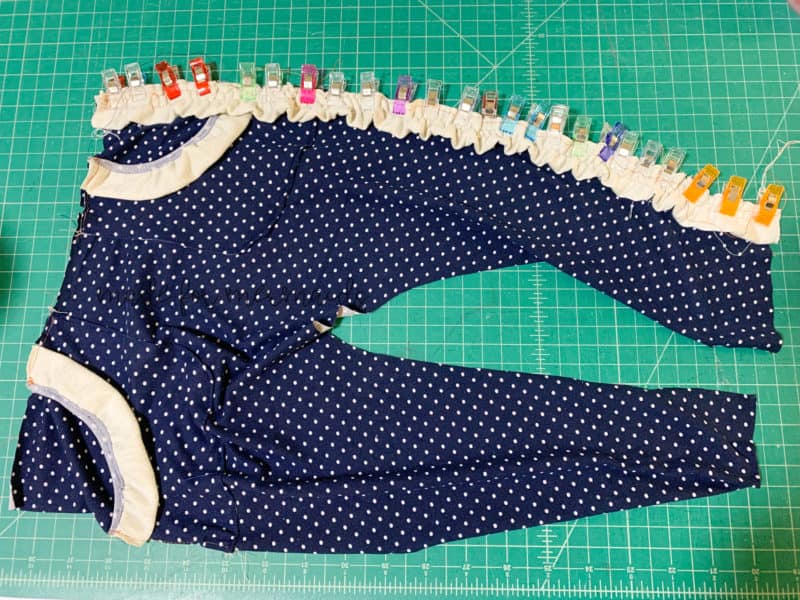
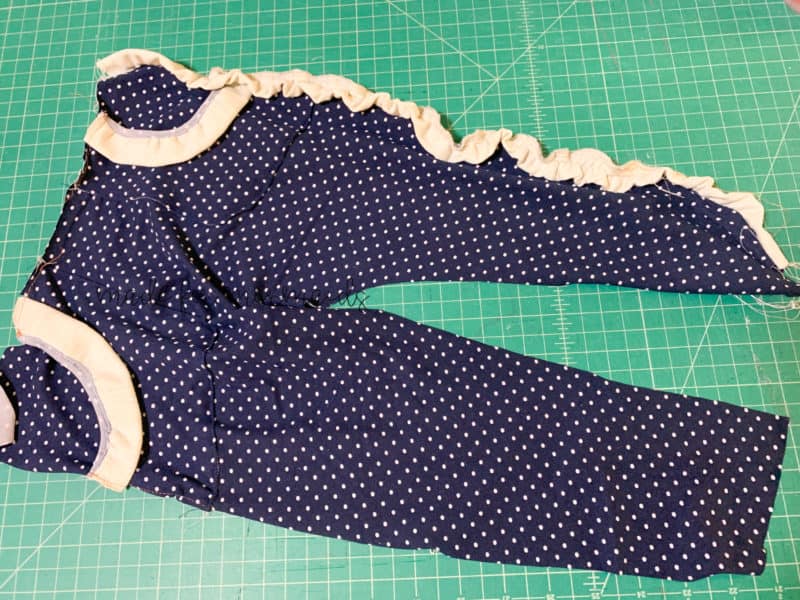
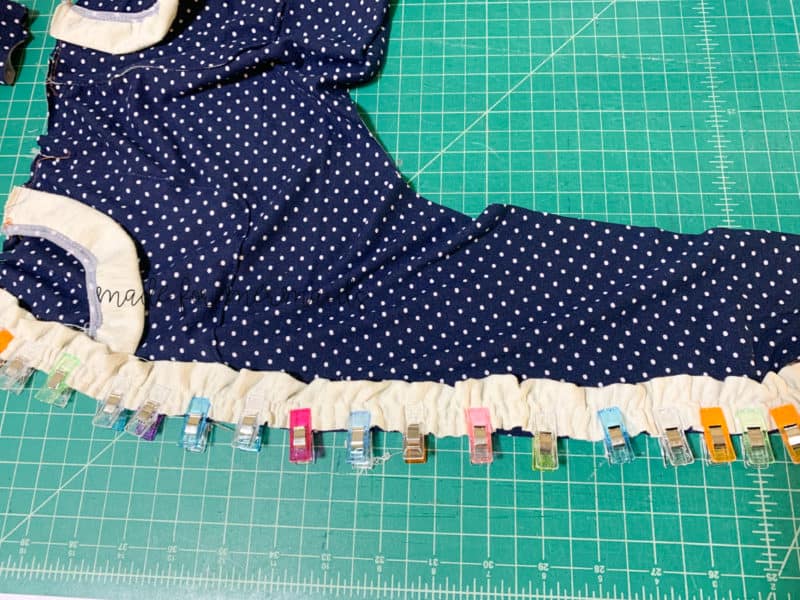
Next, pin or clip your side seam ruffle to the RIGHT side of your pants, matching up raw edges. Baste on with 1/4″ seam allowance.
Repeat the previous step with the other side of your pants. Baste on with 1/4″ seam allowance.
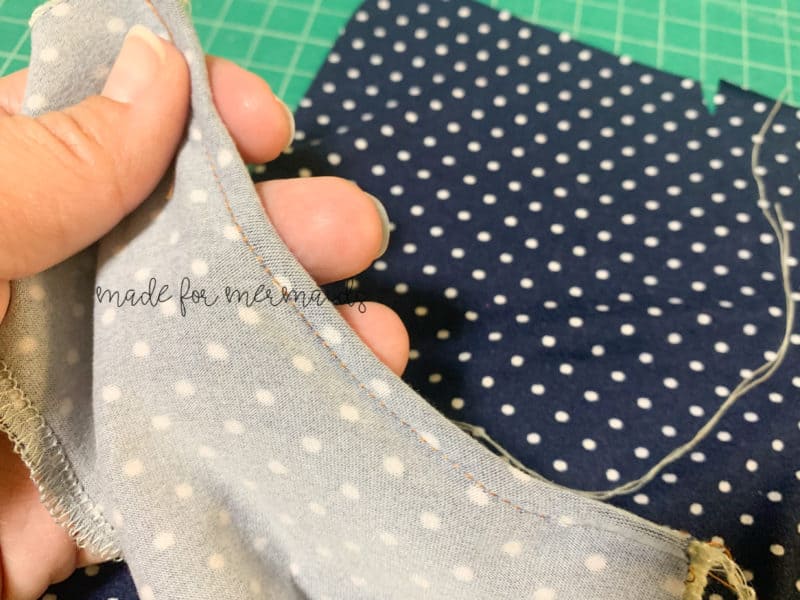
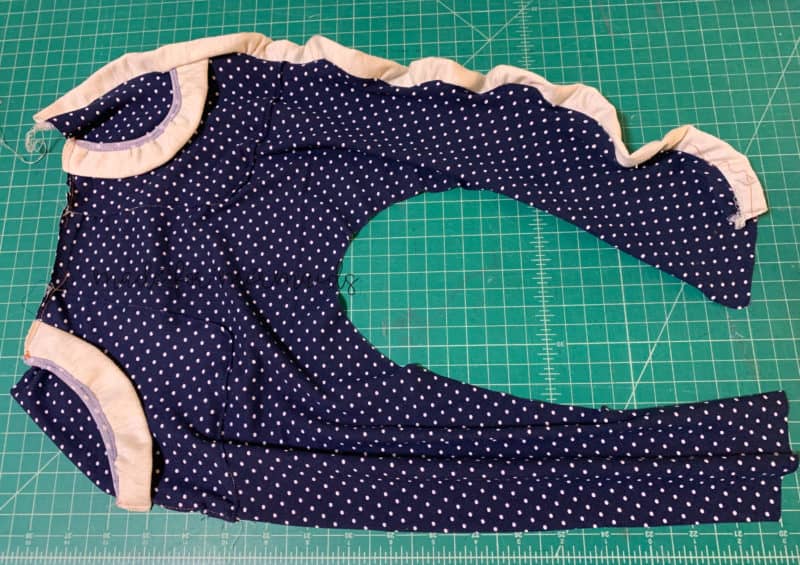
Place the back of your pants on top of the front, with right sides together. Pin or clip one side seam together, and stitch with 1/2″ seam allowance. Repeat with opposite side seam. At this point, I suggest turning right side out to press/steam your side seams as needed.
Turn inside out after pressing, and stitch the crotch/leg seams with 1/2″ seam allowance.
After that, continue with the tutorial as written to attach bands and cuffs!
Jordan + Skylar Mash
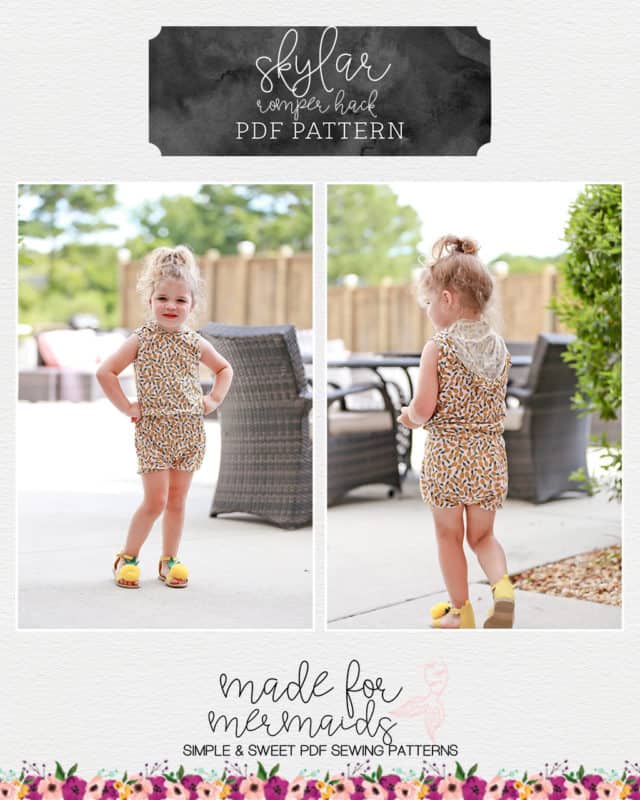
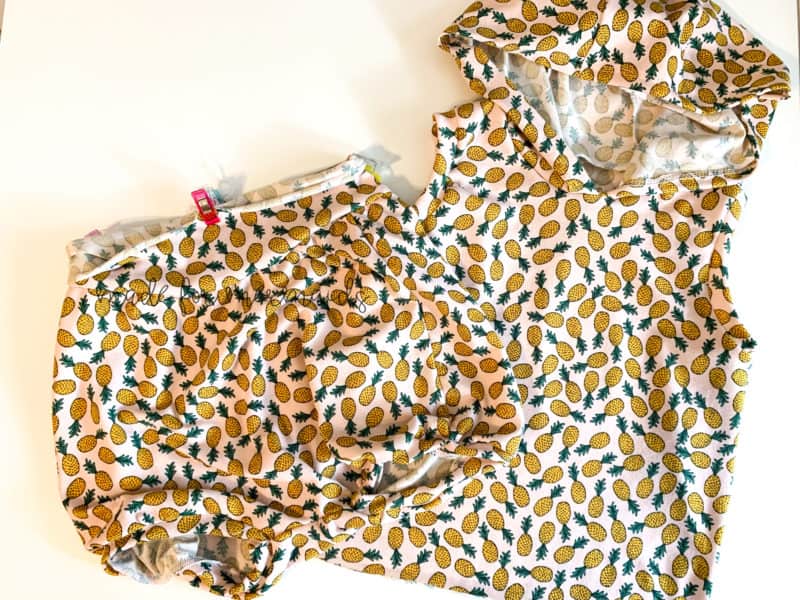
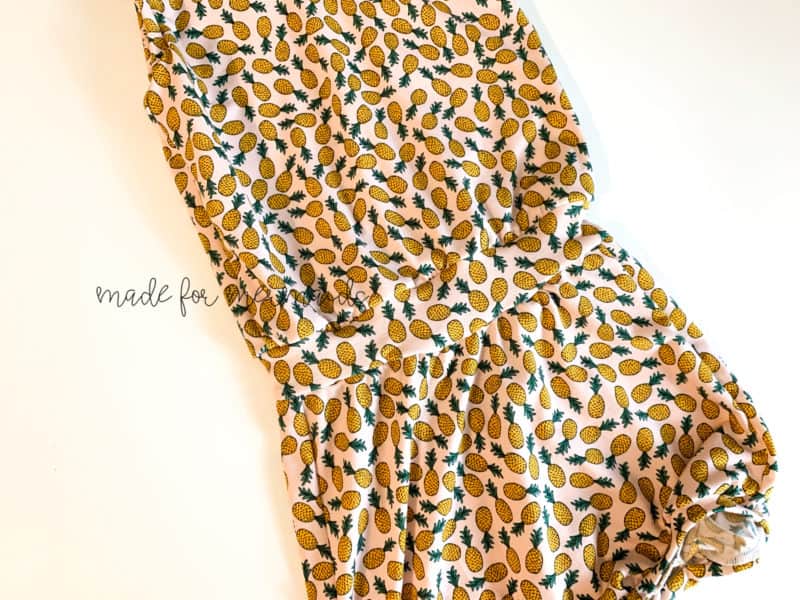
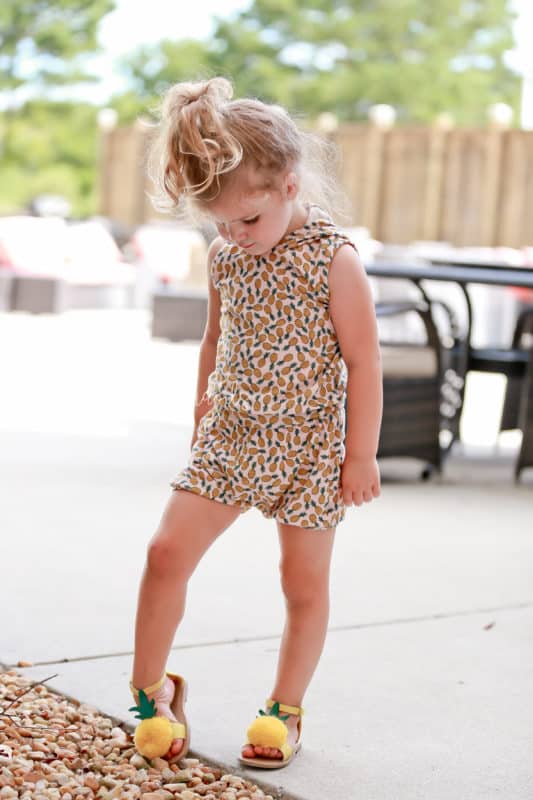
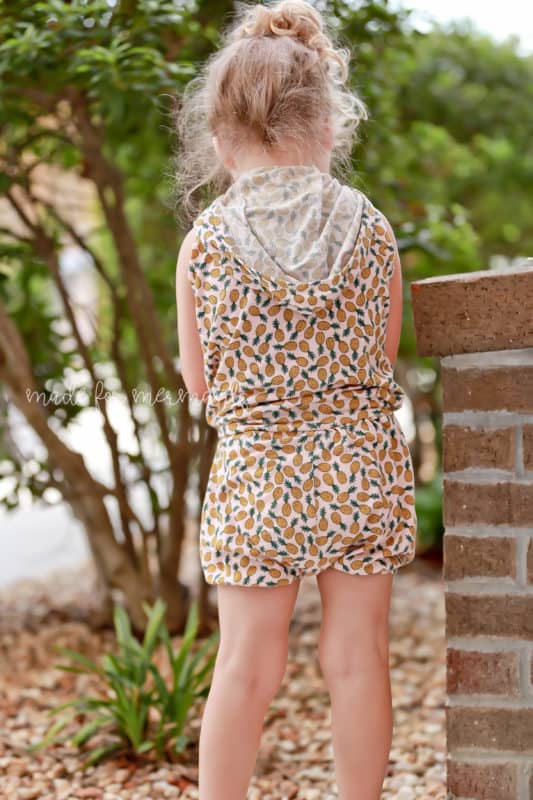
Skylar has been in the works behind-the-scenes for quite some time now!! Over the summer, I found the cutest RTW hooded romper at a second hand store. I knew I had to recreate it with Skylar as the bottom portion! Jordan was perfect for getting the hooded tank style I wanted.
NOTE: Depending on the child, you *may* need to modify the neckline/hood opening OR add a snap placket. My daughter didn’t have an issue getting this one on/off over her hips, but depending on proportions, you may need to modify. Stretch of fabric is VERY important for this; I do not recommend something like a french terry unless you plan to add a snap placket.
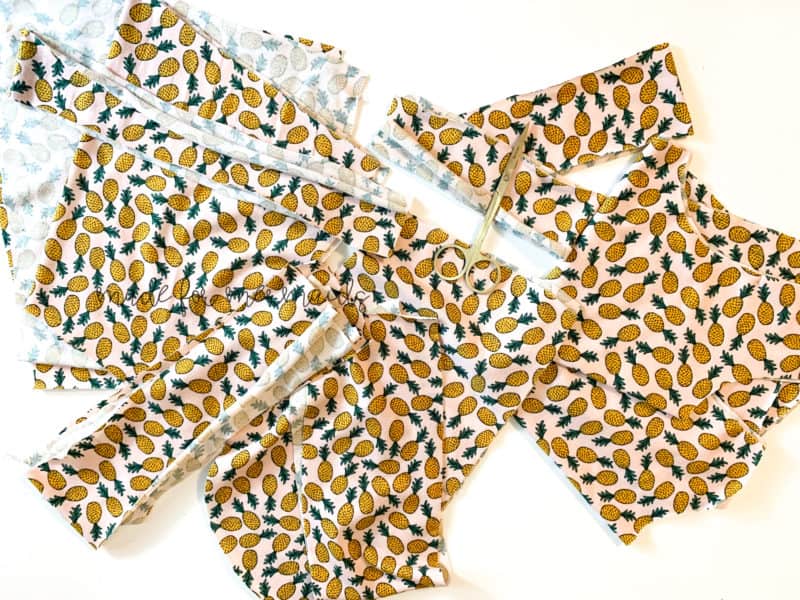
Cut out your Skylar and Jordan pieces to begin. You will need to modify the Jordan bodice, and the Skylar waistband, but all other pattern pieces and bands will remain unchanged (unless you need to modify neckline as described above).
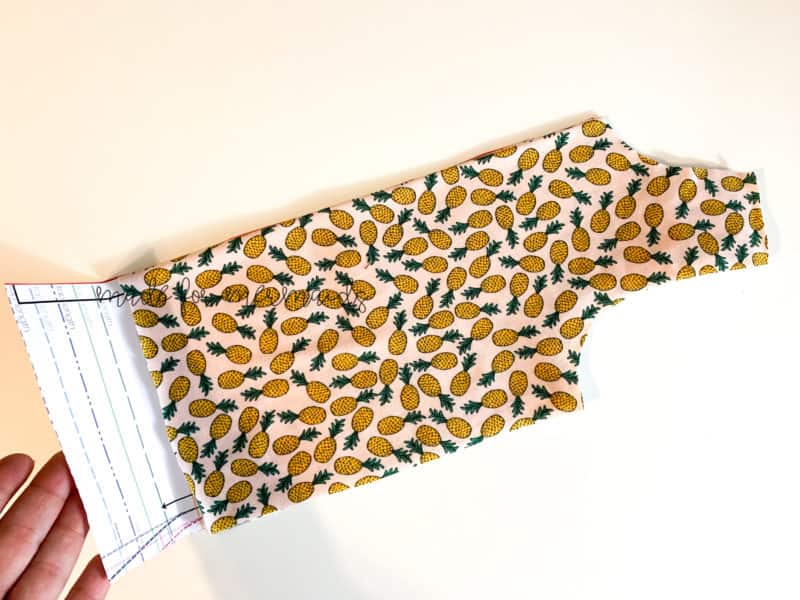
To modify the Jordan bodice, remove 1/2 of the length of the Skylar waistband from the bottom of Jordan. Depending on personal fit preference, you may remove a little more/less.
- Jordan with length removed
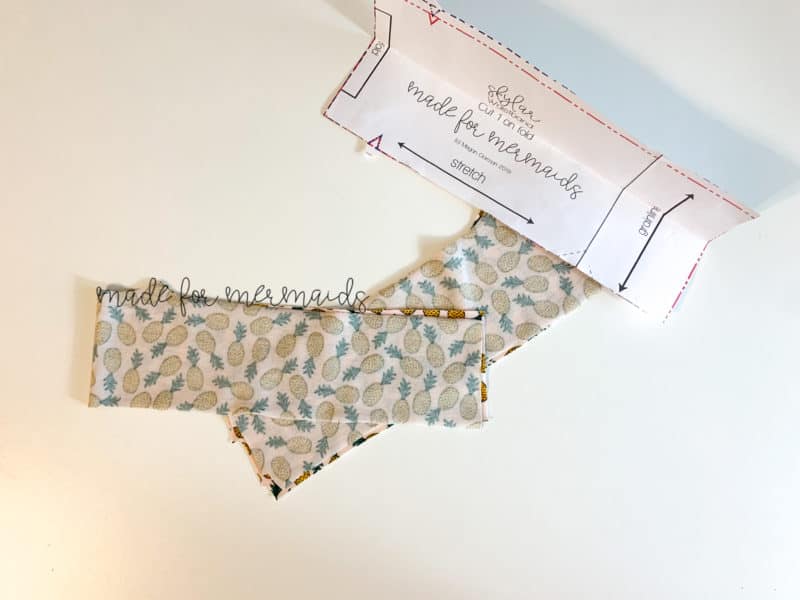
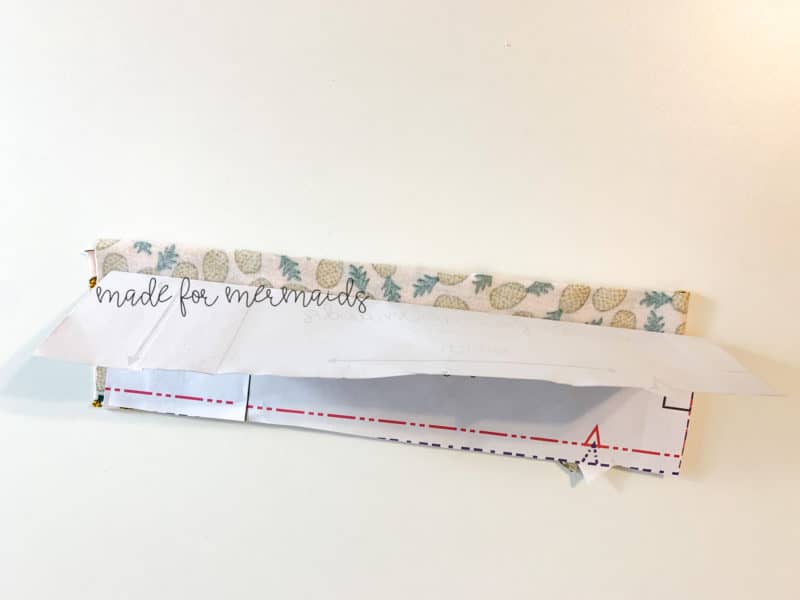
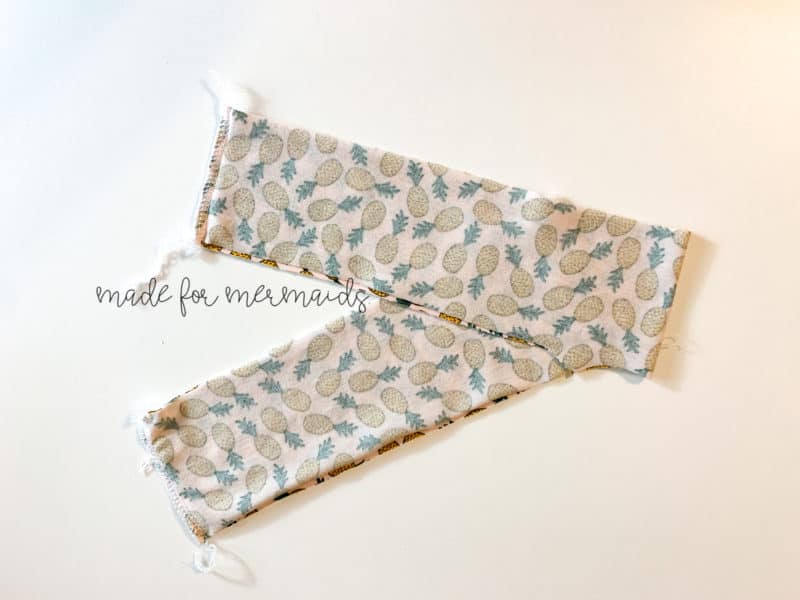
Next we will modify the Skylar waistband. Begin by folding the paper pattern piece in half. Instead of cutting on the fold, you will now cut two on the fold. Do use the notches. After cutting your two waistband pieces, stitch together along the short edges using 1/2″ seam allowance.
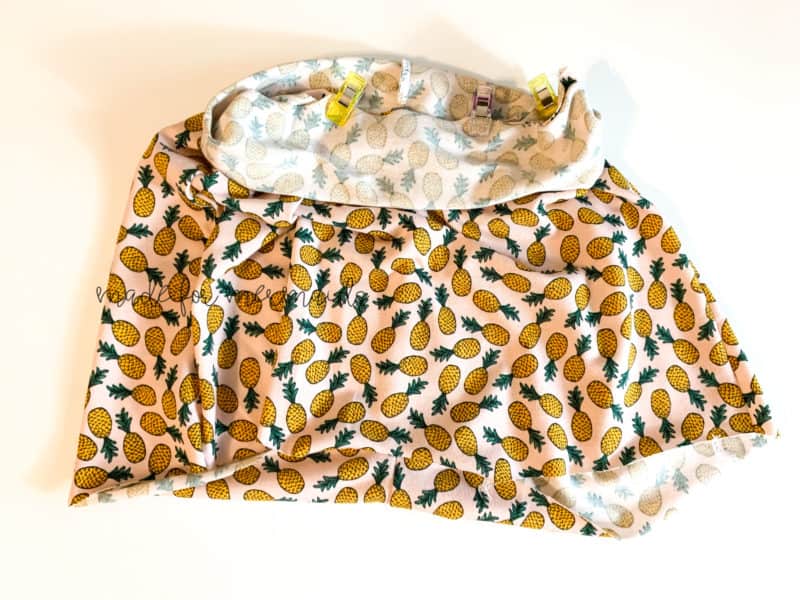
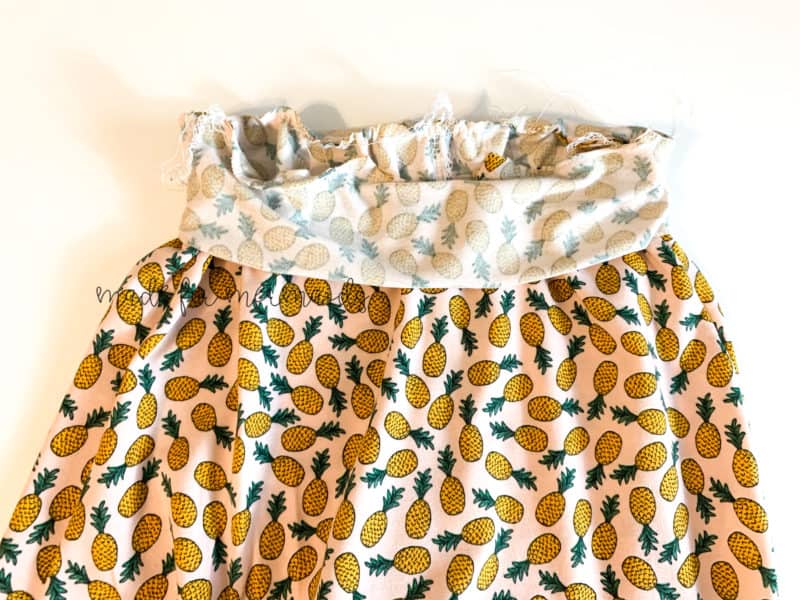
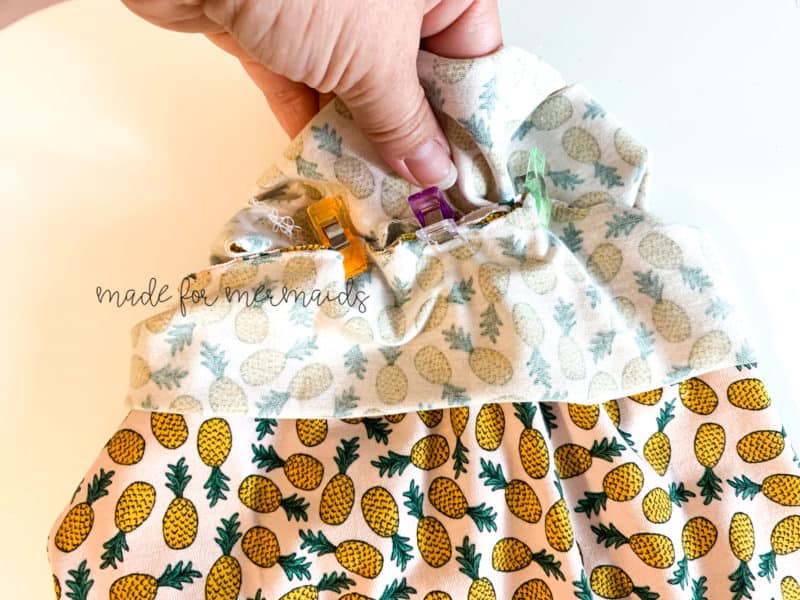
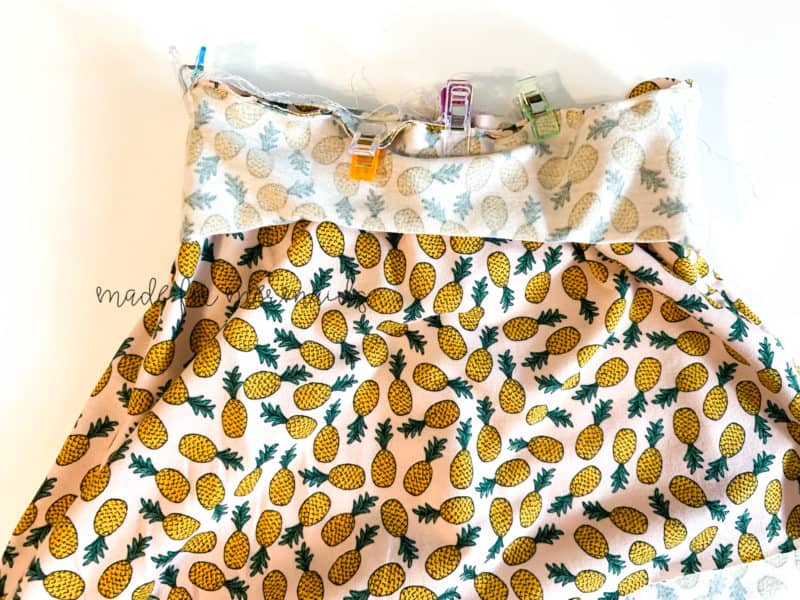
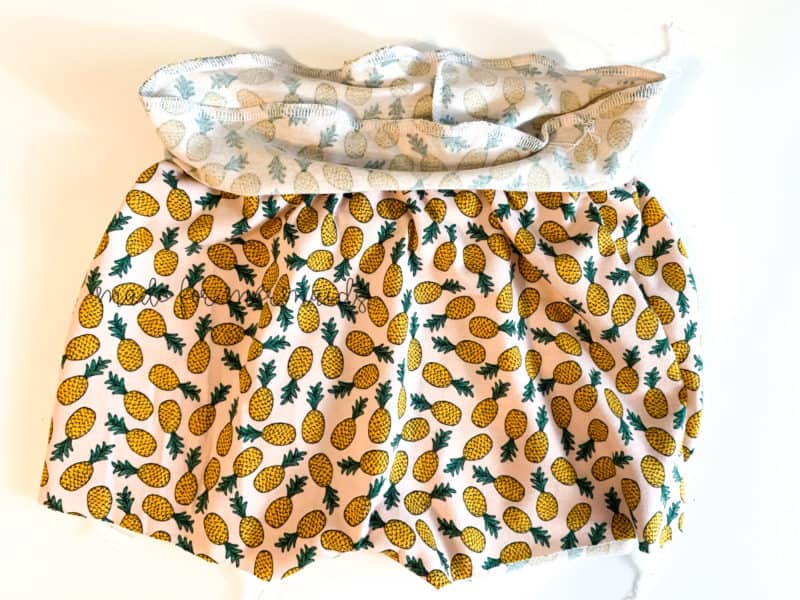
Using the notches as a guide, attach the waistbands to your Skylar waist opening. You will have one waistband piece on the outside (with right sides together), and one waistband on the inside (with right side of waistband to wrong side of main shorties). The waist opening will be sandwiched in between the two waistband pieces. Clip or pin at the notches, line up center backs, and then stretch the remaining waistband to fit the waist opening.
- One waistband will be placed outside, with right sides together
- The second waistband piece will go inside the waist opening, with right side of waistband to wrong side of main shorties fabric
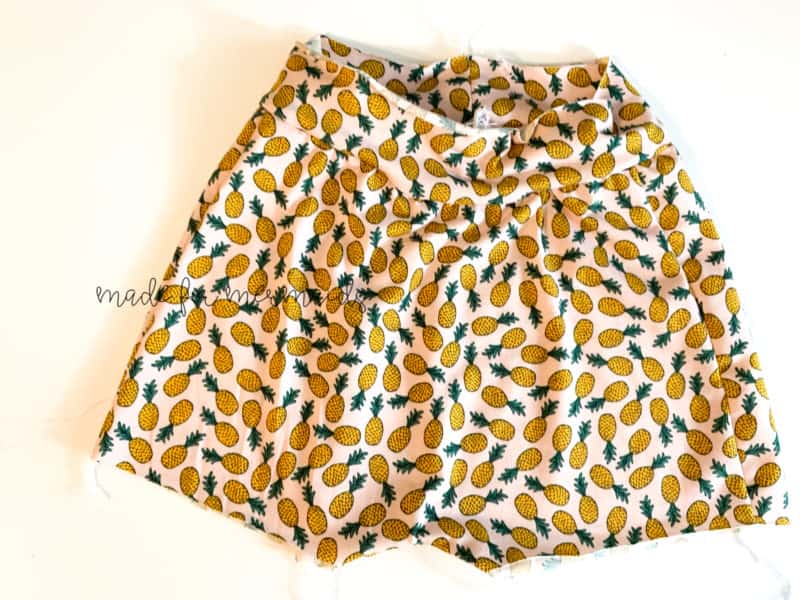
- Pin or clip notches together, then center back, then pin/clip remaining waistband, being sure to stretch/ease the waist opening evenly
Once you’ve clipped or pinned your waistband pieces in place, stitch all the way around with 1/2″ seam allowance. Be sure to catch all three layers (outer waistband, waist opening, inner waistband) in your seam.
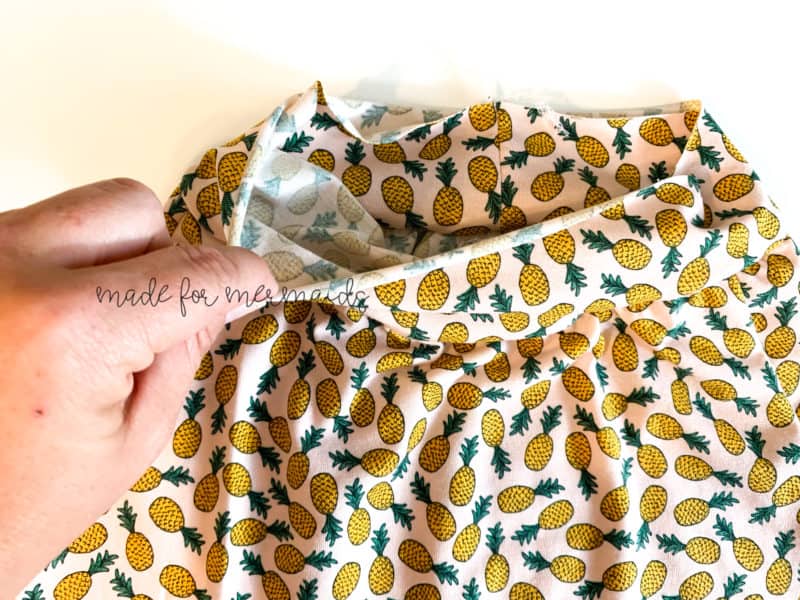
Press both waistband pieces up and away from the shorties. You may wish to baste the raw edges of your waistband together, as you will now treat as one layer.
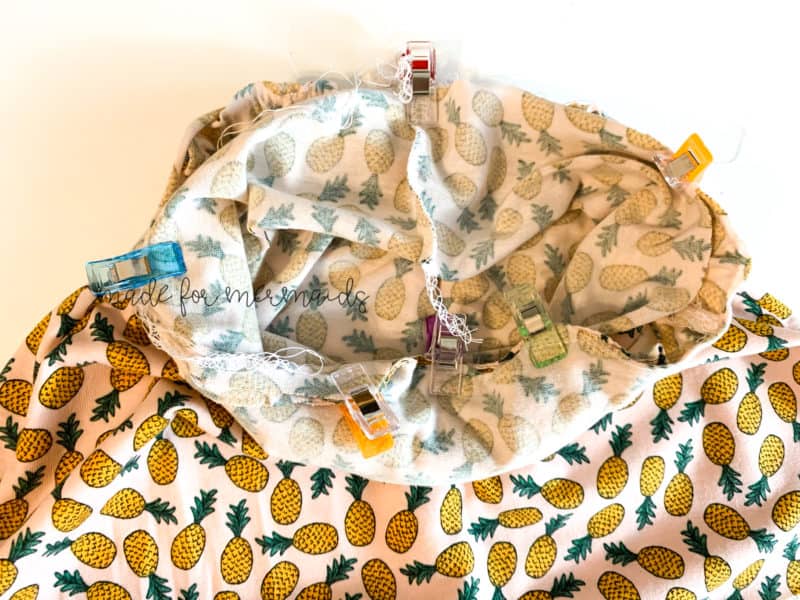
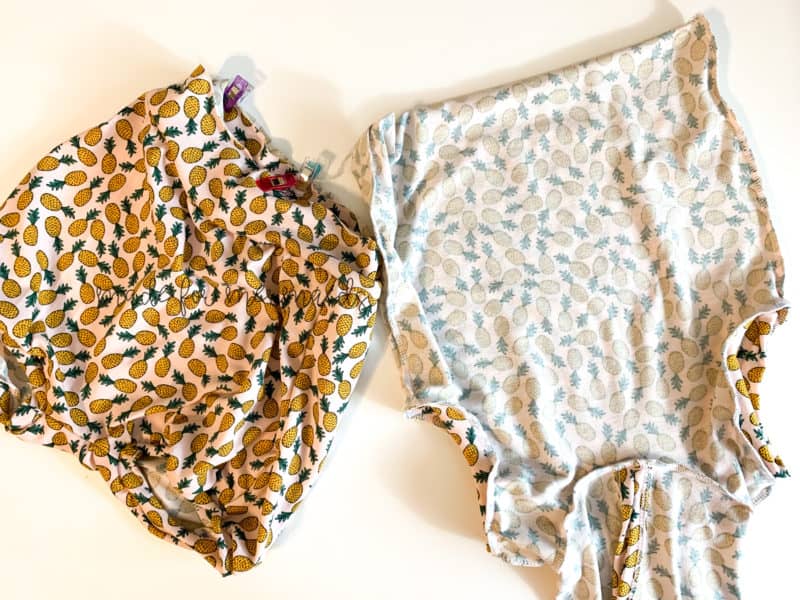
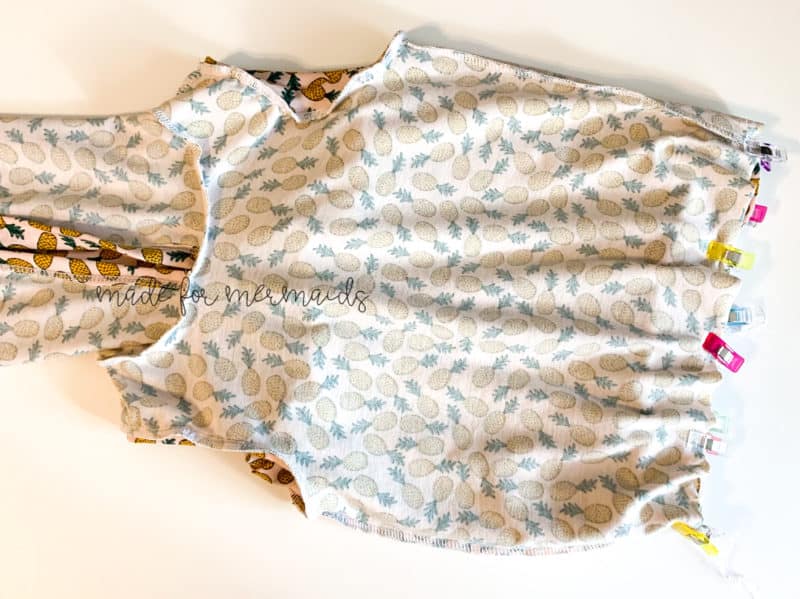
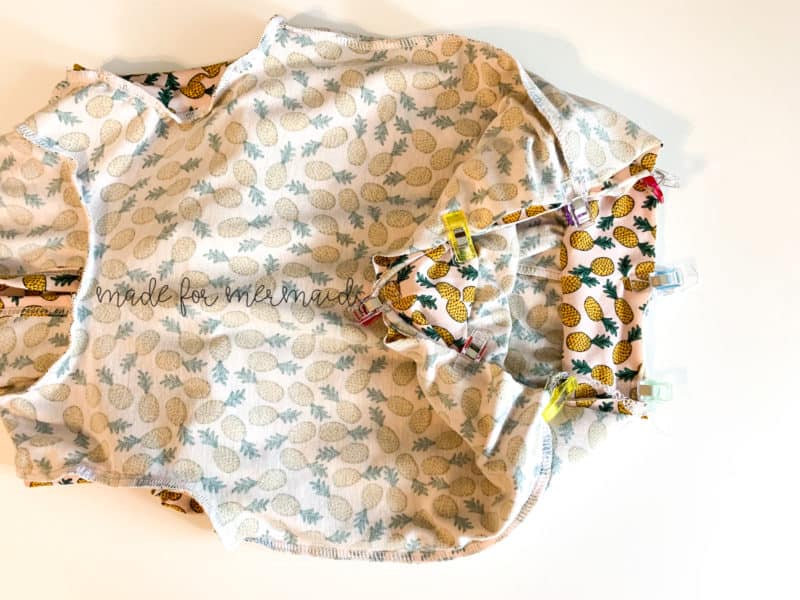
Construct Jordan per written tutorial instructions. Instead of hemming the bottom, however, we will attach to our Skylar shorties. Turn Jordan inside out, and keep Skylar right side out.
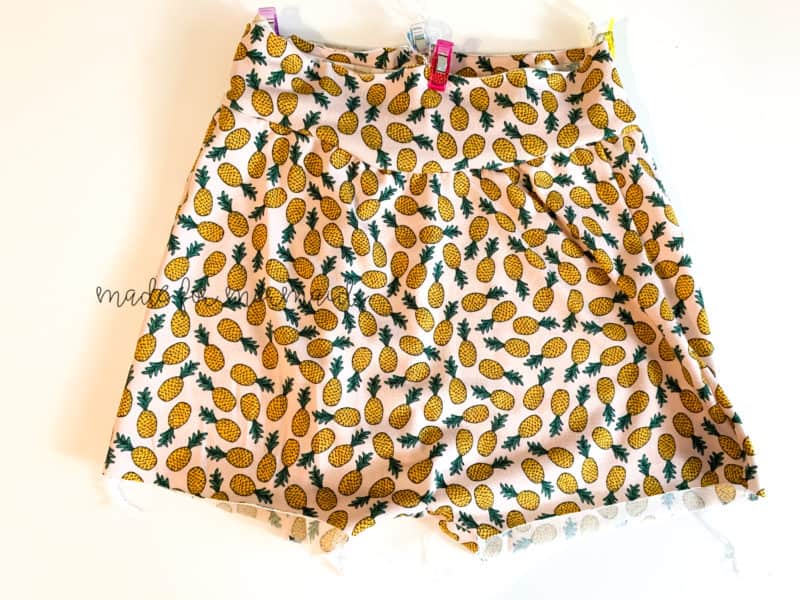
Place the Skylar shorties inside the Jordan bodice, with right sides together. Raw waist band edges and bottom hem should match up. Pin or clip in place. You will have three layers now; two waistband layers + Jordan. Stitch all the way around with 1/2″ seam allowance.
That’s it! Enjoy your Skylar + Jordan mash!
We can’t wait to see the Skylars you sew up for the littles in your lives! It’s such a quick and easy sew, you’ll be cranking them out for everyone in no time! Don’t forget to share your makes over in our Facebook group; we love seeing what you create!





















Leave a Reply