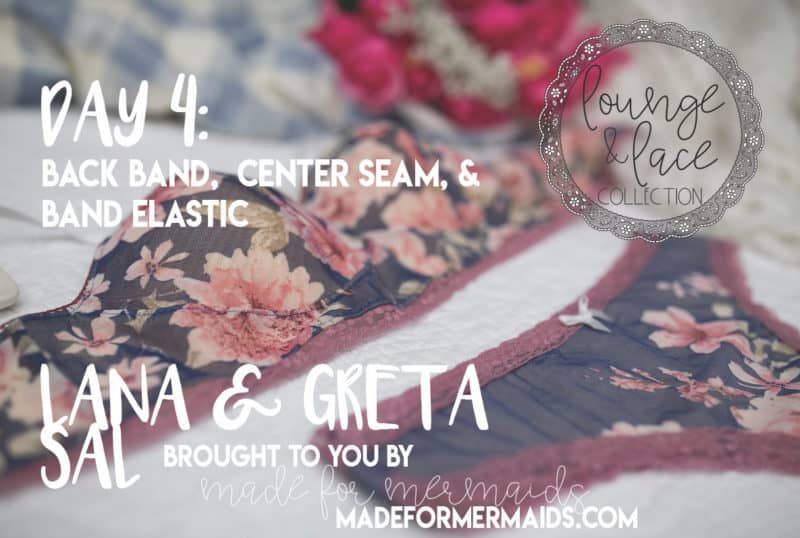
Can you believe we’re more than halfway finished?! Today we’ll be working on band construction, center seam, and adding our band elastic.
A few helpful tips and reminders:
- make sure you match up your notches
- for band elastic, use the cut chart on page 4; it will not be a 1:1 fit so you will have to stretch a bit
- BEFORE adding band elastic is a great time to try on and check fit
- if you did the lace option, you will attach your cups to your frame AFTER constructing your back band
Already have FOE on both your front and side cups? Don’t worry! I show you an easy way to finish in today’s video; you’ll just attach your elastic to the band/frame before attaching your cups.
Already have FOE on both sides of your cup, AND already have your cups attached to your frame? You can overlap your elastic, OR, you could just unpick about 1/2″-5/8″ of stitches at the edge where your cup and frame are attached, and follow the same step as mentioned above.
Tomorrow, we will finish up with Lana, and Day 6 will be our bonus Greta day! It’s a quick and easy pattern, but you’re welcome to spread it out over Day 6 and Day 7 if that’s easier for you. Winners won’t be announced until Sunday evening, and you don’t need to have sewn Greta to be eligible for our giveaways. 🙂
Ready to sew?
If you still have questions about these steps in your tutorial, you are always welcome to post in our SAL group so we can help you! Be sure to check in each day during the SAL, and look for daily posts to enter our giveaways. We can’t wait to see what you create this week!

DAY 1: MEASURING, PRINTING, & CUTTING
DAY 2: ASSEMBLING CUPS & FINISHING NECKLINE
DAY 3: PREPPING FRAME & ATTACHING CUPS
DAY 4: BACK BAND, CENTER SEAM, & BAND ELASTIC
DAY 5: ARMHOLE ELASTIC, BACK CLOSURE, & ADJUSTABLE STRAPS
DAY 6: GRETA
DAY 7: WINNERS ANNOUNCED
ABOUT OUR SPONSORS:
Tailor Made Shop offers a curated selection of high quality lingerie sewing fabrics and trims for the modern sewist.
Handcrafted goods. Digital designs. Made in West Virginia.


Leave a Reply