It’s that time of year – back to school time! Fall is right around the corner, as well, so we are happy to introduce the Bailey patterns to you!
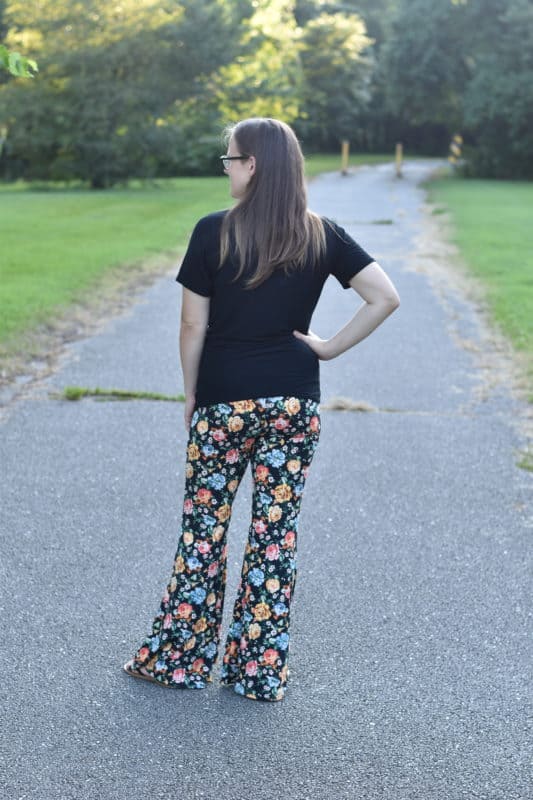
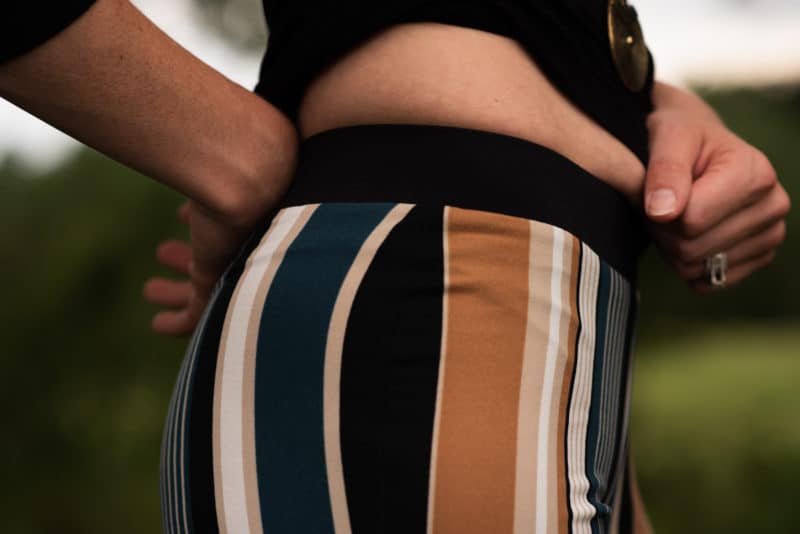
Bailey is a SUPER quick and fun knit bell bottom pattern! Available in Dolly, Baby, Girl’s, and Women’s Sizing, these bell bottoms are sure to be a hit with many different age groups! Dolly, Baby, and Girl’s feature a low rise waist with gathered bell and flared leg options, plus an enclosed elastic waistband. Baby also includes an adjustable elastic waistband option for a perfectly customizable fit! Women’s Bailey has a high rise waist with an enclosed elastic waistband, plus you can choose from slim flare, dramatic flare, or the gathered bell options!
You can choose to purchase individually, or purchase the Women’s and Girl’s Bundle, the Girl’s and Baby Bundle, or the Bundle of all 4 Bailey patterns!
In addition to all of the great options that are included in the tutorial, we also have some fun hacks for you!
Exposed Ruffle Seam Hack
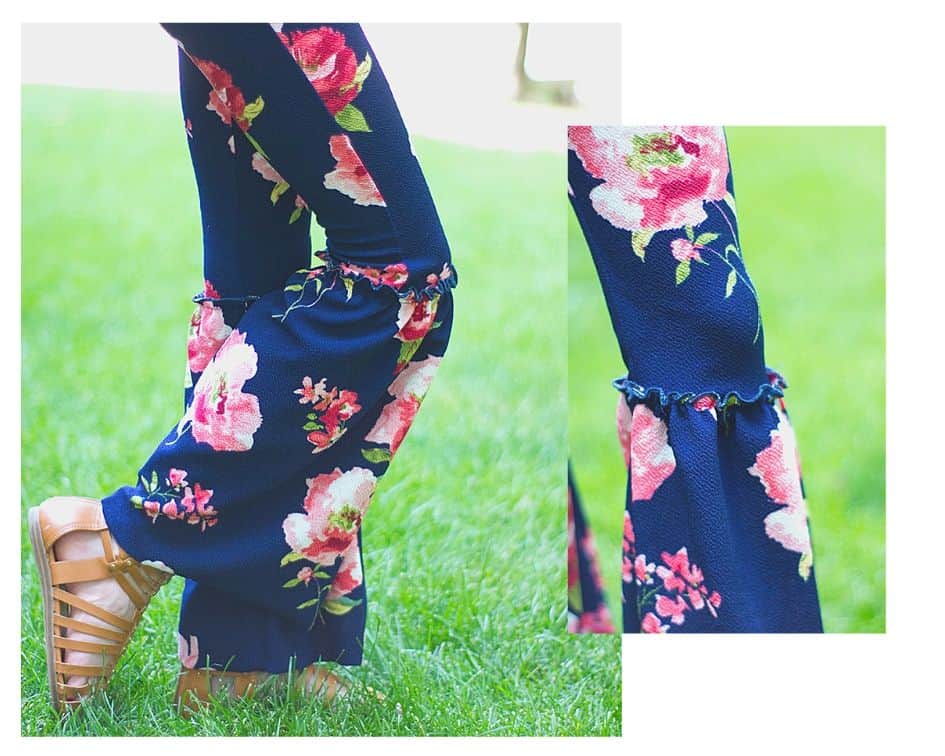
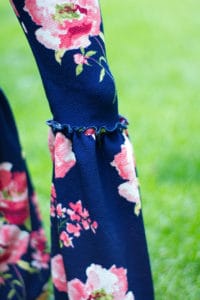
Adding an exposed seam to the already adorable gathered Bailey Bell Bottoms is a simple and fun little twist. Here are the simple steps to trying this hack:
Begin by cutting your gathered bell pieces with an added 1/2 inch on the top edge of the pattern piece.
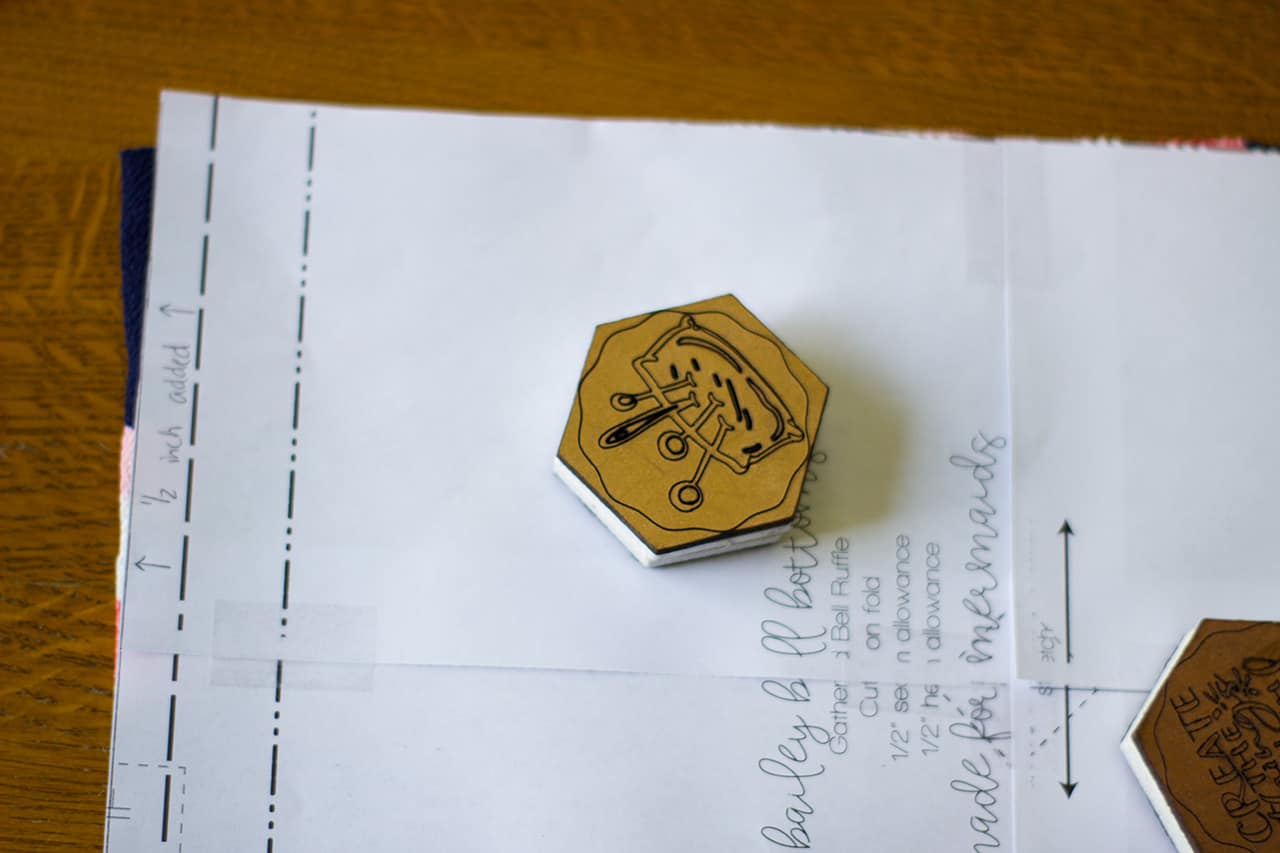
Step 1: Construct the gathered bell bottom pants per the pattern stopping at step 5.
Step 2: Mark a line 1/2 inch up from the bottom raw edge of each leg piece using a fabric pen or marker. This will be your guide line when attaching your gathered piece later.
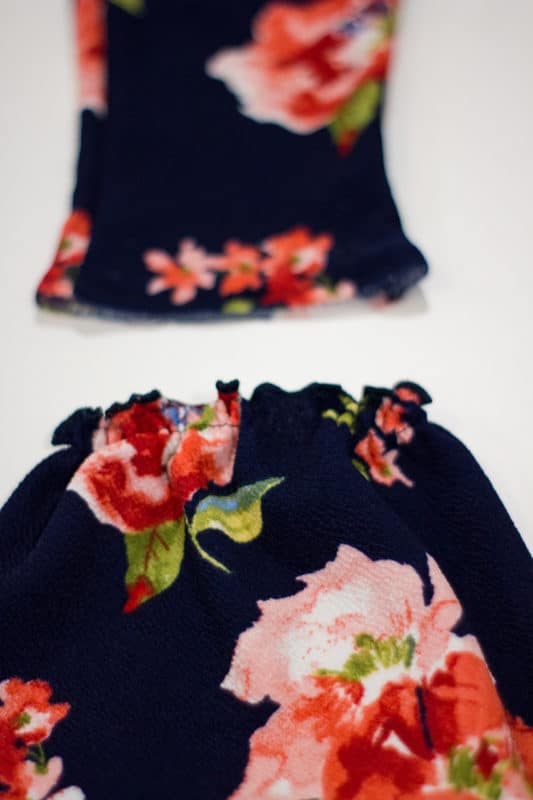
Step 3: Fold ruffle in half width wise and sew together. Optional: Finish the top edge of the gathered piece with a rolled hem. Then add your two rows of basting stitches per the pattern.
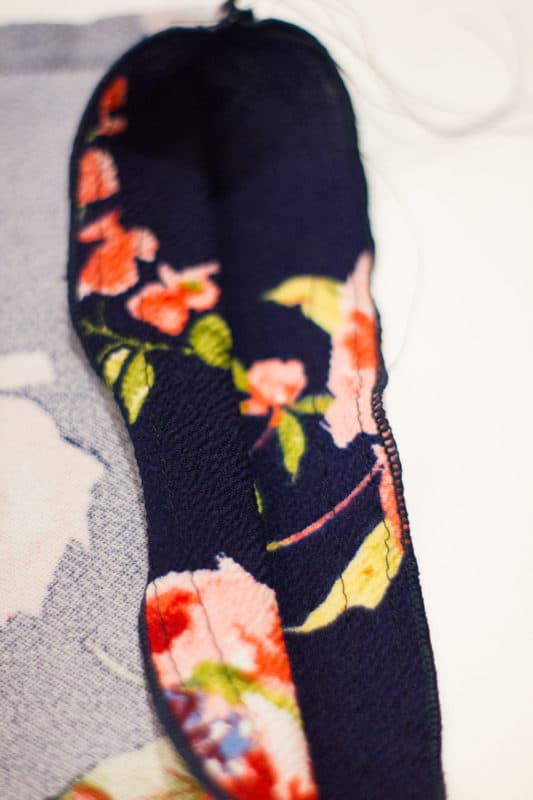
Step 4: Pull gathering stitches so the ruffles are the same width as the leg openings. Turn both the gathered ruffle and the leg piece, right sides out.
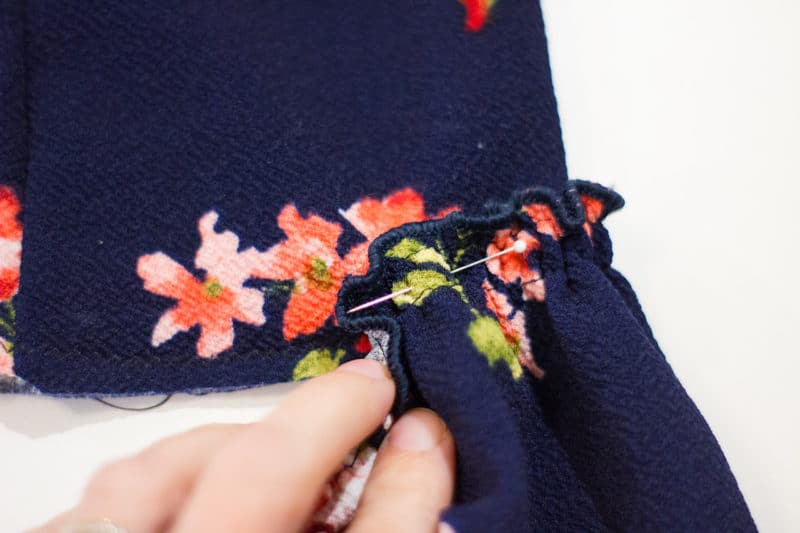
Step 5: Slip the ruffle on top of the leg piece and pin along the 1/2 inch marked line from step 2. Your pins should be in the center of your two rows of gathering stitches and directly on top of the 1/2 inch marked line on the leg piece. Take your time pinning carefully around the leg opening following the 1/2 inch guideline you marked.
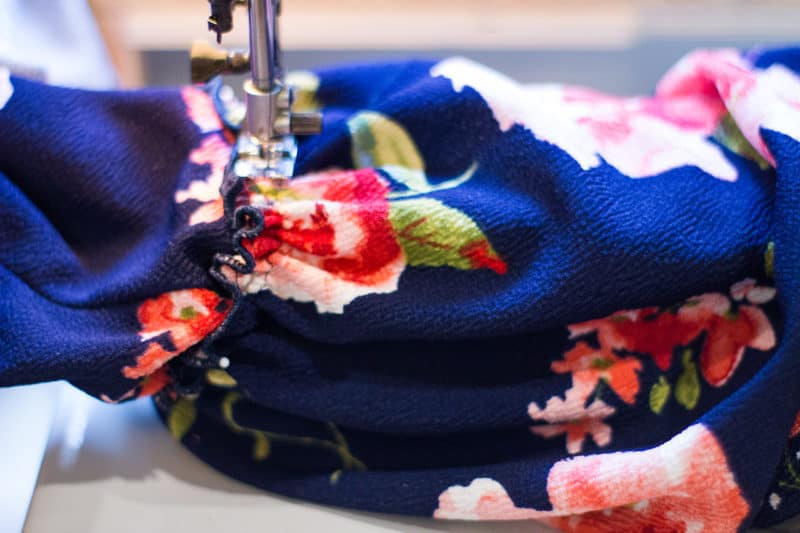
Step 6: Slip the leg over your machine arm and stitch the ruffle on to the leg using a long stretch stitch. Stitch in between the two rows of gathering stitches. Then remove the basting stitches. Hem the bottom of the pants per the pattern.
-Shannon
Maternity Modification
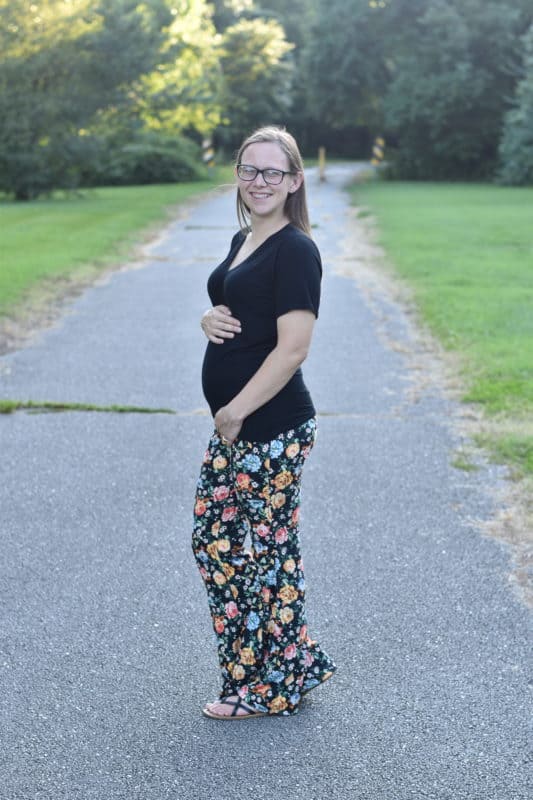
Hands-down one of the most common questions we’re asked when a new pattern release is if this pattern can be modified for maternity. The Bailey Bell Bottoms work great for maternity and will definitely keep you and your bump on trend this fall and winter! This is a super easy hack. All you need is the FREE Patterns for Pirates Peg Leg Maternity Add-On. You will simply align the crotch points of the two patterns and trace the rise of the Peg Leg Maternity Add-On onto the Women’s Bailey pattern! This will work with either waistband from the Peg Leg Add-On. Isn’t the bump adorable?!
Low Rise Hack
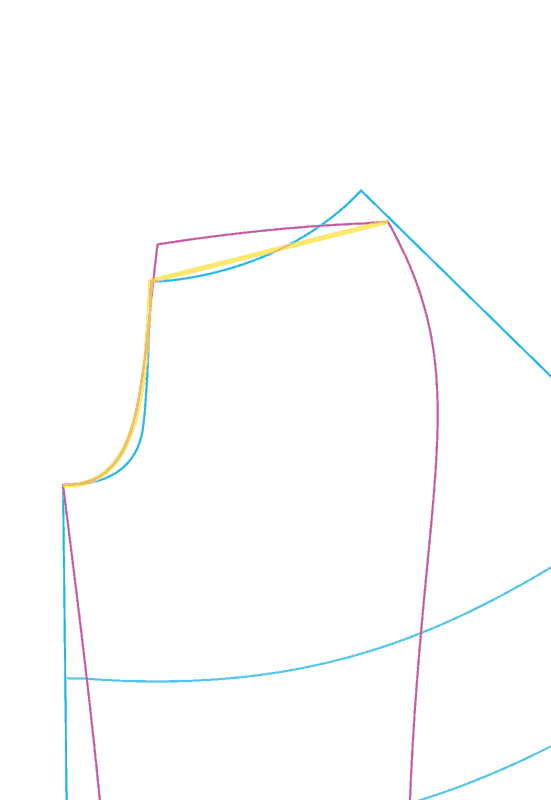
Baby Bailey and the Girl’s Bailey are already drafted with a low rise for optimal comfort of the little ones, but to keep Women’s Bailey on trend, it has a high rise waist! For those who might want a low rise waist, this hack is for you! All you need is the FREE Women’s Cora Culottes pattern. You will simply trace the height of the front rise from the Women’s Cora (shown in blue below) to the Women’s Bailey pattern (shown in pink below). The final product is shown in yellow below. I prefer for my back rise to be a bit higher, so I graded the lower rise into the side seam and left my back rise as drafted, but you could also lower the back rise and side seams using the same method if you prefer!
We hope you love the Bailey patterns as much as we do! Can’t wait to see all your makes! Be sure to share with us in our Facebook Group or tag us on Instagram and use the hashtags #madeformermaids #baileypattern








Leave a Reply