
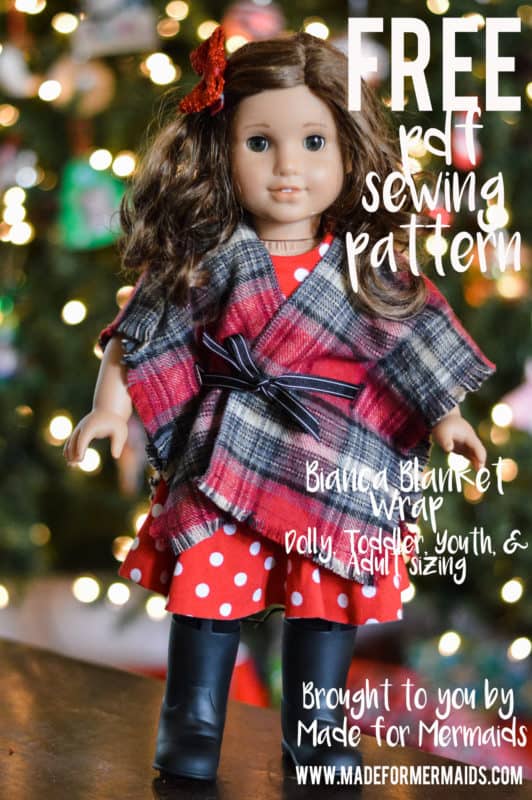
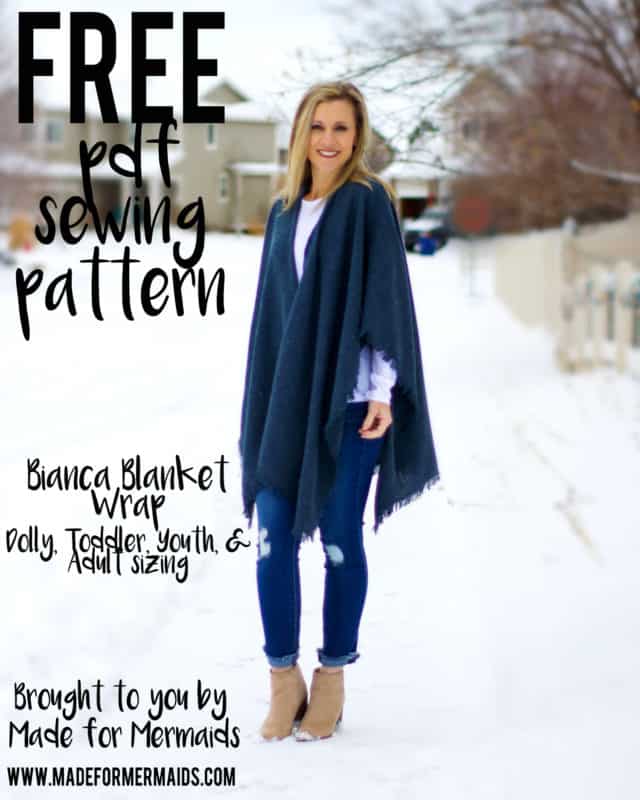
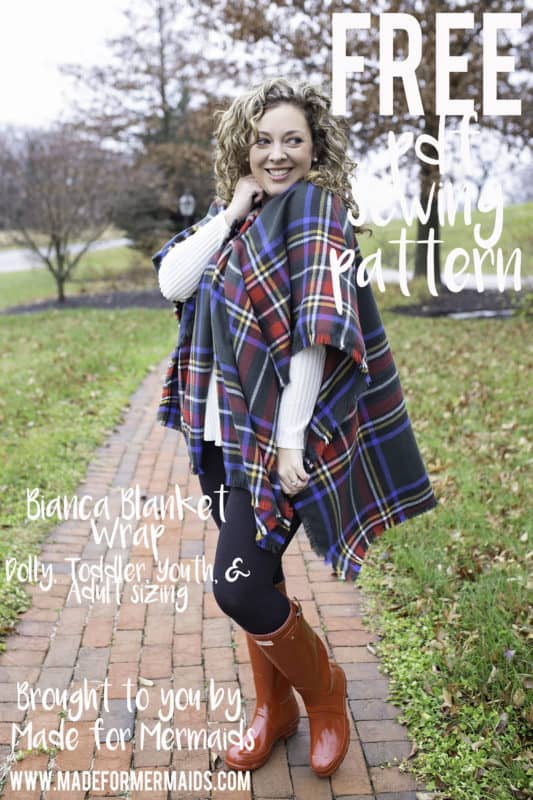
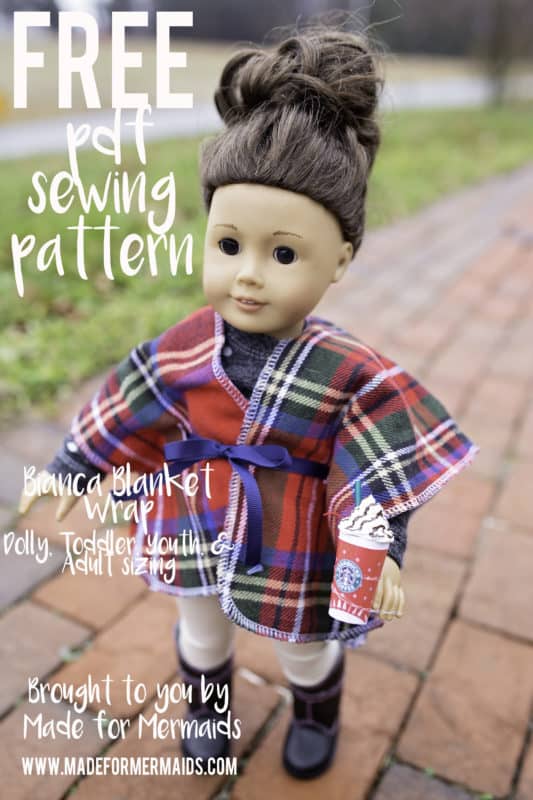
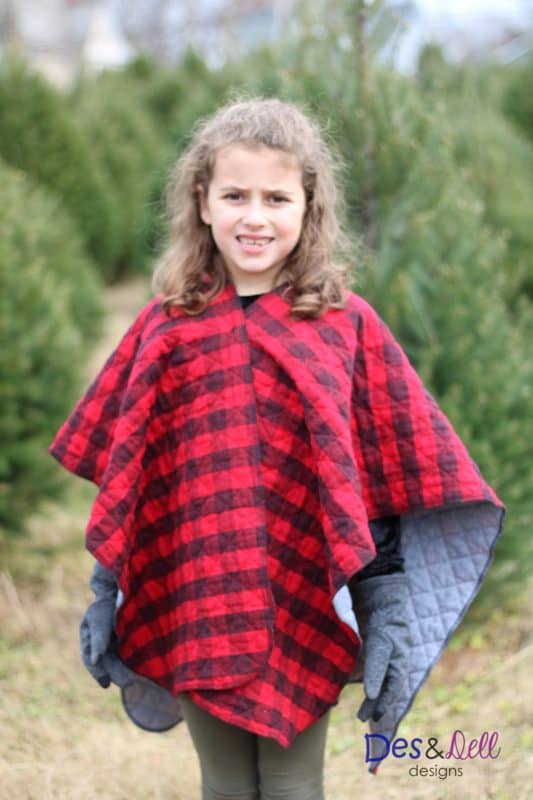
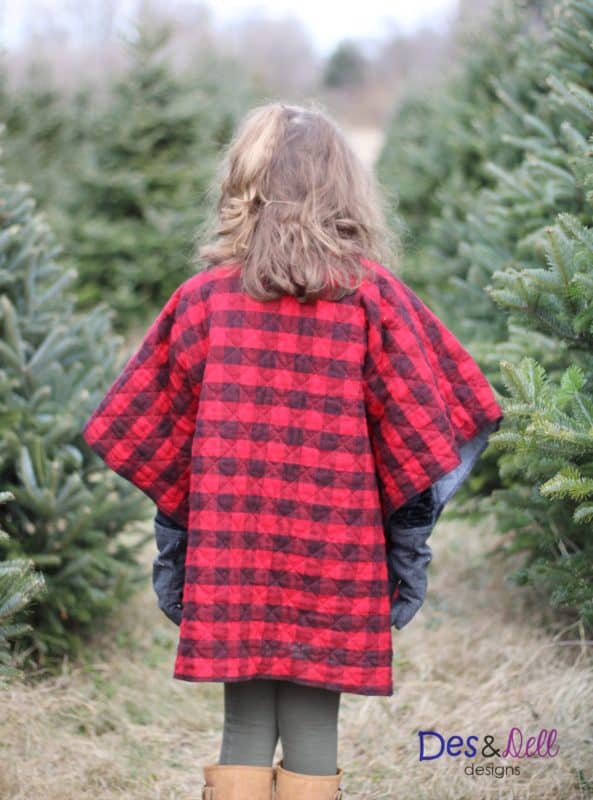
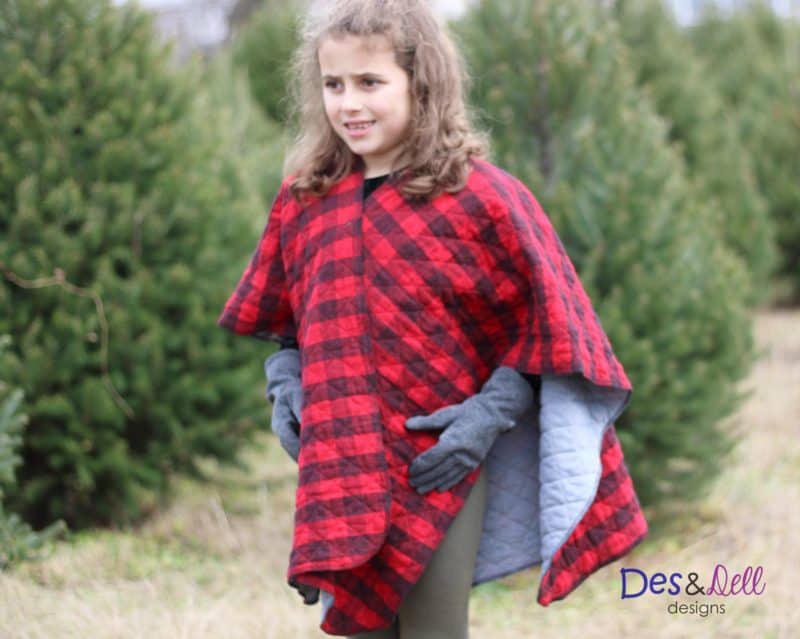
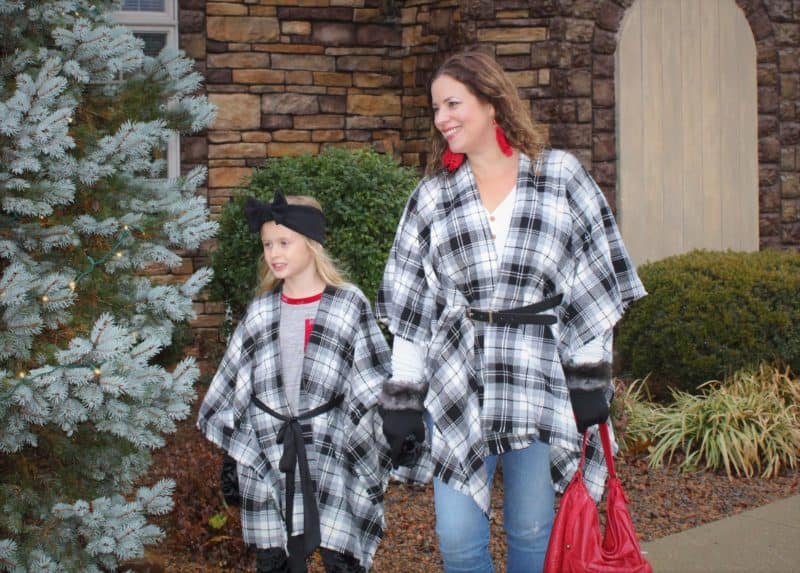
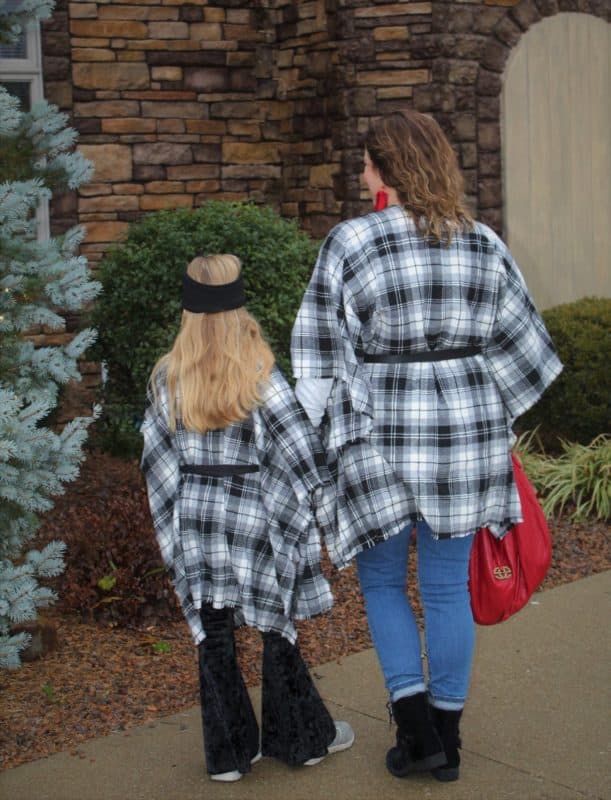
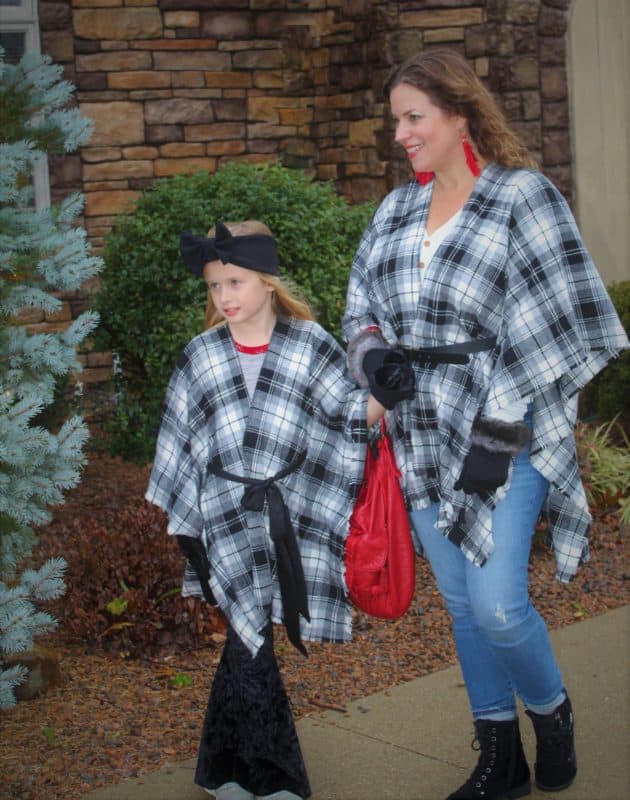
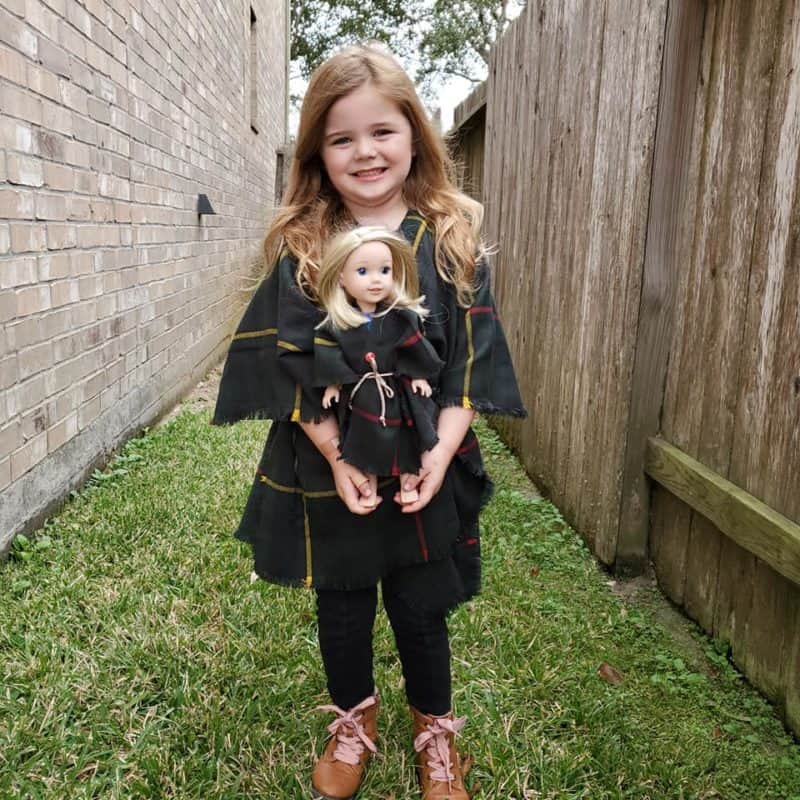
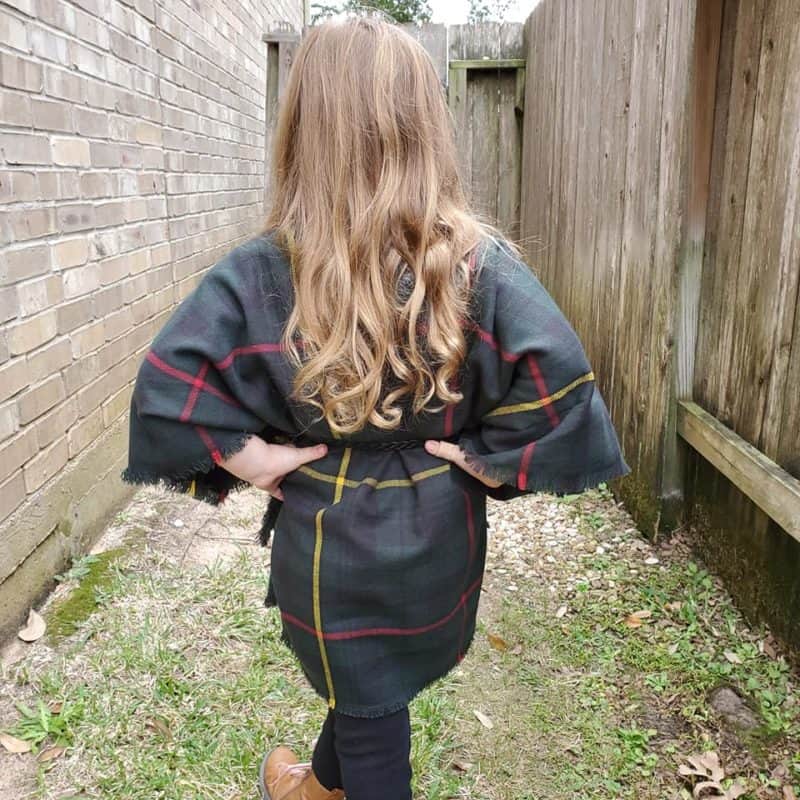
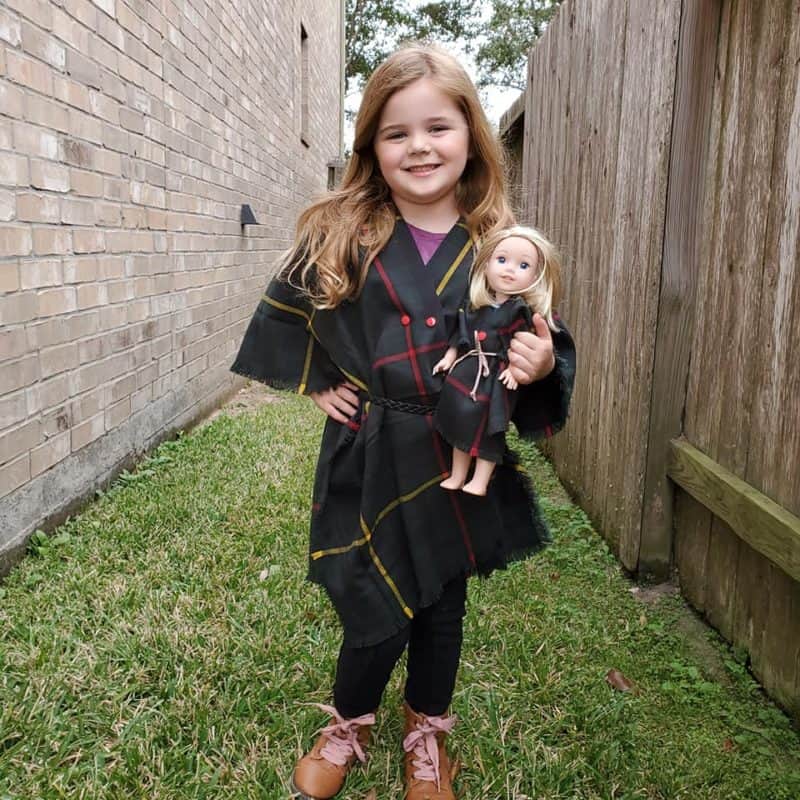
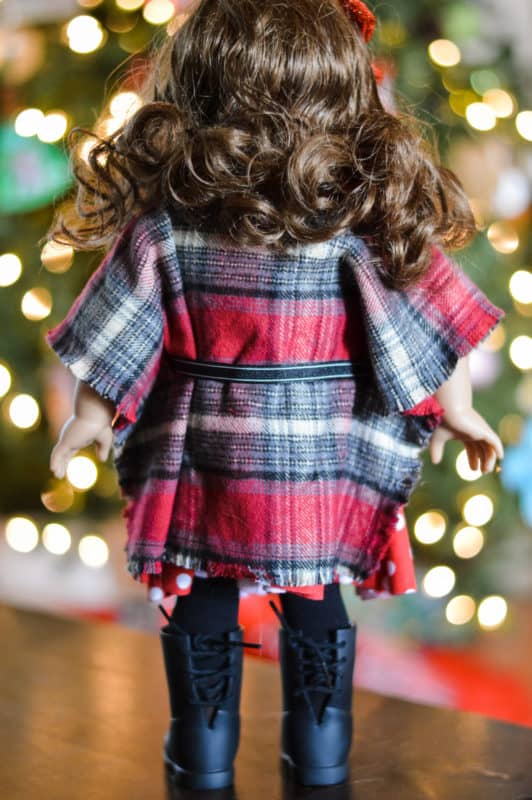
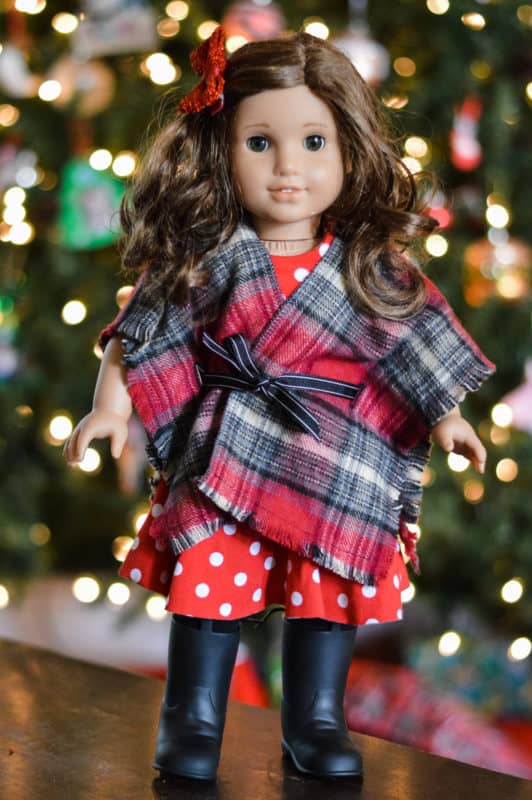
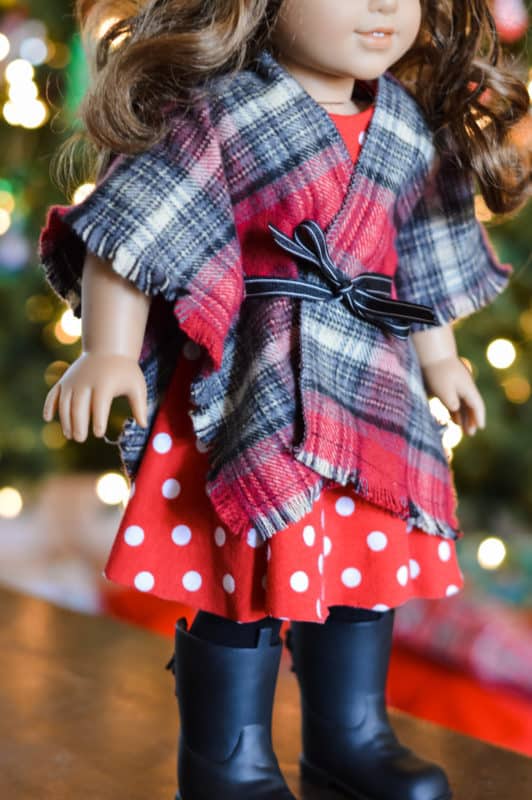
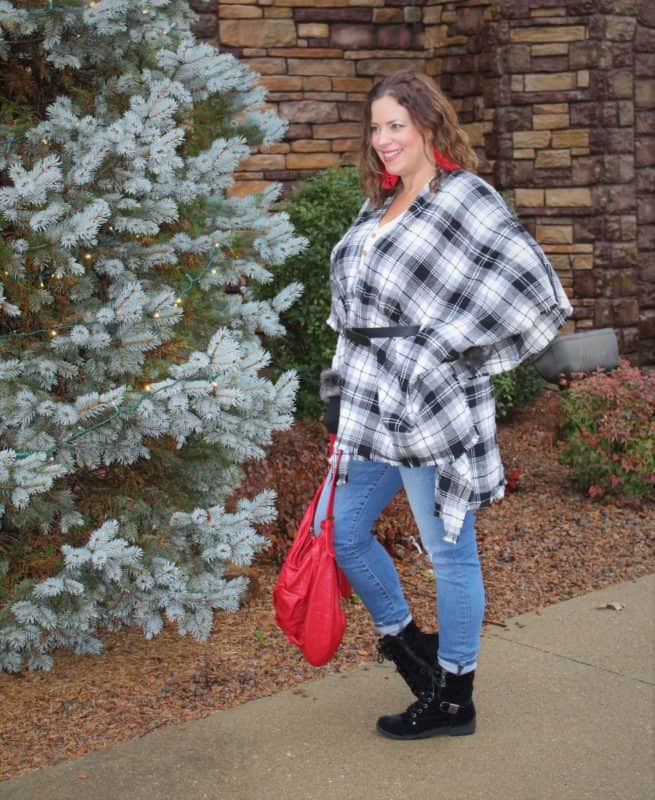
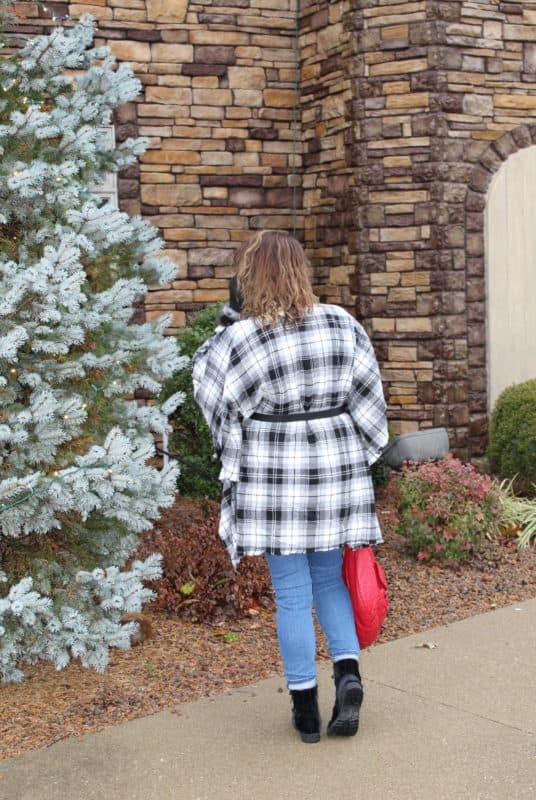
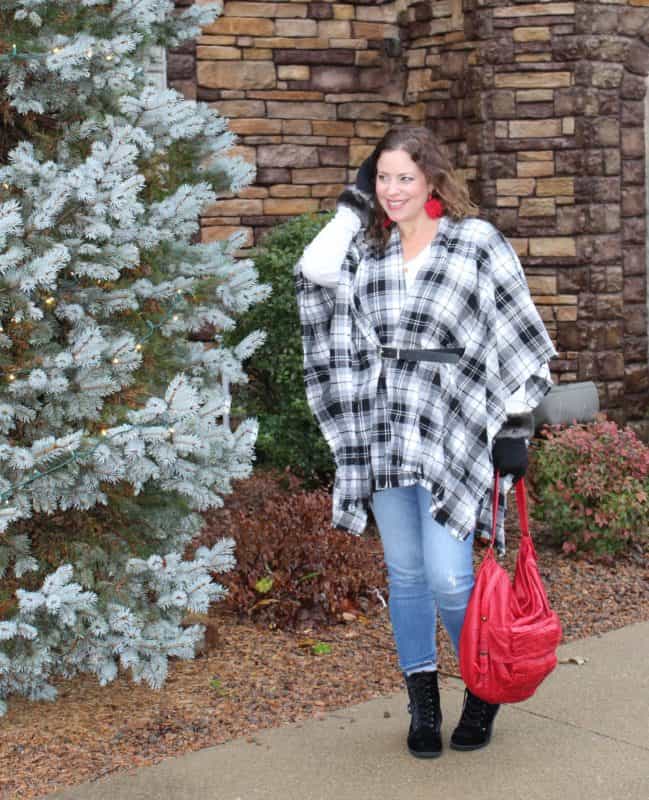
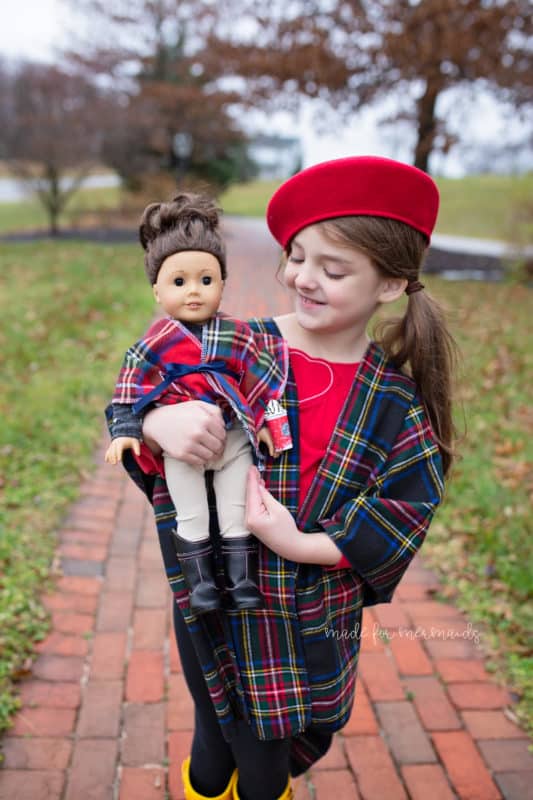
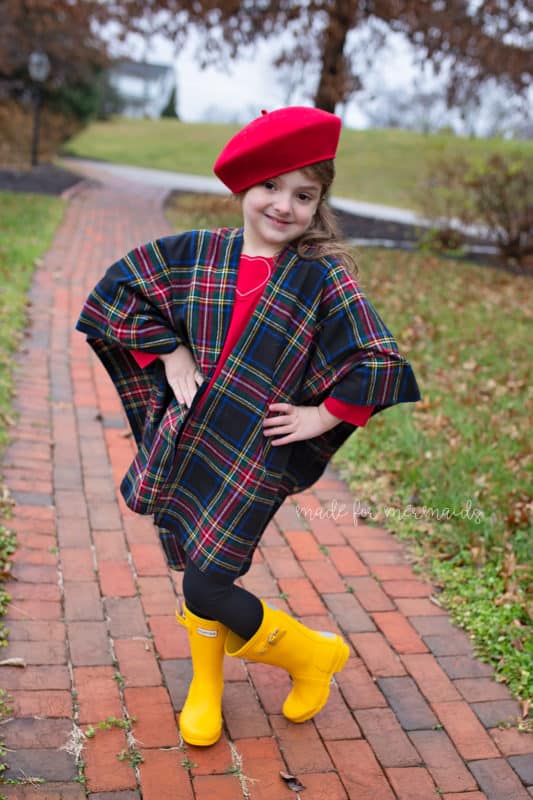
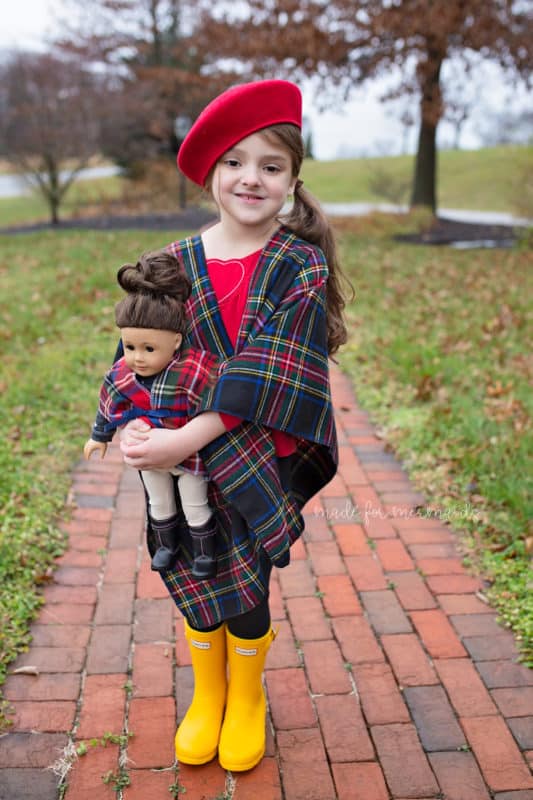
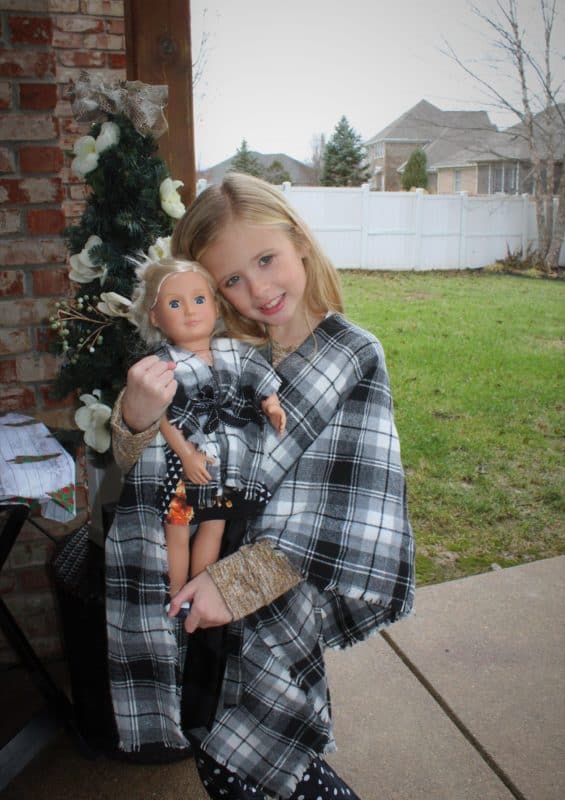
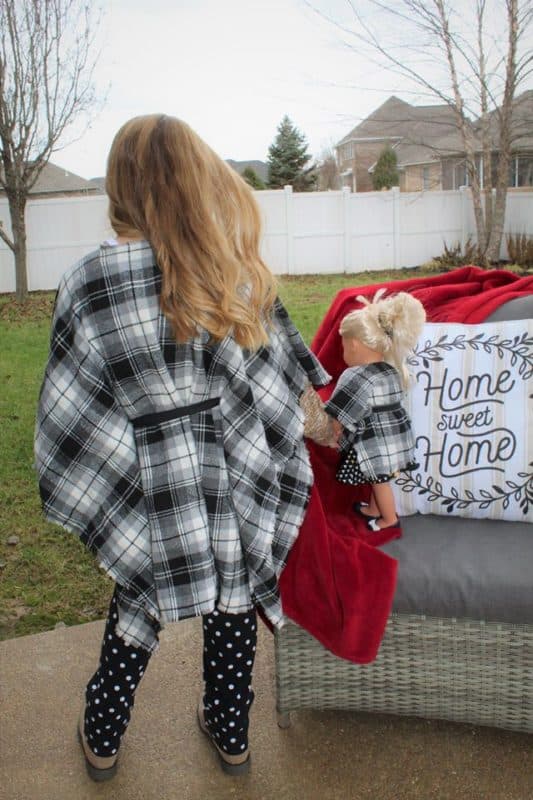
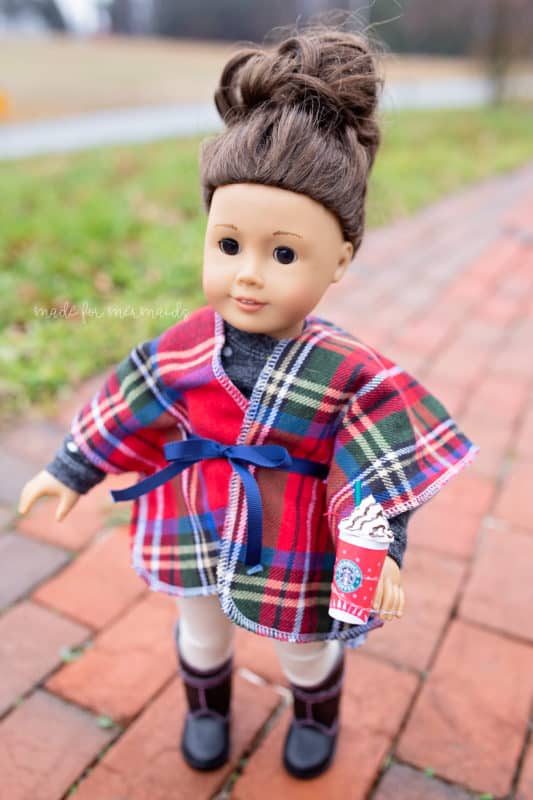
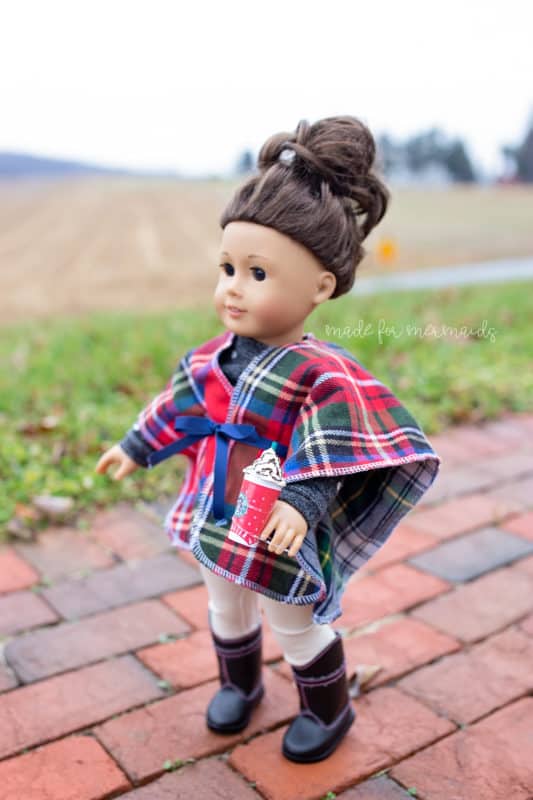
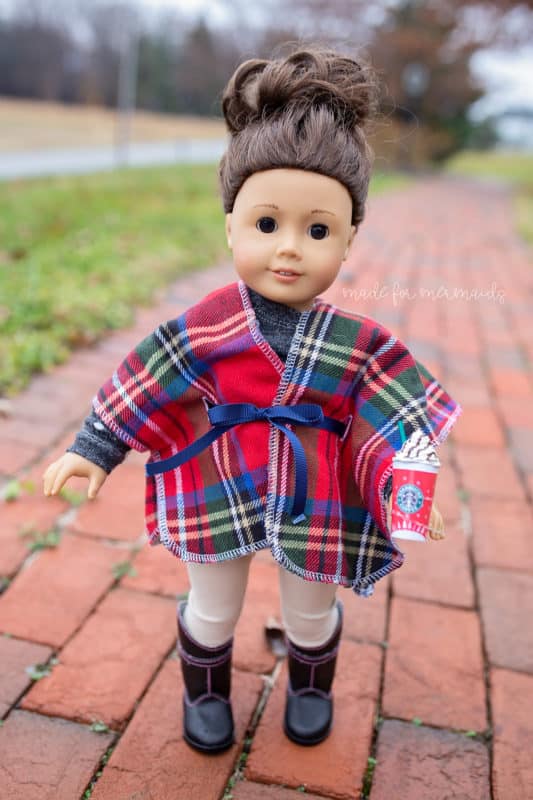
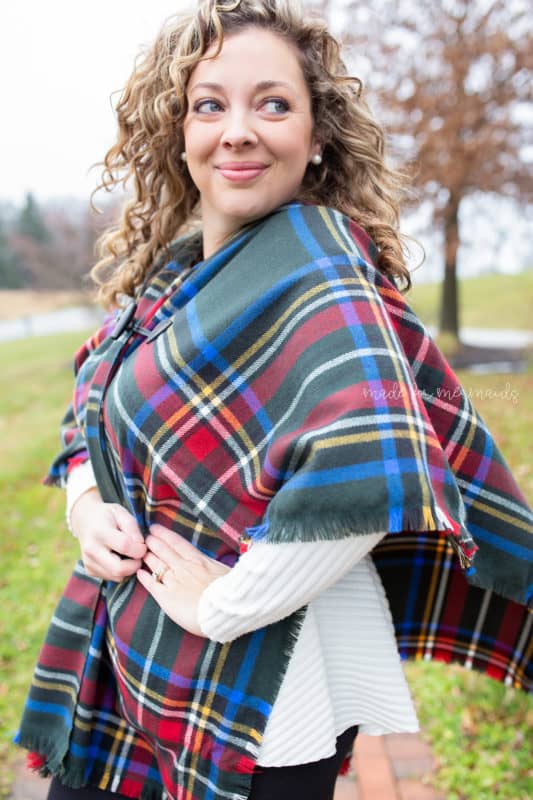
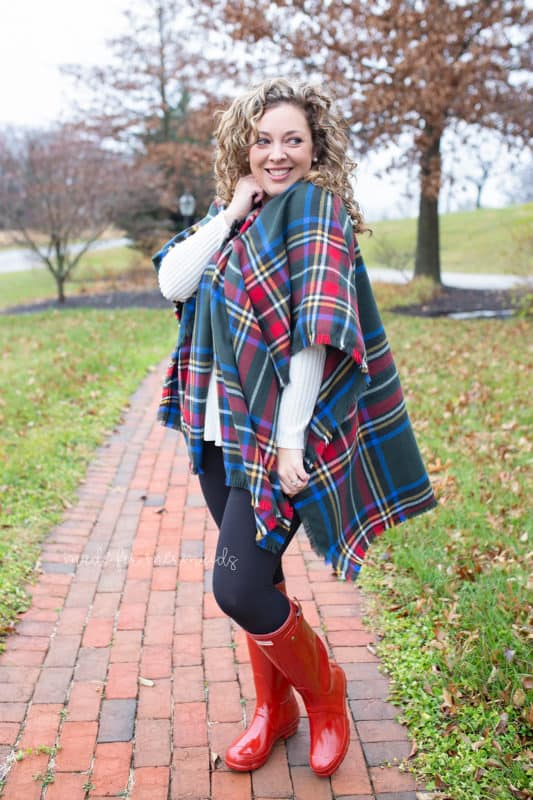
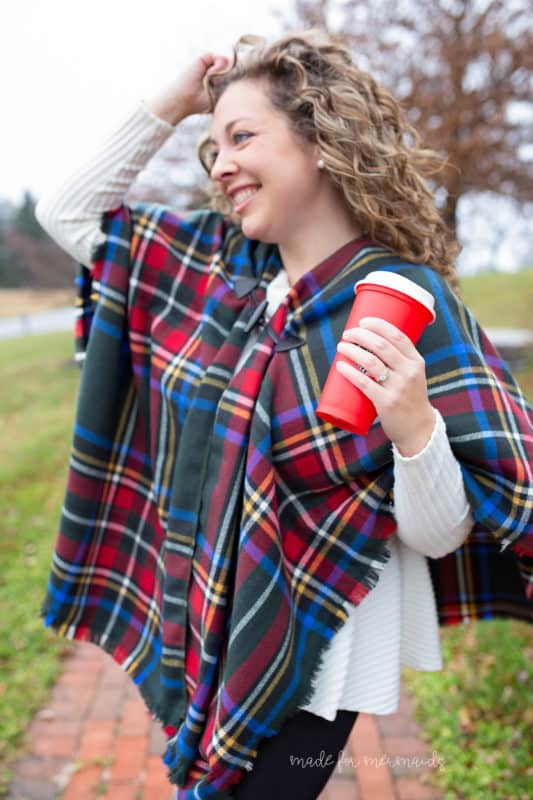
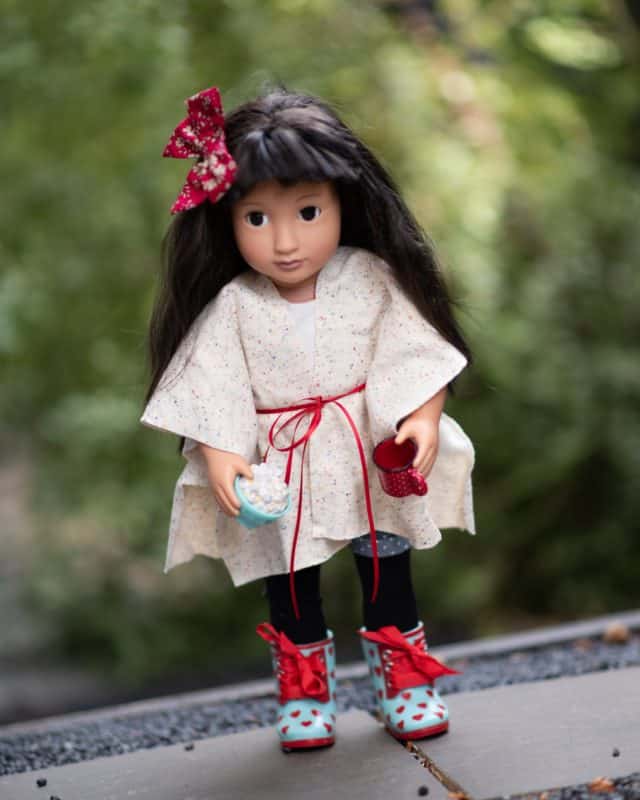
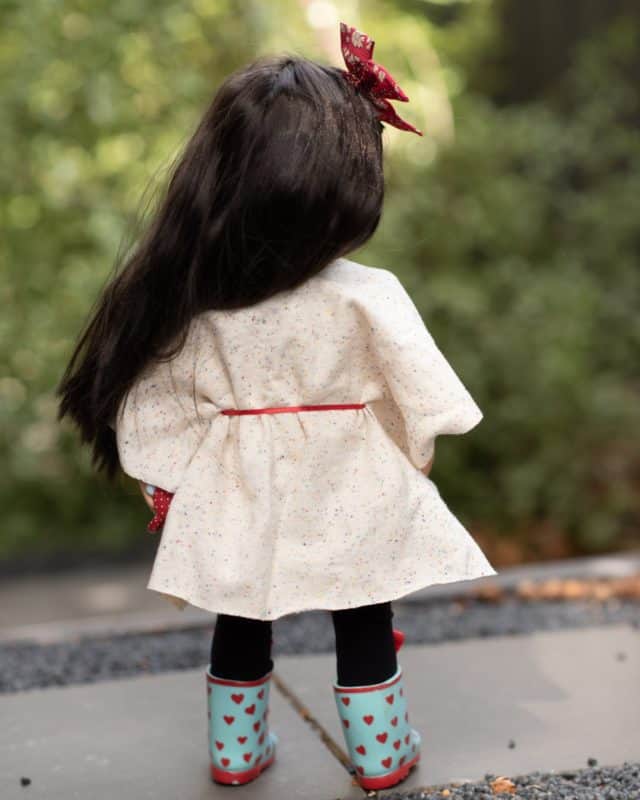
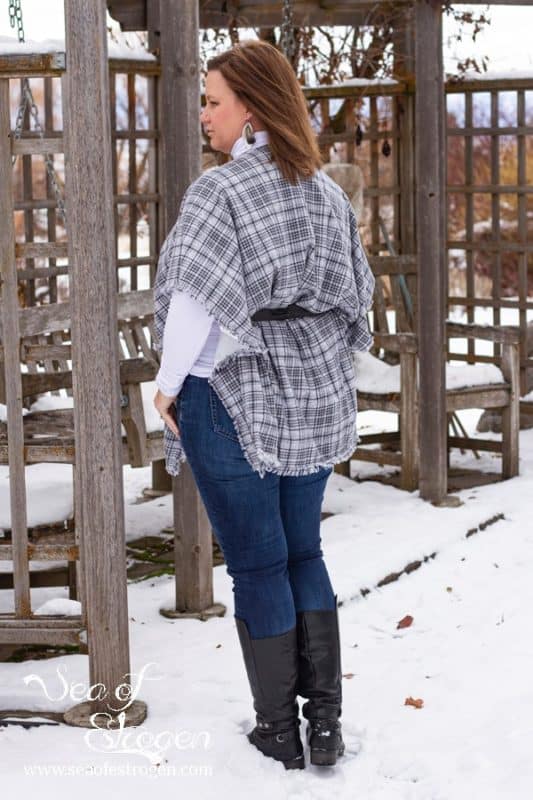
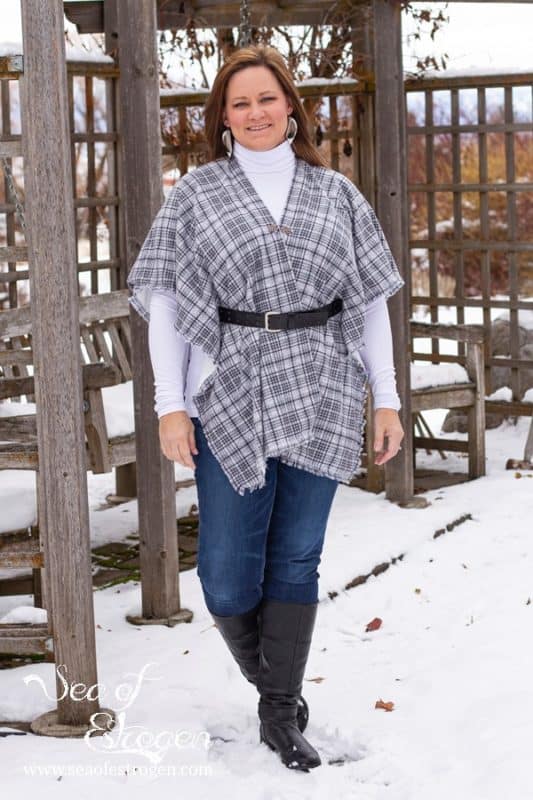
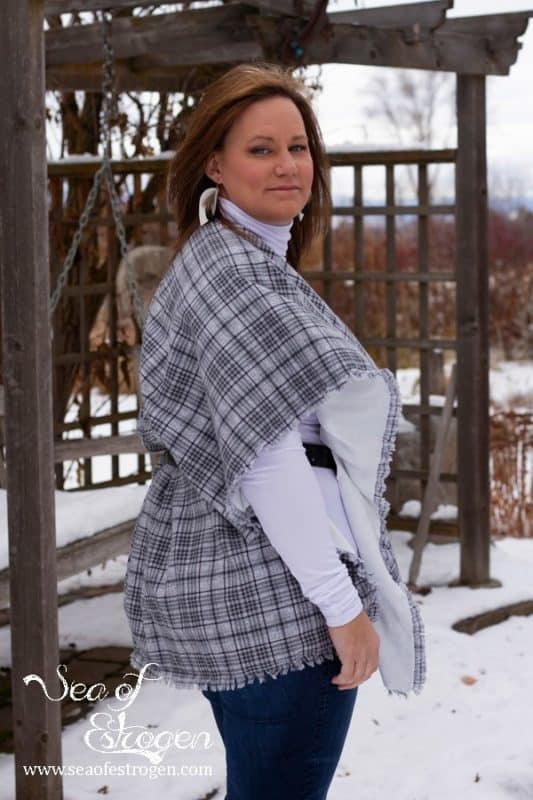
Yay! Its Day 2 of our Christmas freebies!!!! Today we have a trendy blanket wrap for you in 4 sizes- dolly, toddler, youth, and adult! These are great for gift giving because they are easy to fit, and can be personalized with different prints, colors, and closures to fit everyone’s style!
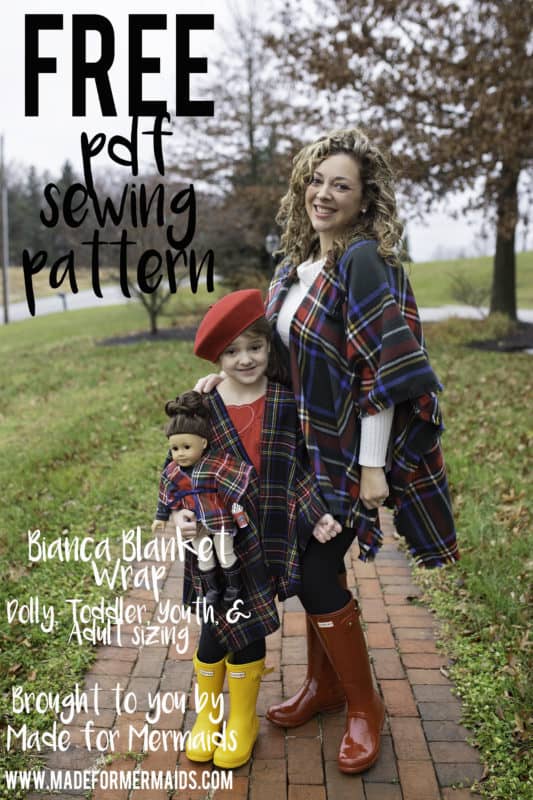
You can download your Bianca Blanket Wrap pattern pieces here in our freebies section, and then come back here for the tutorial!
SUPPLIES:
- View A (Single Layer, fringe edges): Woven flannel – choose 1 print (*Choose an apparel woven– loosely woven plaid flannel. Regular flannel or woven WILL NOT BE EASY TO FRAY)
View B (Double Layer, reversible): Woven flannel- choose 2 prints for a reversible wrap - Optional sew-on toggle or button
- Optional belt or ribbonFABRIC REQUIREMENTS: BASED ON 44″ WOVENS. DOES NOT ACCOUNT FOR SHRINKAGE OR FABRIC OFF-GRAIN. IN YARDS.

LET’S GET STARTED!
Step 1: PREPPING
Go grab the pattern HERE! The pattern is 100% free, but you do need to add it to your cart and check out. Then, it will always be available to download from your account. The pattern is a no trim pattern; if you need help putting the pattern together, pop over to the faqs and troubleshooting page or ask in our Facebook group .
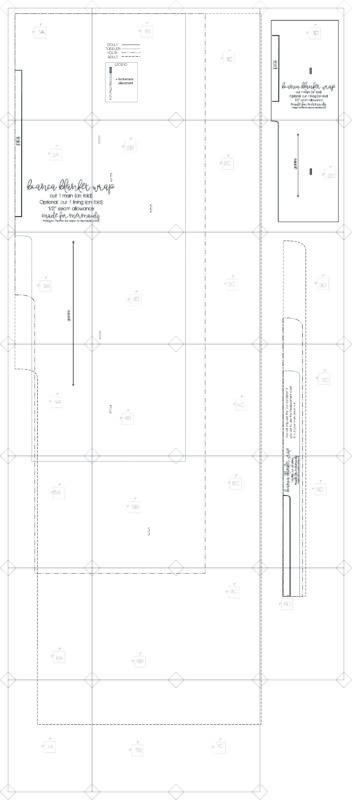
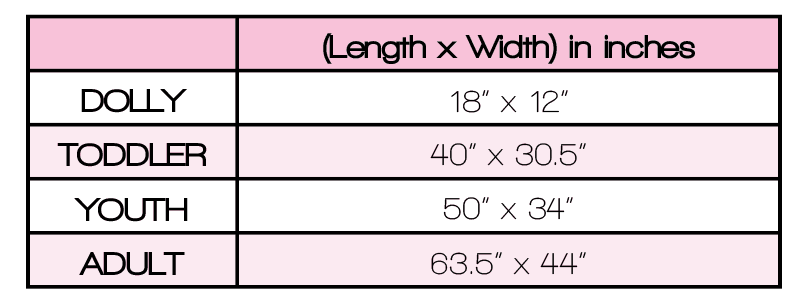
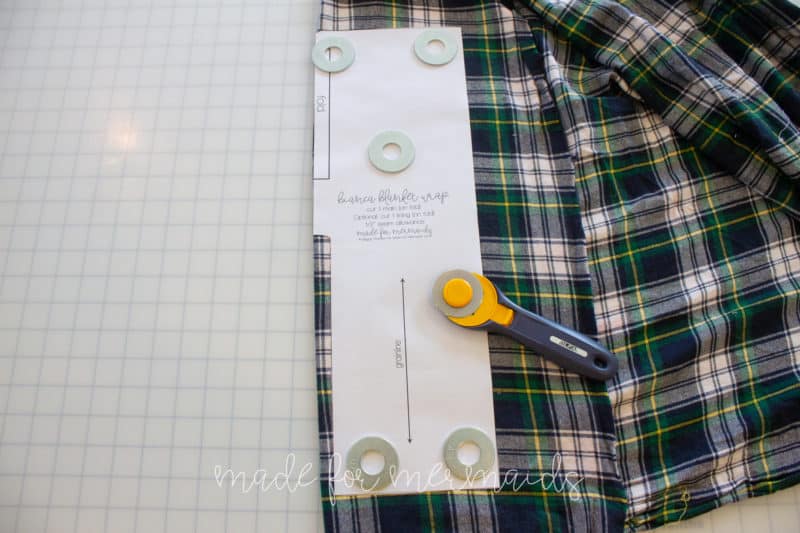
Print and assemble the pattern. Cut out the pattern pieces. Pattern layout shown below. If you do not want to use the large pattern pieces, you can cut rectangles from the chart below and just use the “neckline cut-out piece” to save paper! For the neckline cut out piece, you will only need to print pages- 12, 16, 20, and 24.
Step 2: VIEW A (FOR VIEW B, SKIP TO STEP 3)
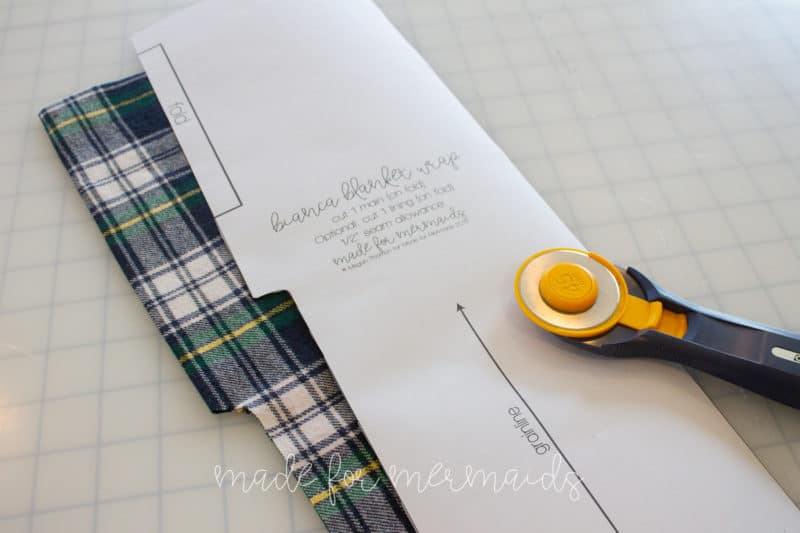
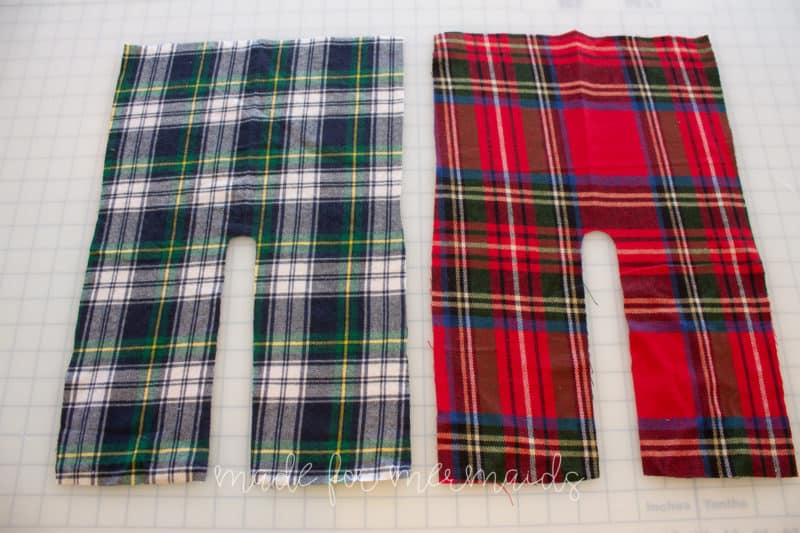
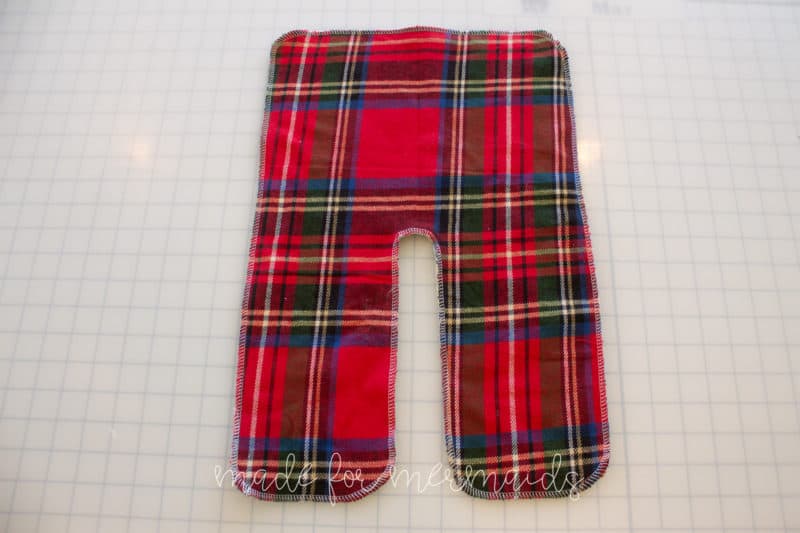
Cut 1 main blanket wrap piece on the fold using the pattern piece. If you are using the rectangle measurements and the cut-away piece, see the next pictures below…
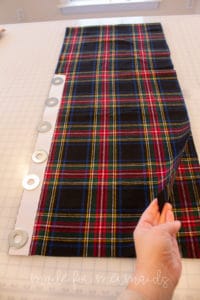
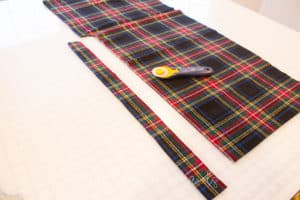
If you opted to cut a rectangle instead of printing and assembling the main piece, fold your rectangle in half widthwise. Place your neckline cut out piece along the bottom edge and fold. Cut neckline piece away. NOTE: You will only use the neckline cut out piece if you are cutting a rectangle from the measurement chart!!!!
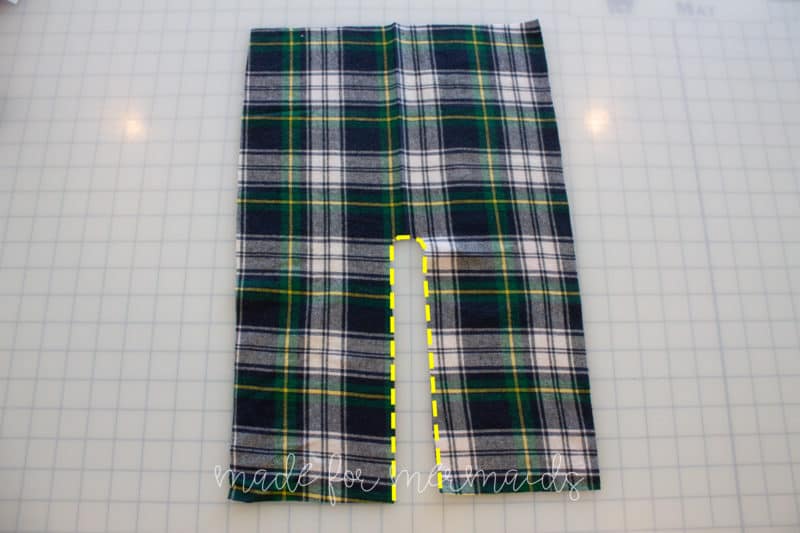
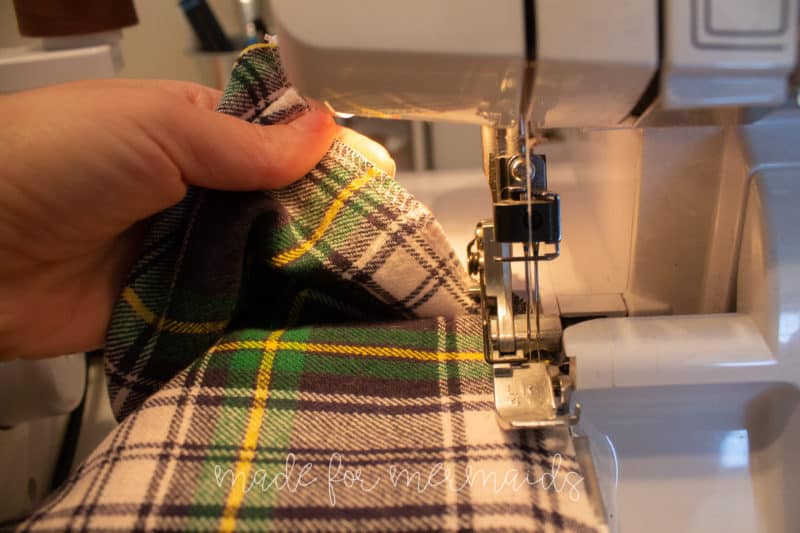
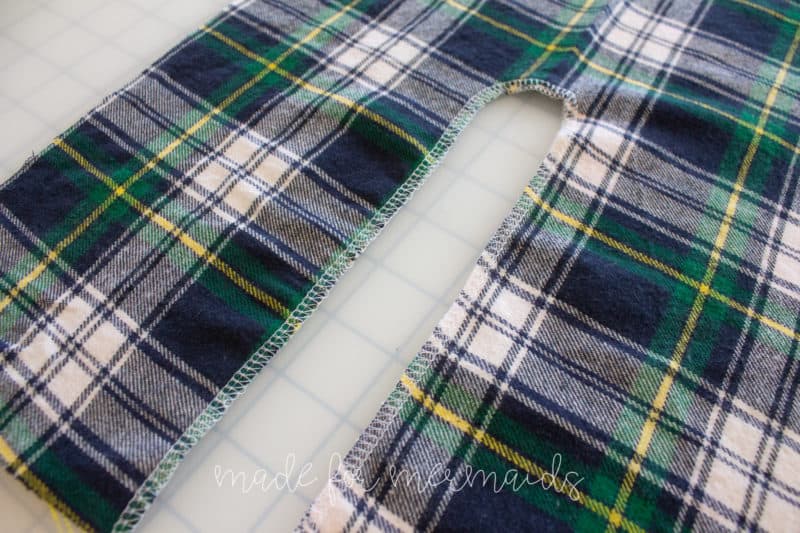
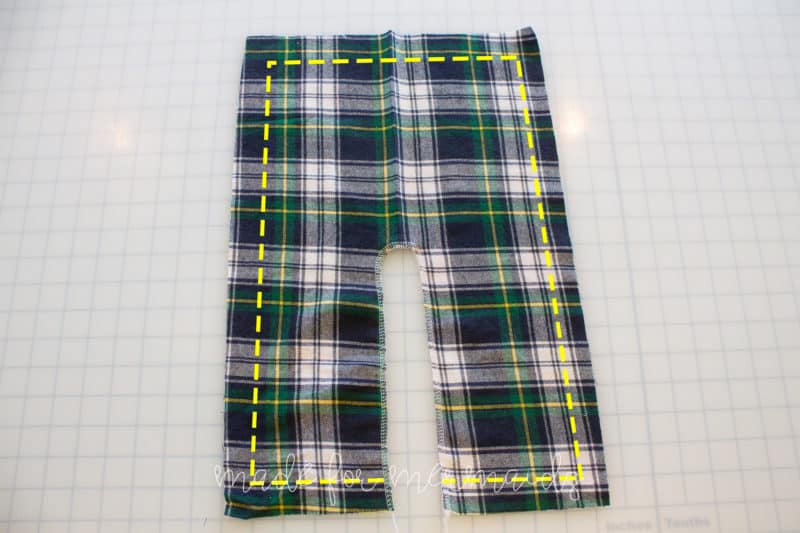
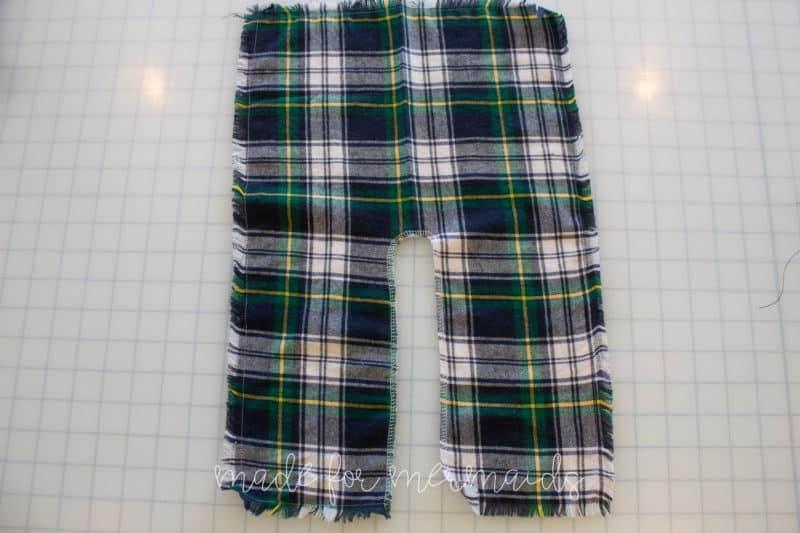
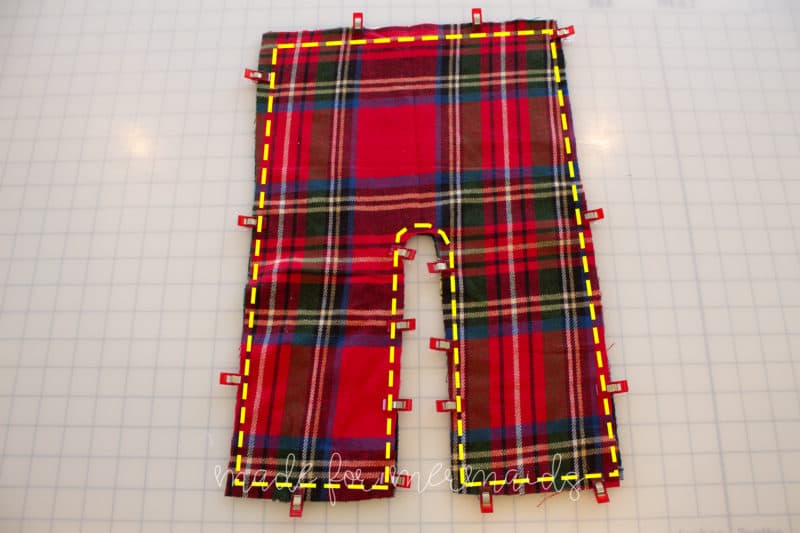
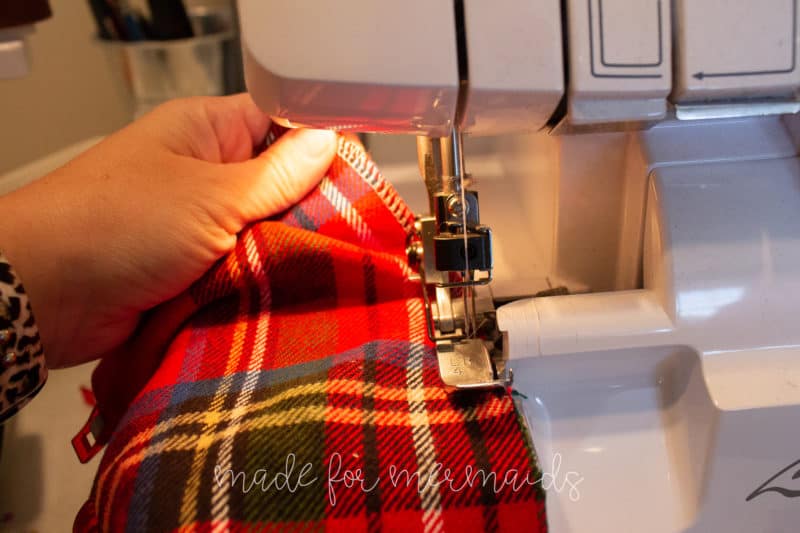
Use your serger or zig-zag stitch around the neckline opening, marked by the dashed yellow line. If using a serger, DO NOT cut any off!
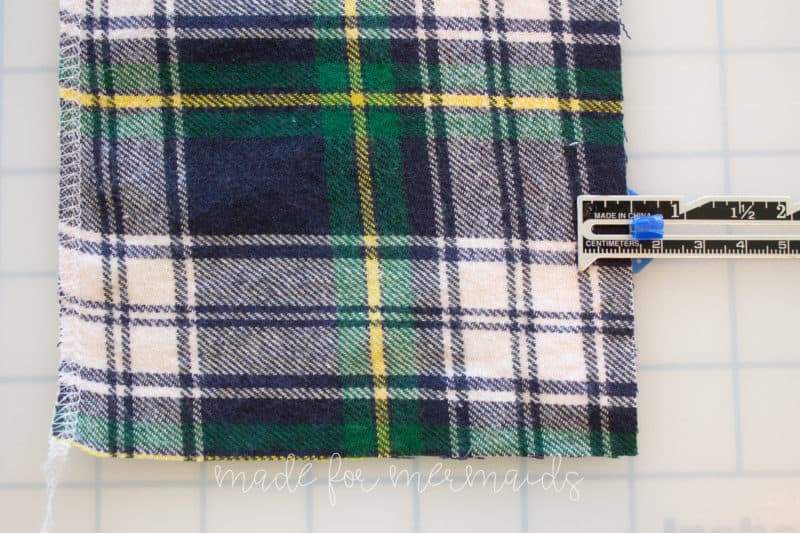
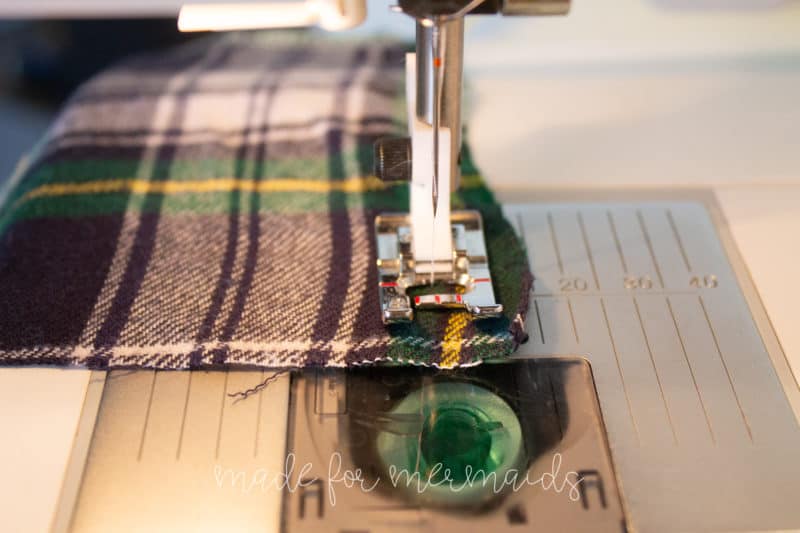
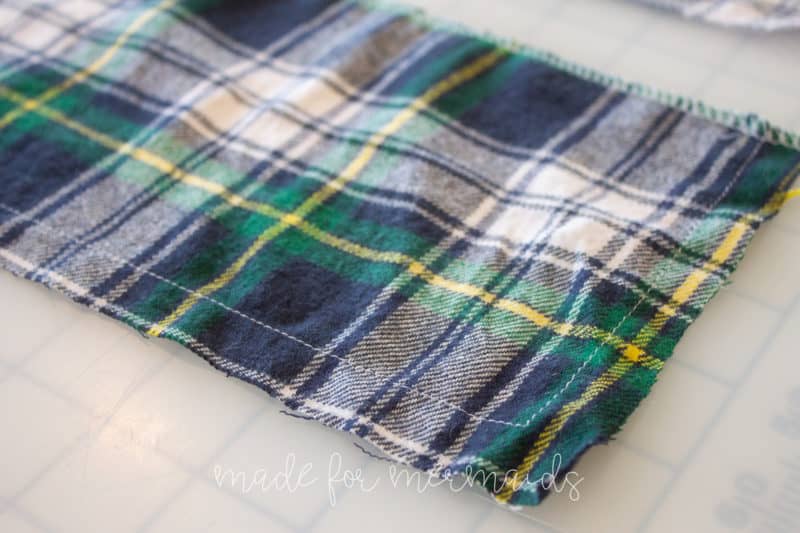
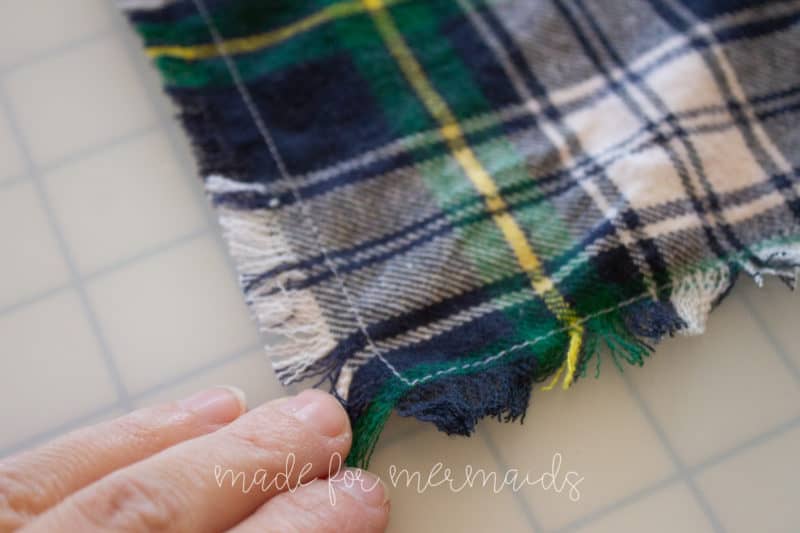
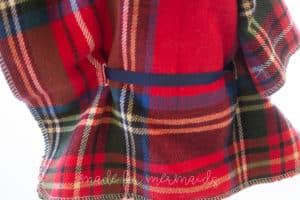
Stitch around the bottom edges, sides, and top edge, noted by the dashed yellow line. For dolly, I like to stitch 1/2″ from edges. Toddler and Youth, stitch 3/4″ from edges. Adult, stitch 1″ from edges. This is personal preference. If you would like longer fringe, you can increase the amount.
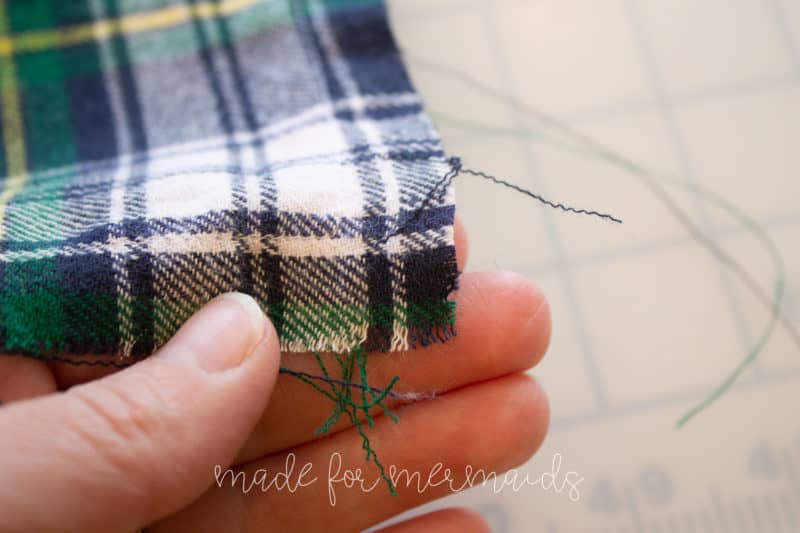
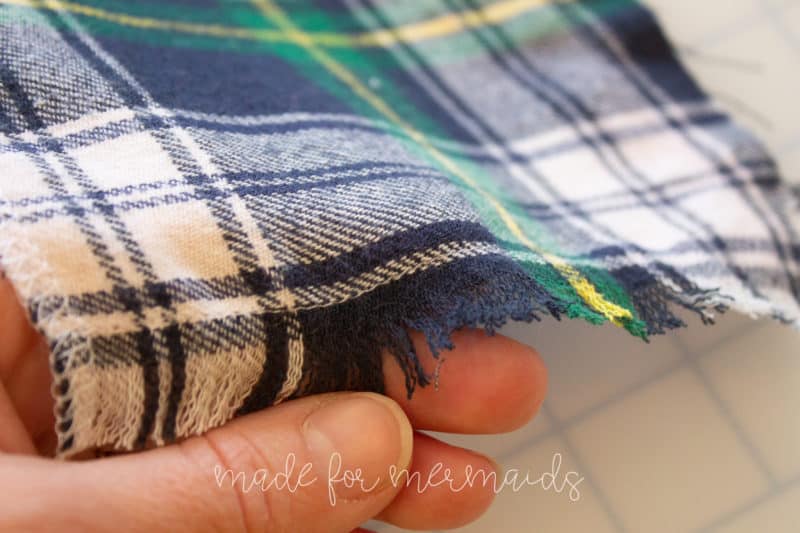
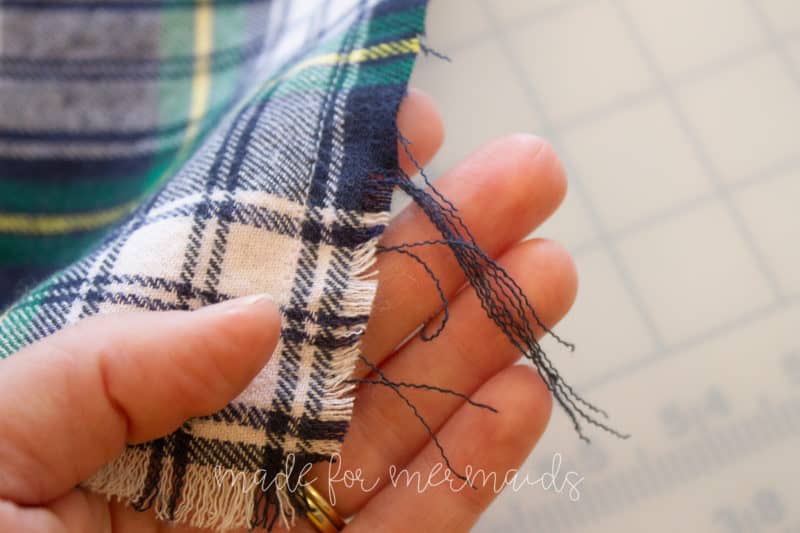
Starting at a corner, begin fraying the fabric by rubbing the edges between your fingers. For the top and bottom edges, pull horizontal threads. For the sides, pull the vertical threads. Use your line of stitching as a guide. Don’t pull threads past this line. Your woven will begin to unravel. This will take some time, but I promise, you’ll love the frayed, fringed result you’ll get!
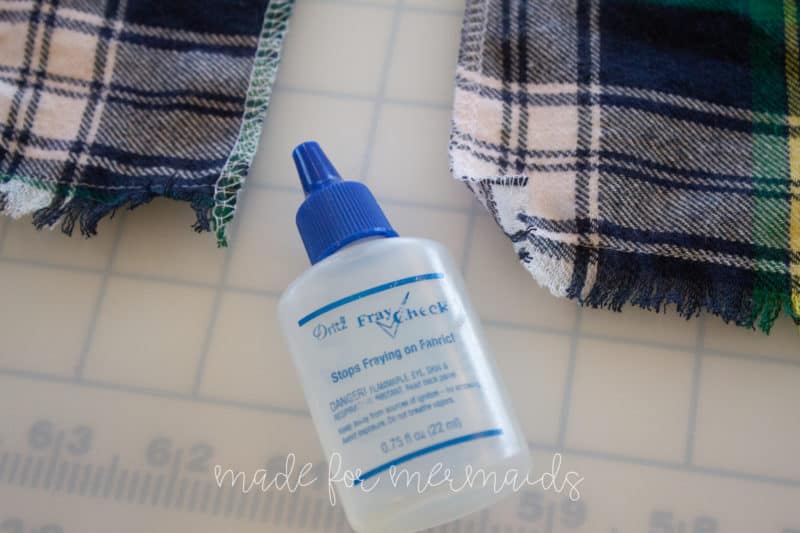
Once you are satisfied with the amount of fringe you have, We need to finish off your serger threads from the neckline. You can either thread the serger tail back through the stitching with a needle, or trim it off and use Fray Check to prevent it from unraveling.
Step 3: VIEW B
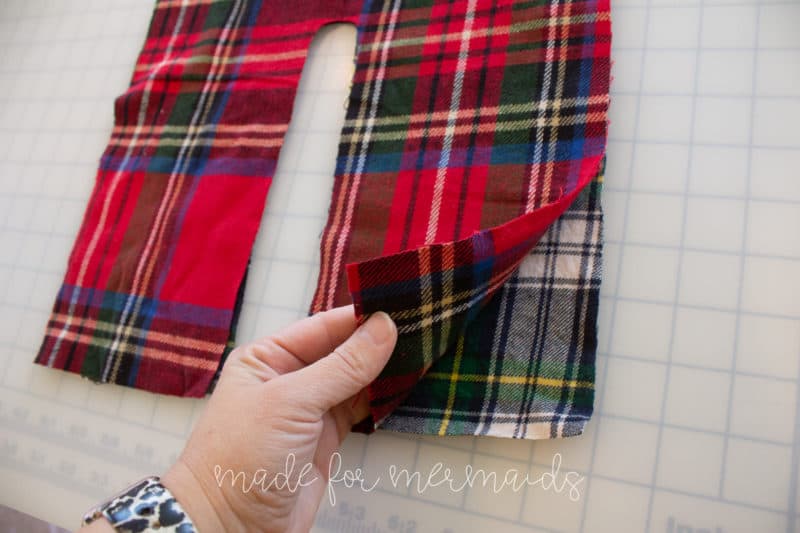
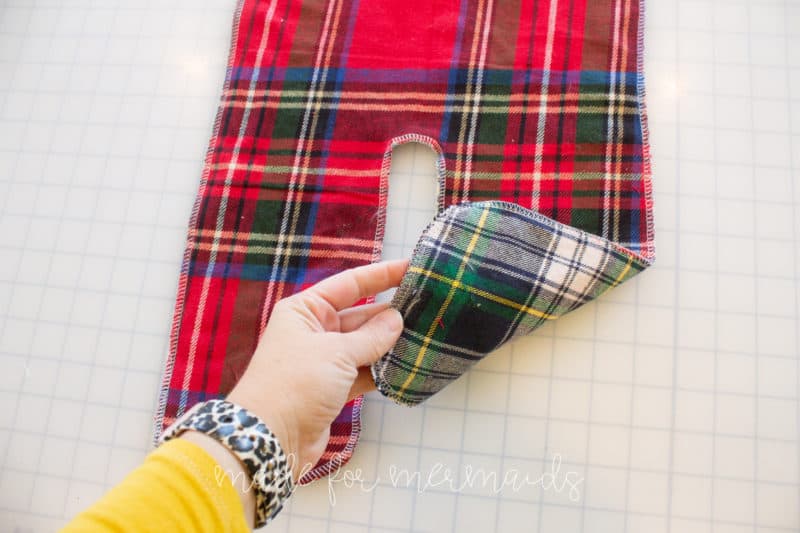
Cut 2 main blanket wrap pieces on the fold. If you opted to cut rectangles instead of printing and assembling the main piece, fold your rectangle in half widthwise. Place your neckline cut out piece along the bottom edge and fold. Cut neckline piece away. Repeat on second rectangle. NOTE: You will only use the neckline cut out piece if you are cutting a rectangle from the measurement chart!!!!
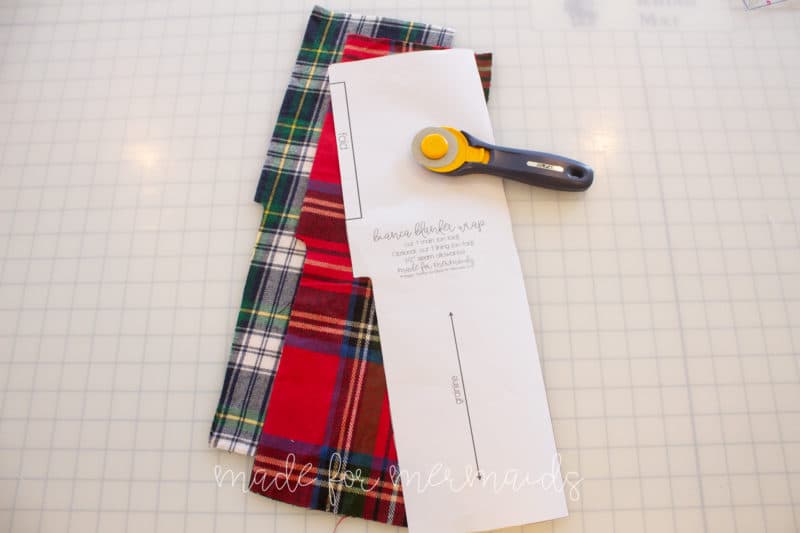
To add buttonholes for a belt, continue to Step 4. To add a toggle or button closure, skip to Step 5.
Step 4: BUTTONHOLES FOR BELT OR RIBBON
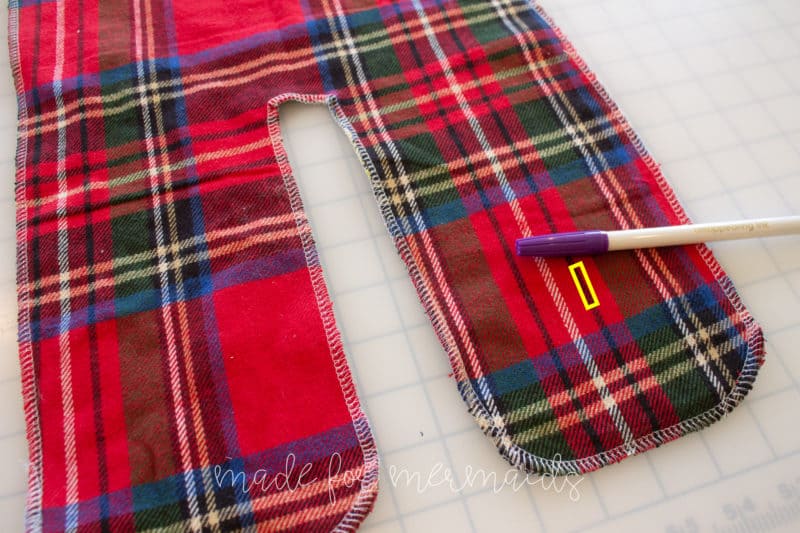
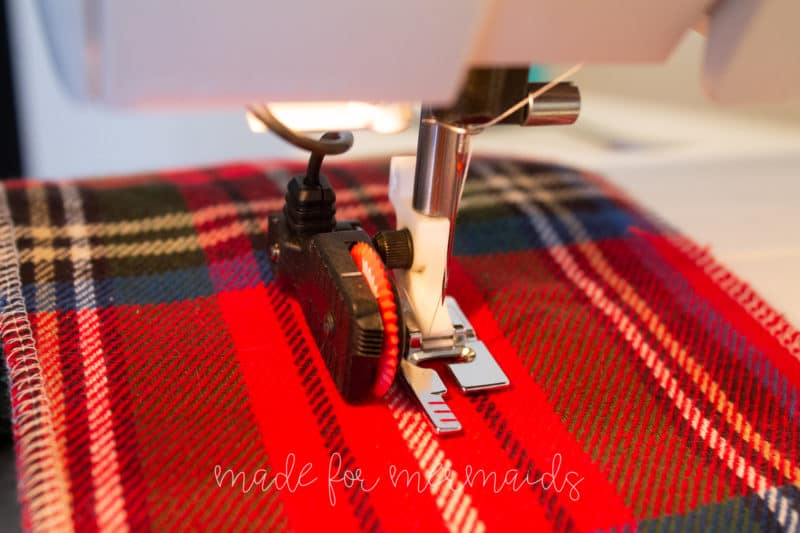
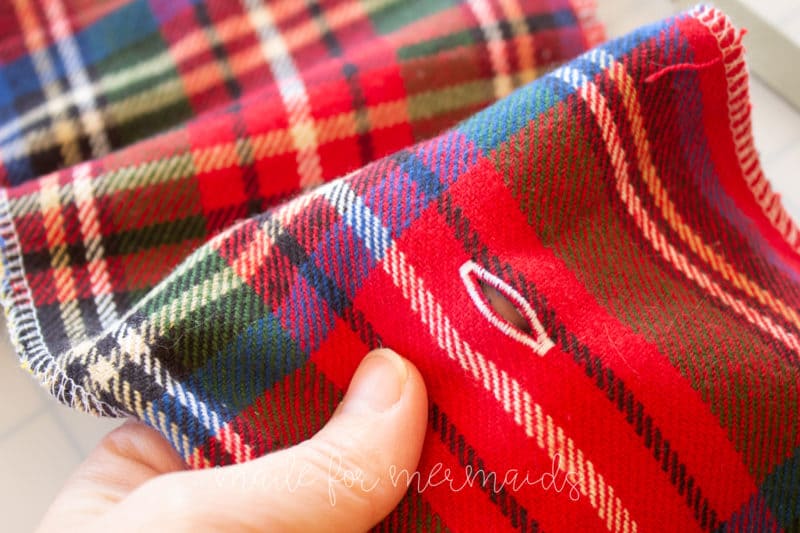
Use the pattern piece as a guide to mark your buttonholes on the front and back of your wrap. You should have 4 buttonholes. STOP!!!!! Try your wrap on and check the placement. Because this is a “one-size fits most” pattern, you may need to move your buttonhole position. Also check to see if buttonholes are at your waist level. You want it to be right where you would belt it. Stitch out buttonholes. Your buttonholes should be big enough for your ribbon or belt, so measure accordingly!
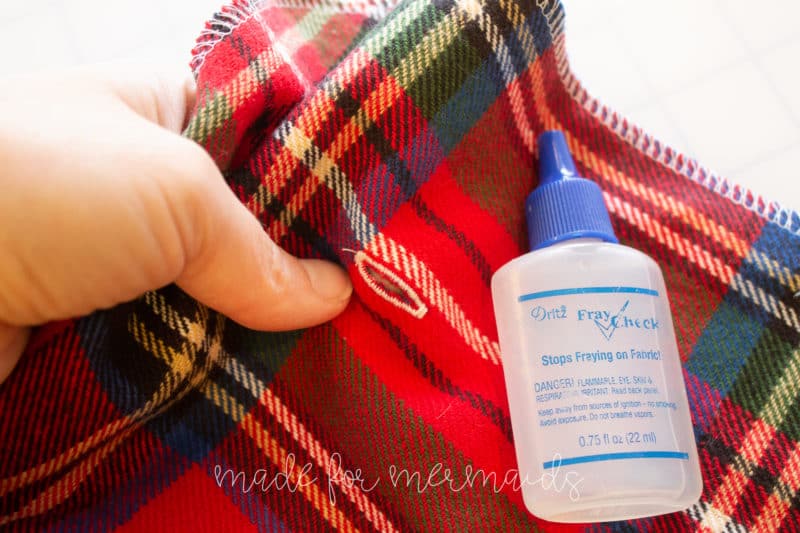
Use a seam ripper or buttonhole knife to open up the buttonholes. Use a small amount of Fray Check to prevent unraveling.
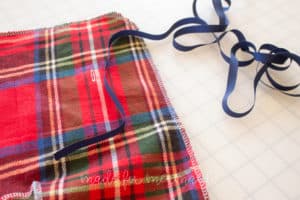
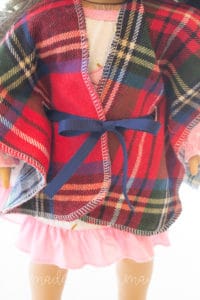
If using a ribbon, thread it through the belt loops. Tie in a bow in the front.
Step 5: TOGGLE OR BUTTON CLOSURE
Try your wrap on. Pin your toggle in place where it is comfortable for you. If you are using a button and buttonhole, pull your scarf closed and place pins where you want them on the chest.
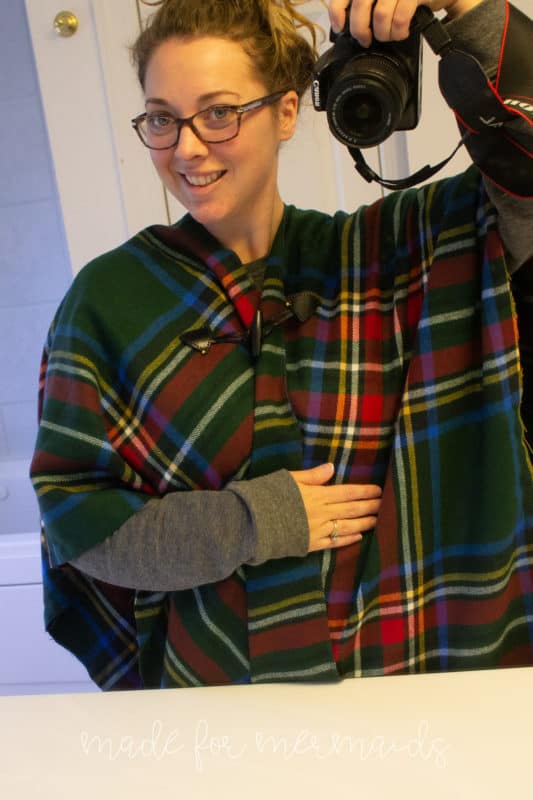
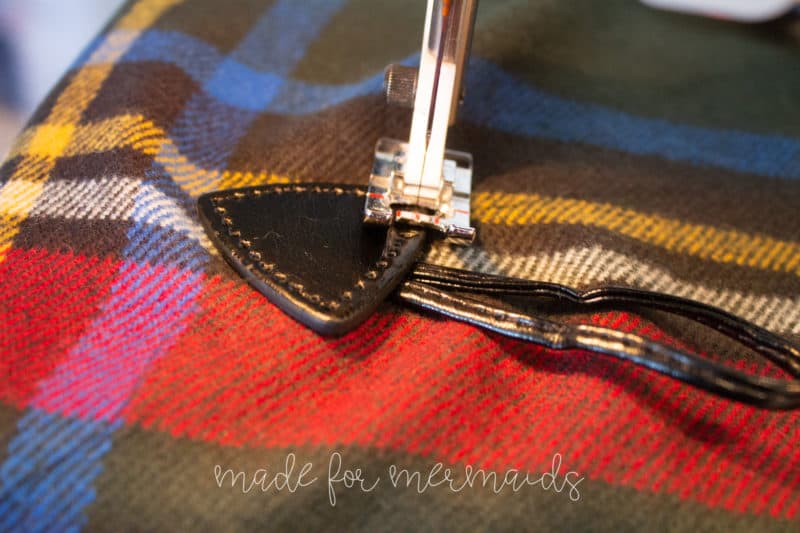
Lay your wrap out flat make sure your toggles or button/buttonhole are even on each side of the front. Stitch toggles on or stitch buttonhole. Stitch button to opposite front side.
Wrap up in your trendy, adorable blanket scarf or gift it this holiday season! Stay cozy, my mermaid friends!
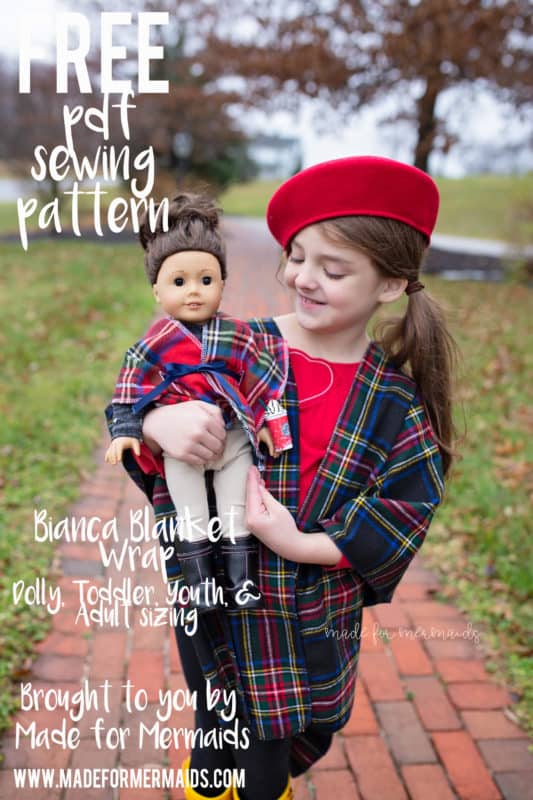




Anyone tried the double layered one with a sweater knit on one side?