Hello mermaids! The new Catherine, Mama Catherine, and Dolly Catherine patterns are now available on the site and filled with options…yay!! Today the testers are on the blog to bring you several easy Catherine pattern hacks for all 3 new patterns. Make sure you have grabbed your patterns individually, or grab the limited time mommy and me Catherine bundle or for even more savings, grab the bundle of all 3 patterns for the best bang for your buck! Now, let’s get started on those hacks!
Nightgown Hack
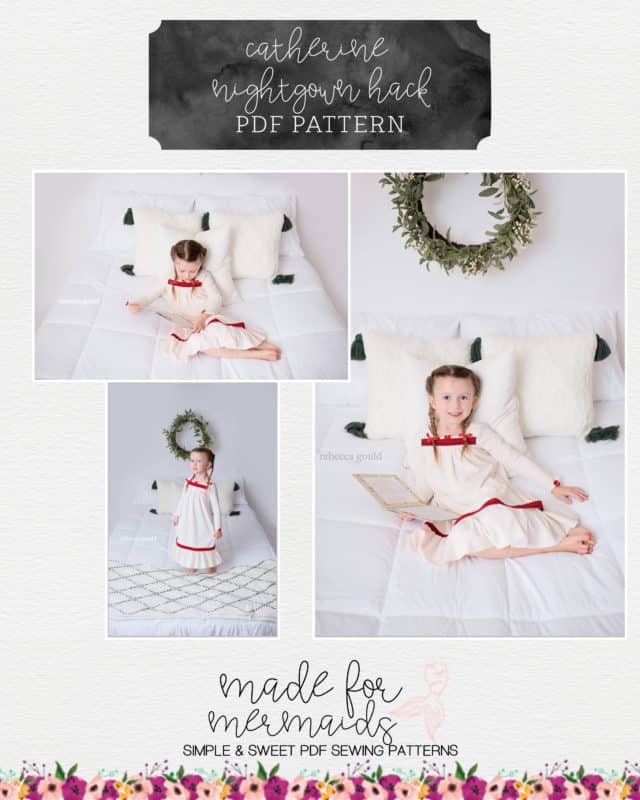
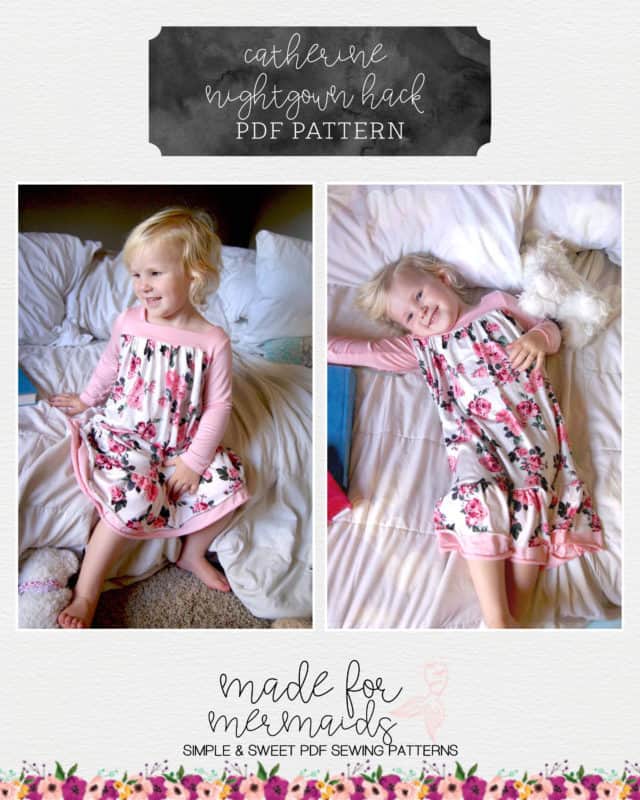
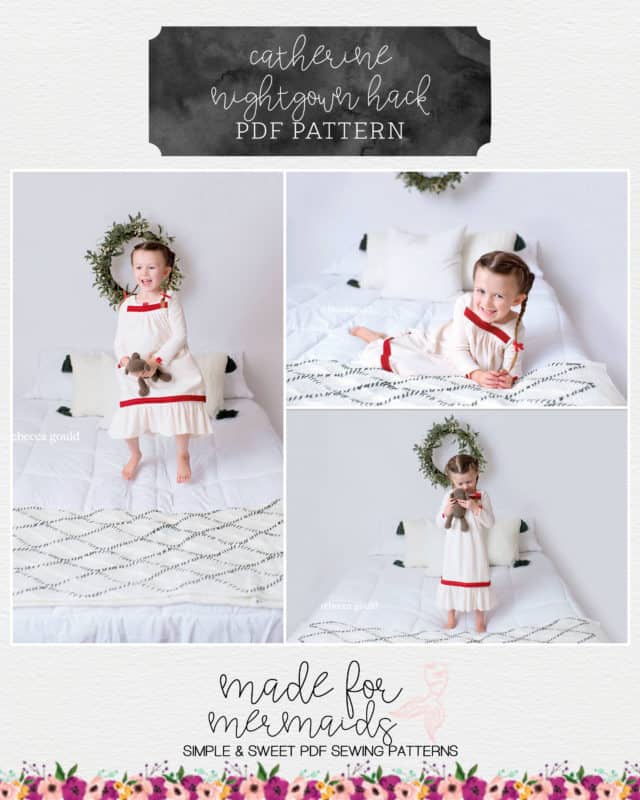
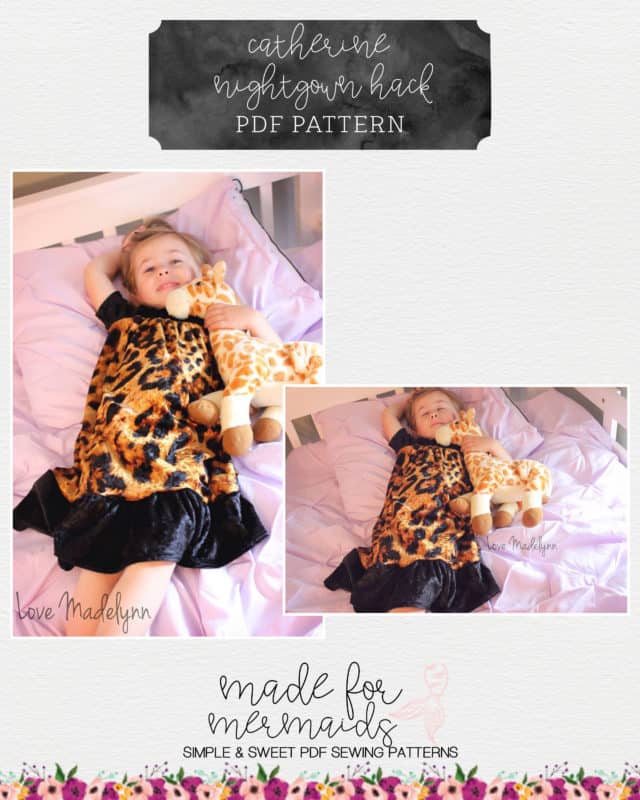
Catherine makes an adorable nightgown. Luckily, this is the easiest hack of them all!
Directions:
This is such a quick hack!! All you are going to do is cut the dress length and add the optional ruffle! That’s it, told you it was easy! Make sure that you are cutting the dress length not the top/dress length with ruffle. The longer dress length with the extra ruffle will give you a nightgown that hits about mid calf so remember when purchasing your fabric you will need the dress length yardage plus the optional ruffle. Have fun with it, add some cute trim or rosettes or even a double ruffle or try using a stretch velvet to create a special nightgown any girl is sure to love.
Aren’t these little mermaids absolutely adorable in their nightgowns!?

Bishop Sleeve Hack

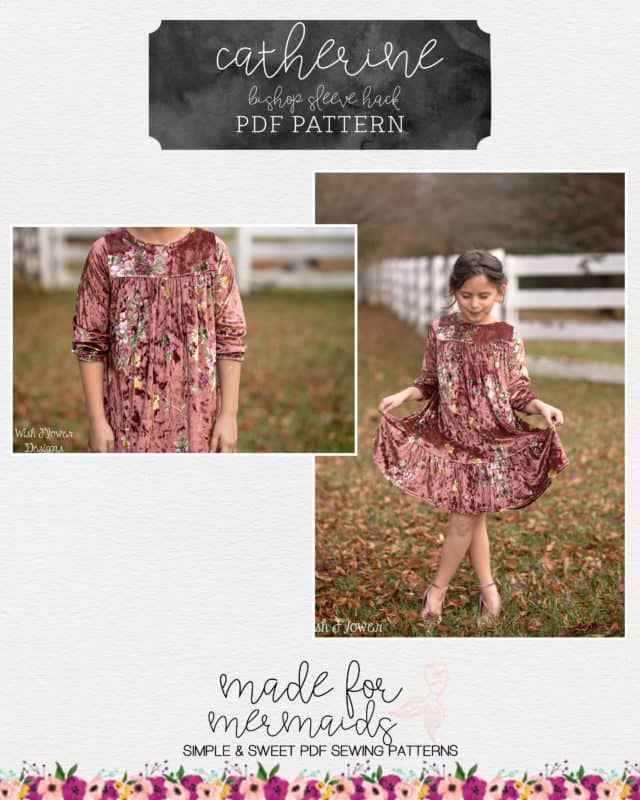
The flounce sleeve is the sleeve of the moment for me; I want it on all the things, and this pattern is perfect because it includes a flounce and a high-low flounce! But I couldn’t leave it alone, and wanted to make another option to match an inspiration image I’d seen. For this sleeve, I widened the bottom of the sleeve to make it a slight bishop sleeve. Let me show you what I did. I used the ¾ length sleeve, plus, I added a little length, about 1.5” for the size 7, because I thought I might like it pushed up a little so the sleeve would puff out. You can add length or use the ¾ length sleeve as is for this.
Materials Needed:
-1/4″ Elastic
Directions:
Step 1: On a separate piece of paper trace the top of the sleeve pattern, and mark where the bottom lands, on the fold side. Then swing your pattern piece out from the underarm point. I used a pin, to make sure I was accurate. I measured 1.5” out from the edge of the paper, because I didn’t want too much of a billowy sleeve. Now trace down the side of your sleeve, and connect the end point of that line with the line you marked earlier where the end of your sleeve was. I used a french curve, but you can eyeball it too 🙂
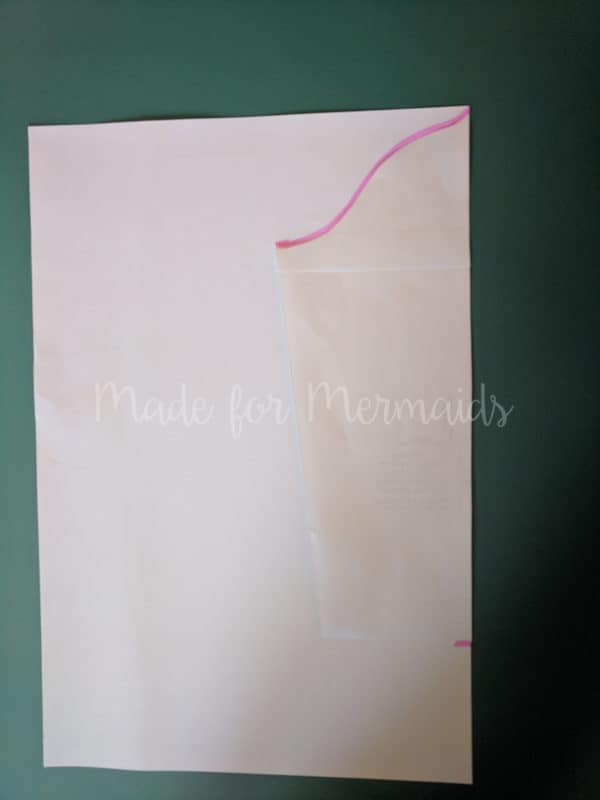
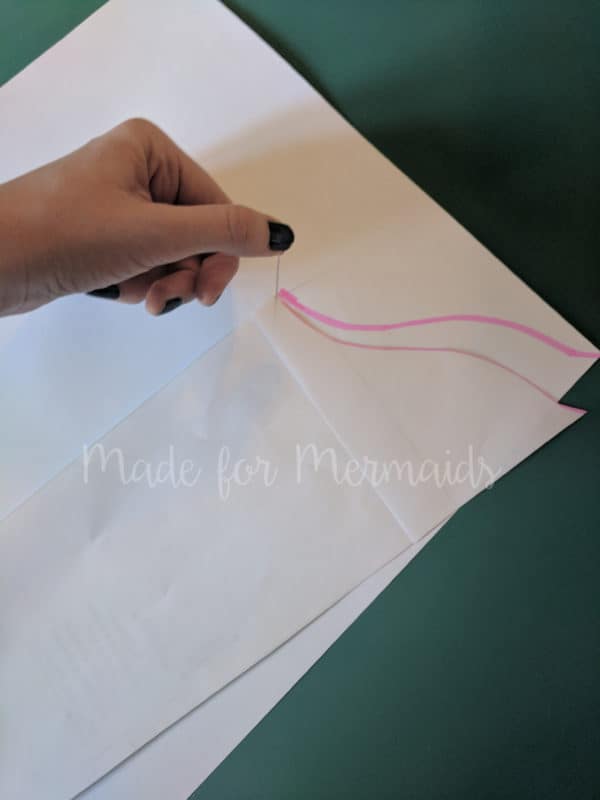
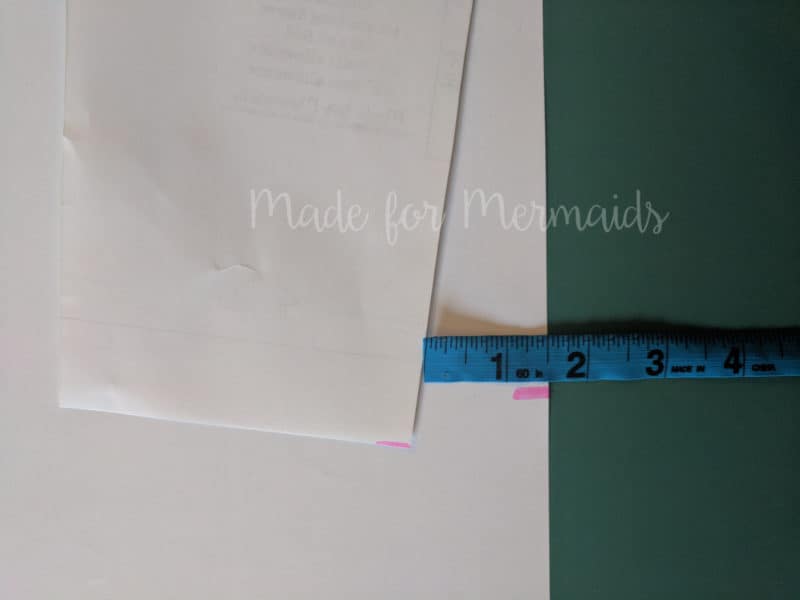

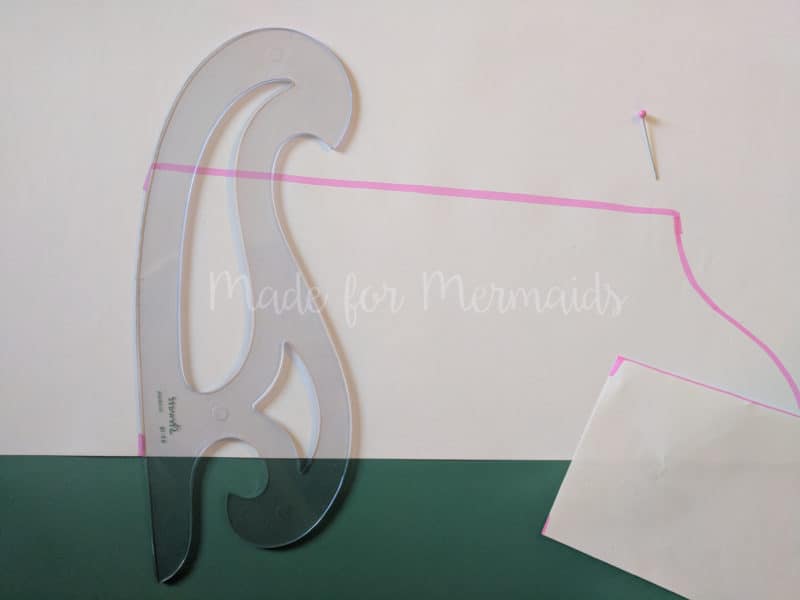
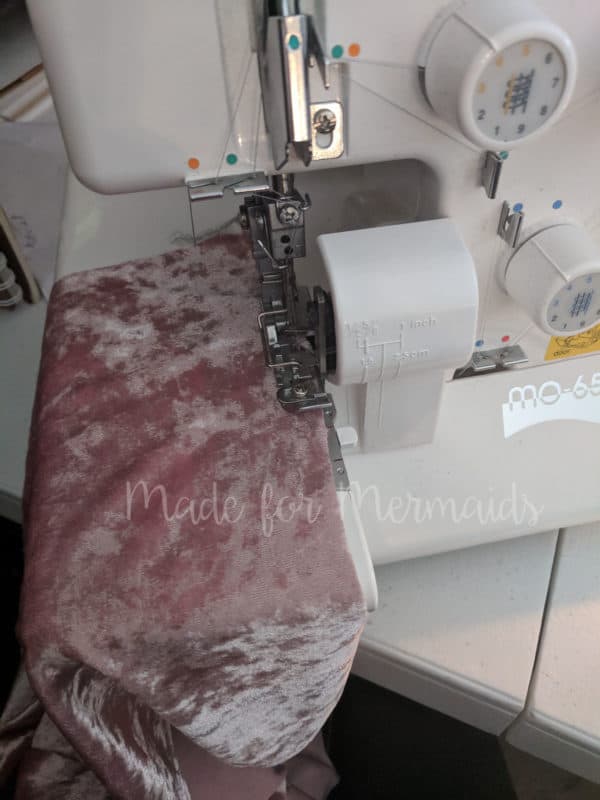
Step 2: Now you have your new sleeve pattern piece! Cut out your pieces, and follow directions until you get to the point of hemming your sleeves. I like to finish the bottom edge of my sleeves, because it’s a little easier to work with. You can do this flat, or once the side seam is sewn. Grab ¼” elastic, measure it around your daughter’s arm, pulling it flush, but not tight, and cut two pieces the length you measured.
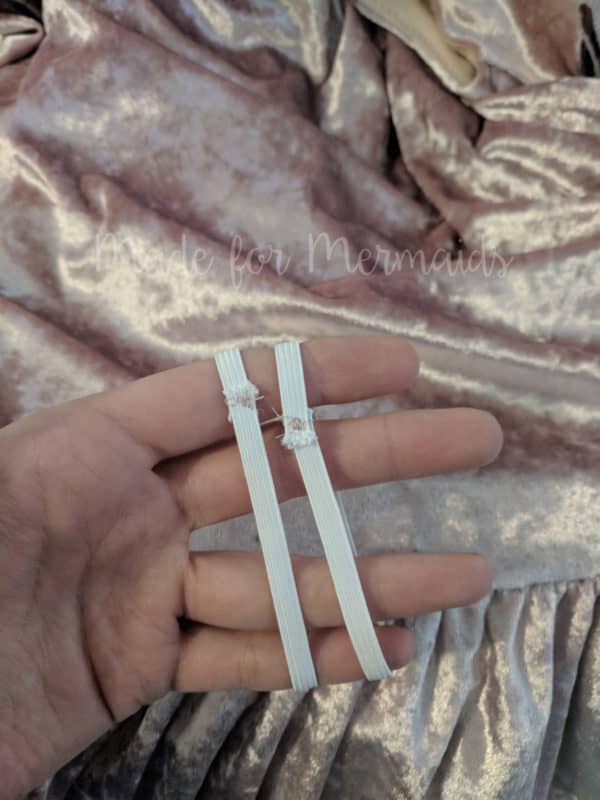
Sew your elastic into a circle, overlapping ½”, and zig-zaging over it a few times
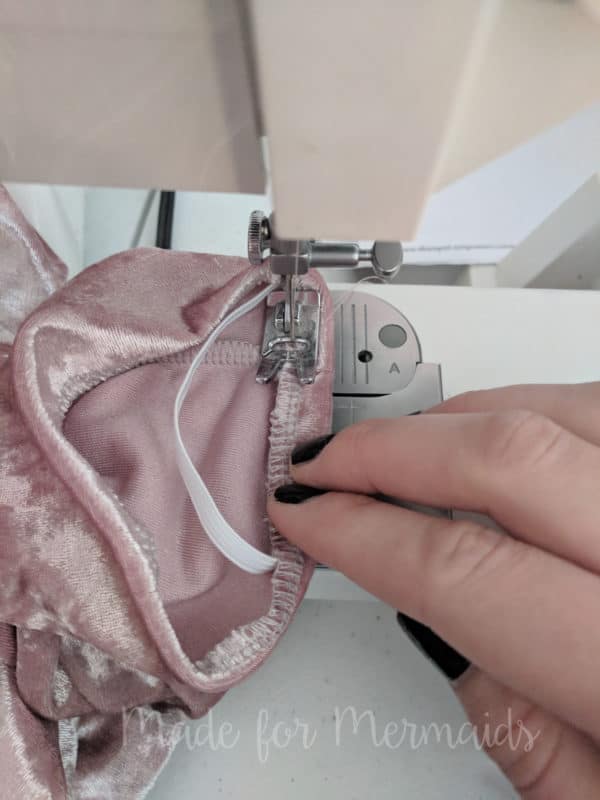
Now you can sew the elastic into your sleeves! Fold your sleeve hem up ½”, with the elastic folded inside. You can use a straight stitch for this seam, since there won’t be any strain on it. Stitch the hem closed, adjusting your elastic as you go. You will need to pull some length out part way through so that you’re not having to stretch your elastic as you sew.
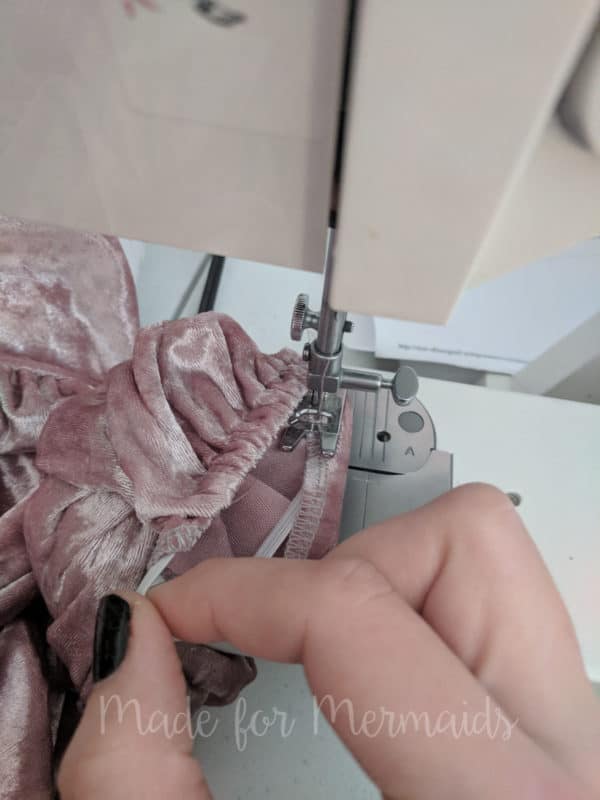
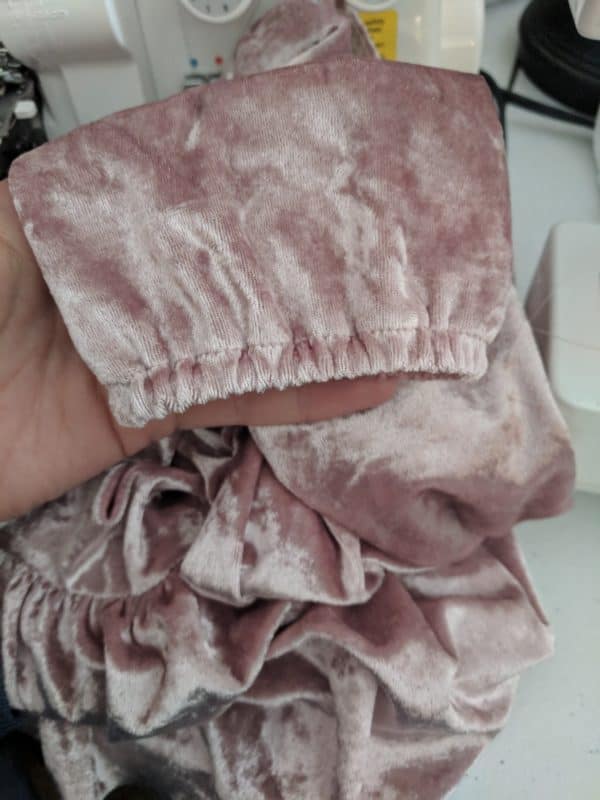
Now you are all finished! ~ Liesel
Isn’t the bishop sleeve such a fun twist?!
Split Flounce Hack
Directions:
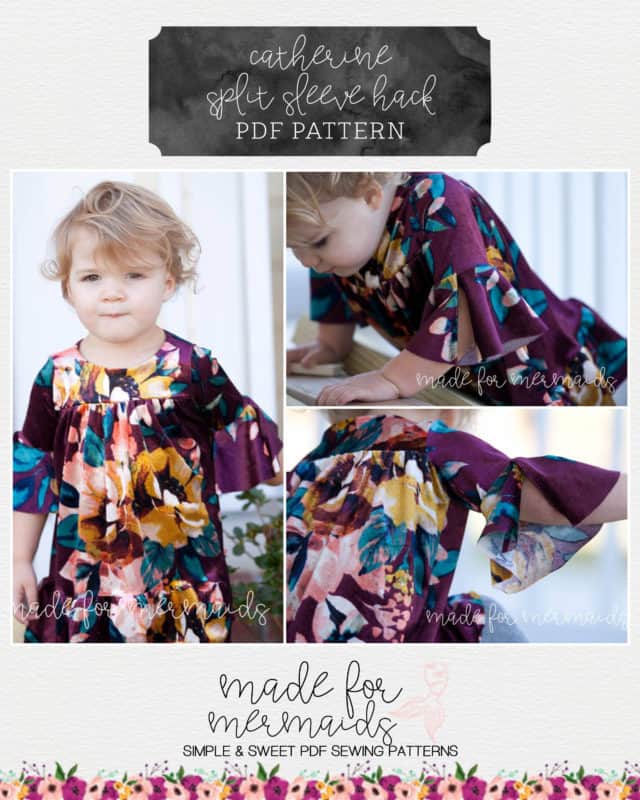
Step 1: Cut out two flounce pieces per pattern directions. Press each end of the flounce piece inward 1/4” with wrong sides together.
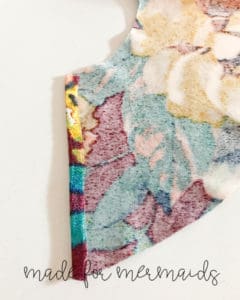
Stitch in place using a stretch stitch.

Step 2: Overlap the edges of the flounce 1/4”. Baste together.

Step 3: Attach flounce to sleeve per pattern directions, with flounce split opposite of side seam.
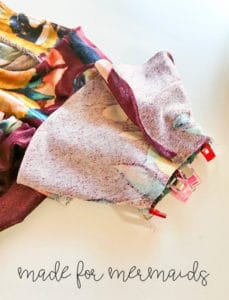


Repeat all steps for other flounce/sleeve. Be sure to measure exactly 1/4” of both the edges, and the overlap, otherwise you will have to stretch the flounce to fit the sleeve. For a slightly more dramatic split flounce, you can move the split to the front of the arm! ~ Colleen
Double Flounce Hack
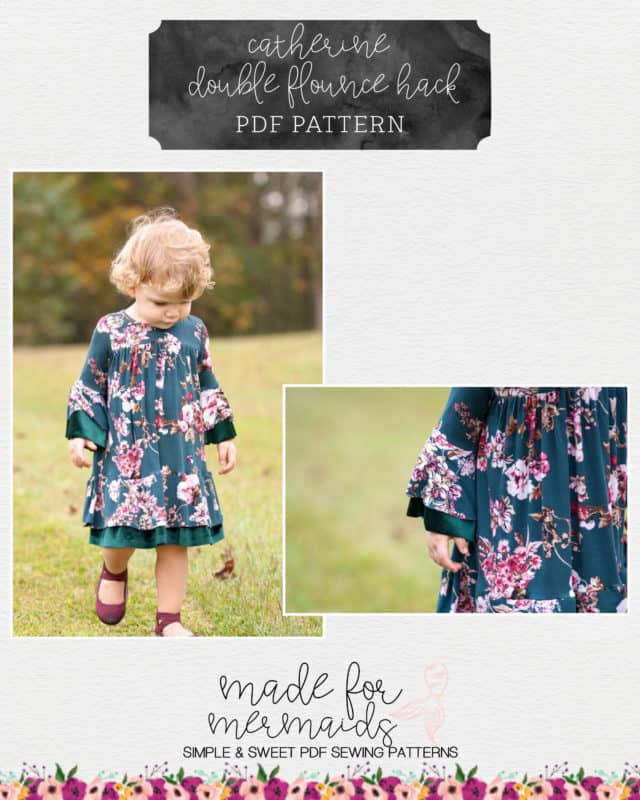
Materials Needed:
-Small amount of extra yardage for the extra flounce
Directions:
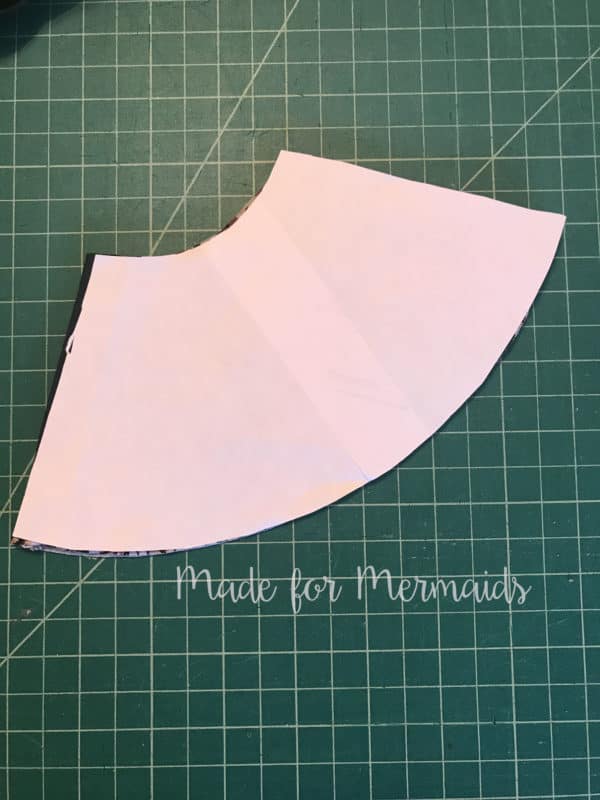
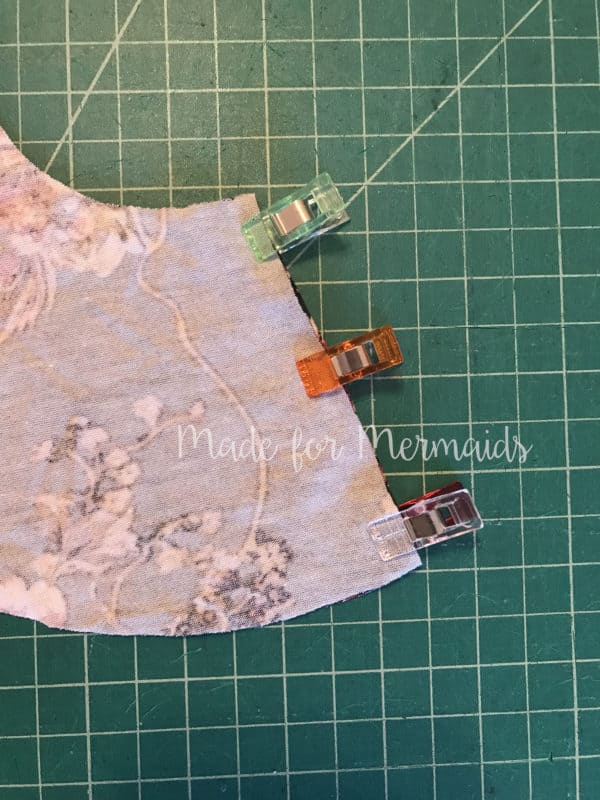
Step 3: Cut 2 flounce pieces using the pattern piece as a guide, but extend the bottom 1” (or to desired length). Fold each new longer flounce with right sides together. Clip or pin the edges, then serge (or use flat felled method as described in pattern) . This will be the bottom flounce.
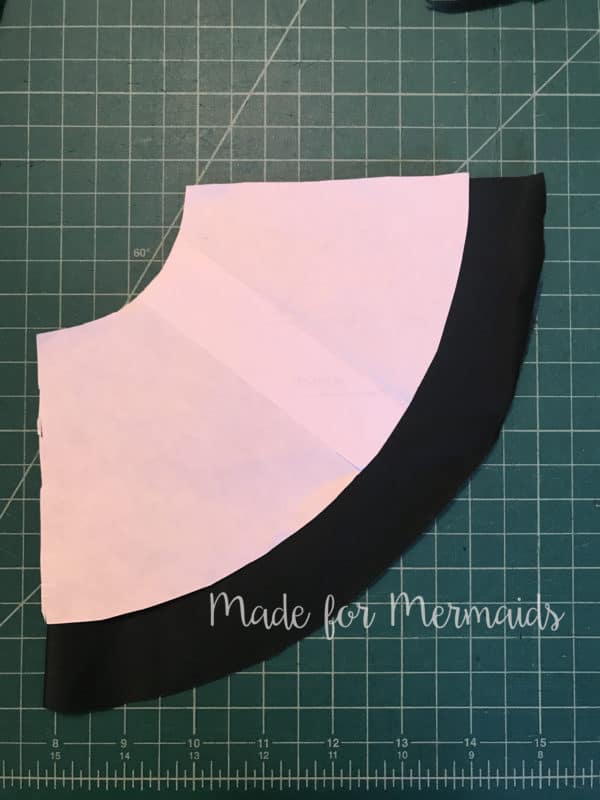
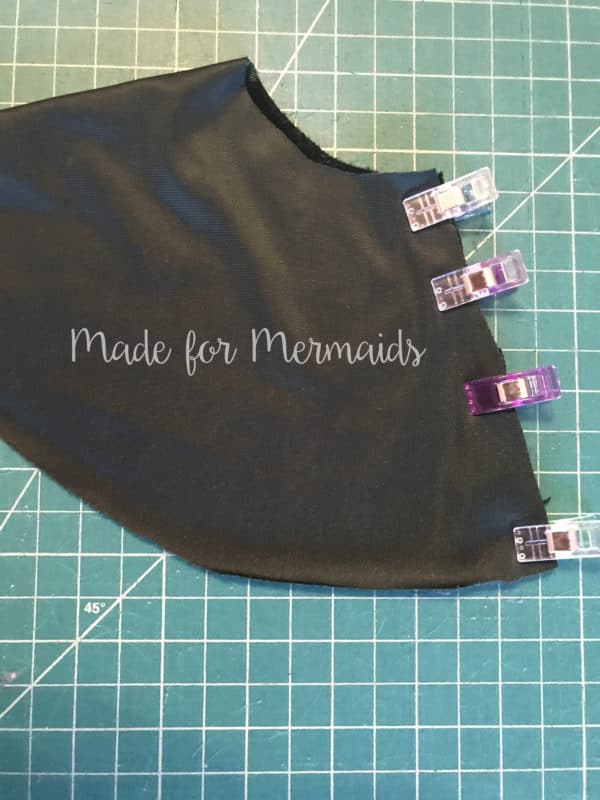
Next, match the wrong side of the top flounce to the right side of the longer flounce. Baste together at the top opening (you can also serge if you’d like; you may just have a slightly bulkier seam around the flounce/sleeve), then repeat with other two flounce pieces.
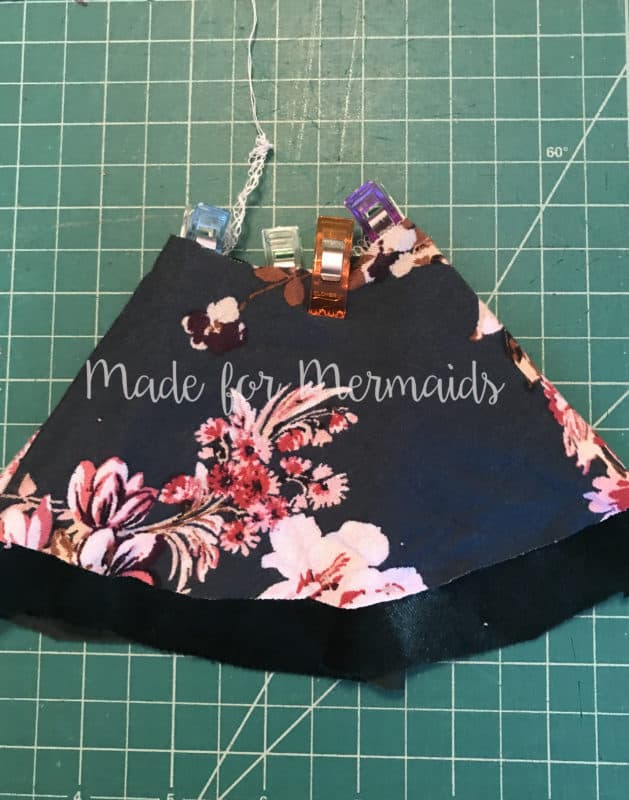
Step 4: Clip or pin the flounce to sleeve opening, right sides together. The top flounce piece should be sandwiched in between the bottom flounce piece and the sleeve. Repeat for other flounce/sleeve. You should not have to stretch the flounce to fit the sleeve. Attach flounce piece per pattern directions. ~ Colleen
Lined Flounce Hack

Materials Needed:
-Small amount of extra yardage for the extra flounce
Directions:
Step 1: In order to make a lined flounce, you need to trace the flounce pattern piece two times. Before cutting these new pieces out, you will add 1/8″ to the bottom of the flounce lining piece and 1/4″ to the bottom of the main flounce piece. (I found it easiest to add the length by using my hem gauge and making several little marks 1/8″ away and then 1/4″ away along the bottom of each of the flounces and then cutting along those markings.)
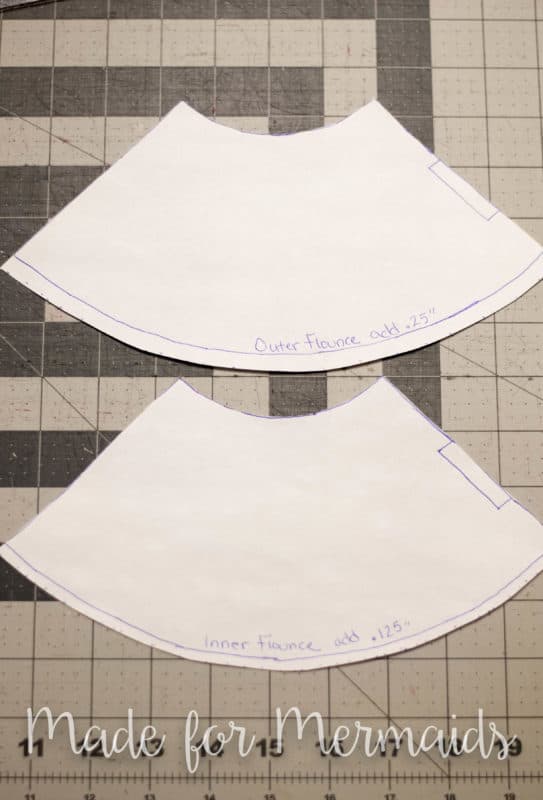
After the you have adjusted the two flounce pattern pieces, you will be ready to cut your fabric. Note the larger piece is the main flounce and the smaller piece is the flounce lining. The difference in size is to allow for the outer flounce to be pulled under slightly. You will then sew the short sides of the flounces. The side seams will be enclosed so there is no need to finish the seams.
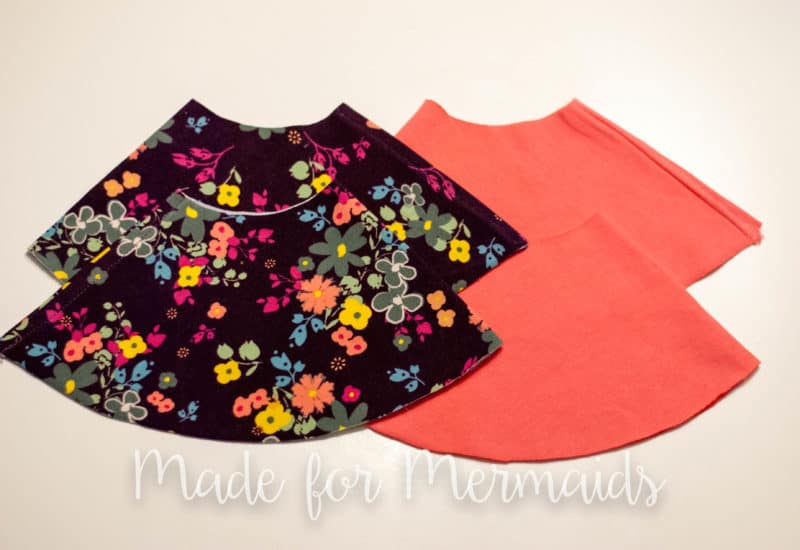
Step 2: Place the flounce main and lining pieces together with right sides together. Baste the flounces at top to help keep your pattern pieces in their place.
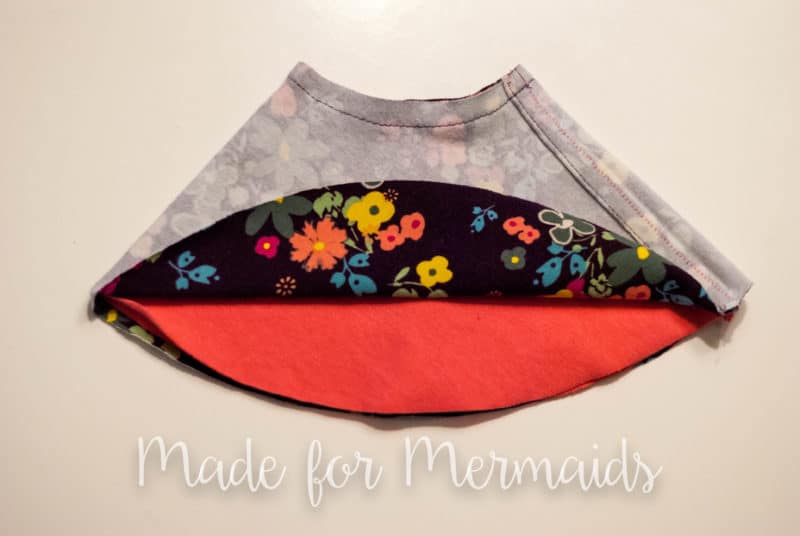
Sew the bottom together using a 1/4″ seam allowance.
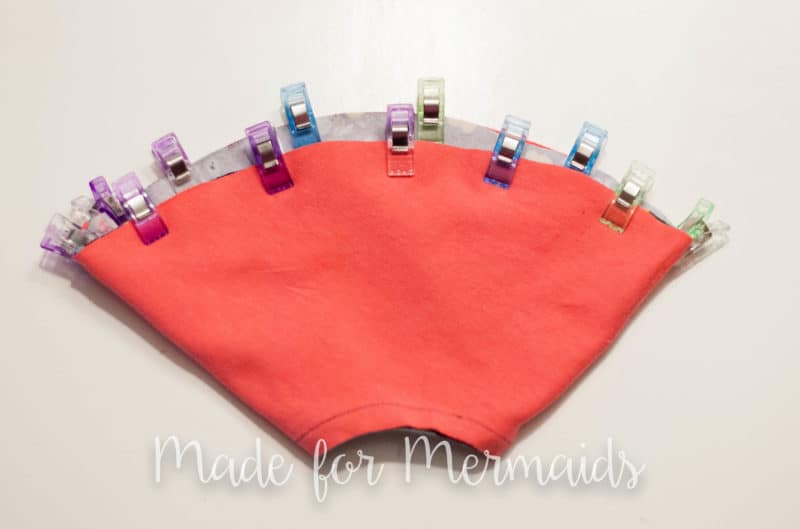
Once the bottom is sewn you will remove the basting stitches at the top of the flounce and pull the flounce pieces apart.
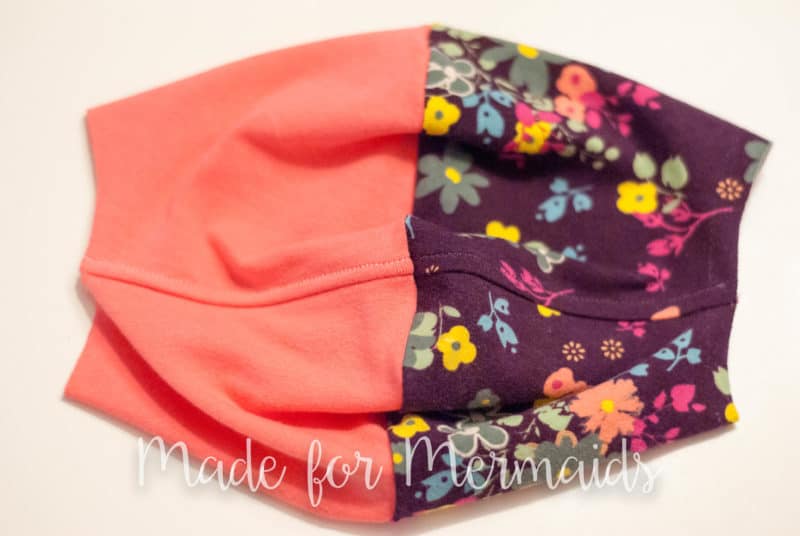
You are going to flip it right side out by placing the wrong sides of the main and lining together. Press well. Now you can sew another basting stitch at the top of the flounce to make stitching the flounce to the sleeve easier.
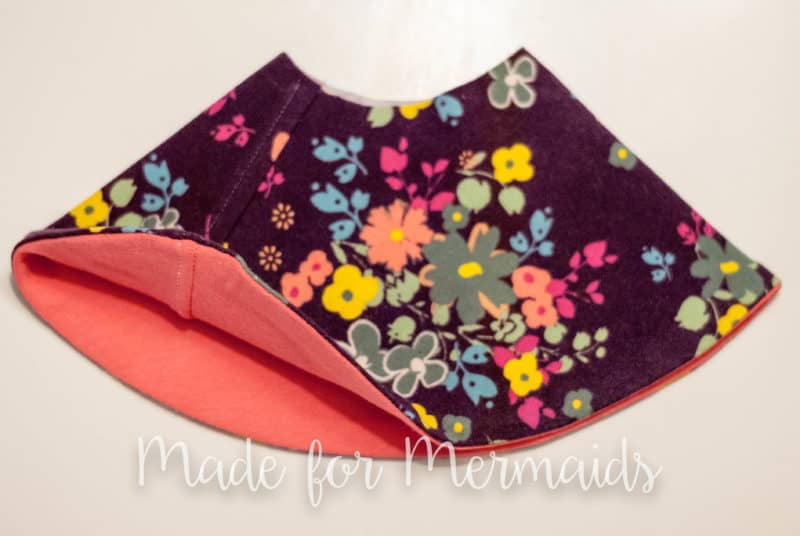
Step 3: Complete the Catherine as directed in the pattern tutorial, just make sure the main flounce is facing the right side of the sleeve when you sew them together! ~ Amira
Double Skirt Hack
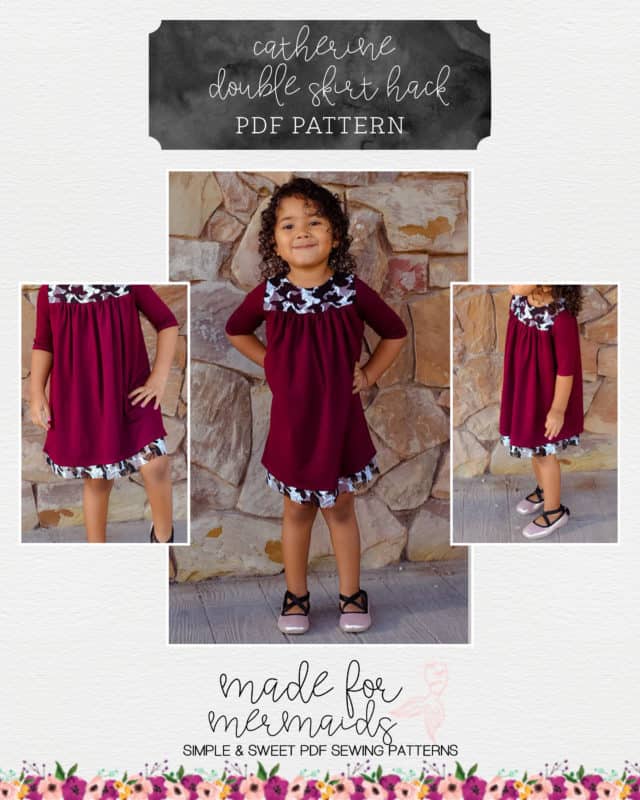
This double skirt hack is super easy and perfect done in basic colors for everyday, or you can get fancy with some stretch lace or velvet!
Materials Needed:
-Double the amount of yardage of the skirt
Directions:
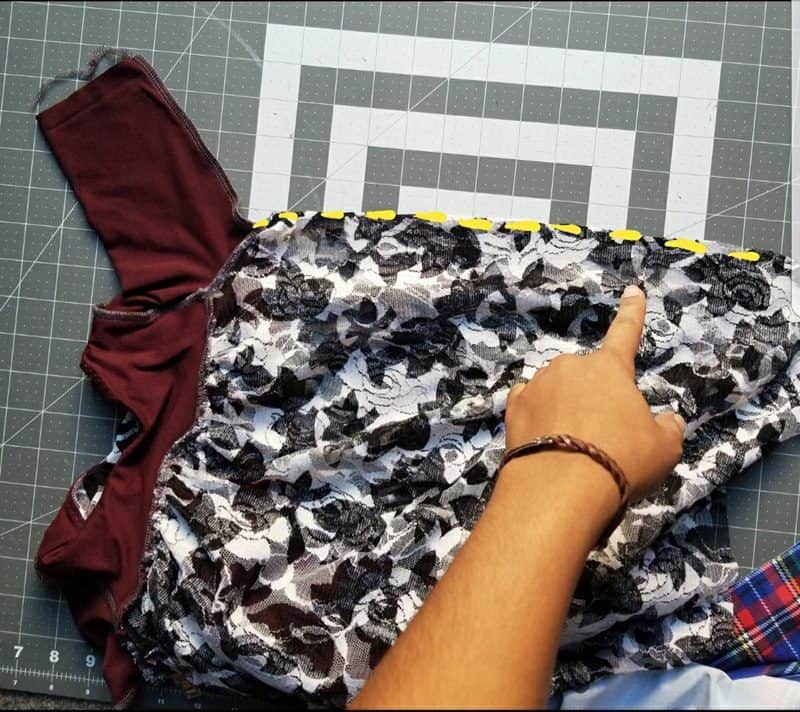
Step 1: Cut your skirts. If you are using different fabrics, decide which fabric you want to be the skirt lining (which will peek out of the bottom) and which will be the top skirt fabric. You will cut the lining skirt the length per your pattern piece. Your main skirt (or top skirt) you will cut shorter. For girls 3/4- 1 inch is plenty. For myself, I took off 1.5 inches. Really, it all depends on how layered you want it to look. Please do take into consideration if you will be hemming or leaving the edge raw. If you leave the edge raw you may need to subtract the hem allowance. Be mindful of where the main/top skirt needs to hit to avoid a wardrobe malfunction on the playground if you use something sheer for the lining skirt, don’t be like me! Lol. Then, with all skirt pieces facing right side up, lay the main skirt front over the lining skirt front matching notches and armcyses. Wrong side of main skirt will be to the right side of lining skirt. Pin or clip in place. Treat this piece as 1 skirt and baste & gather between the notches as directed in the tutorial. Repeat with your back skirt pieces.
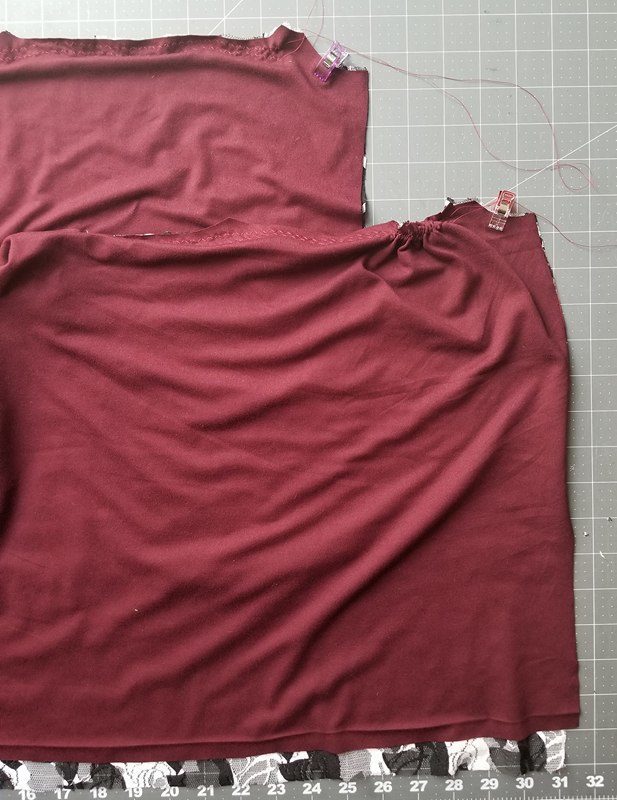
Step 2: Attach the skirts to the bodices as shown in the tutorial. * You can add 1/4″ clear elastic to the seam here for stability. It may be hard to find, so alternatively, you may iron a 1/4″ strip of interfacing to the wrong side of the bodice/bodice lining pieces at the bottom bodice edge, where you will be attaching the skirts. Attach the sleeves to the armcyse as directed, stopping at the step where you get to the side seams. Your skirts will flow better if they each have their own side seams, instead of sharing one. You are going to take your dress, it should be wrong sides out and right sides facing eachother, and start pinning/clipping your side seam at the sleeve. When you get to the underarm, roll your lining skirt out of the way and continue pinning/clipping the side seam of the main skirt, unfolding the memory hem at the bottom.
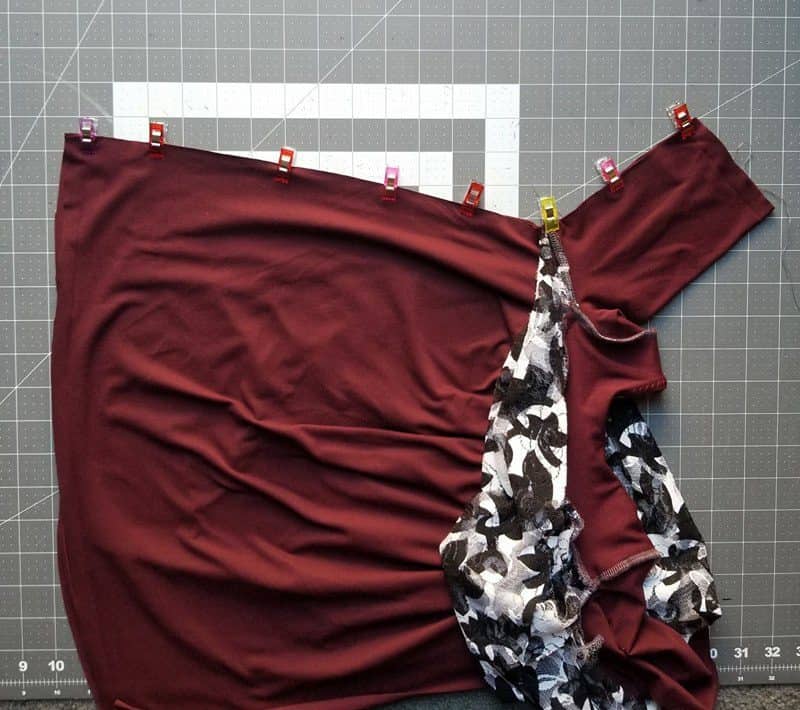
Stitch the entire seam with the seam allowance stated in the tutorial, except grading a 1/4″ seam allowance only at the point where your skirt is folded out of the way (which should also be at the underarm seam) then back out to the normal seam allowance. * I like to do it this way since I use a serger, there will be a bit to cut off when I begin to sew the lining skirt in the next step. You can also use the full seam allowance here but your skirt seams will overlap at this point.
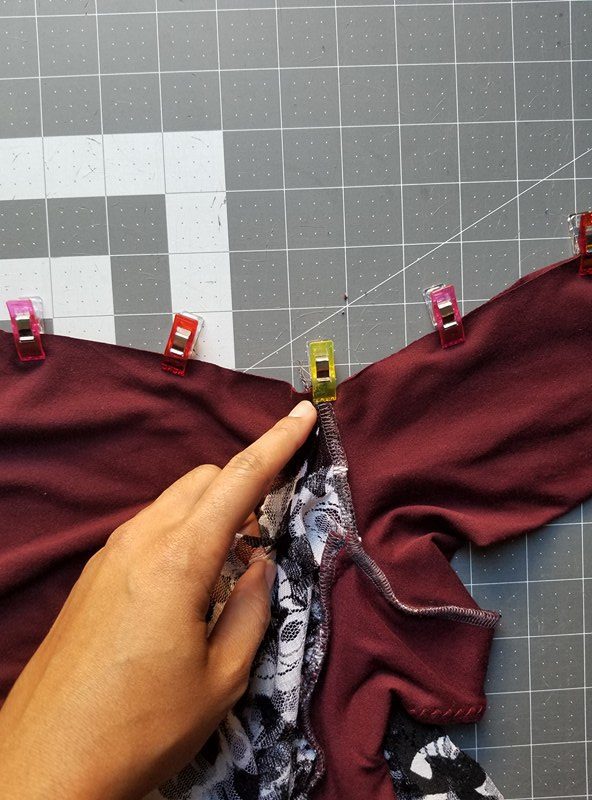
Unroll your lining skirt and starting at the point at the underarm seam where you took the 1/4″ seam allowance,
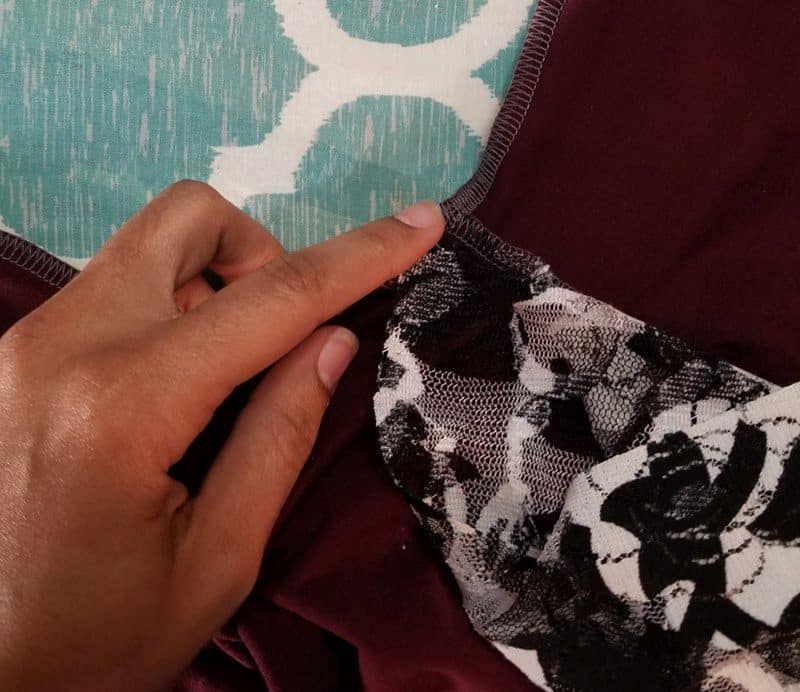
begin to pin the lining skirt side seam, pushing the main skirt down and out of the seam allowance as far as you can get it, and unfolding your memory hem at the bottom.
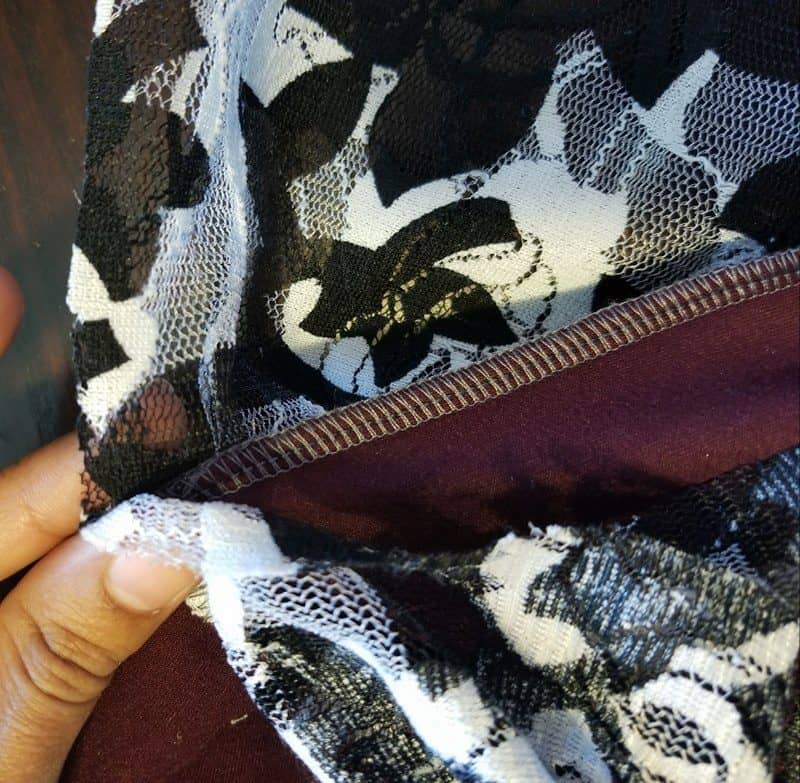
Stitch the seam, being careful not to catch the main skirt. Hem both your skirts and Voila! A little layered action going on! ~Stephanie
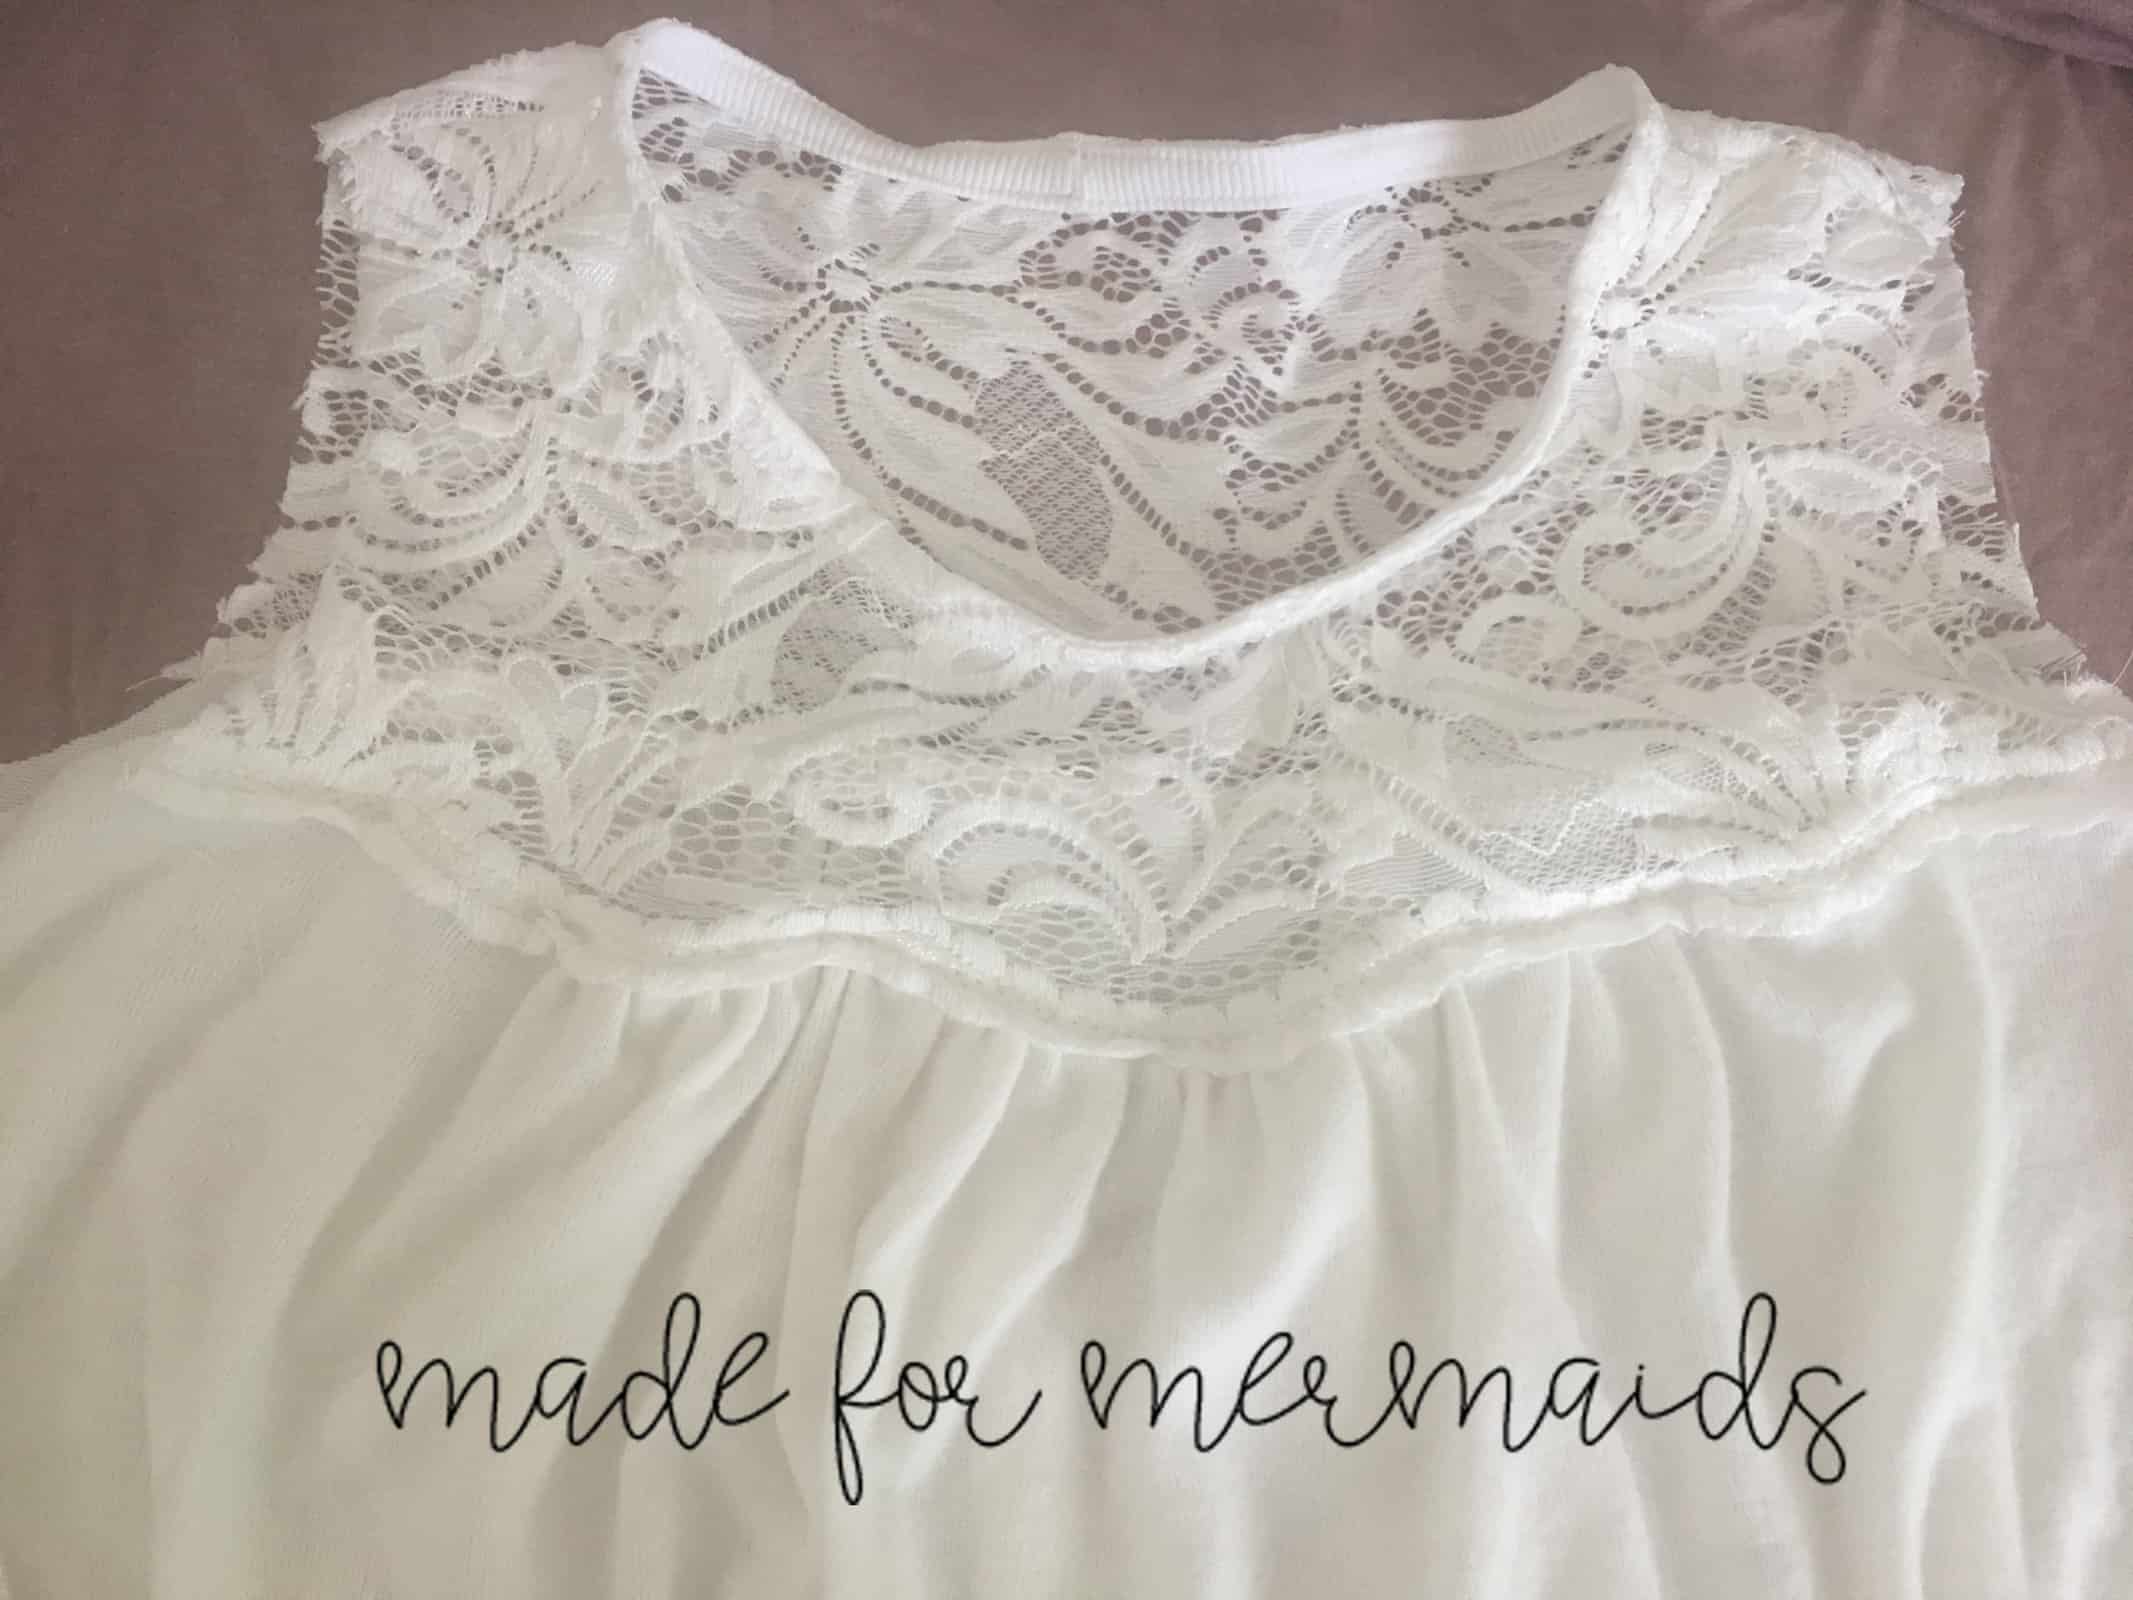
Exposed Lace yoke hack
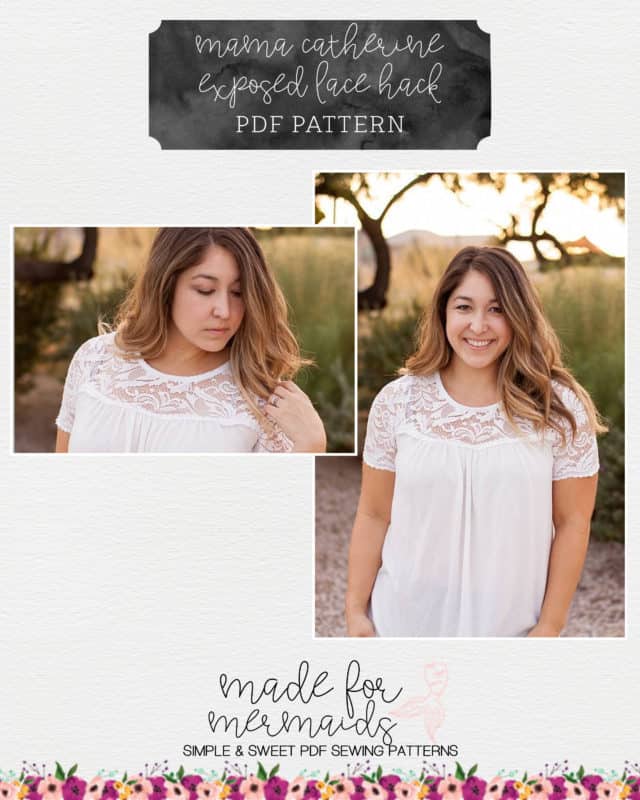
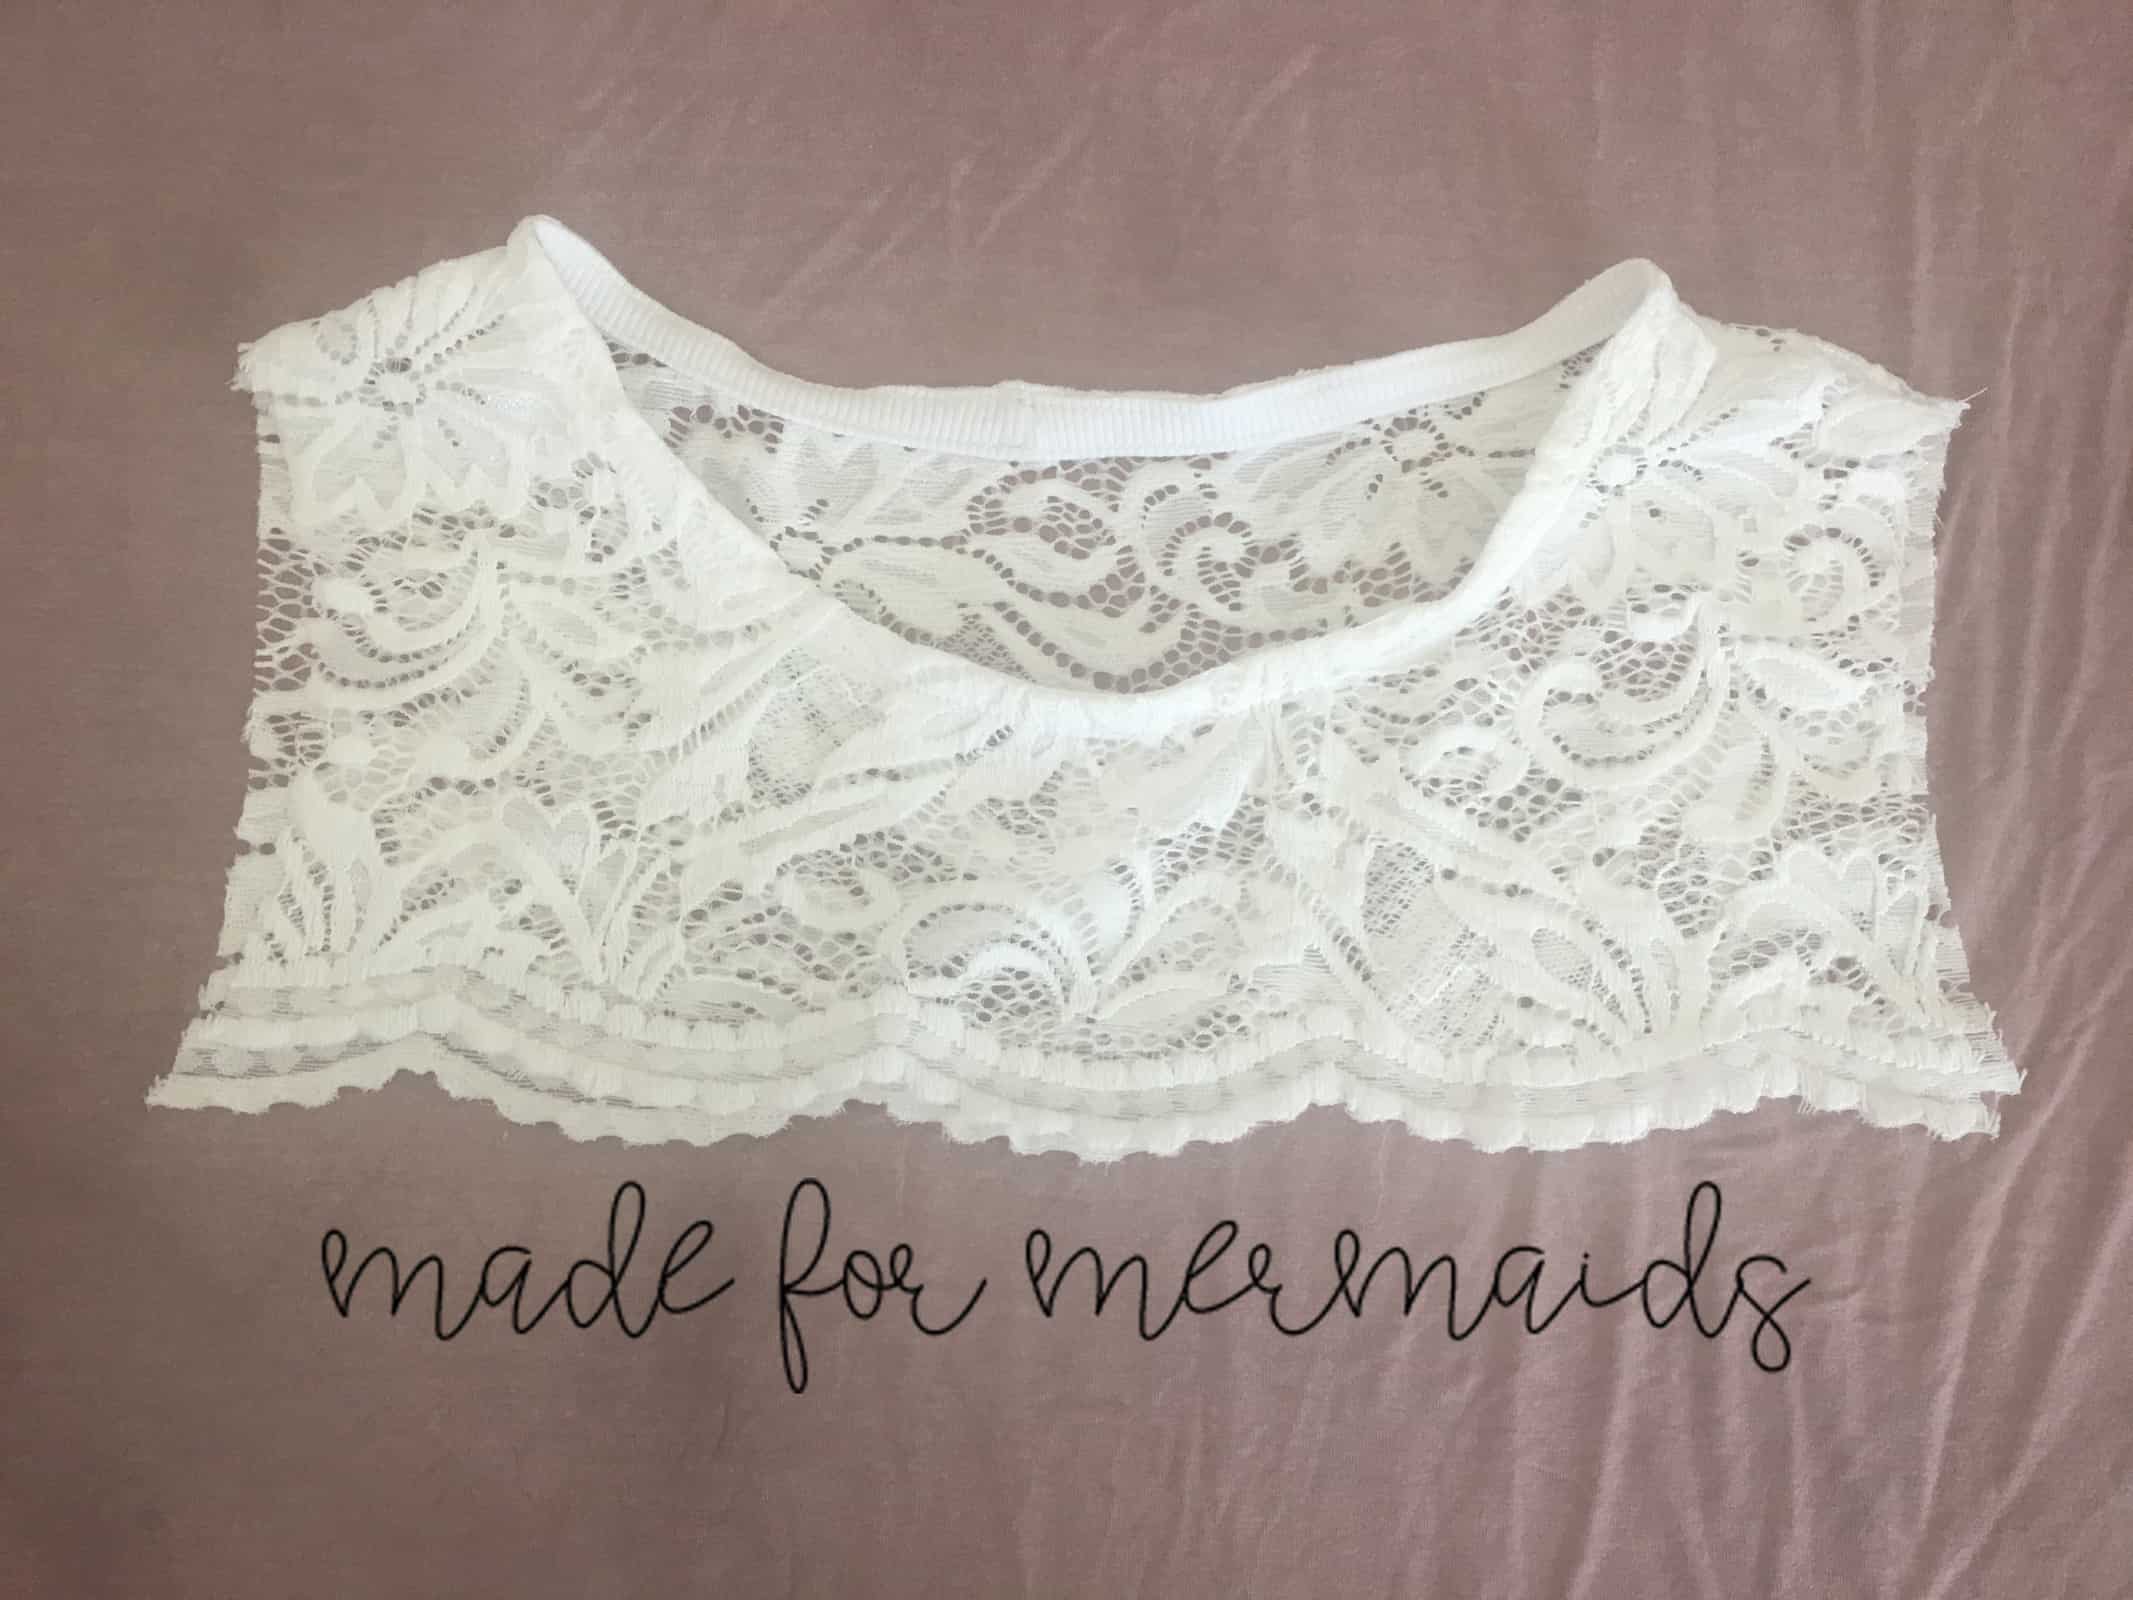
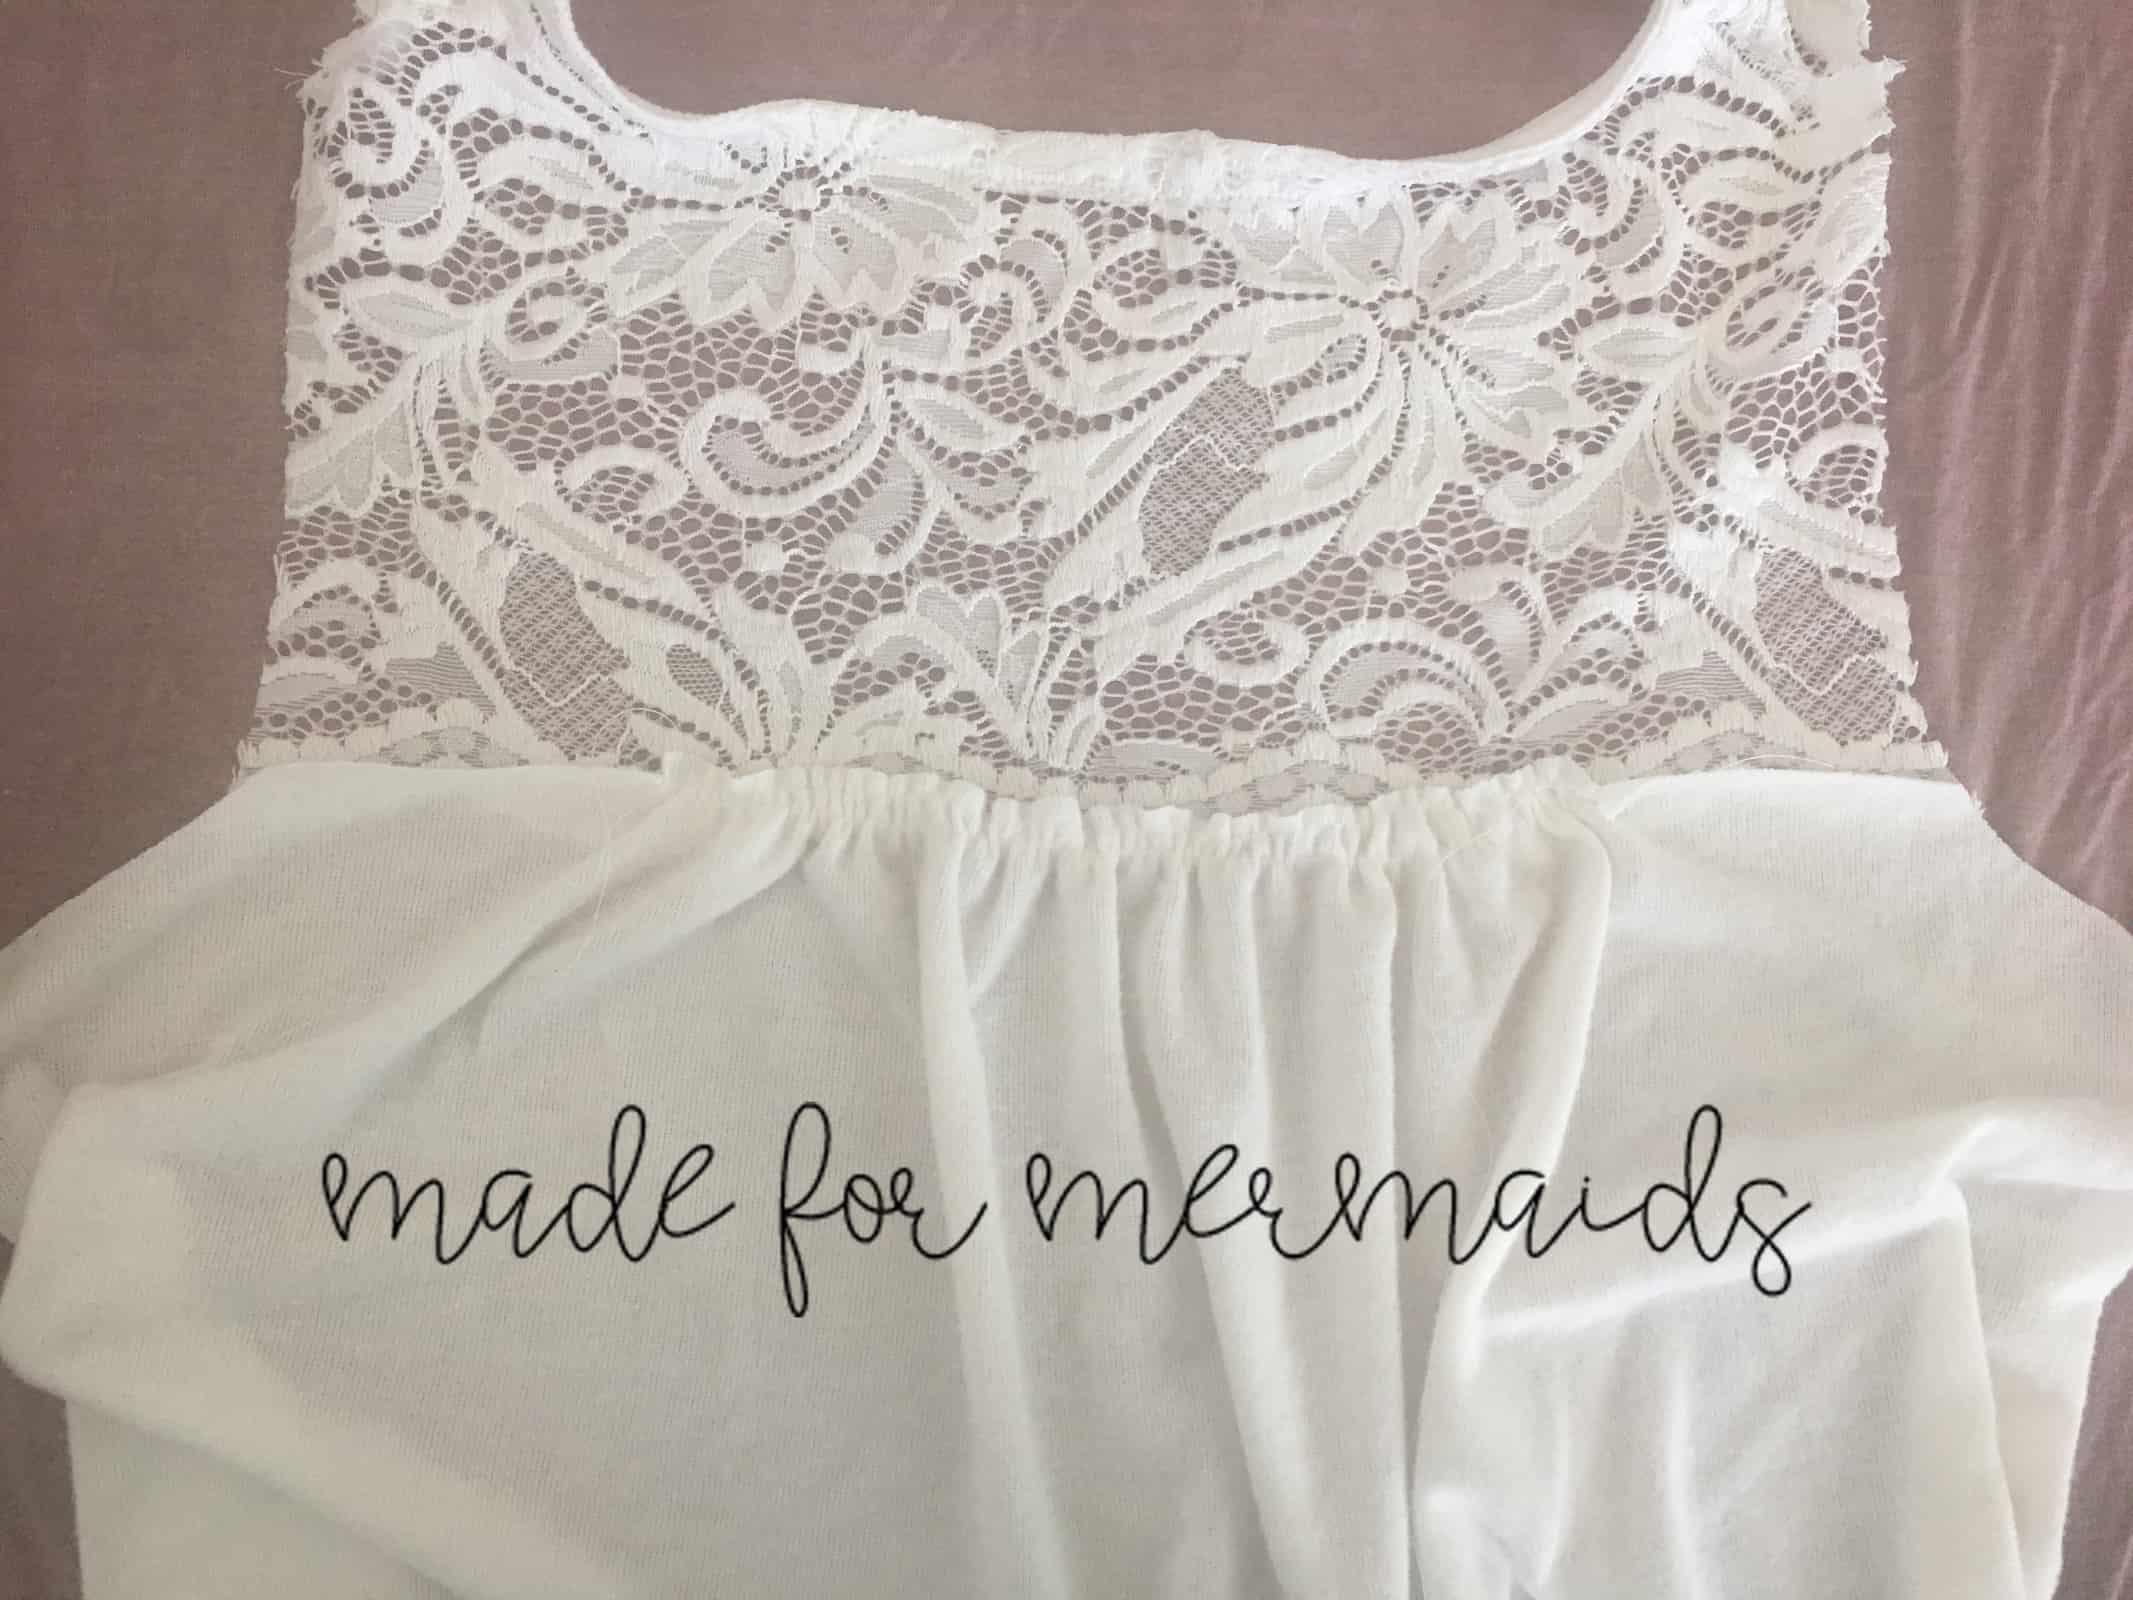
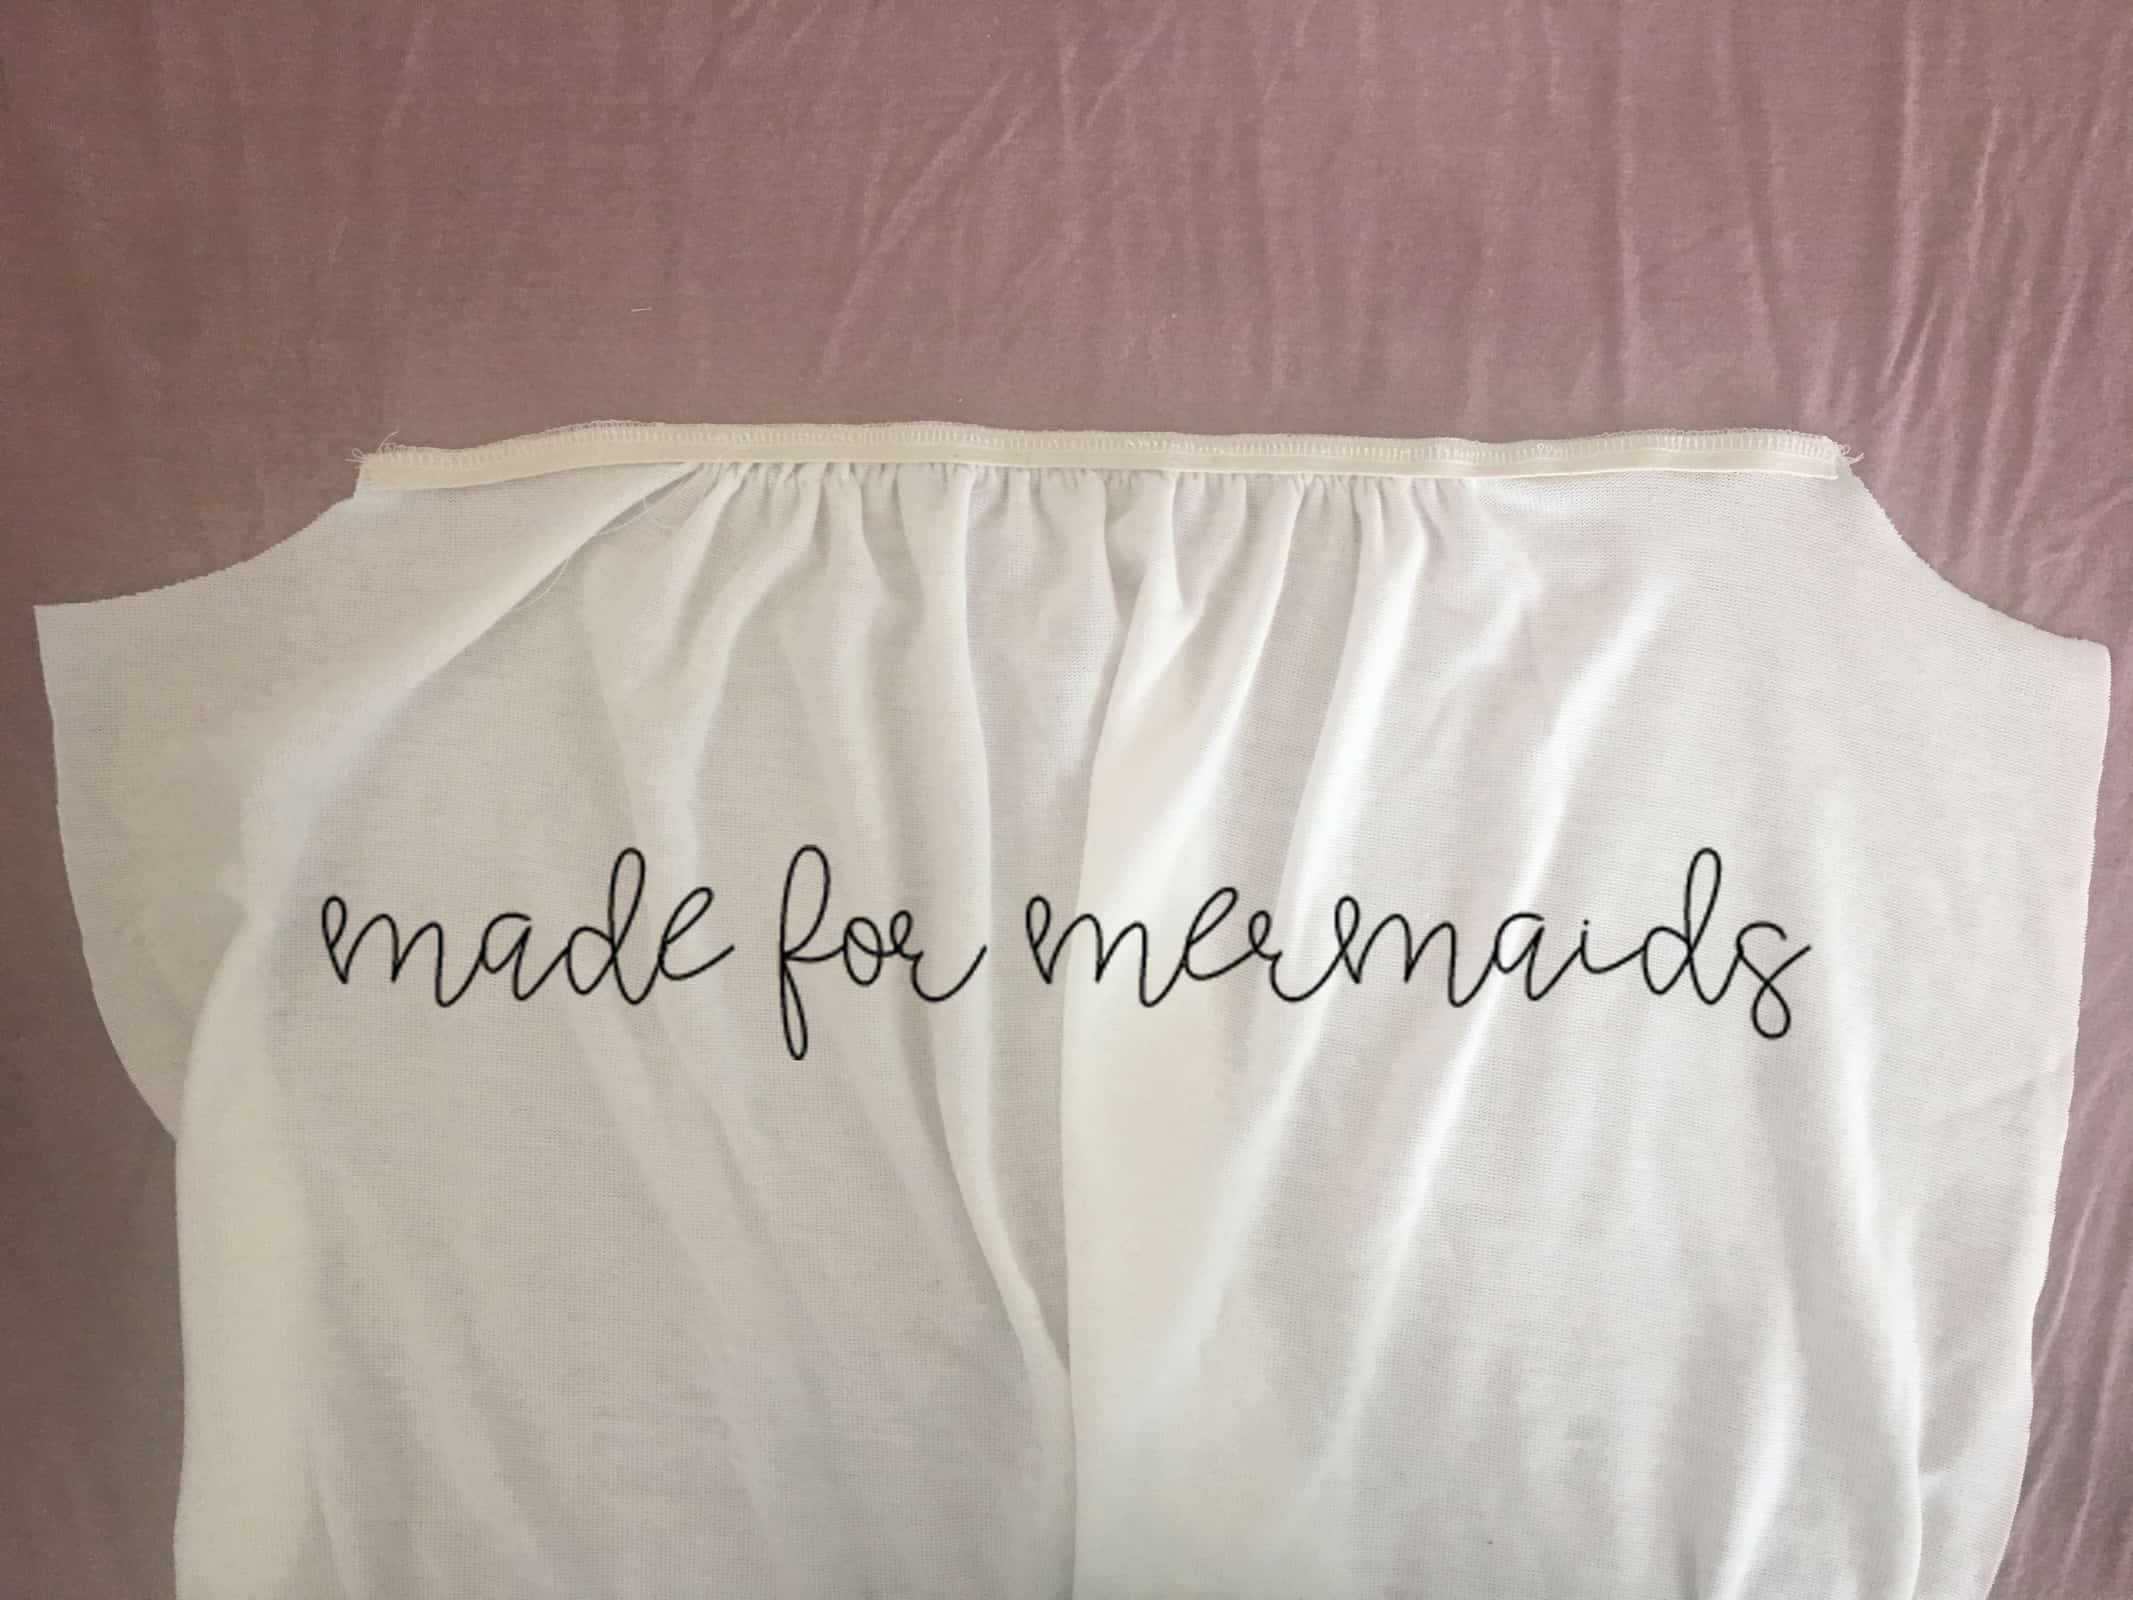
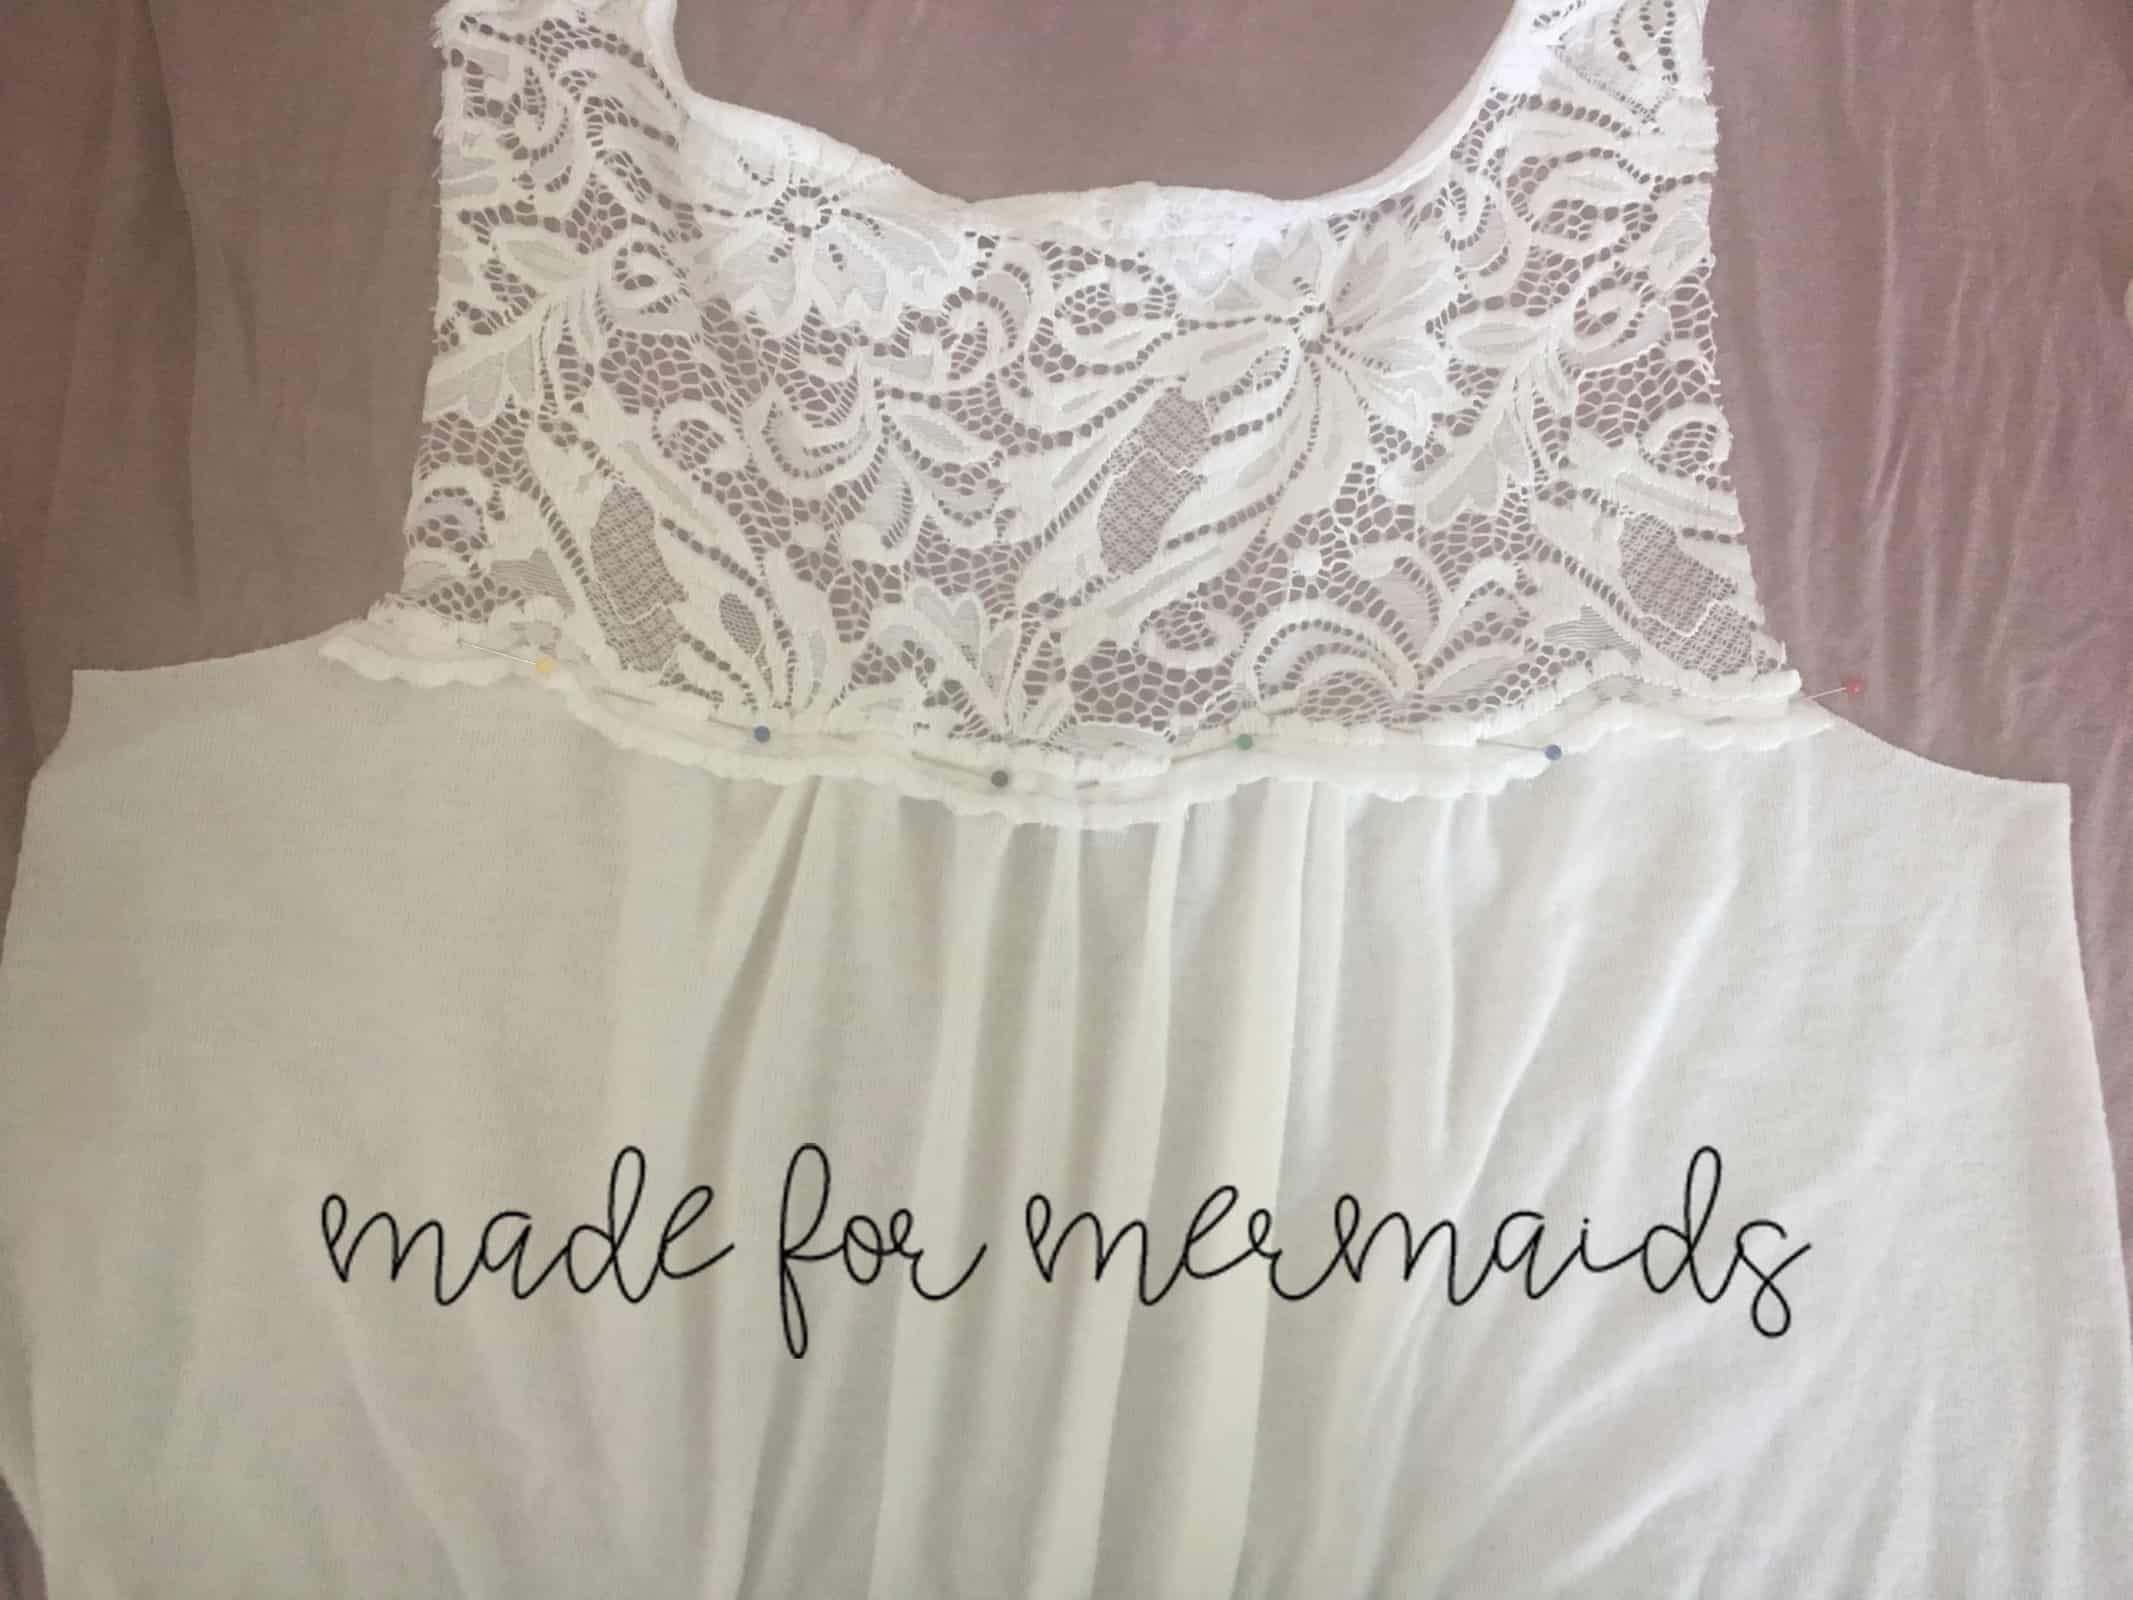
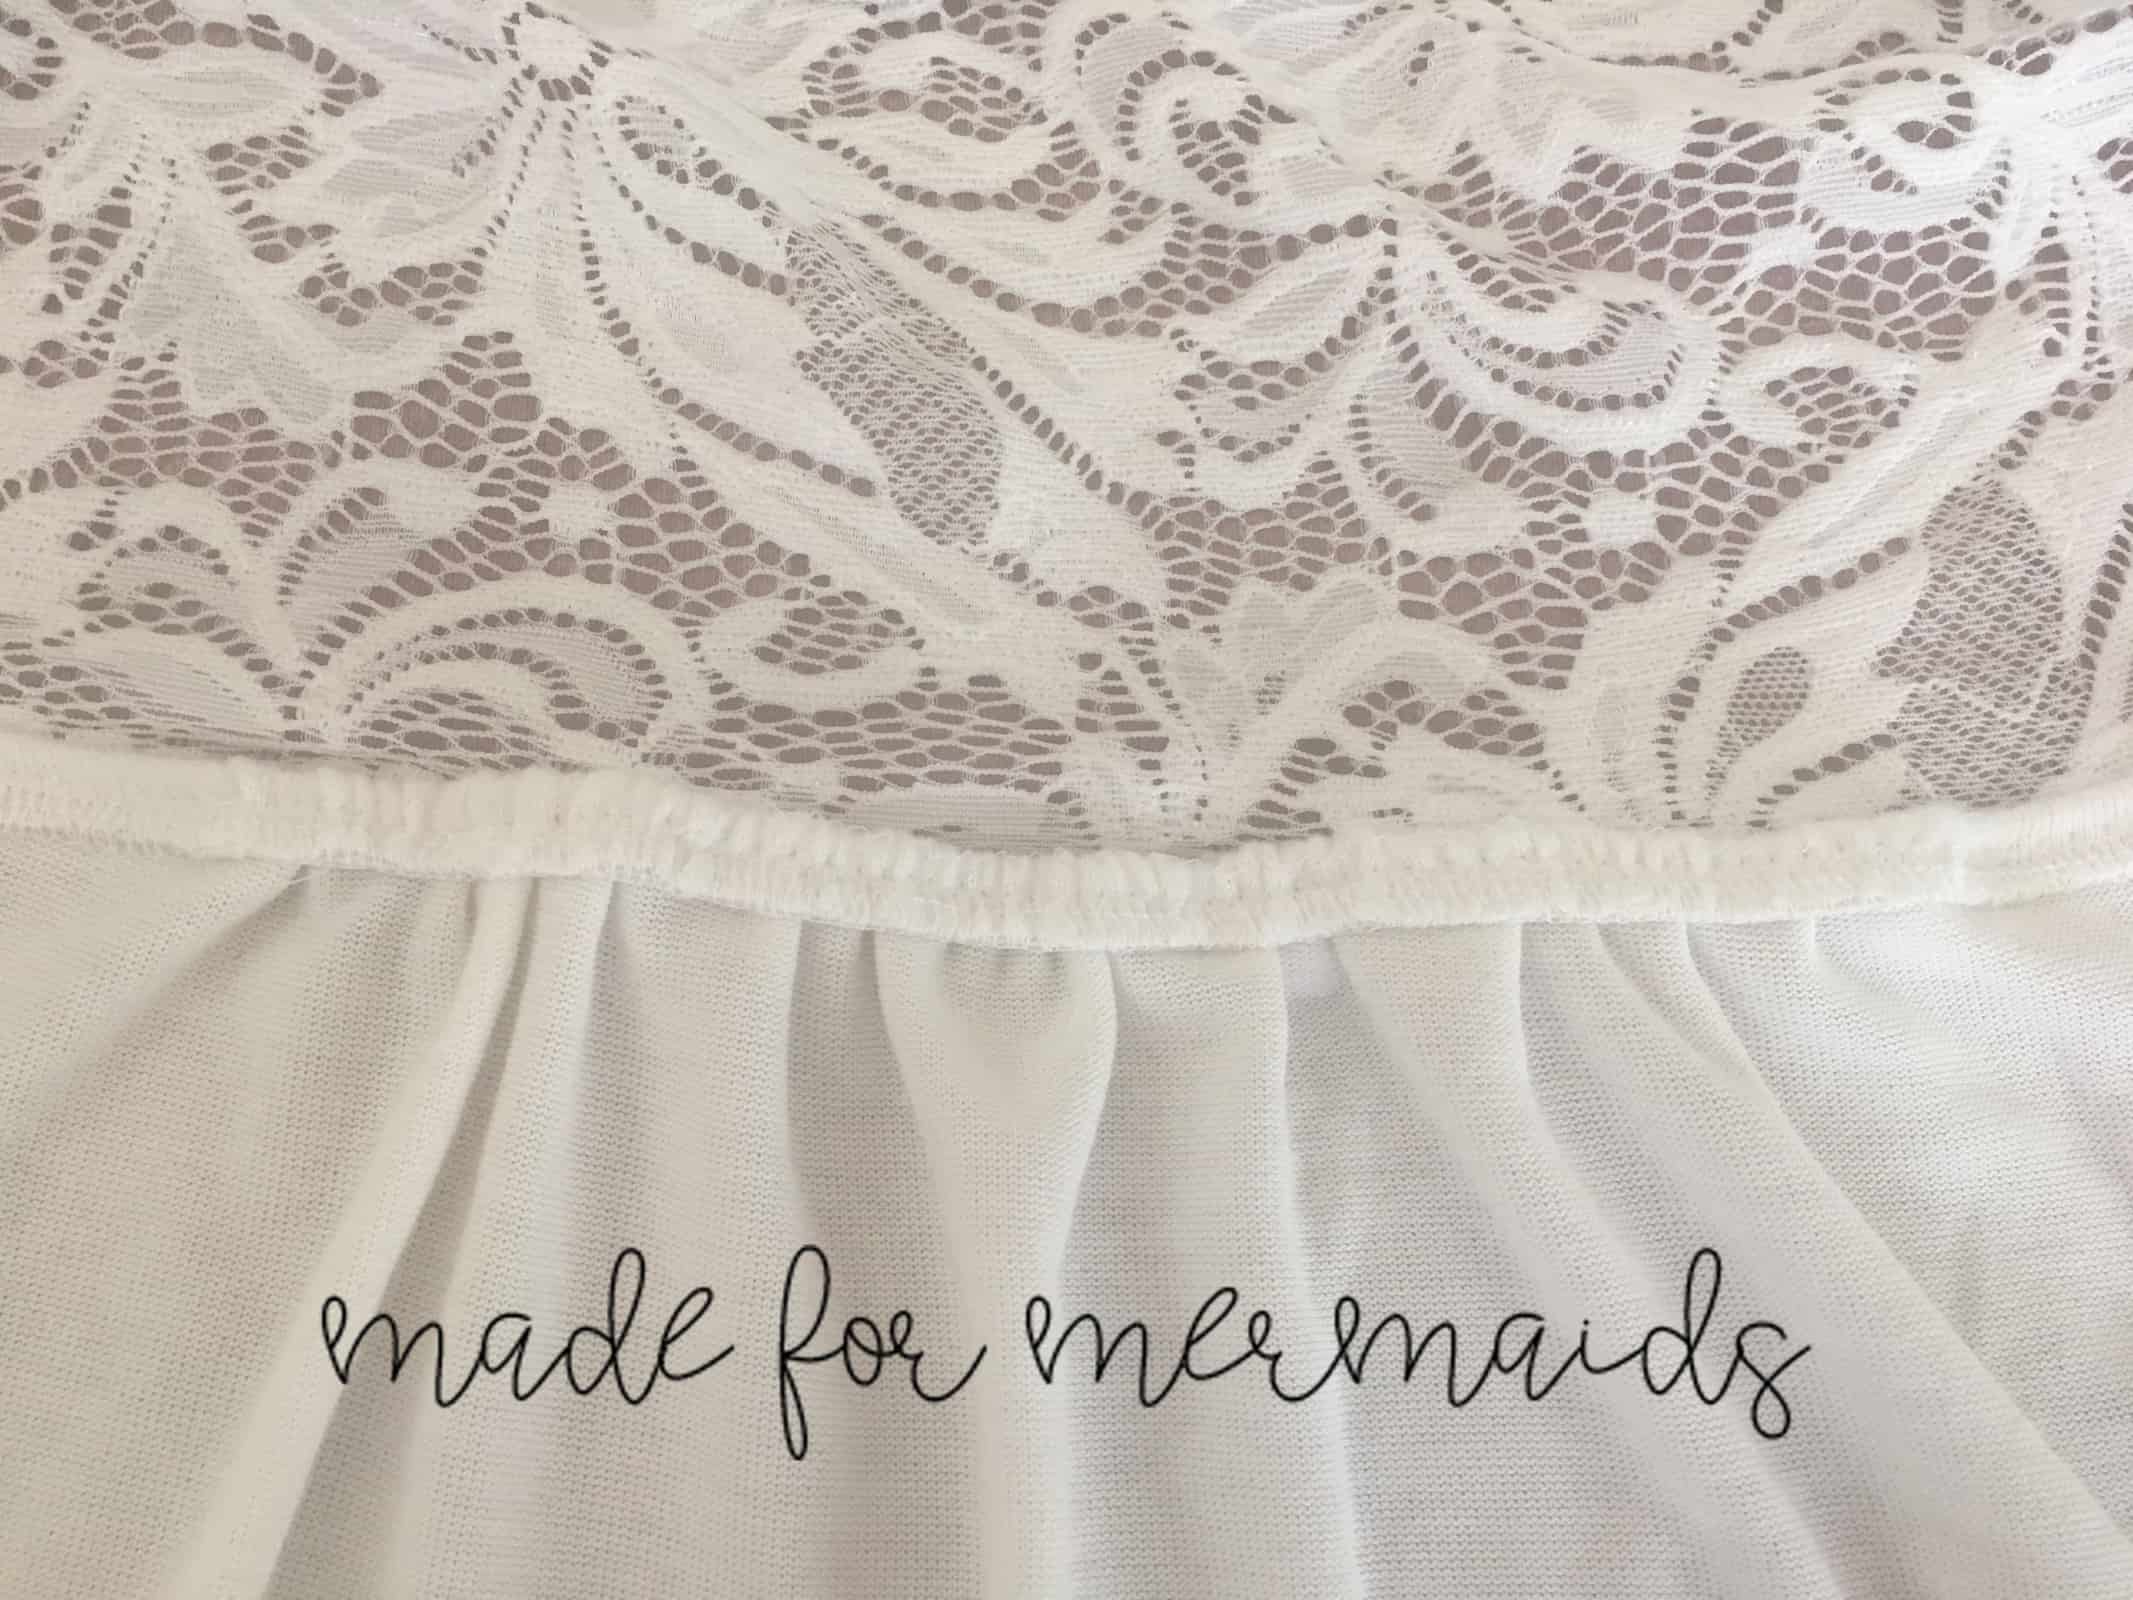
When I first saw the yoke design of Catherine, I knew it would be perfect to use to showcase the finished edges of my stretch lace. We’re going to change up construction just a tiny bit. Instead of a seam, we are going to finish the edge of the skirt piece and place the yoke on top and top-stitch.
Step 1: You will want to mark on your pattern piece 1/2″ above the bottom edge. This is your seam allowance and where your seam line would have been if attaching the skirt like in the instructions. Since we are omitting that seam, use the new line as a guide as to where your skirt will be placed behind the bodice. My scallops happen to be about 1/2″ tall so I cut the bodice the same. If your finished edge is longer or you wish to have a slightly longer bodice, be sure to transfer the new seam line marking to your bodice piece.
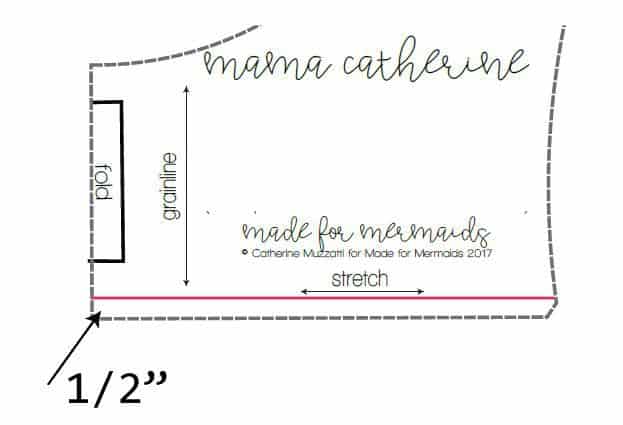
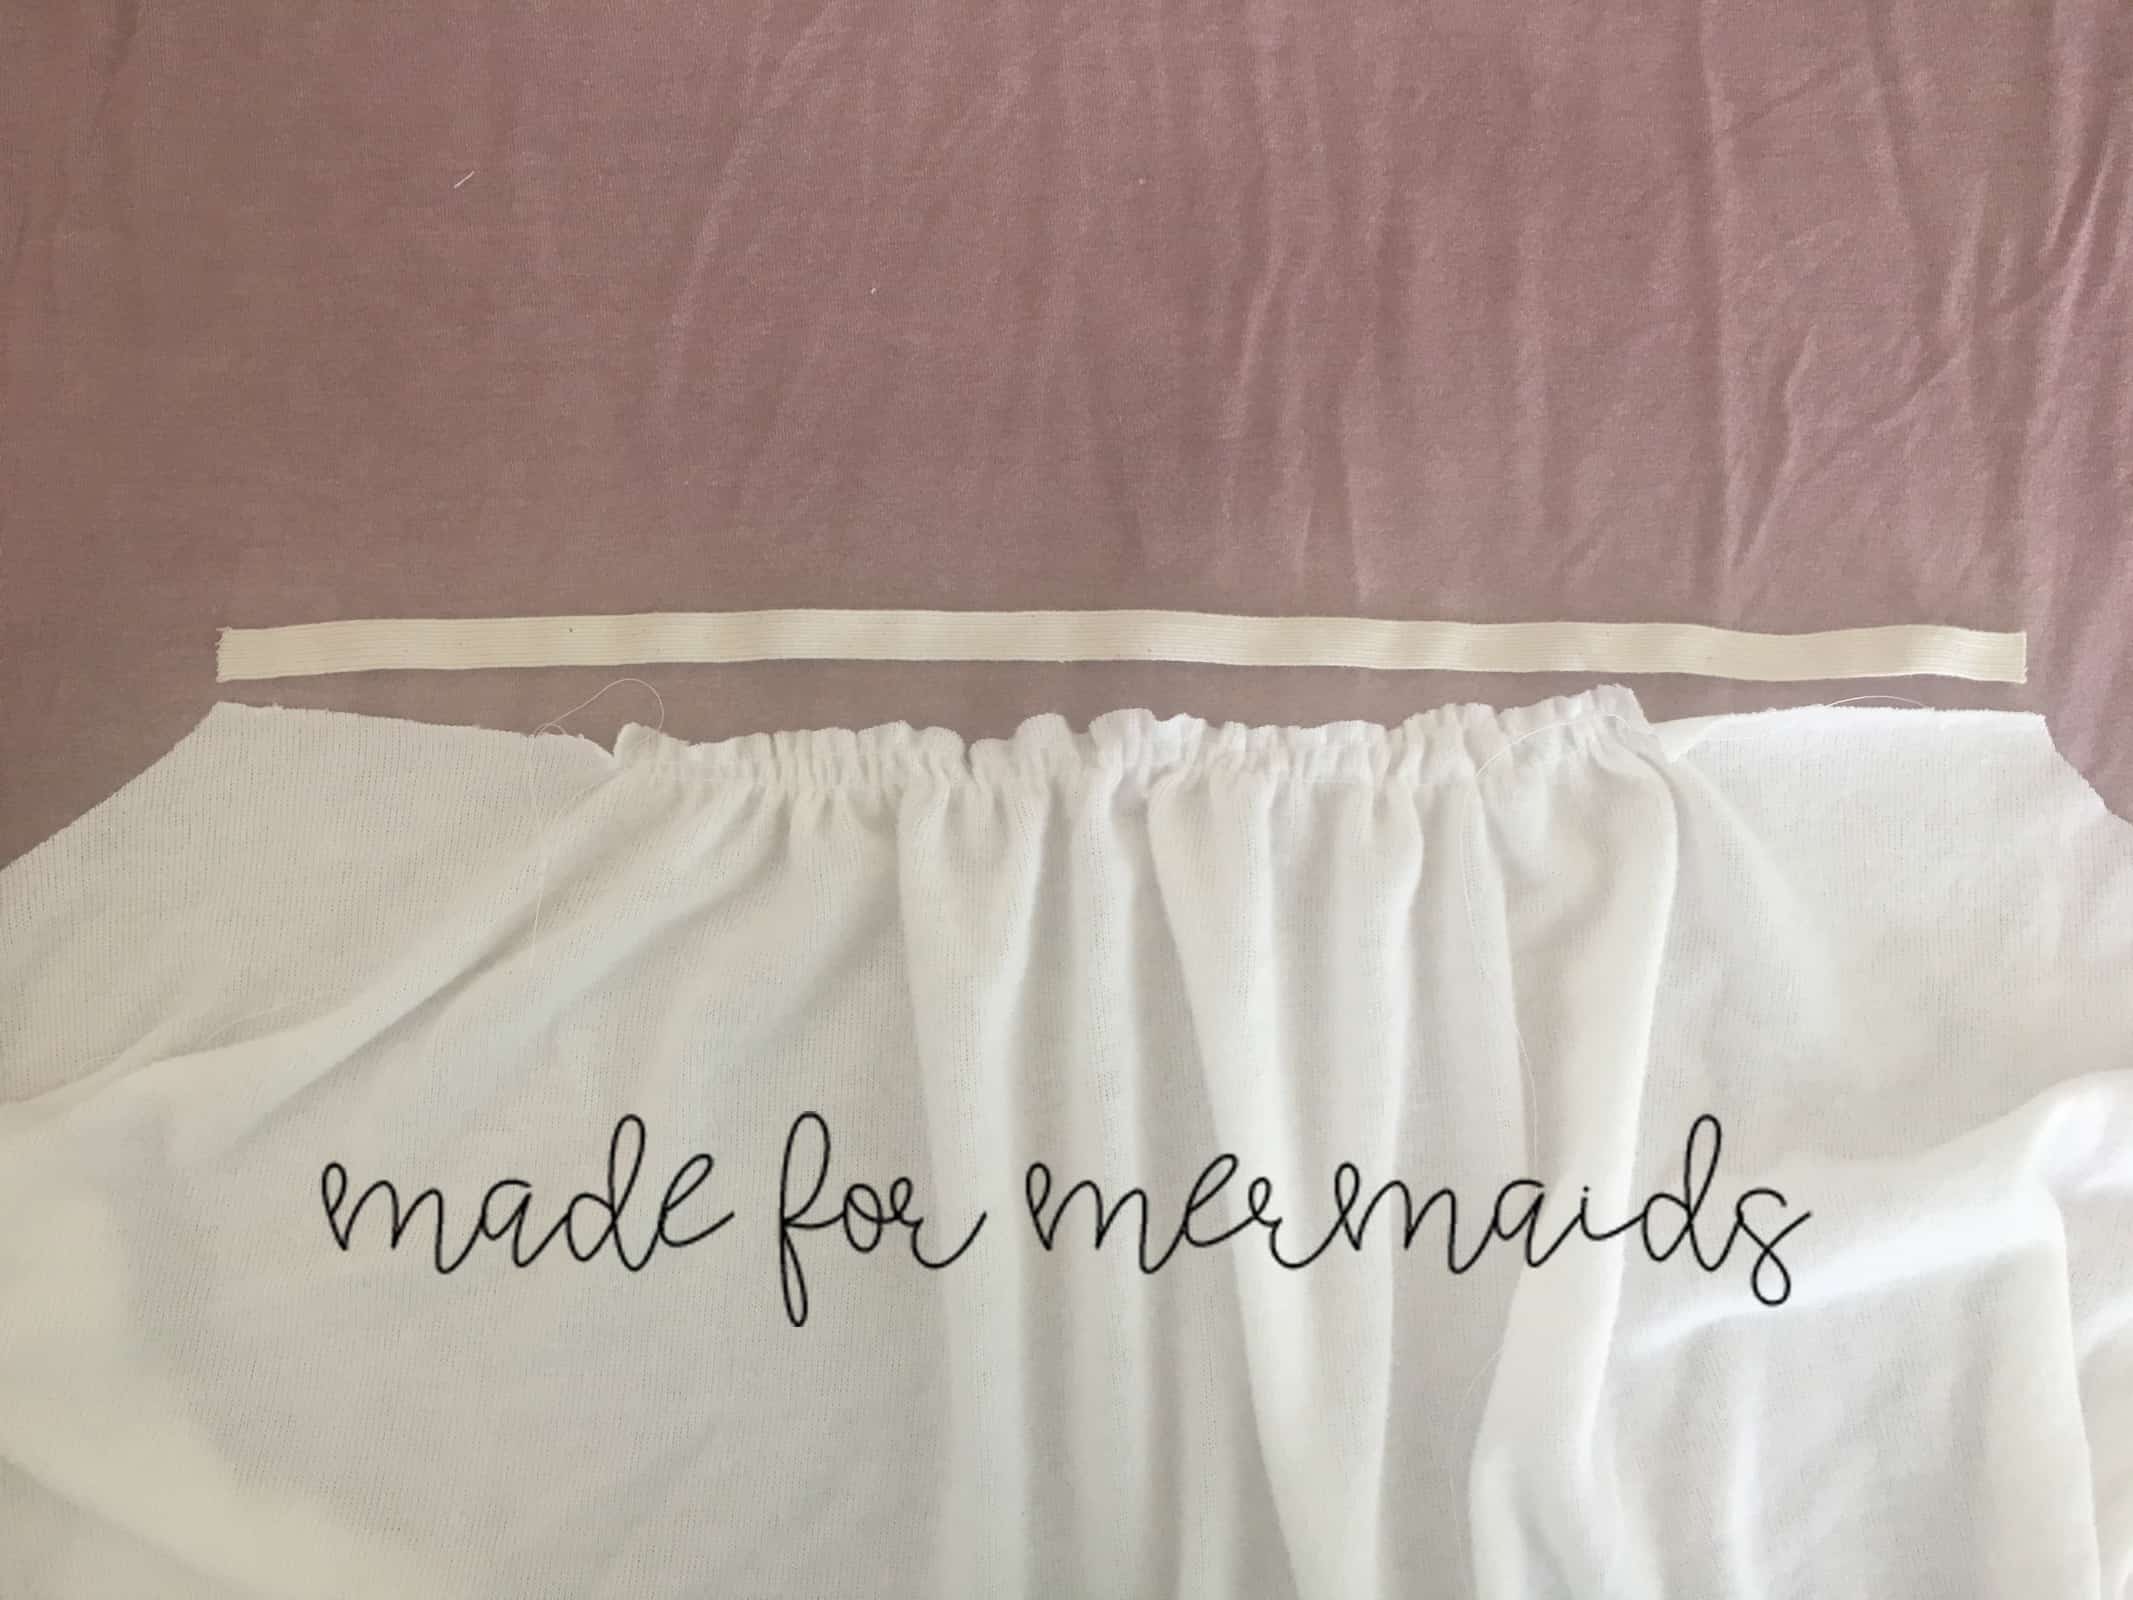
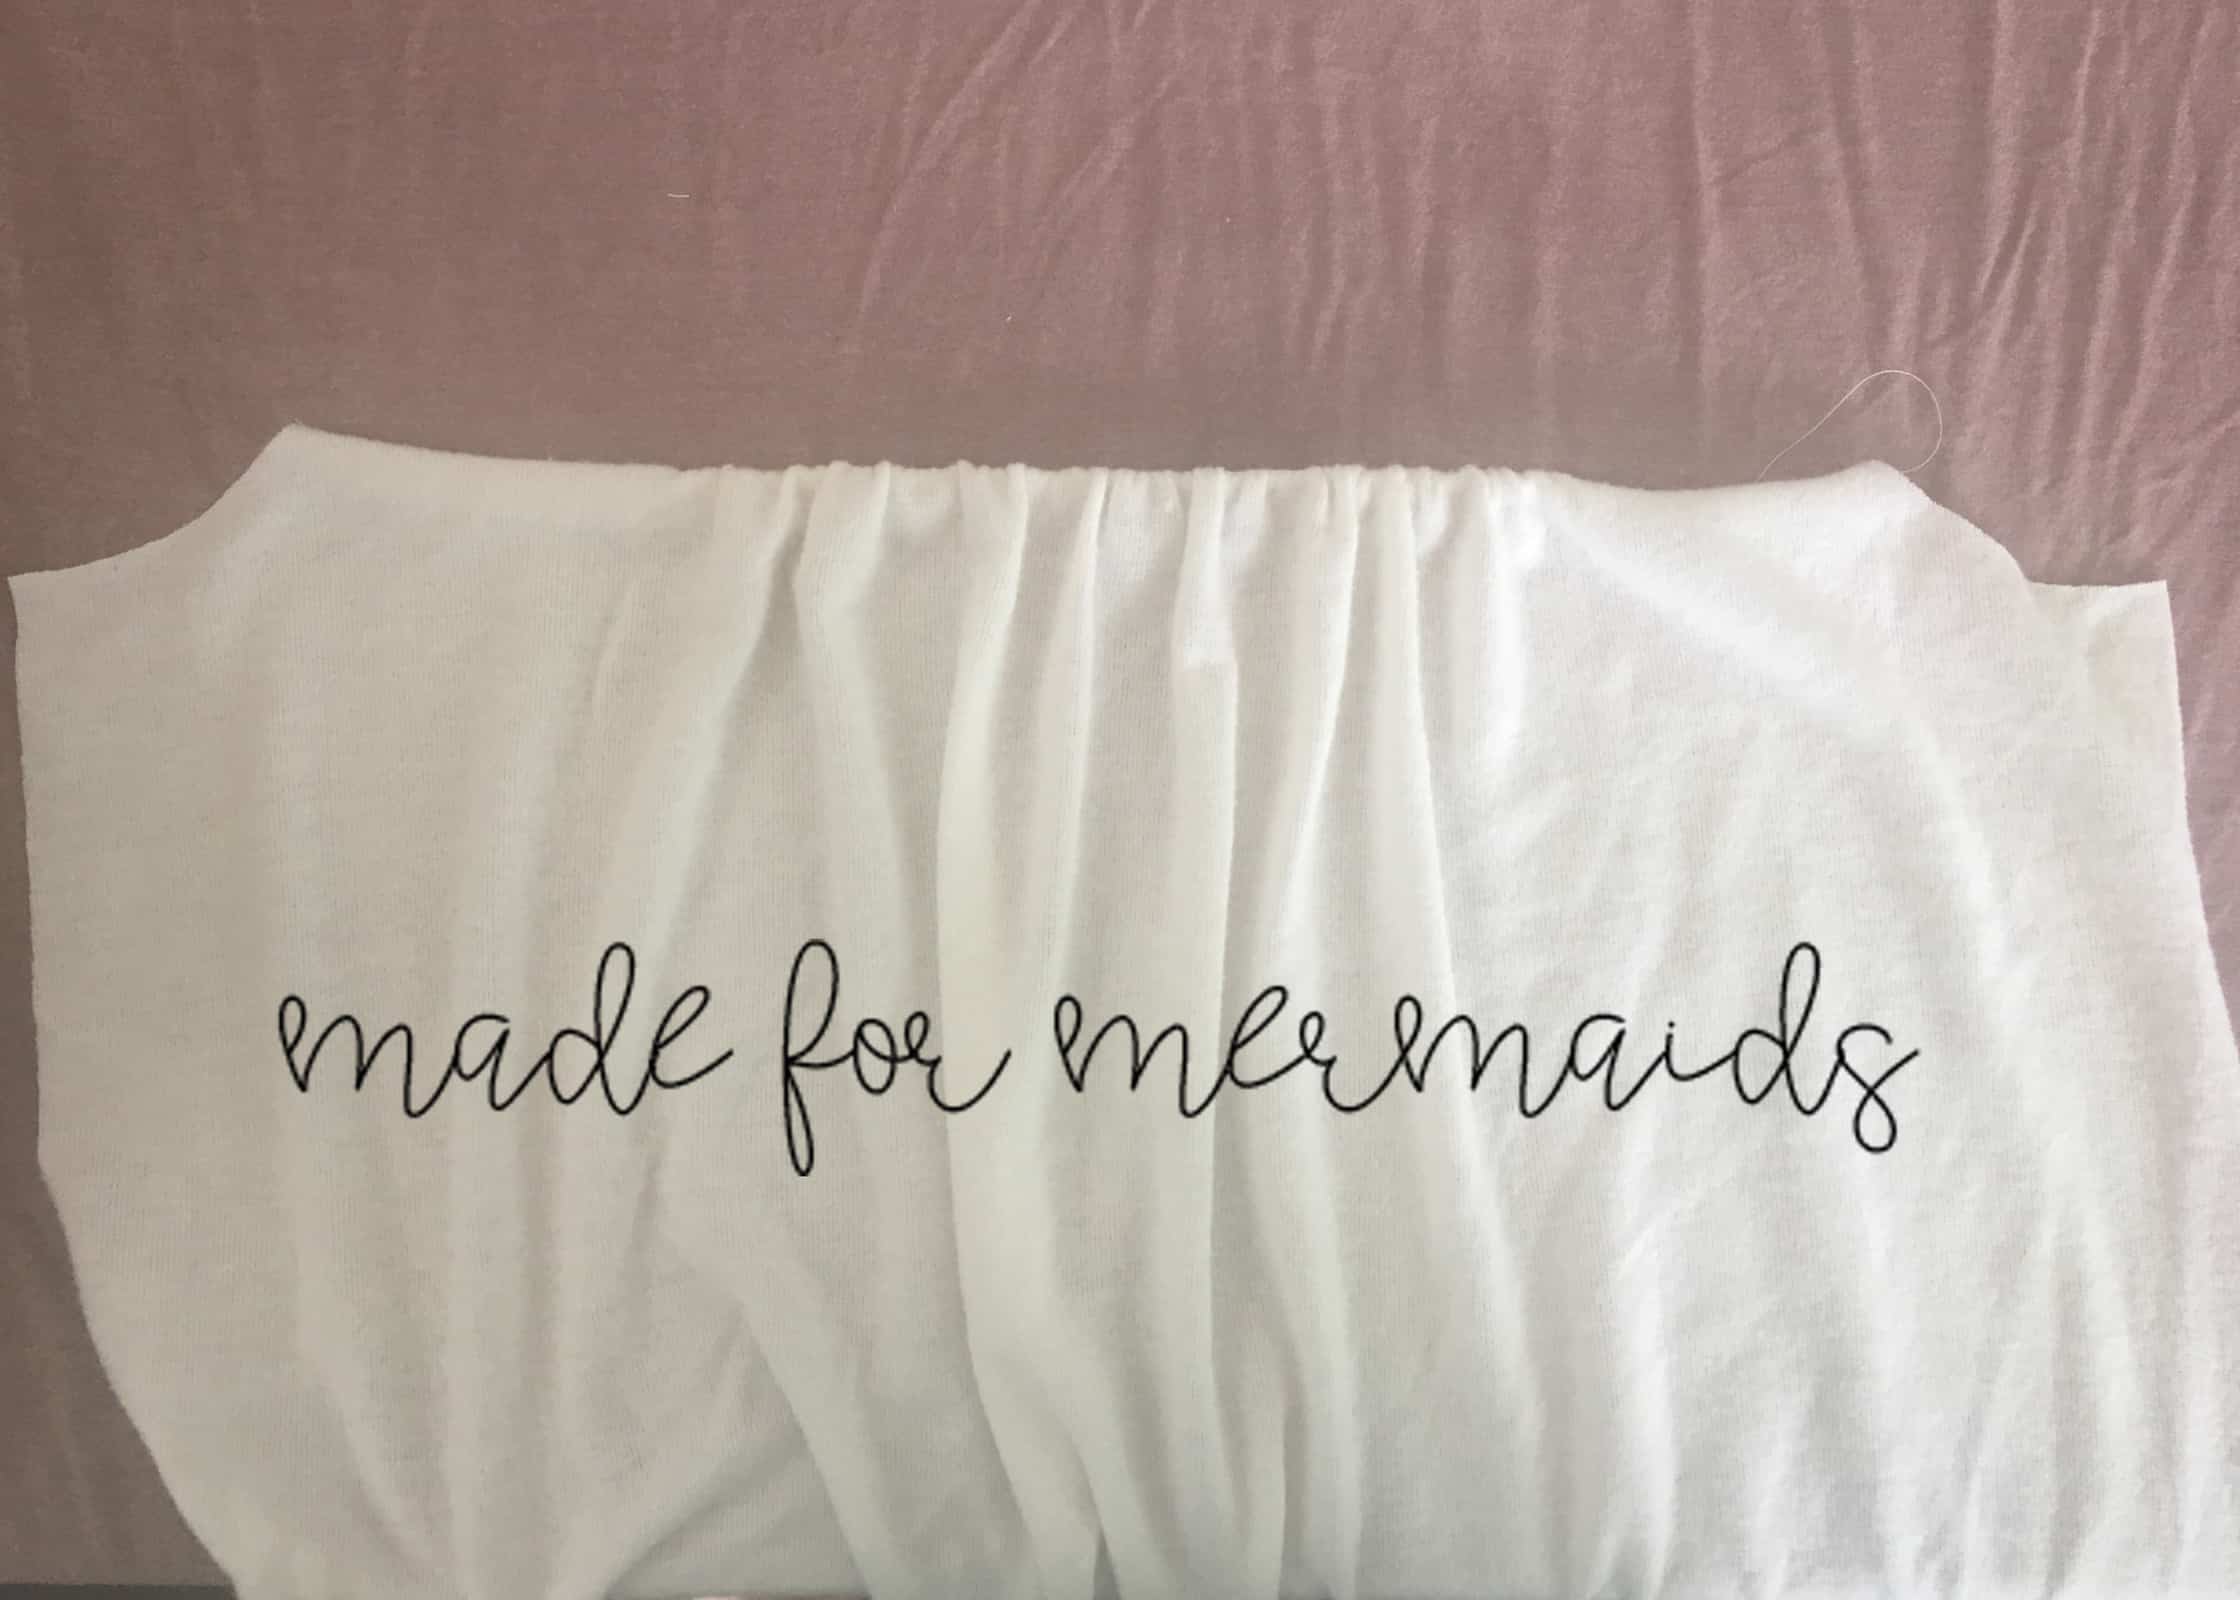
Next, you will cut your skirt pieces and proceed with the unline yoke instructions. Note: I chose to use 3/8″ cotton elastic on the top edge of the skirt (shown below) but you can choose to use knit interfacing or nothing at all. I preferred to use the elastic as it gave a more stable edge to fold over the top edge and help keep the gathers in place while giving the seam line more structure for top-stitching.
- Construct the front and back bodice as instructed in the tutorial.
- Gather front and back skirt pieces to match bodice as instructed in the tutorial.
- Measure and cut 3/8″ elastic the length of the top edge of the skirt pieces.
- Align raw edge of skirt with the elastic, stitch to the elastic to the wrong side of the skirt.
- Place bodice on top of the skirt. Pin and clip in place.
- View from the wrong side.
- Top-stitch using your favorite stretch stitch and continue construction as instructed in the tutorial.
The exposed lace really makes for a pretty detail!

~Nicole
Nursing Hack
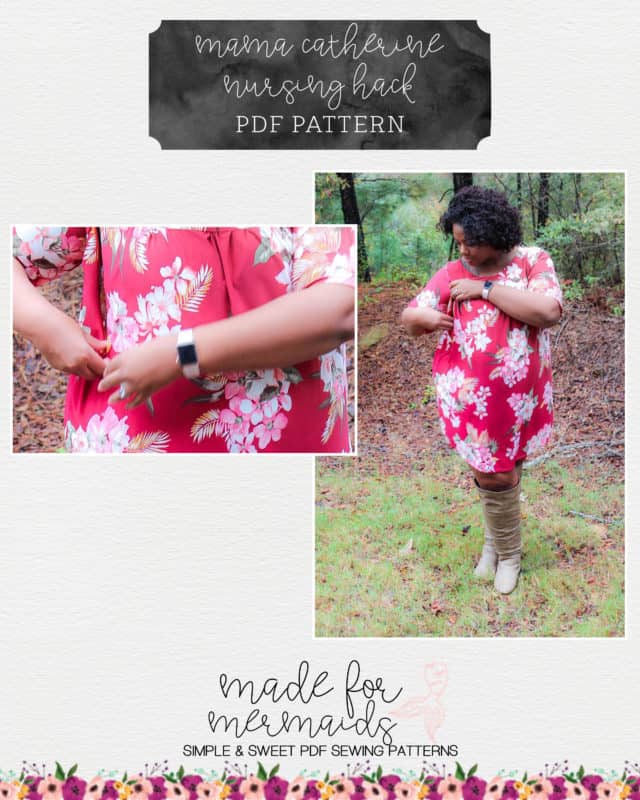
Having a baby is one of my favorite things of both sewing and motherhood. You can make them some of the cutest things in the world! But for the breastfeeding mama, this can often lead to a limited wardrobe. But not with this hack! As a mom of 3 with one infant my time is limited so this hack is suuuuuper quick. Let’s get started!
Materials:
-2 Invisible Zippers (I used 11 in)
-Invisible Zipper Foot (Optional)
-Zipper Foot
Directions:
Step 1: Cut and assemble pattern per the instructions. Once you cut the front skirt portion, cut a straight line measuring 12 in.
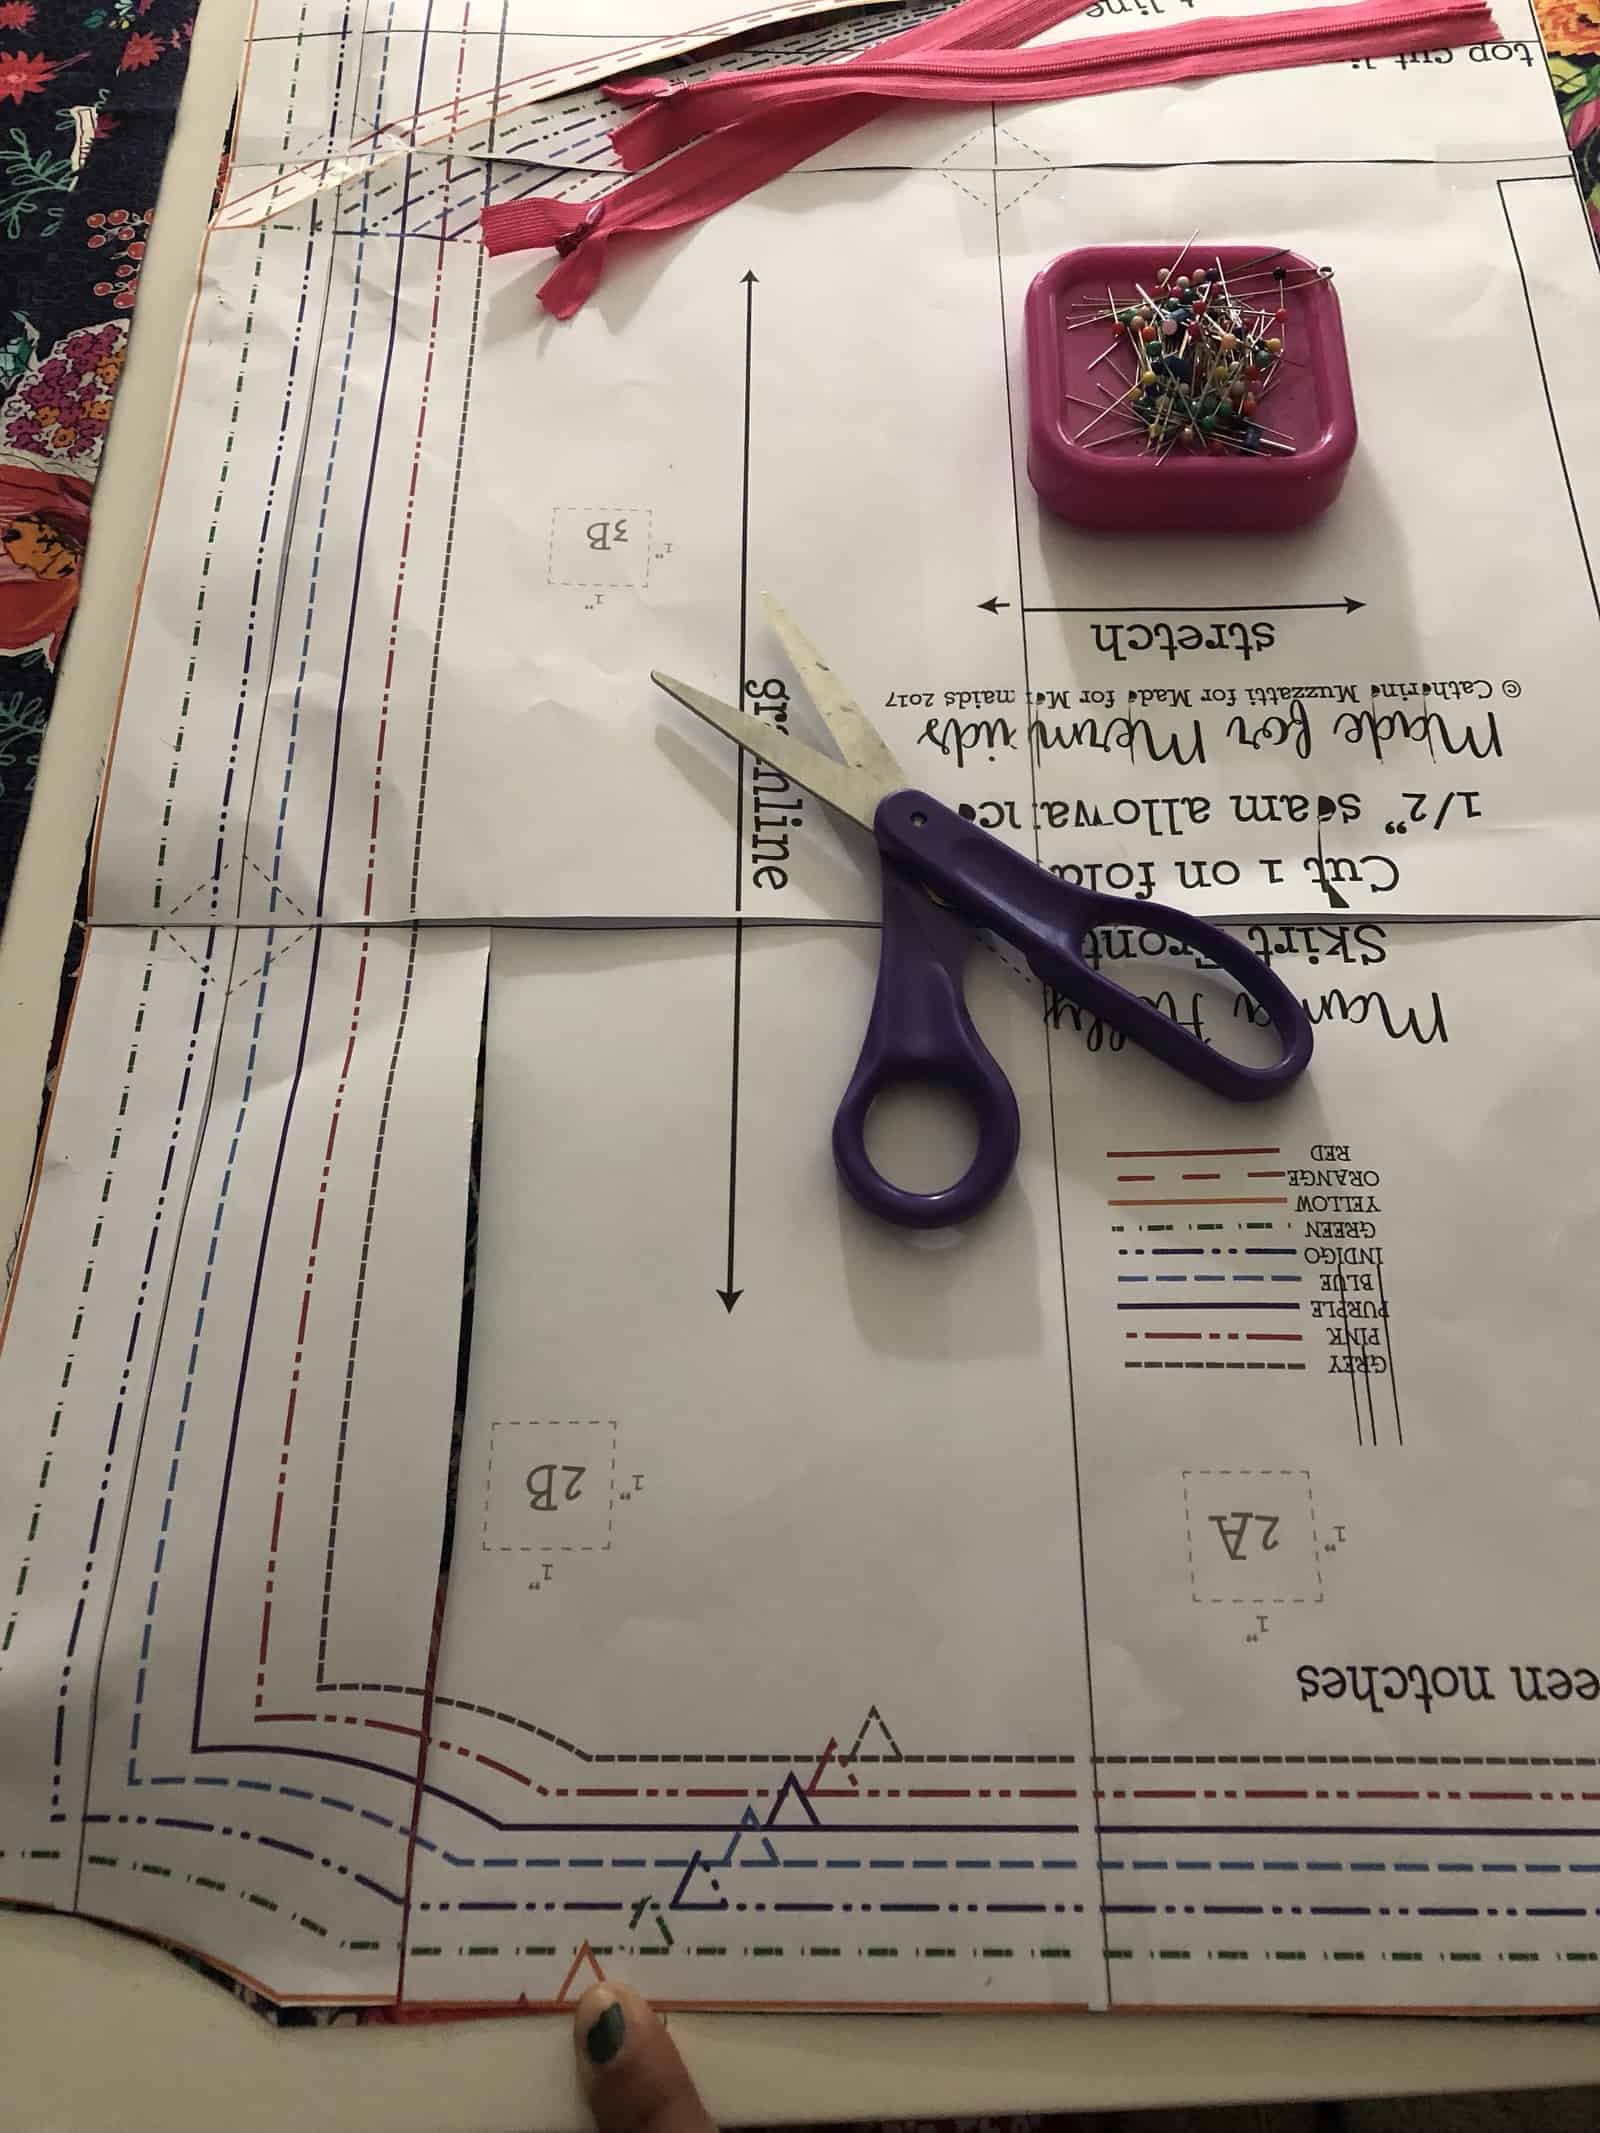
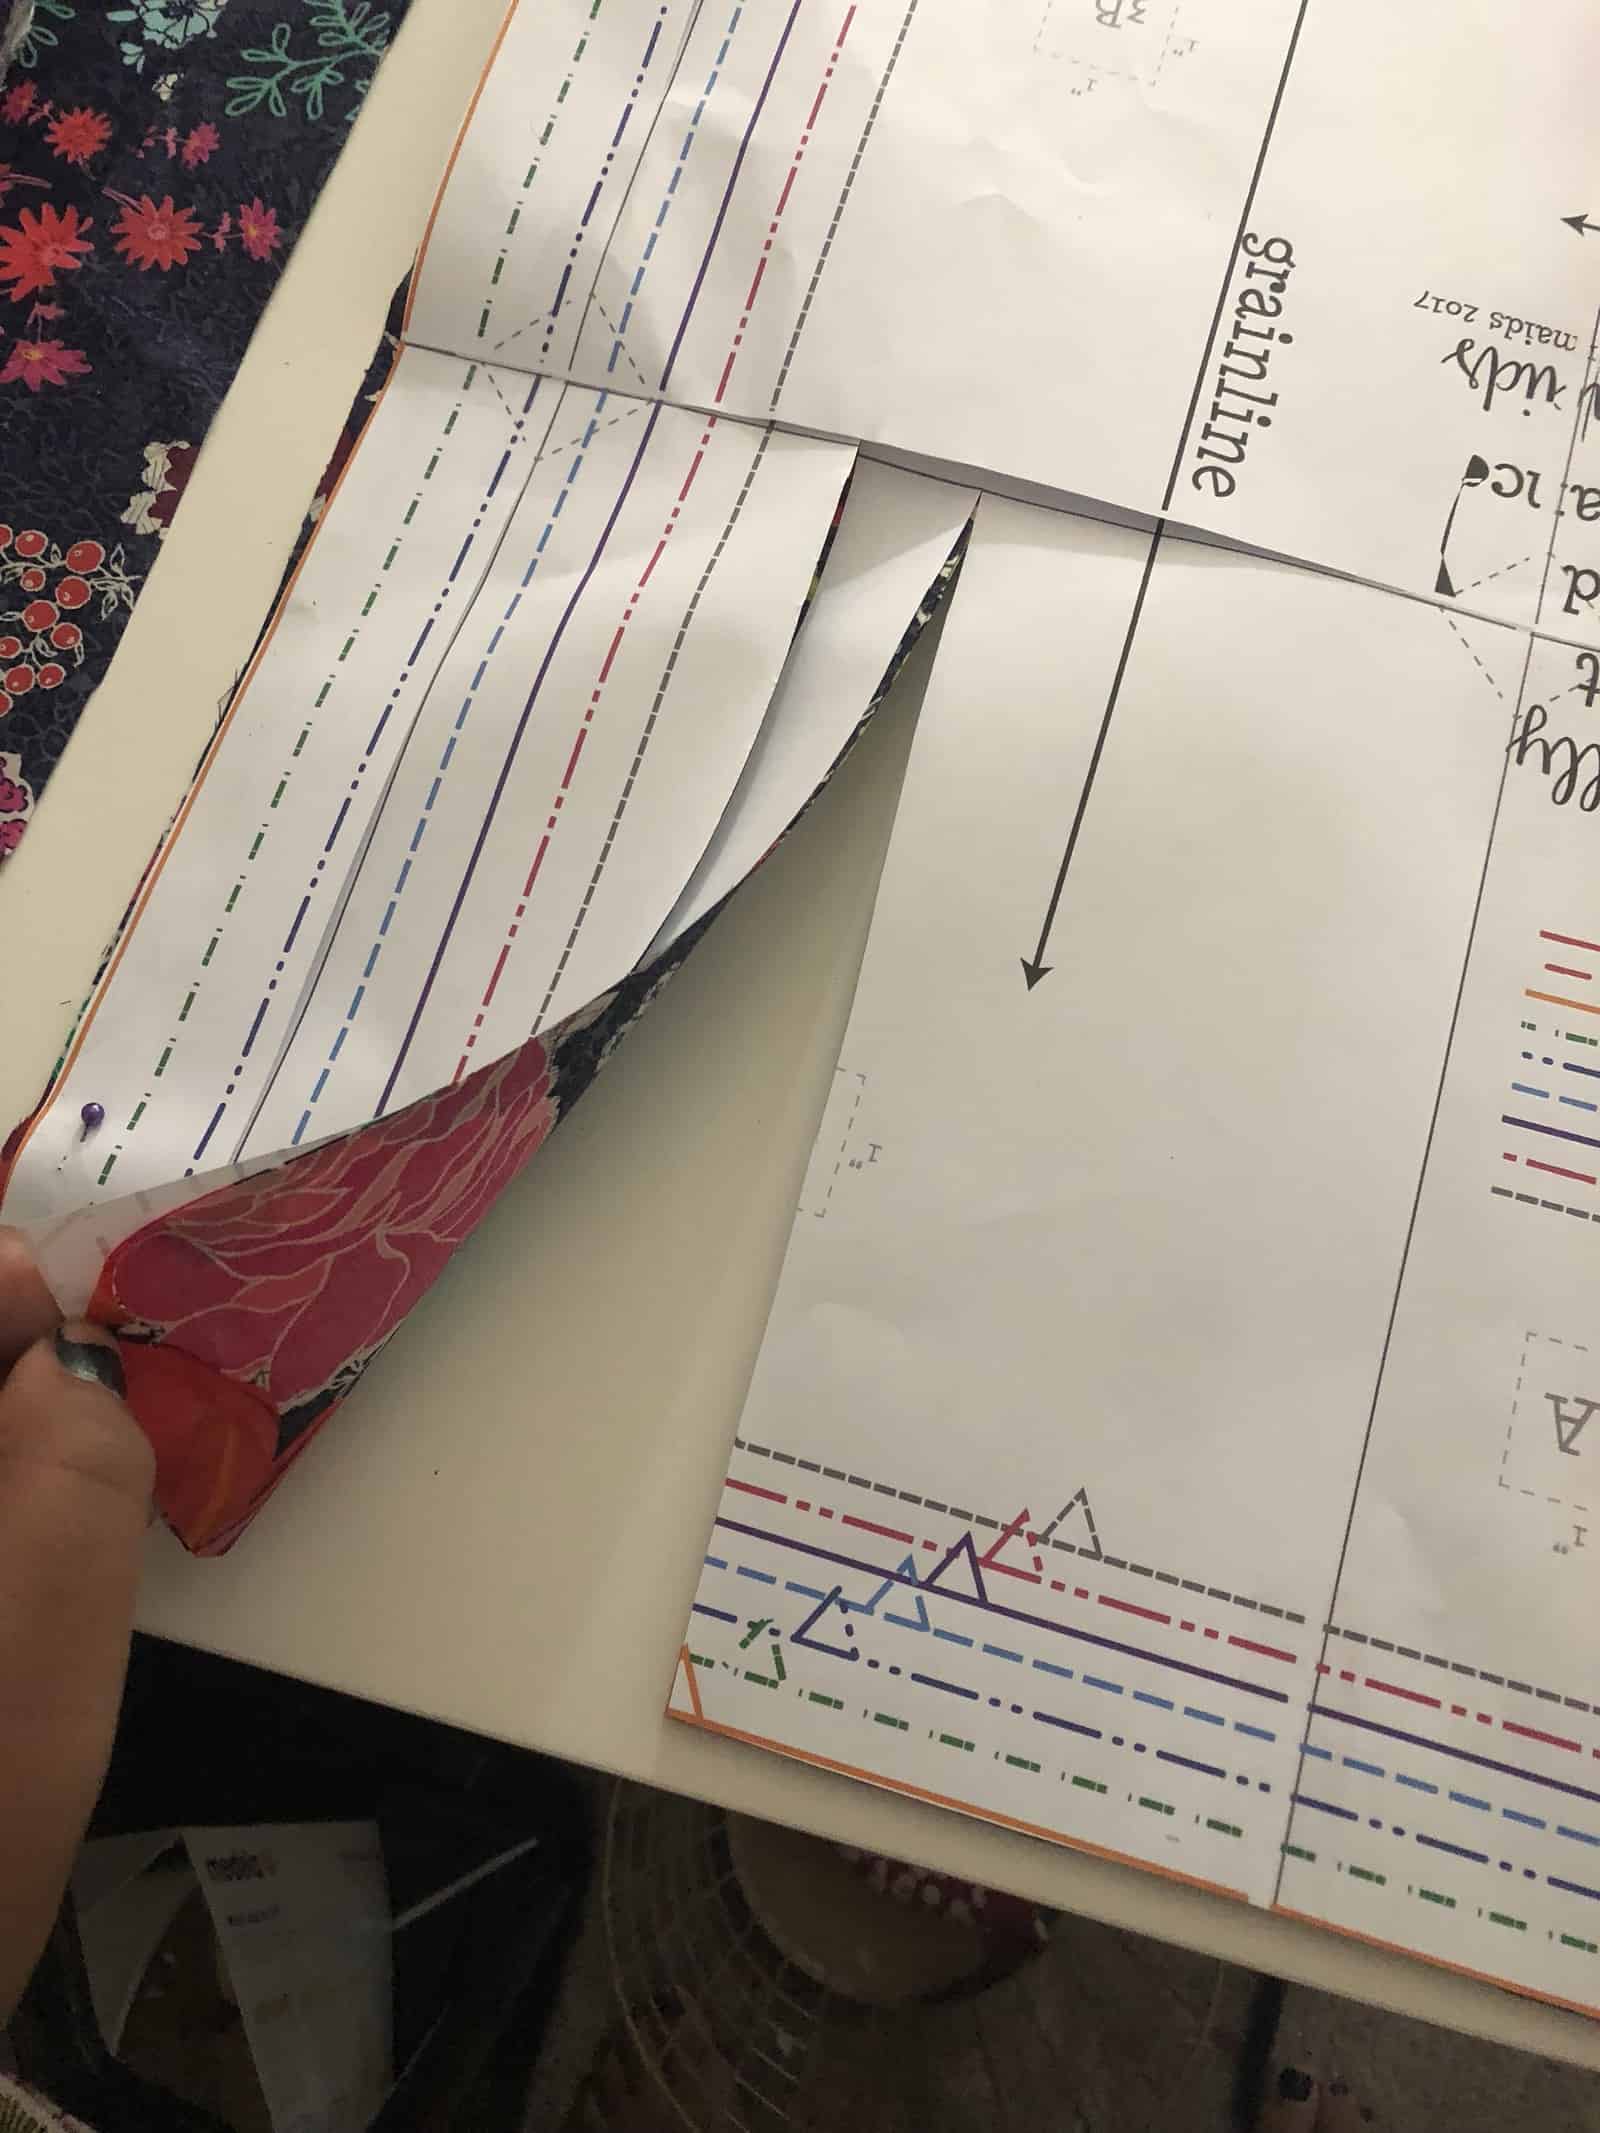
Step 2: Install your zippers in this area. Complete the pattern per instructions.
See? Easy breezy! ~ Aaronica
Leave a Reply