Erinn and I are on the blog today to share some cute little Easter /spring goodness with you! We have quick tutorials for Bunny Sacks and Zip Pouches, as well as a bunny hack for our Molly top, tunic, and dress!
Bunny Sacks
Every year, I look forward to taking out our Santa Sacks from the Christmas boxes that have been stored over the past year. They have become such a special part of our holiday traditions. In order to keep that magic alive, I decided to use the same pattern and techniques used for these bags, but put an Easter twist on it by adding ears and a fun cut file! This quick and easy addition and is going to make Easter “baskets” so much more fun to fill!
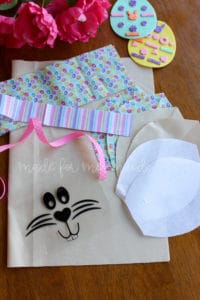
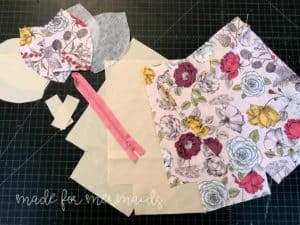
First thing you need to do is to cut out your pieces. I used the measurements for the small Santa Sack (pattern and cut sizes can be found here) along with the freebie ear pattern and cut files we’ve made up for you (download here). You should have the following pieces:
- Main bag
- Liner
- Ribbon casing
- 6 ears total (2 of main, 2 of backing, 2 from stabilizer, such as Pellon. I used the thickest weight stabilizer could find to help with the stability of the ears and to help them stand up better.)
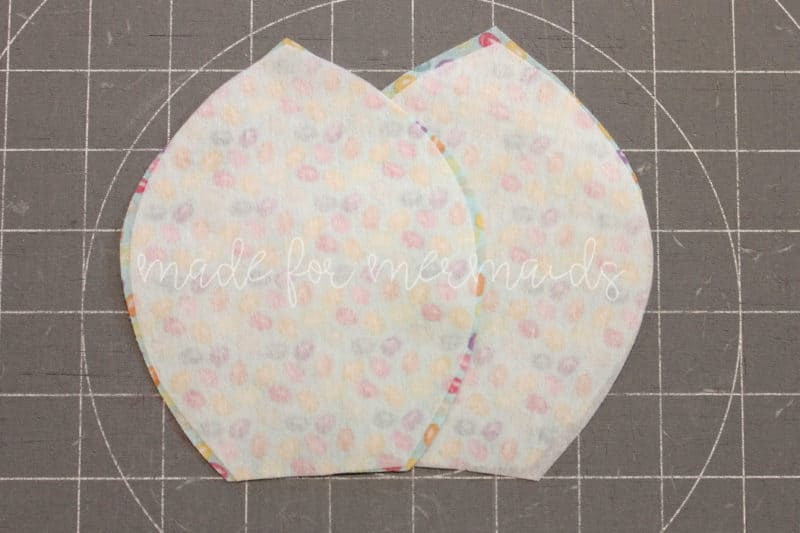
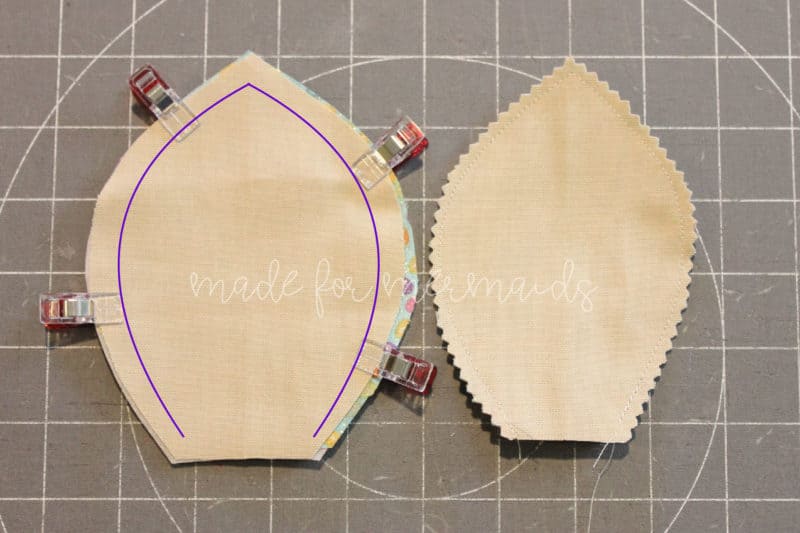
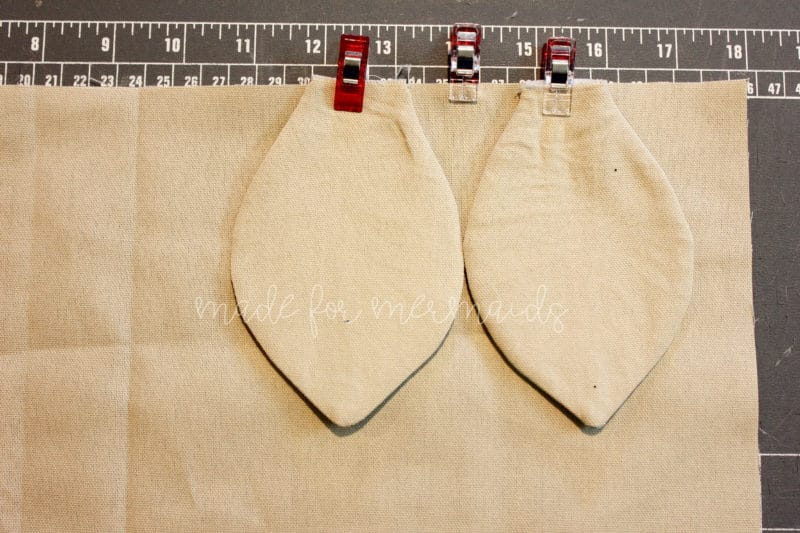
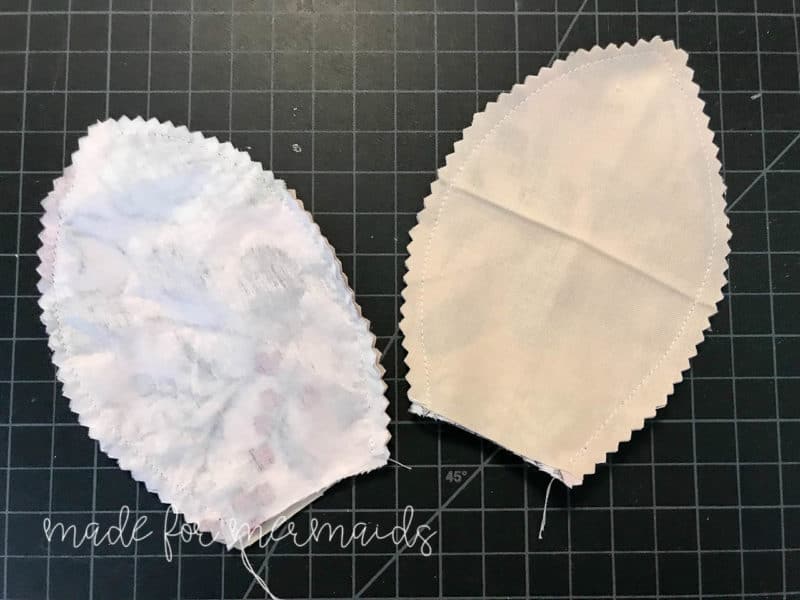
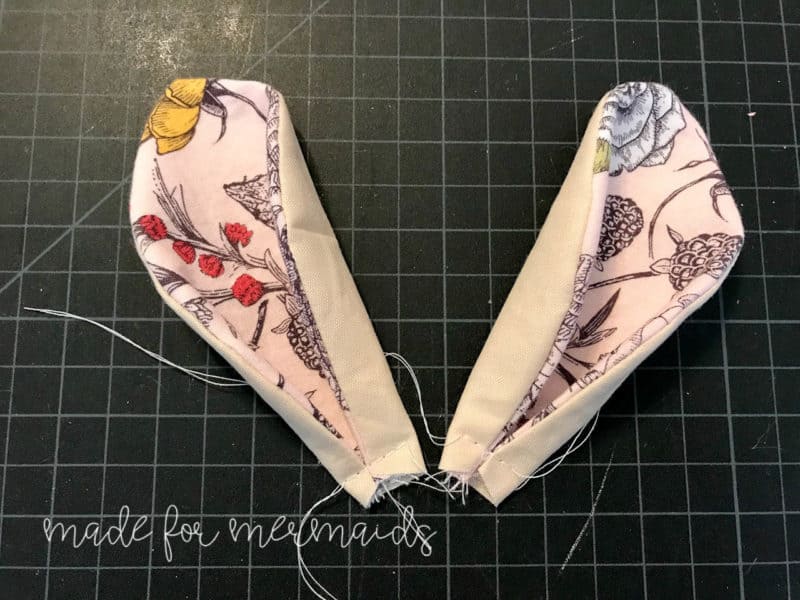
Once your pieces are cut, attach the stabilizer to the back side of the main ear as directed on packaging. Next, place the main ear and backing right sides together. Stitch around the edges using a ½” seam allowance, leaving the bottom open. **Tip- I like to put the needle down at the top of the ear to create a sharper turn. Trim down the seam allowance to about ¼” and turn right side out. Give the ears a really good press with your iron!!
Once the ears are pressed, you will sandwich them between the main bag and the liner. I marked approximately 4.25″ from the right edge and then distributed the ears evenly on each side of this point. You will want the main bag and ears to be right sides together. Lastly, place the liner with right side down on top of this to sandwich the ears and stitch together using a 1/2″ seam allowance.
After this step, you will follow the remaining directions for the Santa bag. This includes finishing the liner and attaching the ribbon casing. If you are applying the bunny face, I recommend doing so before stitching up the edges. That way you have a flat surface to press.
Hopefully you have as much fun as I did making them (and filling them!!) and I can’t wait to see how yours turn out.
~Erinn
Easter Zip Up Pouches
When Erinn suggested adding ears to the Santa Sacks, I knew they would be perfect for the Zip Up Pouch freebie, too!
Materials needed:
- pattern pieces
- 1/4 yard of woven fabric for main fabric
- 1/4 yard of woven fabric for lining
- all purpose 7″ zipper (If you don’t want to add the zip stops, purchase a 9″ zipper)
- basic sewing tools – thread, pins or clips, scissors, optional hand needle, etc.
- stabilizer (see Erinn’s recommendation above)
- optional – heat transfer vinyl, decorative flowers, Sydney Sailor bows, etc. to decorate the front
- bunny ear pattern piece
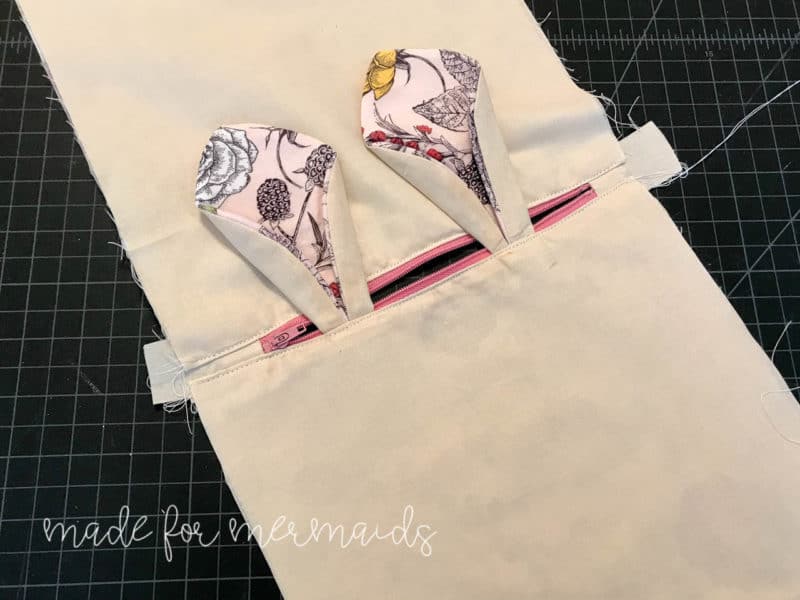
Cut all fabric pieces out, including 2 ear pieces in your main fabric, 2 in your lining fabric, and 2 in stabilizer. Attach stabilizer to the wrong side of the lining fabric per directions on the stabilizer. Pin or clip the main fabric and lining with right sides together. Stitch around the edges using 1/2″ seam allowance. Trim the seam allowance with pinking shears to reduce fraying, and then turn right side out. Give your ears a good press. You can leave them straight for a wider ear, or you can fold the edges in about 1/2″ to create a different look. If you fold the edges in, baste in place. Pin each ear 2.5″ in from the edge of your main fabric for the pouch (right sides together).
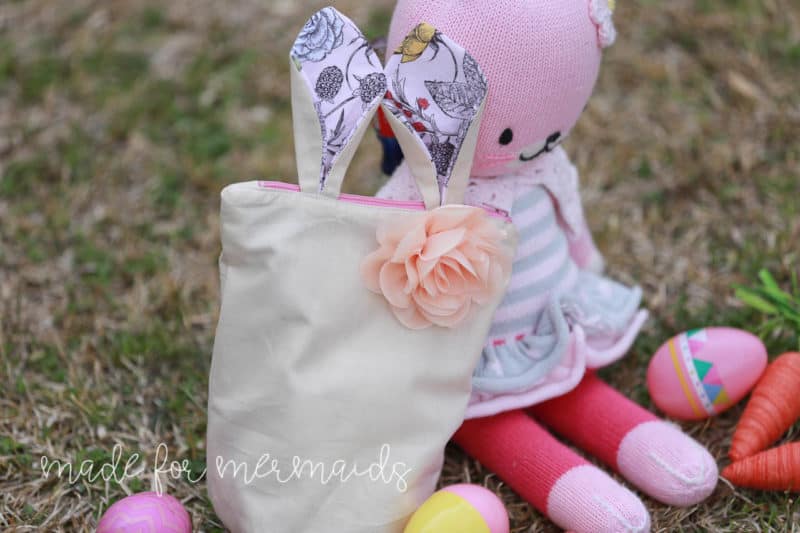
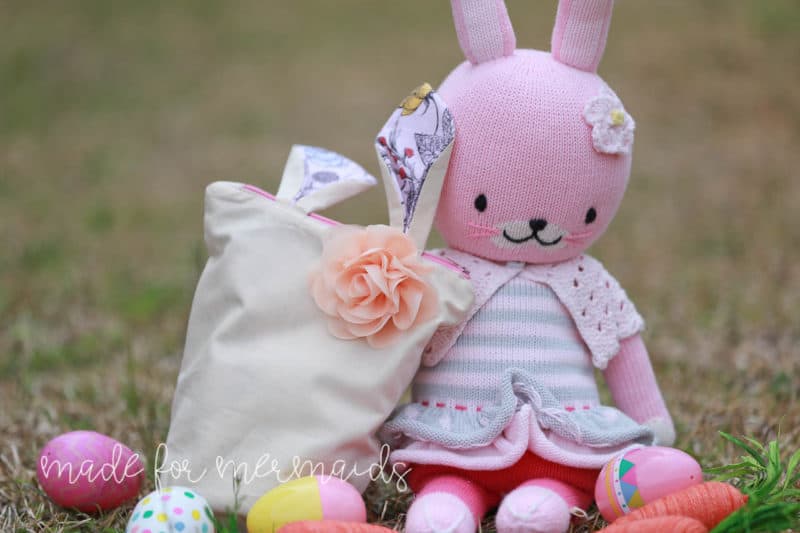
Attach the ears, then continue on with the zip up pouch tutorial. I opted to skip the HTV face, and instead pinned a store bought flower on it. You could also decorate with a Sydney Sailor bow, Barbie Headband flowers, or whatever else your little one might like! Fill with your favorite Easter goodies and enjoy 🙂
Bunny Molly
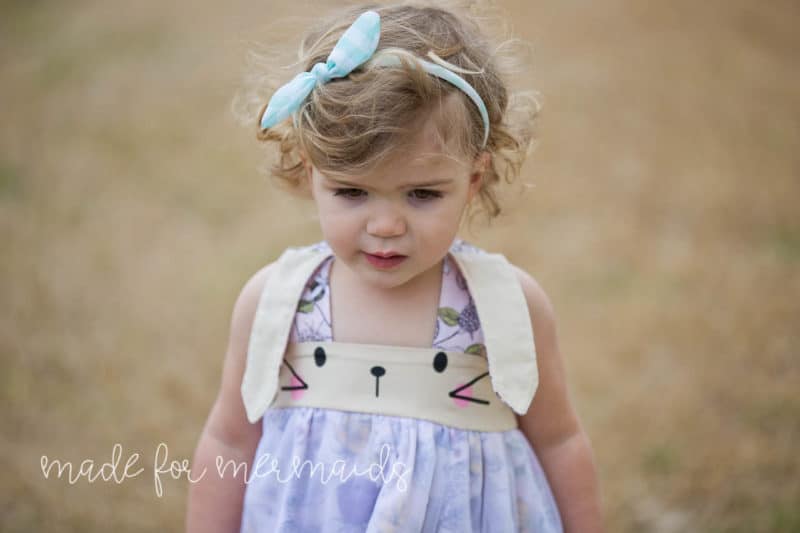
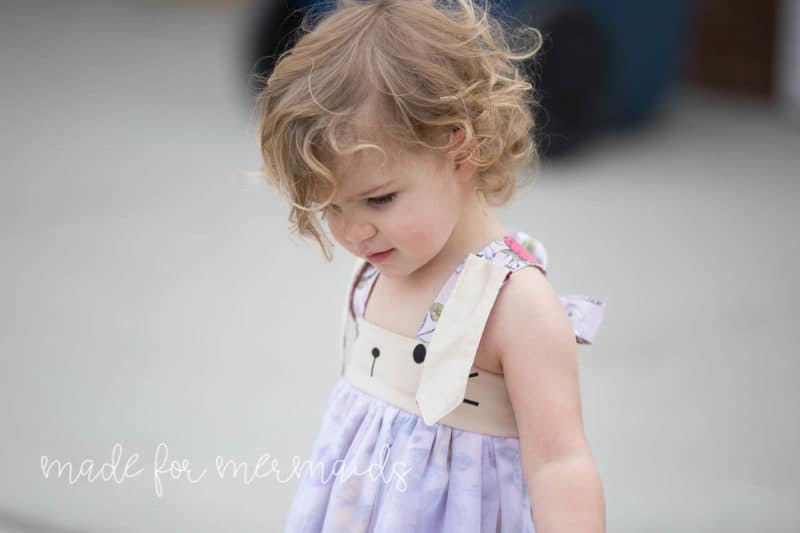
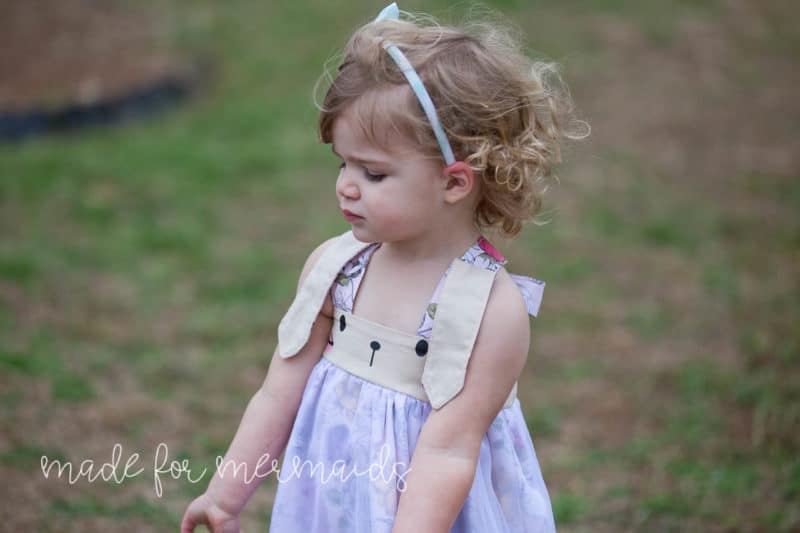
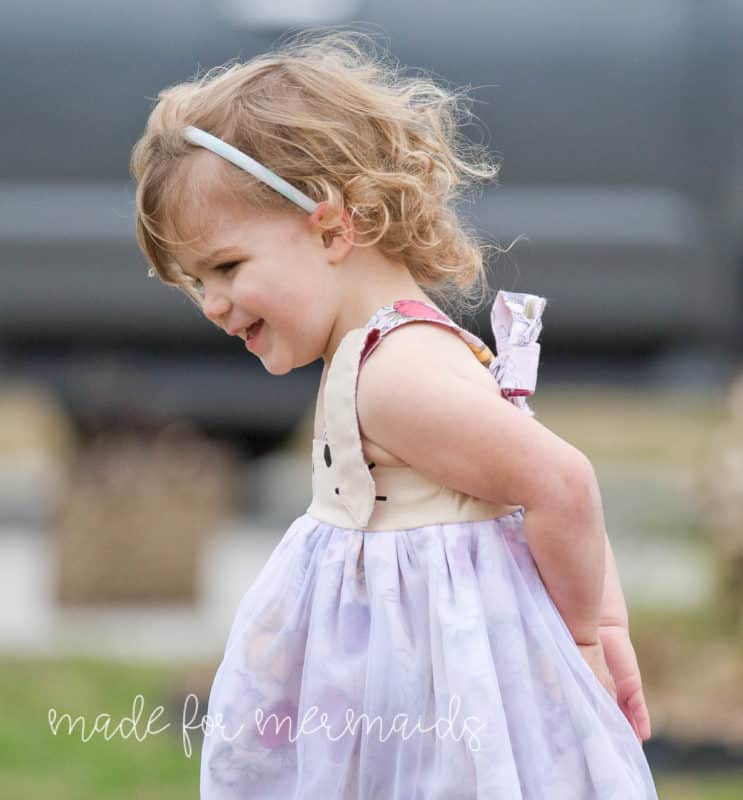
Last but not least, we decided to Easter-ize one of our sweet woven dresses! We had a LOT of dresses that we wanted to add bunny ears too, but we decided to go with Molly (one of my favorites!).
Materials needed:
- Molly pattern – see pattern for fabric requirements
- Additional 1/4 yard of bodice fabric for outer ear*
- Additional 1/4 yard of strap fabric (or a different fabric of choice) for inner ear *
- basic sewing tools – thread, pins or clips, scissors, optional hand needle, etc.
*You may be okay with less, but I like to play it safe rather than coming up short!
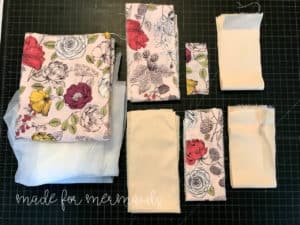
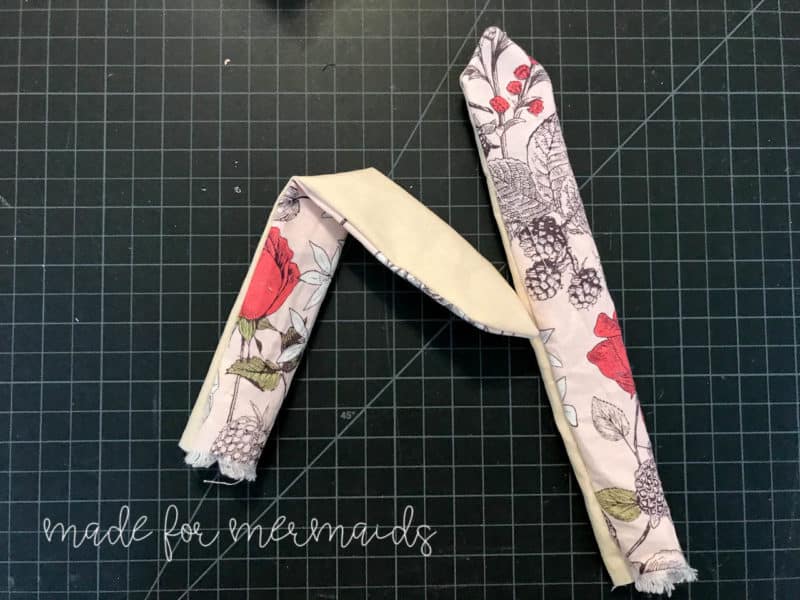
Cut all pattern pieces per the tutorial. In addition, you will need 4 ear pieces. This part involves bit of math, so bear with me! You’ll need to divide the given strap length by 2, and then add .5. For example, I made a size 3 strap for my daughter’s Molly. The given width is 3.5″, which divided by 2 is 1.75″. After adding in the extra .5″ (since you will need a seam allowance on both sides instead of just one), my “ear strap” measurements were 2.25″ x 10″. All sizes can use the 10″ length, but you are welcome to adjust to fit your personal preference.
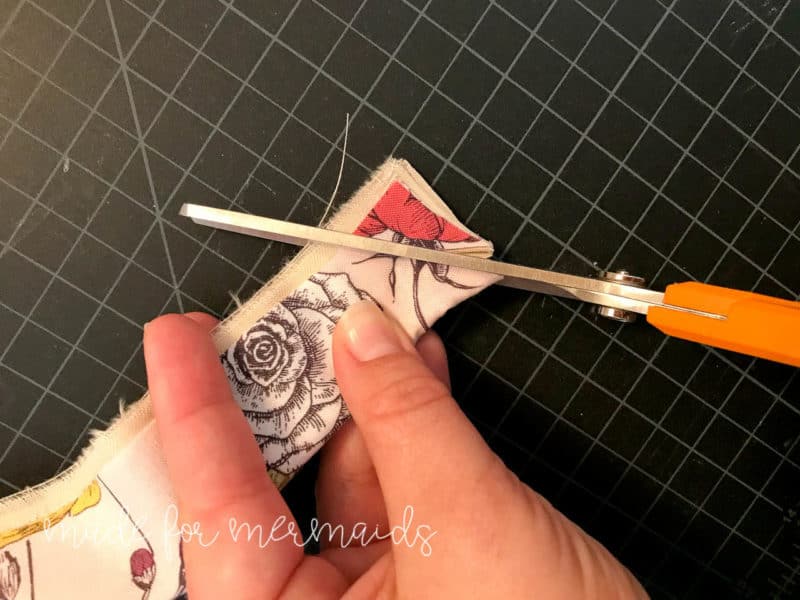
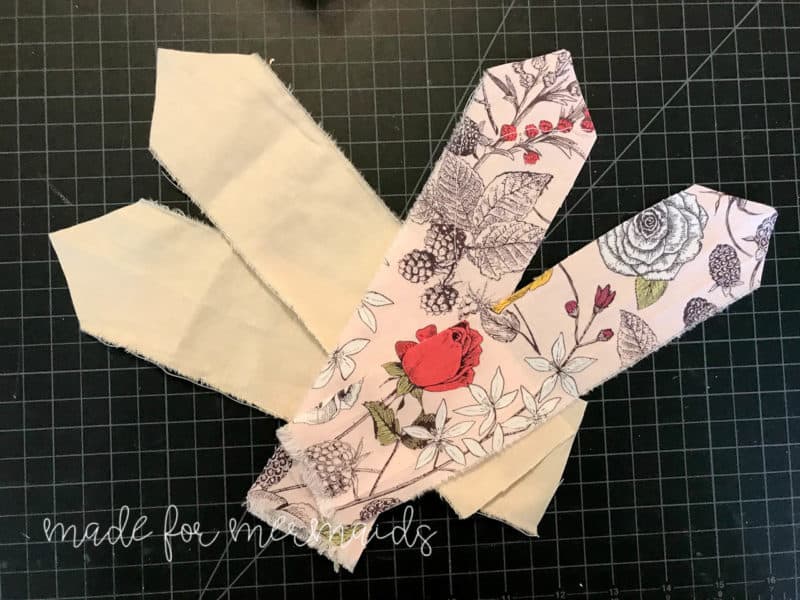
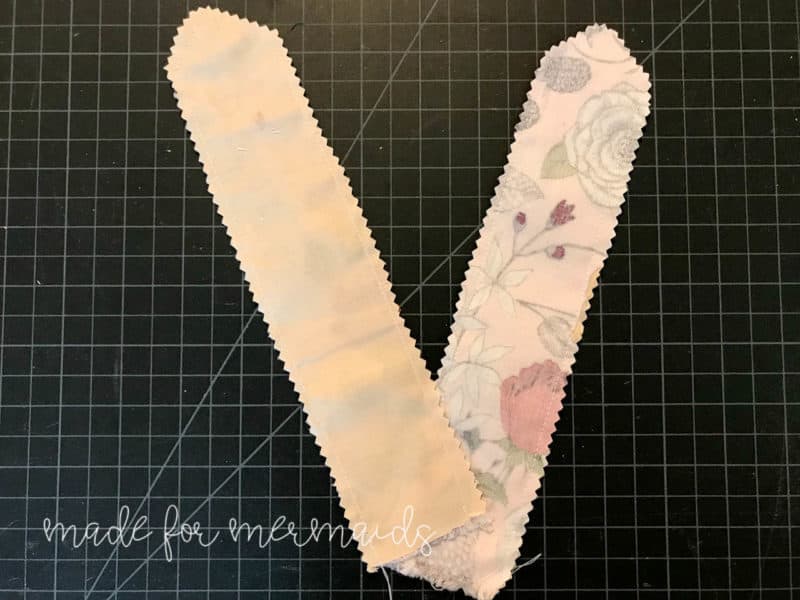
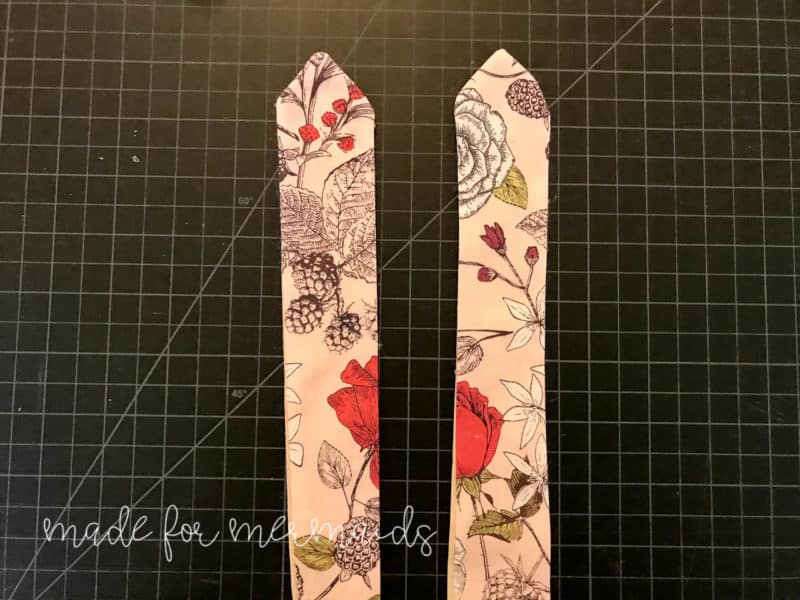
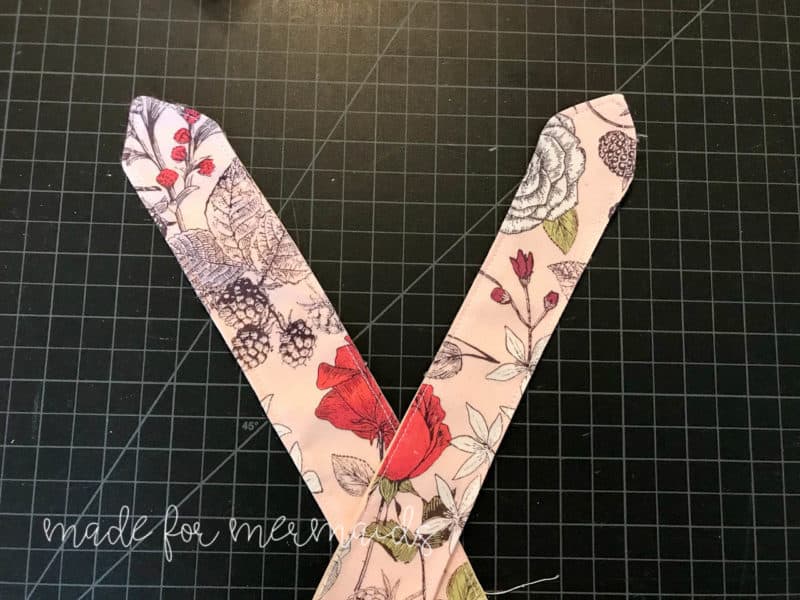
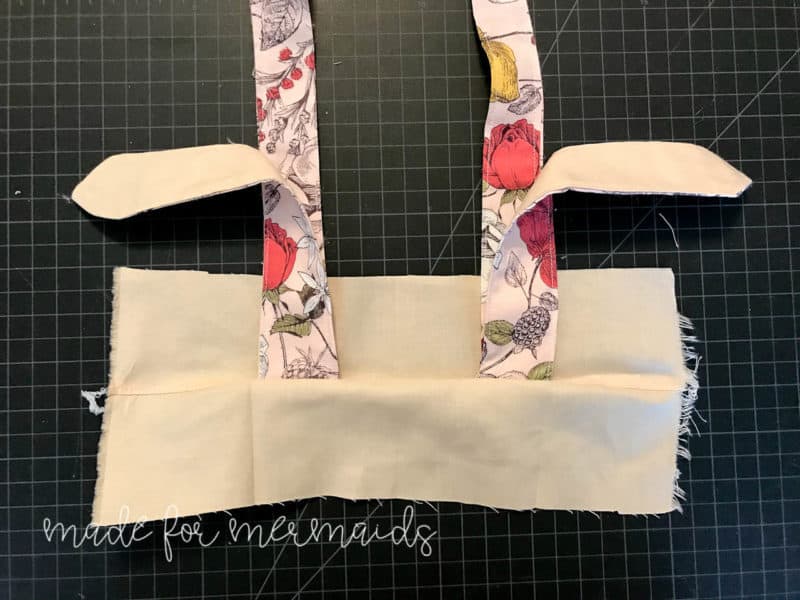
Cut the edges of the ear straps at an angle to create a “point” for the ear. I found it easiest to just fold in half, and cut away from the center, like in the first picture above. After, clip or pin one main ear piece to one lining ear piece with right sides together. Stitch together with 1/2″ seam allowance. Trim the seam allowance with pinking shears to reduce fraying. Repeat for other ear strap pieces.
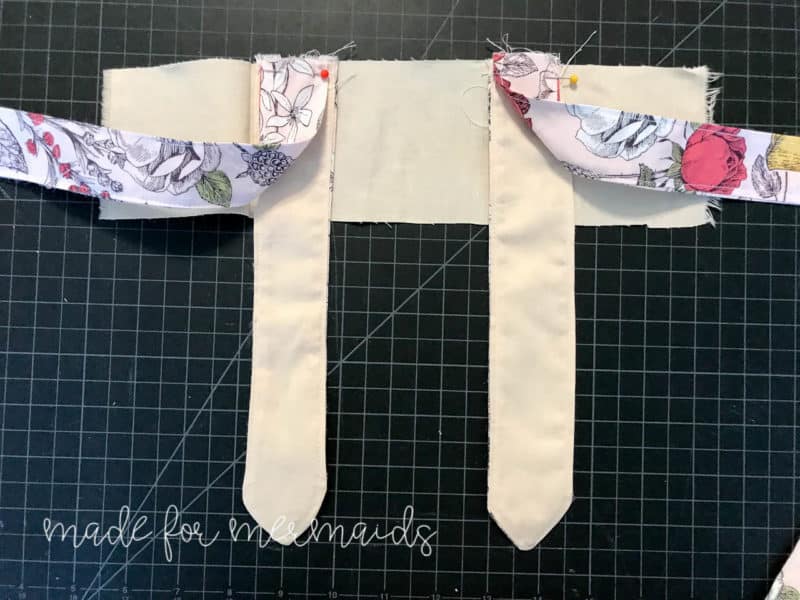
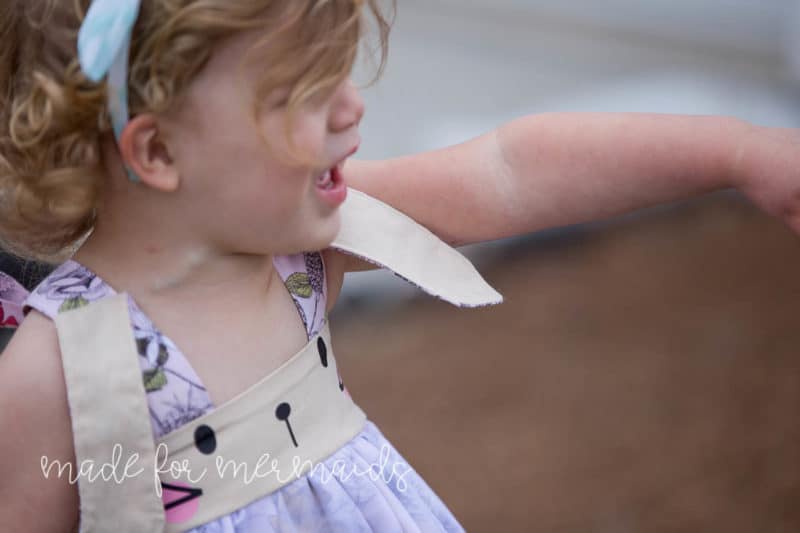
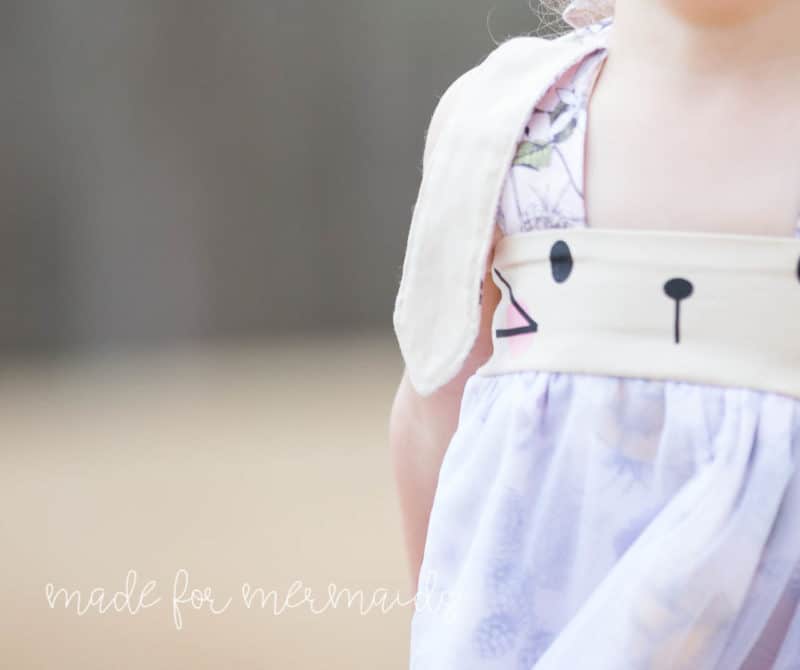
Turn the ear straps using your favorite turning method, press, and top stitch if desired. Next, you’ll refer back to the Molly pattern for the actual dress straps. Once you have those constructed, you will pin or clip the ear straps so that they are sandwiched in between the right side of the front bodice piece and the straps (placement is per Molly pattern).
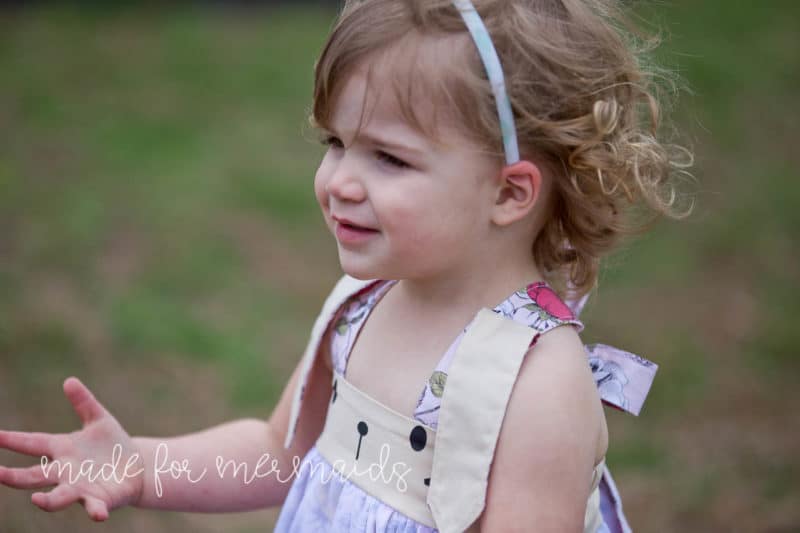
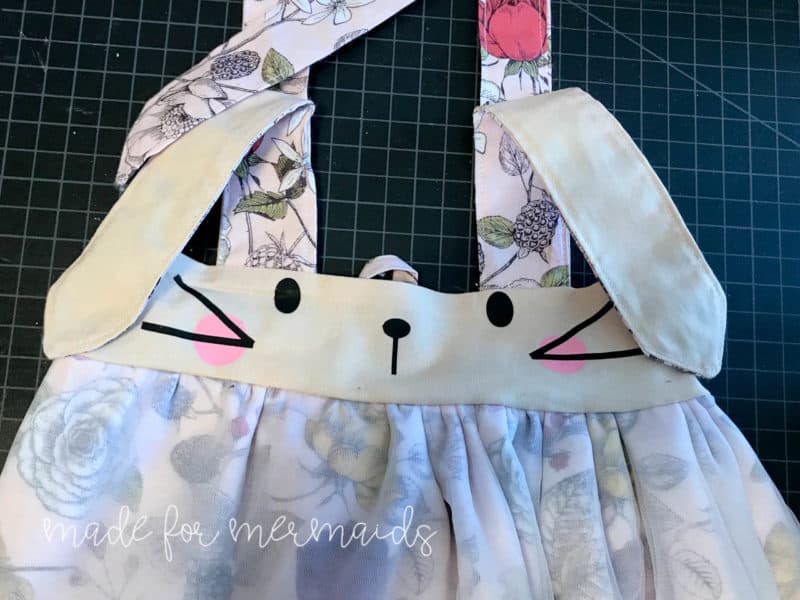
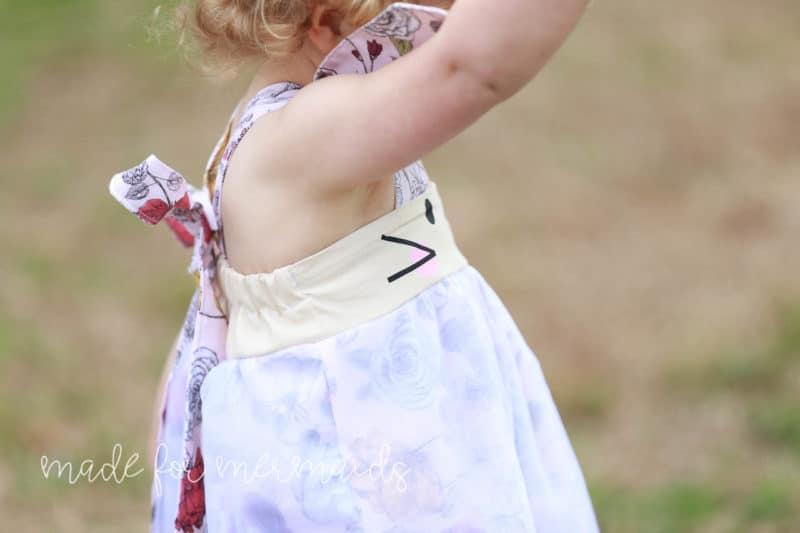
Continue with the Molly pattern directions. Once the dress is assembled, mark 3″ from the top of the bodice on both dress straps. Attach ear straps to dress straps at the 3″ marking; you can attach however you prefer, but I just did a straight stitch across. After stitching, press ears down. You of course have the option to apply the HTV bunny face before constructing, but I opted to press it on at the end. If you don’t have access to a vinyl cutter, you can leave the face blank, add bows, use fabric paint, or even buttons would look adorable!
Here’s hoping that all of these bunnies will finally encourage some warm weather to stick around. 🙂







Leave a Reply