
I keep seeing puff sleeves everywhere this year and I can’t stop finding ways to get them into my wardrobe. Enter the Florence/Pepper hack. Florence is a one shoulder dress and Pepper is a puff sleeve top. I now have an amazing dress with a puff sleeve! I can totally see this as a winter wedding guest dress or for the upcoming Holidays. OMG what about a New Year’s Eve dress?! AHhhhh the possibilities!
This one does take a little bit of patience. The sleeve is enclosed in the bodice, so no seams show, but don’t worry. I’ve worked out the deets for you so all you need to do is follow along.
First up, you will need to match up the Pepper armscye to the Florence armscye, both the front and back pattern pieces. Take the Pepper pattern piece and match up the bottom underarm corner to the bottom underarm corner of the Florence. Make sure both patterns are straight, so the curve is correct. I like to use the grids on my cutting mat to square up the patterns.
The front shoulder piece of the Pepper is a little shorter than the Florence, but that is OK. Just extend your line to the top until you reach the Florence cut line.
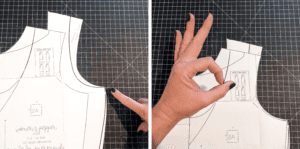
Do the same think to the back piece. These match up perfectly.
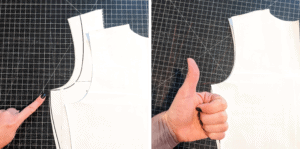
I wanted extra gathers in my puff sleeve, so I took the Pepper sleeve, folded it in half, and added three inches in the middle. You can leave as is or do the same. Please note, because we added height to the new armscye the amount of gathers will be a little bit less than a normal Pepper, so adding width to the sleeve is ideal. You can add more too if you want! It is up to you.
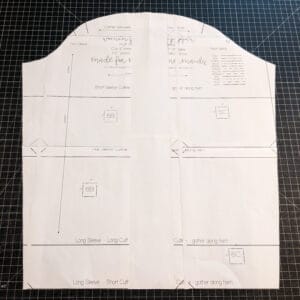
Once you are done hacking the pieces, is time to cut out your fabric. I have cut the front & back bodice main, front & back bodice lining, one sleeve, one cuff, front & back midi skirt.
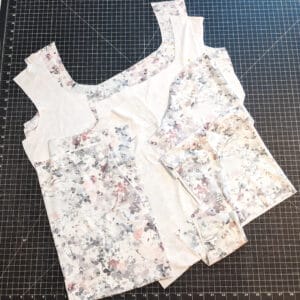
Sew up the bodice per the Florence instructions, leaving the sleeved sides and armscye unsewn. I used clear elastic in my neckline seam only.
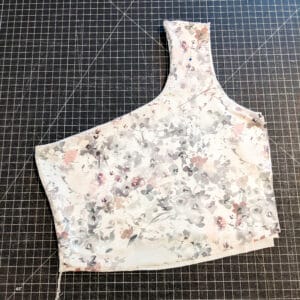
If you have sewn sleeveless tops before you have probably heard of a burrito roll. That is what we are going to do here, but before we do you need to pin the sleeve, right side together, to the bodice main armscye because you will be rolling that up in between the bodice main and the bodice lining. Roll up everything, pinned sleeve included, and match up the right side of the bodice main armscye to the right side of the bodice lining armscye. You want your pinned sleeve to be in the middle of the two. Sew the three layers together, making sure to leave two inches on each end.

Turn everything right side out. Your sleeve should look almost normal but will have the two inches on each end that are not yet finished.
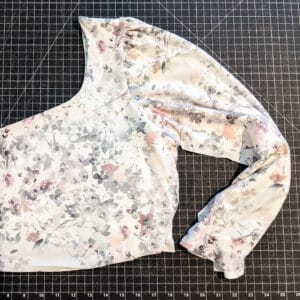
Turn wrong side out and place the sleeve only right side together, pin and sew.
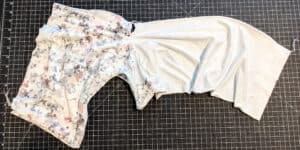
Place the bodice main front & back as well as the bodice lining front & back right side together. Sew the bodice main and bodice lining at the side seams.
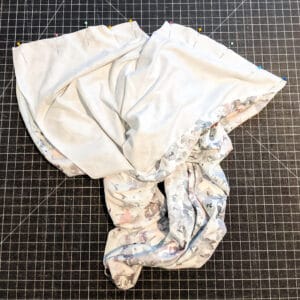
You will then make a sandwich with the unsewn two inches of the armscye. Yum. A sandwich…Anyhow…it will be the bodice main and the bodice lining as the bread, with the sleeve in the middle.
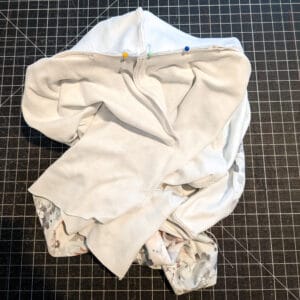
Finish sewing the armscye, matching up the side seams with the sleeve seams, and making sure to overlap your original stitches. This will complete your inserted sleeve. Turn your now fully constructed bodice and sleeve right side out, marvel in the magnificence!
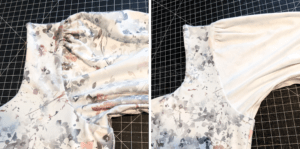
Continue on and add your cuff (you’ll need to gather the end of your sleeve to attach the cuff, especially if you added inches to your sleeve) and then add your skirt of choice following the Florence instructions.
That’s it! Thankfully, because this is one sleeved, it is half the work! Once you get it down, it really is a quick sew. Bonus points because this dress is perfect for my last minute peeps!
Until next time, Loves! – Jennifer Anne


Leave a Reply