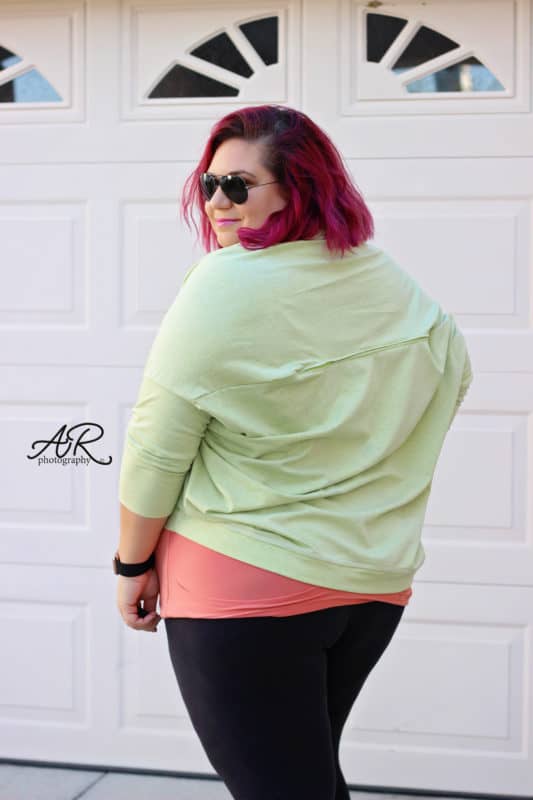
As soon as I saw the new Women’s Jamie, I knew I needed one right away! The 2-way poncho intrigued me at first, and then it opened a world of possibilities. First on my ideas list was a zipper neckline. Let me show you how I did it. You can use this hack if you’d like a “closed back” look for the cardigan option.
Start by printing the Women’s Jamie pattern and cut the size you need. You’ll now be basting the neck opening shut! Yup, you read that right! Place the front and back pieces right sides together and baste the opening with at least 1/2″ seam allowance. If you use a bigger SA you’ll have a wider neckline opening.
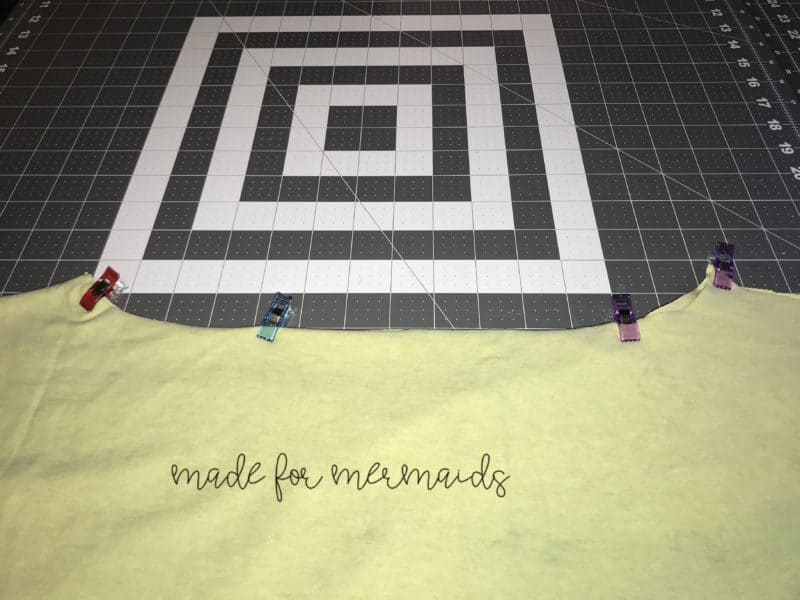
Optional: add a 5/8″ strip of tricot interfacing to the front neckline and one to the back neckline.
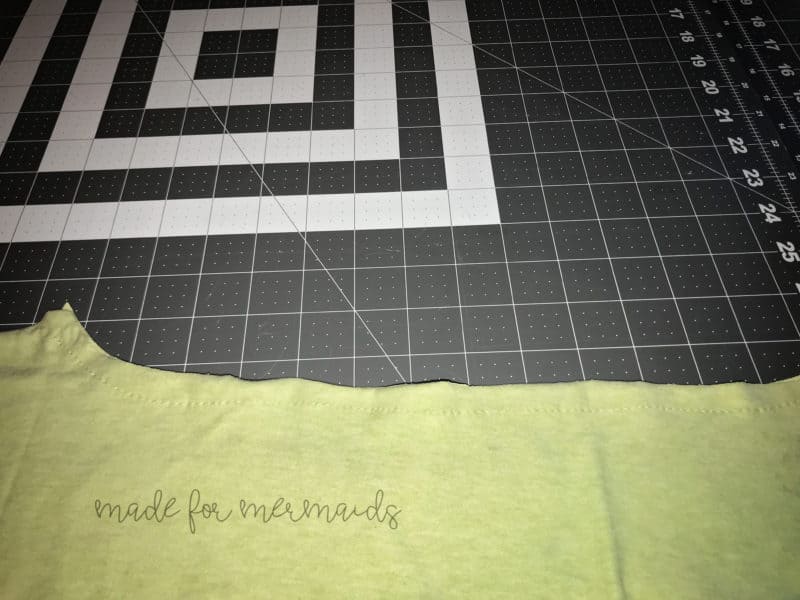
Press your seam allowance open. For the next step I love to use WonderTape but if you don’t have any on hand you can always use good ole fashion pins. Place two strips of WonderTape along the seam allowance and peel off the backing.
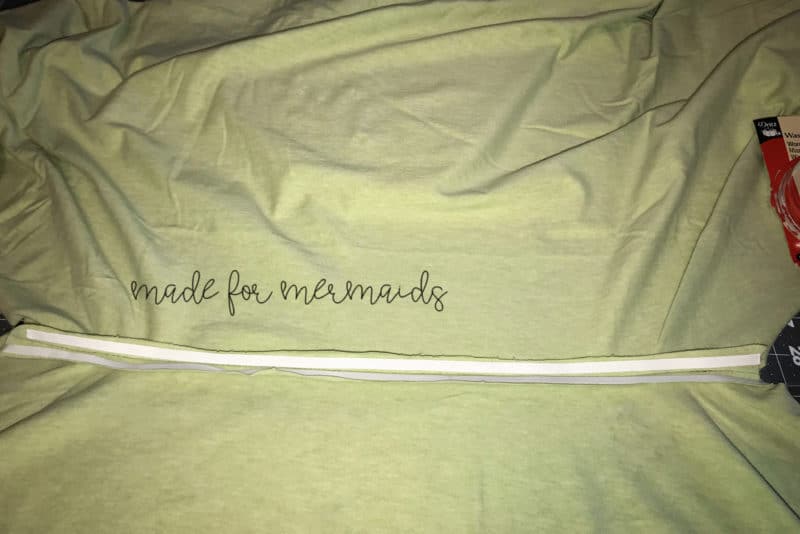
The zipper size will vary depending on size and the look you’re hoping to achieve. I only had 18″ zippers on hand so my size orange poncho neckline is not as open. I would recommend using a 20″ zipper or longer. Lay your zipper right side down (the right side of the zipper on top of the wrong side of the shirt), making sure that the zipper teeth are centered along the basting stitch.
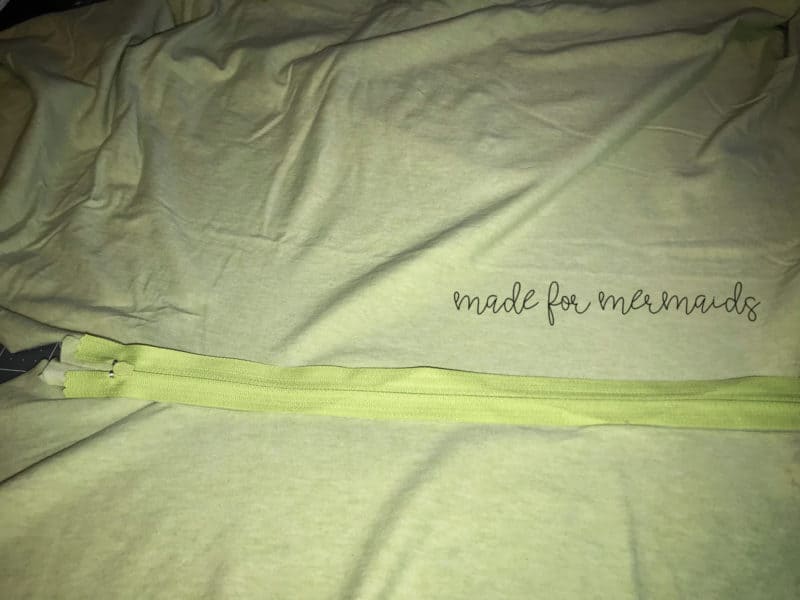
Sew the zipper in place using a zipper foot. I like to sew with the right side of the neckline up, like I would when topstitching. You can certainly attach the zipper the regular way.
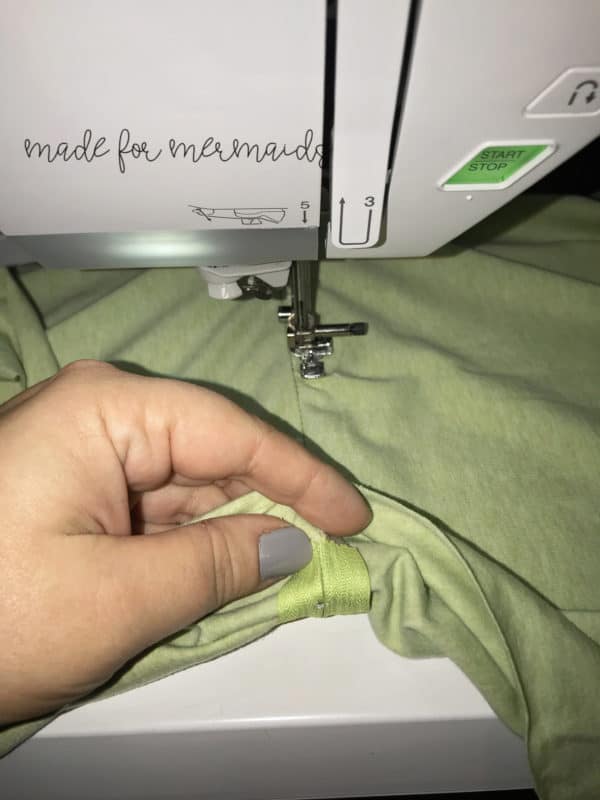
Remove the basting stitches and open up the zipper. Continue sewing the poncho as instructed in the tutorial.
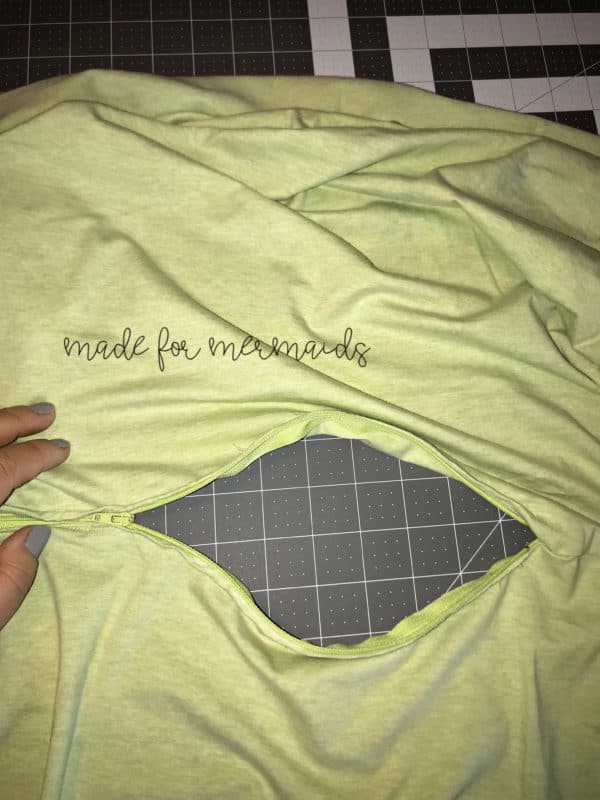
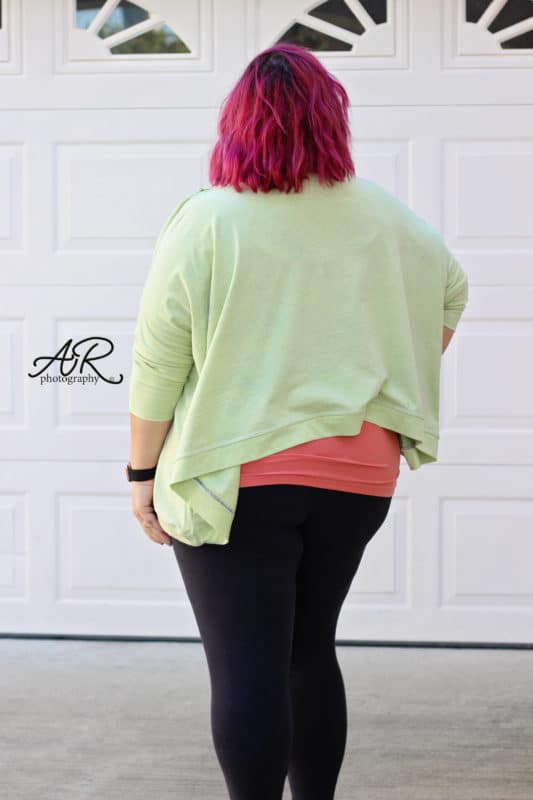
All done! Enjoy your new Women’s Jamie 2 way poncho and be sure to show it off in the M4M Facebook Group too.
Note: You can use the same hack for the girls’ Jamie 2 way poncho too. You’ll just be using a smaller zipper.
For more fun mods be sure to check out the Jamie Hacks blog! Happy sewing!




Leave a Reply