Making changes to a pattern’s neckline is one of the simplest ways to create garments that fit your personal preference and taste! We frequently get this question in our Facebook group, so we wanted to show you an easy way to change the neckline on your favorite patterns.
To make this modification, you need a sheet of paper + your regular materials (fabric, original pattern, measuring tape, etc.). If you have a French curve, you may wish to use it to smooth out your new neckline, but you will still be able to make this modification without one.
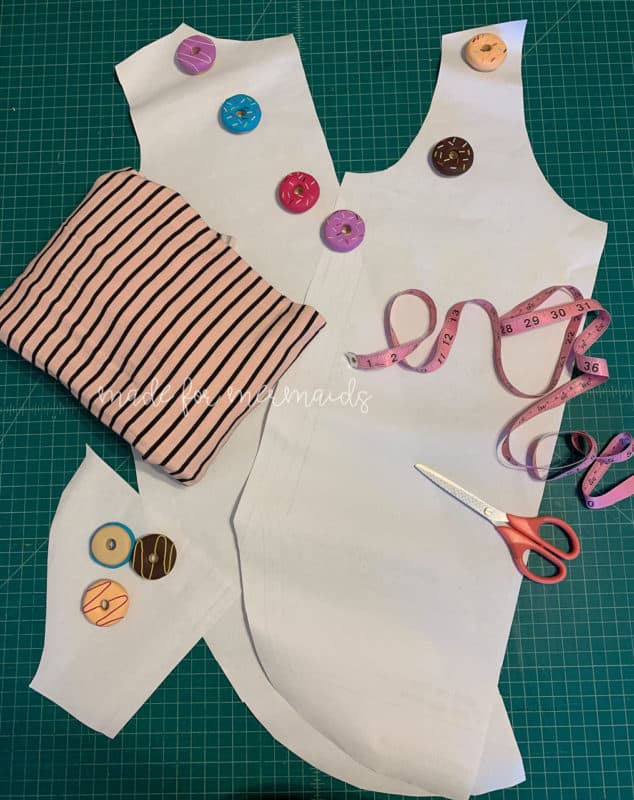
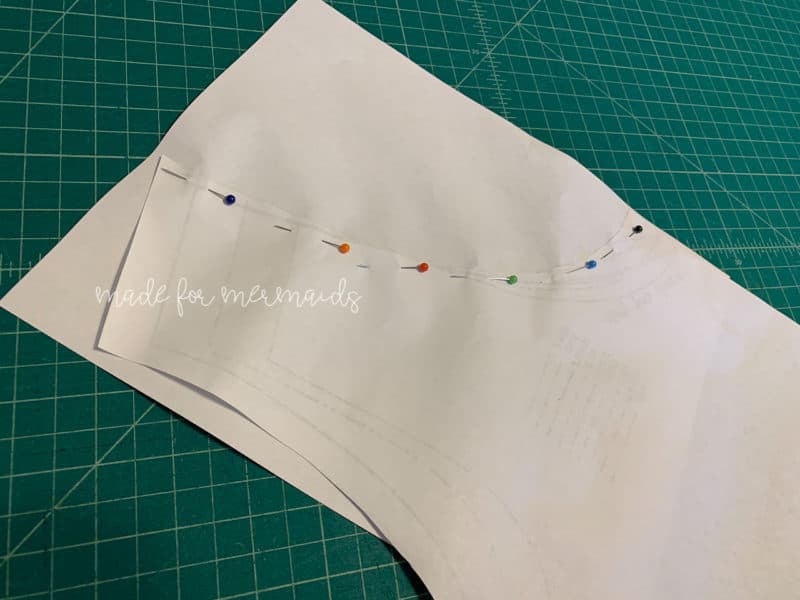
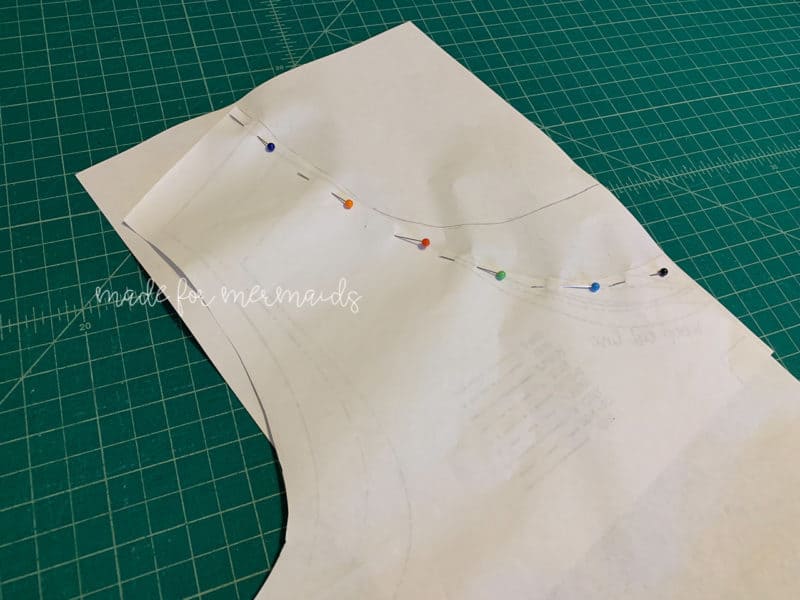
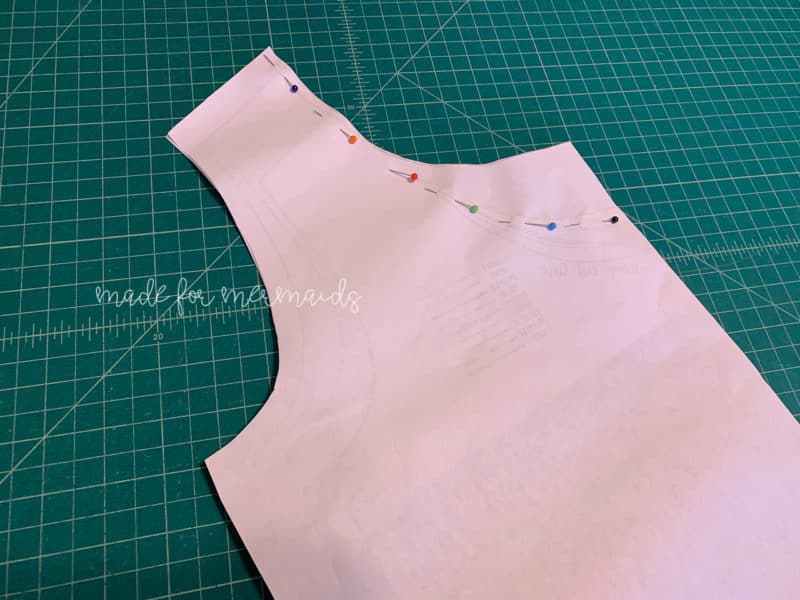
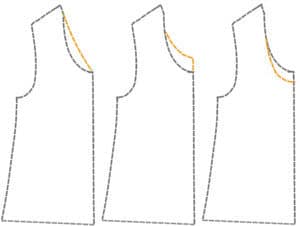
Because this is a shirt pattern I use often, I already had it printed and cut out! I didn’t want to make any permanent changes to my original pattern, so I simply pinned a piece of plain paper behind the original pattern piece. *Alternatively, you could redraw your new neckline on the original pattern prior to cutting.*
I drew the new neckline in pencil. I raised the center neckline about 2.5″ higher than the original neckline, and then continued the curve to meet the original neckline. This is where you would use your French curve, if you’ve got one! If you don’t, you could get creative with a plate, large bowl, etc., or just eyeball it like I did here 😉
How much you raise or lower the original neckline is entirely up to you and your personal preference. You could take a RTW or handmade shirt that you love and compare to the original neckline to determine how much to raise/lower, or you could hold the original paper pattern piece up to you if you’d like.
Just keep in mind that the paper piece won’t sit *quite* as nicely as your fabric will, so the exact amount may be off a smidge. Also, remember that once you attach the neckband, it will sit a bit higher as well.
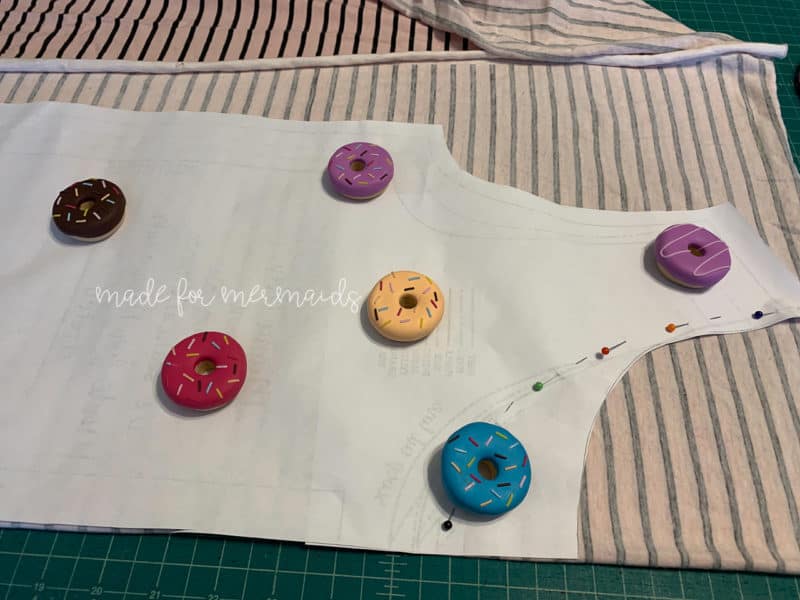
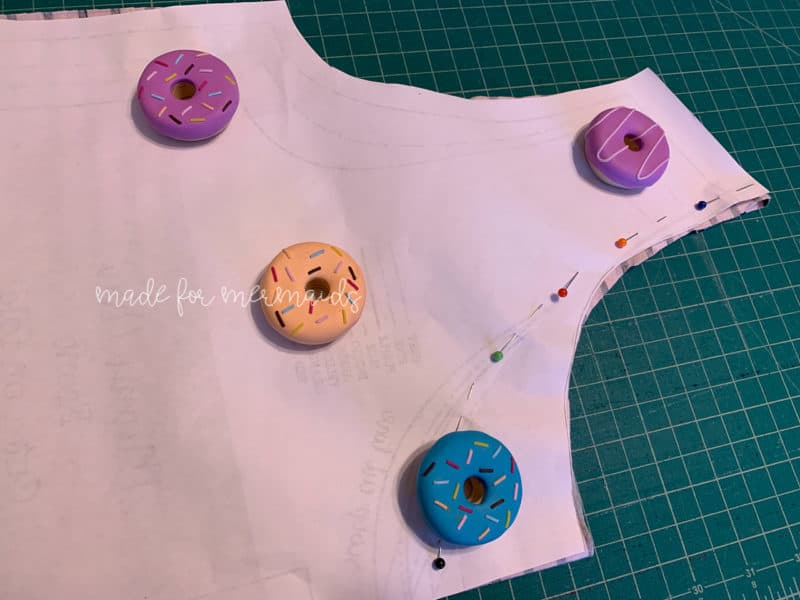
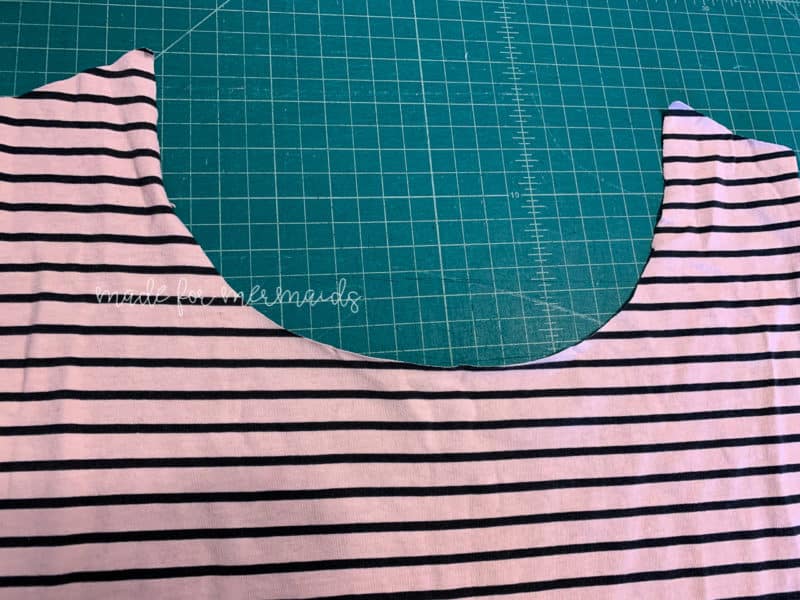
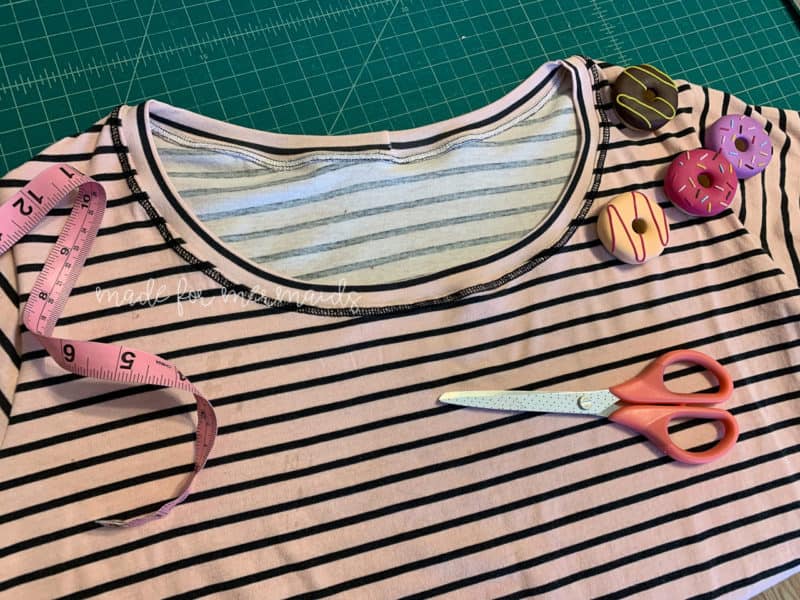
After you’ve drawn your new neckline, cut the excess paper off! Your new shirt front pattern piece is ready to go. Cut out your shirt front and shirt back, as well as sleeves (if applicable), per the original pattern tutorial.
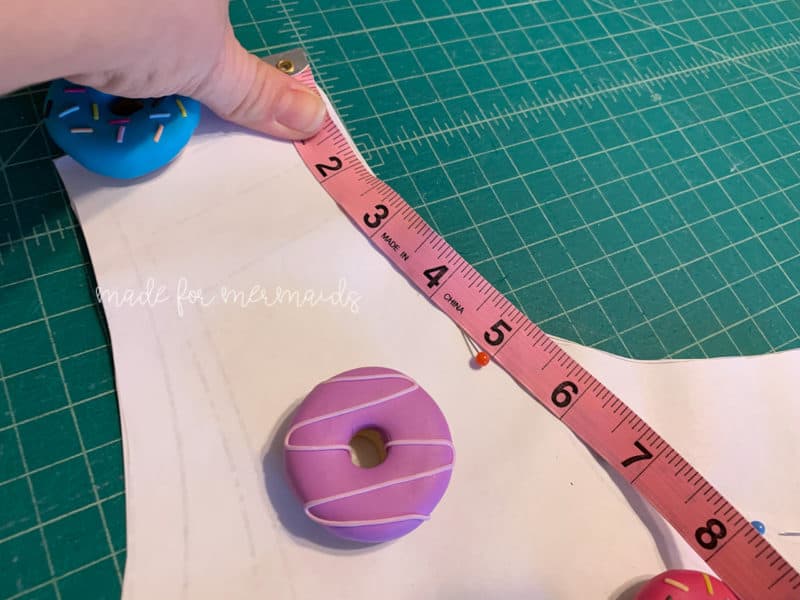
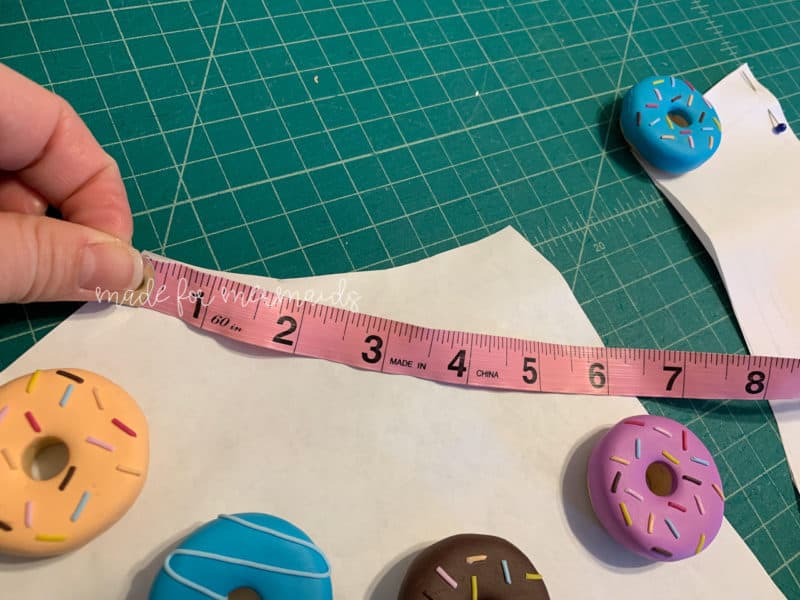
Now, you need to determine your new neckband width! You will still use the length given in the original tutorial. In this case, I used a length of 2″. To determine the new width to use, you’ll need to do a little math. Don’t worry – I promise it’s easy!
- Measure the new neckline on the front pattern piece. Measure the original neckline on the back pattern piece.
- Add both neckline measurements together.
- Multiply by 2
- Subtract 2″ for seam allowance
- Find 85% of new total (Note: This may vary a bit depending on fabric)
- Add 1″ for seam allowance
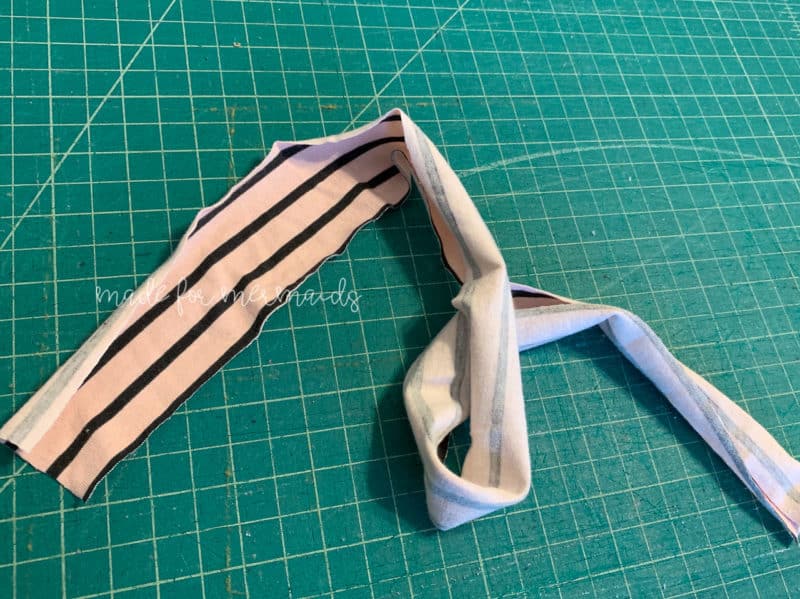
- Cut your new neckband!
For example, for my new neckline/neckband, my calculations were as follows:
9.25 + 5.25= 14.5 . 14.5 x 2 = 29 . 29 – 2 = 27 . 27 x .85 =22.95 . 22.95 + 1 = 23.95
So, I used 2 x 24 as my new neckband measurement, with the stretch going with the width.
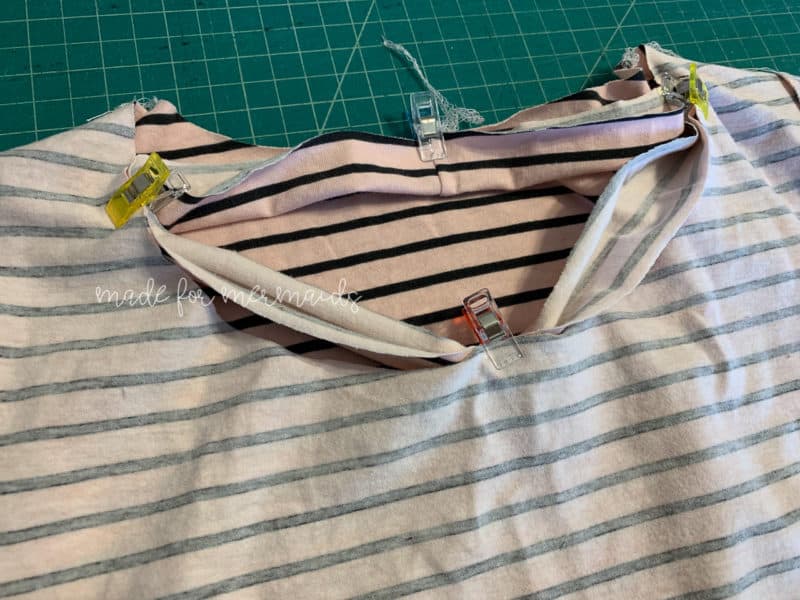
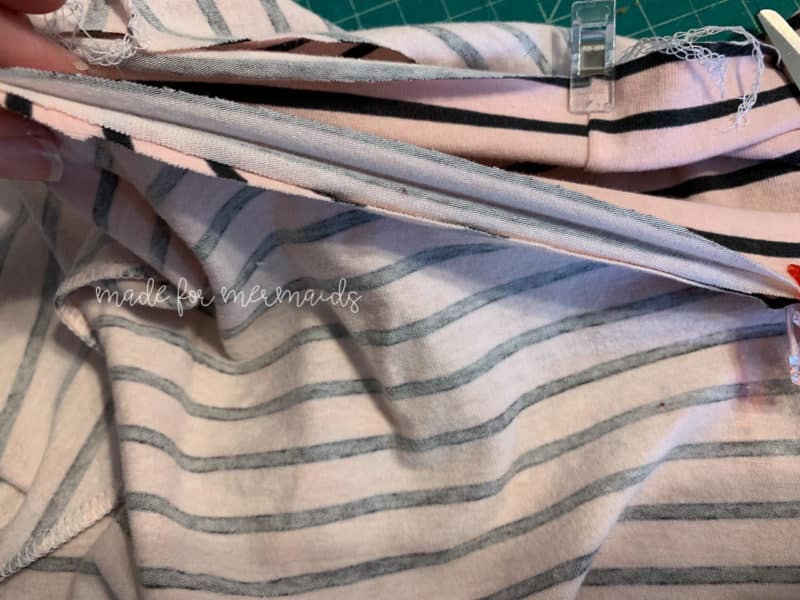
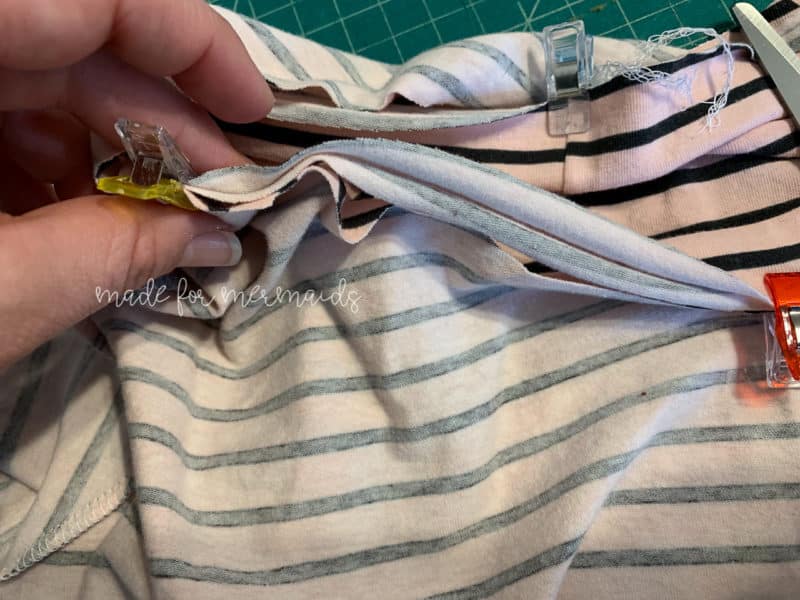
After you’ve constructed your shirt per the original pattern tutorial, it’s time to prep and quarter your neckband! After clipping my neckband to my shirt, I like to make sure it won’t be too loose or tight. Some fabrics are more finicky than others, so the 85% calculation is not fool proof – occasionally you need a little more or a little less. Checking after quartering is MUCH easier than scheduling a date with your seam ripper!
-

- Quartered neckband
-
- Before sewing: if I gently stretch the neckband, it fits perfectly without any bunching. If you are having to overstretch your neckband, or getting a lot of bunching in your neckline, that is sometimes a sign that you need to add a bit of width to your neckband.
-
- At the same time, if your neckband is a 1:1 ratio, it’s going to be too large and will not lay flat. You can see the neckline is longer than the neckband here.
Attach your neckband per the pattern tutorial, and you are all done! You can steam/press and topstitch if desired.
Need to change a scoop neck to a v-neck? Want to lower the neckline instead of raising it? The general process is still the same! You can also use the same steps to change the back of a top or dress, as well.
Don’t forget to share your favorite makes with us, with or without modified necklines! We can’t wait to see what you come up with!

Thank you so much for this. I need to raise all my neck lines and now I know how to do it.
Hi could you please tell me how to change a boat neck pattern to a round neck as boat necks don’t suite me
The best option would be to use the neckline from a shirt pattern that you prefer. 🙂 You would just trace the neckline (to include the shoulders) on your front and back pattern pieces.
I need to know how to make my ready-to-wear necklines of my tops smaller. The necklines and shoulders are always too large and hang off my shoulders. I am talking about RTW, not patterns.
You could try adding some elastic to the neckline, or some ruching at just the front neckline. Unfortunately, there’s not much you can do to “raise” a neckline after it’s already been cut. The only real option would be to remove the existing neck band or neck binding, and attach a slightly wider one. However, this may not look as neat & clean.
Thank you for this information. I have been looking for a certain pattern for a dress I want to make. A sleeveless, scoop neck, empire waist, tiered dress. Seems like it should not be that hard to find? Right? I have not been able to find exactly what I am looking for so I found a pattern that is close, but I will need to change the neckline. Fingers crossed I can do this. I think I can, I think I can.