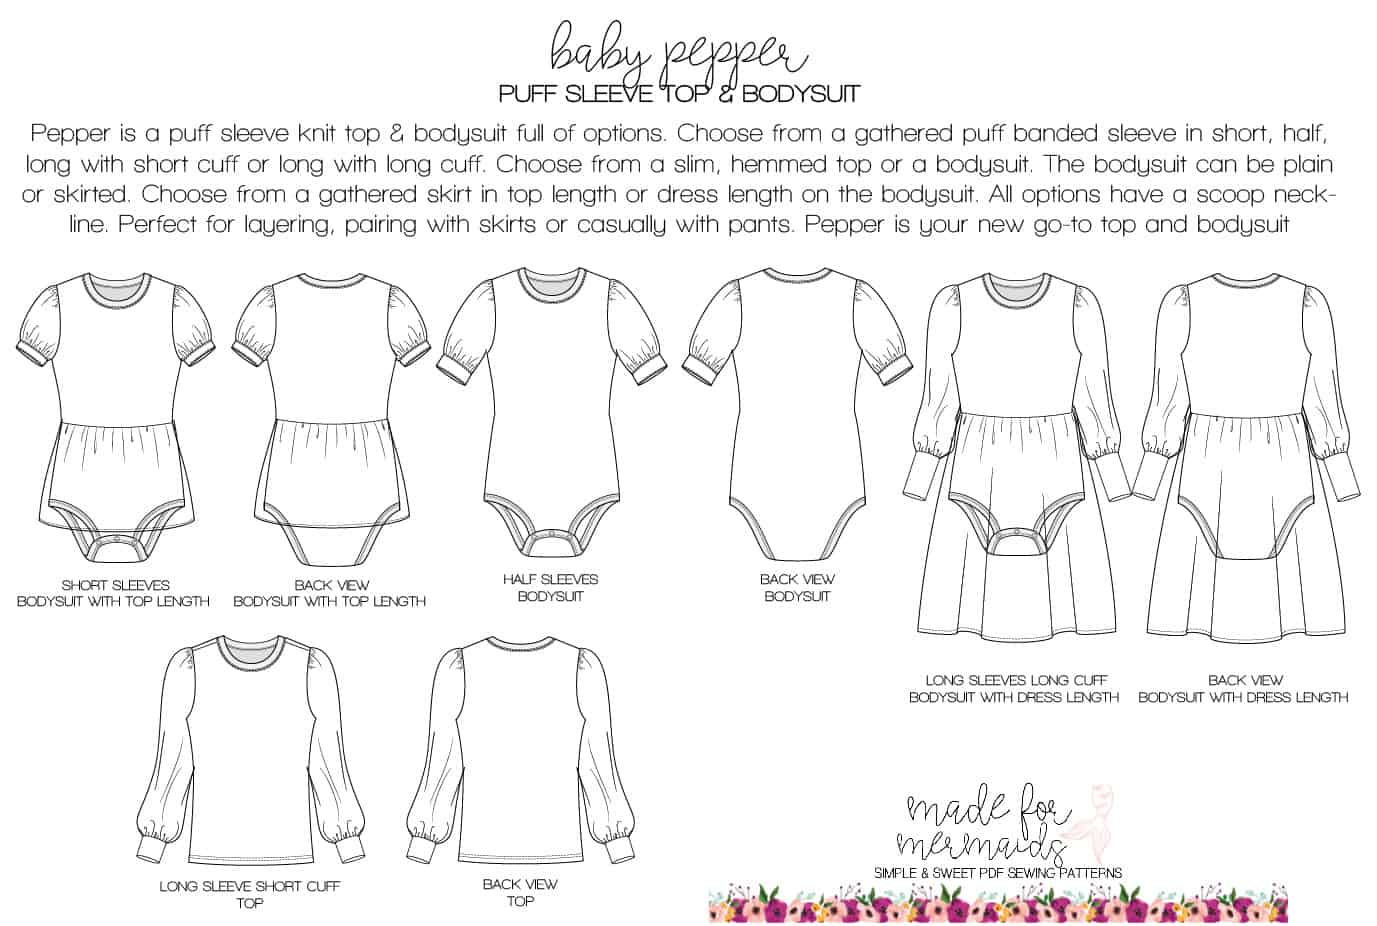
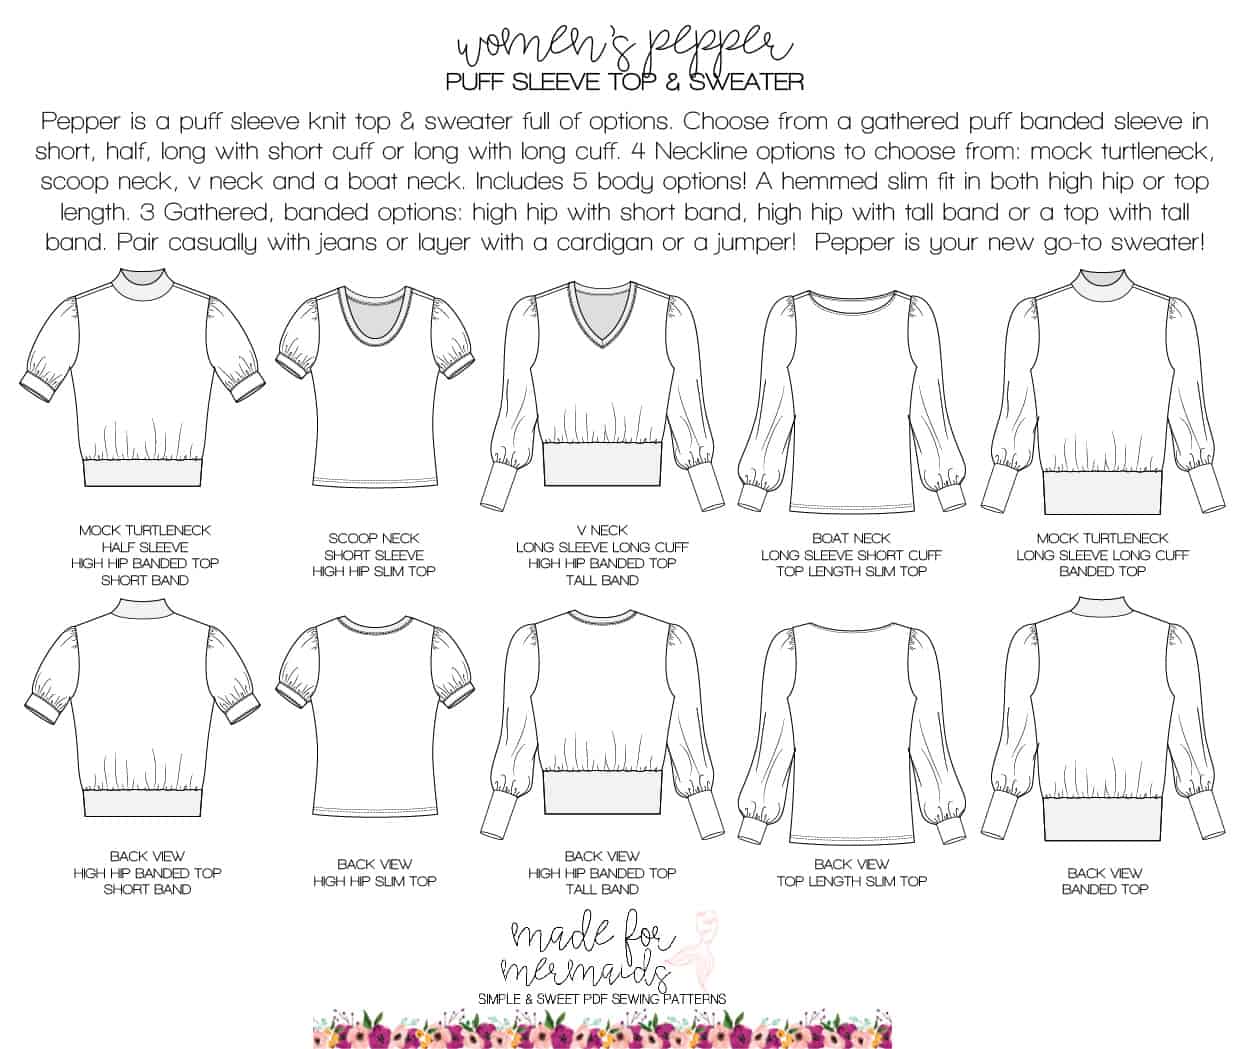
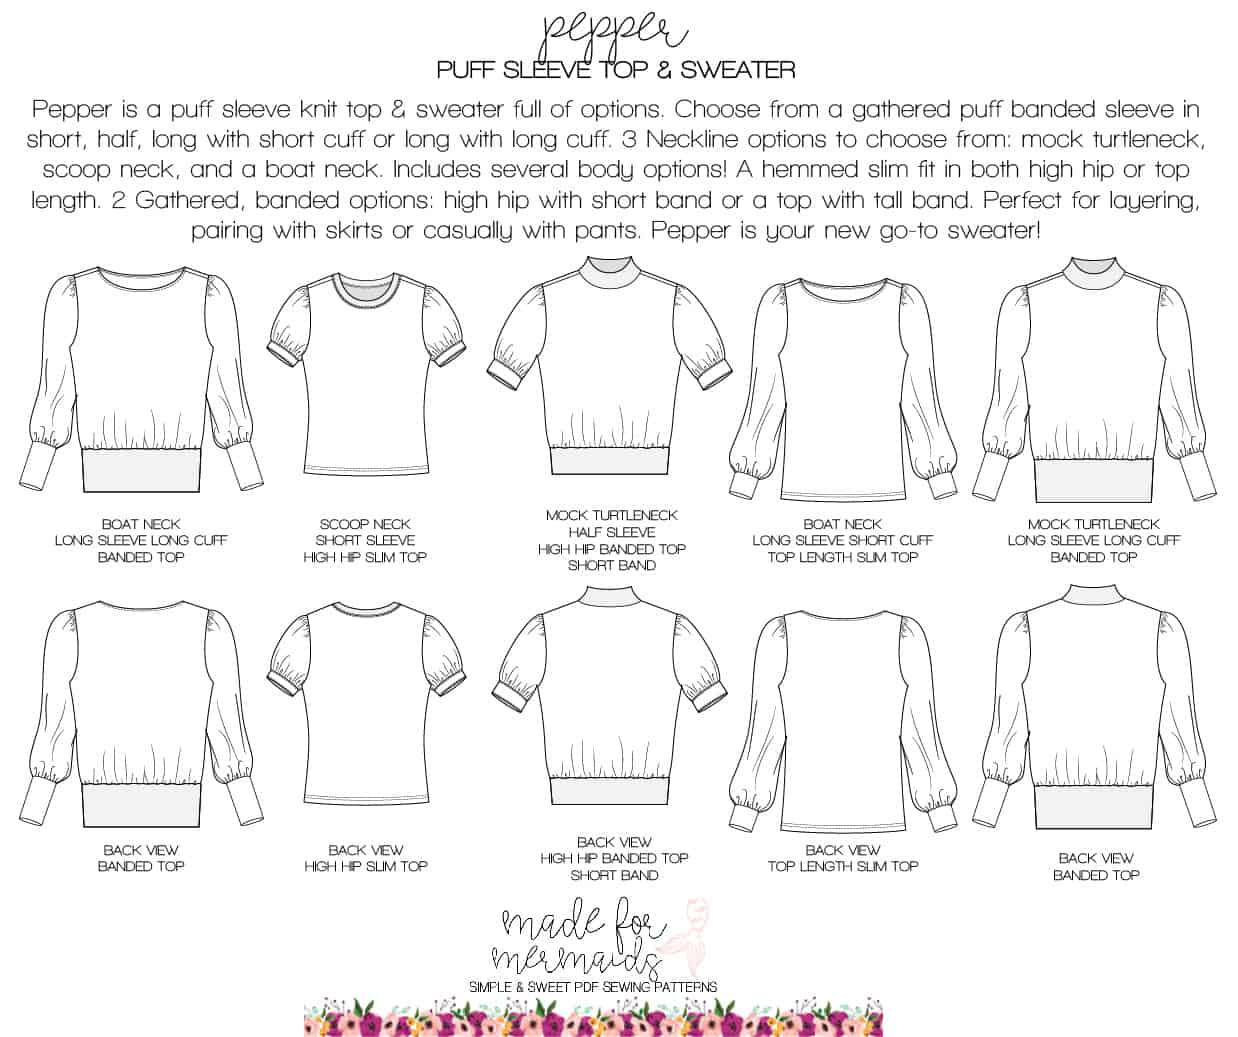
The Pepper Puff Sleeve patterns are our newest knit top pattern! Pepper is drafted for lightweight knit fabrics. Options for Pepper include multiple necklines (mock turtleneck, medium scoop, or low v-neck on women’s), two bodice options (slim fit or banded puff), and lots of sleeve choices (short puff, half sleeve puff, long sleeve puff with long or short cuffs). The slim fit bodice includes two hem lengths – high hop or top length. The banded puff version includes three hem lengths – high hip with a short or tall band, and top length with a tall band. Baby Pepper also includes an adorable romper option.
Pepper pairs perfectly with our new Juniper pattern! Check out our gorgeous tester album in our FB group for tons of styling ideas. Still, need more? We have a few hacks/mashes to do just that!
Bodysuit Mash
The Pepper is hands-down one of the most romantic, universally flattering patterns ever! In true mermaid fashion, there are endless ways to further customize this gorgeous top to fit flawlessly into your wardrobe. But of course, there’s more 🙂
Who doesn’t love a great bodysuit? I have not one, but two great options to share with you!
For these hacks, you’ll need the Tai Bodysuit pattern and the Pepper.
Important to note! As you begin selecting the options that you want for your neckline, remember that the Tai is designed to pull down from the neck opening. Unless you’re installing snaps in the crotch of your bodysuit (which I am not), you won’t be able to pull the Pepper boatneck or mock neck down over your hips.
For the first bodysuit (floral), I am using the Tai scoop neck. For the second, I am using the Pepper v-neck. Both give ample room and stretch to pull down over my hips.
This is such a simple hack!
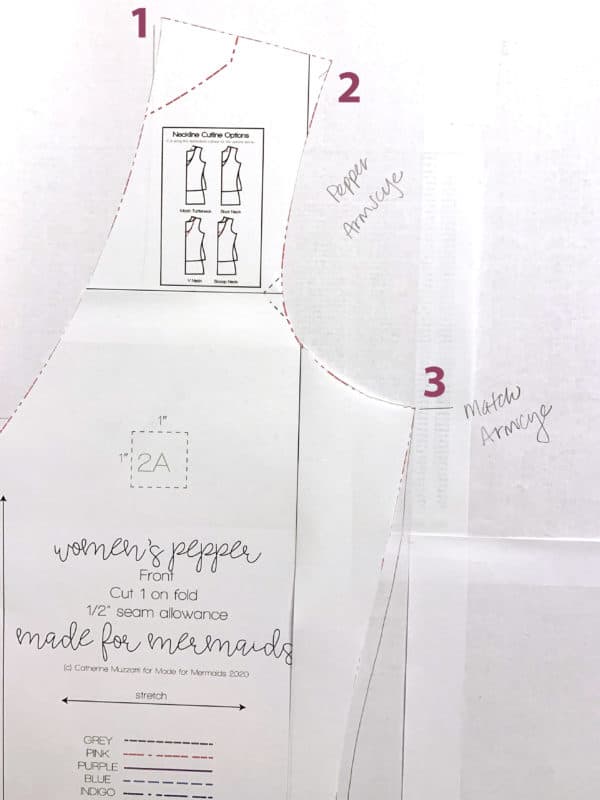
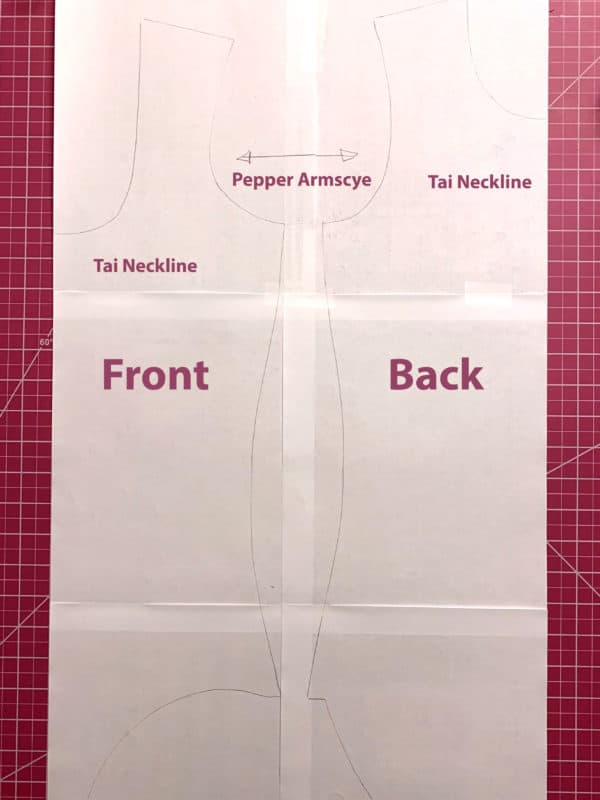
For the first bodysuit, begin by tracing the Tai Bodysuit. You’ll trace the neckline and the body from the armscye down.
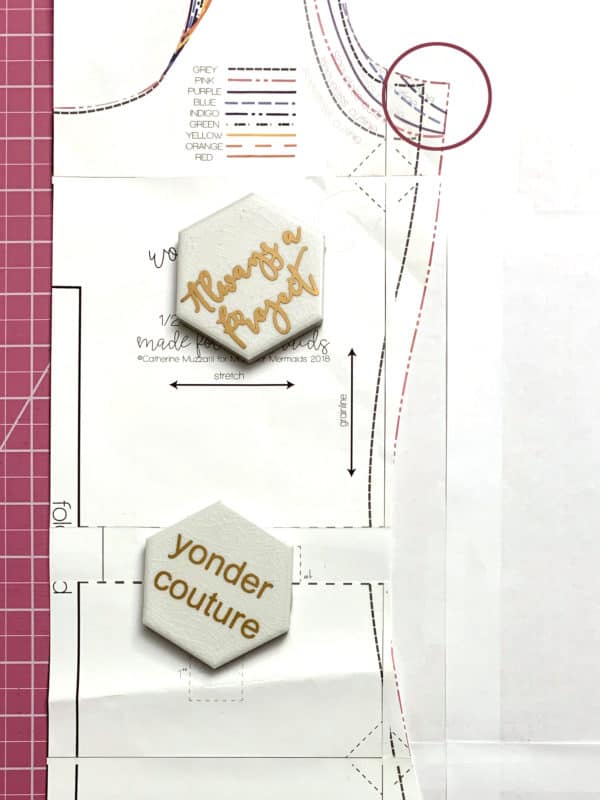
Grab your Pepper pattern and trace the shoulder and armscye, matching the Tai at the underarm point and top of the neckline.
Select any sleeve options you like from the Pepper and get to sewing! You’ll follow the assembly instructions for the Pepper – shoulders and sleeves – and finish with the Tai instructions for the body, leg bands, and neckline.
The second bodysuit hack is just as simple.
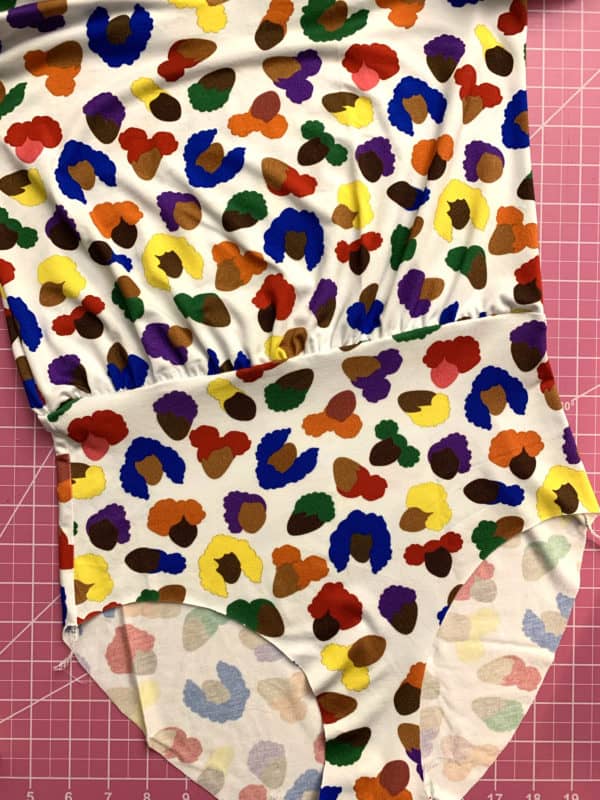
I cut the Pepper high-hip, gathered puff bodice pieces for the top of my bodysuit; however, if you prefer something to wear with lower waisted bottoms, you can cut the top-length, gathered puff bodice.
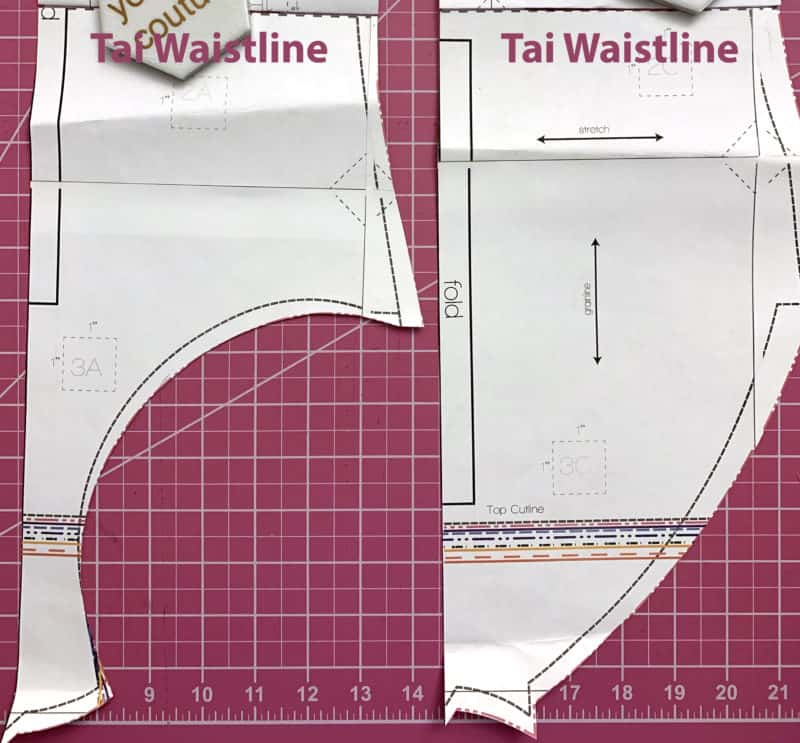
You will need the Tai Bodysuit front and back pieces, but only from the marked “waistline” down. If you have another high-waisted brief pattern that you prefer, that can be used in place of the Tai.
Assemble the Pepper bodice per the pattern instructions, stopping once you gather your bottom hemline.
Assemble the Tai Bodysuit “brief” per the pattern instructions. You will also finish your leg openings, using your preferred method. The top of your brief will be left unfinished.
Adjust your bodice gathers to match the width of the waistline of your brief. Turn your bodice inside-out and insert the brief, matching right sides together and serge together.
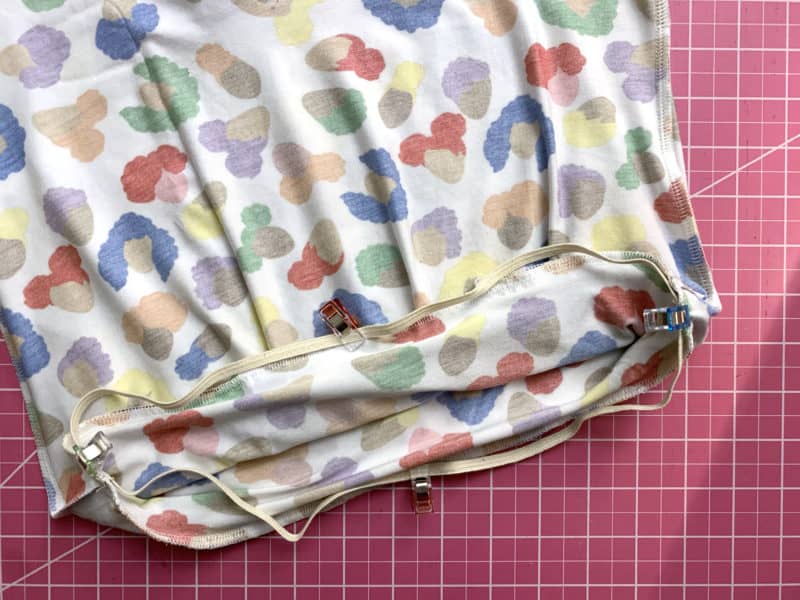
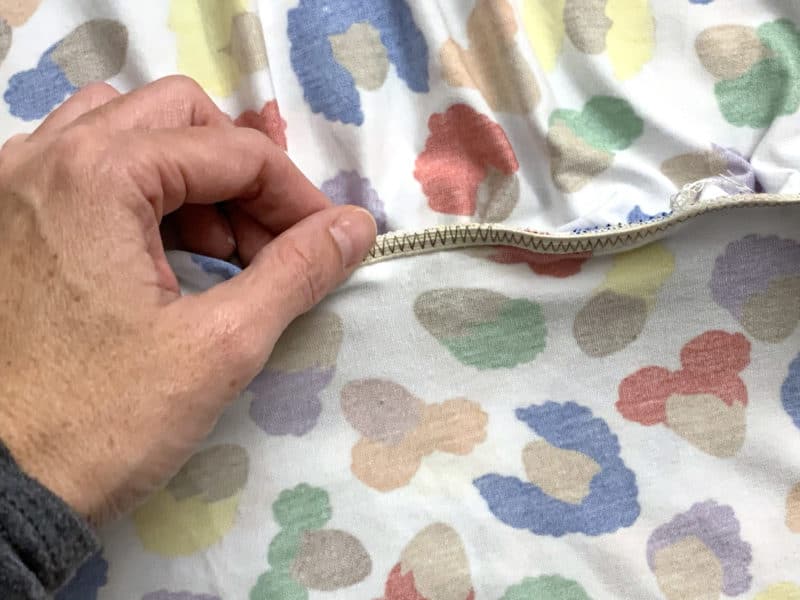
Cut a piece of ¼” knit elastic to your waist measurement and sew into a circle by overlapping the ends by ½”and sewing with a tight zigzag stitch to secure. Divide your elastic circle into four equal sections, marking with a clip or pin. Do the same for the waistline of your bodysuit. Match the quarter points of elastic and your waistline seam allowance and pin in place on the brief side. Secure the elastic to the seam allowance using a zigzag stitch, stretching the elastic to fit as you go.
Remember, you can make adjustments to fit your preferences. You can make a shorter rise on your brief and use the top length Pepper bodice to wear with low-rise bottoms. Or, if you prefer a blousier top, use the top length bodice with a high-rise brief. Customize to fit your perfect wardrobe needs.
Enjoy!
Rachel
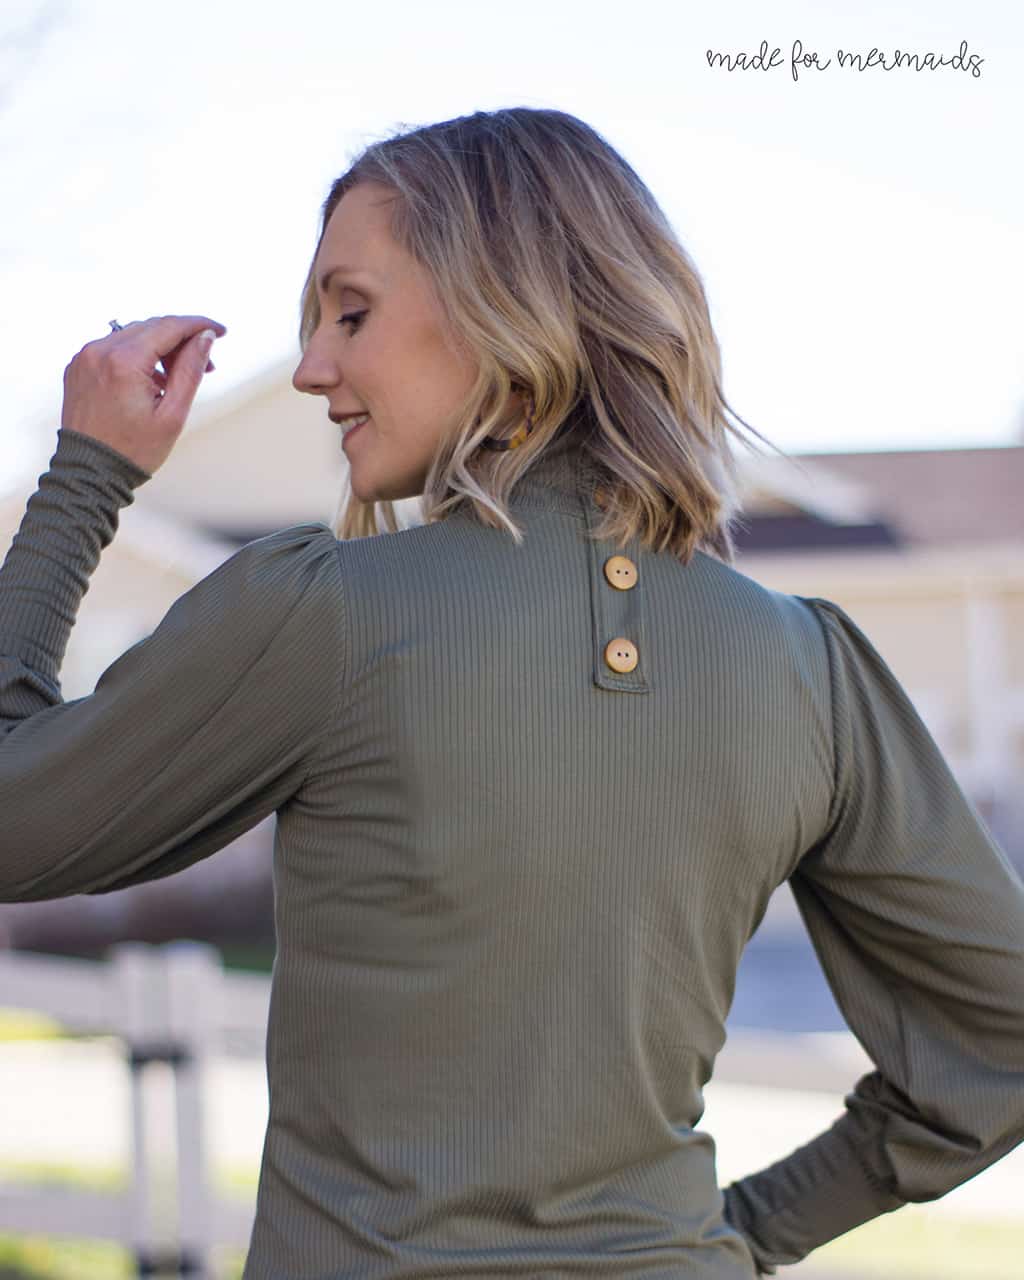
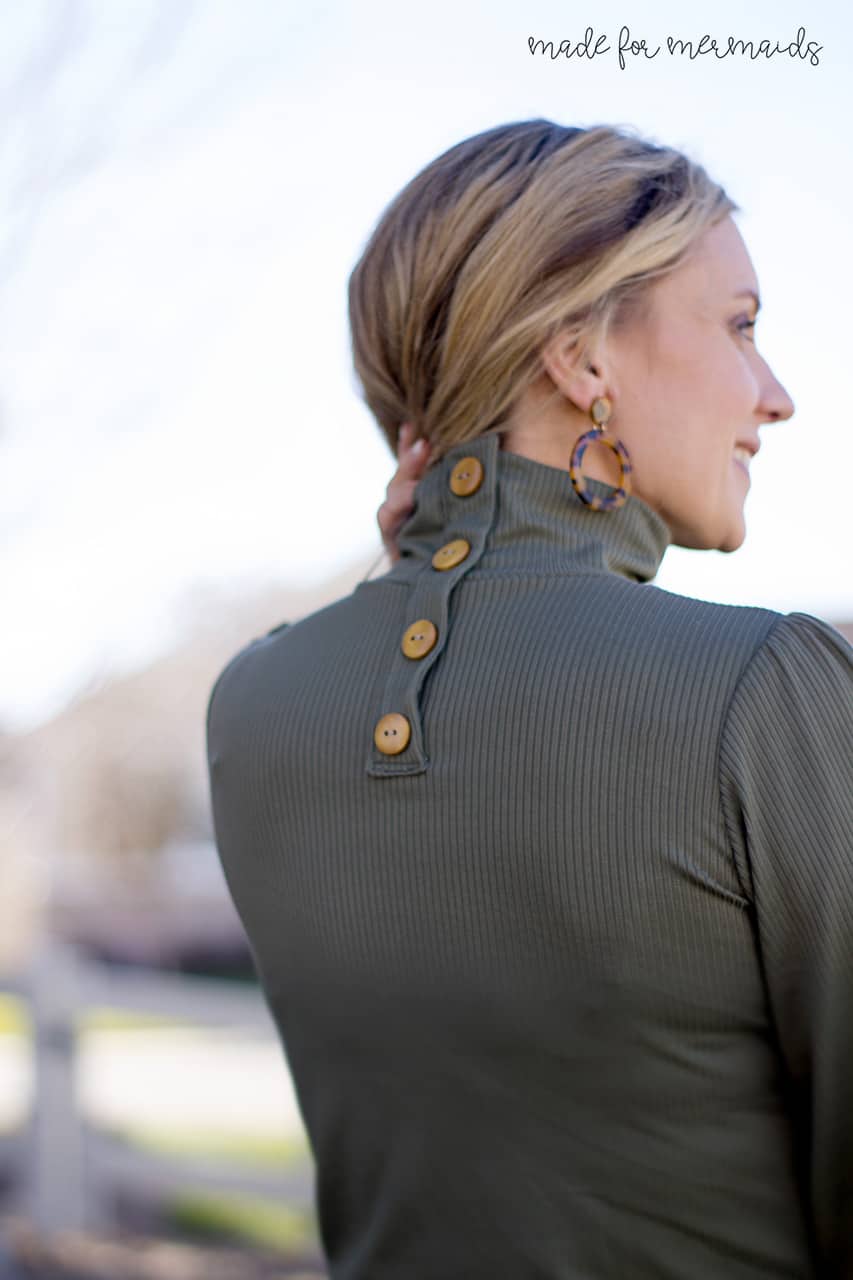
Faux Button Placket Hack
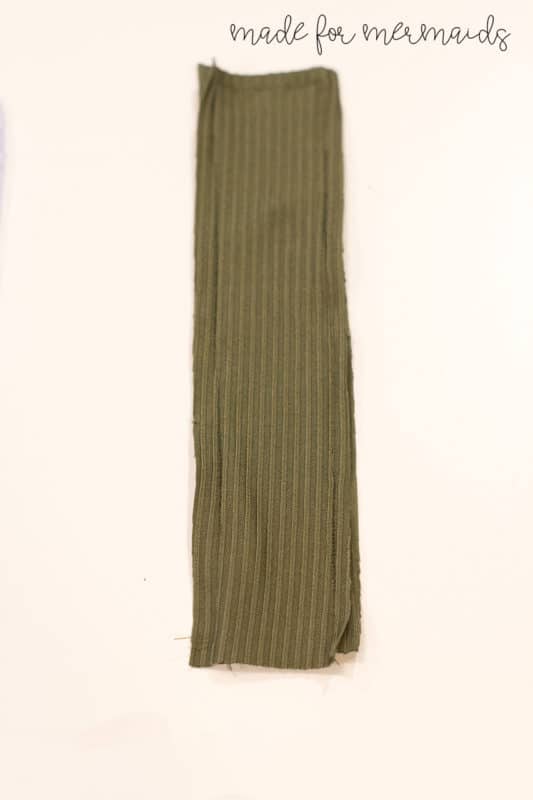
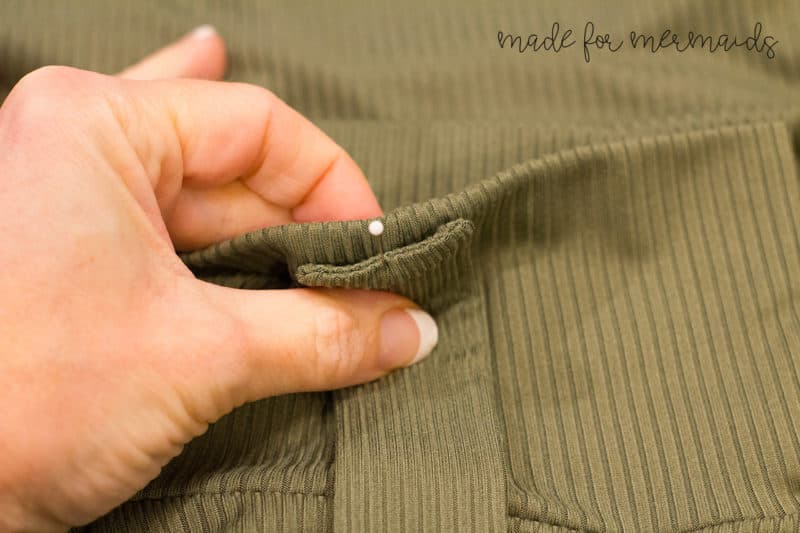
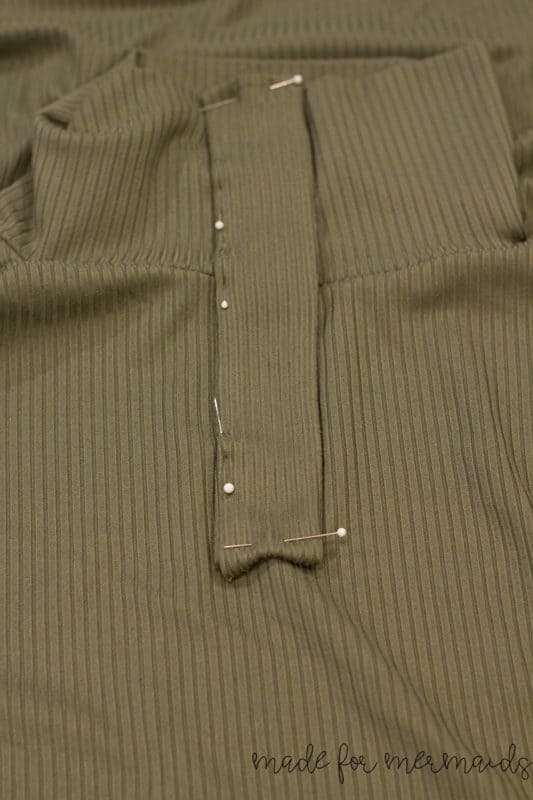
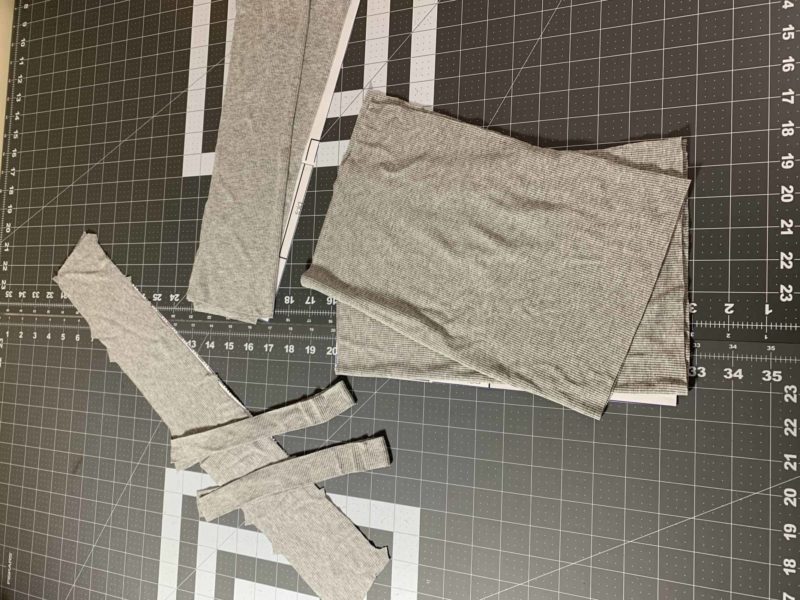
Step 3: Place your placket pieces right side together and sew around the two long sides and one short side using 1/4″ seam allowance. Clip the corners and turn your placket right side out. Press well. Fold up the bottom raw edge and press under 1/4″.
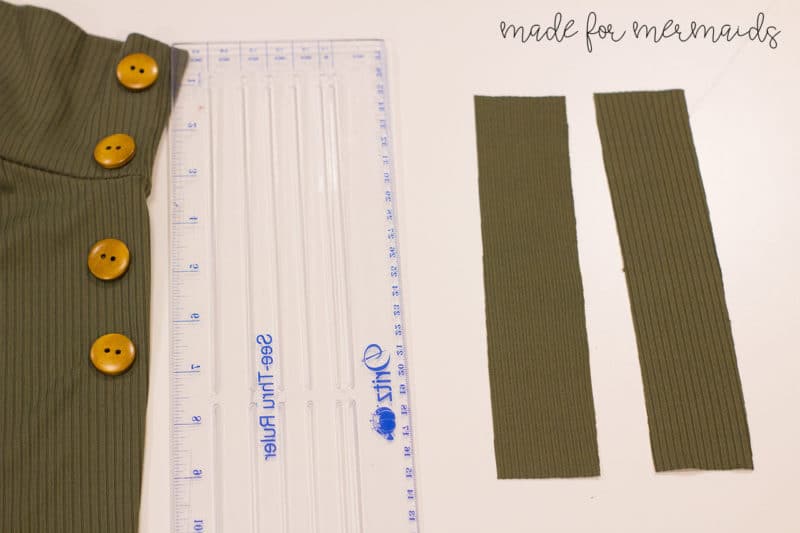
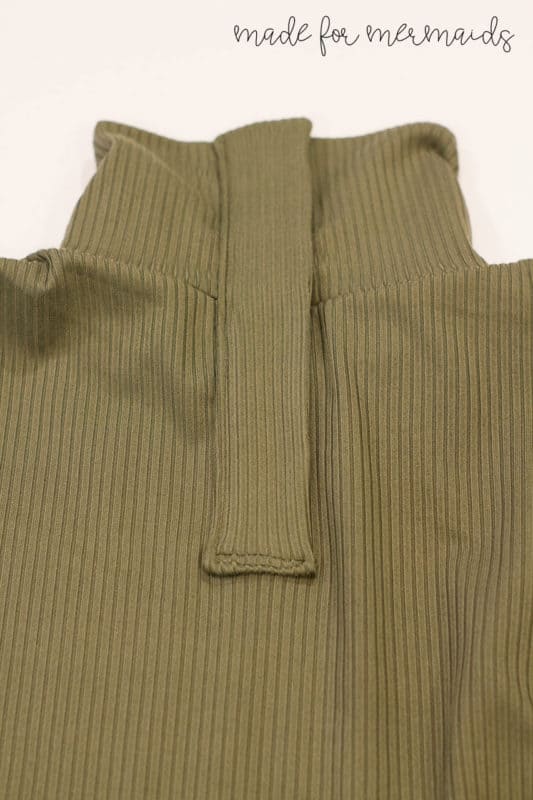
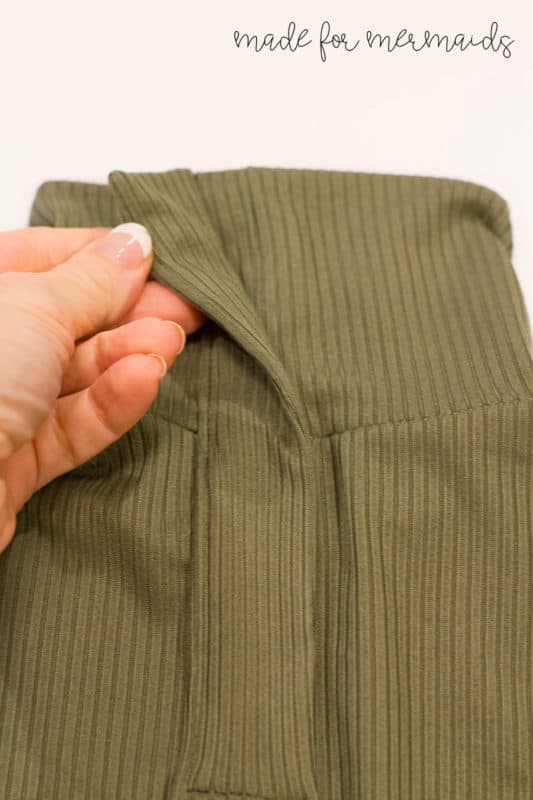
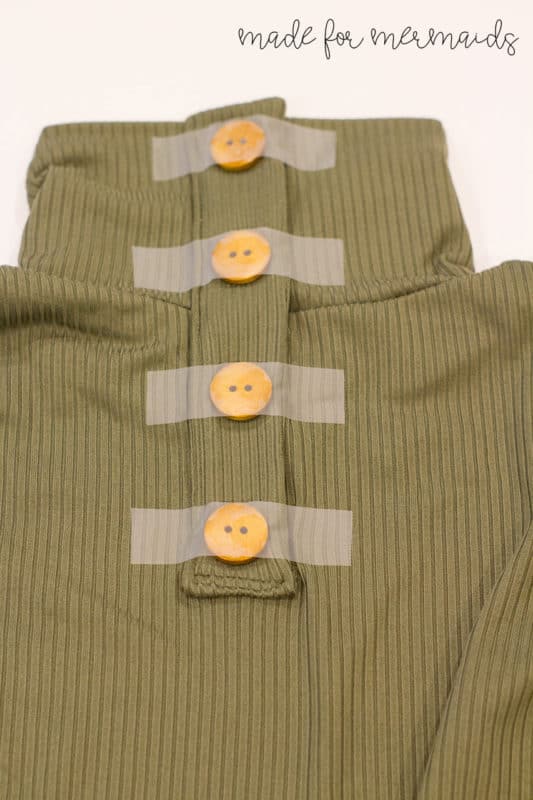
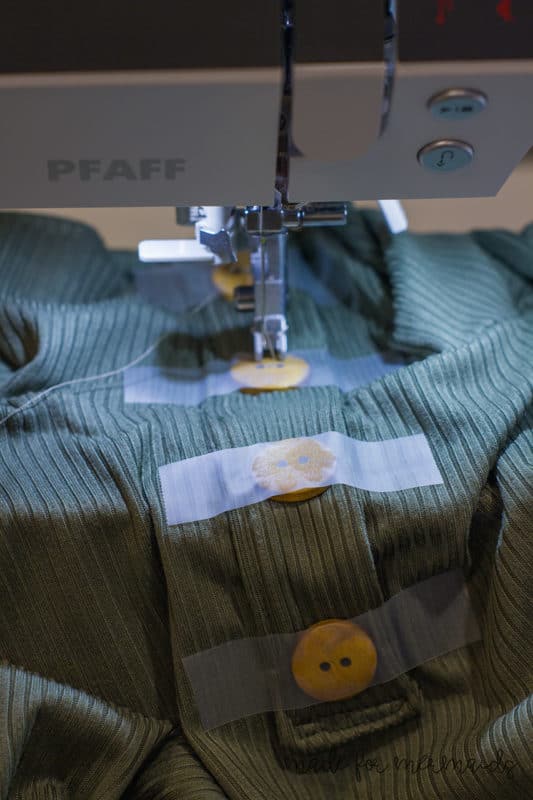
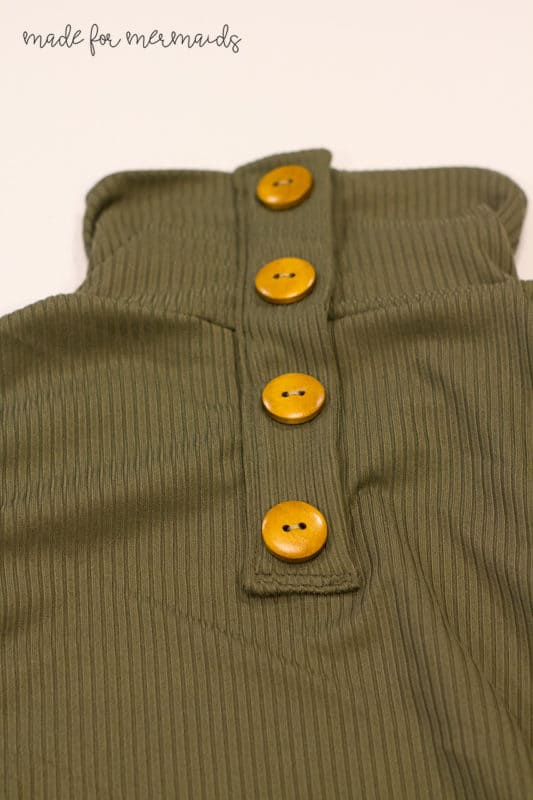
Step 5: Sew your placket on to your top using an edge stitch. Only sew down the left side of the placket and across the bottom edge you folded under and pressed. Once you are done sewing, it should appear that your placket will open. Now we will add the buttons.
Cold Shoulder Mash
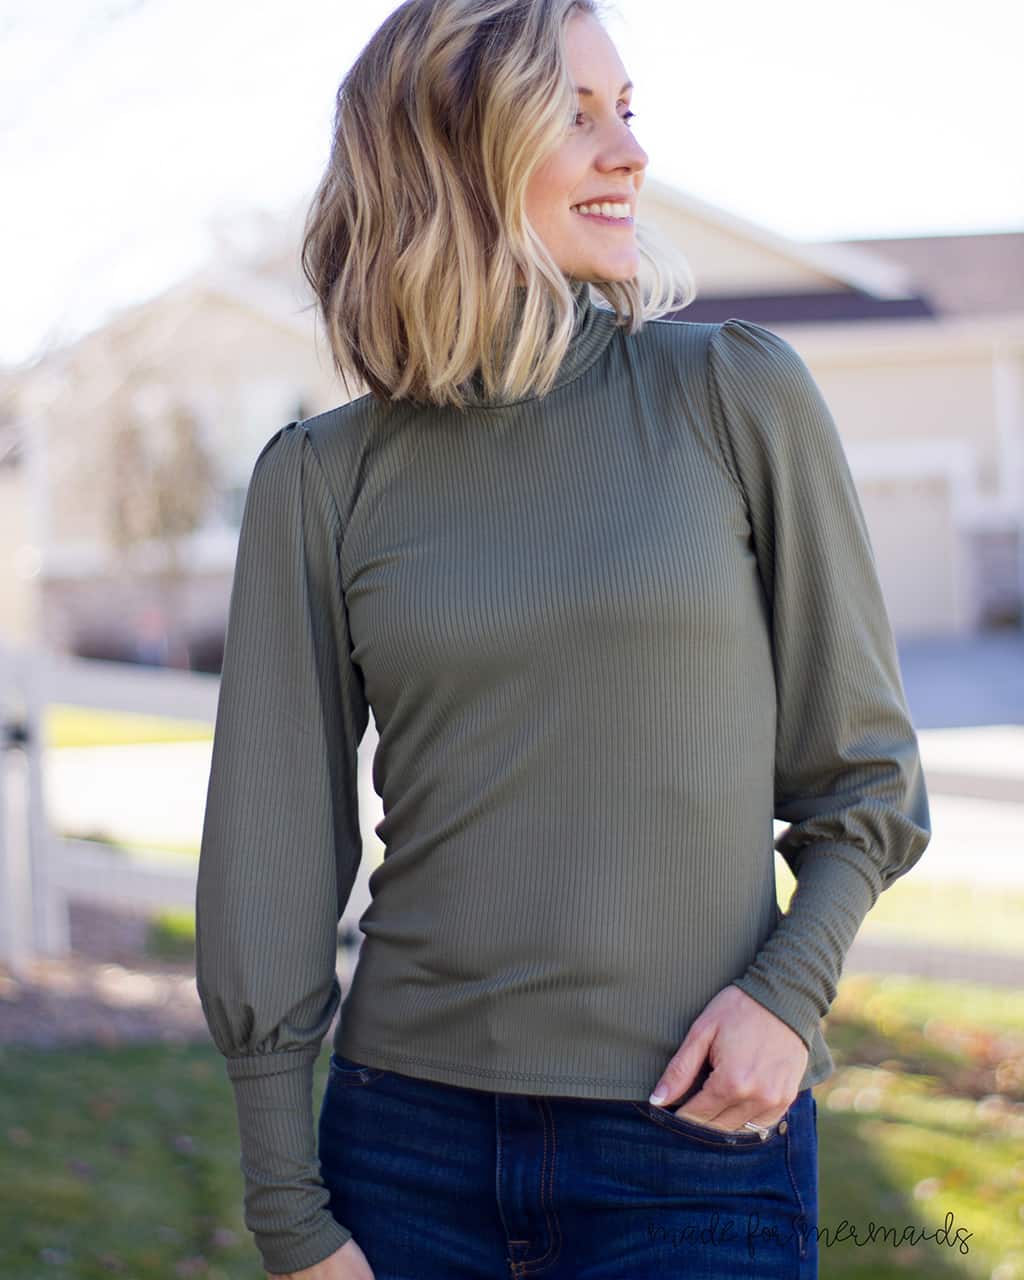
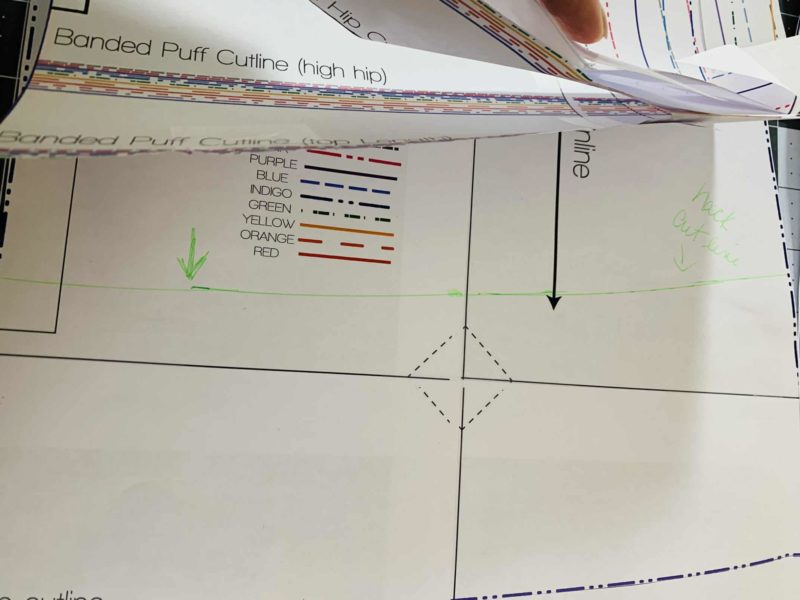
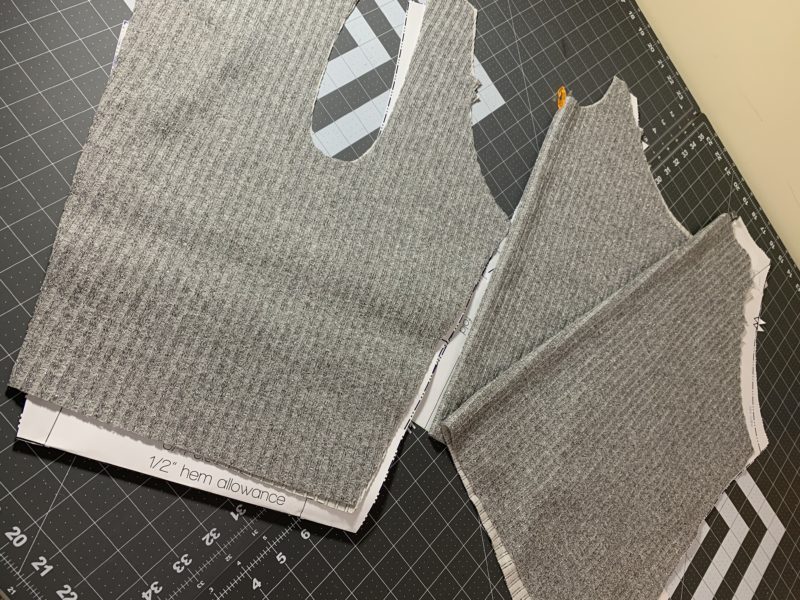
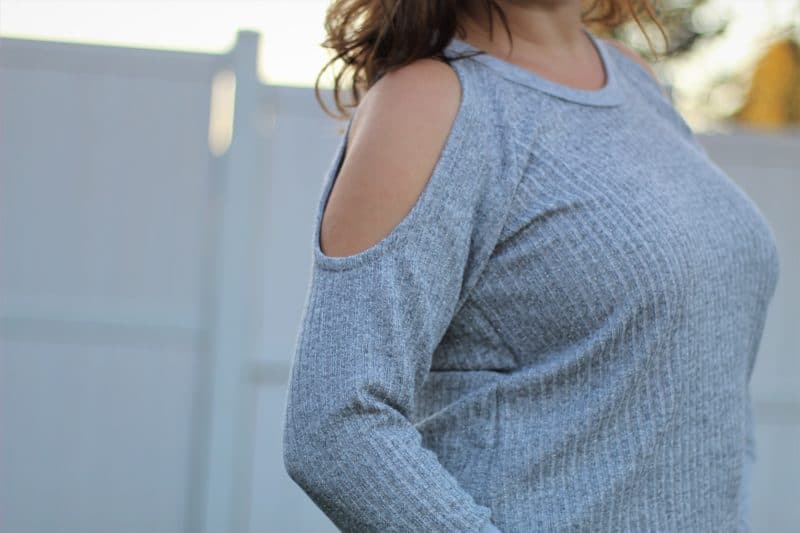
Pepper has a beautiful silhouette and full sleeve that we love. If you want to try a more fitted sleeve and a cold shoulder option for another trendy look this hack is easy. Grab your Fiona pattern for a great mashup. Decide the length you want for your top. Line up the 2 bodices and draw a hack line for the length. I went with the guideline of the lower banded puff cutline on Pepper to mark Fiona. Cut out your bodice pieces.
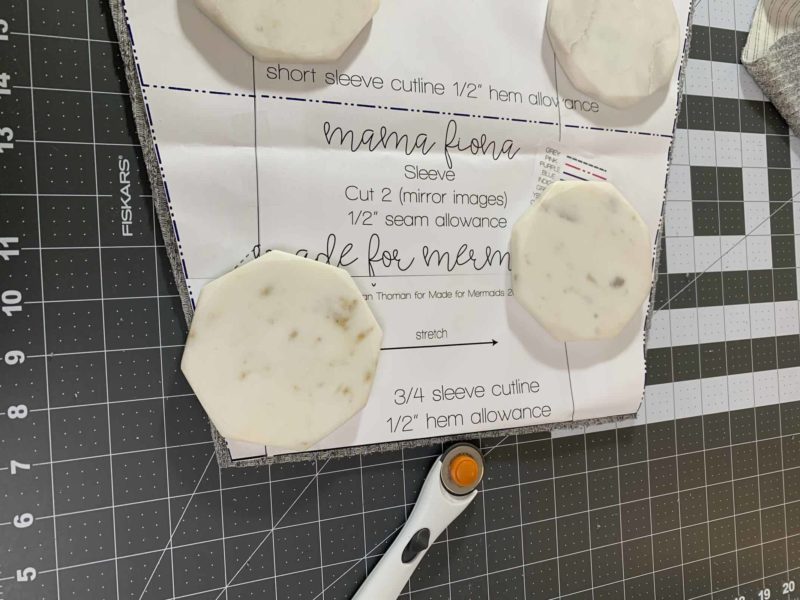
Next, cut out your Fiona sleeves by adjusting the sleeve length as you desire. I used the 3/4 sleeve cutline on Fiona to use with the long sleeve long cuff from Pepper to get the look.
Then cut your 3 Fiona binding pieces and pre-press those. This pre-press step is key to having a beautiful neckline. Follow the Fiona construction steps for the Bodice. *Almost done!*
Once your bodice is sewn & binding is on, add the Pepper high hip length hem band, long band for the nice wide band style. Your final step is to add the long sleeve long cuff bands from Pepper. I used a soft ribbed knit for bands & a sweater knit for the main body. *All done!*
Enjoy your new Pepper cold shoulder hack!
~Amy~
Sylvia Mash
Poofy sleeves are all the rage right now and I am obsessed with Pepper’s sleeves! I remembered saving an inspo back when I was testing Sylvia and when I saw Pepper I knew I was going to have to recreate the style. If you’re a fan of the look yourself, stick around and I’ll walk you through the adjustments I made to make your own.
Let’s grab our pattern pieces. From Pepper, you’ll need the front and back bodice (because we’ll be changing the armscye of our Sylvia pattern) along with your preferred sleeve and cuff length pieces. From Sylvia, you’ll need the front bodice, front skirt, and back bodice. So we’ll start by adjusting the armscye.
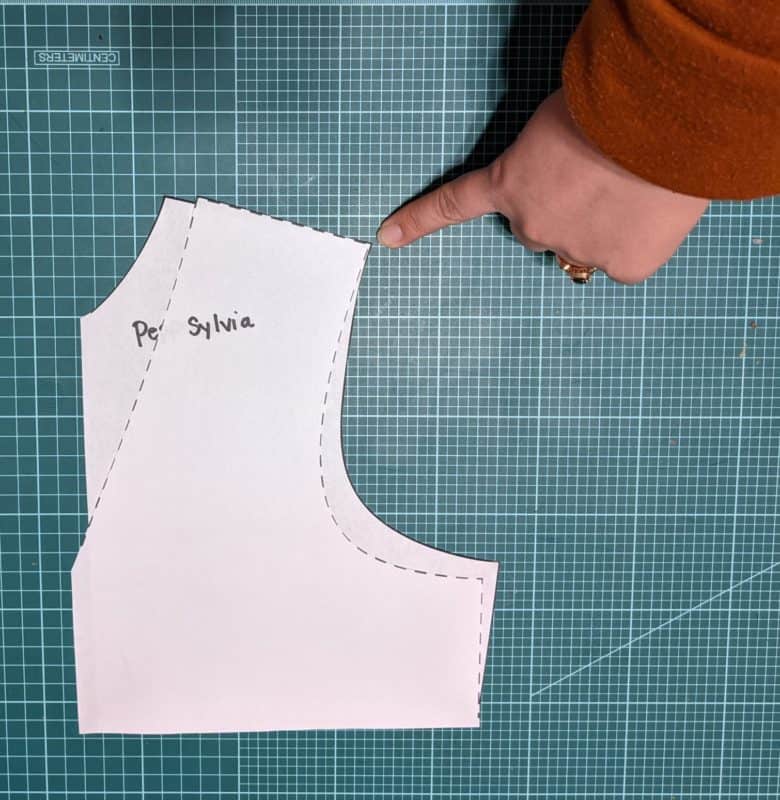
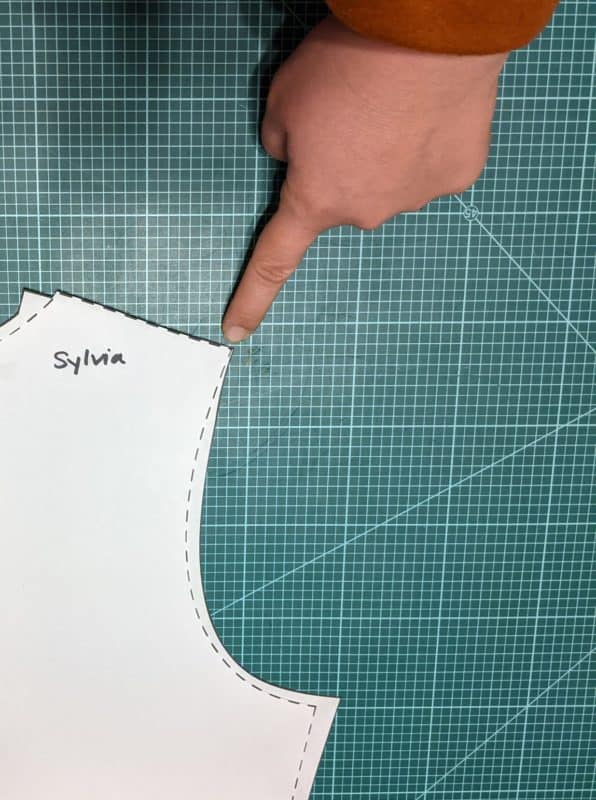
To do this, line the front bodice armscyes of both patterns up at the top point of the armscye then transfer the Pepper’s armscye to the Sylvia bodice piece. Note: Be sure to keep the grainlines on your patterns parallel when lining everything up.
Repeat with back bodice armscyes. Then cut out all of your remaining pattern pieces.
Following the Sylvia tutorial, start constructing the bodice. When you get to the point of sewing the sleeves, you’ll switch to the Pepper tutorial and follow the steps for the sleeve preference you chose. Stitch those side seams closed, hem and you’re done! Hope you love it as much as I do! Don’t forget to share the love in the group. I’d love to see your Pepper/Sylvia mashes!
Happy happy sewing!
Christina
Adeline Mash
Need a super quick and easy mash? Wishing the youth version had a skirted option? Tara mashed the Pepper with Adeline, and it’s just perfection!! She used the vintage length Adeline skirt, and added a ruffle neckline instead of the mock neck Pepper neckline. Just be sure to check your Pepper bodice against the Adeline bodice, in case you need to adjust length or width. 🙂
Don’t forget to share your Pepper makes with us over on FB and on Insta! We love, love, love to see what you’ve made! Happy sewing 🙂

















Leave a Reply