Sewing for Dolly 101
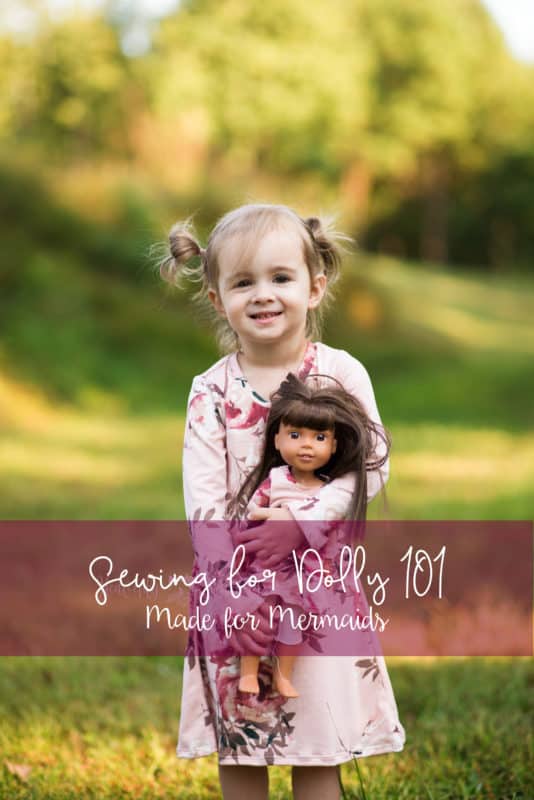
Today we released TEN new dolly patterns to match some of our most popular girls’ patterns! Now yours girls can match their dolls in Ella, Vivienne, Sommer, Daphne, Mya, Nina, Cora, Charlotte, Ainsley and Kourtney! All patterns are available in 3 sizes – 14″, 15″ and 18″. Sewing for dolls is a little different from sewing for girls, so here a little 101 lesson, with my top 5 tips for sewing with these small pieces!
Tip #1: Cut carefully.
This is Tip #1 because it’s the most important tip. I can’t stress this one enough. On bigger sizes, cutting quickly and ending up with an extra 1/8″ on the side here or there doesn’t really amount to much, but if your piece is cut on the fold and you end up with an 1/8″ on each side, that leaves you with and extra 1/4″ on a 2-4″ wide piece. That 1/4″ can make a big difference as far as fit! I highly recommend purchasing some 28mm rotary cutters. They’re more inexpensive than larger size rotary cutters, and they will make cutting these dolly pieces so much easier! (I went through 9 out of 10 tests before I purchased these, and I wish I would have purchased them at the very beginning!)

Tip #2: Your sewing machine is your best friend.
I know we all like to use our sergers for knit construction, but these seam allowances are only 1/4″. It’s easy to get going too fast on a serger, make a mistake, and take too little or too much of a seam allowance. (Remember how I said that 1/8″ makes a huge difference in cutting? Same thing applies here). We saw over and over again in testing that a neckline even 1/4″ lower made a tremendous difference in the look of the final garment. Particularly when it comes to bands, using your sewing machine is so important. I suggest stitching on all neckbands, armbands, and elastic with a zig-zag stitch on your sewing machine before finishing with your serger, if desired. It’s just easier to be more precise on a sewing machine.
Tip #3: Smaller is not always faster.
Real talk here. Even though dolly clothes are smaller, the pieces are TINY. Sometimes this equates to more tedious work on your way to your finished product. Don’t get discouraged if sewing the doll clothes takes you a little more time than the girls’ version did. You’ll be so proud of your finished product at the end, and of course your little girls’ will adore all the tiny things you make for their dolls!
Tip #4: Save those scraps!
I know I’m terrible about saving scraps. I end up with a small 10″x12″ piece and put it in a bin never to be seen again. But now you’ll have something to use those scraps for! All of our dolly patterns can be made with the leftovers from your daughters’ outfits! She’ll love dressing exactly like her doll!
Tip #5: Follow the tutorial closely.
It seems obvious, but for those of us that have been sewing a little longer, it’s easy to just get going on a project without looking at the tutorial. Some of the dolly patterns are constructed a little differently than their corresponding girls’ version, for various reasons. Most bands are not attached in the round, just because it’s much easier to attach a 1/2″ wide band flat, than it is to do so in the round. For some of the patterns, the construction methods used in the girls’ patterns would have been too tedious in the doll versions. And for others, the pieces were simply to small to allow for the exact same construction methods. So read that tutorial. If you get lost, don’t worry, we have an amazing and supportive Facebook group. Just post there, and one of us will be there to help you along the way!
Also, if you have older girls who are more independent with dressing their dolls, be sure to check out Angela’s blog post on how to remove velcro from some of the patterns here. We’re so excited about this release and we can’t wait to see what you sew up! Don’t forget to read all about our “All Dolled Up” contest going on this week here.

❤️❤️❤️ Awesome