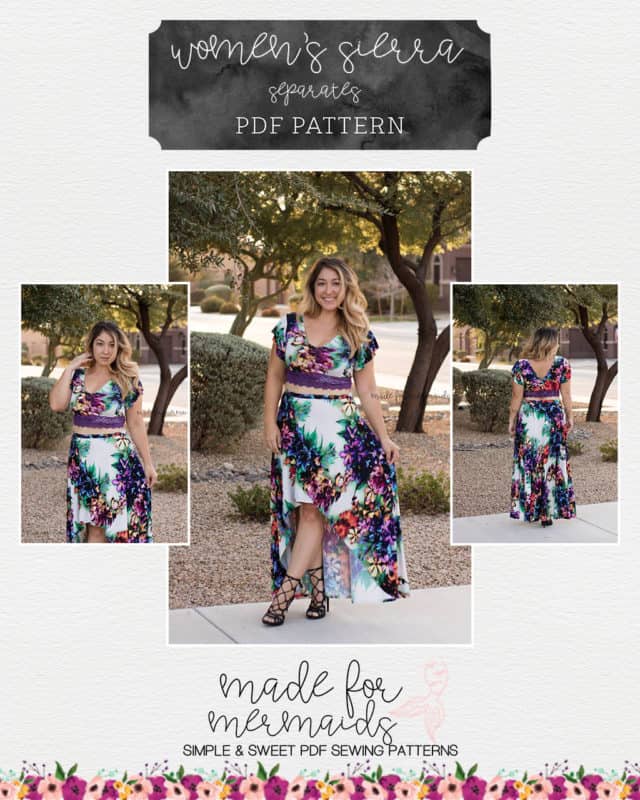
Sierra and the Women’s Sierra are trendy romper and dress patterns with lots of options! The Sierra bodice features a flattering v-neck in the front and back, optional side cut-outs or open back, and either tank style or flutter sleeves. Hem lines include romper inseam, a peplum top, mini dress, maxi dress, or a dramatic high-low maxi dress. Perfect for spring and summer as is, or you can easily pair with tights and layering pieces to be ready for the colder months!
Not only do we have some great hacks for you below, but Sierra and Women’s Sierra are also going to be our official M4M & P4P Sew-a-Long for September! We have a few more hacks planned for the SAL that we think you are going to LOVE. If you’re not in the group already, make sure you join before September 10th!
Removed Center Seam
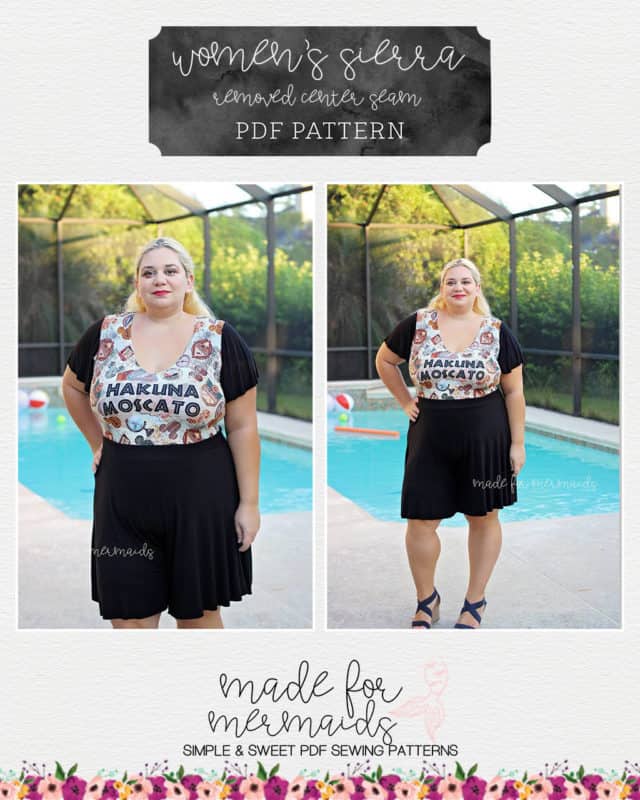
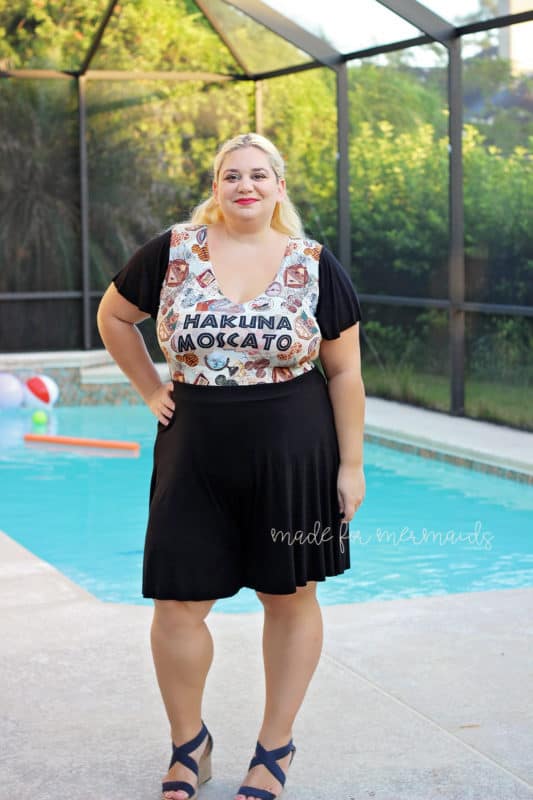
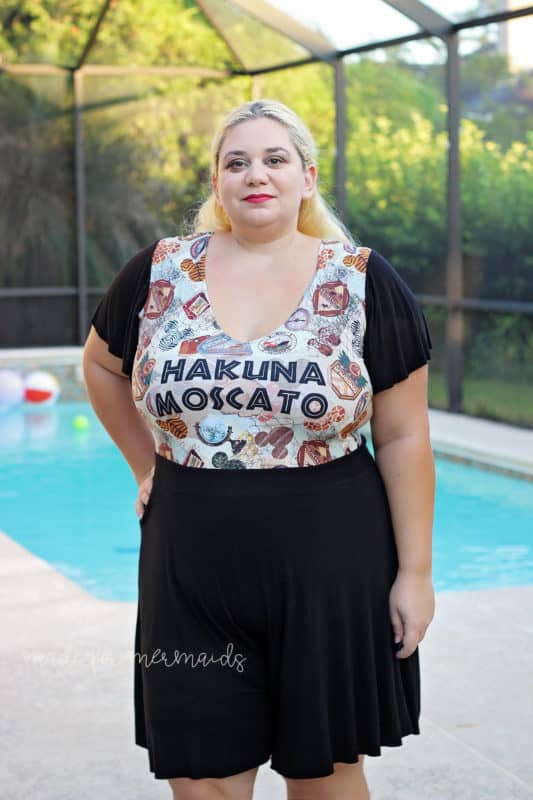
The new Sierra pattern features a center seam on both front and back bodice, which makes it perfect to save fabric or get some cool pattern placements. But what about if you have a panel (or two) and you do not want to have the center seam? Well, that happened to me when I was making myself a Sierra romper to wear to Animal Kingdom. So, I made a very easy hack to the bodice pieces and I wanted to share the “how to” with you as well.
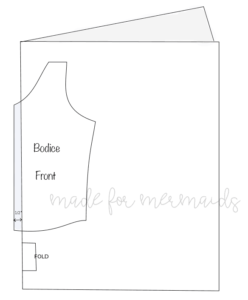
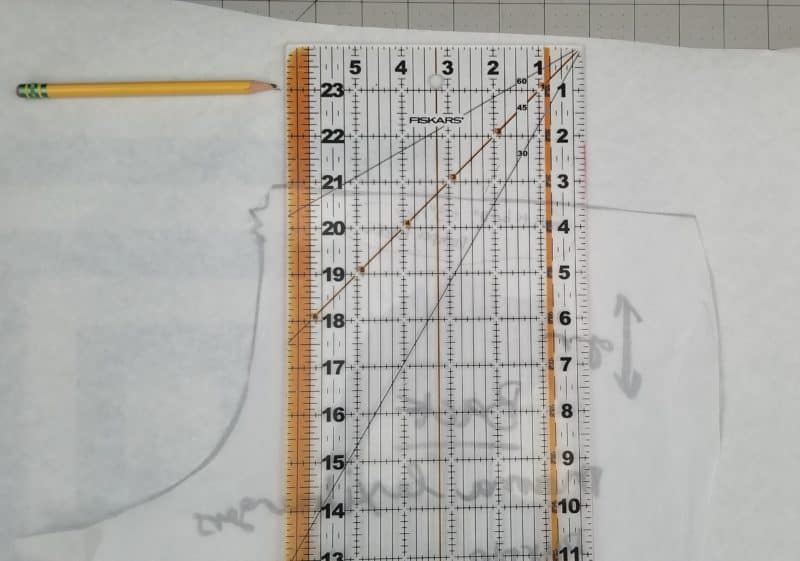
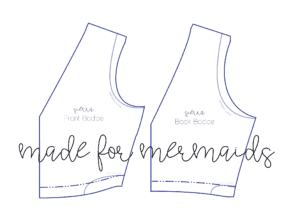
My version is the 8″ unhemmed romper, but you can certainly use this simple hack for the other options too. Simply fold your fabric along the grain, and place your front bodice piece so that 1/2″ of the paper pattern piece hangs over the fold of the fabric, as shown in the graphic below.
Cut 2 pieces for the front bodice – one of the main fabric, and one of the lining. Repeat the process with the back bodice. You will now have 4 pieces (cut on fold) for the bodice, as opposed to 8 as there are in the pattern. Skip the step in the tutorial that requires you to sew the center seam. Continue sewing as instructed! Ta-da! You have a brand new option for the Sierra Romper/Dress that will allow you to use your favorite panels for the bodice. – Alex
Sierra + Lexi Mash
Hey Mermaids! How cute is this new Sierra?! Perfect, right? The only thing to take it up a notch would be adding pants! Autumn is near, at least that’s what I’m telling myself these days to make it through these last summer days! I added Lexi Loungers with the jogger option to my Sierra bodice and it turned out super cute, and with very minimal modifications! Aaronica also added jogger legs to her nursing hack, and it turned out amazing too!
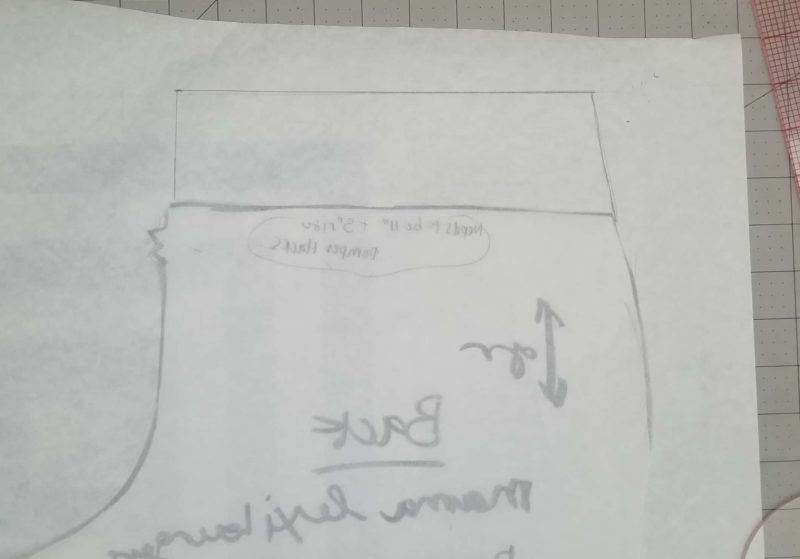
You will need your Sierra bodice, completed up to the point where you would attach the skirt/romper shorts. You will also need your Lexi pieces (cuffs, legs) minus the waistband. Take your Lexi joggers leg pattern pieces and lay them out. I added to the rise initially, but found it was not needed. This is where you might need to play with it to figure out whether you will need to add to the rise to accommodate your hips/rear end. For example, Aaronica added 2 inches to her rise and had great results! It is very easy to remove the rise you add, so I am suggesting to add 0-2 inches to the rise to begin. To add to the rise, take your legs pieces and find the highest point. Now, take your ruler and measure up the desired amount and draw a line from that point straight across the entire width of the pants piece.
Follow the curves of both the outer leg and crotch up to the line you drew. This is now your new leg pattern piece.
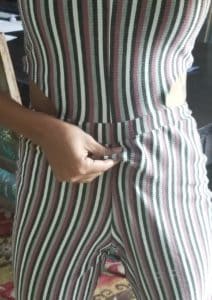
Now, sew your legs as you would if you were making the pants per the tutorial, up until you get to the point where the waistband would be attached. The Sierra waistband is now acting as the pants waistband. If your pants are wider than the band can accommodate, you have 2 options: You can do two pleats, one at the top of each back leg piece. Or, you can gather the entire top edge of the pants to match the waistband (the pleats will look more professional). Baste the pants to the bodice. *I do not recommend using your serger just yet.* Try the garment on to see if that added rise was needed. If the crotch hangs down and is baggy, it was not likely needed. You will be able to see approximately how much needs to be removed. In the (awkward) photo below, I have 2 inches added to the rise. To get the crotch up where it feels comfortable, I have pinched the amount that would need to be removed.
If the added rise is not needed, remove the basting stitches and remove what is needed from the rise and reattach. When you get the desired fit, you may serge your band on to finish. Follow the Sierra tutorial for attaching the romper bodice to the Lexi pants! – Stephanie
Sierra Separates
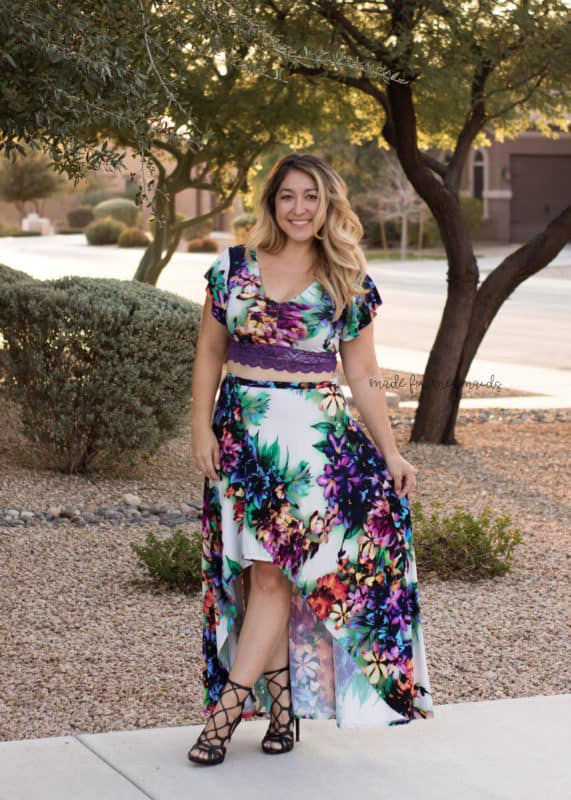
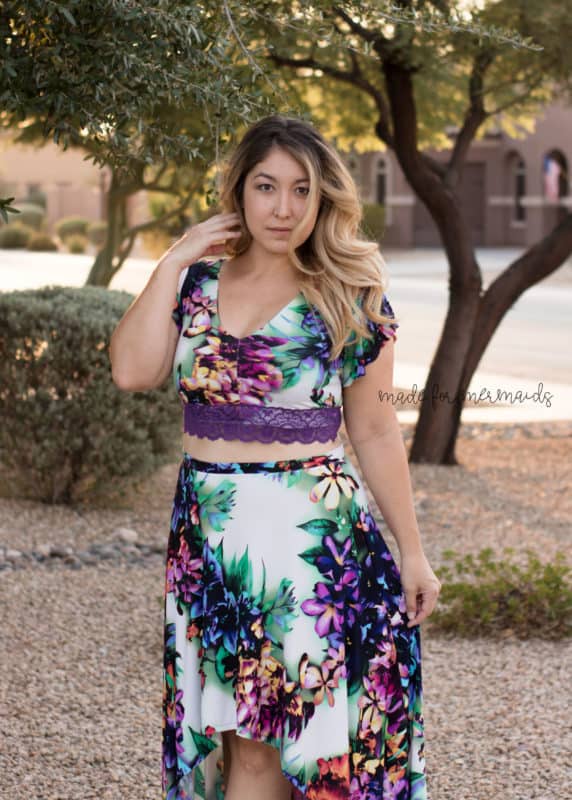
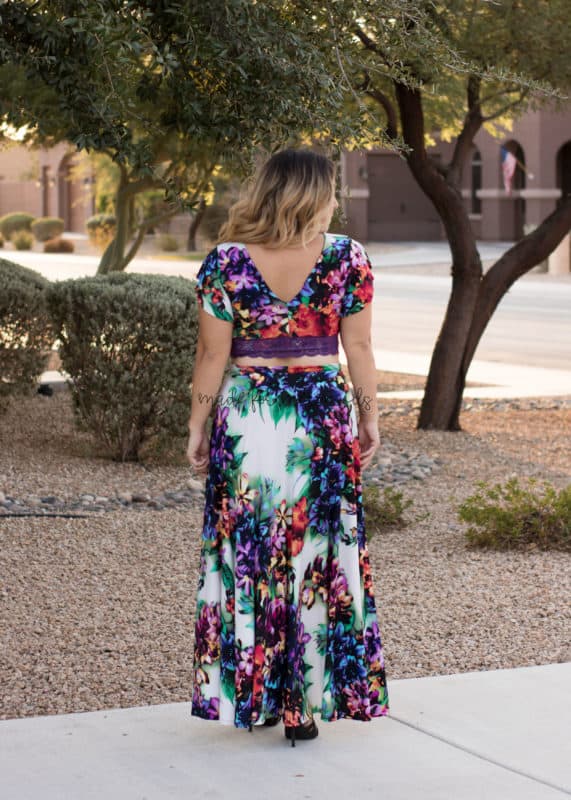
Maybe you’re not a fan of a dress and want to break it up a little. Sierra is the perfect base to create a gorgeous crop and skirt separates combo.
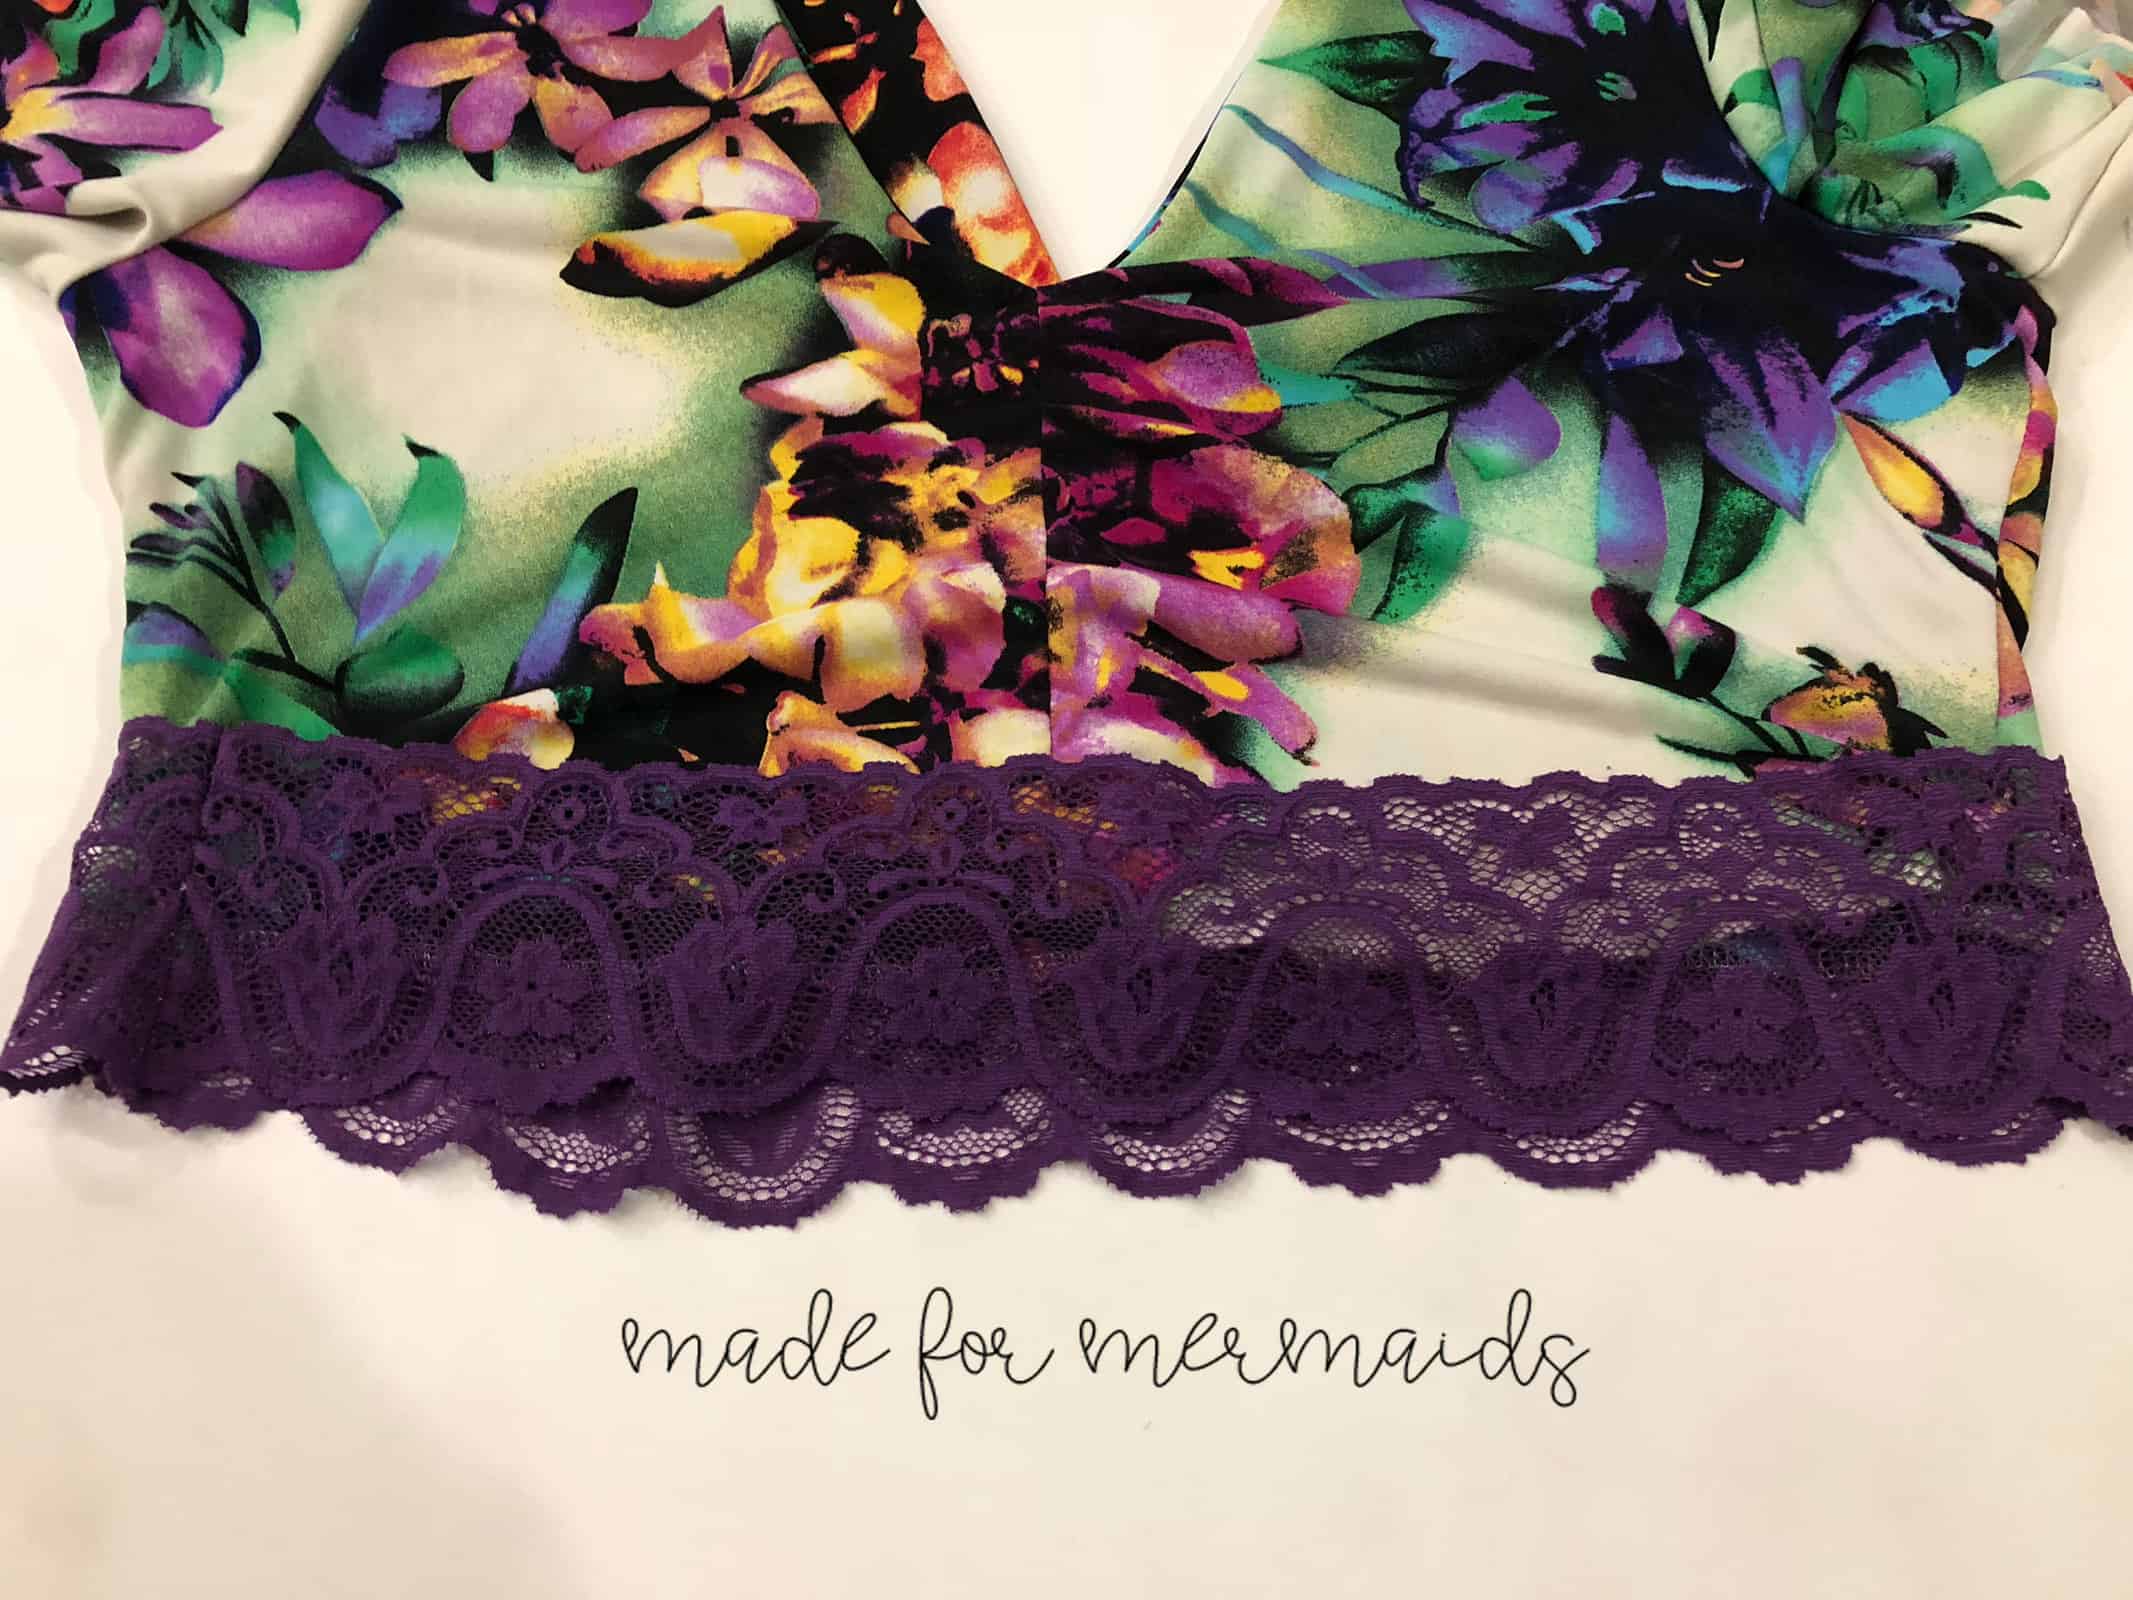
As is, the pattern is designed to hit at the natural waist (with the waistband), so you can use the existing length of the bodice if you prefer. I knew I wanted to accent it with the lace edge, so I used the cutout lines as a guide as to how short I wanted the bodice. Don’t forget to add a hem allowance if you are going to hem the bottom edge. I did not add one here, as the lace overlay would cover it.
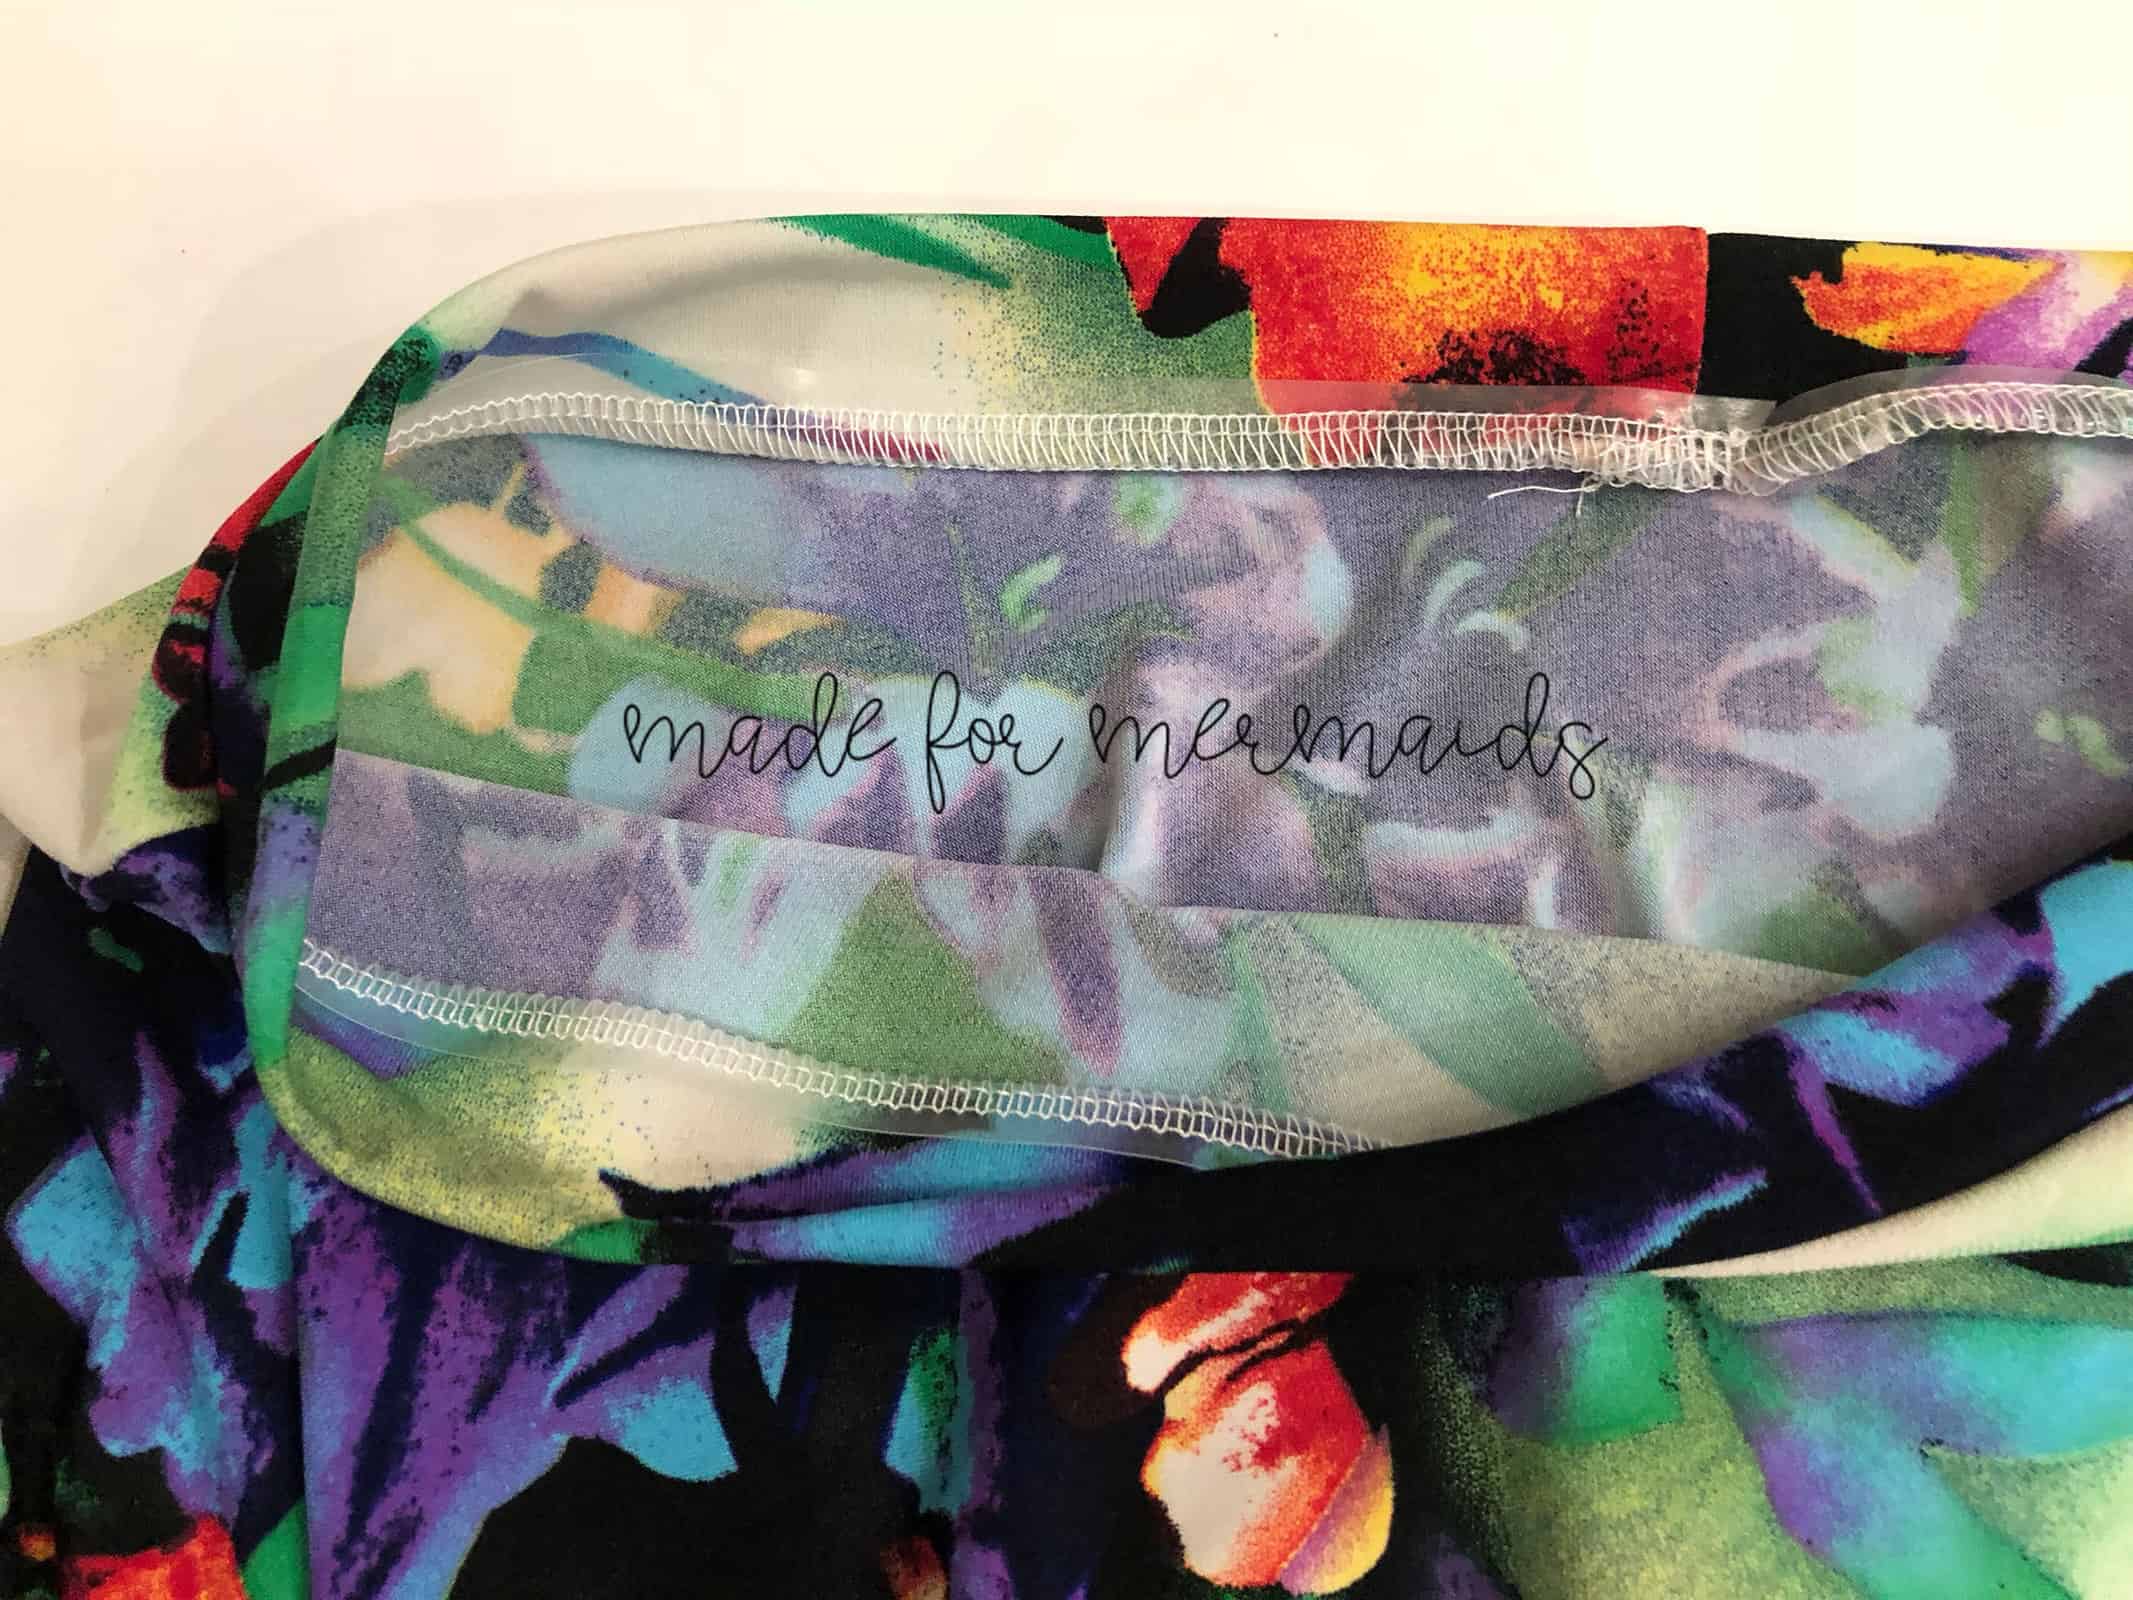
Construct your bodice as shown in the pattern instructions but skip adding the waistband. Instead, you can either hem the bottom edge or add trim. I serged the bottom raw edge of the bodice and lining together before adding the lace trim overlay.
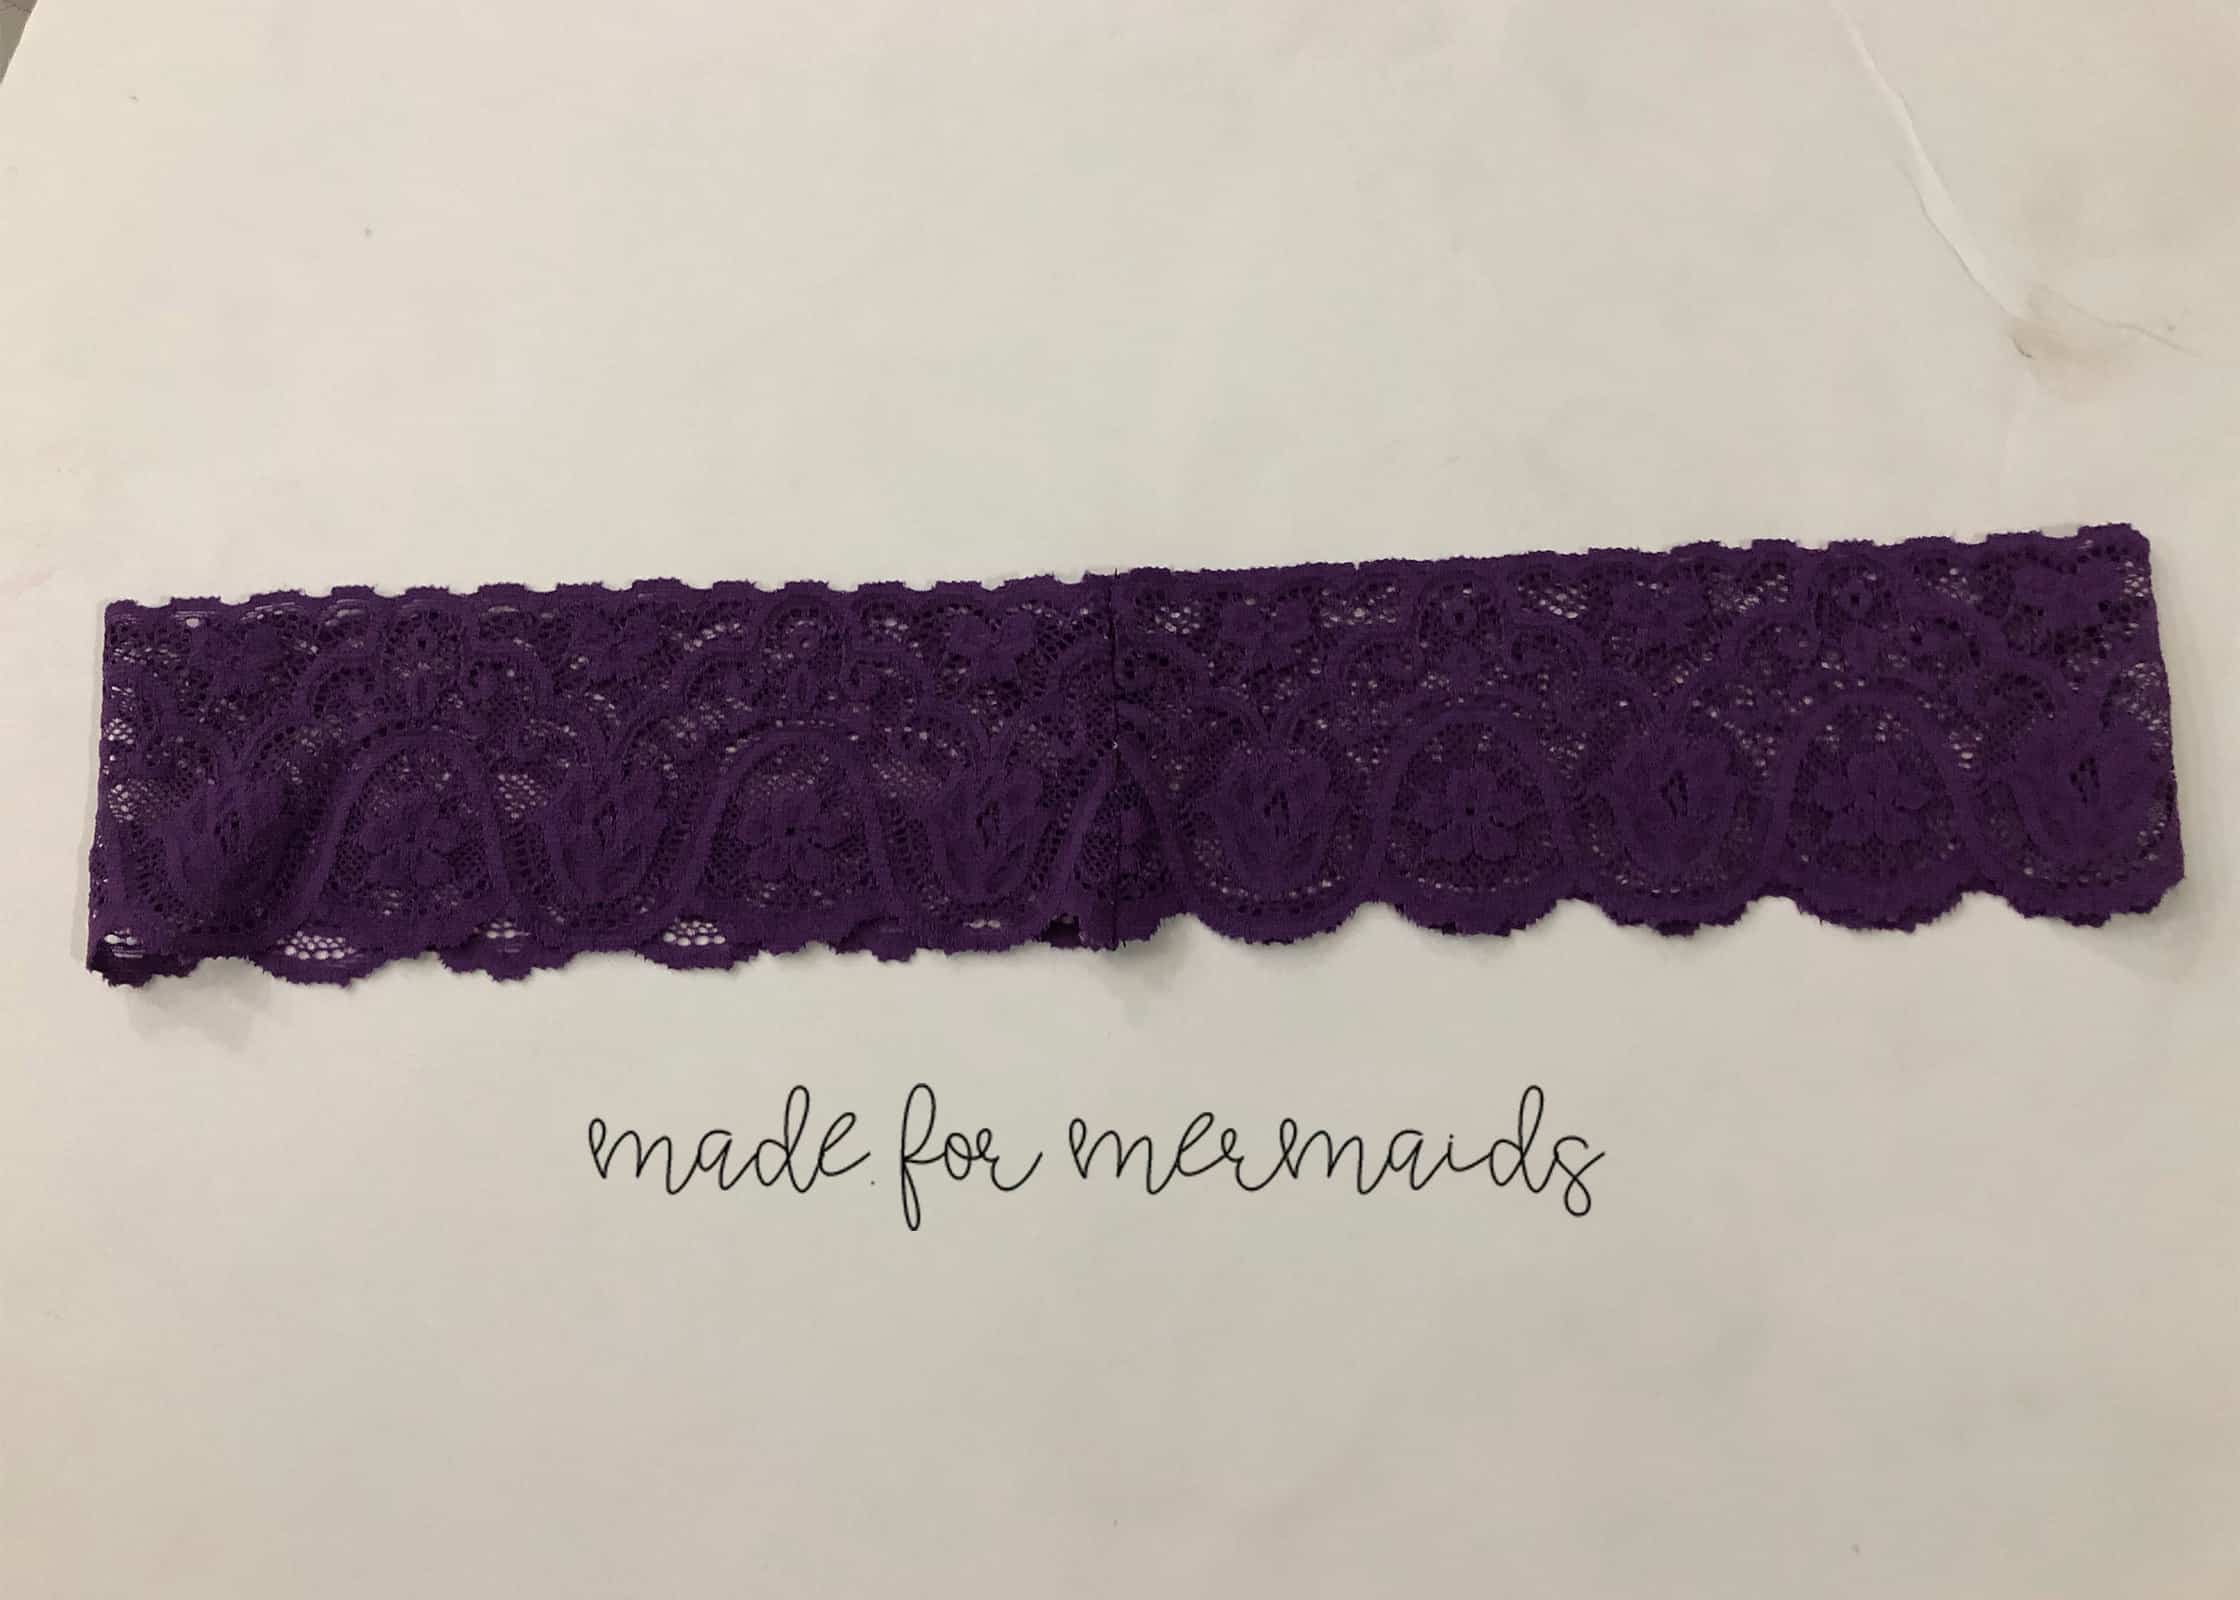
- With right sides together, stitch short ends, creating a circle.
- With wrong side of lace to the right side of the, slip lace band on bodice.
- Using your favorite stretch stitch, top-stitch lace to bodice.
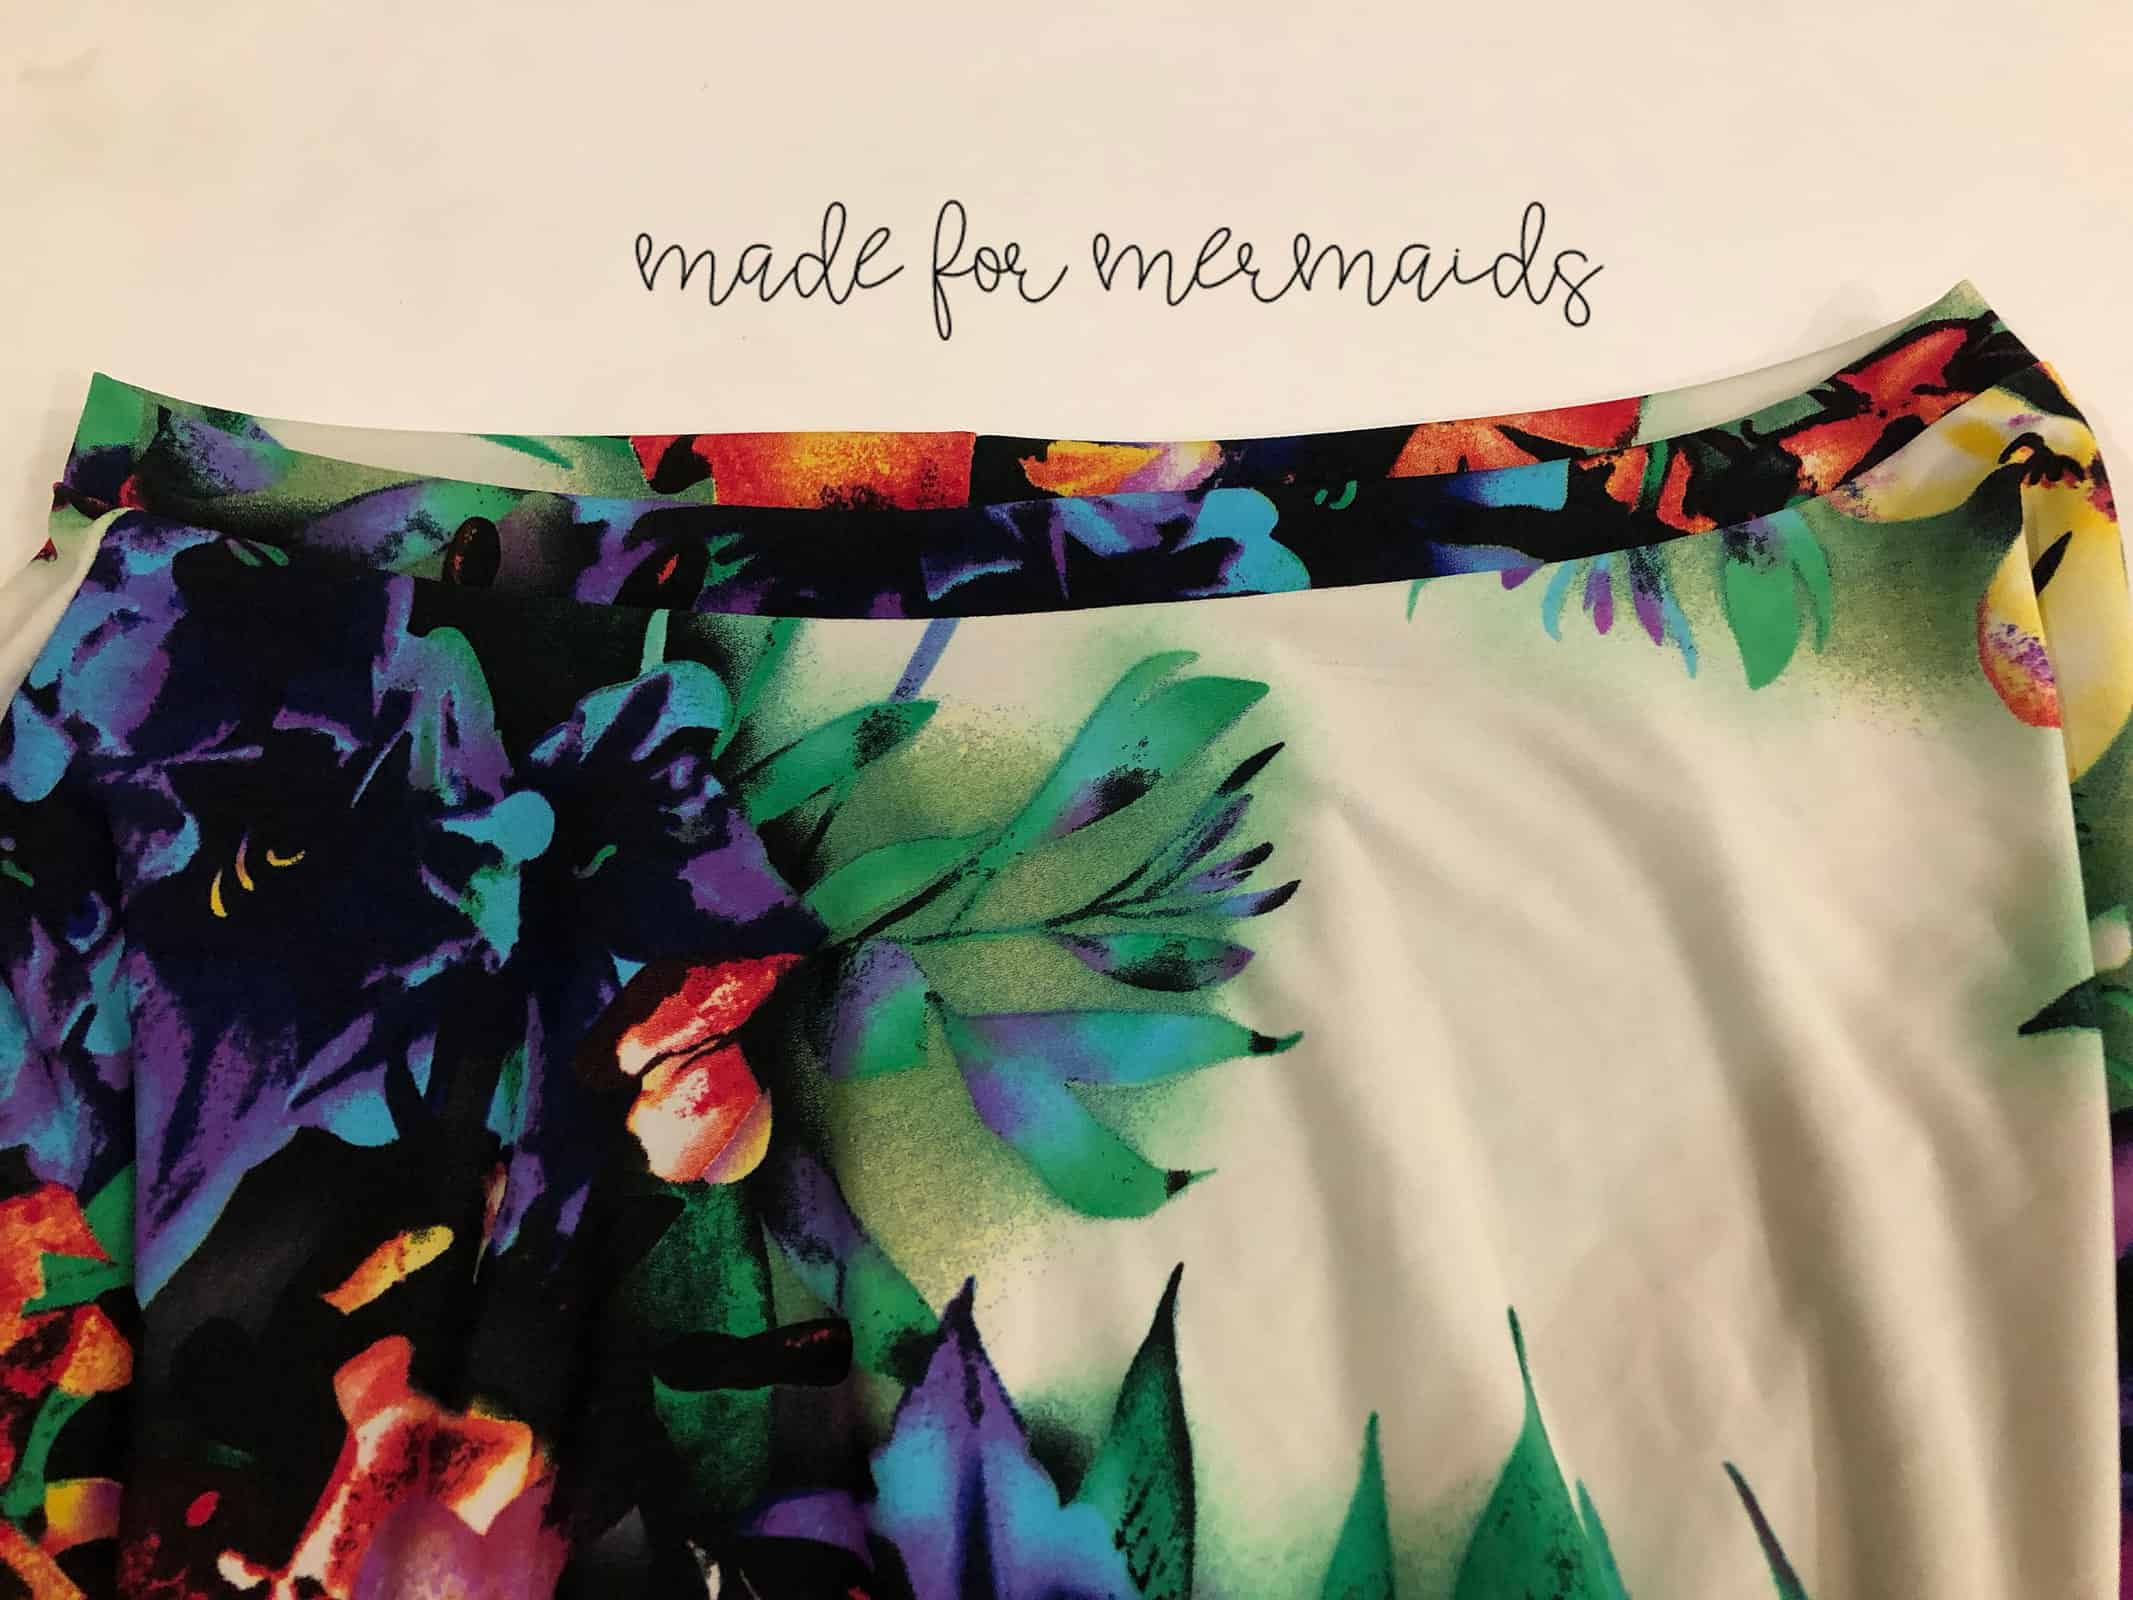
For the skirt, construct the front and back at the side seams as per the pattern instructions and cut 1 waistband. Use the existing waistband pattern piece but cut it 2.75″ tall.
- With right sides together, stitch short ends creating a circle. Fold wrong sides together, then press.
- Mark quarter points on waistband and skirt. With right sides together and matching quarter points, slip waistband inside skirt.
- Stitch. For extra stability, stitch clear elastic into the seam.
- Press seam allowance toward skirt.
I also had a make it work moment. I squeezed this out of a 3 yard cut, so I ended up having to shorten my sleeve every so slightly. I adjusted the length of the flutter which shortened it at the shoulder a tiny bit and giving it more a cap vs full length sleeve.
Nursing/Bodice Zipper
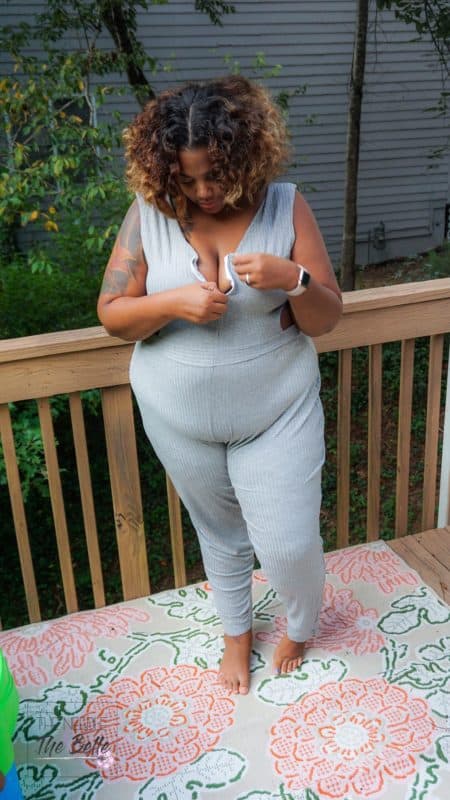
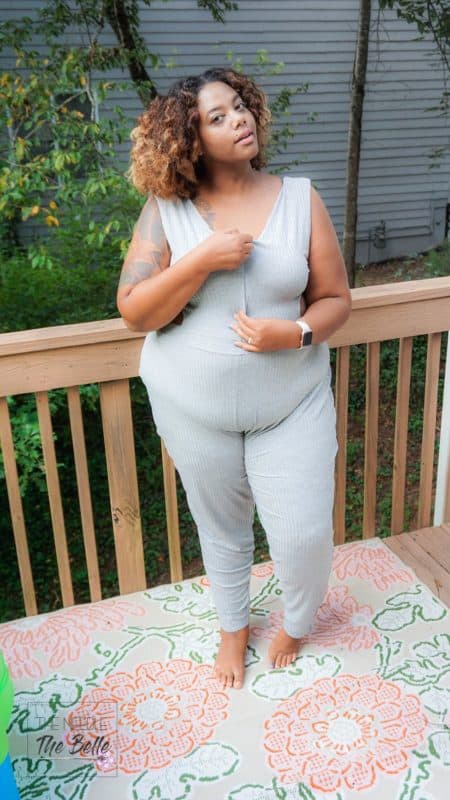
Hey friends! Now you know we had to do a nursing hack for this new Sierra romper and dress. Just because we’re out here nursing the babies doesn’t mean we can’t be cute while we’re at it!
For this hack, you do need a few extra materials:
- 7-9″ invisible zipper
- invisible zipper foot (optional)
- fusible interfacing (if you opt to use this, attach to the wrong side of the main bodice center seam edges, where you will be attaching the zipper)
And then of course, your Women’s Sierra Pattern and fabric.
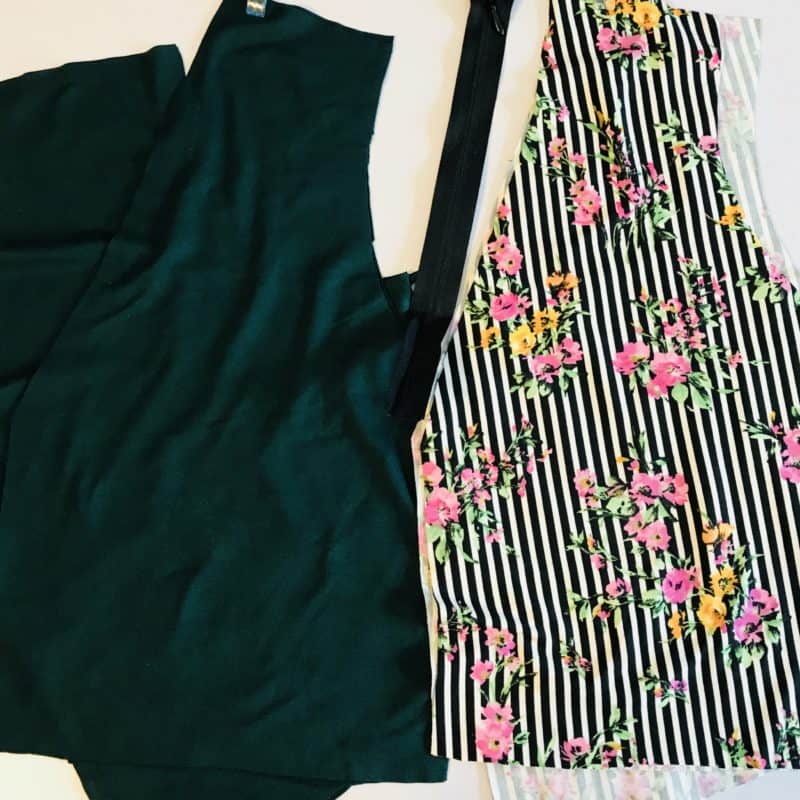
First, cut all of your pieces per the pattern tutorial. Serge the center seams of your back pieces ONLY. Set those aside for just a bit. Next, you will need your front bodice pieces (both main and lining) as well as your zipper. I needed to shorten my zipper some; refer to the directions included on your specific zipper for how to shorten yours if needed.
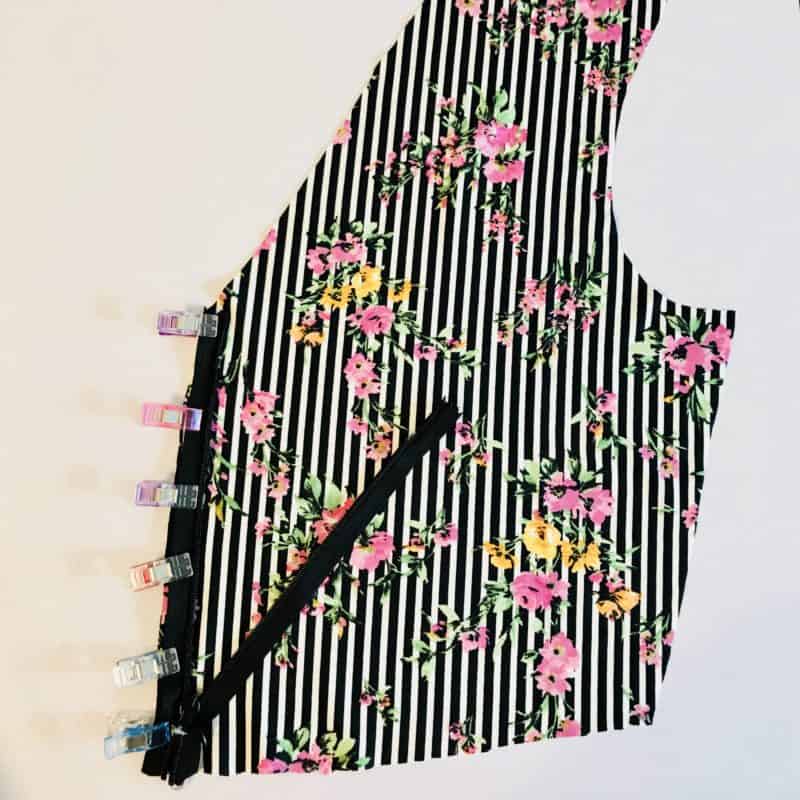
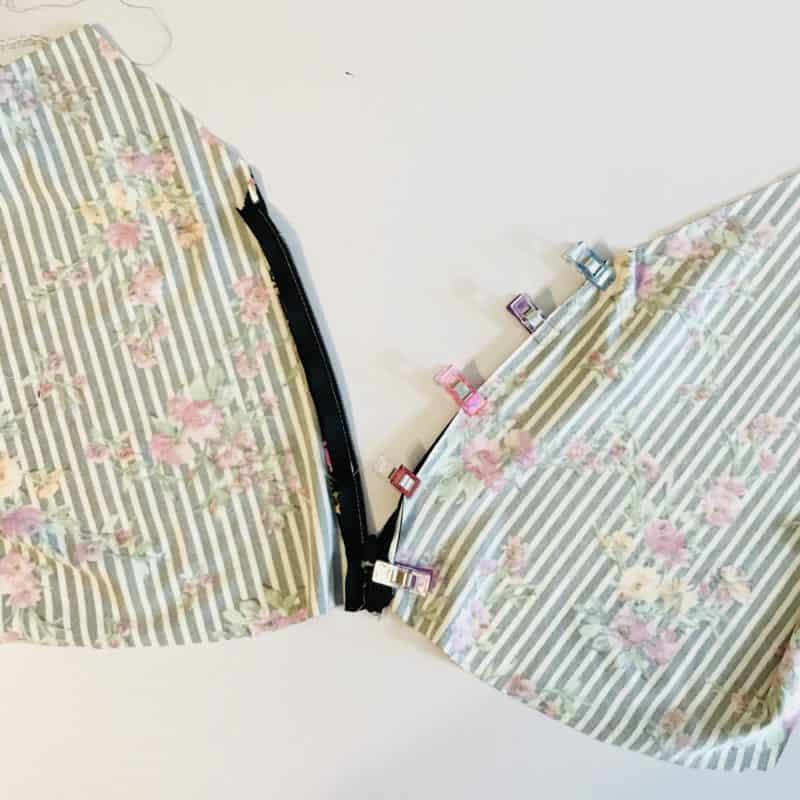
Pin or clip the left main bodice to the left side of the unzipped zipper, with right sides together. If you are using a regular sewing machine foot or a regular zipper foot, stitch as close to the coils as you can without catching any of the coils in your stitching. If you look closely, you will see a line on the zipper tape that makes a great stitching guide. You may wish to baste first, so you can easily make sure you haven’t stitched too close/make sure your zipper doesn’t get caught. Repeat this step with the right-hand side of your main bodice and zipper.
- cut all bodice pieces
- serge center seams for back pieces ONLY
- stitch left side of zipper to left main bodice, w/ right sides together
- repeat for right-hand side
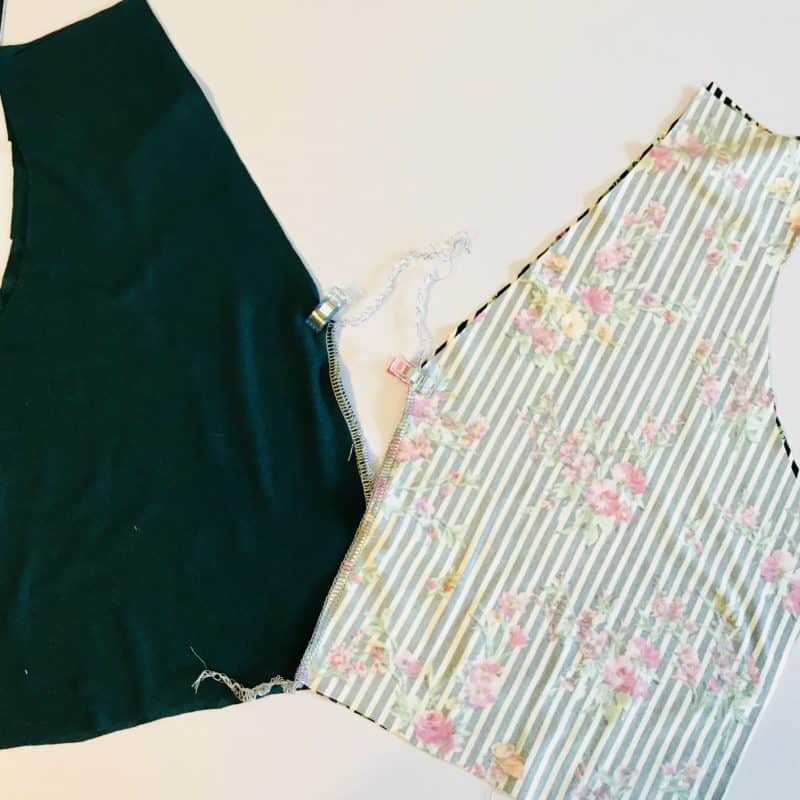
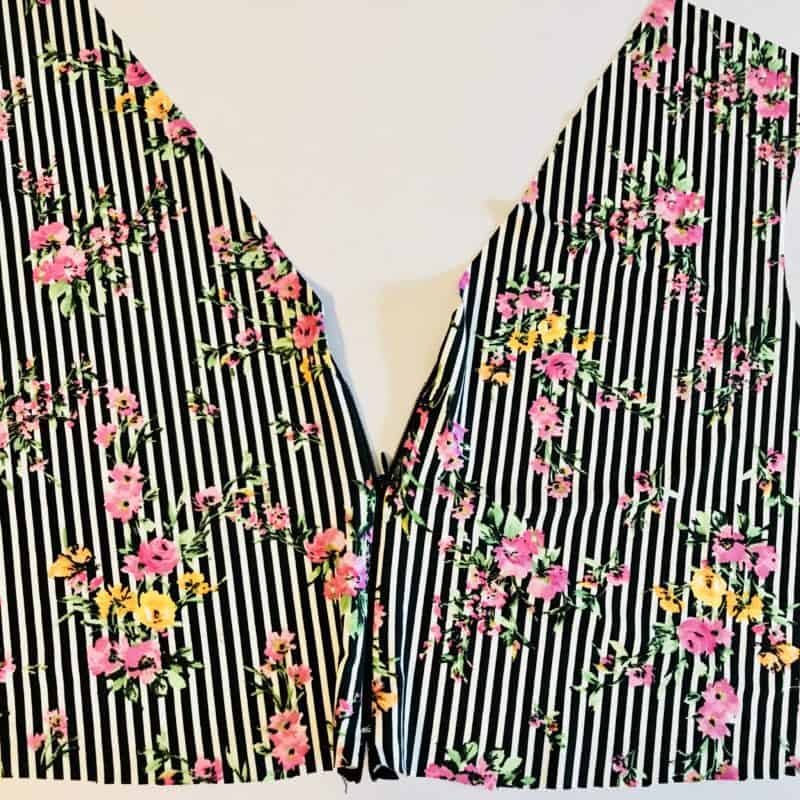
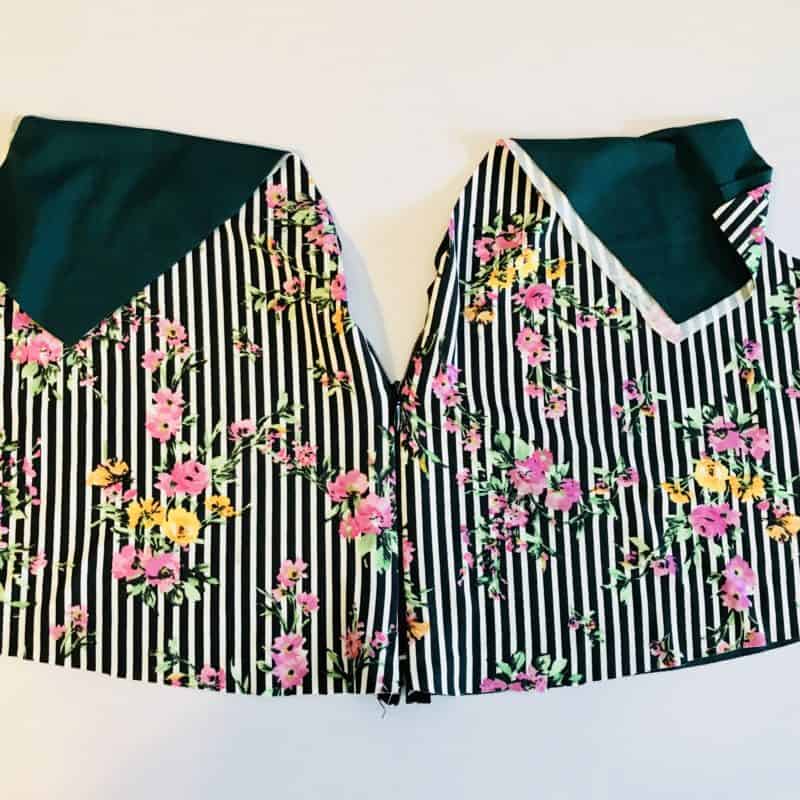
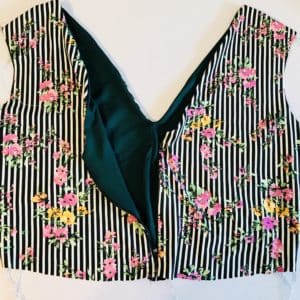
After your zipper is attached to your main front bodice, you will need to attach your lining. Now is a great time to test your zipper if you haven’t already checked it. To attach the front bodice lining, you will clip the right side of the bodice lining to the right side of the main bodice, with the zipper sandwiched in between. Stitch together. Repeat on the opposite side. Once you’ve attached both lining pieces, your front bodice will have a completed “center seam”. Attach front main bodice to back main bodice at the shoulder, per the Sierra tutorial, then repeat for front lining bodice and back lining bodice. Just be careful so your pieces don’t get twisted!
- check zipper
- attach lining to main bodice w/ right sides together & zipper sandiwched in between
- repeat for opposite side of front bodice
- attach front main to back main, and front lining to back lining per Sierra tutorial
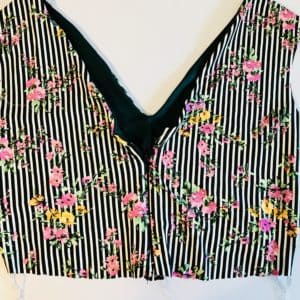
Next, you are ready to finish the neckline! Following the Sierra tutorial, pin or clip the main bodice to the lining bodice at the shoulder seams, center back seam, and center front seam; the one difference will be instead of a pin or clip at the front center seam, you will need to clip both sides of the “center seam”, being sure to match raw edges of main, lining, and zipper edge. Serge or stitch neckline. Finish side seams/armscyes per the pattern tutorial.
- finish neckine
- finish side seams per tutorial
- zip, unzip, repeat!
I wanted my zipper to extend all the way to the bottom of the bodice, but if you wanted yours to stop higher than that, you would still need to finish the rest of your center seam to close it up!
- mark where you want your stitches to end, on both sides of zipper; make sure these are perfectly even
- attach zipper as described above, being sure to end your stitches where you marked
- push the zipper tape and lining fabric out of the way of the main bodice seam allowance; backstitch, then continue down the rest of your center seam following the same 1/2″ seam allowance
- push the zipper tape and main bodice fabric out of the way of the lining seam allowance; backstitch, then continue down the ret of your center seam following the same 1/2″ seam allowance
Before attaching the waist band, I suggest checking your zipper one last time just to be on the safe side! Not a nursing mama but still want to enjoy the zipper hack? Go for it!! You can play around with decorative zippers, adding tassels, using different length zippers, etc! Enjoy!
Bishop Sleeve
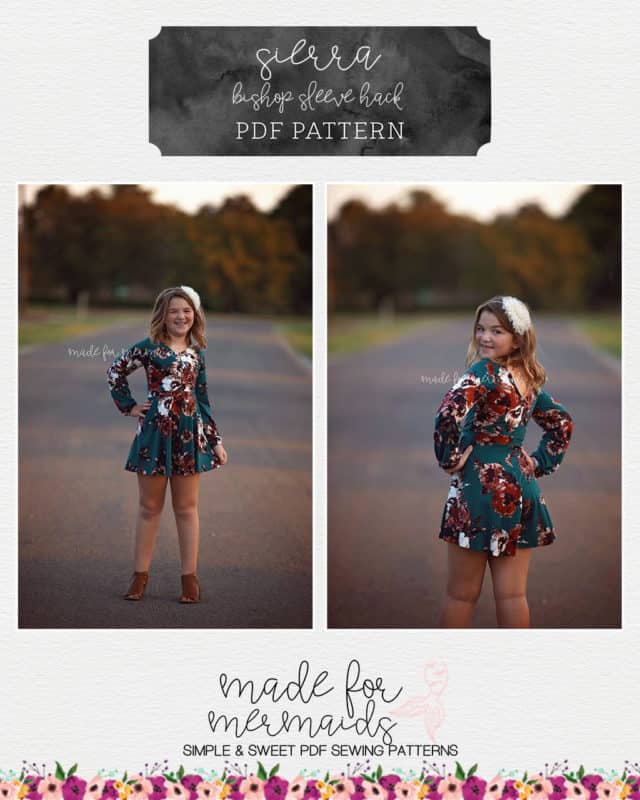
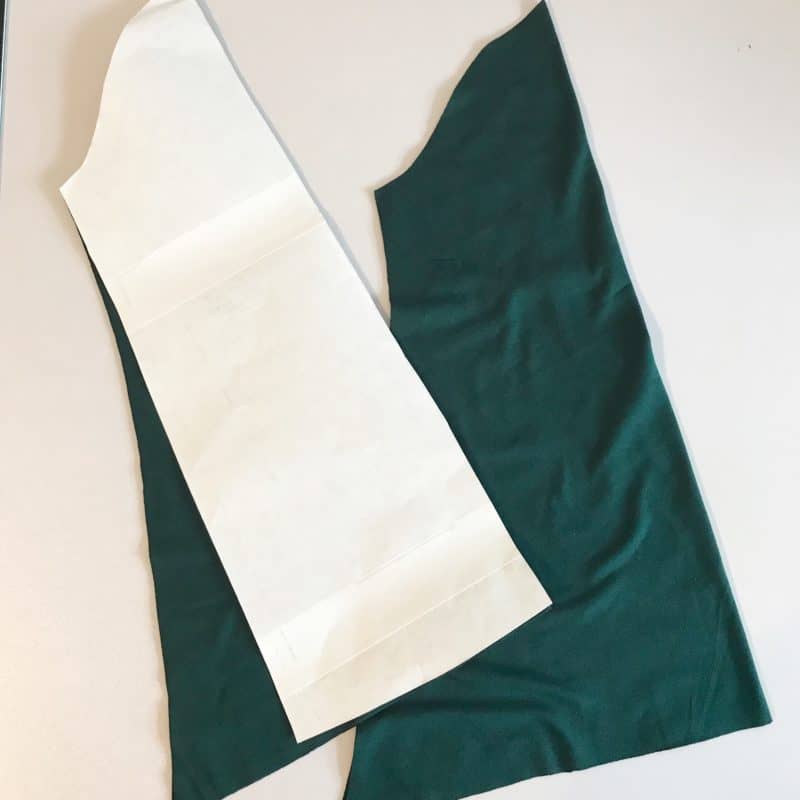
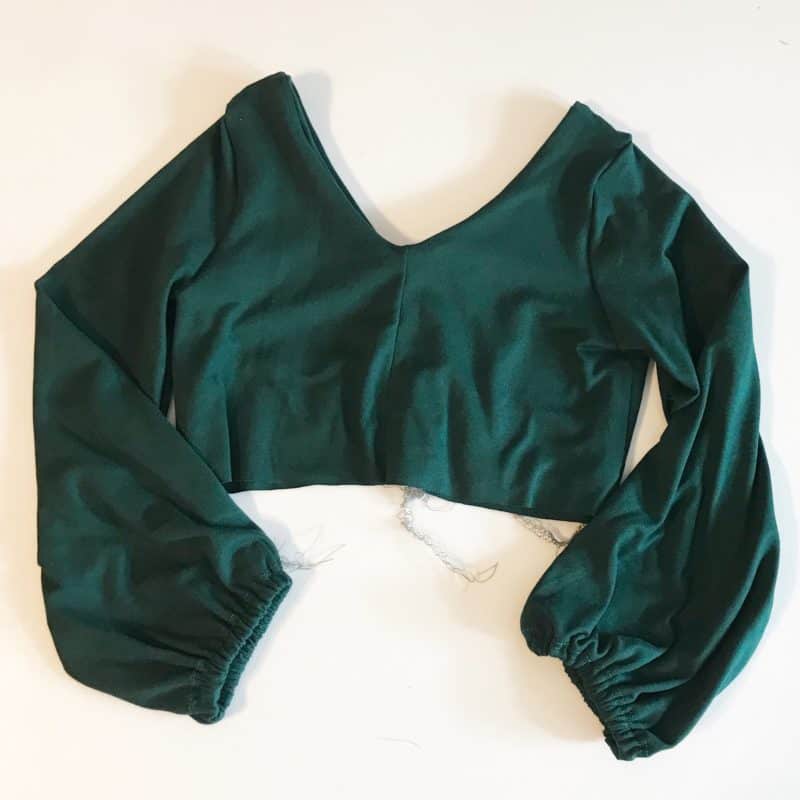
The Adeline Bishop Sleeve mash is the PERFECT way to make Sierra fall/winter ready. You can use most any set-in sleeve from your favorite Made for Mermaids patterns (some you may have to modify a bit), but we were especially loving the look of the bishop sleeve.
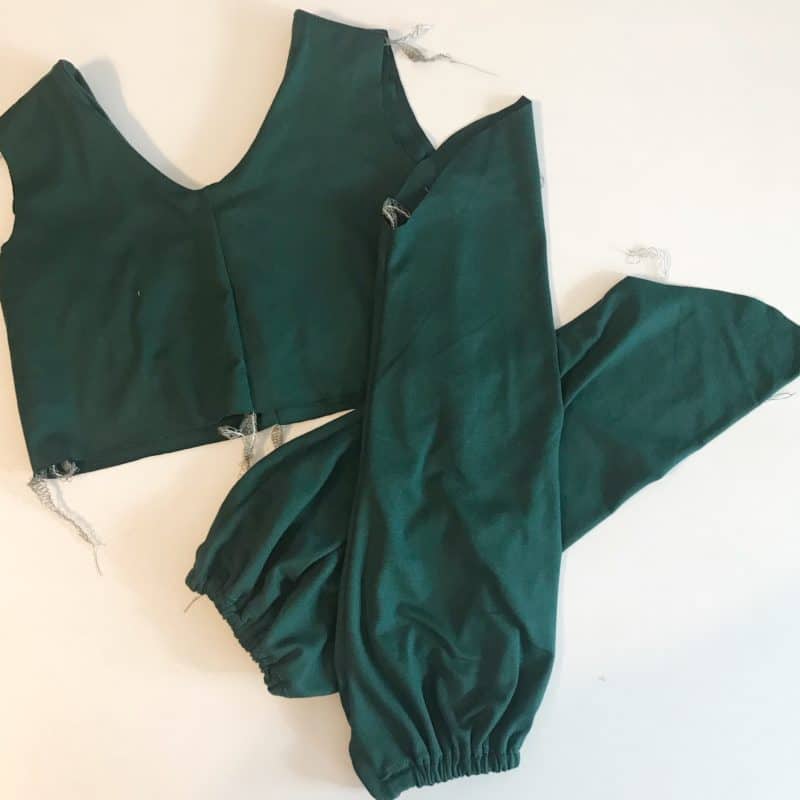
First, cut all of your Sierra pieces per the pattern tutorial, excluding the flutter sleeve. Make sure you cut the bodice pieces along the sleeve cut line! After you have your Sierra pieces, cut your Adeline bishop sleeve pieces. I wanted a little extra width on my sleeves to create a bit more “poof”, so I kept the sleeve cap the same and just graded out to where I wanted it.
- Cut Adeline sleeves (I added extra width to mine)
- Construct bodice & sleeves per tutorials
- Attach sleeves in the round (right side of sleeve to right side of bodice)
- Tip: a clip on the back bodice makes it easy to tell front from back
- Turn sleeves right side out and continue construction
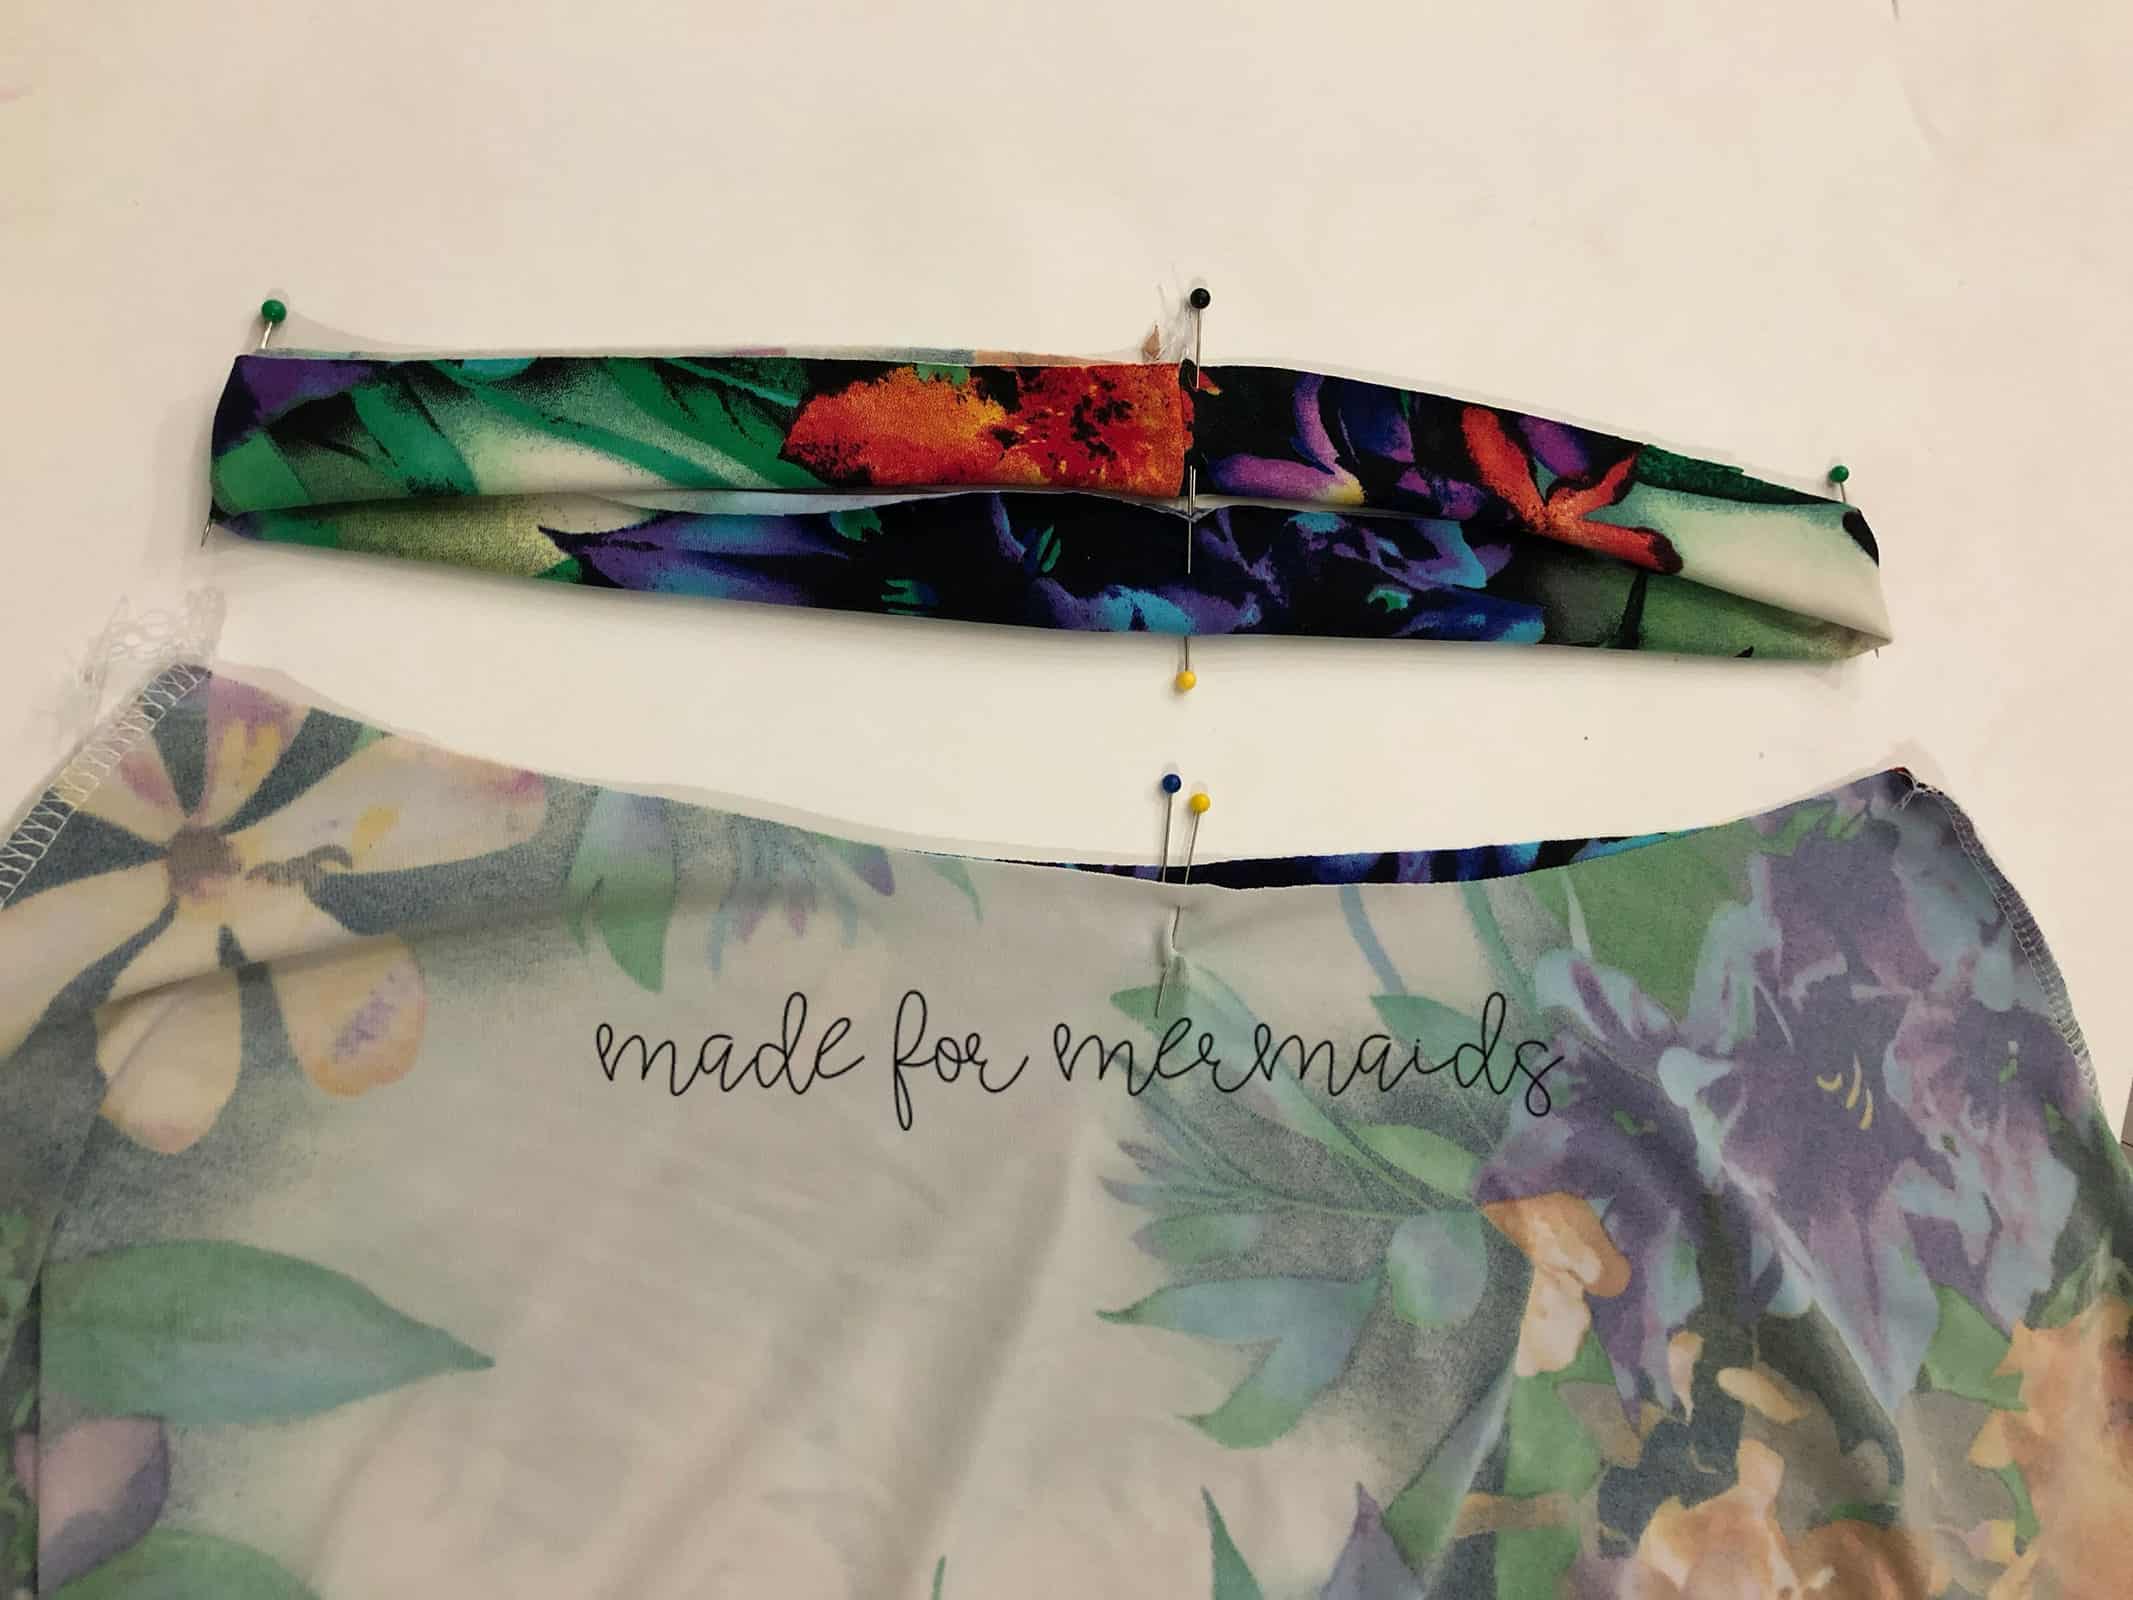
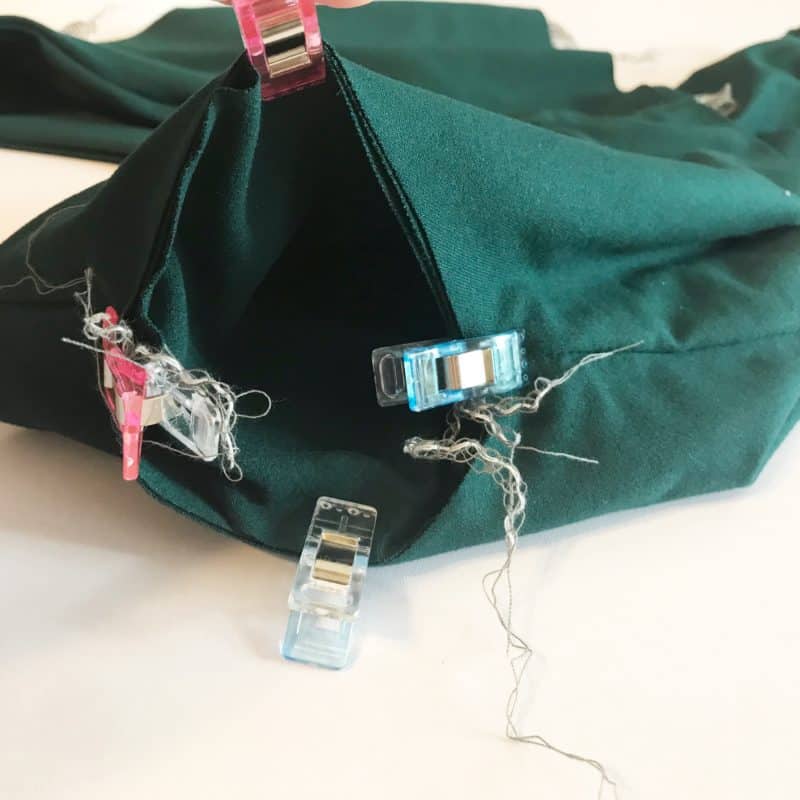
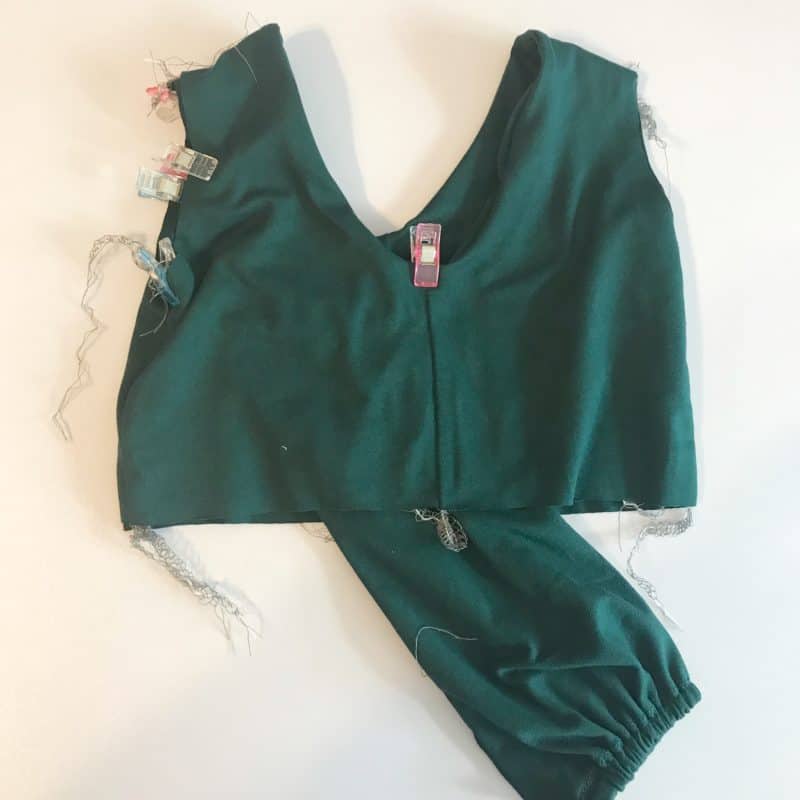
You will attach your bishop sleeves in the round, so go ahead and sew the side seams and insert the wrist elastic per the Adeline tutorial. Once your sleeves are constructed, you will attach them to your Sierra bodice. Turn your bodice inside out, and your sleeve right side out. Match up the bodice side seam to the sleeve seam, and then quarter the sleeve opening and the armscye. Note – in the 4th picture you can see a random pink clip on my back bodice. That’s an easy way to keep your front and back straight while you are sewing! Sew or serge the sleeve to the bodice using a 1/2″ seam allowance. Repeat for other sleeve, turn bodice and sleeves right side out, and then continue your Sierra construction per the pattern tutorial!
We hope you are as excited about Sierra and Women’s Sierra as Team Mermaid is! Don’t forget to join our official Sew-A-Long group for a few more gorgeous hacks, detailed video tutorials for ALL 6 bodice/sleeve combinations, and more! As always, we hope you’ll share your makes in our Facebook group or on Instagram.


















Leave a Reply