We’re so excited to bring the newest Lounge & Lace collection patterns to you! Mama Stella, Stella, and Dolly Stella all release today! Stella comes in Mama, Girls (size 1/2-14), and Dolly (14″, 15″ and 18″). She features four different back options and multiple sleeve lengths. Mama Lexi Loungers and kids’ Lexi & Lou Loungers will be releasing very soon. Check out four of our favorite Stella hacks, and get ready for the next release with our Lexi & Lou styling tips below.
Stella – Dress Hack
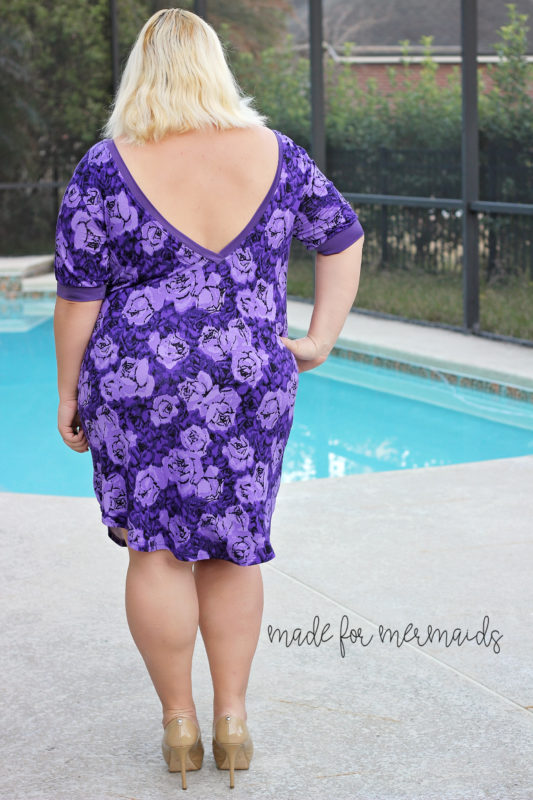
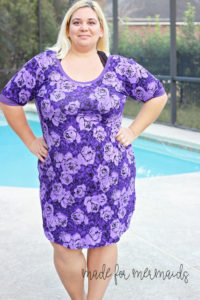
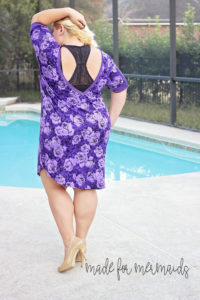
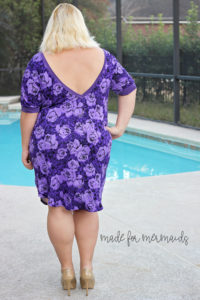
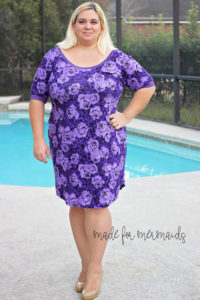
The amazing Mama Stella makes the most beautiful shirts and tunics. But you know me, I have to make everything a dress since I pretty much wear them all the time. So today on the blog I wanted to show you how easy it is to make the Mama Stella dress.
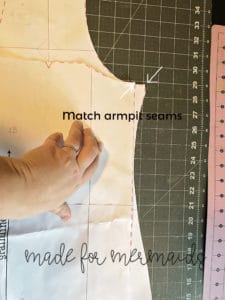
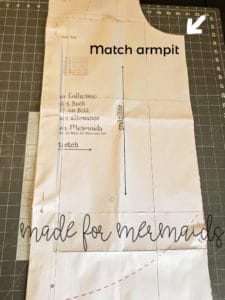
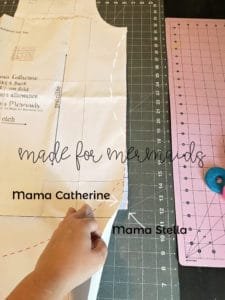
There are a few ways to go about adding the dress length. The first way would be to use an existing dress pattern and mash it with the Mama Stella. I used the Mama Catherine, because I just love the curved hem. Print both patterns in the size(s) needed. Place the Mama Catherine front skirt piece on top of the Mama Stella front, matching the seams right at the armpit.
Pin the two patterns together, making sure you keep the armpit matched and the center fold (you will need to fold the Mama Catherine in at the center to match the width of Mama Stella).
You can now consolidate and trace the lines to create a new pattern piece (in this case, the body of the Mama Stella, with the length and hemline of Mama Catherine), or just cut the fabric using the two layered patterns. Repeat the process with the back piece. For either the keyhole or the off-shoulder option, you will need to modify the pattern on both the left and right sides, instead of just modifying on the fold.
Once you cut the new pattern pieces, simple sew the dress as in the tutorial. Hem with 1/2″ seam allowance.
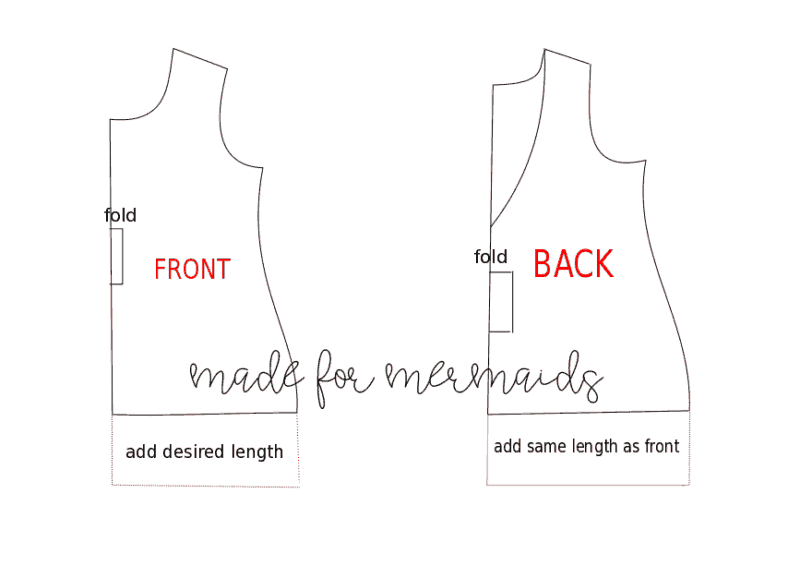
Another way to make the Mama Stella a dress is to elongate the front and back pieces. Simply add the desired length as in the graphic below. As a reference point, I add 10 inches to the tunic length. I like my dresses knee length (I’m 5′ 5″).
Whether you choose to mash the Mama Stella pattern with an existing dress pattern, or simply lengthen the tunic option, be sure to show off your Stella dresses in the Made for Mermaids group so we can all ooohhh and aaahhh at them :). – Alex
Stella – Cross Back Straps
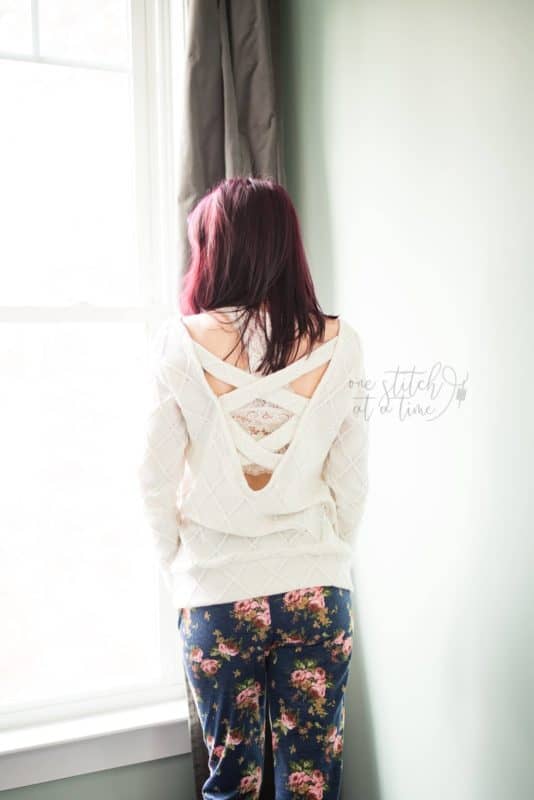
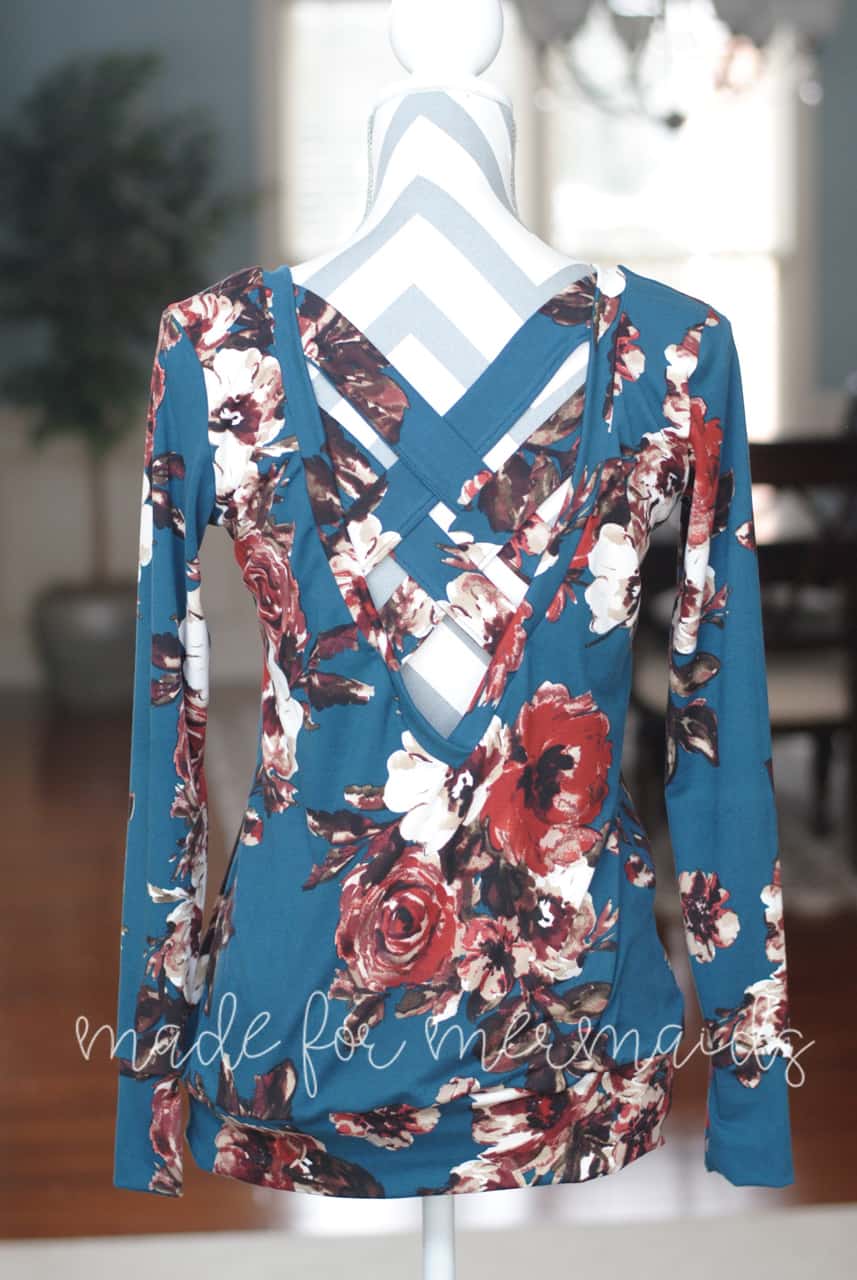
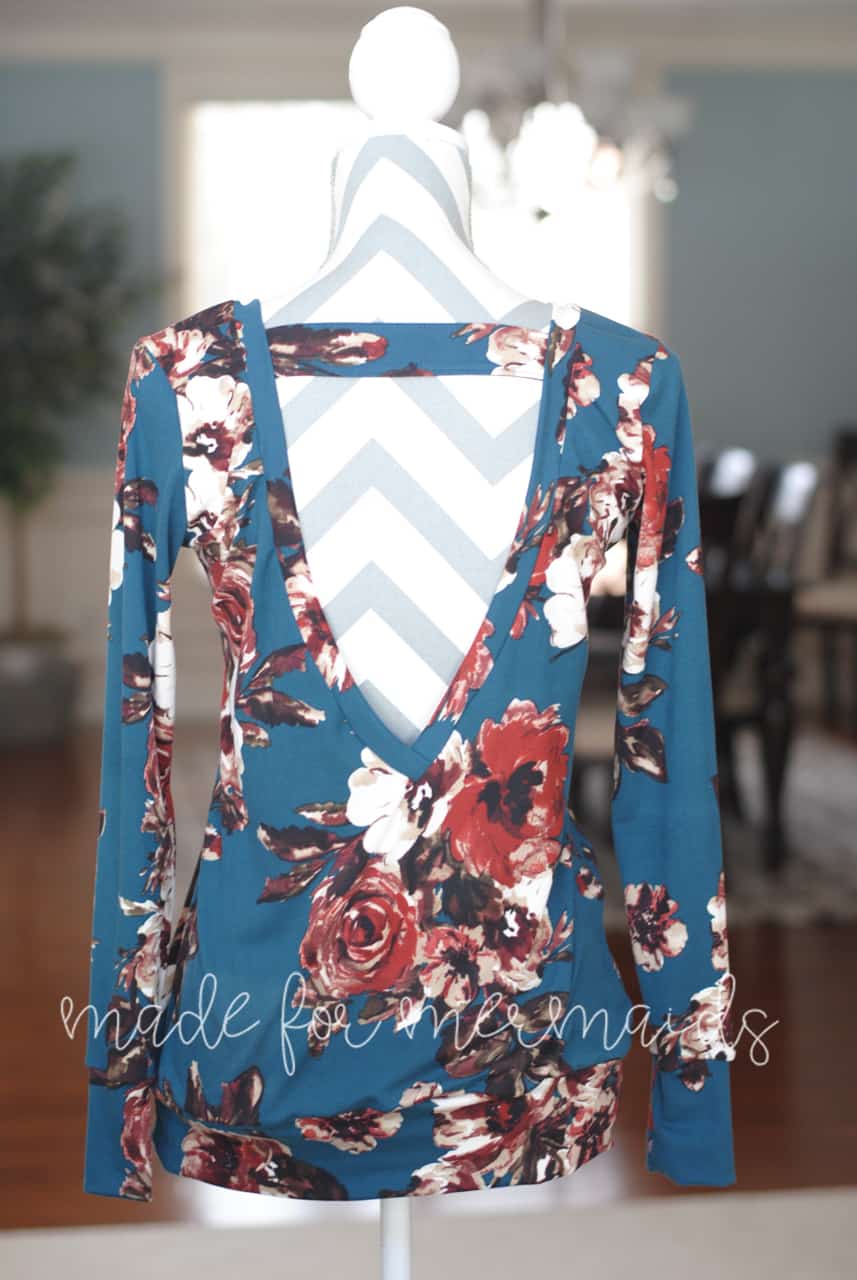
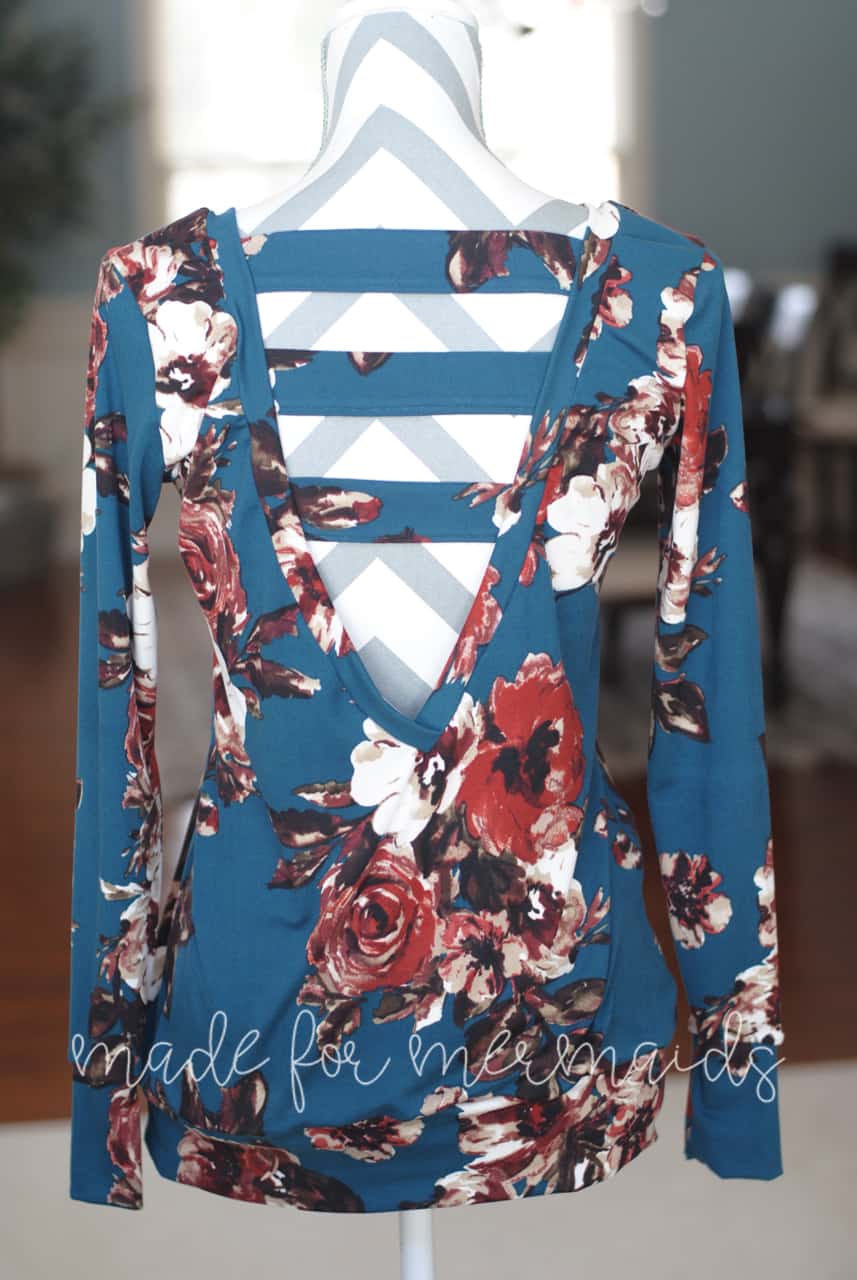
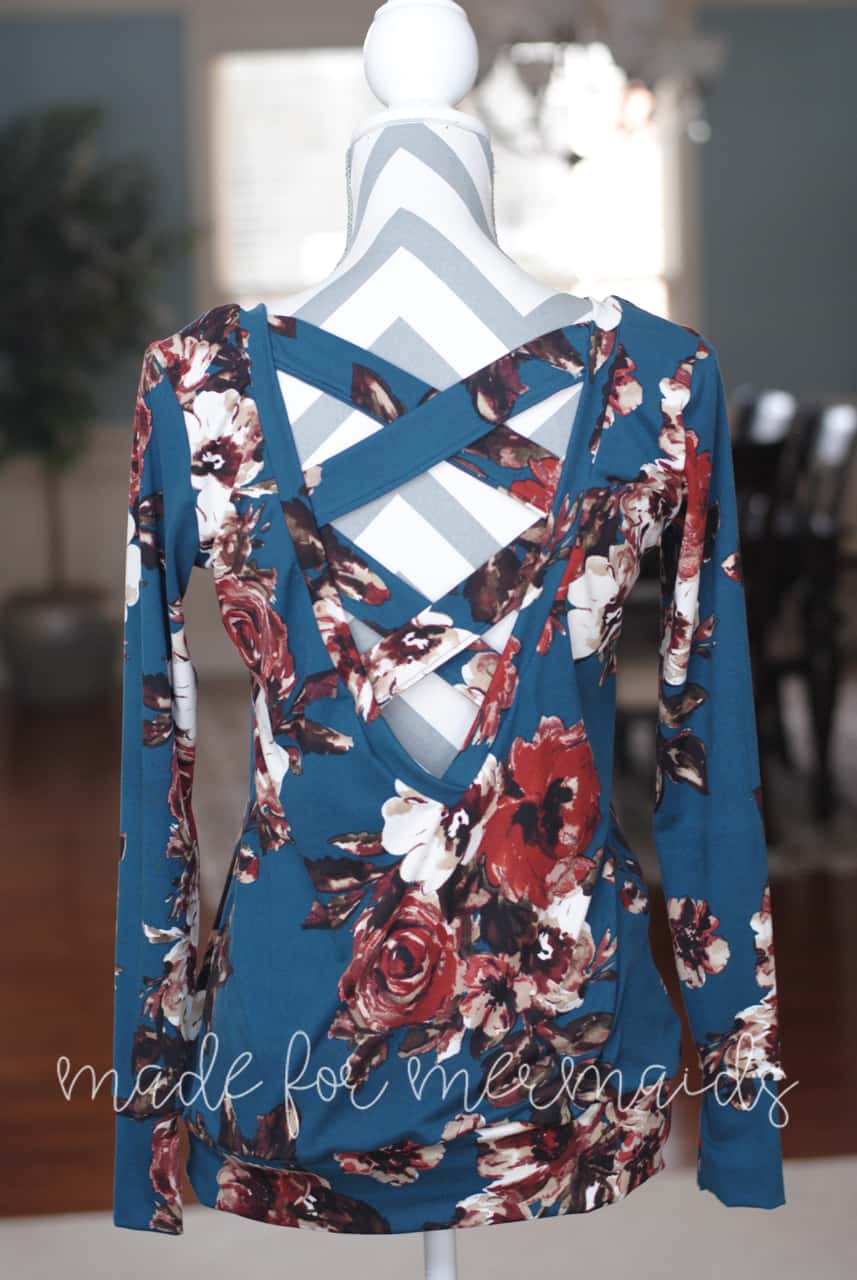
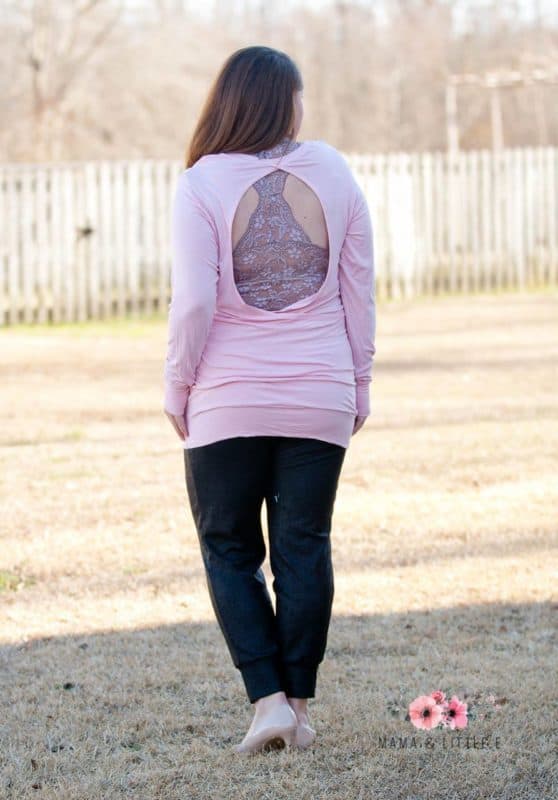
There are already so many options included with the Stella pattern, but the following is a simple hack to the v-neck back view that gives even more variety! The pattern includes instructions for either a single, thin band or two thin ties to ensure the v-neck back view stays put on your shoulders. There are countless ways you can alter the straps to give different views. You can use lace for a “faux bralette” look, or thicker bands for more coverage or interest. I will show you below the steps for making these easy changes, but part of the fun is playing around with different options and figuring out what you like best!
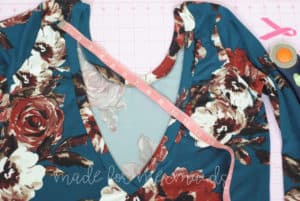
You will first cut and assemble your v-neck back top according to the pattern, choosing whichever length and sleeve option you’d like. Once you have gotten the entire shirt completed, it will be time to make and attach your desired straps. You will lay your completed top flat and measure how long your new strap pieces need to be.
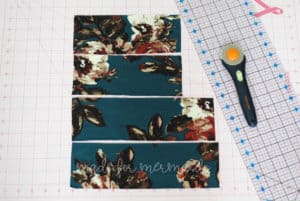
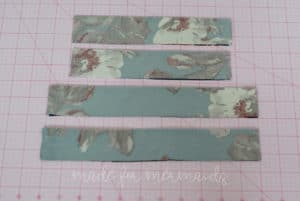
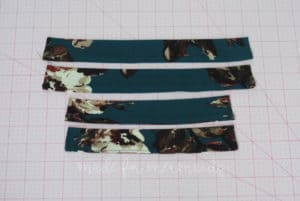
By measuring diagonally across my top roughly where I wanted my straps to go, I determined that for my size pink top, I would need two straps 11″ long, and two straps 9″ long. I wanted the straps to end up about 1.5″ inches wide, so I cut my strap rectangles at 3.5″ wide and used a 1/4″ seam allowance.
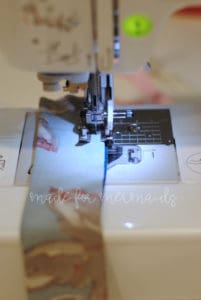
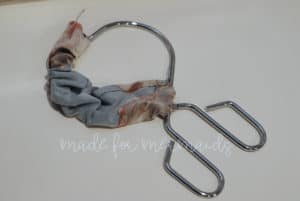
After cutting the rectangles for your straps, fold them in half right sides together and stitch along the long edge to create a tube. As mentioned above, I used a 1/4″ seam allowance here. After creating the 4 tubes for the straps, trim down the seam allowance (if you planned for and used a wider seam allowance), and then use your favorite tool to turn them right side out.
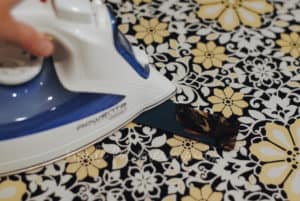
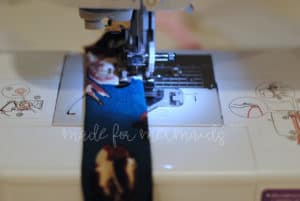
Be sure to press each strap well and then topstitch. You can topstich both edges of the strap if you wish, but I just chose to stopstitch just the one side where I sewed the tube together. Press again after topstitching. You should now have four finished straps.
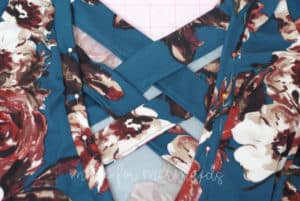
With your finished top laying flat (or on a dress form of your size if you are lucky enough have one!) begin pinning your straps where you would like them to go, making sure they are evenly spaced.
I attached my top straps about 2″ down from the shoulder seam as the pattern calls for to make sure it sits correctly on my shoulders still. Make sure there is no slack in your straps, but also don’t stretch them too much to fit, or else they won’t lay properly once its worn. Once your straps are evenly spaced and pinned where you like them, baste them onto the shirt and try it on. Sometimes an extra set of hands is nice to have at this step so you can have help making any adjustments to the strap placement! Once you are satisfied with the strap placement, stitch them on more securely and trim off any excess strap you may have from the ends!
My intention with these straps I made was to do the double criss-cross, but I couldn’t help trying out a few other layouts in the mean-time. I tried out one thicker strap across the top, three vertical straps, or double stacked criss-crosses. I still loved the double criss-cross that I originally planned on the best, but it was fun playing around with a few other ideas too!
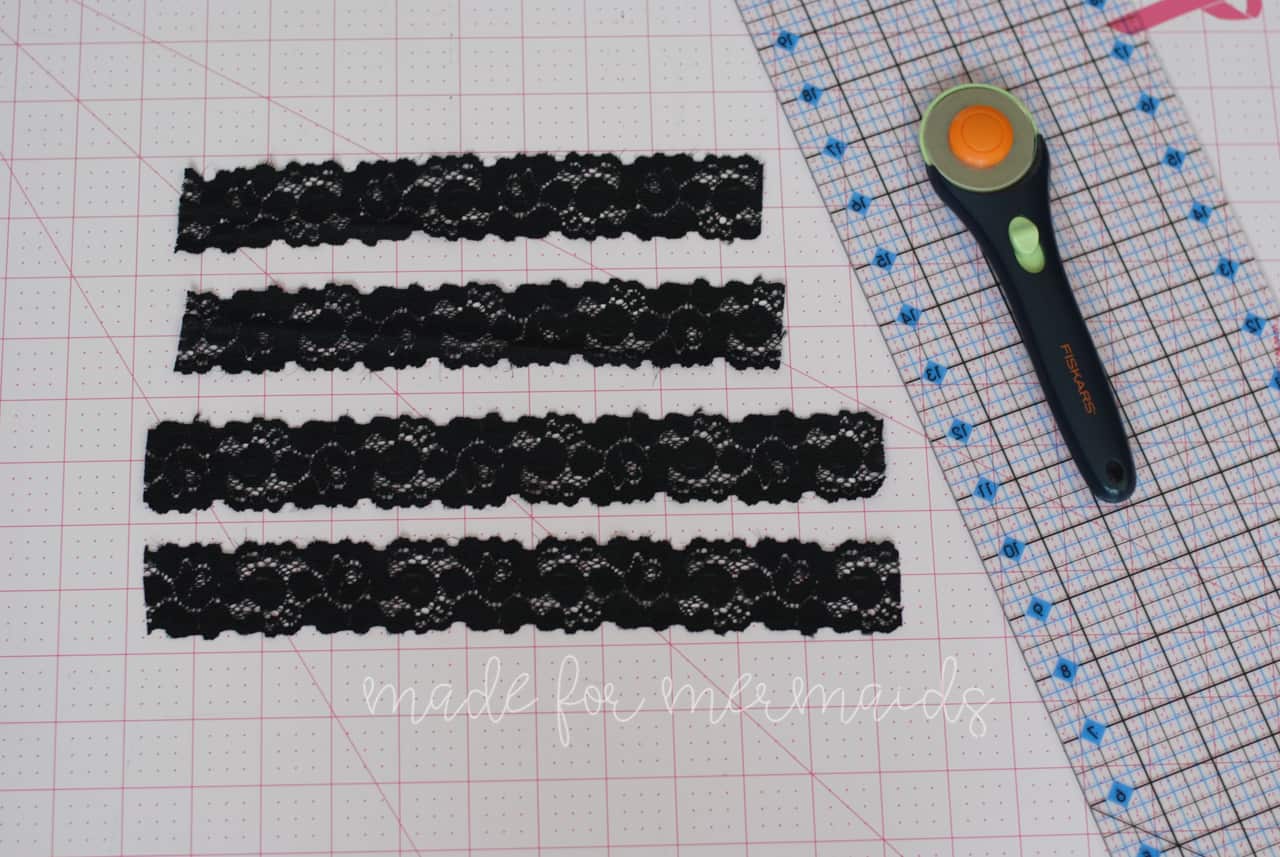
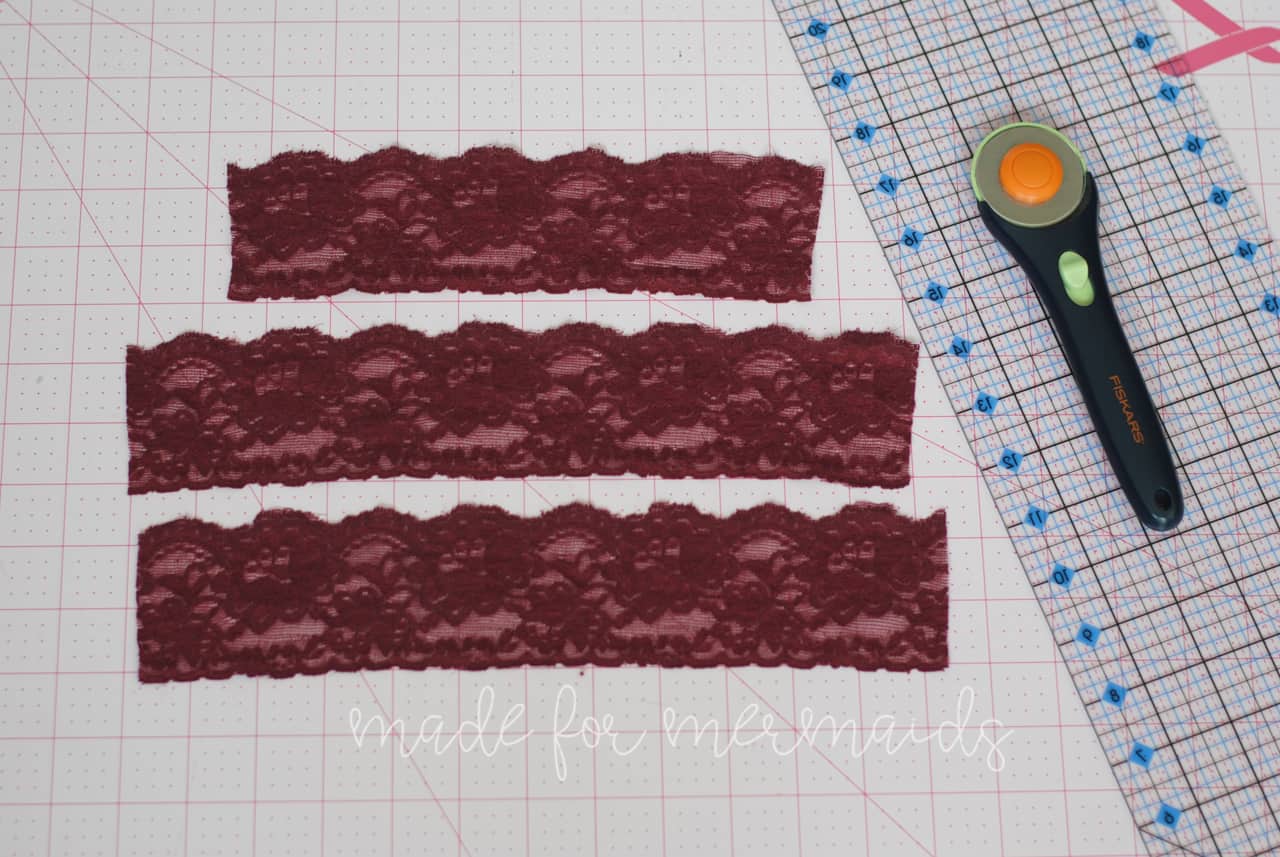
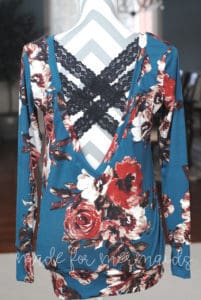
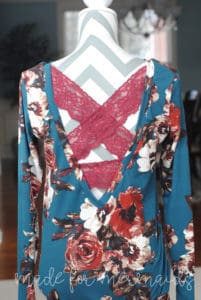
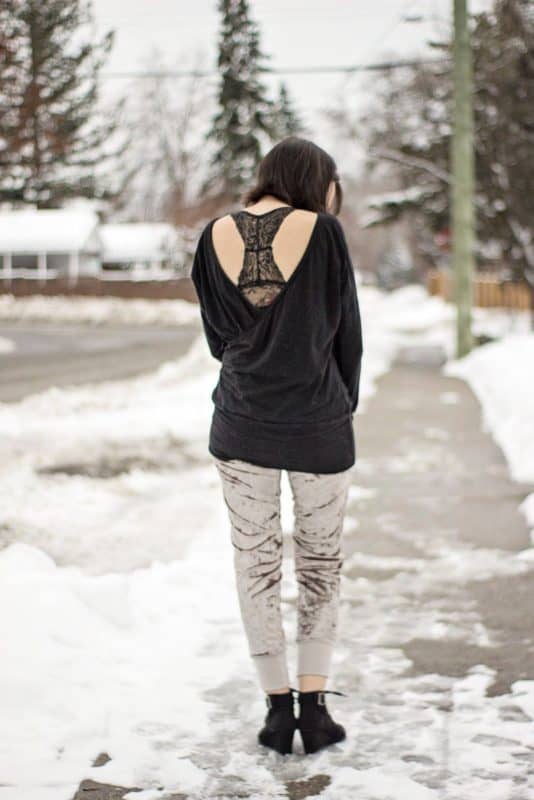
While working on the straps above, I realized I had a couple stretch lace trims that beautifully coordinated with this particular fabric as well! I decided to try out those as interesting strap options as well! Instead of having to sew fabric for the straps, you can just measure and cut some stretch trim to use as the back straps. I had some black and burdundy laces and I opted to try the black lace as the double criss-cross and then create a “faux bralette” with the burgundy lace. You will measure your top the same as the above method, and cut your lace to the necessary lengths.
You will then do the same steps as above, pinning and basting your lace straps onto the top and trying on to alter placement if necessary. This is an excellent way to use up any lace you may have leftover from Bridgette and Victoria. The “faux bralette” example I made is also a great way to conceal a regular bra strap if you prefer the support of a regular bra vs a less structured bralette.
I hope you have gotten some inspiration from this hack will have fun trying out some new strap styles for your own v-neck back Stella! Cheers and Happy Sewing! – Jody
Stella – Shoulder Strap and Kourtney Knot
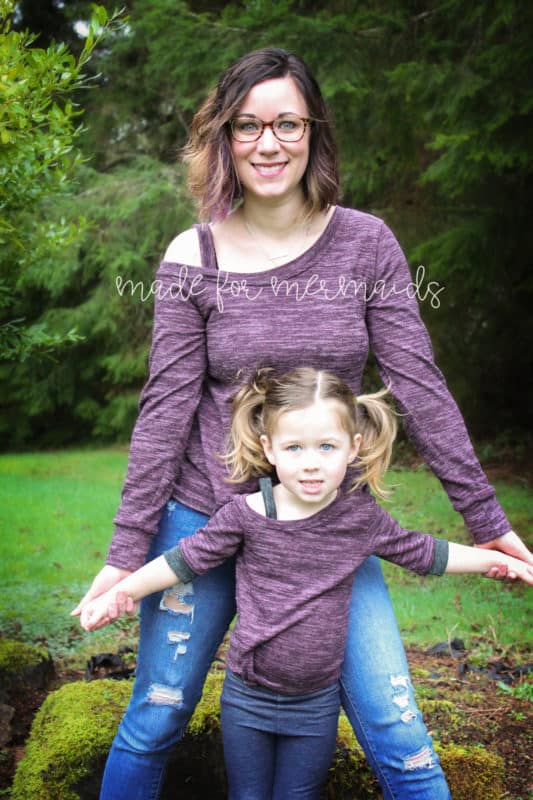
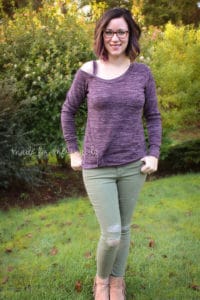
The new Mama Stella and Stella patterns are already packed with options! However, here is a quick and easy hack to make it go even further… adding a strap to the off the shoulder version. This idea can be used on both the Mama and girl’s version. For the Mama, I like that I can still wear a regular bra and not have my straps showing. For the girls, I feel like it makes it a bit more conservative looking, which is nice to have since my daughter is still younger.
To create this look, I began by cutting out all of my pieces using the tunic length; however, I did not cut a waistband as I will be using the Kourtney Knot to finish this look and hem the bottom. Cut and assemble your shirt according to the tutorial. Once you’ve finished the shirt, you will attach your shoulder strap.
The width of the strap is completely up to you. For my Mama version, I cut mine 2.5″ and made sure it was long enough to reach from the front to the back (you will trim the excess length). For the girl’s version, the strap was 2″ wide. With right sides together, use a 1/2″ seam allowance and stitch down each edge of your strap. Using a turning tool, turn strap right side out and press.
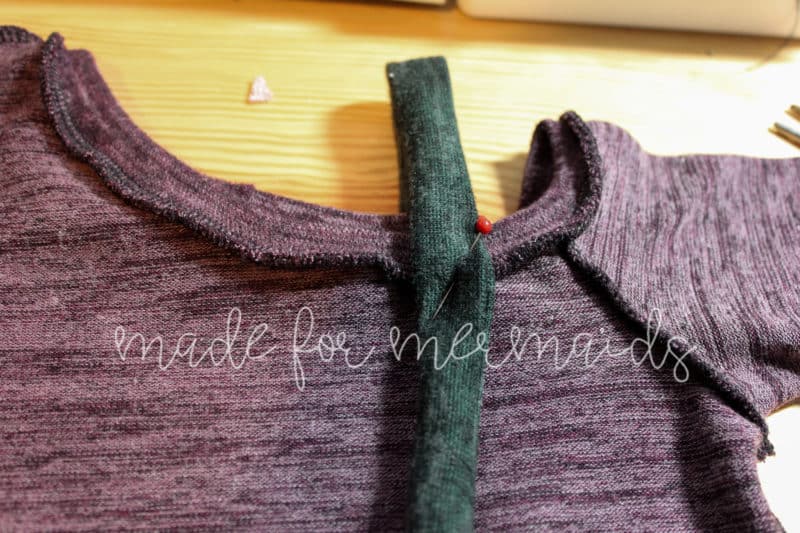
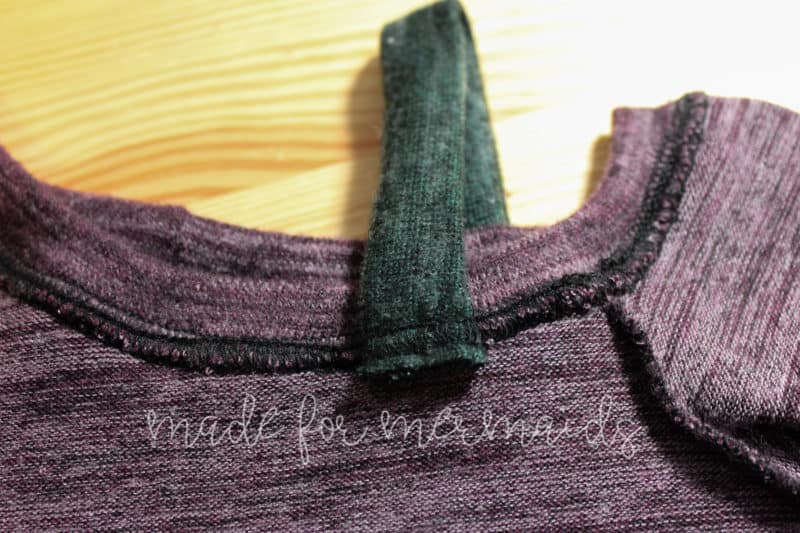
Pin the strap in place along the neckline. I started by pinning about 1″ away from the arm seams both in the front and back. At this point, I highly suggest trying on the shirt to see if you need to adjust the strap (both in length and placement). Once your strap is correctly placed, topstitch around the neckline, making sure to catch the strap ends. Trim excess strap length and you’re all finished!
Want to add even more to your shirt? Use the Kourtney knot (directions found in the Kourtney/Mama Kourtney patterns) to finish off your hemline! -Erinn
Stella – Ainsley Flutter Sleeve
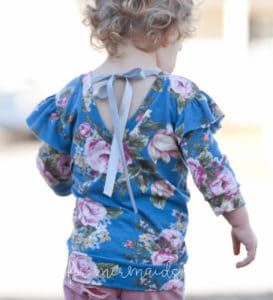
Just when you think the Stella can’t possibly get any cuter!
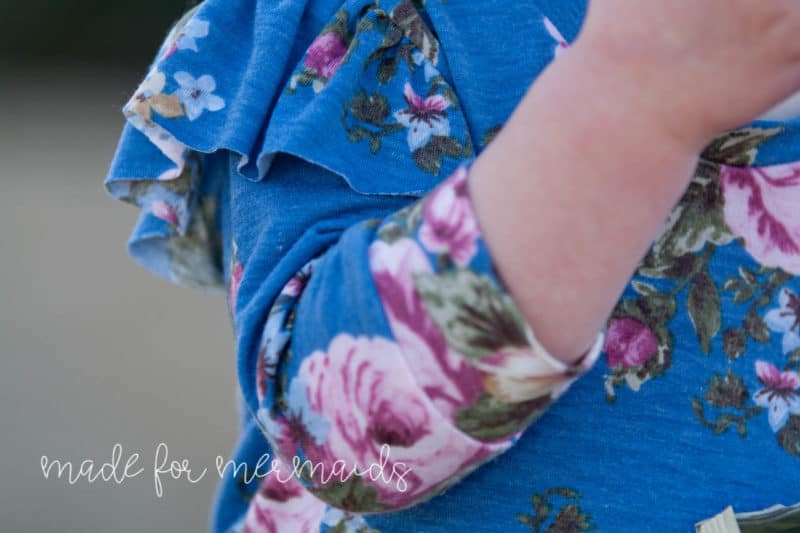
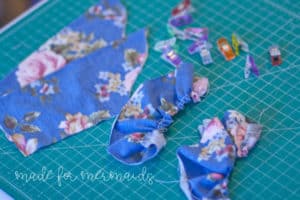
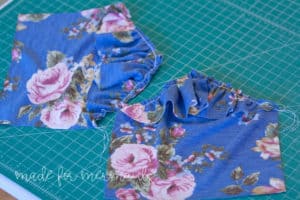
This hack is quick and easy, and adds a little extra sweetness to an already perfect pattern. To get started, cut out your Stella pattern pieces (any option other than off-shoulder!), as well as the Ainsley flutter piece. Gather the flutter pieces per Ainsley pattern instructions.
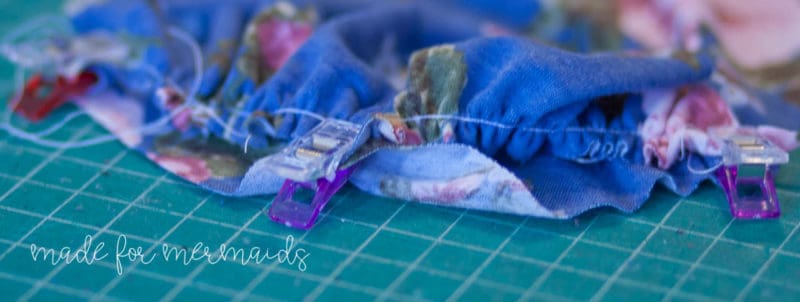
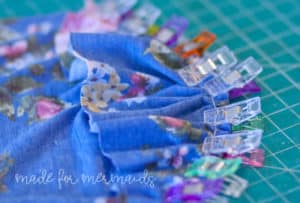
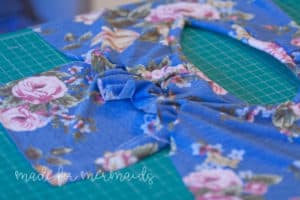
Pin or clip the center of your flutter (wrong side) to the center of your sleeve (right side). Pin or clip the ends of the flutter (wrong side) to the ends of the sleeve (right side). Alternatively, you can attach per Ainsley instructions; this will give you a fuller flutter, and will not go all the way under the arm.
Pin or clip the rest of the flutter piece to the sleeve piece, then baste flutter piece to sleeve piece. Repeat for other side. Once both flutters have been attached, continue with Stella directions for sleeve attachment.
In addition to the flutters, I also used ribbon in place of fabric ties. I simply cut to the same length specified in the pattern and attached per the tutorial; be sure to heat set the ribbon edges to prevent fraying!
Mama Lexi Loungers – Style Guide
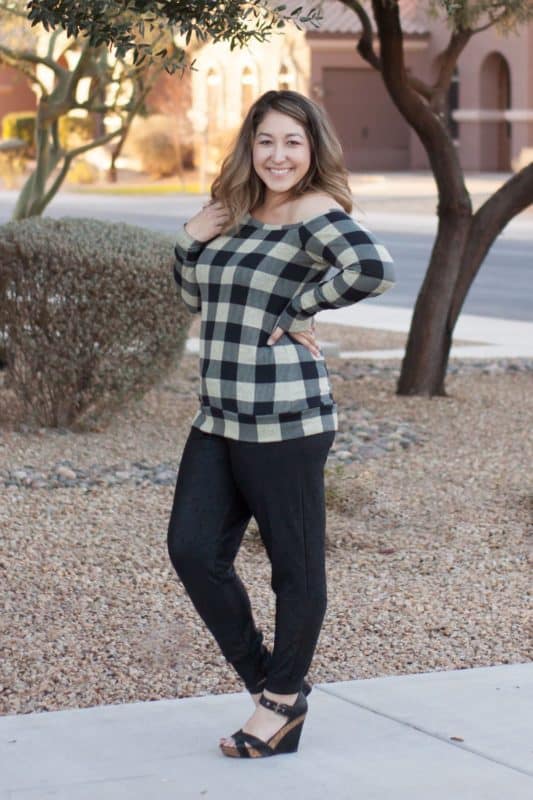
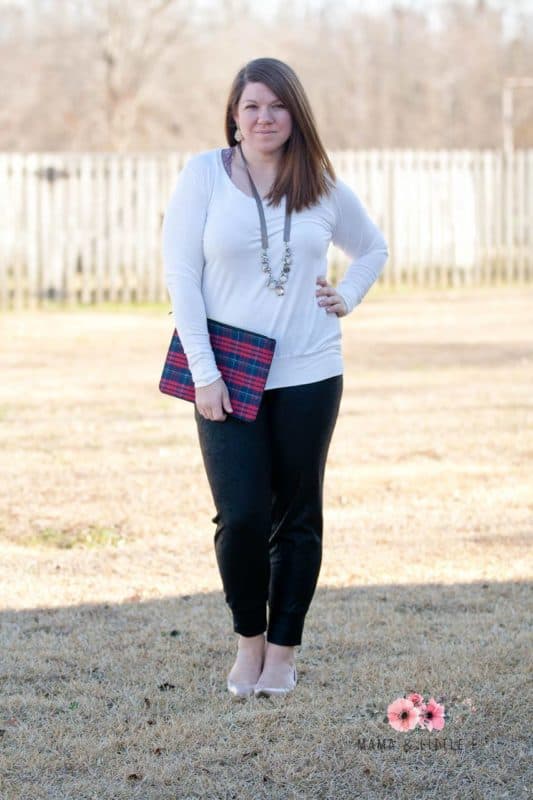
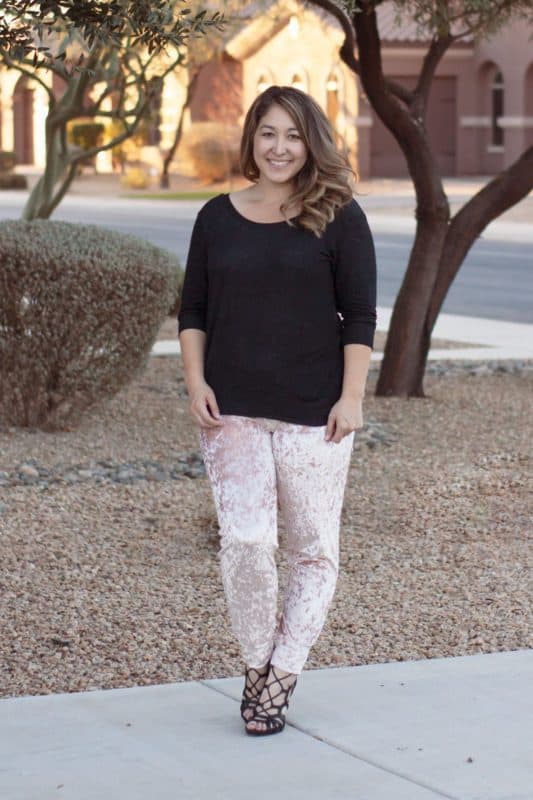
As much as I love my lounge-y Mama Lexi Loungers, I LOVE the black pair I made to wear out as regular pants (my “‘fancy sweatpants”). As with most outfits, styling can make the difference between pajamas and a wear-in-public outfit. The first thing to consider is your fabric. I found that solid colored joggers were easier to dress up than something like a plaid or a floral, and keeping the cuffs the same fabric also made them look less pajama-like. We used faux leather french terry , crushed velvet, and double brushed polyester for our dressier Mama Lexis.
Another thing to consider is shoes and accessories. Heels, wedges, booties, or even dressy flats will dress up your outfit more than a casual shoe. Jewelry is also an easy way to change a look.
Mama Lexi goes perfectly with Mama Stella, but there are lots of other great Made for Mermaids tops that would look great as well! I do think this look works best with a semi-fitted top to keep it from looking too lounge-y; some of my favorites are Mama Claire (even though it’s blousy, it is fitted at the waist, as you can see in Angela’s picture above on the left), Mama Tara, and Mama Kourtney.
Of course, as with anything in sewing, make and wear whatever makes you feel beautiful and comfortable!
Lexi & Lou Loungers – Style Guide
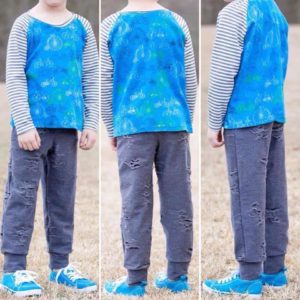
The Lexi & Lou Lounger pattern can absolutely be used for your little guys! Keep in mind that it is designed to be a very slim fit pant, especially the joggers; if you or your little one personally prefer a looser fit, you would want to size up at least one size in width.
If you’re looking for tops other than Stella to pair with Lexi & Lou, the Dylan tee or Rowan Raglan are both great unisex options!
We hope you love Stella and Lexi as much as we do! Don’t forget to check out the tester albums on our Facebook page, and share your creations in our Facebook group!





Leave a Reply