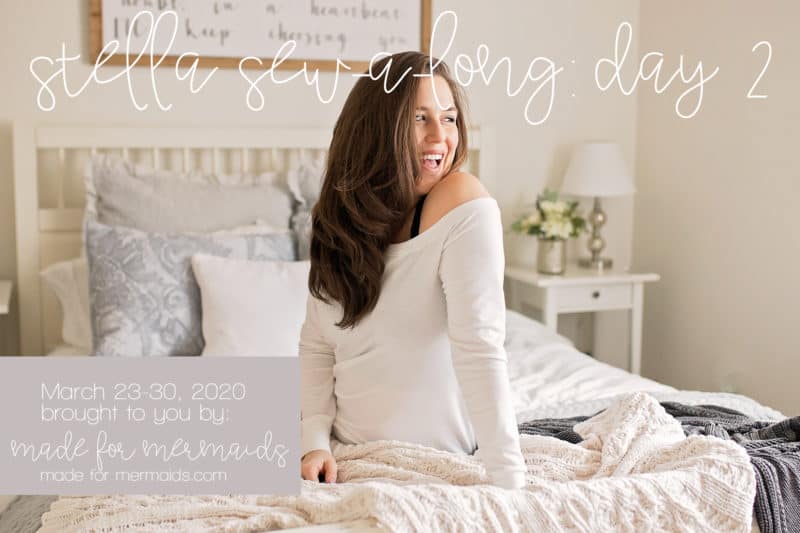
Welcome to Day 2 of our Stella sew-a-long! Today is a pretty easy day.
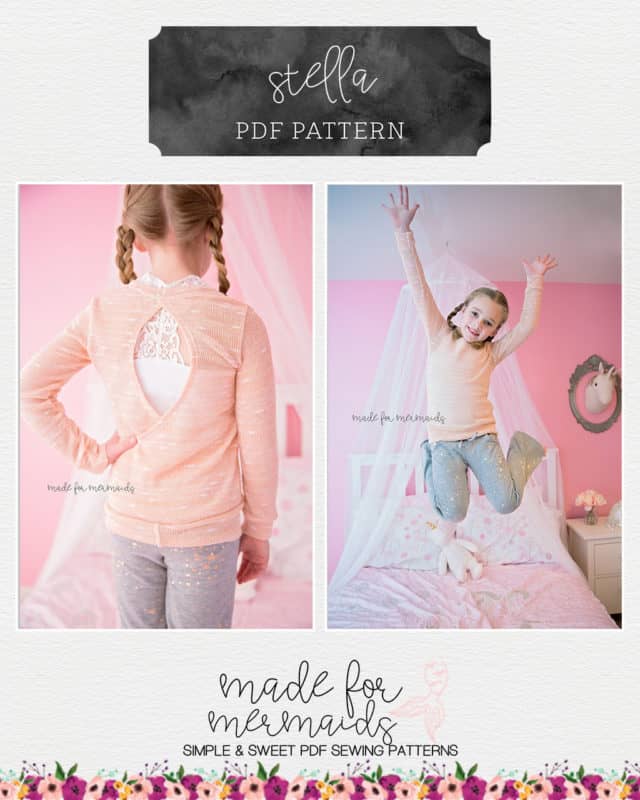
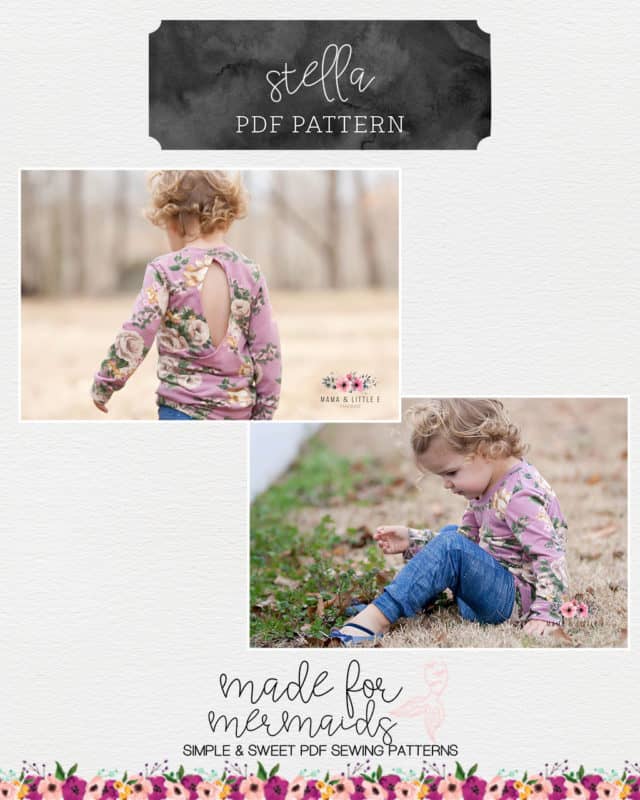
If you are doing the keyhole option, we will take a few minutes today to hem the opening! Remember, you can hem using a coverstitch machine, a stretch stitch on your regular machine, or you could even get a little creative and finish with a rolled hem or stretch trim.
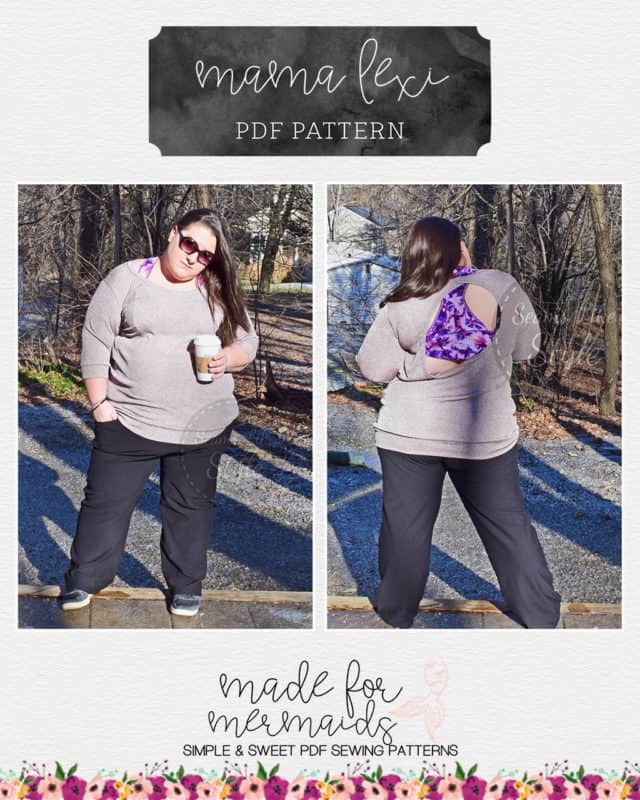
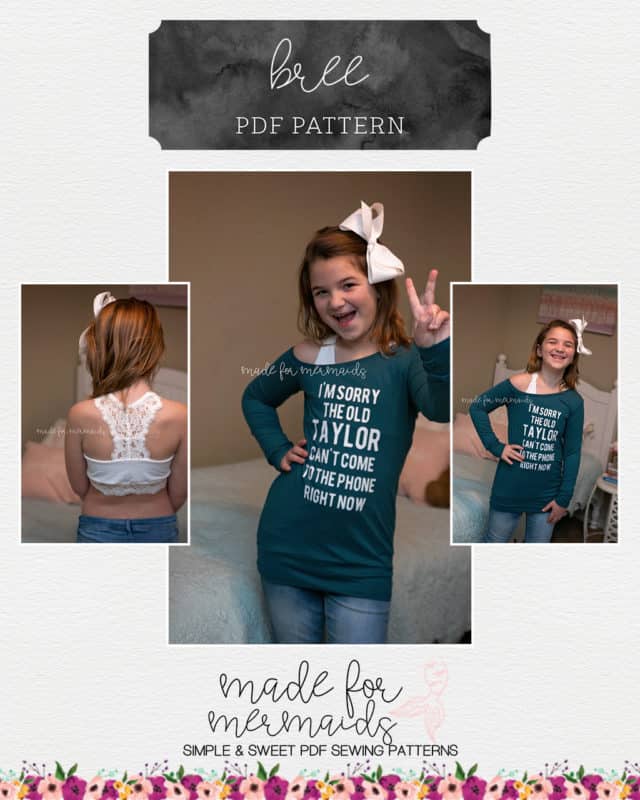
The keyhole back is such a fun option; we love it layered over Mama Bridgette (or Bree, for youth), camis, etc. Keep an eye on the Made for Mermaids IG page for a sneak at another great layering option. 🙂
Once you’ve hemmed the keyhole, you’ll construct your shoulder seams per the pattern tutorial, as will all other options. Don’t forget:
- seam allowance is 1/2″
- seam allowance is already included on the paper pattern pieces
- remember to stitch shoulder seams with right sides of fabric together
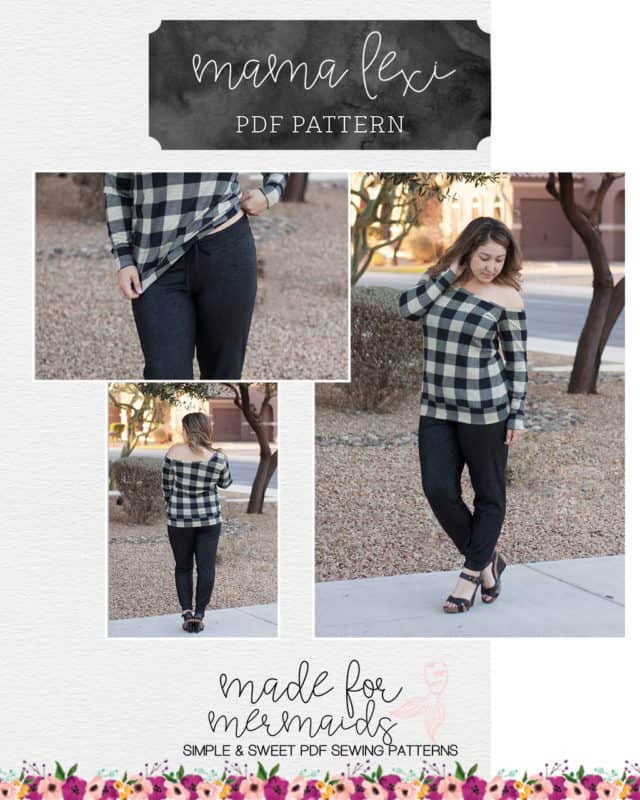
- the off-shoulder version varies slightly since you will only have one shoulder seam to construct; pay close attention to the written tutorial! Note: It does not matter which side you wear off shoulder since you cut mirror images.
Ready to sew along with Stephanie??
If you have questions about hemming the keyhole or sewing up your shoulder seams, you are always welcome to post in our SAL group so we can help you! Be sure to check in each day during the SAL, and look for daily posts to enter our giveaways. Stephanie will be back to sew with you tomorrow. We can’t wait to see what you create this week.

DAY 1: PRINTING/CUTTING/ASSEMBLING YOUR PATTERN & CUTTING FABRIC
DAY 2: HEM KEYHOLE & SEW SHOULDER SEAMS
DAY 3: SIDE SEAMS & SLEEVES
DAY 4: NECKBAND
DAY 5: CUFFS & WAISTBAND
OUR SPONSORS:
- Handcrafted goods. Digital designs. Made in West Virginia.





Leave a Reply