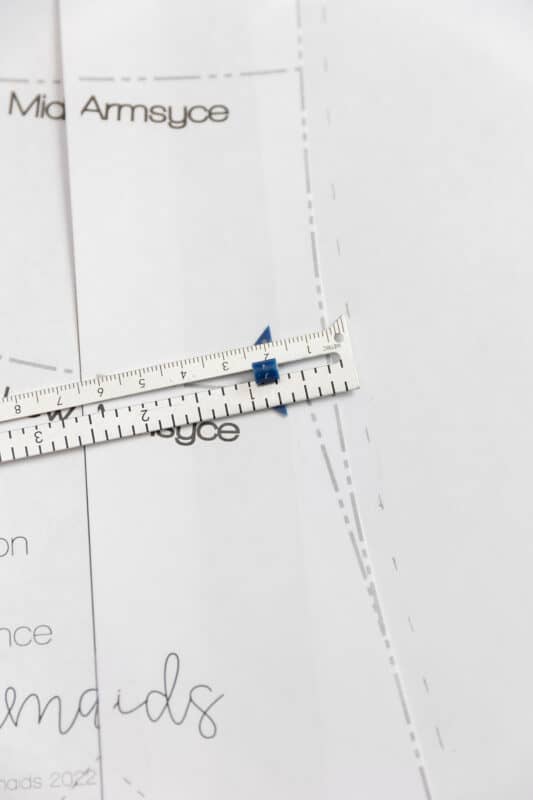
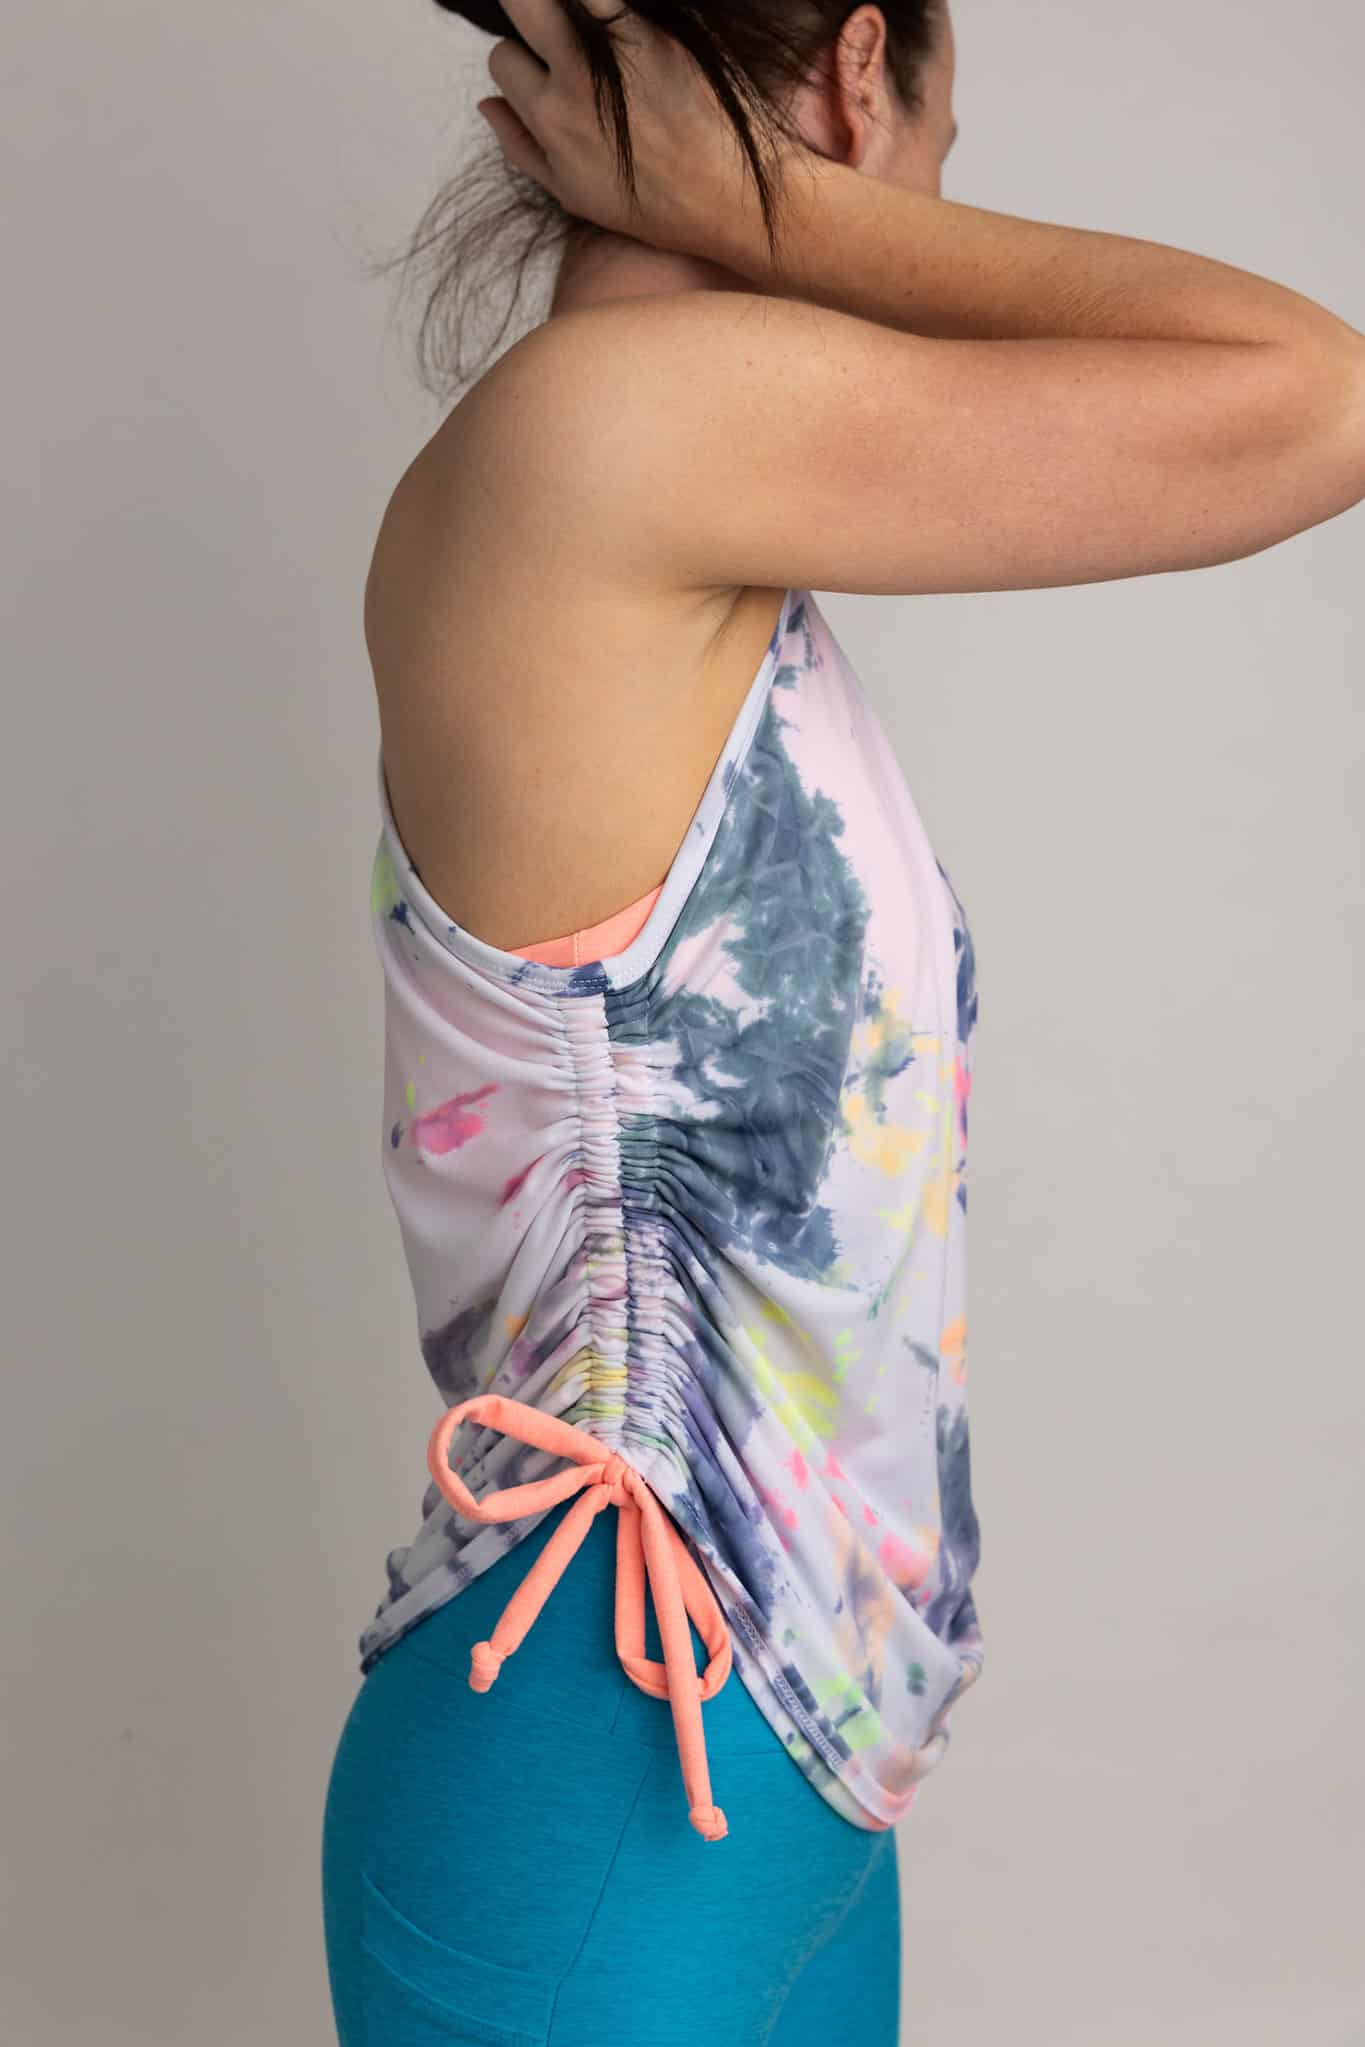
Recently, I was searching for some ideas for some new workout clothes. I came across a cute tank that had ruching along the sides. Seeing as how it was close to the ease and look of the Tella tank, I set out to hack the pattern to have the same ruched look on the sides. After printing out my pattern, the first thing I did was add 1/4″ to the sides seams of both the front and back bodice pieces.
Next, I cut the pattern along the hem line that I wanted the tank to finish at, for me I decided that I wanted my finished tank to hit about the high hip, so I cut the hem line for that length. After this, you’ll need to find the length of the side seam from the armscye to the hem. Mine measured at 12.5″. How much ruching you want will determine how much you’ll add to the overall length of the bodice pieces. I added 50% to my sides, but I probably could have done as little as 25% and still had some cute gathering.
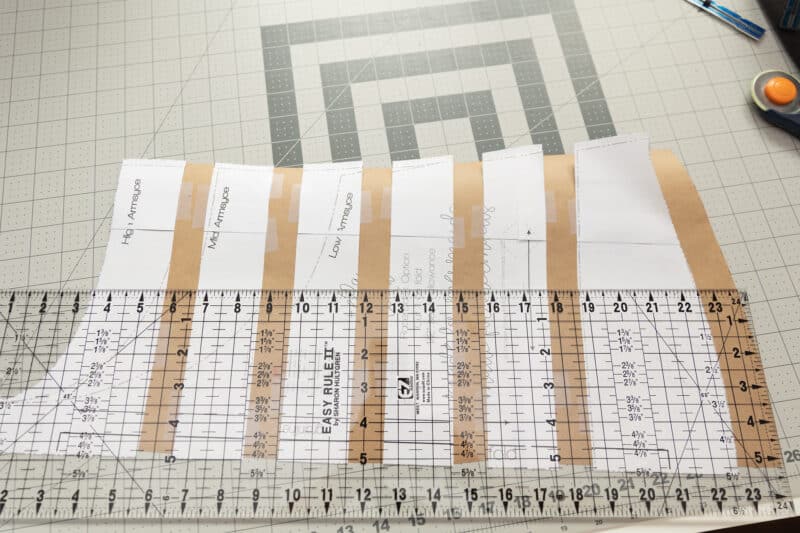
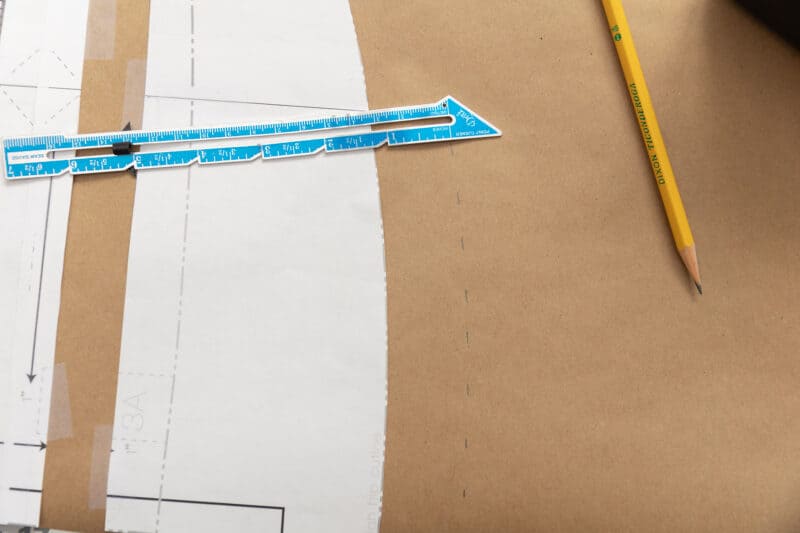
So, I calculated 12.5 x 1.5 = 18.75″. If I had done the 25%, then it would have been 12.5 x 1.25 = 15.625″. I then knew that I needed to add 6.25″ of length to the overall pattern. To do this, you’ll want to add that length at several spots along the pattern, so that your waist, chest, hips, etc. will still be where they’re supposed to be once the ruching is complete on the sides. I cut my pattern at 5 spots, evenly across the length of the pattern, and spread each spot at 1″. After this, I added 1.25″ to the hem so that the bottom of the tank had some gathering at the hemline. You’ll repeat this so both the front and back pattern pieces now have the added length throughout.
Now that your pattern pieces are prepped, you’ll cut your fabric out. You’ll need front and back bodices, and the bands or bindings for the neckline and armscyes for the options you chose.
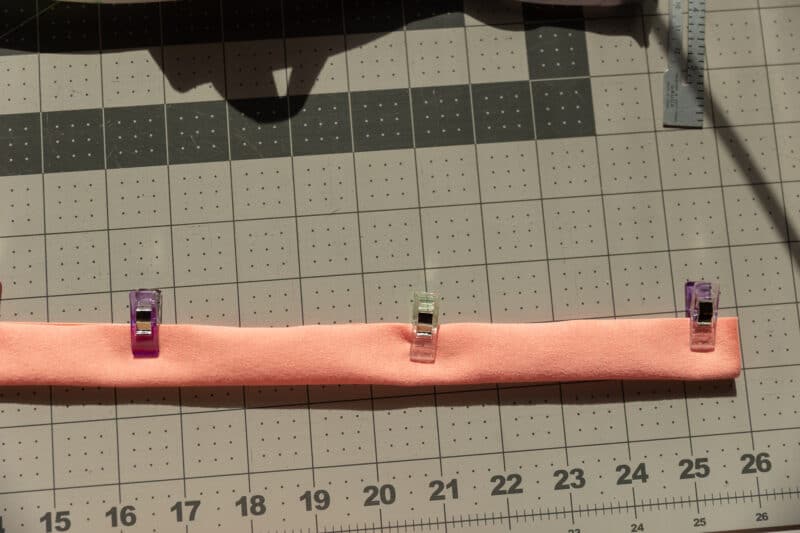
The other thing you’ll need is something to add to the casings to create the ruching. You can cut your own fabric to make the ties, or use premade cording. If you’re wanting to cut your own fabric for ties, measure your side seam and then add 10″. For mine, I cut 4 strips at 2″ wide by 22.5″.
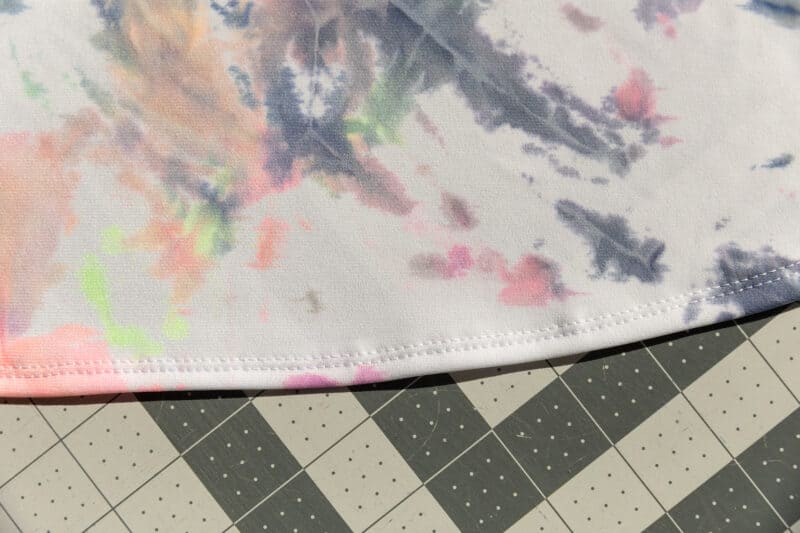
After cutting your fabric out, you’ll hem the front and back bodices using the hem allowance from the Tella tutorial.
You’ll then sew your side seams on a sewing machine with a stretch stitch with a 3/4″ seam allowance, since we added 1/4″ to the side seams. Do not use your serger for this step!
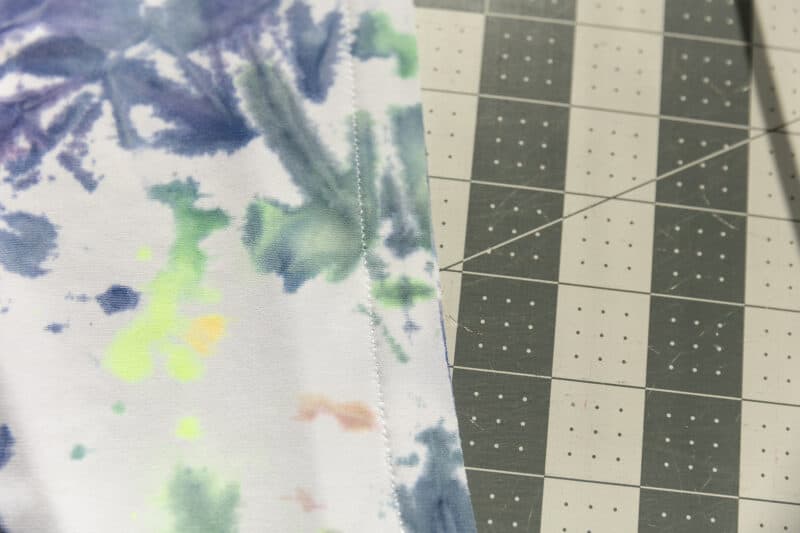
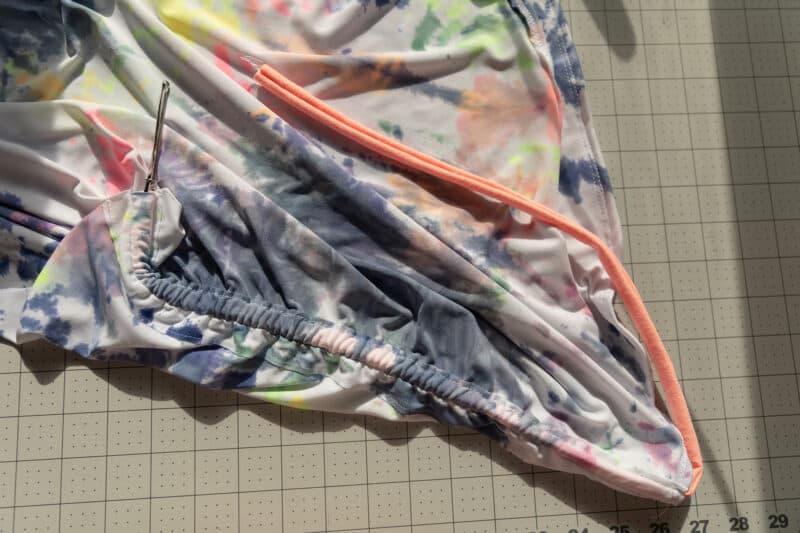
Now we’ll open up the seam allowance, and lay it flat on the wrong side of the fabric (wrong side to wrong side).
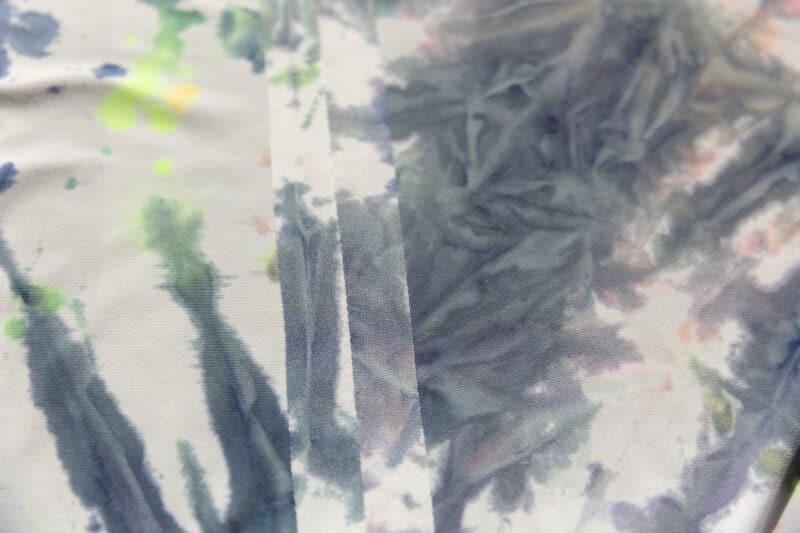
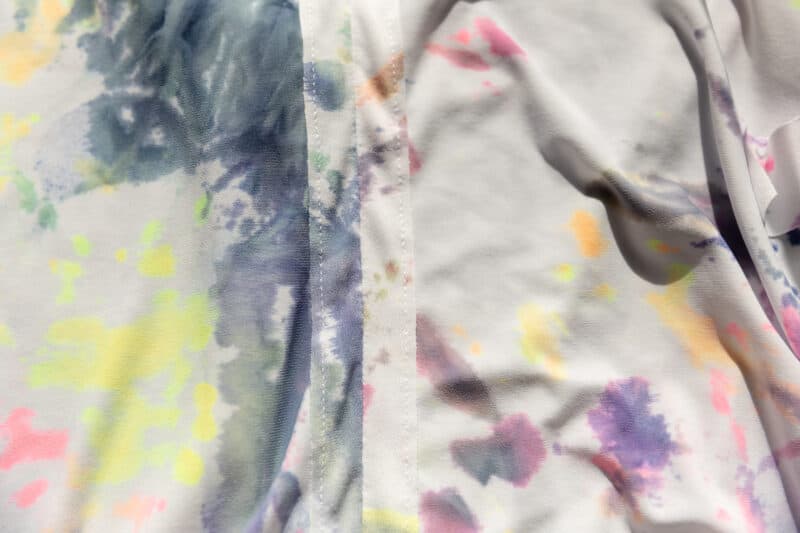
Edge stitch the raw edge to the bodices to make the casing for the ties. If you’re making your own ties, then sew them now with long edges together using 3/8″ seam allowance.
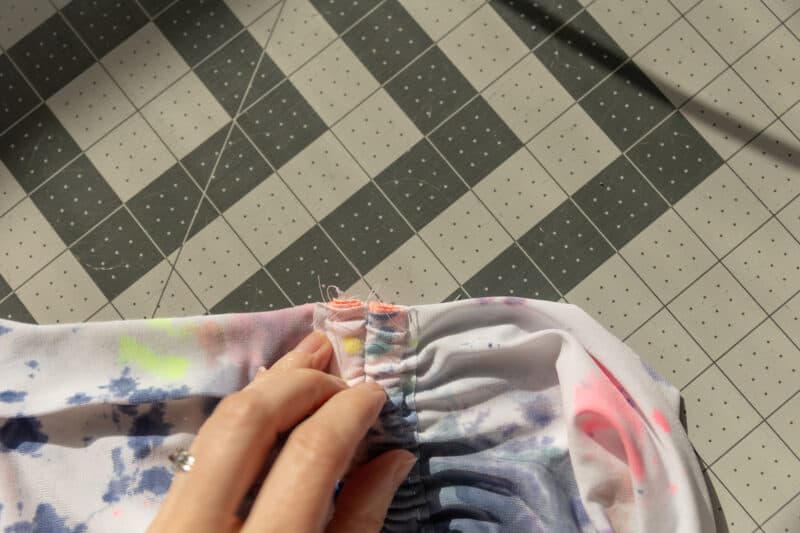
Insert your ties into the casings and baste them to the top at the armscye.
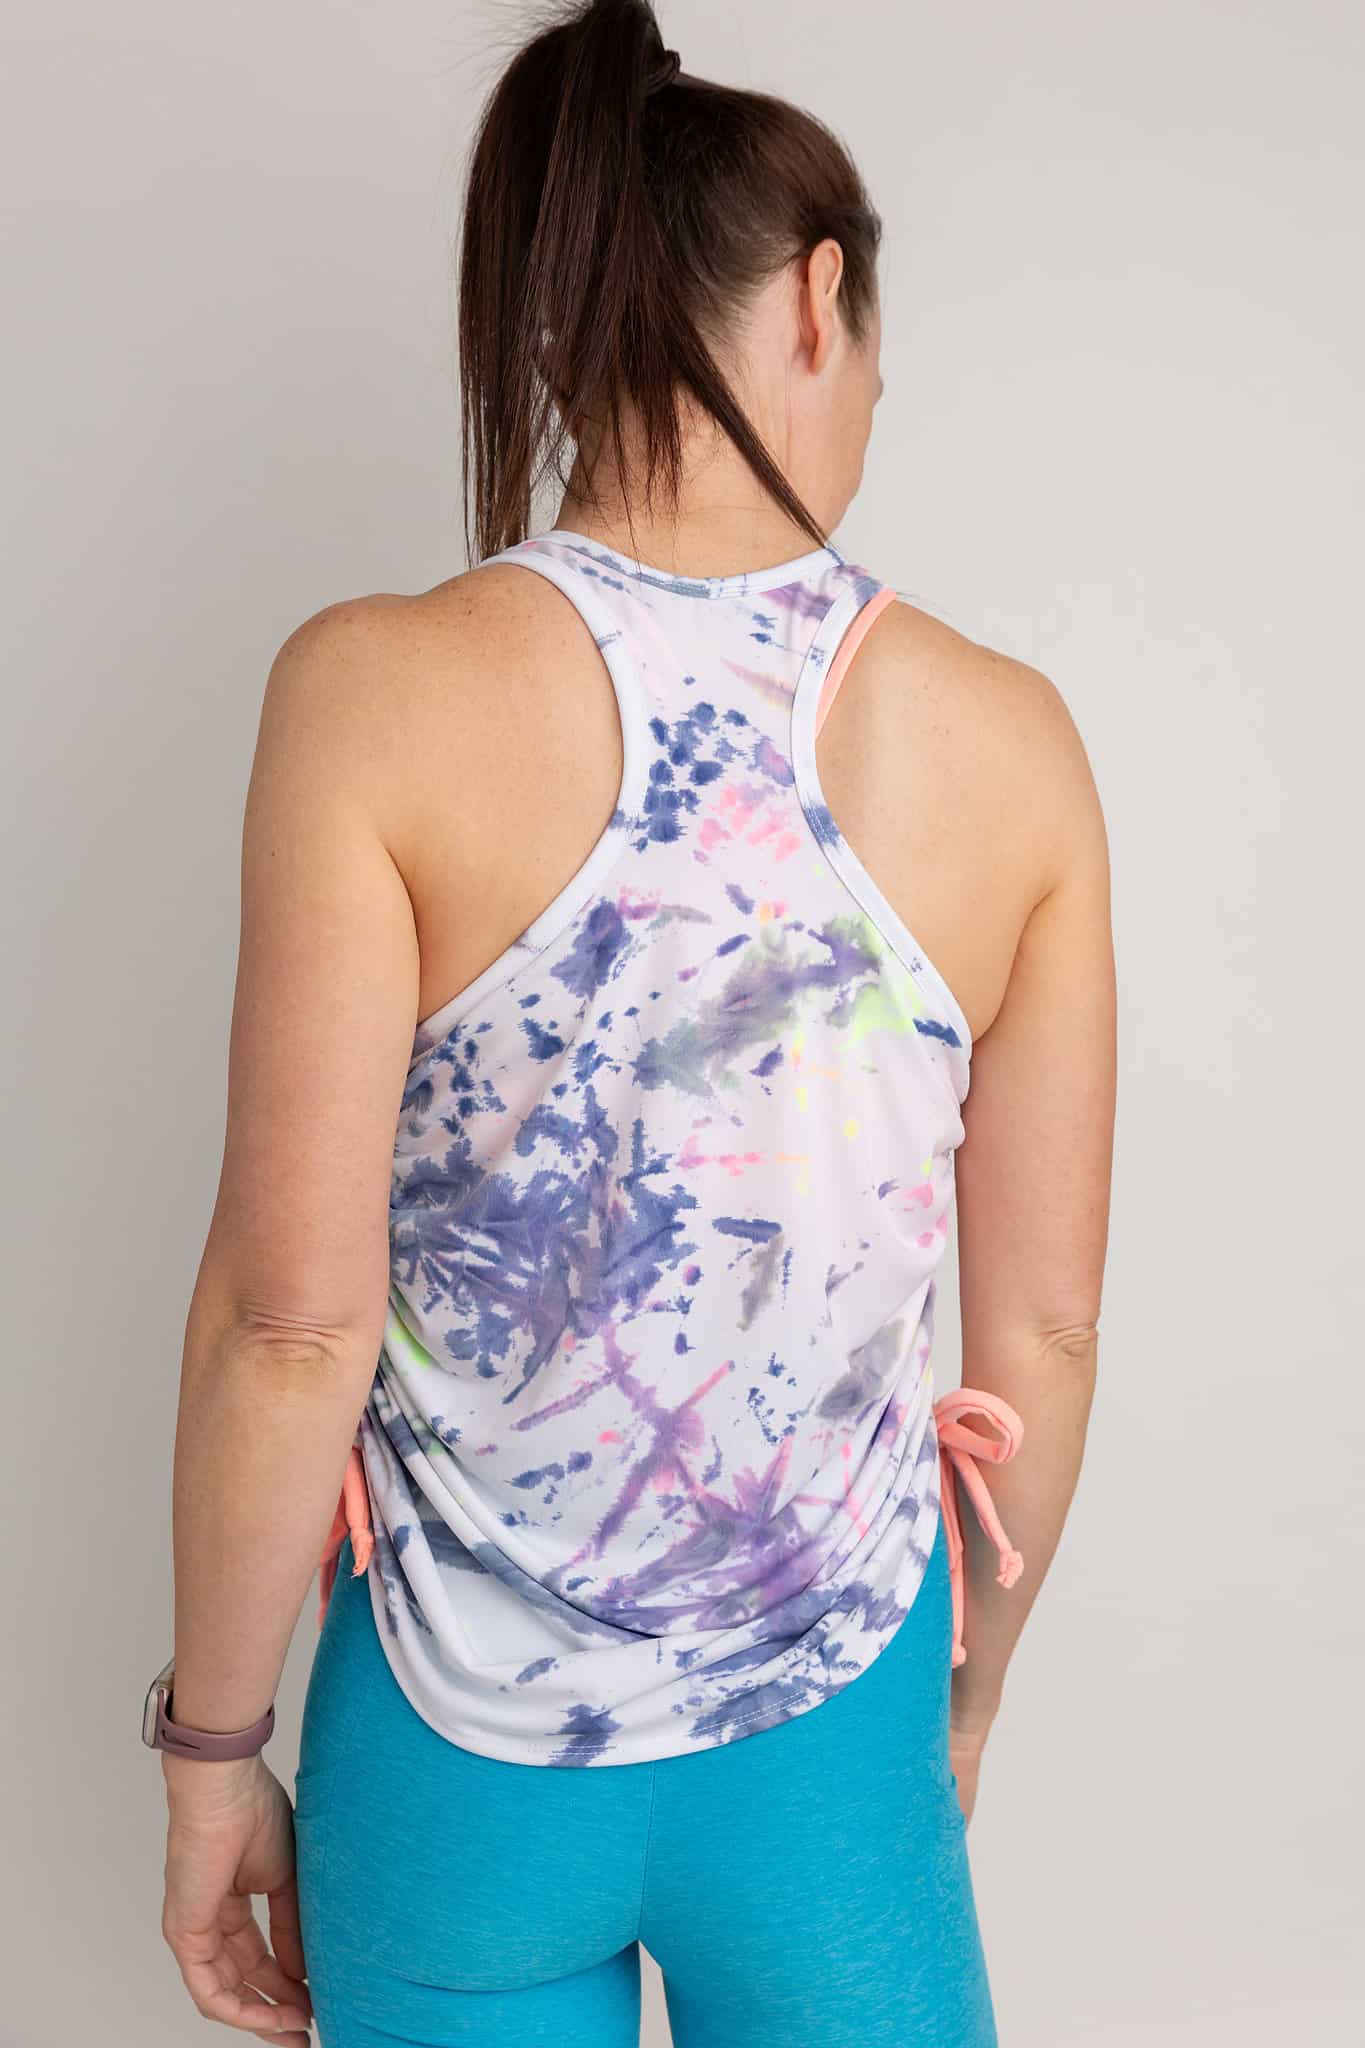
Now, you can attach your bands or bindings to the neckline and armscyes per the Tella written tutorial. Try on your top, adjust the ruching how you like, and tie your ties, shortening the ties as needed.
You can use this hack tutorial for lots of other top patterns, but we love it so much on the Tella! Which pattern will you use it on first??
-Anna




Leave a Reply