To be honest, I am not all about cats 😉 We have a black lab, no cats at this house! I don’t know why my daughter’s kitty craze started, but it seems most 5 year old girls go through this phase. She is no different…. she is OBSESSED with all things kitty! Last fall we found a pair of cat shoes on zulily, she wore them ALL the time and cried when she grew out of them this summer. This year she chose a cat backpack, lunchbox, water bottle, snack holder…..I’m telling you, cat mania! Cats, cats, cats! You can see her favorite pink cat shoes here, paired with her Sophie dress. 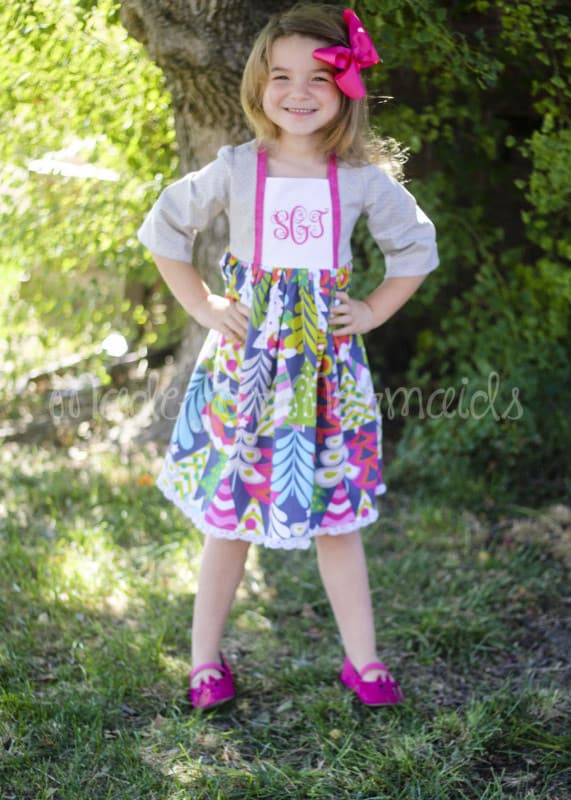
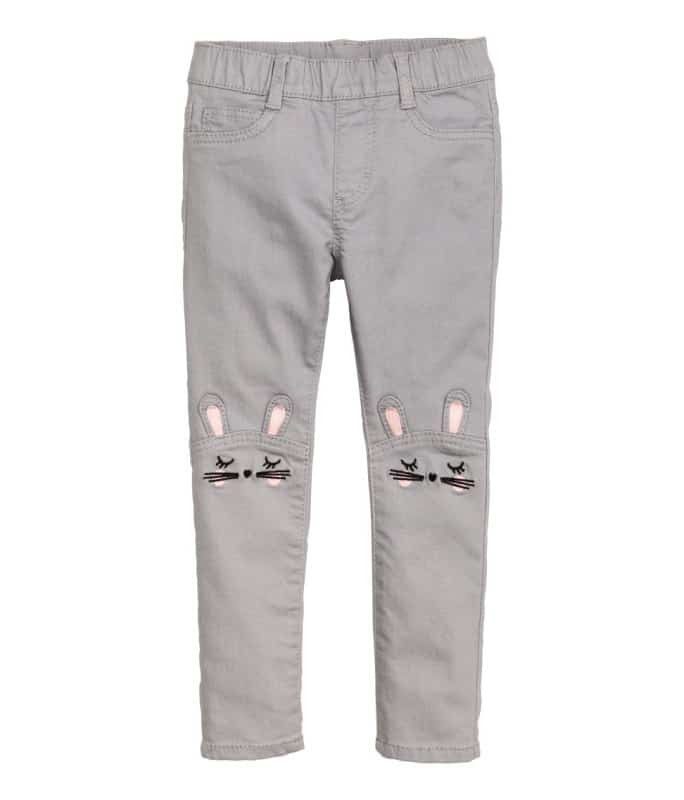
A few weeks ago, we went to the mall to shop for school shoes and she flipped when we walked by H&M. Their window was full of animal clothes- kitty, bunny, lambie, puppy and even raccoon- tops, dresses, jeans and skirts everywhere. There was one skirt in particular she really loved, but it didn’t fit and she was so upset! It was probably a good thing, since it was faux leather and we are still in triple digits here in Dallas.
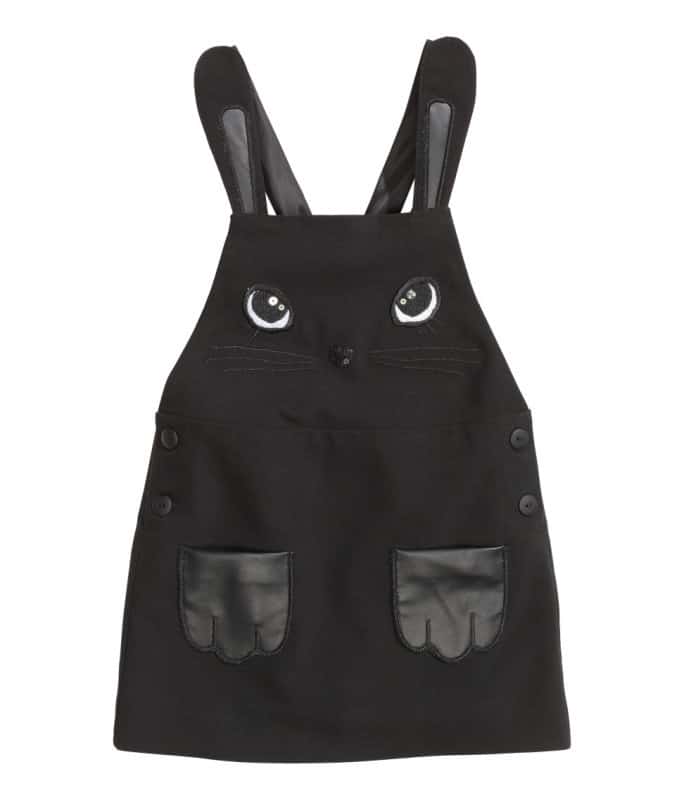
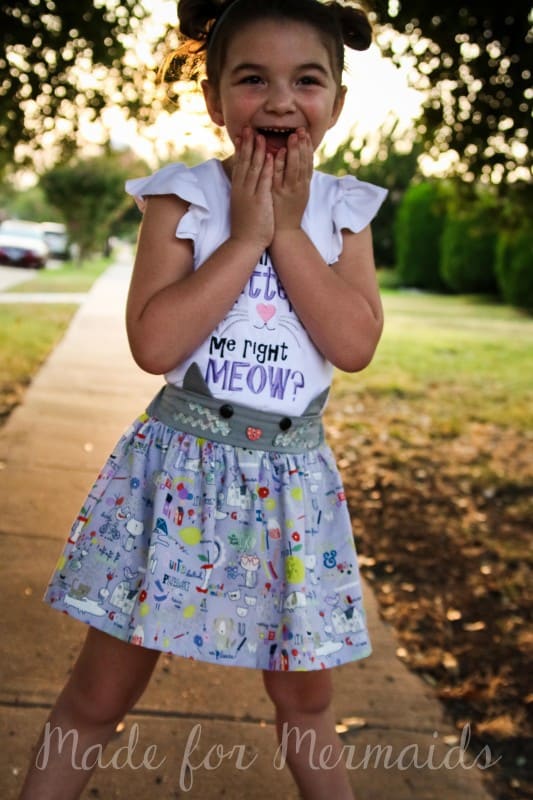
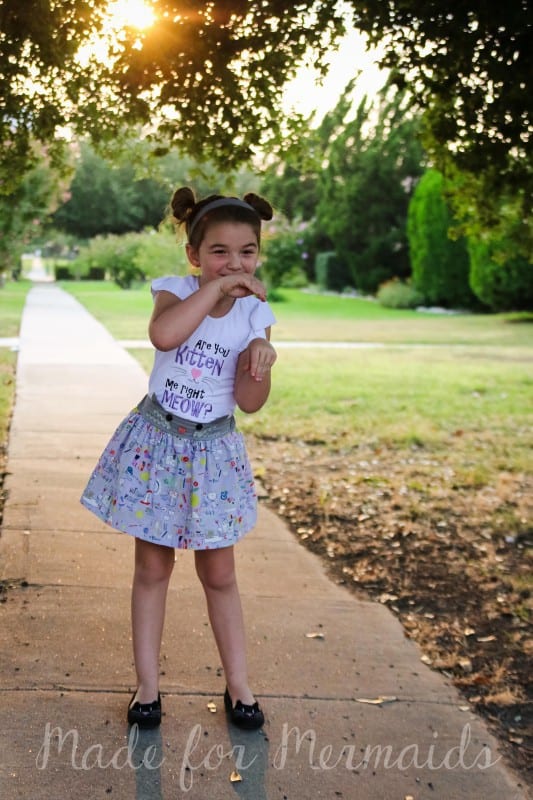
 Her face below, is basically the exact look when the H&M skirt didn’t fit! It had a waistband that had a kitty face and ears with simple gathered skirt….JUST like my Samantha pattern! I told her we would go home and sew one that fit, just for her. As soon as we walked in the door, she was asking to help make her skirt.
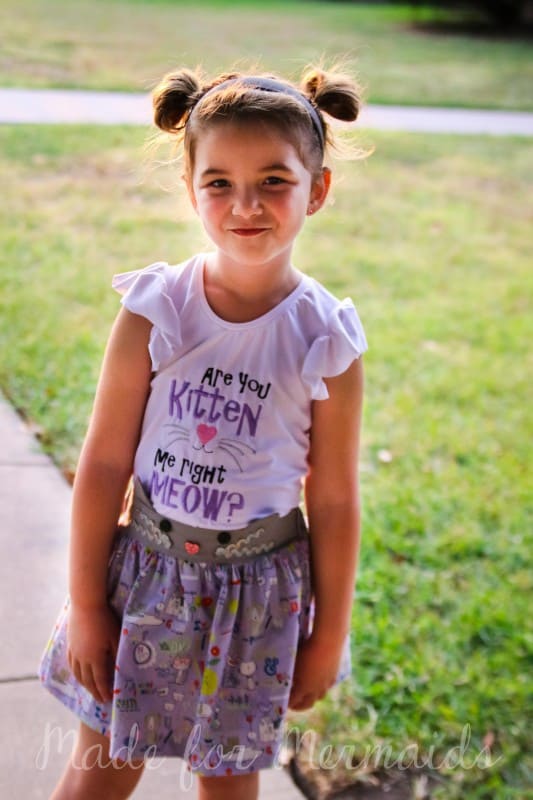
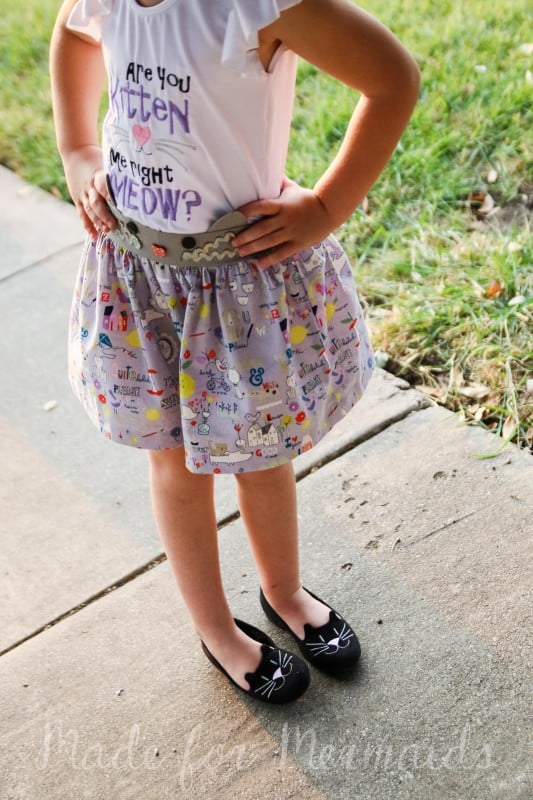
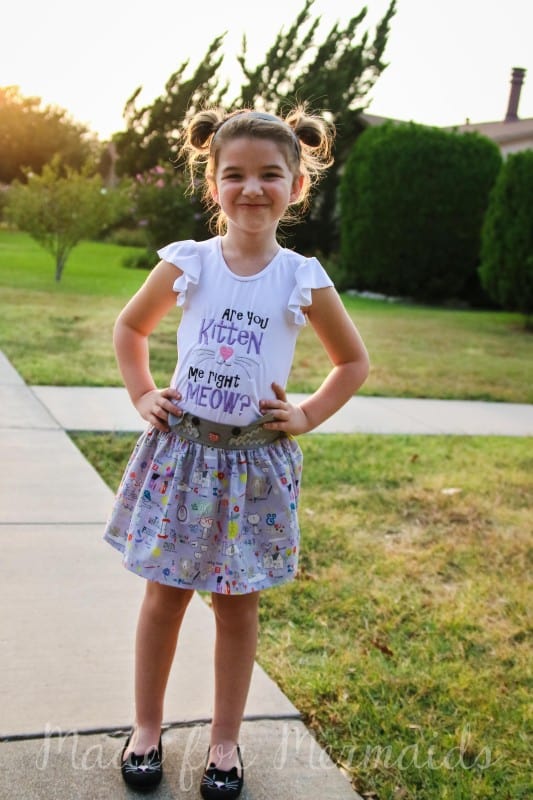
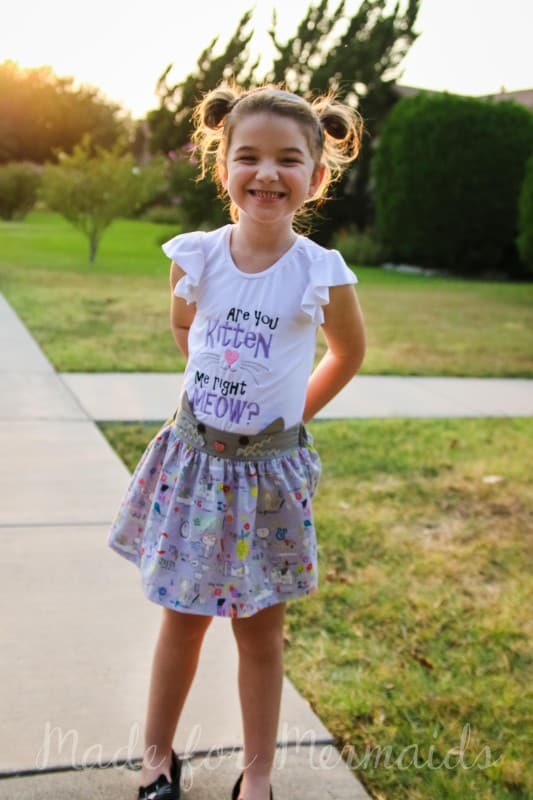
I modified the Rose Ruffle Top and the Samantha skirt for this adorable outfit. These little ears could be added to SO many patterns- The Hampton, Molly, Alyssa, Riley….really any you want! Here is a quick “how to”, on how I added sweet kitty ears to my skirt…pst download the kitty ears pattern pieces free in my facebook group in 3 different sizes!! Embroidery file purchased here and fabric is Alexander Henry “my world of smiles”. Her shoes we found at Sears, of all places, for $15! Can’t beat that 😉

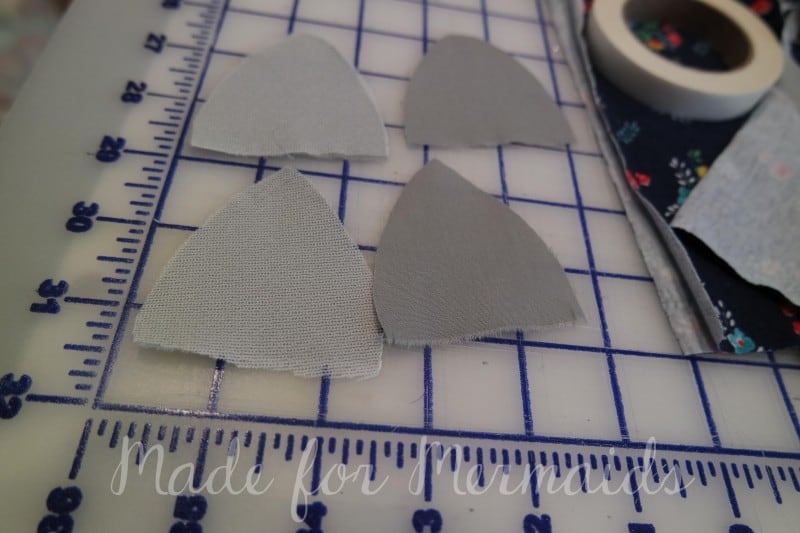
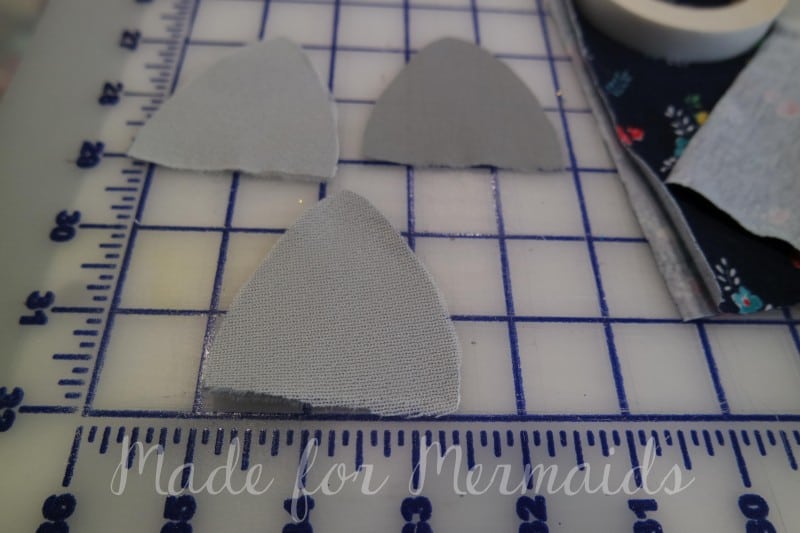
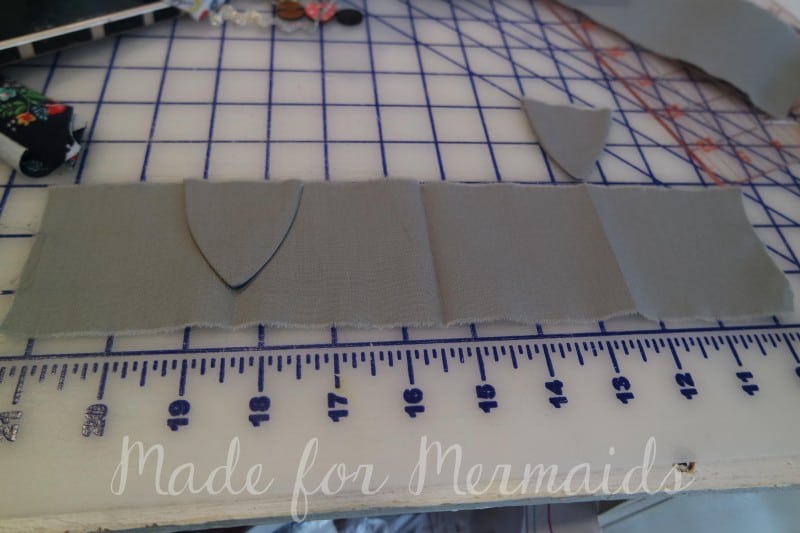
First cut your pieces. For the ears, you will need 4 fabric pieces and 2 interfacing pieces. Iron interfacing to wrong side, on a 2 fabric pieces. I used the medium size ears.
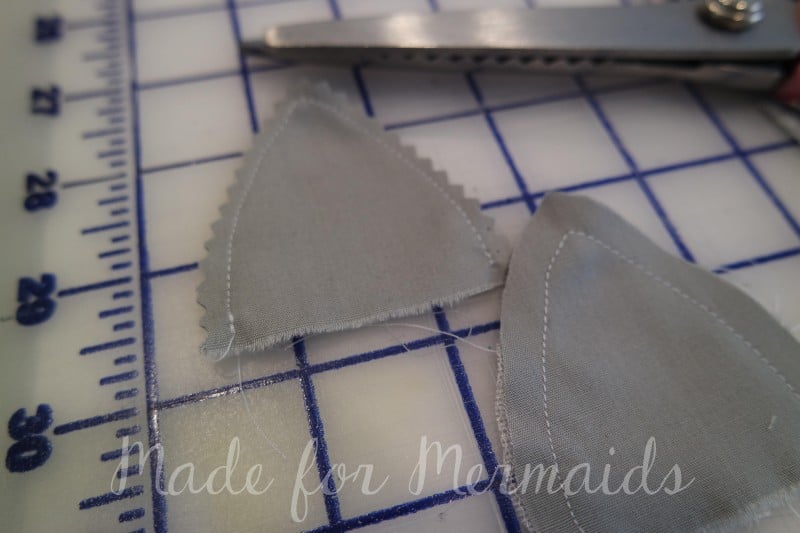
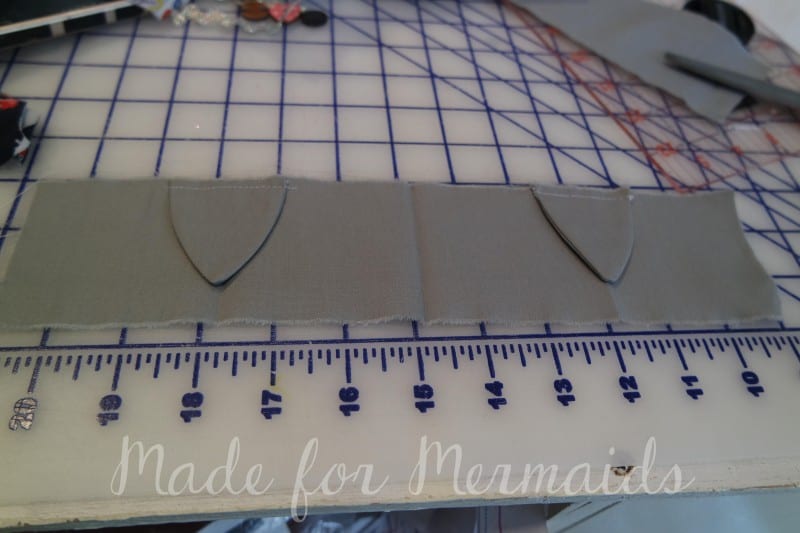
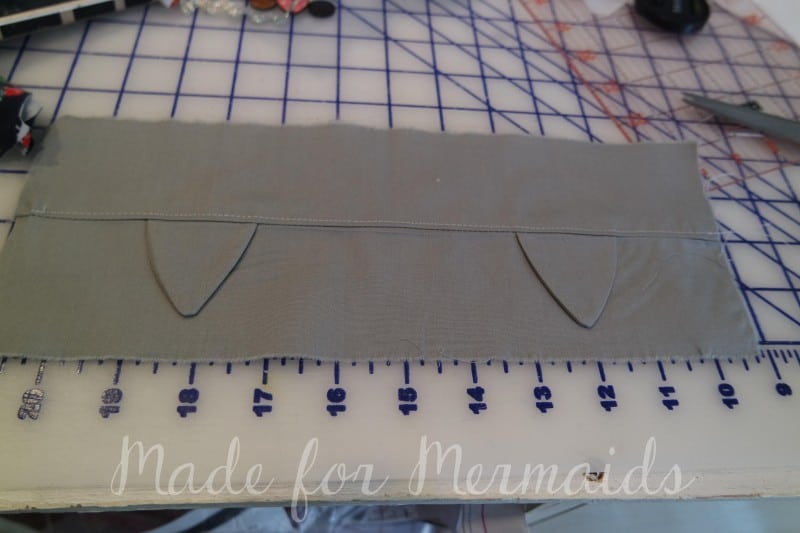
With right sides together and a 1/4″ seam allowance, stitch an interfaced piece to fabric piece along curved edges. Leave straight edge un sewn.. The interfacing should be facing out. Repeat with other pieces. Use pinking shears to trim and clip seam.

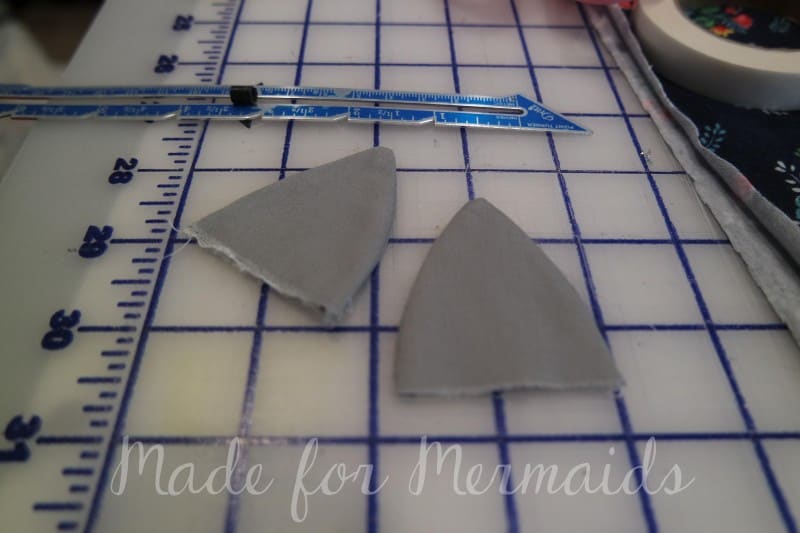
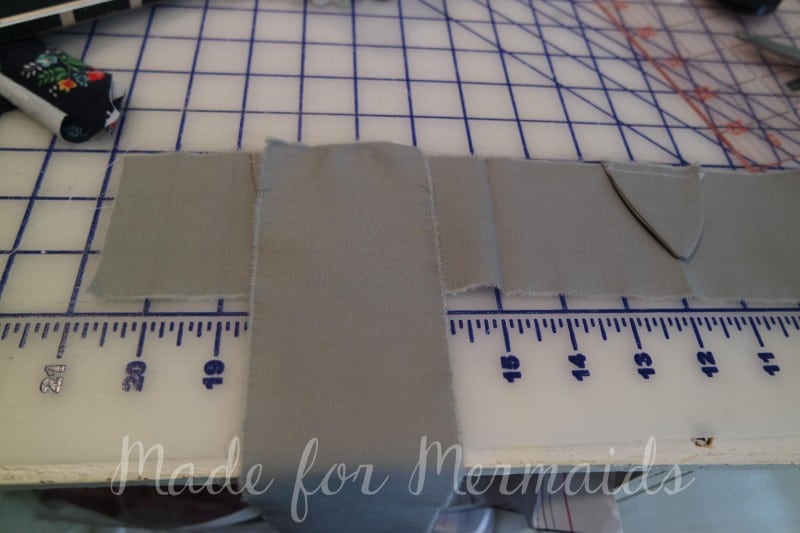
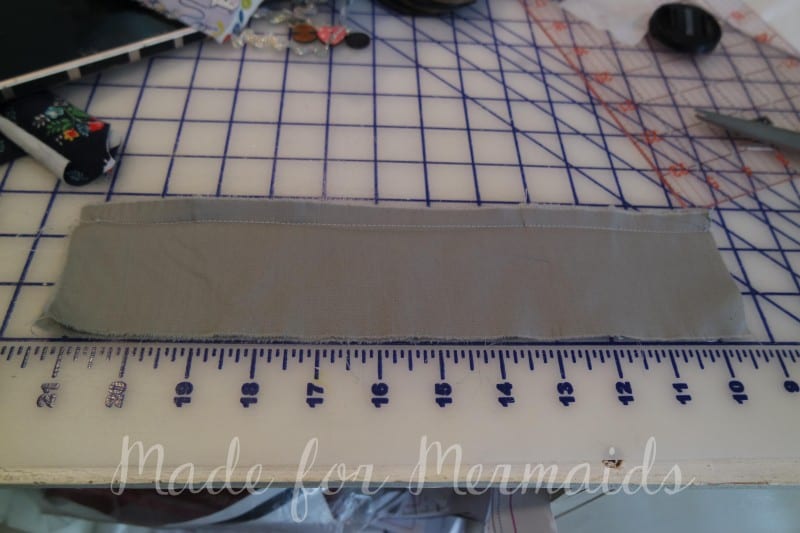
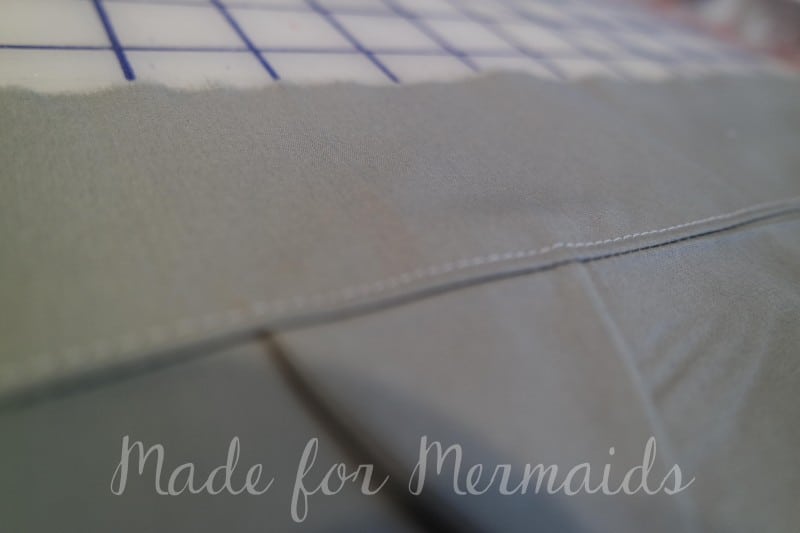
 Press right sides out and use point turner to help. Top stitch if desired.
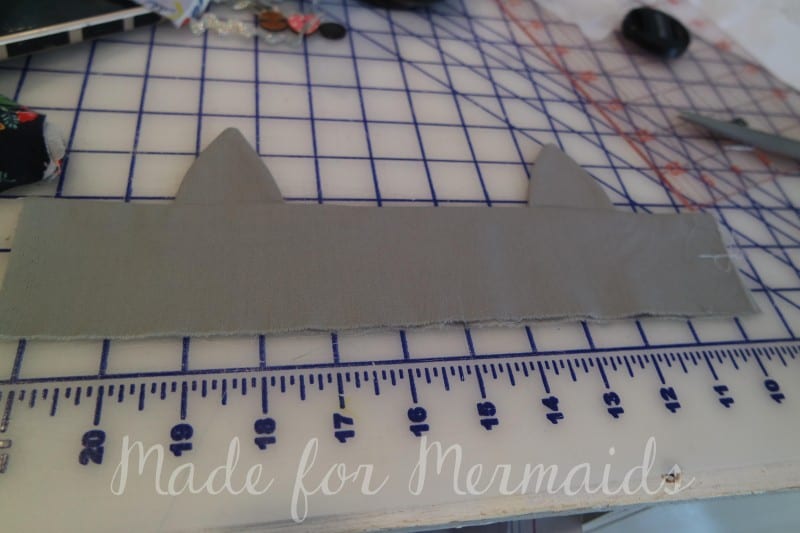
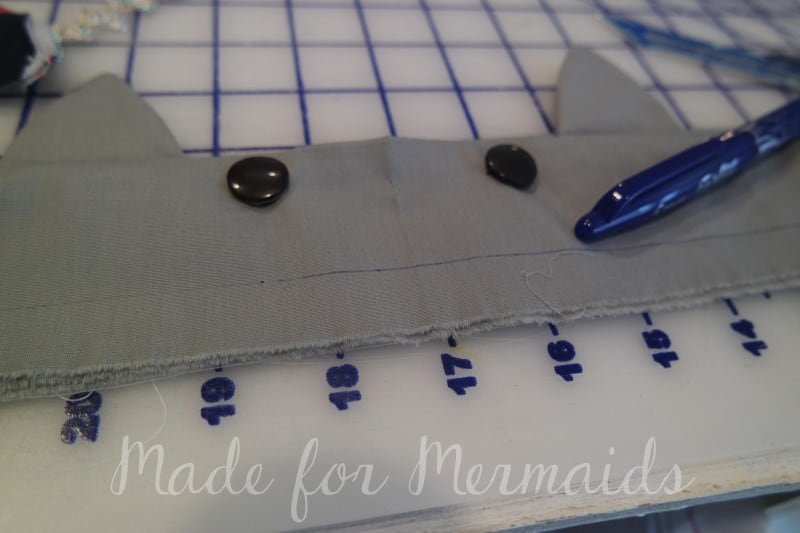
 For the ear placement, I created creases per tutorial, as if I were adding the suspenders to the front waistband. (Note-You can add the suspenders too, I just left off so it wouldn’t cover her shirt.) Place the ear centered on the crease lines, point should be facing down. Baste each ear in place.
If you were adding the suspenders, or you are using the ears on Molly or Alyssa, you would baste the ears first, as above, then the suspenders or straps on top, like below. Yes that is a scrap piece but just so you get the idea 😉
Then continue to follow pattern per tutorial- stitch lining to waistband, right sides together. Make sure when you understitch, you don’t catch your ears!
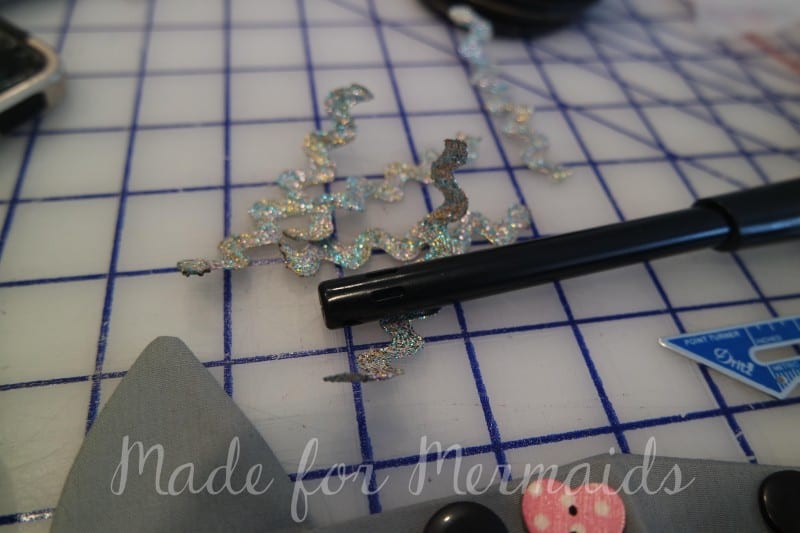
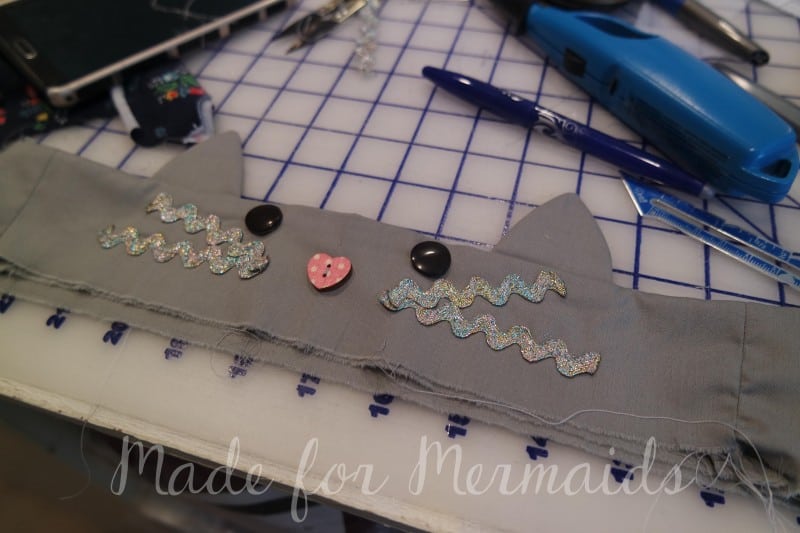
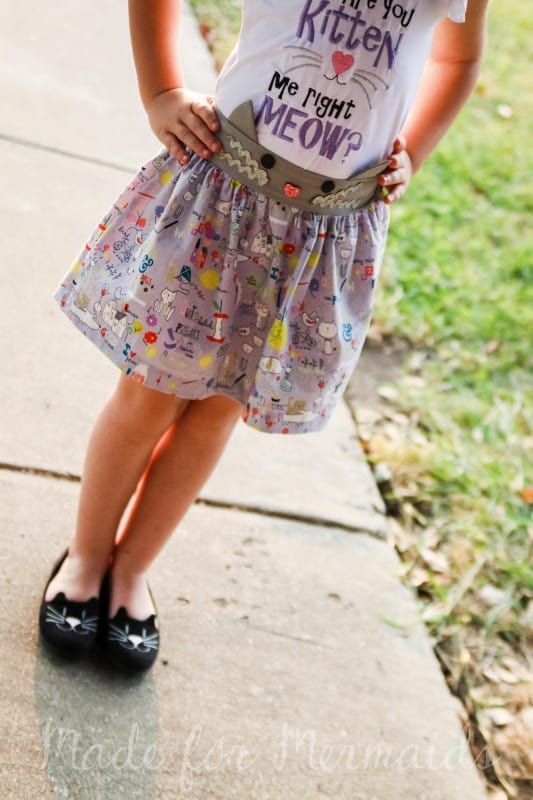
For the face…now this is really up to you! I let my daughter choose the nose, ric rac and button eyes. I did crease the center and use a hem gauge to help stay as symmetrical as possible! I also marked a 1/2″ along the bottom, so I wouldn’t go into the skirt seam allowance. Don’t forget to heat seal your ric rac, I used a lighter to burn each edge. 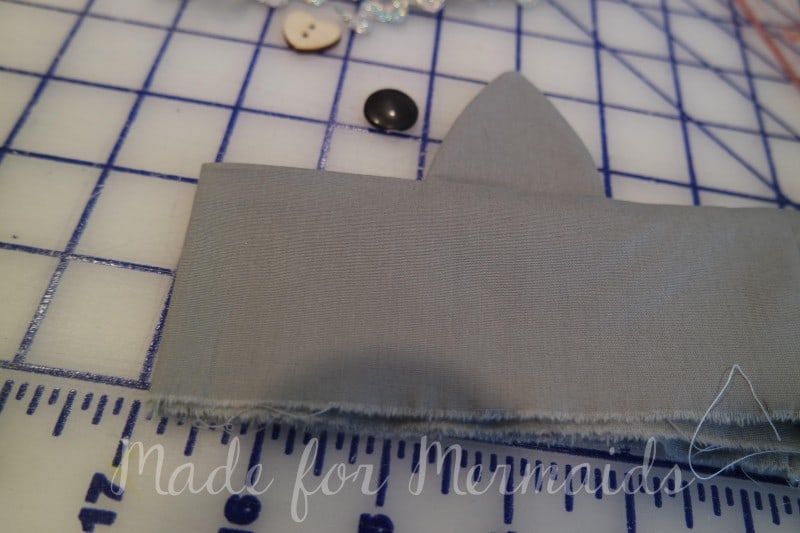
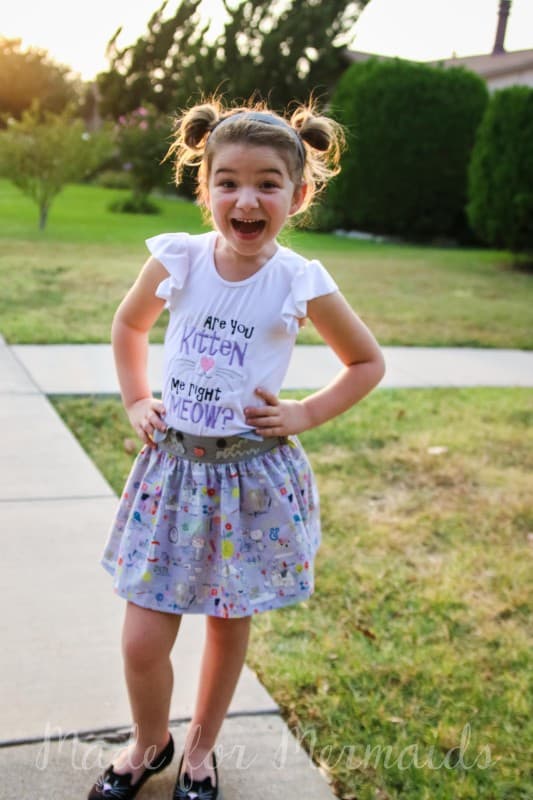
 Tada!! I can’t tell you how excited she was to wear this! I already have a kitty face Katelyn Jumper cut out, that I plan on putting the straps to the back, like Megan showed in the sew-a-long, with the ears on the front bodice. So cute!! Is your daughter kitty obsessed too? Please let me know and share if you make her anything, I would love to see! I don’t think my little one has loved an outfit this much in a LONG time…she really wanted to pretend to be a kitty the entire photo shoot 😉
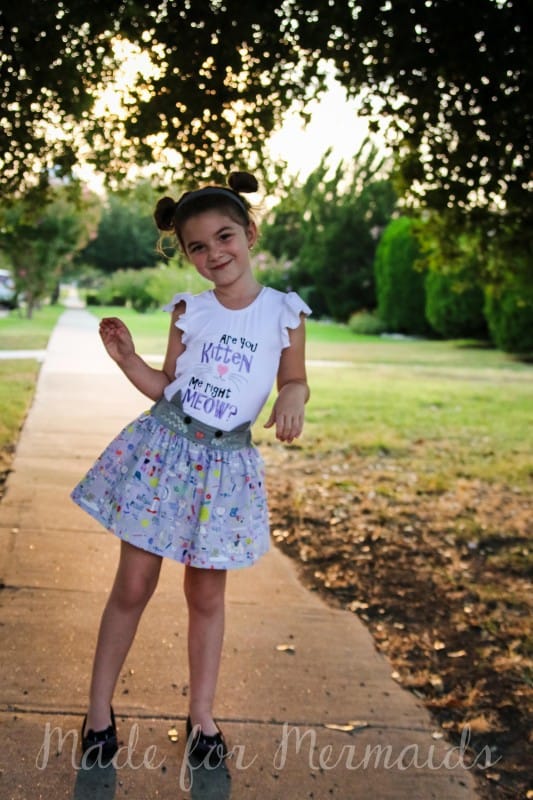
Leave a Reply