
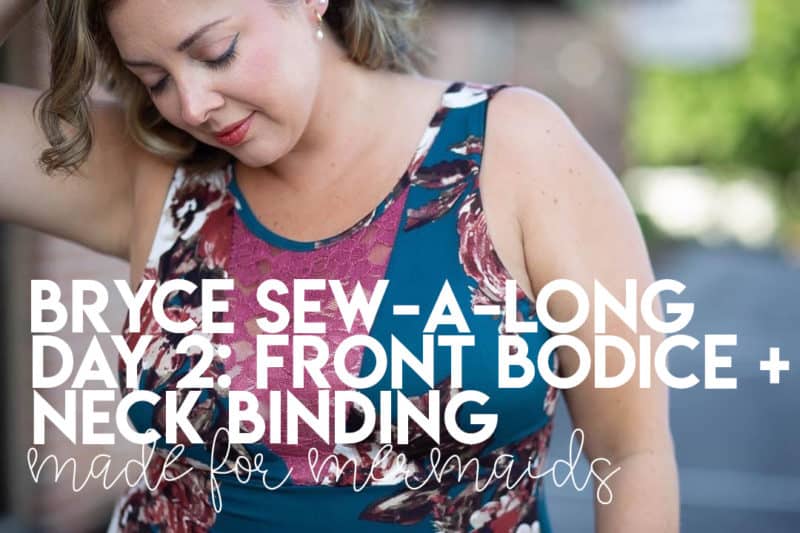
Day 2:
Today we’re going to construct our front bodice pieces, and attach our neck binding. If you’re adding either removable or fixed cups, or an inner lining, you’ll want to be sure to follow the directions on page 12 and 13 of the written Bryce tutorial. The inner lining is a great place to add power net or tech sheen for added support! Power mesh can be used, but just keep in mind that it won’t be as supportive.

In today’s video, I’m sewing up my nylon spandex version. The steps for today will be the same for my sleeved rib knit version; later on this week, some of the steps will vary a bit.
Pay attention to the seam allowances in the tutorial! We’re going to attach the bodice pieces with a 3/8″ seam allowance, and the binding will be attached to the neckline with 1/4″ seam allowance. I’m using my serger to construct the bodice and attach the binding piece to my neckline, but I’ll use a stretch stitch on my sewing machine to finish the binding.
Don’t forget:
- Make sure you are taking an accurate and consistent seam allowance; seam allowance is already included on all pattern pieces. For Bryce, seam allowance is 3/8″ unless otherwise indicated.
- Take your time with the binding! Need some additional help with binding? Check out our Knit Binding 101 post here.
Want to sew along with me? Check out today’s video!
If you have questions about sewing up your front bodice or adding your neck binding, you are always welcome to post in our SAL group so we can help you! Be sure to check in each day during the SAL, and look for daily posts to enter our giveaways. We can’t wait to see what you create this week!

DAY 1: CUTTING + PREP
DAY 2: FRONT BODICE (OPTIONAL CUPS) + NECK BINDING
DAY 3: FRONT ARMSCYE + BACK BODICE
DAY 4: SHOULDER SEAMS + BACK ARMSCYE
DAY 5: SIDE SEAMS + SLEEVE HACK + CROP BAND
DAY 6: SKIRT
OUR SPONSORS:
Be sure to visit our friends at So Sew English Fabrics – let me know which fabric is your fave!!
Leave a Reply