Alexandria and Allie Hacks
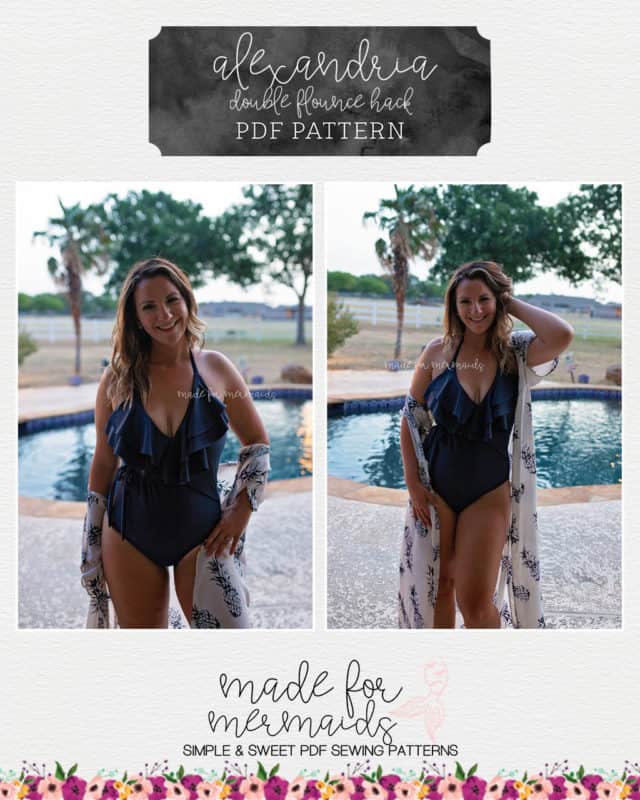
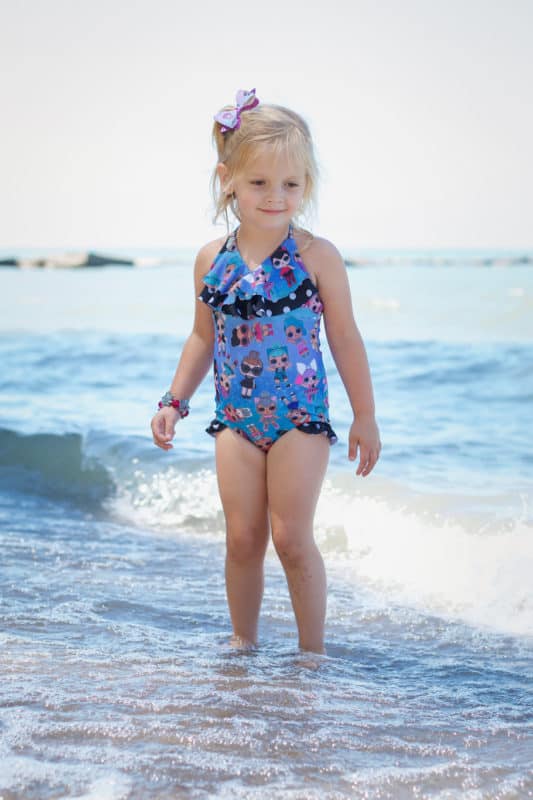
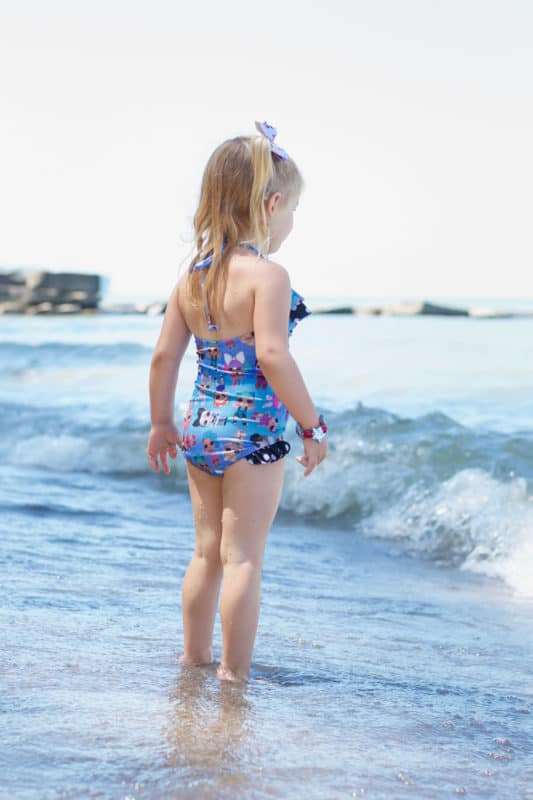
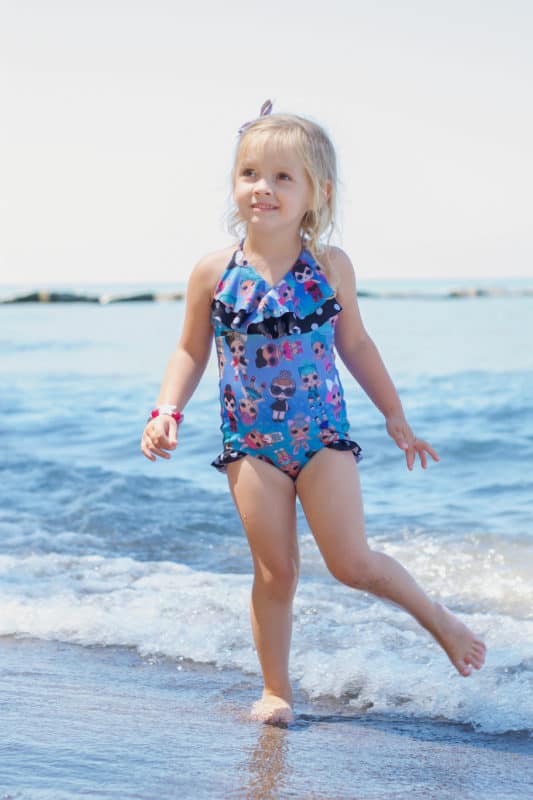
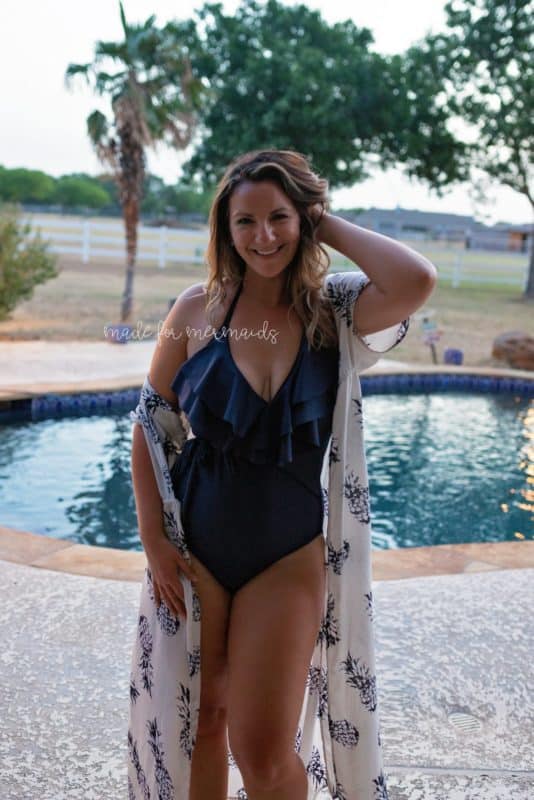
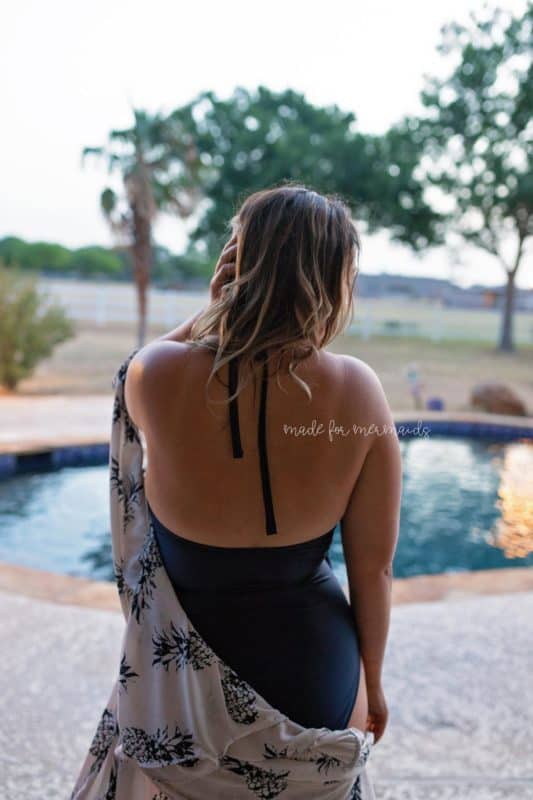
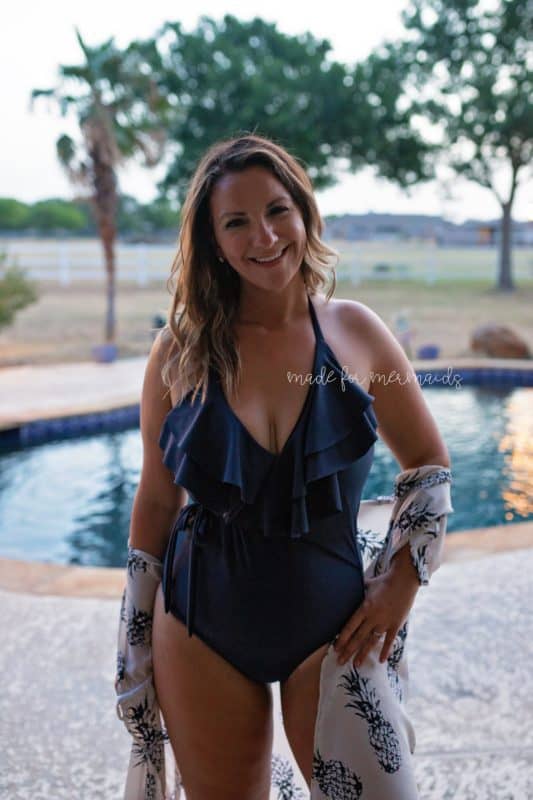
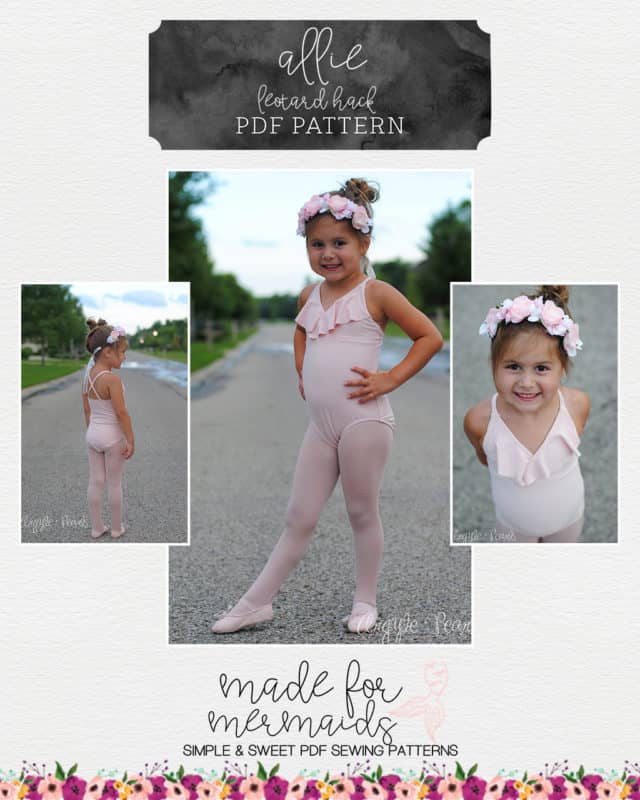
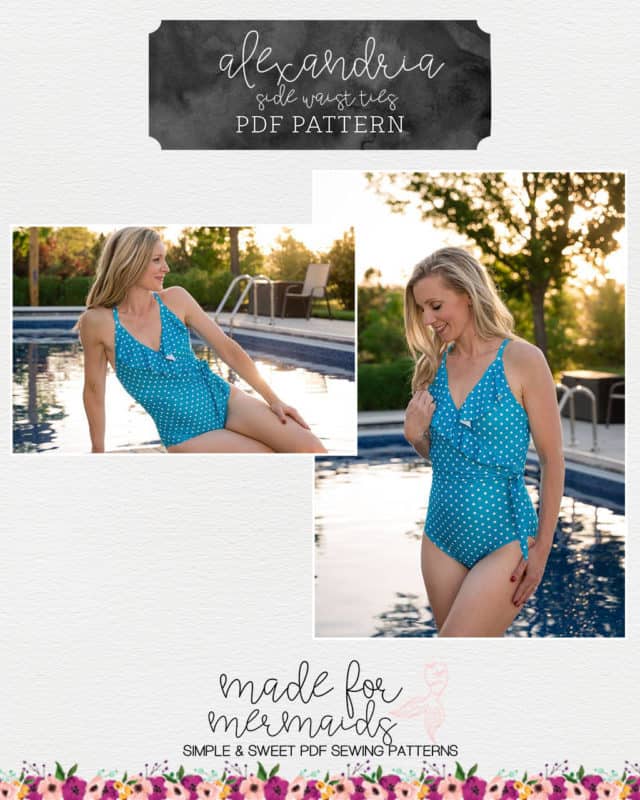
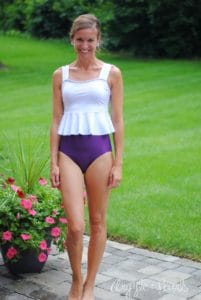
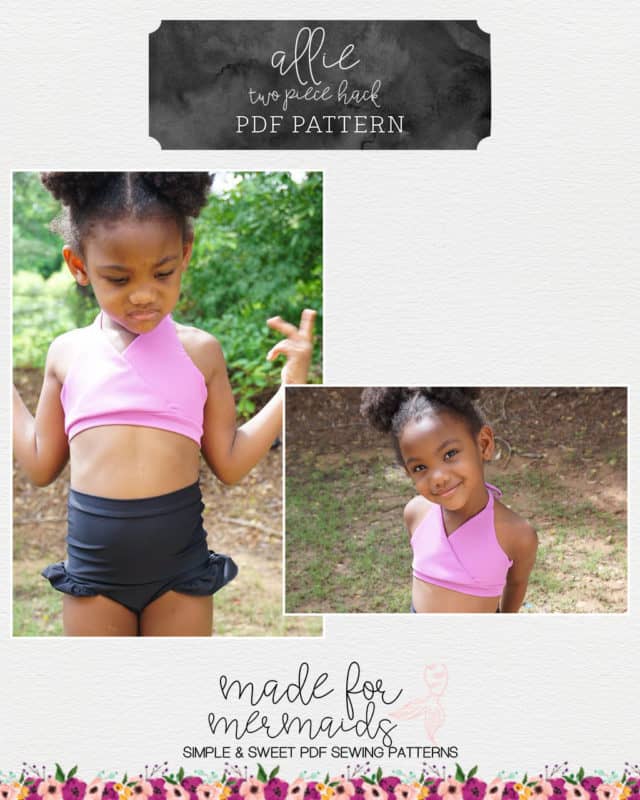
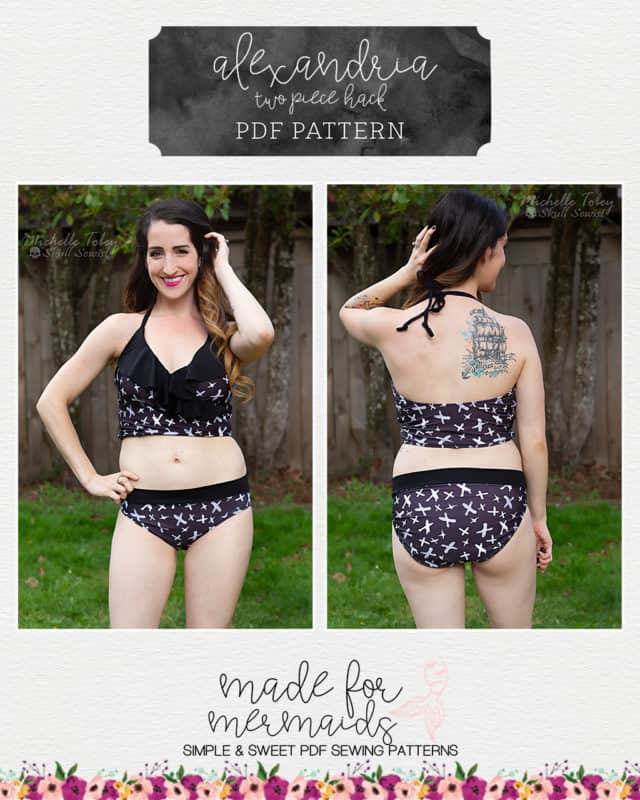
Two of the newest additions to our Mermaid Shores Collection are the Alexandria and Allie swimsuits! Allie comes in sizes 1/2 – 14. It’s a one piece swimsuit with an optional flounce and several strap options. Alexandria comes in our sizes gray-red, and has even more trendy details, including a faux wrap, tie wrap, optional flounces, and three different strap options. Of course, it wouldn’t be a Made for Mermaids pattern if we didn’t think of other mashes and hacks to try out! Check out some of our favorite ideas below!
Double Flounce
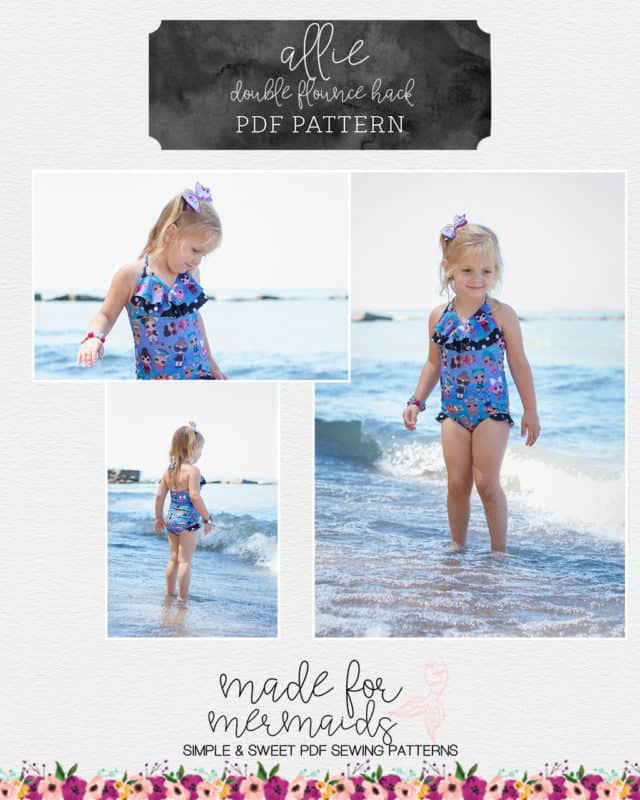
The Allie swimsuit is so adorable and so fun with the sweet leg ruffles and fun flounces! To make this little suit even more dramatic, I decided to add a double flounce to my little one’s suit! This is a super easy modification, and the results are darling! Follow along and I will show you how to add the double flounce to your little one’s Allie swimsuit too!
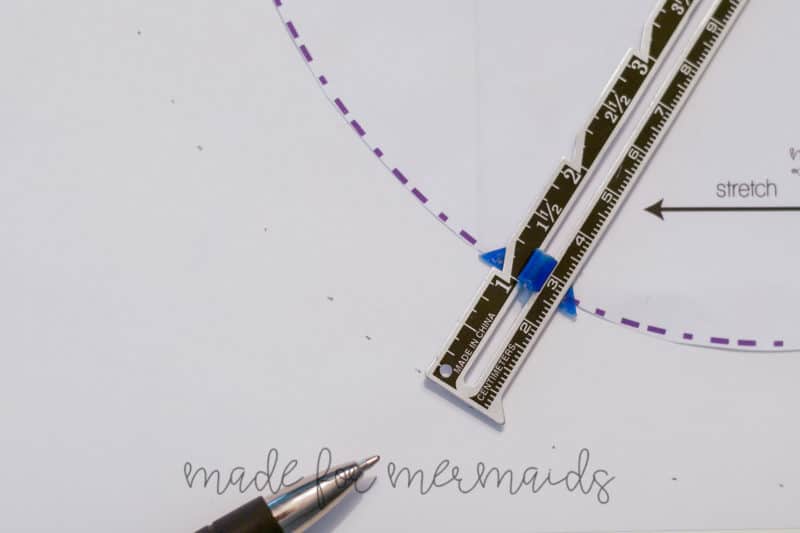
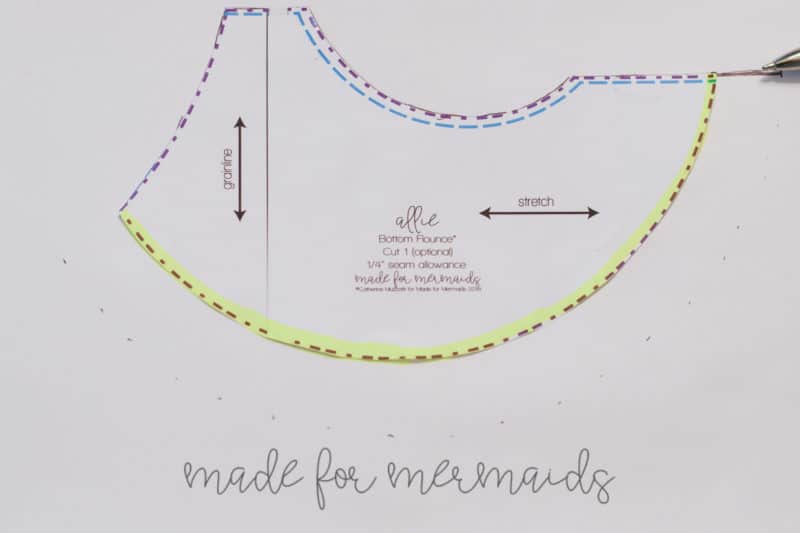
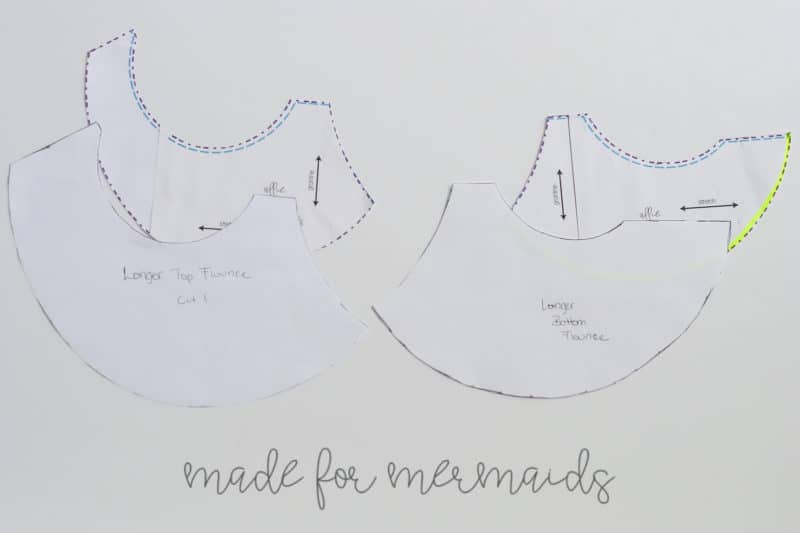
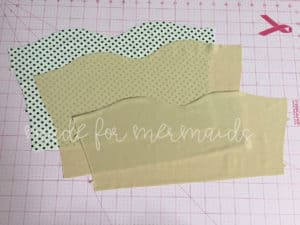
To create the double flounce we need to trace the flounce pattern pieces and add length to the bottom curve of the flounce. I think an inch diffrence between the two flounces looks really nice, but you can choose to alter this number if you wish. Just add or subtract when you trace!
We will be adding that length to the entire bottom curve, but we will maintain the shape of the top of the flounce. I highlighted the section of the pattern piece you will need to add length to. You will want to repeat this for the other flounce pattern piece. Once you have the second pattern piece traced, you will have a total of four flounce pattern pieces. I labeled my traced pattern pieces to avoid mixing them up. Remember that all of the flounce pieces will need to be facing the same direction (either all facing up, or all facing down).
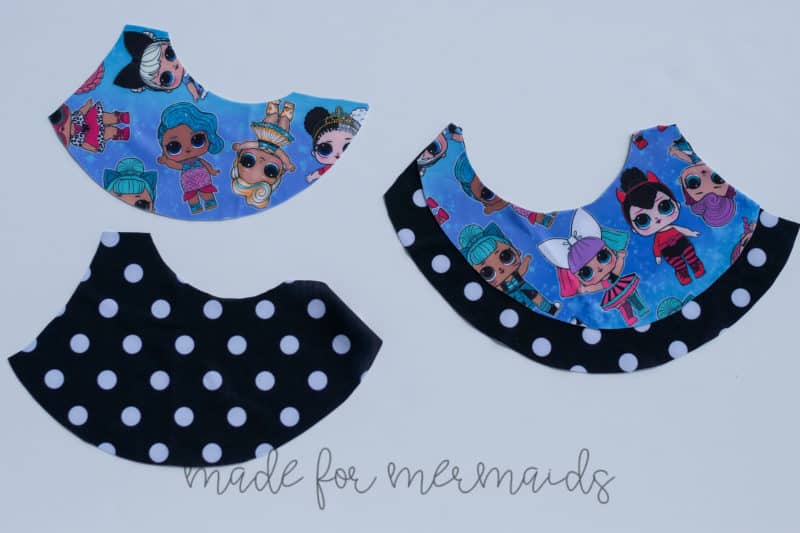
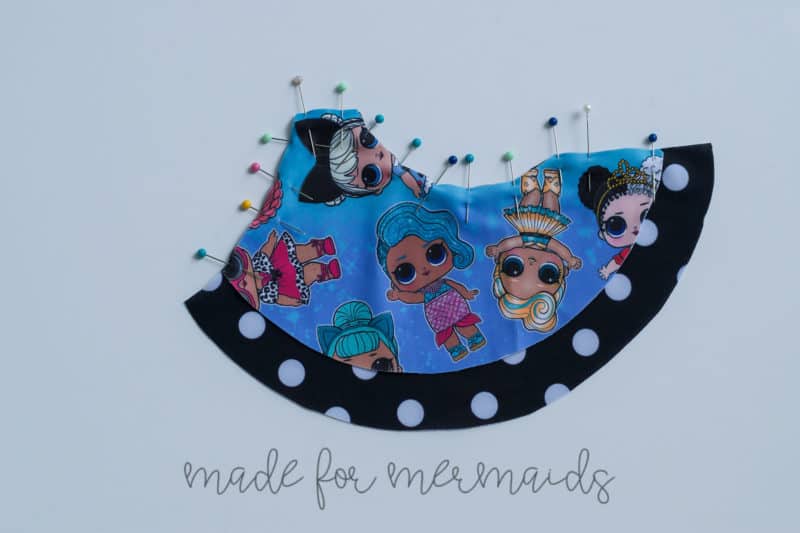
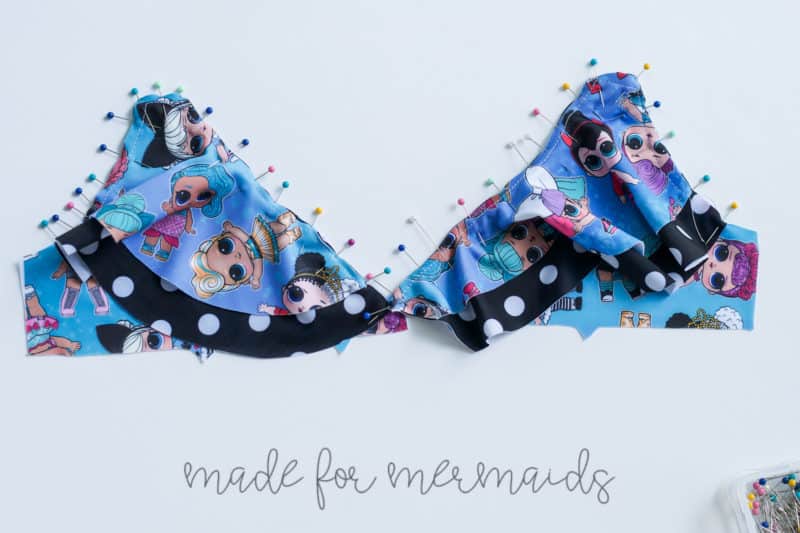
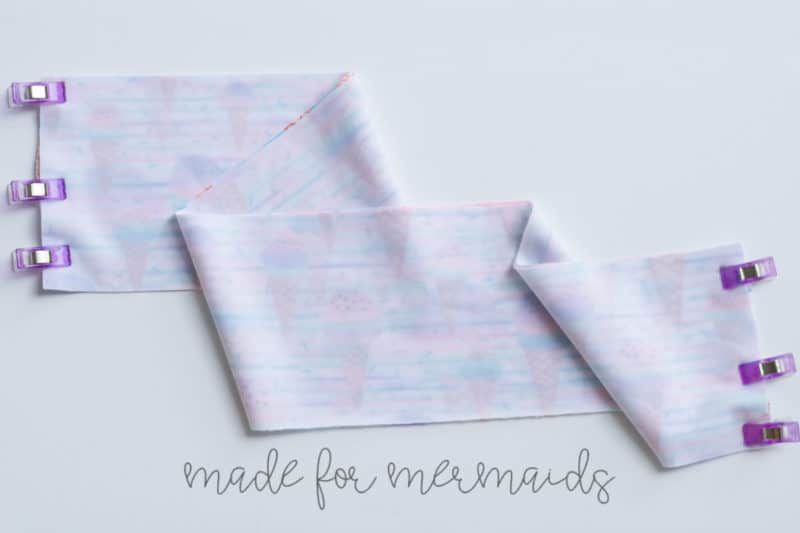
Cut your pattern pieces. And lay the longer flounce piece right side up, then place the other flounce piece on top of the longer piece. The shorter flounce piece will be right side up with the wrong side touching the right side of the longer flounce.
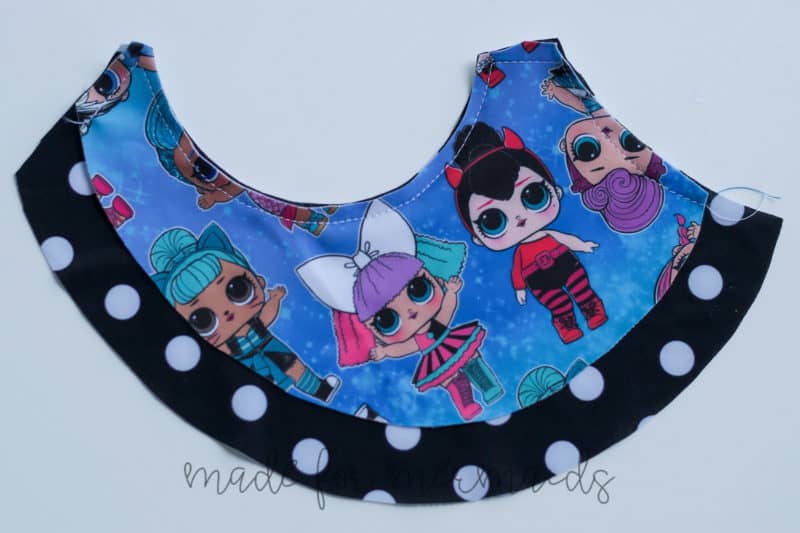
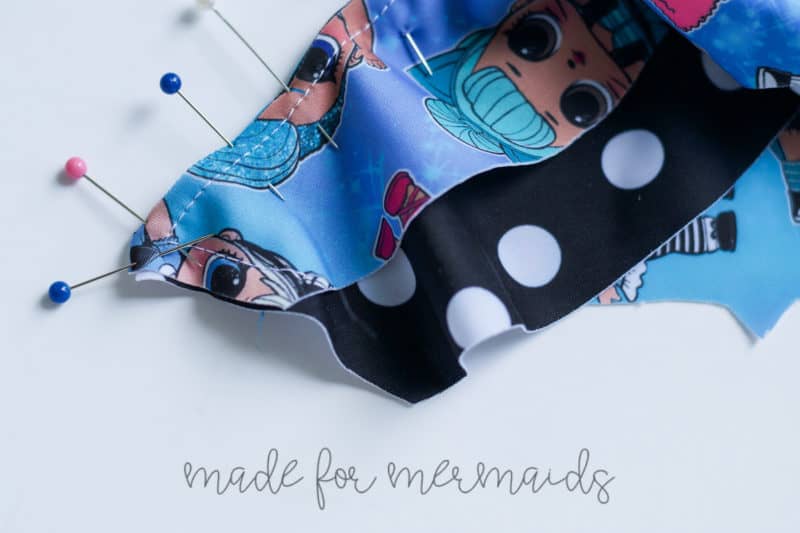
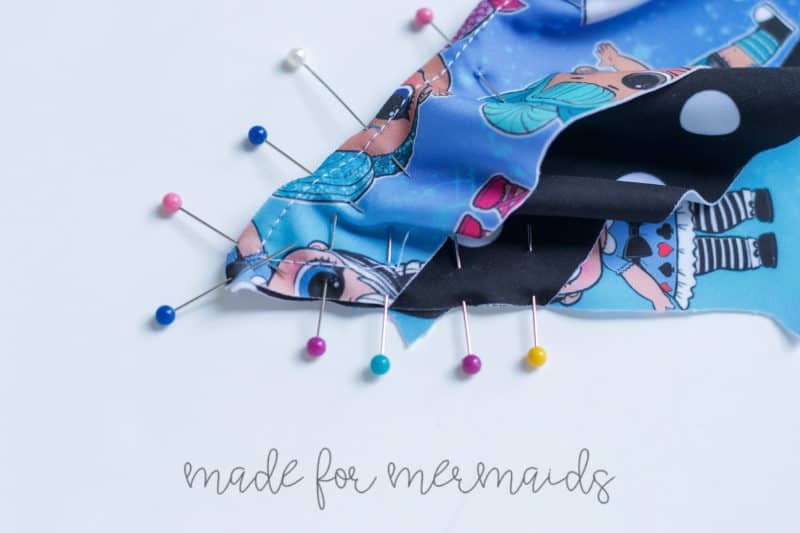
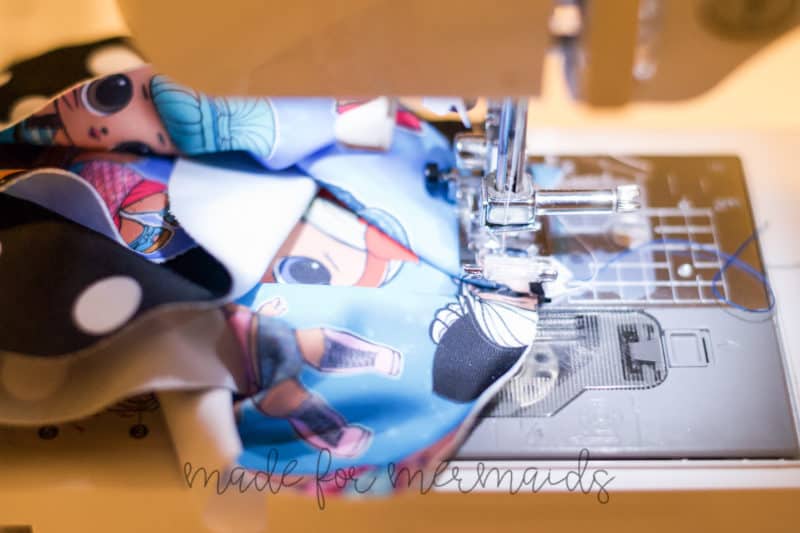
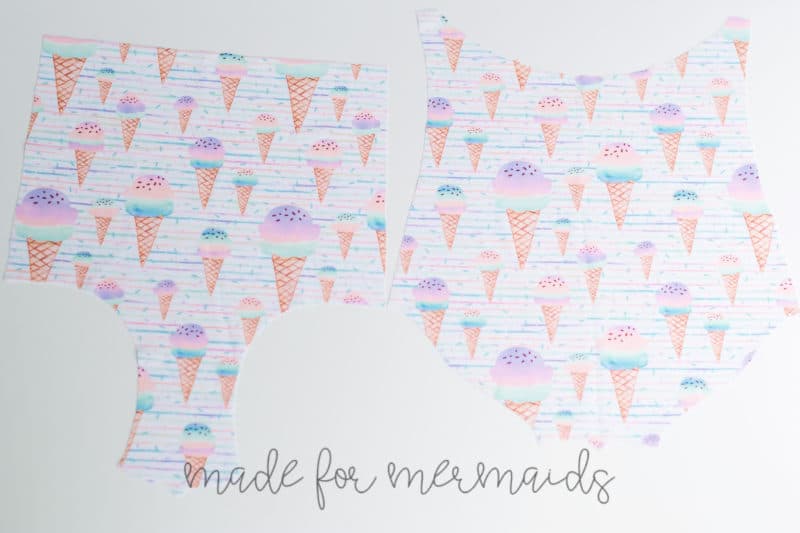
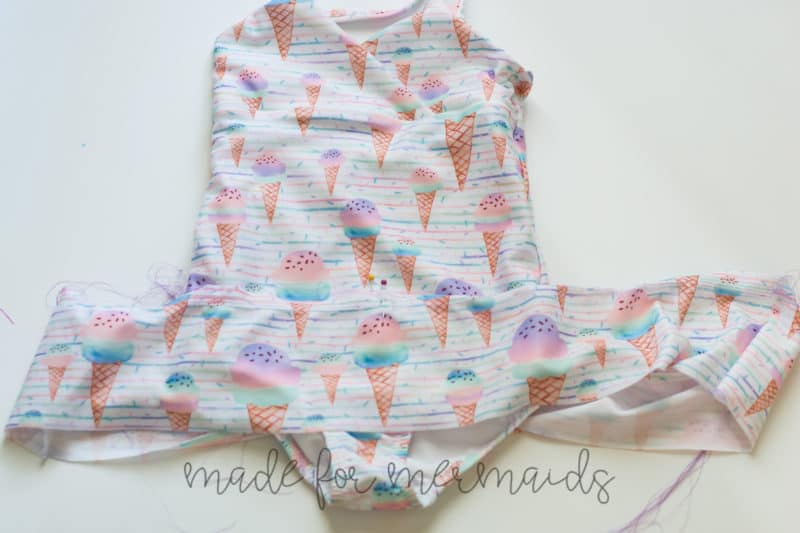
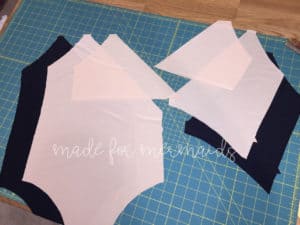
Pin, then run a basting stitch to keep the flounces together and in place. Pin, then baste the flounce pieces to the bodice pieces as instructed in the tutorial. You should be left with two bodice pieces that look like the picture on the right.
Notice how the flounce overhangs the bodice piece slightly here? This is normal! You can trim this, or as stated in the tutorial, just pin this up to the bodice piece and baste in place. Match your notches at the bottom of your bodices pieces, and baste them in place. Then, continue to follow the pattern tutorial to construct your Allie swimsuit! –Amira
Skirted Bodice
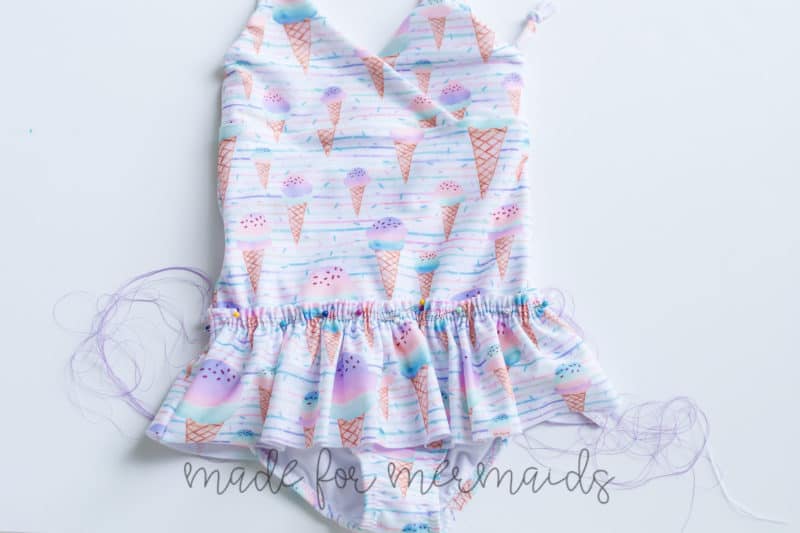
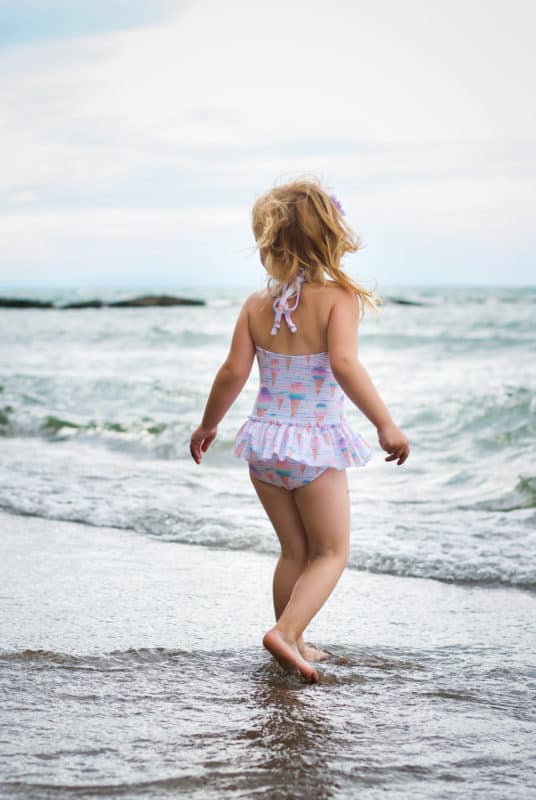
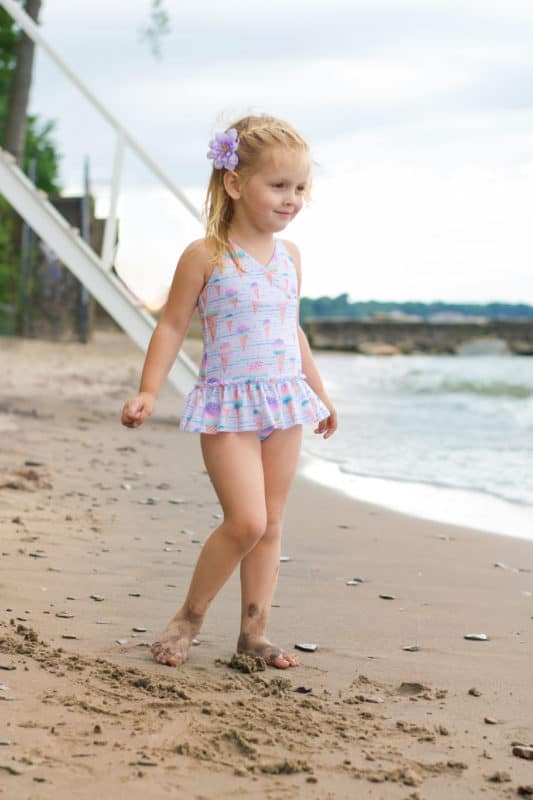
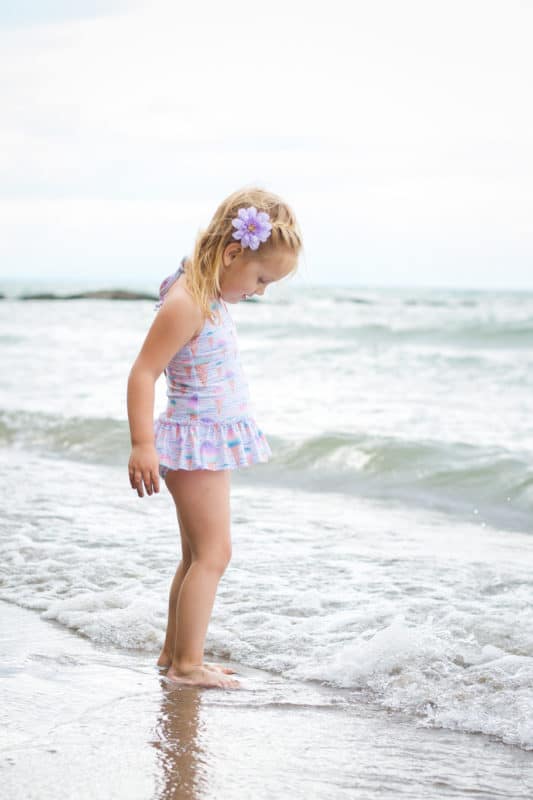
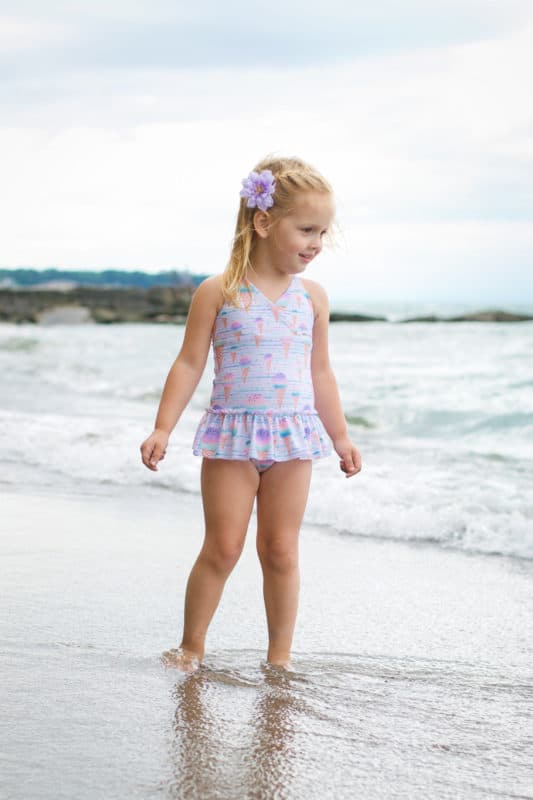
Hey friends! I am sure by now you all have seen the new Allie pattern, right? It is seriously the sweetest suit, loaded with tons of options! As an added plus, the coverage of this swimsuit is amazing. My girls tested their new suits at the beach; their suits not only held up, but also stayed in place and kept them covered. My littlest one started dance this summer and has started to request that everything she wears have a tutu. I was happy to oblige her when I made her this Allie swimsuit! Adding a skirt to the Allie is super easy and the results are darling! Keep reading to see how I added a skirt to the Allie pattern.
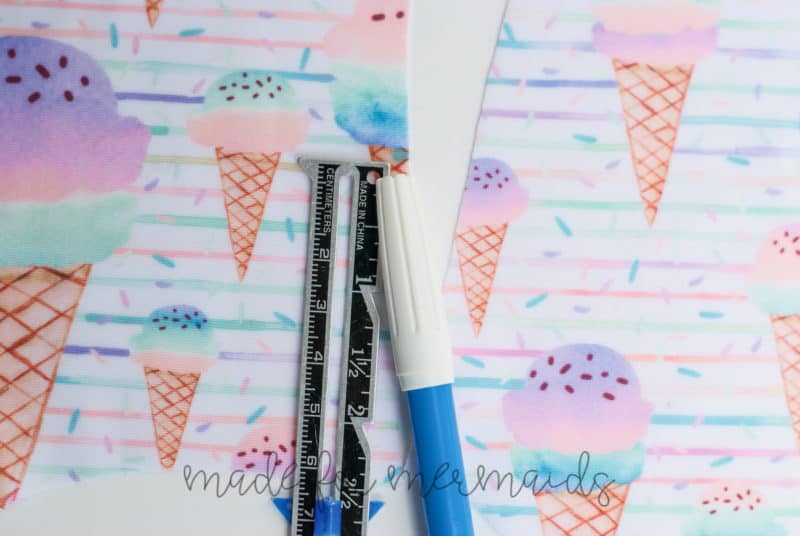
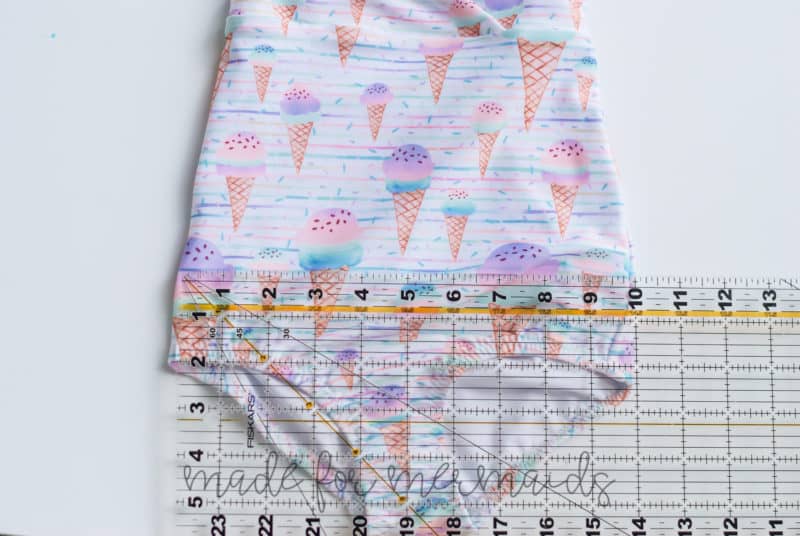
In order to achieve this look, you will want to mark your main pieces at 2.5″ above the leg at the side seams. Mark all four leg seams, then with a water soluble pen and straightedge, draw a line connecting the marks you just made. You want to repeat this process for the back piece as well, so that both your front main and back main have a line 2.5″ above the leg curve.
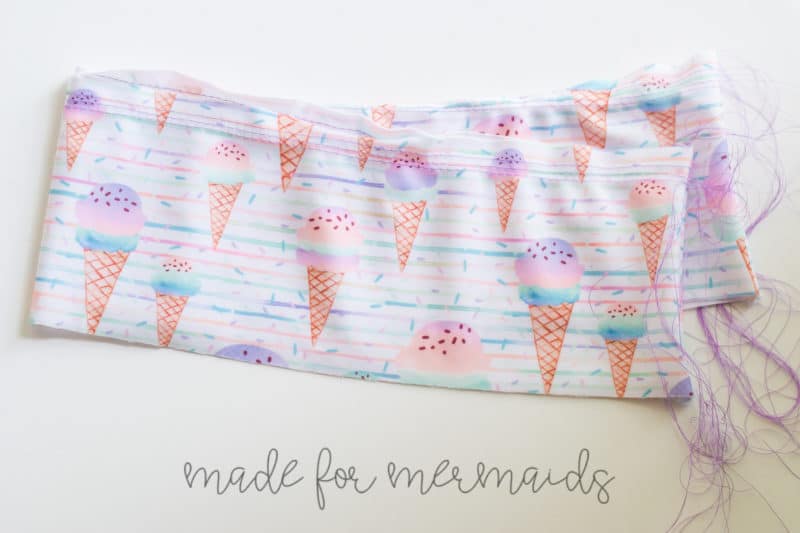
Construct your suit following the pattern tutorial. Once your suit is fully assembled, you will need to measure the width of the suit at the marking point you created earlier. Multiply the width of your suit at this point by 2 to determine the width of your skirt. I used 4″ for the length of the skirt. You could choose to alter the length if you wish, but I found that most ready to wear suits are about 4″. Cut two skirt pieces using the measurements you just found. Sew the skirt pieces together at the short ends.
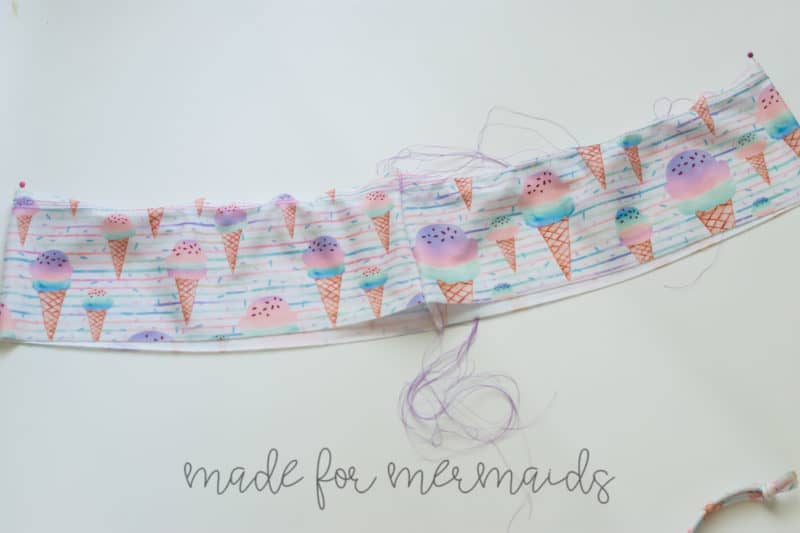
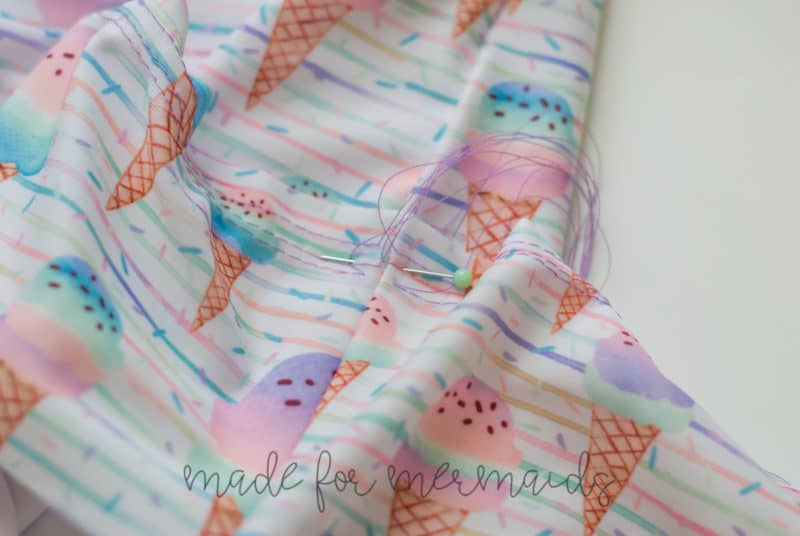
In order to maintain a professional look, we are going to add 3 rows of gathering stitches. The 3 rows of gathering stitches will also be helpful for attaching the skirt to the suit. We will place the first gathering stitch at 1/4″ from the top, then 3/8″, then the last gathering stitch will be placed at 1/2″.
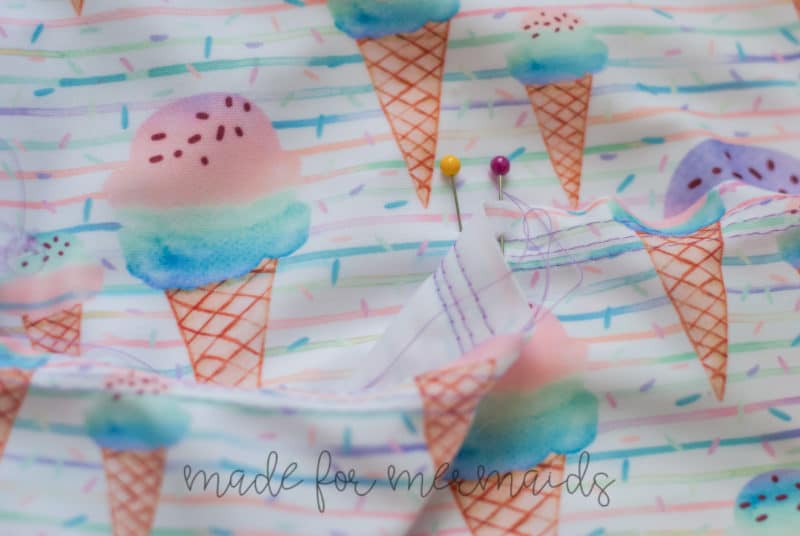
Quarter your skirt piece (and the suit as well), and mark each point with a pin.
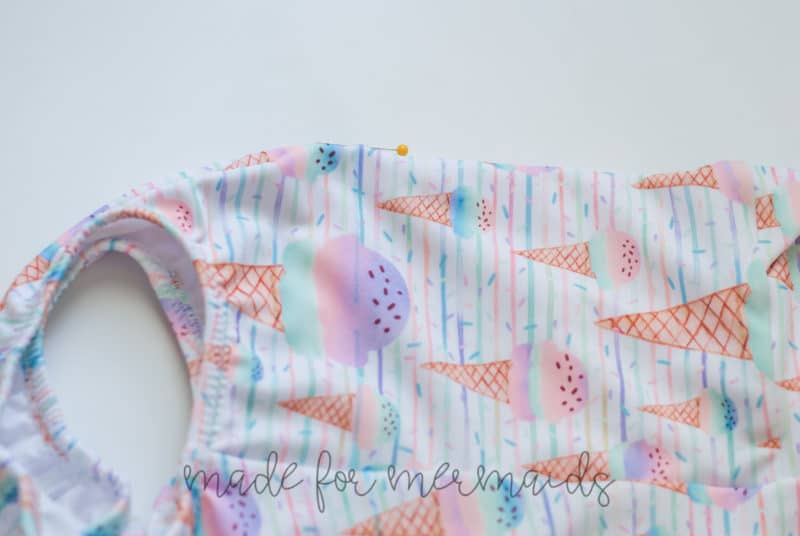
Place your bathing suit inside your skirt. The right side of the bathing suit will be touching the wrong side of the skirt. Match then pin the suit and skirt quarter points. Keep in mind the side seams of the skirt and suit act as quarter points, try to match the seams up as close as you can.
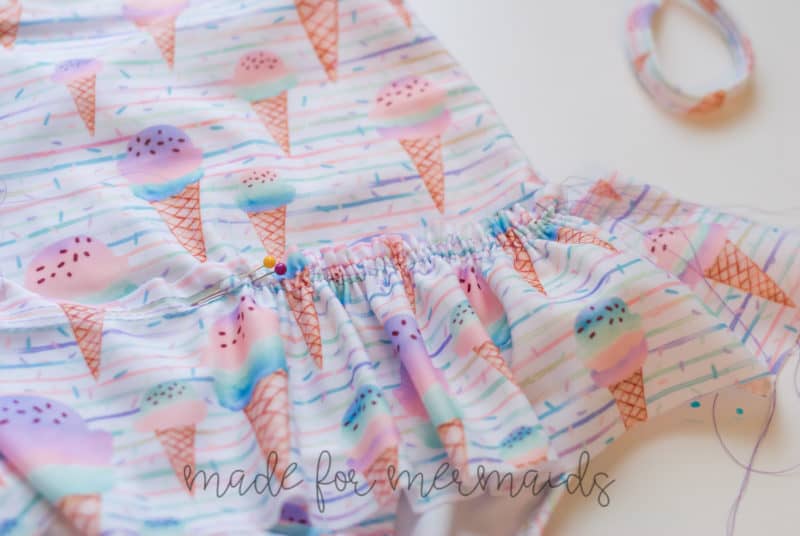
When you gather your skirt, try to keep the middle gathered stitch on the marked line on the suit. This will ensure everything looks neat. Pin as you gather to help keep the skirt in place. When you have your skirt completely gathered to the width of your suit, sew to attach the skirt to the suit.
Remove your gathering stitches, and enjoy your new skirted Allie swimsuit! -Amira
Side Waist Ties/Belt
Shannon’s side ties made the cutest addition to the Alexandria pattern!
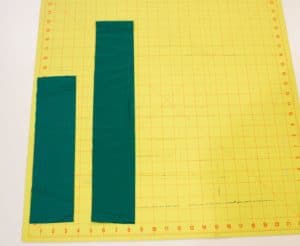
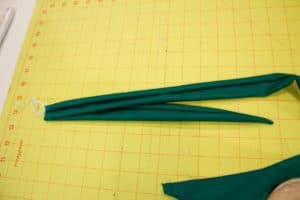
Cut ties for your suit from your swim fabric. I wanted my completed ties to be 1.5 inches long, so I cut each piece 3.5 inches long (this allowed a 1/4 inch seam allowance). The width will be determined by your waist and how wide the ties need to be to wrap around your waist. You will cut one short tie and one long tie that will wrap around. For my suit, I cut the short strap 3.5″ x 13″, and the long tie 3.5″ x 38″ (my wider strap is cut on the fold in this picture).
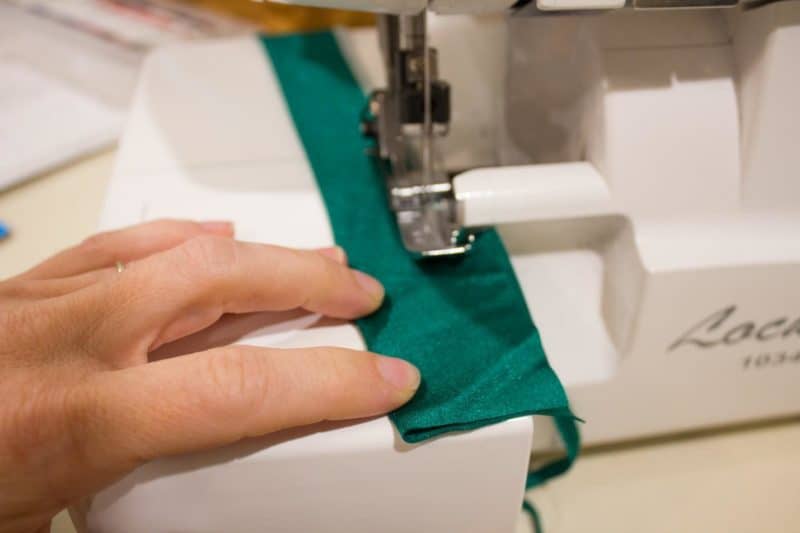
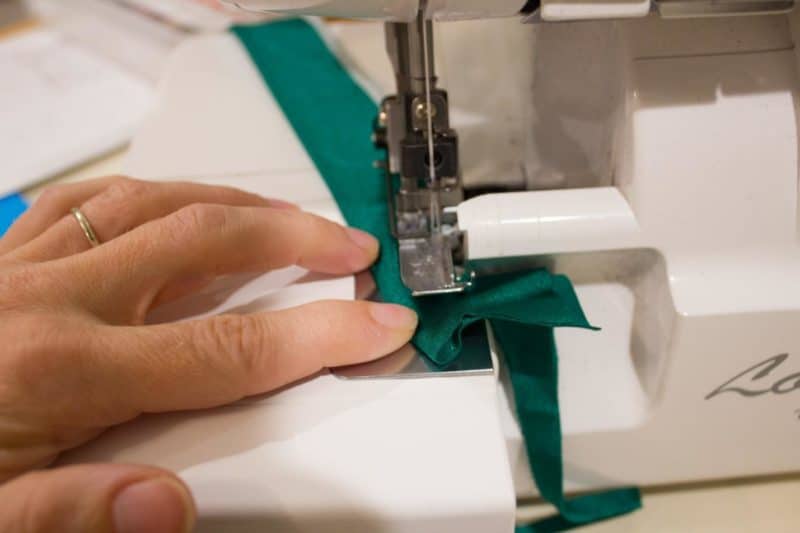
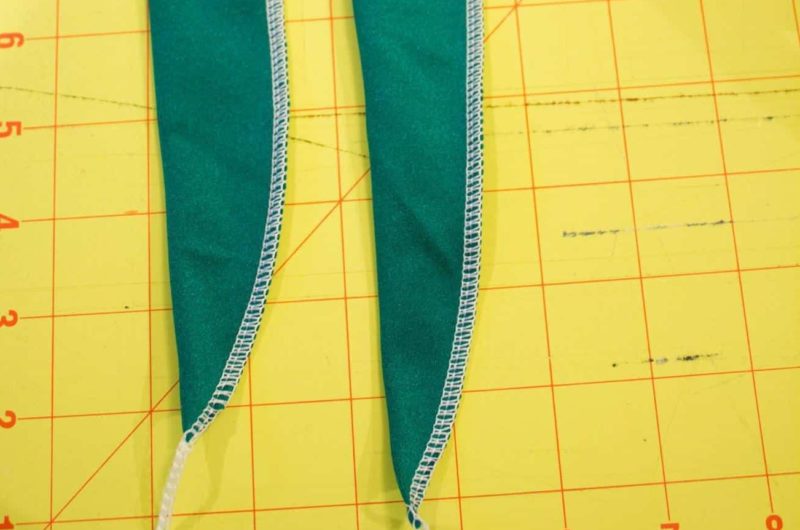
Fold your strap in half, right sides together and stitch together down the long side using a 1/4 inch seam allowance. As you reach one end of the tie (about 3 inches from the end) begin to curve towards the folded edge to create a point.
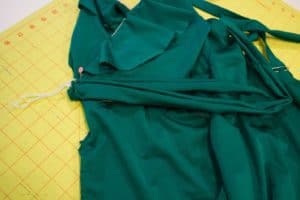
Turn the ties right sides out. Place the longer strap on top of the shorter strap, with the seam centered in the back. Pin to the right side of the swimsuit front, where the wrap piece curves at the side seam. Make sure the tie ends are pointed inside the suit and pin them out of the way. Baste using a 1/4 inch seam allowance. Place the back of the suit on top, right sides together and stitch together.
Turn your suit right sides out and you are done! Enjoy your new side ties. The shorter tie should be on top once sewn and turned right side out. This allows you to wrap the tie around your back, to the front, and tie with the shorter strap. To see more pattern hacks, please check out my blog at www.indoorshannon.com. – Shannon
Isabel + Alexandria Mash
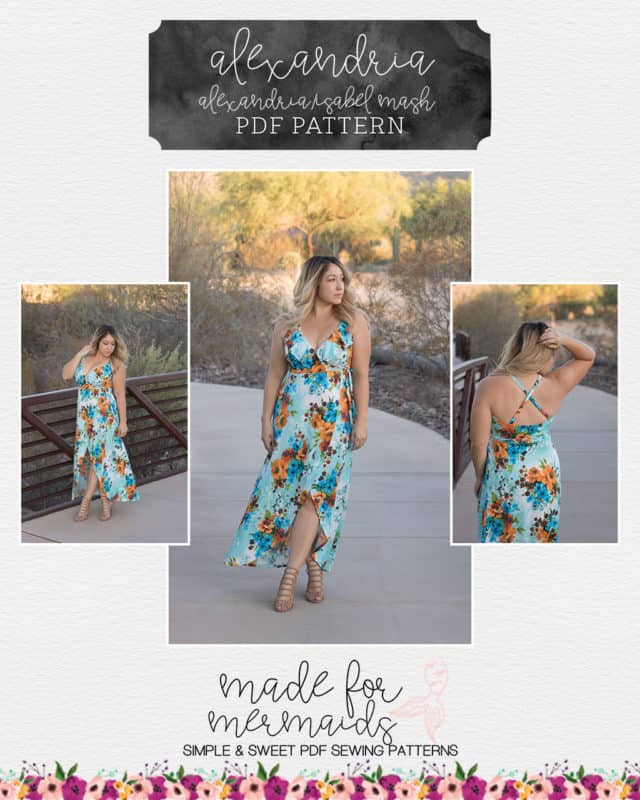
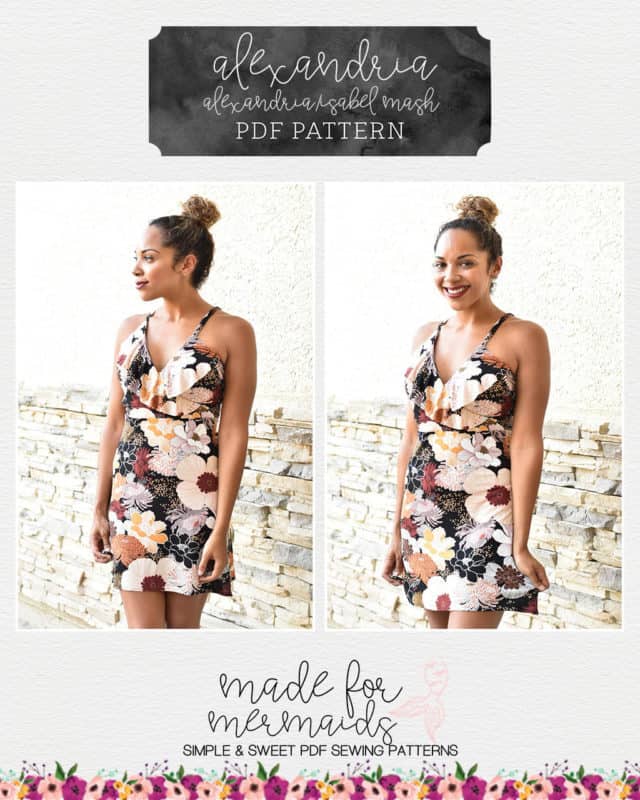
Stephanie and Nicole mashed the Mama Isabel skirt with the Alexandria mash for these gorgeous dresses. Both ladies cut the Alexandria suit bodice pattern pieces to create the dress bodice pieces. You can decide where you want your bodice/waist to hit, but natural waist is a perfect starting point! You can skip the shelf bra, but the bodice elastic and strap elastic is still highly recommended.
Stephanie cut 2 skirts instead of 3, both on the non-tulip cut line, and then sewed the side seams together to create her skirt.
Nicole cut the tulip maxi per the Mama Isabel tutorial. Depending on where you cut your bodice pattern pieces, you may need to size down one for the Mama Isabel skirt pieces as Alexandria is designed to have negative ease. Both Stephanie and Nicole sized down once for the skirt pieces and found the fit pretty close to perfect!
Removable Bra Cups
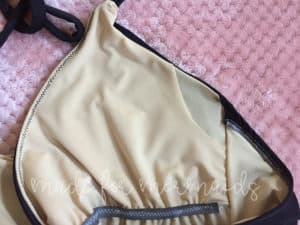
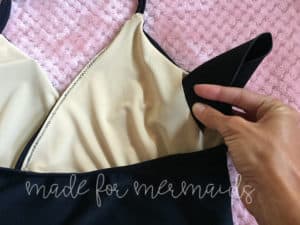
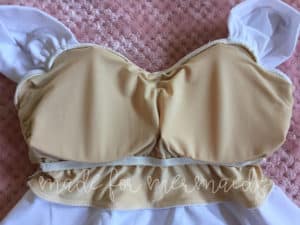
If you are like me and add swim cups to every suit you make (and also make a ton of suits!), the cost of these can add up tremendously! I have found cups I like from Amazon for about $3 a pair, but after purchasing 15 pairs already, I decided it was time to try making suits with removable cups to spread the cost out a little bit! I also know some specialty cup sizes can be quite pricey, so being able to use one pair with multiple suits is a great option! Basically, to add removable cups, you just need to create a little pocket consisting of two layers of lining to stick the cups into. This hack works for both Alexandria and Mama Roxy!
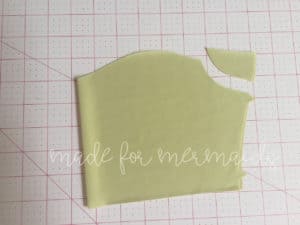
To start, you’ll need to cut your main and lining fabrics as usual, and then for this hack you will need to cut a second lining piece. You will see for both patterns that my second lining piece is a little shorter. I cut my cup lining piece at the bust elastic line to give an easy visual of where to sew my elastic onto.
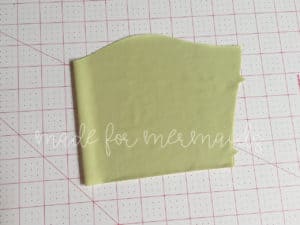
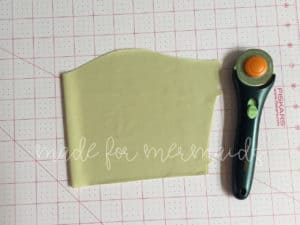
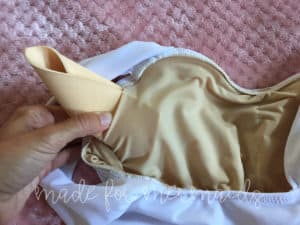
You will need to create an opening for the cup to slip into. Make sure to cut this opening big enough to slip your cups into. (I roll my cups up to make it easier to slide it in, but remember if your cups are larger you may need to create a larger opening to fit them into). Also, keep in mind seam allowance and adding the top elastic when cutting your opening. You’ll want it big enough that it won’t get enclosed in the top elastic when you attach and top stitch that.
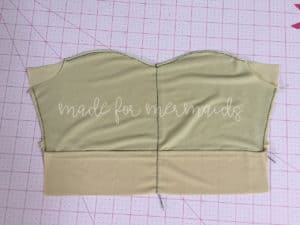
After you have cut your corners off, you will want to baste your two lining layers together. The openings you just created will need to be against your skin to get the cups in and out, so that will become the right side of your lining. You will want to baste along the bottom of the cup lining, around the top bumps, then along the sides, being sure to keep those openings wide open! Lastly, you will want to run a line of stitching (stretch stitch) down the center of the pieces. This further holds the pieces together, but also creates separation for you cups so they don’t slide around. For Alexandria, you won’t need the center stitching as they are two separate pieces to begin with; you’ll just want to baste around the bust elastic line and sides/diagonal there.
From here, you will attach your bust elastic along the bottom line of basting stitches, remembering that the openings are the right side of the lining and then continue assembling as usual.
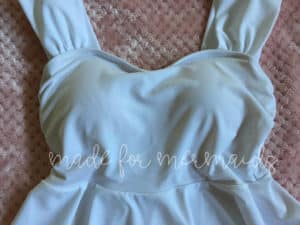
Once complete, you can insert your cups and enjoy the the suit! Happy Sewing! –Jody
Alexandria Separates
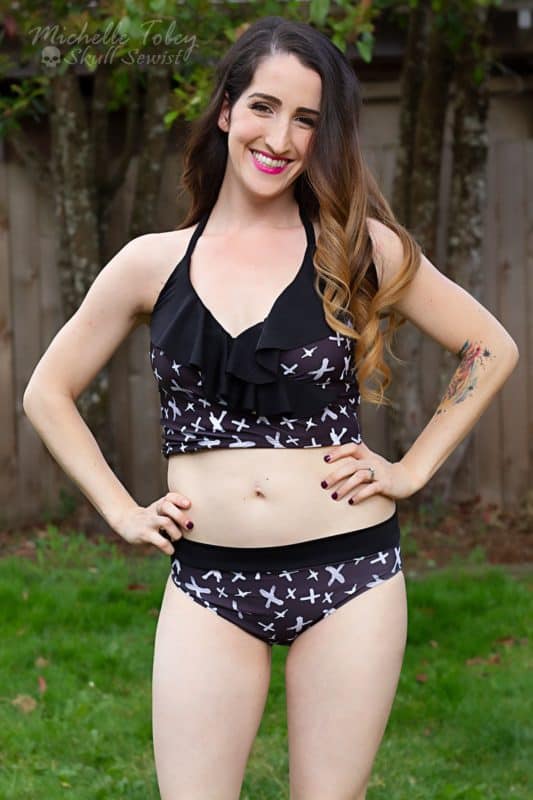
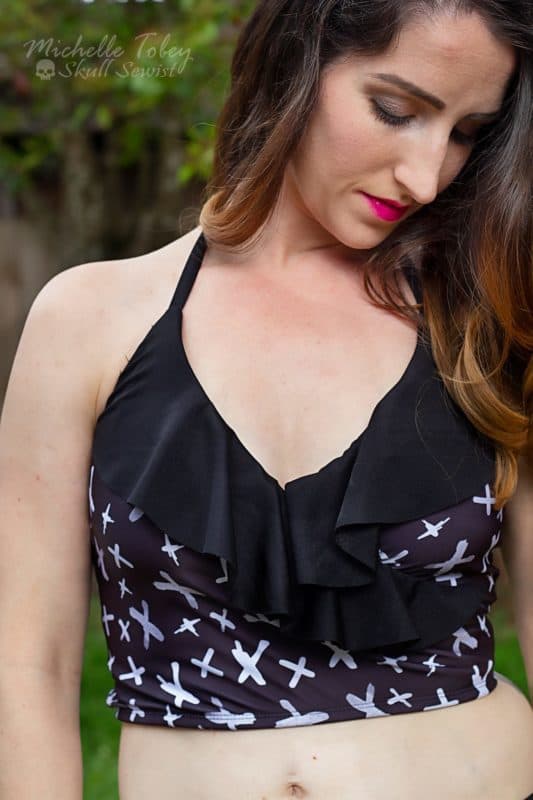
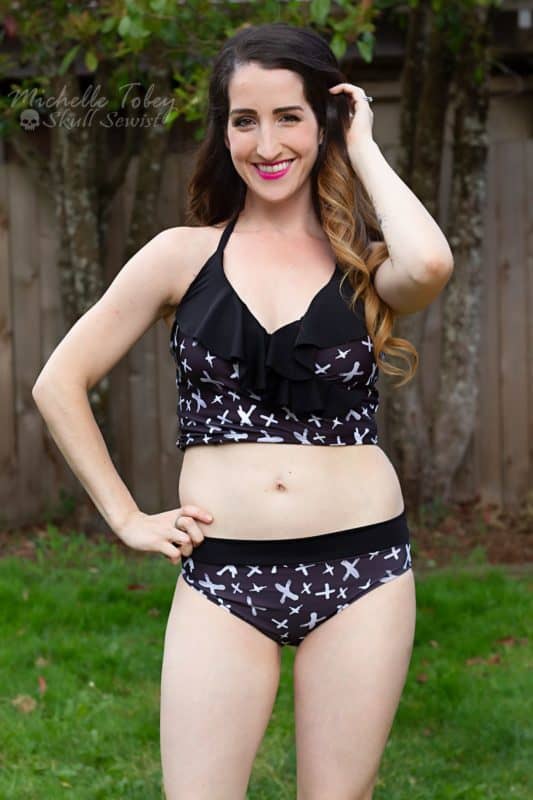
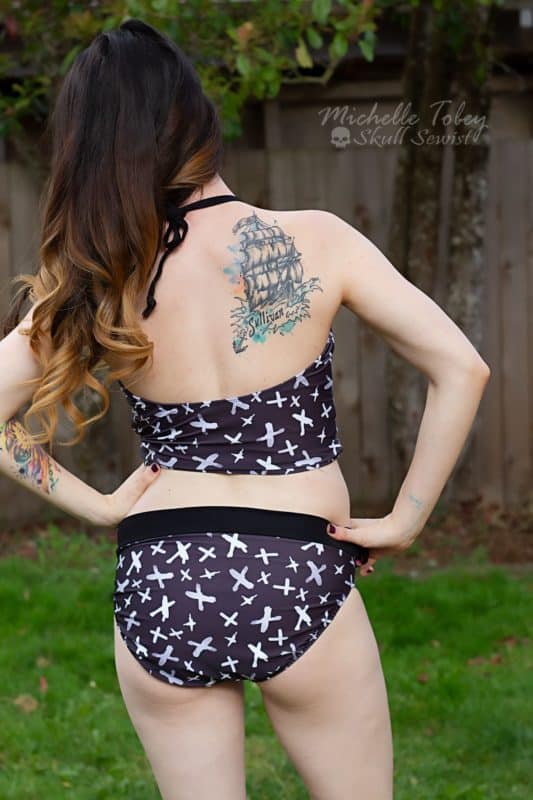
I’m in love with the Alexandria pattern as a one piece, but I do love a good two piece so of course, we needed a hack! I needed those flounces on a top! There are a few ways to make this into a two piece set, but I’ll go over the way I did it 🙂
The majority of your construction is going to be the same; it’s just a matter of getting your pieces set to be two pieces. First, go ahead and print out your pattern for the faux wrap (with or without flounces) and grade as necessary.
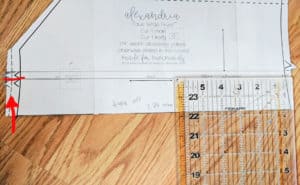
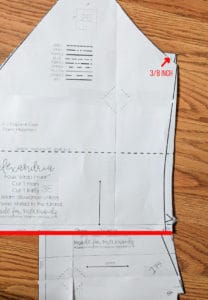
For the top- I started with the Faux Wrap Front piece and took off about 1.75 inches. Depending on your size, this can vary, but it’s essentially between the two notches on the short end. This includes a seam allowance of 3/8″. Draw a new line, and cut off that extra piece on the paper pattern piece.
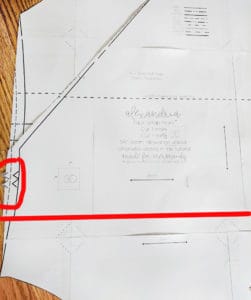
Then, you’ll need to do the same to your main front bodice by laying your wrap bodice piece on top of the main front bodice. Line up your notches circled in red on both sides, then draw a line on the main bodice piece where you cut your wrap piece. Cut off your extra piece from the main bodice and you should have your two top front pieces. Note – you could also cut mirror images of your new Faux Wrap Front piece.
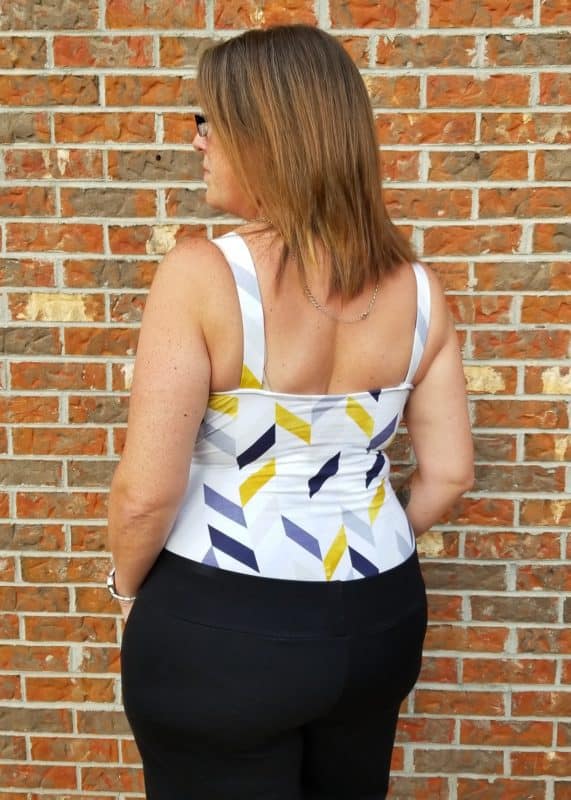
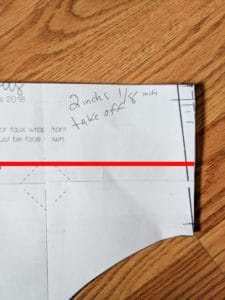
Now for the back top, you’ll lay one of your front pattern pieces on top of your back piece, lining up the sides and the armpits. For the construction of the Alexandria, the back after side seam allowance has a 3/8″ hang over for your back elastic so you’ll need to take that into account when lining up. You’ll do this by making sure after your side seam allowance there is still 3/8 “. You can refer to the picture to see where I’m talking about. Once your pieces are lined up, draw your line across and cut off the extra bottom as shown in red.
Now you have all your new top pattern pieces ready to go! For bottoms, you can choose your favorite bottoms pattern, such as the new Roxy bottoms, or make bottoms from the Alexandria pieces that you removed in the previous steps. For mine, I wanted a mid rise banded bottom, so I took off about 2 1/8″ from the top of both pattern pieces. Make sure your side seams stay the same length, regardless of how much you decide to trim. You can also wait to cut any until you’ve constructed and tried on, and determine how much you’d like to take off at that point.
Now you should have 3 top pieces, and 2 bottom pieces. Go ahead and cut all your main and lining pieces as directed in the pattern. You’ll then assemble your top the same as directed omitting the bottoms obviously. I’d recommend adding elastic in the side seams; just make sure you stop 6/8″ from the bottom and top seam allowances.
Once you are fully assembled minus the bottom of your top, you’ll measure the circumference of your opening and multiply it by .9. That will give you the length of 3/8″ elastic to use. Butt the ends of your elastic together using a zig zag stitch, creating a circle. Then clip it into 4 even parts and attach it to your wrong side of your swimsuit by serging and stretching evenly between quarters. Once your elastic is attached, turn towards the wrong side and topstitch along using a stretch stitch. Your top is finished! Note – I’d recommend basting your lining and main together along the bottom of your top to keep anything from slipping when applying the finishing elastic.
On to the bottoms! For these, you’ll sew together as directed until you get to your top band. Here, you’ll measure your circumference and multiply that number by .9 again. This time you’ll add a seam allowance to that .9. For example, if your circumference was 30″, 27″ would be 90% of the opening, and with 6/8″ seam allowance added, your band length would be 27.75″. How wide you want your band is personal preference, but I went with 4″ wide. Serge the short ends with right sides together, then fold over to encase the seams and create your band. Quarter your new waistband just as you would a neckband, and serge to your bottoms, stretching evenly as you go. And there you have it! Your gorgeous Alexandria two piece! Thank you for reading and I can’t wait to see all your creations! – Michelle
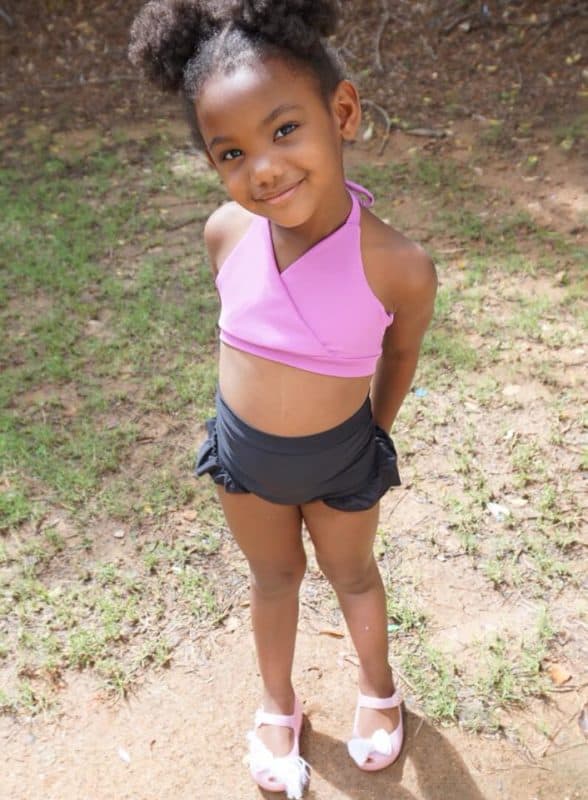
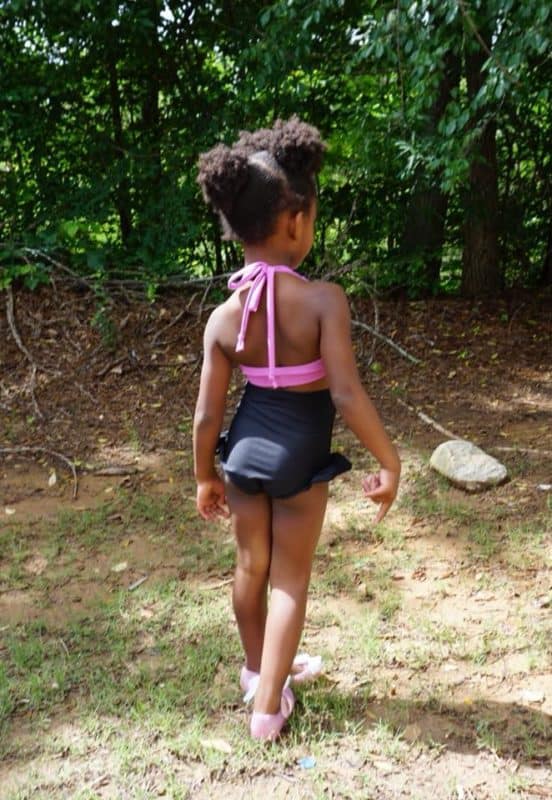
Making separates for littles? You can always add a band to both the suit top and the suit bottom!
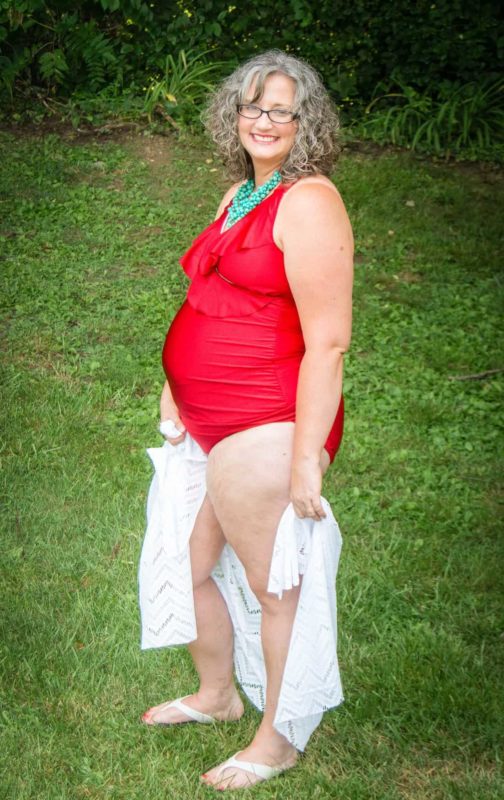
Maternity Hack
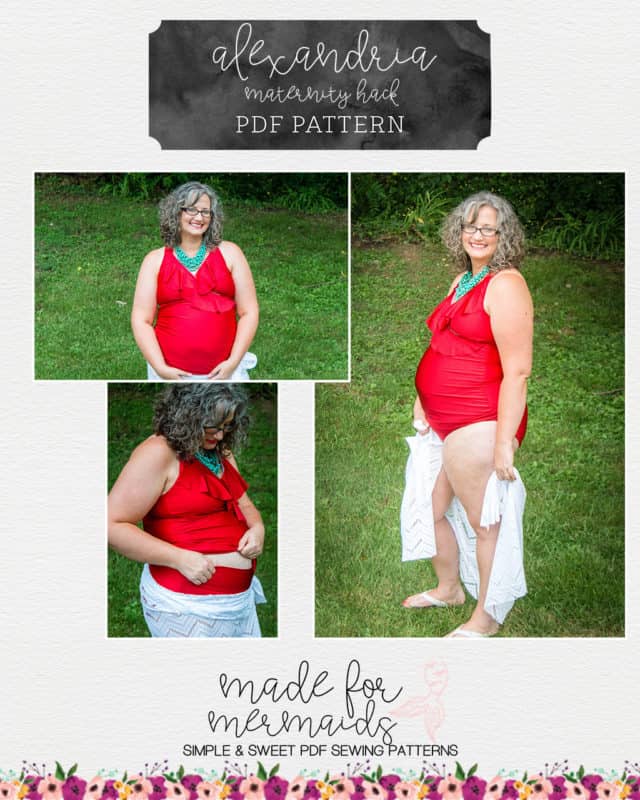
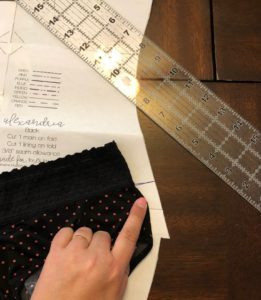
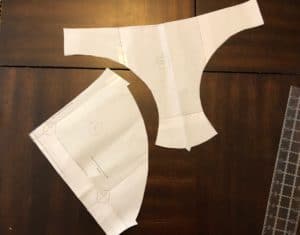
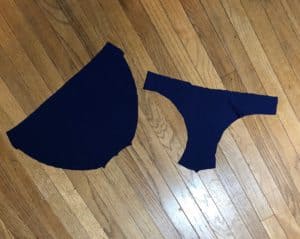
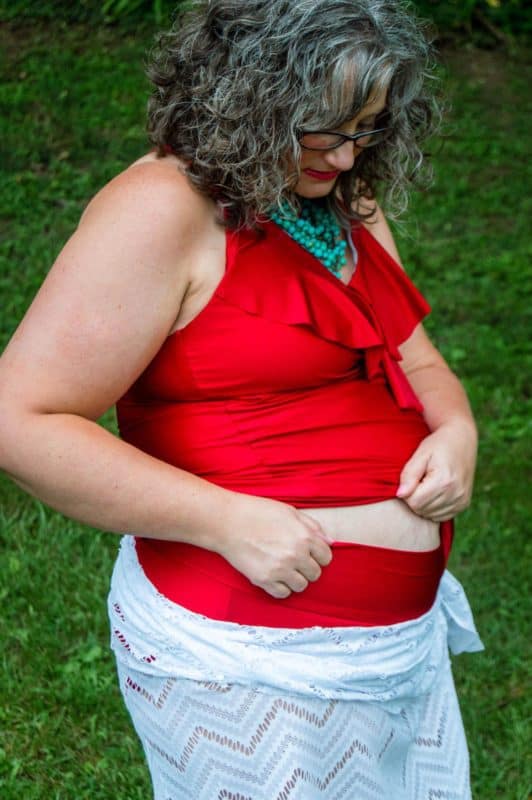
For the bottoms: First, I printed the Alexandria pattern per upper/under bust and hip measurements. Next, I took a pair of panties that fit under my belly well (try the low rise version of the Mama Vicki if you don’t have a great fitting pair already!), and used that as a guide to alter/cut the bottom portion. I laid the panties on top of the pattern and cut the paper pattern piece.
I then found the center front, lowered the waist in the front by 1 inch, and then graded out from the new center to the sides. This allowed for a slight dip to accommodate a pregnant belly.
- new “bottom” pattern pieces
For the waist of my bottoms, I did a yoga waistband. I measured under my belly, subtracted 2 inches from that measurement, and cut my waist band 8 inches wide by my waist measurement long (minus the 2 in). I sewed the bottoms using power mesh in the front only to hold in my pooch (this is my 5th pregnancy 😉), and a lining as instructed in the tutorial. I did the elastic on the legs per instructions as well. To attach the yoga waistband, I sewed the short ends with right sides together, folded in half, then found the quarters and pinned to the bottoms, stretching the waist as I sewed.
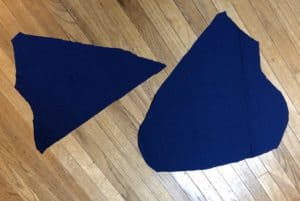
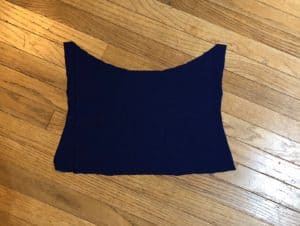
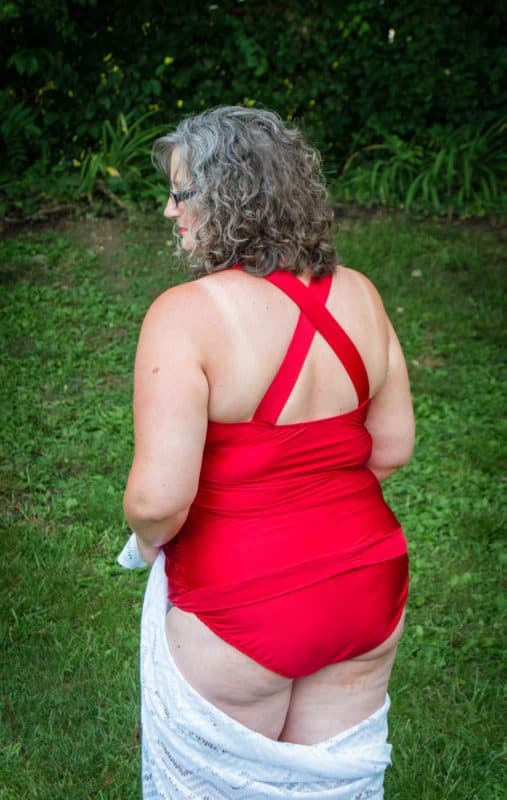
For the top: I added 6″ to the length of the front bodice, and 2″ to the back pieces, from the cut line where I cut for my bottoms. Adding width to the front full bodice piece is the trickiest step. I measured my waist at the largest point, subtracted the size yellow waist measurement from my belly/waist measurement, and divided the difference by 2. From there, I added that to each side of the front bodice piece at the belly/waist point (for example, if the difference between my waist measurement and the yellow waist measurement was 4″, I would add 2″ to each side of the front bodice to accommodate my belly). Then, I graded my piece out from the under bust to that new widest point, and then back in towards the yellow hip.
- L – faux wrap piece; R -full front bodice piece
- Back bodice piece – no width added, but length added
You’ll notice in the picture above that no length was added to the faux wrap piece, but you do need to repeat the step above to add width so that your sides seams will match up. Next, I constructed the front bodice per the tutorial, then gathered the front side seams to fit the back pieces. Attach front to back per the tutorial. The front center will be a little longer, and the side gathers will fit a growing baby bump.
Instead of hemming the bottom of the bodice, I did a small band, just like the yoga waistband. Except, I did not subtract width, and my band was cut at 4inches. I liked this look and it held in the top under the belly. -Mandy
Be sure to check out the complete Mermaid Shores collection, and don’t forget to share your new swim makes in our Facebook group! We can’t wait to see what you create!









Leave a Reply