One of the most common questions we see in our Facebook group is this: “Does this run true to size?” Or similarly, “I wear a medium in ready-to-wear clothing, what size would I be in M4M patterns?” Or even, “Does this pattern run big?” There are a few variations of the same question, but they all mean the same thing – how does this fit?
Measurements
Before we talk about fit, we’ll touch on measurements for just a minute. Ready-to-wear stores each have their own size chart for their clothing. There is not an industry standard that all stores use, and that’s why you may wear a medium in one store, but a small or even a large in other stores. M4M has our own size chart as well. We base our size chart on ASTM average measurements. This may or may not be the same as your preferred clothing store’s size chart, so it is always best to measure yourself and use those measurements to determine your M4M size, rather than using your RTW size. See our blog post on how to measure yourself here.
Another note about our size chart – we use colors rather than attaching a size label to a group of measurements. Your size essentially tells you which line to cut on your pattern, so rather than being discouraged by your size, or even confused that it is different from your RTW size, you just know that you should cut this color. It also encourages measuring rather than going by a RTW size, which ensures a better fitting garment.
Ease
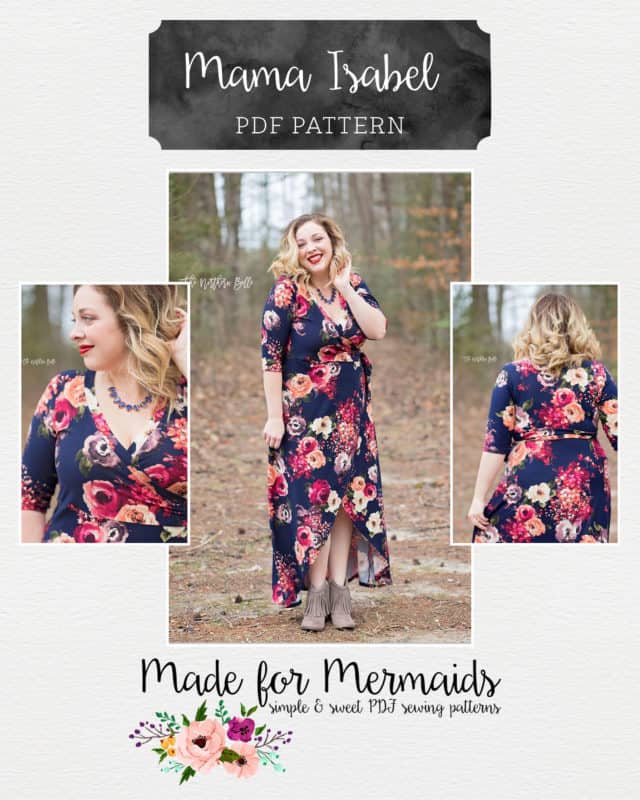
Ease describes the difference between the finished garment measurements and the measurement it is drafted for. For example, Isabel includes the finished waist measurements. For size Pink, the finished waist measurement is 24.5″, and the waist measurement in the size chart is also 24.5″. This means that Mama Isabel has “zero ease” at the waist for size Pink (it will finish the exact same size as the waist – there will neither be excess fabric, nor will it need to stretch to fit).

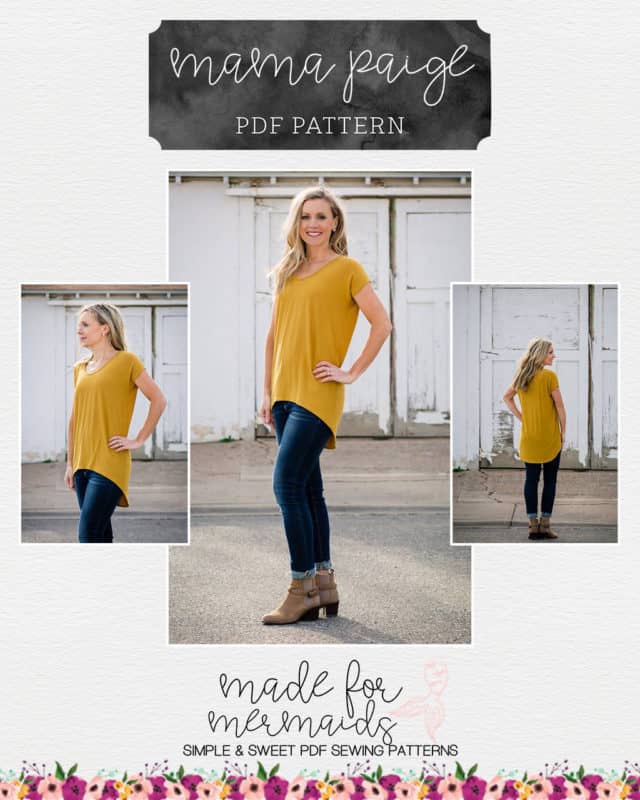
Another example is Paige – the finished chest measurement for size Pink is 40.5″, while the full bust measurement in the size chart is 32-33″. This means that Mama Paige has 7.5-8.5″ of “positive ease”, or extra fabric, through the bust. Some patterns, like Joy or Sommer, will have negative ease through the bust and/or waist, meaning the finished garment would measure smaller than the measurement it is drafted for (it must stretch to fit).

Each pattern is designed with an intentional amount of ease based on the designer’s preferences and the intended end result of the pattern. This brings us to intended fit.
Intended Fit
Now that we know a little more about ease, we can talk about the fit of the patterns. As stated above, the designers draft patterns with a certain amount of ease based on their preferences and the intended fit of the pattern.
Some patterns, like Ava, are intentionally a more relaxed fit, while others, like Bridgette, are intentionally more fitted. This doesn’t necessarily mean that they “run big” or “run small” – it just means that they fit how the designers intended, which may or may not be your preferred fit, and that is ok.
How can you know what the intended fit of the pattern is? We try to include as much detail in the line drawings and listing descriptions of each pattern as possible. Our testers are also all required to choose and sew their size based on their measurements during testing. This means no sizing up or sizing down based on their preferences. So any of the tester photos you see on the website will show the true intended fit of the pattern.
Knowing the intended fit of a pattern can help you see whether or not you want to size up or size down. If you know your preference is a little more fitted garment, then you may want to size down on something that says it is a relaxed fit, or vice versa if you prefer something more relaxed.
I hope this helps to clarify a little more about the fit and sizing of our patterns! More questions? Just let us know over in our Facebook group!

Leave a Reply