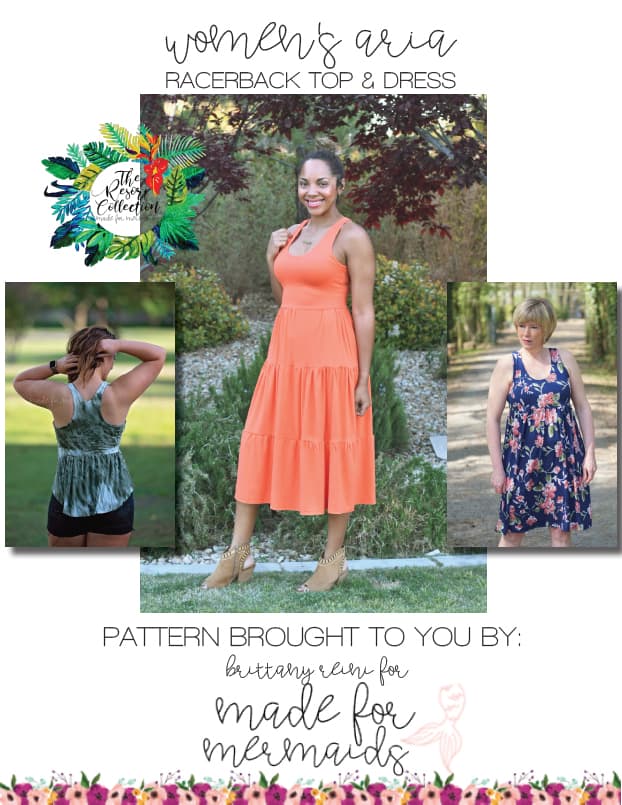
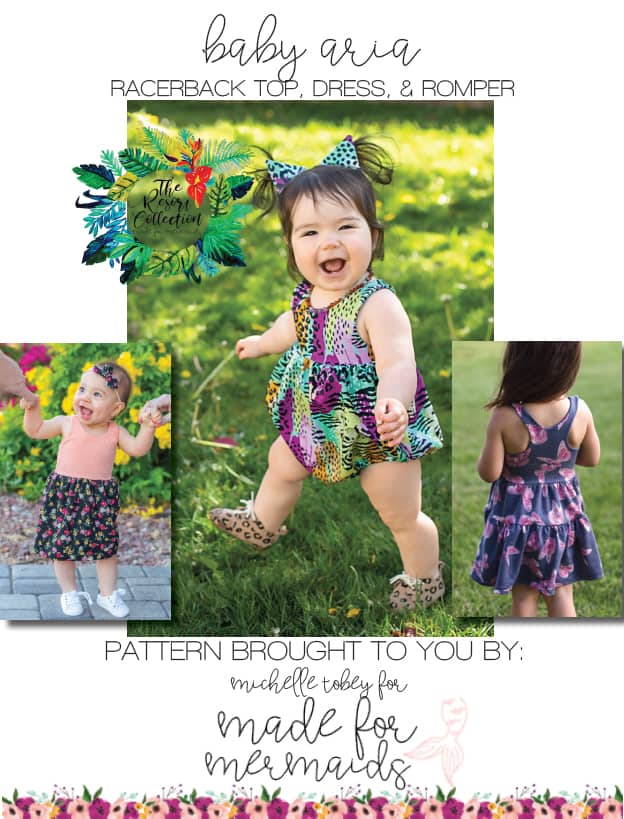
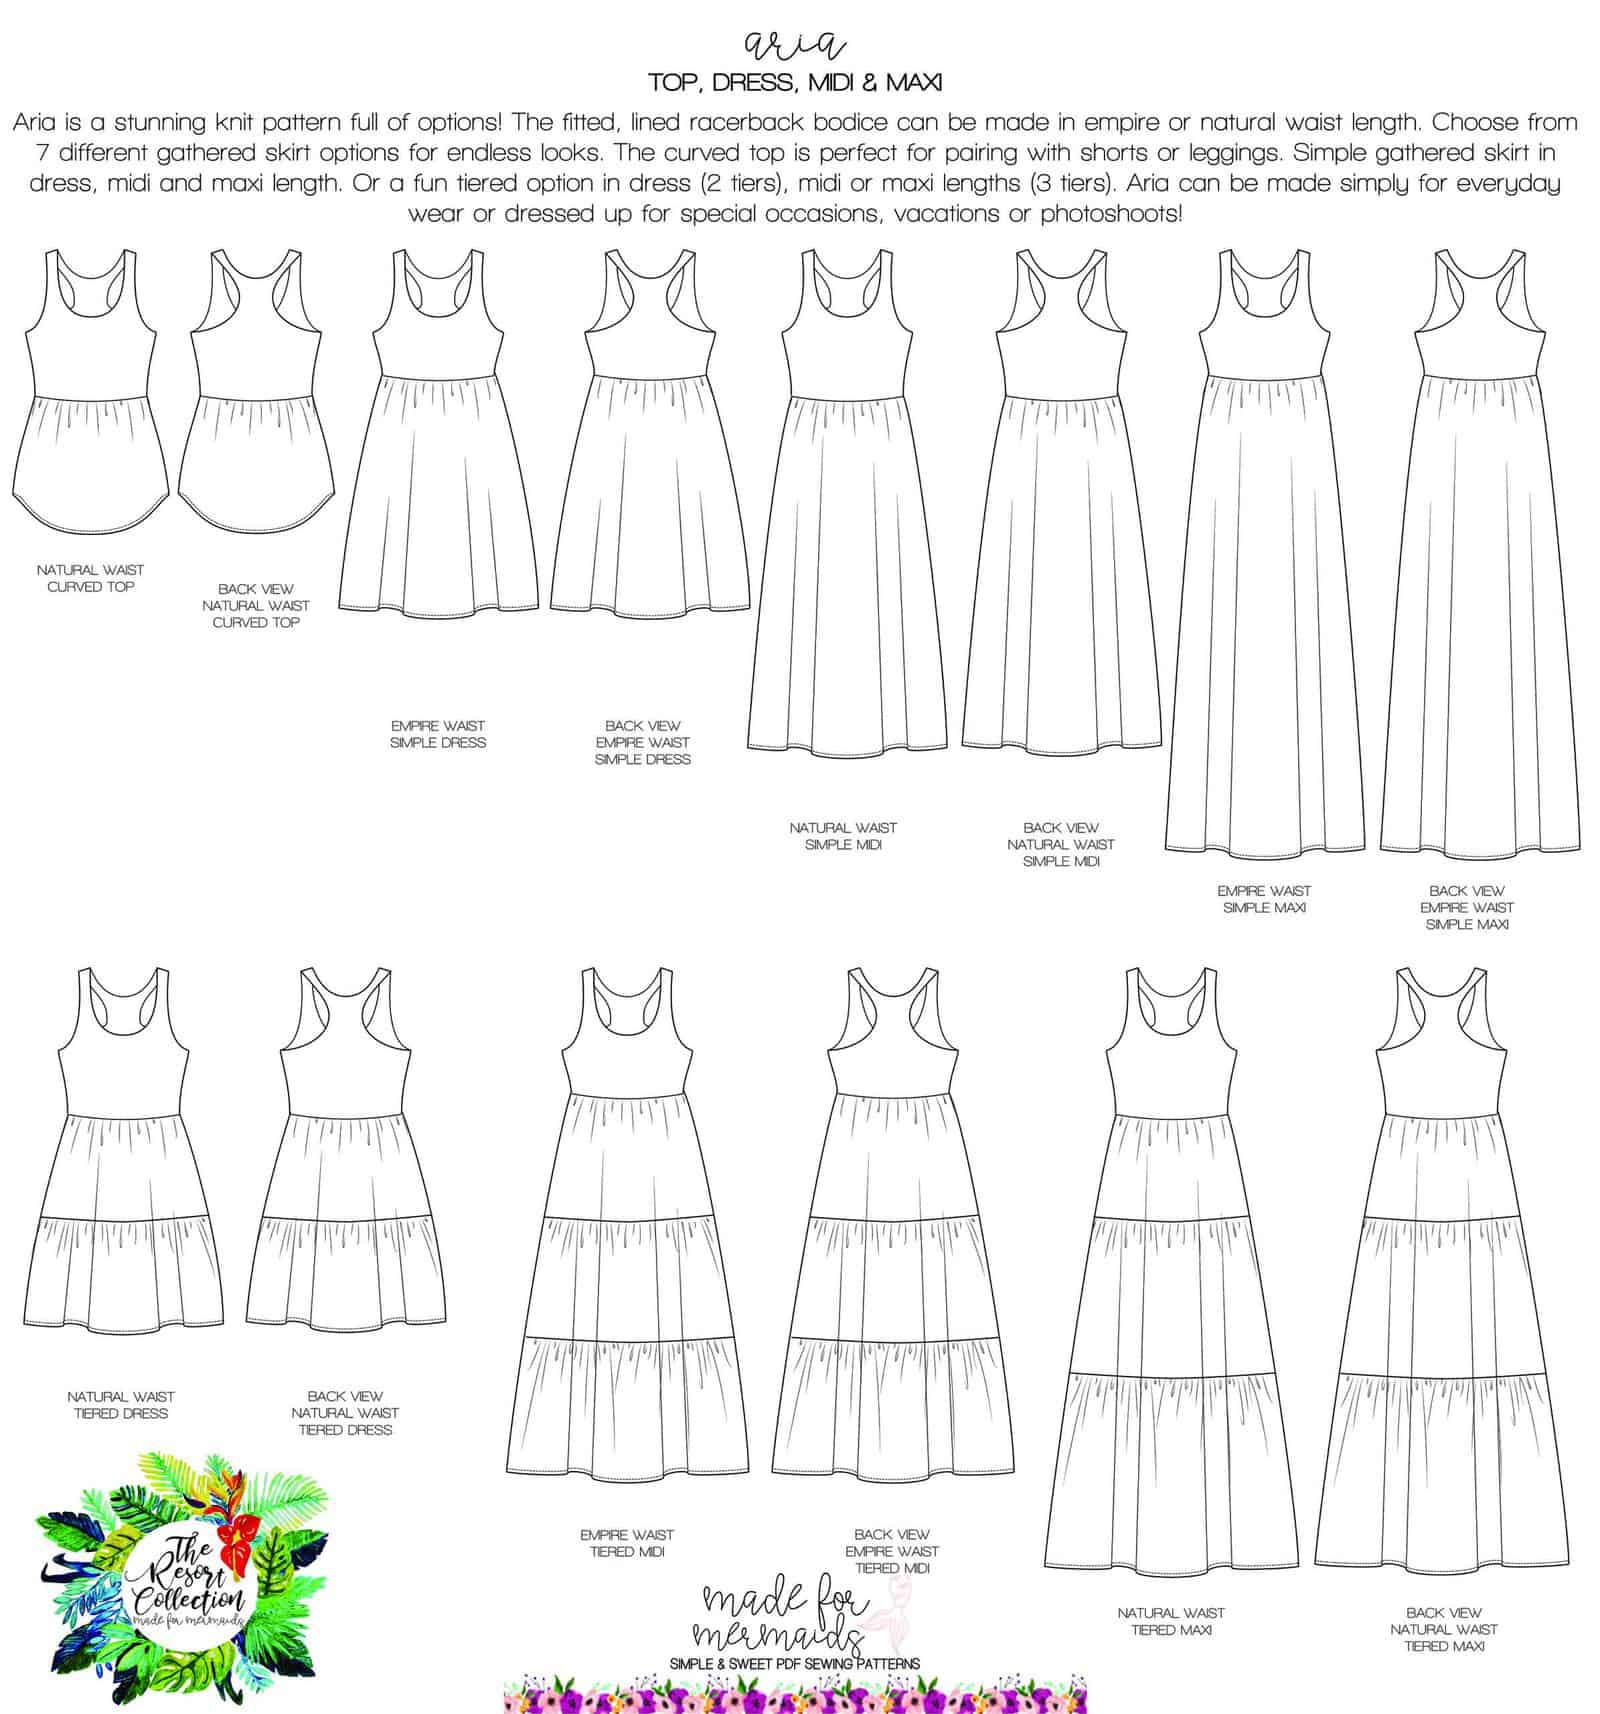
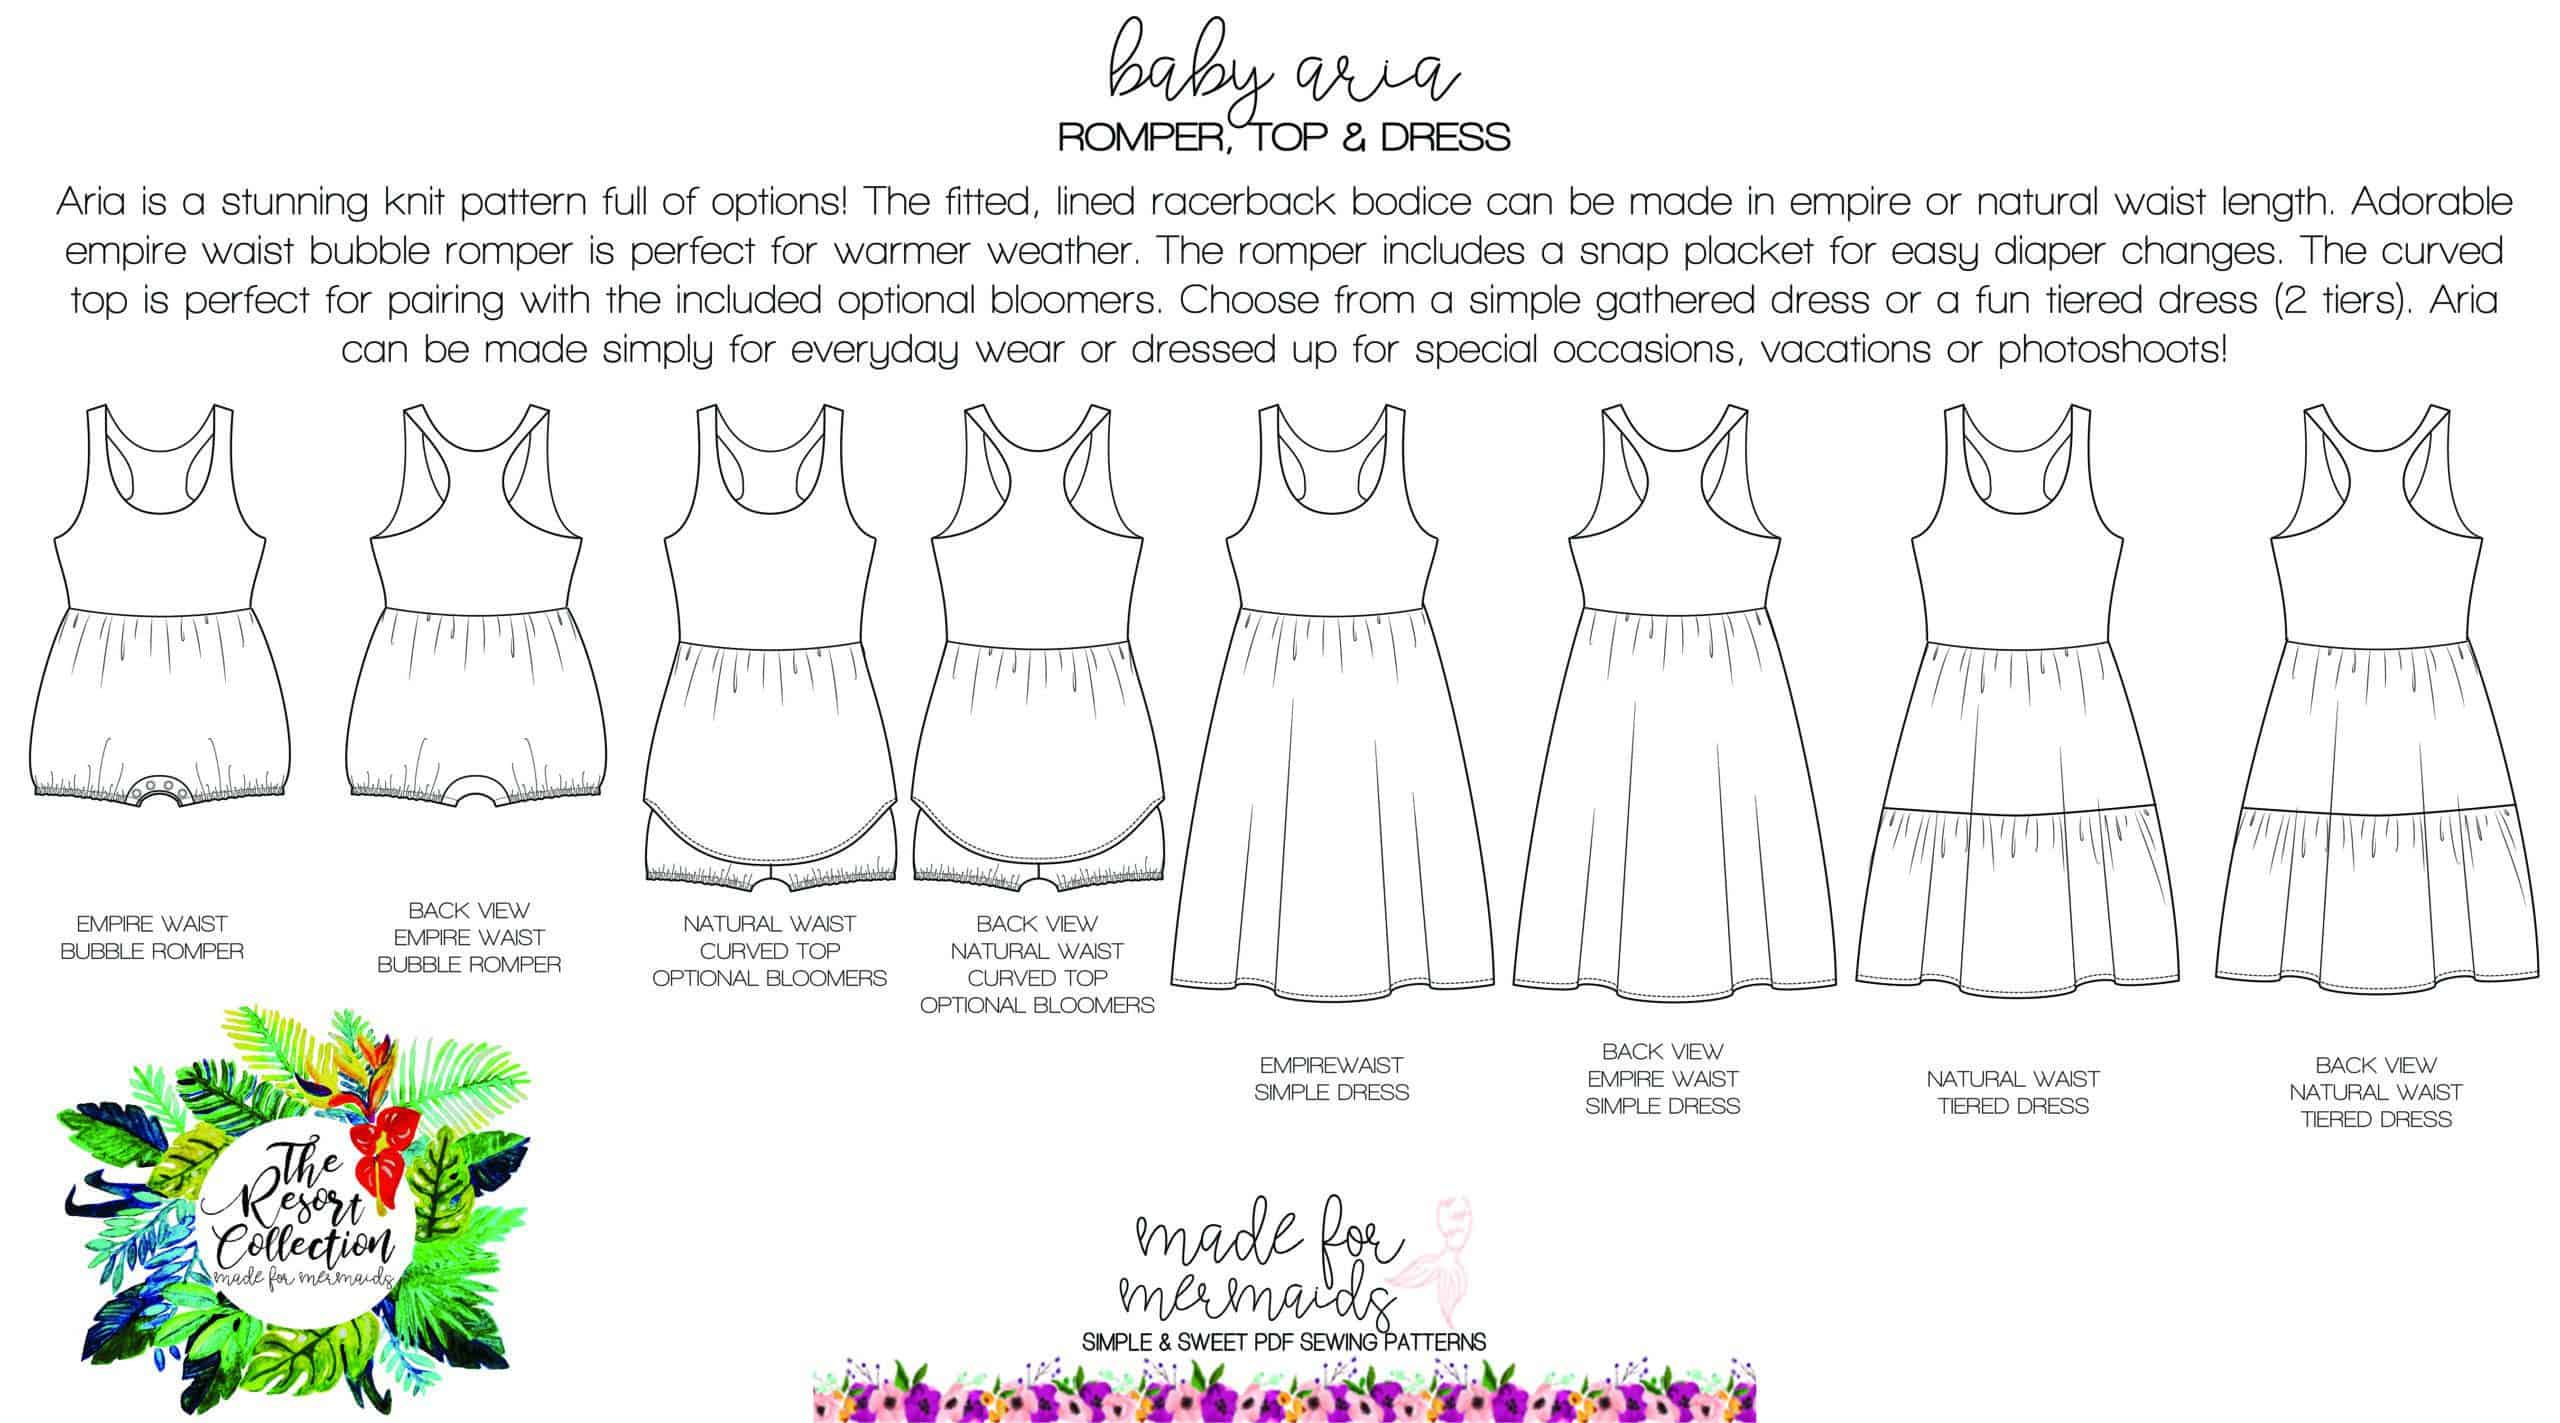
We are SO happy that you all love the Aria patterns as much as team Mermaid does! We’re especially thrilled to see so many brand new sewists, ready to tackle their first knit dress! Of course, since knit patterns are new territory for some of you, and the “burrito roll” method for lining a bodice can get a little tricky, Aria is our sew-a-long for the month of May!
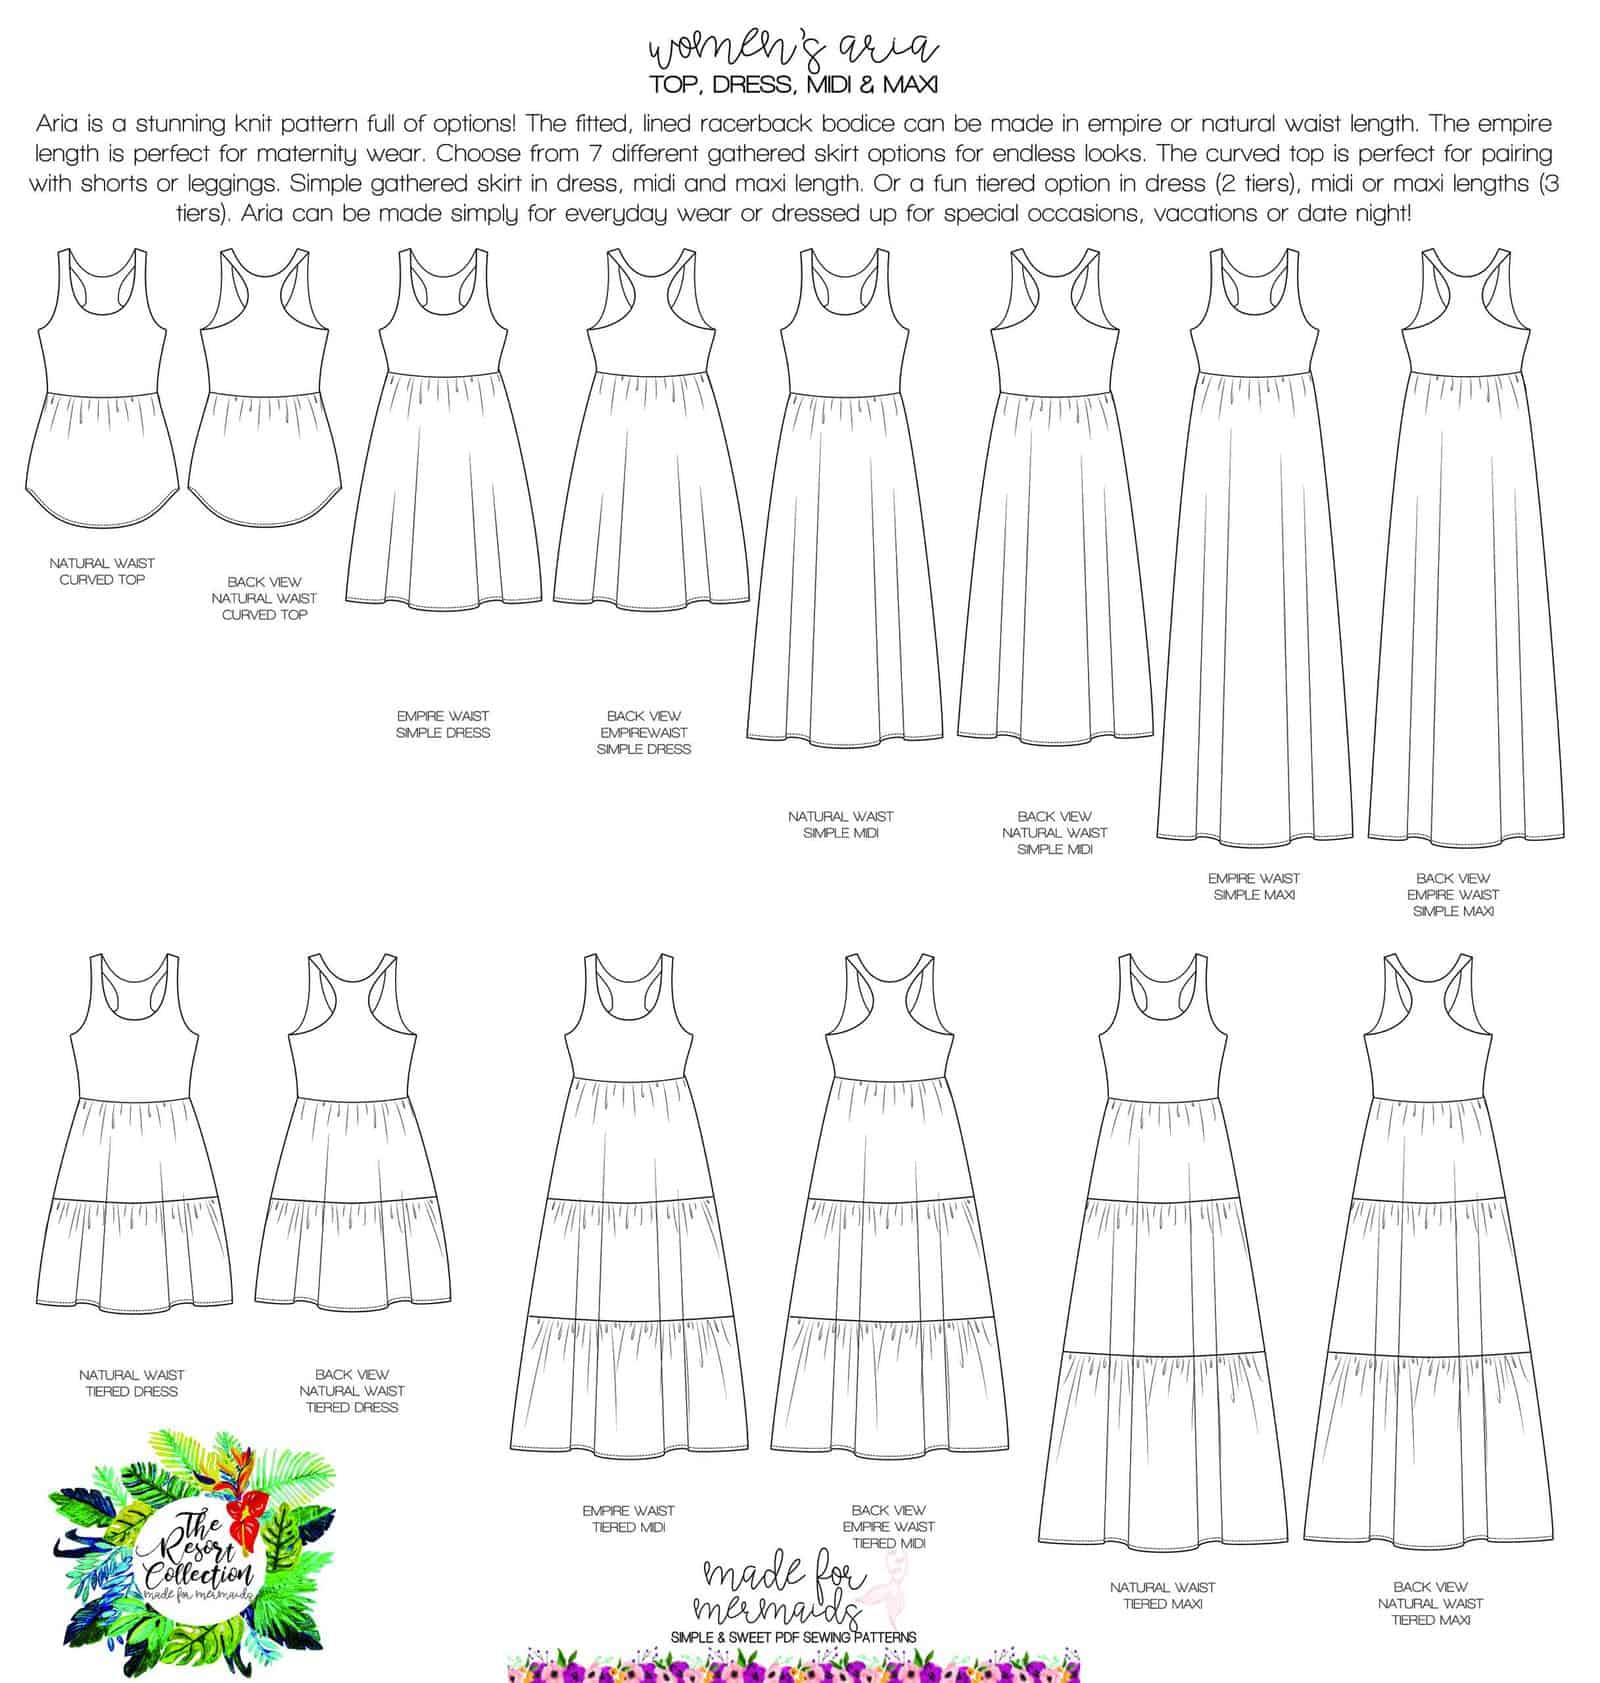
Women’s Aria, Aria, and Baby Aria look deceptively complex! Ruffles and lining can definitely seem daunting at first, but they do get easier with practice! And, of course, the end result is 100% worth the tedious work of gathering multiple layers!
Before we get started, there is a ton of helpful beginner information between the M4M and P4P blogs, in case you are new to knits, or new to PDF patterns in general:
- New to PDF patterns? Check out our helpful tips here
- New to sewing with knits? Brittany has some great info here
- Not quite sure how to measure yourself accurately? Don’t worry; check out the post here!
- Having issues printing? Most issues can be resolved by using our FAQs/troubleshooting tips
- Looking here for more extensive grading help!
- Not in our official SAL group yet? Join here 🙂
Our first day is all about prep! First, be sure to measure yourself (or the person/people that you are sewing for) accurately. The tutorial includes information about grading and mashing, but you can also check out the blog linked above! I mash sizes for both of my kids, and have to grade a bit for myself as well most of the time! I always like to get fresh measurements before I sit down to sew anything, especially for the kids, because they change so often. Remember that you won’t necessarily use their/your ready-to-wear (store bought) sizing.
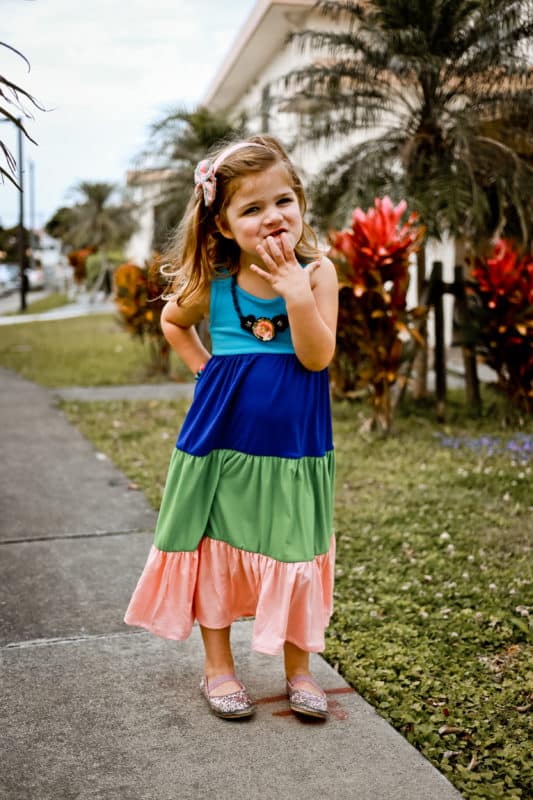
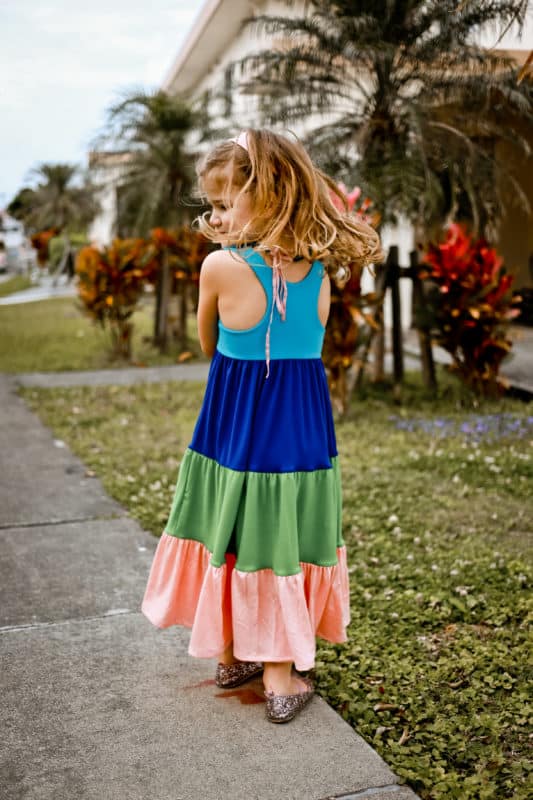
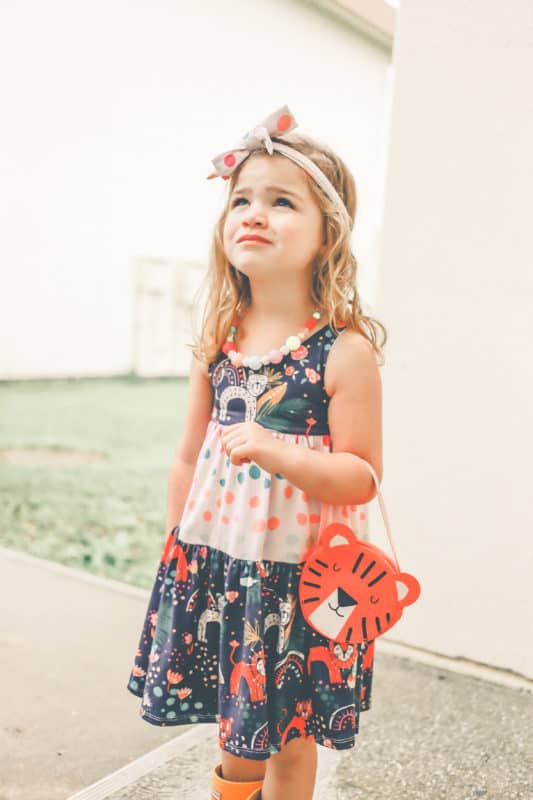
After you’ve measured, you’ll want to choose your fabric and gather your supplies. Some of my favorite fabrics for this are double brushed poly, rayon spandex, modal or bamboo blends, and I do like cotton lycra for the bodice for my daughter. For this fun midi version, I used up a whole bunch of scraps!! The bodice is cotton lycra, top tier is double brushed poly, middle tier is a modal blend, and the bottom is a rayon spandex. I tried to make sure the fabrics went from heaviest to lightest, just to make sure I got the best drape.
NOTE – The solid colored Arias are GORGEOUS, but if you’re hoping for more defined tiers, you may want to use a variety of prints/colors.
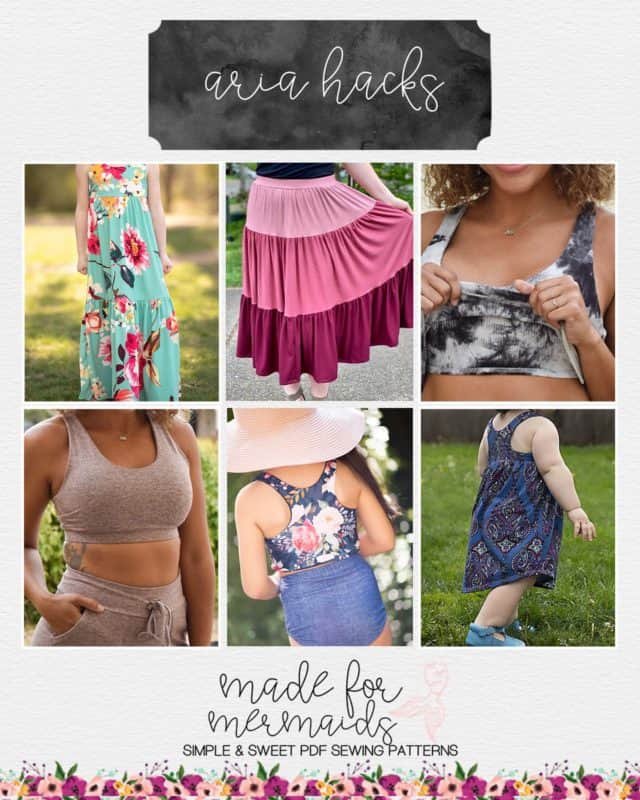
Decide if you want to create your Aria per the original tutorial, or utilize one of our hacks from the blog.
Next, go ahead and print your pattern! Be sure to print a test page and measure your 1″ square before you print the whole pattern. For Aria, you can use the cut chart OR the pattern pieces for your tiers. We recently switched over to only pattern pieces, but because printing out all of the tiers can be a bit cumbersome, we included a cut chart for this particular pattern. Once you’ve got your pattern pieces printed and assembled, go ahead and cut out your fabric so you are all ready for day 2.
Don’t forget:
- Make sure you are taking an accurate and consistent seam allowance; the seam allowances vary in this pattern, so be sure to read through the tutorial!
- Cut all bodice pieces on the same cut line – either empire or natural
Want to sew along with me? Check out today’s video!
If you have questions about measuring yourself, printing, putting your pattern together, or cutting your fabric, you are always welcome to post in our SAL group so we can help you! Be sure to check in each day during the SAL, and look for daily posts to enter our giveaways. We can’t wait to see what you create this week!

DAY 1: PREPPING AND CUTTING
DAY 2: SHOULDER SEAMS AND NECKLINE
DAY 3: BURRITO ROLL
DAY 4: SIDE SEAMS
DAY 5: CONSTRUCTING TIERS
DAY 6: ATTACHING SKIRT(S)
DAY 7: HEMMING
OUR SPONSORS:
- Handcrafted goods. Digital designs. Made in West Virginia.









Hello-
Where do you get the elastic from? I went to my local joanns and they did not have it. Thank you
I order from Amazon or etsy.