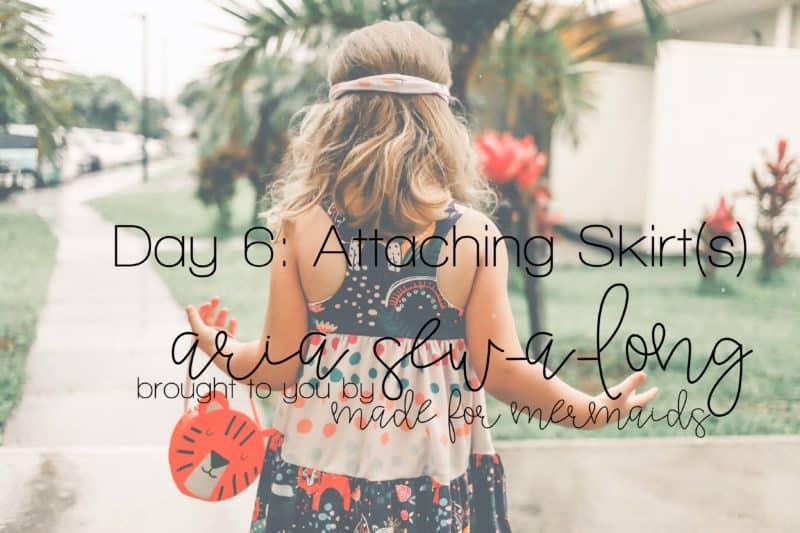
We are so close to the finish line! Today’s steps are admittedly slow-going, but whew, the end result is so rewarding!
If you’re just doing one of the simple skirt options, you will only have one skirt/tier to attach. If you’re doing one of the tiered options, you will have two-three tiers to attach.
In the video, I attach the clear elastic right to the bodice for the first tier. This is easier than trying to attach it to the gathers, and it also helps me make sure I’m not stretching out the elastic while I stitch. I used the recommended zig zag stitch from the Aria tutorial.
For my bottom tier, I attached the clear elastic to the bottom raw edge of the top tier. Again, this is easier than attaching right to the gathers.
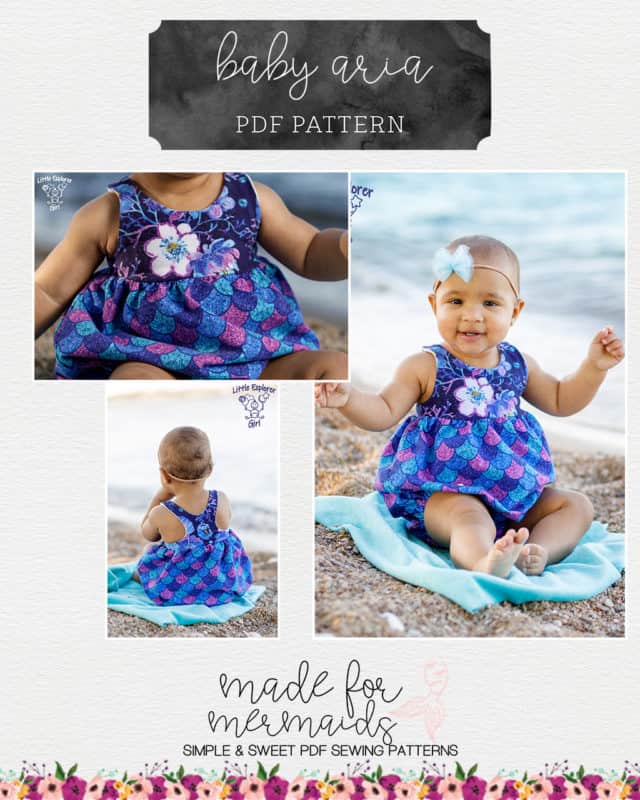
We have lots of people ask if you *have* to use the elastic; the short answer is, no, you don’t *have* to use it. Do keep in mind that the more tiers and/or the larger the dress, the more the fabric will weigh on the seams. The elastic provides extra stability and support. While you may not notice missing elastic in a Baby Aria simple dress, it will be significantly more noticeable in a size Green tiered maxi.
Don’t forget:
- seam allowances vary! Be sure to follow the tutorial.
- seam allowance is already included on the paper pattern pieces
- stitch with right sides of fabric together
- your elastic should fall within the seam allowance
- use a stretch stitch to attach your tiers/skirts to the bodice
Ready to sew along with us??
If you have questions about attaching your skirt pieces/tiers, you are always welcome to post in our SAL group so we can help you! Be sure to check in each day during the SAL, and look for daily posts to enter our giveaways. We can’t wait to see what you create this week.

DAY 1: PREPPING AND CUTTING
DAY 2: SHOULDER SEAMS AND NECKLINE
DAY 3: BURRITO ROLL
DAY 4: SIDE SEAMS
DAY 5: CONSTRUCTING TIERS
DAY 6: ATTACHING SKIRT(S)
DAY 7: HEMMING
OUR SPONSORS:
- Handcrafted goods. Digital designs. Made in West Virginia.







Leave a Reply