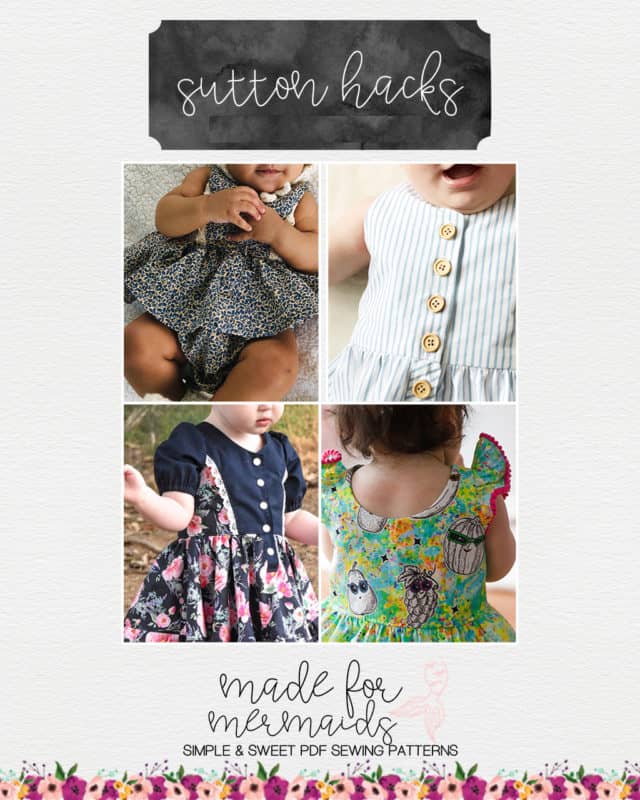
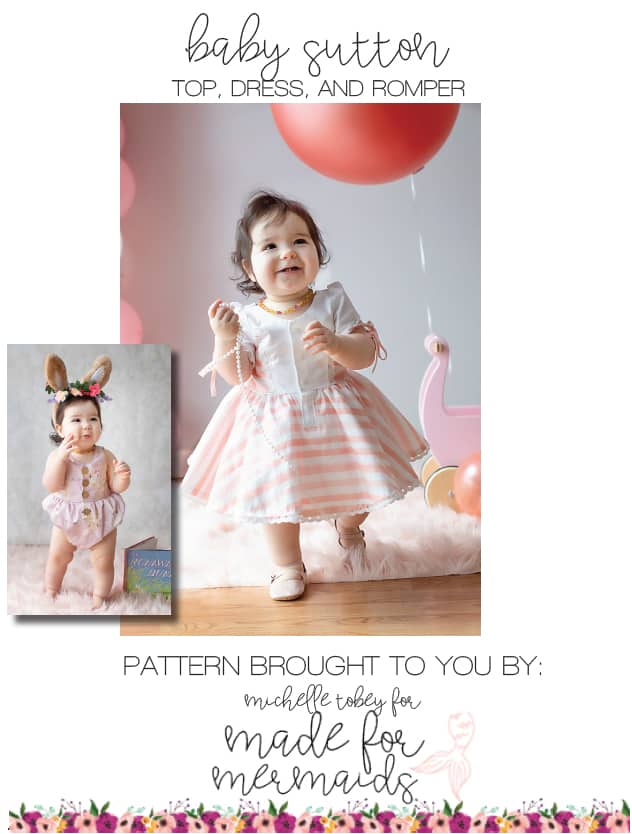
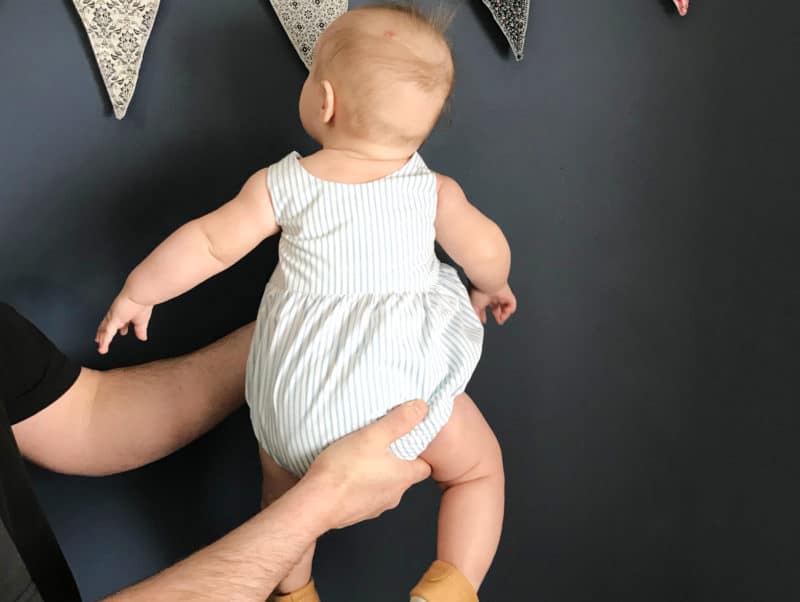
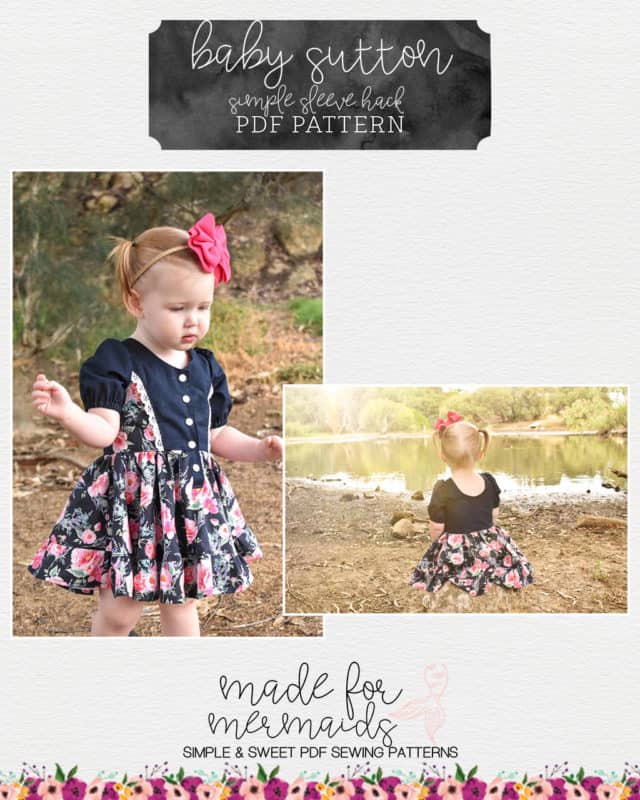
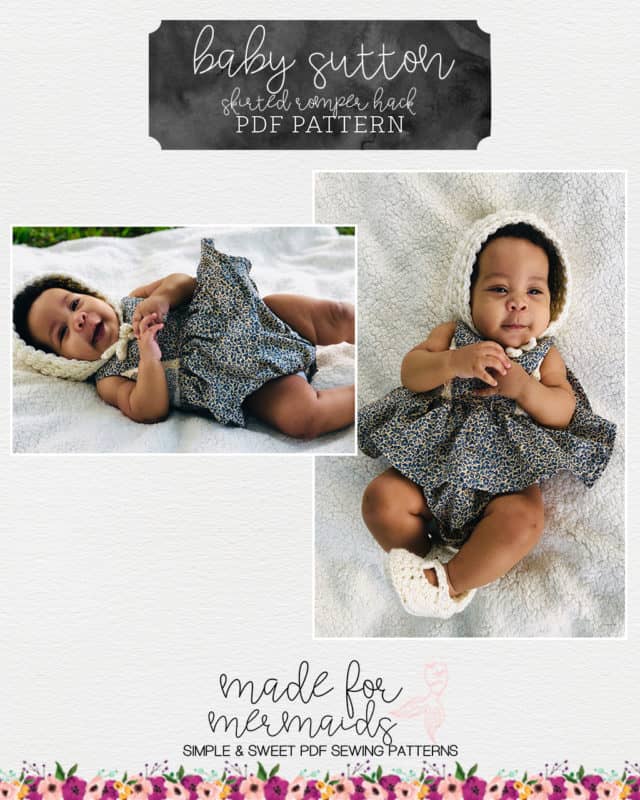
Sutton has been one of our favorites since it released, and now we’re adding a baby version! Baby Sutton comes in sizes newborn through 18-24 months, and includes all of the precious options that are included in the original Sutton. As an added bonus, we have a few adorable hacks for you! Some of these hacks can be used on the youth version, as well.
Simple Bodice Hack
Love the Sutton but want a more minimal look? The steps below will show you how to do the bodice without princess seams, and reduce the width of the bubble romper for a more neutral look.
Step 1- Cutting
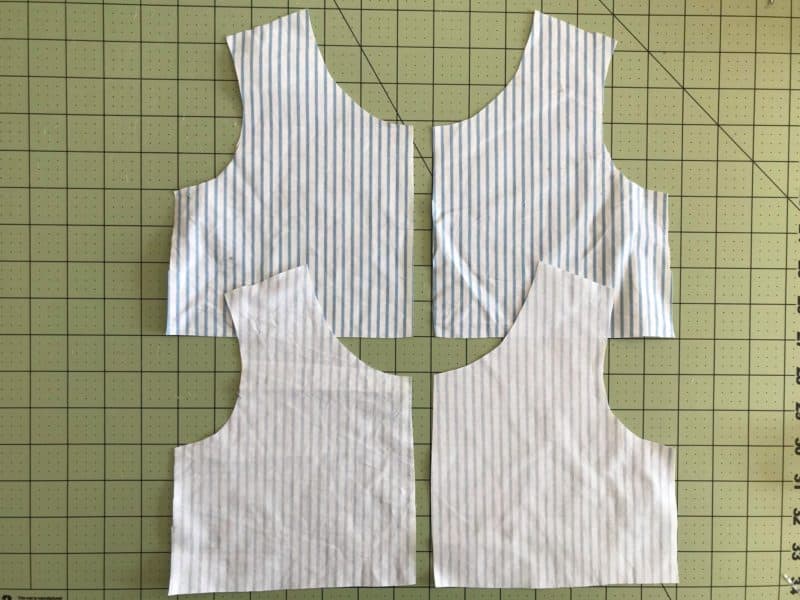
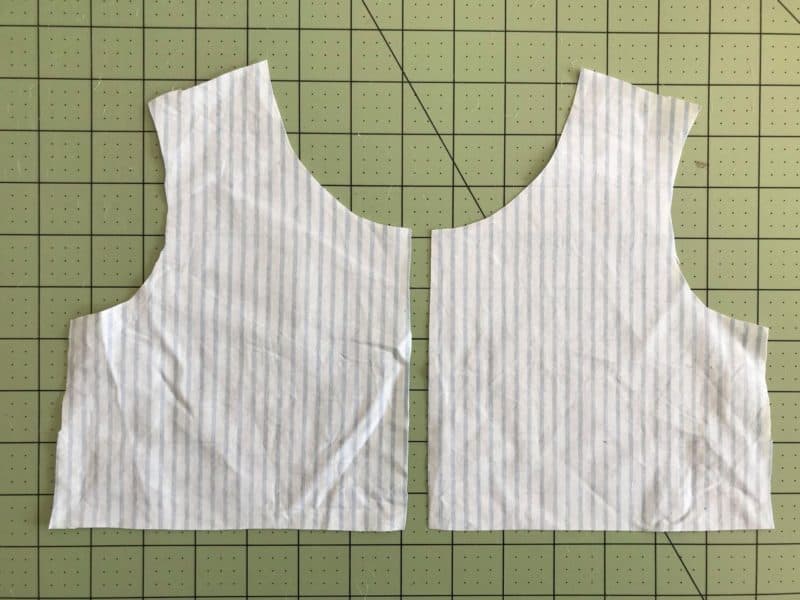
When cutting, use the Front Lining pattern to cut FOUR mirror image pieces. 2 mirror image from lining fabric, and 2 mirror image from main. The 2 mirror image Front Lining pieces from the Main Fabric will now replace the Front Center Bodice/Front Side Bodice Pieces. You’ll layer them right sides together and continue your romper as directed in the tutorial.
To reduce some of the bubble on the romper bottom you’ll simply remove ¾” from the side edge on both the front and back pieces
This will now reduce the romper width by 3” total and you’ll finish the romper as directed in the pattern. You now have a super-fast adorable and simple romper!
-Sarah Gogolin
Pippa Flutter Sleeve
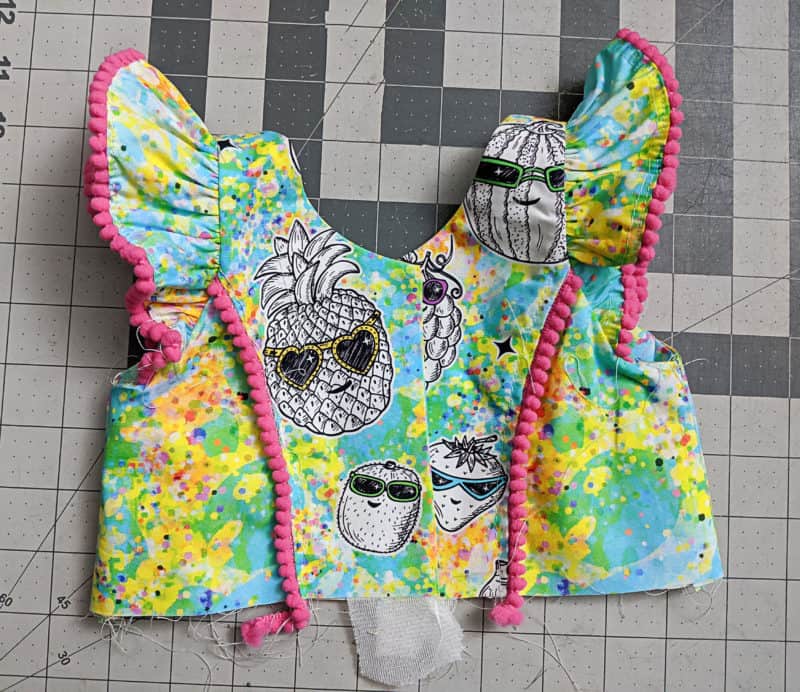
Want to add a little extra adorableness to your sleeveless Sutton? The Baby Pippa flutter sleeve is the perfect bonus! First, you’ll need to make sure you have the Baby Pippa pattern downloaded; print out the flutter sleeve that coordinates with the size Sutton you are making. Hem and run basting stitches through your flutter sleeves as directed in Pippa and set aside.
Then, follow the baby Sutton steps, through step 4. Grab your Pippa Ruffle and your Sutton bodice main (not the lining).
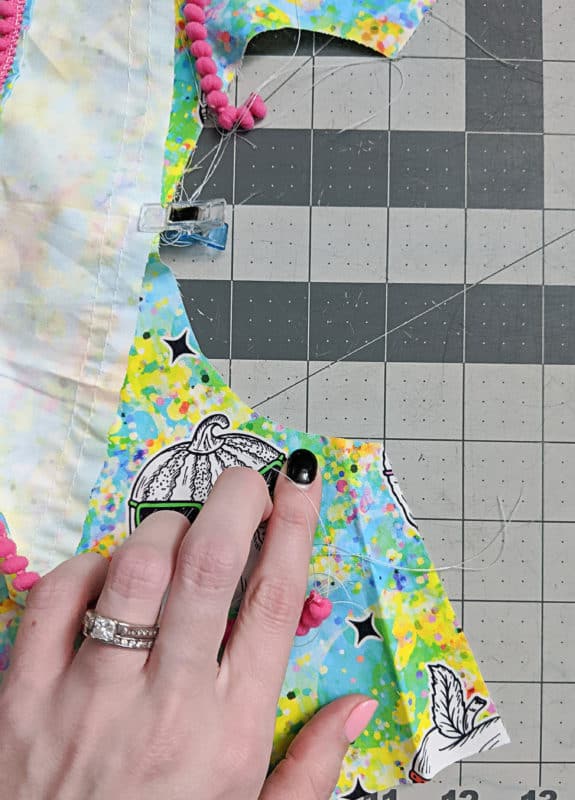
Now you’ll want to gather your Pippa ruffle sleeve to fit your Sutton bodice, just like is done in Pippa. I like to do this by finding the center of your Pippa ruffle and center of your Sutton bodice and clipping together. You’ll then clip the end of your Pippa ruffle about an inch or so in from your Sutton bodice.
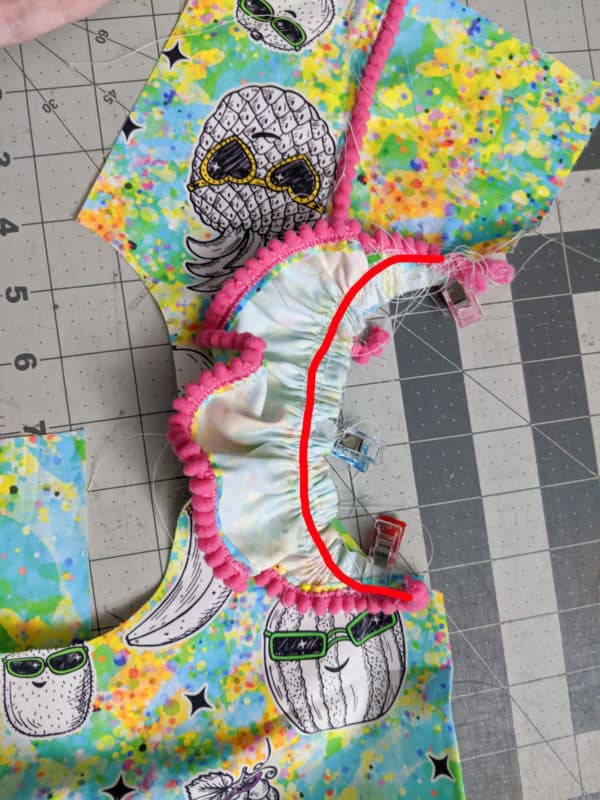
Now pull your gathering stitches until the ruffle length matches your bodice armscye. Then baste your ruffle to your bodice as shown in red.
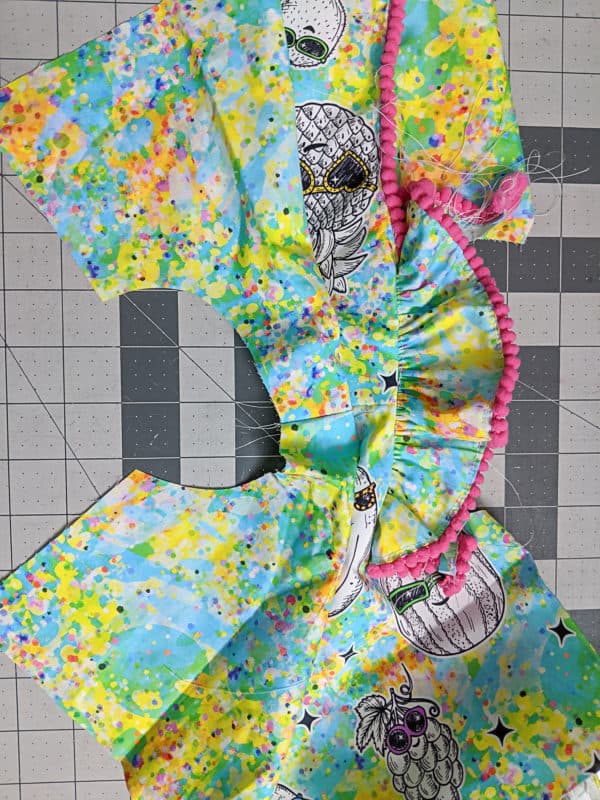
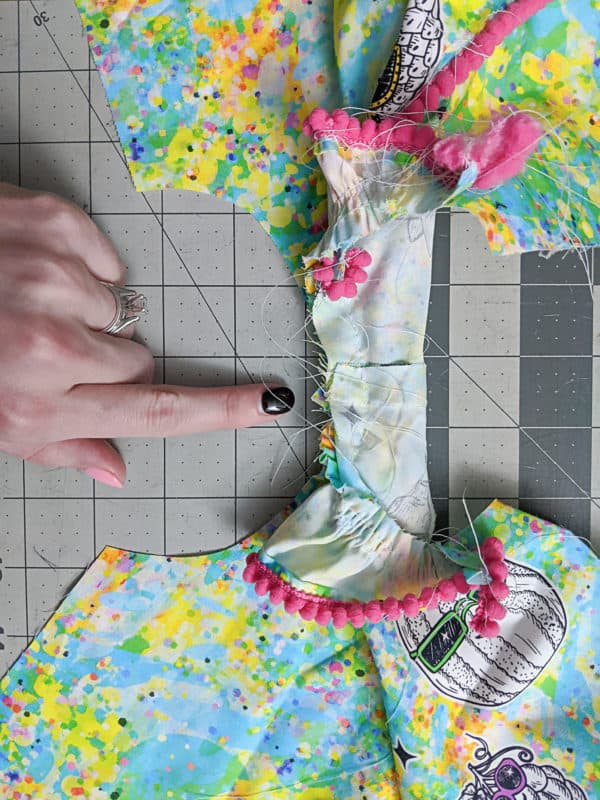
You’ll now continue your regular Sutton steps, making sure you don’t catch your ruffle when stitching your neckline. I like to do this by rolling my ruffle as you can see below.
And you are done! Admire the extra cuteness!
Happy Sewing! -Michelle
Simple Sleeve Hack
Love the Sutton sleeve but in a hurry and don’t have time for the adorable ties? No fear- this hack will show you how to easily modify the sleeve to finish with just elastic.
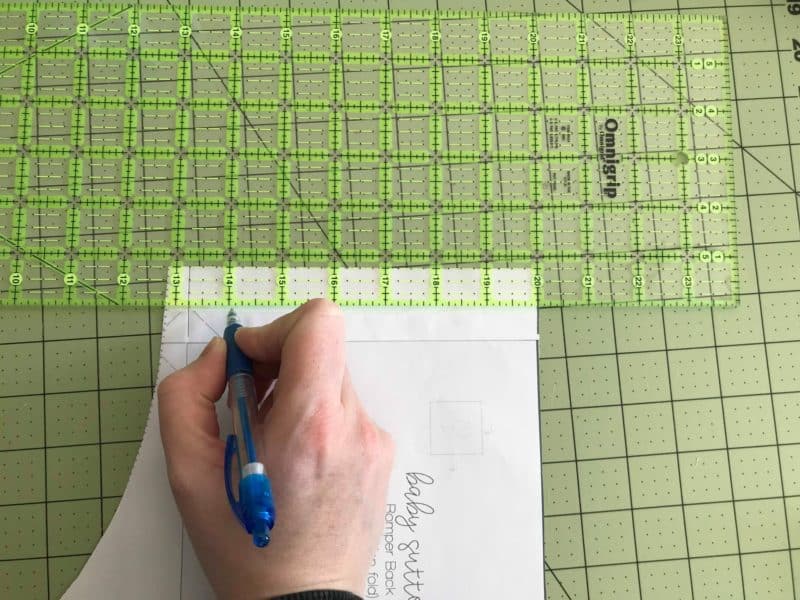
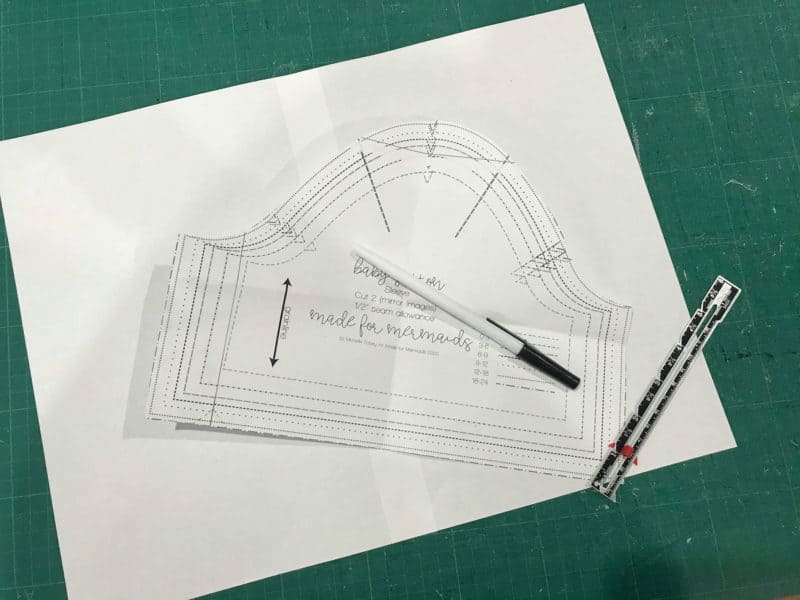
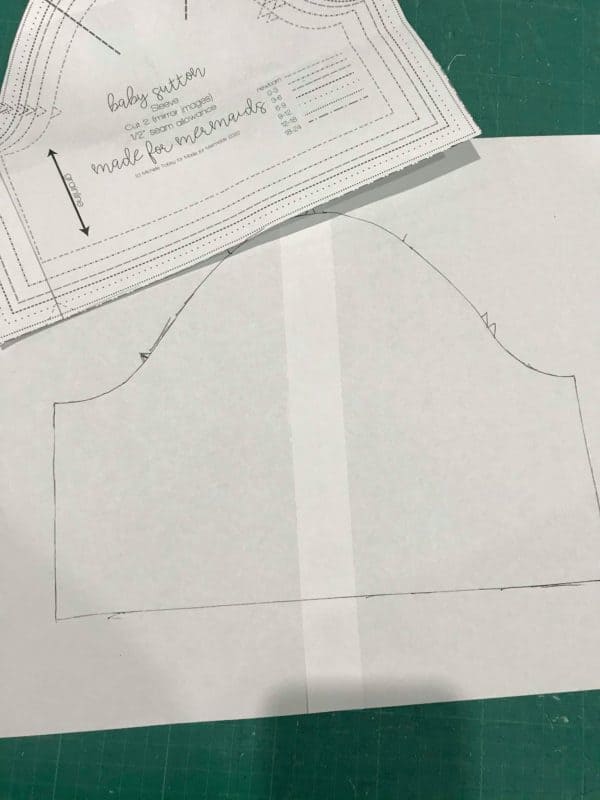
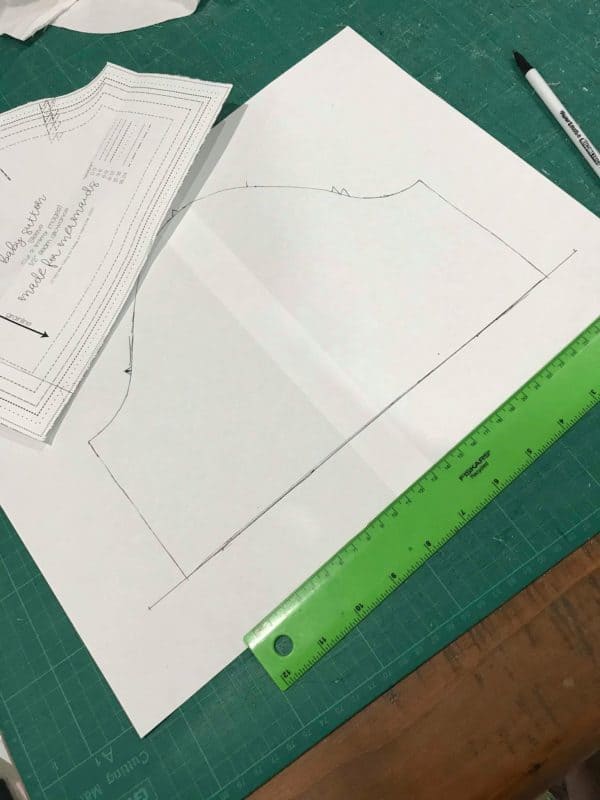
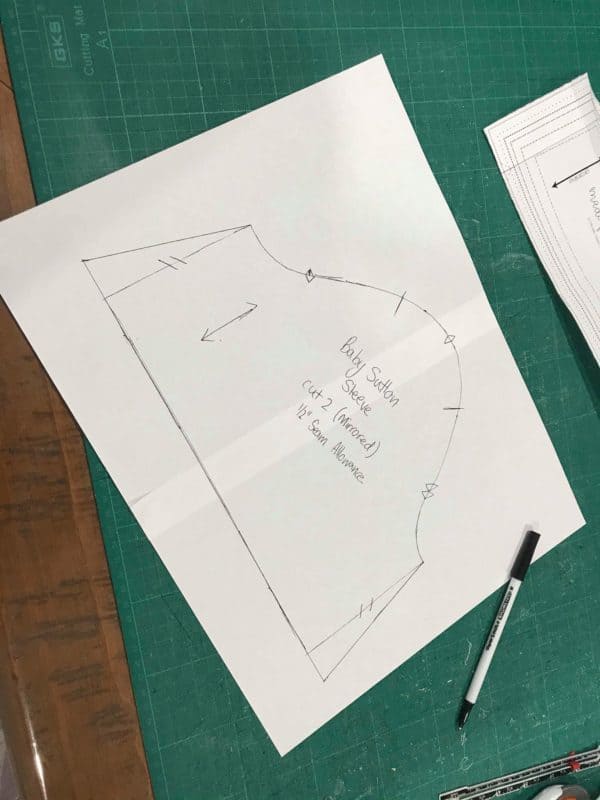
First, start by printing your Sutton sleeve and grabbing an extra sheet of paper and a ruler. Then trace your sleeve onto the paper.
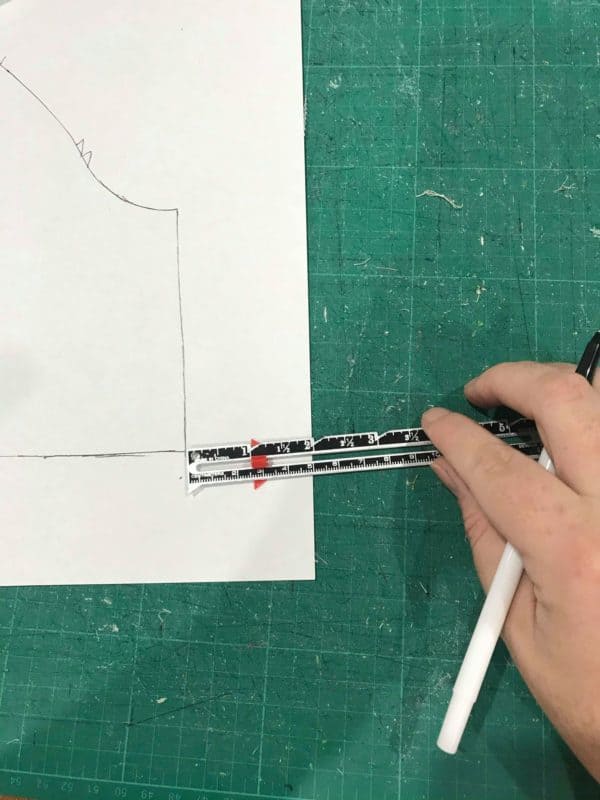
Next, you’ll add one inch to the bottom of each side of the sleeve, extending the sleeve width a total of two inches at the bottom, and grading into the original underarm line.
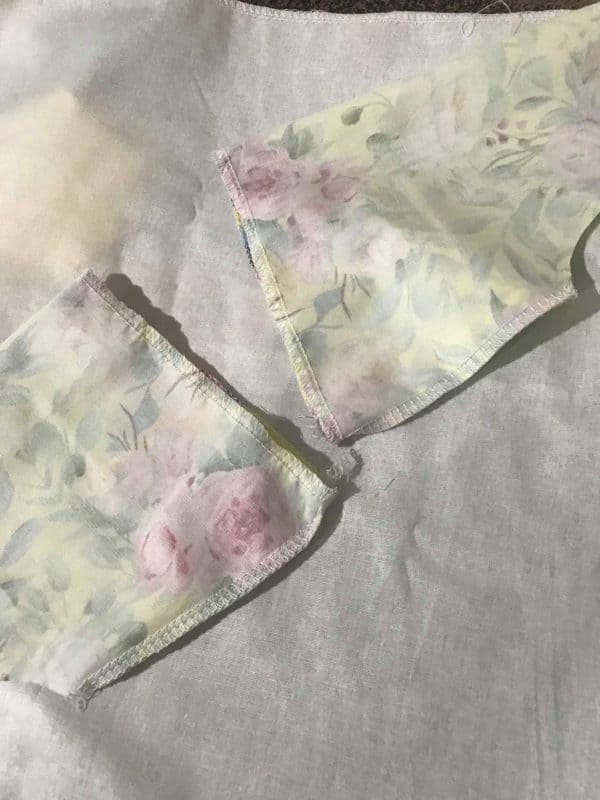
Now you’ll completely skip the packet part and start by folding your sleeves right sides together and stitching the underarm seam. Then finish the bottom of your sleeve edge with a serger or zig-zag stitch (not removing any length).
From here, flip and press your hem up 1/2″ and topstitch, leaving a small opening to thread your elastic through. To determine the elastic length, I recommend wrapping it around your little one’s arm. Be sure to include seam allowance (1/2″-1″).
Thread your elastic through the casing leaving one end out – overlap the two ends, stitch, and then push it all the way into the casing. Now, topstitch your opening closed, and you’re done! Finish the sleeve as directed in the tutorial and you have your cute simple sleeve hack!
-Michelle Kidson and Michelle Tobey
Skirted Romper Hack
If you want the best of both worlds – romper and dress – then this hack’s for you! This will show you how to combine your skirt with your romper bottoms so they act as one piece, giving you the twirl of the skirt with the coverage of the romper.
First, decide if you want to use the dress or top length for your skirt and cut both the skirt and the romper pieces. The photos below are of top length. Then construct your bodice as directed in the tutorial.
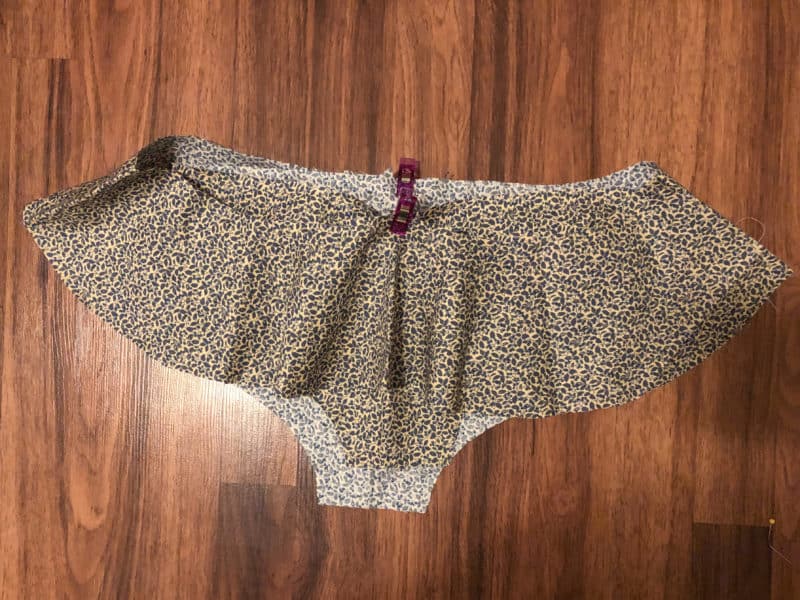
When you get to the skirt/romper construction, you’ll find the middle front of your skirt and the middle front of your romper and pin them together with the skirt wrong side on top of the romper right side. Repeat with backside. You’ll find your skirt is larger than your romper.
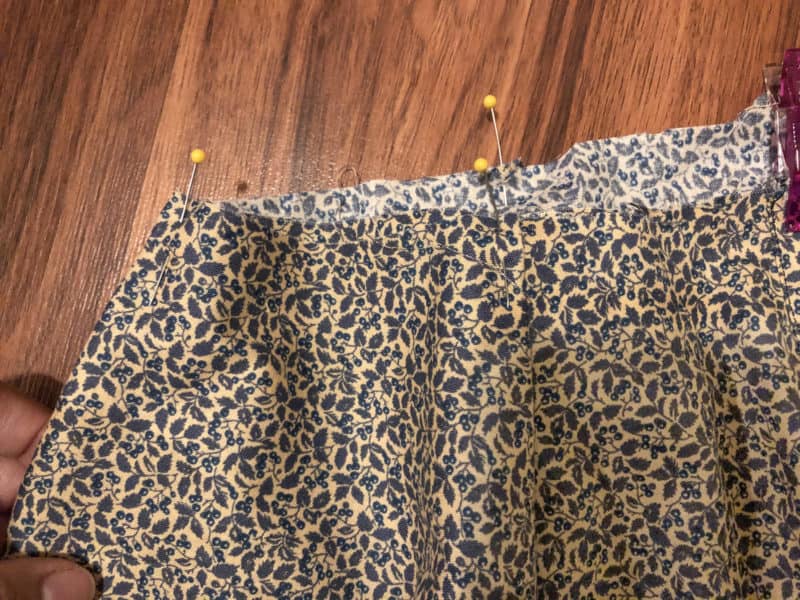
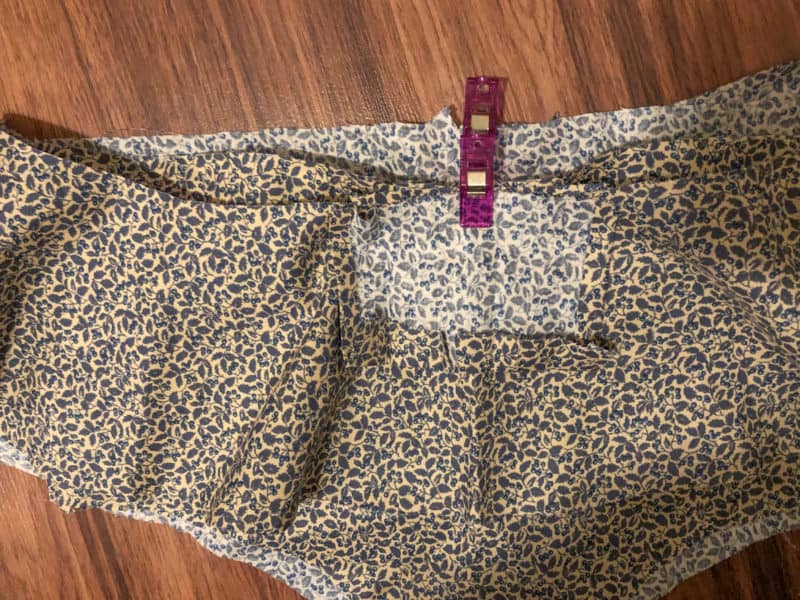
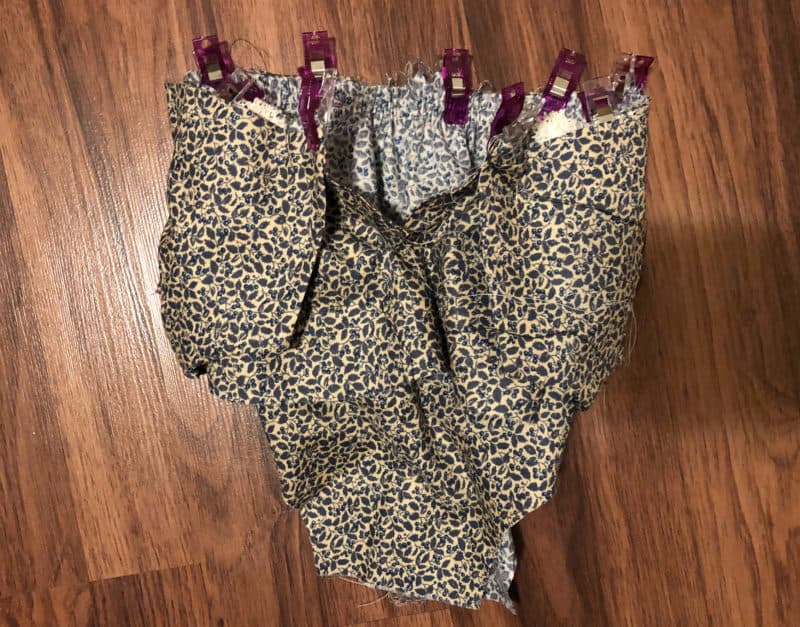
Since it’s larger, you can either choose to make 3 even 1/4″ pleats on each side of the romper (6 total) and baste in place as shown below, or gather the skirt and baste to the romper. Whichever way you choose, you’ll then baste your romper and skirt together.
Once your skirt and romper are together, you’ll go back to your center front, and proceed with the instructions as directed in the tutorial by adding the snap placket but you’ll be going through both the skirt and romper layer instead of just one. Now, gather and attach as directed in the tutorial to the bodice. Finish both your romper bottom and skirt and you’ll be done!






























Leave a Reply