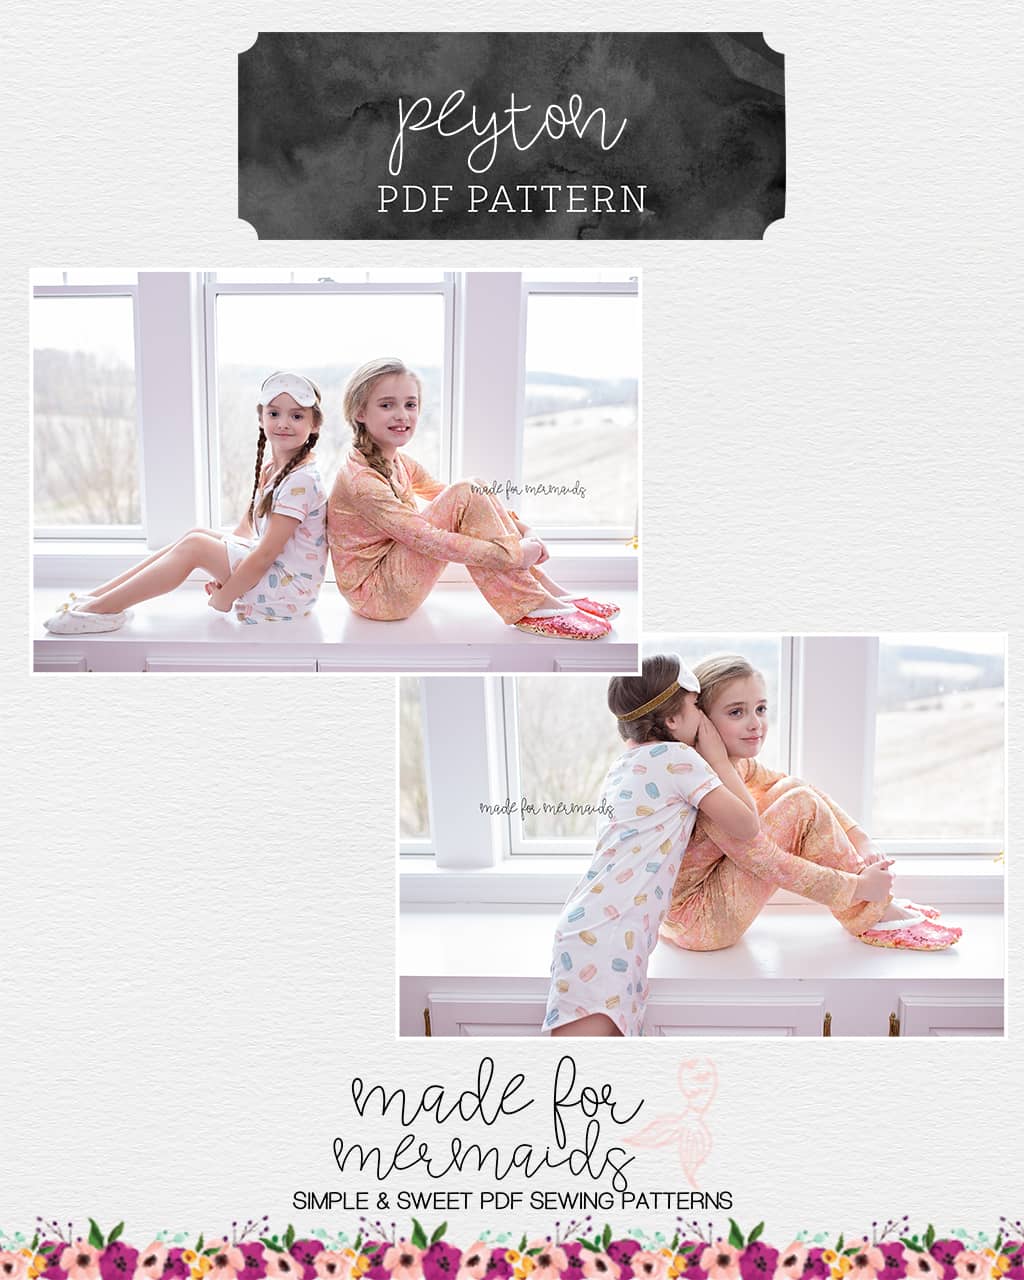
Peyton is our newest set of patterns, and if you and your family are anything like our testers and their families, you’re going to LOVE them! Peyton is loaded with options.
Our Youth Peyton includes a nightshirt or top length, banded or hemmed short sleeves, banded or hemmed long sleeves, and an optional chest pocket. Want to make the matching bottoms? Choose from flounce shorties, banded or hemmed shorts, or banded or hemmed pants. The Peyton bottoms include pockets, elastic waist, and an optional drawstring or woven bow.
Our Women’s Peyton patterns include all of the above options, PLUS two different inseam lengths for both shorts and pants.
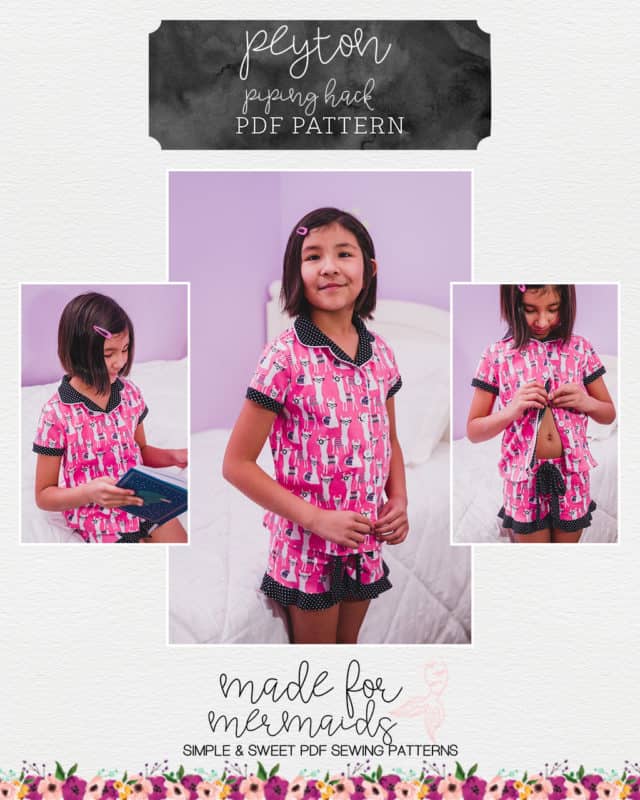
Want to give your Peyton a little something extra? Add piping detail like Alexandria did! It gives such a cute, professional finish to this adorable pattern.
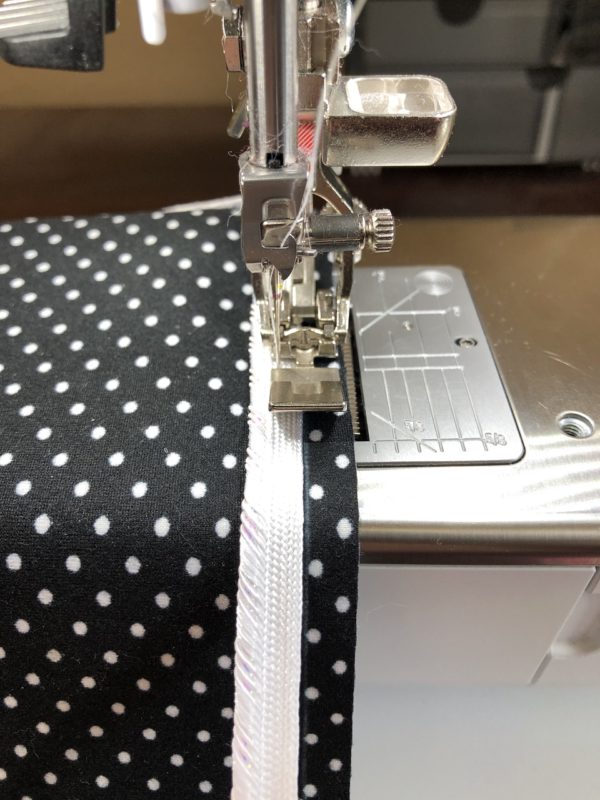
NOTE: I highly recommend using knit interfacing if you choose to add piping. In this example, the piping is applied to pieces that have knit interfacing fused to the wrong side. This is a job best left to your sewing machine and a zipper foot is a big help.
Prepping the collar
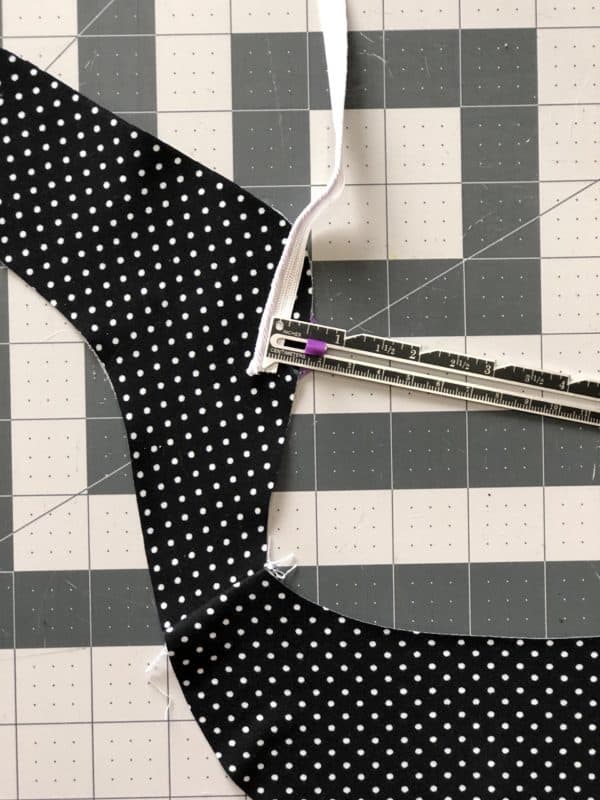
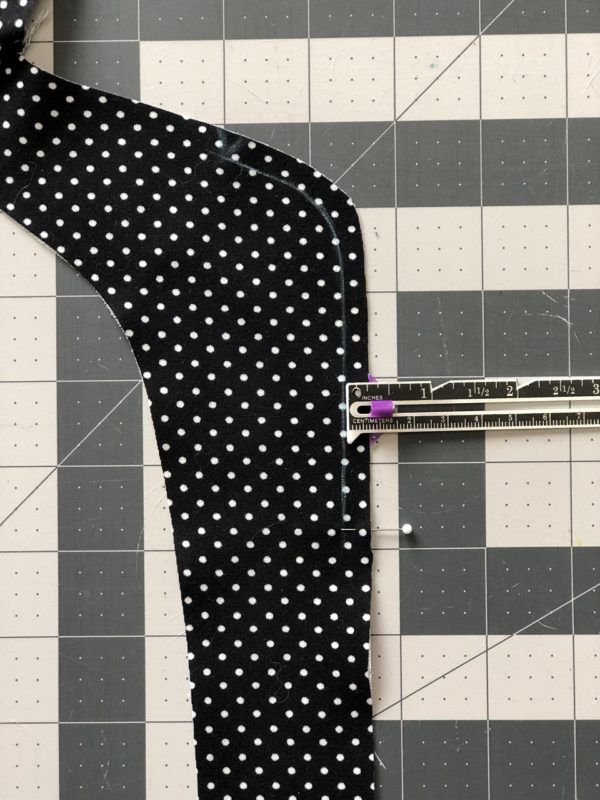
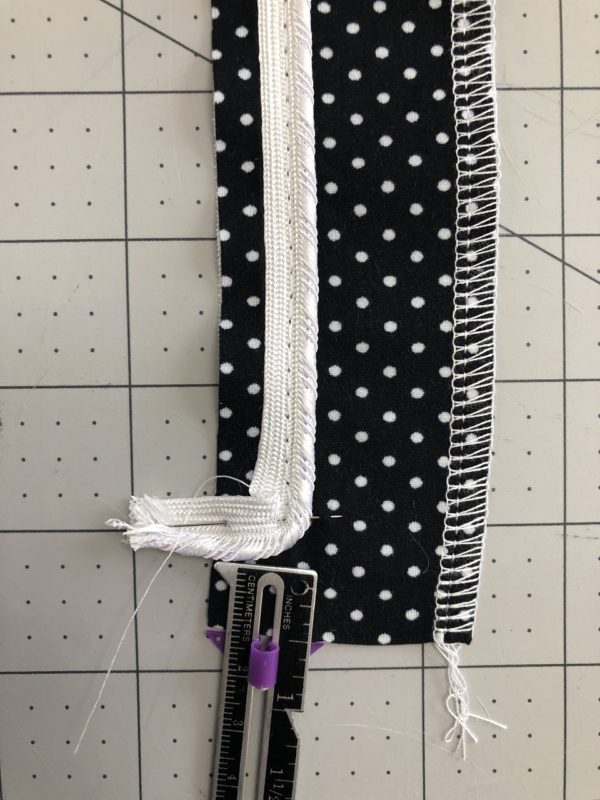
The piping should rest just outside of the ½” seam allowance. Measure the width of the tape to determine how far in it needs to be from the raw edge. This trim needs to sit ¼” away from the raw edge. *This will vary based on your trim*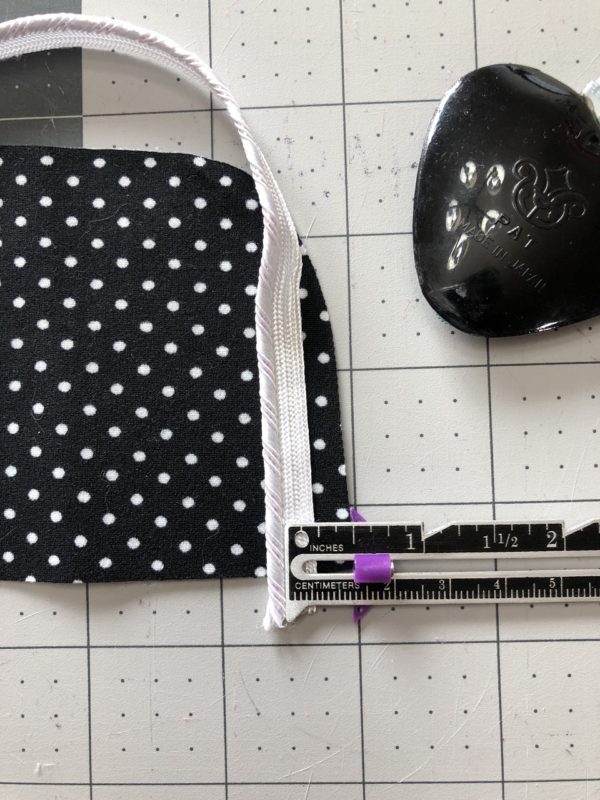
Mark the fabric on the right side ¼” from the edge.
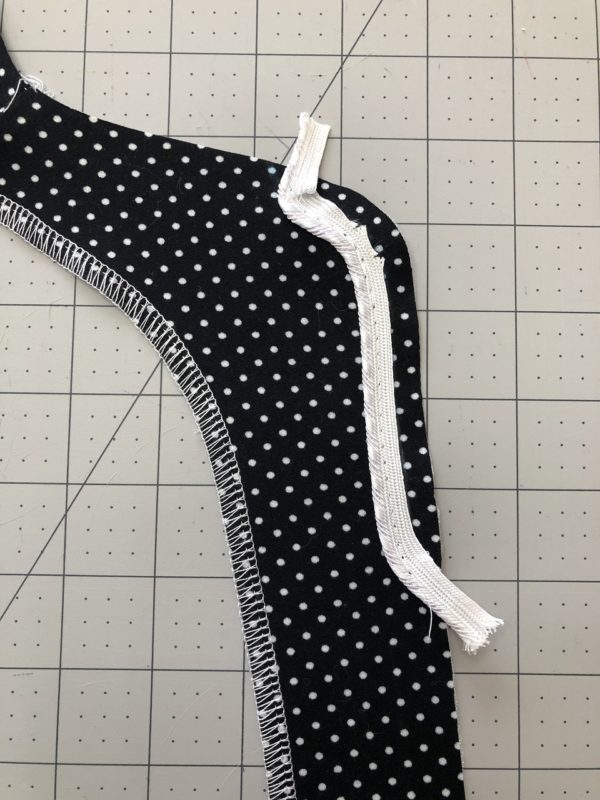
Leave about 1” of trim hanging off the edge. Pin in place using your markings as a guide. Clip the tape along the curve to get the piping to lay flat. Optional – use fray check on the clipped edges to prevent fraying.
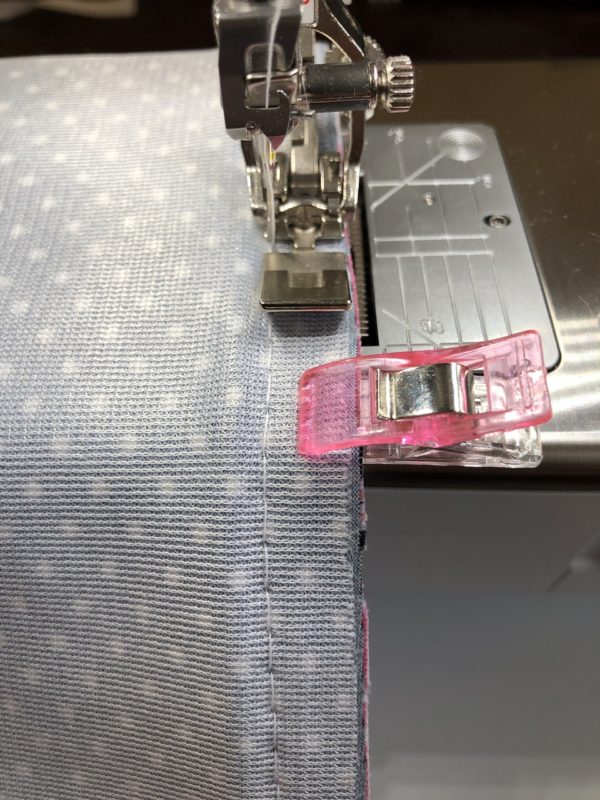
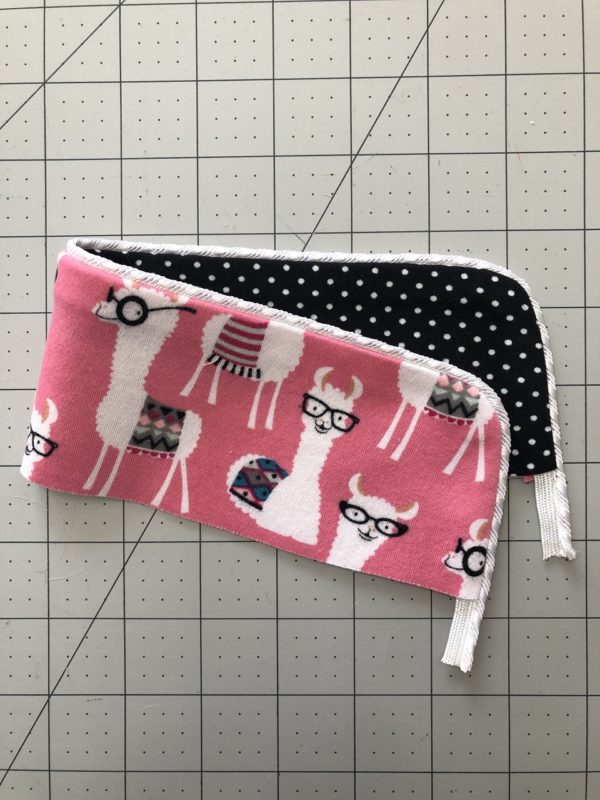
Baste in place using a zipper foot to get close to the edge. Place the collar pieces right sides together and use the basting stitches as a guide. I like to baste first, turn right side out and check to make sure it looks good before I sew. Set aside.
Prepping the facing
Construct the facing as shown in Step 3.
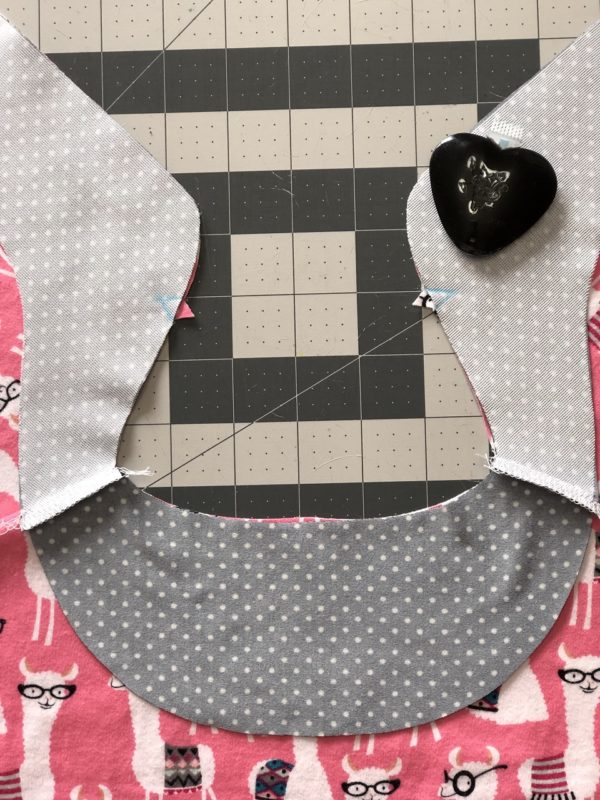
Have your top with shoulder seams already sewn, right side up. Lay your facing right sides together. Mark the notches on the wrong side of the facing. Mark the top button placement. Flip the facing right side up and mark the notches on the right side too.
Mark the fabric ¼” from the edge for an easy guide to place the trim.
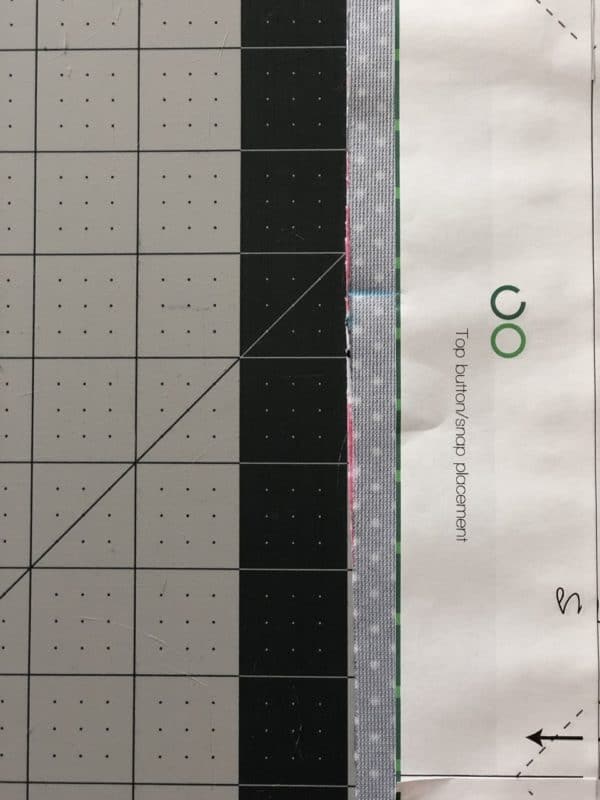
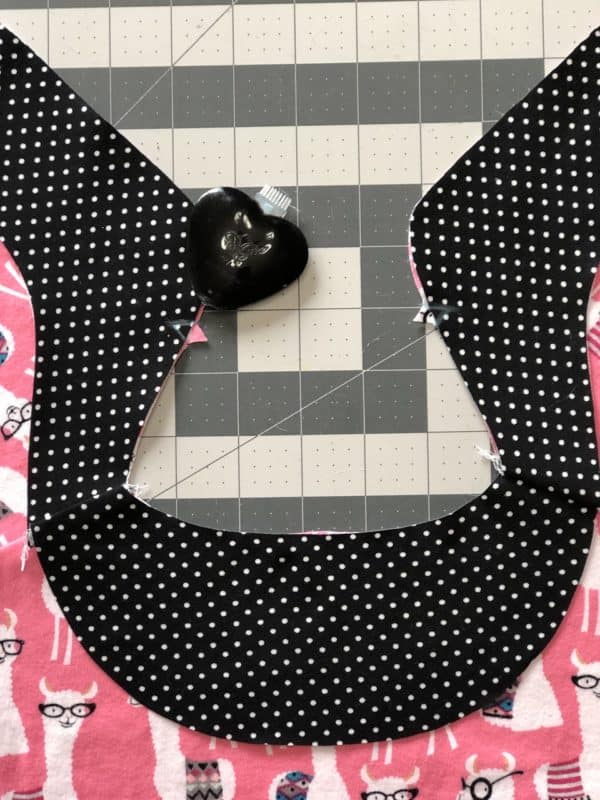
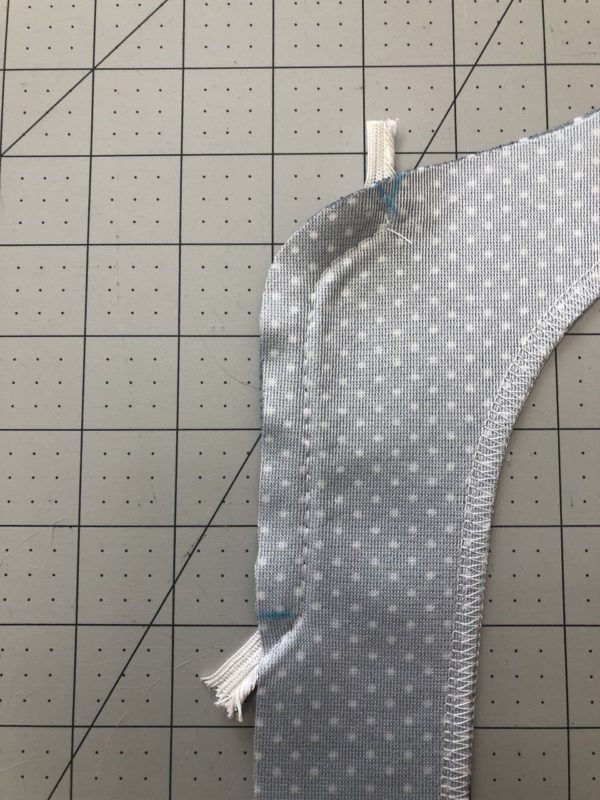
Same as the collar, leave about 1” of trim hanging off the edge before pinning and basting. If your piping is going down the front of your shirt, start at the notch and stop ½” from the bottom. For the lapel only, start at the notch and continue down to the top button placement. Now we’re ready for main construction.
- Finishing at the bottom of the shirt
- Finishing the lapel at the top button
- Finishing the lapel at the top button
Follow the tutorial for the main construction of the top. When sewing the facing to the collar, your piping pieces from the collar and the facing should butt up against each other at the notch. Baste the pieces together first. That makes it so much faster to fix any mistakes. 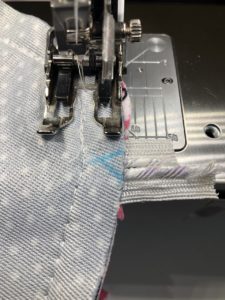 Check your piping. If you’re happy with it stitch the facing to the main top and finish construction. All finished! Don’t forget to share your Peyton pjs over in our Facebook group!
-Alexandria






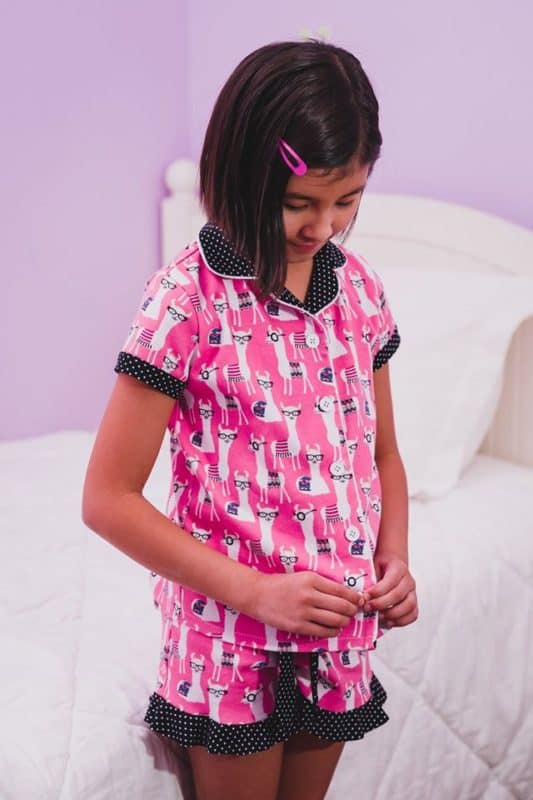

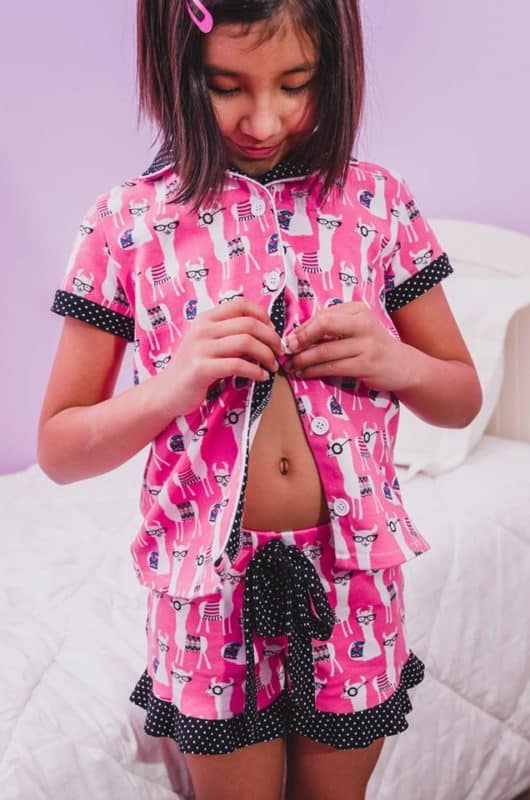






Love the pink fabric and the piping details! Great tips, thanks!