

Our newest Lounge & Lace patterns are here! The Betty Sleep Romper and the Rita Robe go perfectly together!
-

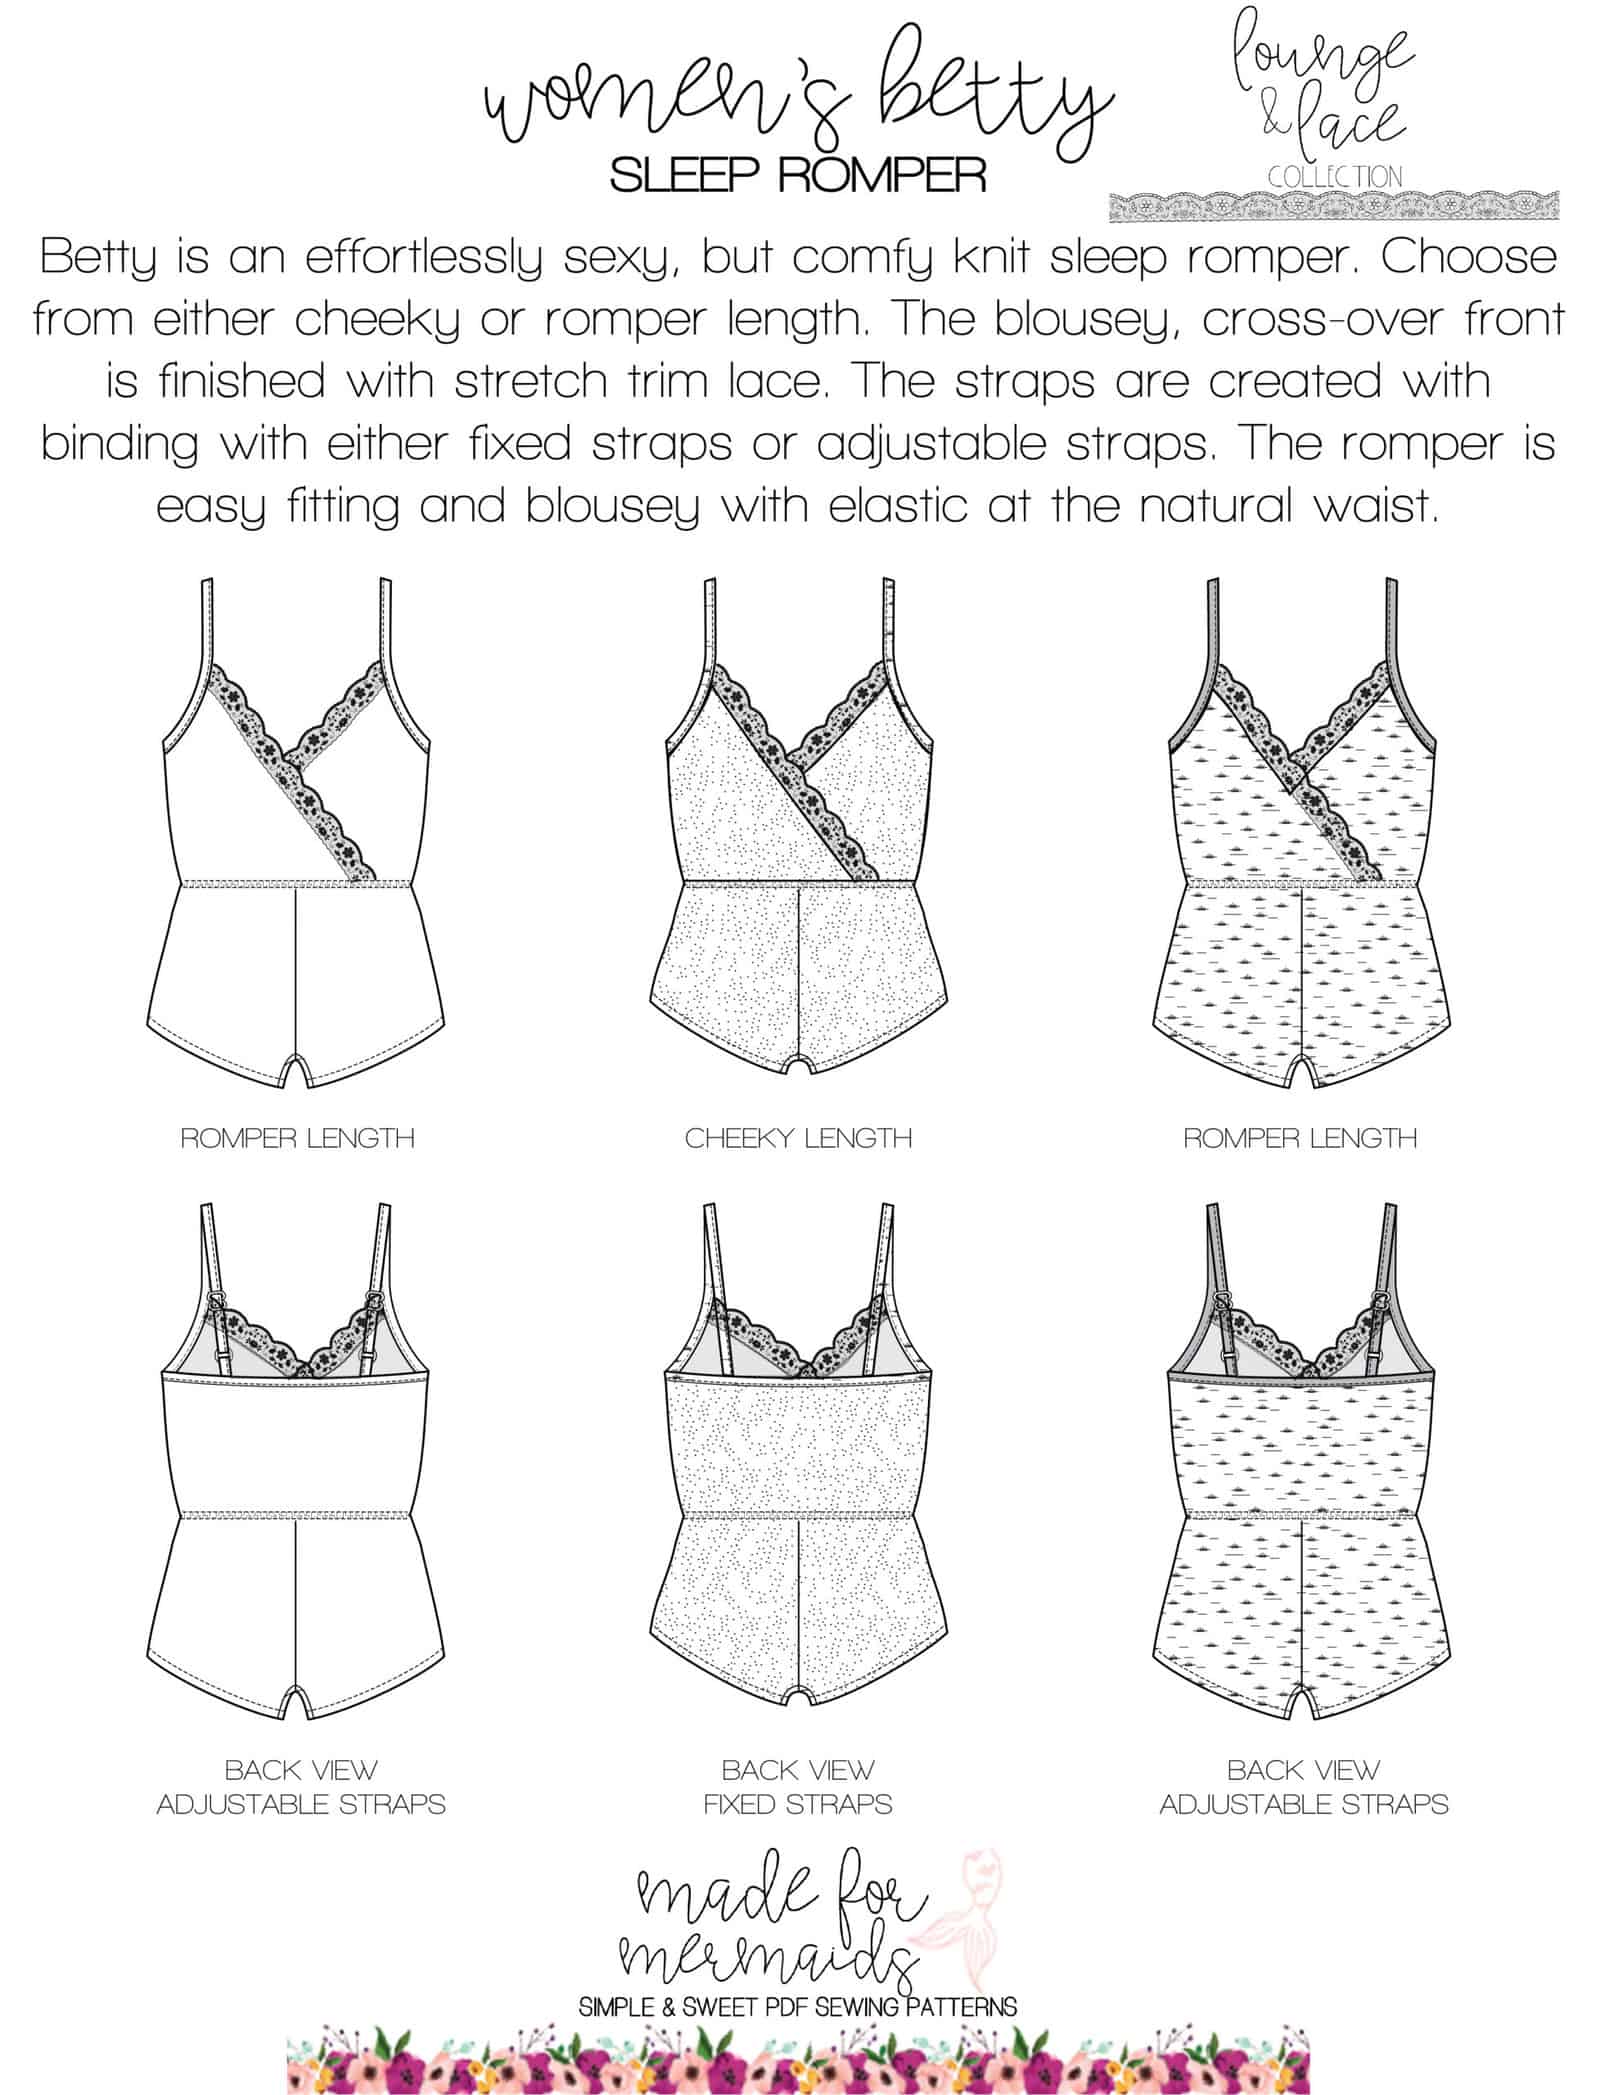
- Betty Sleep Romper


-

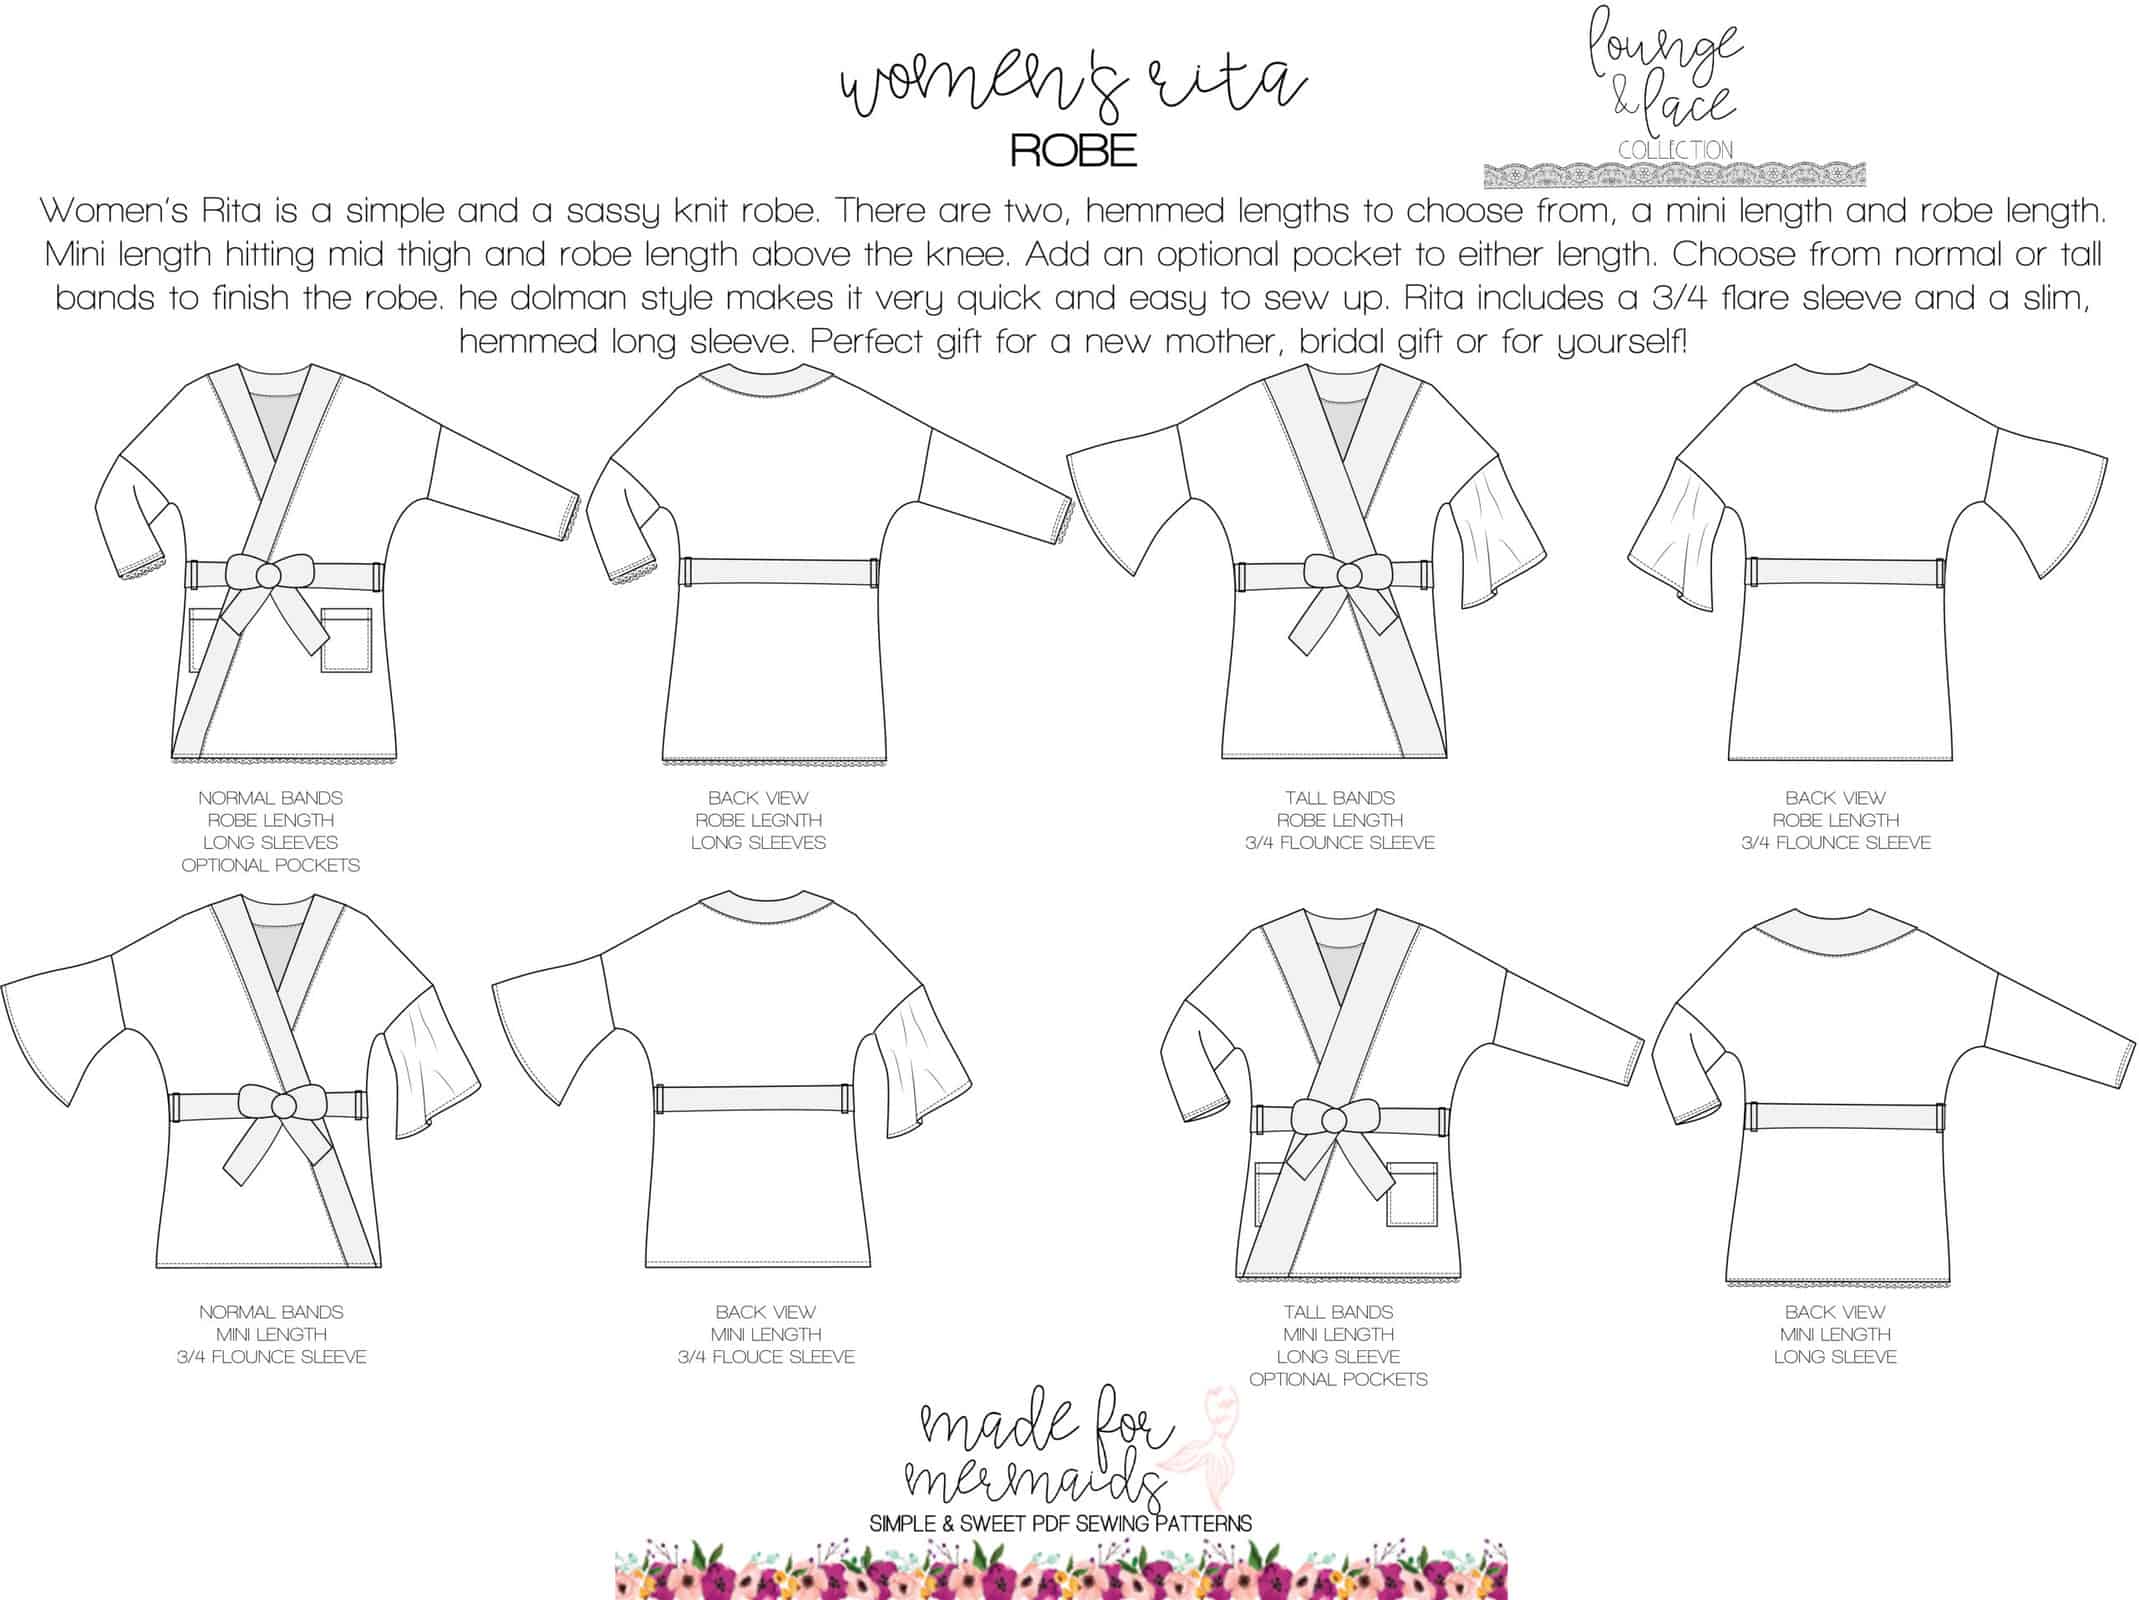
- Rita Robe

We have four simple hacks to give you a few different looks to your Betty Sleep Romper!
Front Bodice Binding Hack

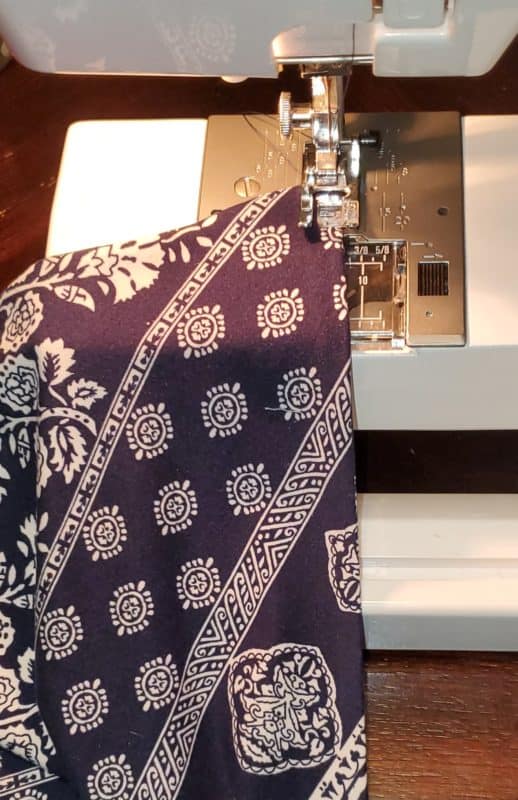
The Betty Sleep Romper is super cute with the lace overlay, however adding a simple binding to the crossover of the front bodice pieces can be a great hack if you don’t have any lace on hand or if you want to change the look of your romper.


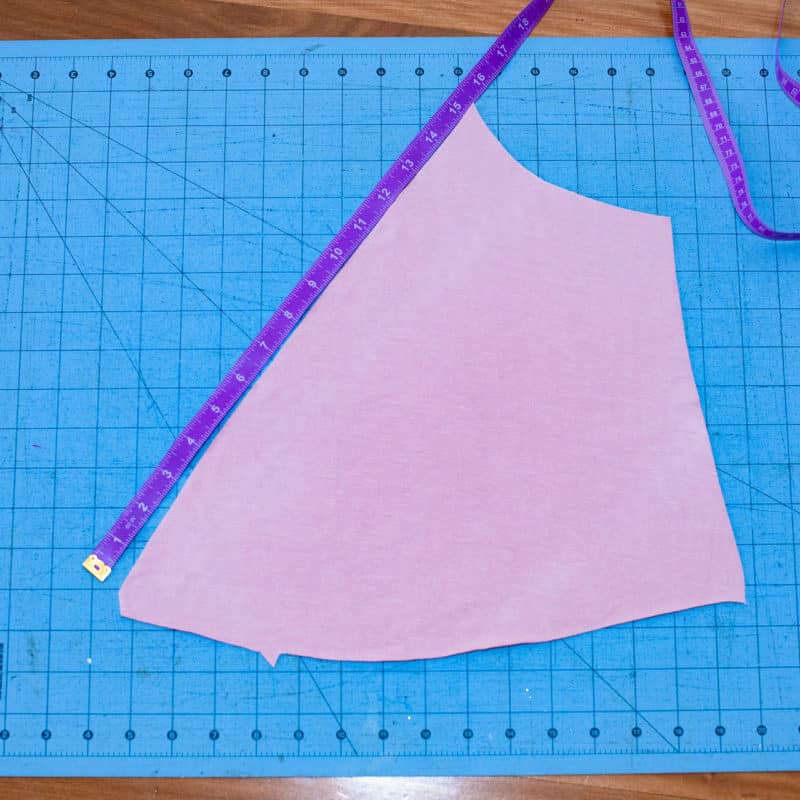
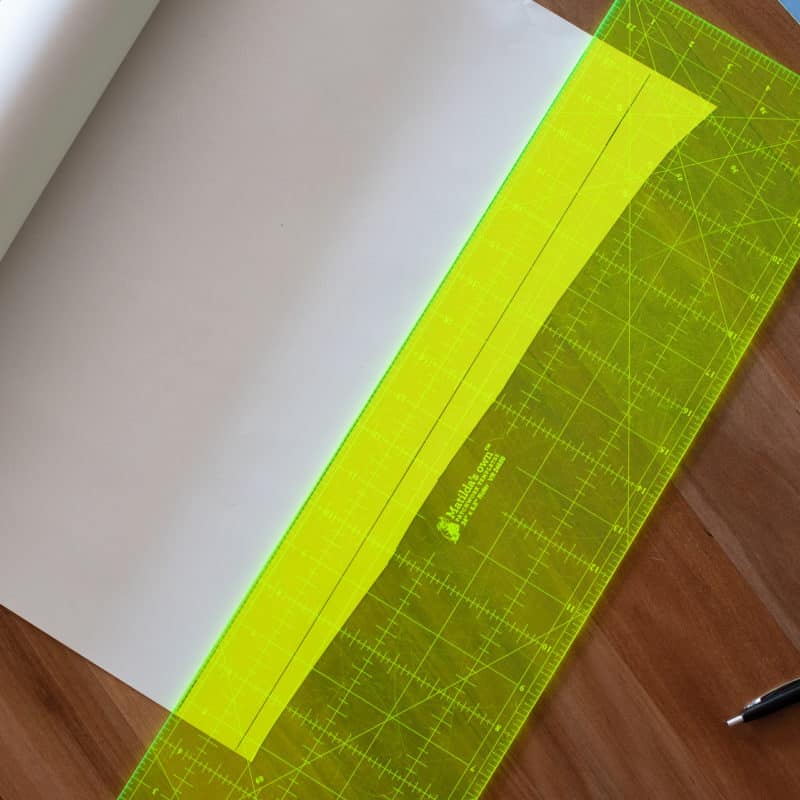
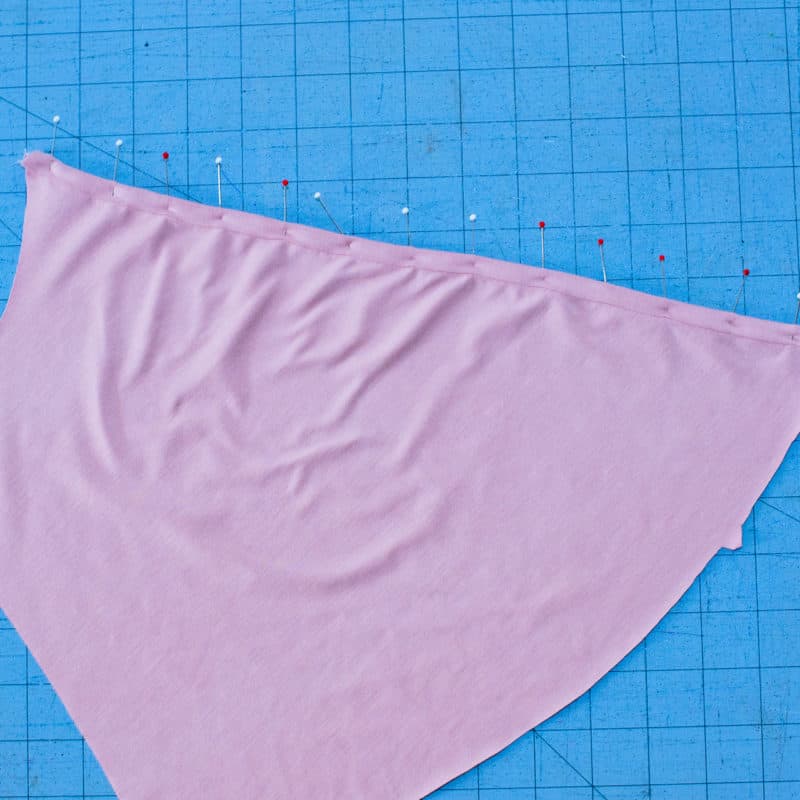
Firstly, cut your 2 front bodice pieces as per the pattern and size you require. Grab your measuring tool to calculate the length of the long diagonal edge of the front bodice. As per the image below it is 15.5″ long. Then grab your calculator to work out the length of binding you need to cut. You need to calculate the length of the binding to be 85% of the original length. In my example this is 15.5″ x 0.85 which gives you a required cut length of 13.175″. I rounded this up to 13.25″ for my required binding length.

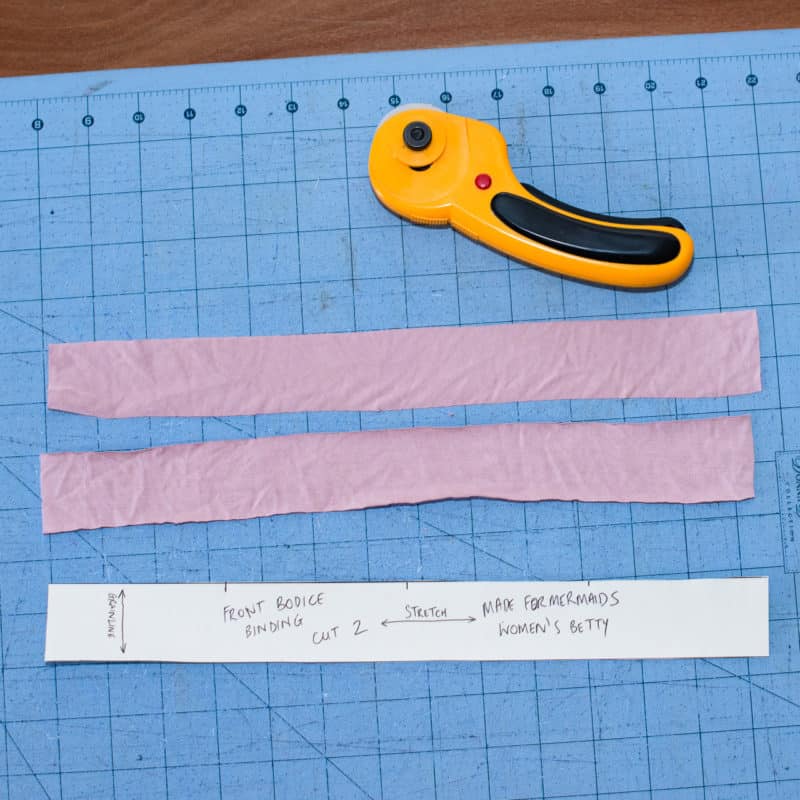
Next I like to create a pattern piece for my binding. You can just as easily use your cutting ruler to measure and cut the binding pieces if you prefer too. Measure the width of the binding strap pattern piece (which in this example is 1.5″) and cut a new front bodice binding pattern piece measuring 1.5″ x 13.25″.

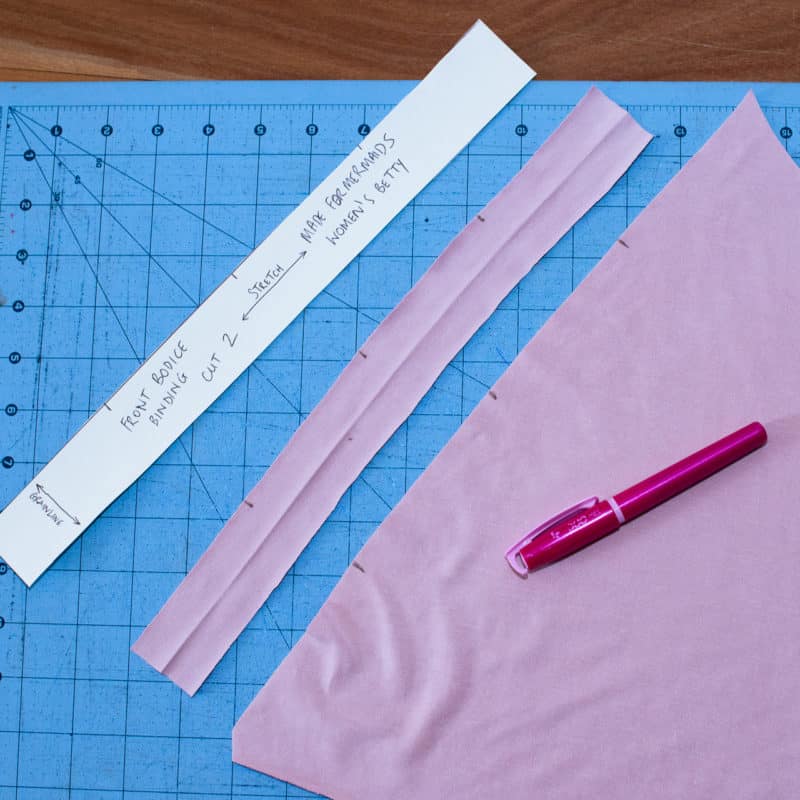
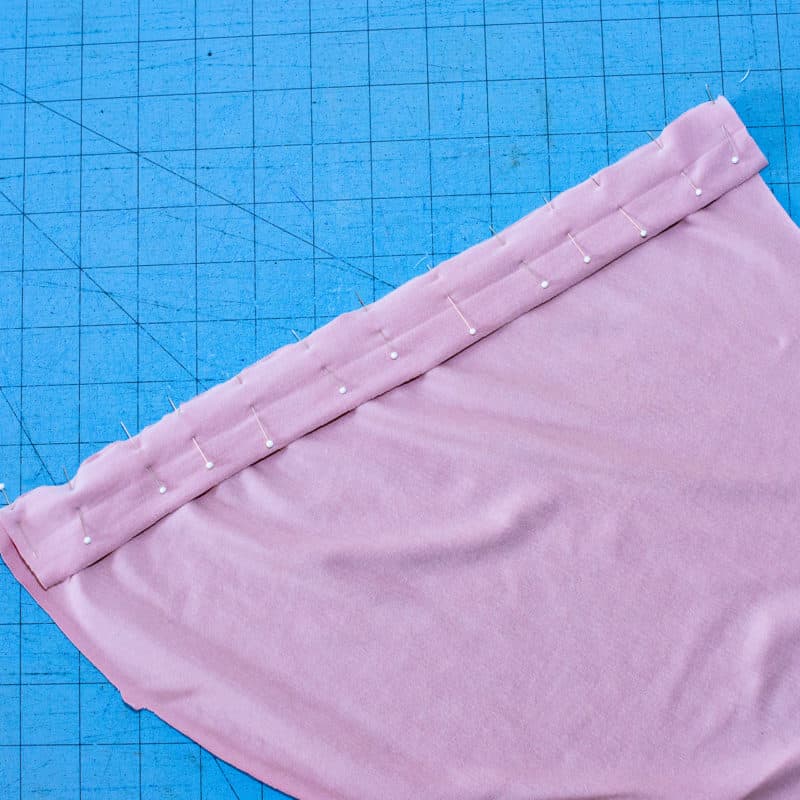
From this pattern piece cut 2 binding lengths from fabric and mark the quarters on both the binding and bodice. Match up these quarter marks so you can evenly attach the binding to the front bodice. Right side of binding is attached to the wrong side of the front bodice. I like to pin it into place but you can use clips if you prefer.
Once pinned, sew together with your sewing machine or serger. Complete the binding as per the instructions on page 8 in the pattern’s instructions.
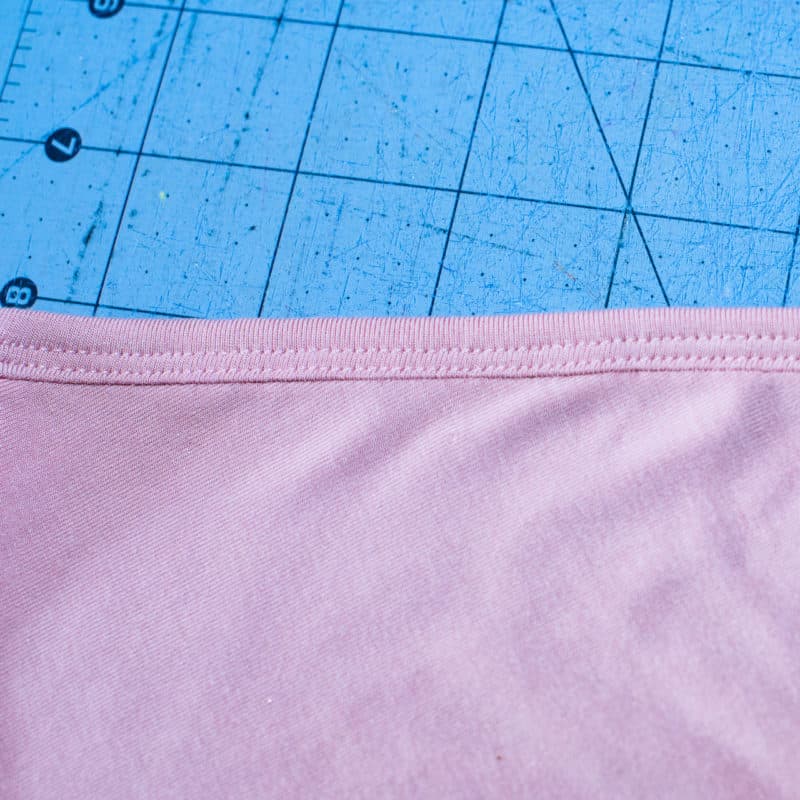
Continue to complete the bodice/romper from step 3 in the pattern’s instructions. When I finished sewing the romper, I decided it also needed a cute faux bow tie sewn to the base of the bodice crossover. If you wanted to add this too, all you need to do is cut a rectangle 20″ x 1″, sew it along the long edge right sides together with a 1/4″ seam allowance and use a loop turner to turn it right side out. Sew it to the romper and tie it in a bow.

If you need further tips for sewing knit binding, check out this blog post; it is super helpful! https://www.madeformermaids.com/knitbinding101/
Happy Sewing
Katy


Betty + Jade Mash

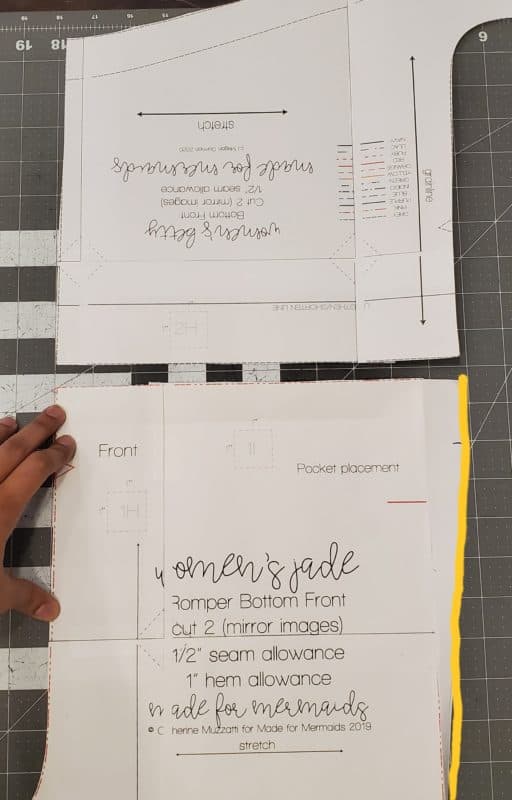
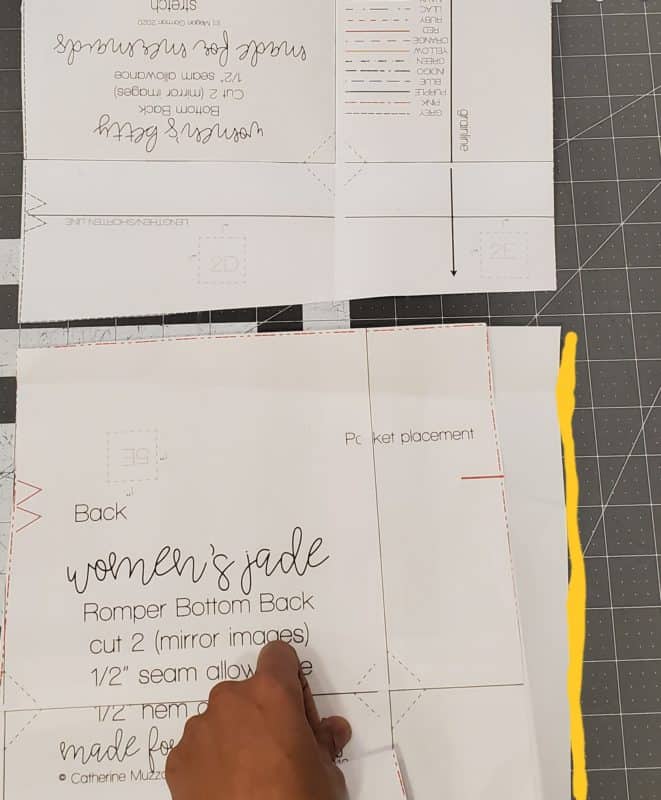
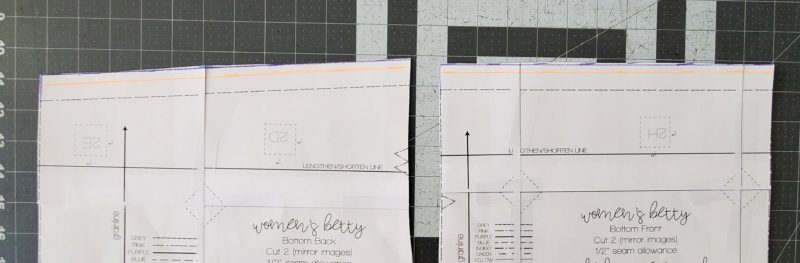
When I saw Betty, I fell in love, but knew I wanted one to wear out and about! The Betty mashed with pants makes the cutest pants romper! I chose the pants portion of Jade for this mash, and with minimal modifications, it works perfectly!
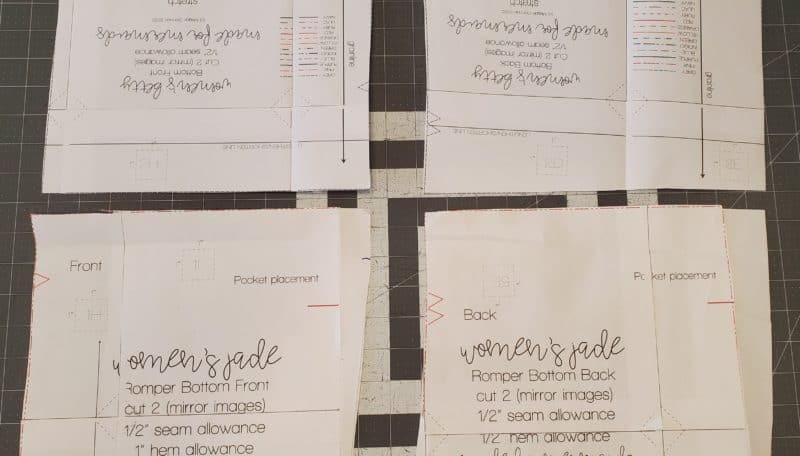
Take the bottom front and bottom back pattern pieces from both patterns and line them up front over front, and back over back. This is to see the difference in width between the two.
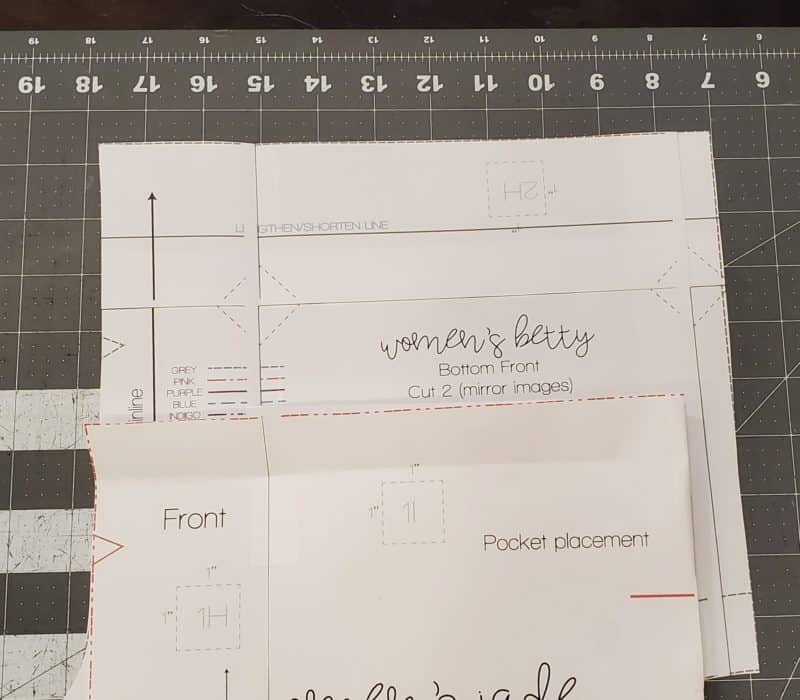

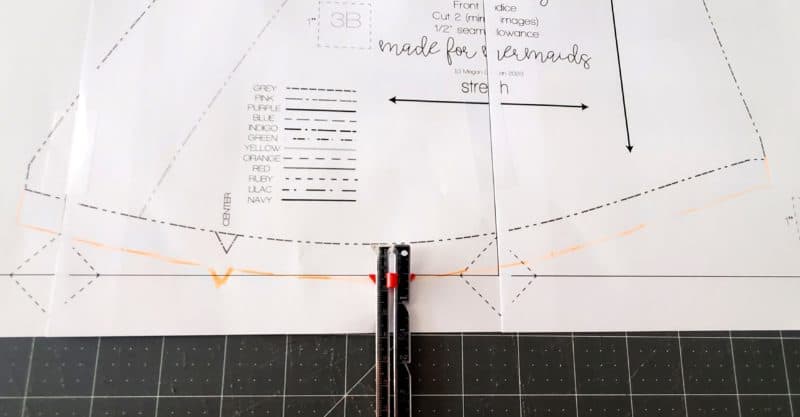
You want to make your Jade pieces match widths with the Betty pieces. As you can see, the Betty pieces are a little wider, so I’m going to take a piece of paper and tape it to the outer edge of my Jade pieces. (We want the width added to the outer legs, not the inner legs.) Add the appropriate width by tapering up and out from the lower leg
Now the tops of the Jade legs pieces match widths with the tops of the Betty leg pieces! How easy was that! I played around with removing rise from the pants and did not find it to be necessary for this mash. However, if you normally would modify your patterns for height, you still need to do this before mashing .
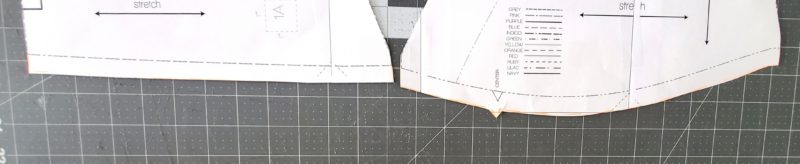
You’re ready to continue construction at this point, using your Jade legs in place of Betty’s! They’ll match up perfectly. I chose crop length pants and love the way it turned out! I hope you love your Betty/Jade mash! If you have another romper, such as Neveah, you could also use that too, as long as you make sure the you match the pants width of Betty, you’re good to go!


Separates Hack

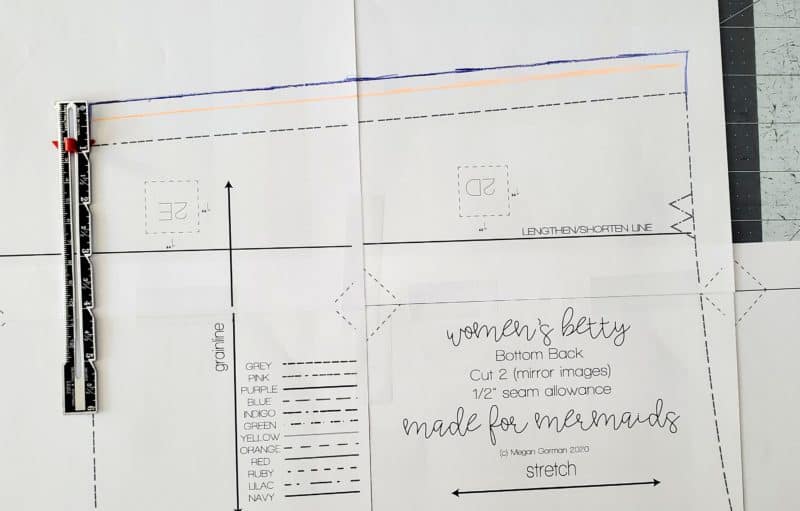
Are rompers not your thing? Betty makes the best separates too! For this you will need your Betty pattern. I found it best to make the modifications needed while the pattern pieces are taped together, but not yet cut out. You will also need elastic – 1/4″ elastic for the top, and 1/4″- 1/2″ for the bottoms. Take your bottom pattern pieces and add 3/4″ to the top if you’re using 1/2″ elastic (line marked in purple); add 1/2″ if you’re using 1/4″ (line marked in orange).
Now cut your bottom pieces out using your new line as the top edge of the bottom pieces.
Next, take your top back piece and front piece and add 1/2″ to the bottom edges of both of these pieces.

Cut out these pieces out using your new bottom edge lines.
Construct your bottoms entirely, hem and all. Serge or zig zag stitch along the top raw edge of your bottoms if you wish. Make sure to mark the front from the back.

Now press this edge down towards the wrong side the amount you added in the beginning. *I did 3/4″ since I’m using 1/2″ elastic for my bottoms.

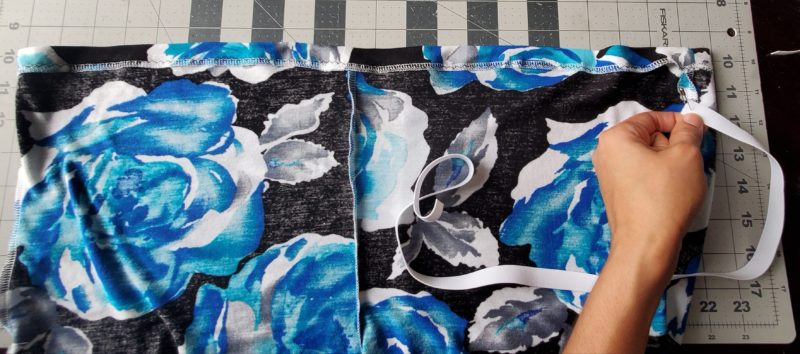
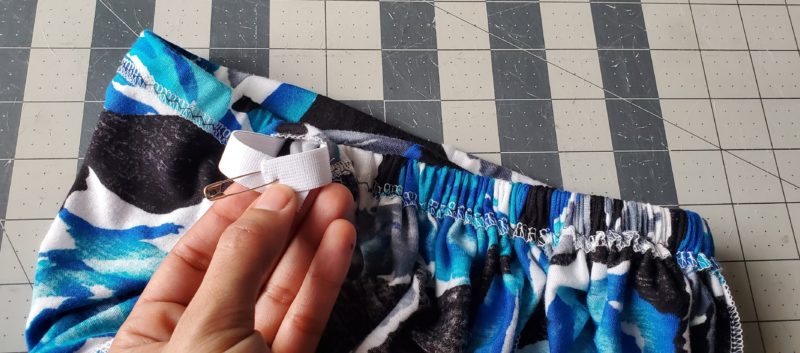
Edge stitch the casing you just formed, leaving a 2″ opening to thread your elastic through.
Using a safety pin or bodkin, thread your elastic through, overlapping the ends and zig zagging across to secure once you reach the other side. Top stitch your opening closed. Your bottoms are now finished!
Construct your bodice pieces entirely, per the tutorial, basting the top front pieces together along the bottom where they overlap (to prevent the pieces from shifting) now, just like the bottoms,you are going to serge or zig zag stitch along the bottom, raw edge if desired.
You will now press this edge towards the wrong side. *I found it helpful to do a stay stitch 1/2″ up from the bottom edge along the section where the front pieces overlap, before pressing the edge towards the wrong side. This will help keep them from shifting where they overlap while you are making the casing/hemming.*
Now edge stitch in place, leave a 2″ opening if you’re using elastic in the top, if you are not using elastic, stitch it entirely closed, and your top is finished! Thread your elastic through the casing using the same method you used for your bottoms, overlapping and zig zagging together once you reach the other side, and top stitch your opening closed.

You just made the Betty as separates! How cute, and practical of you’re worried about bathroom trips during the night!
Stephanie


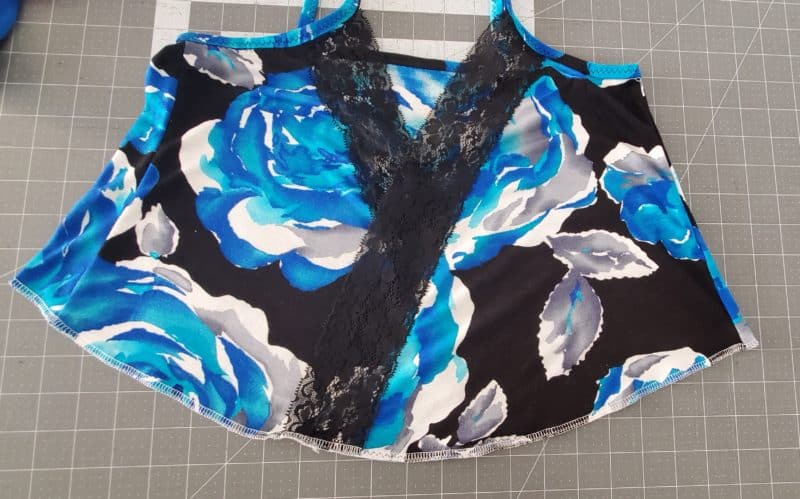
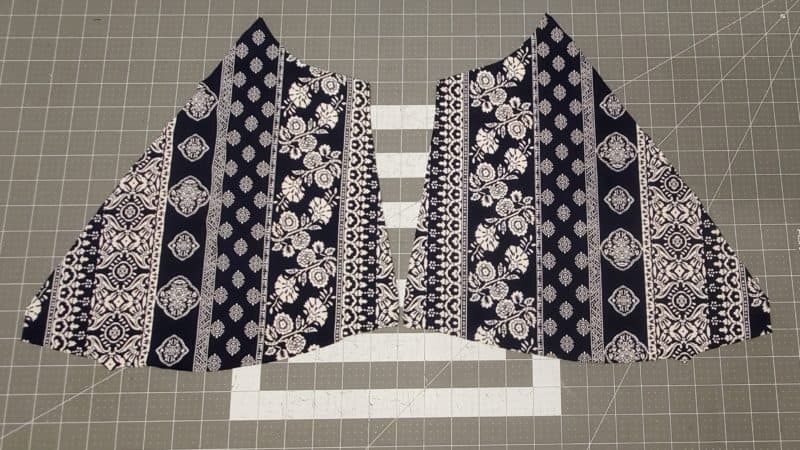
Lined Bodice Hack

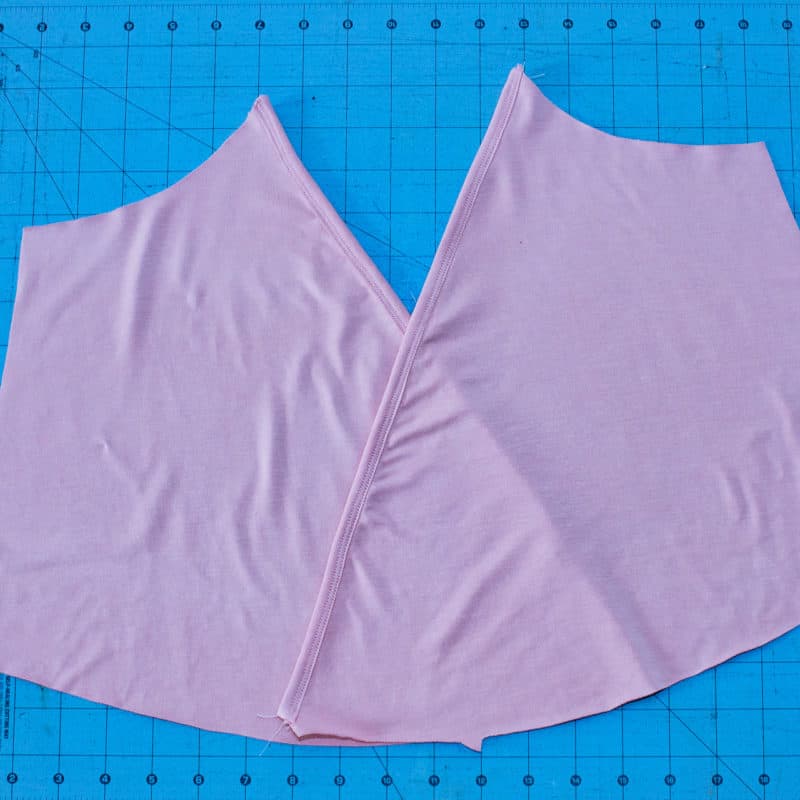
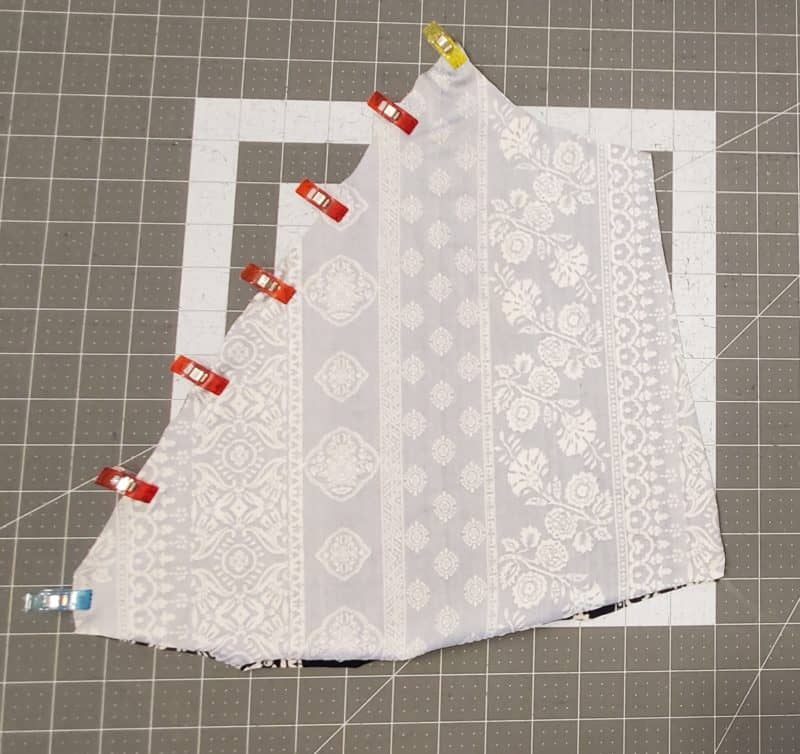
If you’re like me and see Betty as the dream romper come true, you’re probably thinking of how to wear it out in public, and all the different ways to modify it. Lining the front bodice came to mind, because lace isn’t for everyone and every occasion. Lining the front bodice seemed like a great way to get more use out of this amazing pattern, and to be able to get a little more coverage. It turned out great and is very easy. For this hack, you’ll cut all the pieces the pattern calls for, along with another set of front bodice pieces, mirror images. So you will have a total of 4 front bodice pieces, 2 sets of mirrored images . Take one set and clip them right sides together along the inner edge. The edge you would normally place the lace.
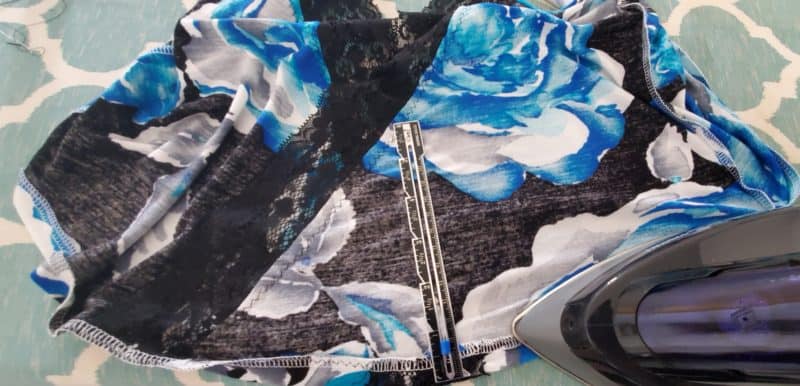
Sew this with a 1/4″ seam allowance, and repeat with the other set of front pieces. Flip wrong sides together and press well.
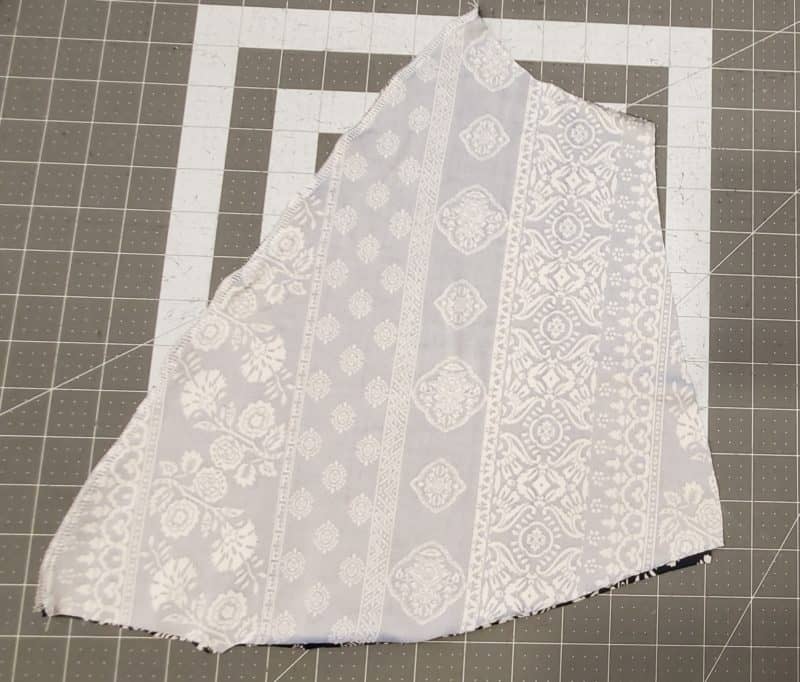
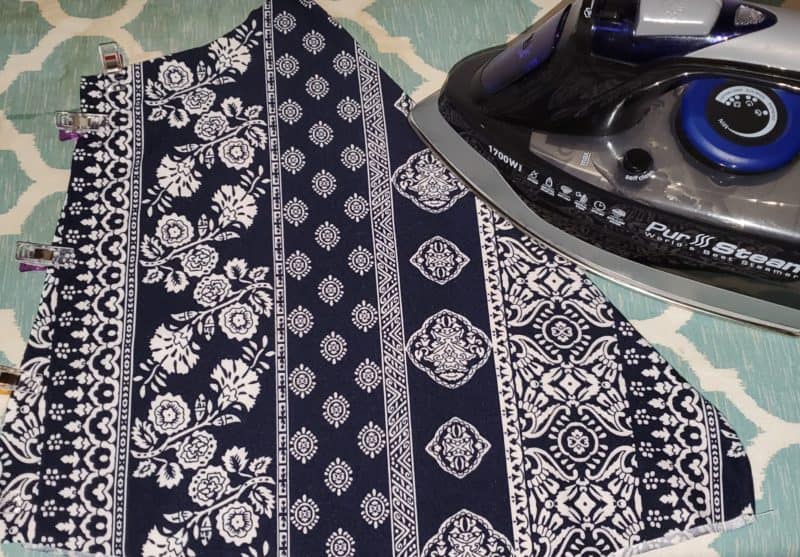
Topstitch along the edge you just sewed. You will now treat as one piece. Repeat with the other front piece.
I also recommend basting the pieces together along the armcyse and sides. To prevent your pieces from shifting at all. **this area is shown clipped in the photo.
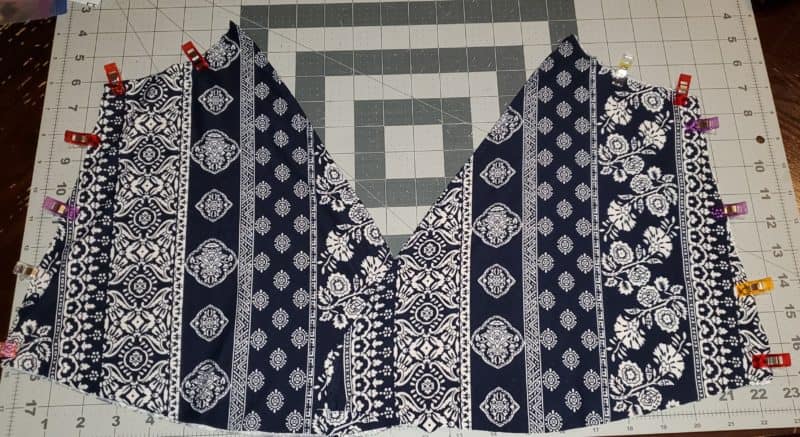
Match the center notches of both of your front pieces and baste together along the edge where they overlap.
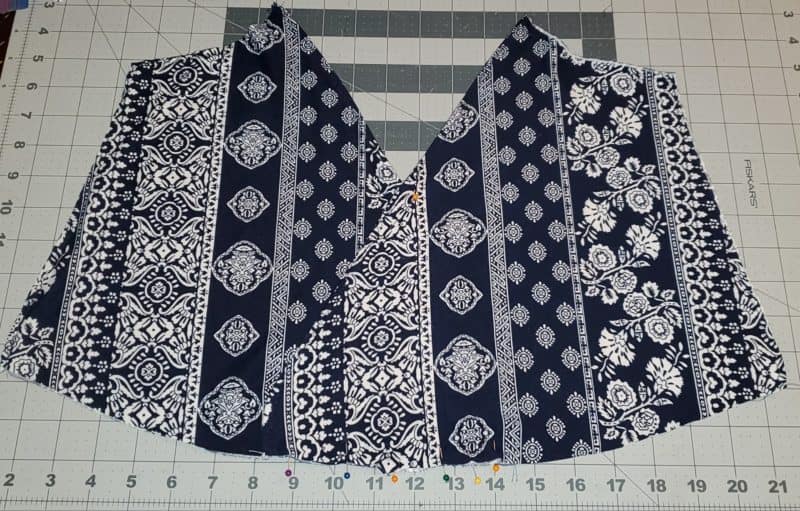
Continue with your pattern construction from this point. When you get to the step where you tack the front pieces together , another option for this lined version would be to sew along the whole front portion along the edge where I am pointing below.
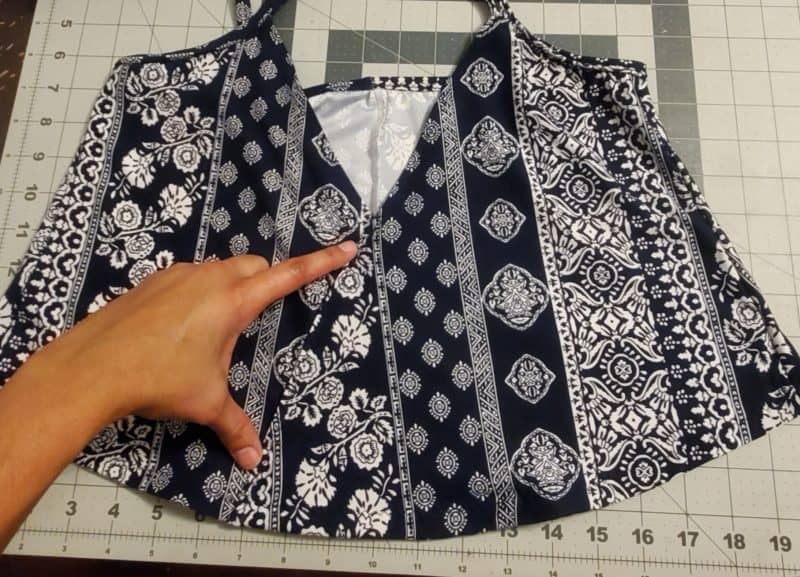
How easy was that! You’re finished and have a great new variation of the Betty, without using lace, and keeping it a little more modest at the chest!
Stephanie


We hope you love, love, love your new Betty Sleep Romper! Don’t forget to grab the Rita Robe, and our other Lounge & Lace Collection patterns to round out your stash. We can’t wait to see what you sew up first. Happy sewing!
Leave a Reply