It’s official – the new Betsy Bloomer and Baby Tai patterns are TOO MUCH for me. All these sweet babies, I can’t take it! Whether you’re sewing for your own little ones or for baby shower gifts, sewing to sell or just here to admire the squishy baby cheeks, we hope you’re as excited as we are about our two newest patterns!
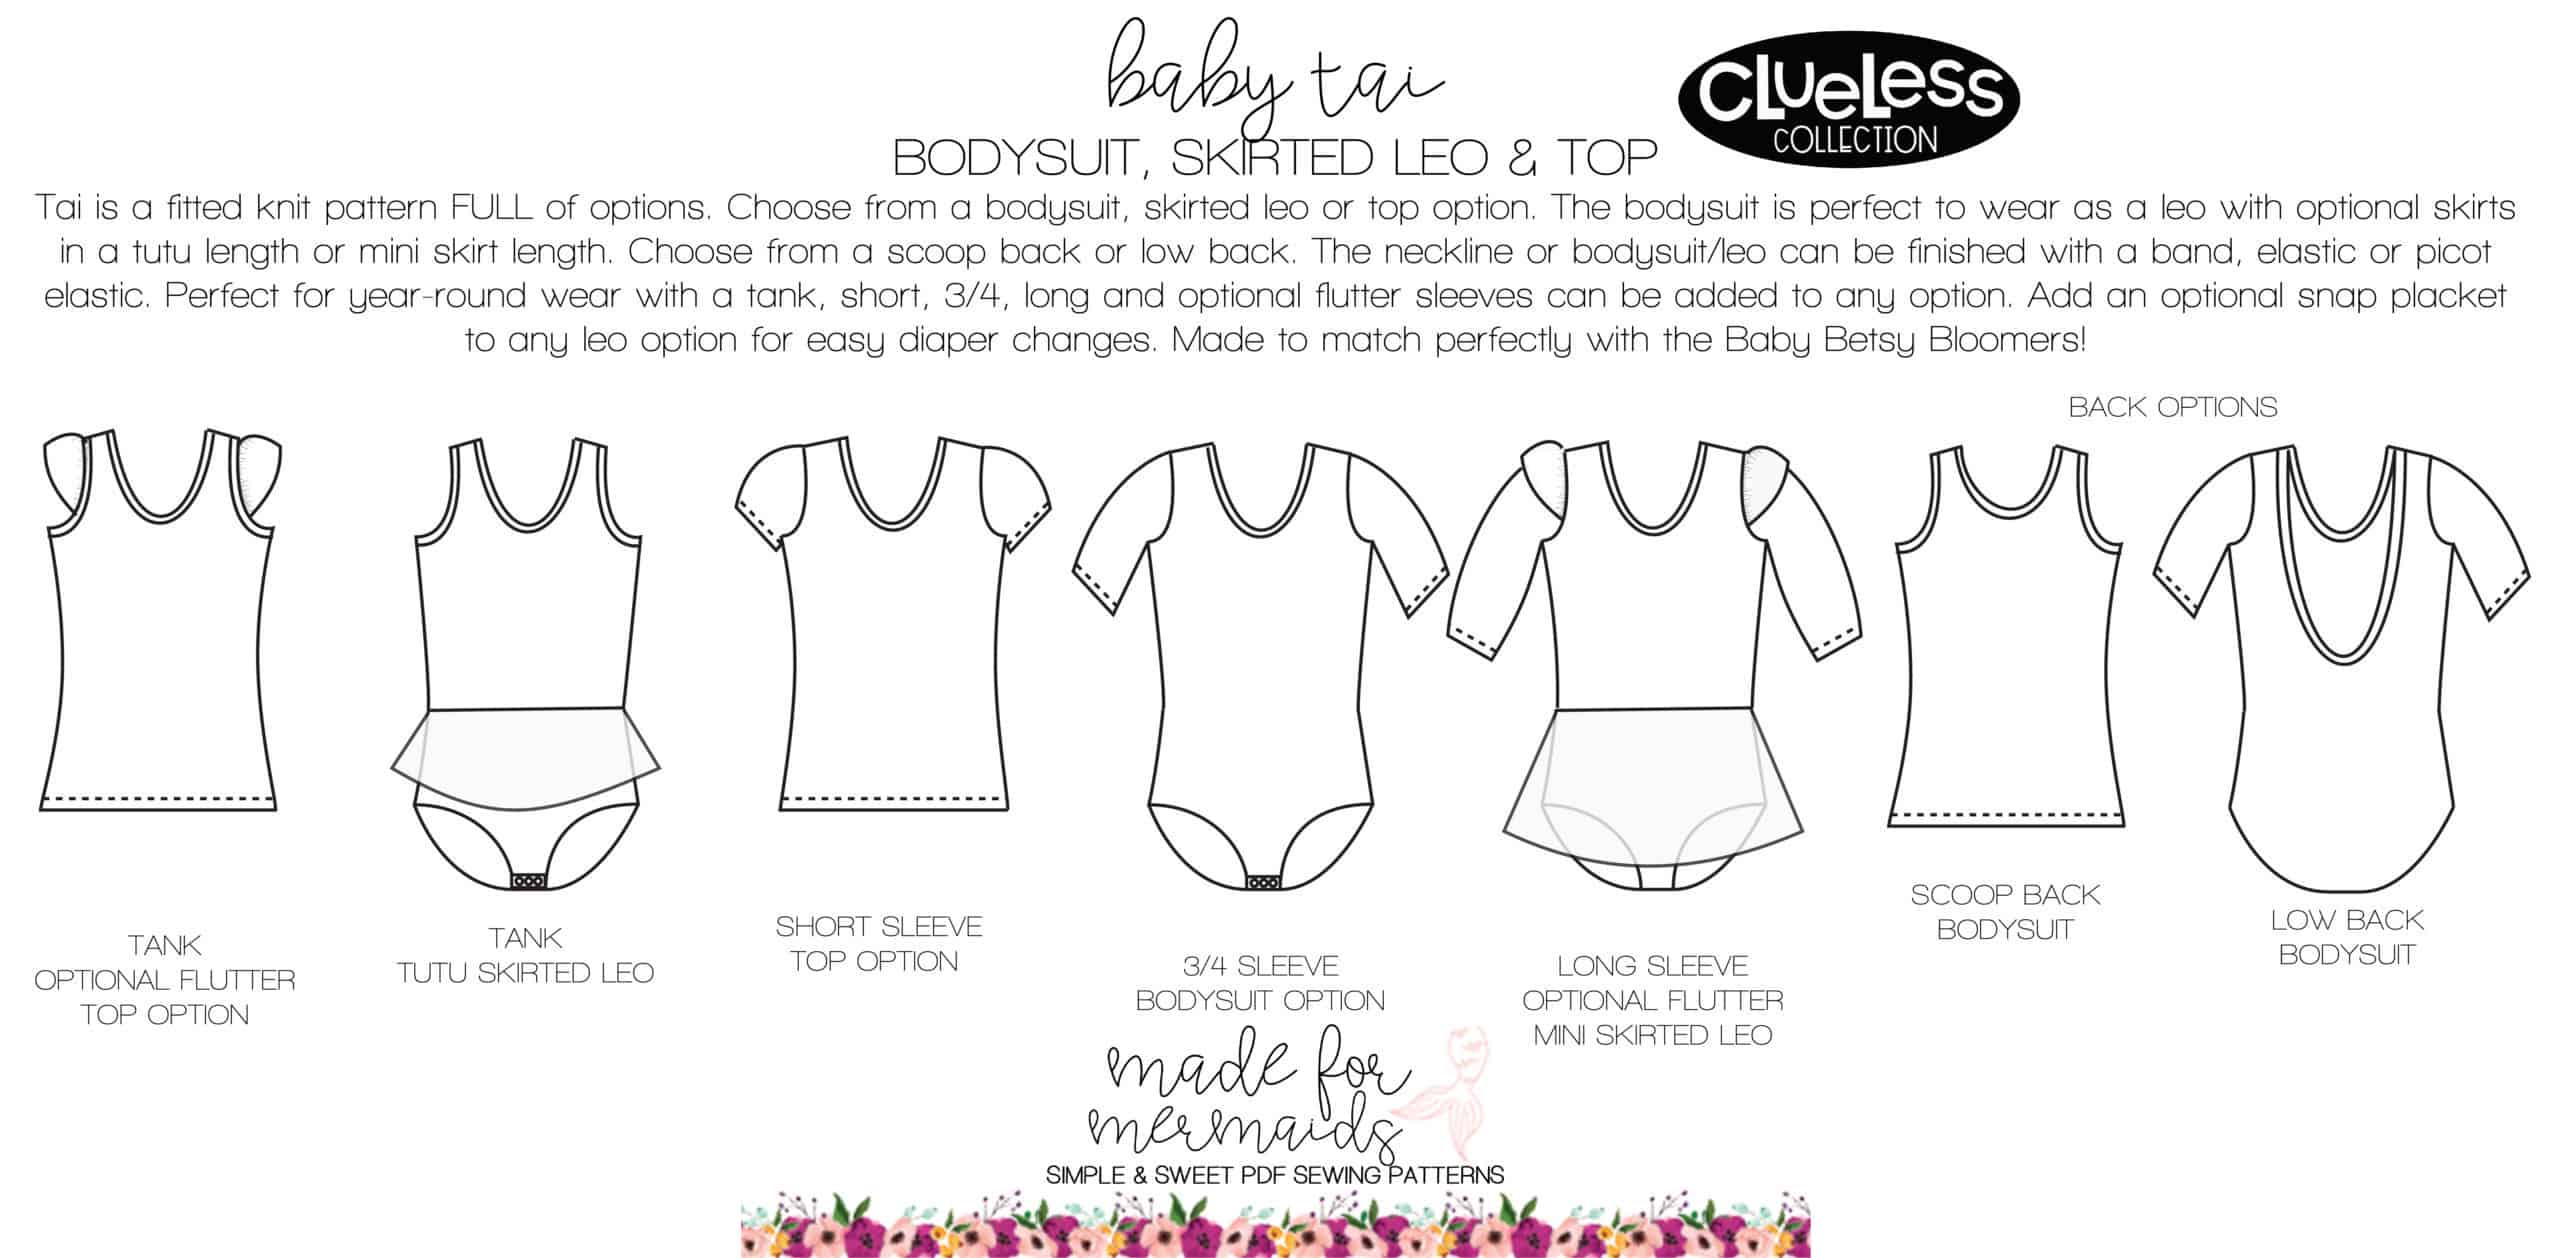
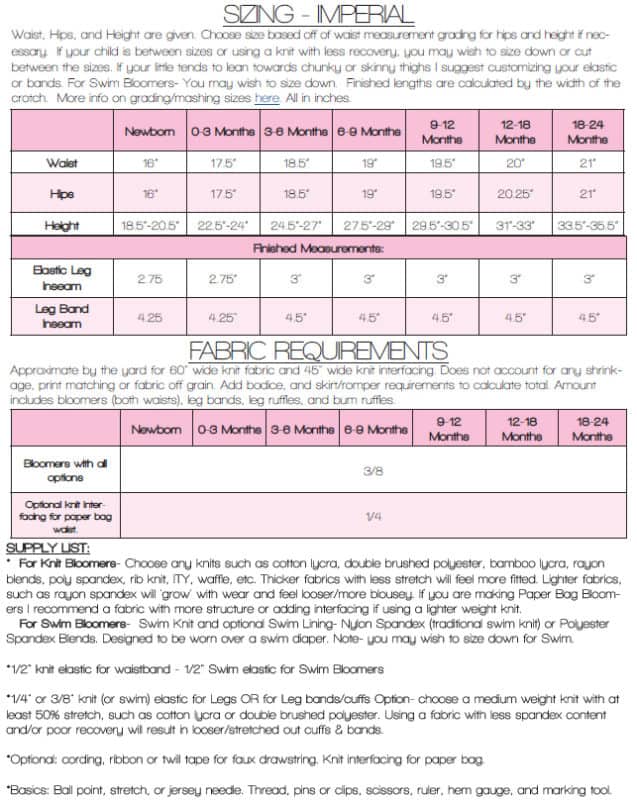
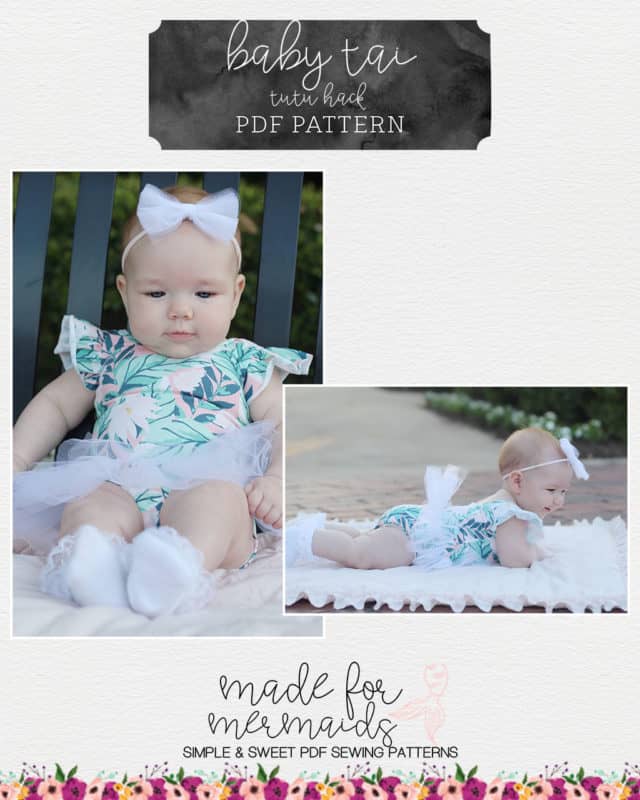
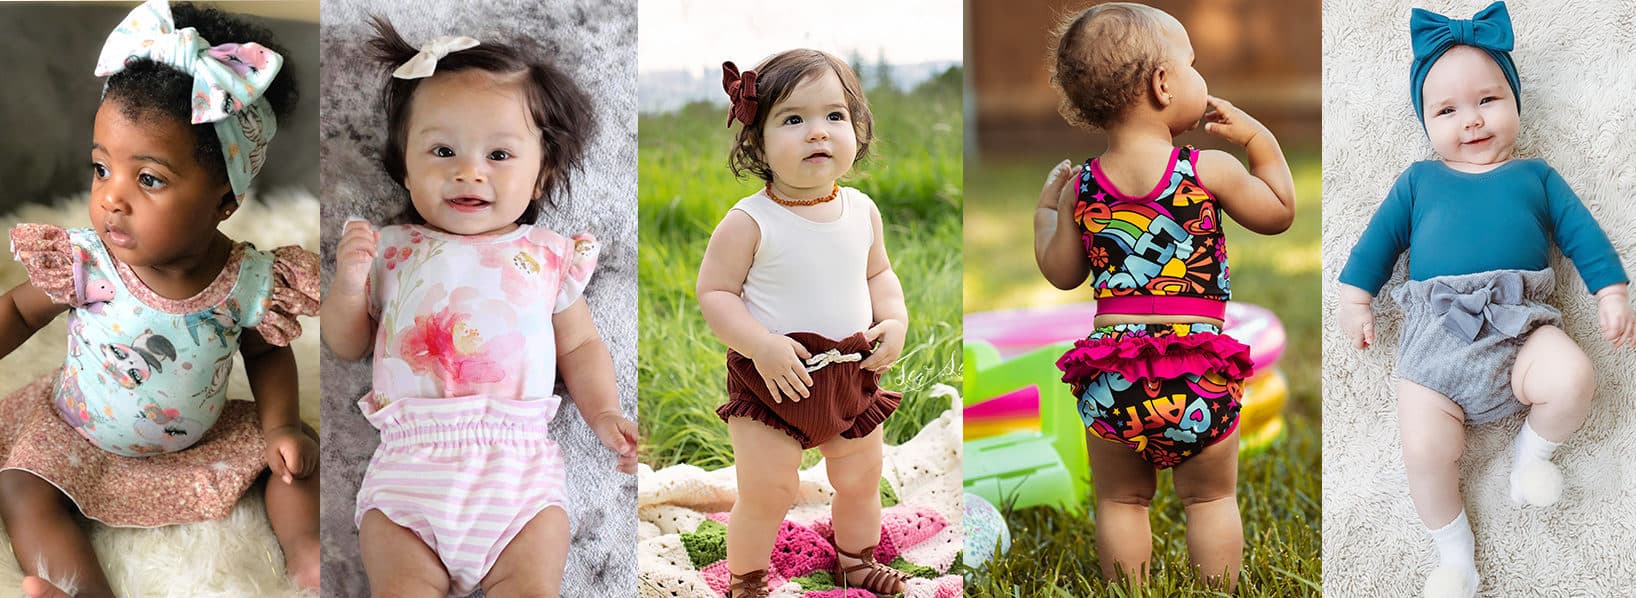
Baby Tai has all the goodness of the original Tai, with a top, bodysuit, or skirted bodysuit option, but with an added snap placket for easy diaper changes. Baby Tai is available in newborn through 18-24 months. There are three different sleeve lengths, plus tank and flutter sleeve options, as well as two different skirt lengths. Baby Tai can be finished with bands or elastic. Perfect for layering with the Betsy Bloomers!
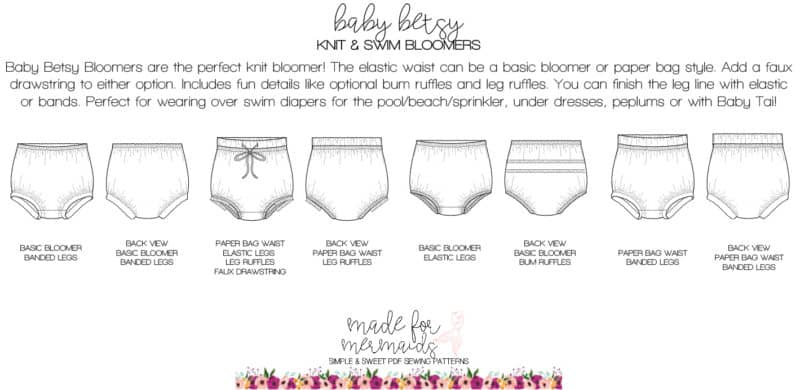
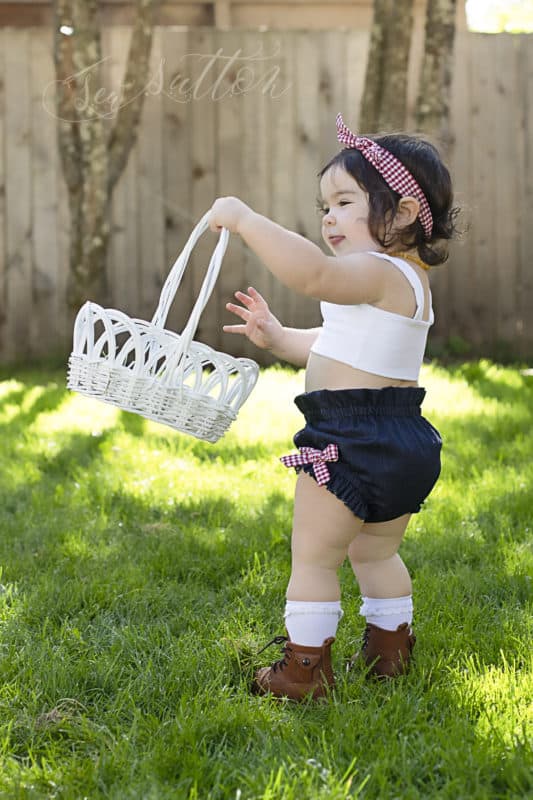
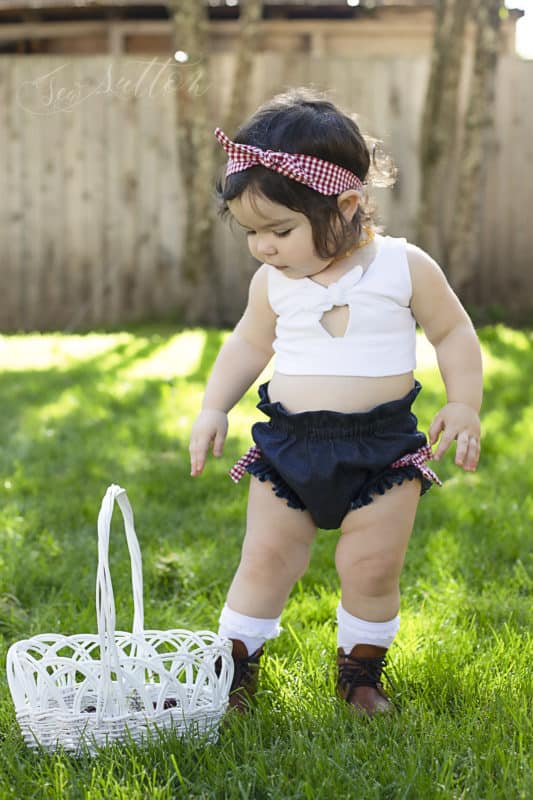
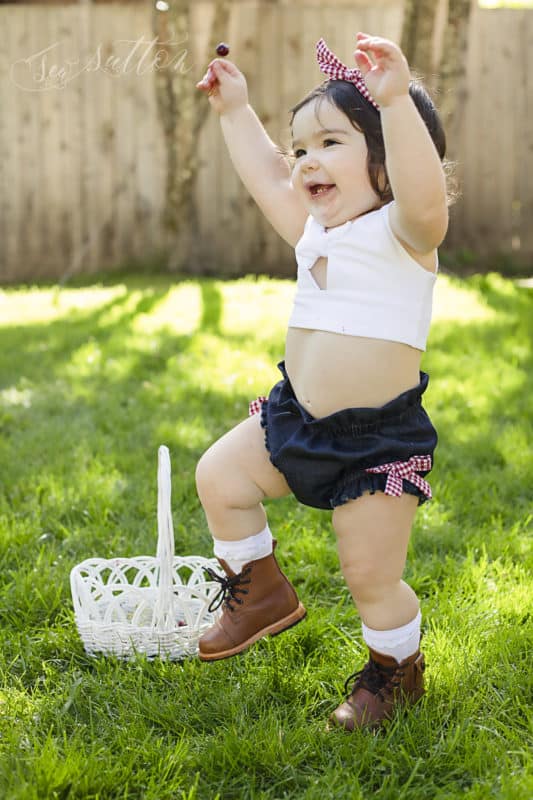
The Betsy Bloomers are the perfect baby wardrobe staple. Betsy is available in newborn through 18-24 months and is a perfect mash between bloomers and bummies! Betsy is great for underneath dresses or peplums, or over bodysuits (like Baby Tai) and swim diapers. There are paper bag or standard waist options, optional leg and bum ruffles, and can be finished with bands or elastic. One adorable little pattern, with endless options for styling!
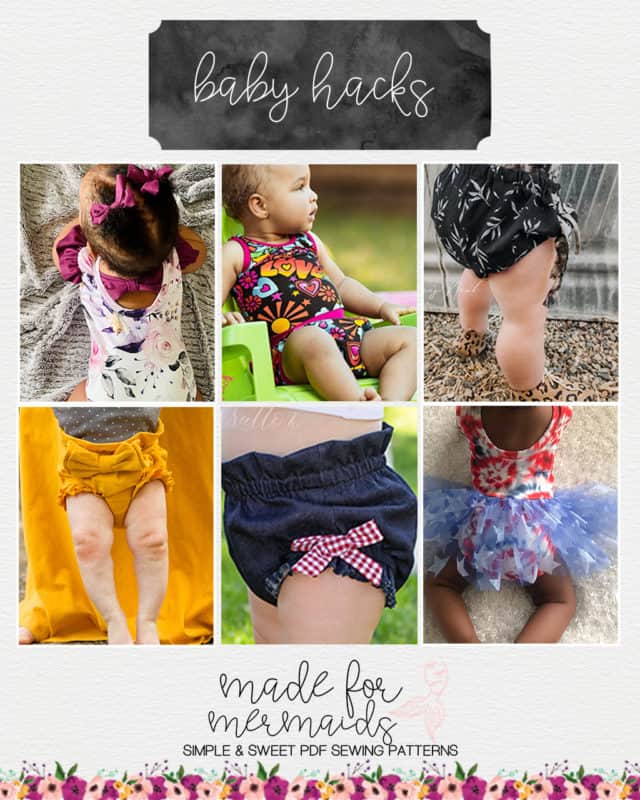
Baby Tai and Betsy are. perfect as is, but our testers had SO MUCH FUN coming up with hacks and other looks just for you. Take a peek at our hacks below!
Bow Back Hack
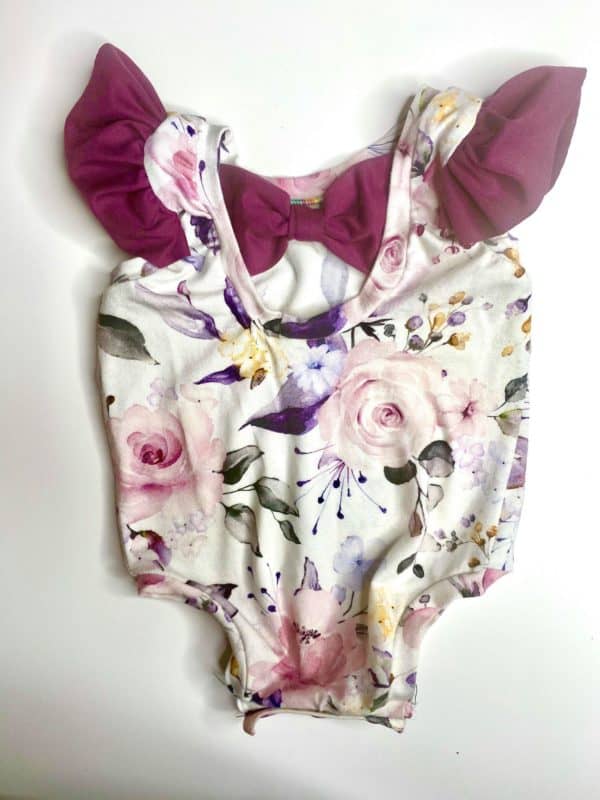
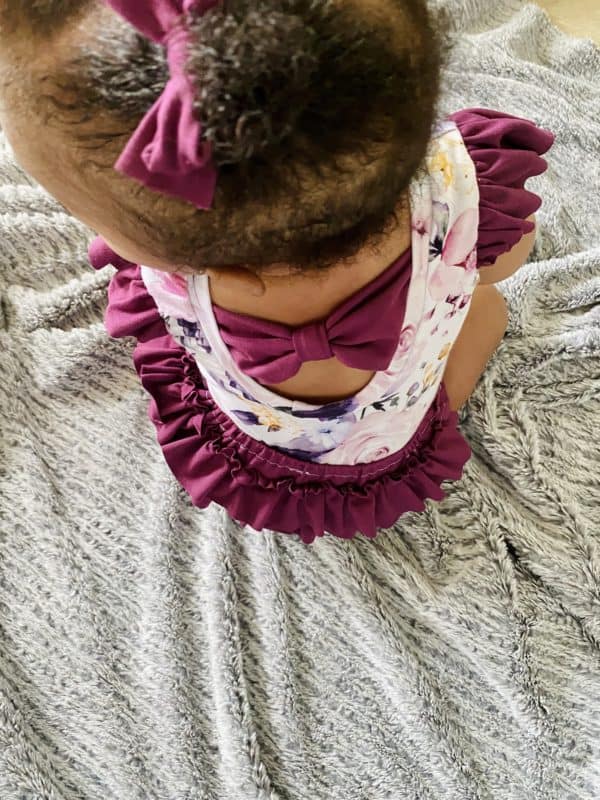
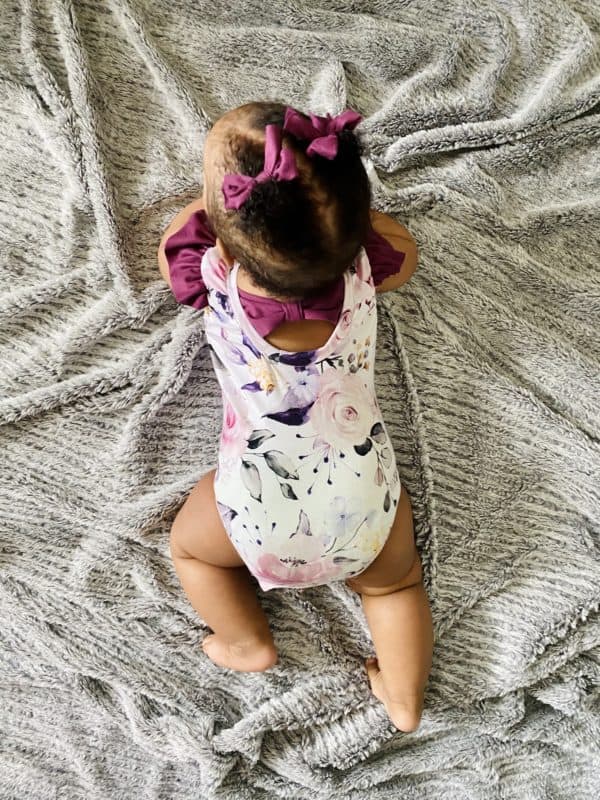
I’m so excited about the baby Tai!! It’s such an amazing pattern! I don’t know about you, but I’ve been a “put a bow on everything” fanatic. I knew right away that I wanted to have some fun with bows and a “strappy” back on the baby Tai!
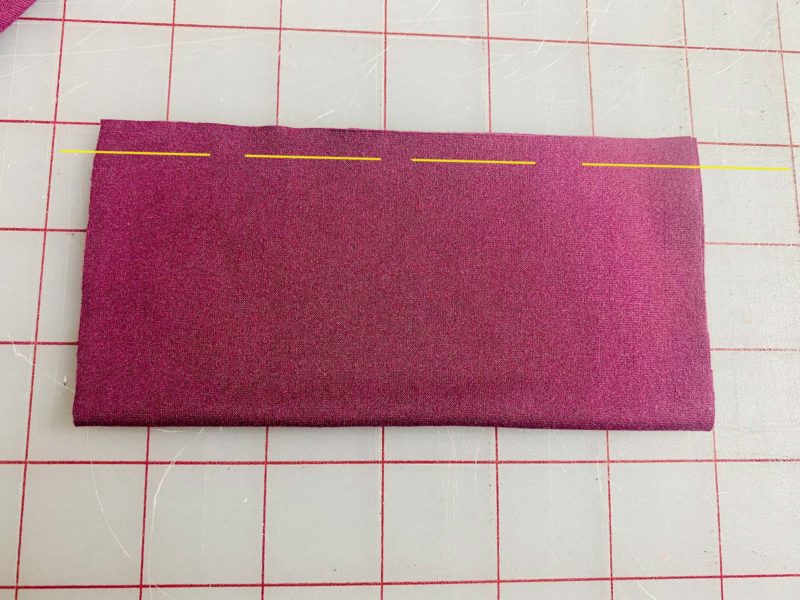
For the bow, I started by cutting a 4″ x 5″ strip and a 2″ x 5″ strip (bow center). For straps, I cut two 2″ x 5″ strips for thicker strips, and 1.5″ x 5″ strips for a skinnier looking strip. You may need to adjust slightly depending on which size Tai you’re making.
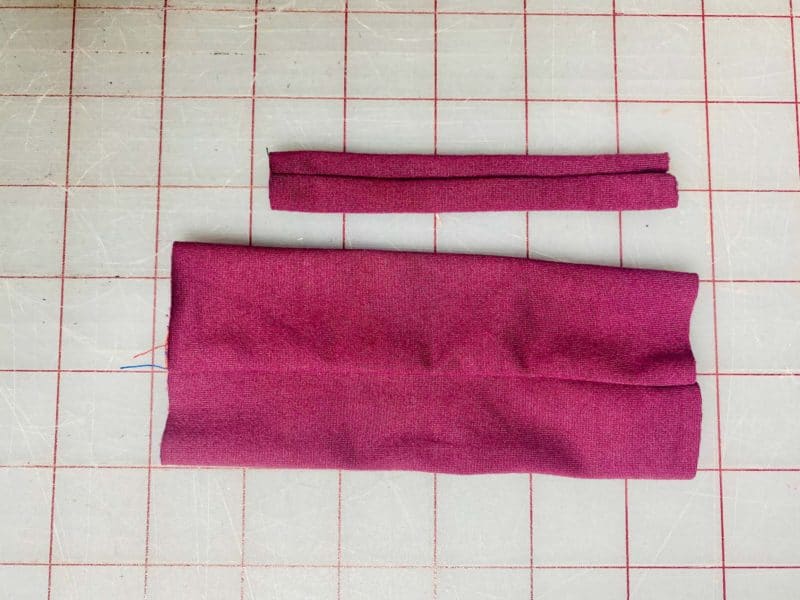
Sew the long ends, with rights sides together, and then turn right side out using your favorite turning tool/method (the metal straw and chopstick method is my favorite!!).
Bow Back
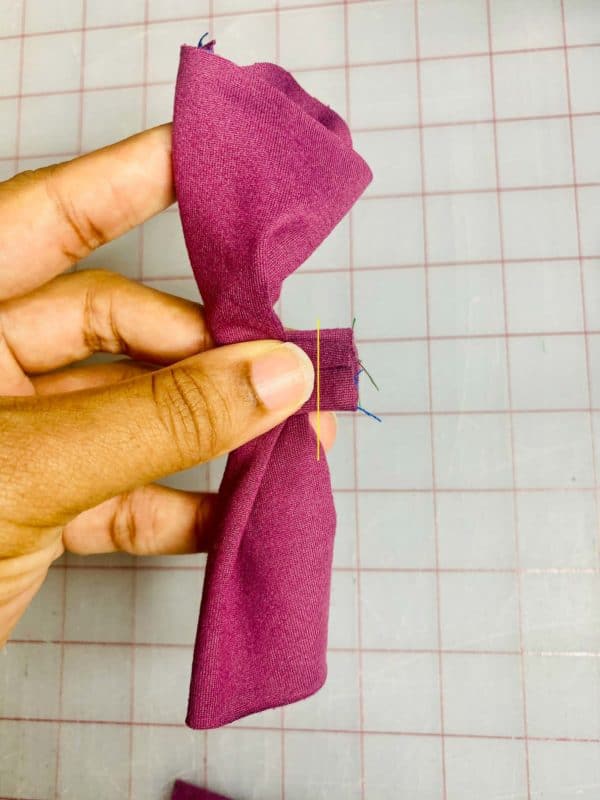
Trim the main bow to 4 inches, and trim the bow center to 2 inches. Take your bow center and wrap it around your bow, with the right sides together. Sew the raw edges using a 1/2″ seam allowance, trim the excess, and turn right side out.
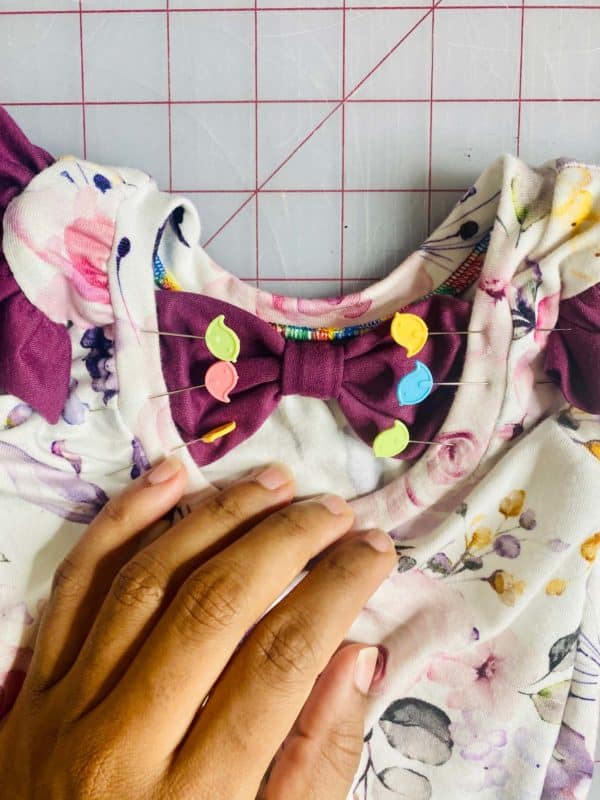
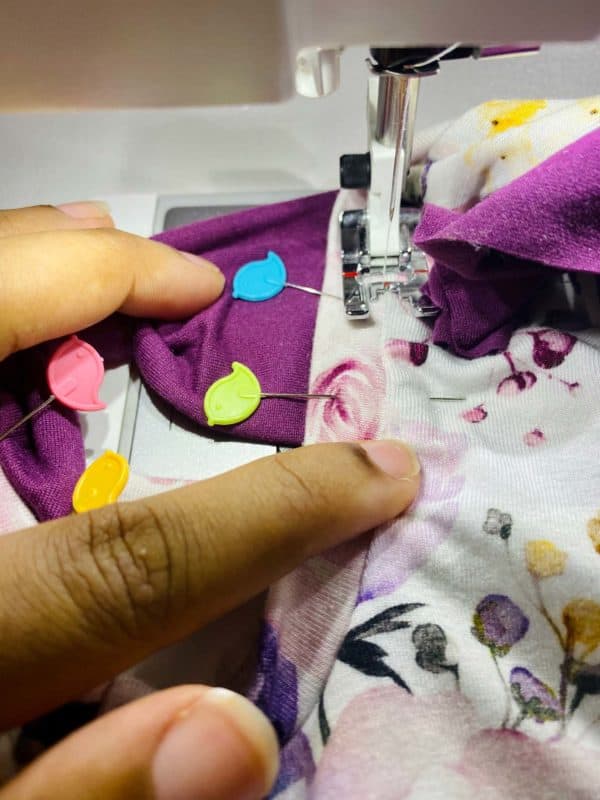
Now that our bow is complete, using the shoulder seam, I measured down and marked where I wanted the bow to be placed. I’ve found that 1″-1.5″ is the sweet spot for bow/strap placement. BASTE your bow/straps into place. Be sure to stretch the bow/straps to your liking. If you find that you don’t like where it’s placed or it is crooked… it’s easier to fix now.
Once your bow/straps are basted into place, top stitch into place. I like to stitch in the seam/stitch in the ditch of the neckband to hide the stitches, but you can top
stitch into place when top stitching your neckband as well!
Strappy Back
For the strappy back, you’ll baste the top of your criss-crossed straps at the same 1″-1.5″ mark (measured down from the shoulder seam). Then, place the other end of each strap on the opposite side. Baste in place, check strap placement, and then stitch in the ditch to secure.
And now, you’re done!
Happy Sewing! -Jacqueline
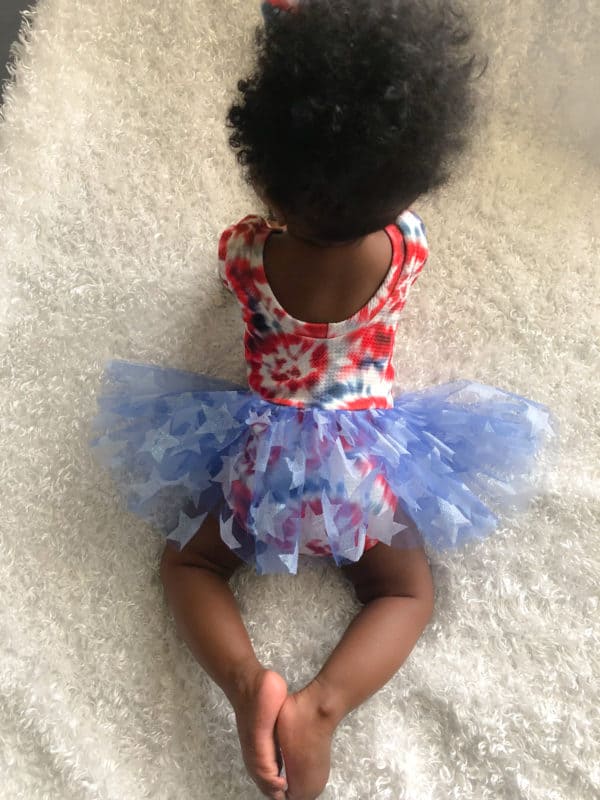
Gathered Skirt/Tutu Hack
For this gathered skirt hack, I am making size 3-6 months. If you would like to have more or less “poof”, just add or subtract some fabric! I’m a big poof type of girl, so this one will be a little fluffy! Here we go!
First, you want to assemble the pattern exactly as it calls for in the instructions as if you were going to add the skirt.
You will then take your tulle and measure 2 pieces that are 6” x WOF.
Sew the short ends together to attach the two pieces together, using 1/4” seam allowance. Place two rows of gathering stitches at 1/4” and 1” from the top of the fabric. Gather tulle to fit the waist of the bottoms.
Stitch at 3/8” seam allowance with a stay stitch.
Now, you will turn the top of your leotard inside out and slide it on top of the bottoms with rig sides together.
Sew/serge to attach using a 1/2” seam allowance.
Turn right side out, and you’re all done!
-Keosha
Swim Hack
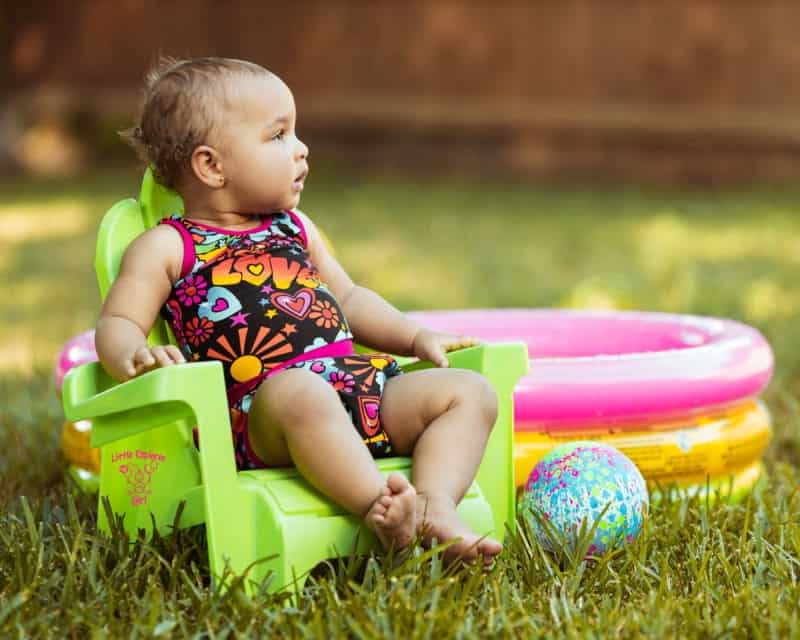
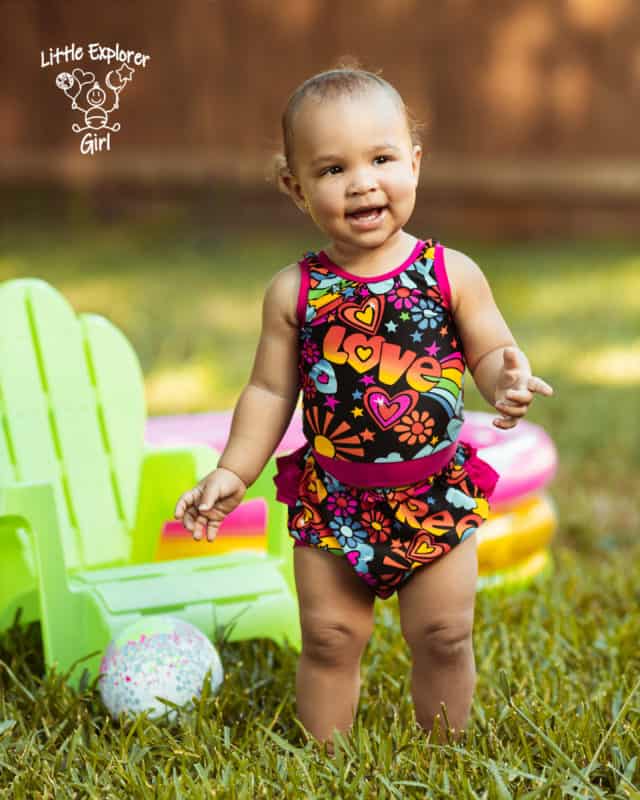
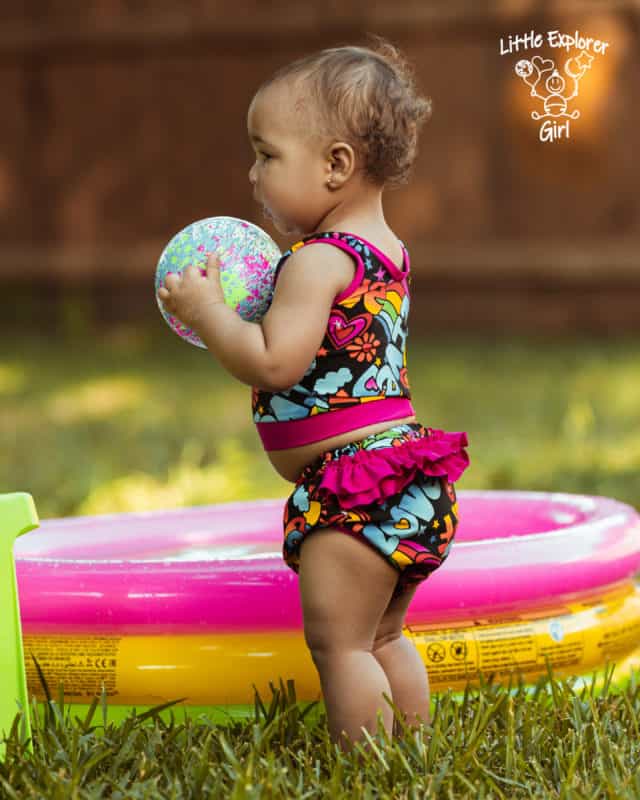
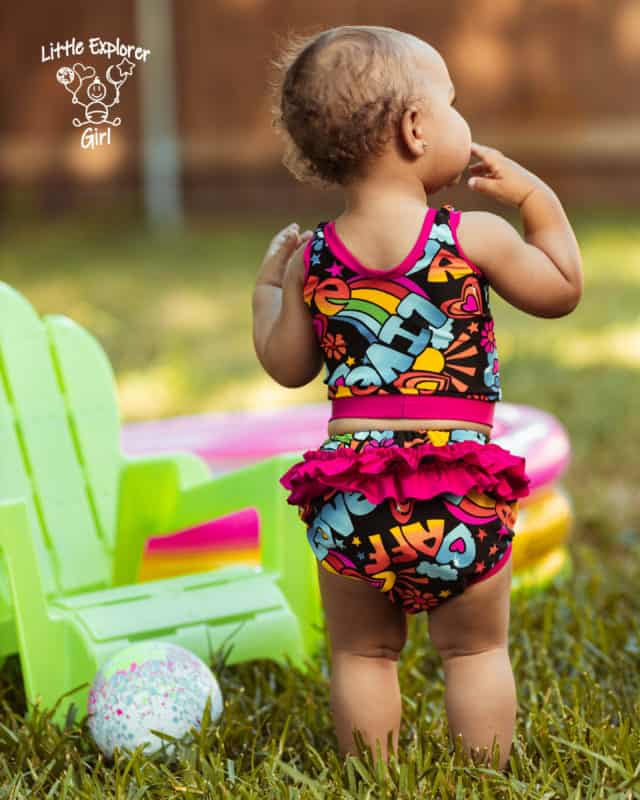
Made with swim fabric, the Baby Tai makes the perfect swim top! There is no extra measuring or sizing down, and you only have to make one quick calculation if you want to add a band. Depending on how thin or light the fabric is, you may want to consider adding lining, though.
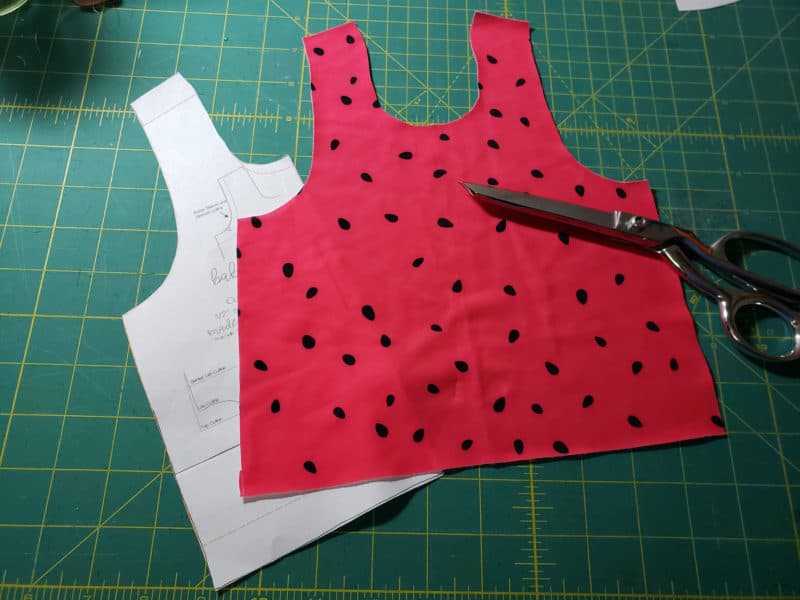
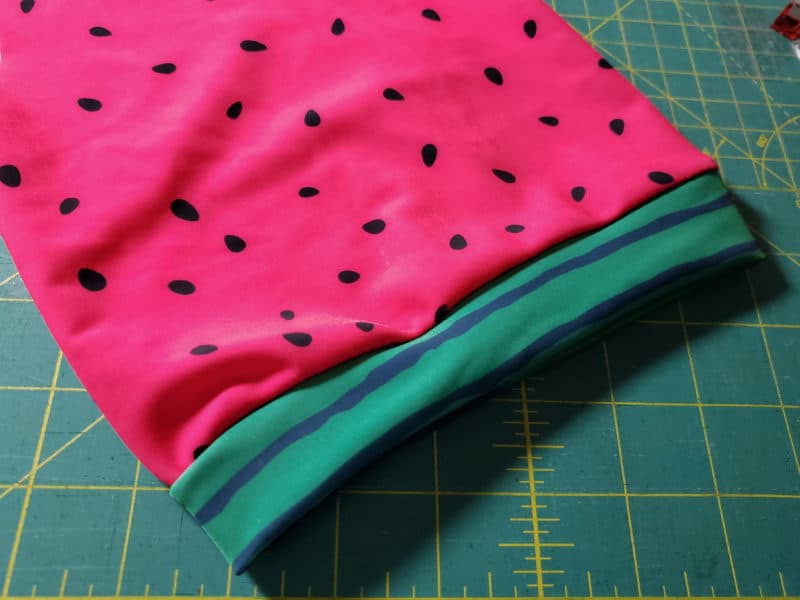
This Baby Tai was made with a very dark, thicker swim fabric. I cut all of the pieces at the size the baby measured, using the sleeveless tank and the skirted leo cutlines. Once sewn together following the instruction in the tutorial, you can either hem it to have the top hit above the belly button or you can add a band to add some length.
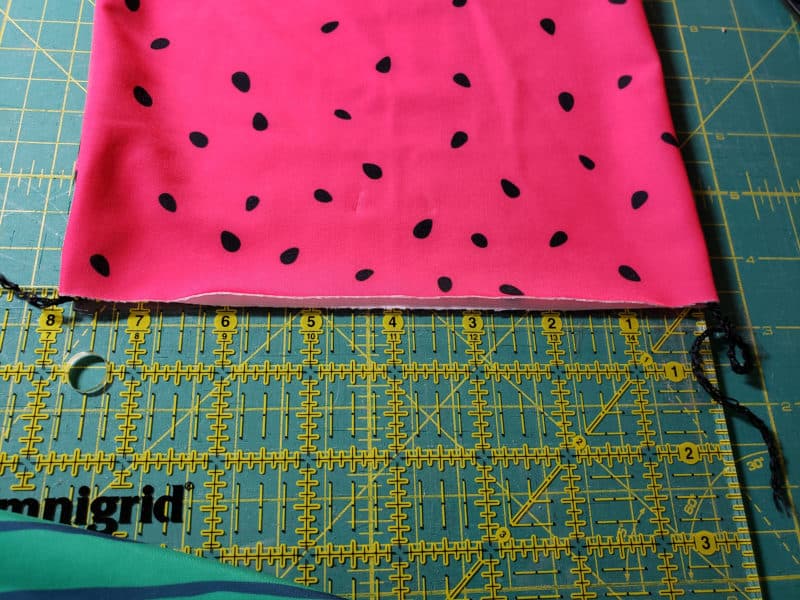
For this swim top, I wanted a band 3” wide. I calculated the band at approximately 90% of the width of the top (e.g. for this size, the width of the fabric was 16” x .90 = 14.4”. I cut the band at 3” x 14.4”).
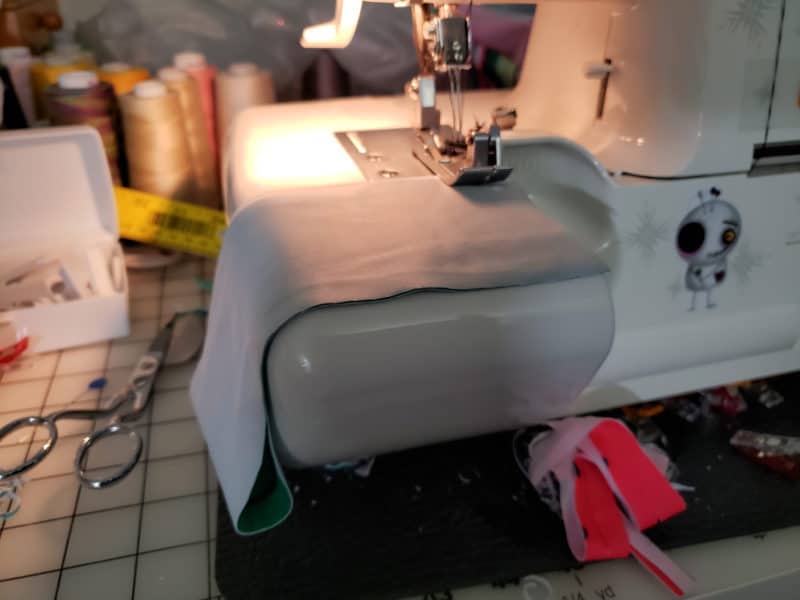
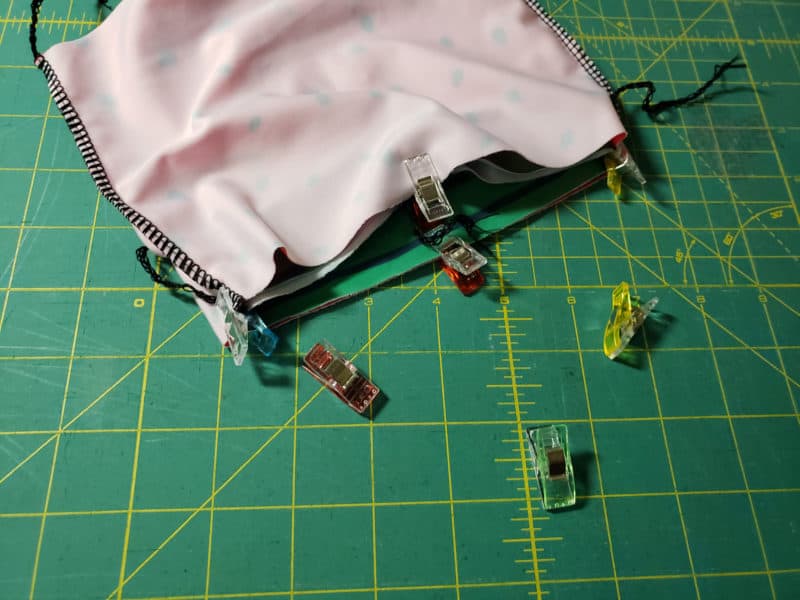
Then attach the band as you attached the arm and neckband, and you are finished!
You’ll have the perfect top to stop at a splash pad, play with the water table in the backyard, or any other fun activities that you can find this summer!
-Christina
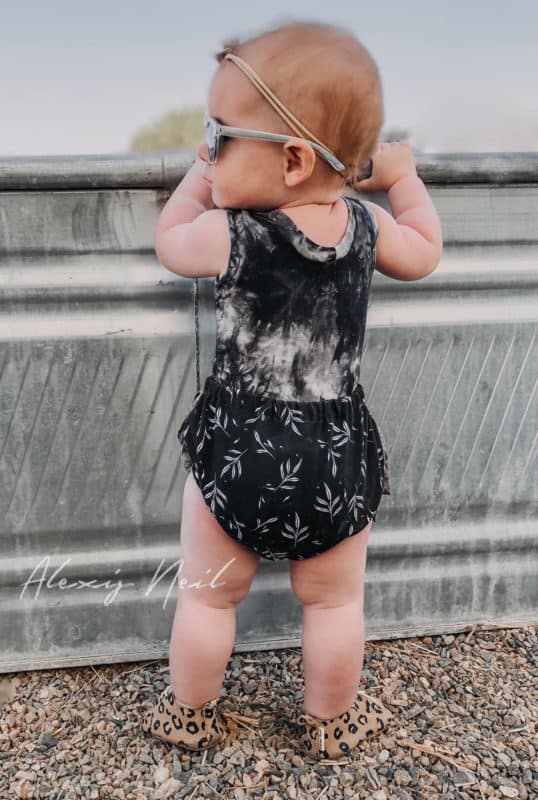
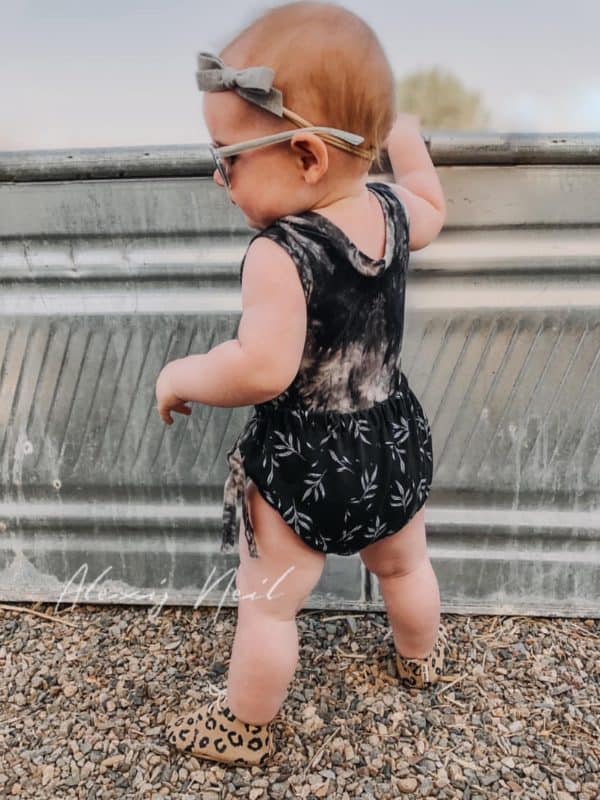
Side Bow Hack
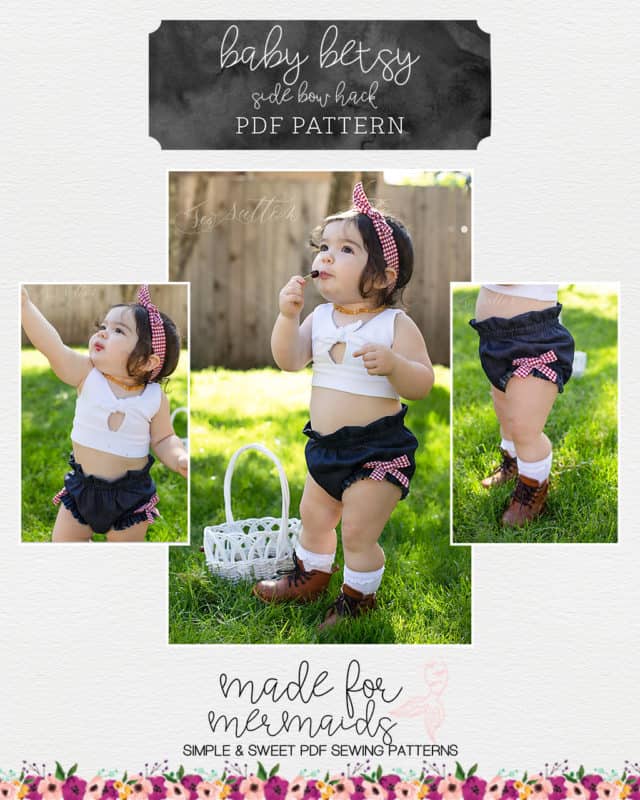
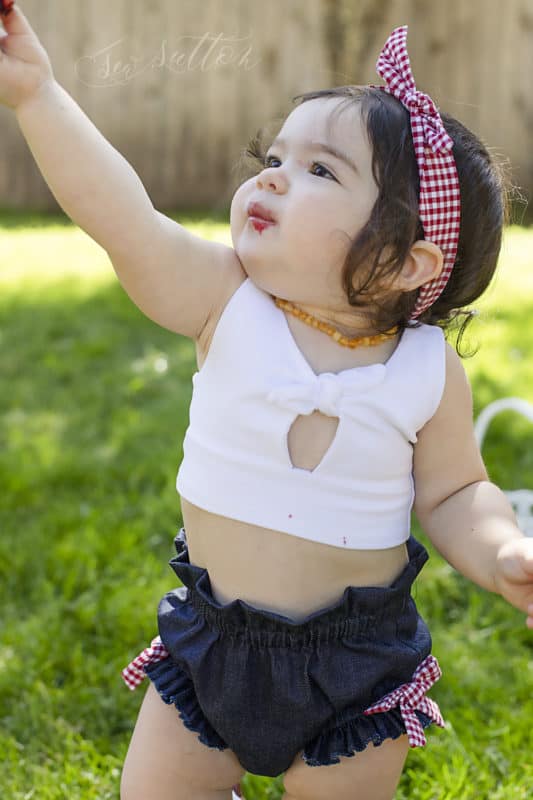
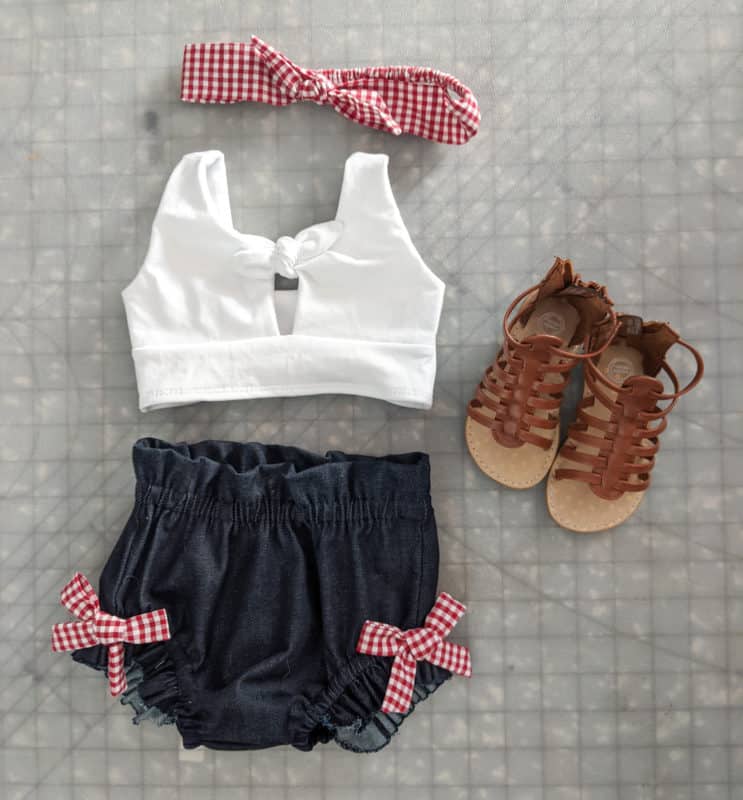
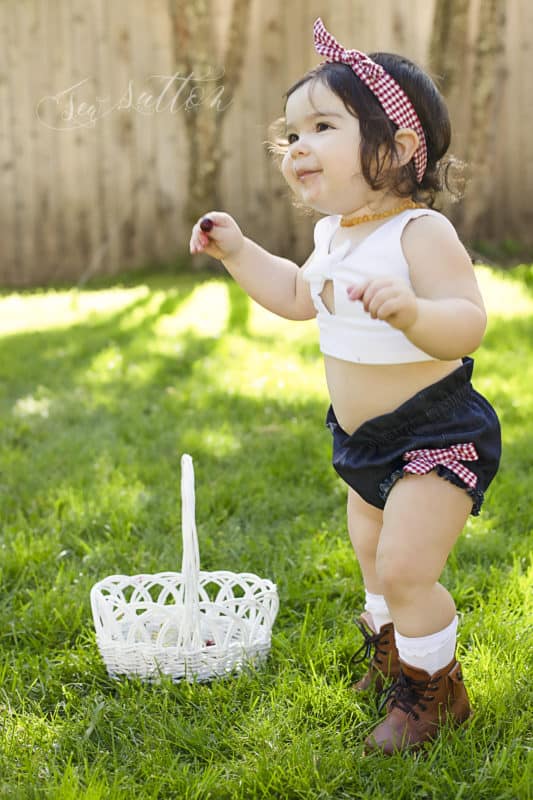
You know when you think something can’t get any cuter – and then you put a bow on it!?! Well, it had to be done with Betsy! This super simple side bow addition is just the cutest thing I’ve ever seen!!
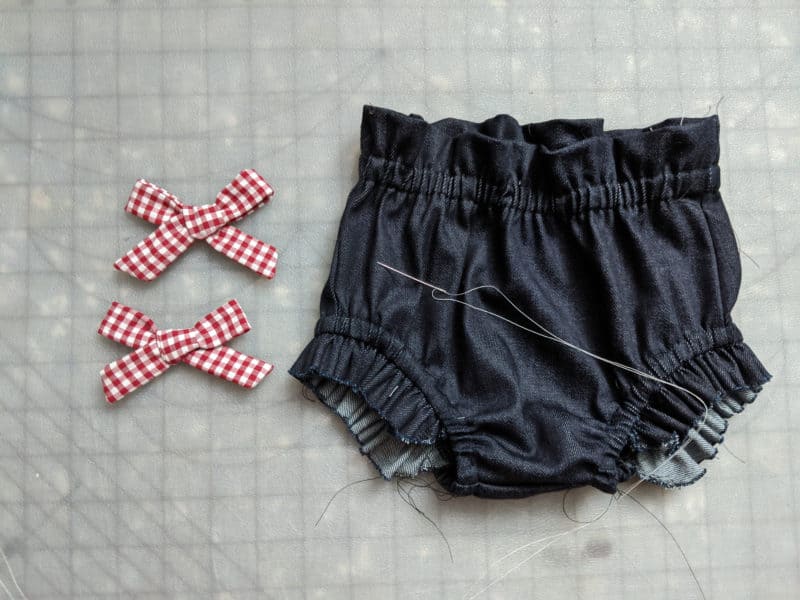
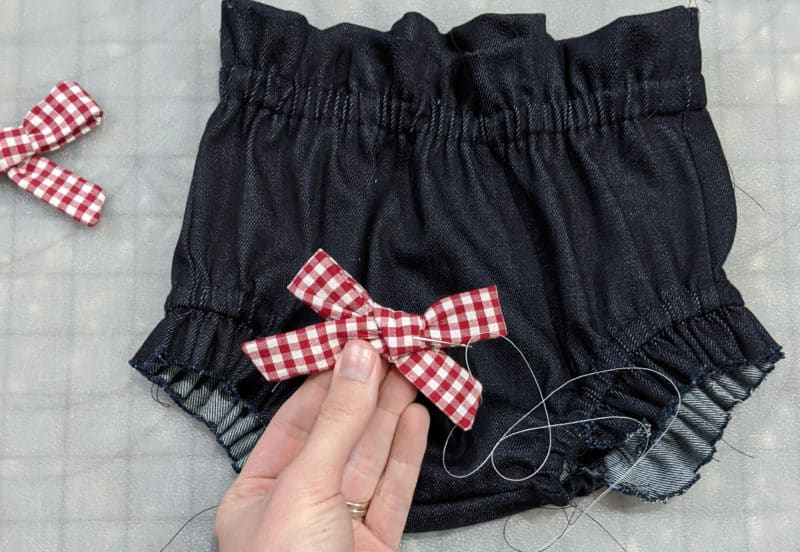
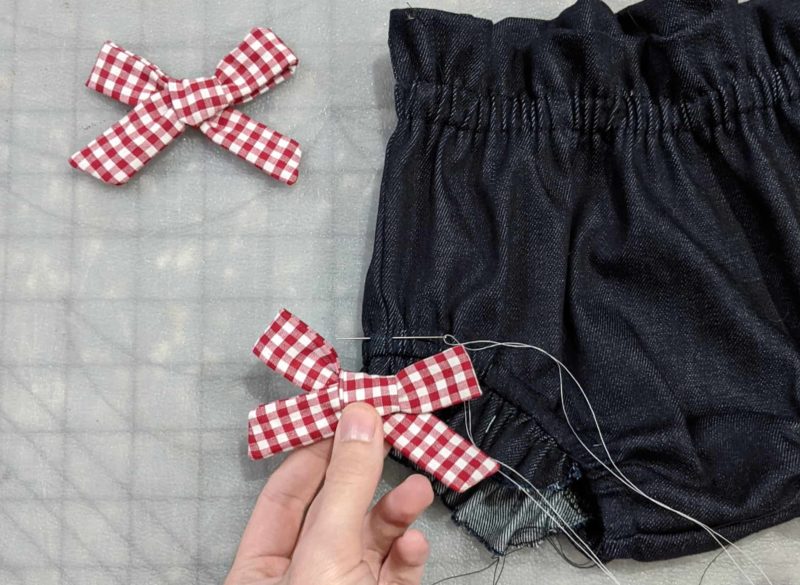
It’s really easy to do! Sew your Betsy together as directed in the pattern. I love the bows on the ruffled leg option but you can use it on any version. You’ll then want to decide what material you want your bows from. Anything from ribbon, lace, fabric, and more are all great options. I used a woven fabric and the free Hadley Hand Tied Bow Pattern Slightly modified. I used the smallest size and made it about an inch longer and then used a 1/2 inch seam allowance along the long side to make it skinnier.
Once your bows are sewed and tied, I highly recommend using hot glue in the center to keep your bow together.
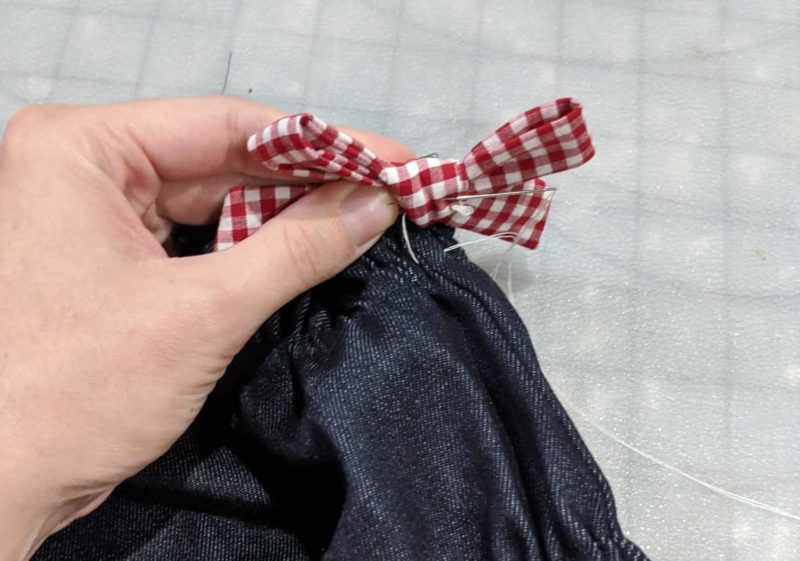
Next, you’ll need a hand sewing needle and thread to hand stitch the bows to your Betsys. Stitch your needle and thread through the back layer only of your bow (you don’t want it showing from the front), and line it up with the side seam of your Betsy, just above the elastic casing or leg band seam. Stitch together, running the needle through the bow and Betsy a couple of times to secure the bow. Finish through the back of the Betsys and tie off.
Repeat with the other bow and you’re done!
Cutest little addition!!
I can’t wait to see what you all come up with! Happy Sewing!
-Michelle
Bow Belt Hack
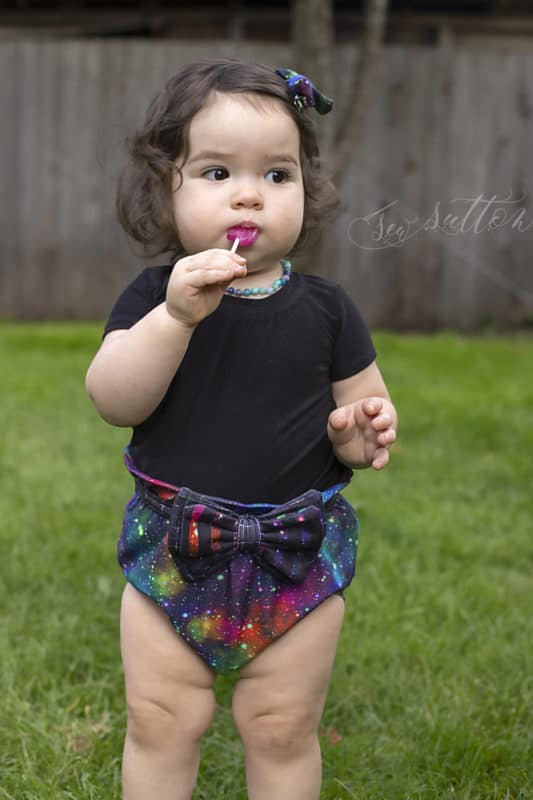
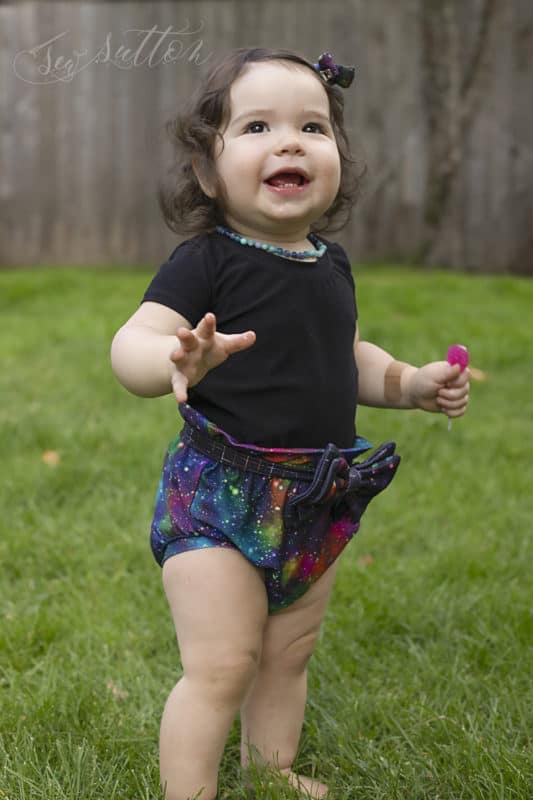
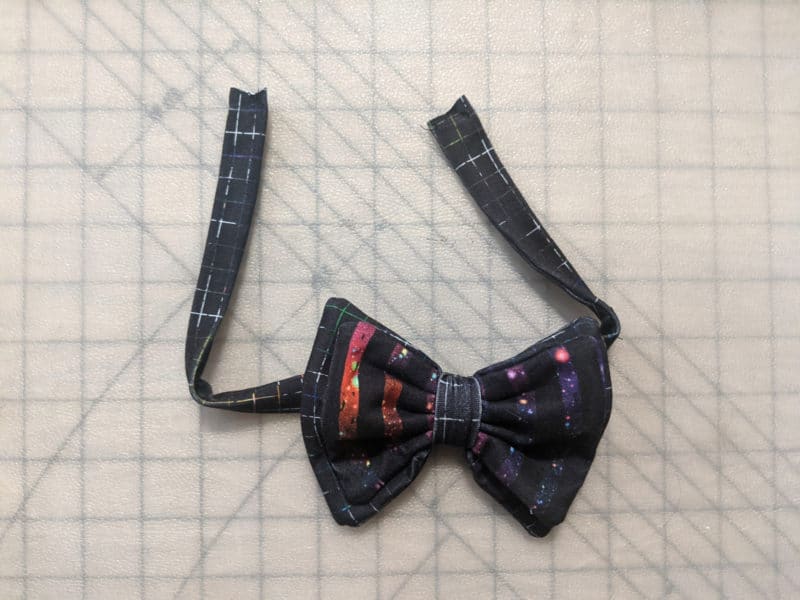
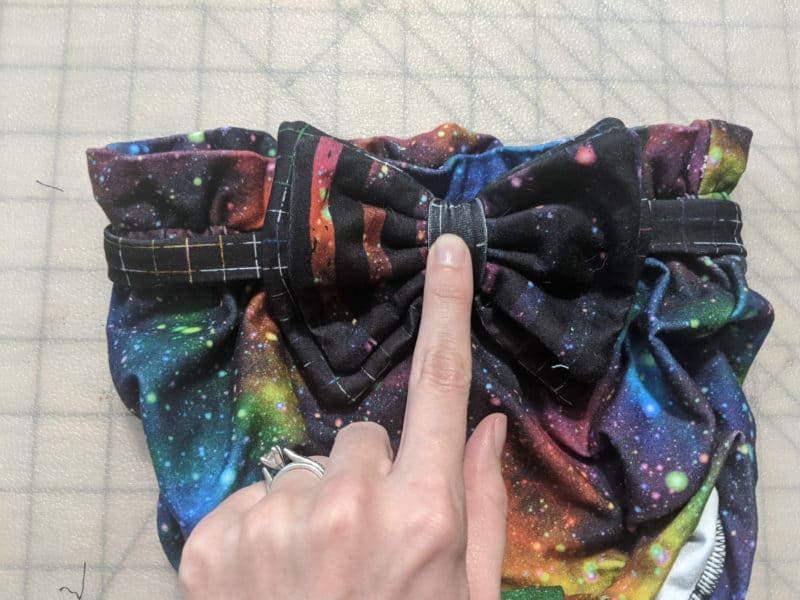
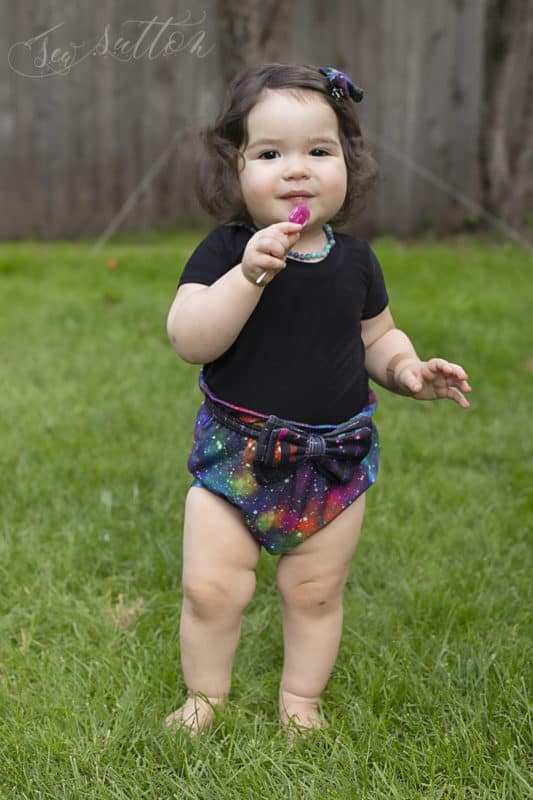
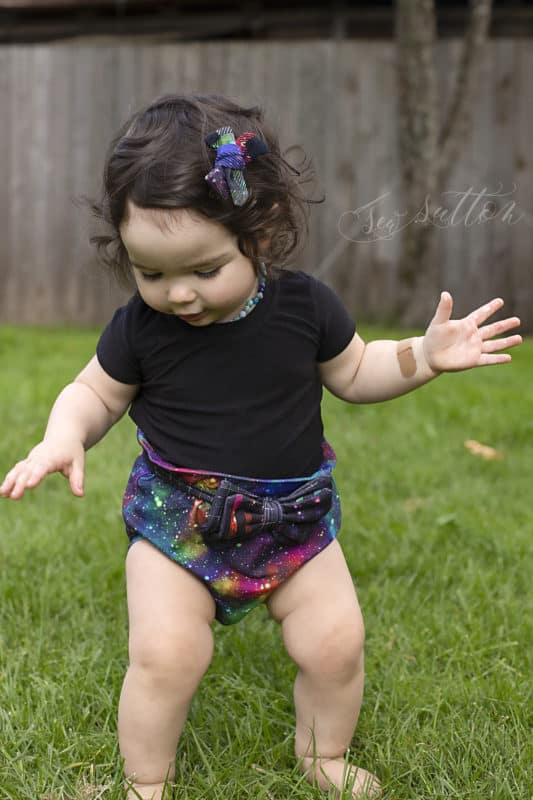
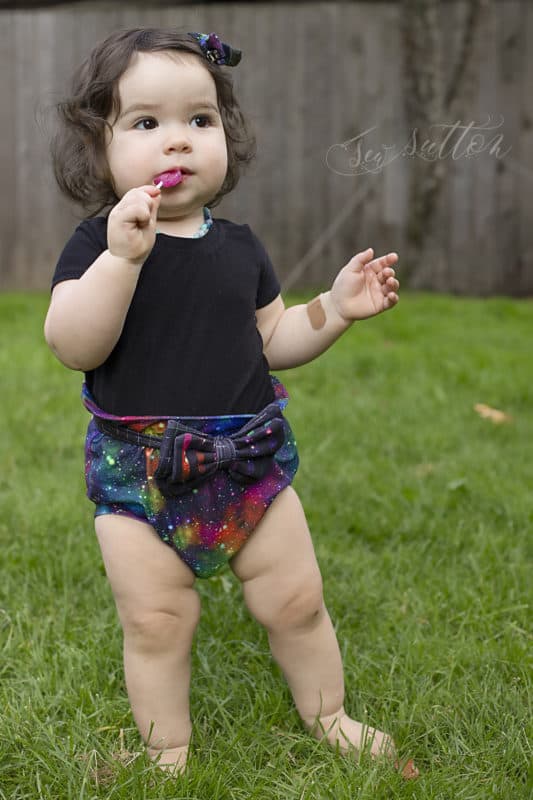
All of the testers loved the idea of a cute little added bow front on our paper bag Betsys! There are a ton of different ways ,but this super quick hack will show you one of the easiest ways to create this adorable look. We used the Free Bow Tie Pattern to get the cutest little bow belt!
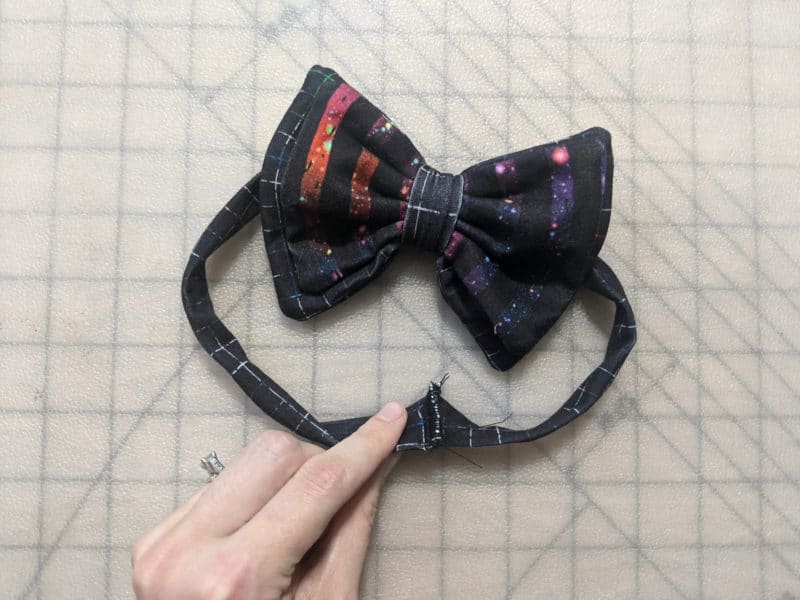
First, you’ll sew your Betsy Bloomers as directed in the pattern and set them aside. Now, pick out your fabrics for your bow belt (you’ll want to use knit with stretch for the band/belt part). I used the adult size bow tie for the biggest bow but the smaller bows would be adorable as well! You’ll want to use the adult neckband length though to give you the most flexibility for the waist. Sew together as directed up to the point where your neckband is open with no fixes.
Take your bow belt and wrap it around babies waist, making sure it will be snug but not too tight. Mark the cross over point leaving about 1/2″ on either edge for seam allowance. Sew these pieces with right sides together and press your seam allowance to one side. Optional- if you’d like to make your belt removable, you can simply follow the velcro or snap instructions in the bow tie tutorial, just adjusted for your baby’s waist.
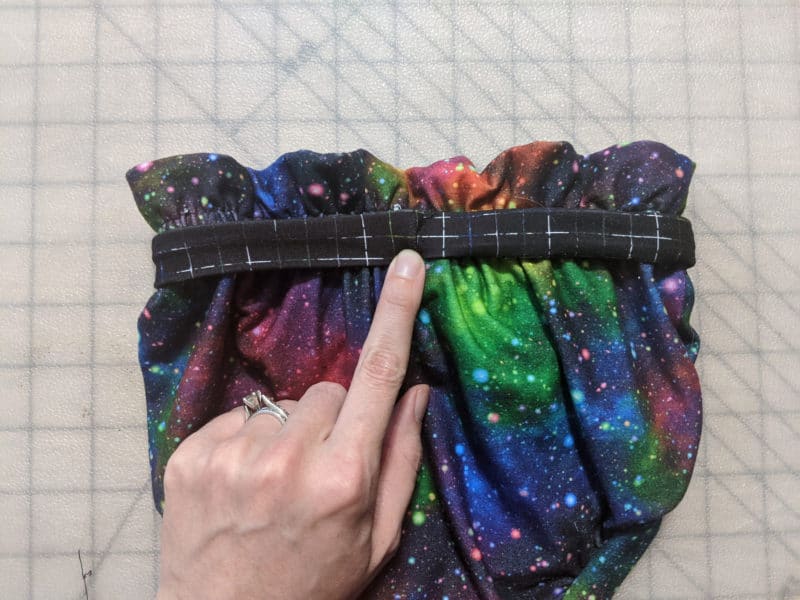
Now, I recommend sliding it on to your Betsy Bloomers and matching up the center back seam with the center back of your Betsys and stitch in the ditch to tack it into place.
Next, I recommend matching the center front of your bow with the center front of your Betsy and hand tacking it in place as well. Optional- hand tacking the top of your bow edges to your Betsy if your bow is more “floppy” and wants to flop down.
And you’re done! Super cute bow belt! Some testers even liked having the bow in the back, so try it out and see which version you like best.
Happy Sewing,
Michelle
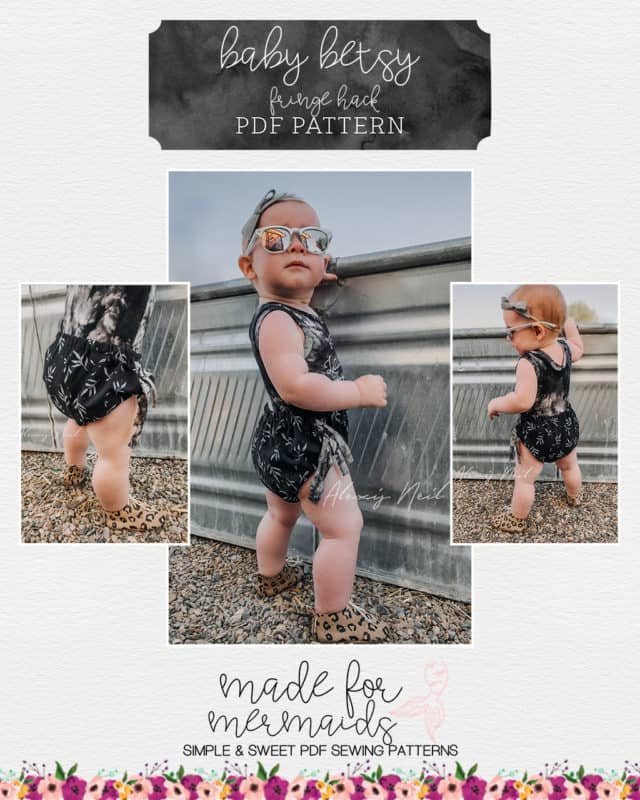
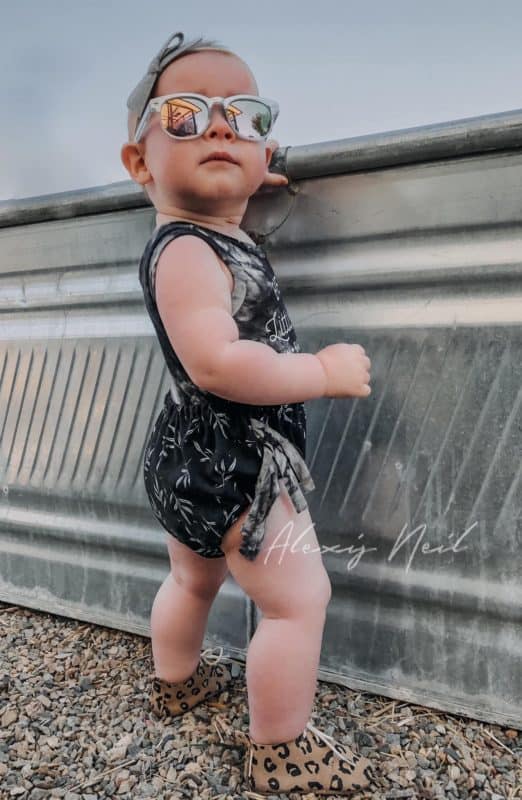
Fringe Hack
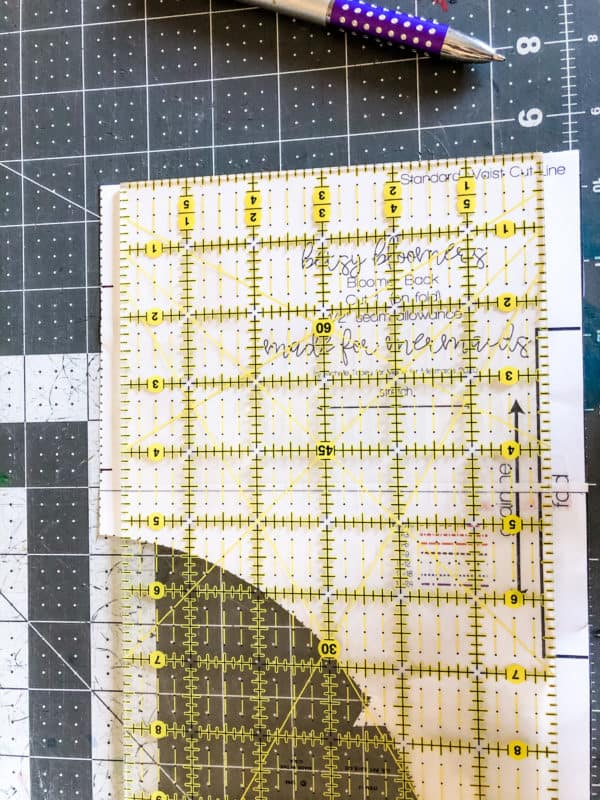
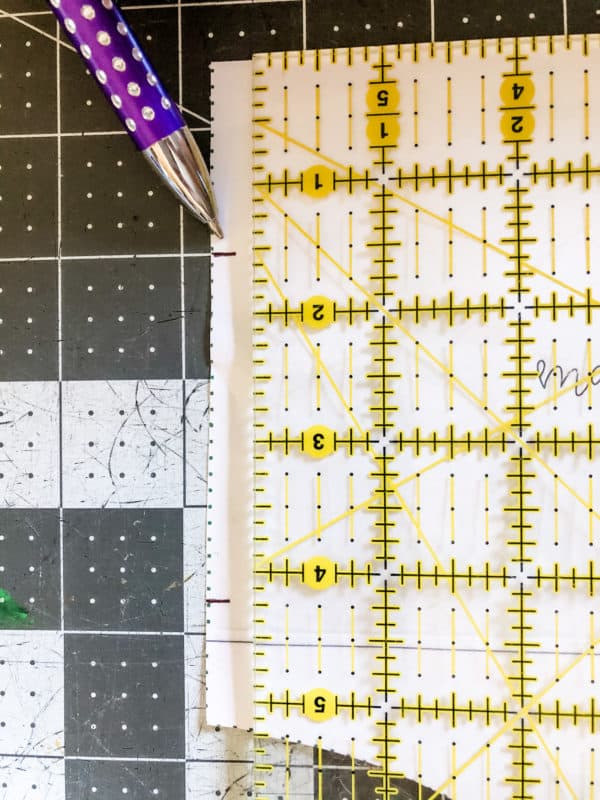
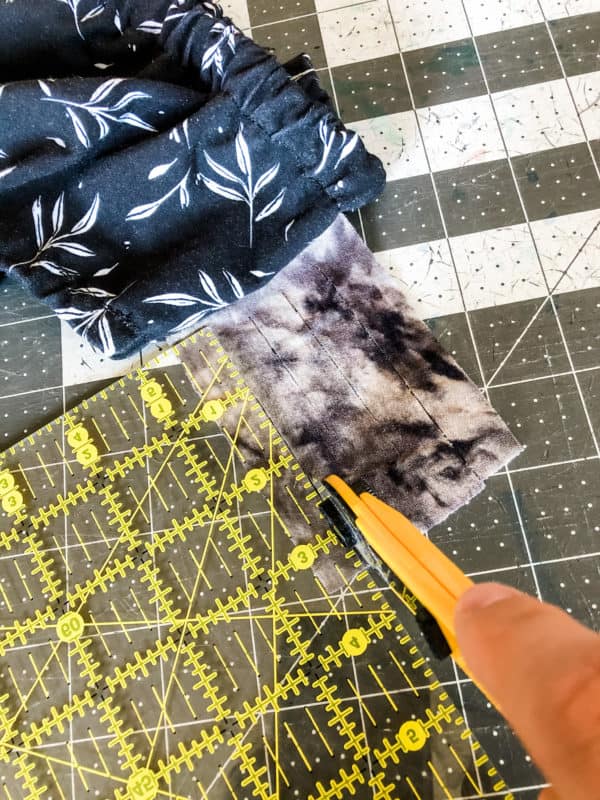
Looking to add a little flair to your Betsy Bloomers? How about adding a little fringe! For your fringe pieces, a knit fabric is recommended. First, layout your front pattern piece and measure 1″ up from the bottom, on the non-fold side, and make a mark. Make the second mark 1.5″ down from the top for the regular waistband version, and 3.5″ for the paper bag version. Next, measure the distance between the two marks to determine your fringe width.
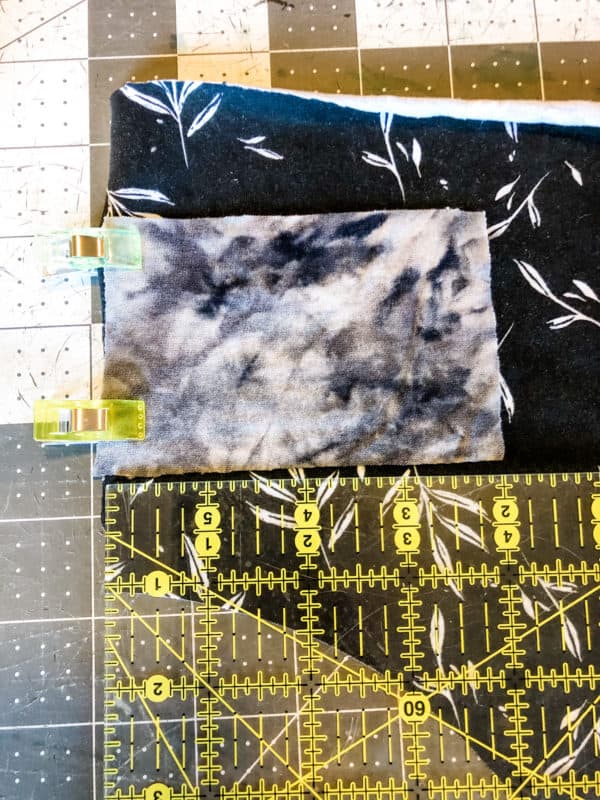
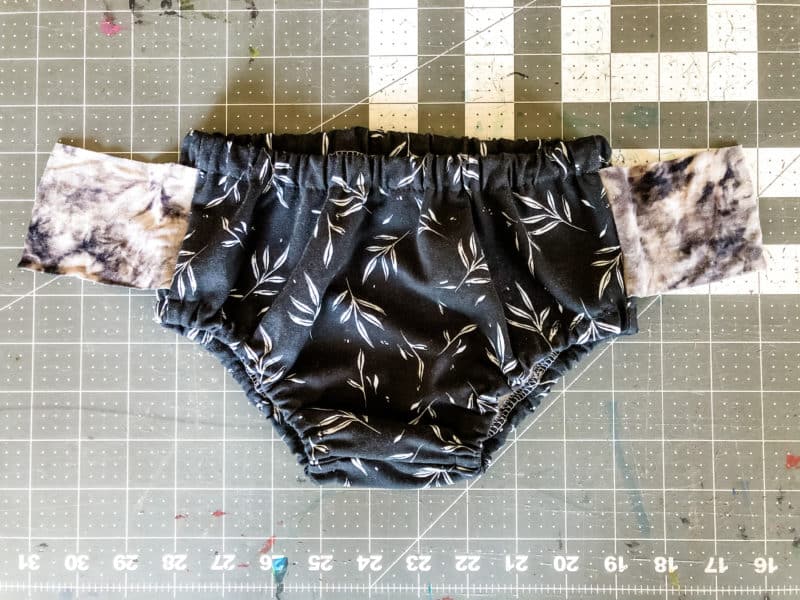
For length, I suggest cutting between 4-6″. Remember, you will lose 1/2″ off your finished length for seam allowance and it’s easier to cut length off if too long. Cut two pieces using these measurements. Next, sandwich your fringe pieces between your front and back pieces, right sides together, making sure to place them one inch up from the bottom. Sew your side together as normal and repeat on the other side. Continue sewing your Betsy Bloomers as normal. When sewing the casings for your elastic, make sure your fringe pieces are pulled out of the way.
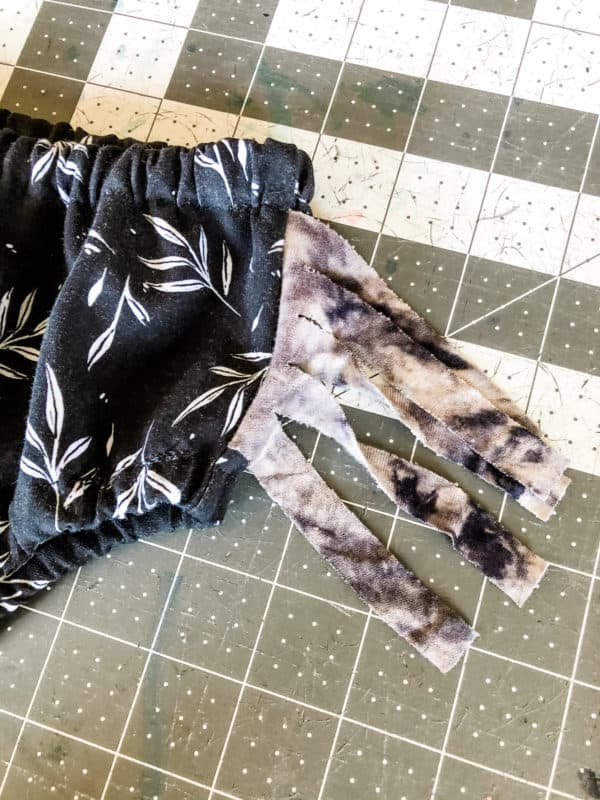
Once completed, lay them out with the fringe pieces away from the body of your Betsy Bloomers. The width of your fringe pieces will depend on how wide your uncut fringe piece is. To determine the width, decide how many fringe pieces you’d like and divide it by the width measurement of the uncut fringe piece. Next, cut your fringe, being careful to not cut too close to the side of your bloomers. Once cut, separate your fringe, give them a little pull, and your Betsy Bloomers are done!
-Alexis
Which will you tackle first – Tai or Betsy?? We can’t wait to see what you sew up for your favorite little ones. Don’t forget to share with us on FB and Insta!















Leave a Reply