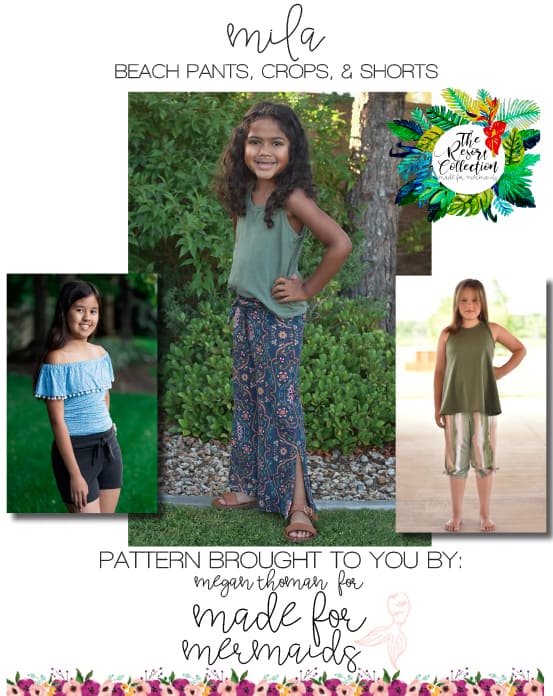
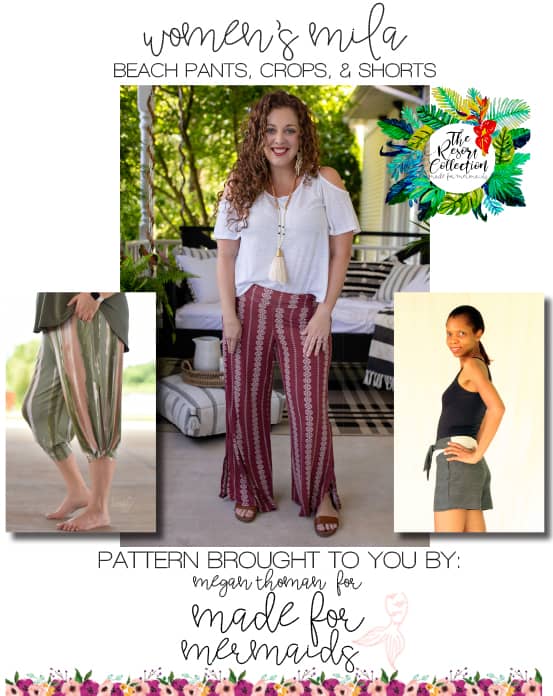
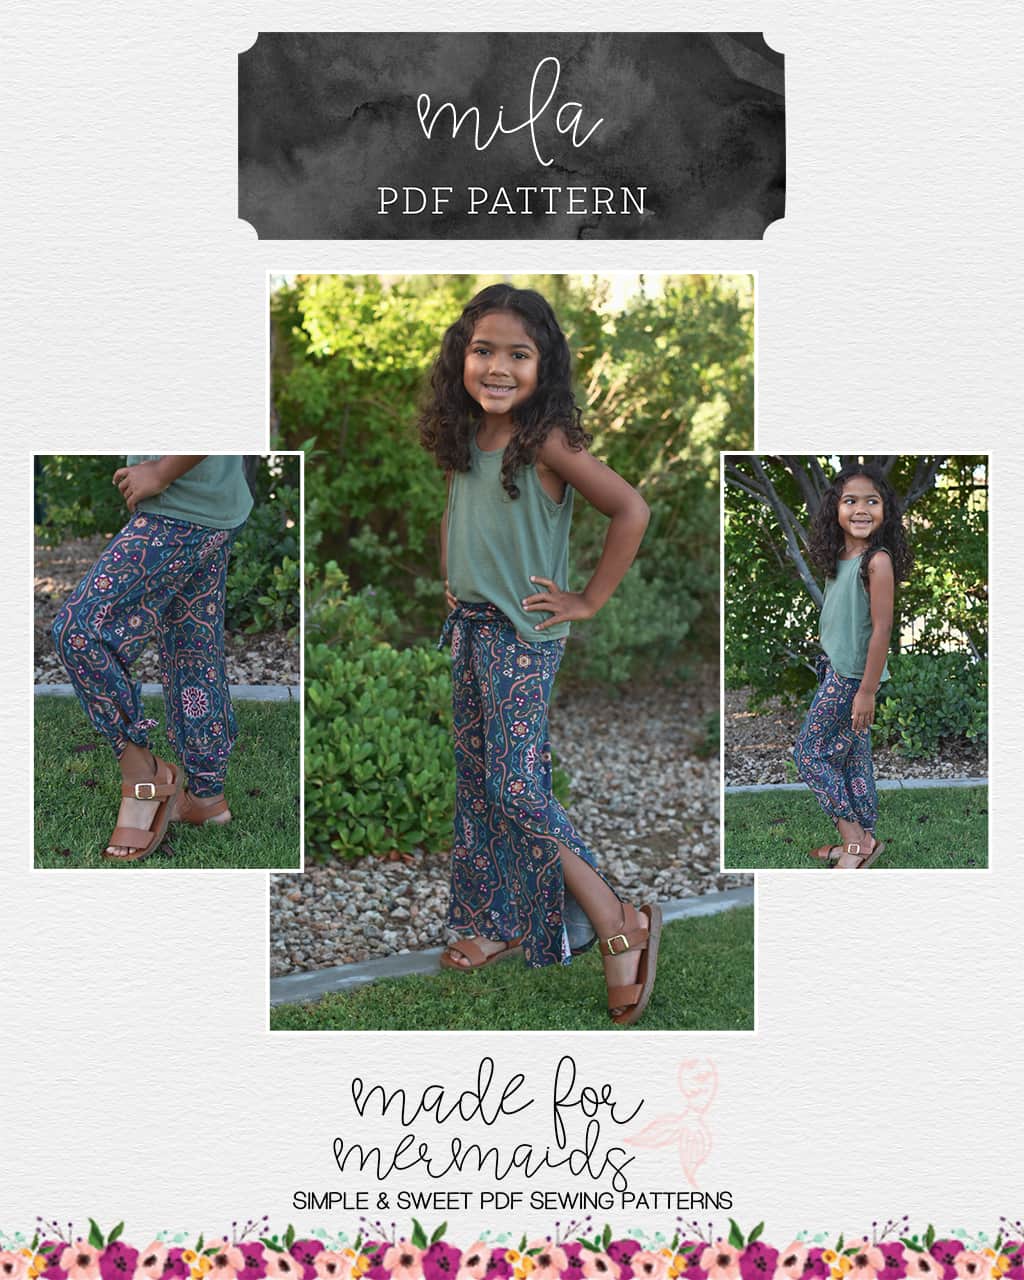
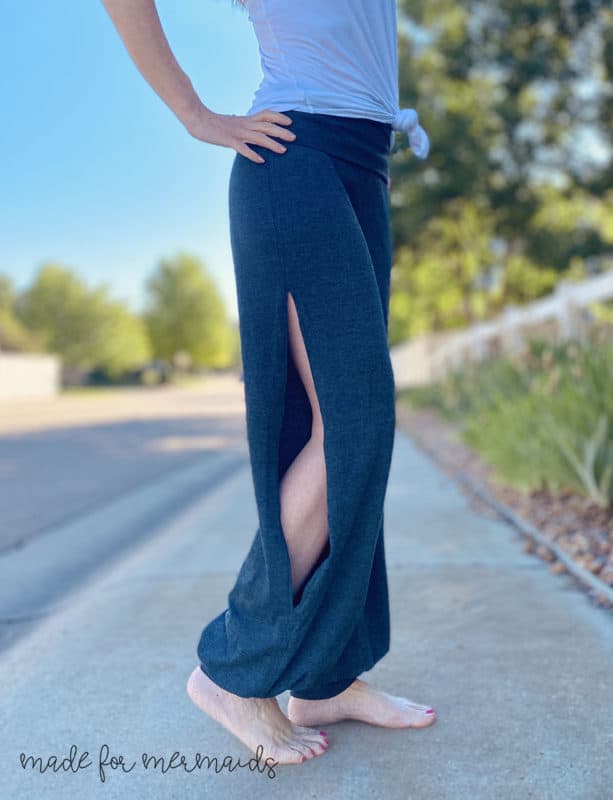
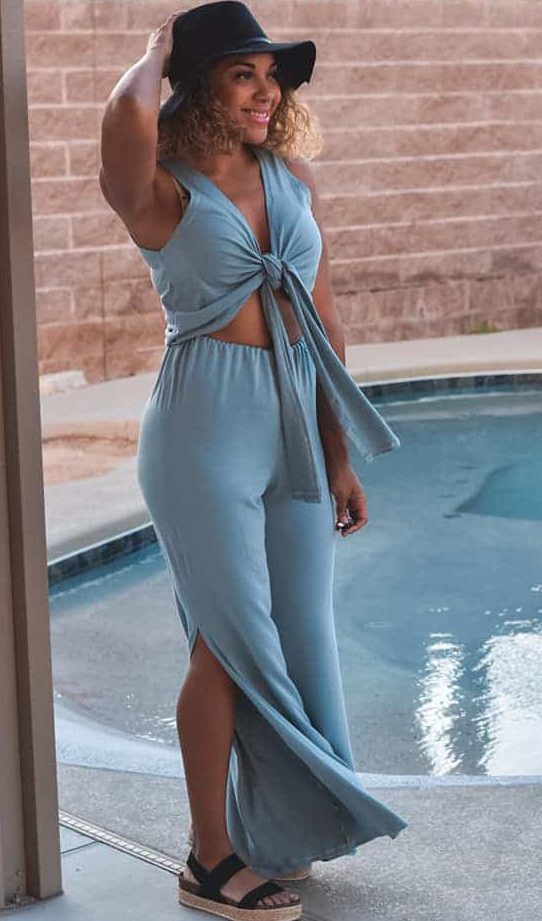
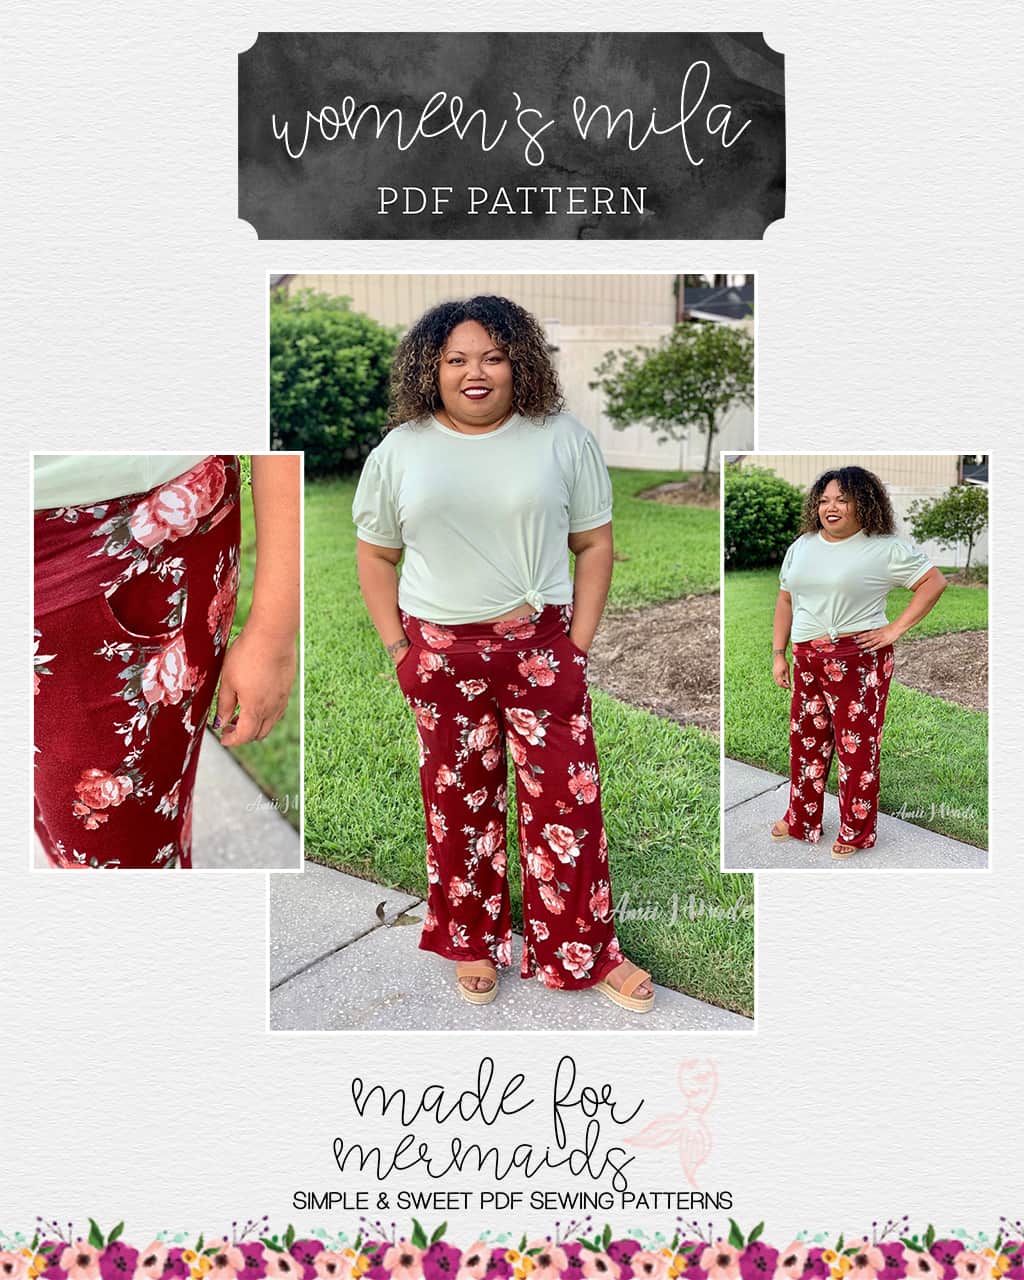
Mila Beach Pants, Crops, and Shorts are the next set of patterns in our Resort Collection, and whew are they ever cute!
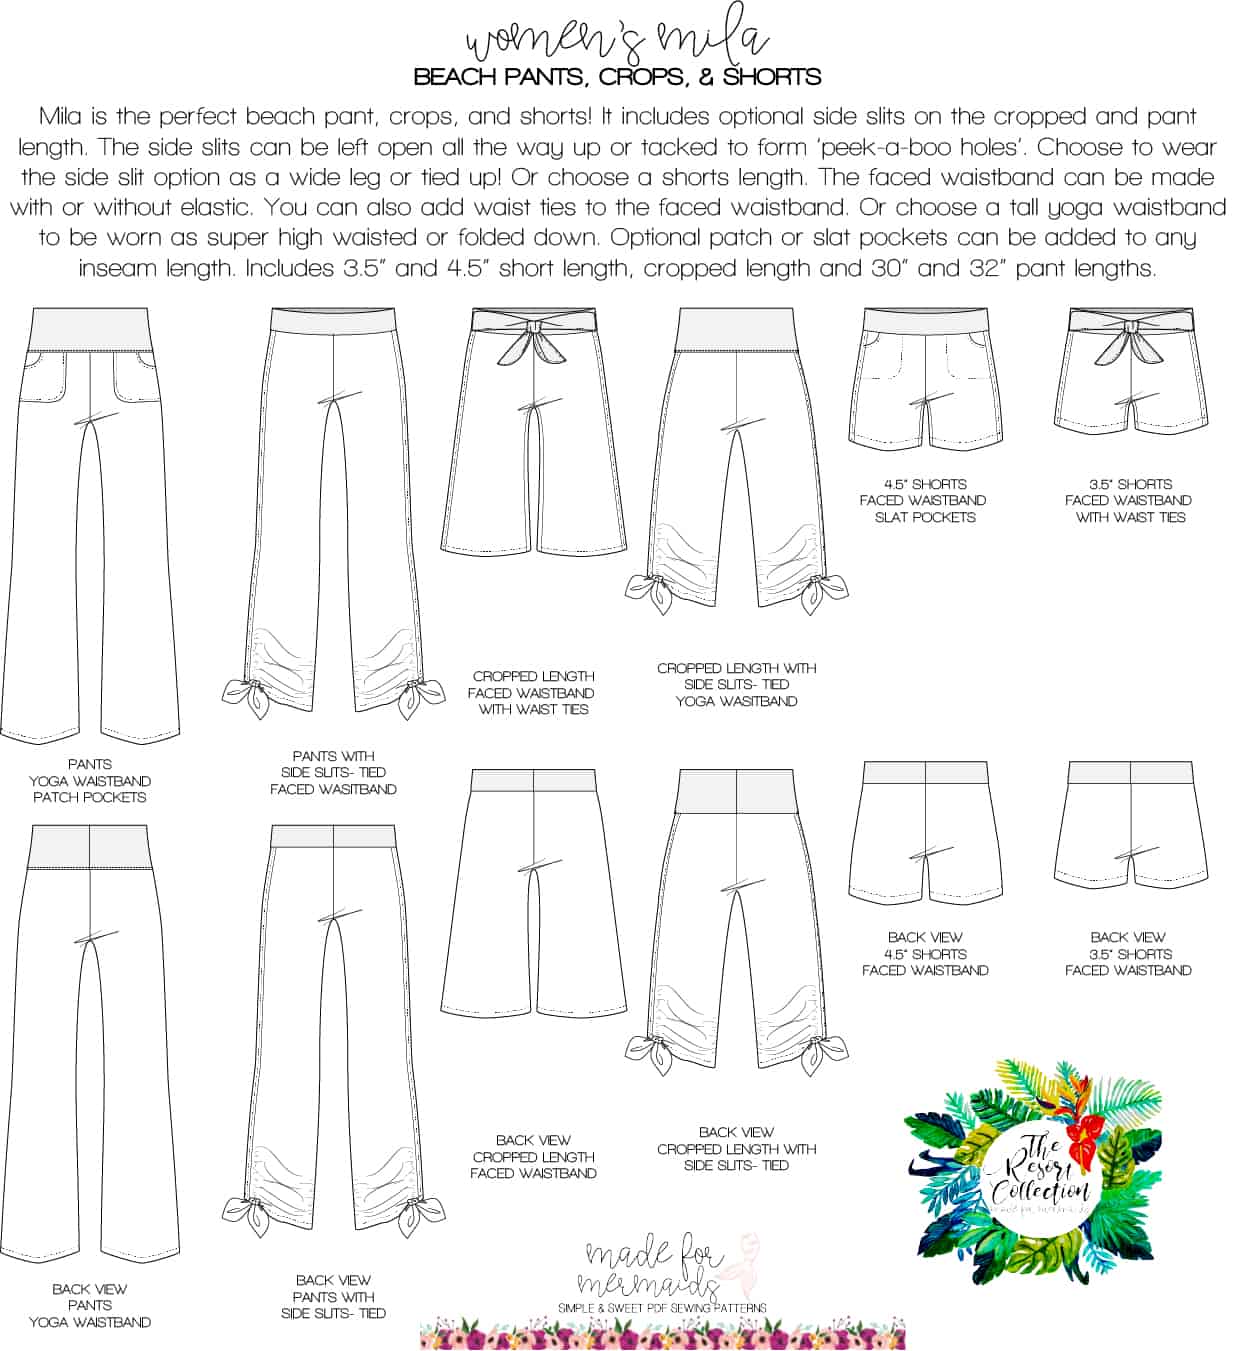
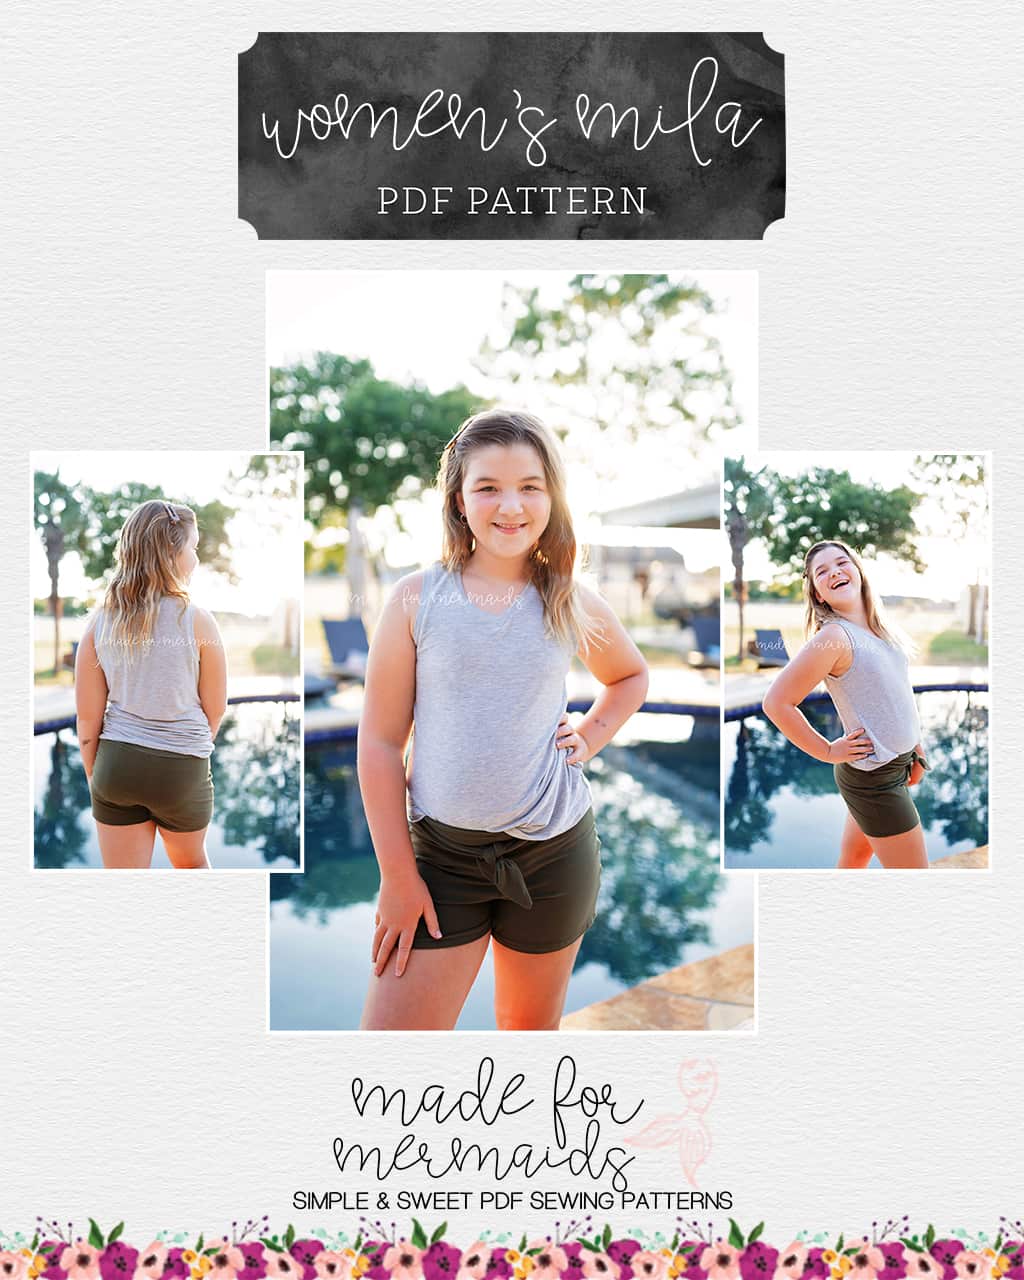
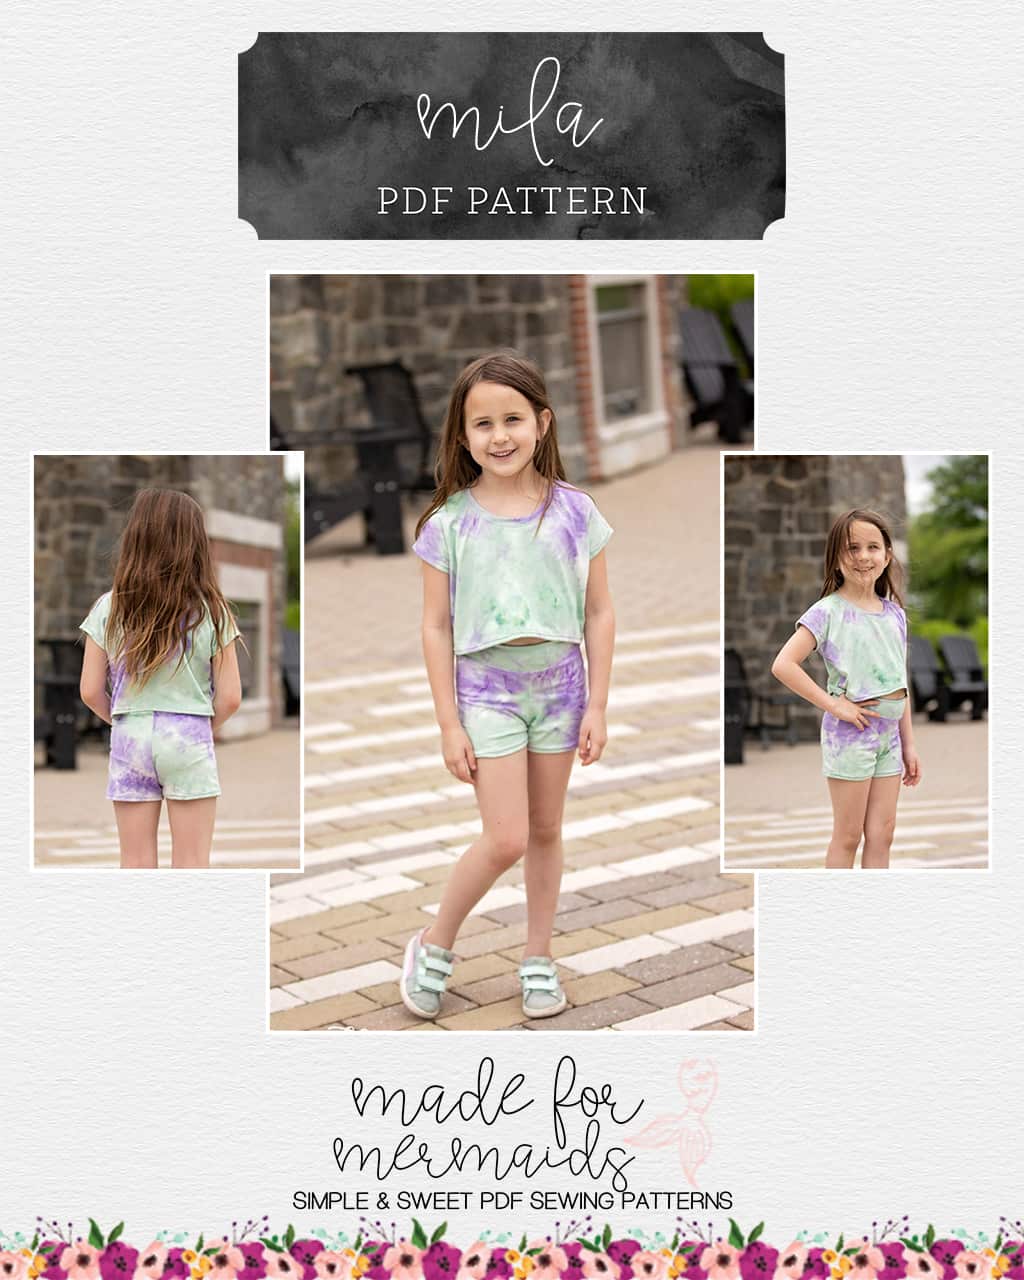
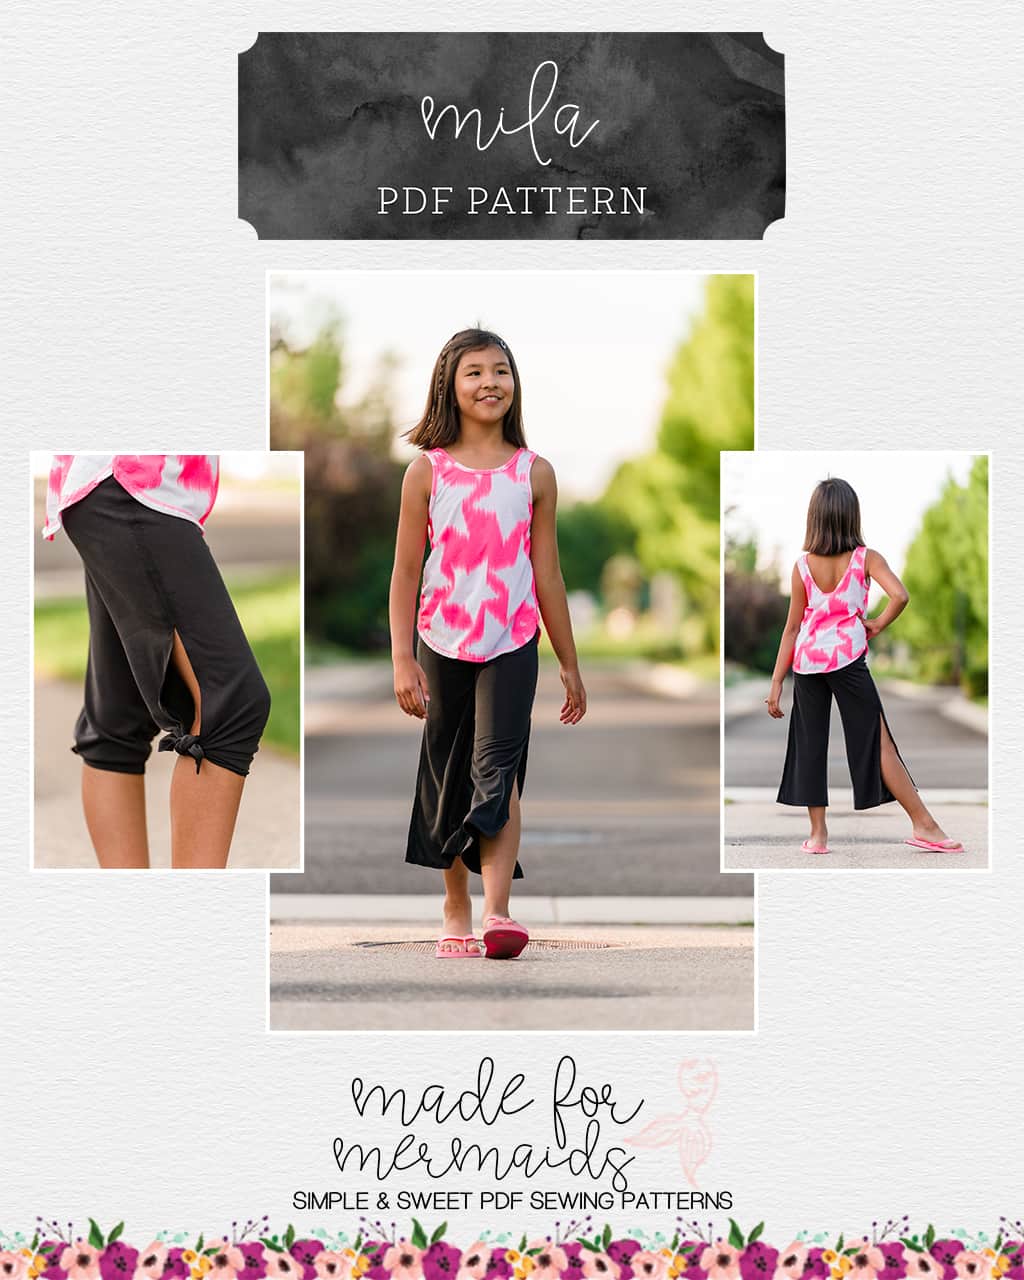
Mila is available in Women’s and Youth sizing; they make a great addition for every day wear, beach cover ups, yoga pants, date night outfits, and so much more! Choose from short, cropped, or pants length. You can wear them tied up, or with an open wider leg. Waistbands options include optional ties, and a yoga band option as well. Of course, we included patch and slat pocket options, too! We know how much you Mermaids love your pockets 🙂
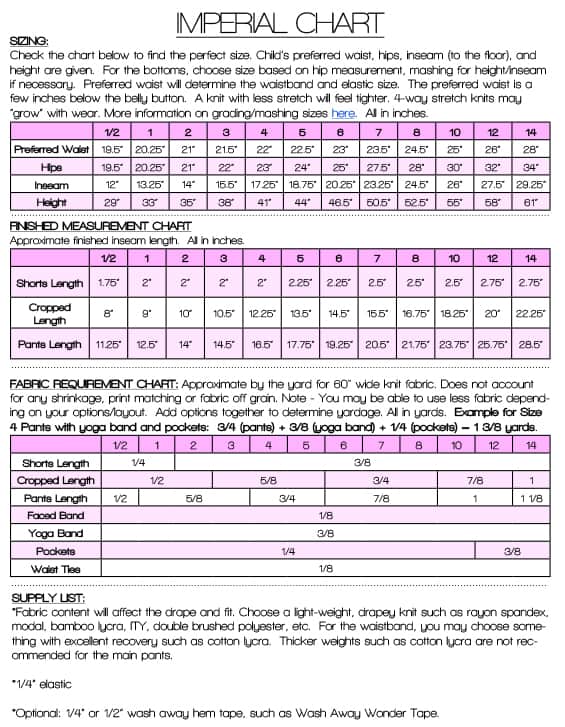
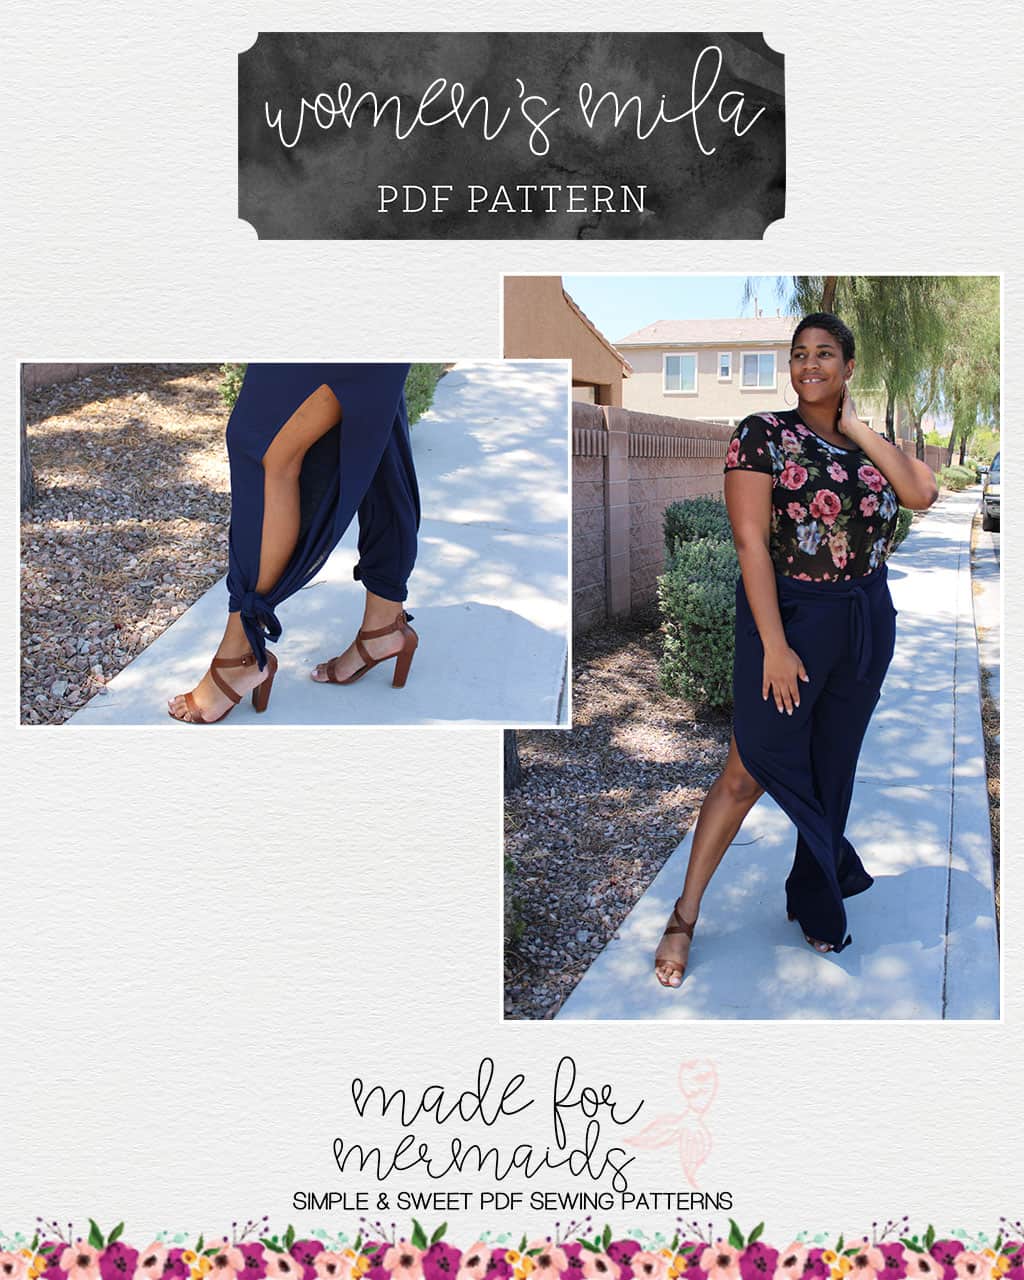
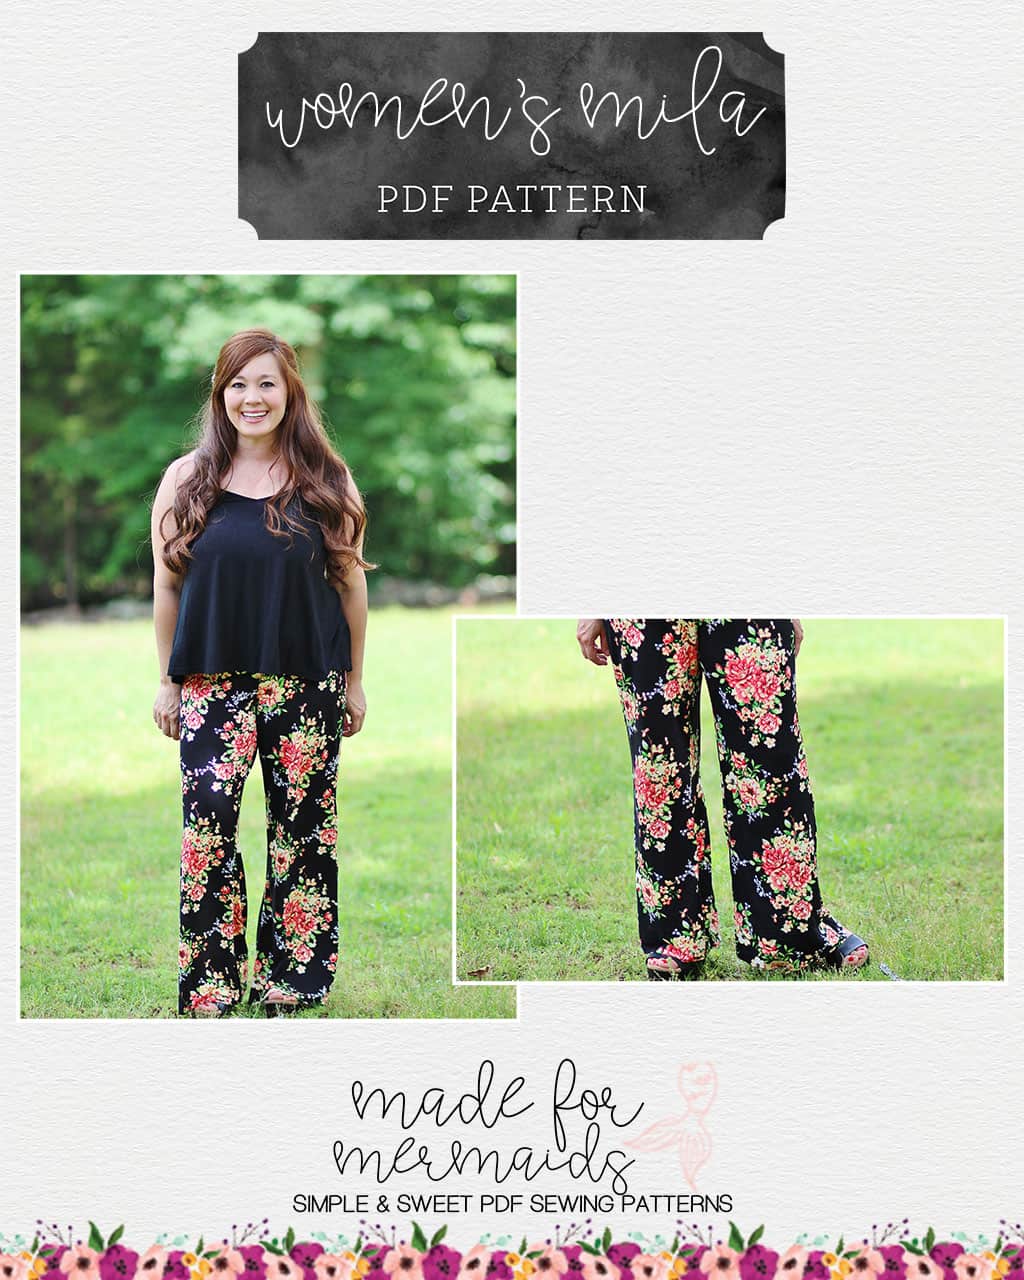
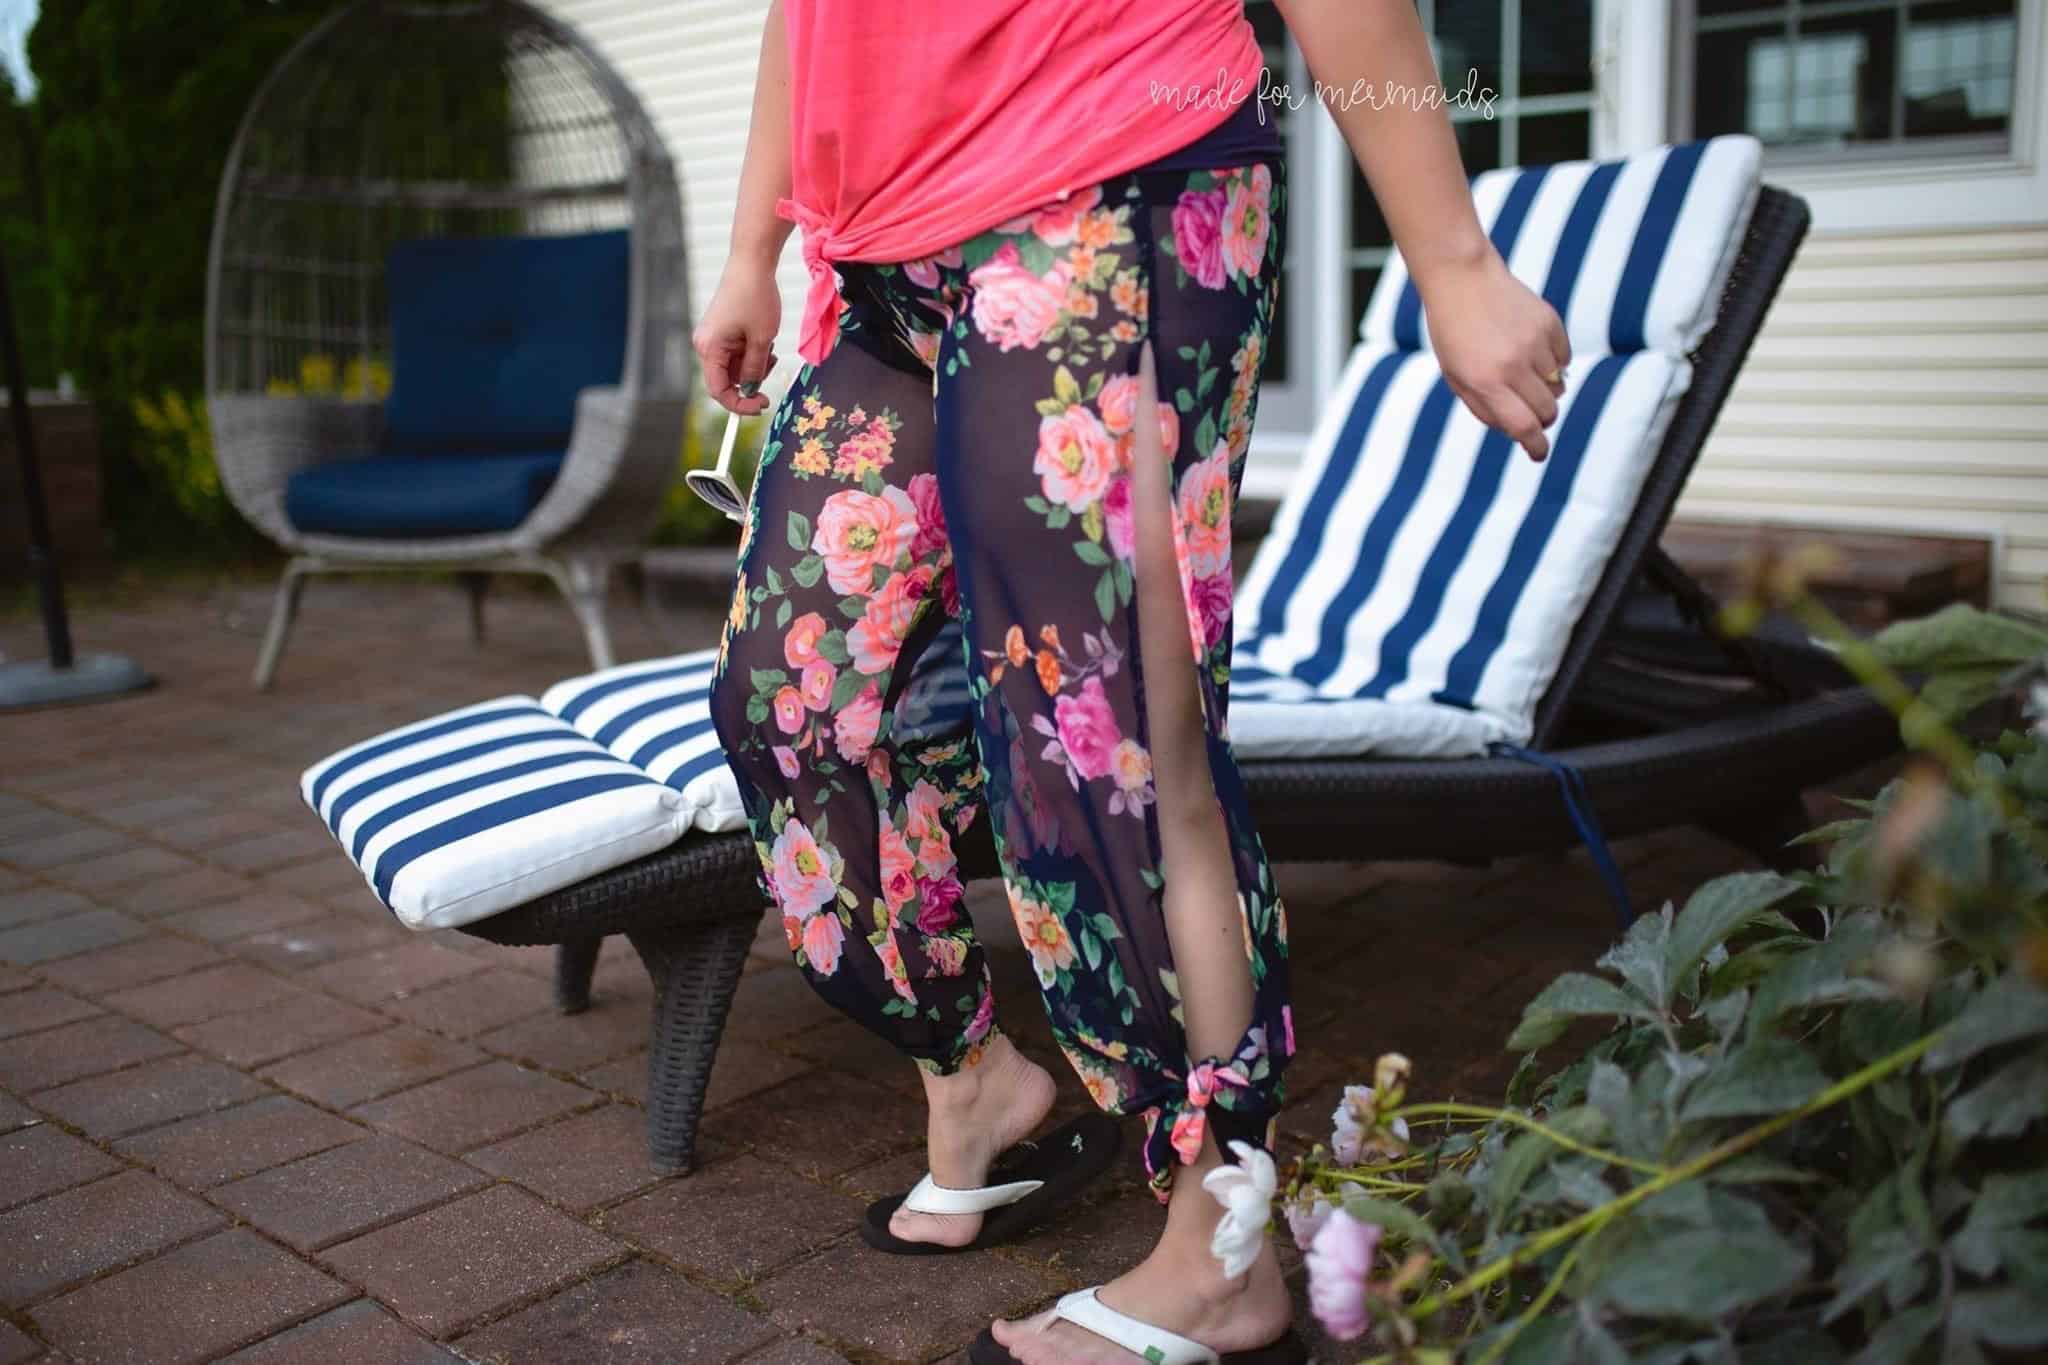
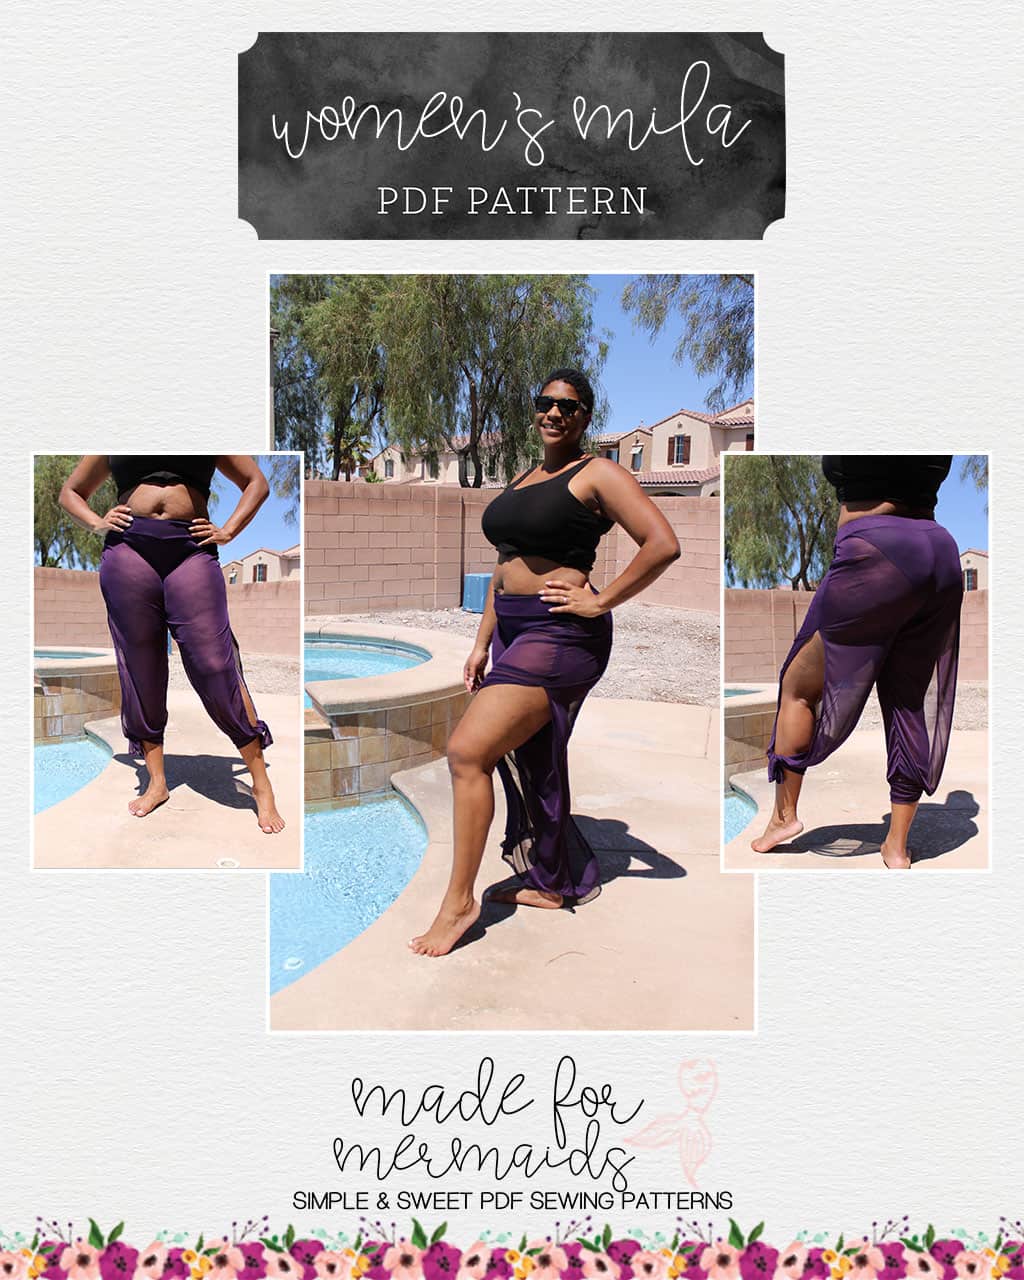
To get the best fit for these, you really need something drapey. Cotton lycra might work ok for the shorts version for youth and can be used for waist bands, but it just won’t have the right flow for this particular style. We recommend fabrics like rayon spandex, modal, bamboo blends, ITY, cupro, etc. Looking for a beach coverup specifically? These stretch mesh pants are PERFECT for just that:
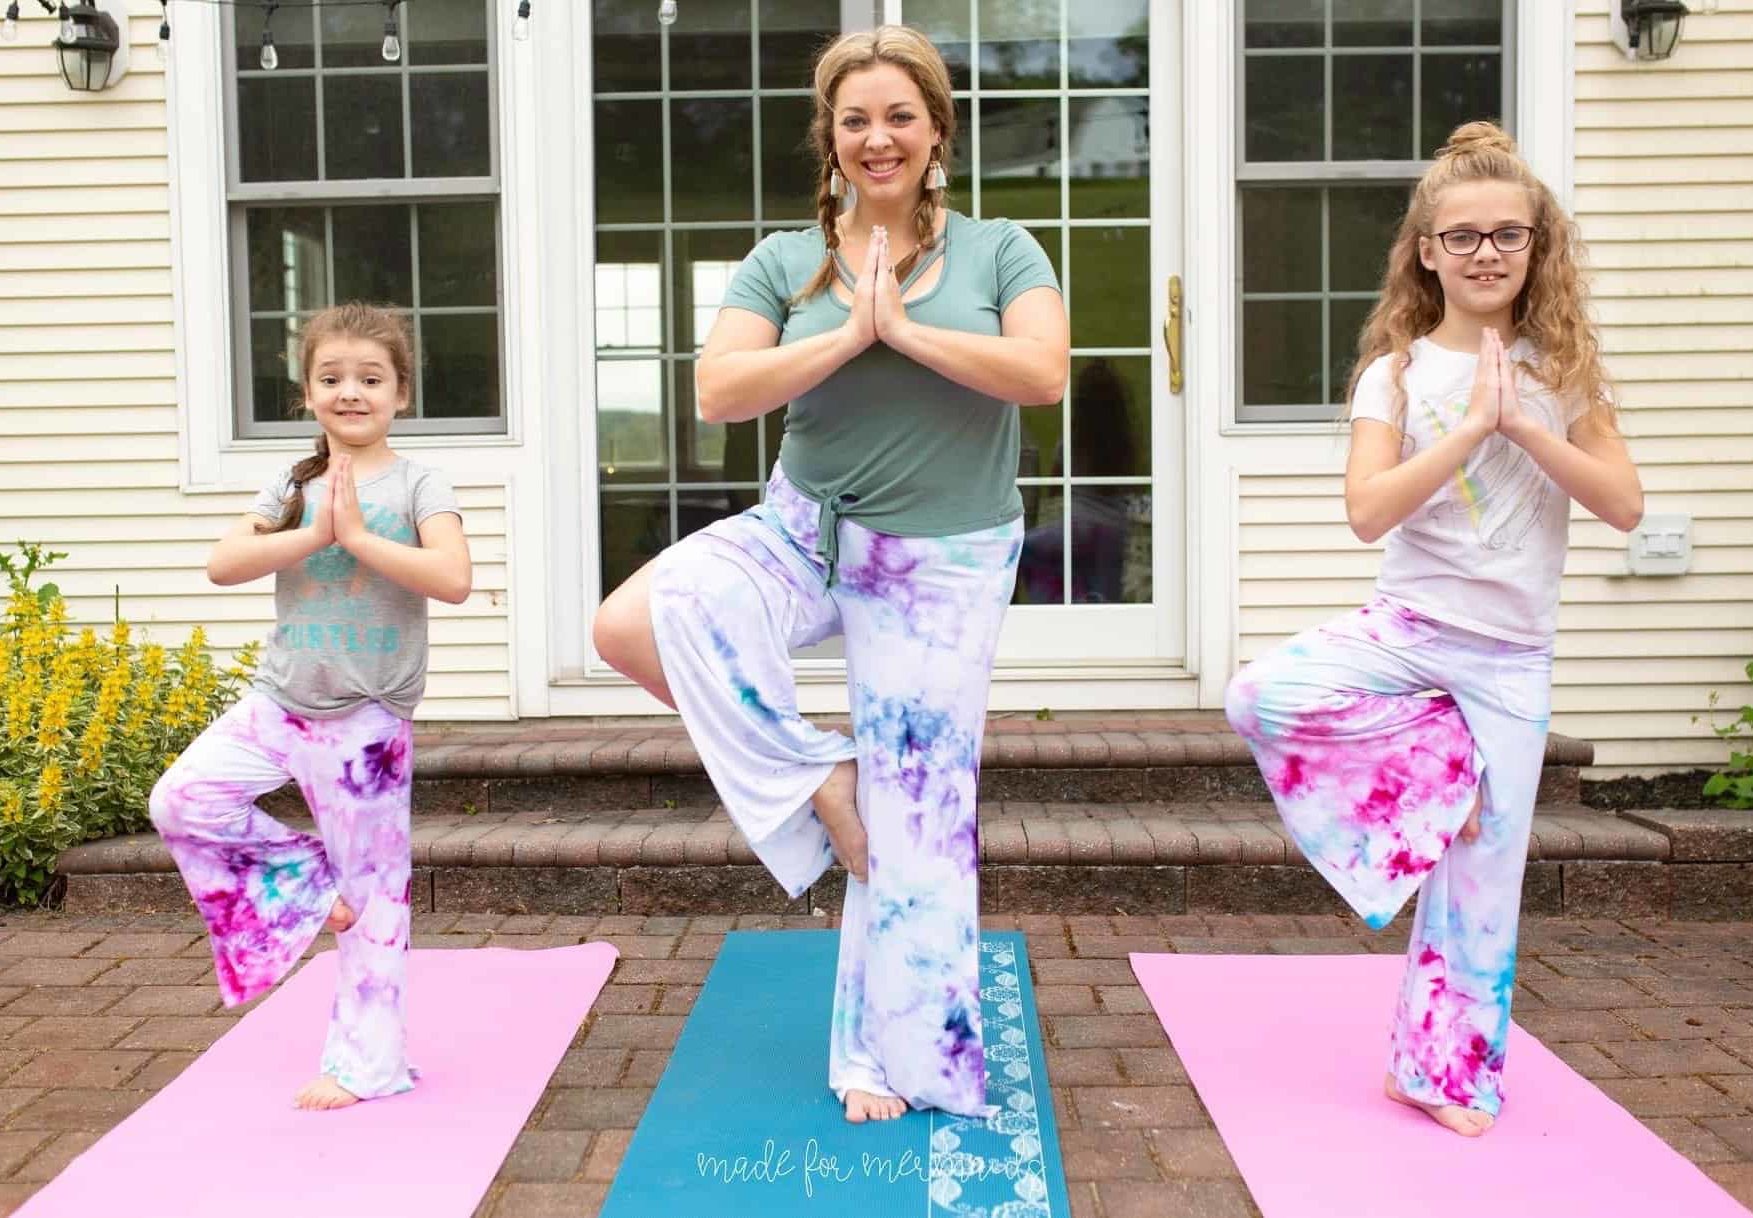
We’re also a little (ok, a LOT) obsessed with this fun ice dye tutorial from the gorgeous Dana Miller. How fun are these Mila pants that Megan T. dyed for her fam??
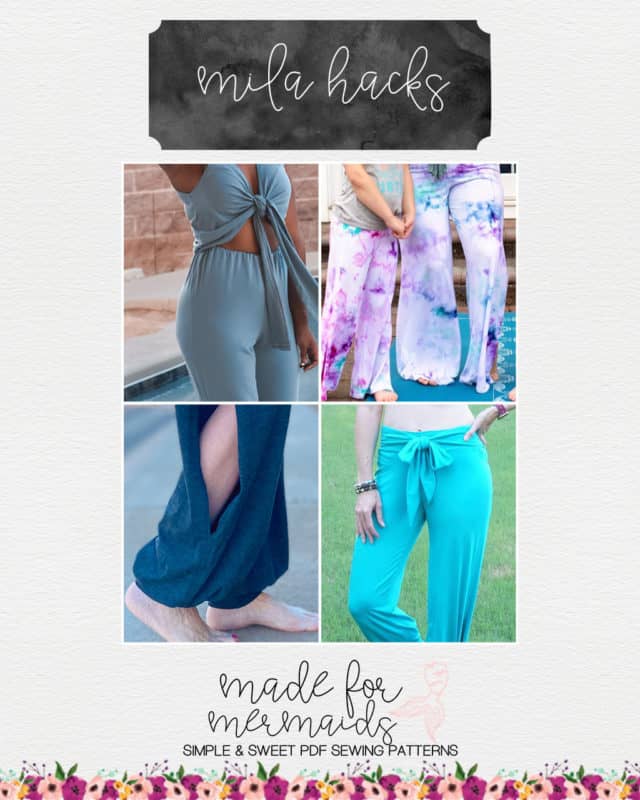
Naturally, we have to bring you a few hacks, including a romper mash from the Queen of Rompers herself. 😉
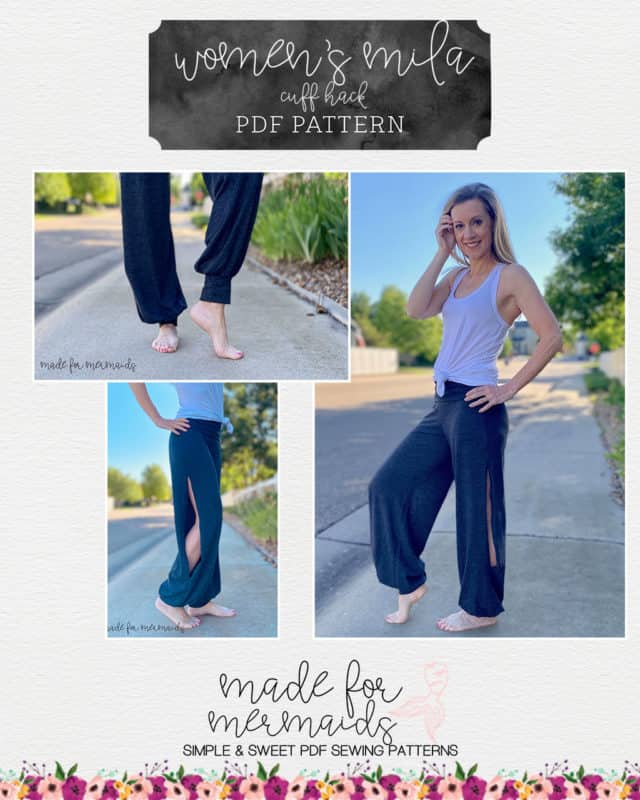
Cuff Hack
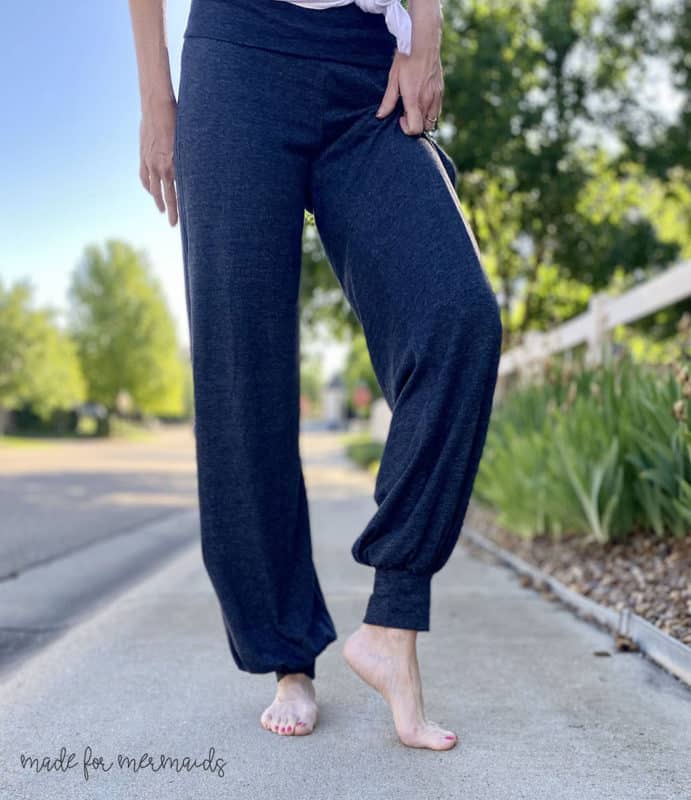
The new Mila Pattern is so fun and perfect for summer. Today I am going to show you one more look you can make using the pattern with a cuff instead of the tie or slit leg openings.
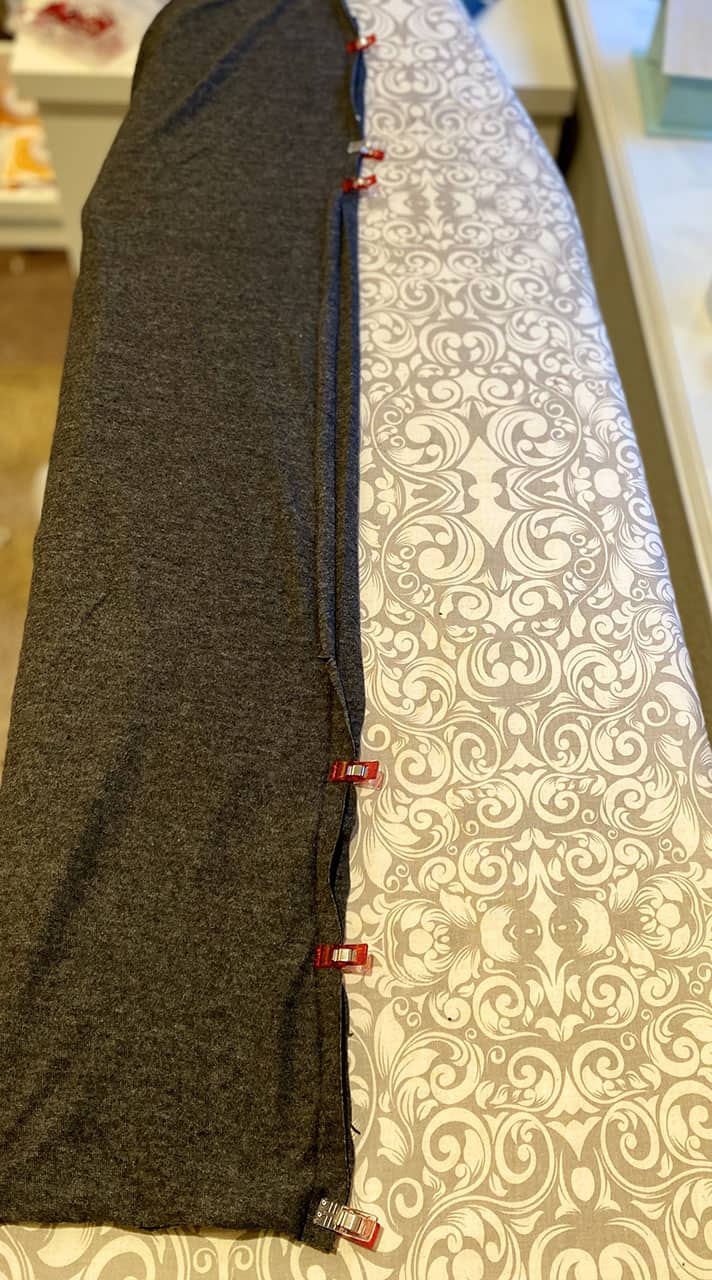
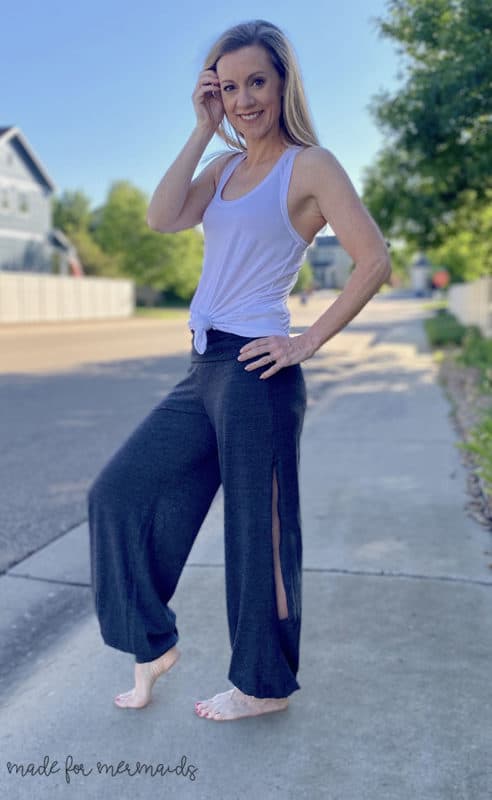
When creating the Mila Pants, decide where you would like to have an opening. I chose the second highest slit and the lowest slit option (right above the capri line) for my pants. Follow the pattern for completing the outside seam of the pants. Instead of only sewing one portion of the pants closed at the outer side seam, you will also sew the lower portion of your pants closed from the capri line (or whichever line you chose) to the hem. Topstitch the memory pressed areas per your pattern. Then complete the inner leg seam and crotch seam per the pattern.
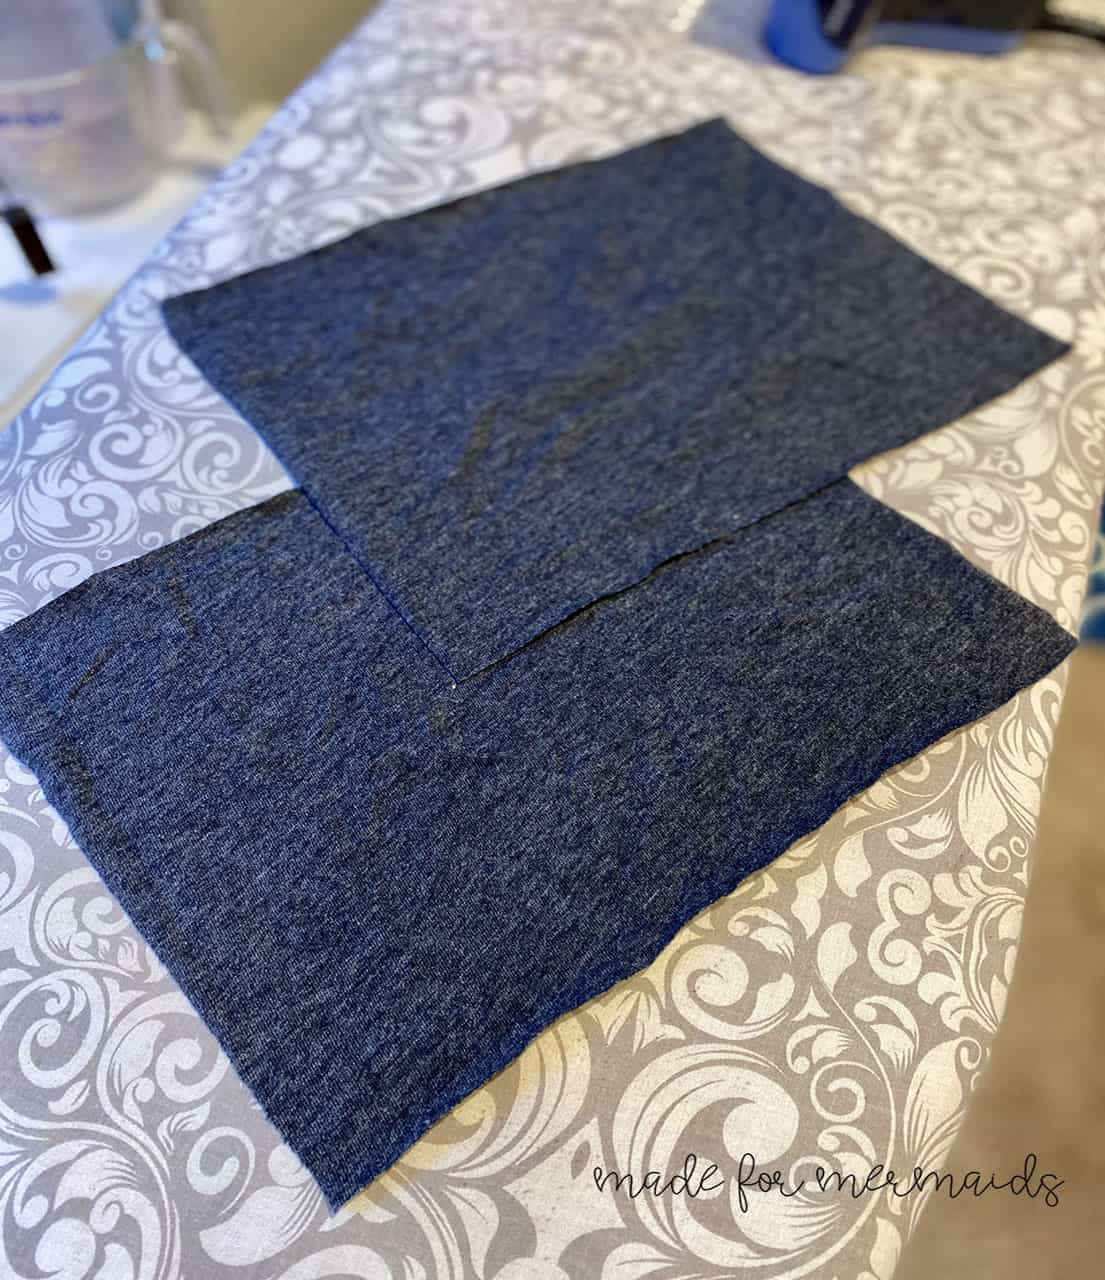
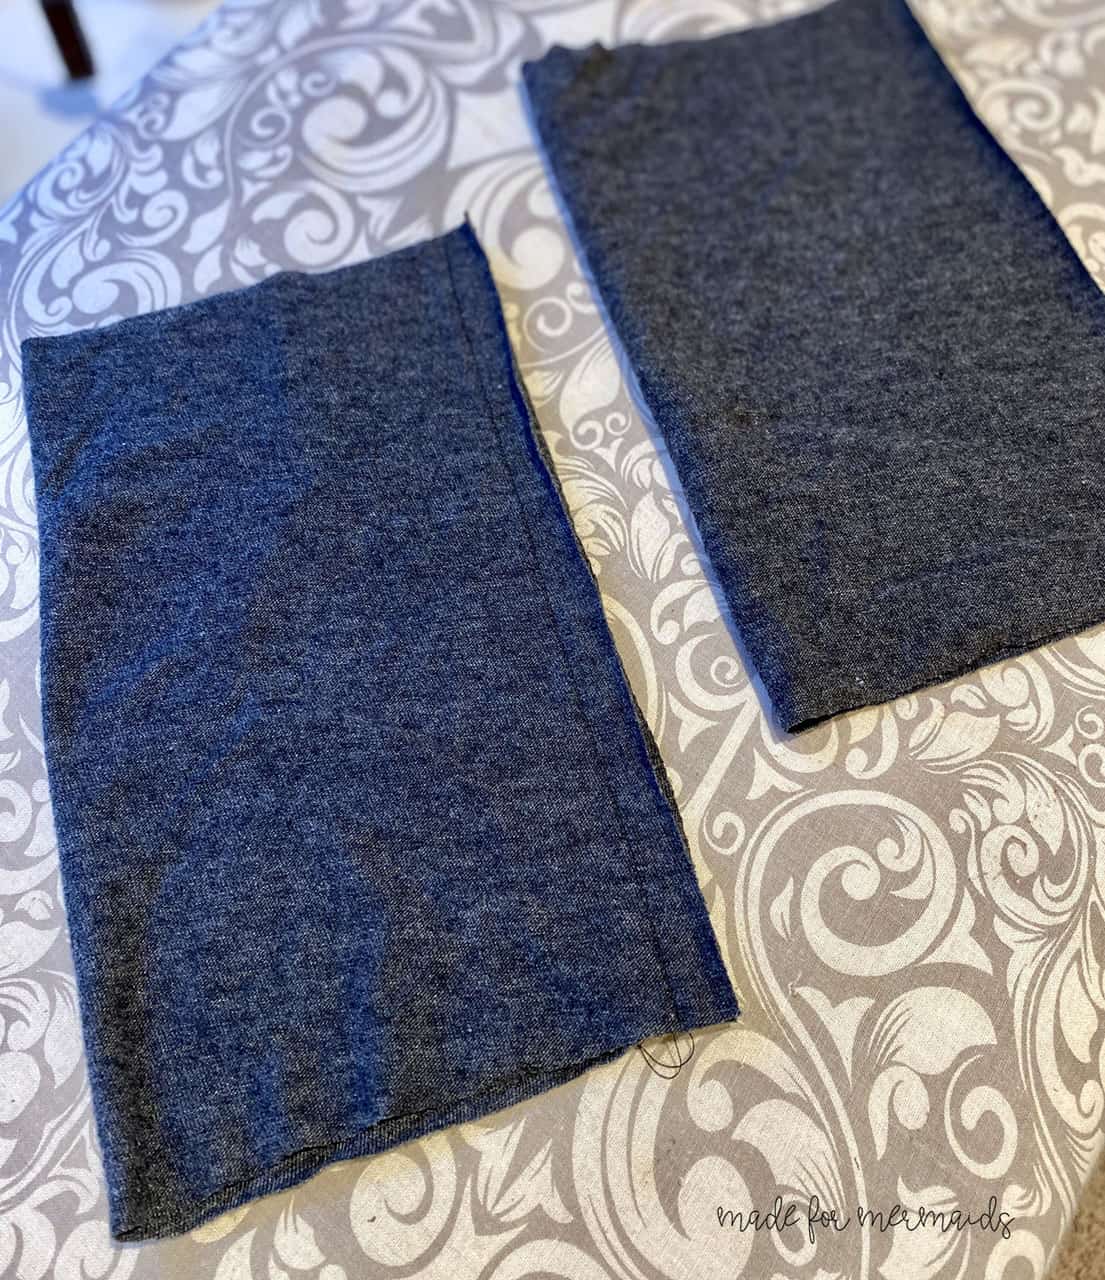
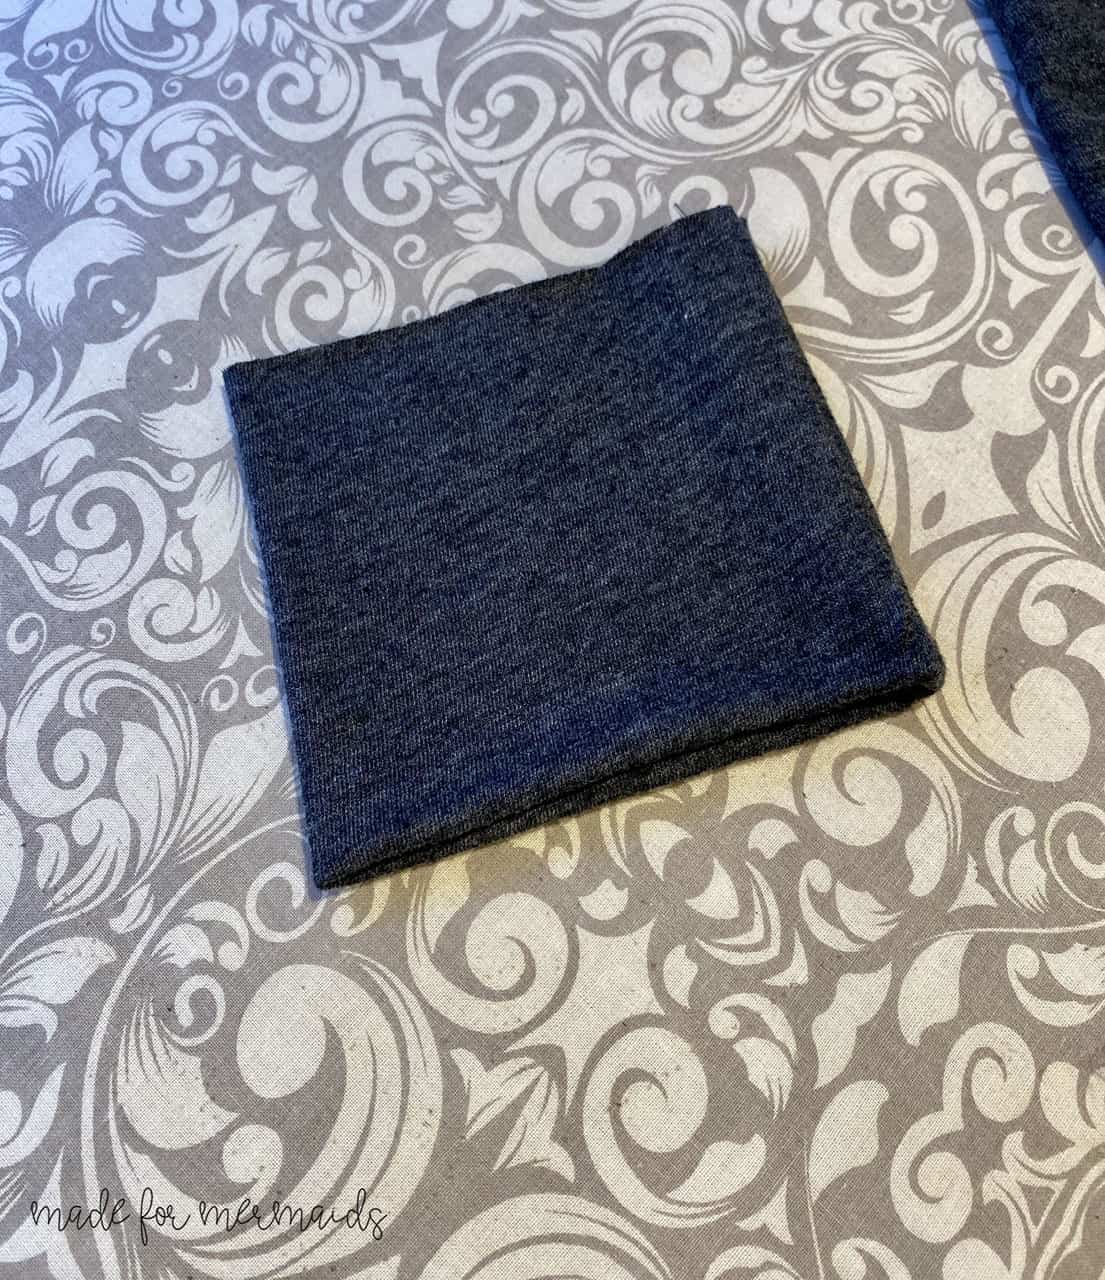
To create cuffs, cut out two pieces of knit fabric using the cuff measurements from the Made for Mermaids Lexi Pattern. You can also use measurements if you prefer: take the ankle measurement x 85% + seam allowance to cut out your size. Next, put your cuff together. 1. With right sides together, fold cuff in half widthwise. 2. Stitch down one side creating a loop. 3. Fold the fabric in half, wrong sides together, enclosing the seam.
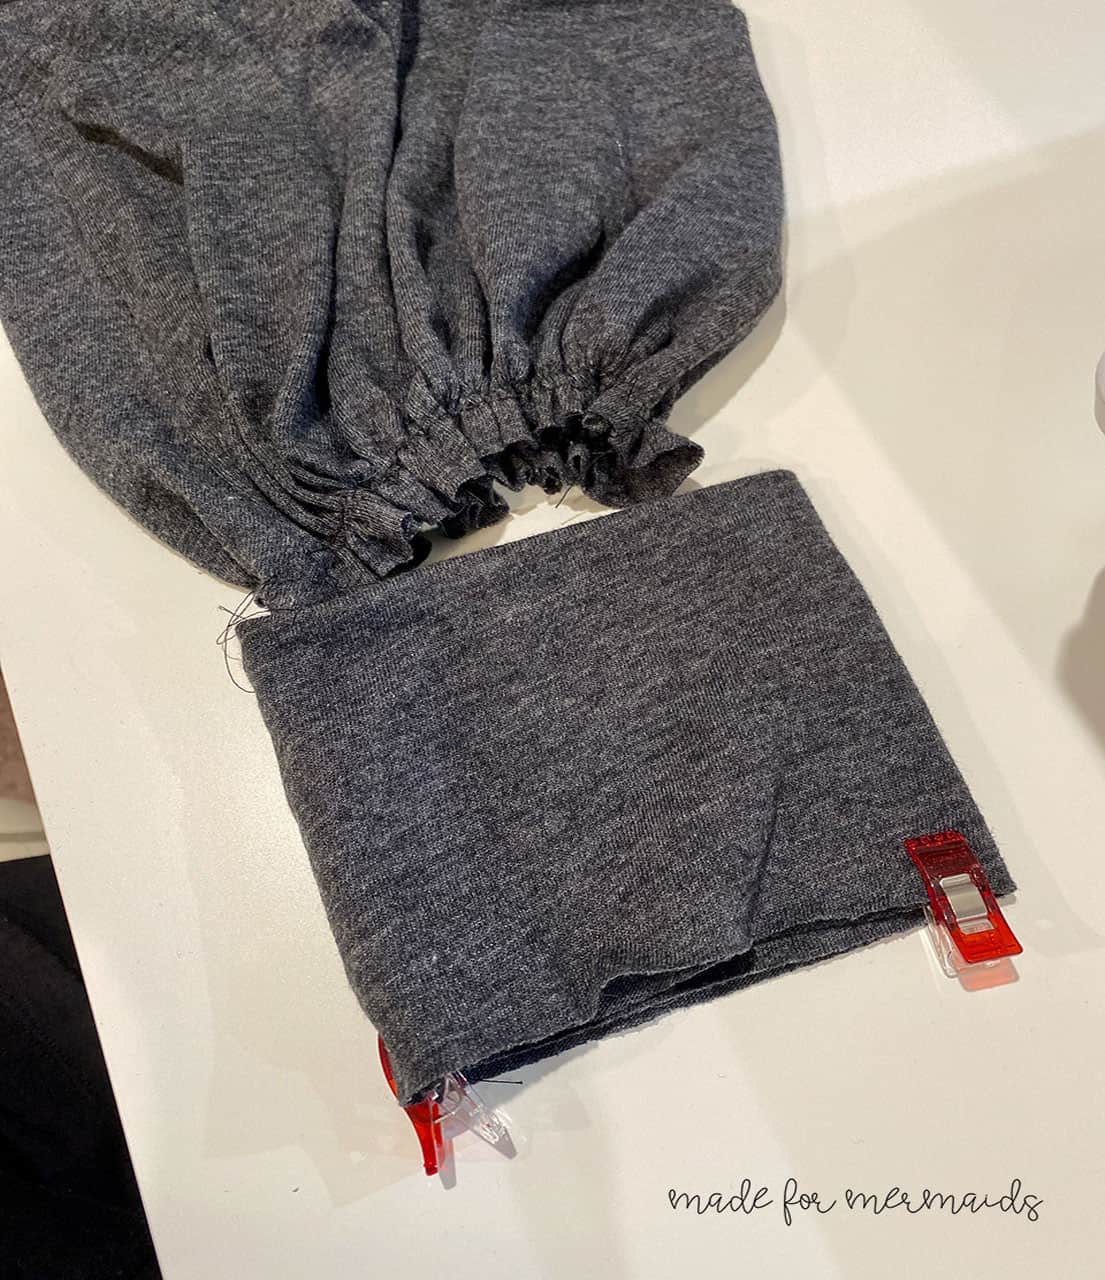
4. Sew two rows of basting stitches on each leg at the hemline. Gather the threads until the pants are about the same size of your cuff. 5. Slide the cuff onto the pants, matching unfinished edges and gathering spaced evenly around the cuff. Clip or pin well. Sew your cuff to the pants using a stretch stitch and 1/2 inch seam allowance. 6. Fold cuff right sides out and press well.
Now complete the waistband of your pants and they are complete. Enjoy your new cuffed Mila Pants. – Shannon
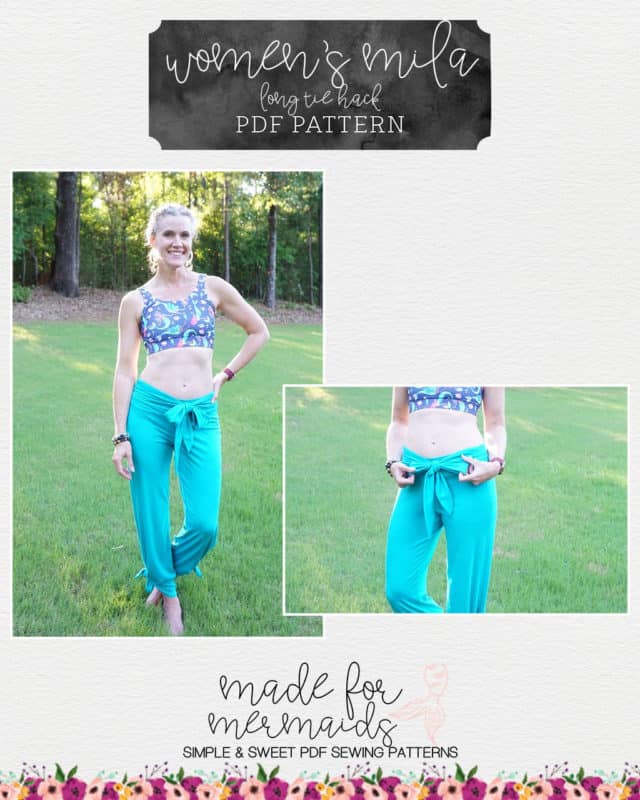
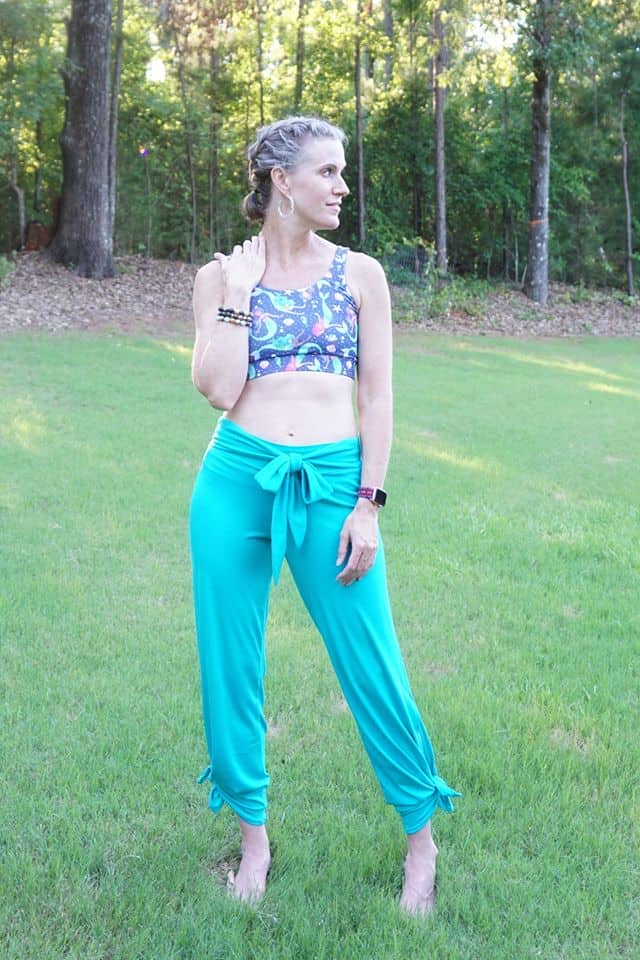
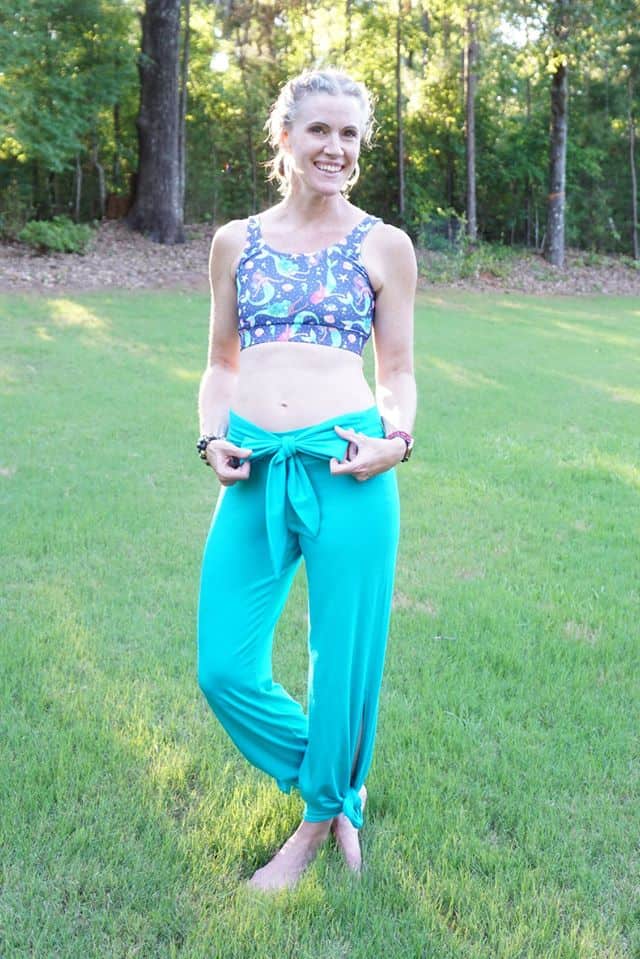
Long Tie Hack
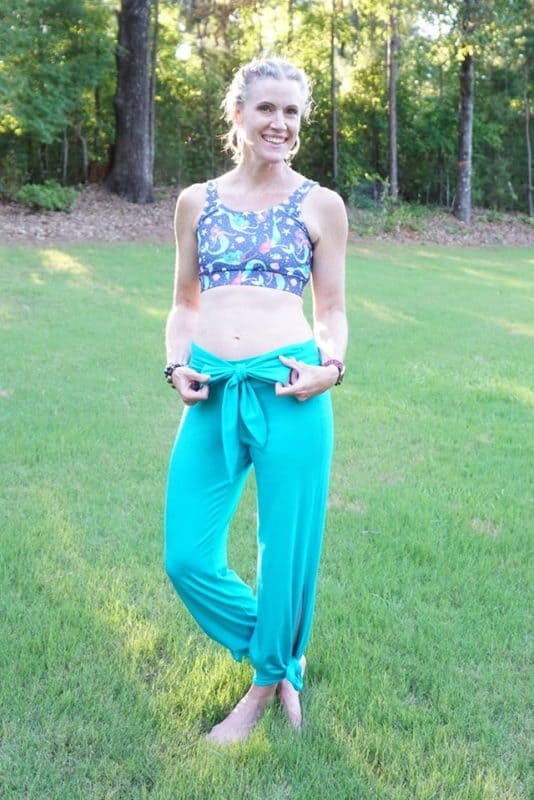
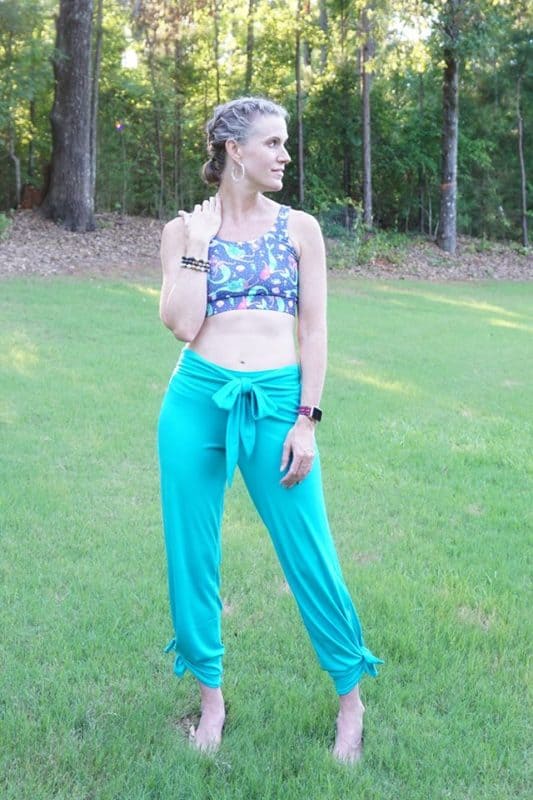
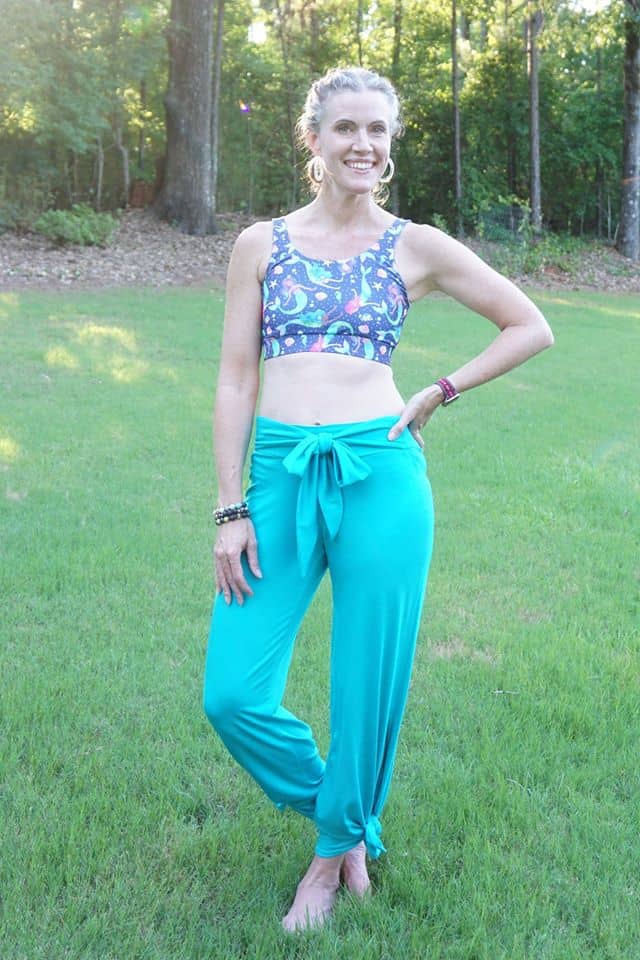
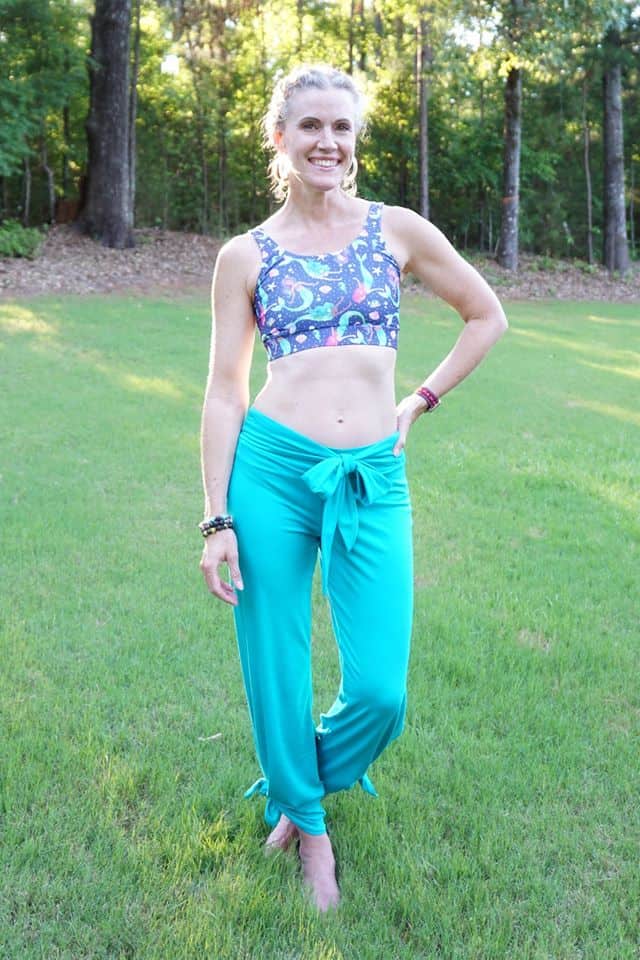
I love all of the boutique-style touches of the Mila Pants! They have a unique look that people notice. Even my boys made curious comments about this pair – and they never notice anything!
I heard the younger say to the older, “What’s mommy wearing?” The older replied, “I dunno. Some pants she made?”
A solid win, in my opinion.
I’m all about bows these days, so I thought I’d share a quick tip for extending the waist ties on Mila – no additional pattern pieces needed! I am allllllll about working more efficiently…
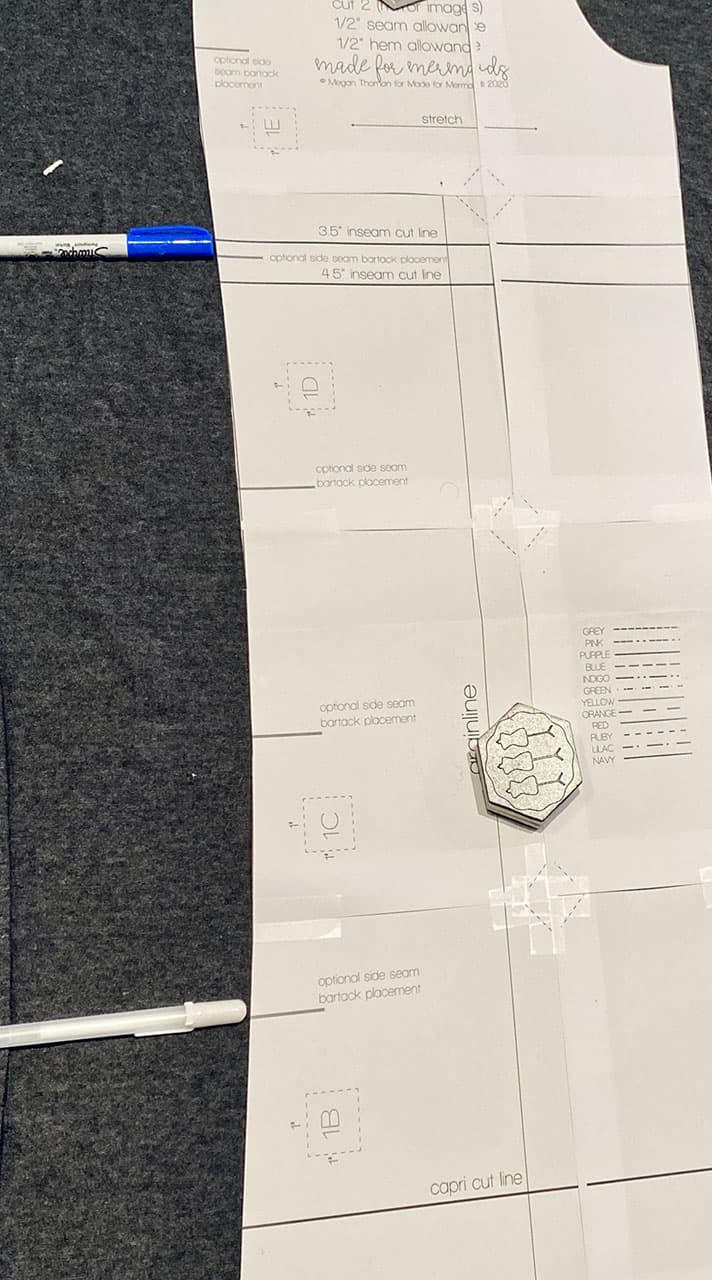
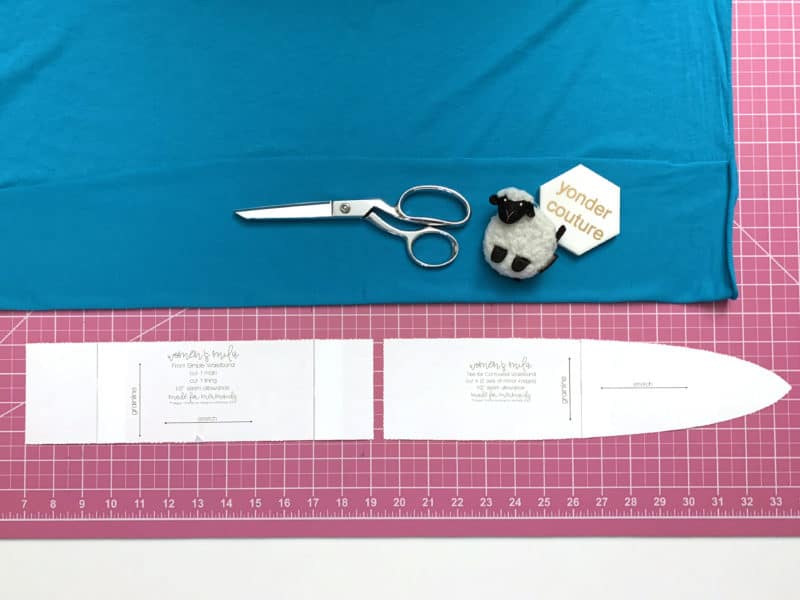
The waist ties only work with the simple band, so you’ll need to prep those pattern pieces. The front waistband piece is exactly 12″ long, which is all of the extension you need to tie a pretty bow!
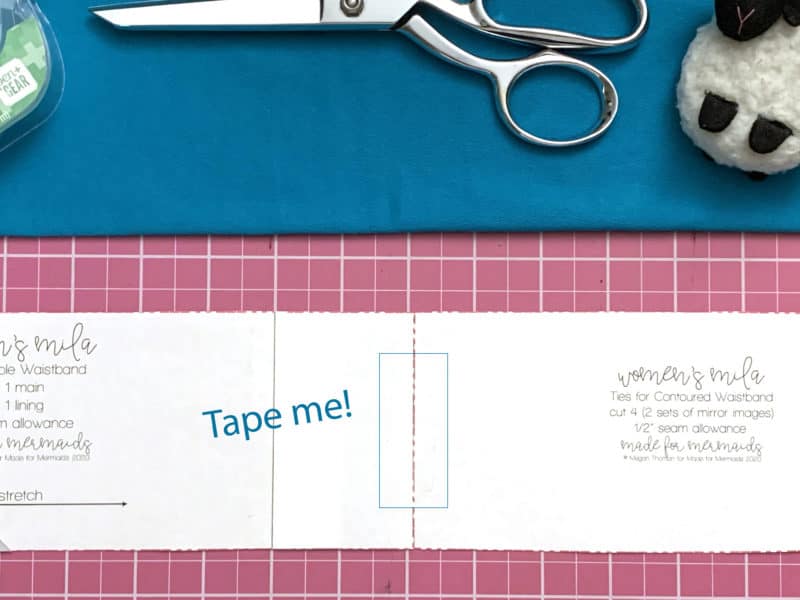
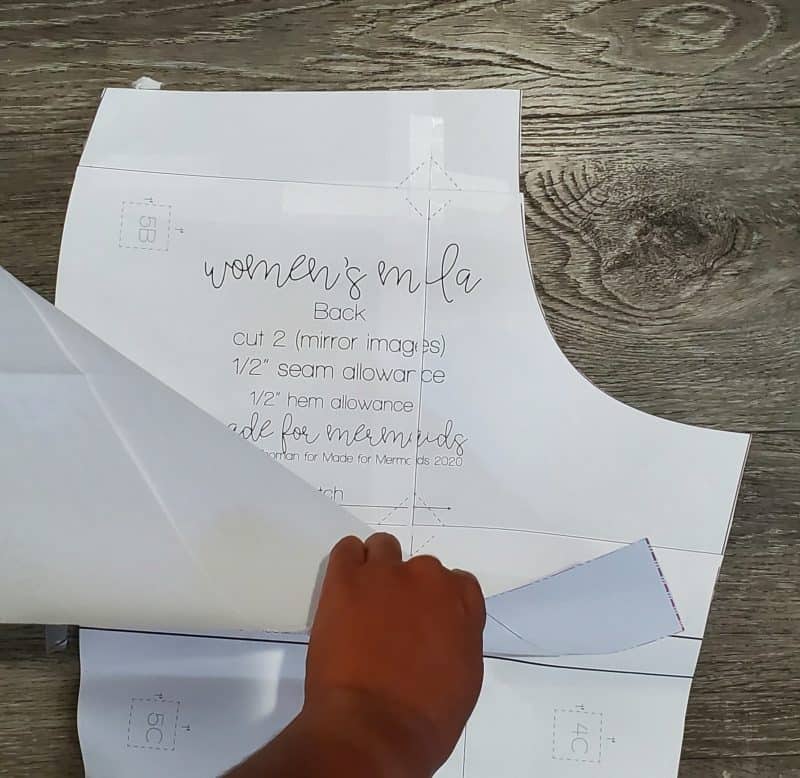
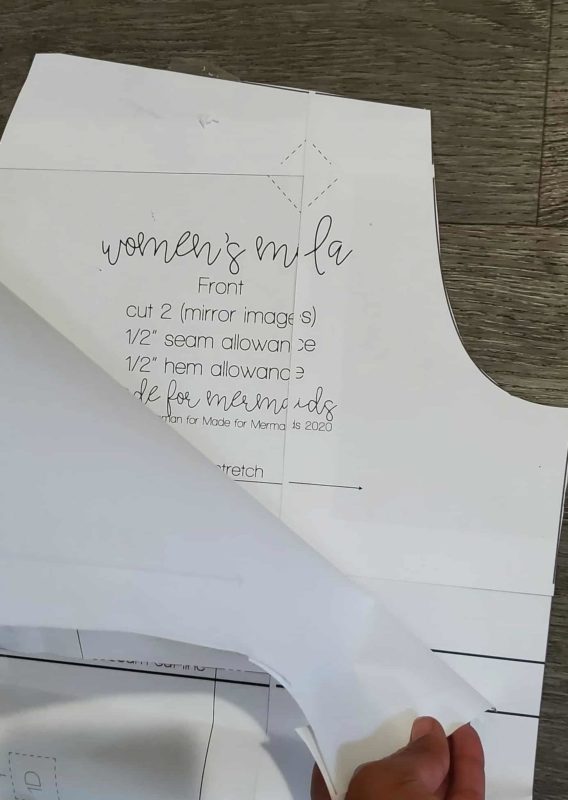
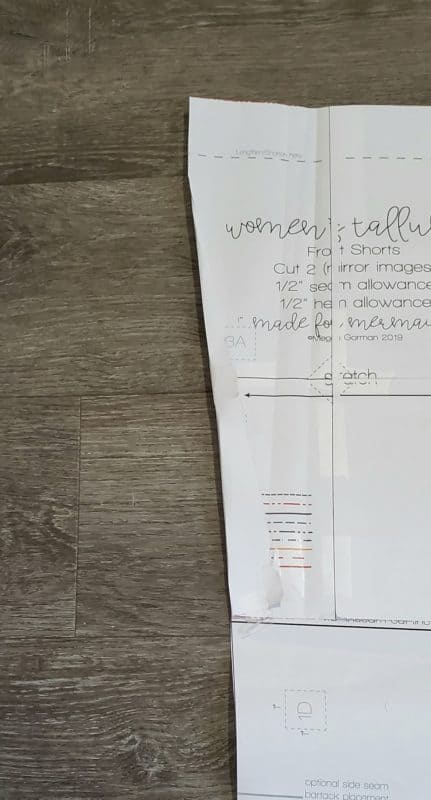
Before you cut your ties, align the front waistband pattern piece with the tie piece and secure with a piece of tape.
And now you have your new pattern piece! Super simple! One more tip! I folded up the center notch on the waistband piece so it wouldn’t be in the way when I cut my fabric.
Cut out your ties and follow the pattern instructions as written. -Rachel
Tallulah Mash
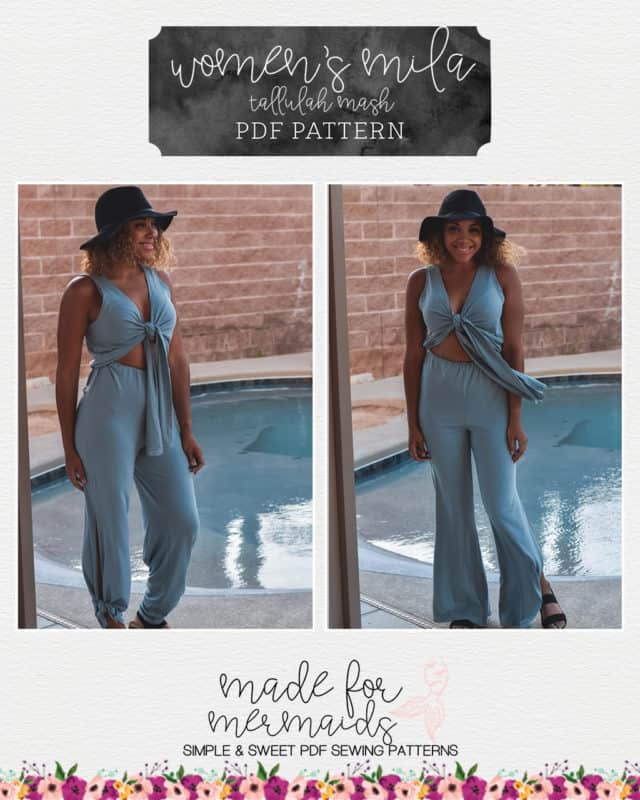
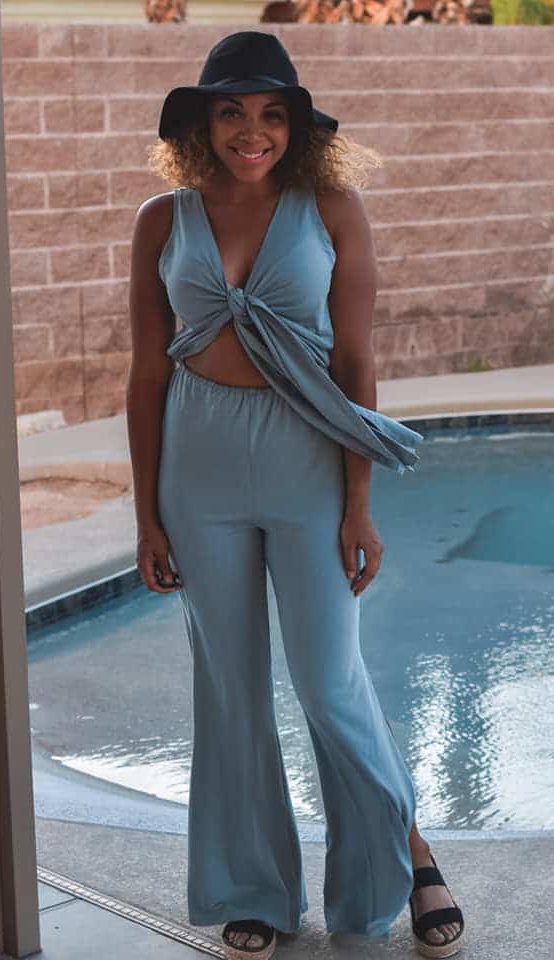
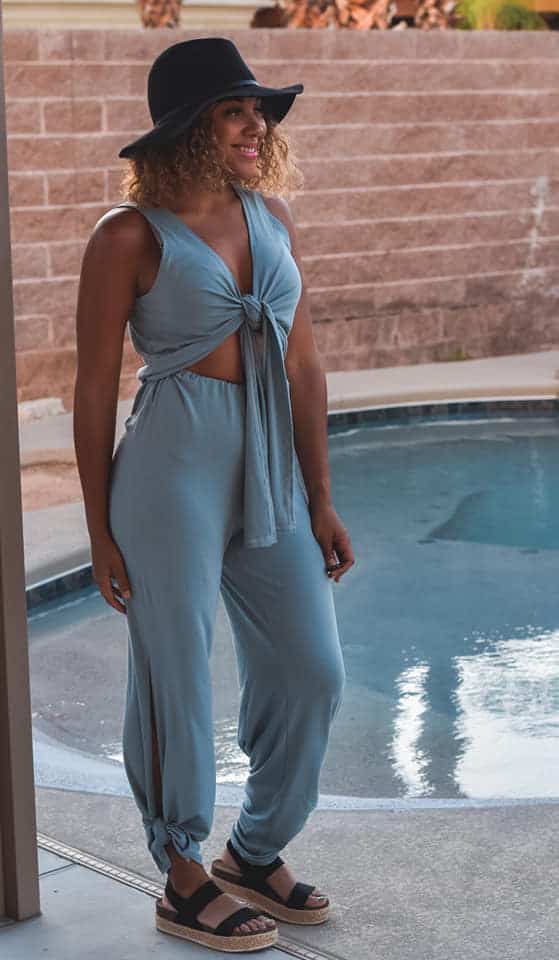
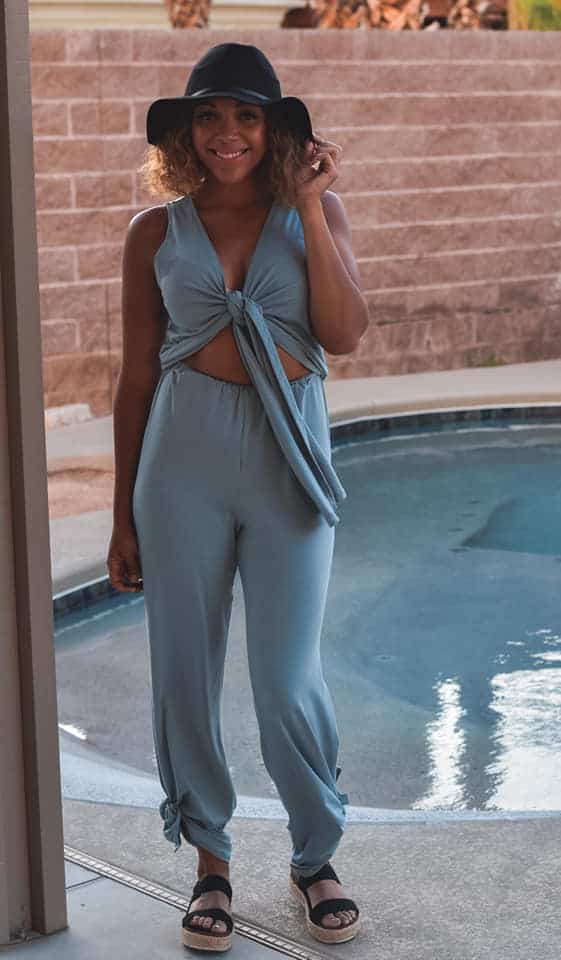
Stephanie is the official romper queen of the world. She mashed Tallulah with Mila, and the look is so fun for the whole summer, even if you’ve got no place to go.
I know you’re probably thinking the same thing I did when I saw the Mila Beach Pants, that they would make the best romper legs! Right? It was so hard to decide which bodice to mash with it, but I decided on Tallulah. It turned out to be very easy, and super cute!
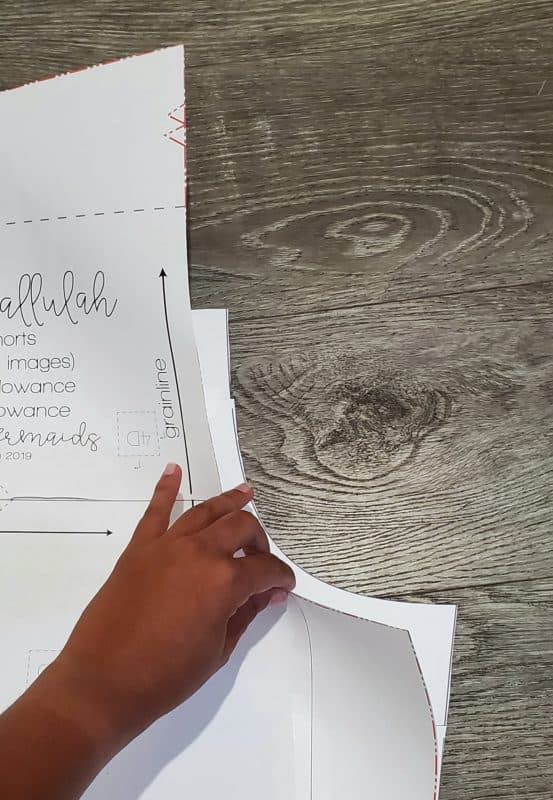
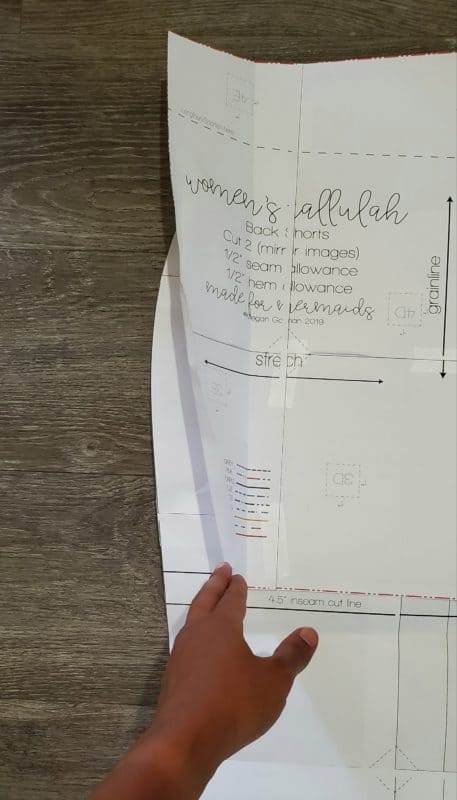
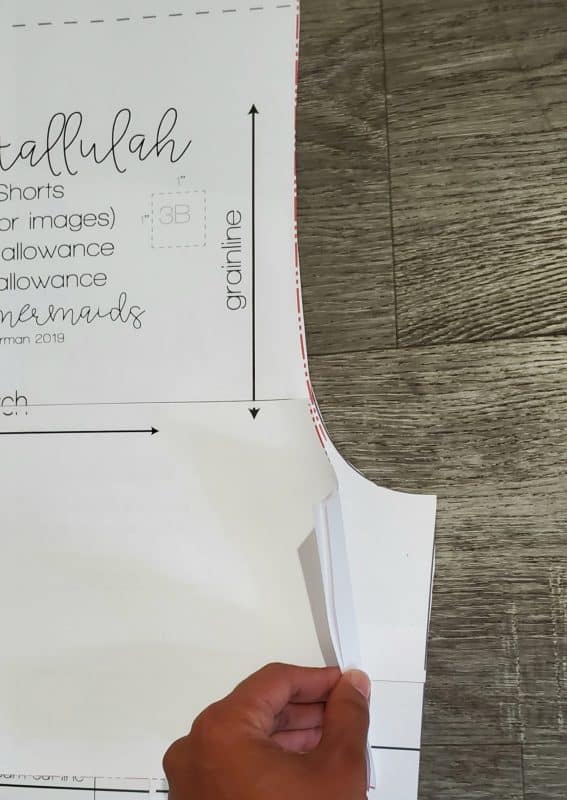
Tallulah is drafted for woven fabrics, so you’re going to size down once. For instance, I’m a purple, so my Mila pattern will be purple and the Tallulah will be pink. Take out your leg pieces for both patterns. *I found it easiest to use the shorts length Tallulah legs. You are going to place your Tallulah back leg over your Mila back leg, aligning the crotch curves and inseams.
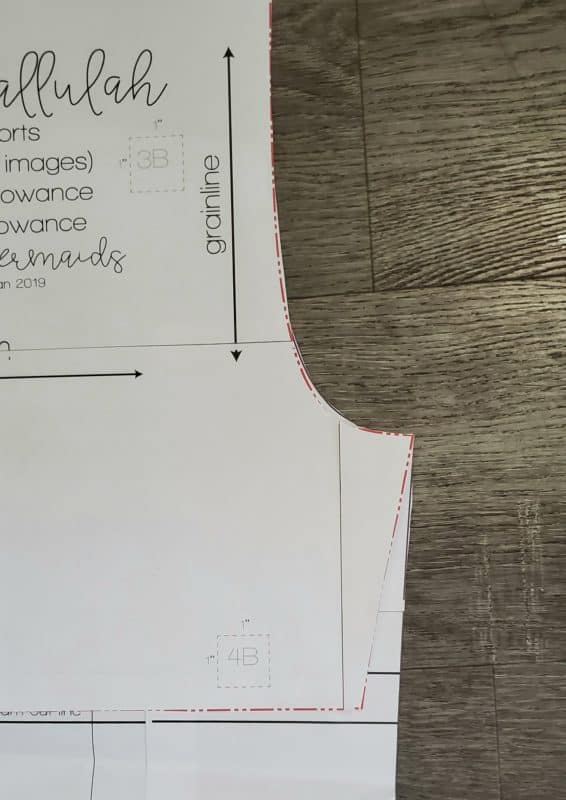
Tape in place. Now, on the side of the leg, you will notice that the Tallulah is probably a little wider than the Mila.
I just folded the Tallulah out of the way to continue up from the Mila leg.
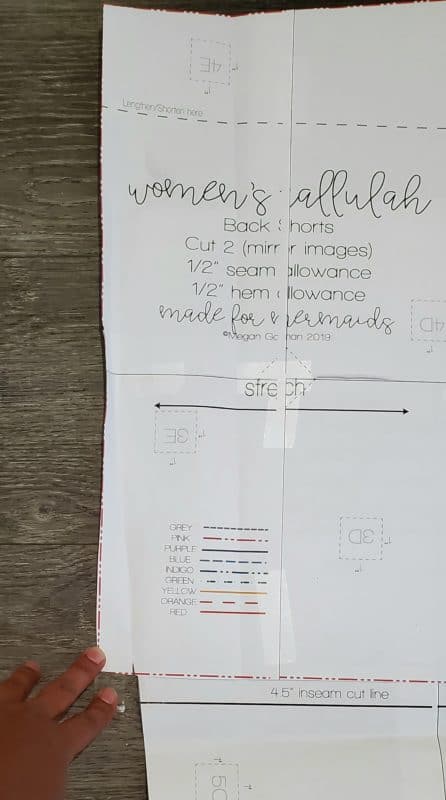
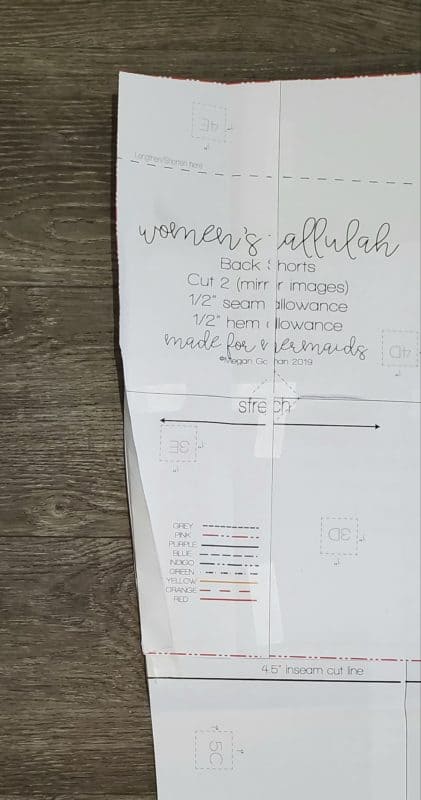
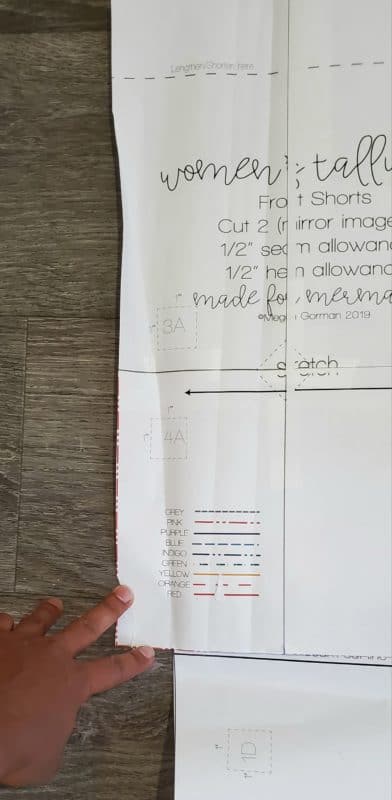
This will now be your back leg piece. Repeat the same steps for the front leg. Placing your Tallulah front leg over your Mila front leg, matching crotch curves and inseams.
Tape in place. Now, just like you did for the back leg at the sides, fold your Tallulah pattern out of the way so your Mila pant can continue up to the Tallulah waist.
That’s it! You don’t need to modify the Tallulah bodice at all. You’ll cut your leg pieces using these new pattern pieces. During construction, you will construct the legs as directed in the Mila pattern up until the waist and attaching your Tallulah bodice. Once you get to the waist you will refer to the Tallulah pattern for the waist elastic and to attach your bodice. Such a simple mash! – Stephanie
We hope you love the new Mila Beach Shorts, Crops, and Pants, regardless of where and how you decide to wear them! Don’t forget to share with us over in our Facebook group. We can’t wait to see what you make!










Leave a Reply