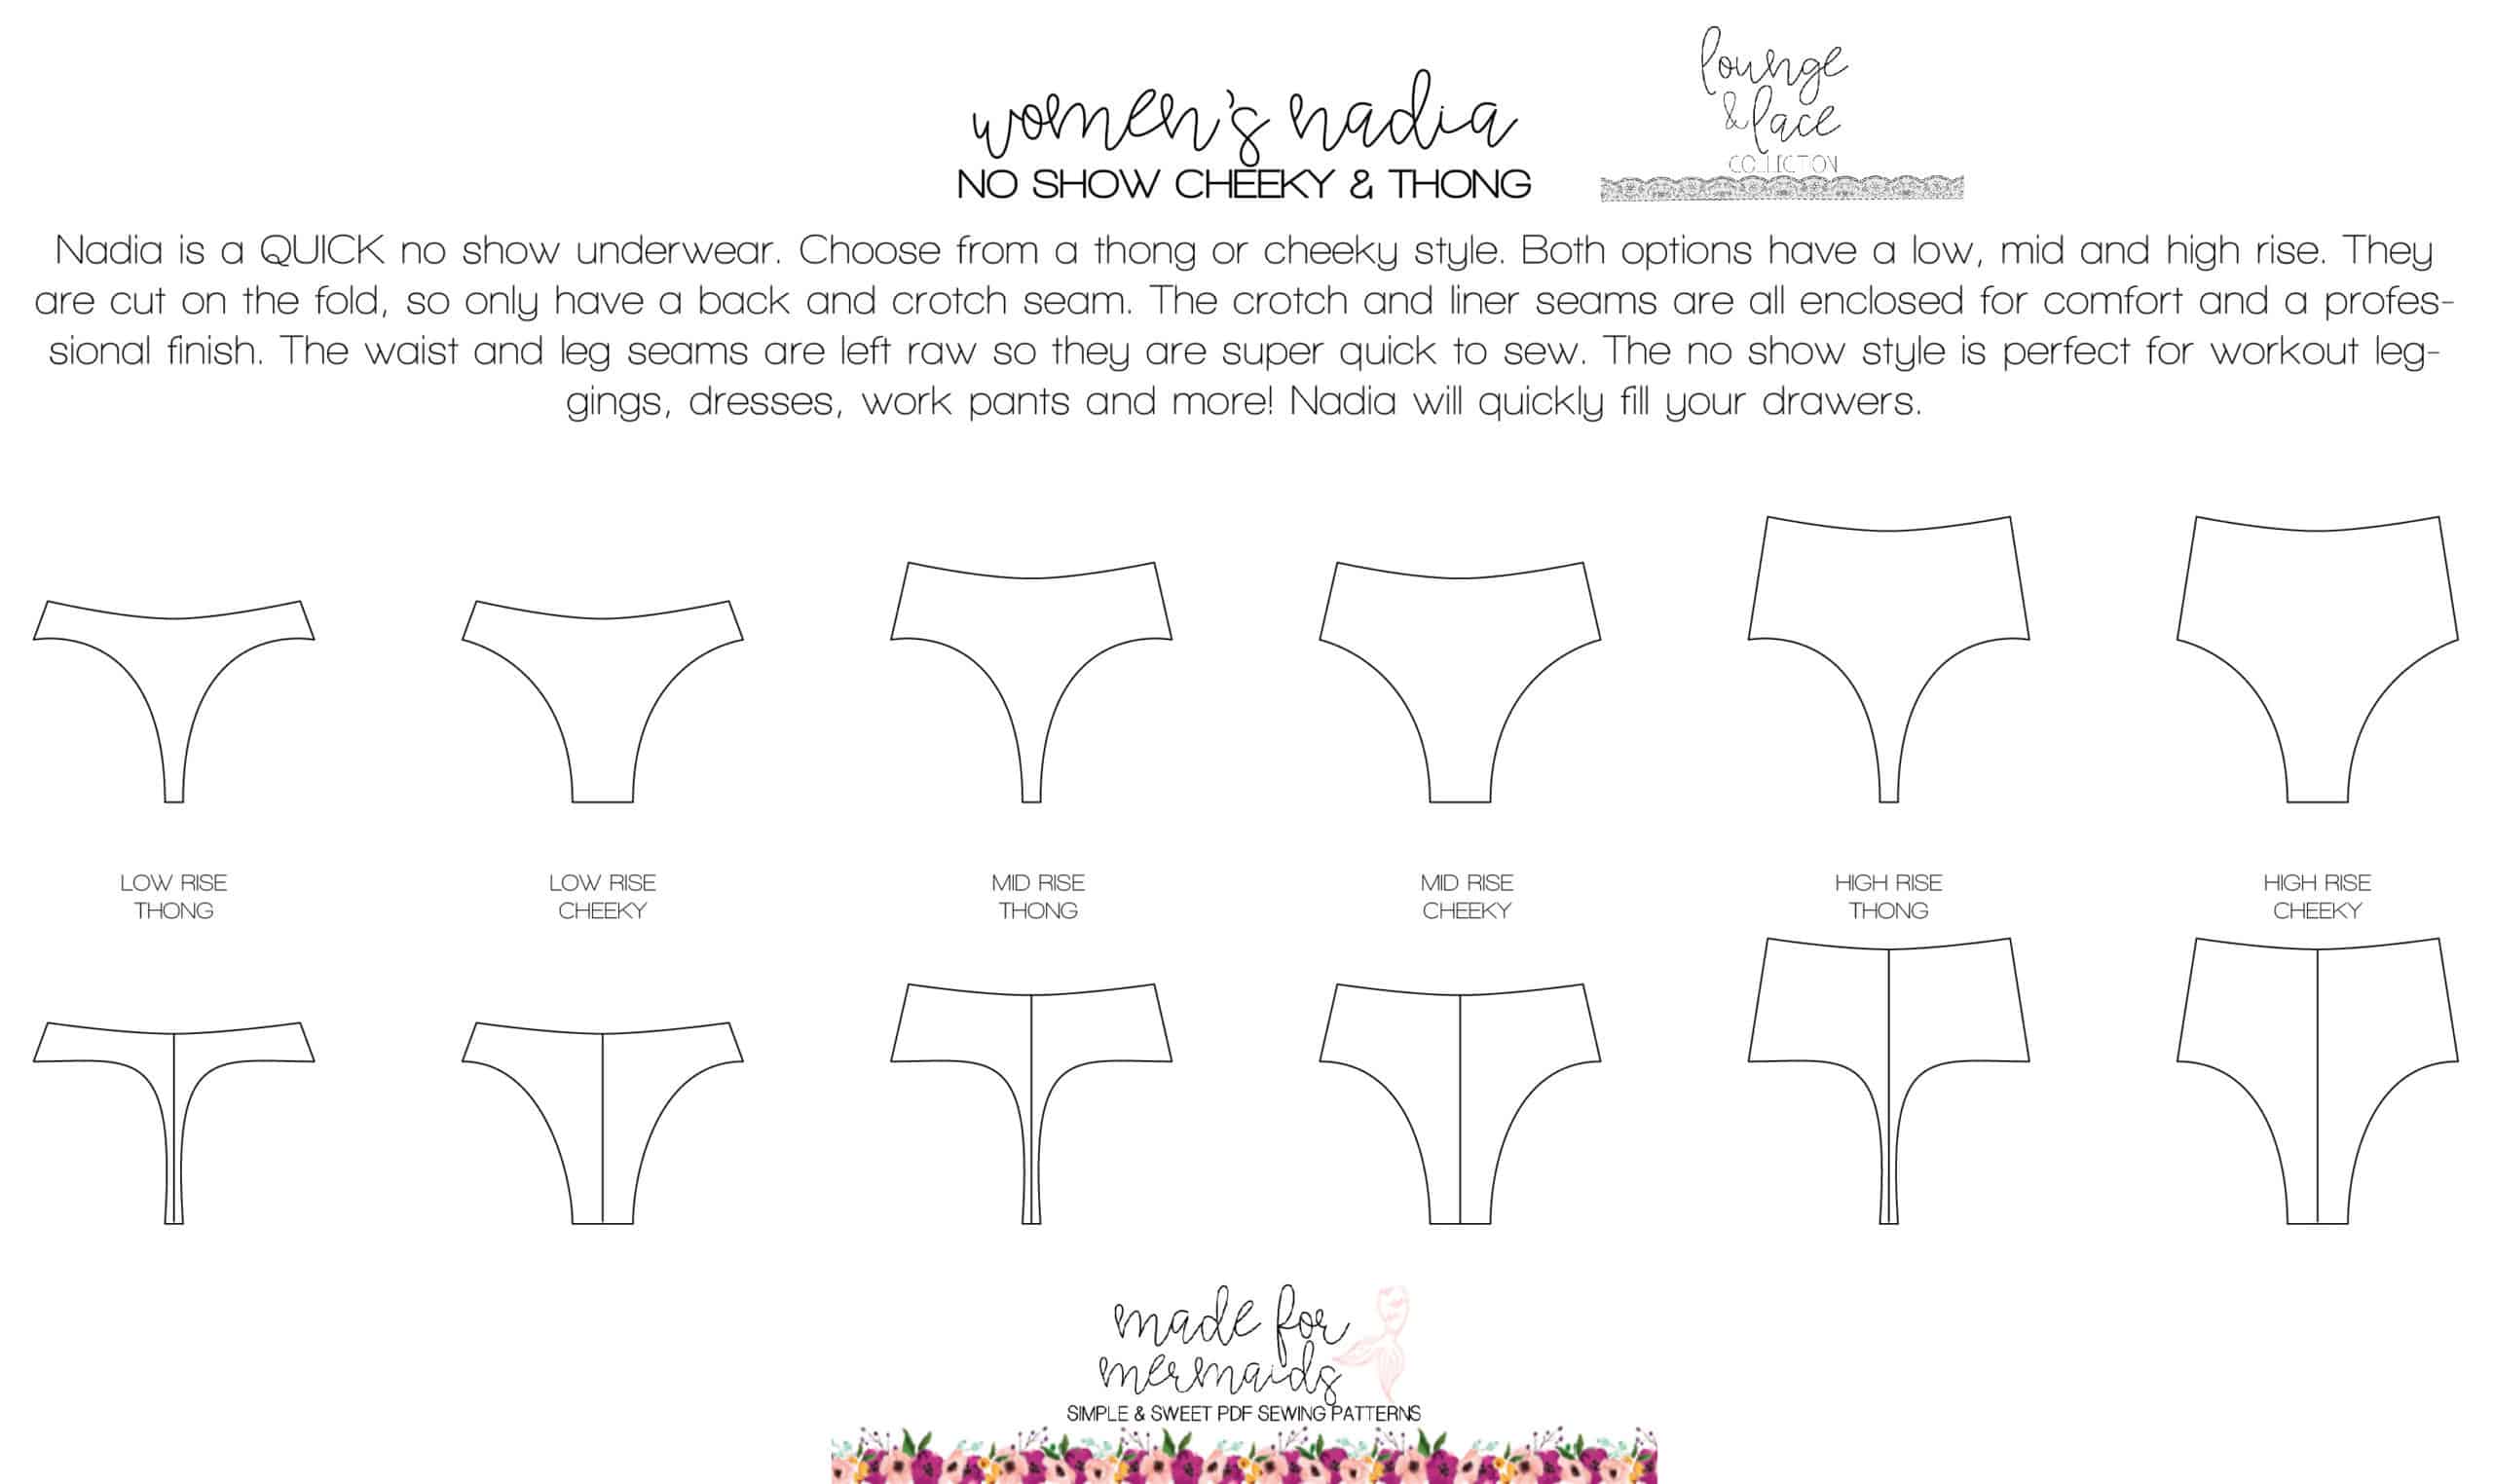
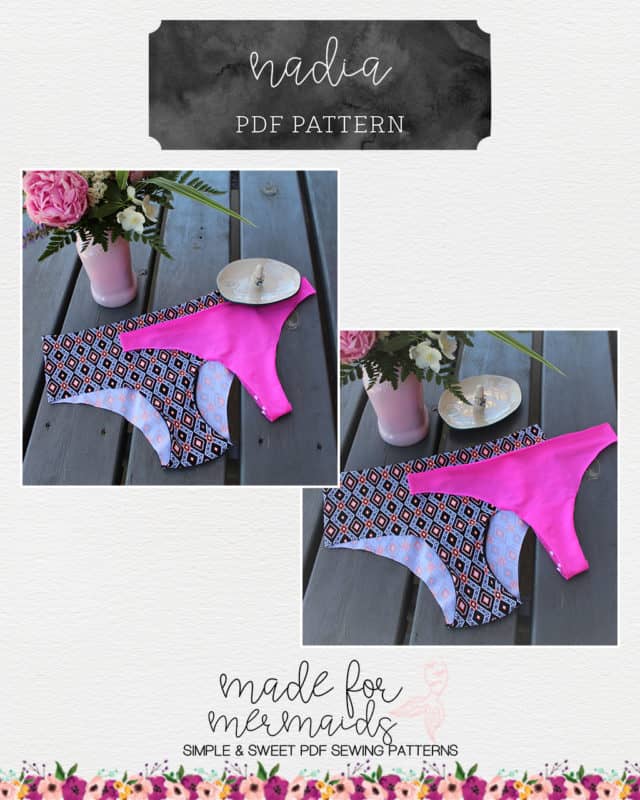
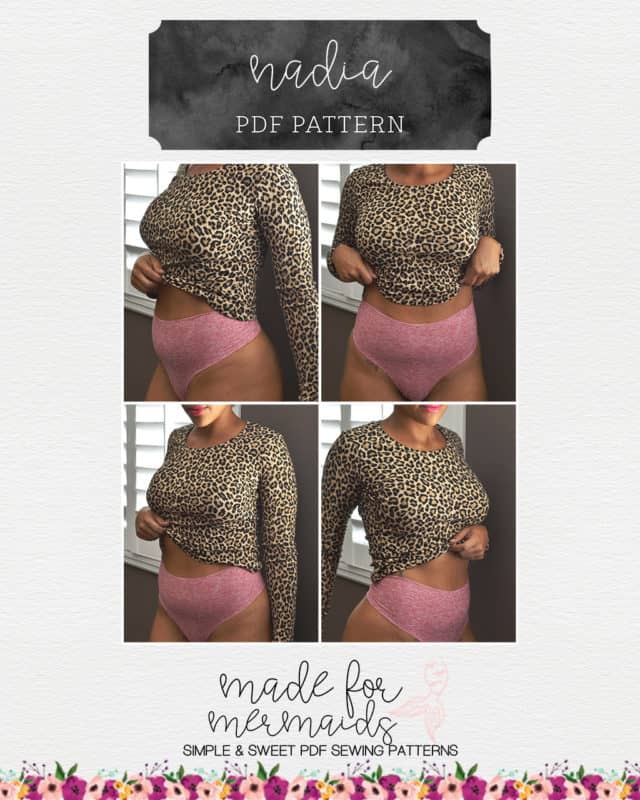
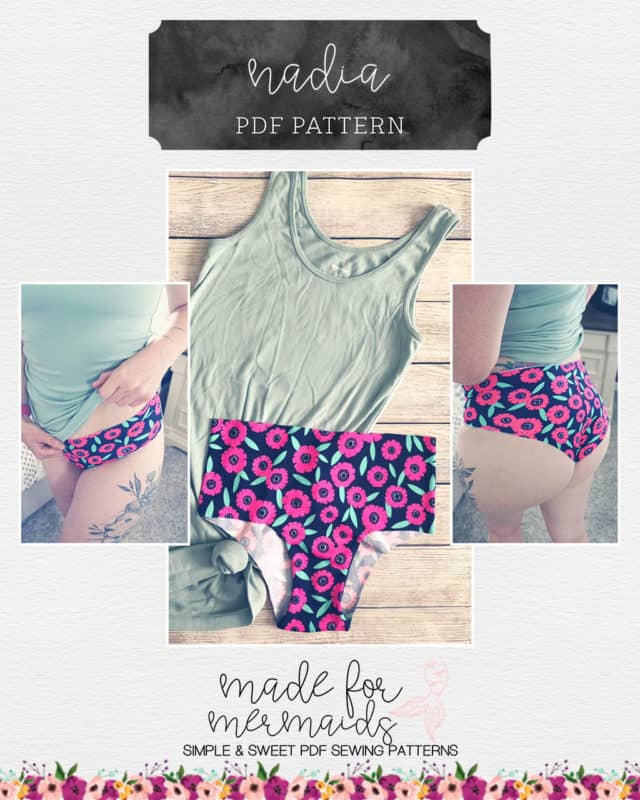
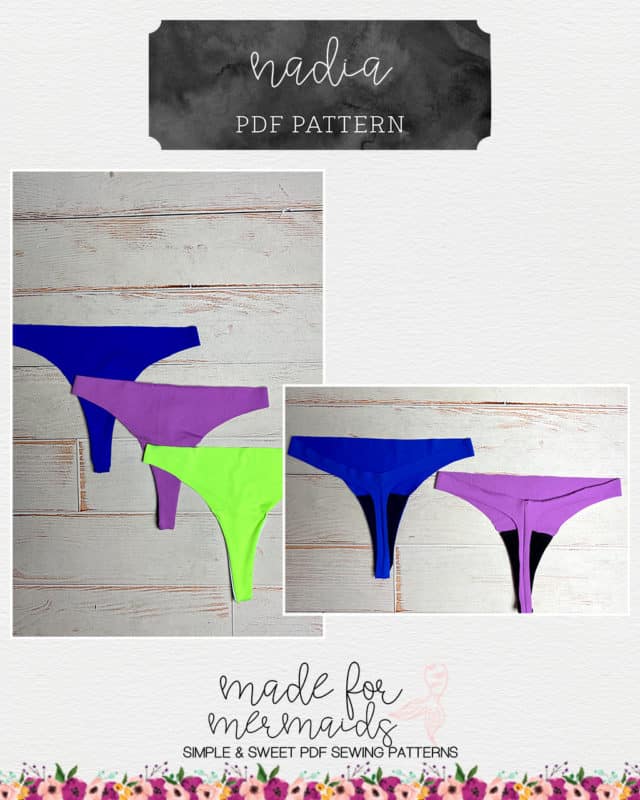
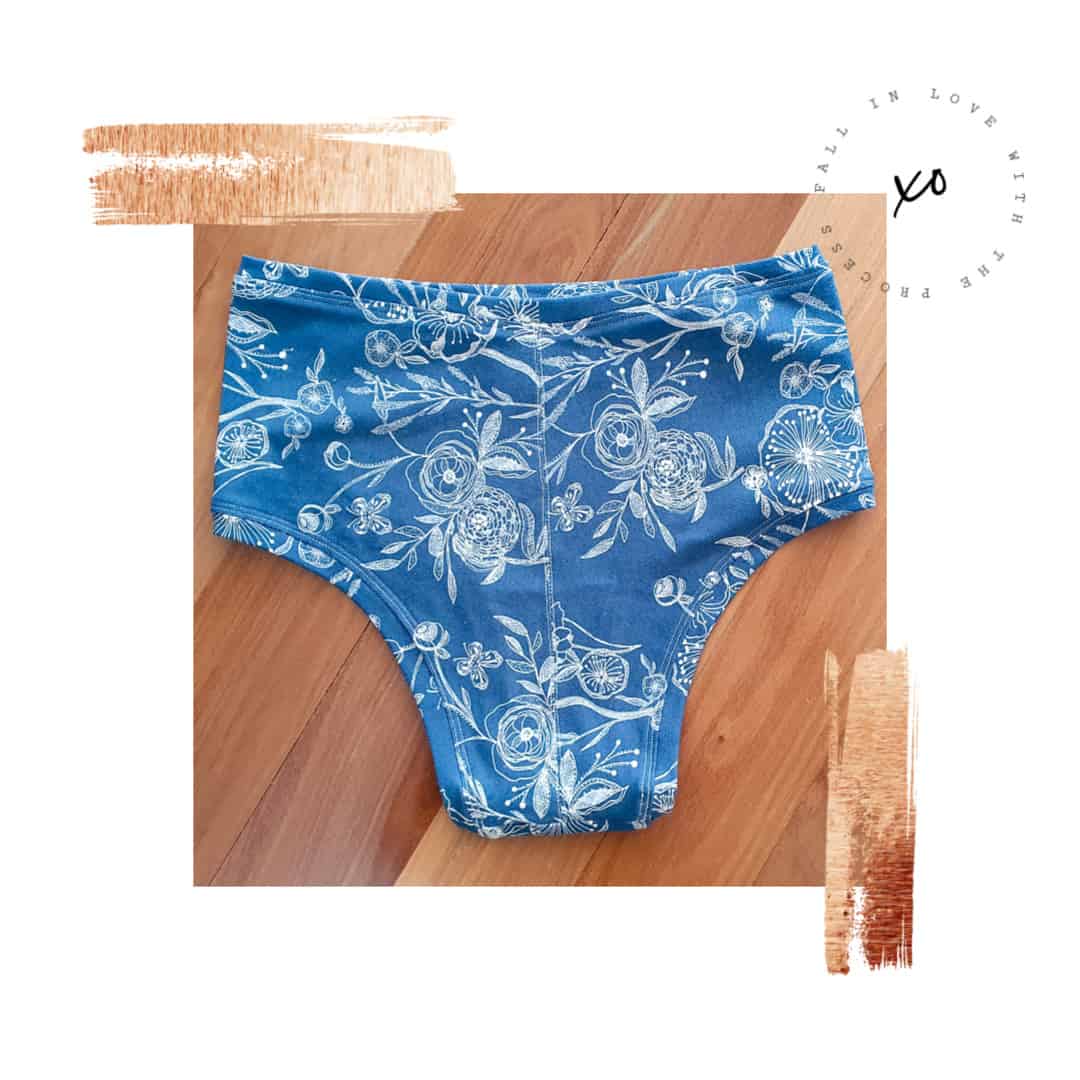
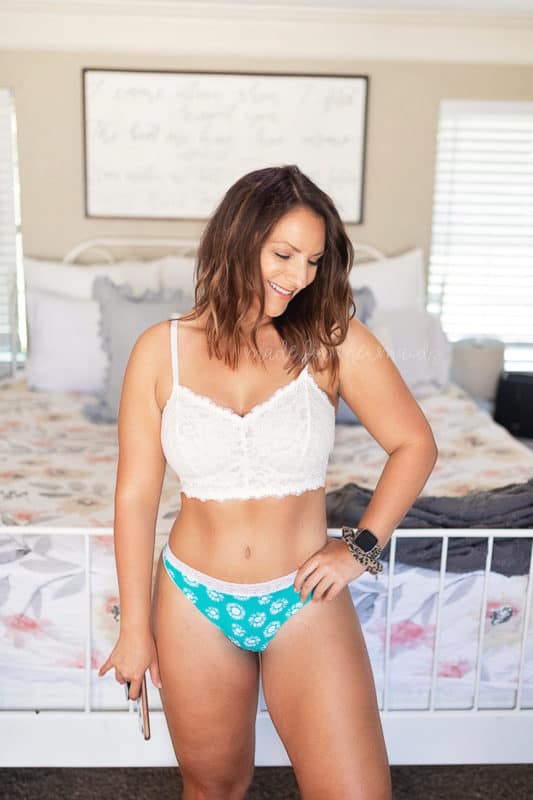
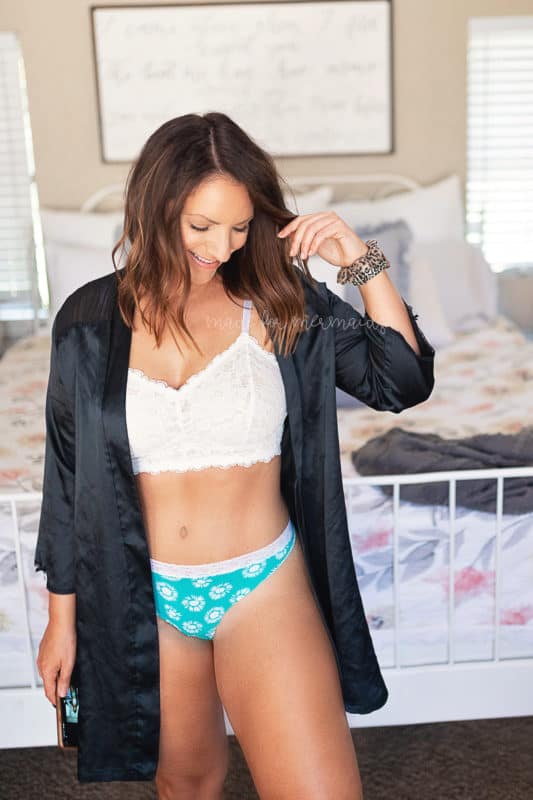
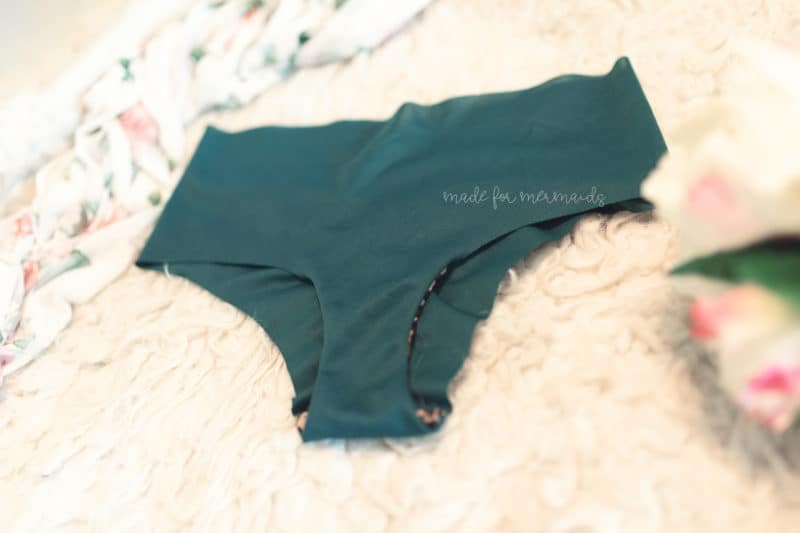
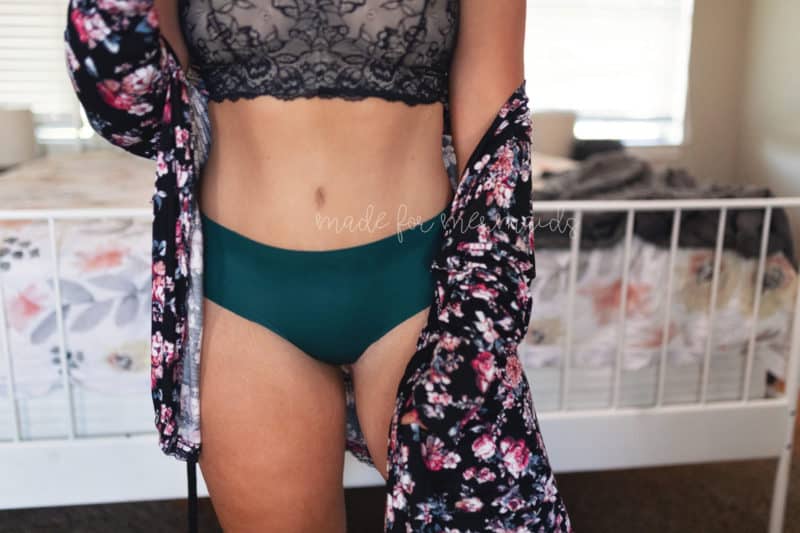
Nadia is here and it’s such a simple, quick & fun pattern. You can choose from low, mid, or high rises in either a cheeky or thong option.
You’ll love how quickly and professionally these come together. There are only a few seams, plus the crotch seam and liner are all enclosed – yay! We have a few hacks below for even more options.
Nadia Bands Hack
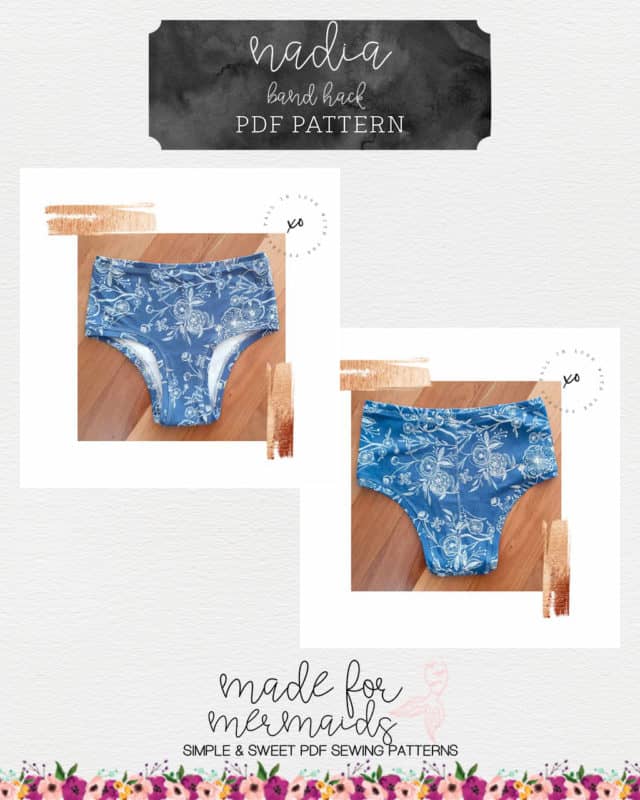
Cotton spandex is not a recommended fabric for the Nadia undies, however, by adding bands to the legs and waist you can make the cheeky option in this fabric choice.
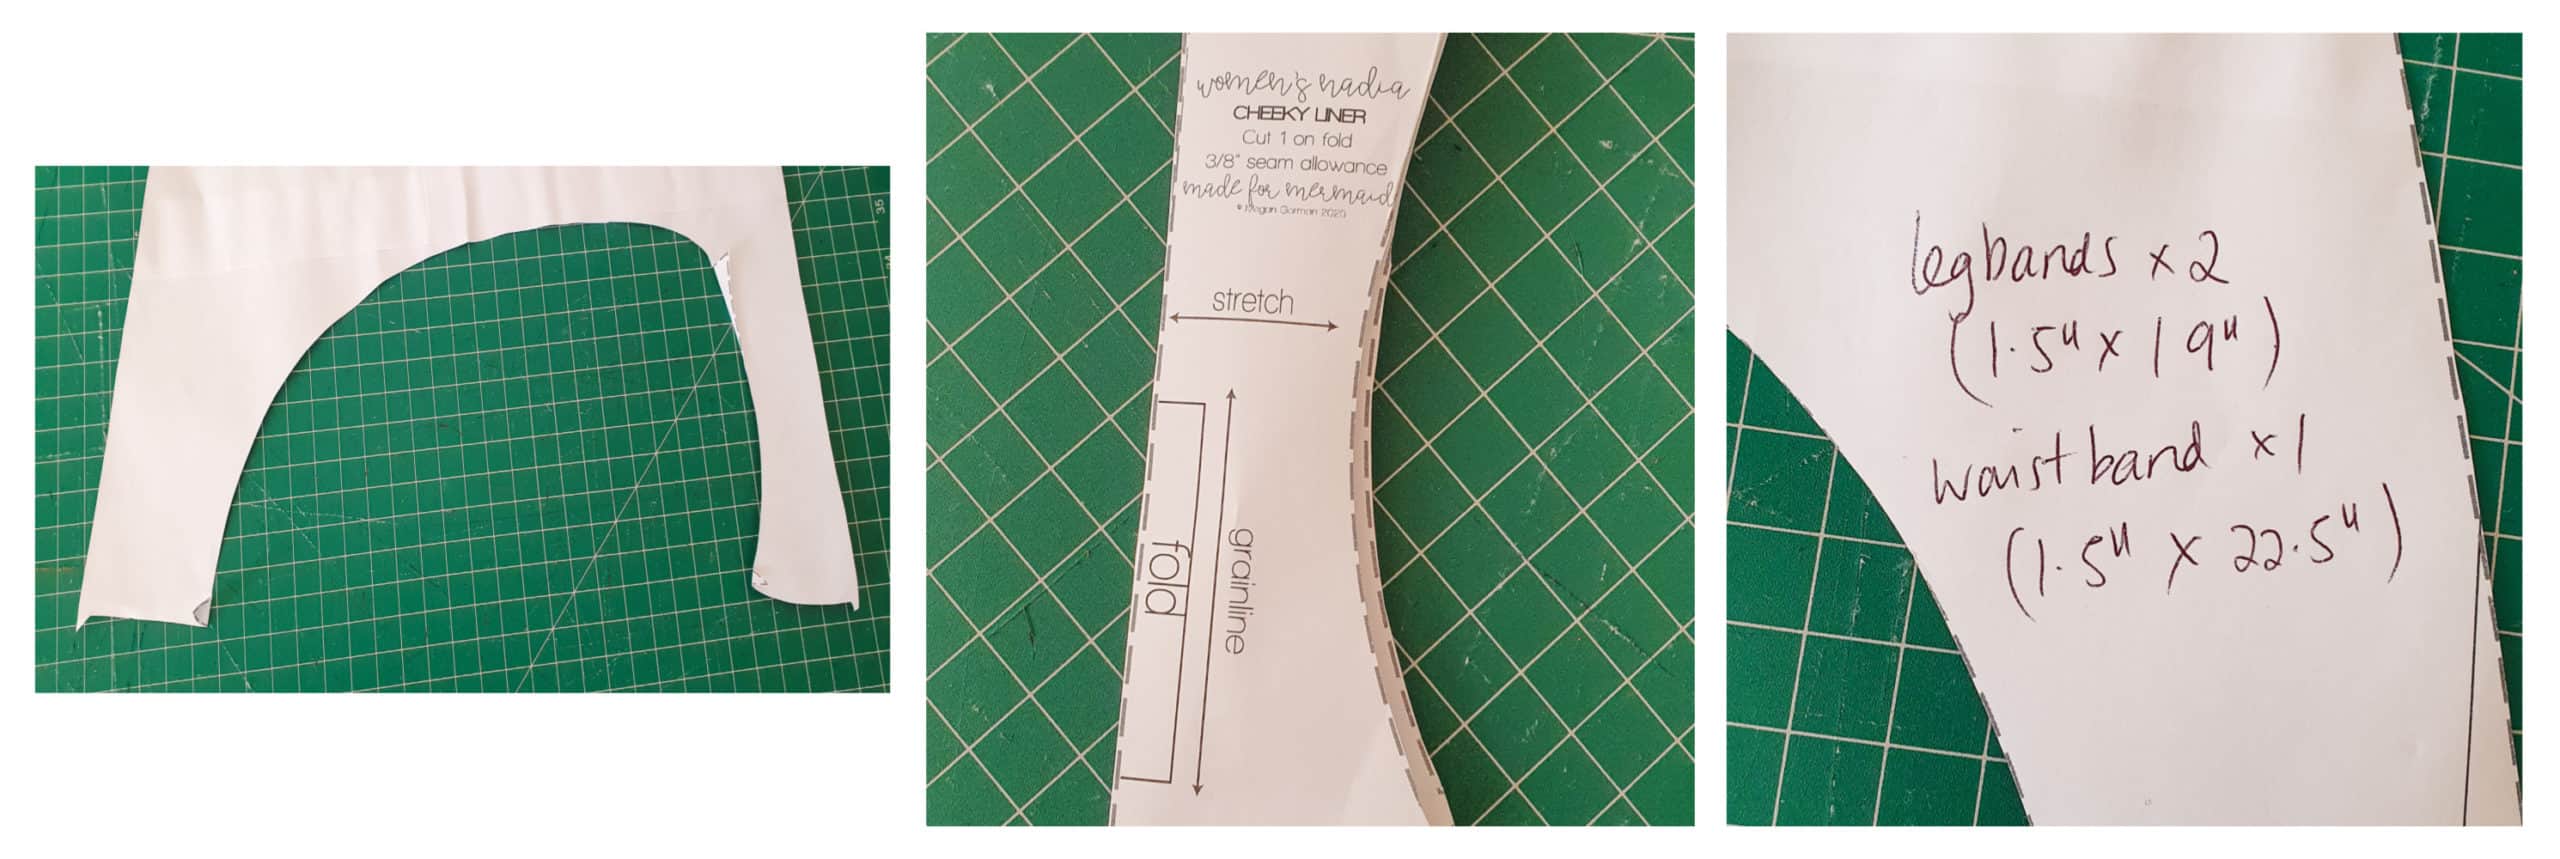
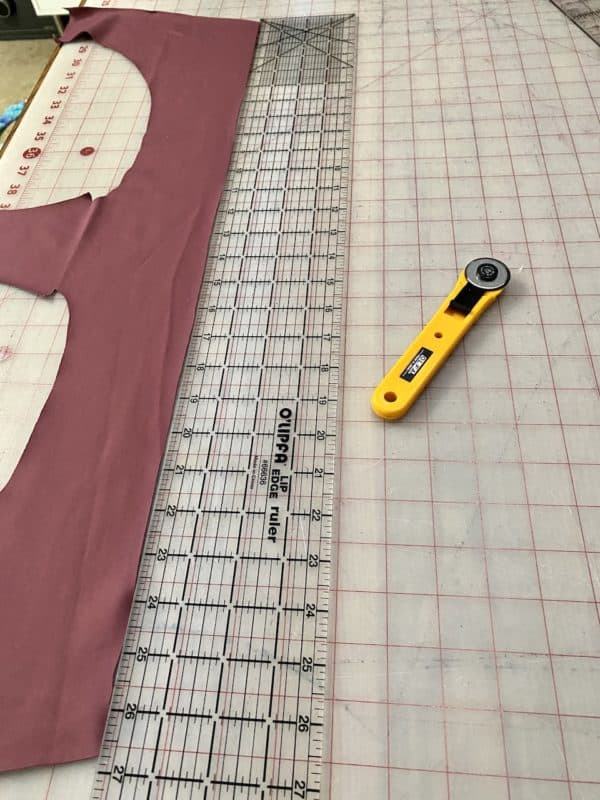
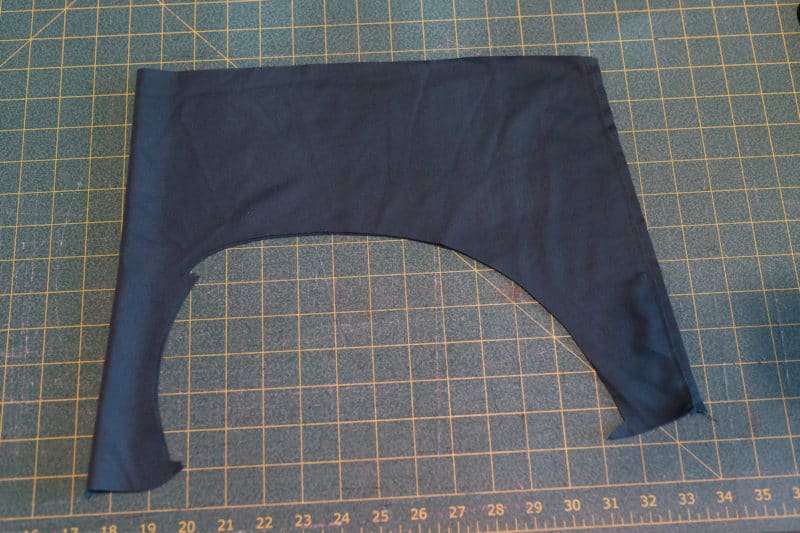
Firstly, take your pattern pieces and fold back the notches on the crotch. Do the same for the liner piece. Cut your undies and liner pieces.
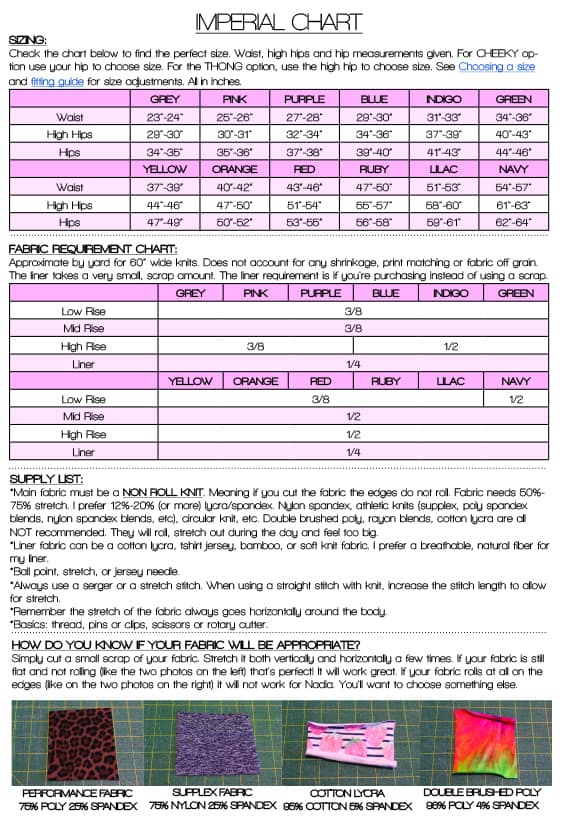
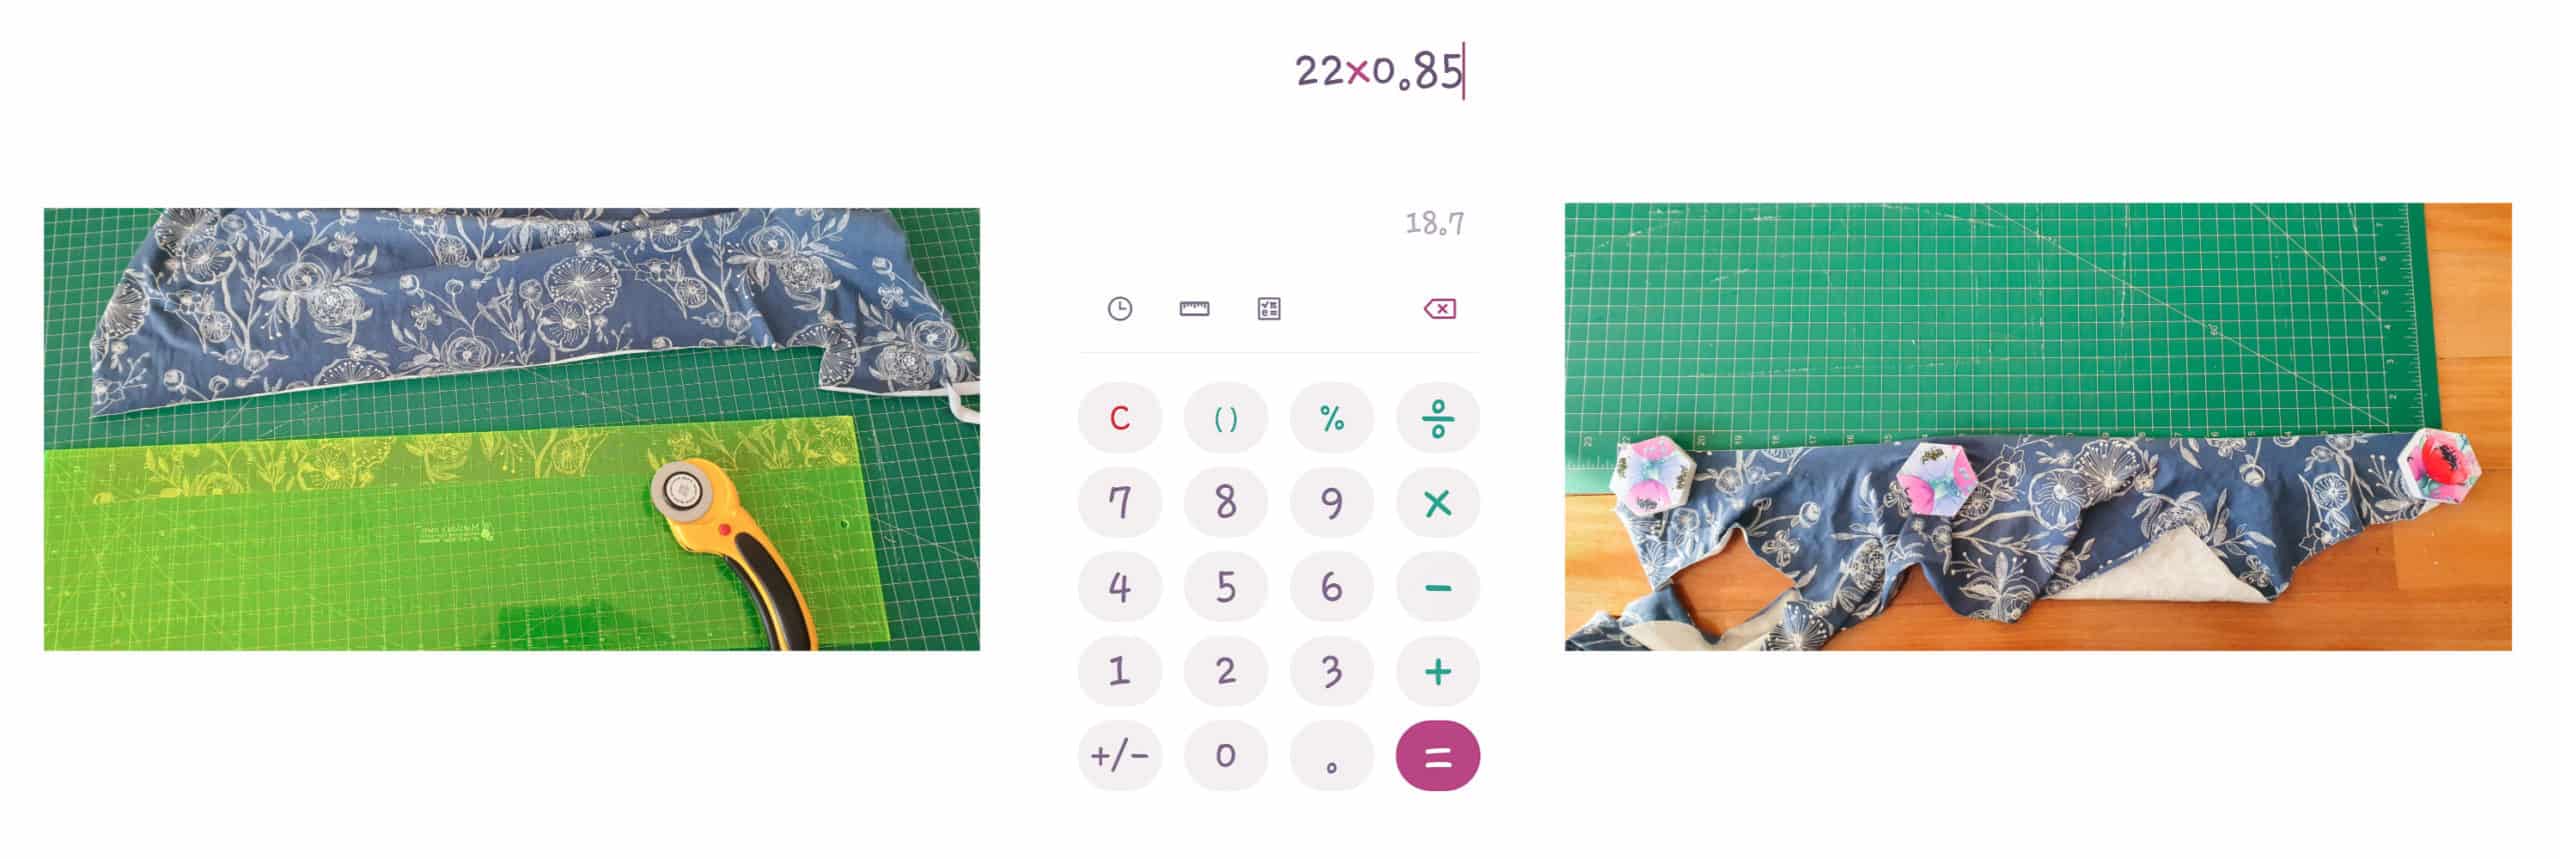
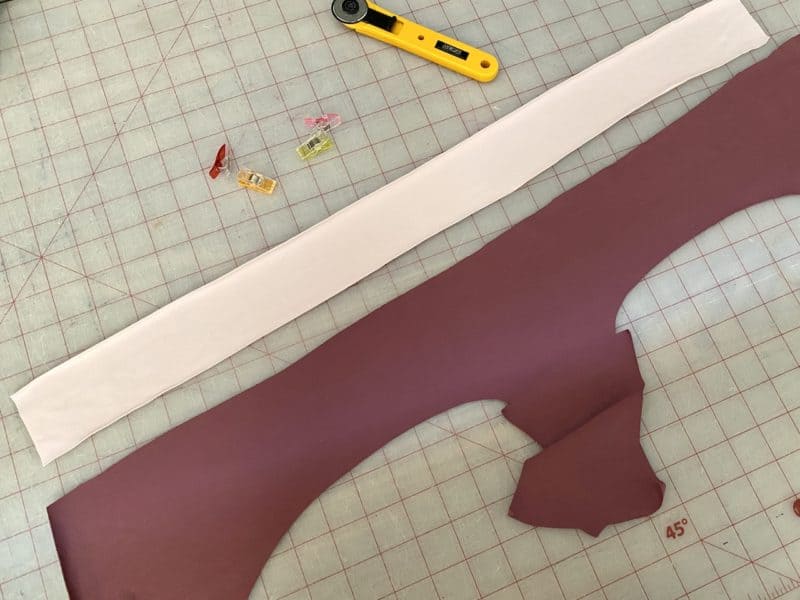
Measure the length of the leg openings. You will cut a pair of bands 1.5″ wide. To calculate the length of the band you need to work out 85% of the leg opening measurement (e.g. for a size blue the leg opening is 22″ x 0.85 = 18.7″ therefore cut the band at 1.5″ x 18.5″). Repeat this step for the waistband measurement too. I like to write the measurements on the pattern piece so I don’t need to calculate it every time.
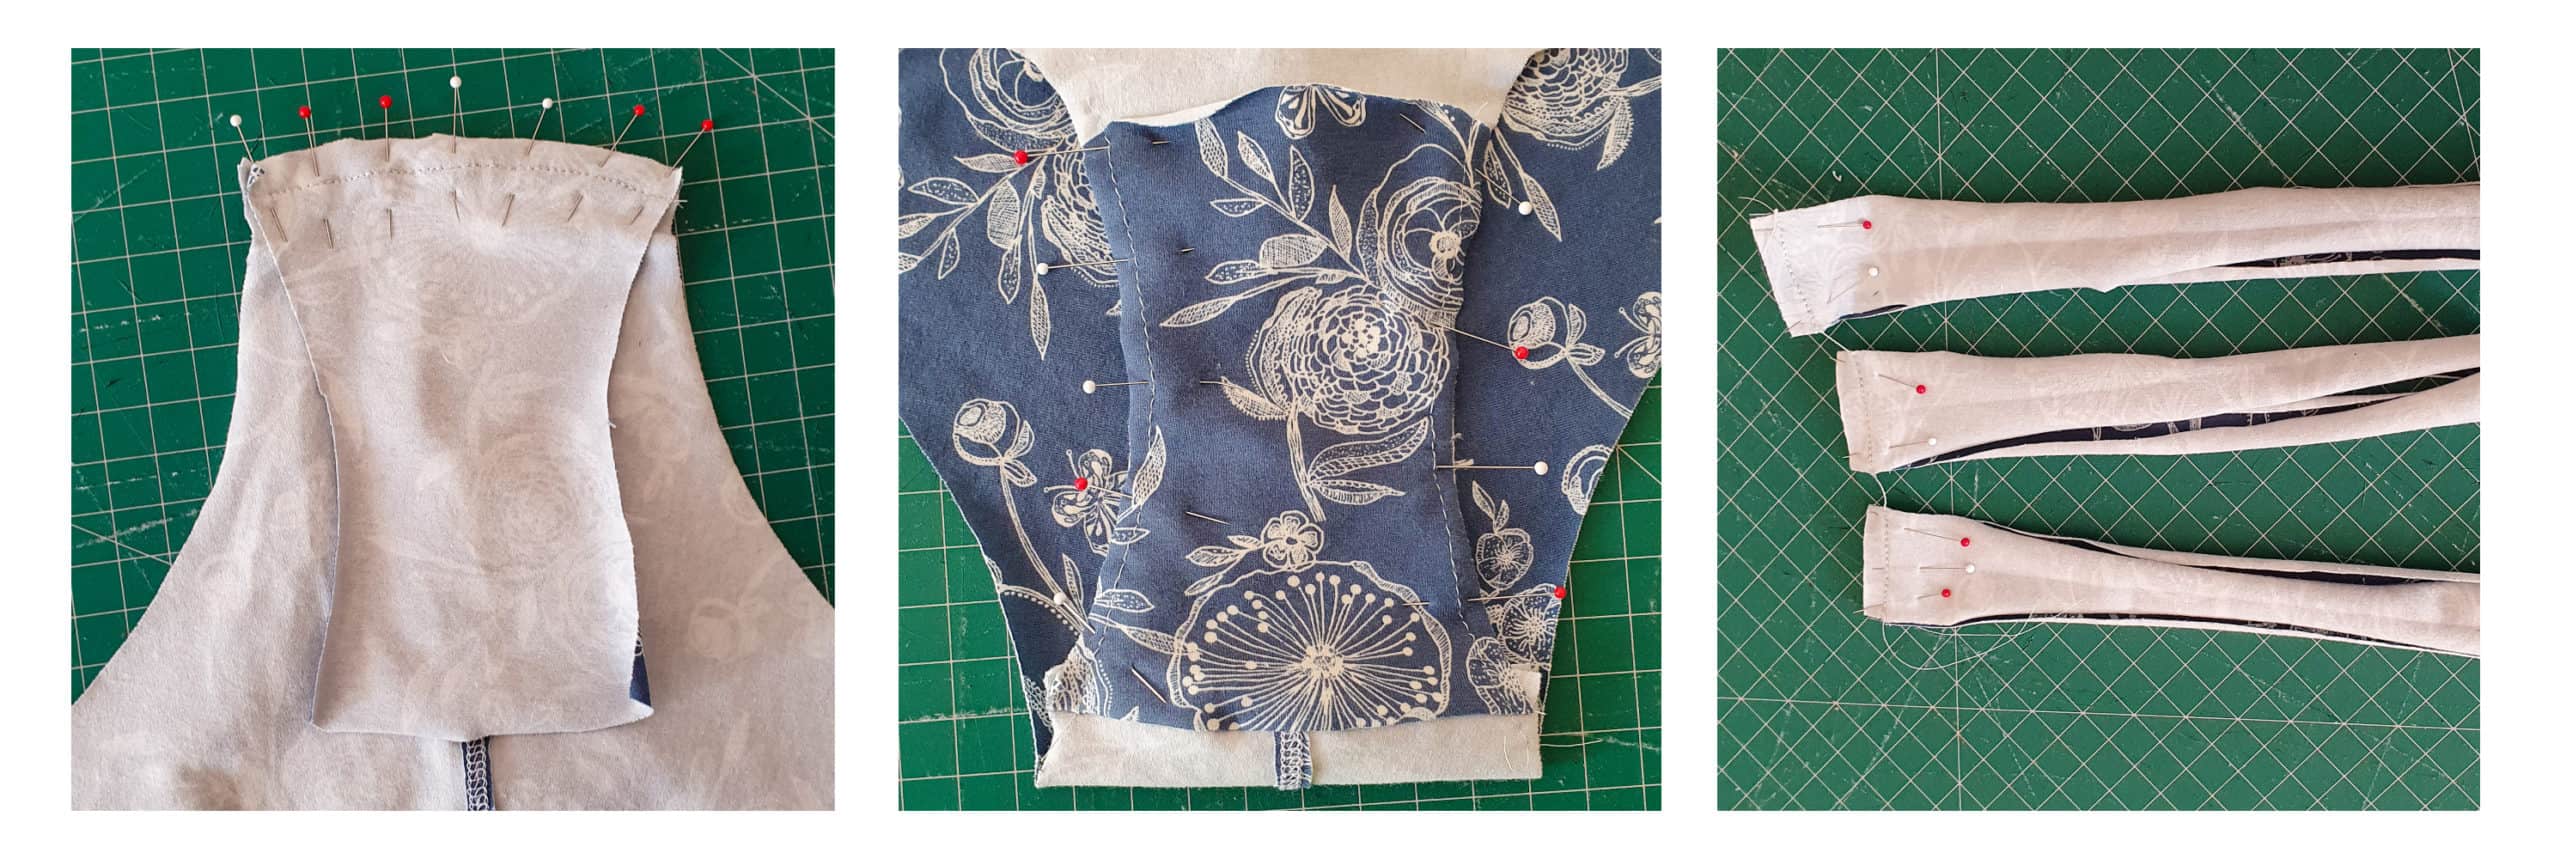
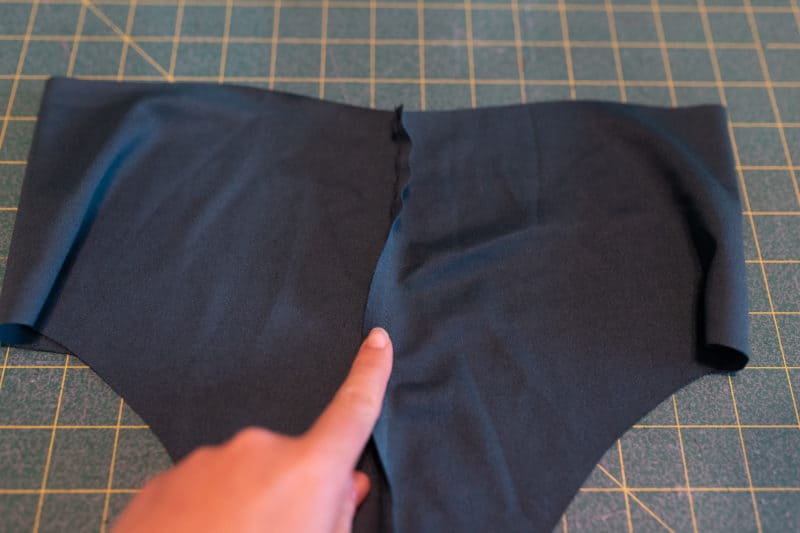
Sew the back seam together as per the pattern. Next, join the front and back crotch pieces of the main undies right sides together. Place the lining piece right side down onto the back piece and sew together with a stretch stitch (I like to use a triple stretch stitch). Trim to 1/8″ to reduce bulk. Fold the liner piece to the front, wrong sides together, and baste along the crotch seams to hold the liner in place.
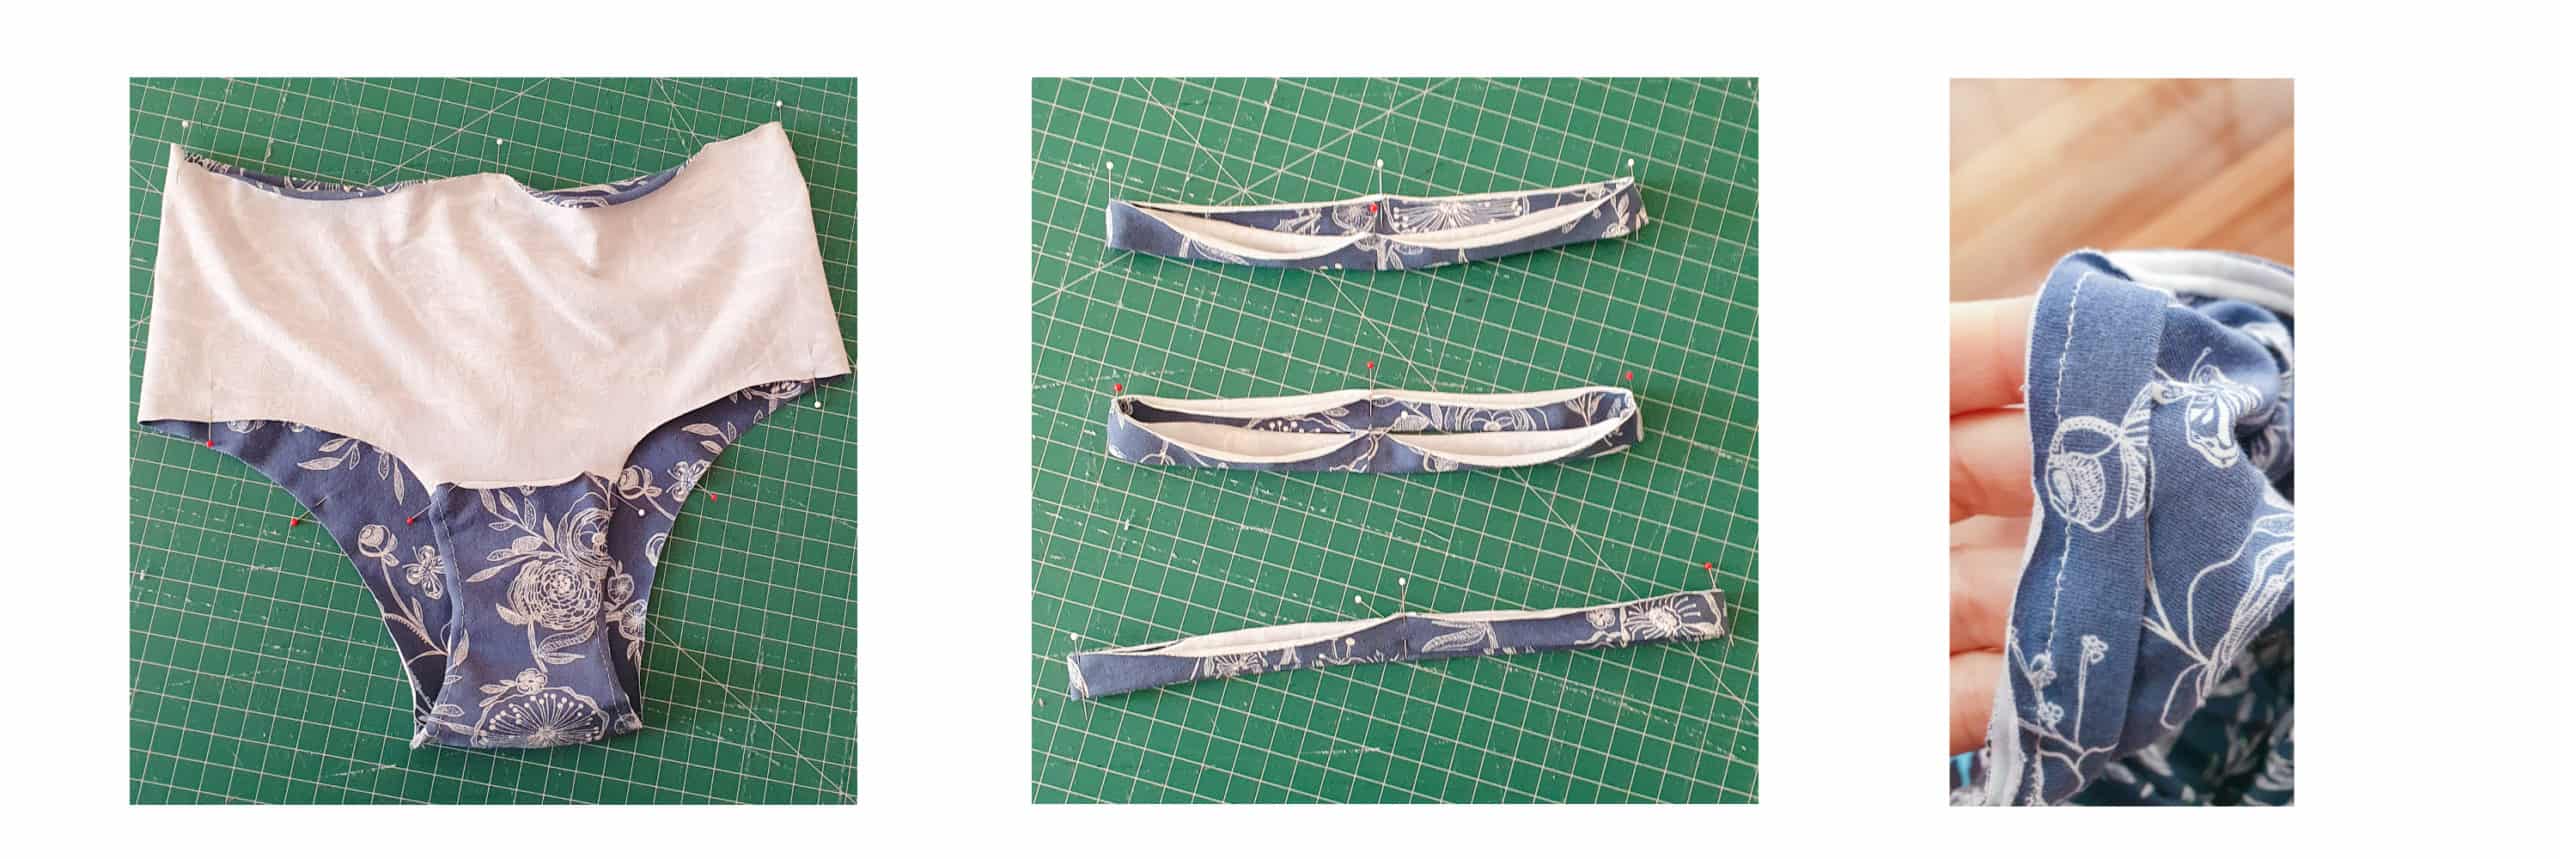
Press bands in half length-wise, wrong sides together, to form a crease. Unfold the pressed end at each short edge. Fold band in half width-wise. With right sides together, pin in place. Stitch short end closed to form a loop. Turn right sides out. Repeat for other band pieces.
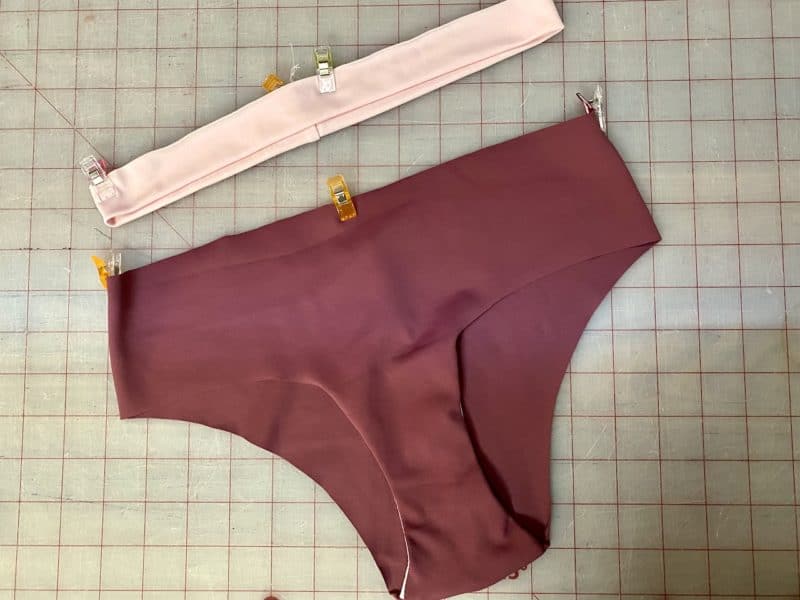
The next step is to mark the quarters for the waist and leg openings by matching raw edges and mark them with a pin or fabric marker. Then quarter and mark the band pieces too. With right sides together, align the raw edges and quarter points of the bands to the main body markings. Stretch band to fit the opening, do not stretch the leg opening or waist opening. With a 1/4″ seam allowance, attach the bands with your preferred stretch stitch (again I like to use a triple stretch stitch). Press the bands towards main body piece and top-stitch in place if desired. Repeat these steps for the other leg opening and waistband.
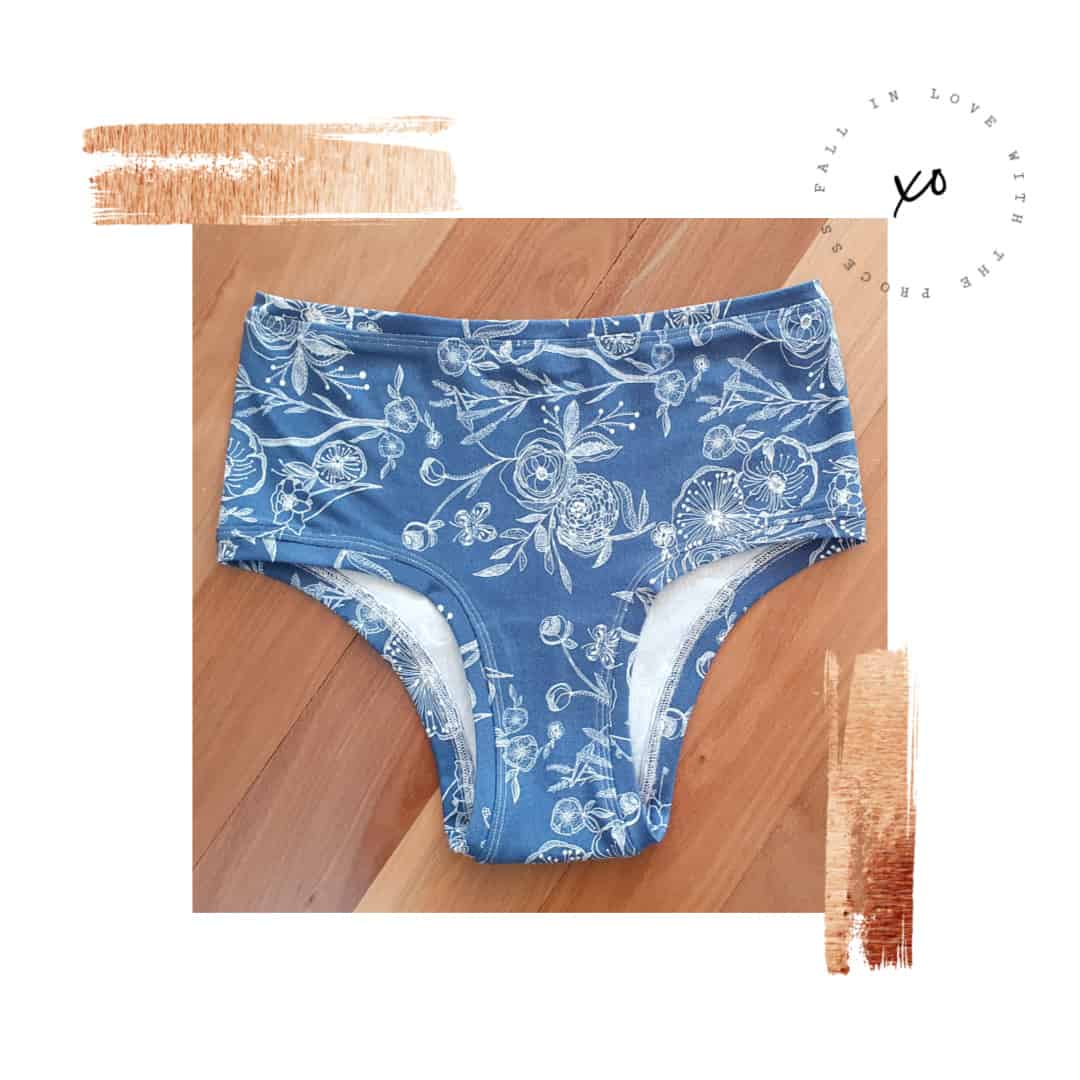
Admire your super cute and comfy new pair of undies.
Happy Sewing
xx Katy
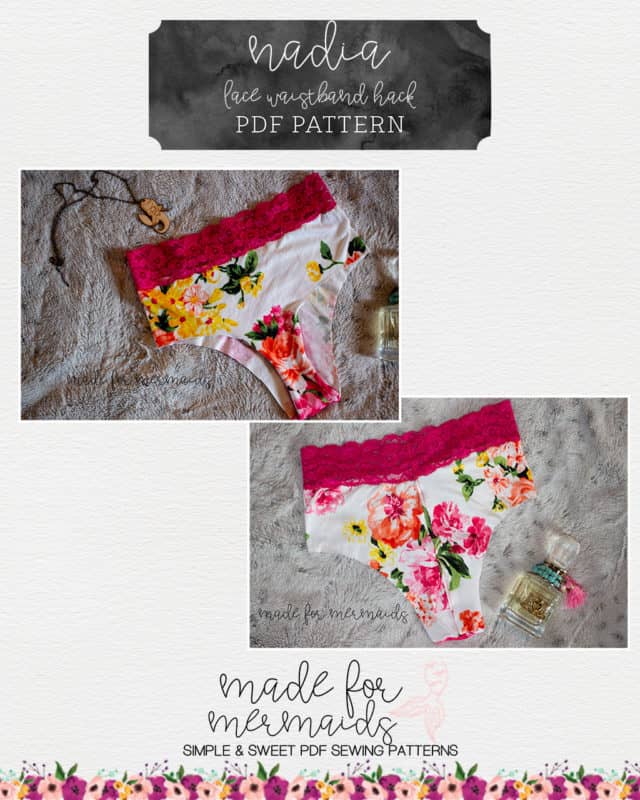
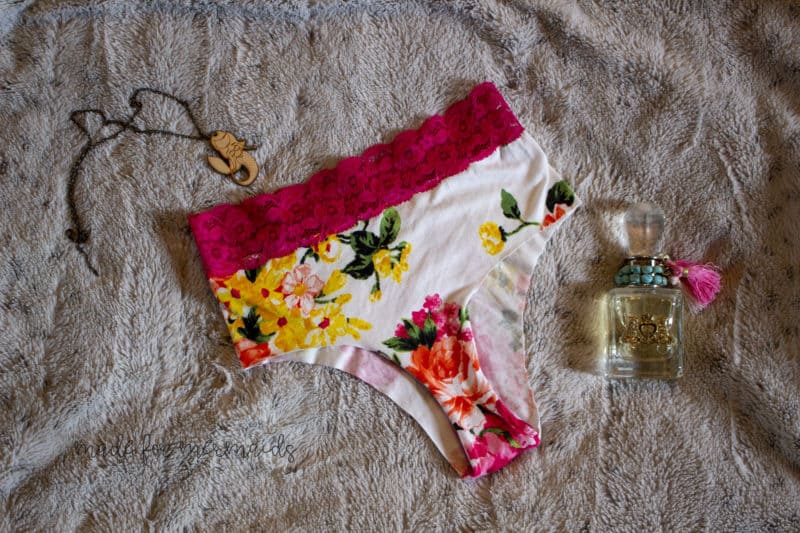
Nadia Lace Waistband Hack
I love adding a touch of lace to underwear; a lace waistband is so pretty and quick to add to Nadia. You can use any width of stretch lace, but I wouldn’t go much over 2.75″ width, or your waist is going to be really high! Remember that your stretch lace will add height to whatever rise you choose to add the lace to. I would recommend only adding lace to the low or mid rise option.
For this version, I used the low-rise cut line on Nadia, and added 2″ stretch lace for my waistband.
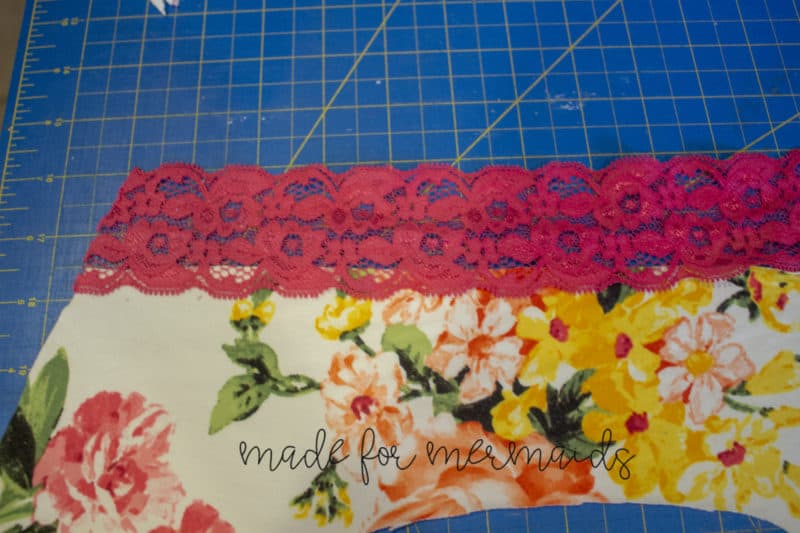
The first step is to measure your lace. I just laid out my piece and laid my lace right on top. As Nadia has a lot of negative ease already built into the pattern, you will want your lace the same length as the top of your main piece. You do not want to stretch the lace at all when sewing it on.
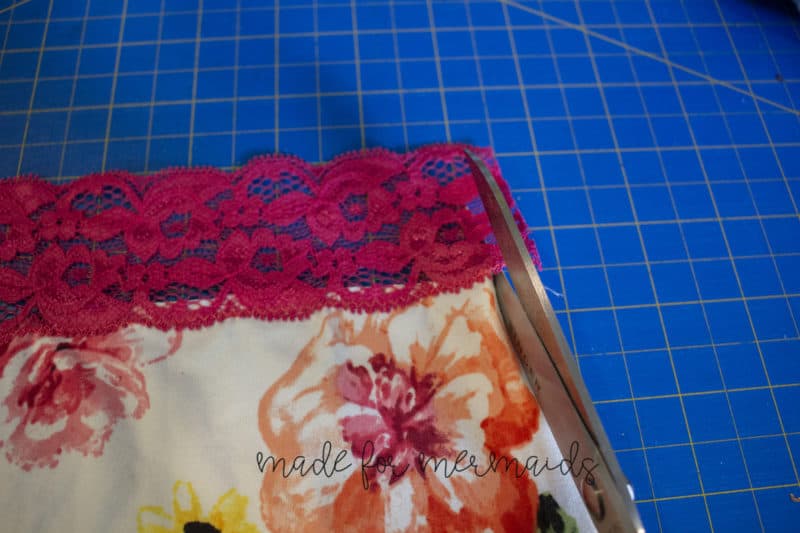
You will overlap your lace onto your main piece about 1/4″, and just top stitch it right on. I like to use a wide zig zag stitch to top stitch my lace. Once it’s topstitched in place, you may wish to trim the edges of my lace so that it’s cut at the same angle as the main Nadia pieces. Once cut, just sew up your Nadias per the pattern and you are done – cute new lace Nadias that are so quick to sew you can make a dozen. – Angela
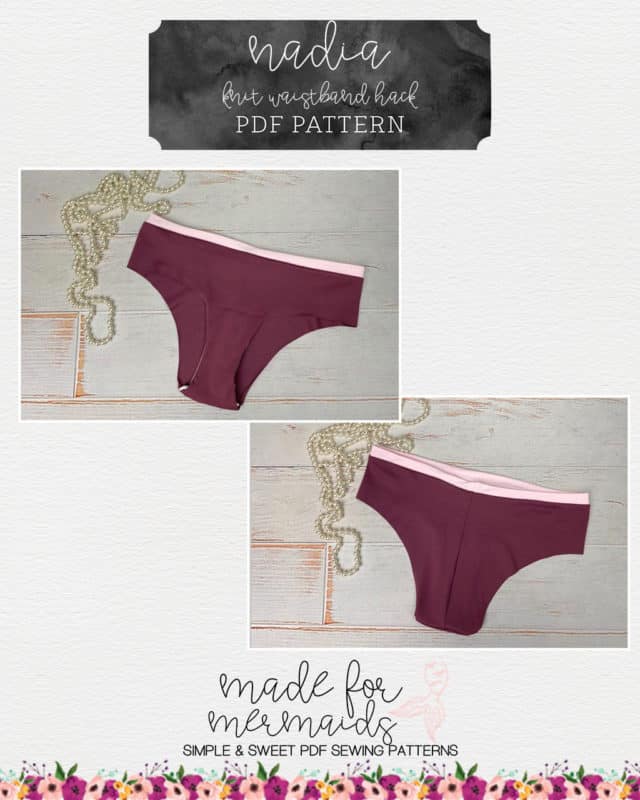
Knit Waistband Hack
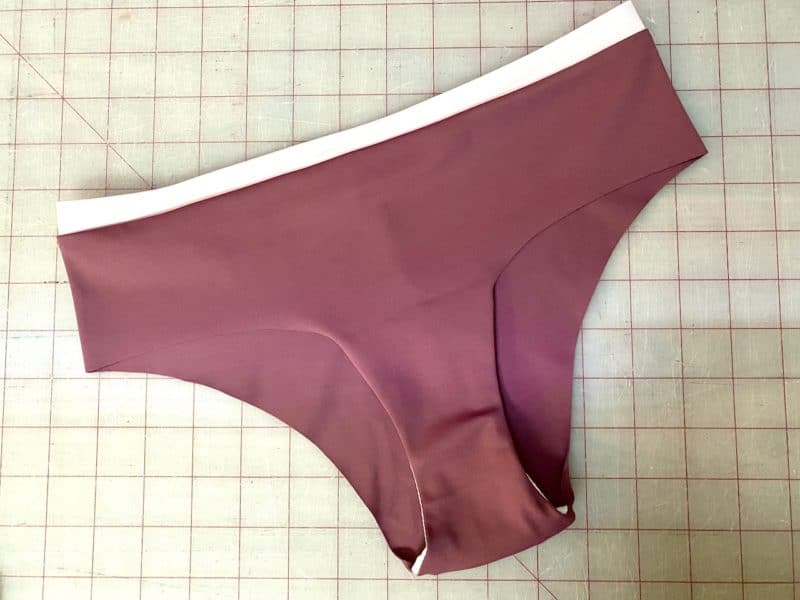
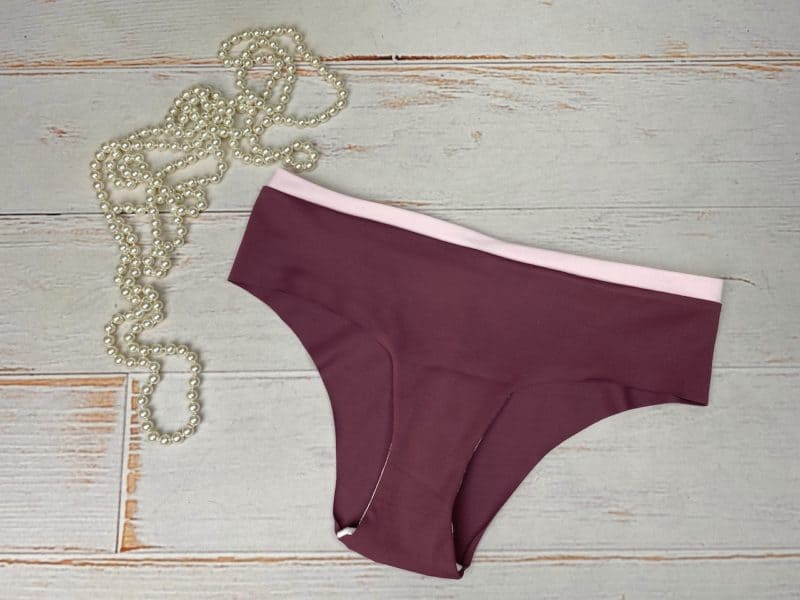
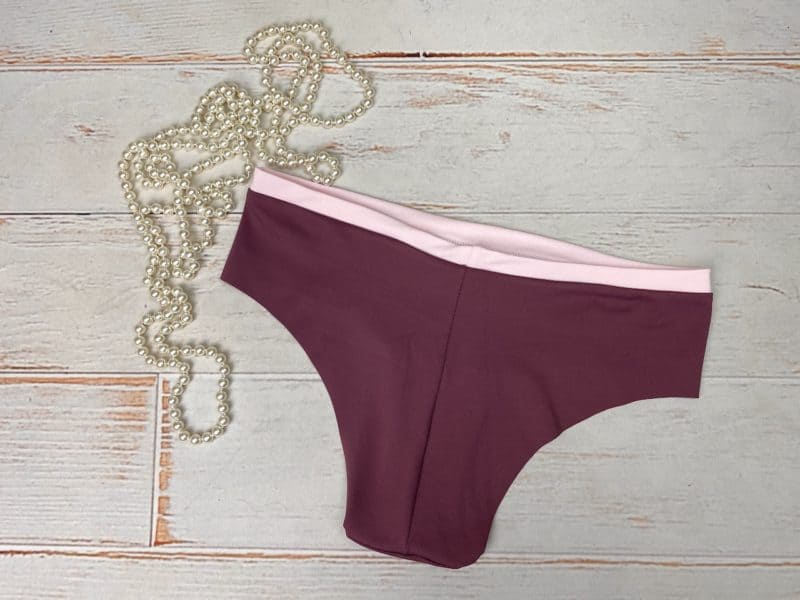
A fun way to add contrast to your Nadia undies is with a pop of color from a waistband. This also works well if your fabric is rolling along the top, or not staying in place. All you need to do is cut a waistband and add it to your finished Nadias at the end! This hack works for both the cheeky and thong versions of Nadia.
For this hack, you need to calculate the waistband size you want to cut. To do this, after you have your main Nadia piece cut, lay it flat and measure the waist length. For the size blue, I measured 26.75″. This includes the seam allowances already, so no need to account for those. Now, multiply the length by 95%. Since this pattern already has negative ease, we don’t want the added band to be too tight.
To decide the height to cut, determine how tall you want the finished waistband. In my case it was 3/4″. Then add the 3/8″ seam allowance. Double that number to account for the band being folded. You can use this same way to calculate a taller band if you prefer. My band calculation was 3/4″ +3/8″= 1.125″ x2 = 2.25″
Cut your band. Mine was 2.25″ x 25.25″. With right sides together, serge or stitch the short side of the band. Fold the band wrong side together and quarter. Finish your Nadia according to the tutorial, omitting tacking the back seam at the top. Quarter your Nadia at the waist. Match the quarter marks of the waistband to the right side of the undies, nesting the back seams of the waistband and the undies. Stitch or serge with 3/8″ seam allowance.
Press the seam towards the main undies. Optionally, topstitch the seam. -Katie
Cheeky Booty Hack
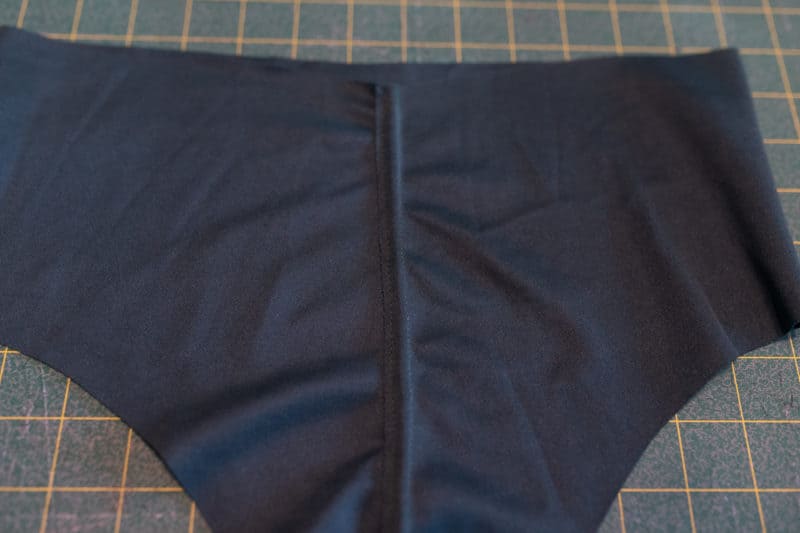
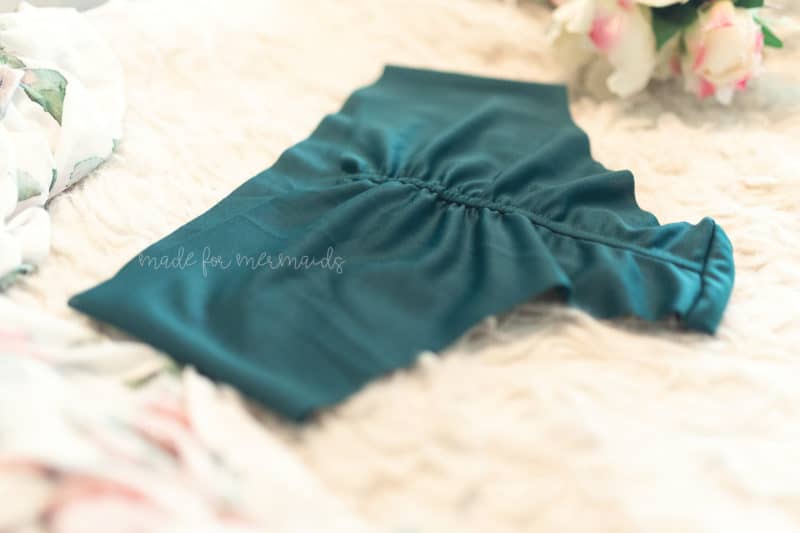
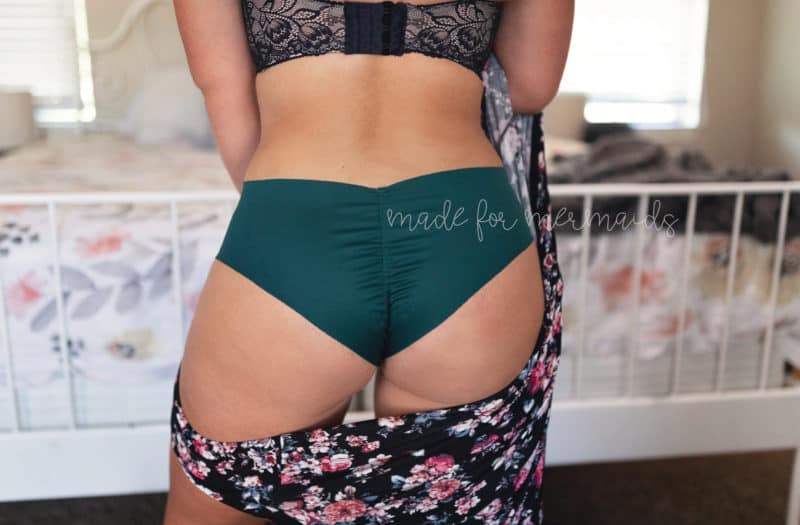
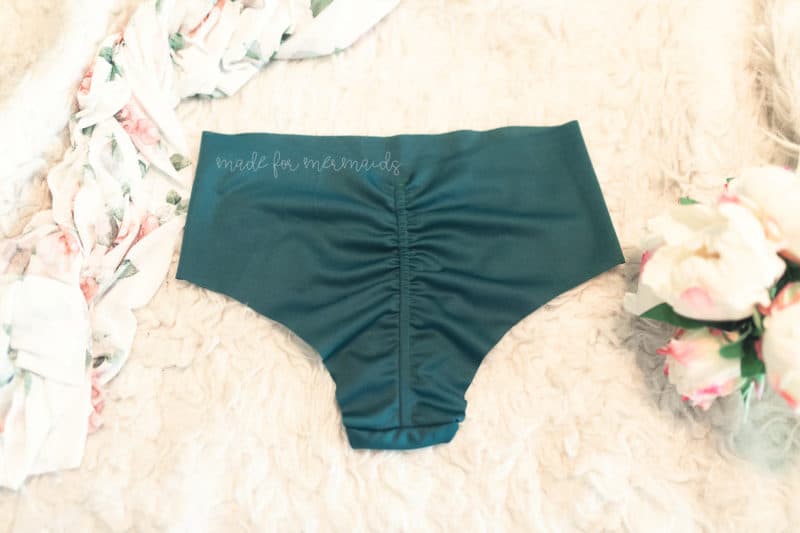
This is a very cheeky and fun hack 😉 It’s very simple too! The only ‘extra’ you’ll need is some 1/4″ elastic. I choose a cotton swim elastic because it’s VERY soft. You could really use any 1/4″ elastic you have on hand though.
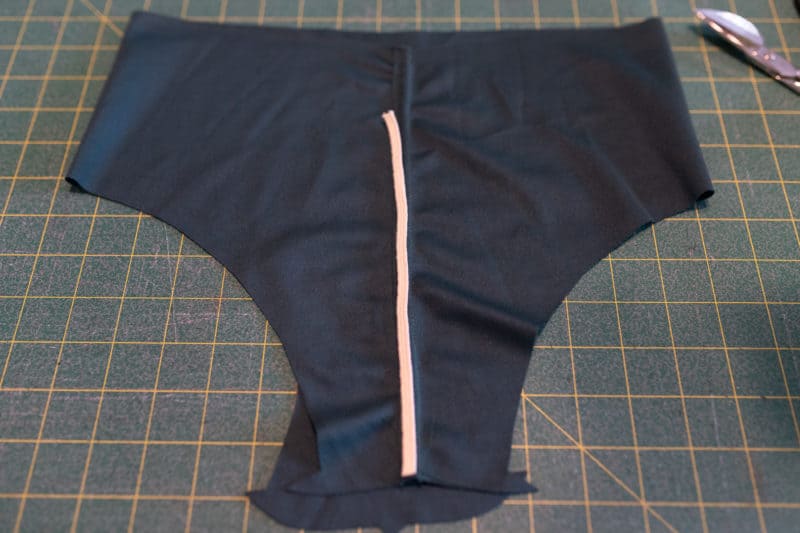
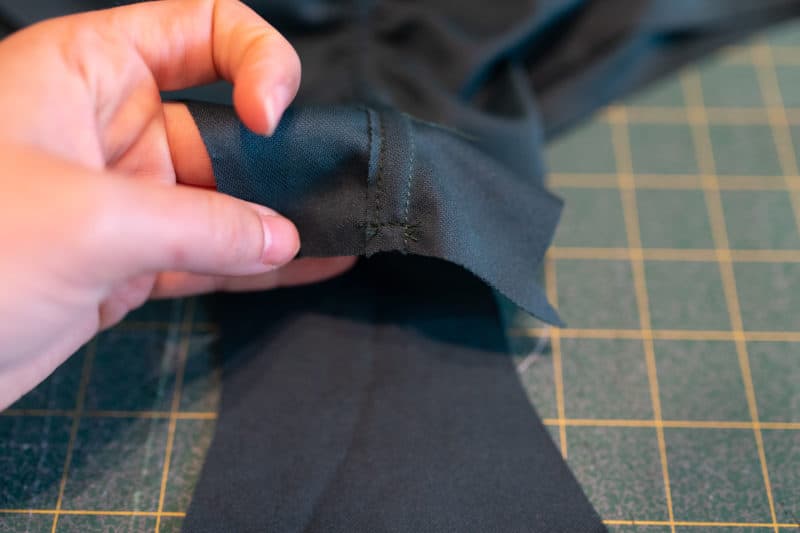
Stitch and grade your back center seam per the tutorial. Make sure not to use your serger on this step. Then create a casing by edge stitching the seam when topstitching.
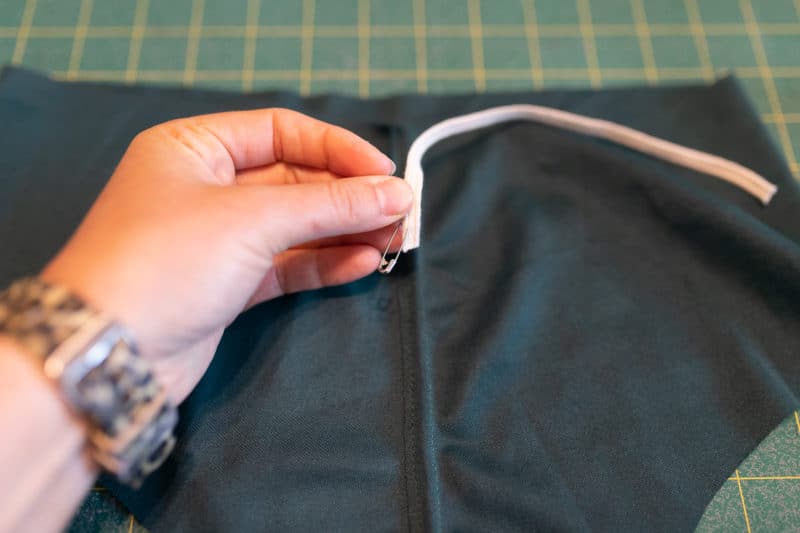
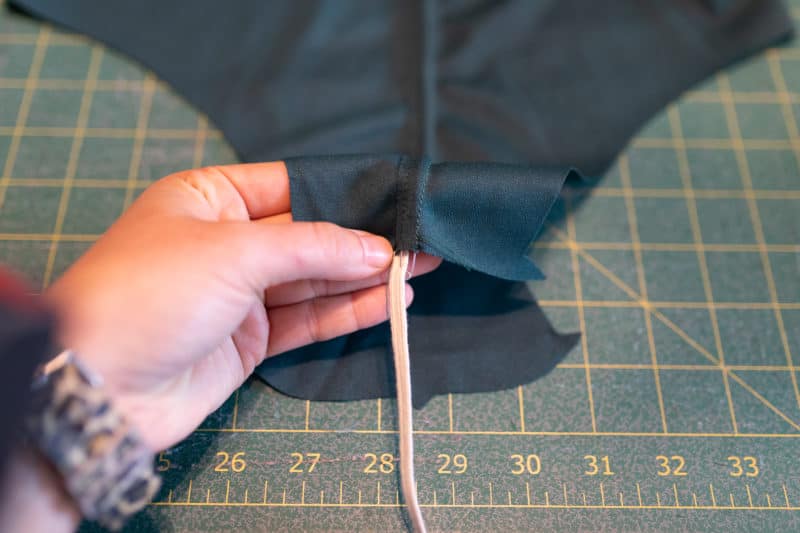
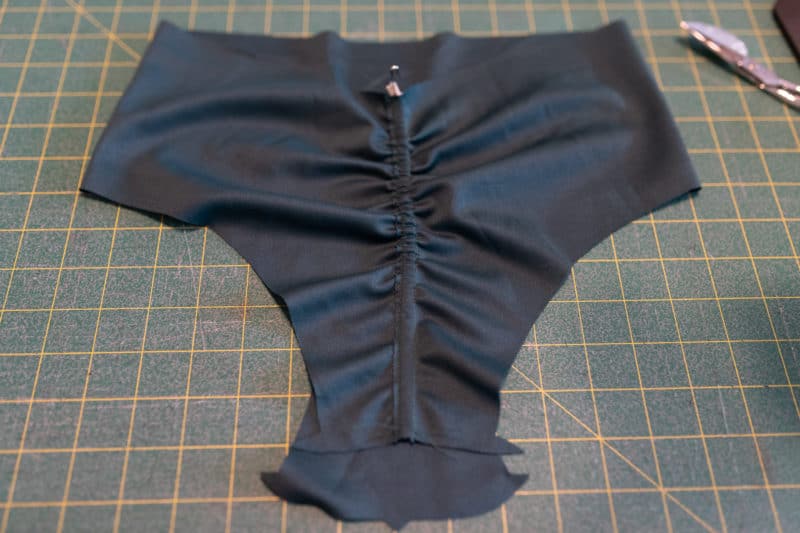
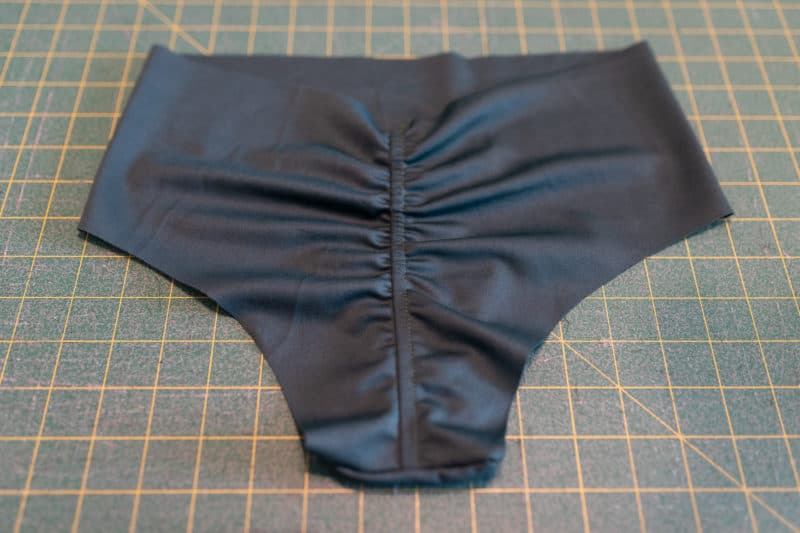
Next, cut a piece of elastic a few inches shorter than your back seam. I didn’t want mine too ruched at the crotch seam, so took that into account when cutting my elastic. Then with a safety pin thread the elastic from the crotch seam up. Stitch the elastic in place at the crotch seam. Continue to thread the elastic and stitch to hold in place along the top.
Distribute the elastic and fabric per your preference. Then complete the steps in the tutorial. You could also cut a much smaller piece of elastic to only ruche the top portion if you prefer that.
Wondering what patterns pair well with Nadia?
Bryn, Lana, and Rita would all be great with Nadia! You can also pair with any of our other Lounge and Lace patterns, like Stella, Peyton pajamas, Spencer, Lexi, Tess, and more!
- Women’s Bryn Brami
- Rita Robe
Don’t forget to share your latest makes over in our Facebook group; we’re looking forward to seeing you and your new Nadia no shows!








Leave a Reply