
It’s that time again, time for our annual 12 days of Christmas FREEBIES! If you missed our freebies from past years, here are round up links with the 12 freebies from the year 2015 and 2016. We’ve had some very well loved freebies in the past, so make sure to check them out! We really have a lot of fun with these each year and it’s our small way of giving back to you. A great big THANK YOU to let you know we appreciate you and your continued support so much!
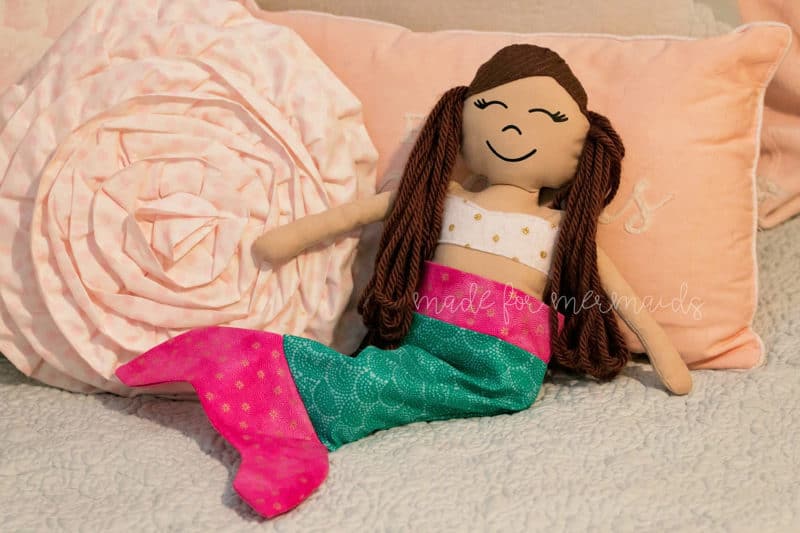
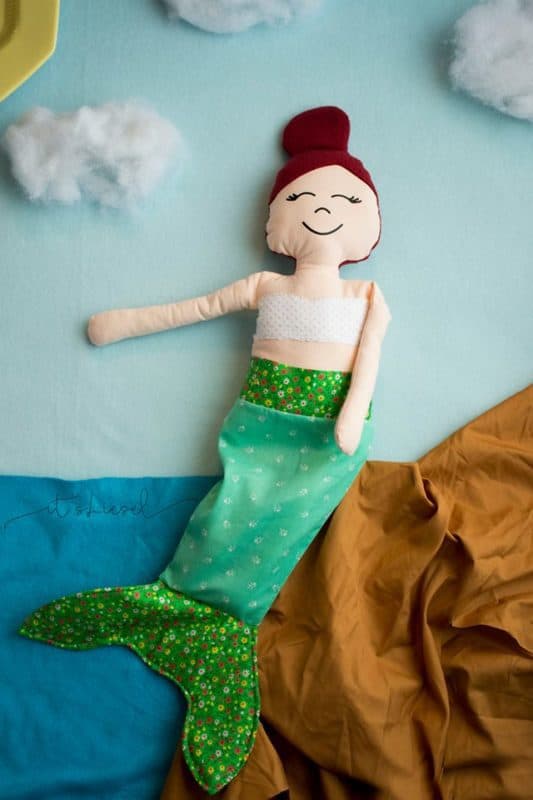
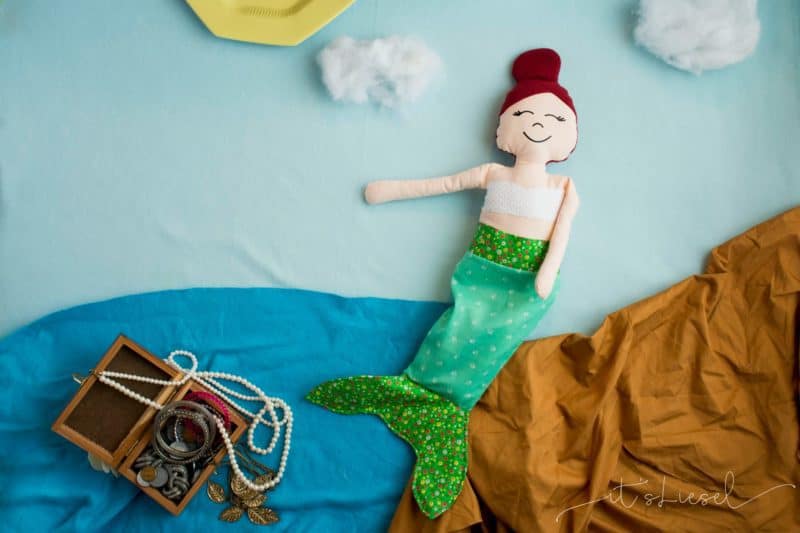
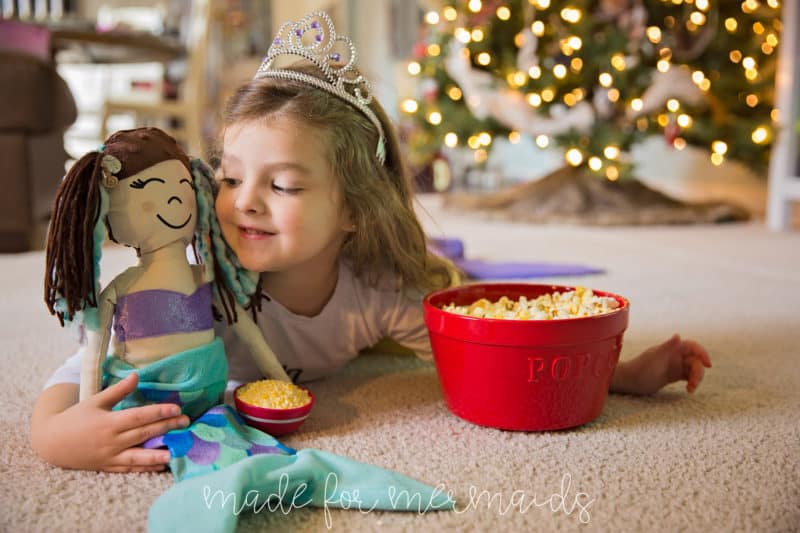
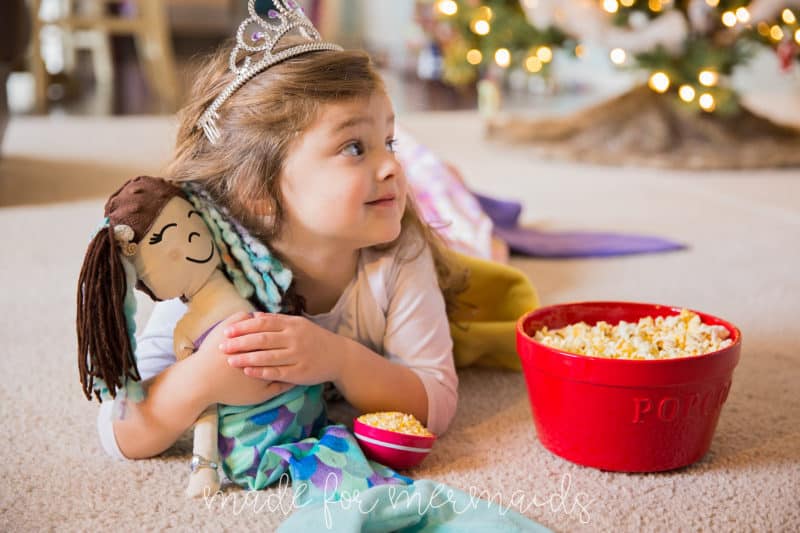
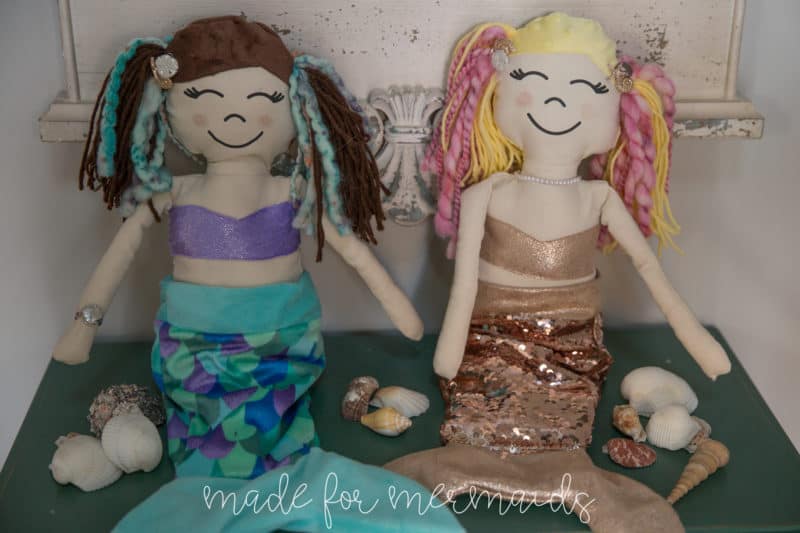
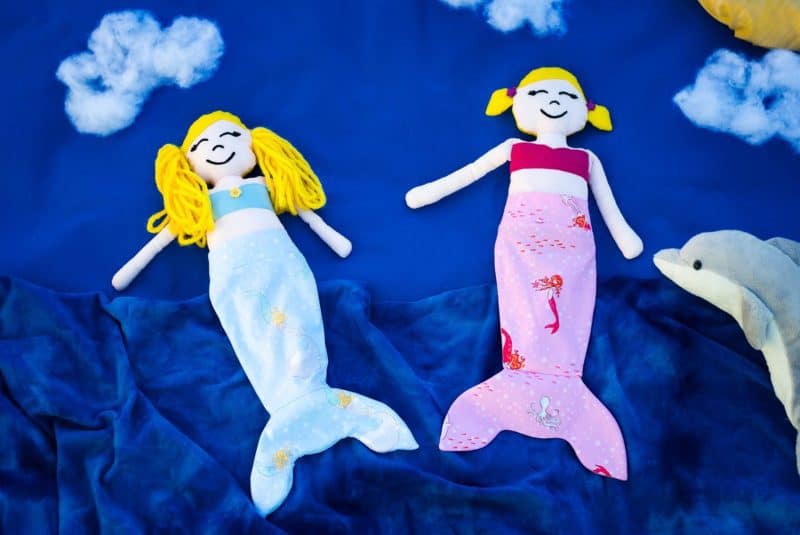
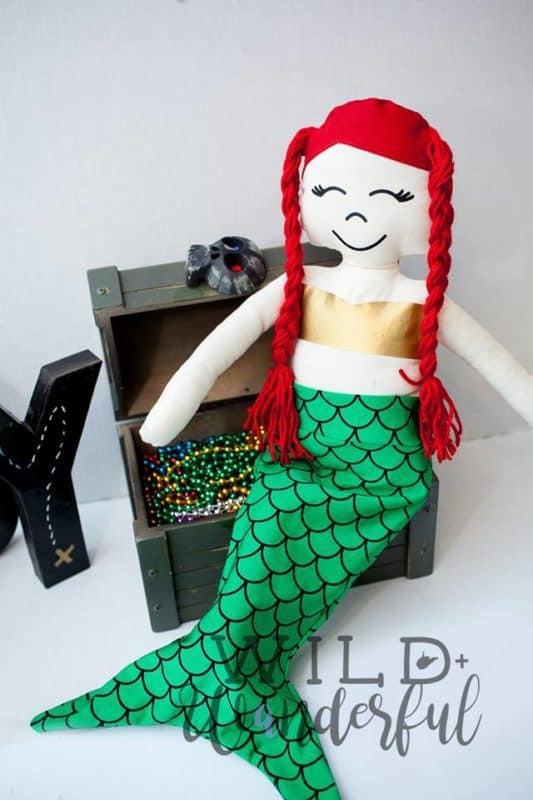
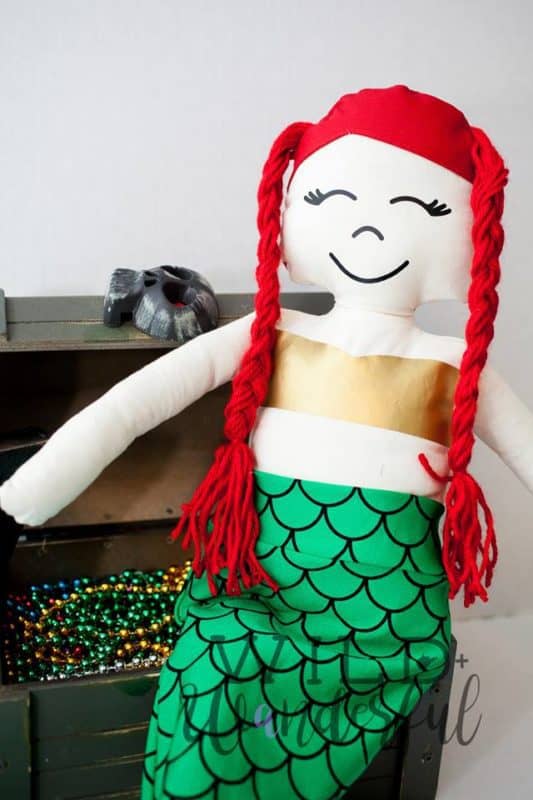
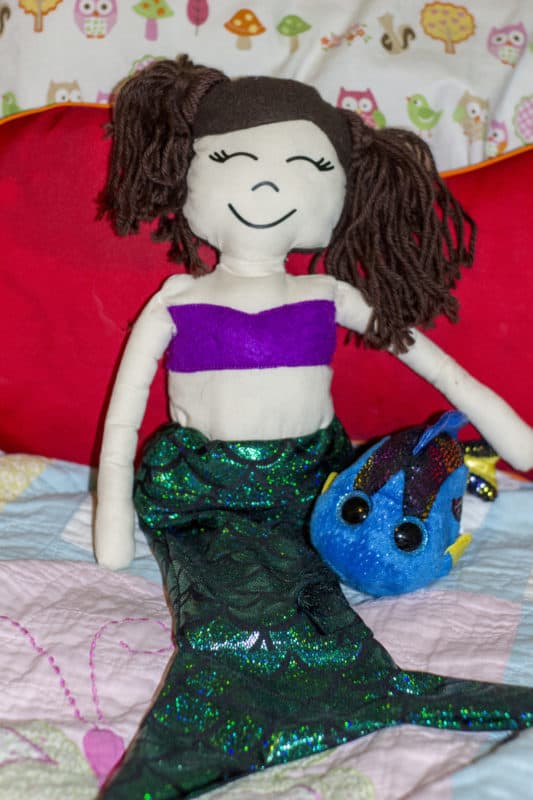
Today I have something that has been on my list to make for TOO LONG! My daughter LOVES stuffies. I have made her several dolls over the years. When she was 2 and 3 she would carry around her stuffie dolls everywhere. I’ve made her 3 mermaid dolls and she asked me once if I could make her one that her tail comes off and on. I told her of course and that was 4 years ago… A few weeks ago our lab pup ate one of her mermaid dolls. She was so upset and asked if I could make her a new one for Christmas. I decided it was the perfect freebie to add this year!
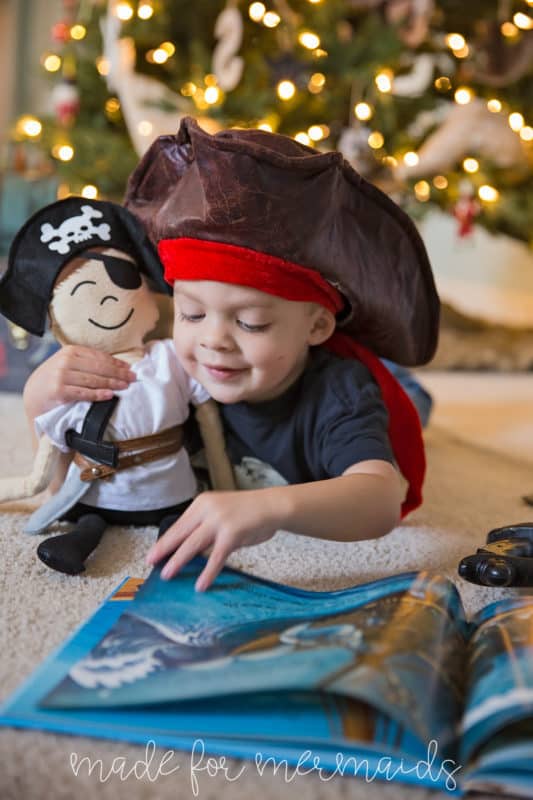
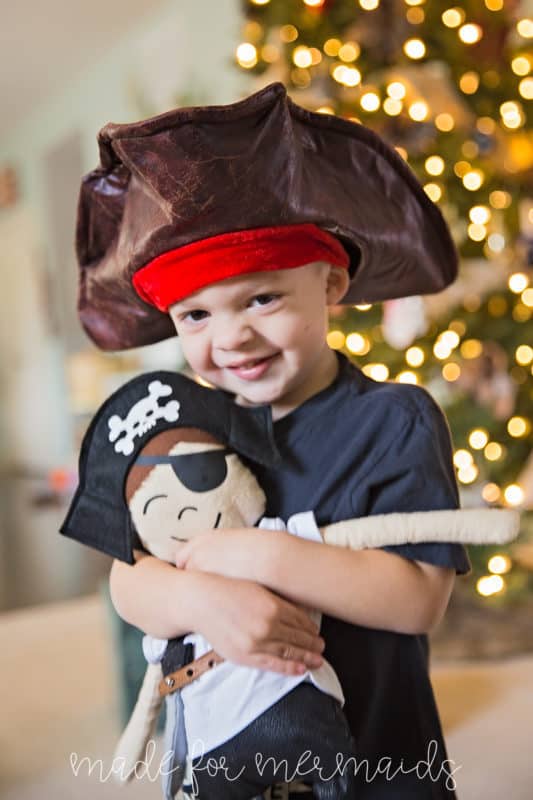
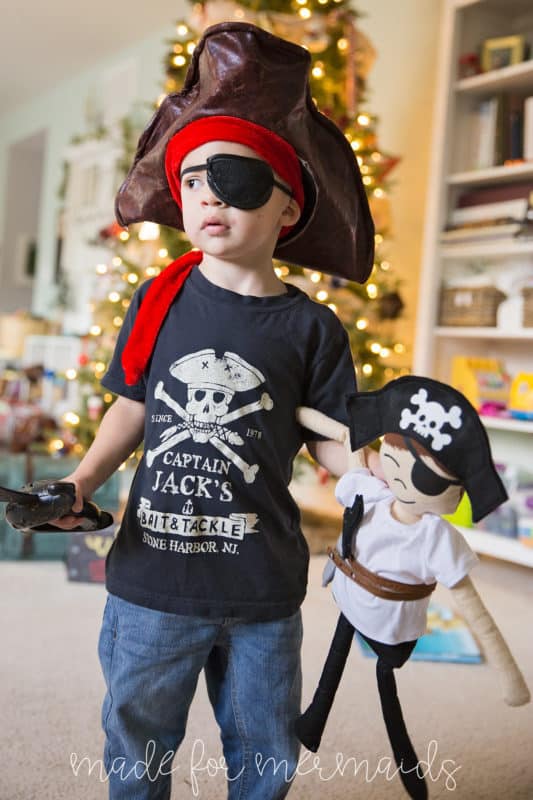
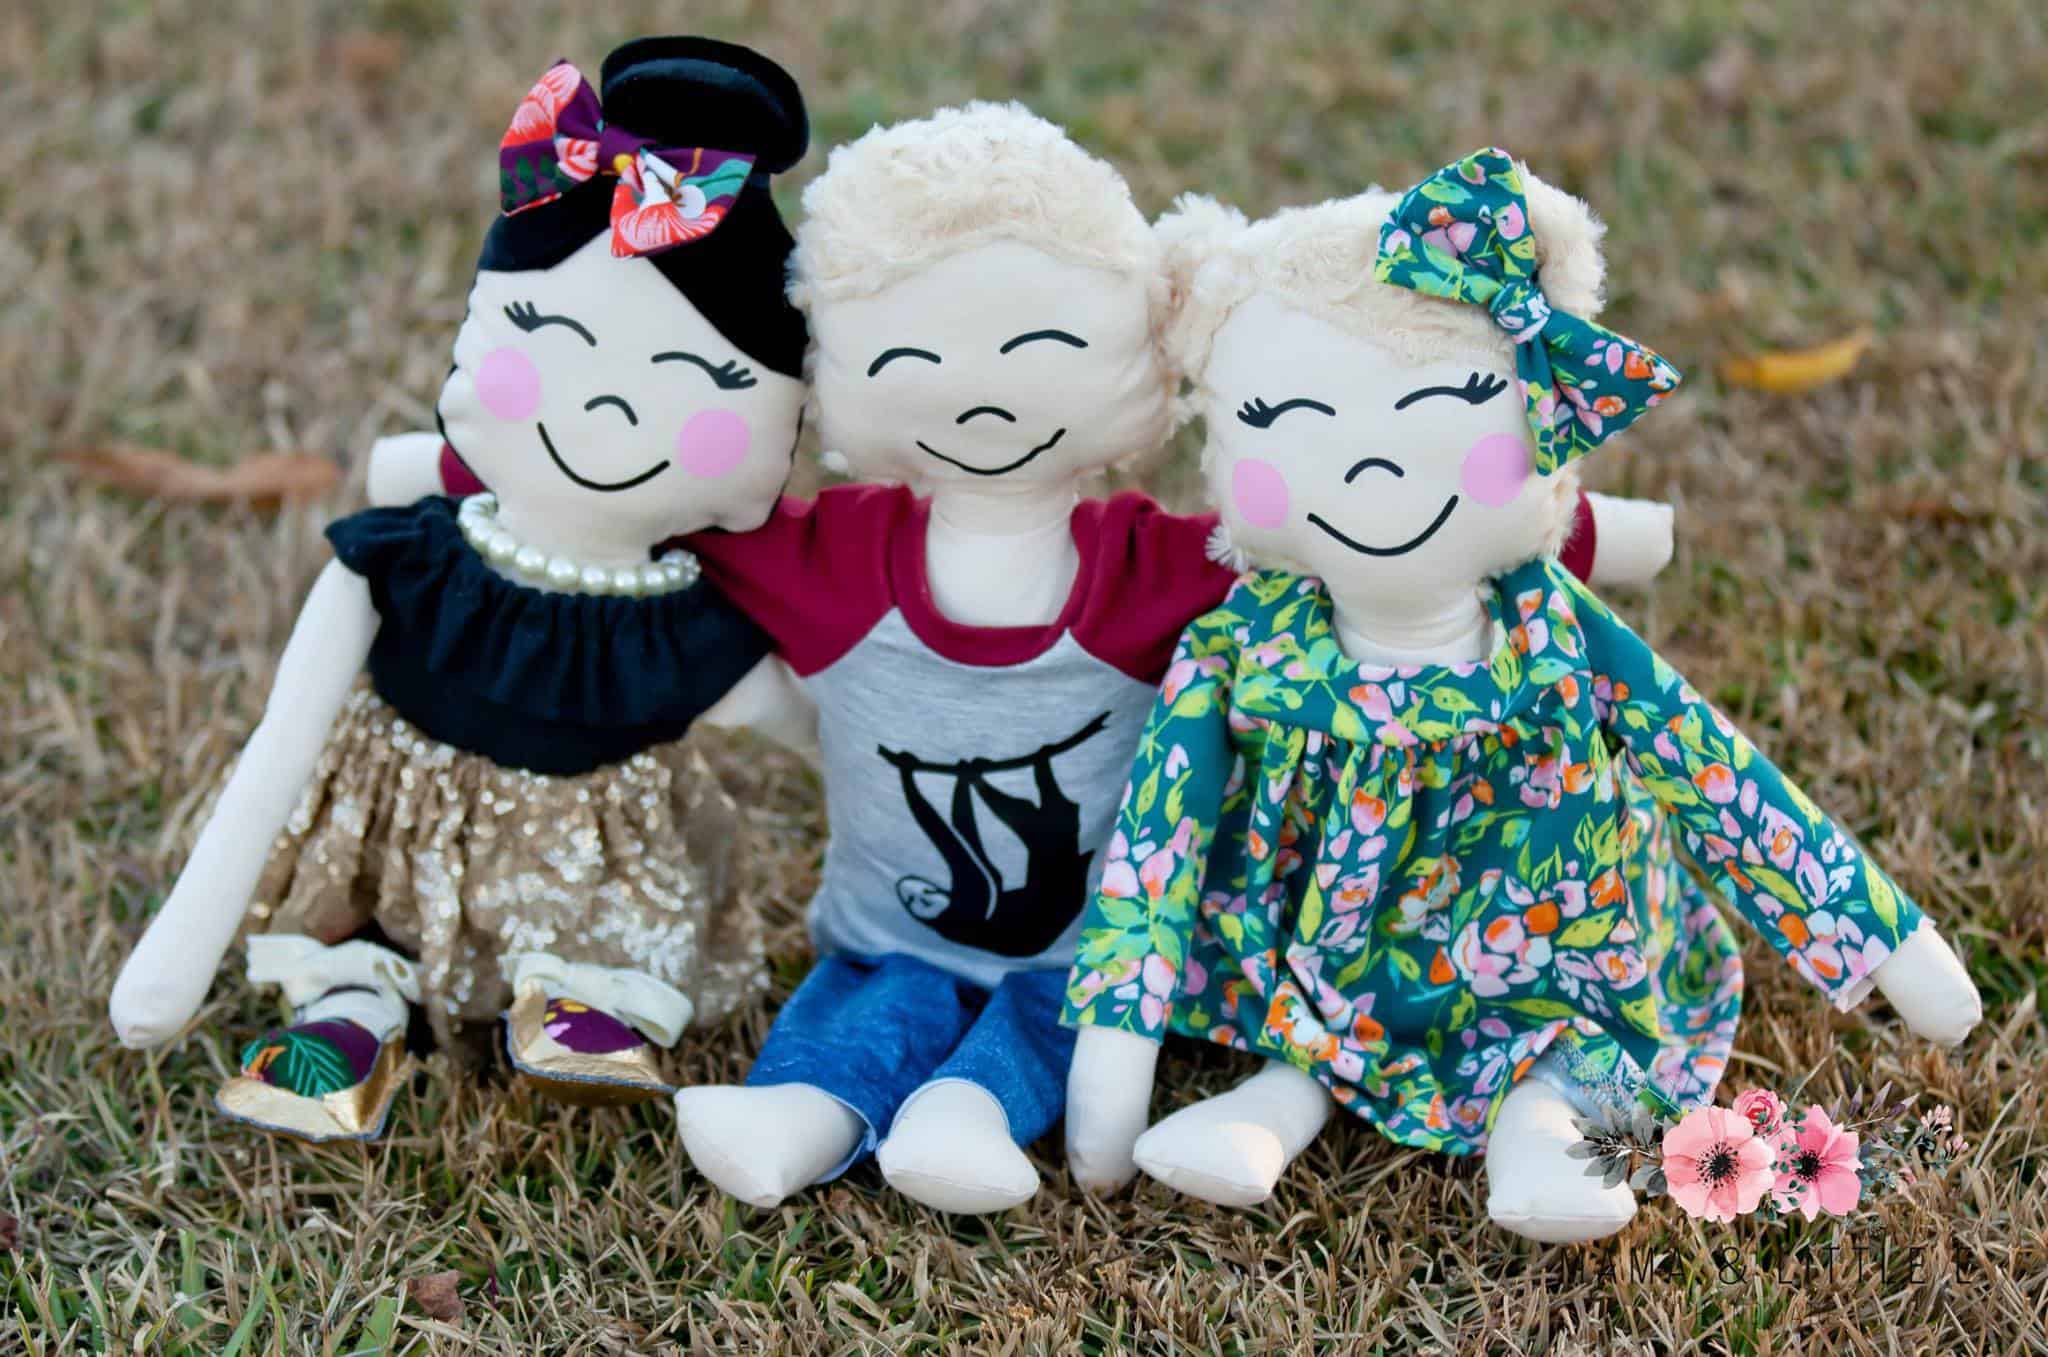
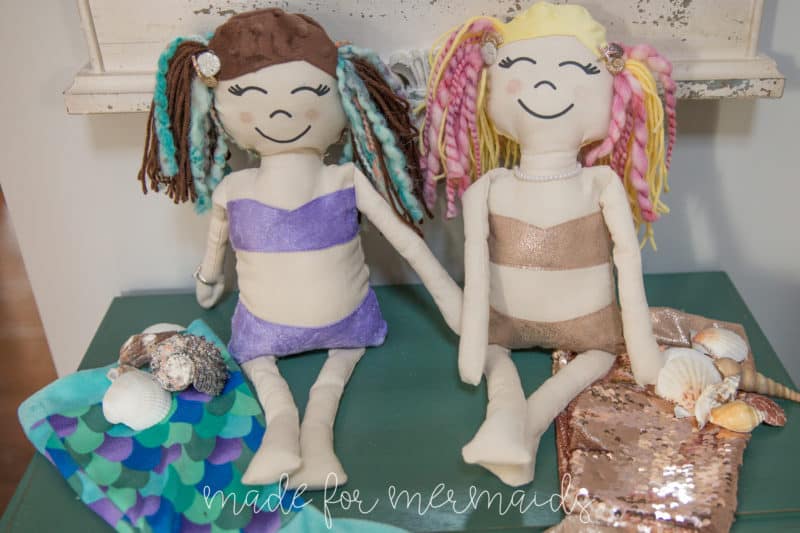
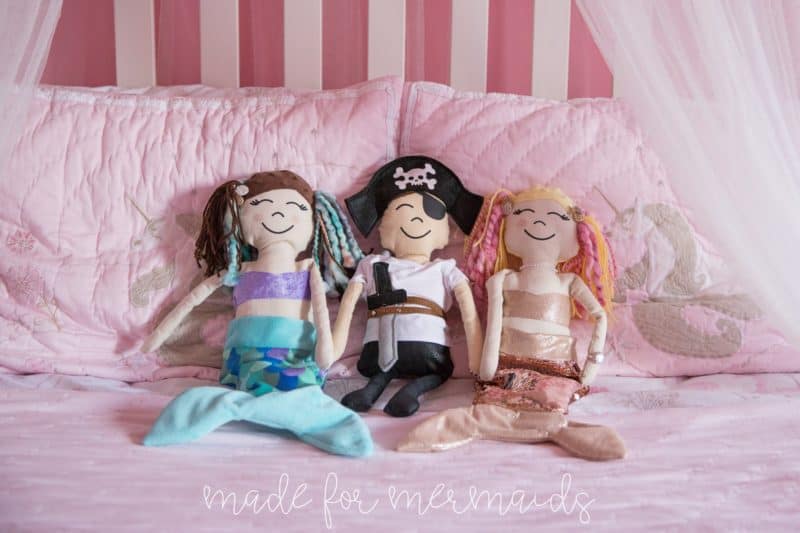
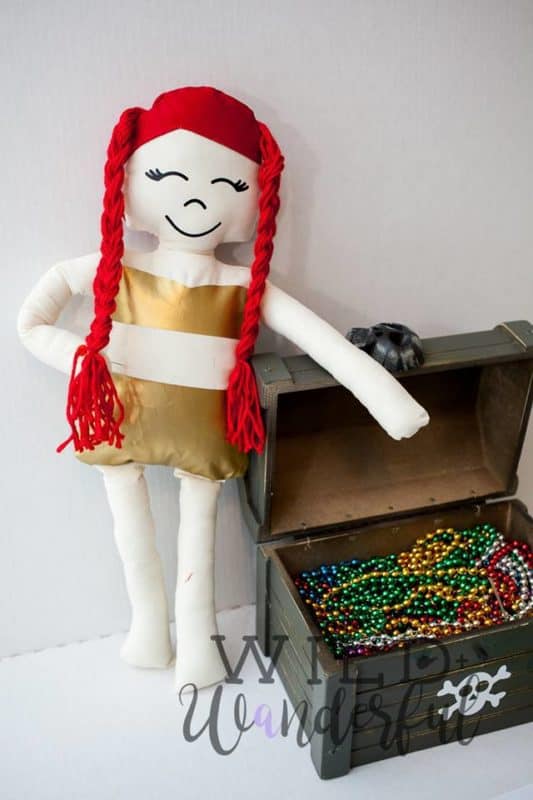
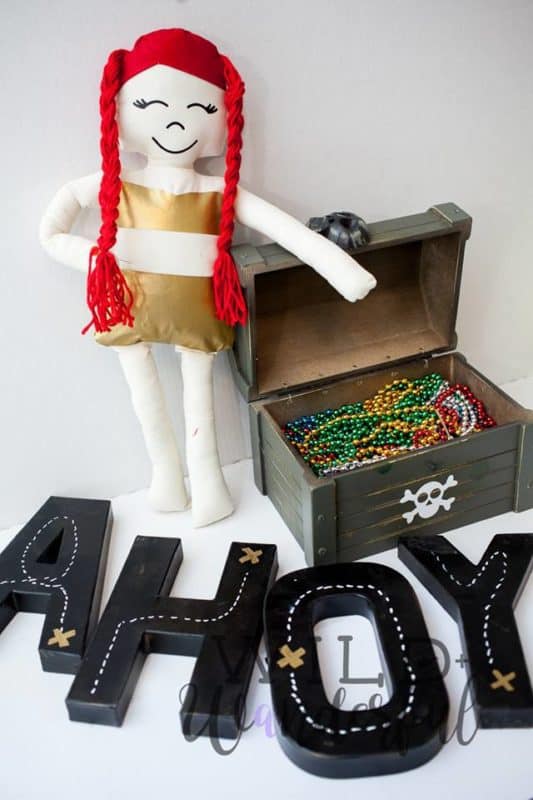
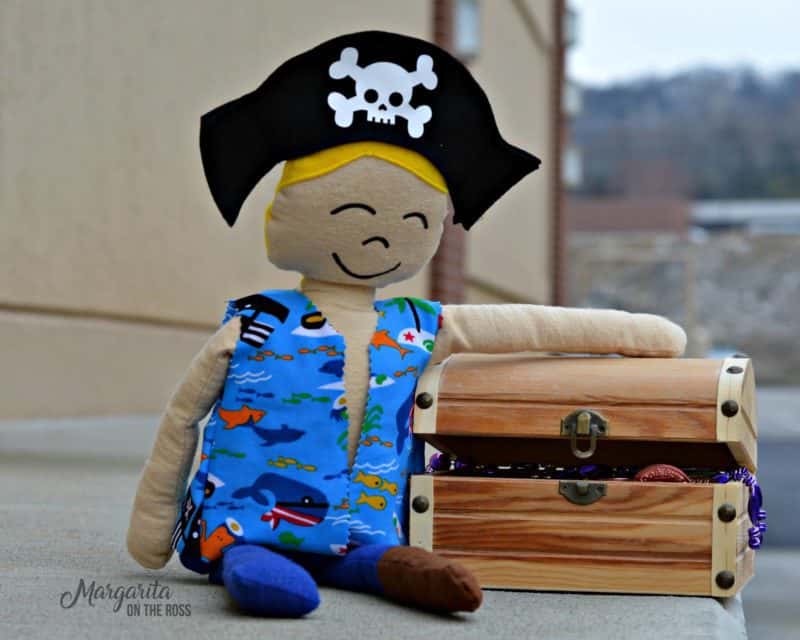
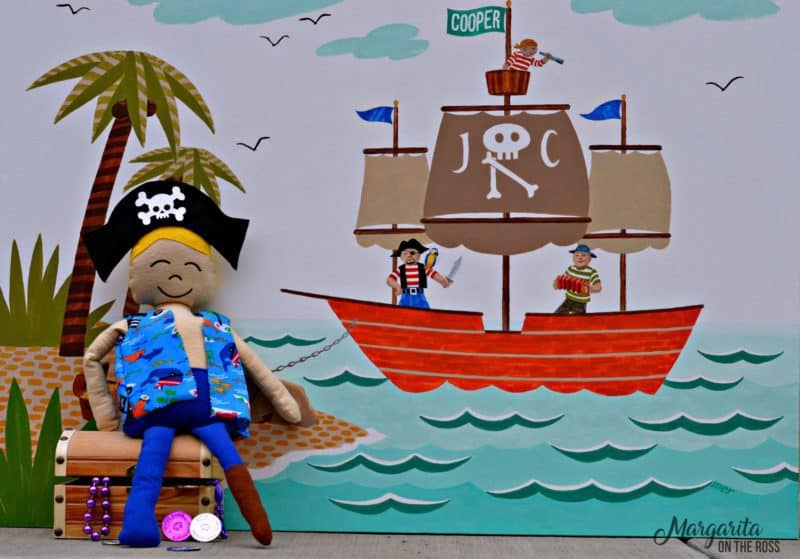
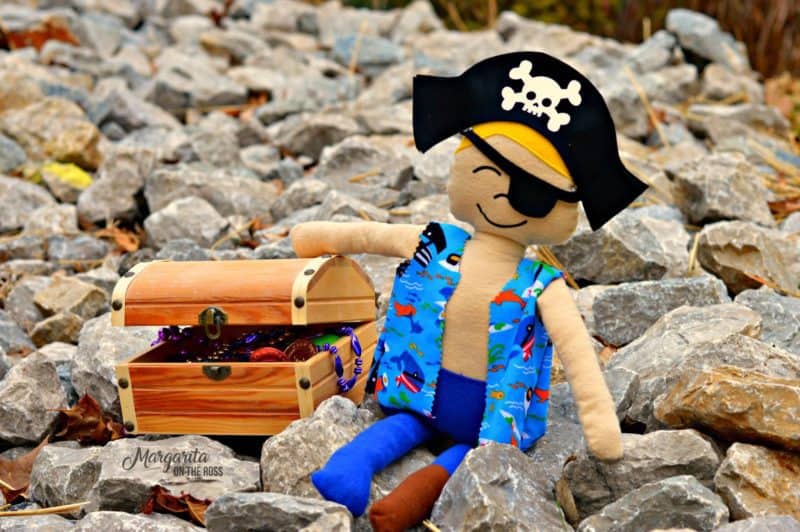
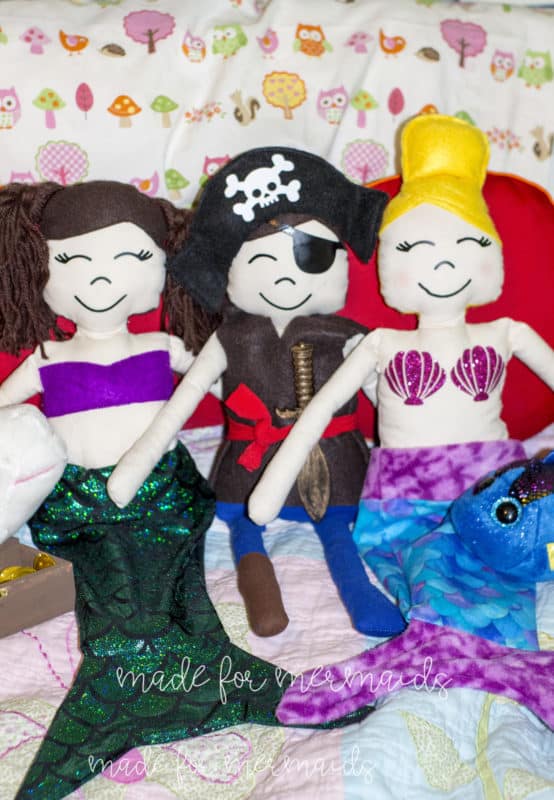
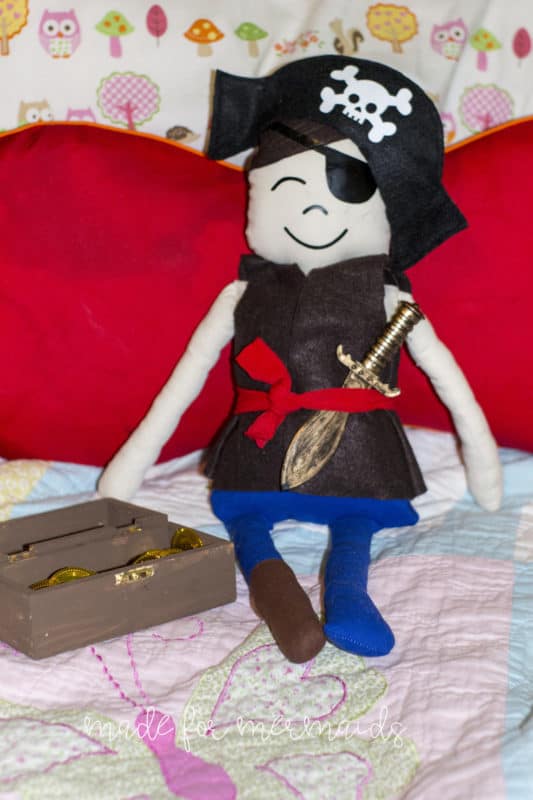
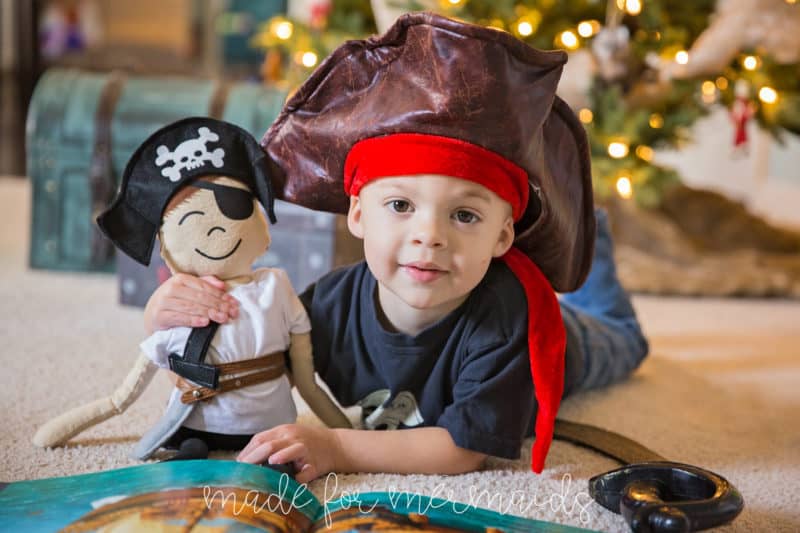
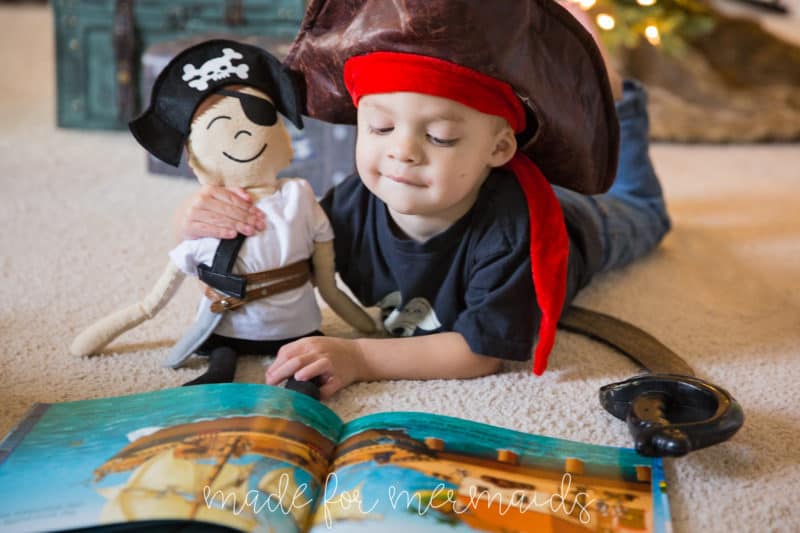
Of course after making a mermaid (ok I made 6 before I was happy with the pattern 😉 ) my son was playing with all the half finished dolls and asking for a boy. I couldn’t say no, so drafted up a Pirate too! You can very easily make slight changes to these and come up with so many different stuffies. Another cool feature is I made these to specifically fit our 18″ doll patterns! That’s right, all those little 18″ doll patterns you’ve made will now fit these stuffies too! These will make such a wonderful gift for any child on your list. They don’t take too many supplies and aren’t too difficult to sew. If you’ve never made a stuffie… be prepared to become a little obsessed!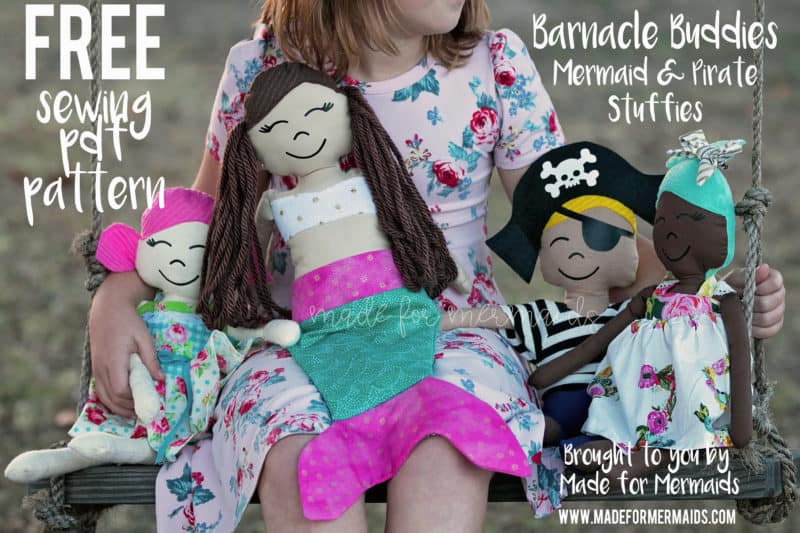
Supplies:
- 1/2 yard of fabric for main body. My favorite is flannel. It fills nicely with stuffing and is snuggly. However most wovens will work- quilting cotton, kona, broadcloth, linen etc. Thinner fabrics will show imperfections more- if your seam isn’t perfectly straight or you didn’t fill the stuffie evenly.
- Hair: You need 1 sheet of felt OR 1/4 yard of fleece or minky. Plus yarn for the long hair option.
- Bikini/Pants: 1 sheet of felt or scrap fabric of fleece, minky, really anything that doesn’t fray. OR you can use the files to cut heat transfer vinyl (HTV) for these pieces.
- Mermaid tail: 1/4 yard total if you want to use all the same fabric. Or 1/4 yard for main tail and 1/4 yard for both the top and bottom tail pieces.
- Pirate: You will need 1 sheet of felt for the hat. You can cut the eye patch from the same piece. OR you can use the files to cut HTV for the eye patch.
- Basic Sewing Tools: thread, pins, turning tool, optional embroidery floss and hand needle to embroider face OR HTV for face.
Let’s Get Started!
1/4″ seam allowances included.
Step 1: PREPPING
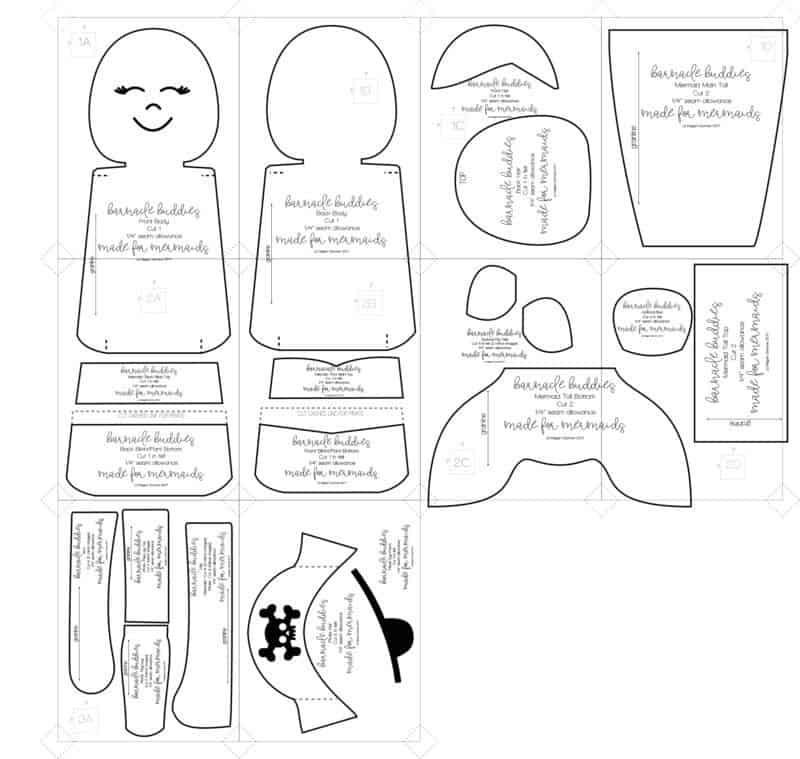
Go grab the pattern pieces and cut files HERE! The cut files include 3 different file types- SVG, DXF and PNG, so hopefully all cutting machines can use them. They will be in a zipped file, so you will need to extract or unzip them before loading them in your software. The pattern is 100% free, you do need to add it to your cart and check out. Then it will always be available to download from your account. The pattern is a no trim pattern; if you need help putting the pattern together, pop over to the faqs and troubleshooting page or ask in our Facebook group .
Print and assemble the pattern.
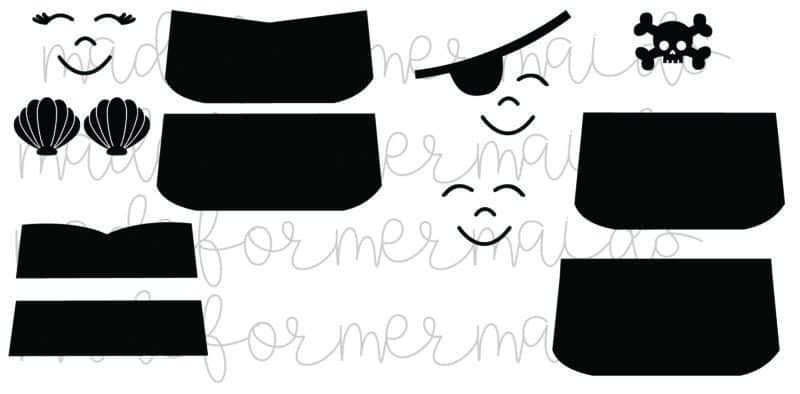
For all options you will need to cut 1 front body, 1 back body (back IS slightly wider than front), 1 front hair, 1 back hair, 4 arms (2 mirror images). If using HTV, cut your vinyl pieces as well. There are cutting pieces for the faces (with lashes, without lashes and face with eye patch), sea shell bikini top or normal bikini for mermaid, pant bottom and skull for the pirate hat.
MERMAID- Cut 4 legs (2 mirror images), front bikini (top and bottom) OR you can use the she shells cut file for the top of the bikini, cut 1 back bikini (top and bottom), cut 2 top tail, cut 2 main tail, cut 2 bottom tail and optional to make tail fuller, cut 1 bottom tail in batting.
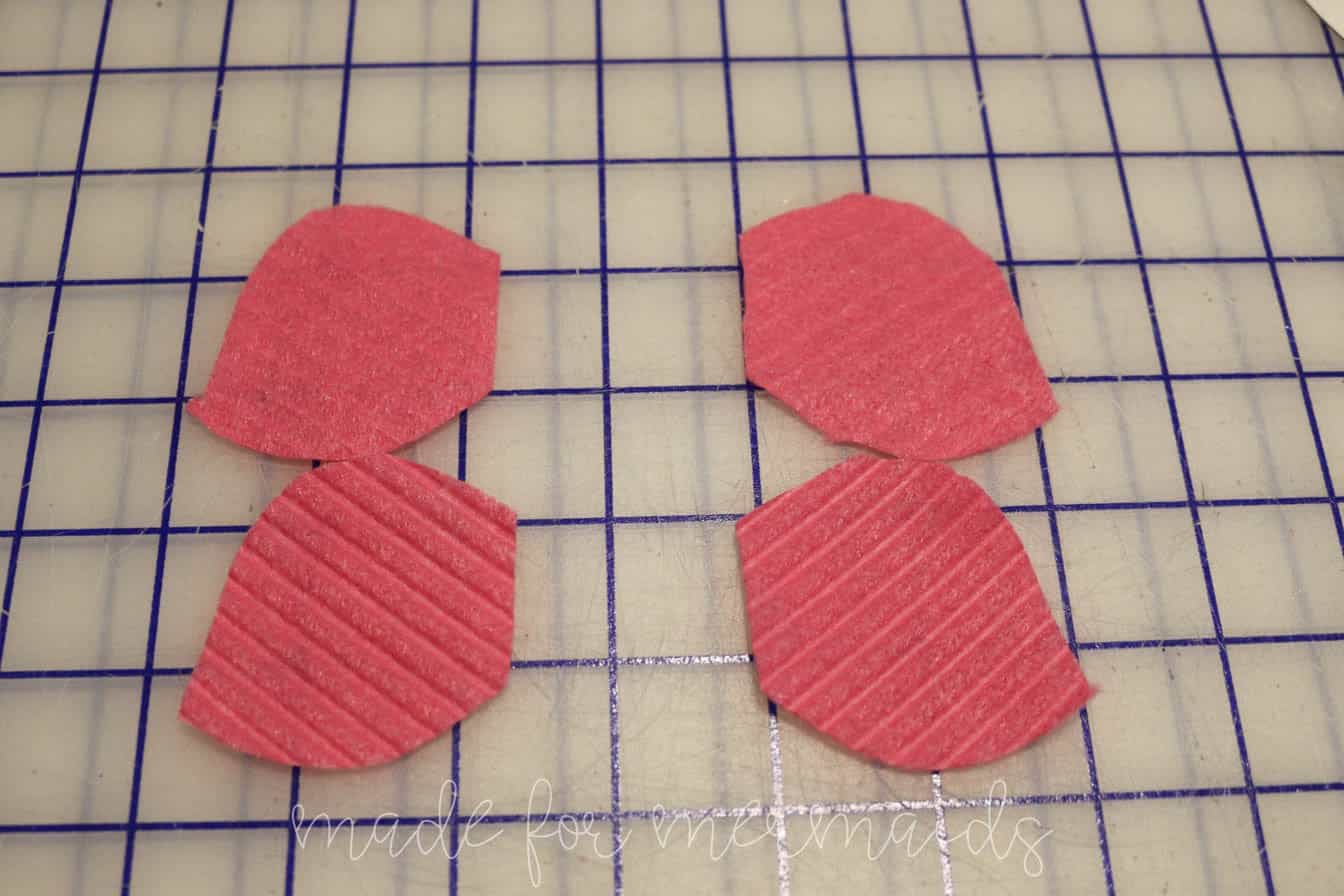
Choose which hairstyle you want for your doll- long yarn hair, pig tails or bun. For pig tails, cut 4 (2 mirror images) and for bun, cut 2. Yarn hair, we’ll cut later.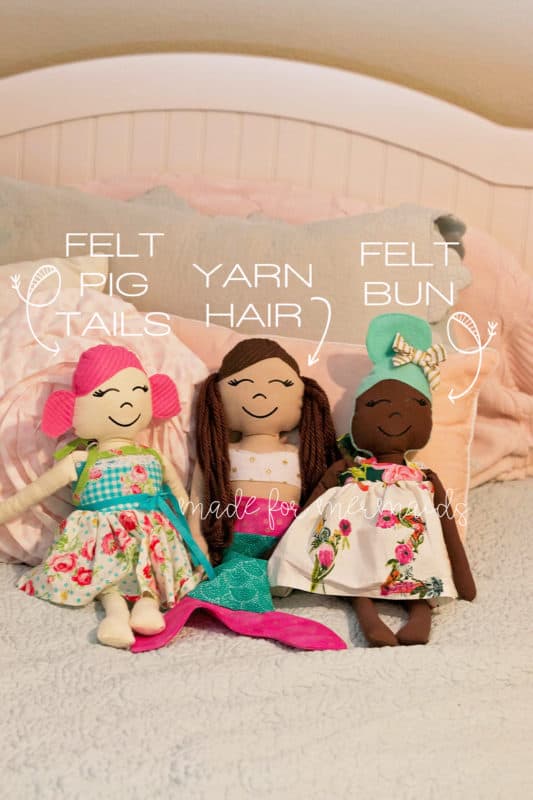
PIRATE- Cut 2 legs (mirror images), cut 2 top peg leg pieces (mirror images), 2 bottom peg leg pieces (mirror images), cut 1 front pant bottom, cut 1 back pant bottom, cut 2 hat pieces.
I know this may seem overwhelming, it’s all printed on the pattern though, so don’t fret 😉 . Print layout shown below. Cut files included shown below- 3 faces, shell bikini top, bikini top/bottom for front and back, pant front and back and skull.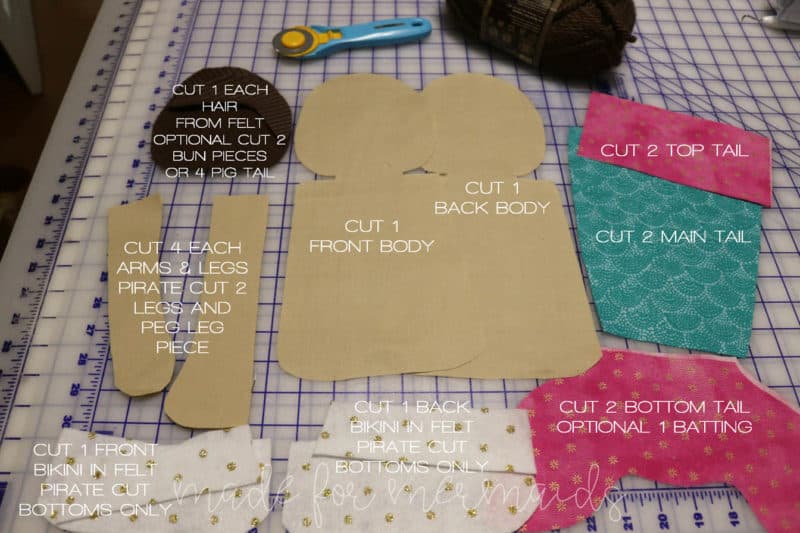
Step 2: FACE
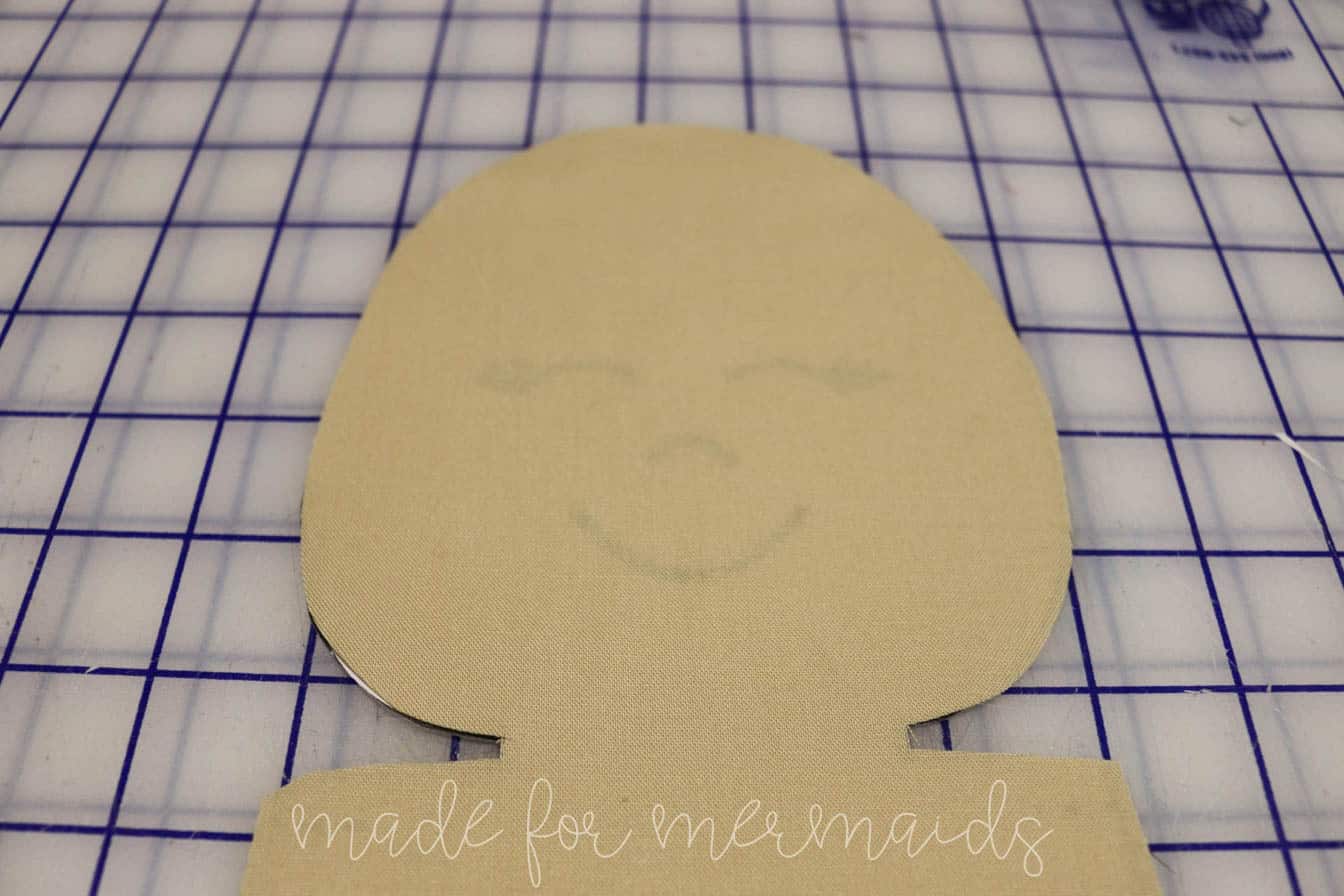
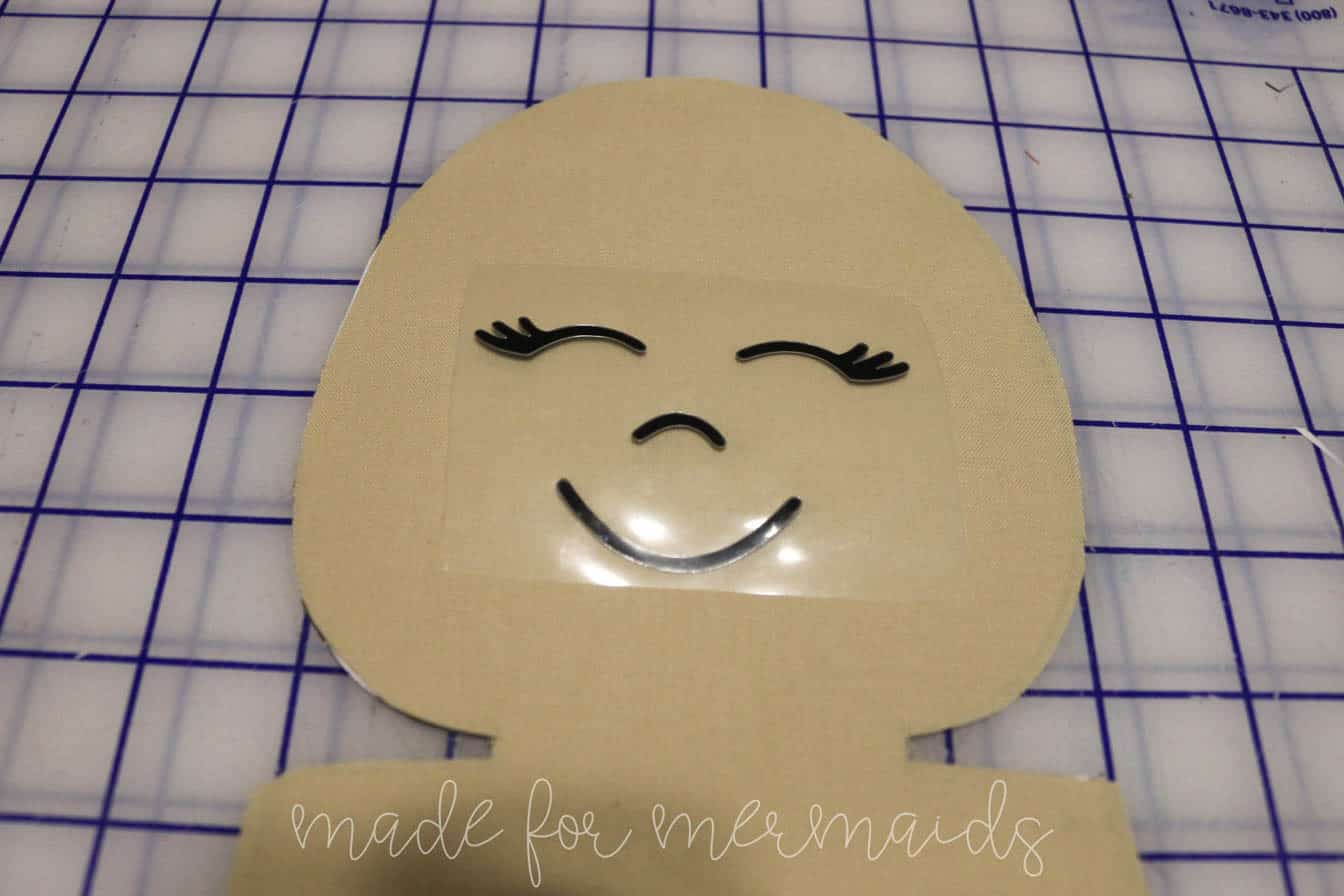
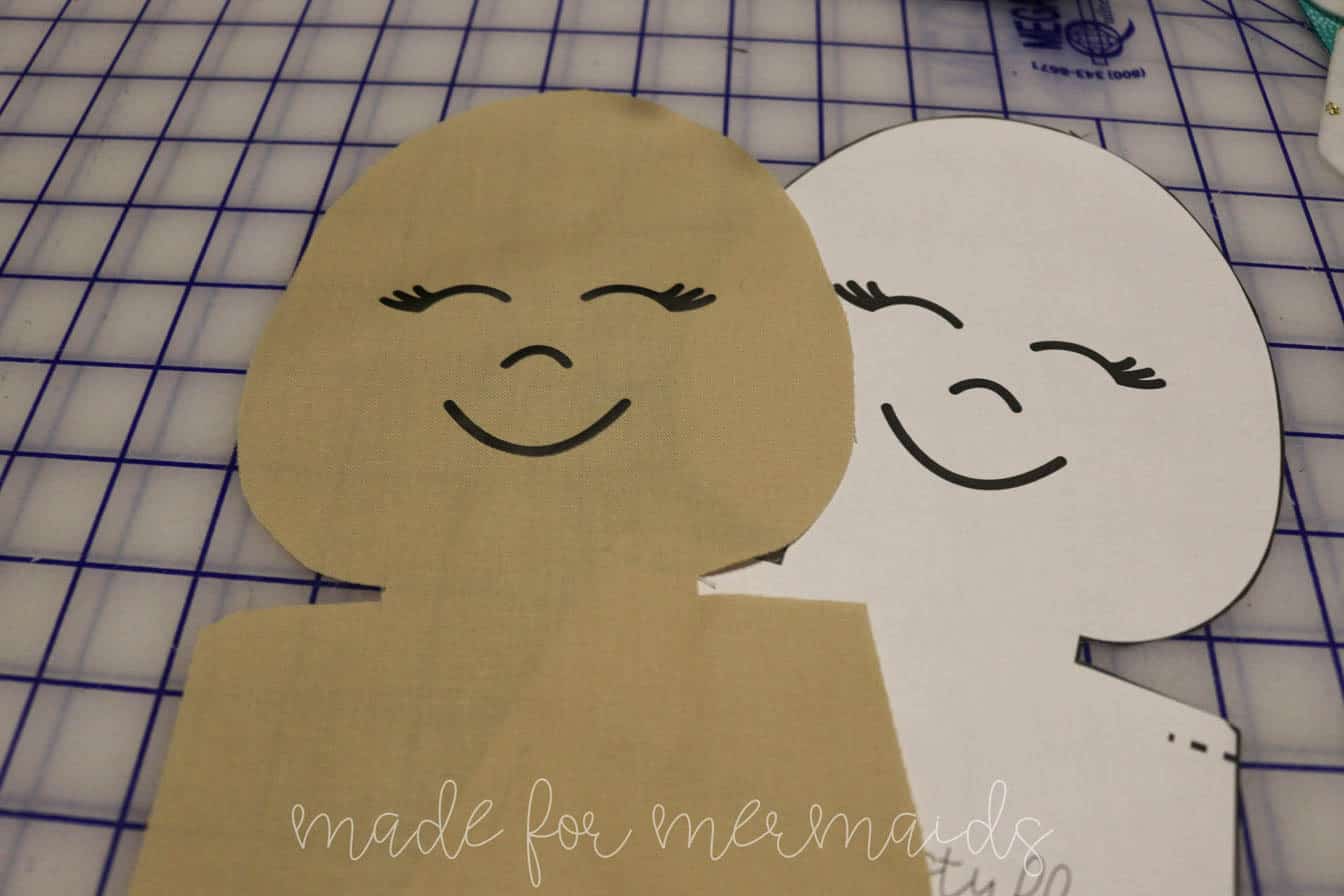
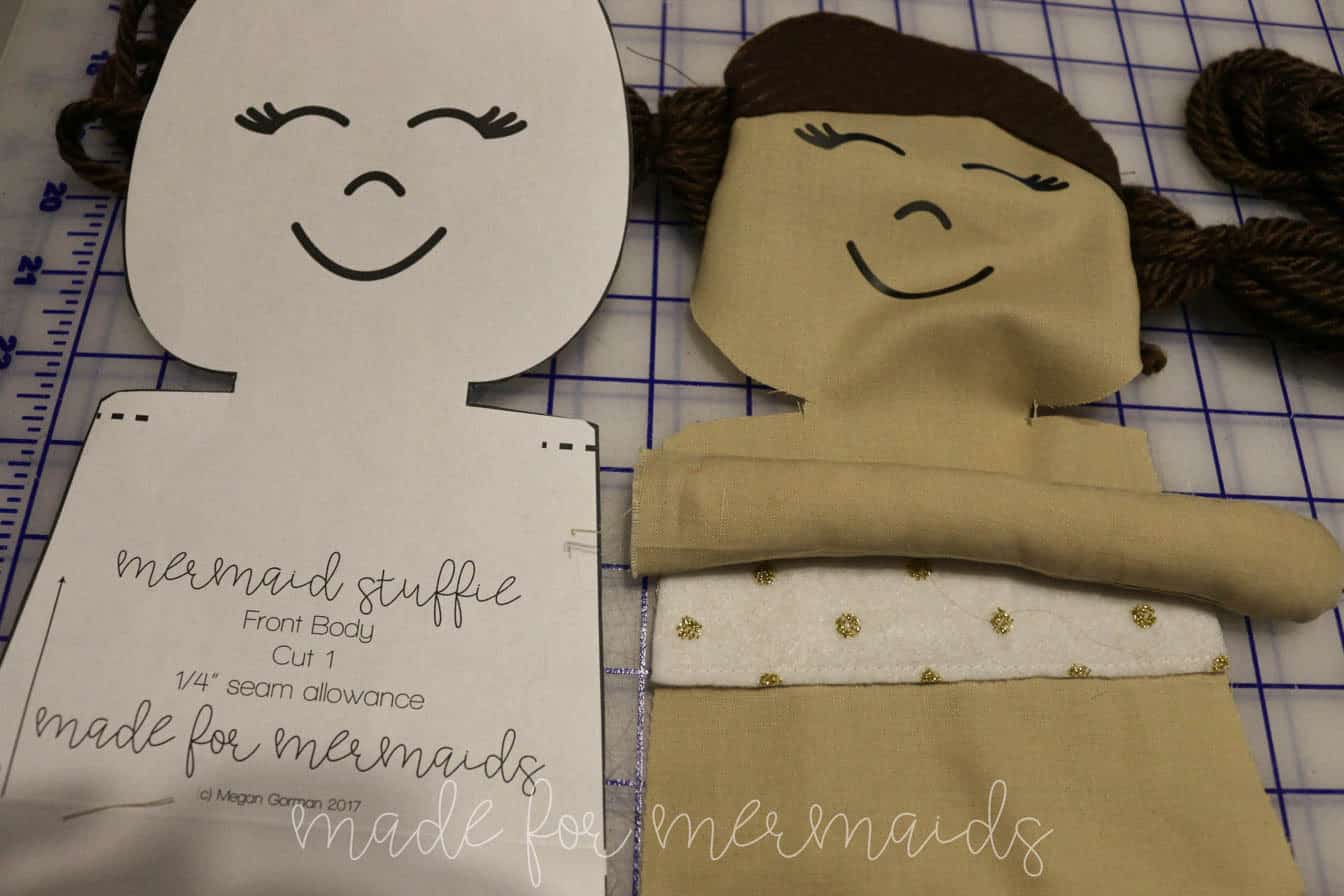
We need to add the face to our stuffie. Place the front body on top your pattern piece for face placement. You can either trace with an erasable pen and hand embroider with floss OR use HTV. If adding the sea shell bikini top, do so now.
PIRATE- Wait until after the next step before applying the face and eye patch.
Step 3: FELT PIECES
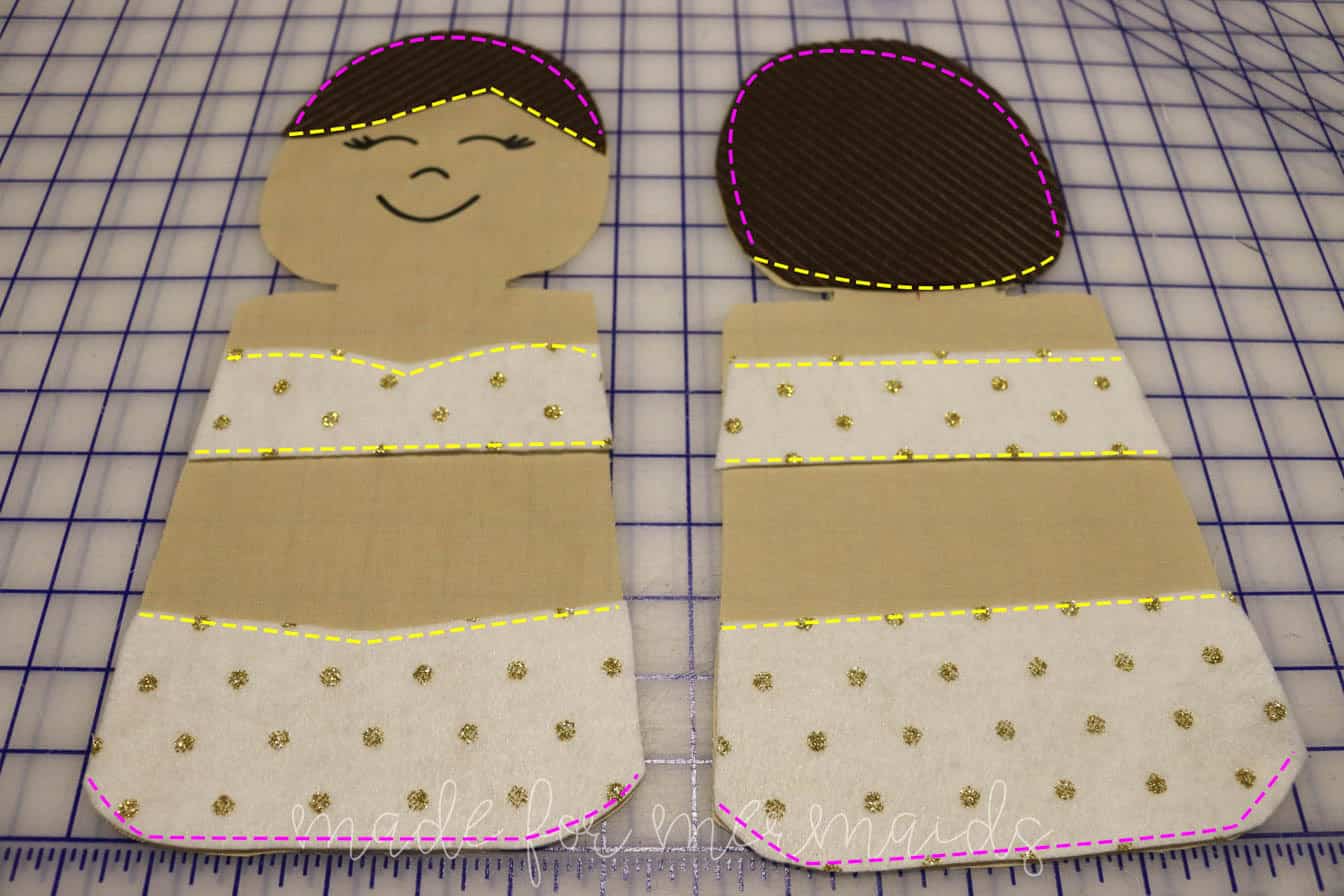
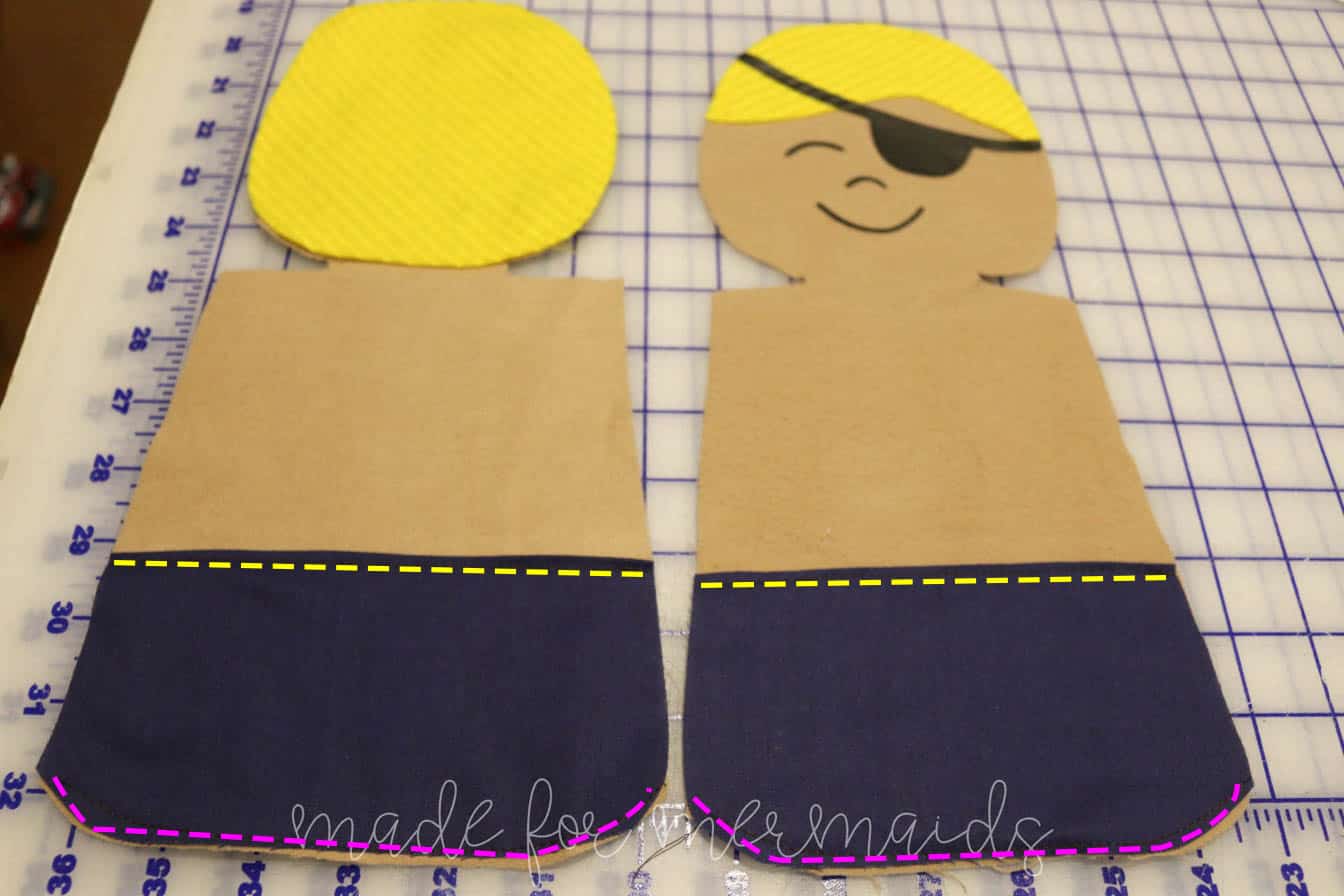
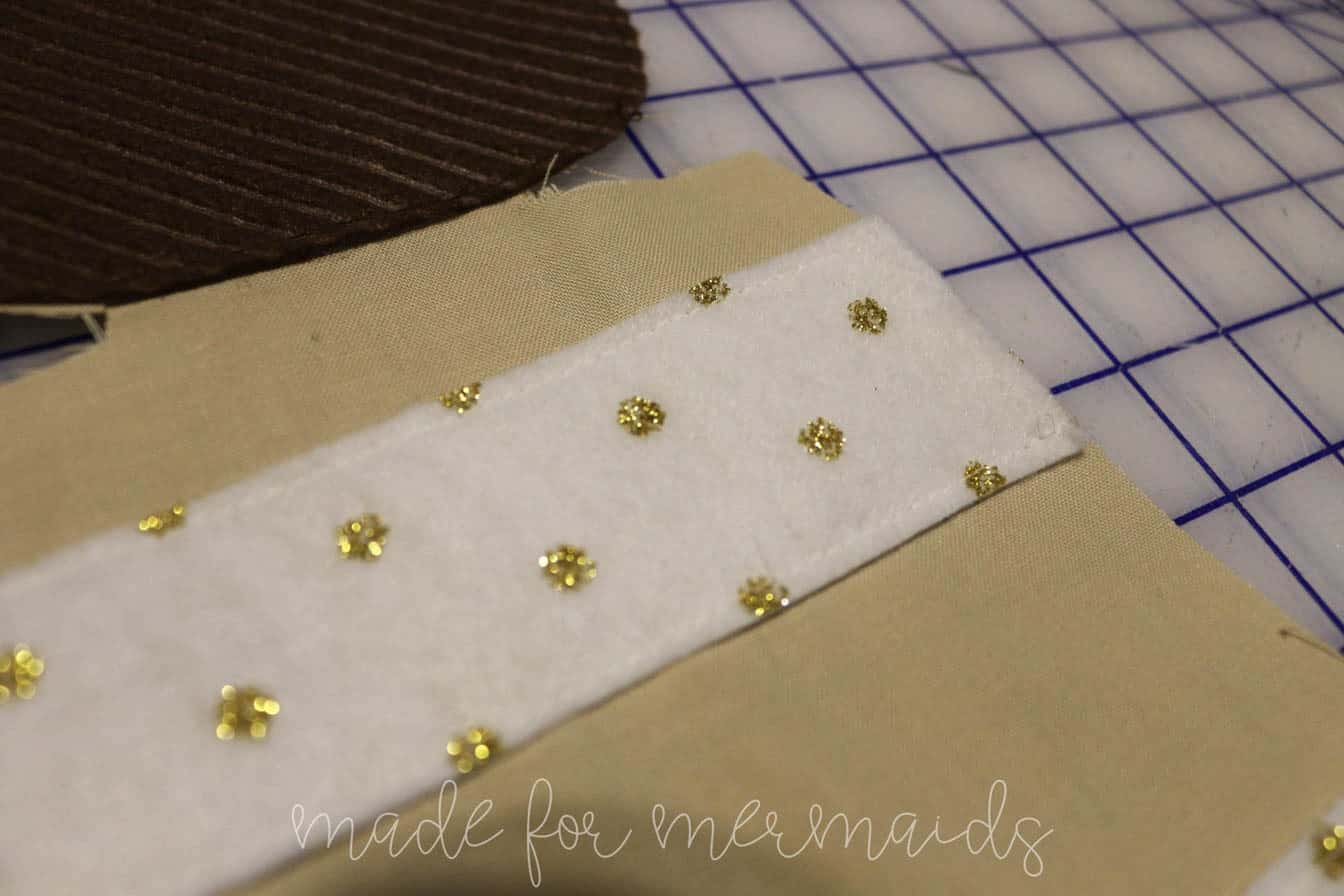
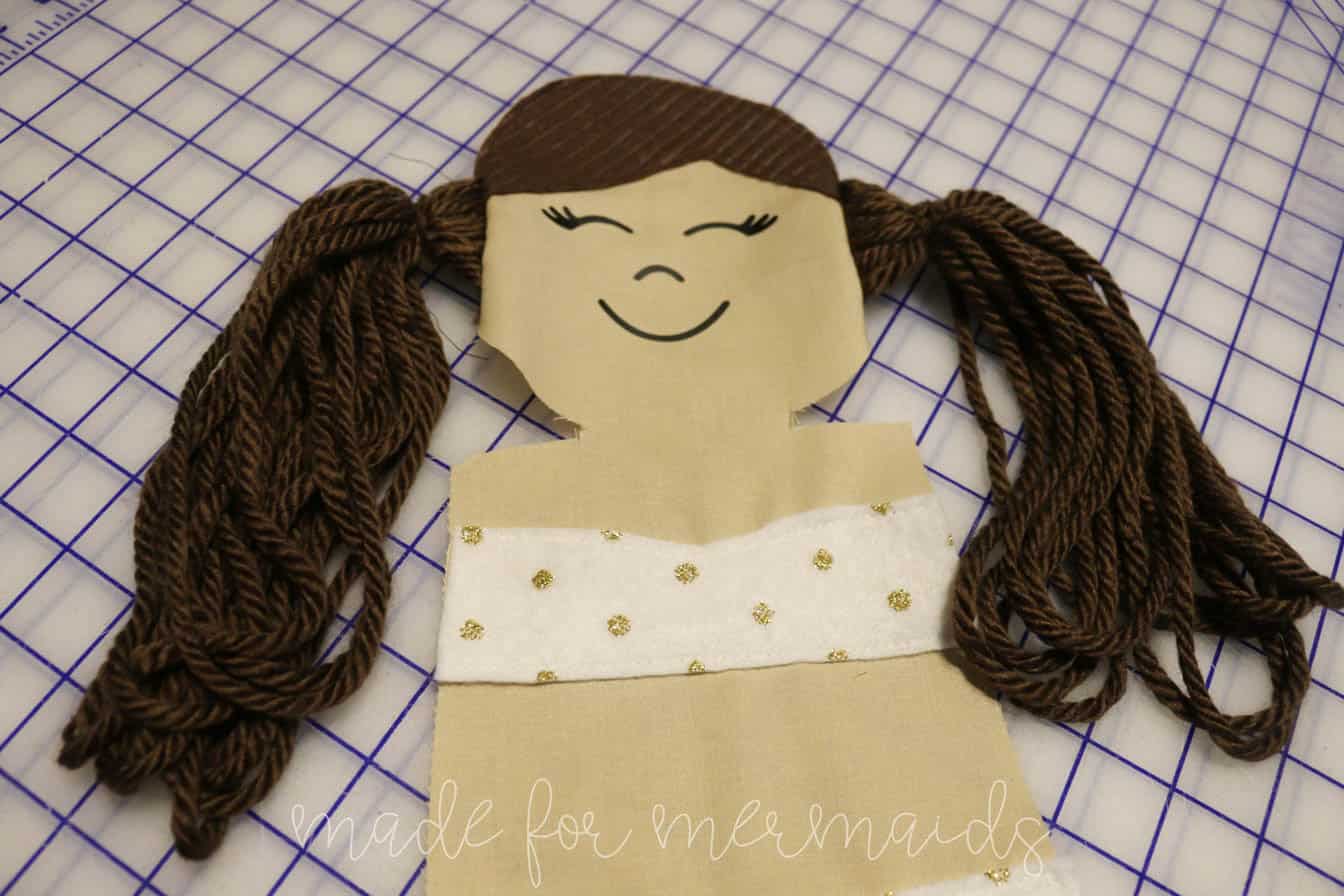
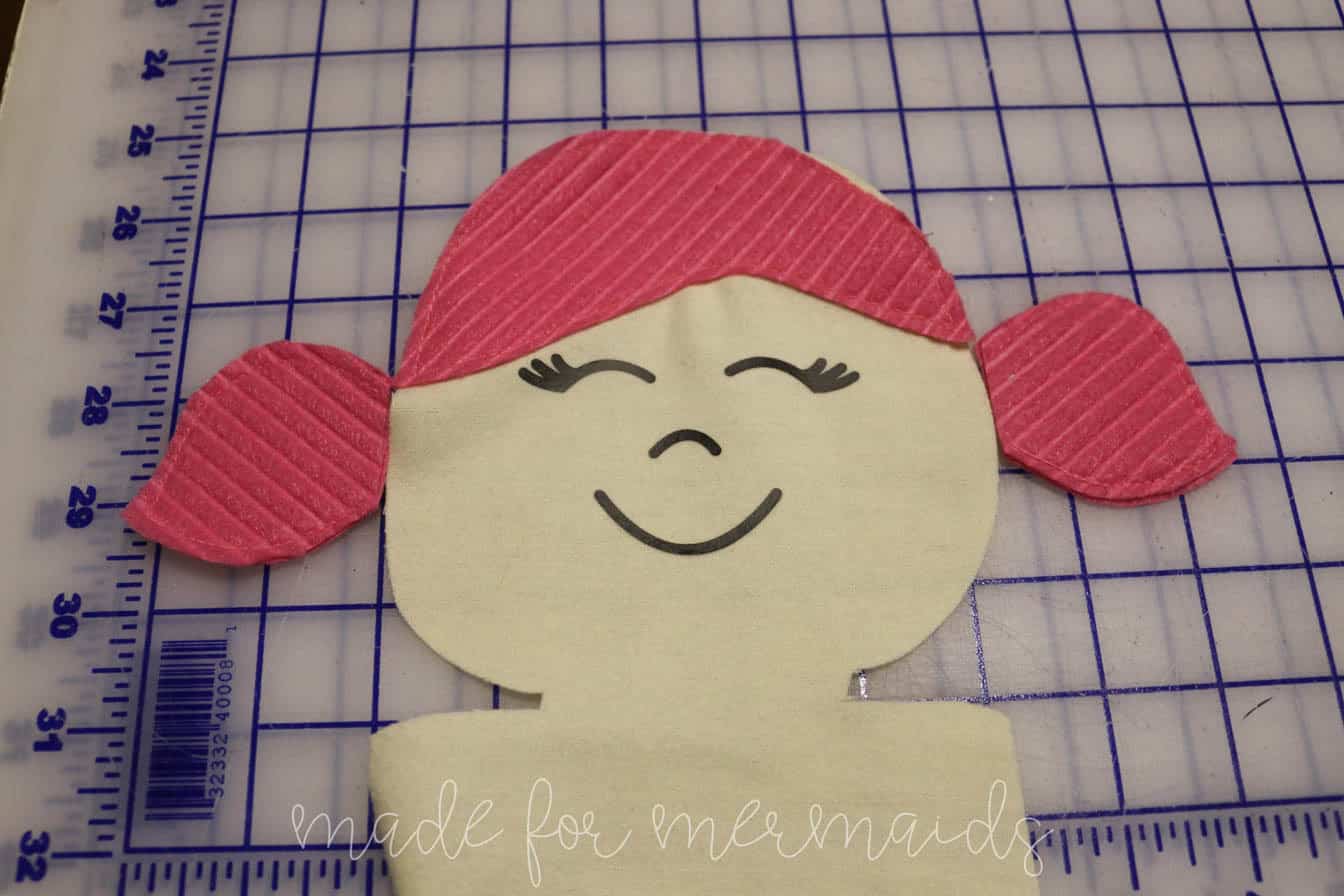
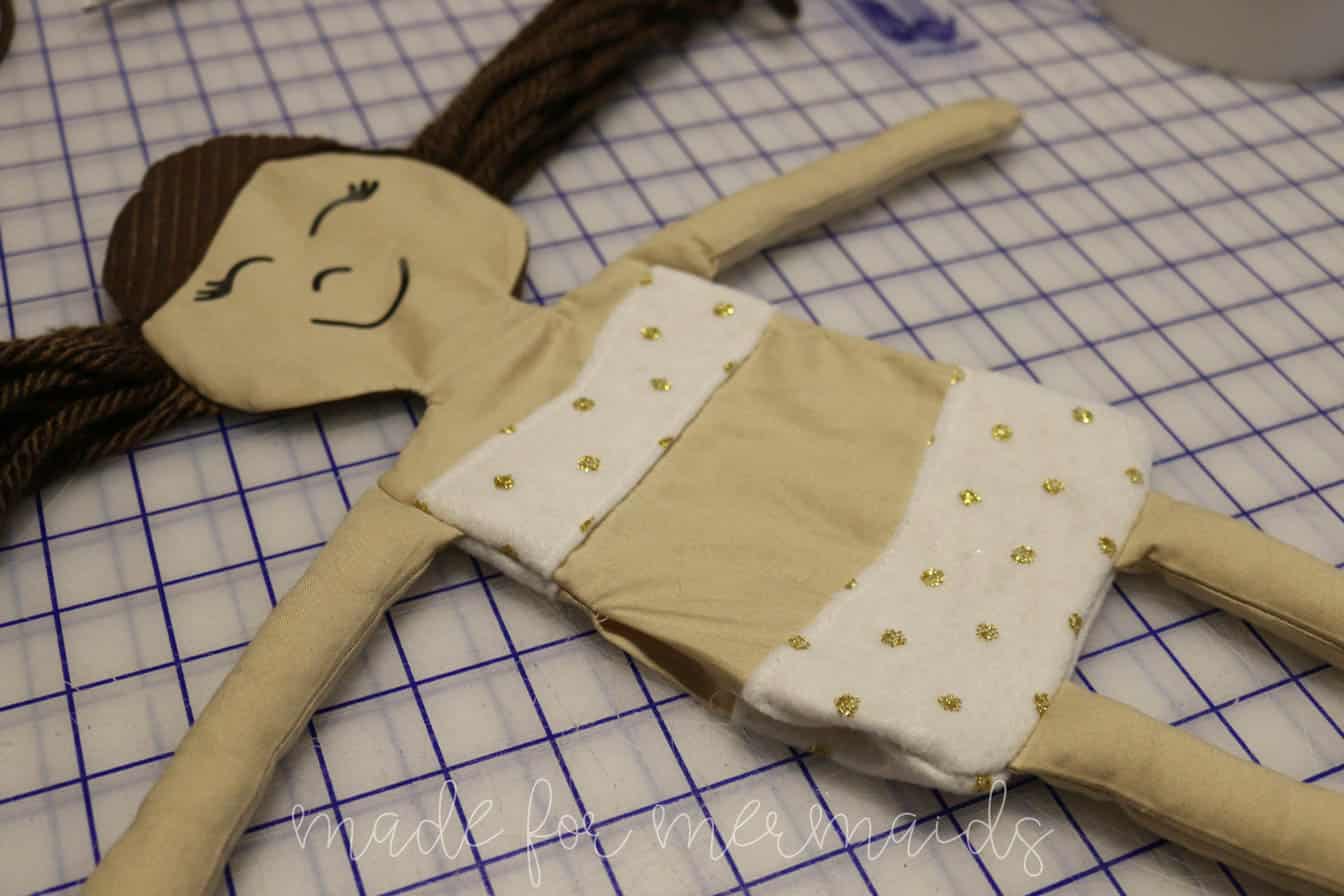
Lay your felt hair and bikini/pant pieces on the doll. Pieces should fit perfectly on the body. Topstitch 1/8″ from edge to hold pieces in place. You will see the topstitching in YELLOW when the doll is complete and PINK will be hidden in the seams.
PIRATE- After you topstitch pieces, place HTV or felt eye patch.
Step 4: HAIR- PIRATE SKIP TO STEP 5
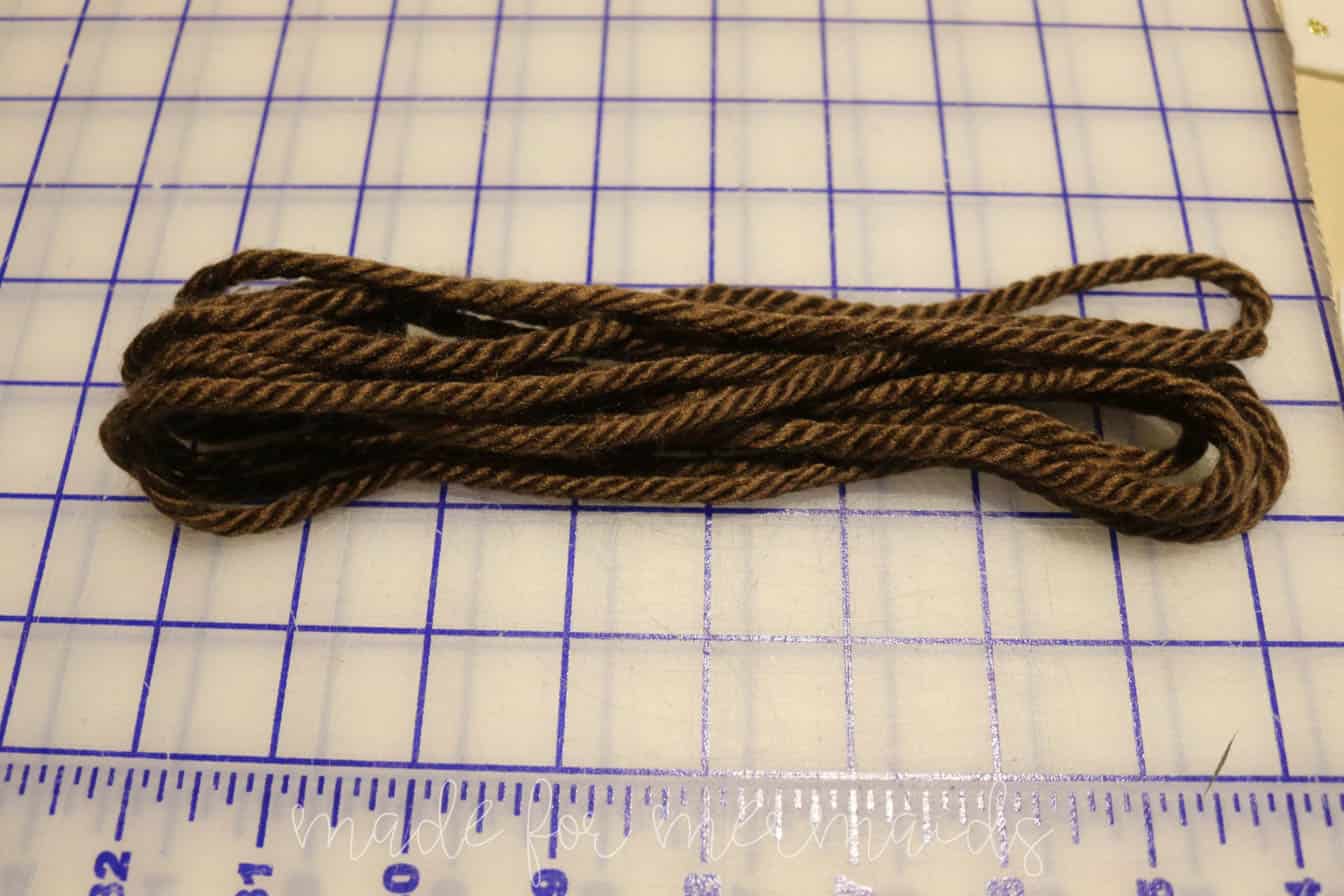
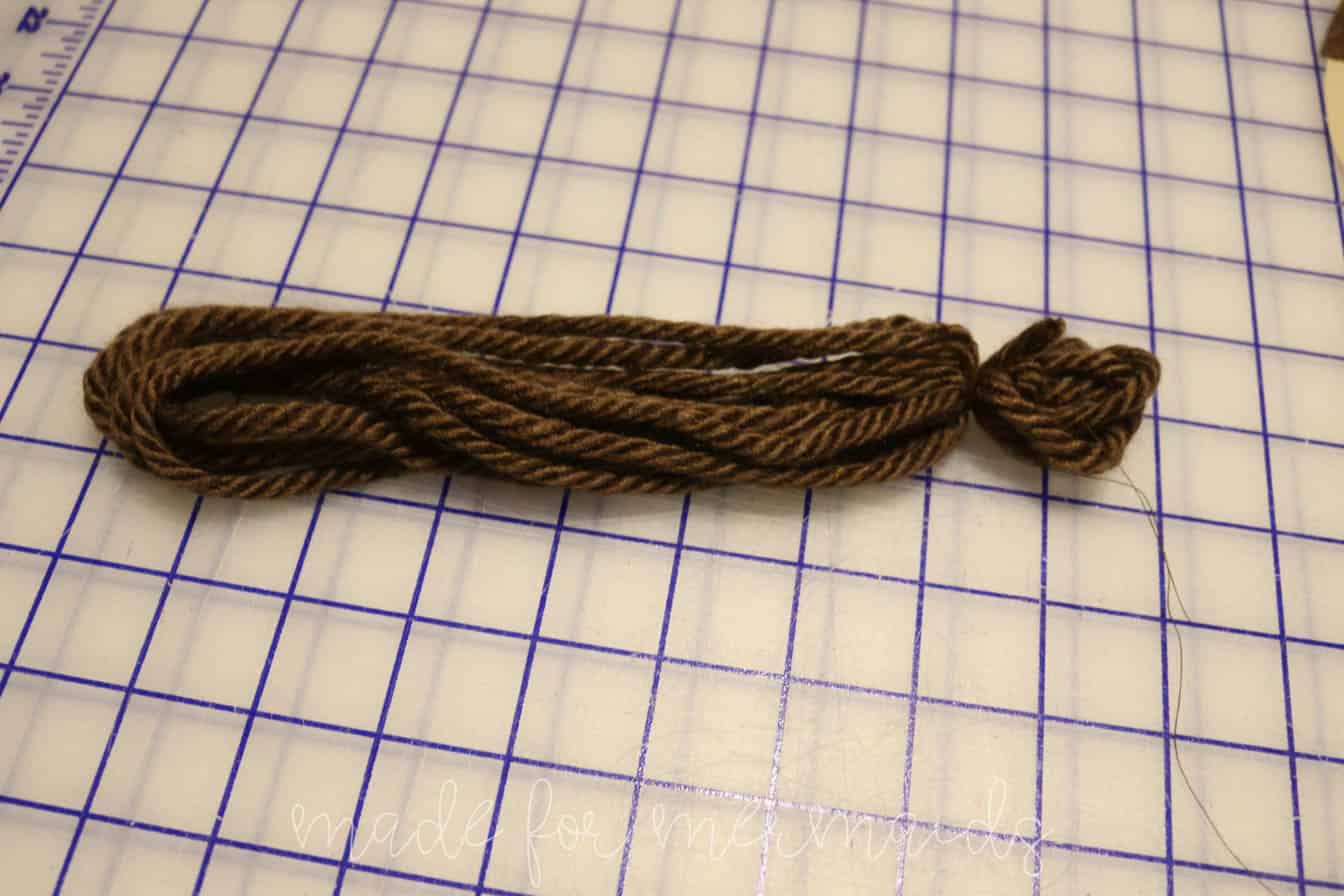
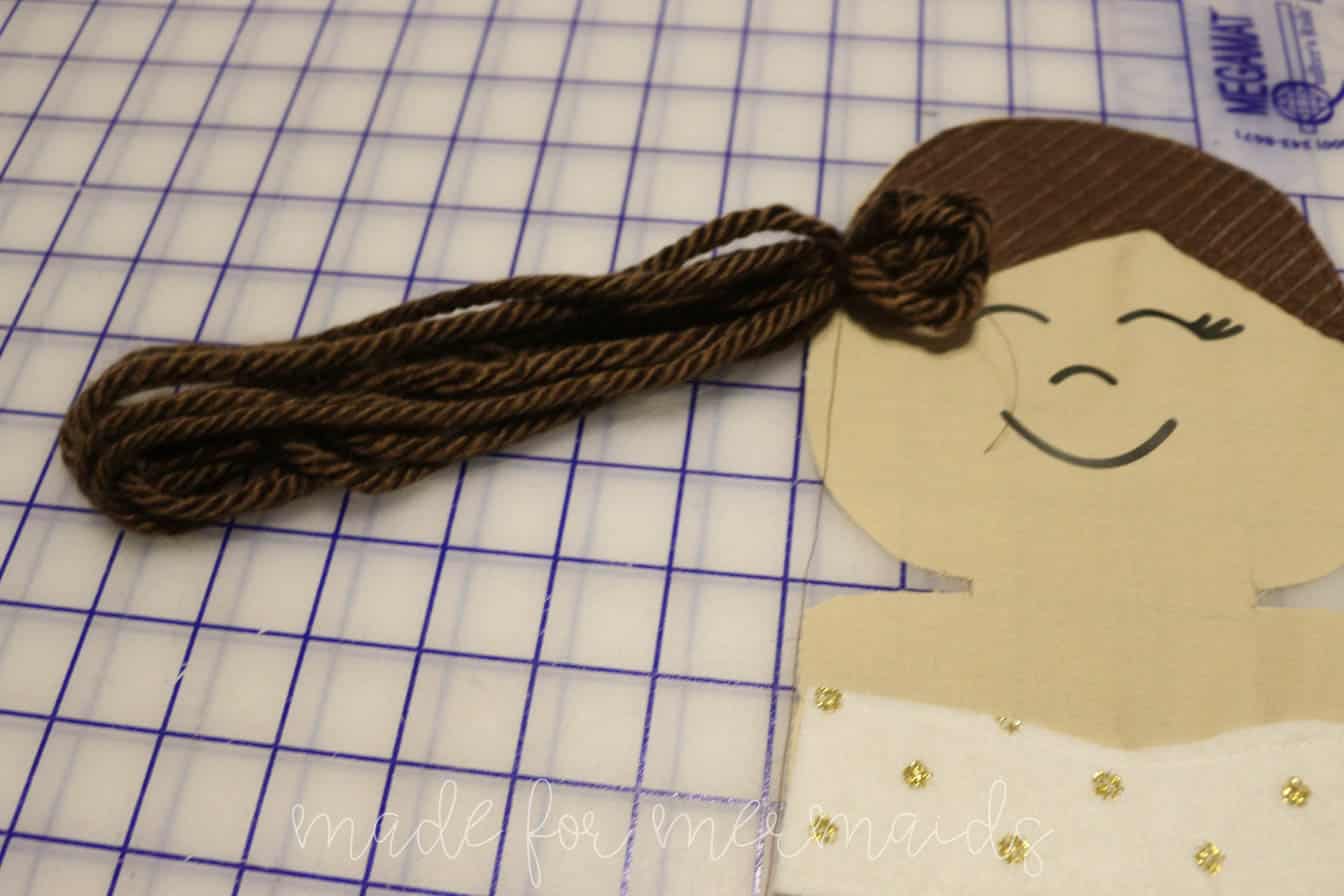
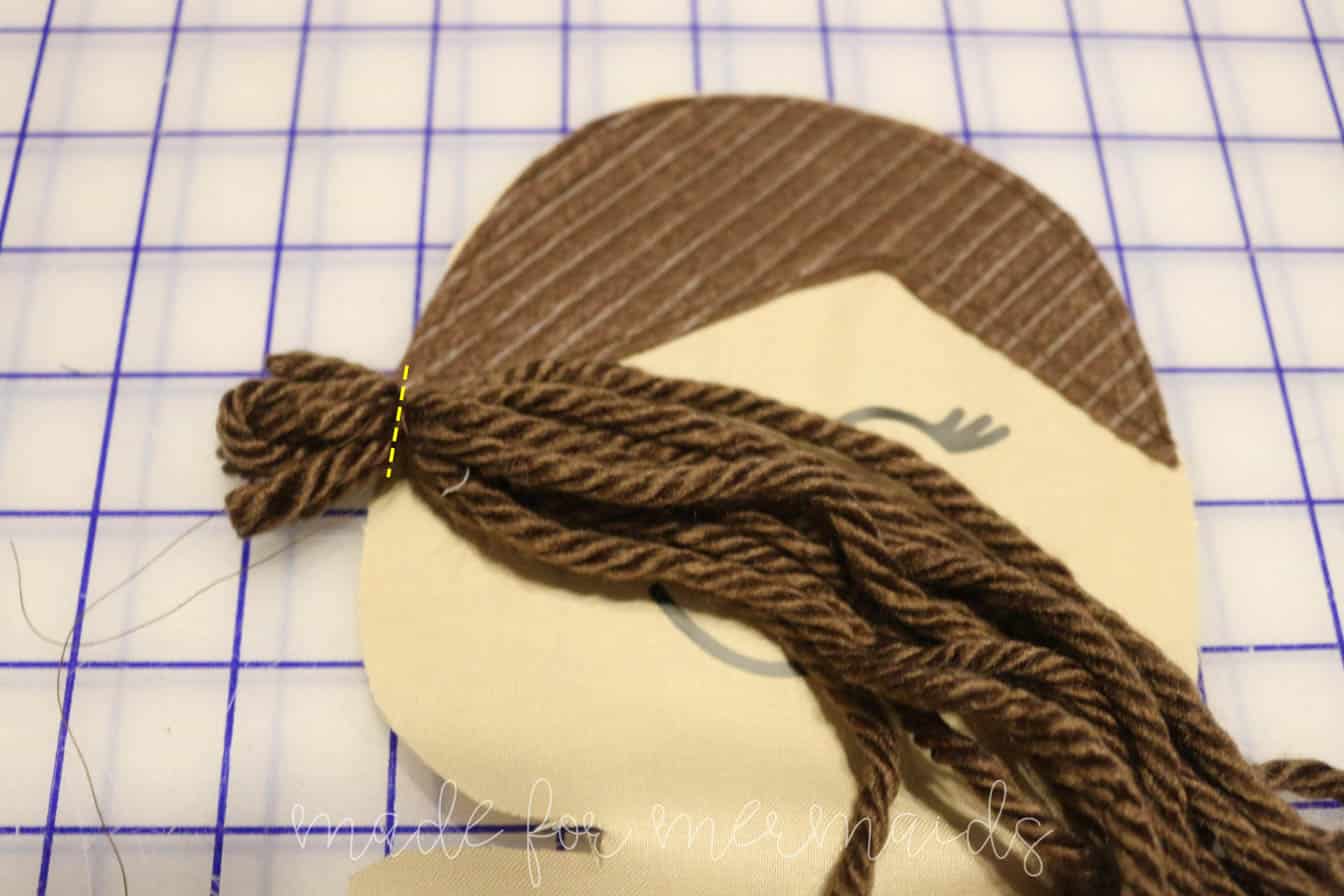
Yarn Hair- Decide how long you want the hair pig tails and cut to length. I like to wrap it several times and cut the ends when I’m completely finished. I use thread to wrap and hold the hair in place during construction, then I remove once finished. Baste yarn hair in place on each side.
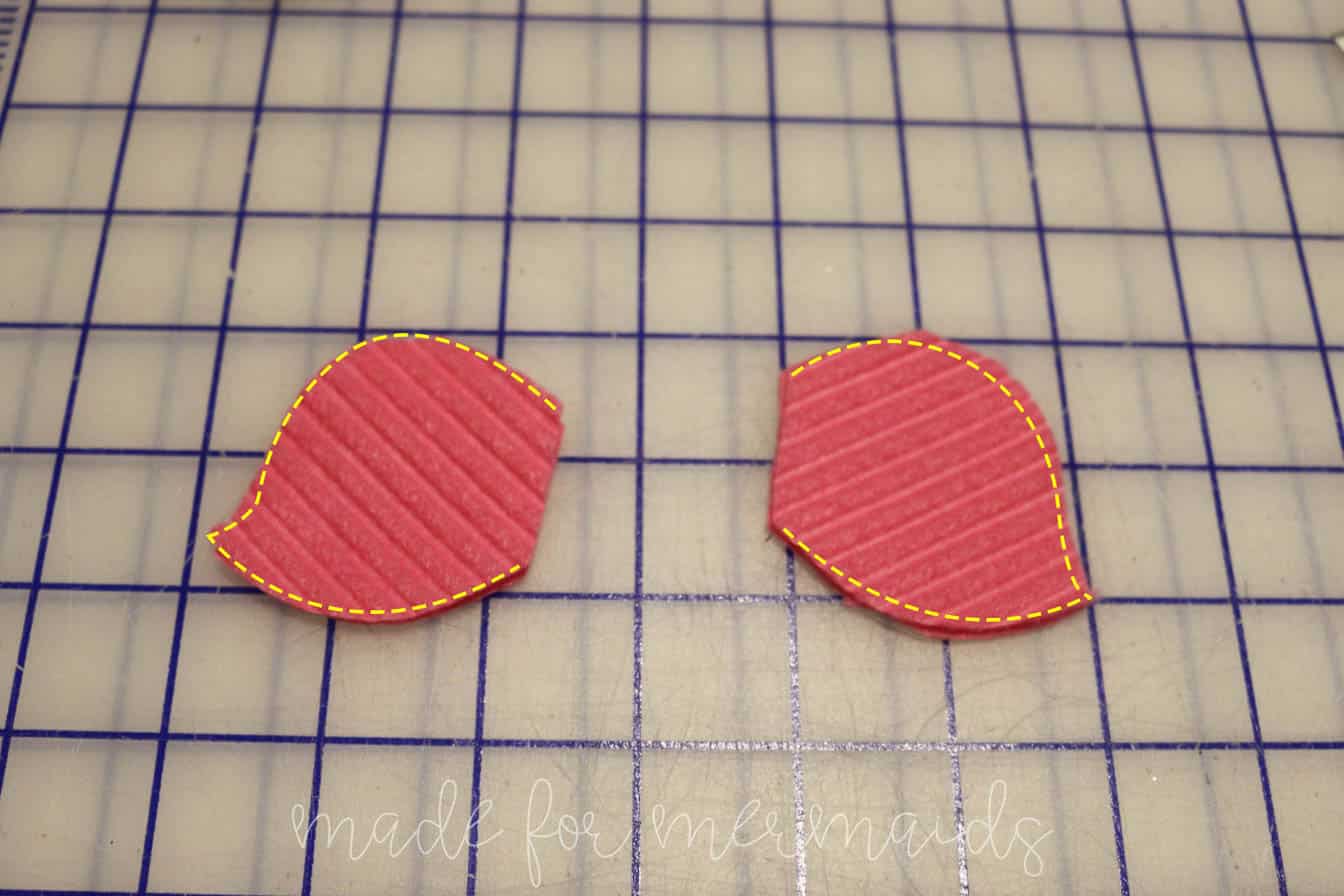
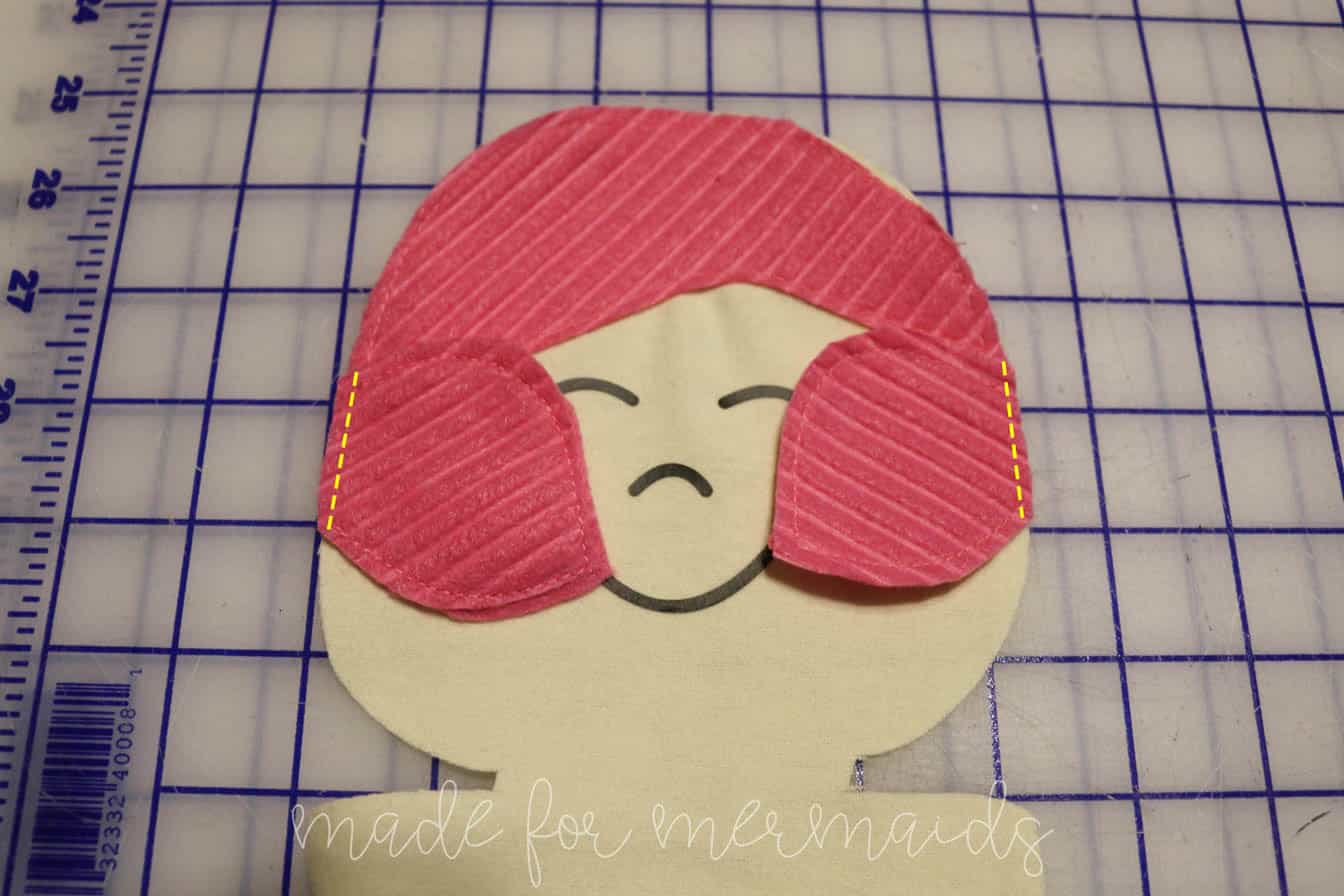
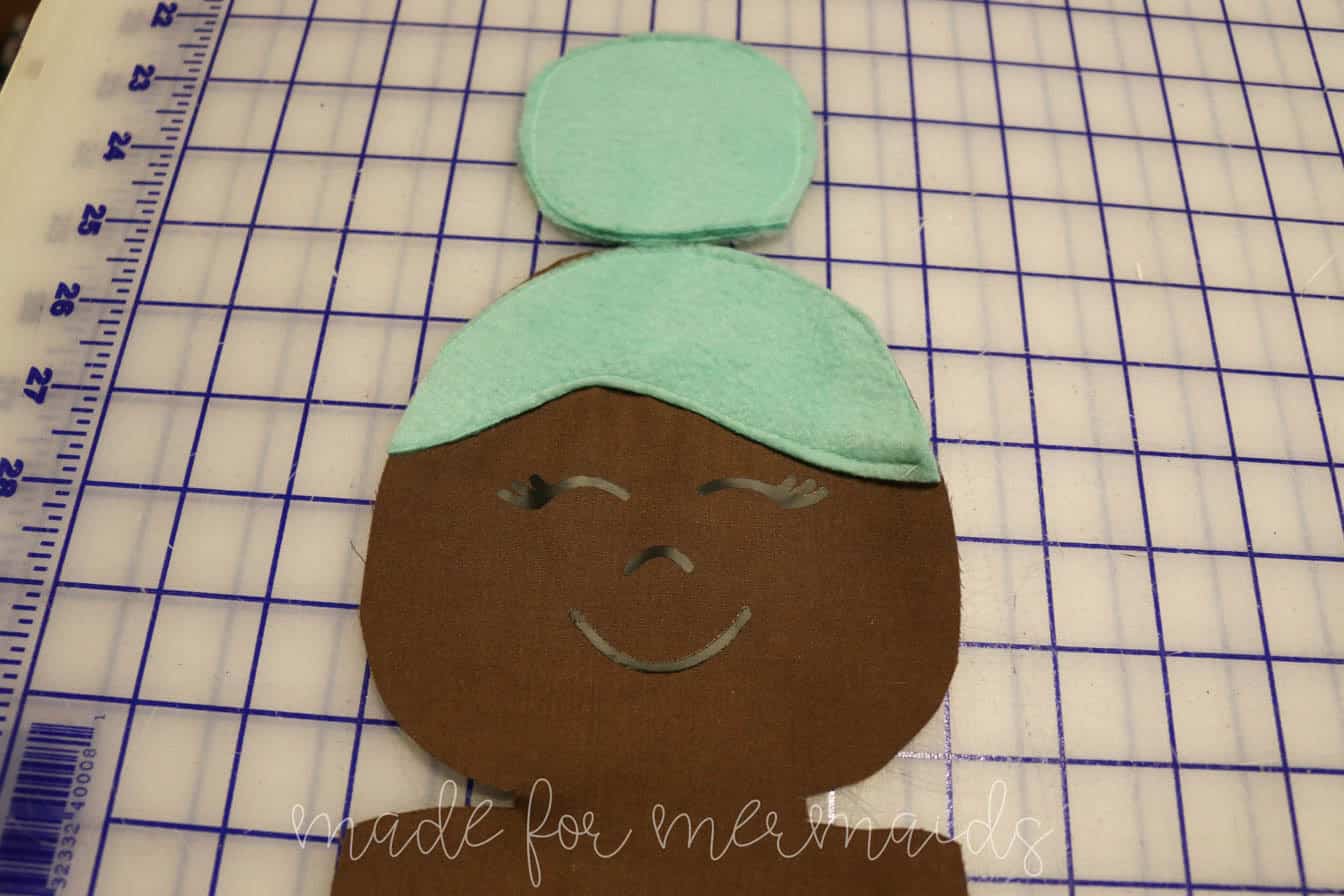
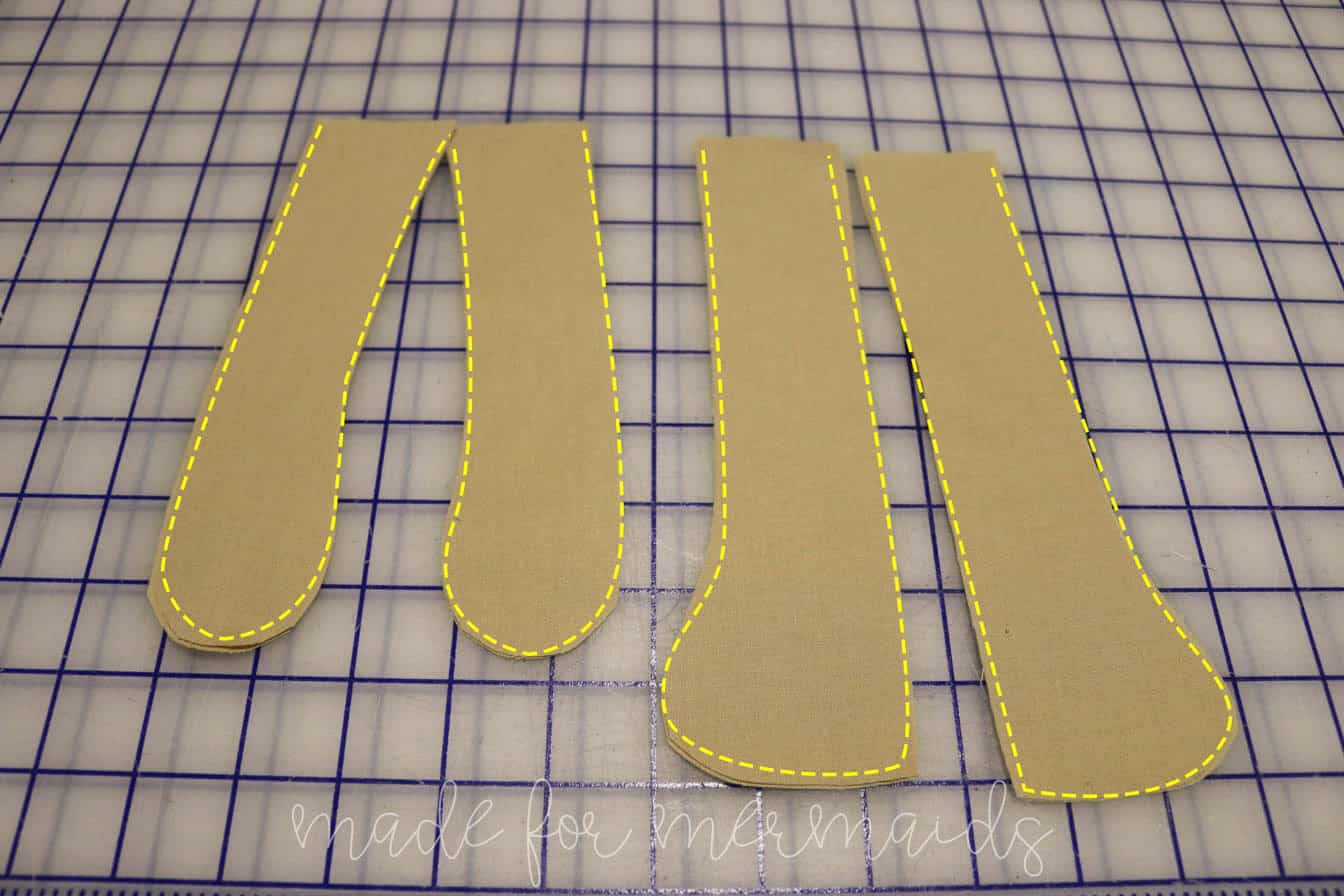
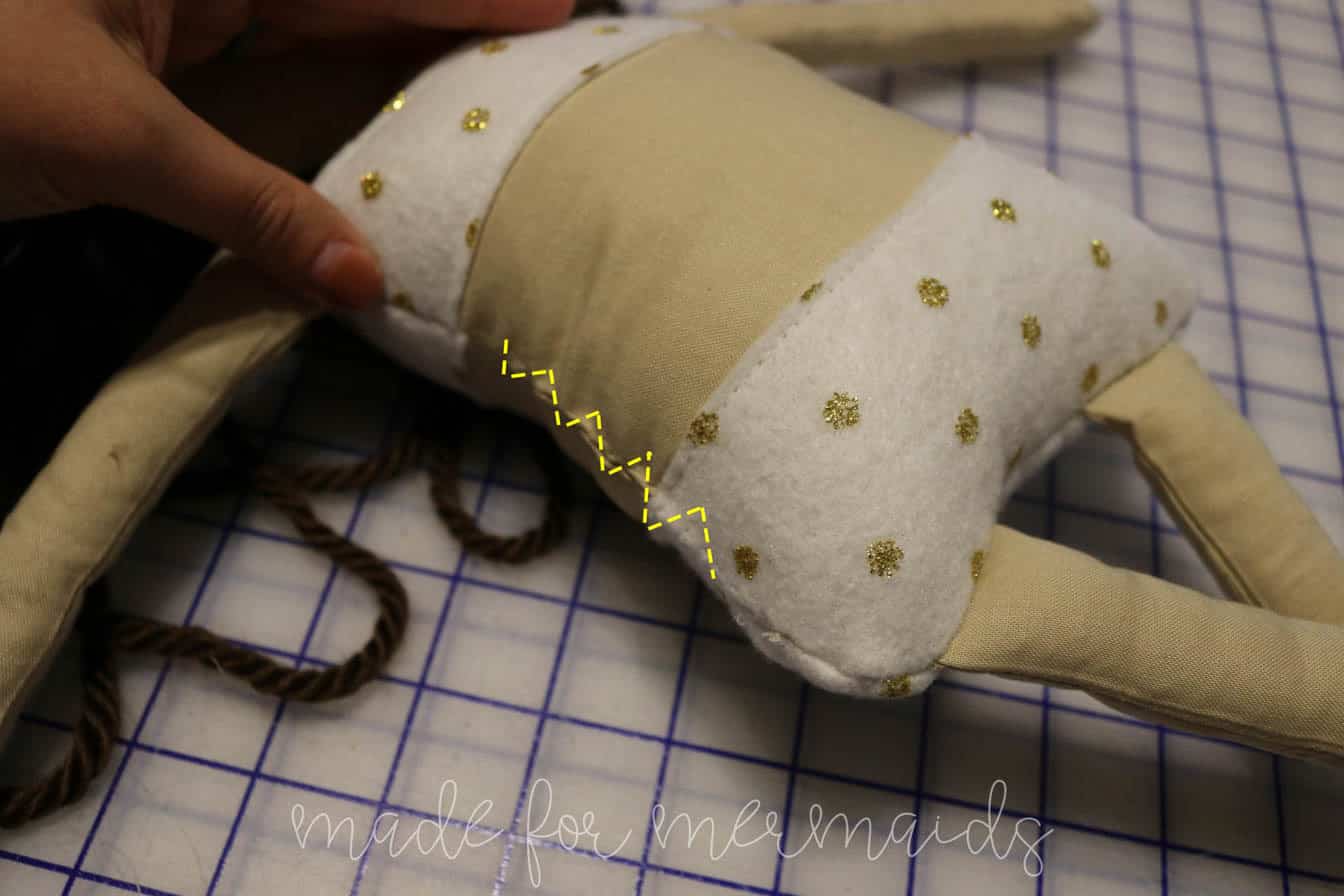
Felt hair- Place WRONG sides together and stitch 1/8″ around sides in YELLOW below. NOTE- If you’re using a fabric that frays, you will need to stitch RIGHT sides together, then flip right sides out. Your finsihed pig tails or bun will be slightly smaller.
Pig tails are placed directly under front felt hair line. Bun is place in the center top of head. Baste hair piece/s in place RIGHT sides together.
Step 5: ARMS & LEGS
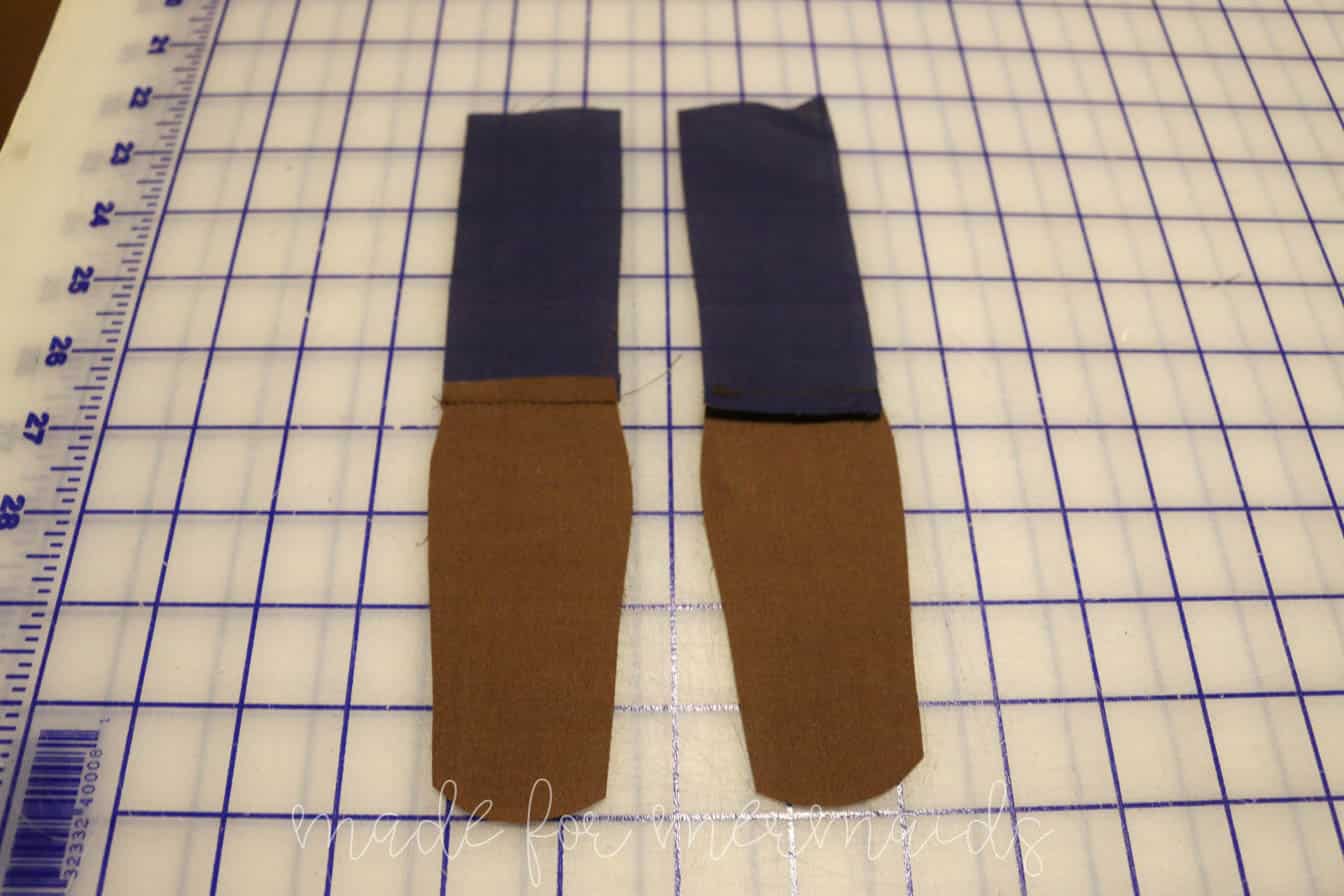
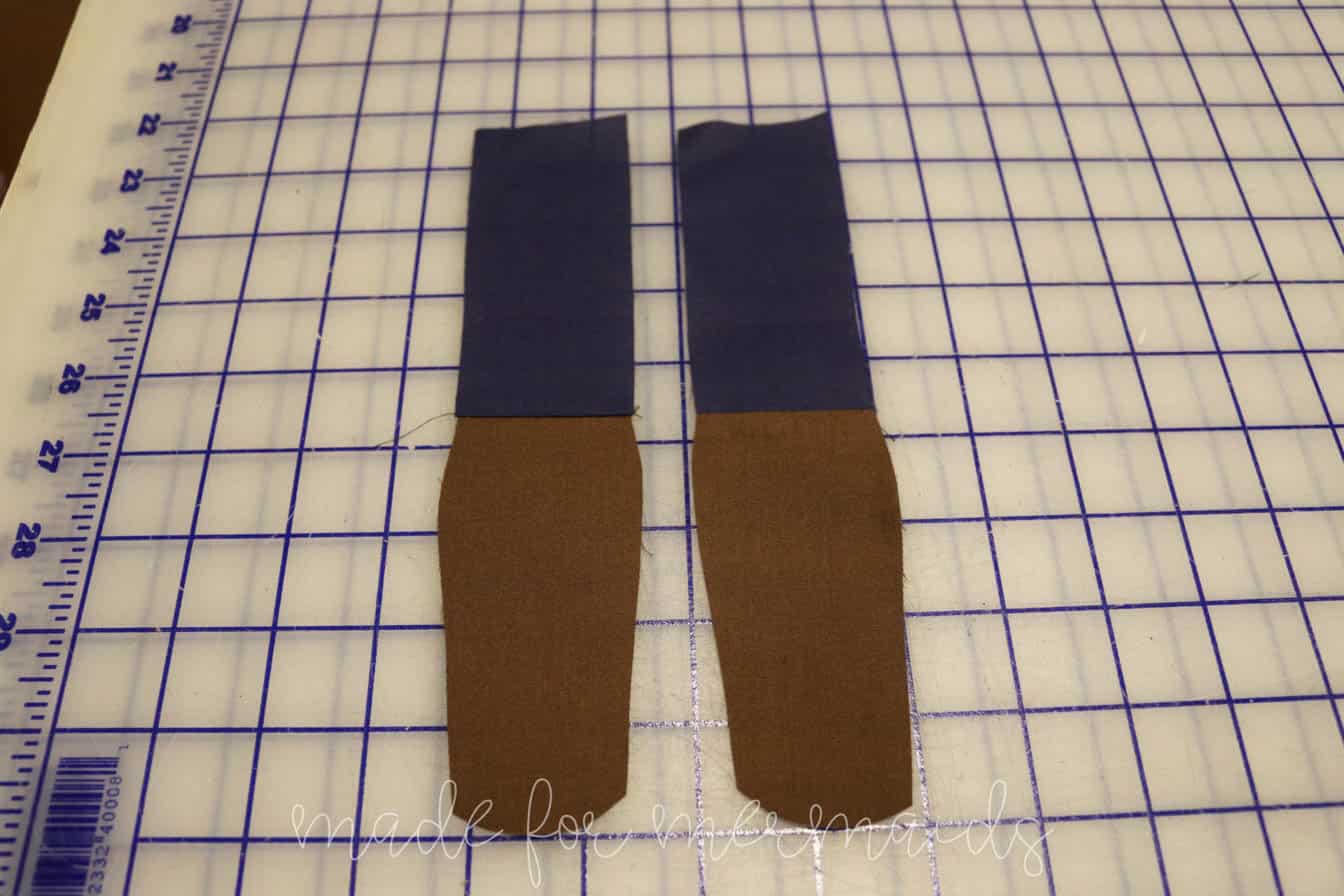
PIRATE- First you need to piece your peg leg. With RIGHT sides together, stitch bottom peg leg to top of peg leg. Repeat with other pieces. Press seam toward the top on one piece and the bottom on the other piece. This will make it easier to stitch together later. Now treat the peg leg as a normal leg.
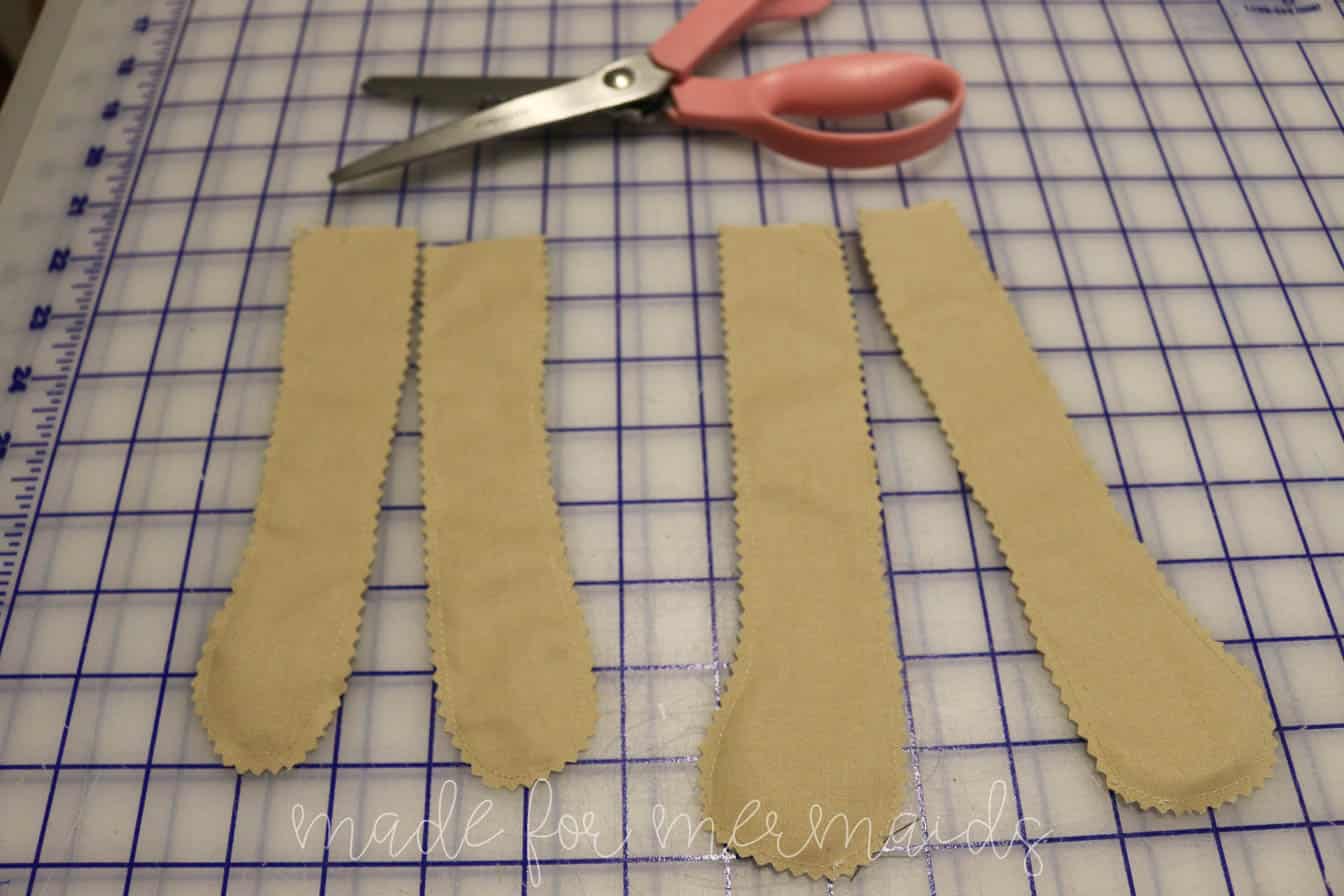
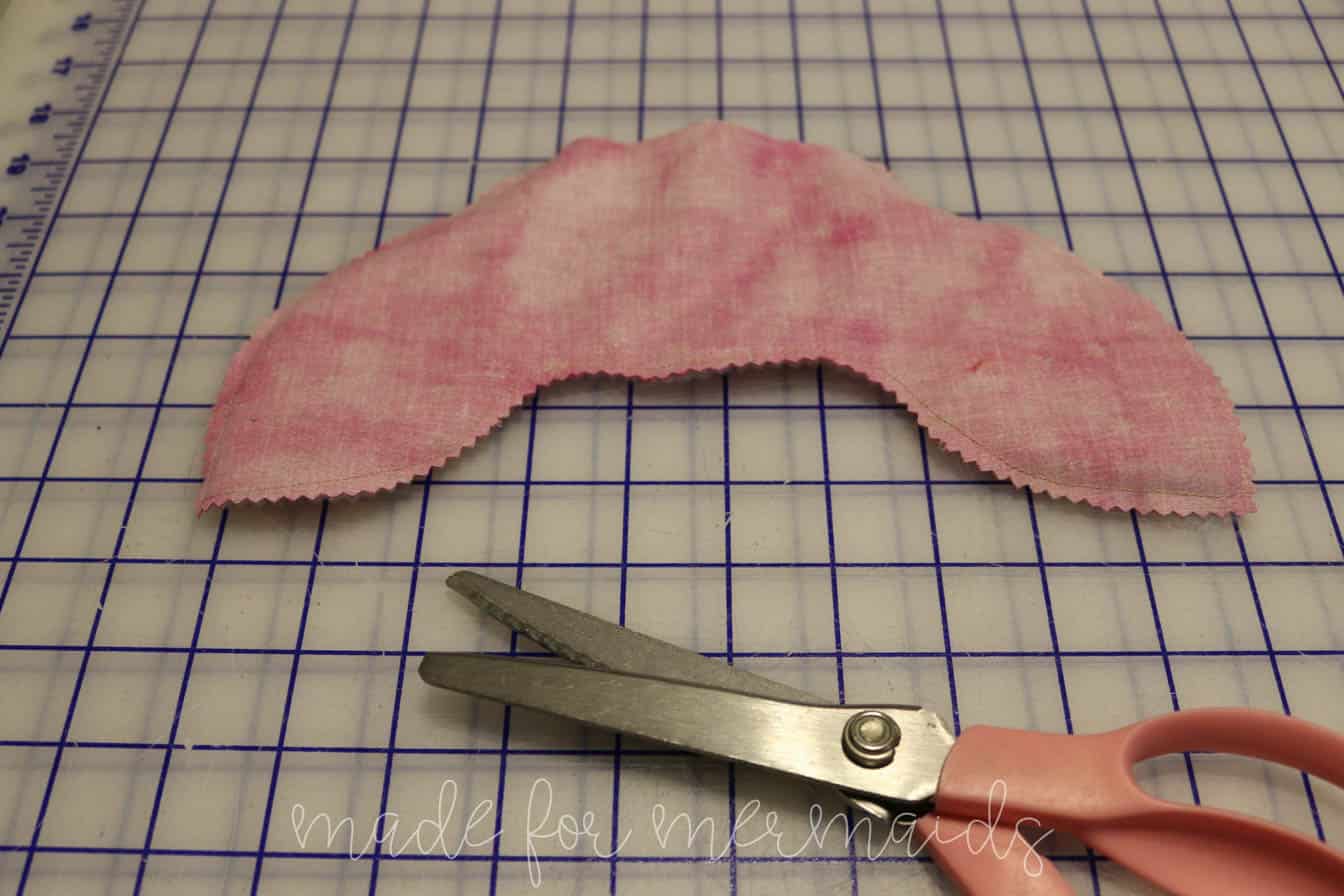
ALL OPTIONS CONTINUE– With RIGHT sides together, stitch 2 legs together with a 1/4″ seam. Repeat on all limb pieces. Use pinking shears to clip and trim seam. Flip and press right sides out.
Stuff all pieces. DO NOT over stuff or your arms will stick straight out (ask how I know). You want the most amount of stuffing at the end of the arm/leg. Leave the top 1″ almost empty.
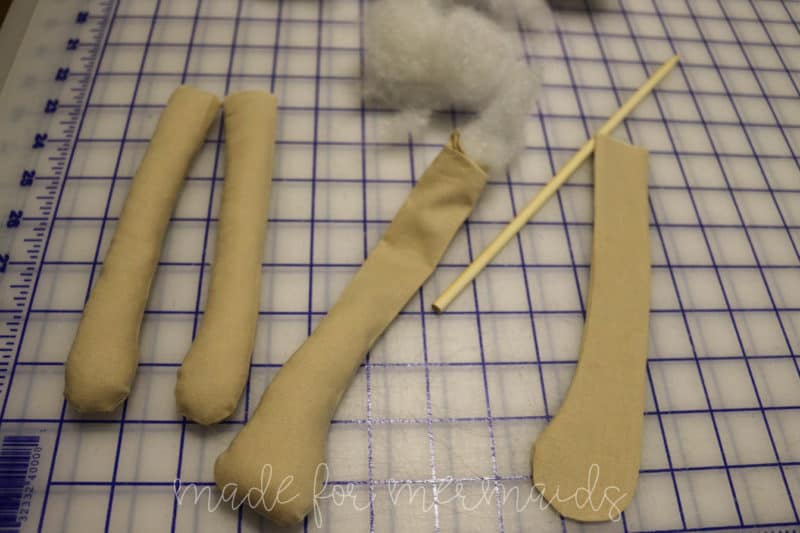
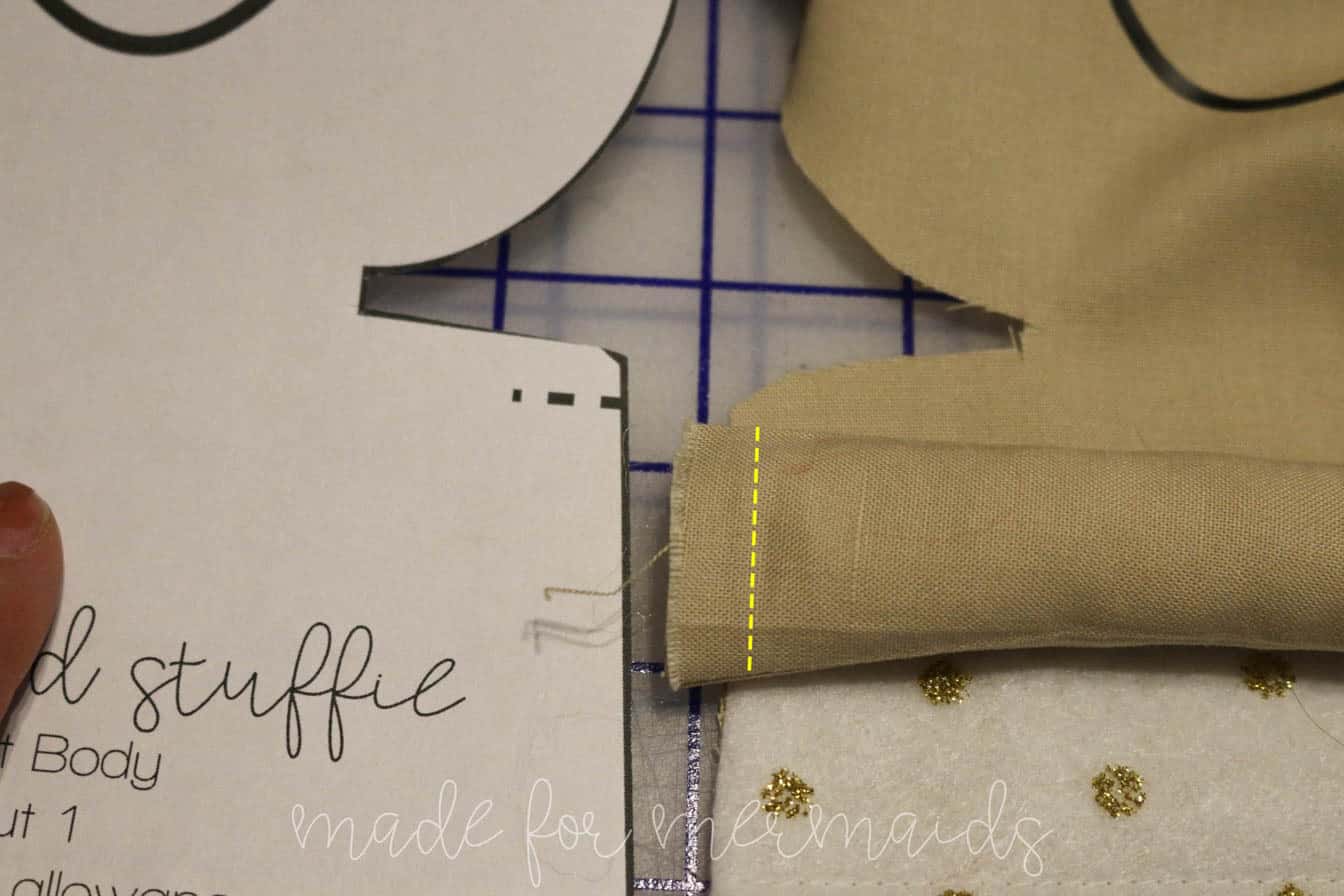
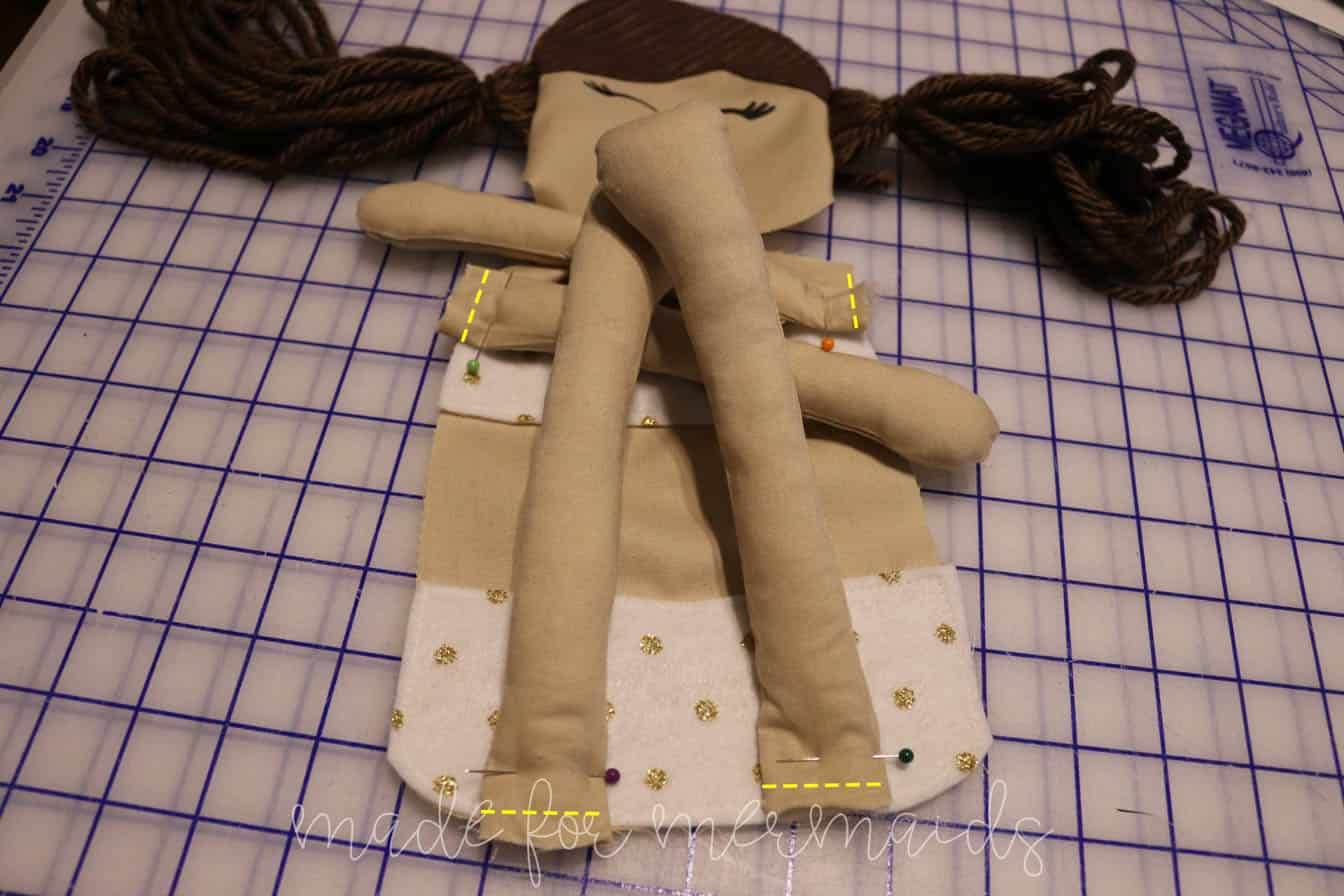
Use dashed lines on pattern piece for limb placement. Leave 1/4″ hang over on each limb. Baste limbs in place.
Step 6: FINISHING BODY
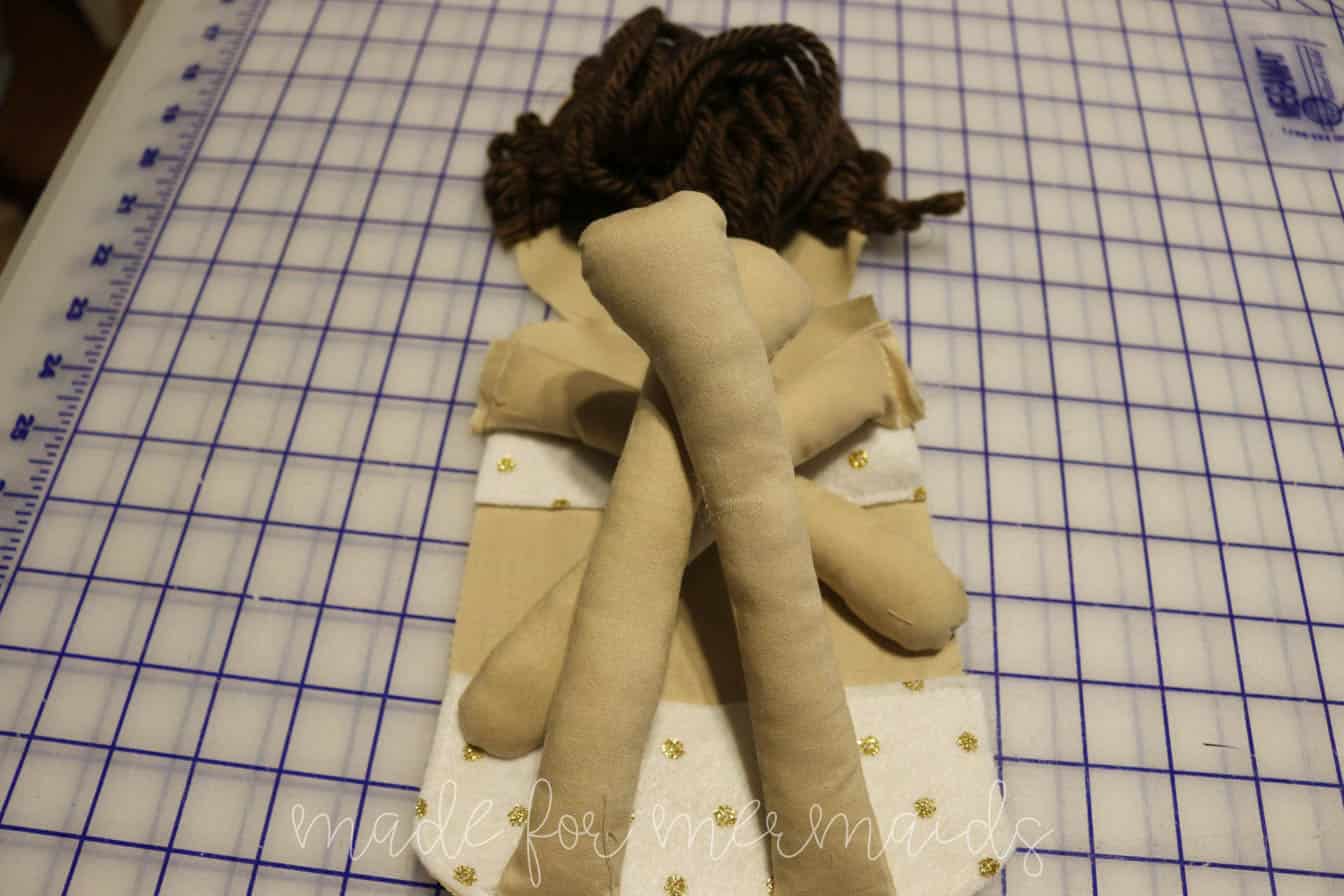
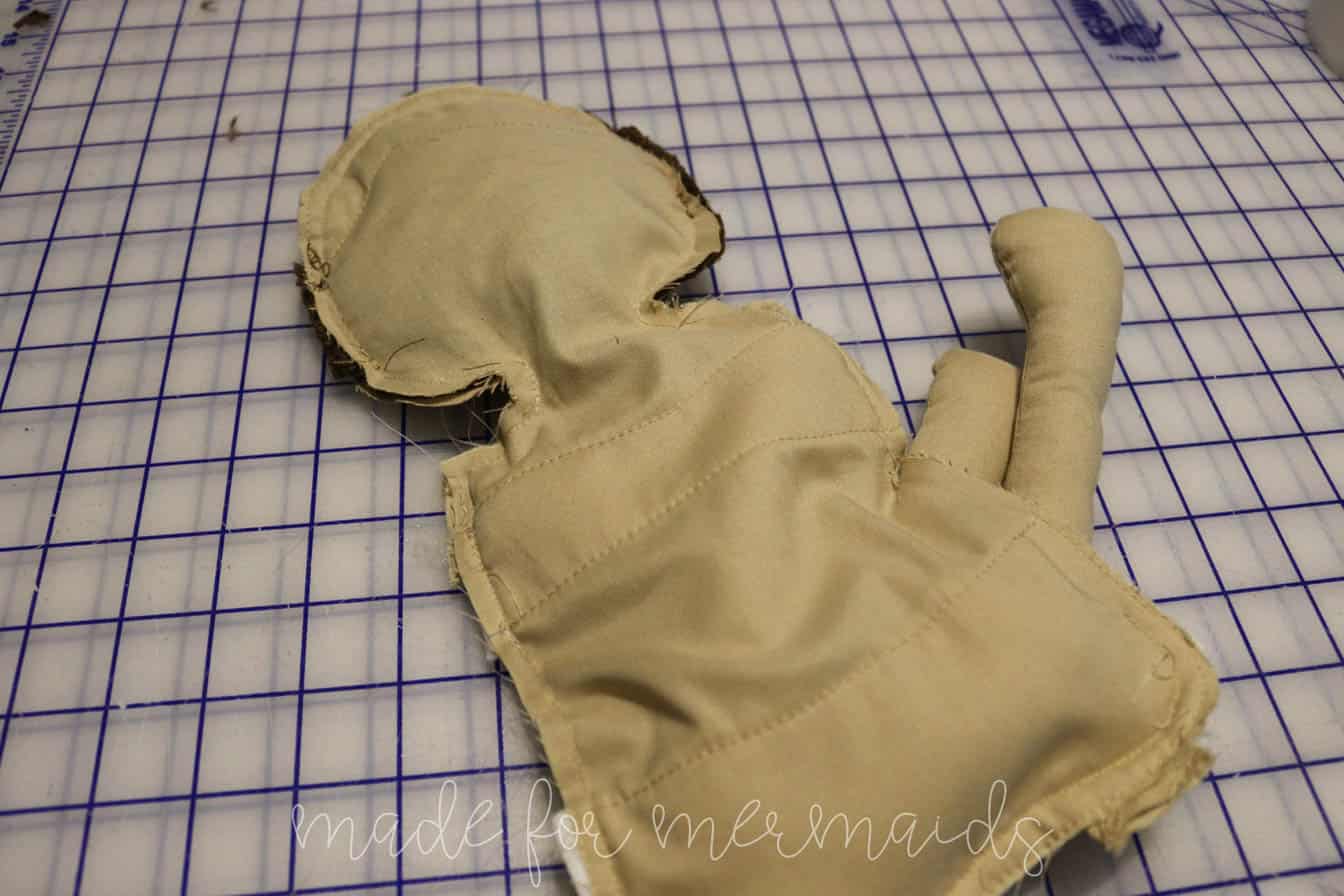
Tuck yarn hair in center of head. Depending on how long you made the yarn hair, you may need to pin or use a hair tie to help hold in place. Move arms and legs up and away from edges. Place back piece on top of front piece with RIGHT sides together. Take time to pin, making sure limbs and hair are out of the way. Stitch together 1/4″ seam allowance leaving a large 3″ opening to turn. Clip corners and round edges (head, neck, shoulder, bottom). I like to use my pinking shears around the head and clip to, but not through, stitching lines at neck.
Turn right sides out using point turner to help. Stuff. Again don’t over stuff, but you want to stuff enough she holds her shape. The most stuffing should go around the seam lines of the doll. Hand stitch closed.
Step 7: MERMAID TAIL- PIRATE SKIP TO STEP 8
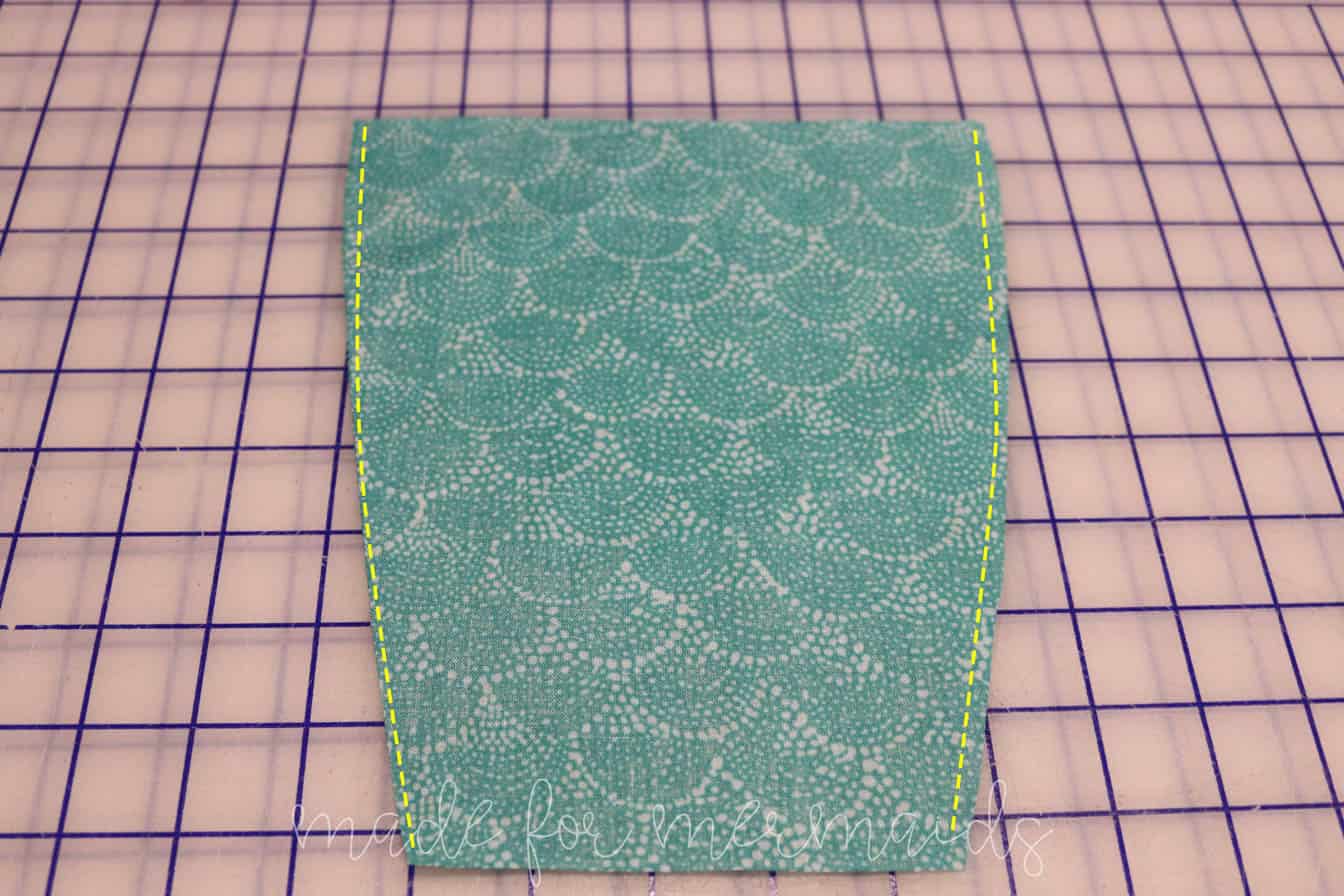
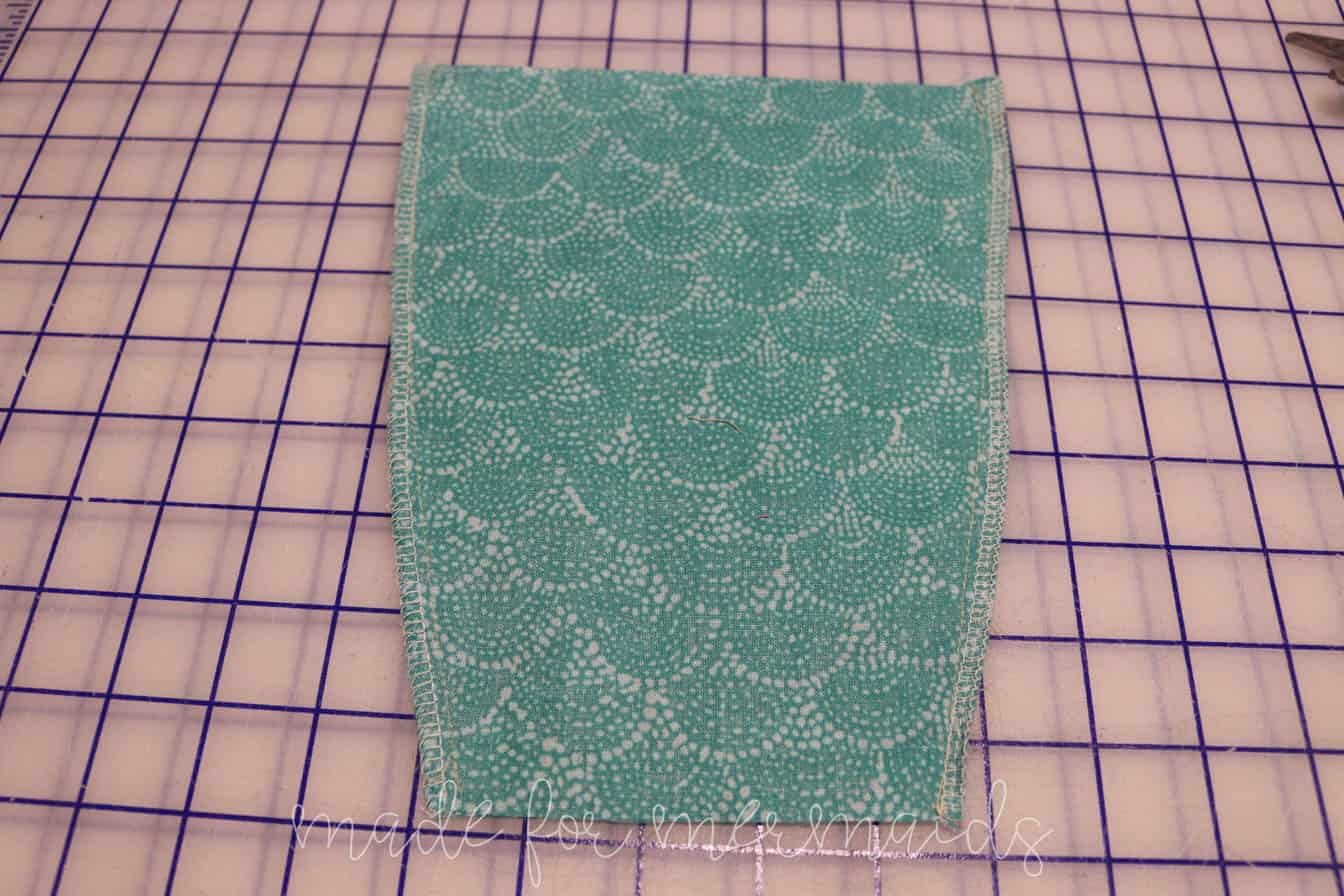
Stitch main tail with RIGHT sides together. Finish seam with serger or zig zag stitch. Set aside.
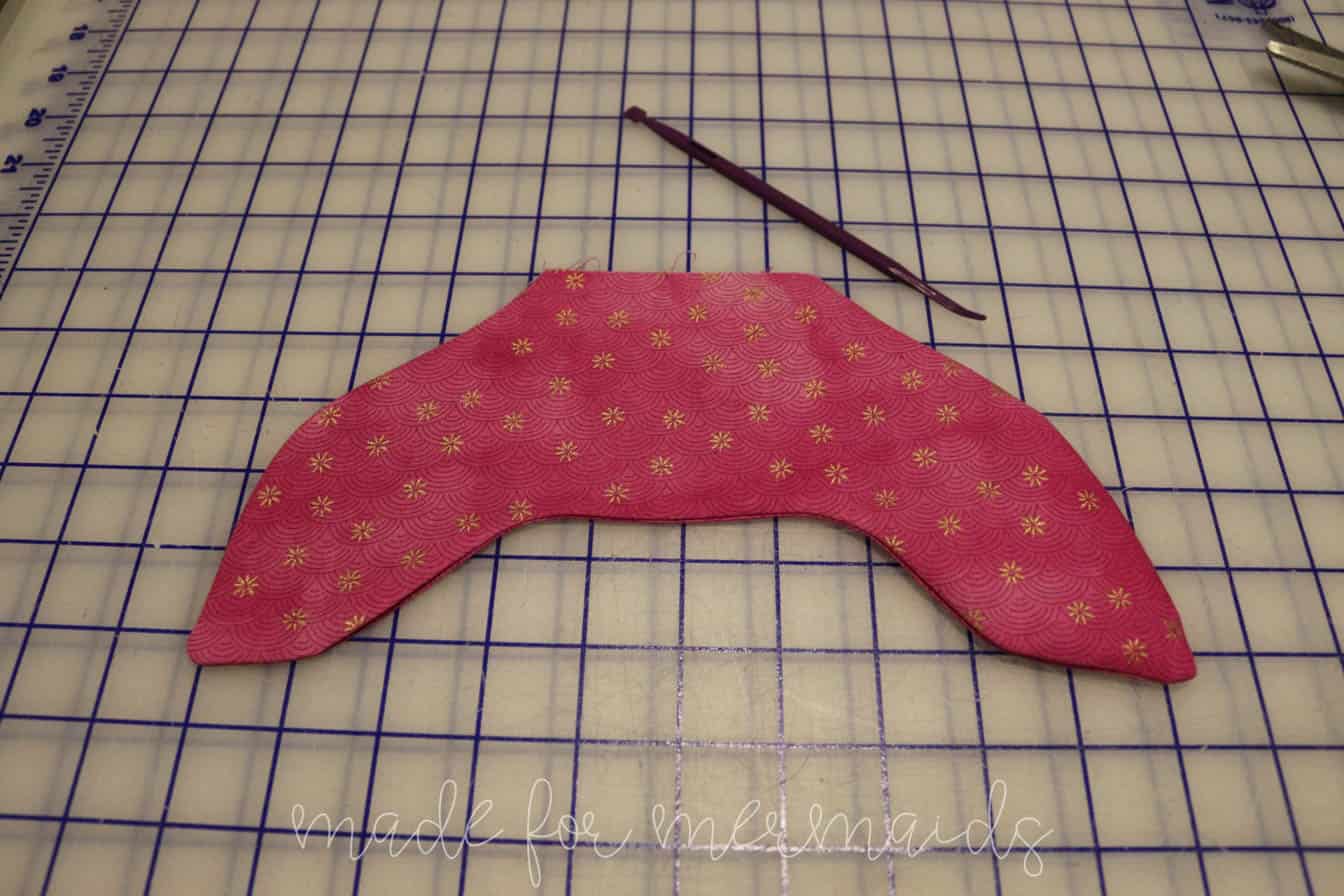
Stitch bottom tail pieces RIGHT sides together. For a fluffier tail you can use 1 piece of batting in the bottom. Use pinking sheers to clip/trim seams. Turn and press right sides out. Optional-stitch tail with decorative stitches. Set aside.
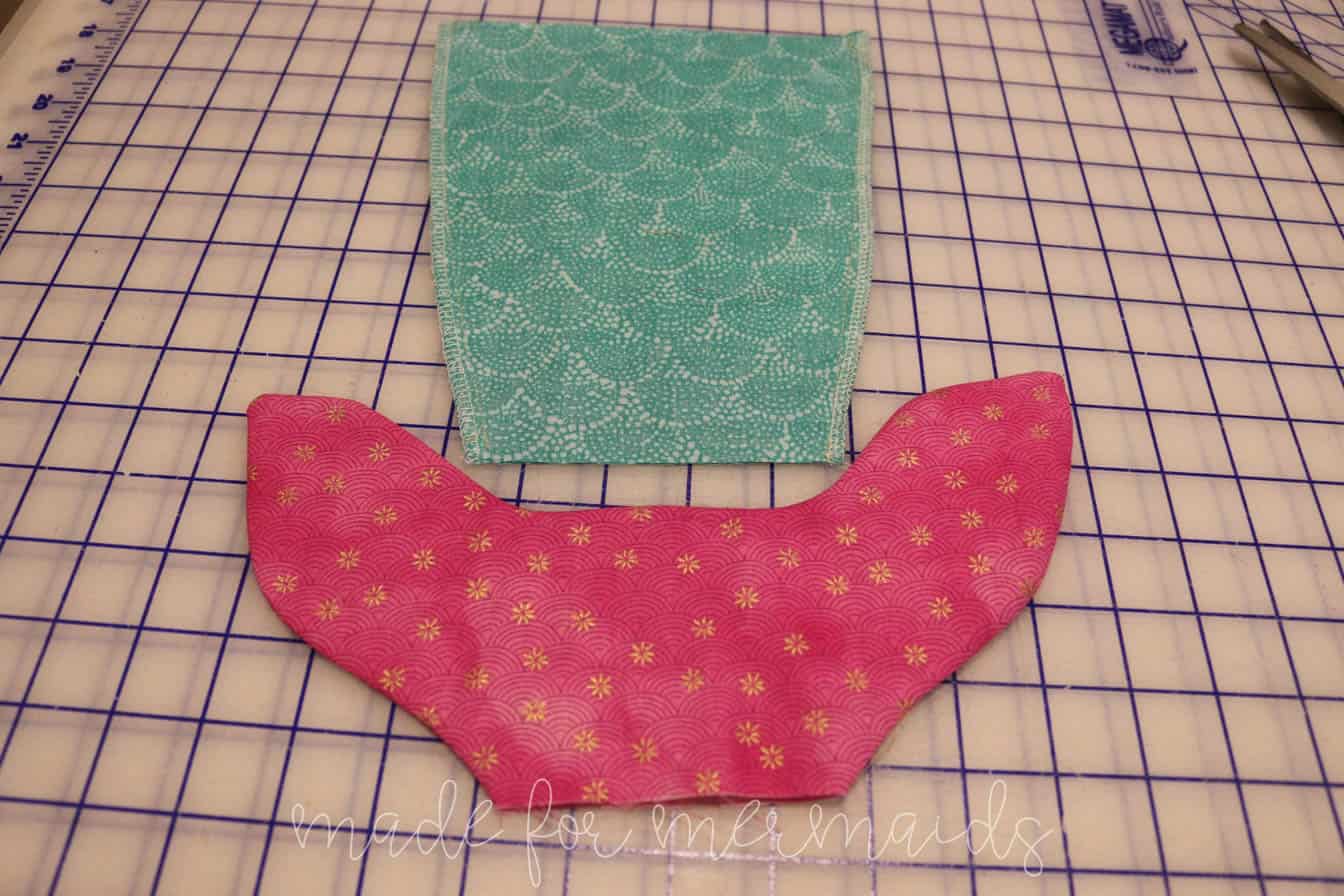
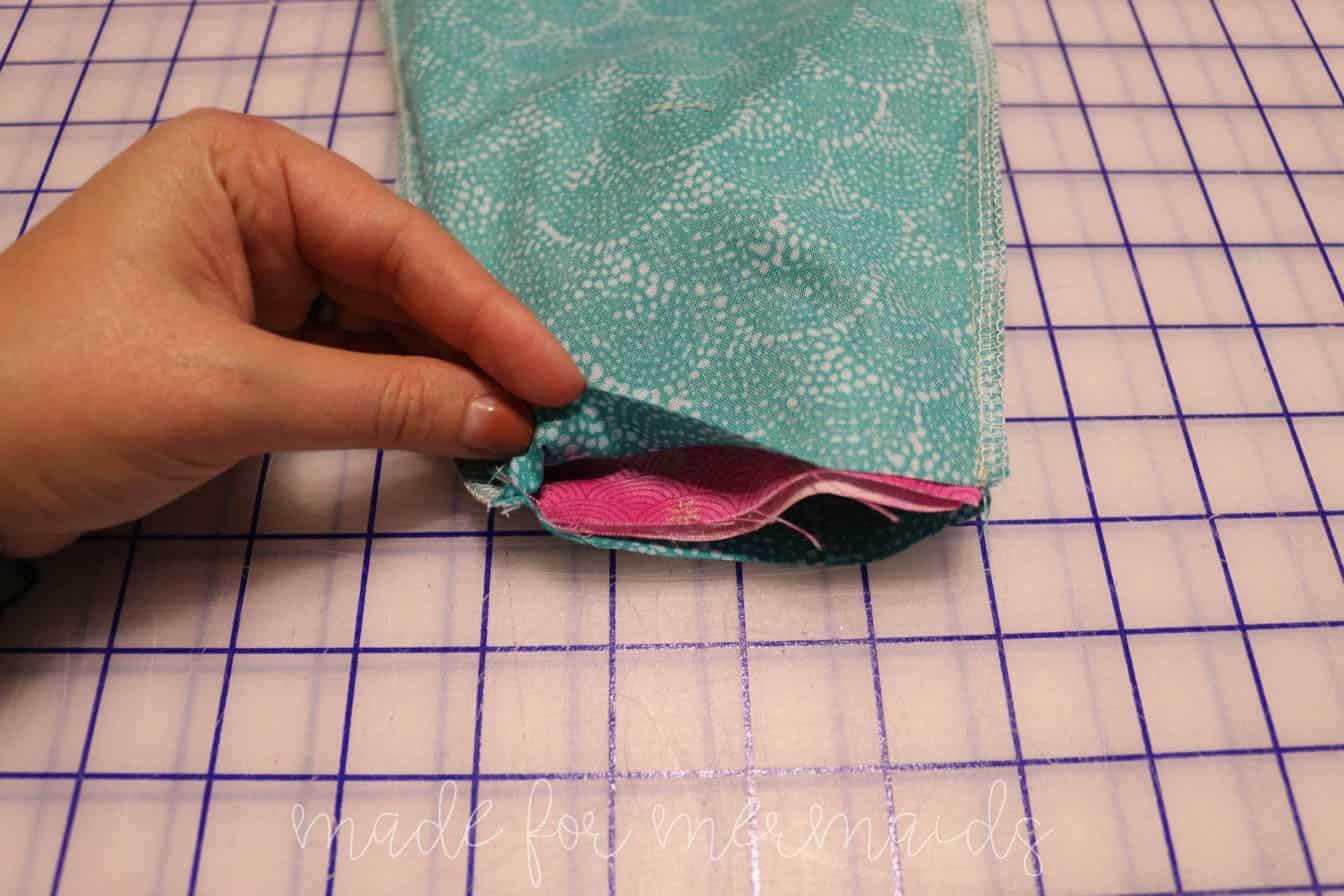
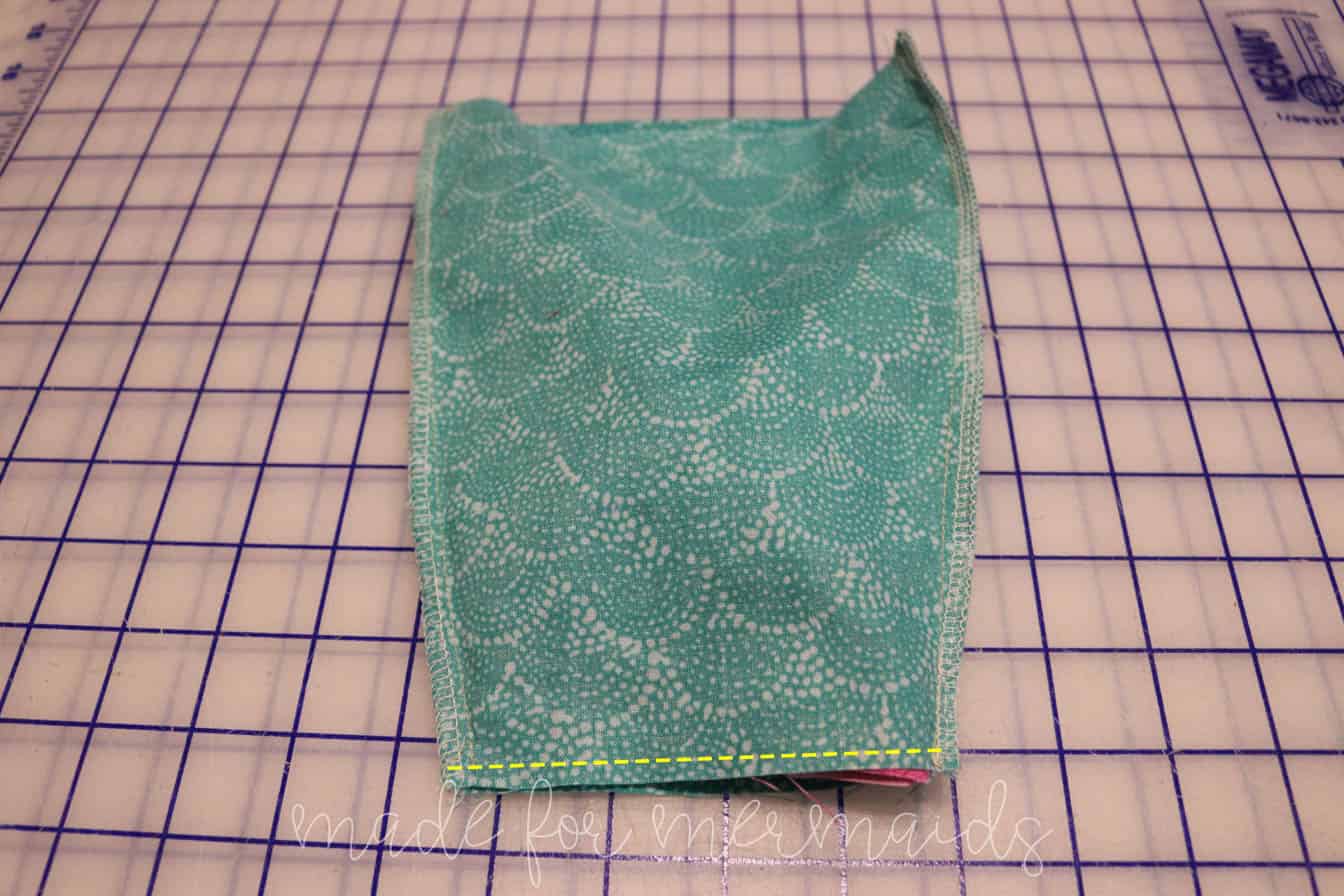
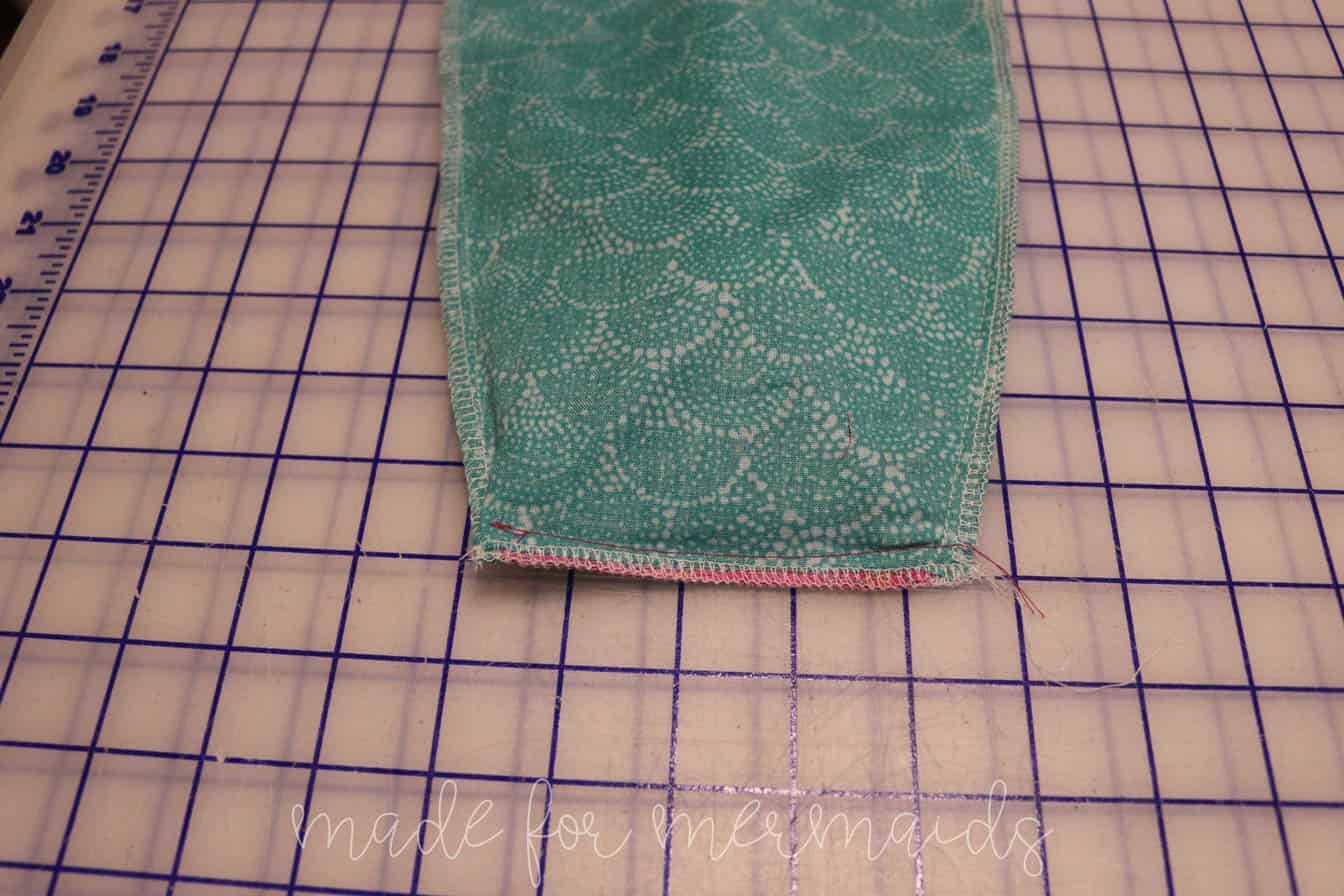
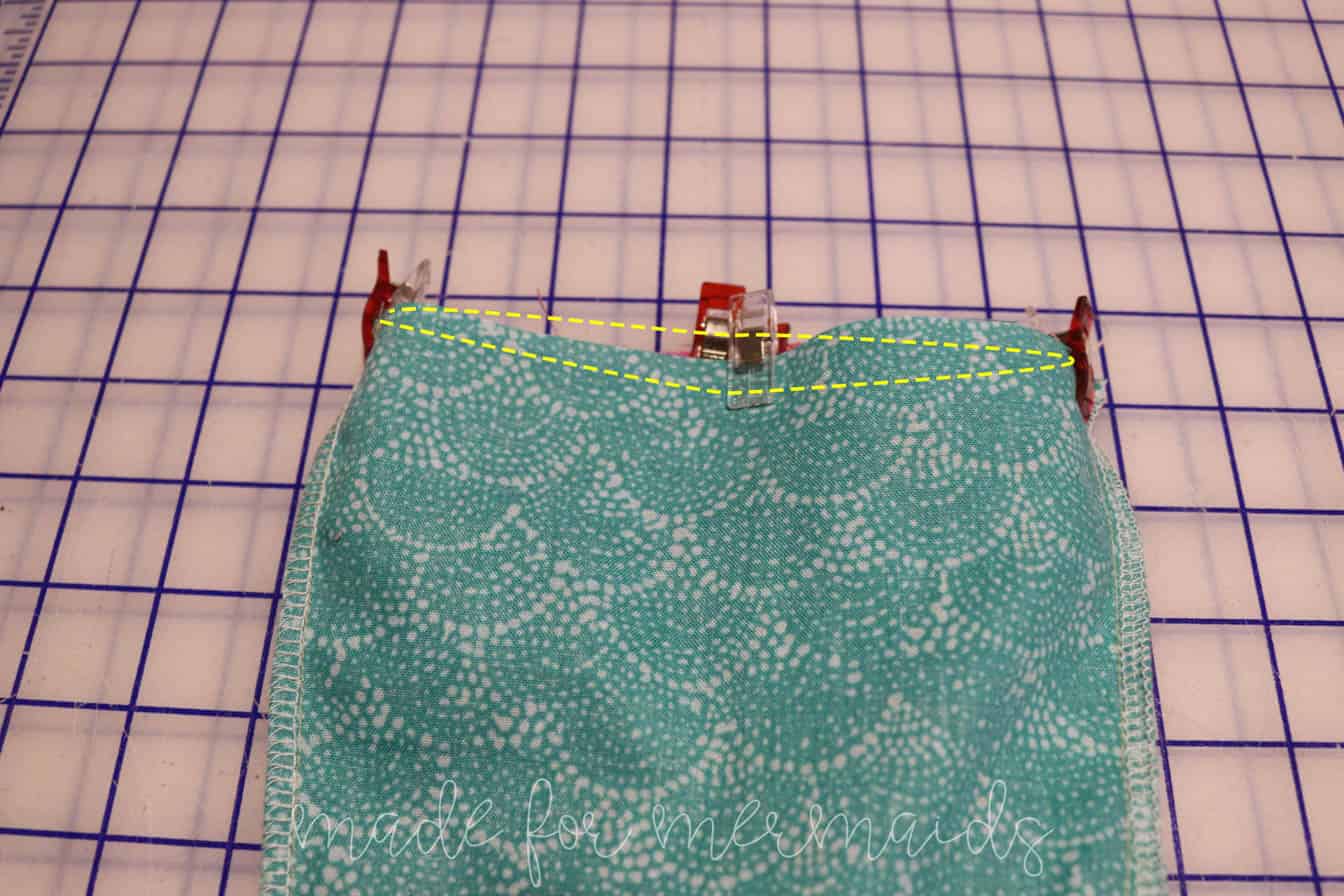
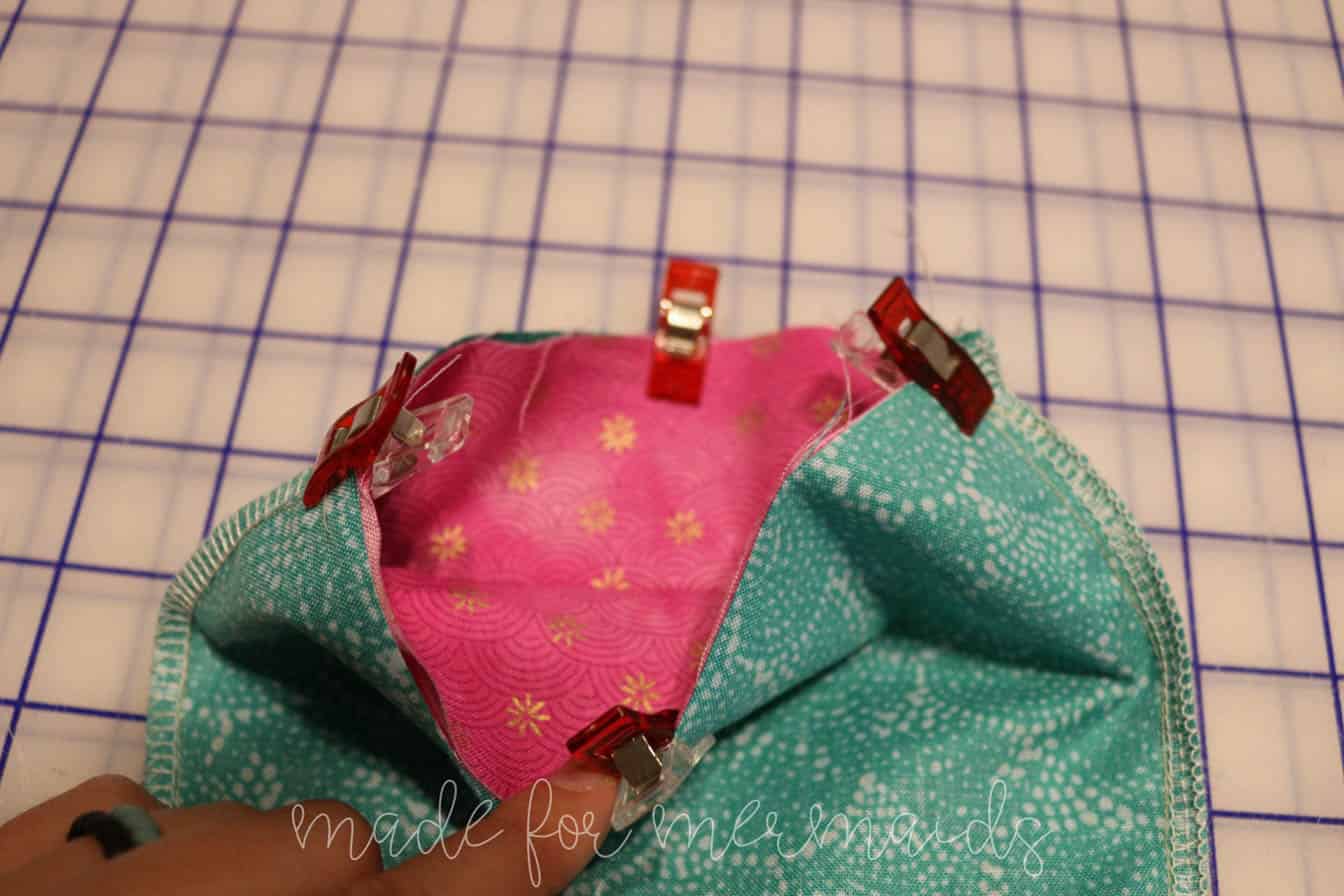
Place bottom tail piece inside main tail, with RIGHT sides together. Stitch together and finish seam with serger or zig zag stitch. Set aside.
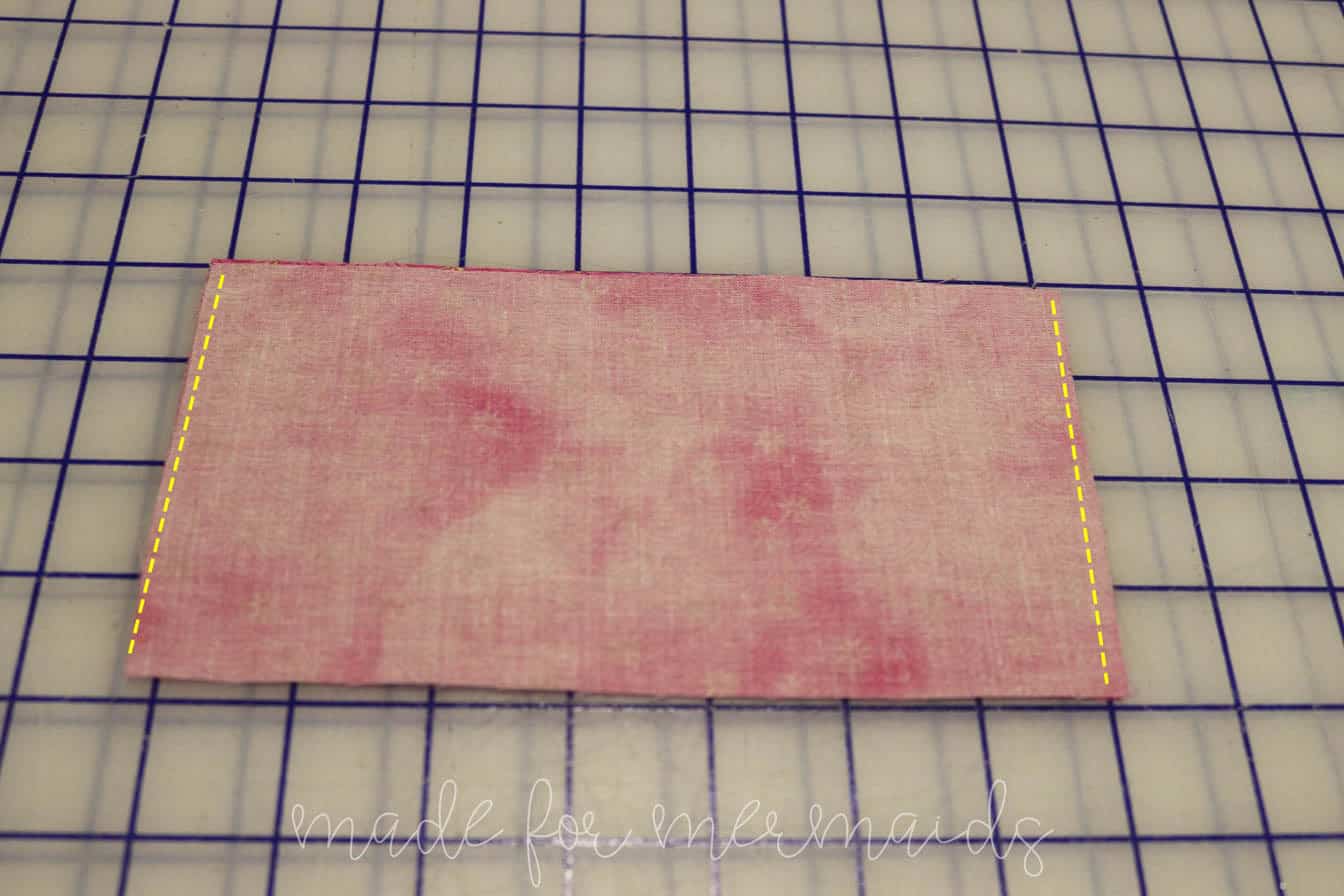
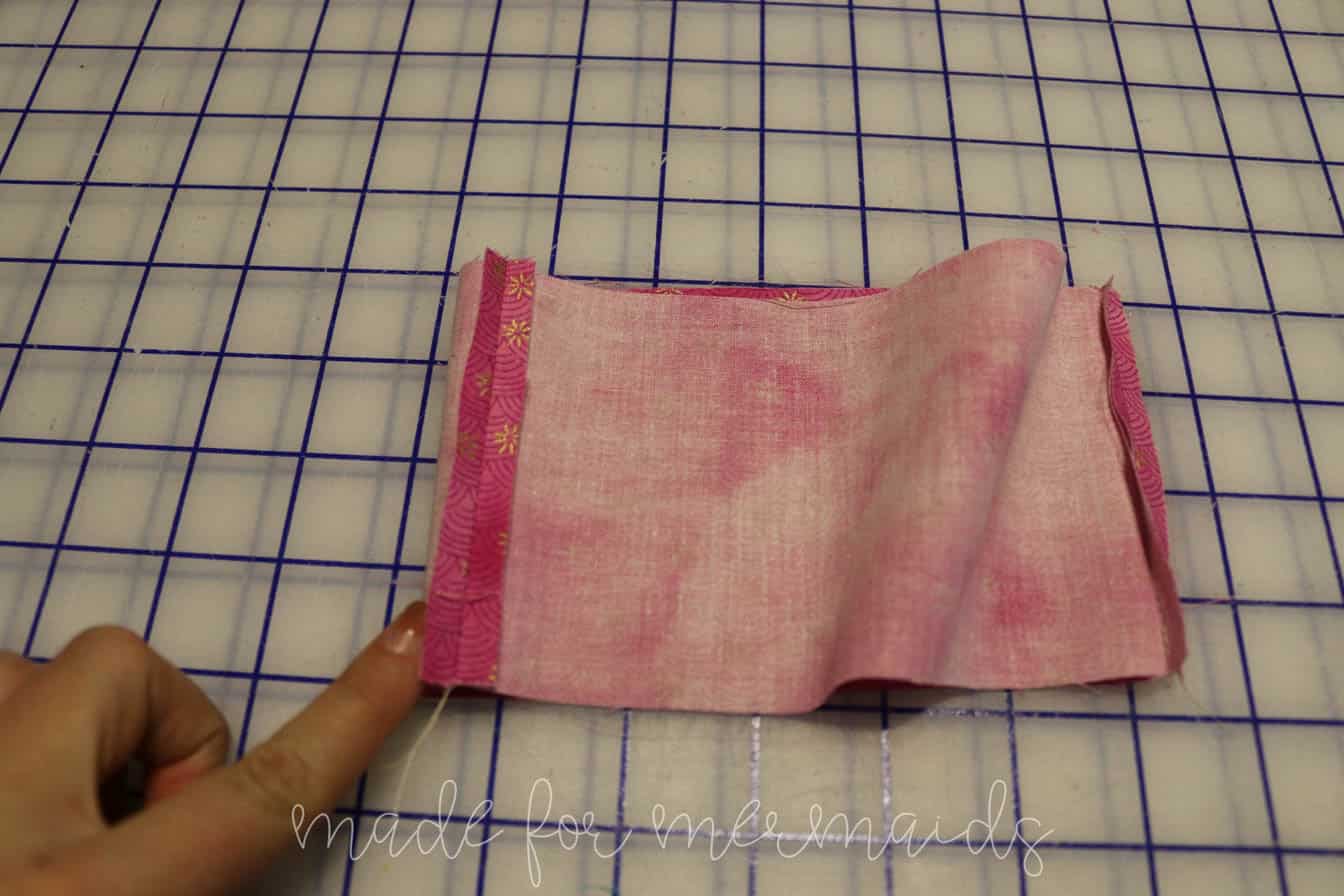
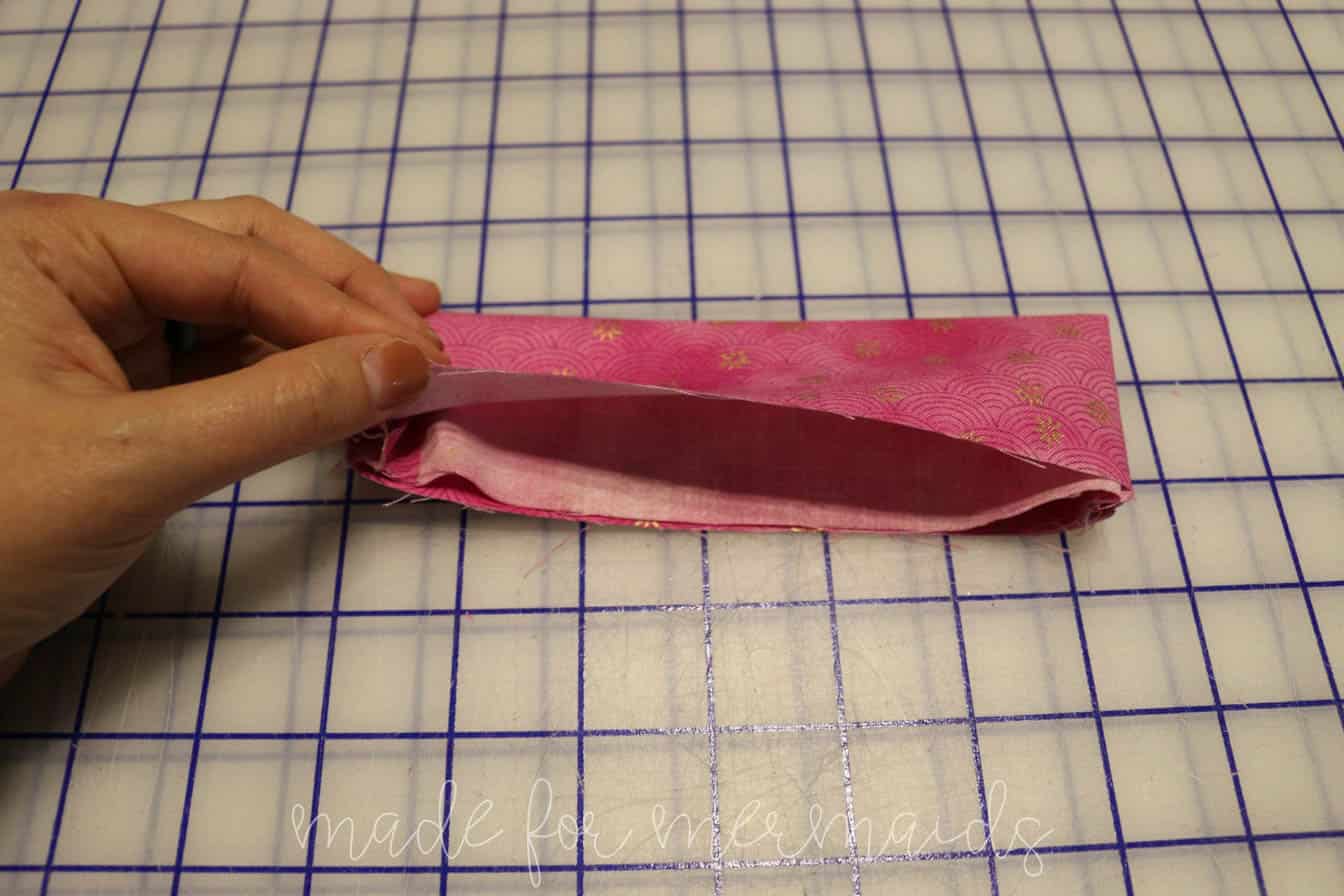
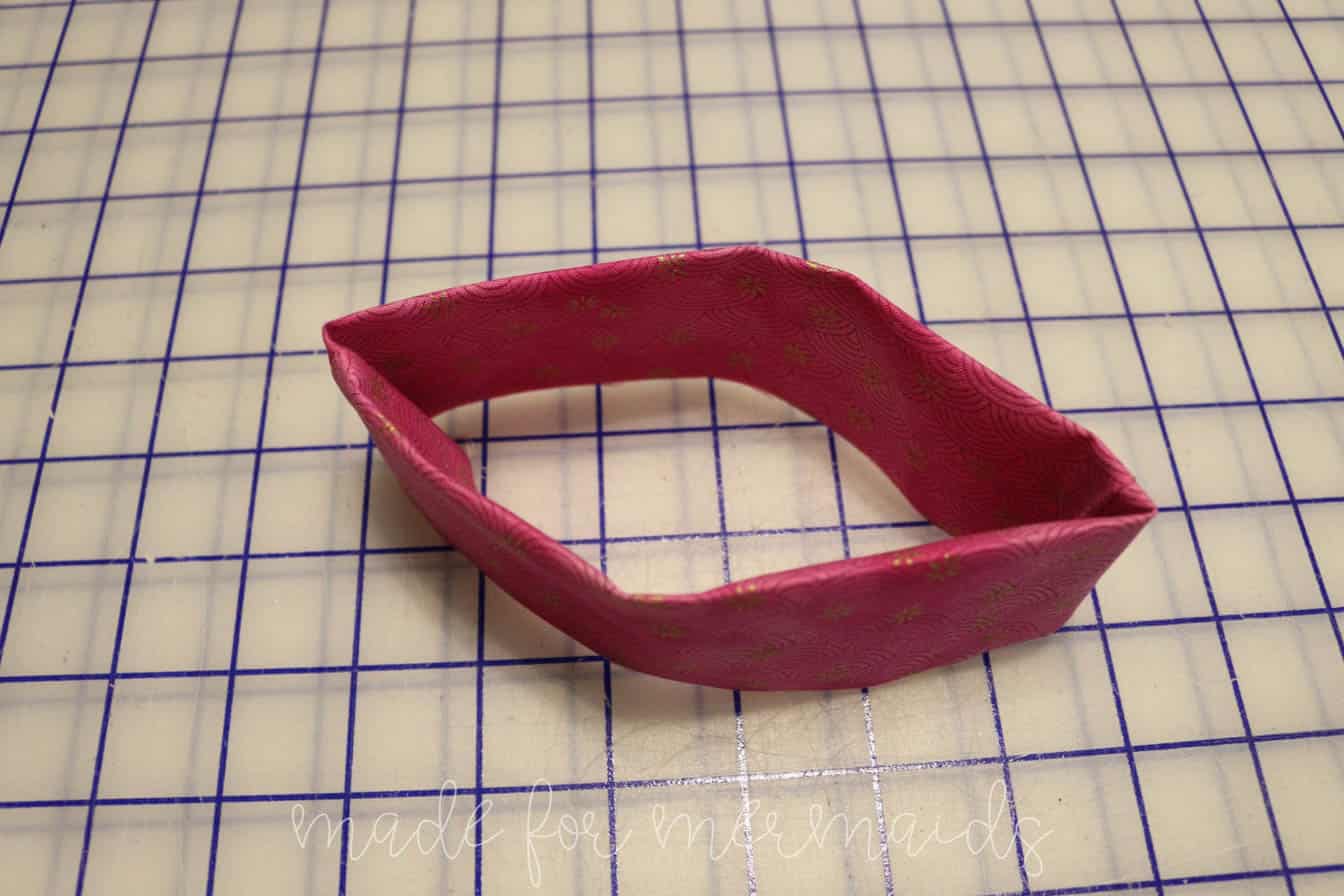
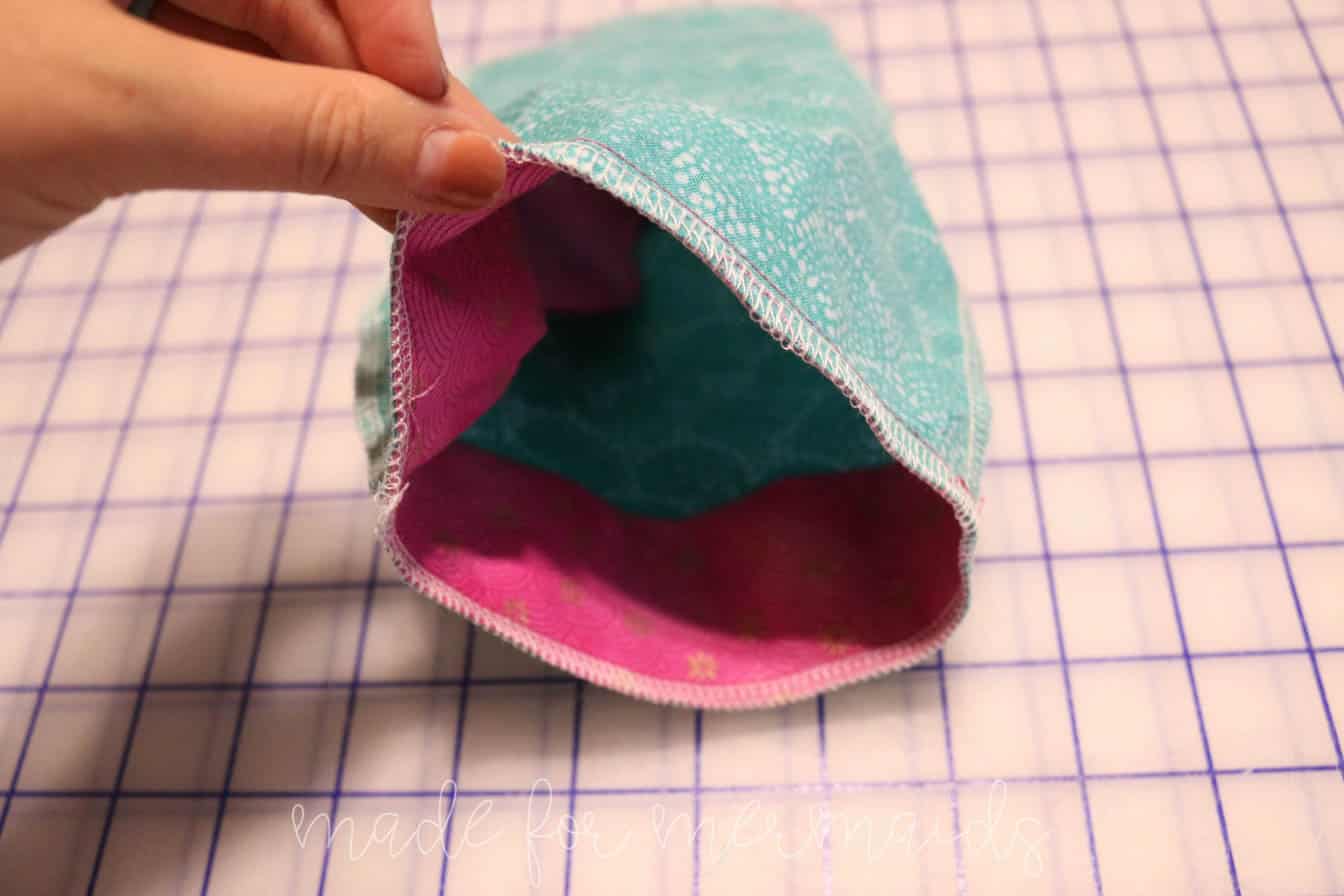
Stitch top tail piece with RIGHT sides together along short ends. Press seams open. Turn piece on itself with wrong sides together.
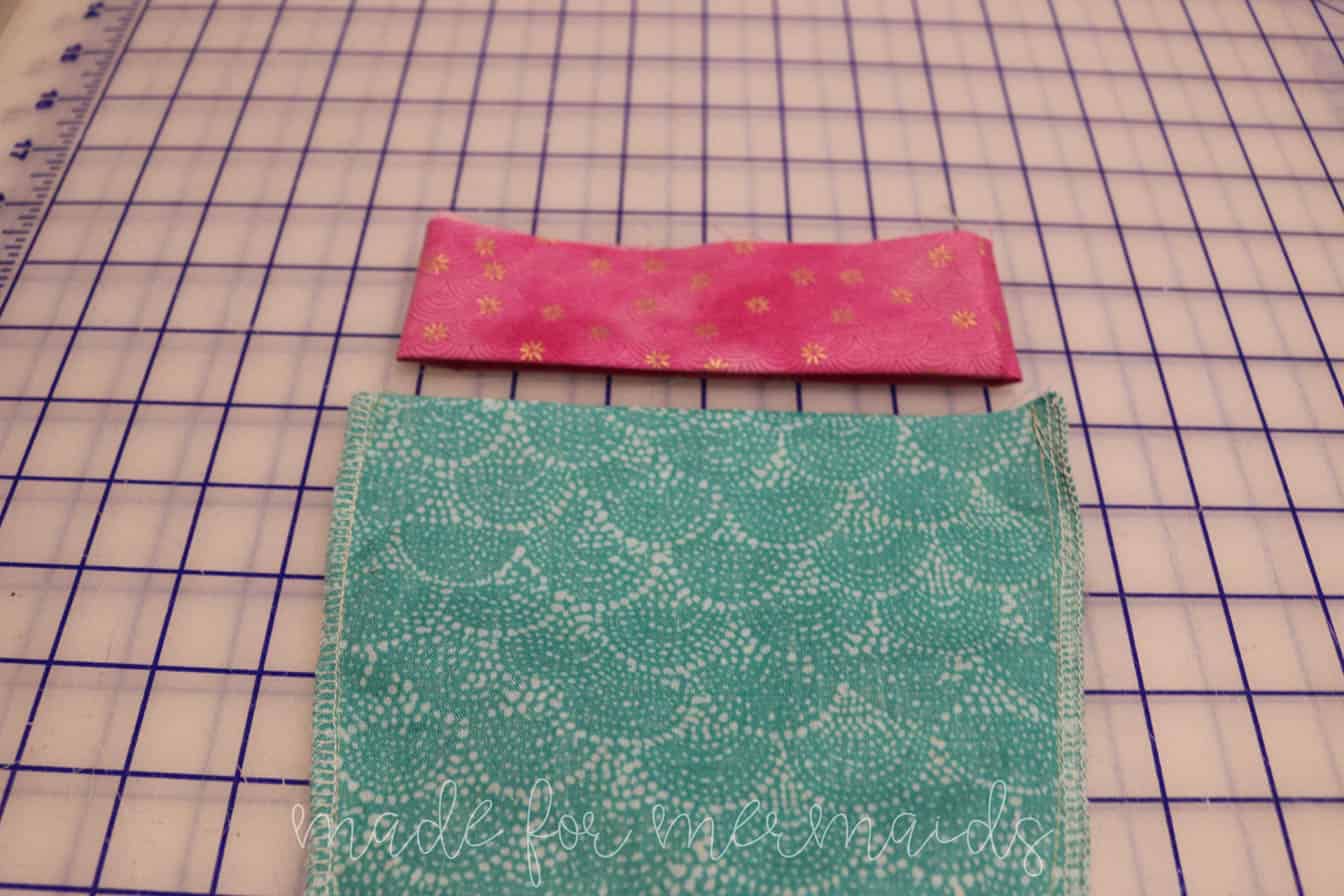
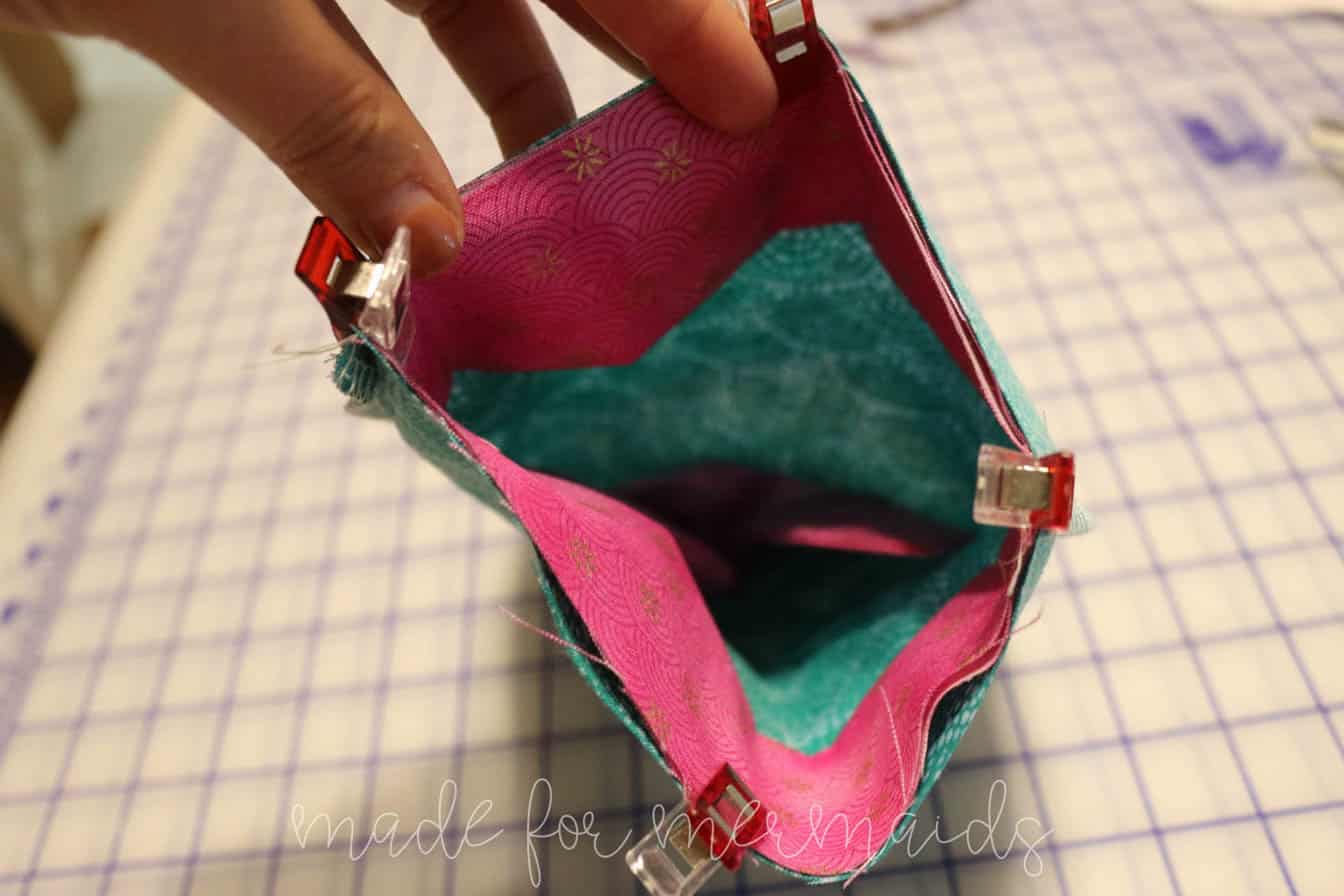
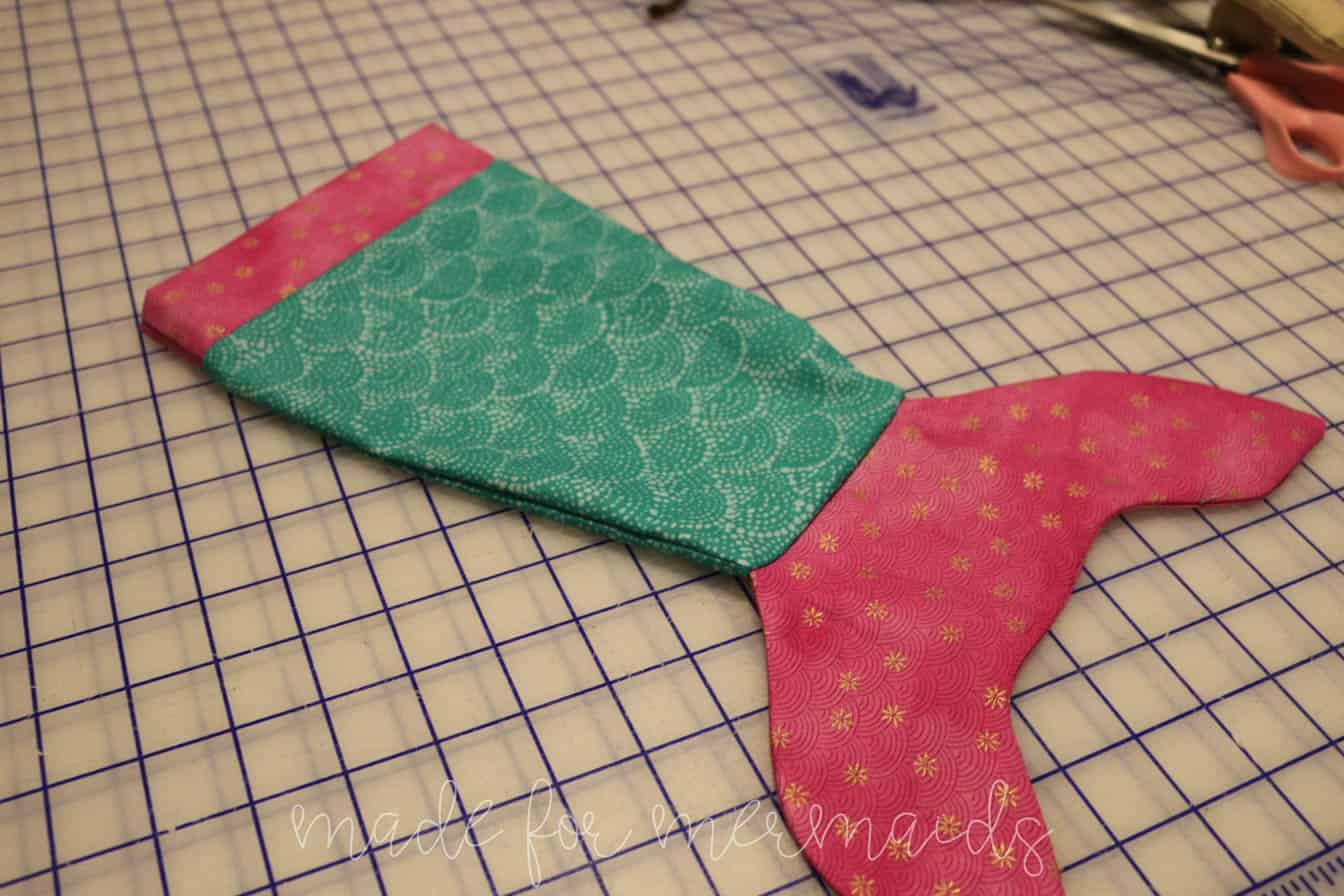
Stitch top piece to main tail with RIGHT sides together, aligning side seams. Finish seam with serger or zig zag stitch. Flip right sides out and press. You’re done!! The doll legs go inside of tail.
Step 8: PIRATE HAT
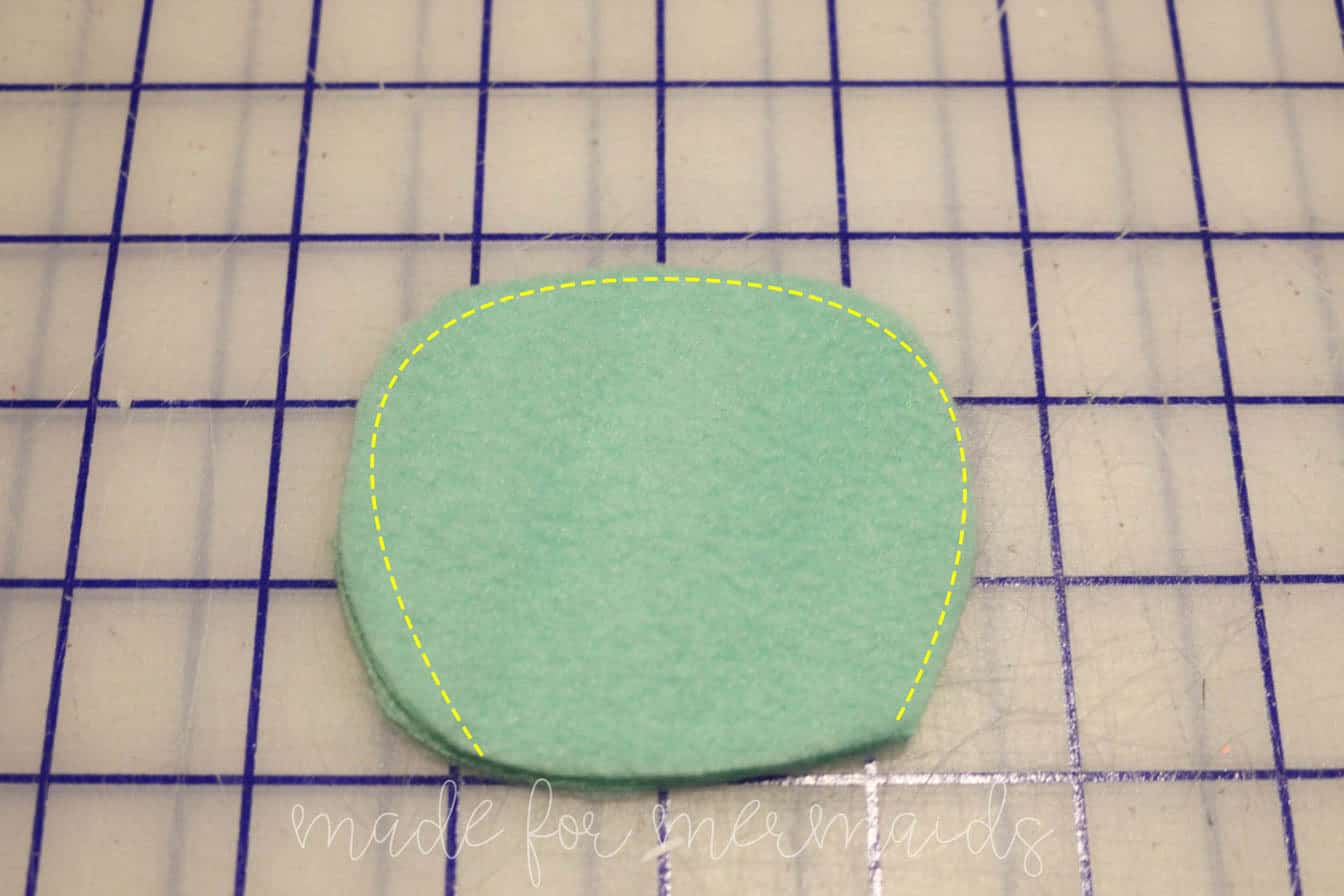
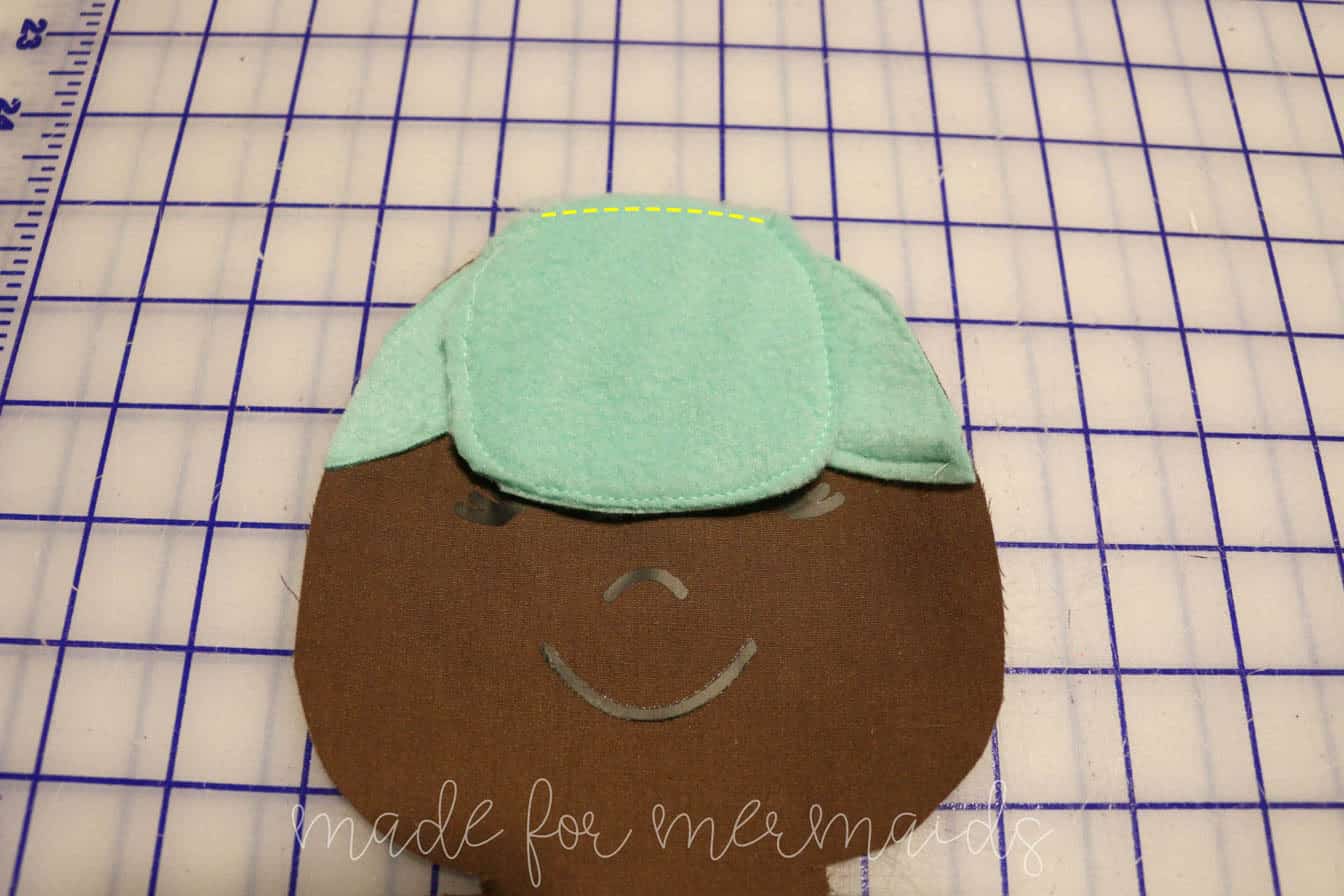
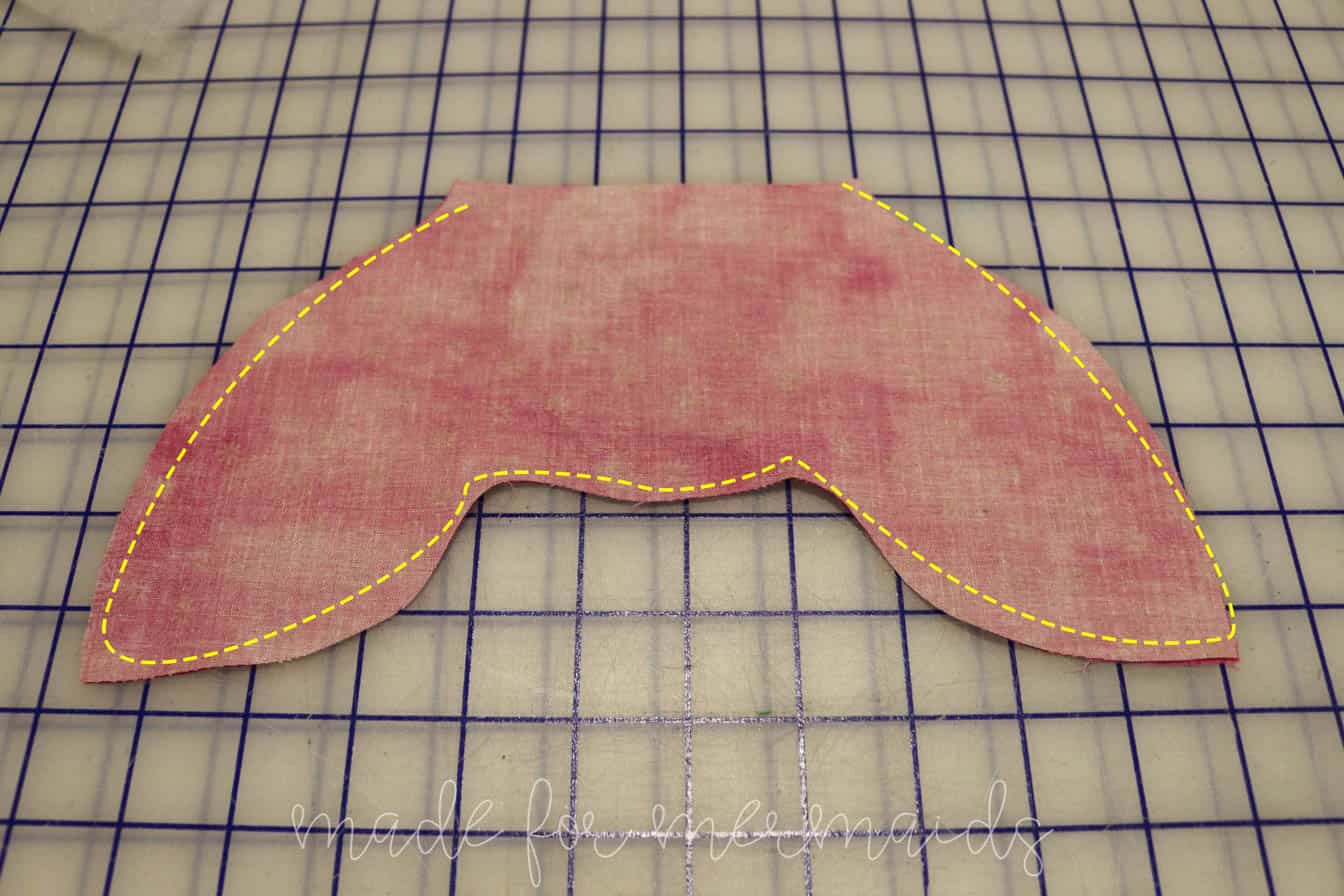
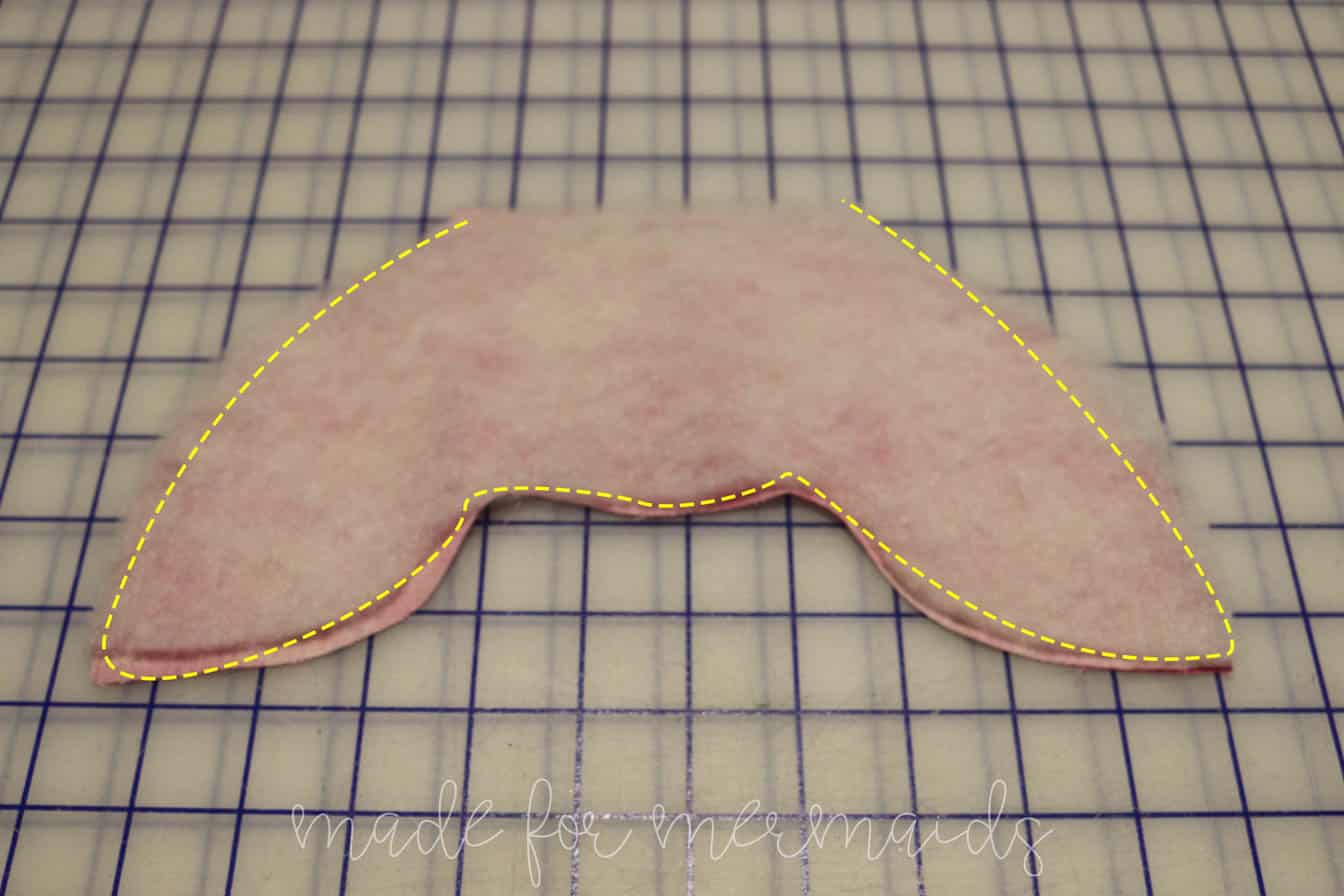
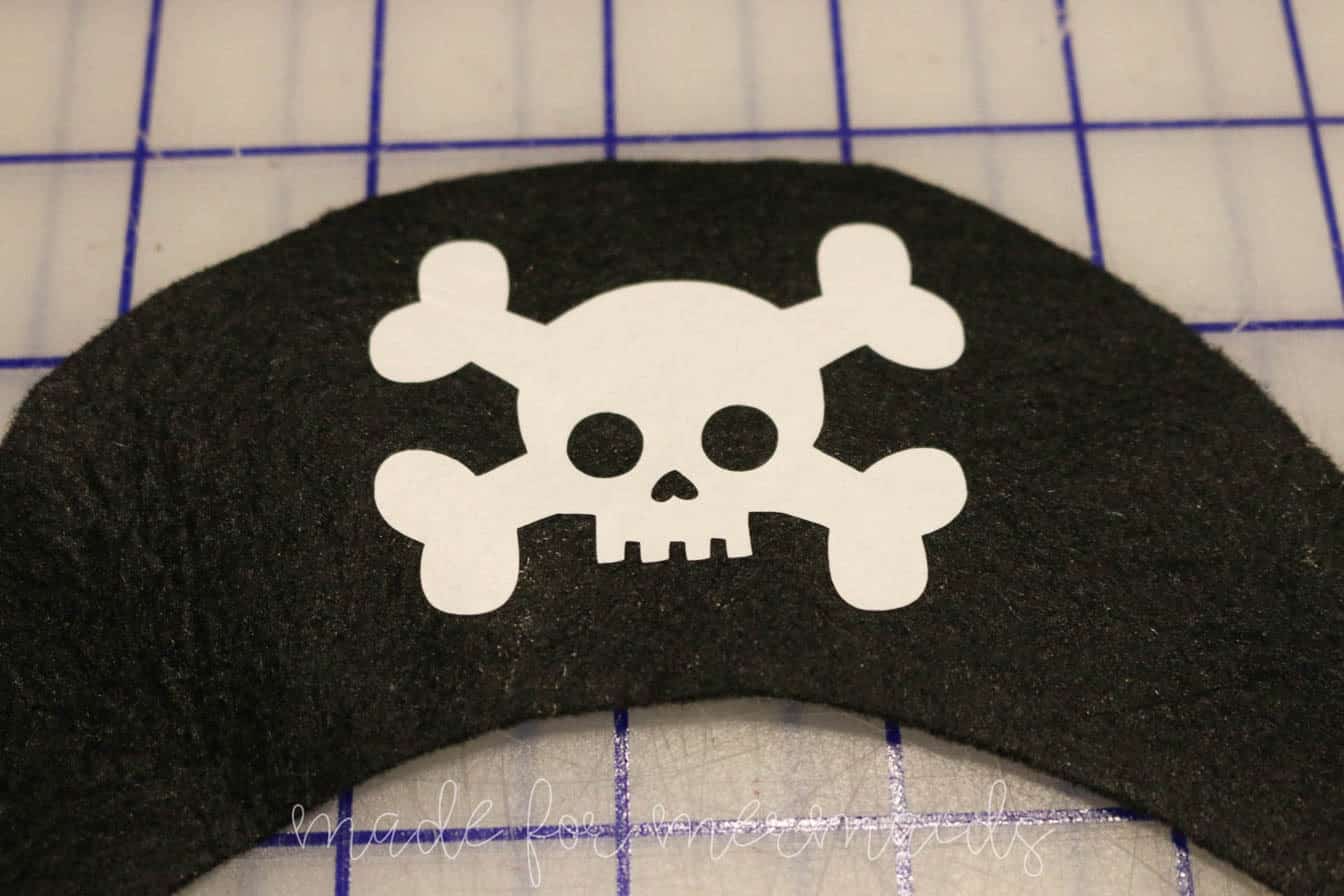
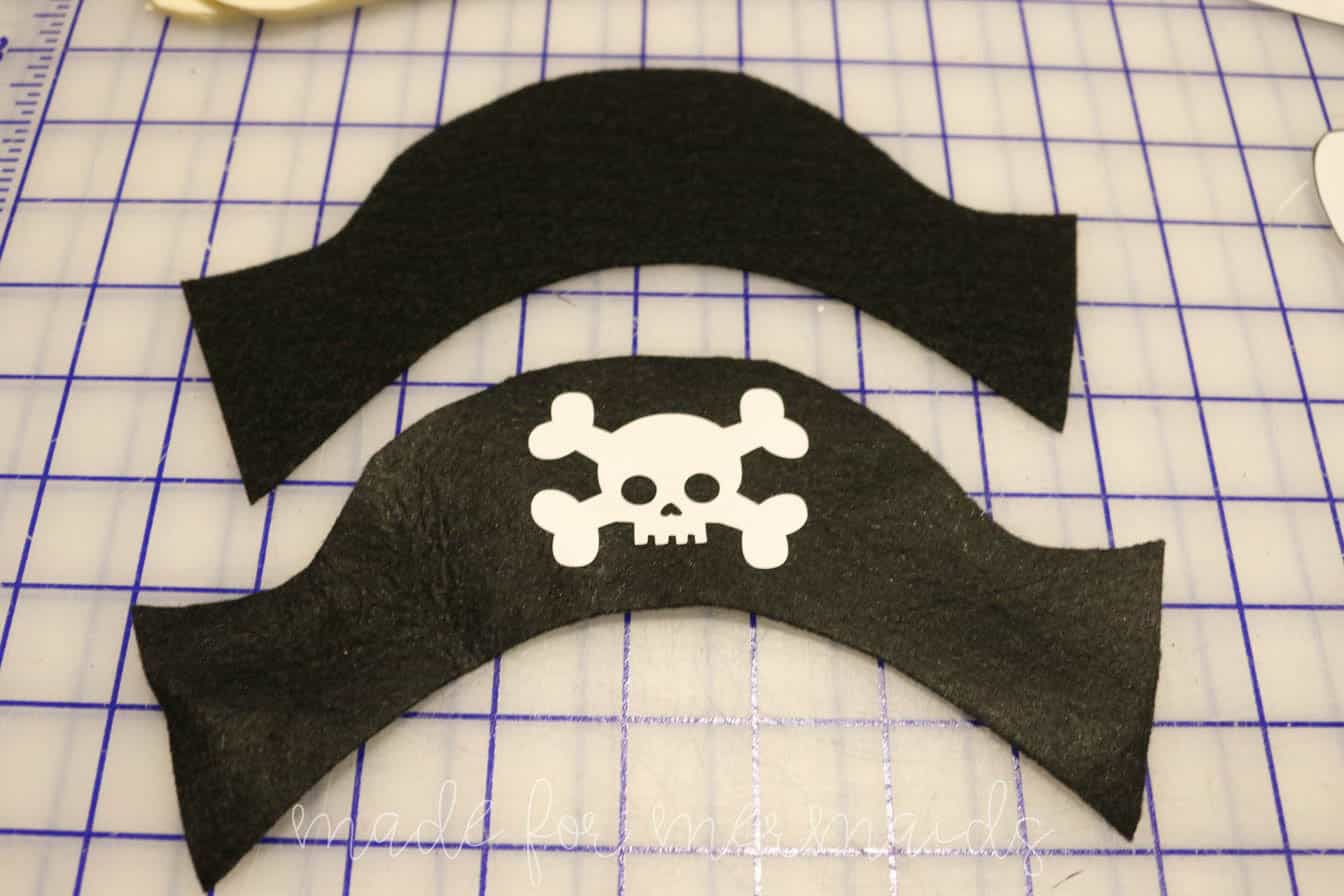
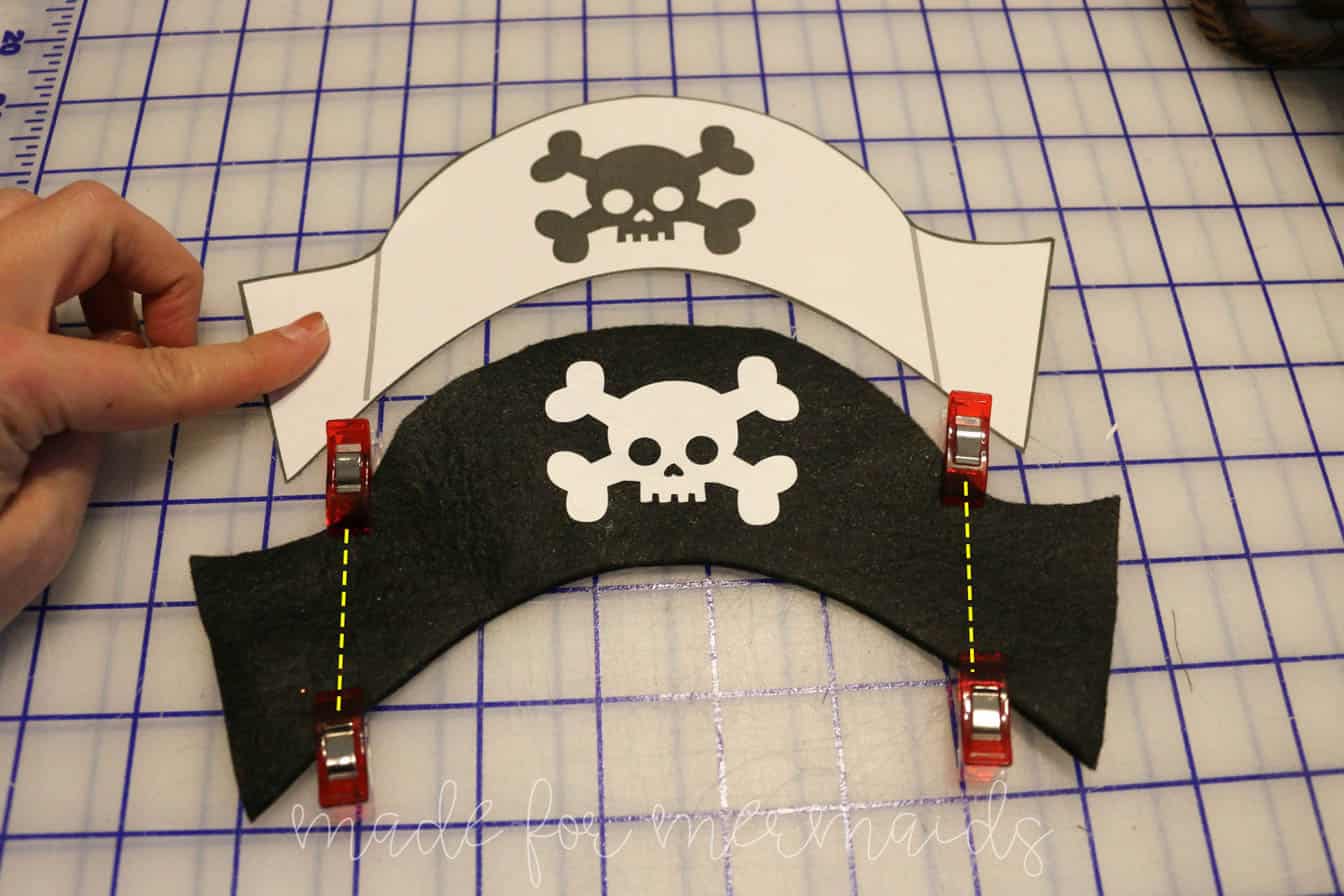
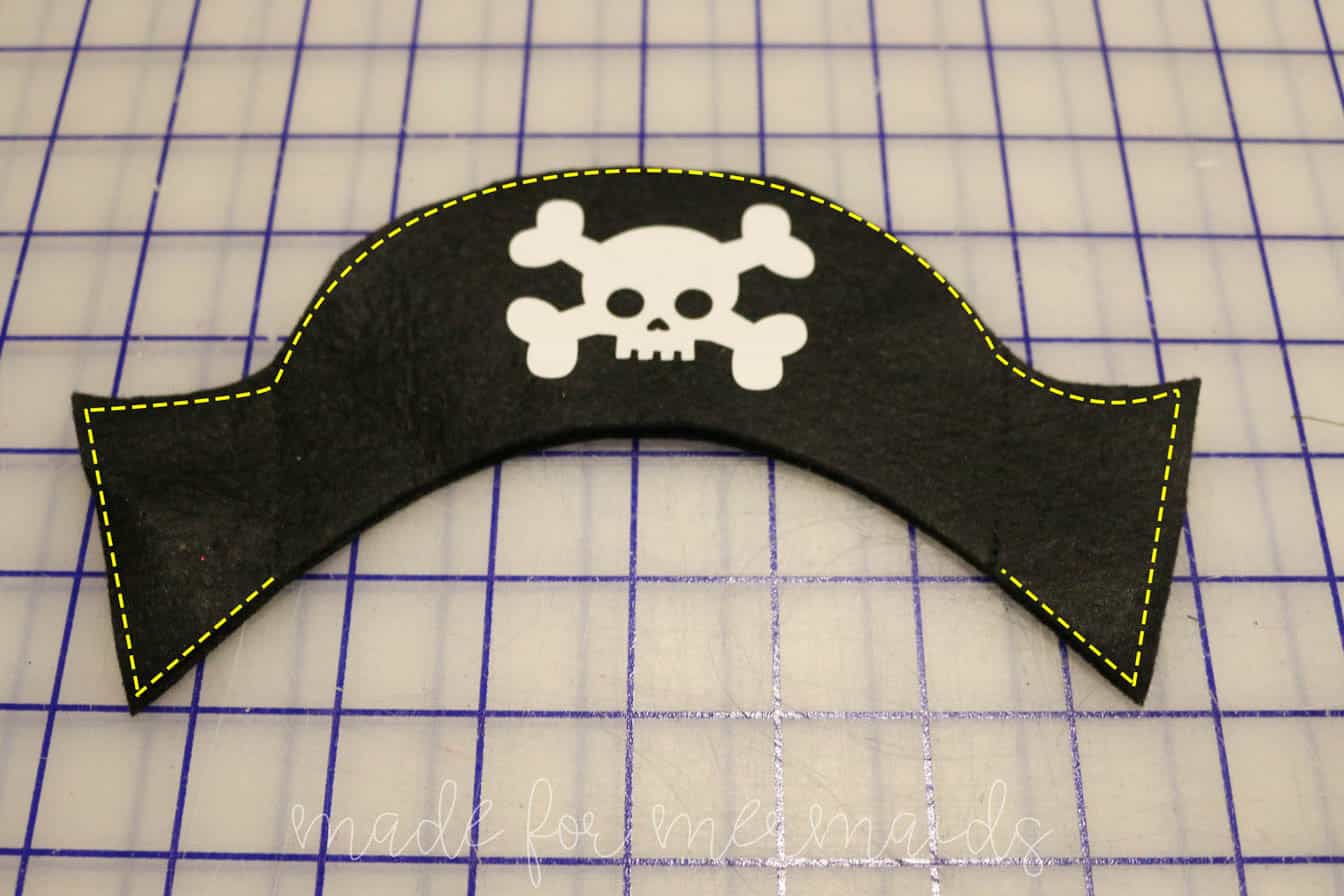
Optional- Use HTV to add skull on pirate hat. With WRONG sides together, place hat pieces on top each other. Stitch along dashed lines on pattern piece. This stitching will hold the hat on the doll’s head. Then stitch 1/8″ around the hat, leaving the center between stitching lines open- show in YELLOW below.
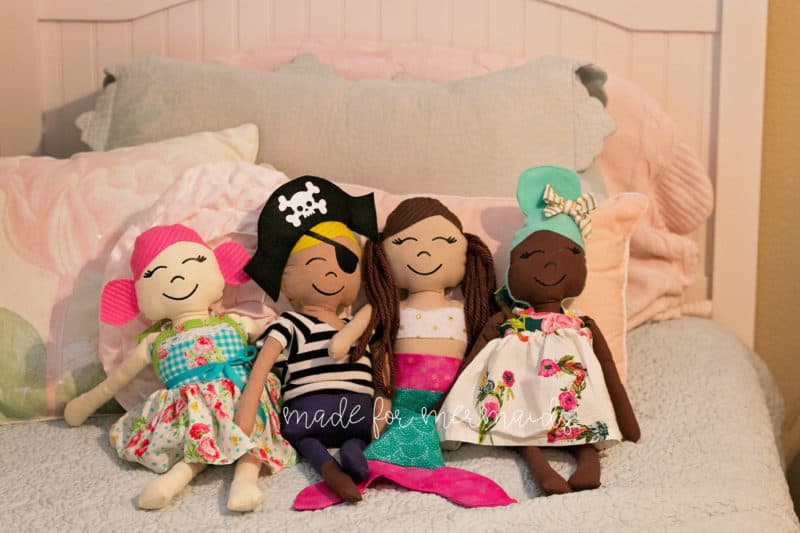
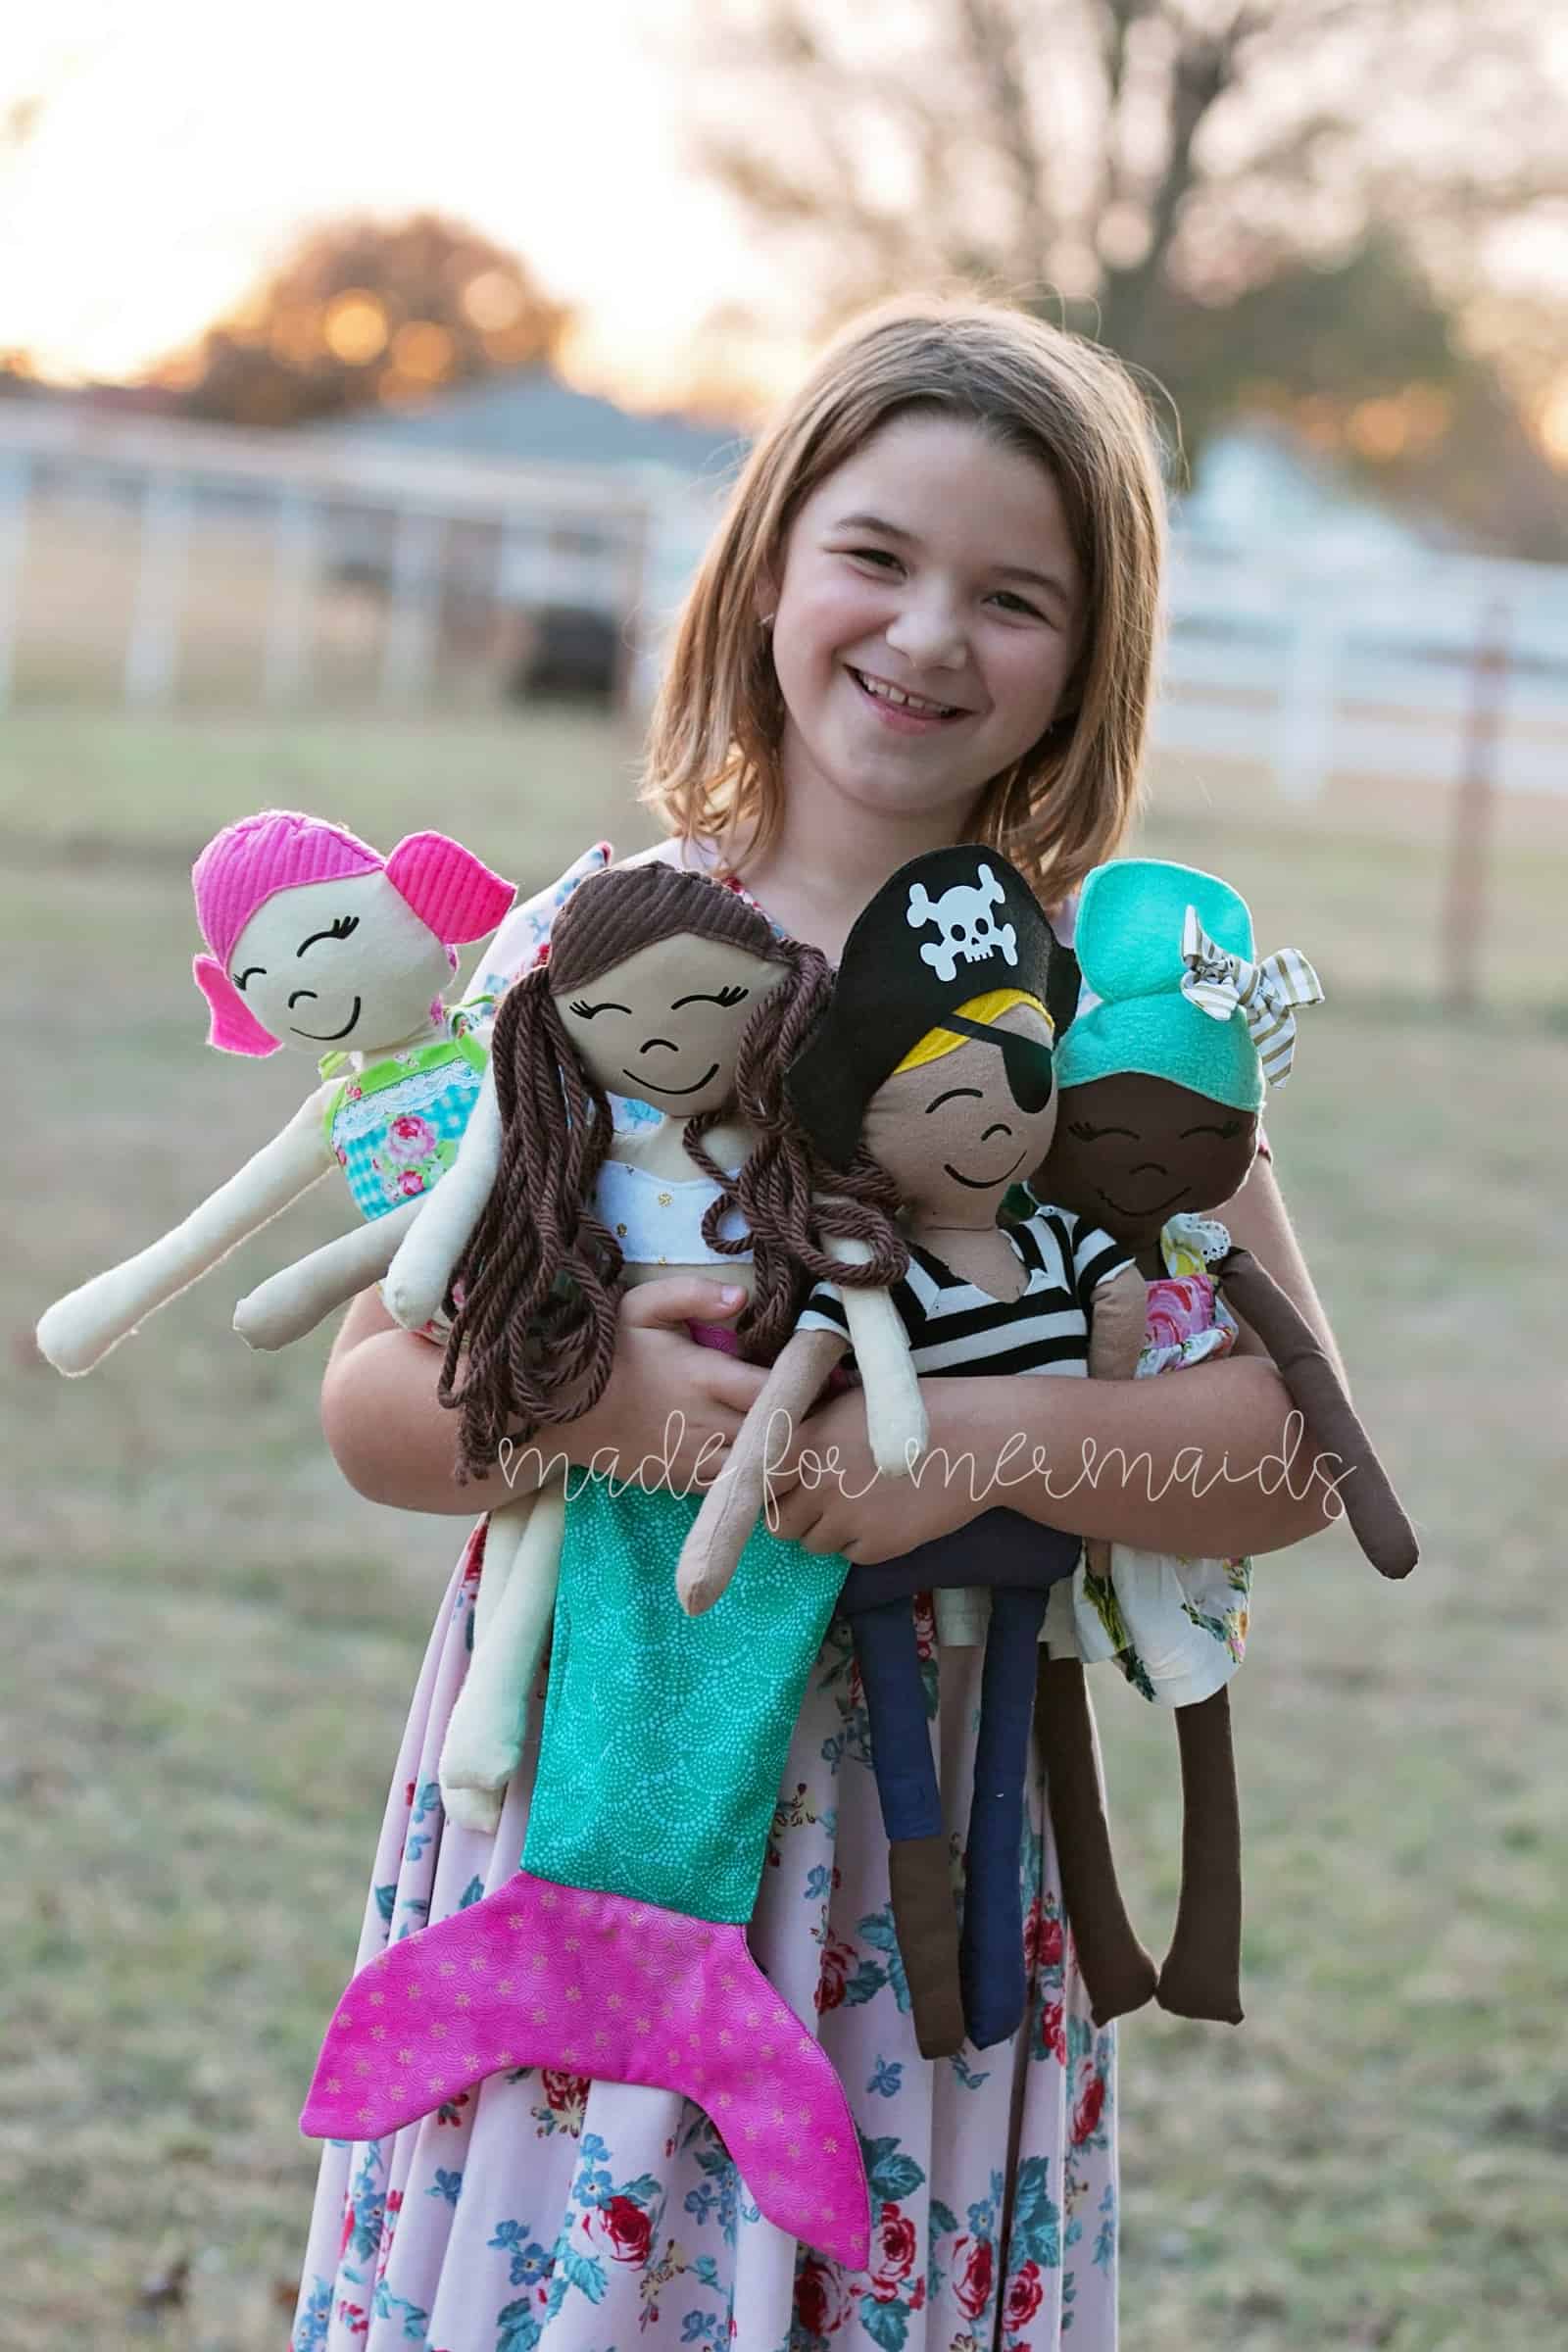
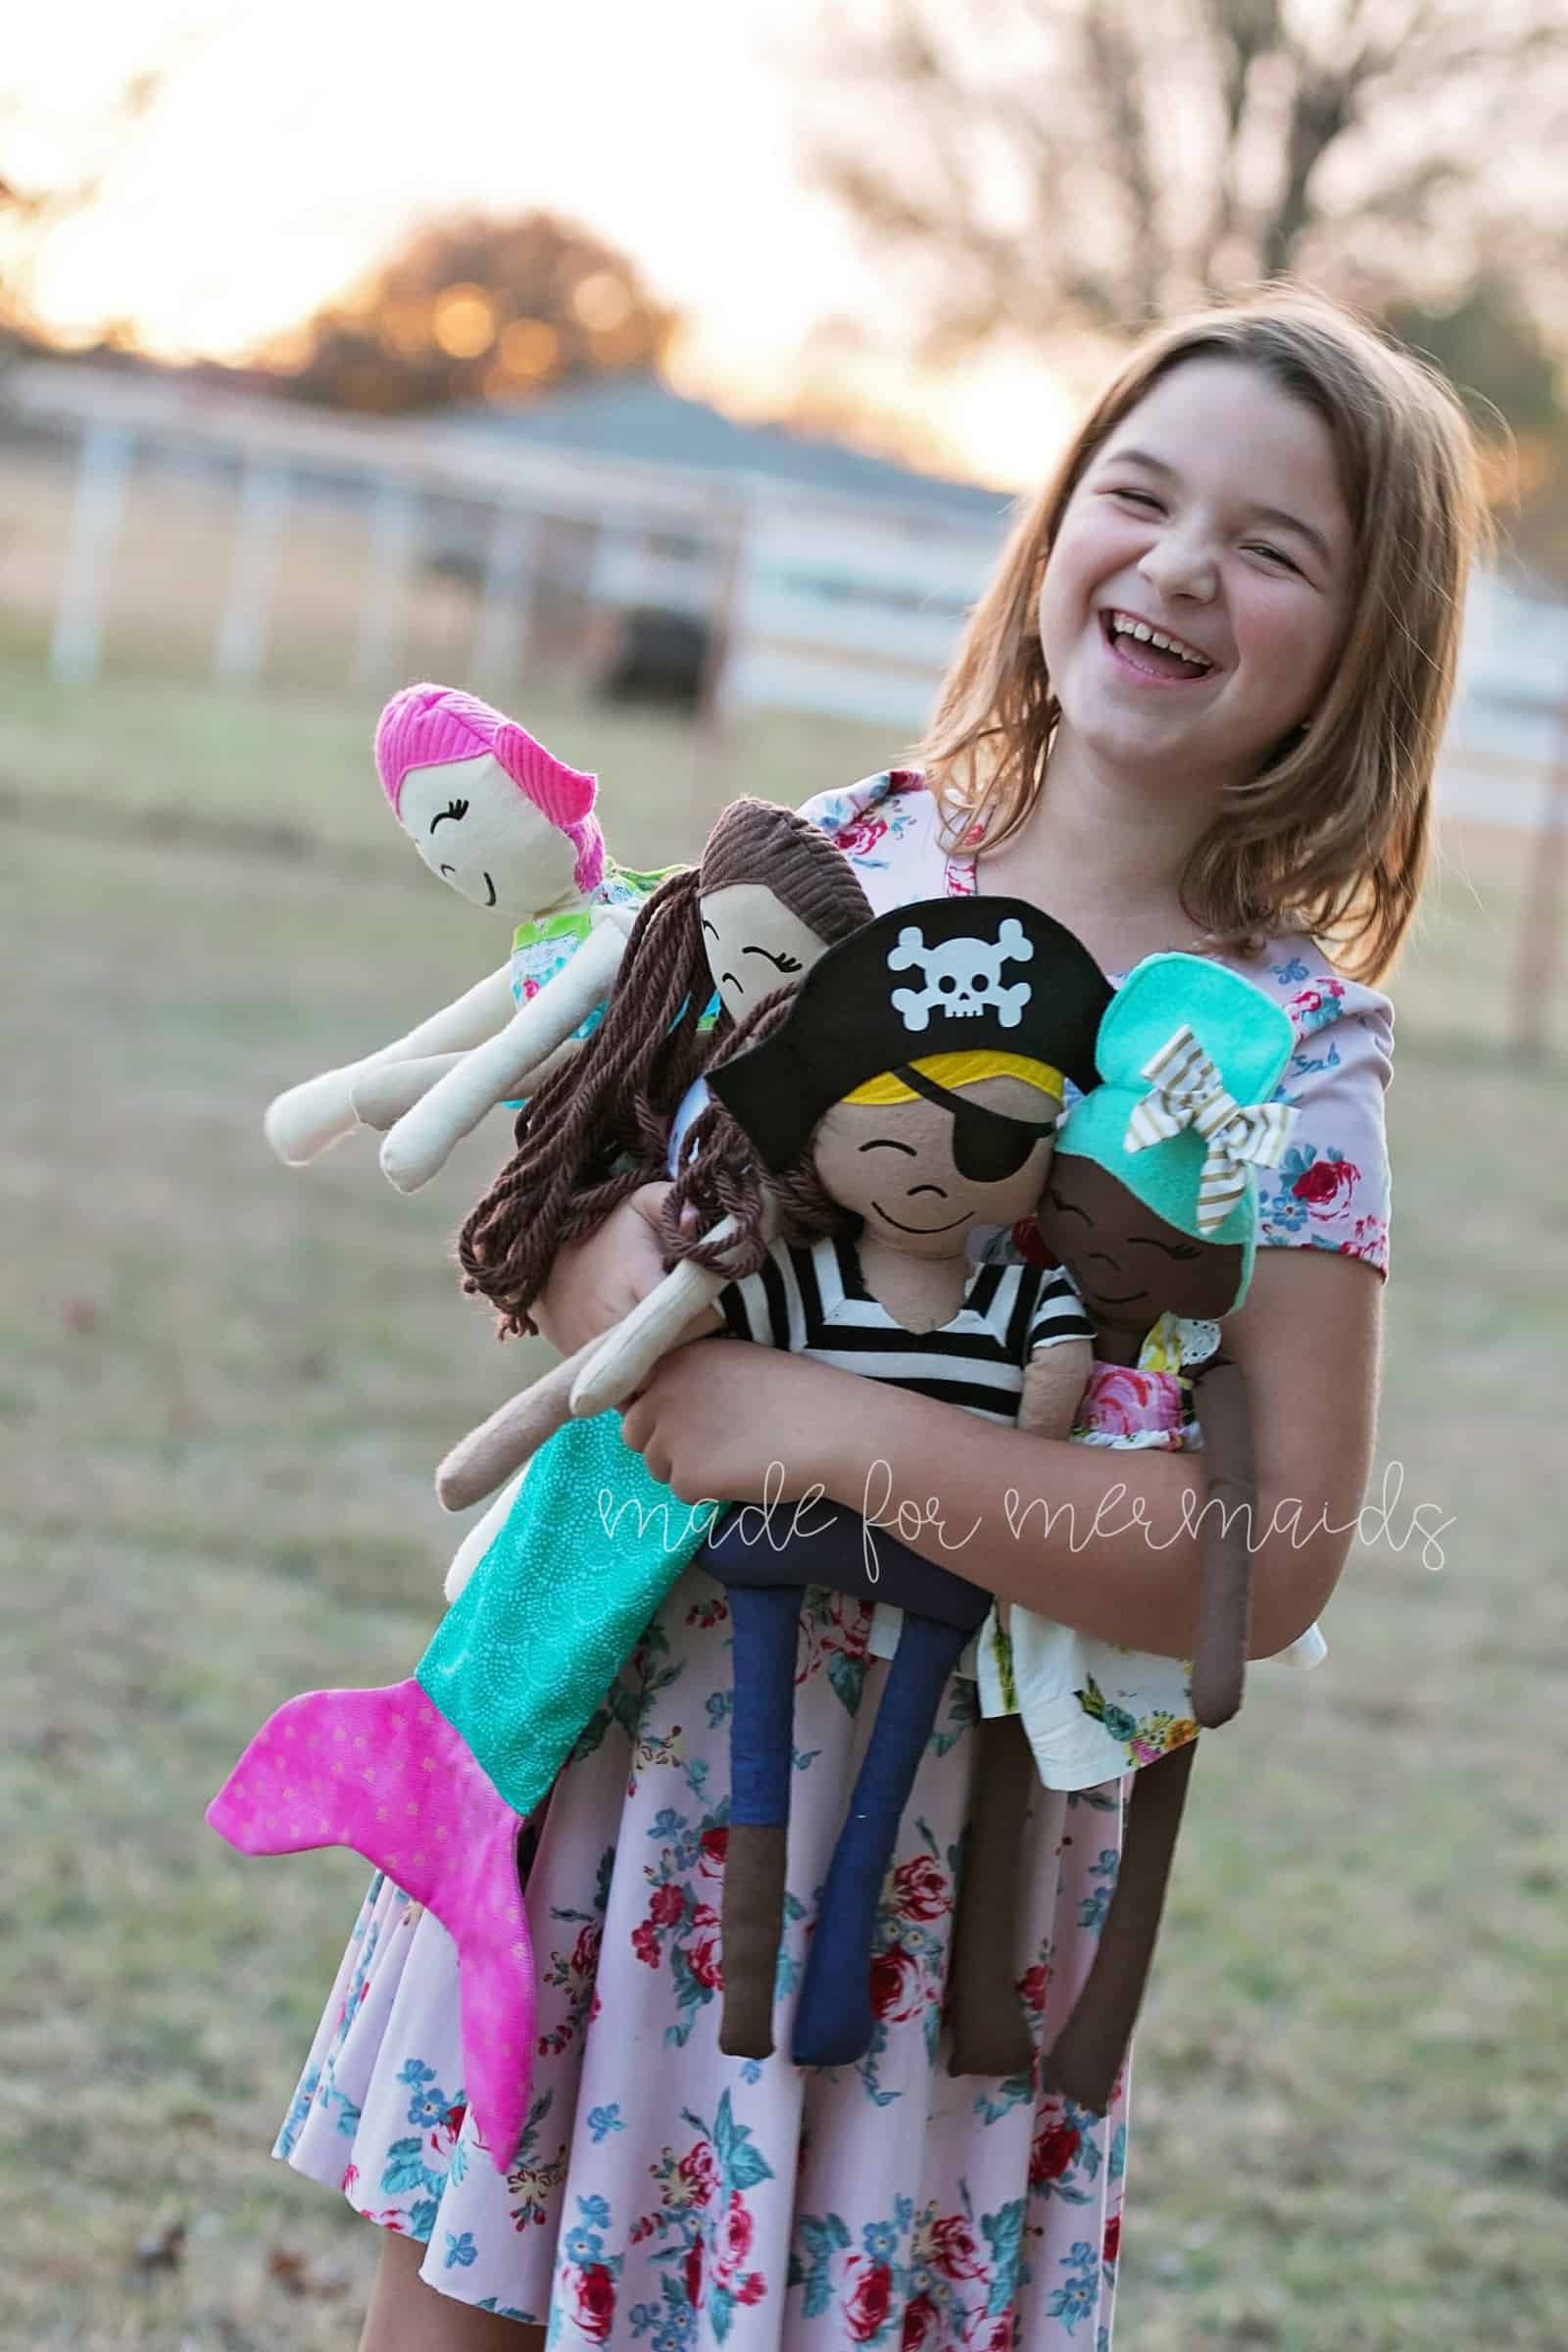
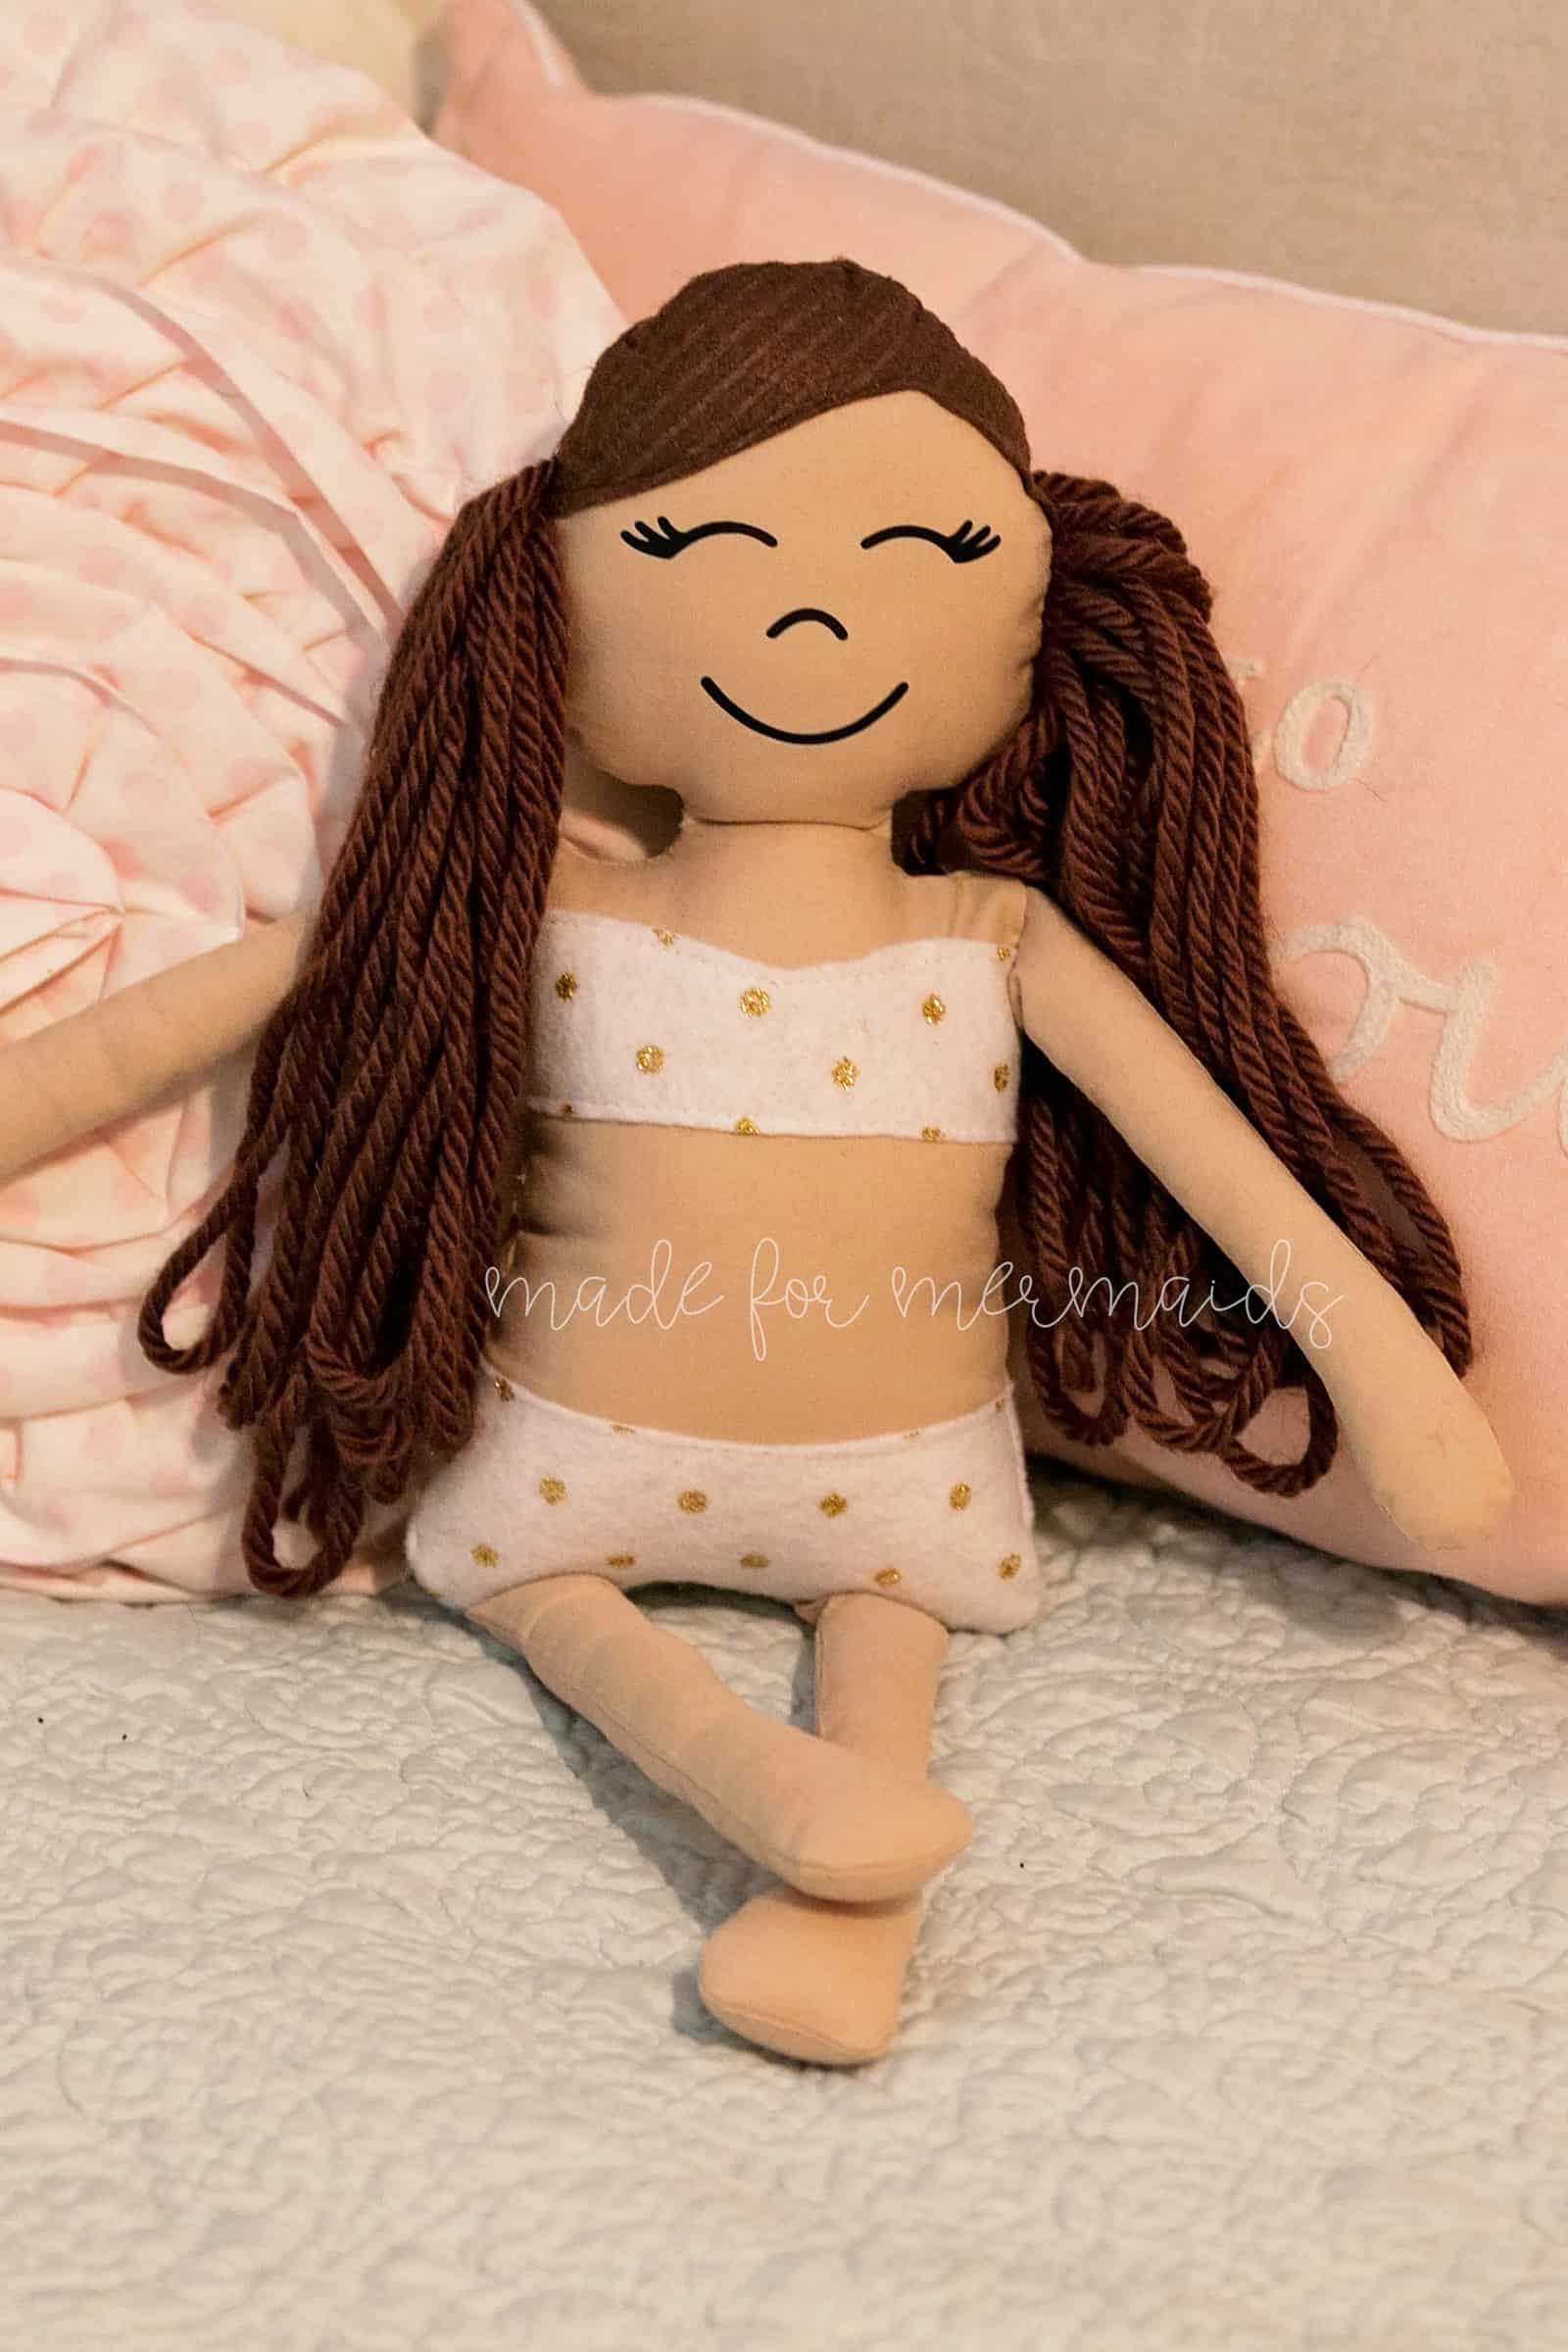
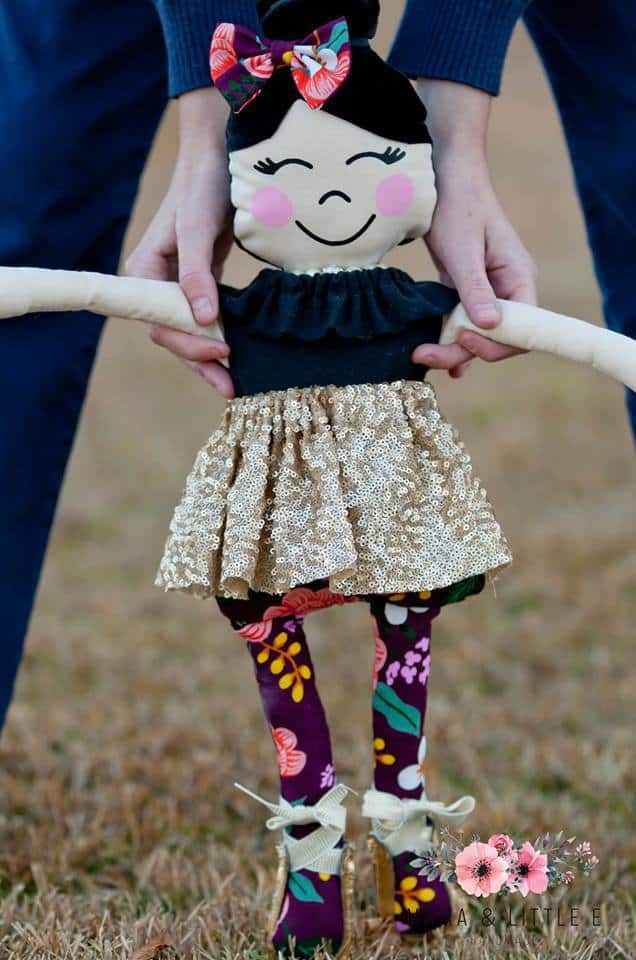
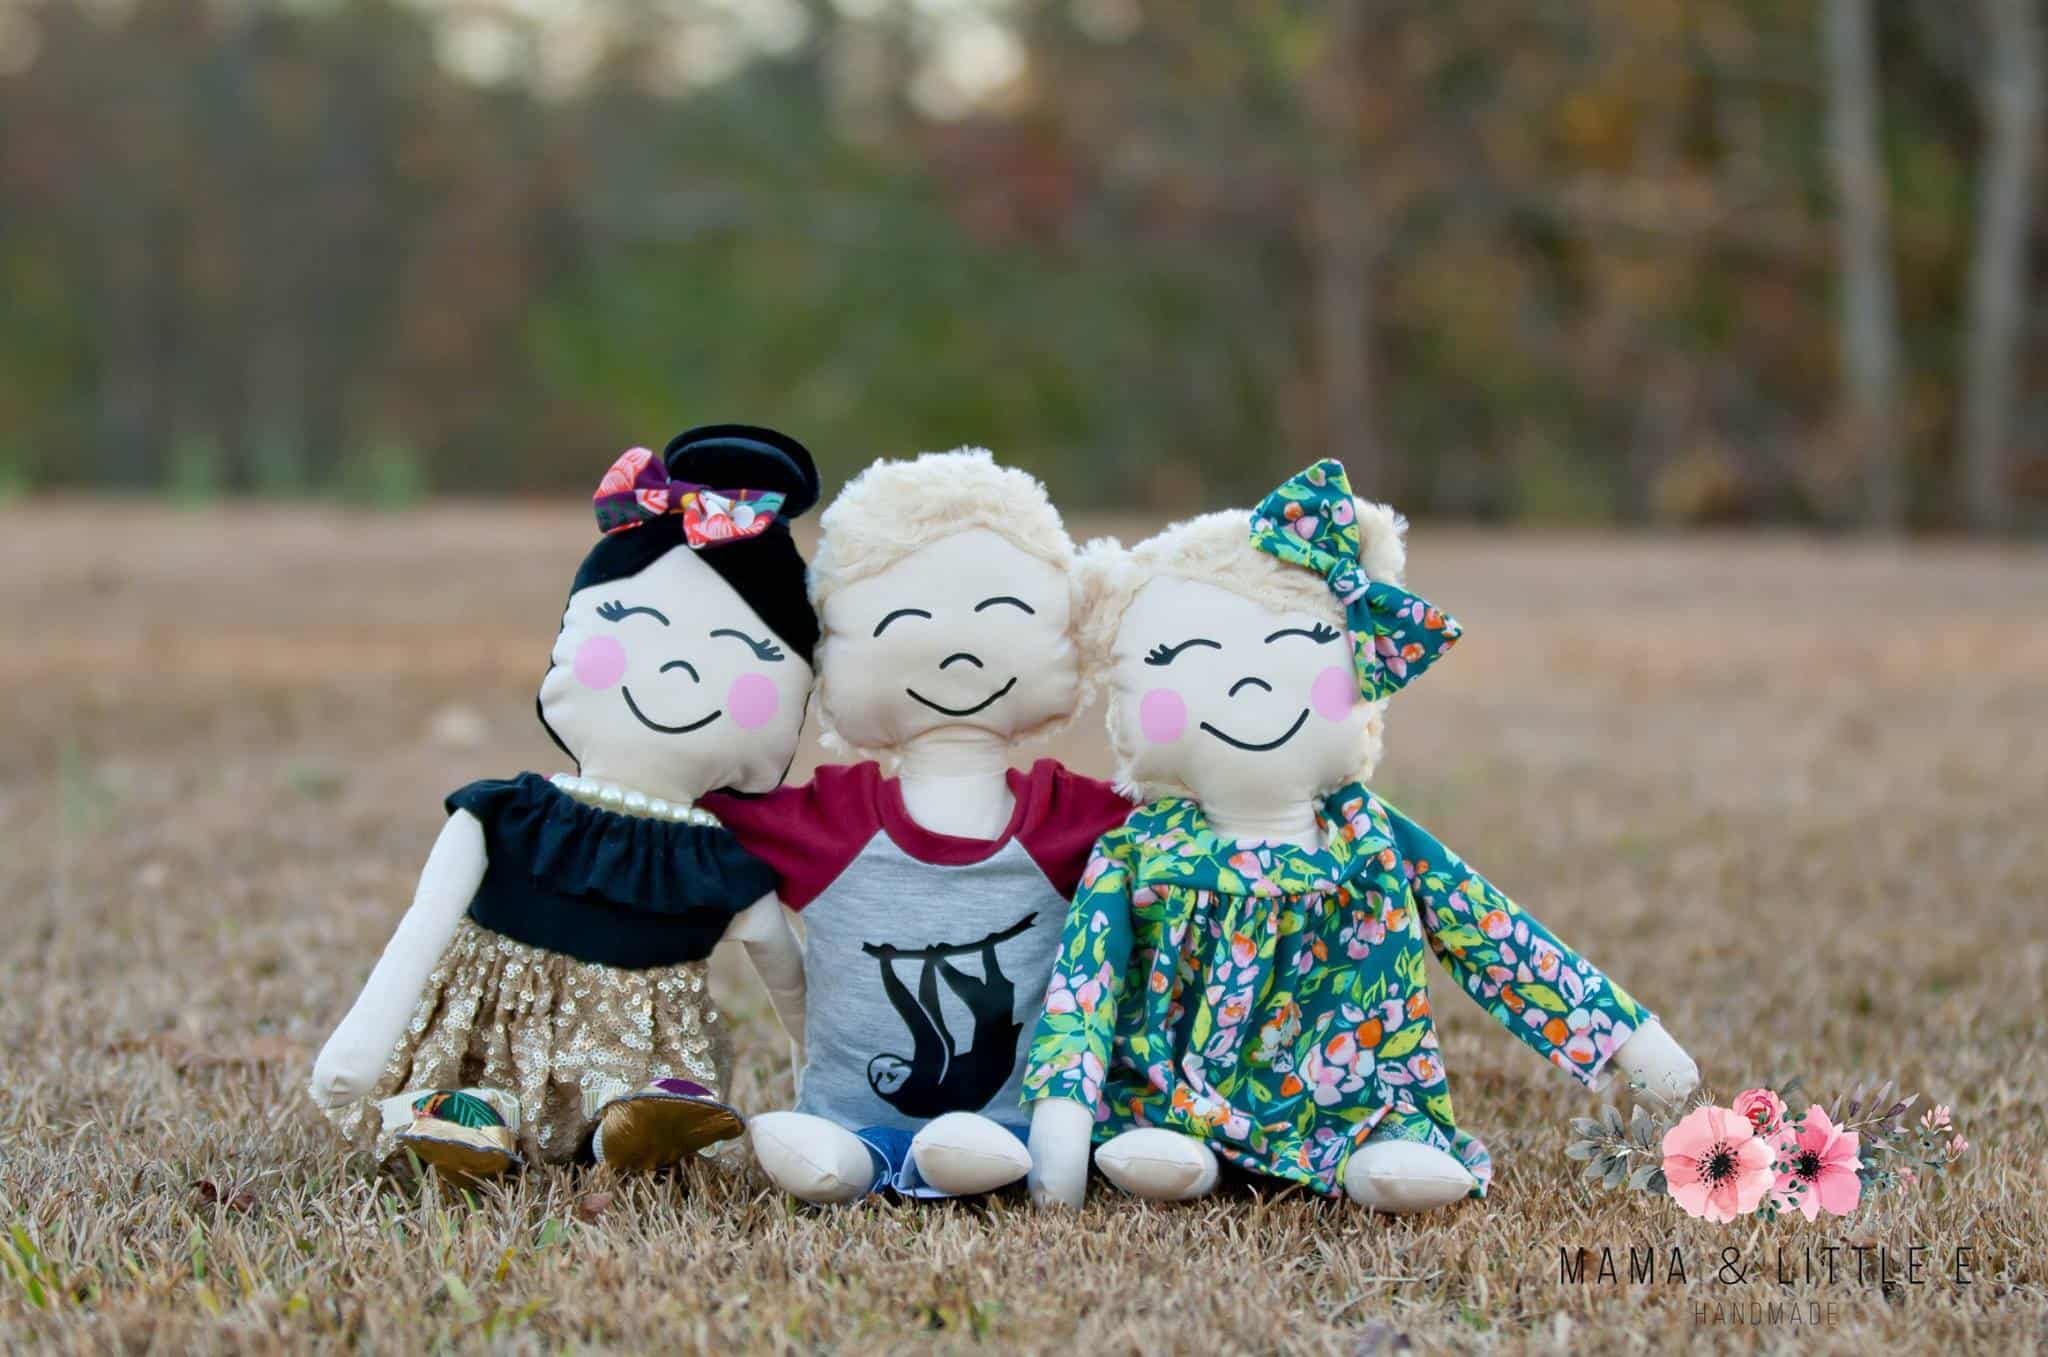
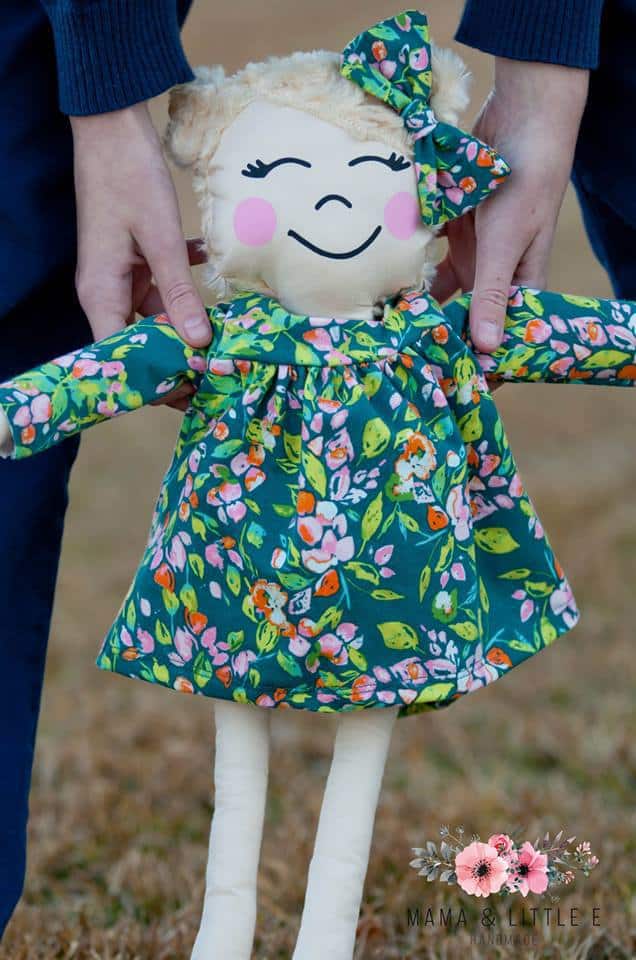
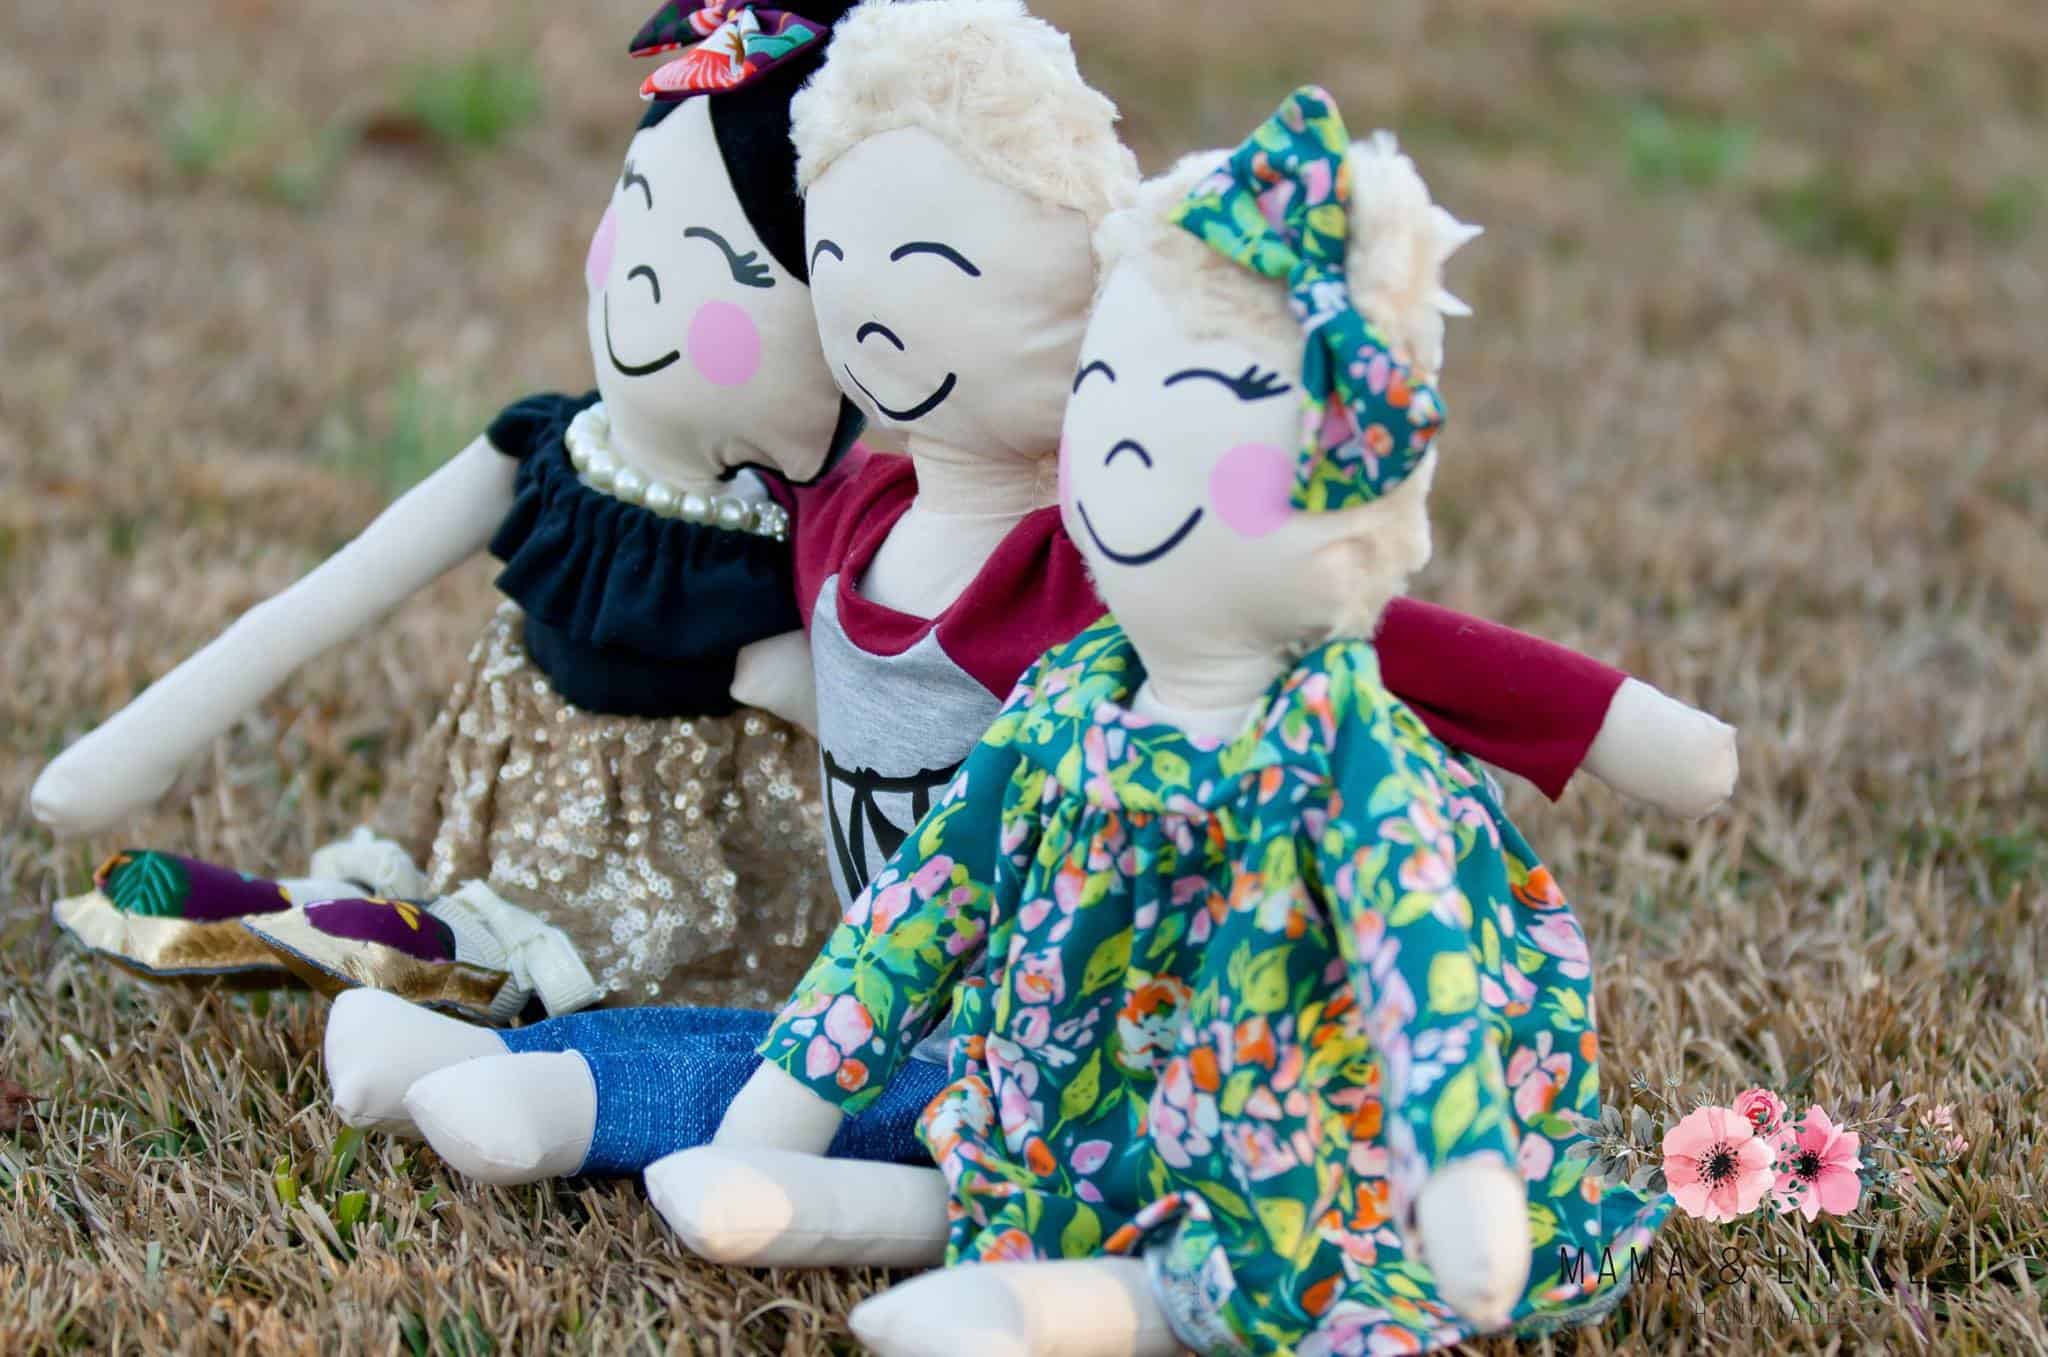
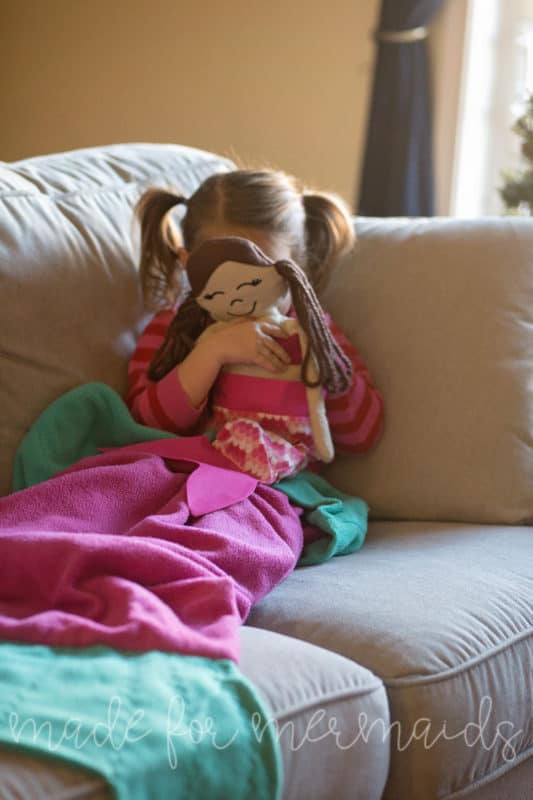
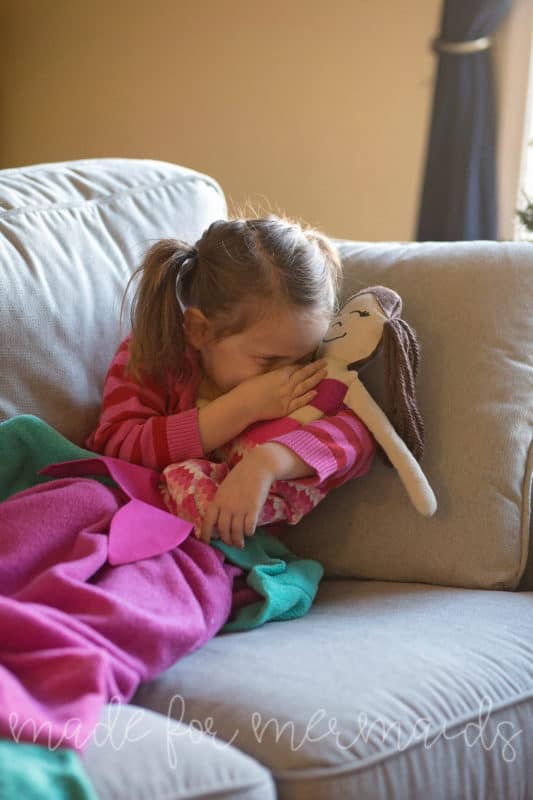
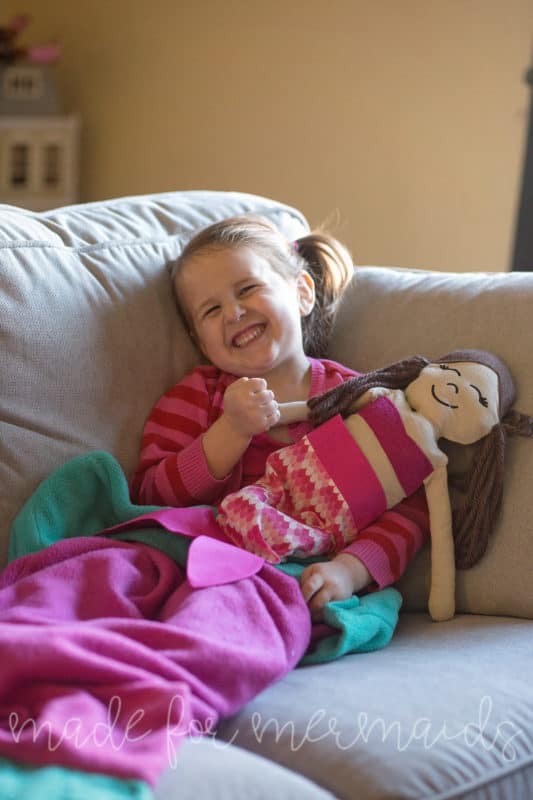
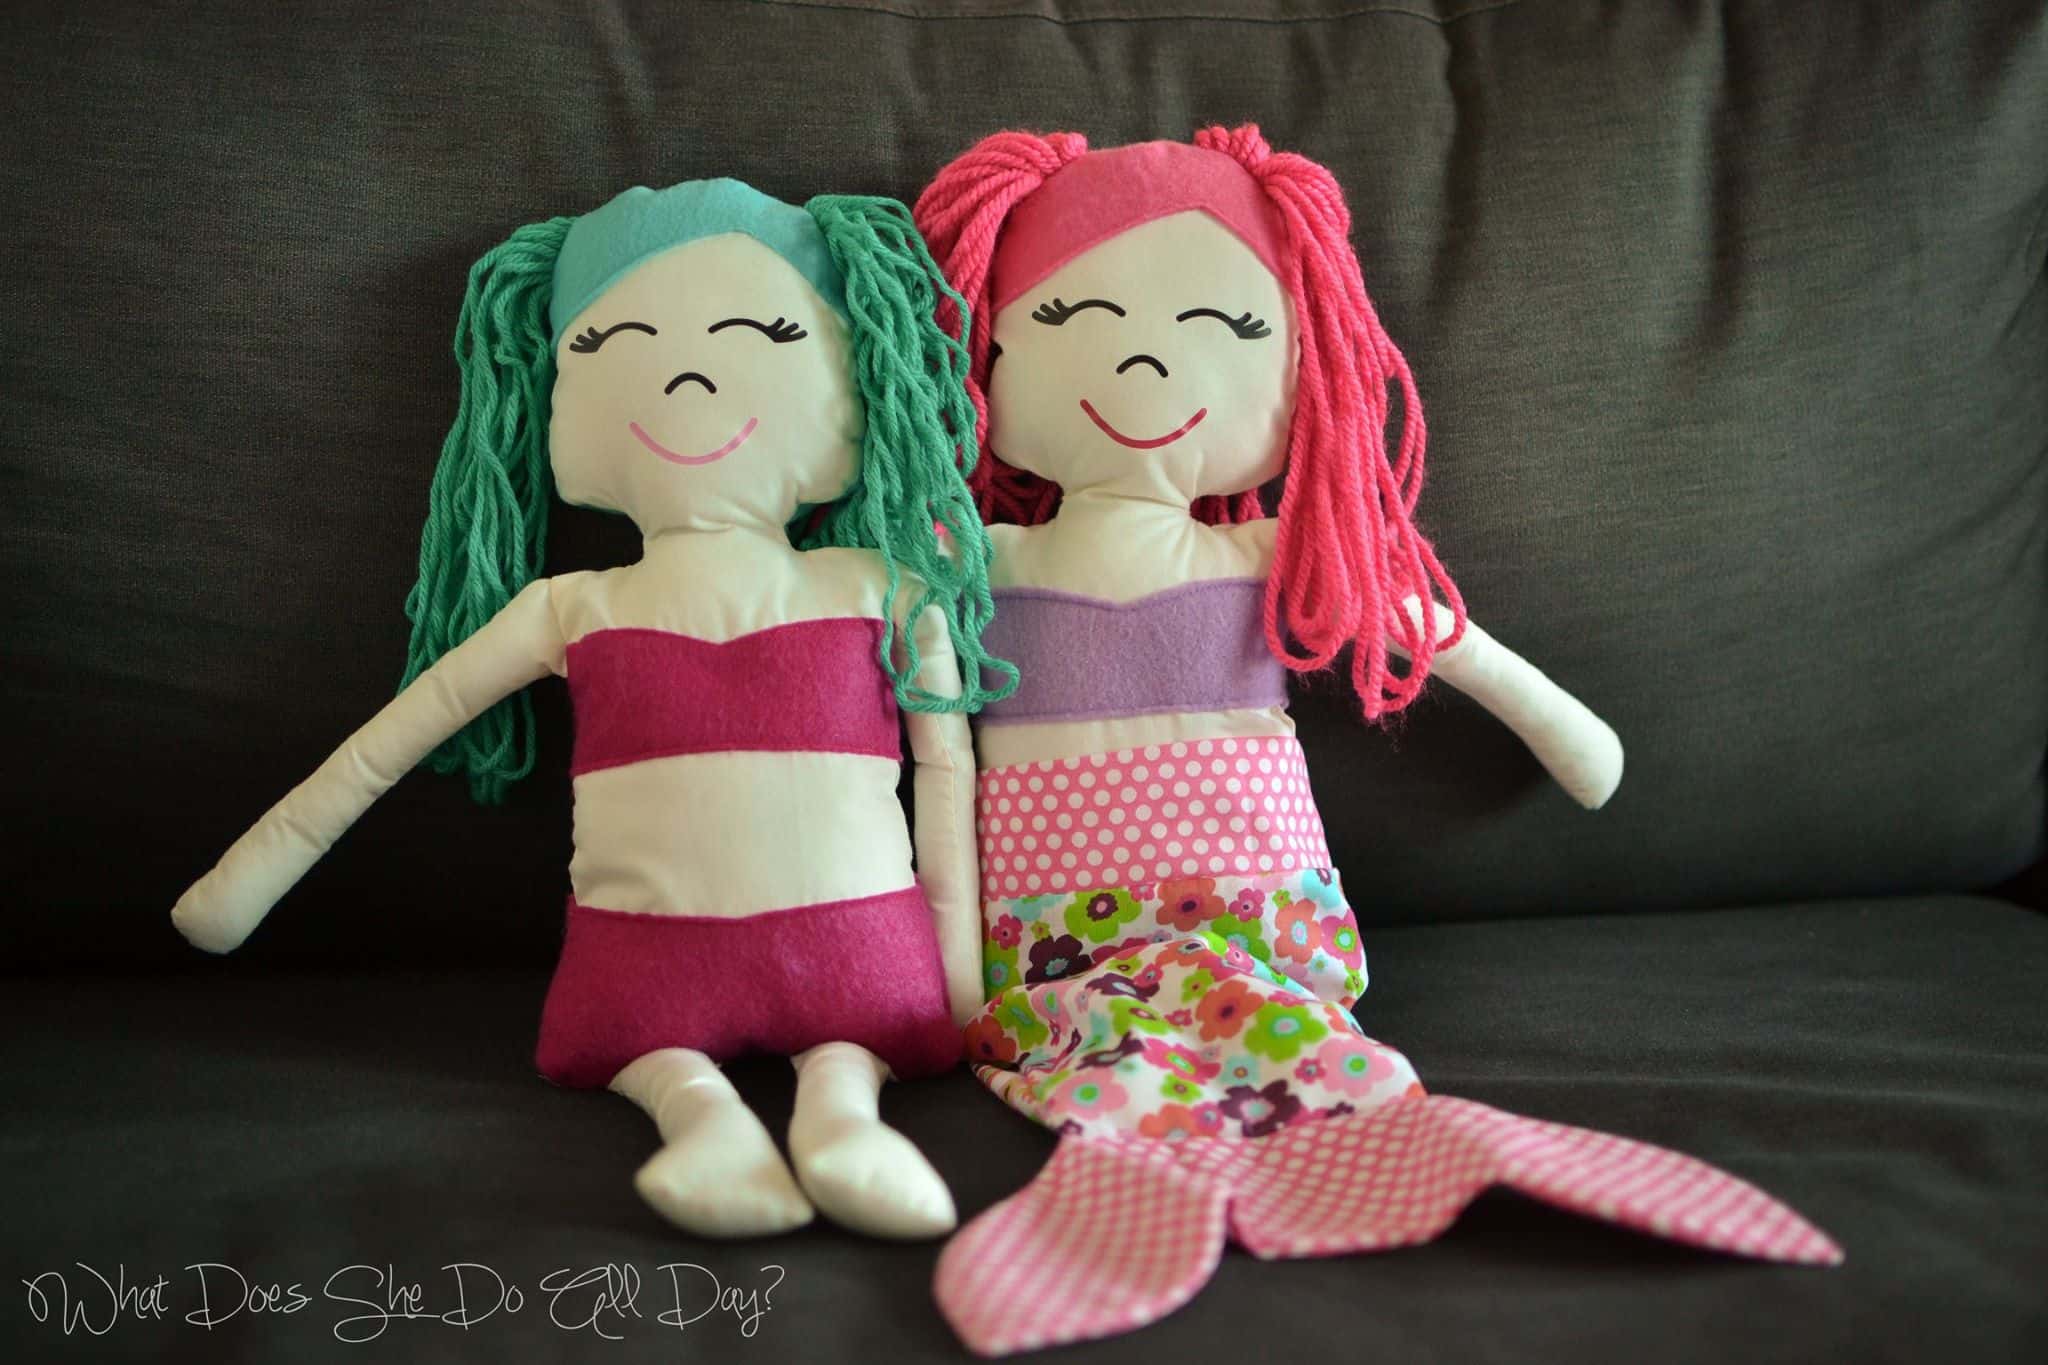
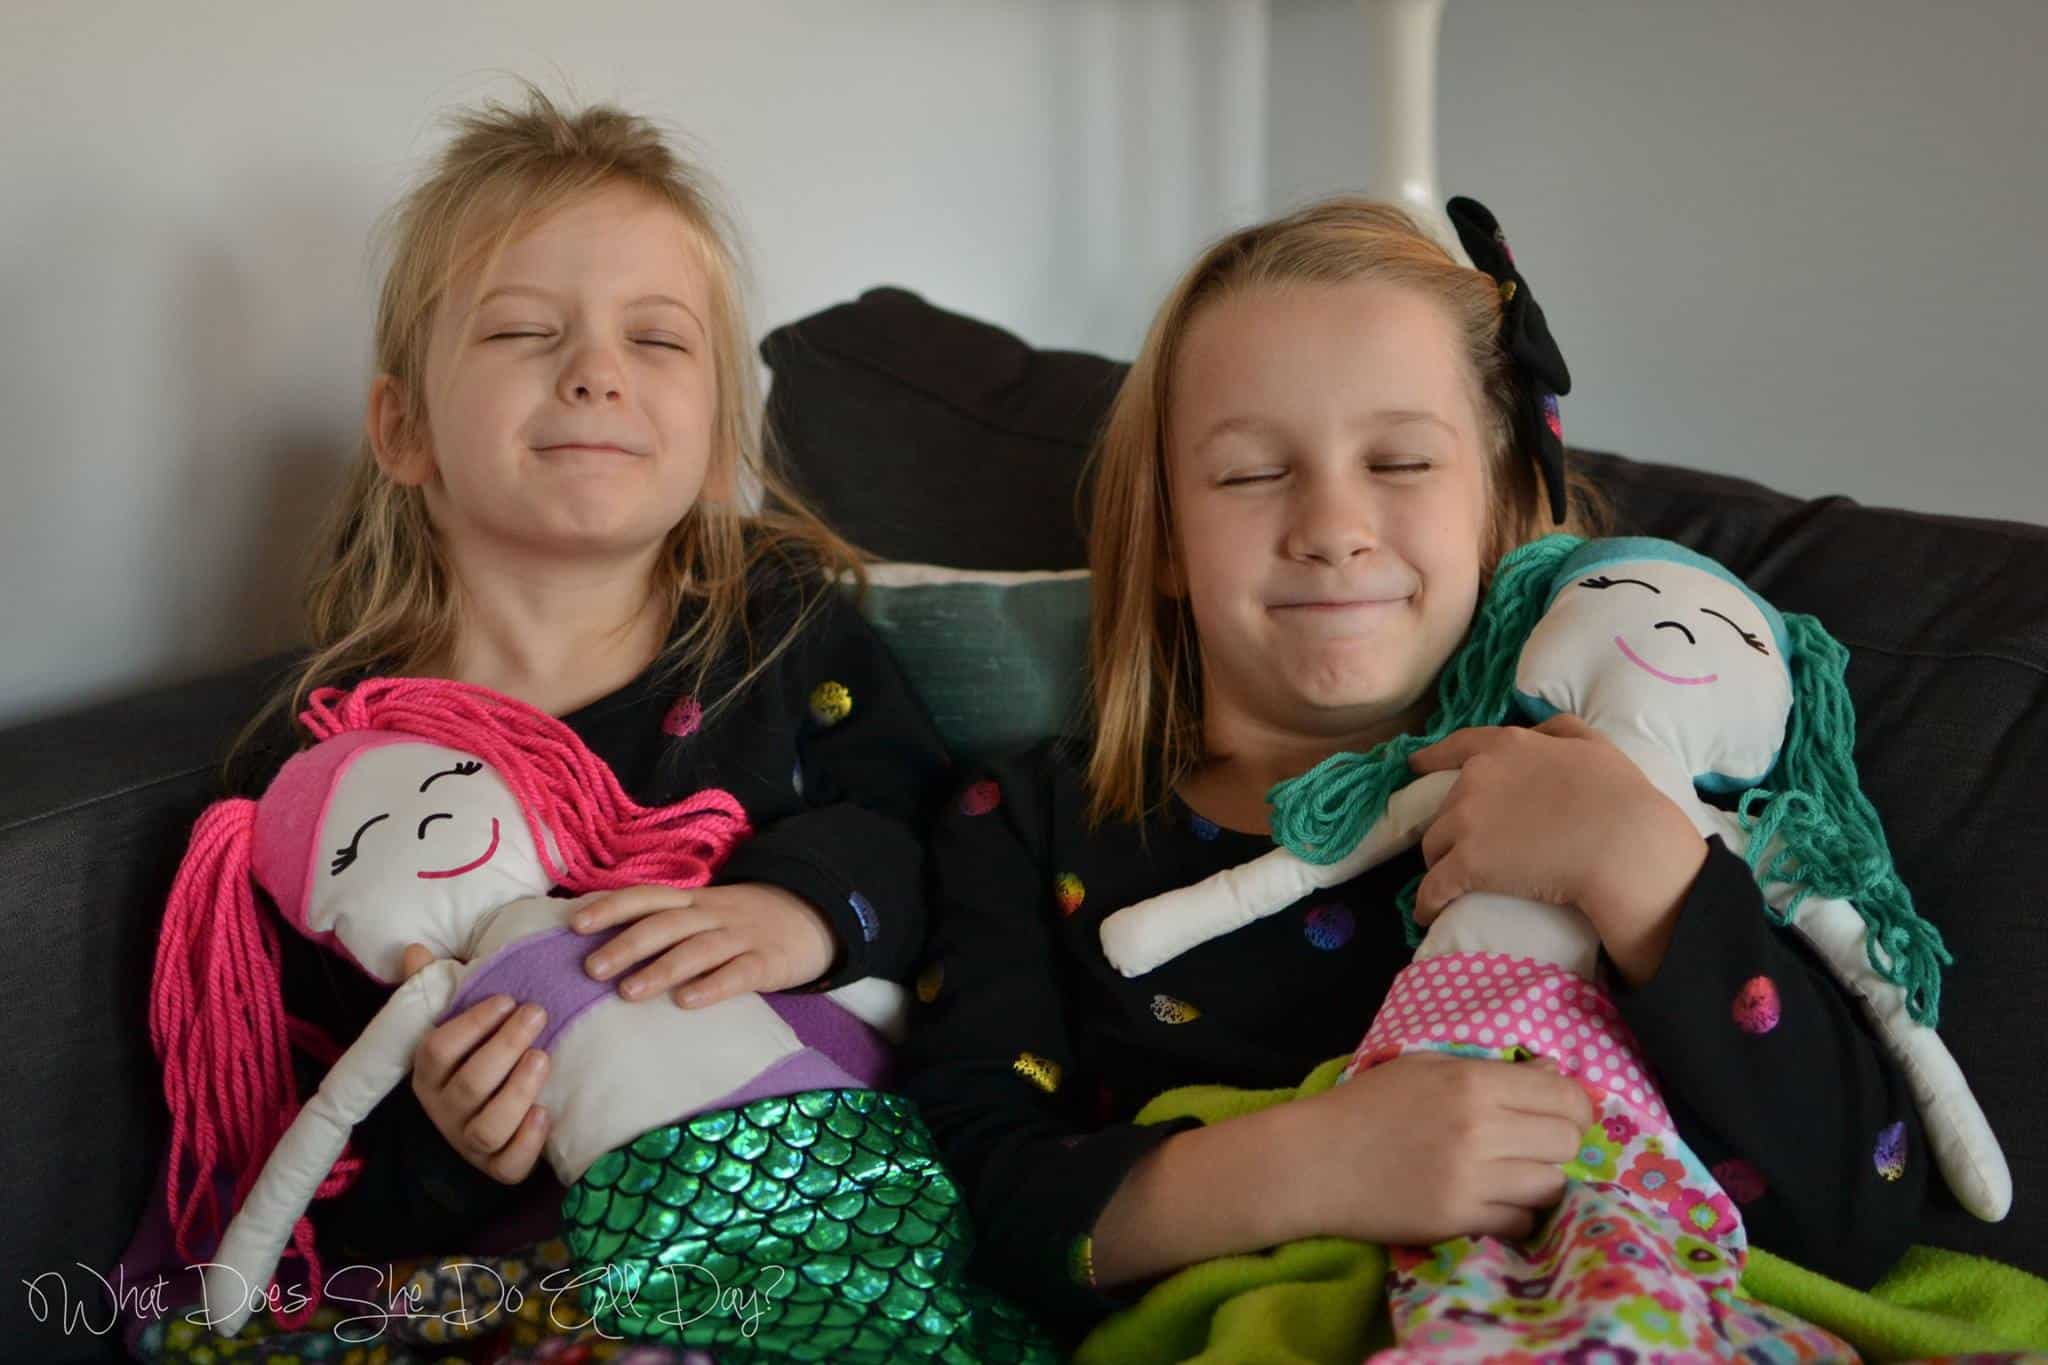
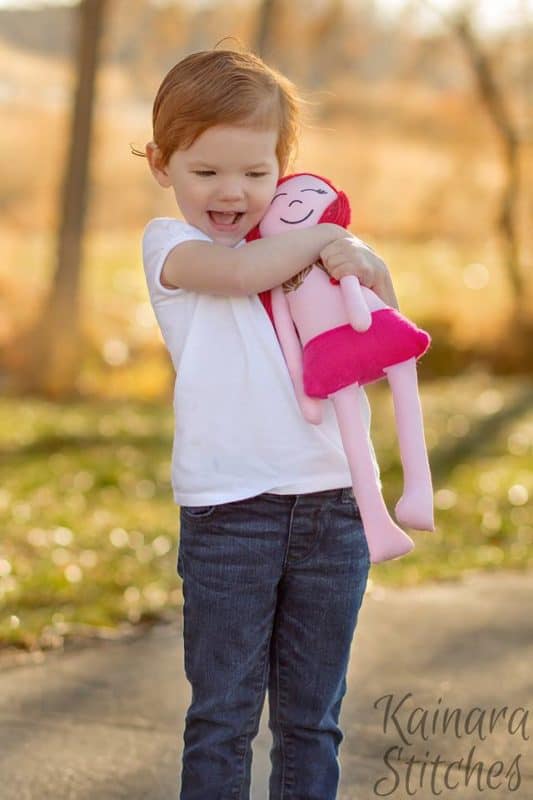
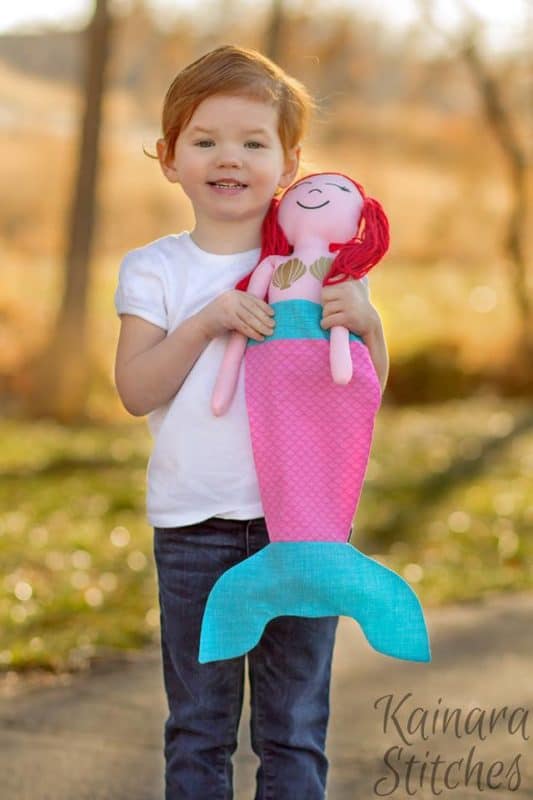
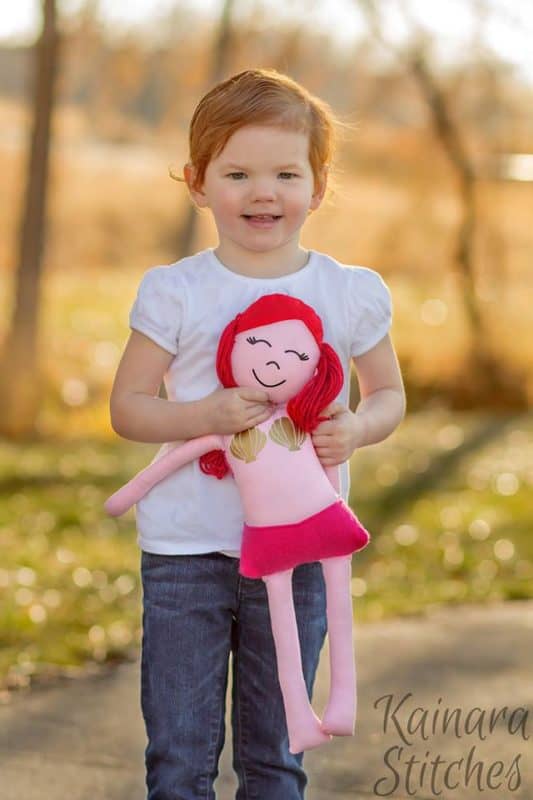
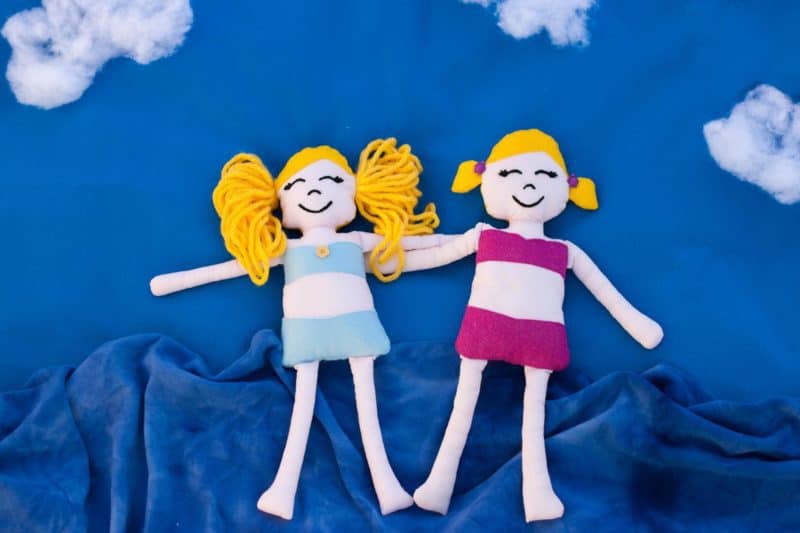
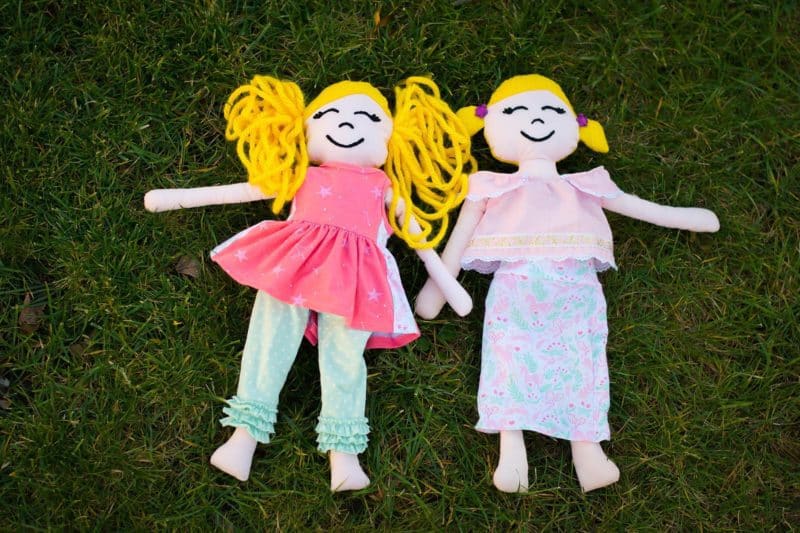
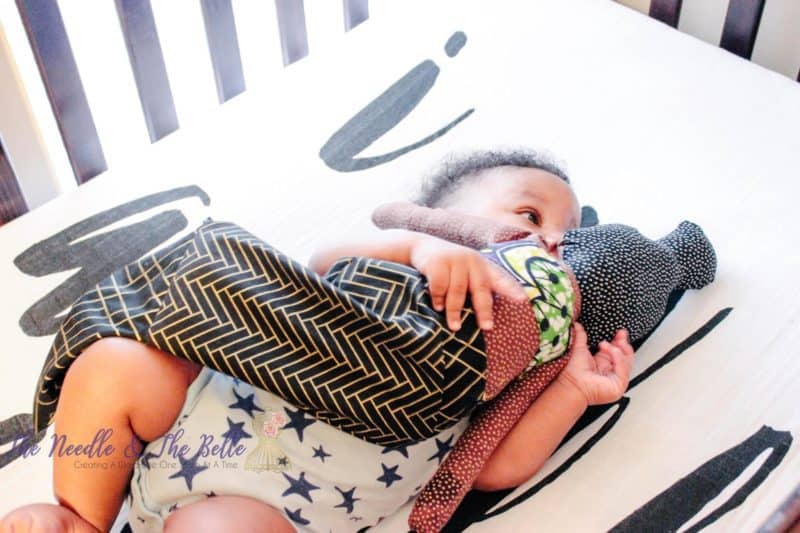
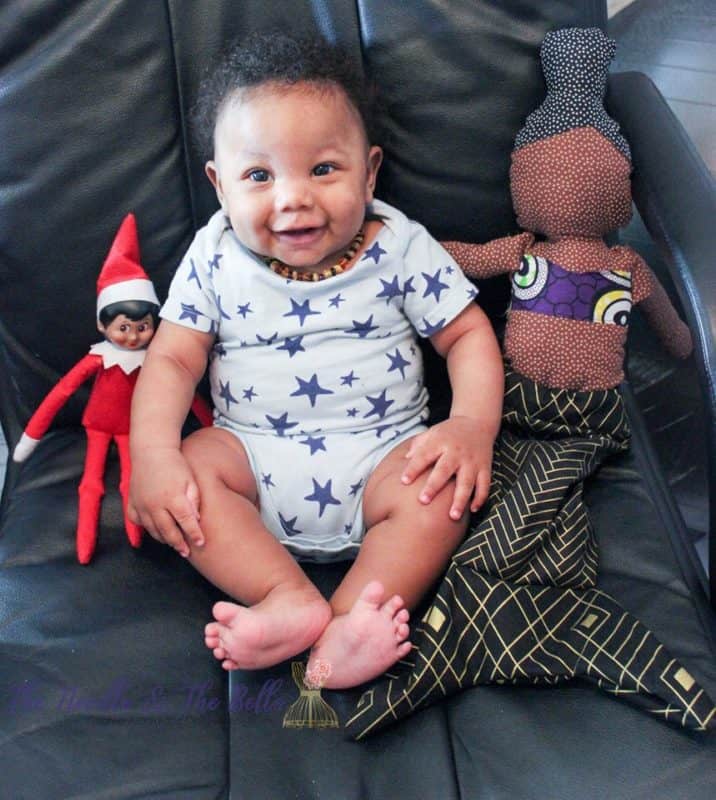
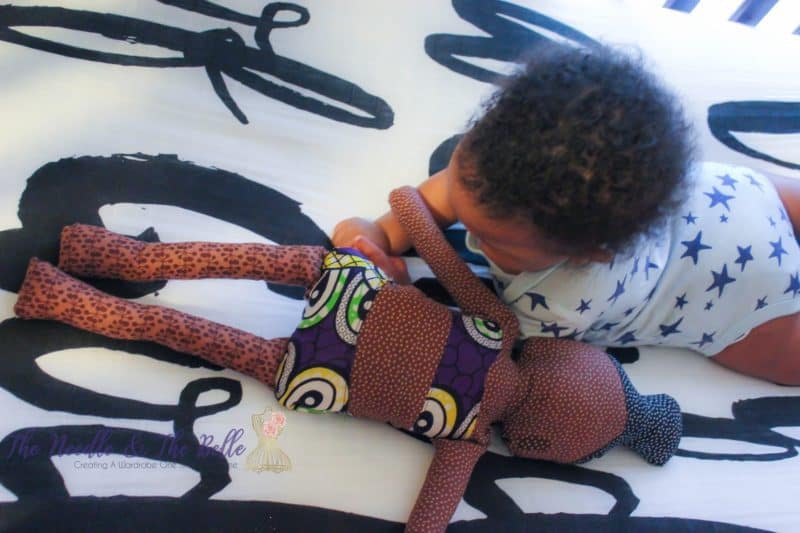
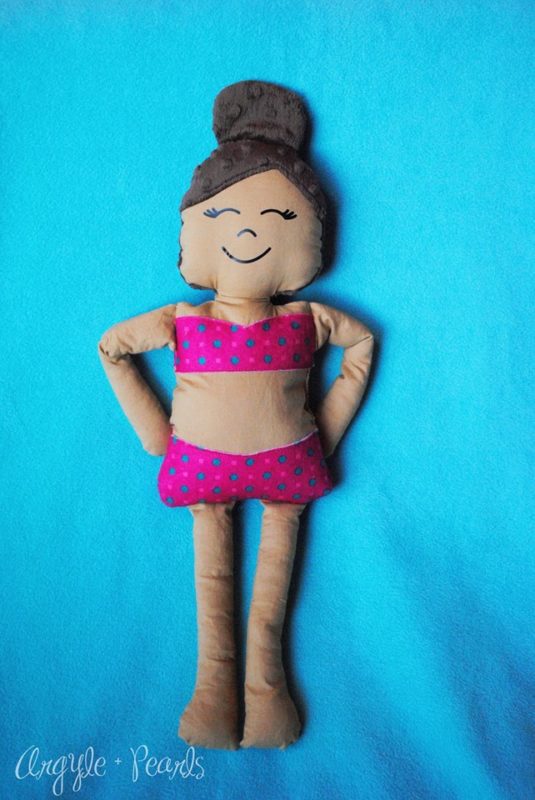
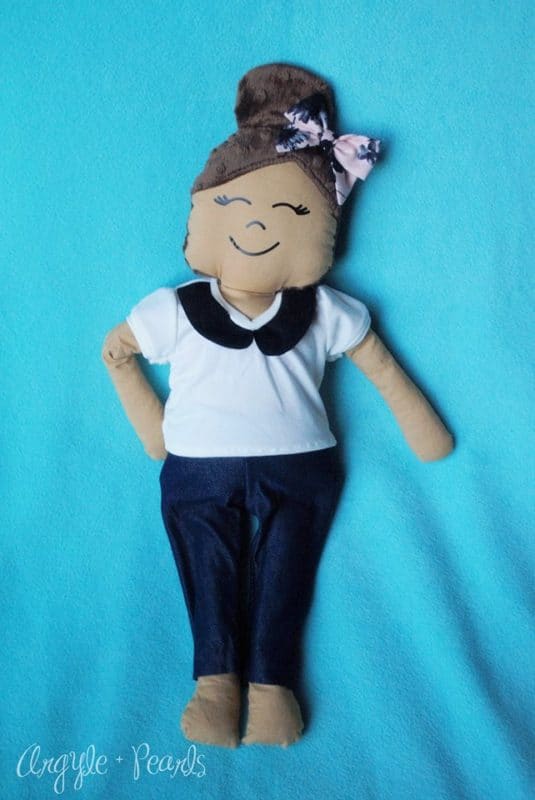
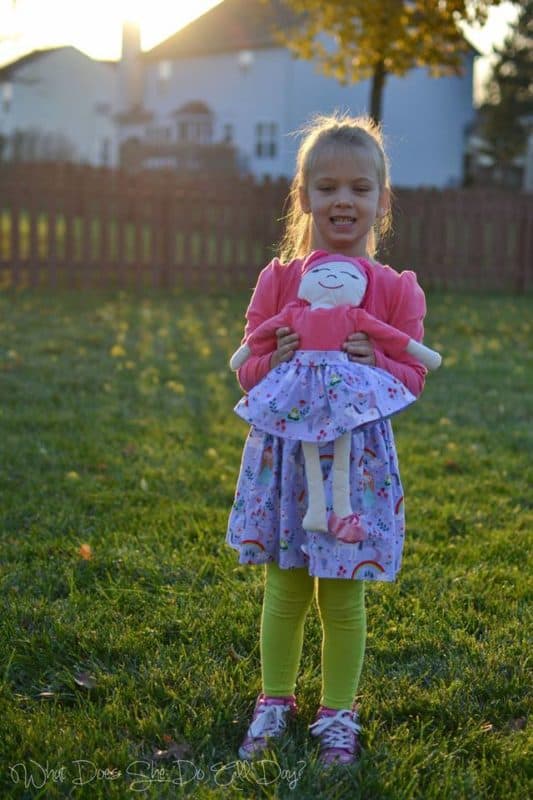
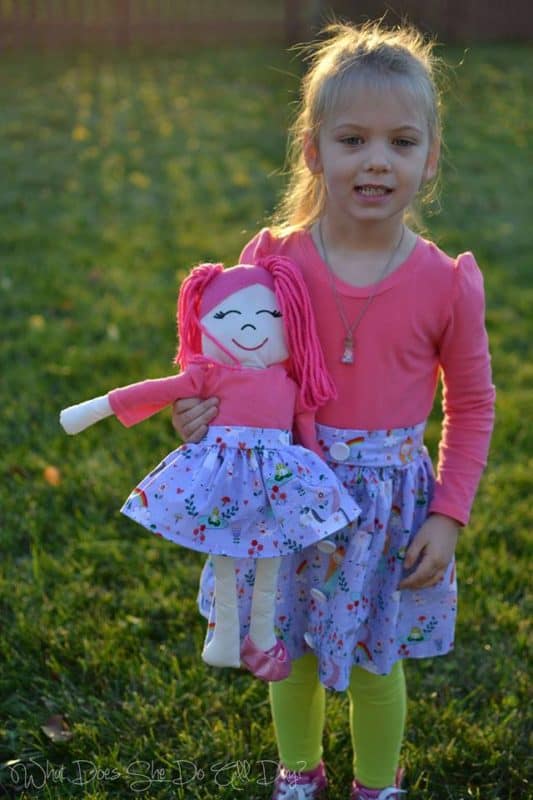
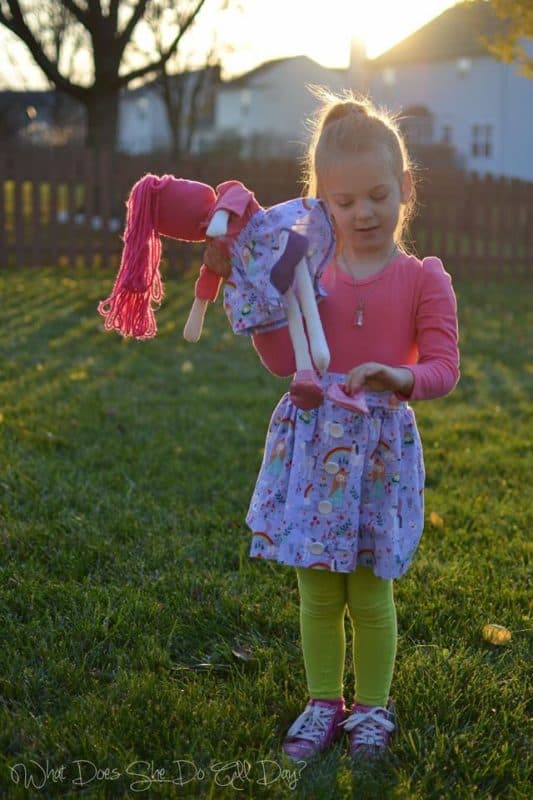
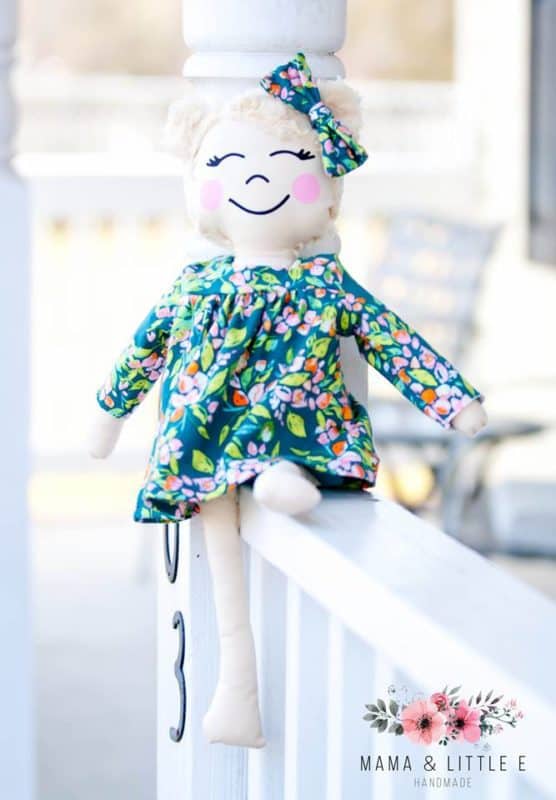
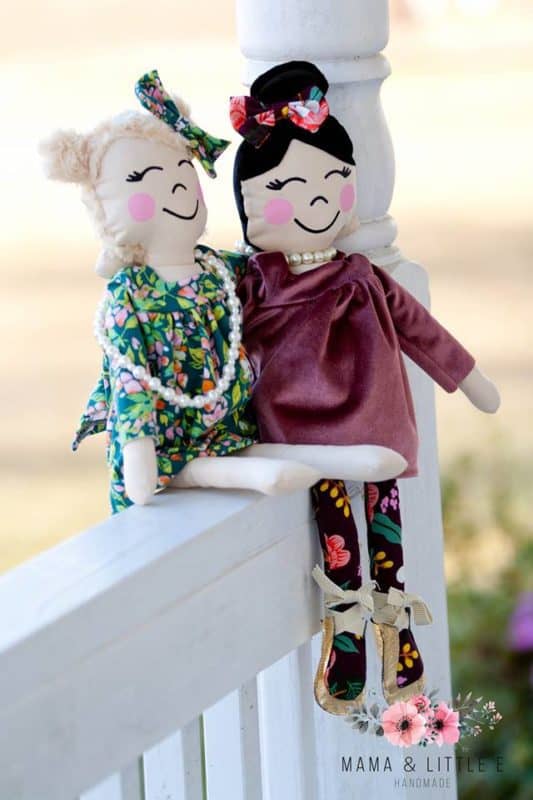
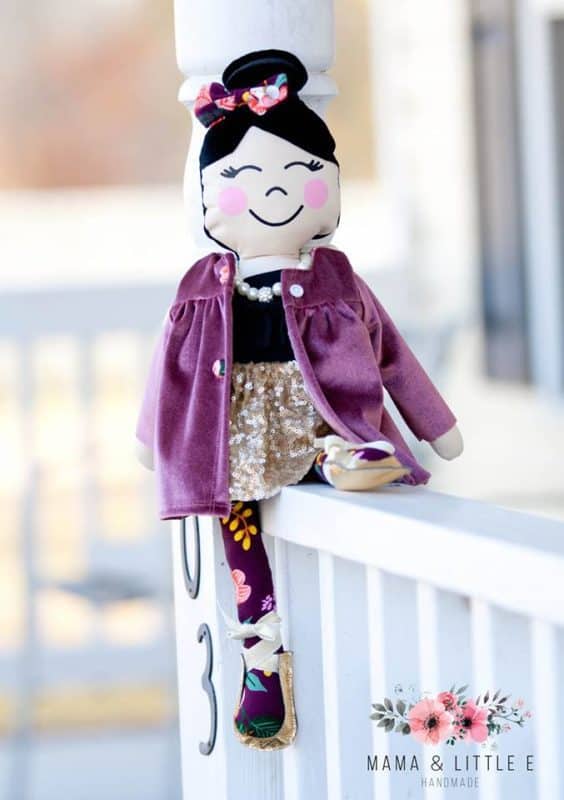
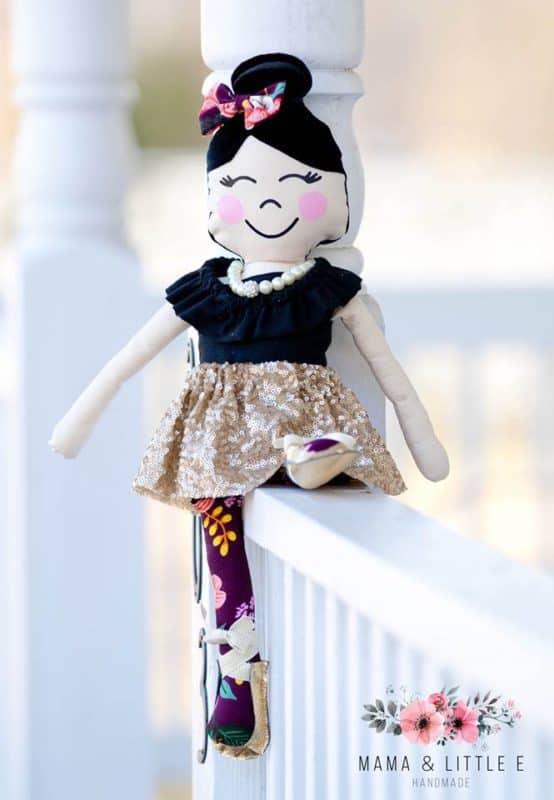
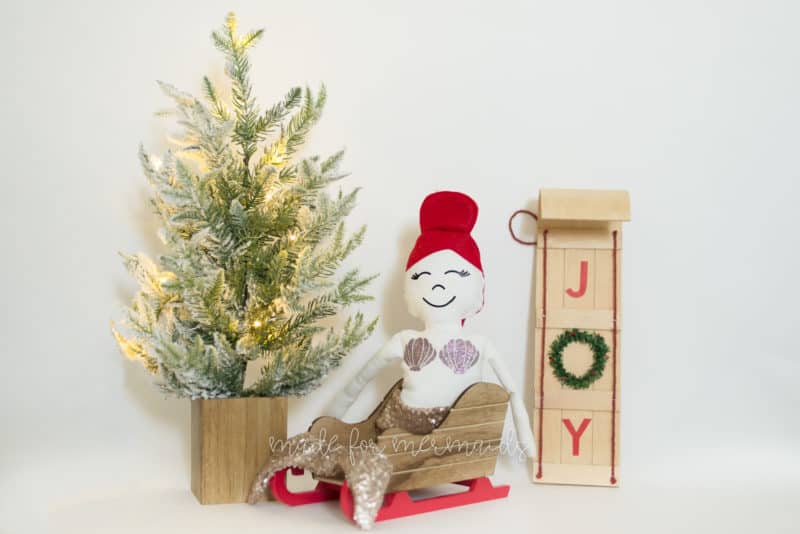
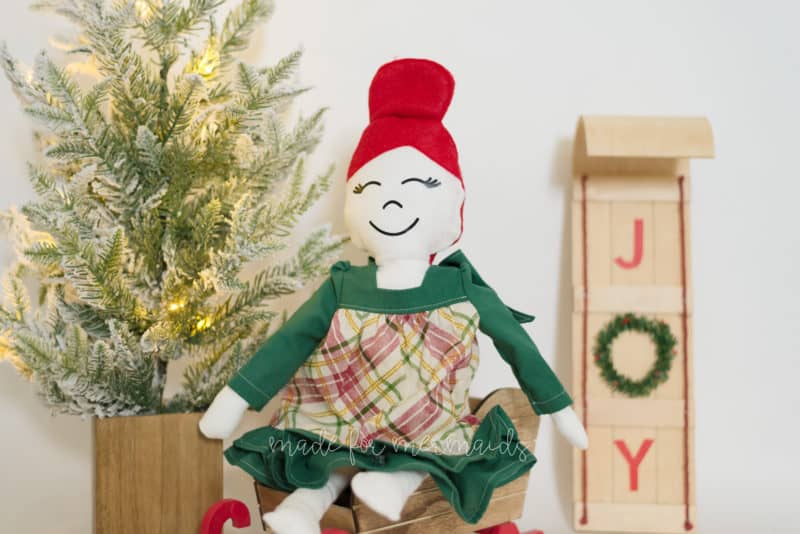
There you have it! A special gift that will be cherished by any little one you make them for. I hope you enjoy making and giving these as much as we have. Take a look at a few tester photos below! We can’t wait to see what you create and come up with. Please make sure to share what you’ve sewn up in the Made for Mermaids Patterns Group page on Facebook or Instagram. We love to see what you’ve created! #barnaclebuddies #12daysofchristmasfreebies #madeformermaidspatterns #madeformermaids
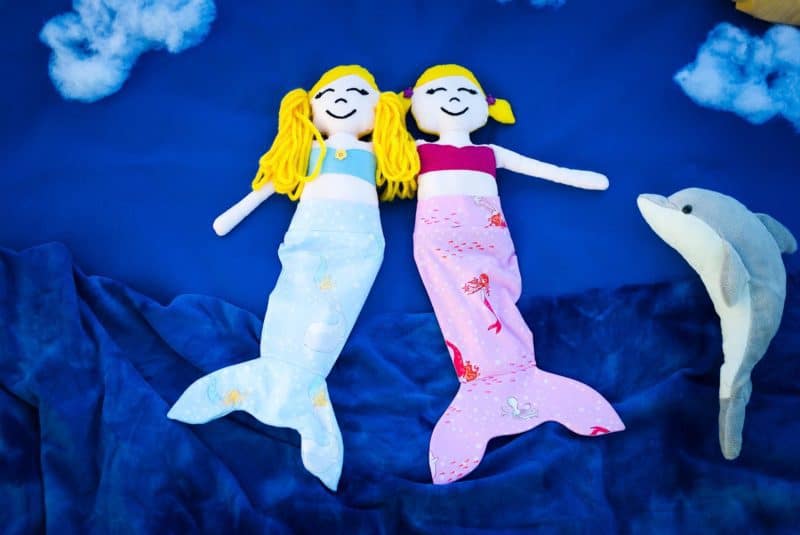
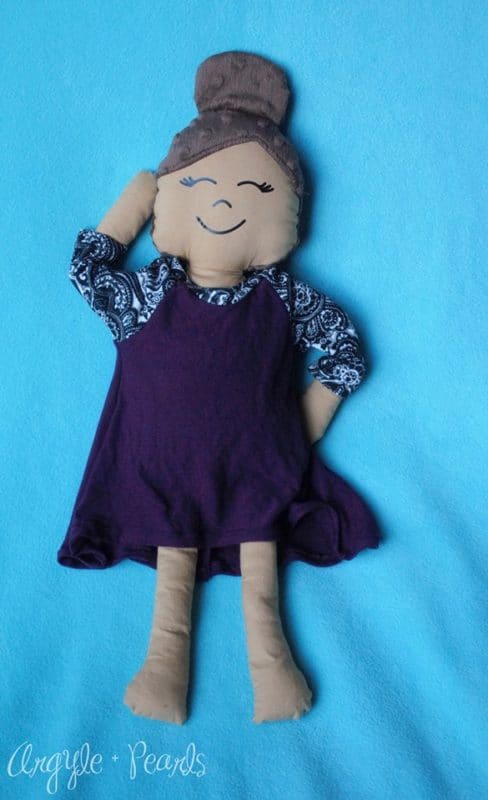
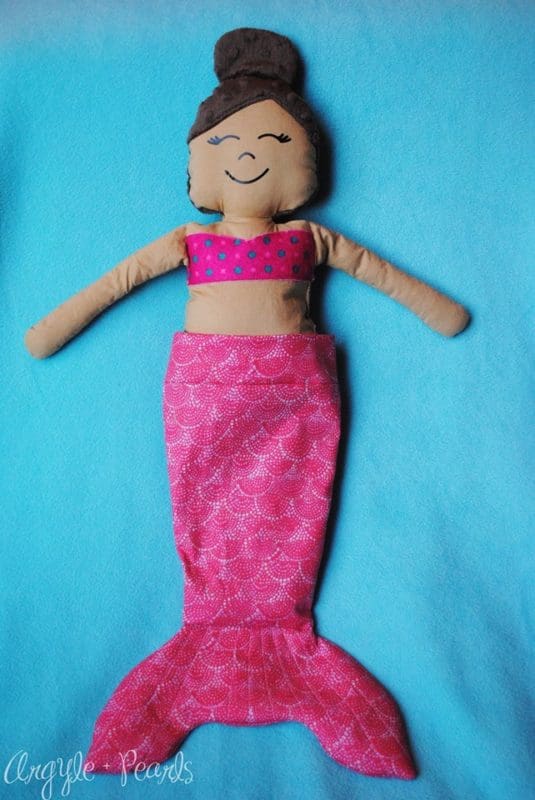
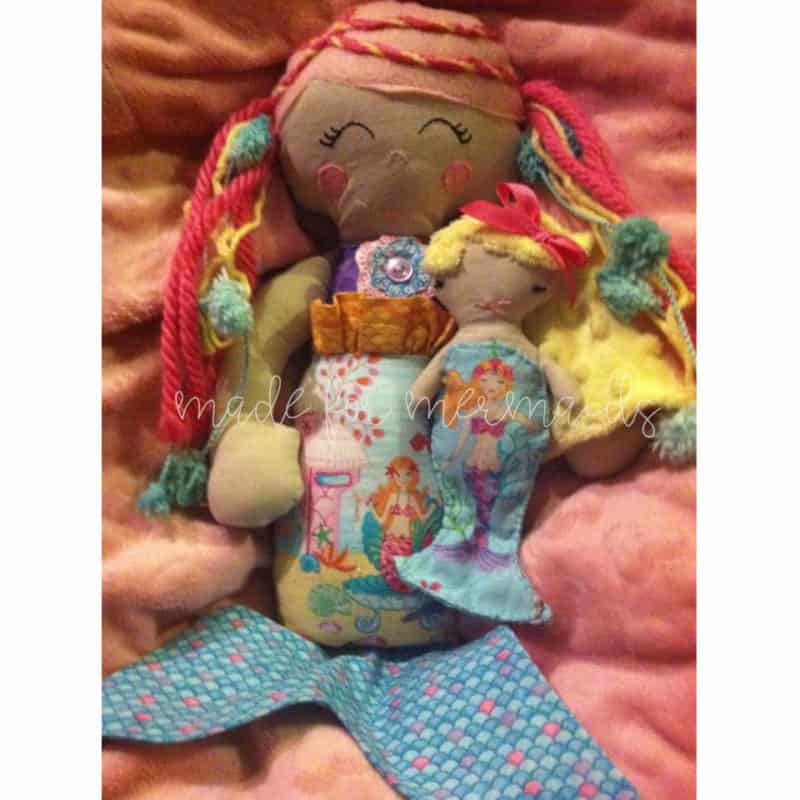
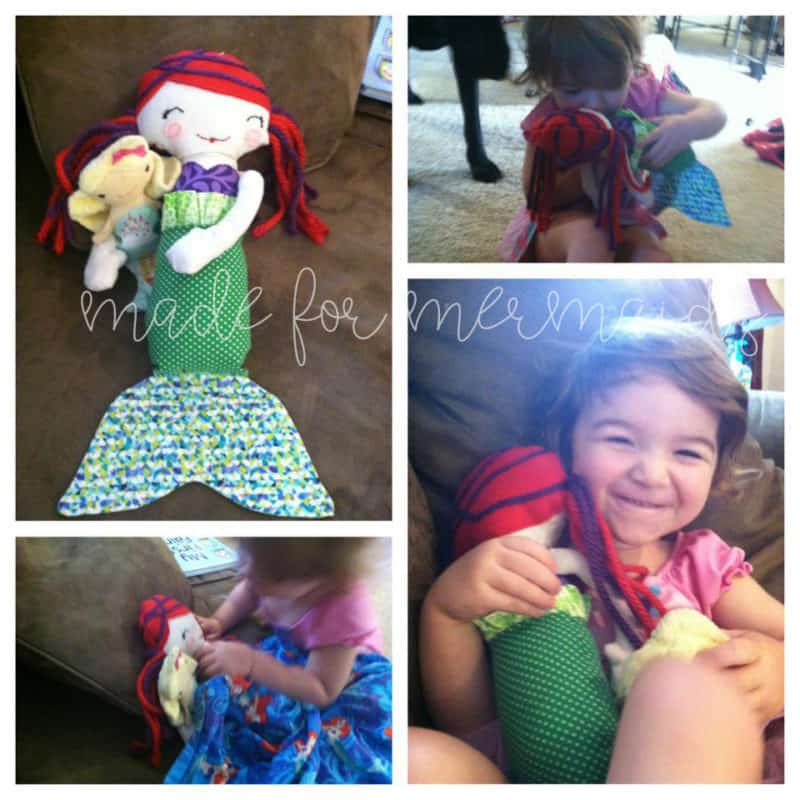
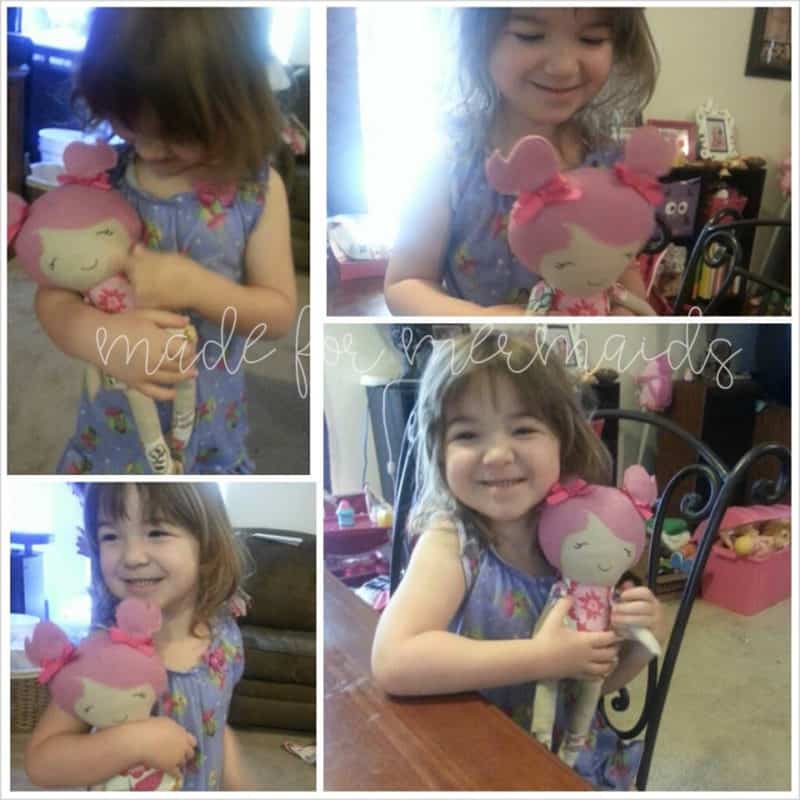
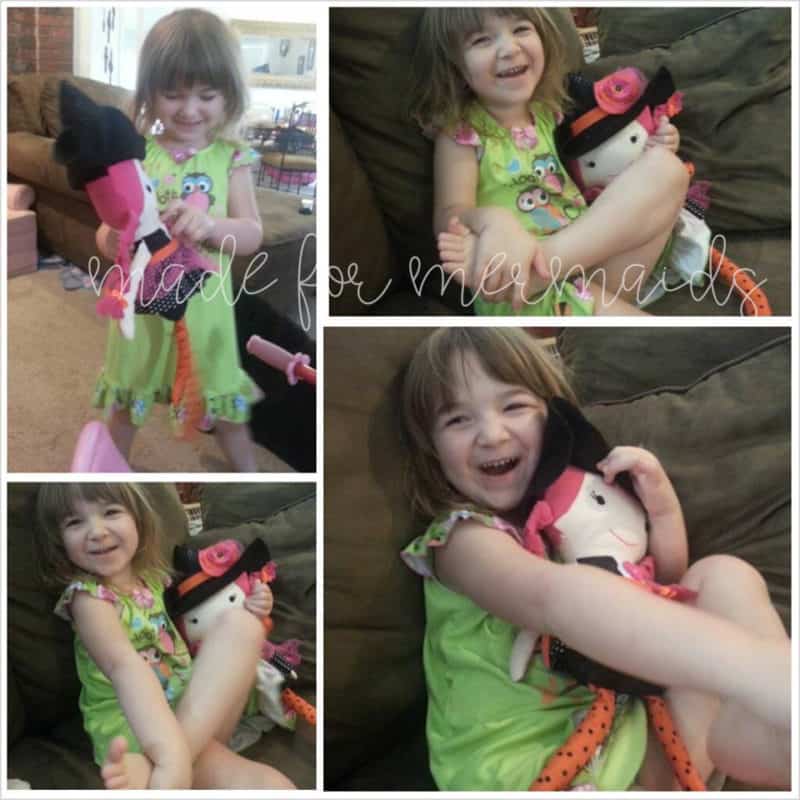
One last bit of encouragement if this will be your first stuffie, it may not be perfect and YOU may see mistakes. But your little one will love it so much and will think it’s perfect. Like anything, the more you make, the easier they get and better they look. Below are some past loved stuffies of my daughter’s- not perfect by any means, but they are still, to this day, well loved 😉
DECEMBER 1 – 12, 2017
DAY 1 – BARNACLE BUDDIES








Thanks so much for this and everything you and your family have done for the sewing community! You ladies have created such an amazing environment for support, friendship and body positivity – the freebies are GREAT, and the rest is absolutely priceless.
I agree, Amy!! 🙂 They have done some AMAZING work! Thanks for your sweet words.
Hello ,
These are insanely cute and I am wanting to make these for all of the family kids at Christmas. Do you happen to have a pattern for the pirate shirts? I can’t find any boy doll patterns on this site.
Thank you so much
Rowan raglan or Kourtney were used on the Pirate dolls 🙂