
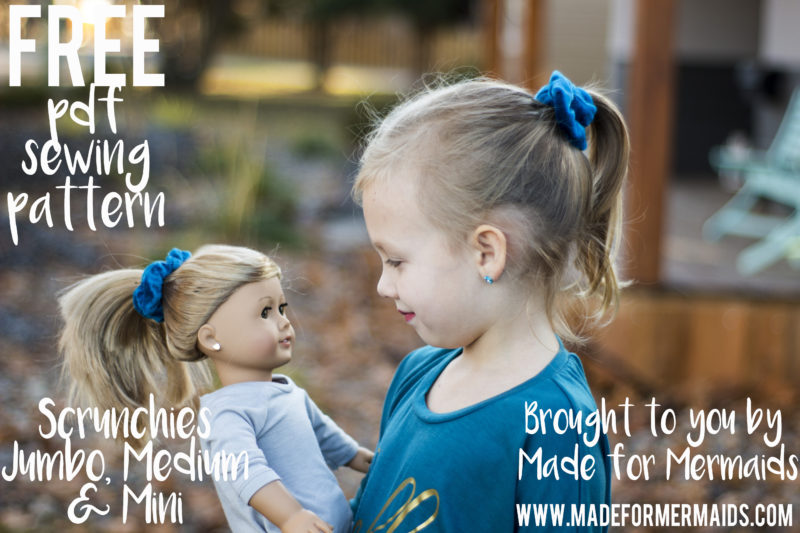
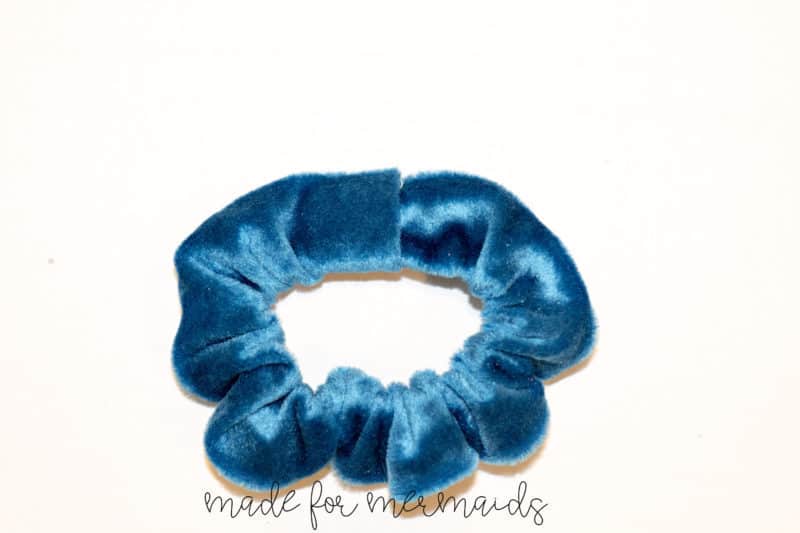
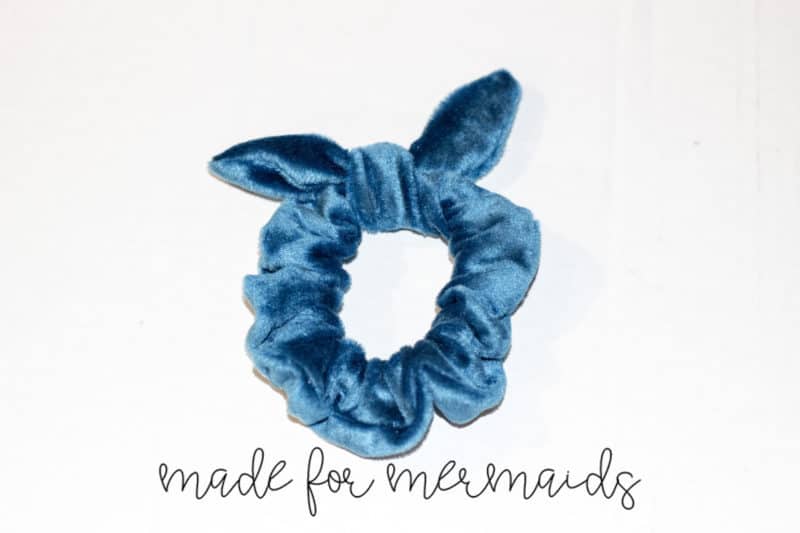
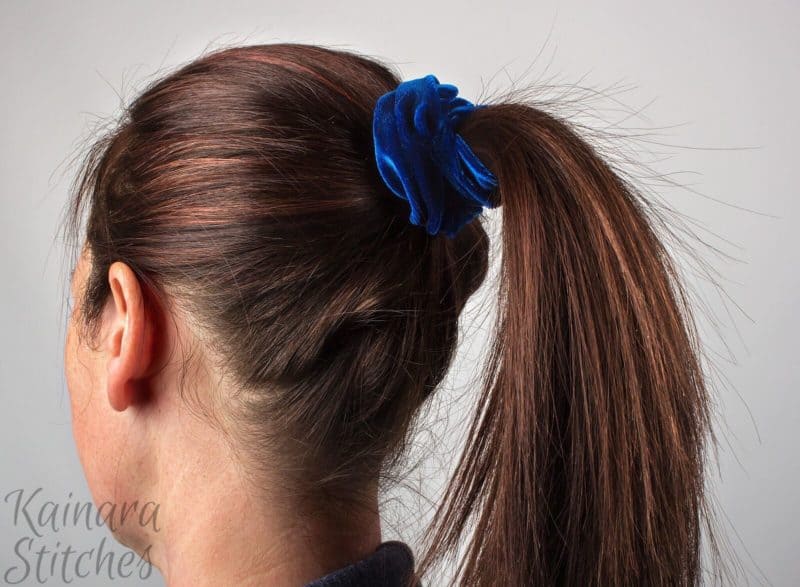
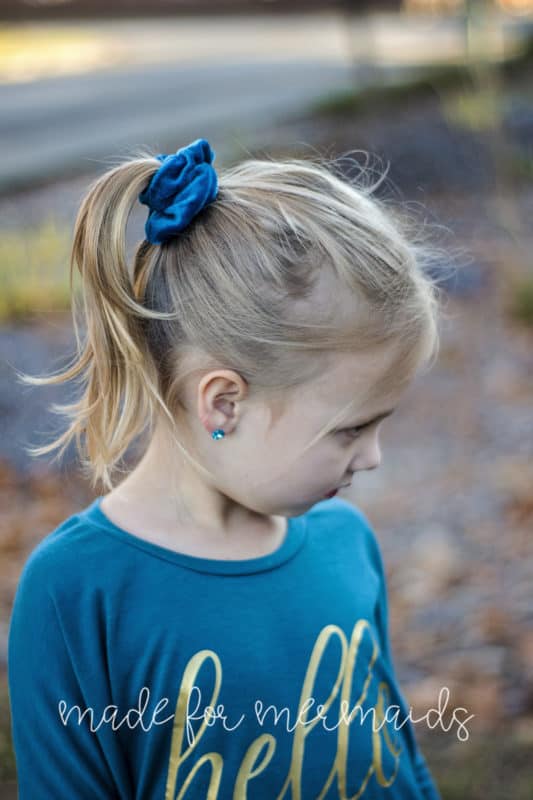
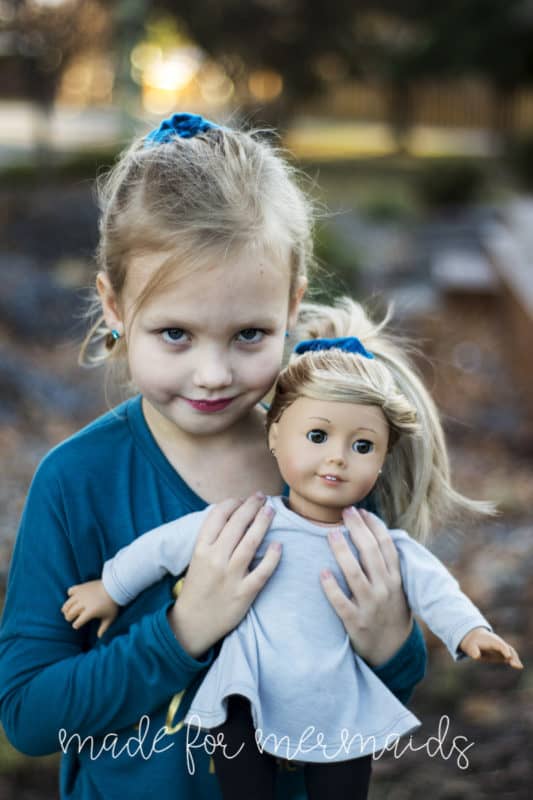
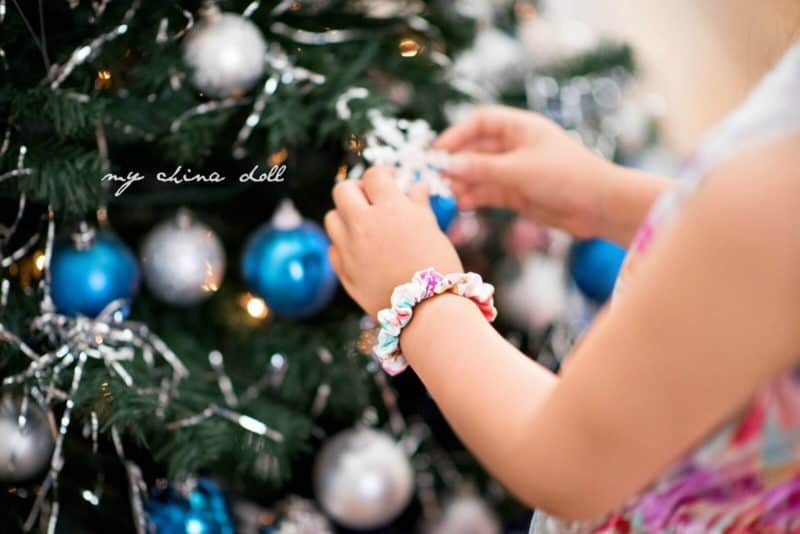
Day 2 Wahoo!! I’m really excited about today’s freebie! Scrunchies, yep I said it scrunchies! Throwback to the 80’s? Maybe, but they are everywhere right now, plus you need something to do with all your fabric scraps and scrunchies are the perfect scrap buster, the great thing is you can use just about any fabric! We have 3 sizes for you Jumbo, Medium and Mini! The mini’s will work great for pig tails or in dolly hair! 
You can download the Scrunchies in the Freebies section of our website right HERE!
SUPPLIES:
- Fabric – woven, velvet, stretch velvet, satin (just about anything will work)
- 1/4 inch elastic
- 2 Safety pins
Let’s get started!
1/4 INCH SEAM ALLOWANCES INCLUDED
Step 1: CUTTING
Choose the size that you want and cut your piece. If adding the optional bow cut one of those as well. Print chart shown below.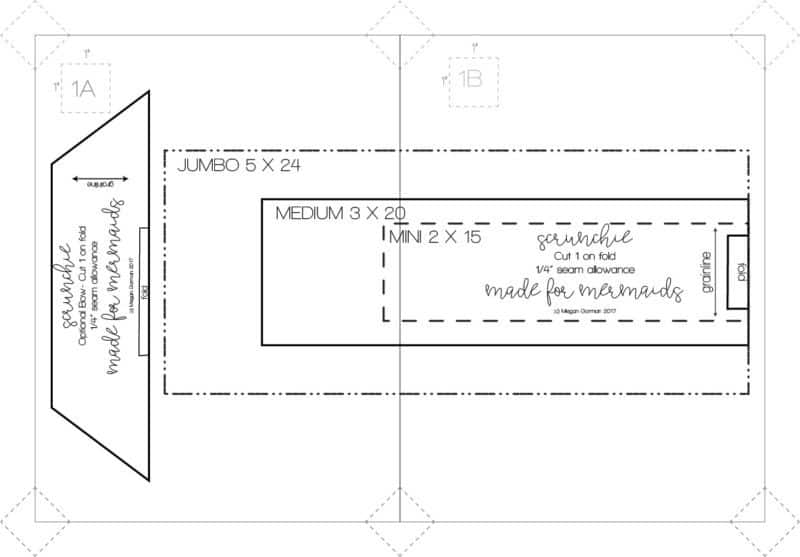
If you don’t want to print the pattern, cut the following measurements. Note- You do NEED the print page 1 for the optional bow piece. :
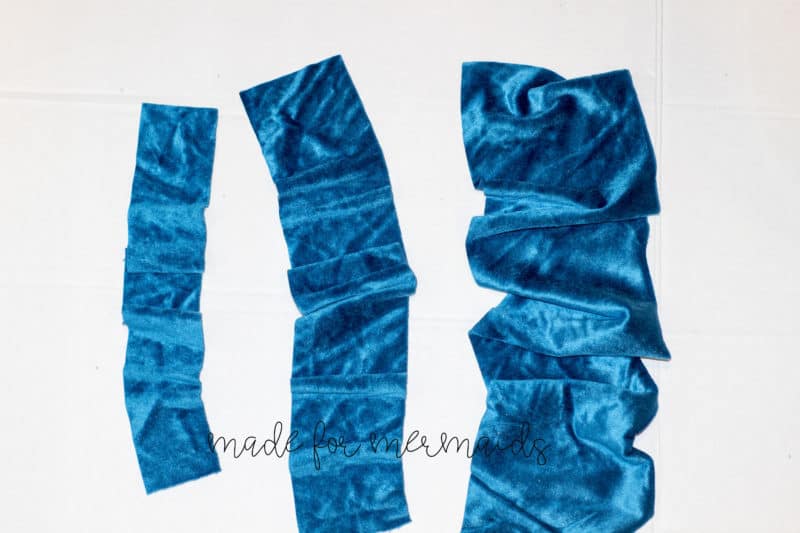
Jumbo (cut 1)- 5″ x 24″
Medium (cut 1)- 3″ x 20″
Mini (cut 1)- 2″ x 15″
Step 2: CREATING THE SCRUNCHIE
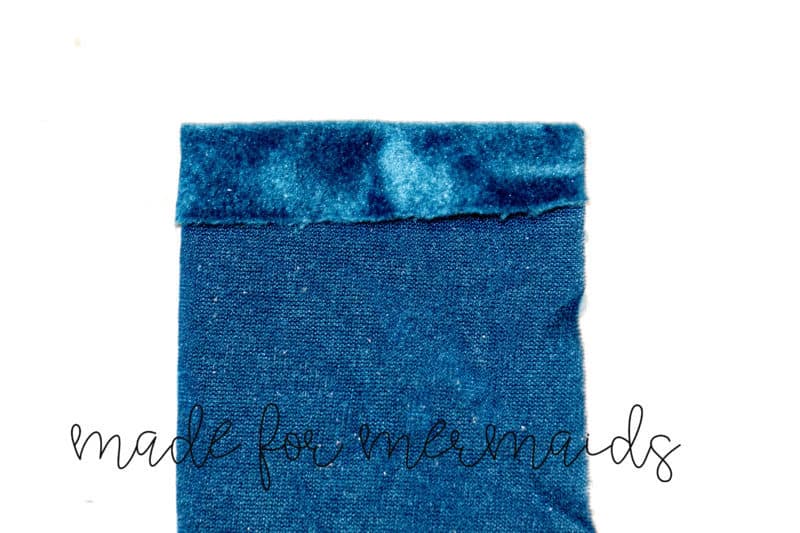
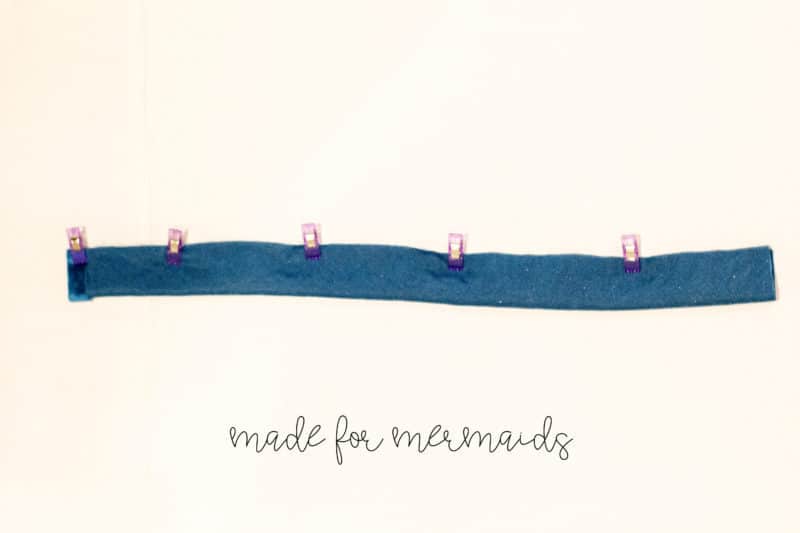
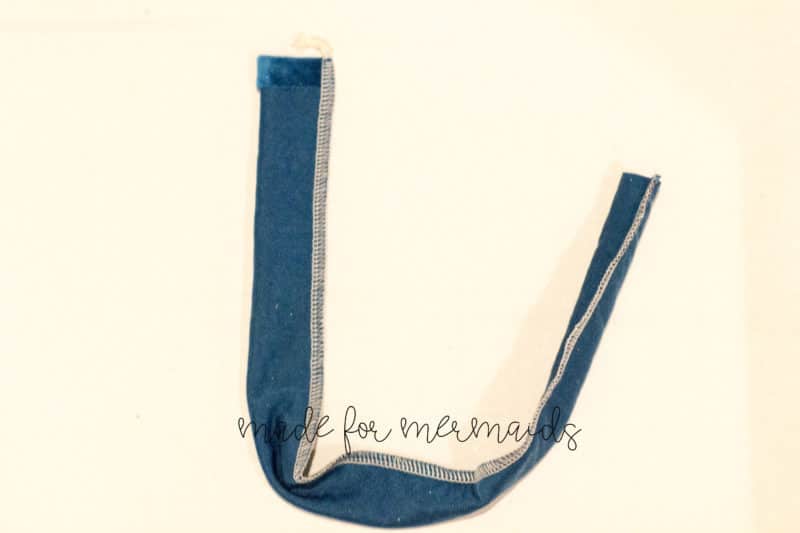
Fold one edge a 1/2 inch towards the wrong side. Fold the whole piece in half width wide, long sides together, sew down the long side with 1/4 inch seam allowance.
Step 3: ADDING THE ELASTIC
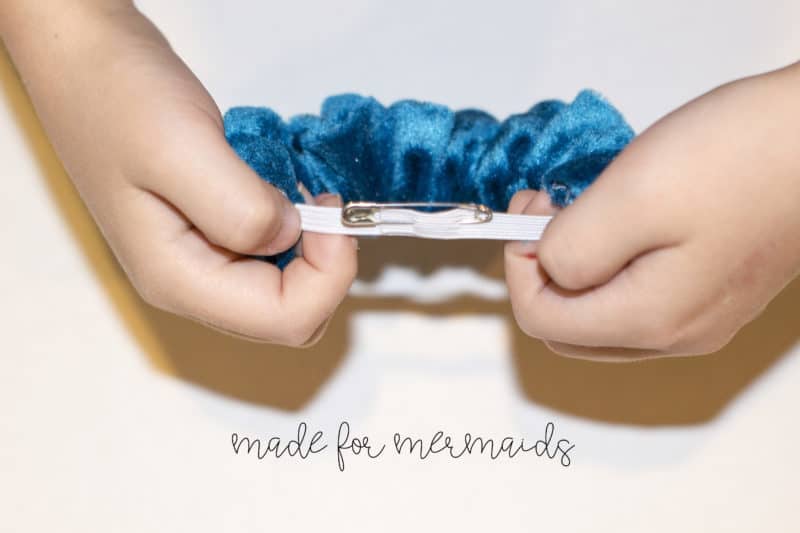
Turn you piece inside out. Cut your elastic and thread through your scrunchie, safety one side of the elastic to the scrunchie so you don’t lose it well your threading it through. I use a safety pin to thread my elastic through but a bodkin would work just as well. Elastic Measurements: Mini – 6 inchs, Medium – 8 inchs, Jumbo – 9 inchs (feel free to adjust these lengths to make them exactly how you want them)
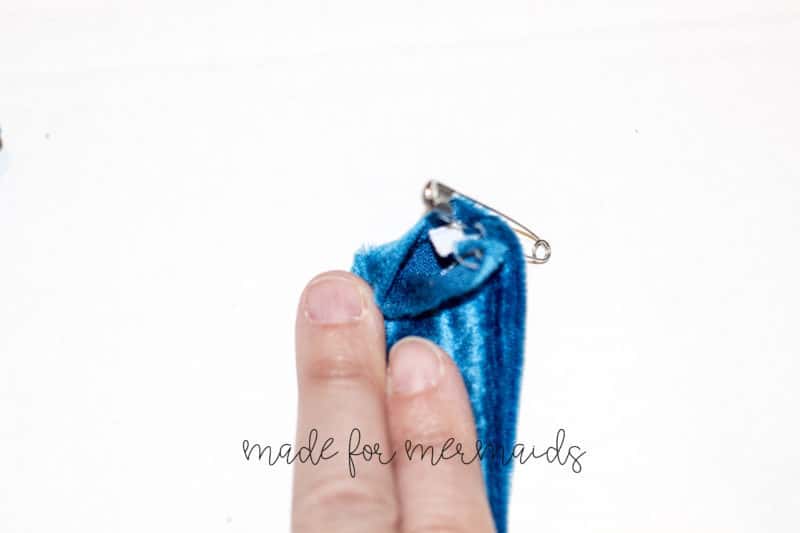
Overlap your elastic 1/2 and sew the ends together, go back and forth a couple times to make sure it is secure. (I like to use a zigzag stitch for this step)
Step 5: CLOSING THE SCRUNCHIE
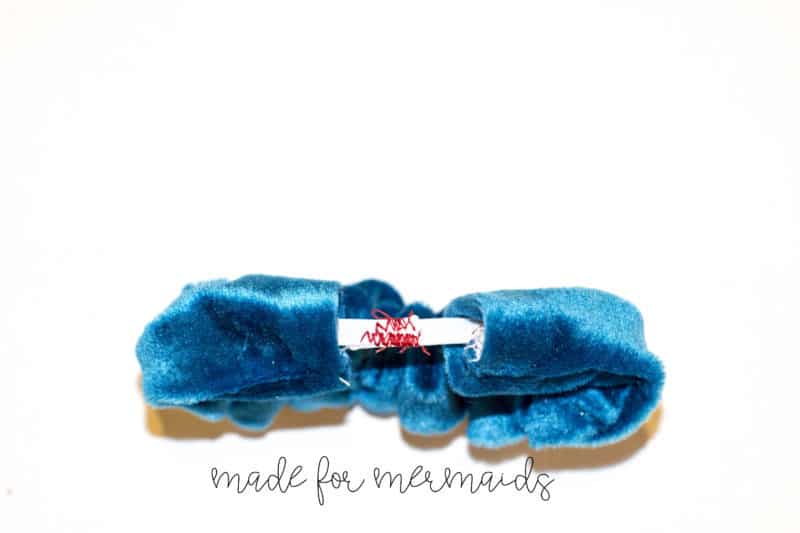
Slip the raw side of the tube inside the the end that was folded over, match the seams and make sure the scrunchie isn’t all twisted. Top stitch closed.
Optional Bow:
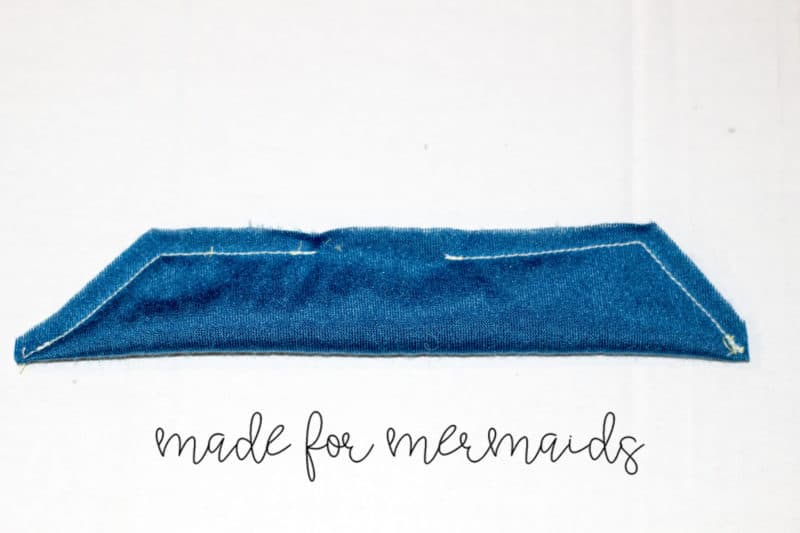
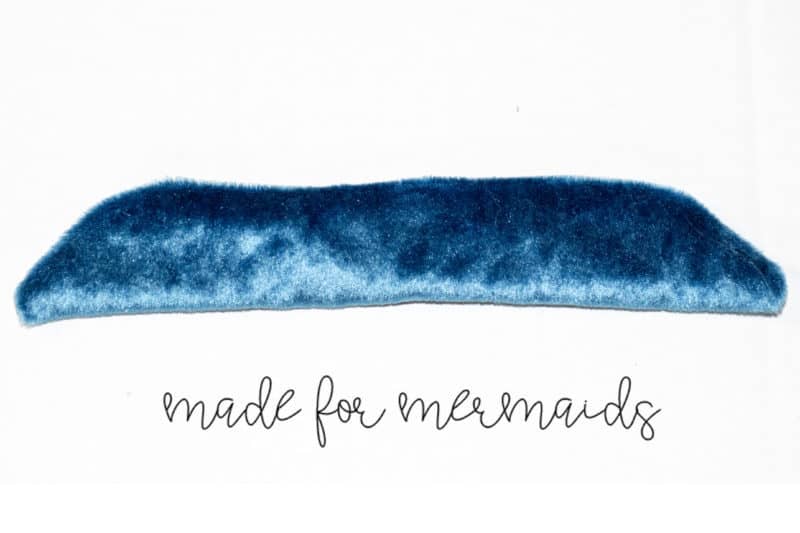
Sew either side of the bow piece together from the fold to the center but make sure to leave a 1.5 to 2 inch space to turn your bow inside out. Flip bow inside out. If you are using knit you don’t have to close up the hole as you won’t see it once its tied on the scrunchie. If using woven top stitch your little hole closed. Now tie your bow onto your scrunchie, I tied it on where the seam is on the scrunchie. You can also tack it in place with a couple hand stitches if you would like. The bow works best with the Medium scrunchies but you can certainly change it up and tie it on the jumbo or mini as well.
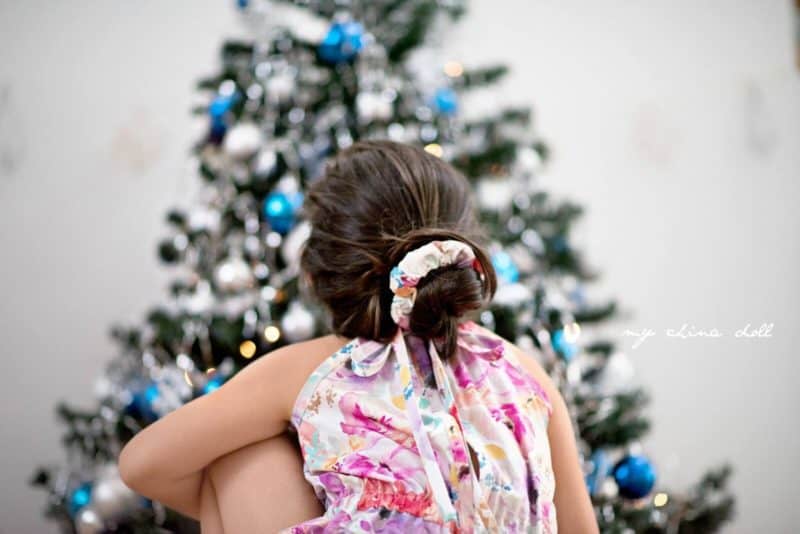
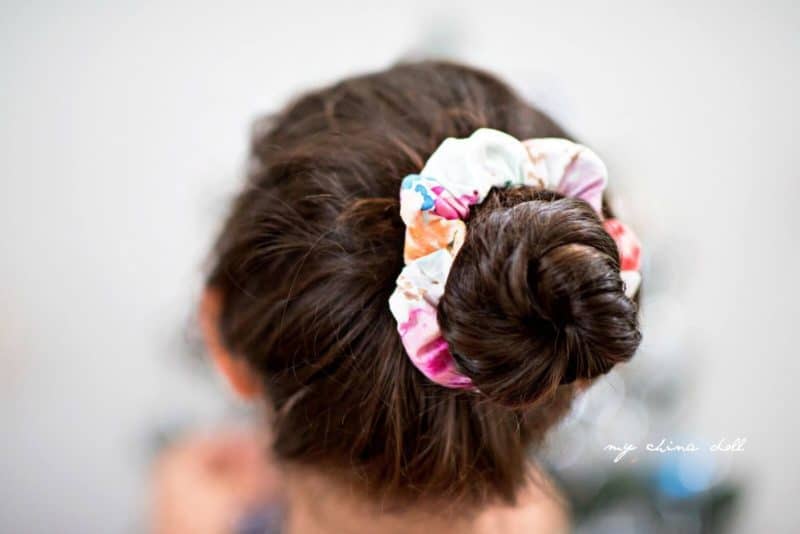
Now throw your hair up into a high pony or maybe a side pony and rock your new scrunchies all over town! Don’t forget to join the Made for Mermaids Pattern Group! here to see more of the freebies coming! Check out how cute all our testers look!!




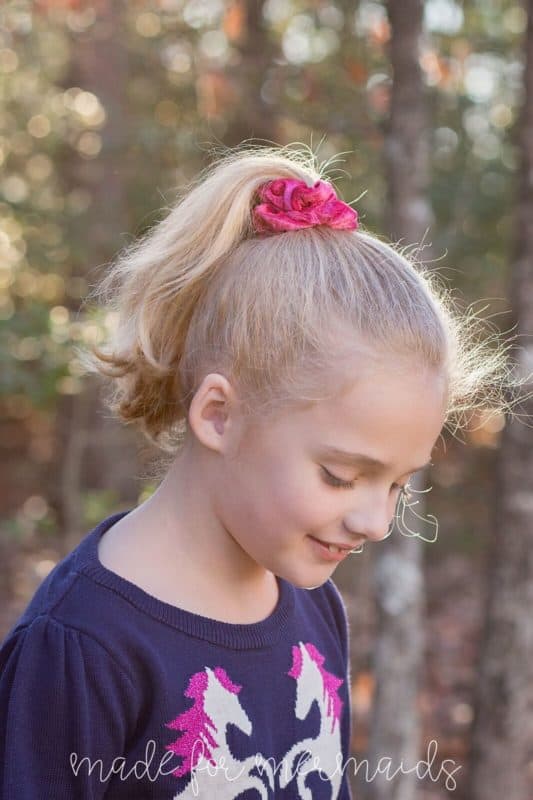
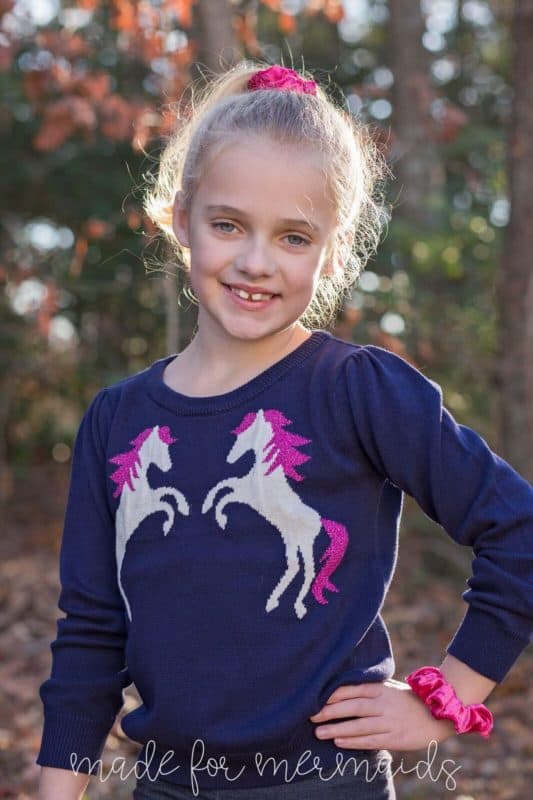

Hi there,
Just wondering if the medium scrunchies will work for adults or should adults be making the jumbo size scrunchies? Thanks!
It works for me!
What would the jumbo size be for? I see the above comment suggests that the medium works for adults. More of a headband style? Thanks for the info.
My daughter (13yrs) prefers the jumbo. The. Medium are too skinny for her tastes.
It’s more just a preference the jumbo is wider and longer and would be great for really thick hair.
ME and my FRIEND Made 24 of the medium sized ones! just for a class we made for second graders for a project. They work great for second graders.
I love these scrunchies!! These were so easy to make and I cannot wait to make more!
I made 7 of these just yesterday. they were super awesome and easy to make.!! Thanks M4M
Question so you sew across the opening to close that means sew over the elastic?
You can whip stitch by hand or by machine. Hand sewing will be a cleaner finish and the machine faster, but not as clean.
But as above comment states : “ through the elastic”’ right?
Yes Angela stitches over the elastic in the tutorial.
Knit or braided elastic? I never know which is better.
Either will work.
Did you use a serger for sewing the seam on the fabric?
Yes.
Thank you for sharing such a wonderful and easy pattern. I’m about to make 30 of these for my daughter’s dance class. Love your patterns.