
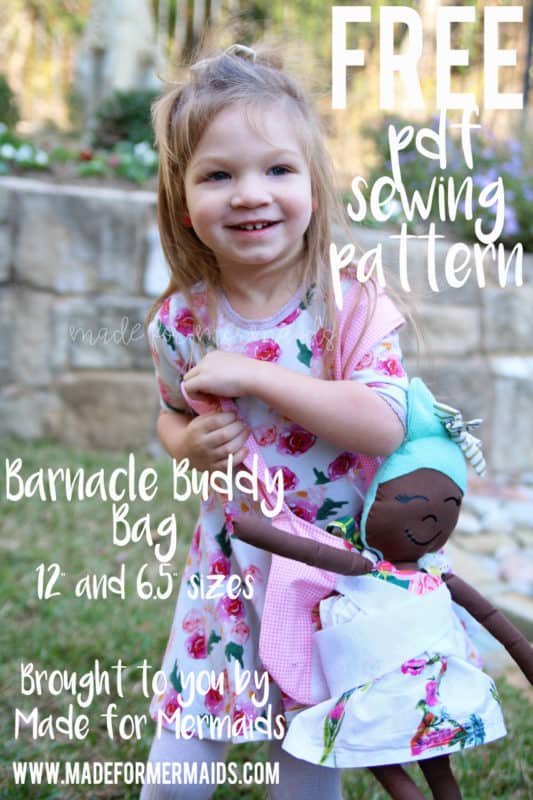
On the first day of Christmas, team Mermaid gave to me…a bag to carry my Barnacle Buddy!
- Pout-Pout Fish buddy bag? Pair with a book and plush fish!
Welcome to our 2018 12 Days of Freebies! We love to take a little bit of time this month to say “thank you” to all of you in the M4M community! We hope these freebies (and our freebies from previous years – 2015, 2016, and 2017) make your holiday gift giving merry & bright. 🙂
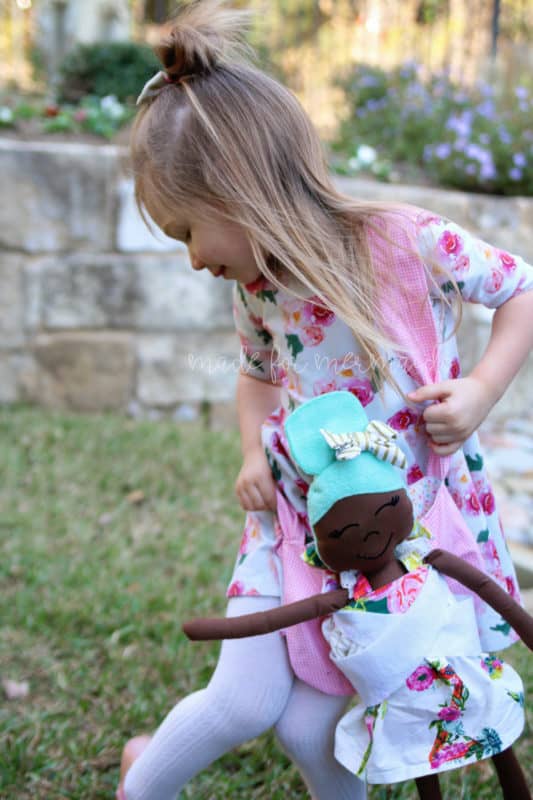
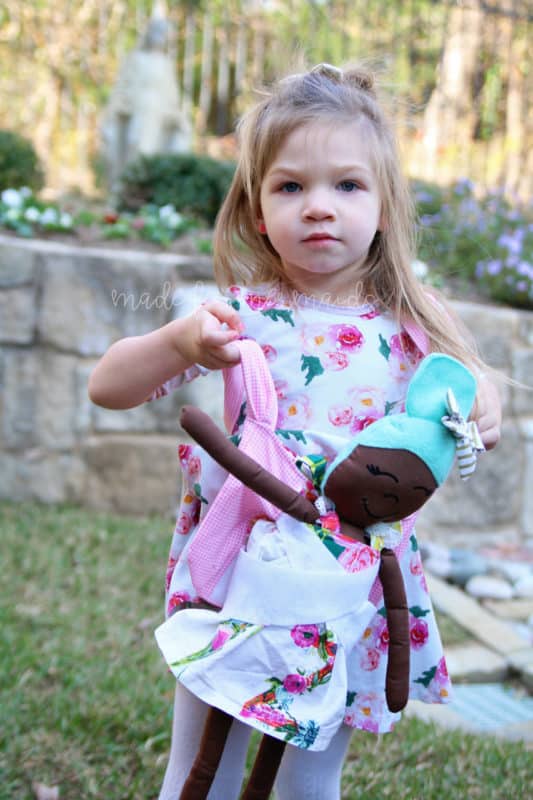
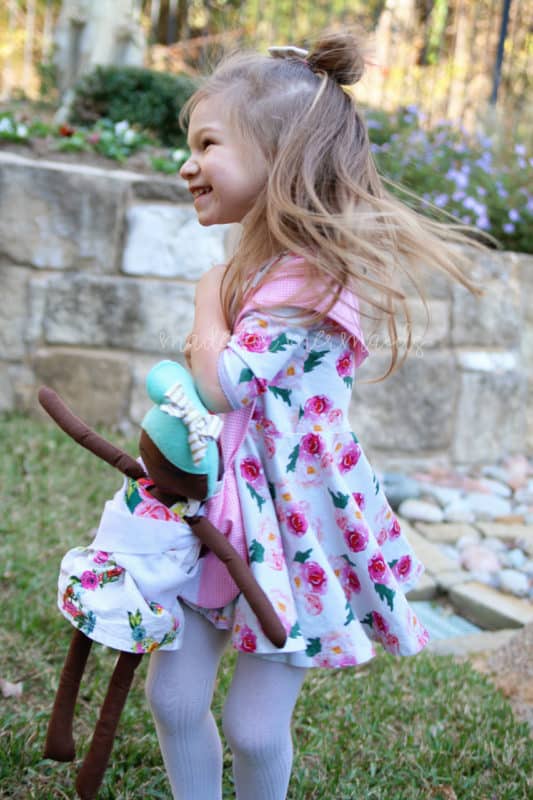
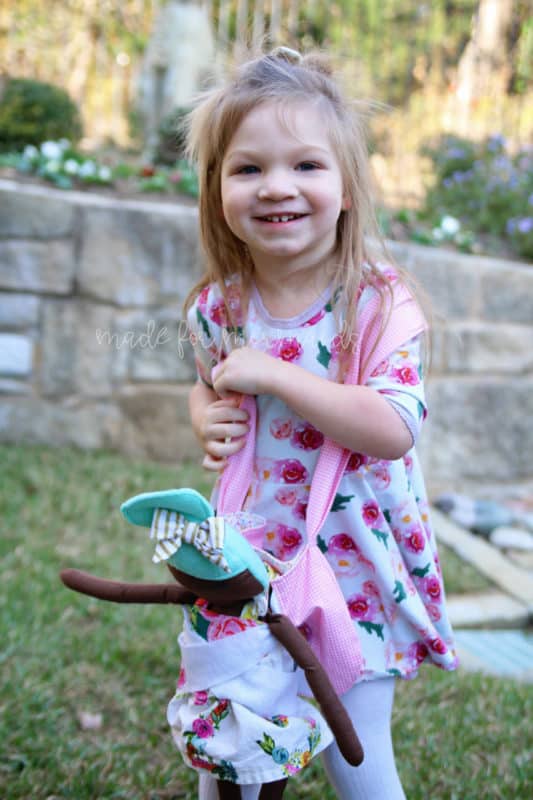
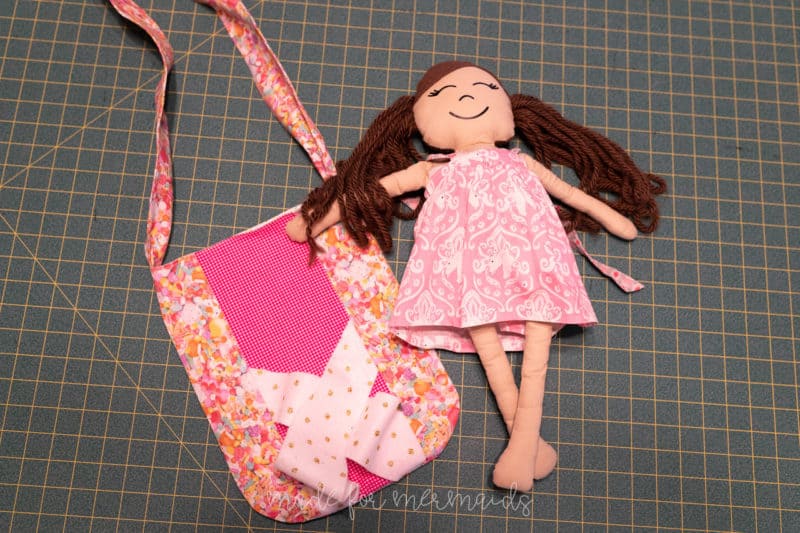
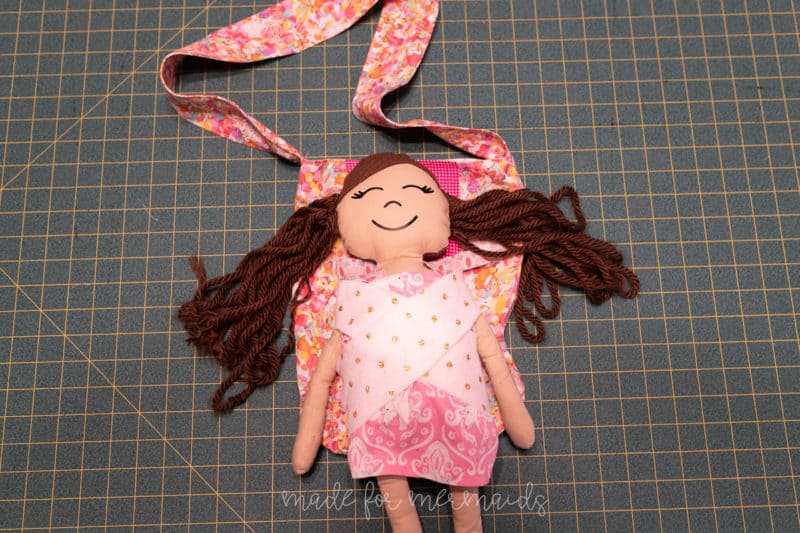
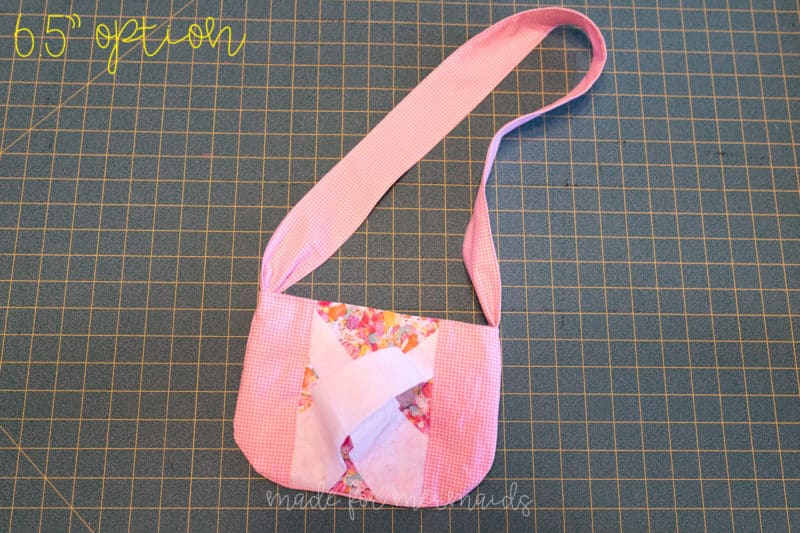
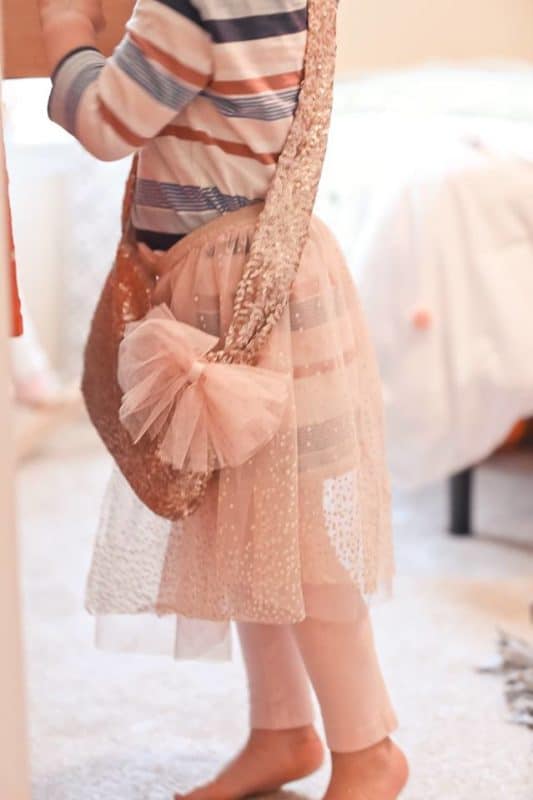
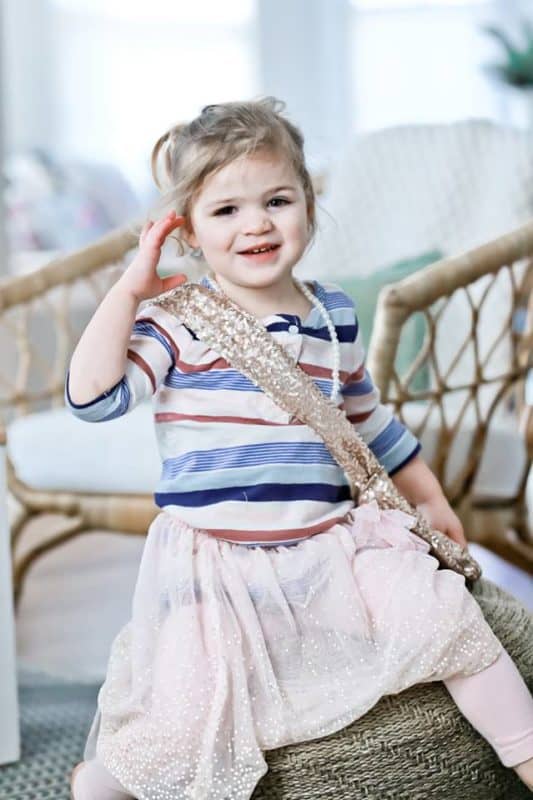
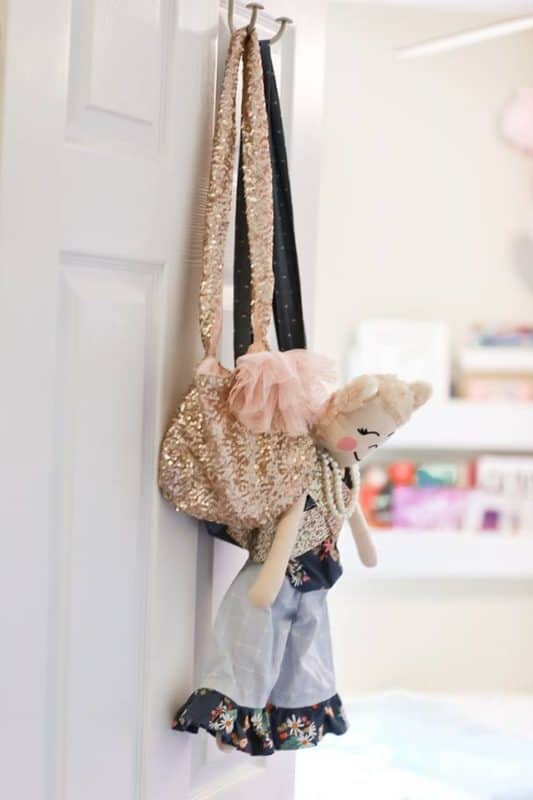
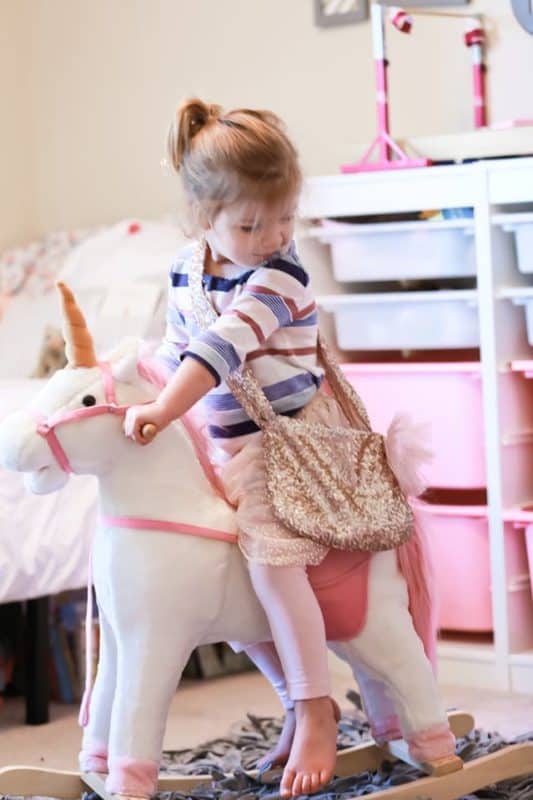
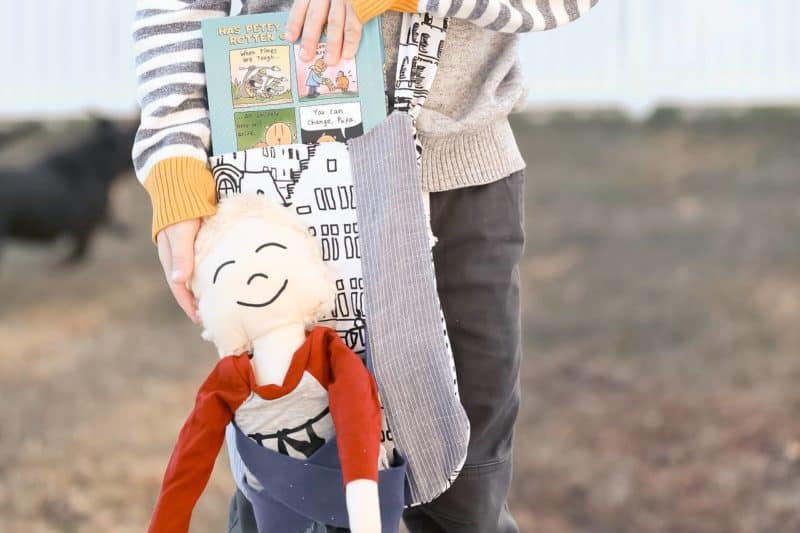
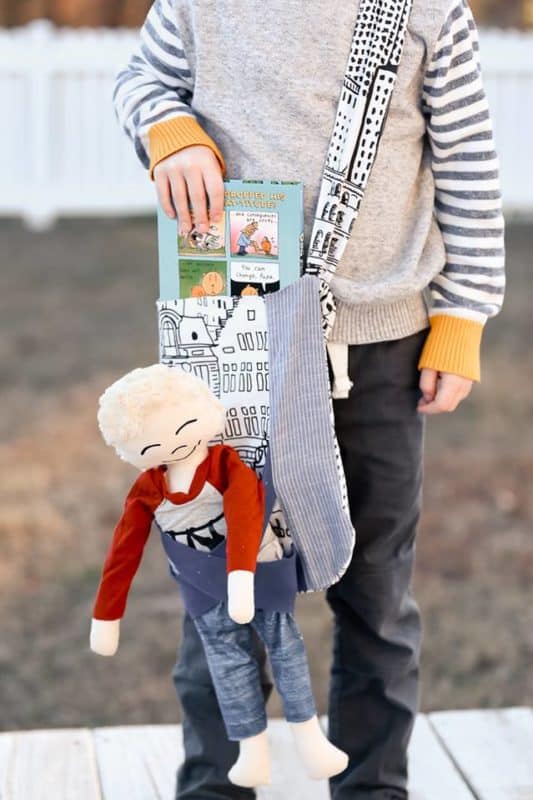
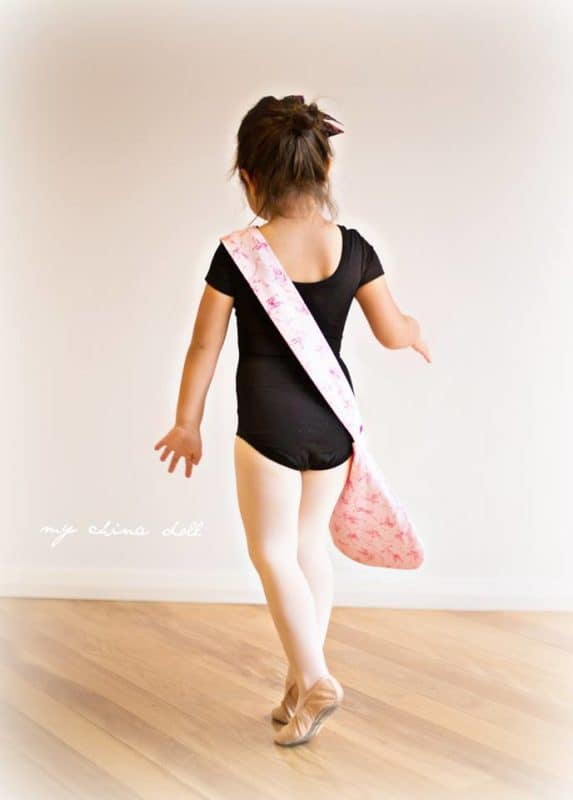
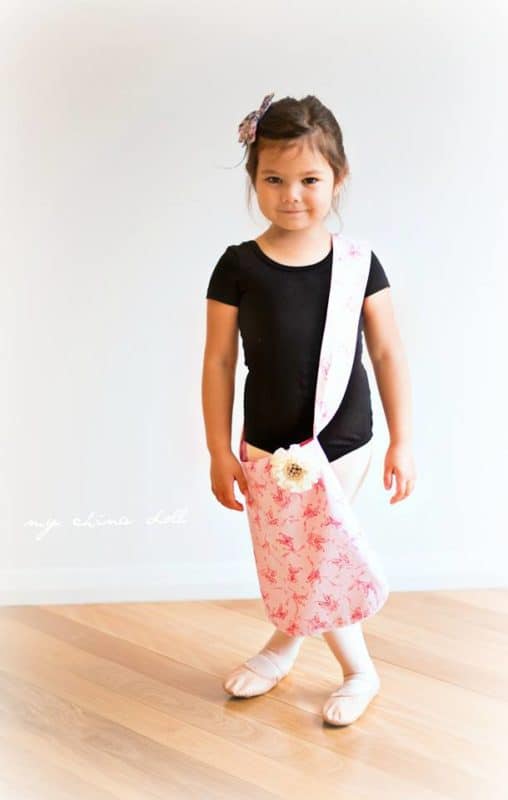
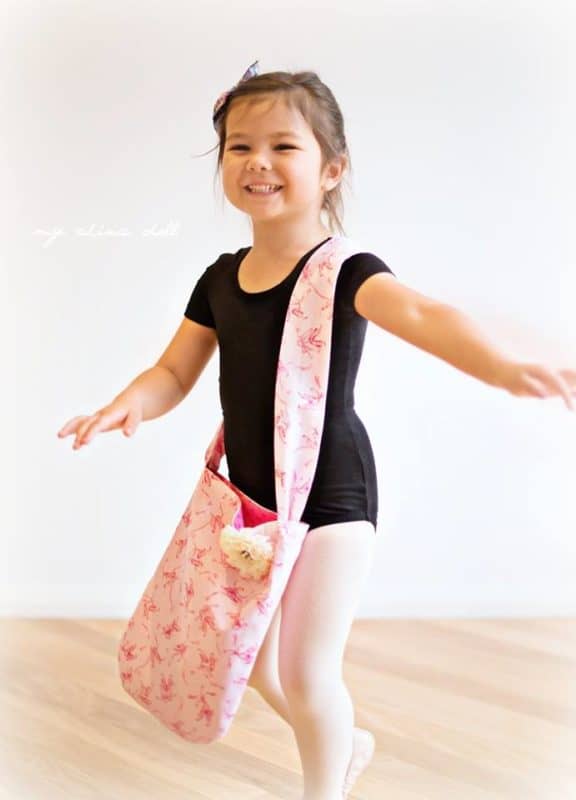
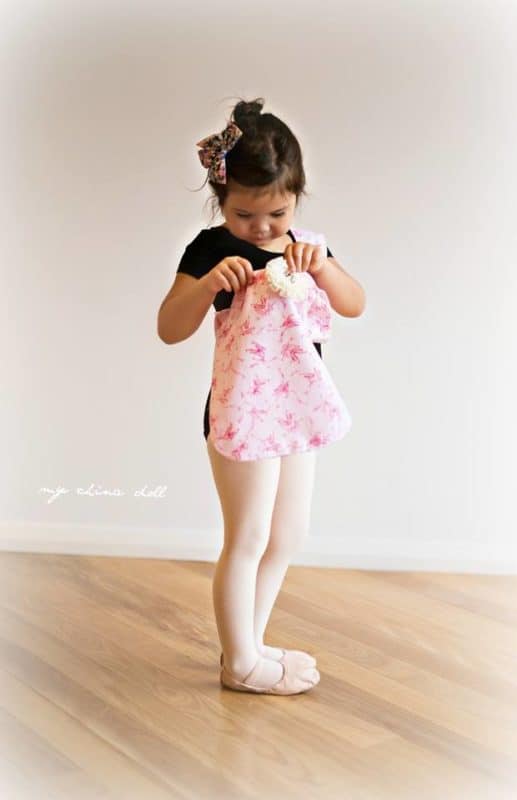
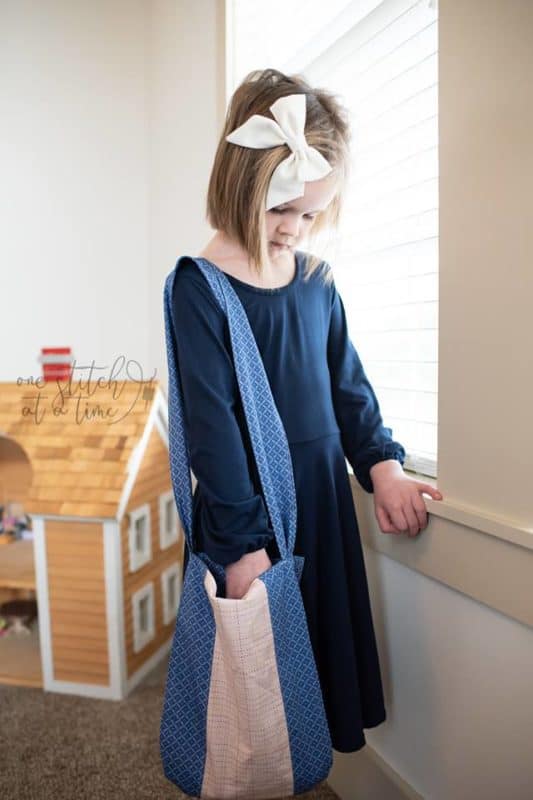
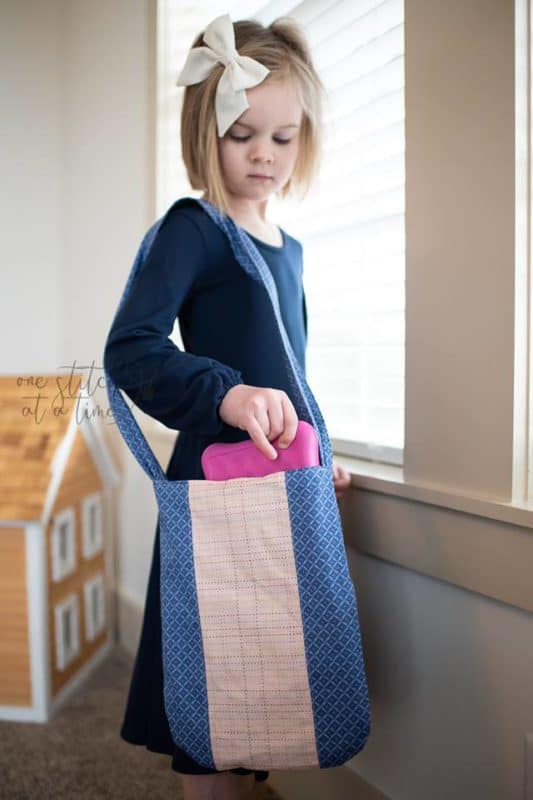
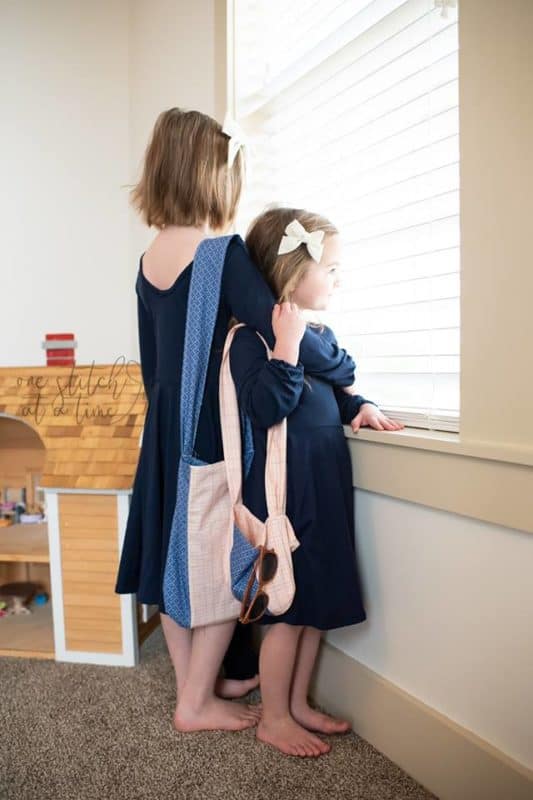
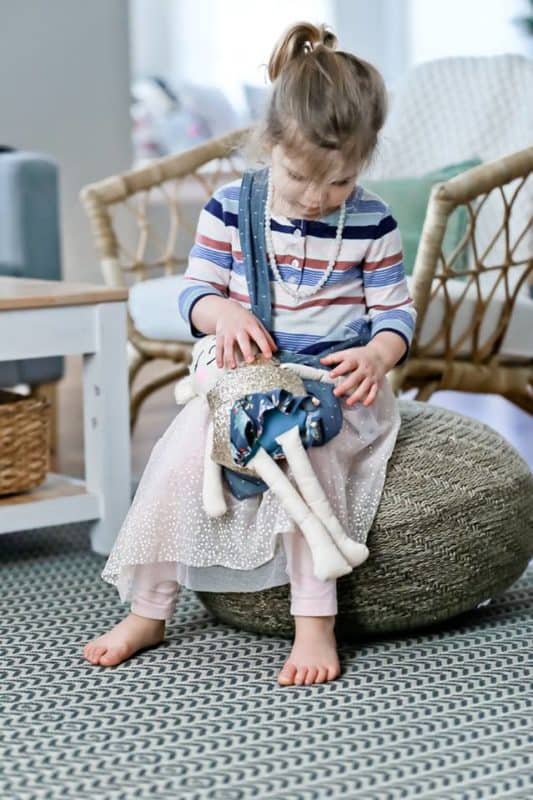
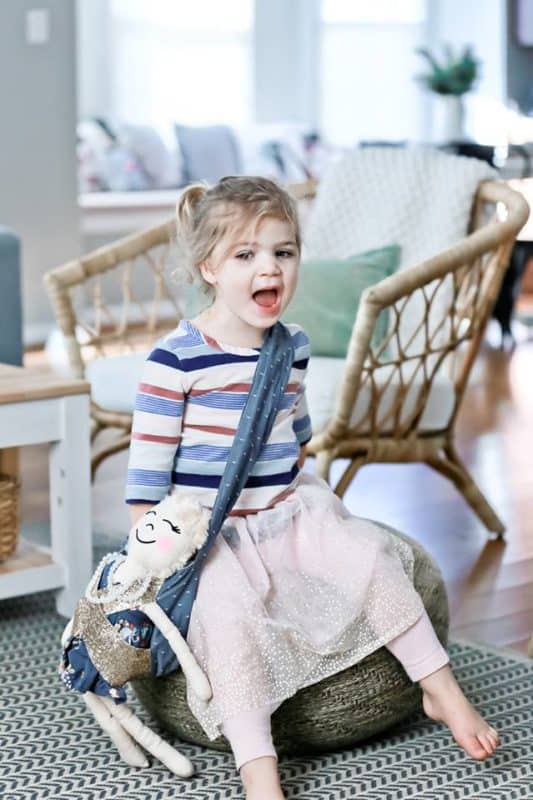
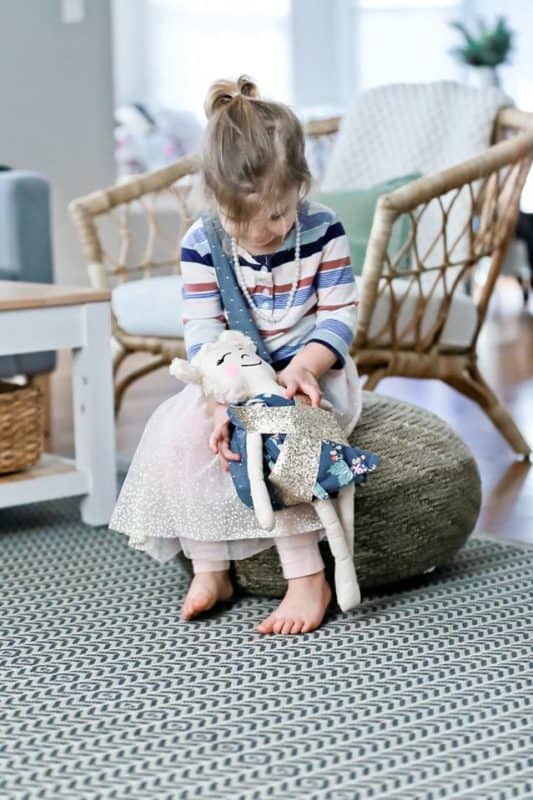
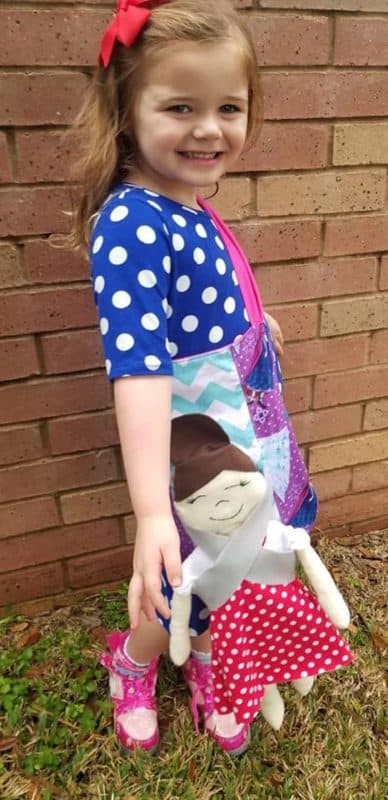
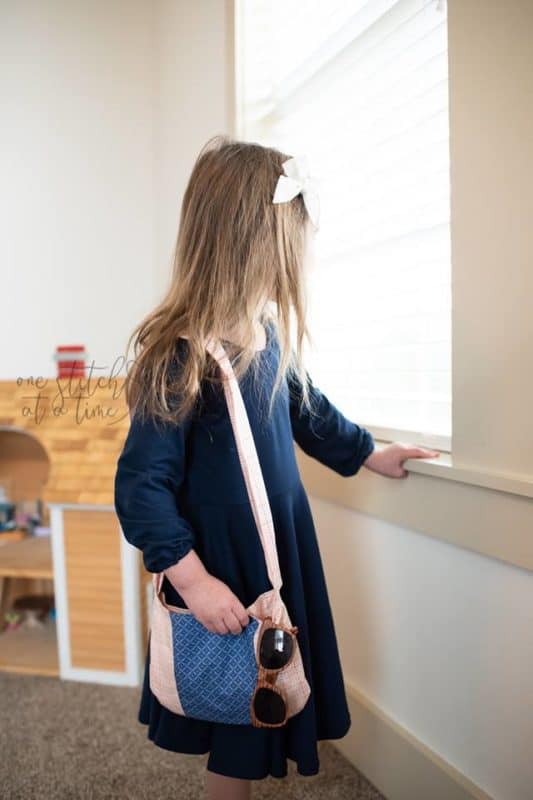
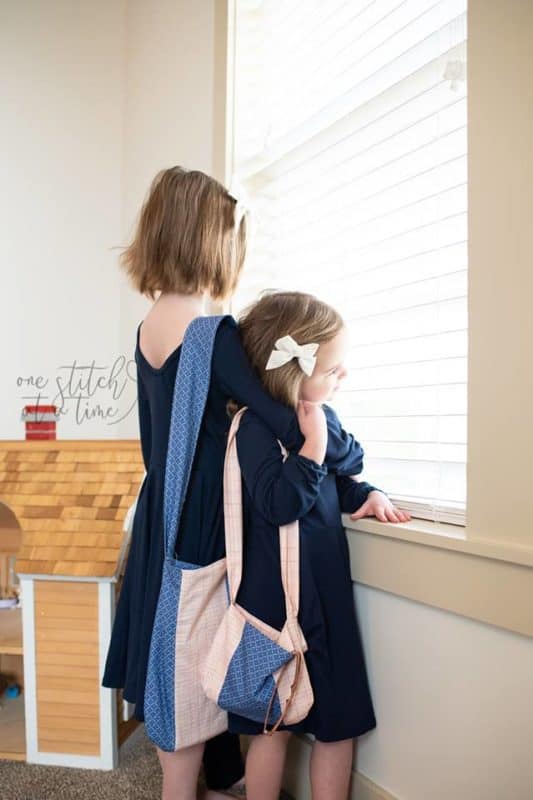
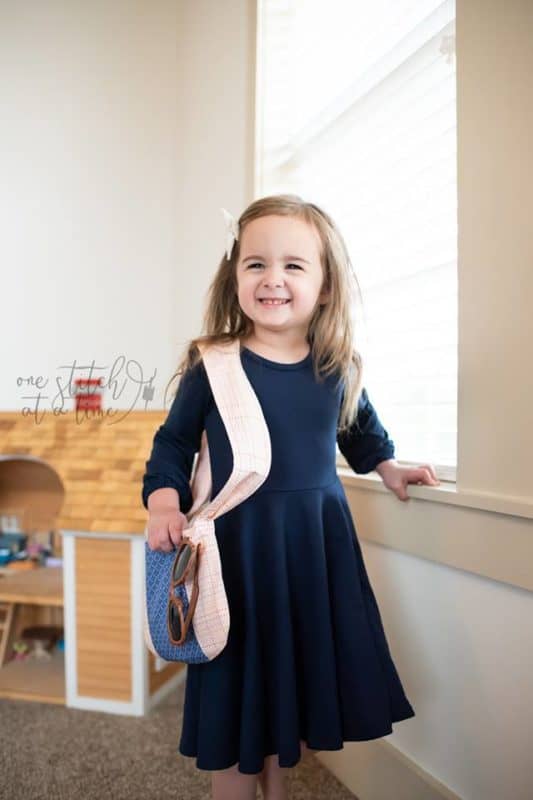
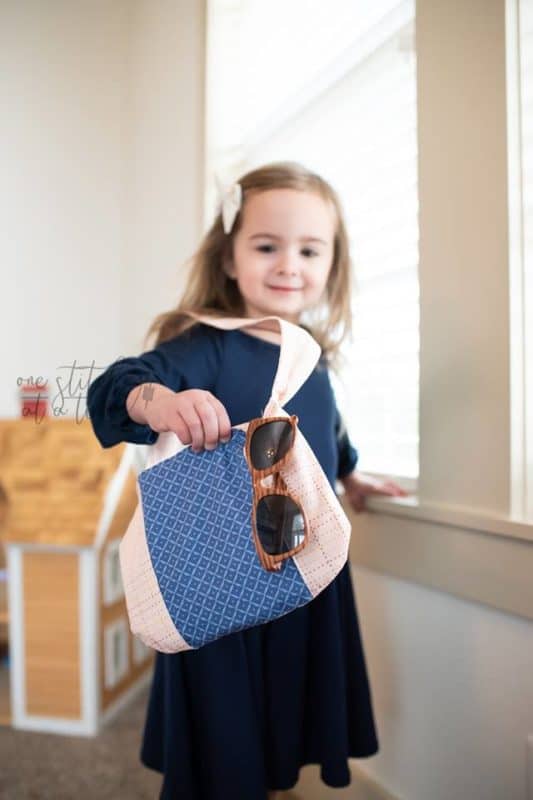
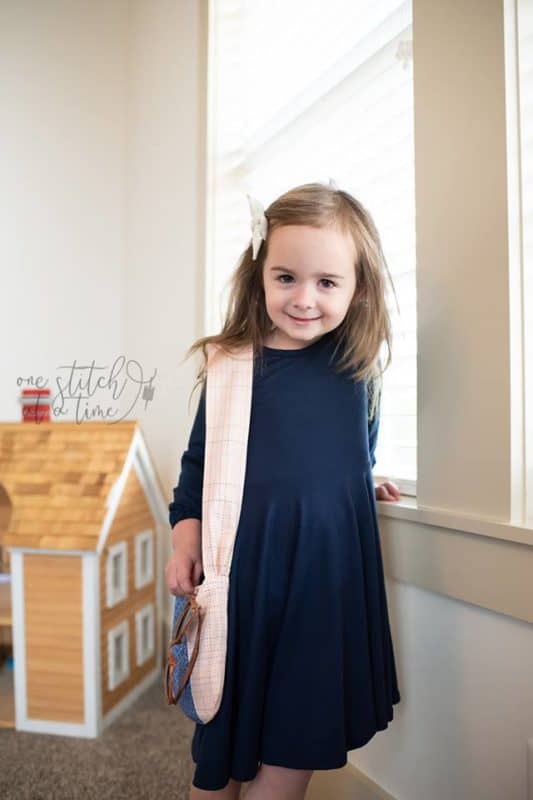
The Barnacle Buddy Bag is the perfect addition to last year’s sweet Barnacle Buddies. Your little one can carry their buddy around in the 12″ or 6.5″ messenger style bag. You can also leave off the cross over straps for an everyday bag! It’s great for carrying books, dance shoes or as a purse! As always, you will need to “purchase” the pattern pieces by adding them your cart, and then you can head back over here for the tutorial. Need a hard copy of the tutorial? You can just print this page right from your browser!
SUPPLIES:
- For 12″ size:
- 1 yard of quilting cotton fabric.
- Broken down yardage if you’d like to use coordinating fabrics: 1/2 yard of main fabric, 1/2 of lining fabric, 1/4 yard strap fabric.
- 1 yard of quilting cotton fabric.
- For 6.5″ size:
- 3/4 yard of quilting cotton fabric.
- Broken down yardage: 1/4 yard main fabric, 1/4 yard lining fabric, 1/4 yard strap fabric.
- 3/4 yard of quilting cotton fabric.
- All sizes: 2 sheets of felt for cross over straps. I like 2mm thickness, but any would do. Alternatively you could use a scrap piece of fleece (1/2 yard if purchasing).
- Note- you can use scrap pieces of fabric for most of the bag if using coordinates.
LET’S GET STARTED!
1/2″ seam allowances included.
Step 1: PREPPING
Go grab the pattern HERE! The pattern is 100% free, but you do need to add it to your cart and check out. Then, it will always be available to download from your account. The pattern is a no trim pattern; if you need help putting the pattern together, pop over to the faqs and troubleshooting page or ask in our Facebook group .
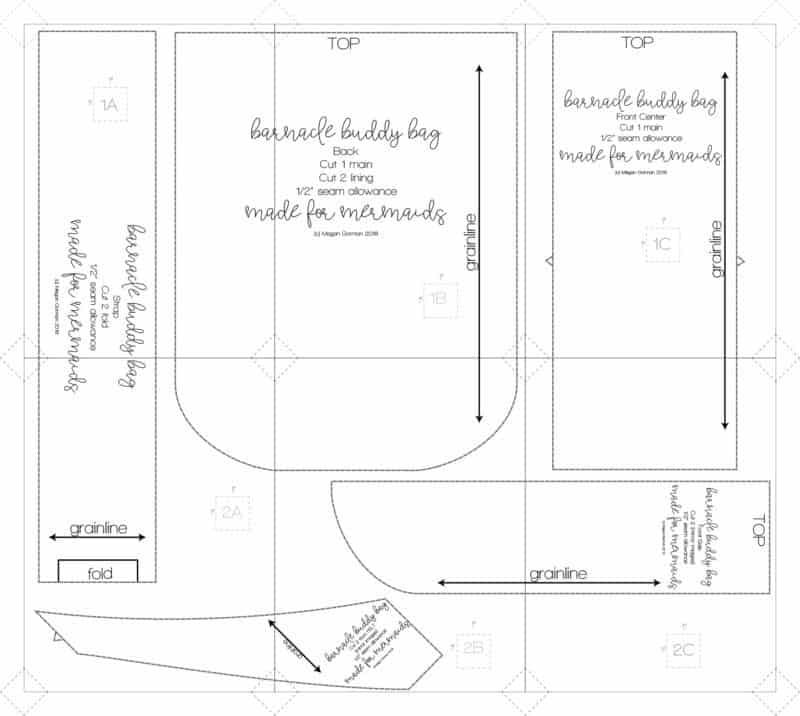
Print and assemble the pattern. There are 6 pages to print out. Pattern layout below:
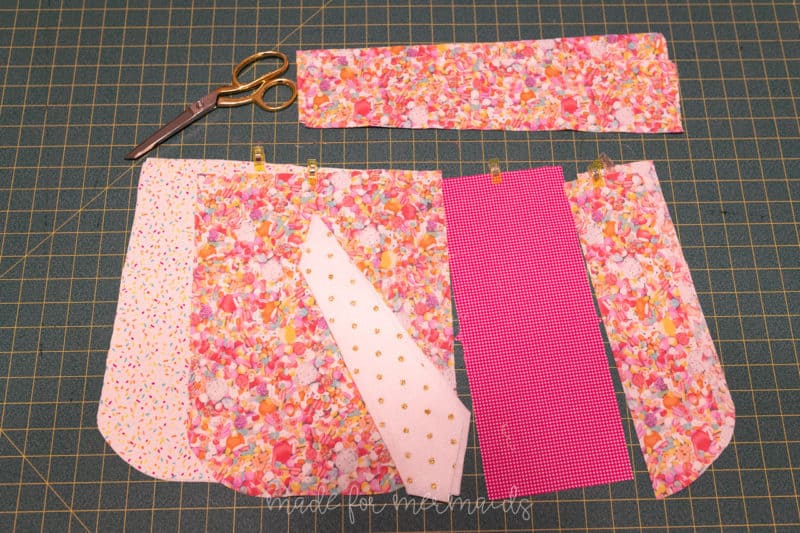
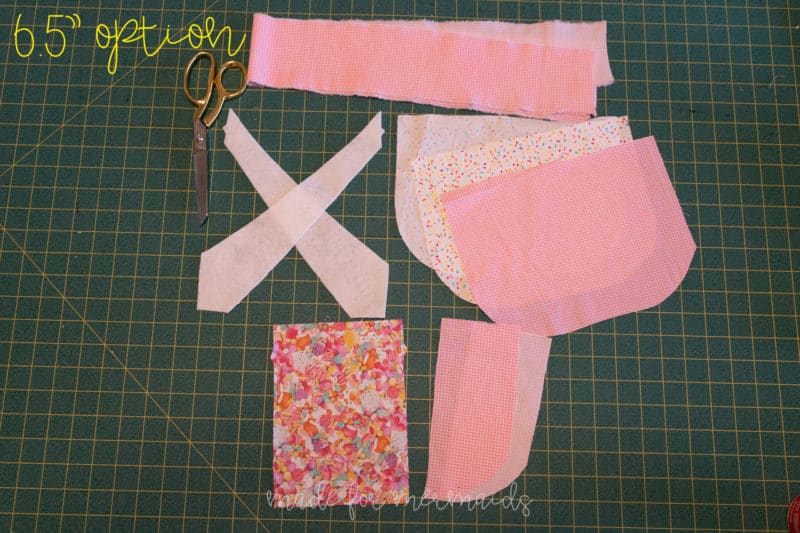
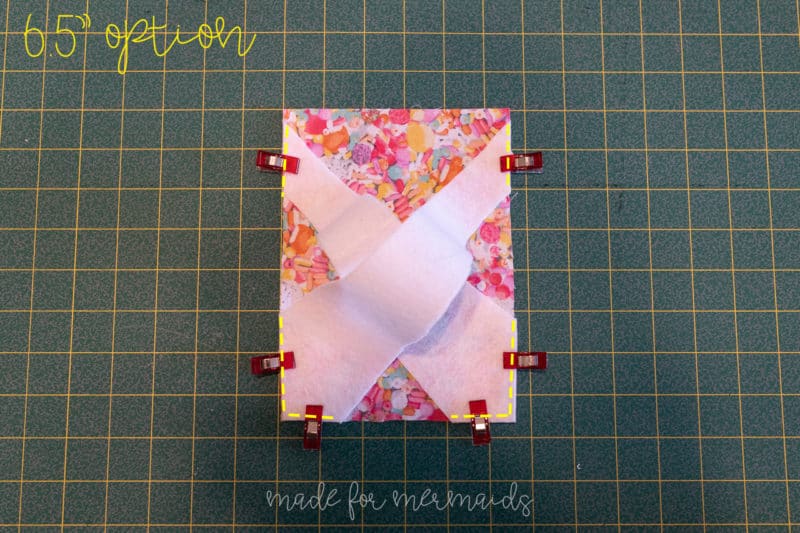
Choose a 12″ or 6.5″ bag. Cut 1 front center; place a pin/clip on top edge. Cut 2 front sides (mirror images). Cut 1 back piece out of your main fabric. Cut 2 back pieces out of your lining fabric. Cut 2 straps on fold. Cut 2 cross over straps in felt.
Step 2: ASSEMBLING FRONT
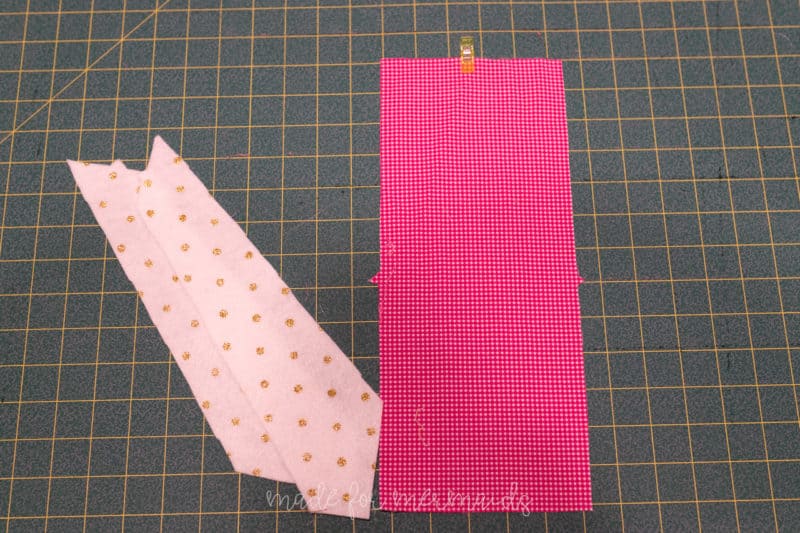
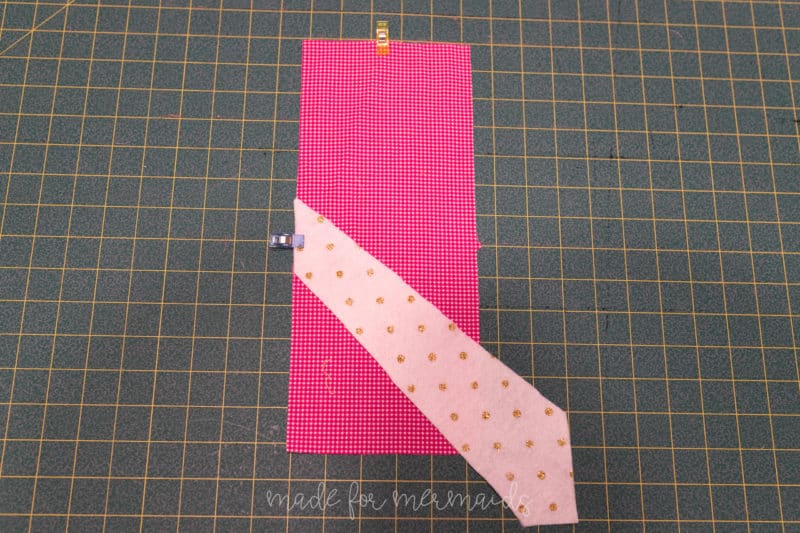
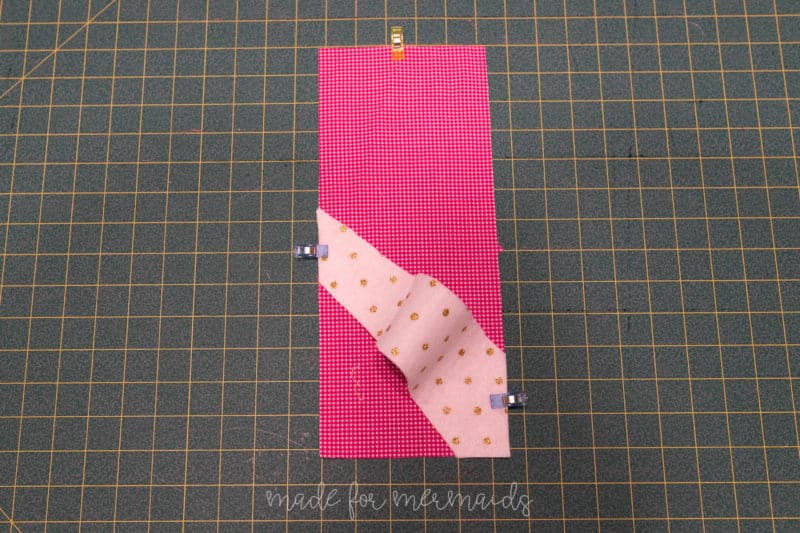
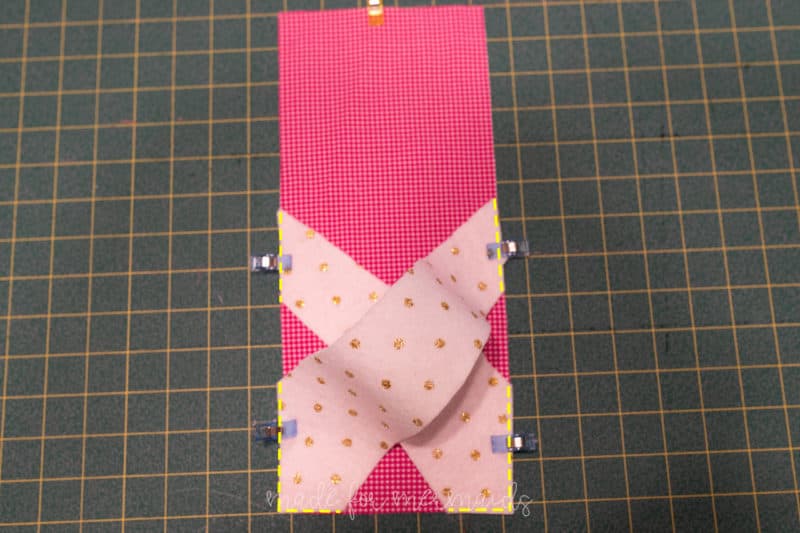
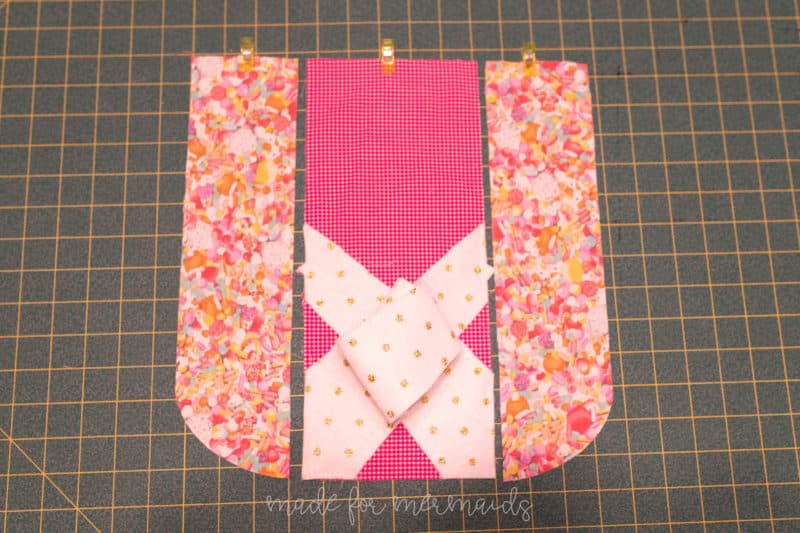
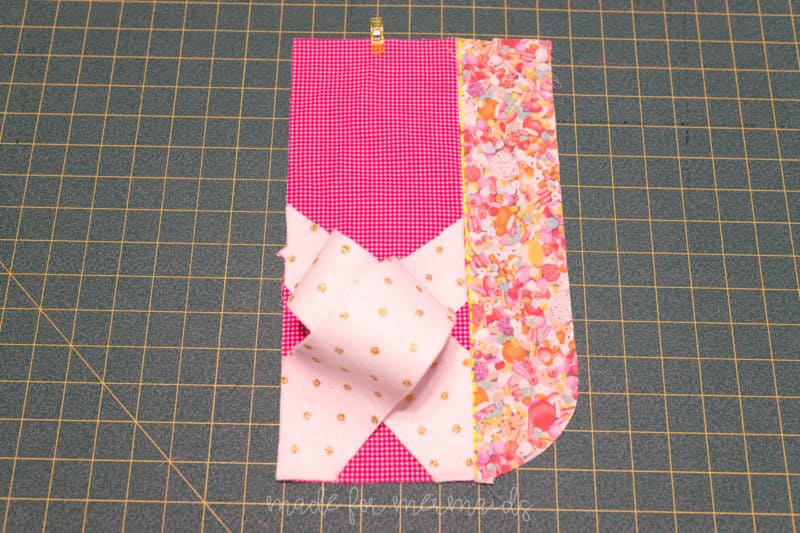
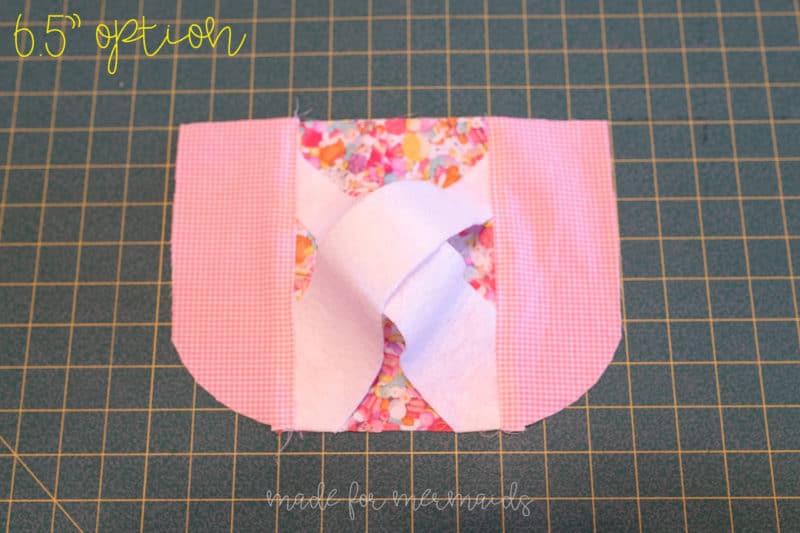
Be sure that you’ve put a pin or clip to mark the top edge of your front piece. With right sides up, align cross over strap with notch on front piece. Make sure that you are aligning the strap pieces with the bottom edge, not the top edge. Repeat with other strap/side.
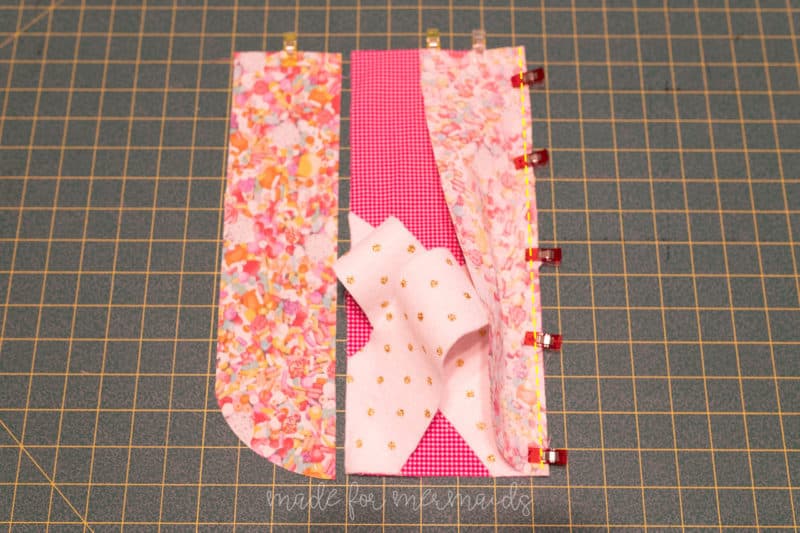
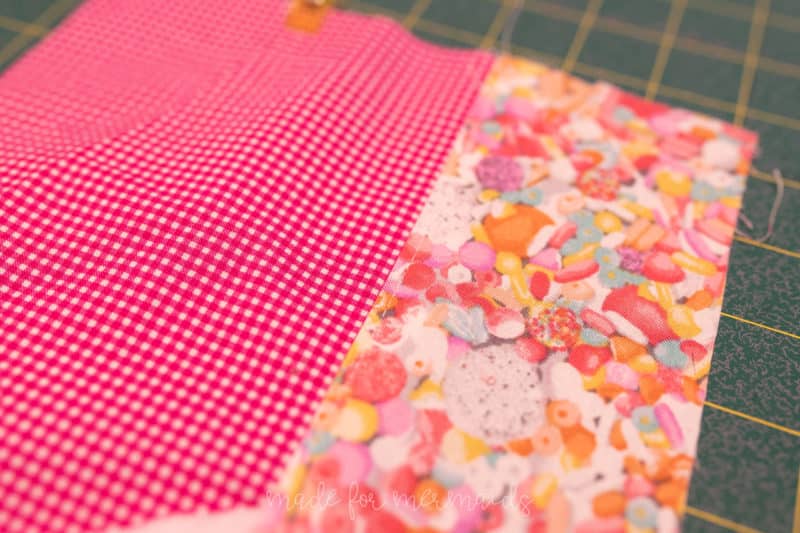
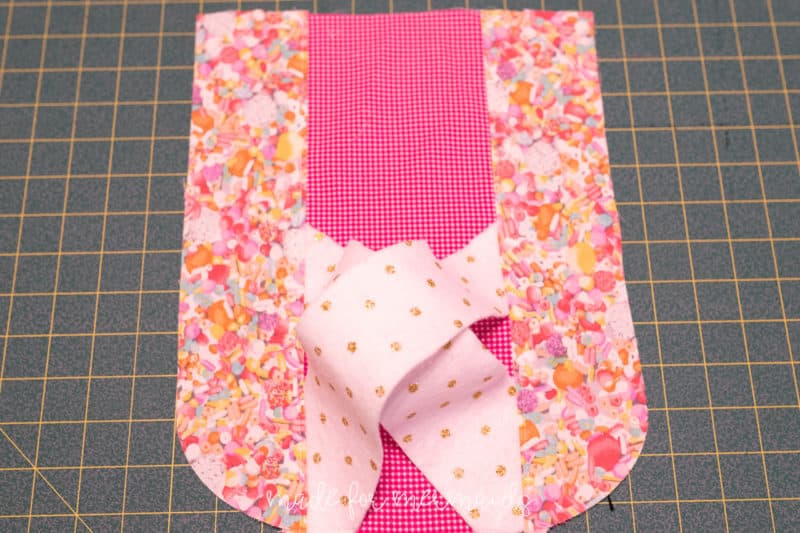
Baste straps in place. With right sides together, stitch front side to front center. Remember to use 1/2″ seam allowance.
Press toward front. Topstitch on front side edge, catching seam allowance. Repeat for other side.
Step 3: ATTACHING MAIN BACK
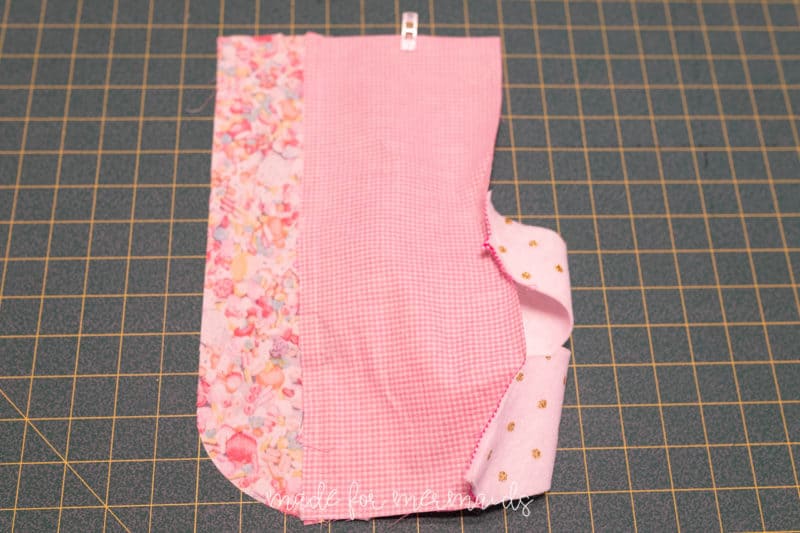
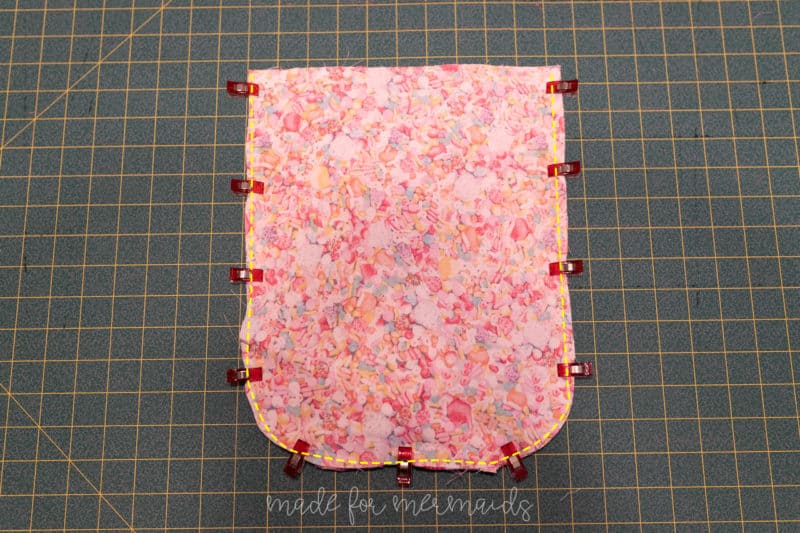
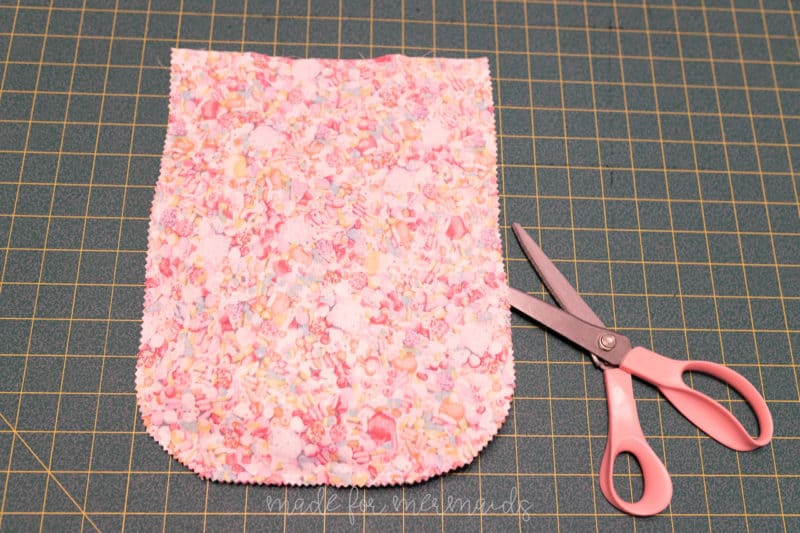
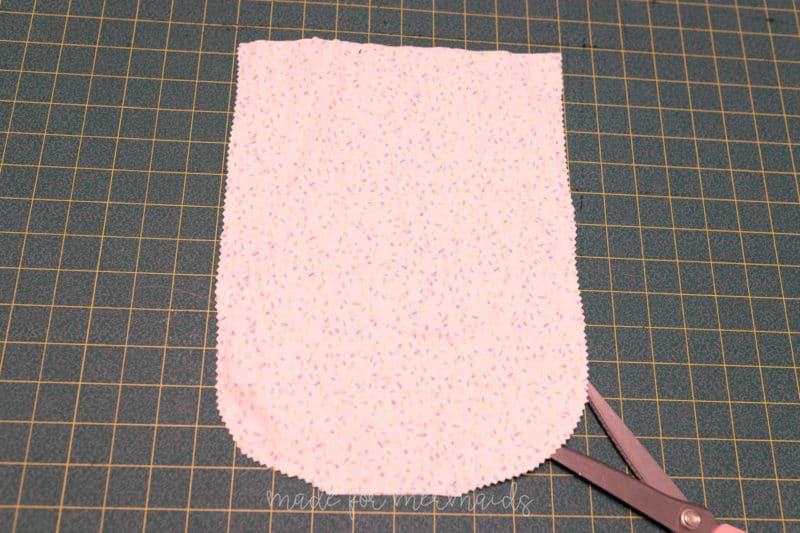
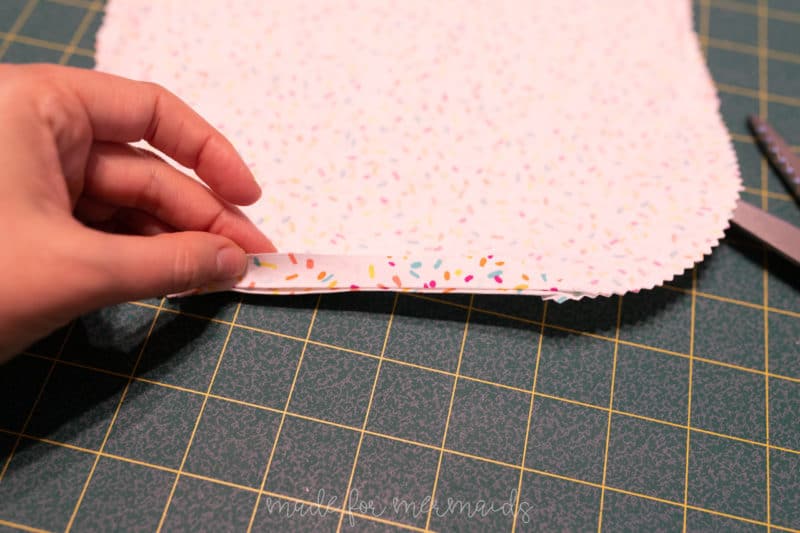
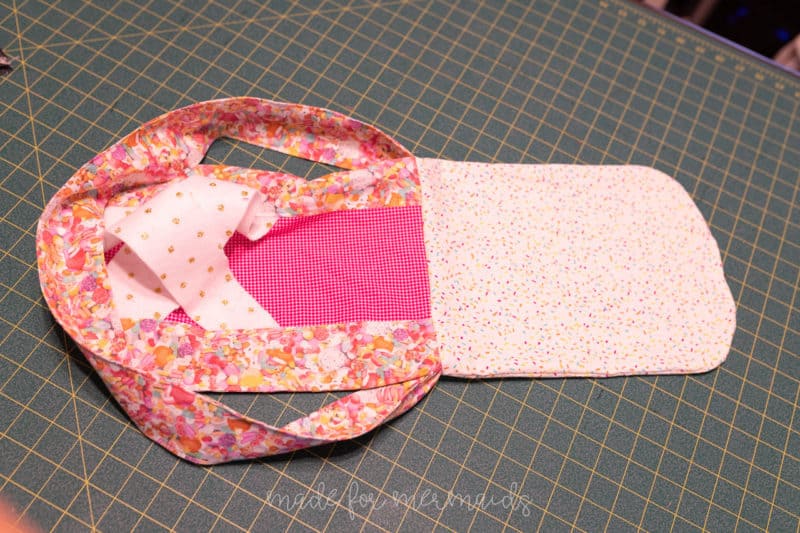
With right sides together, stitch main back piece to front piece. Trim seam allowance and clip corners. I use pinking shears.
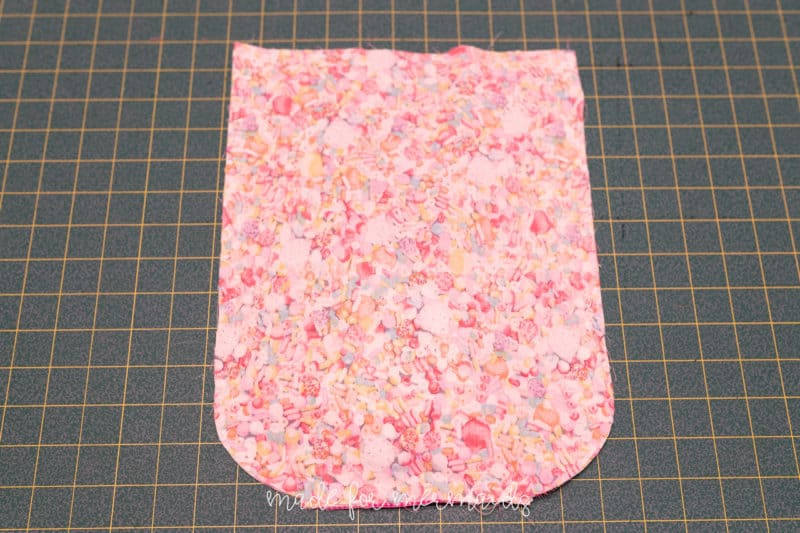
Press out and set aside.
Step 4: LINING
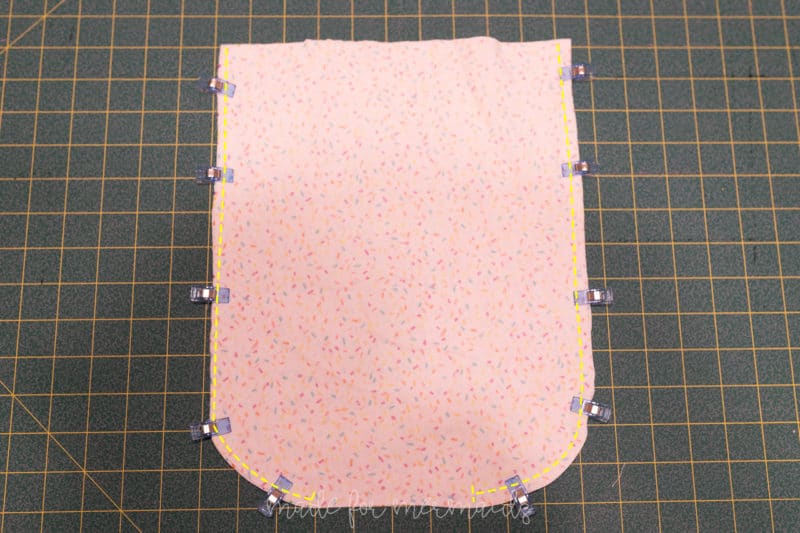
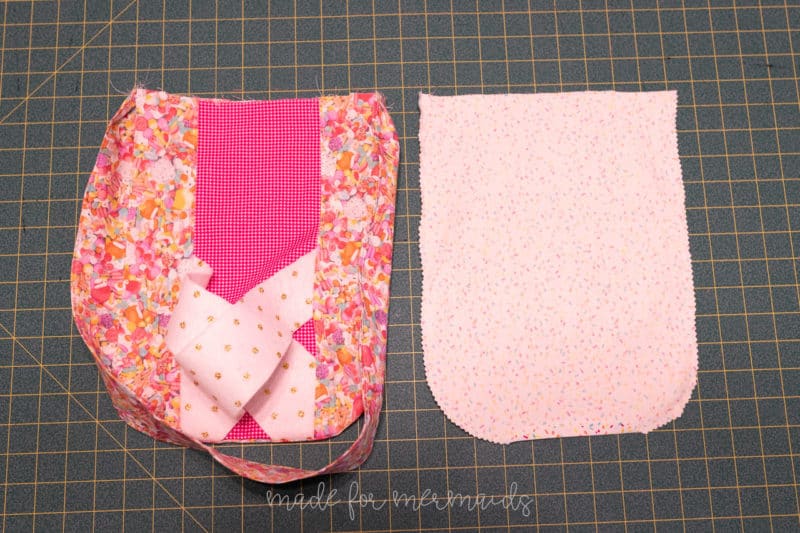
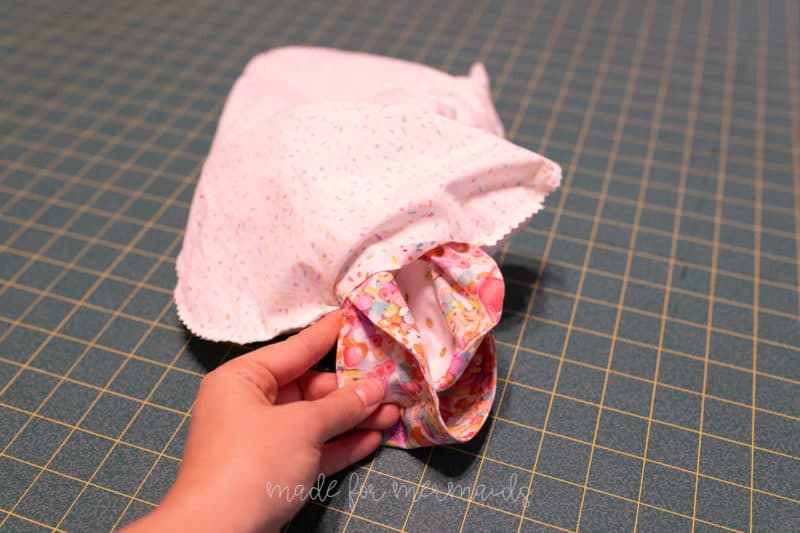
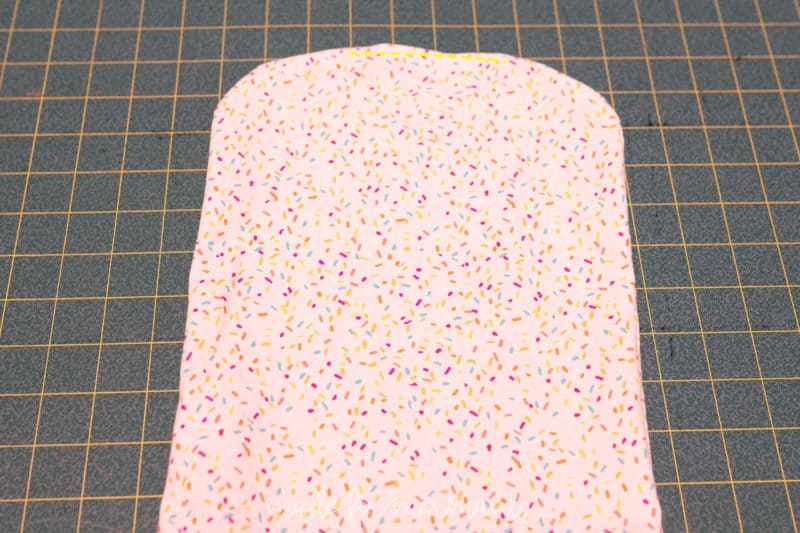
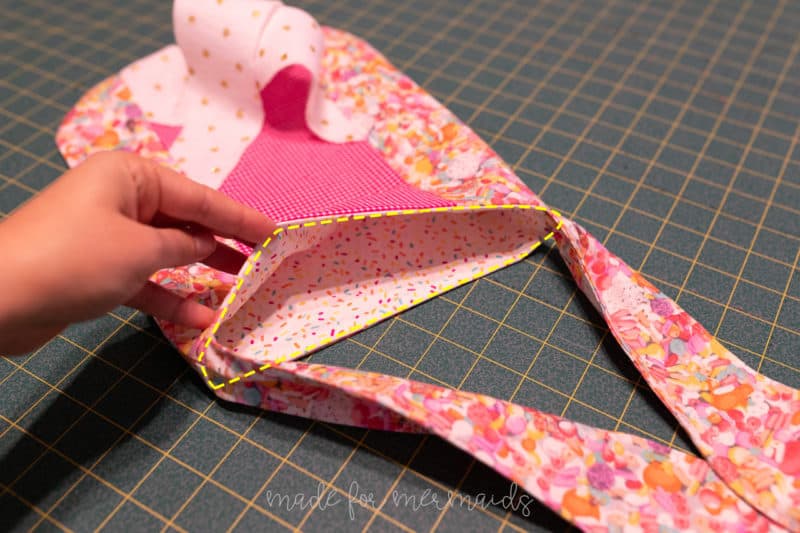
Stitch lining pieces with right sides together, leaving 4″ open along the bottom edge. Trim seam allowance, then clip corners. DO NOT trim opening. Press 1/2″ seam allowance up along opening.
Step 5: STRAP
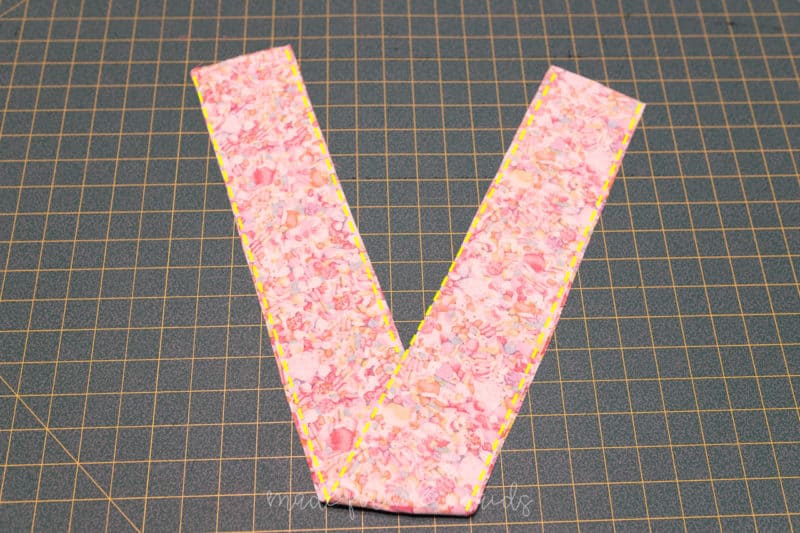
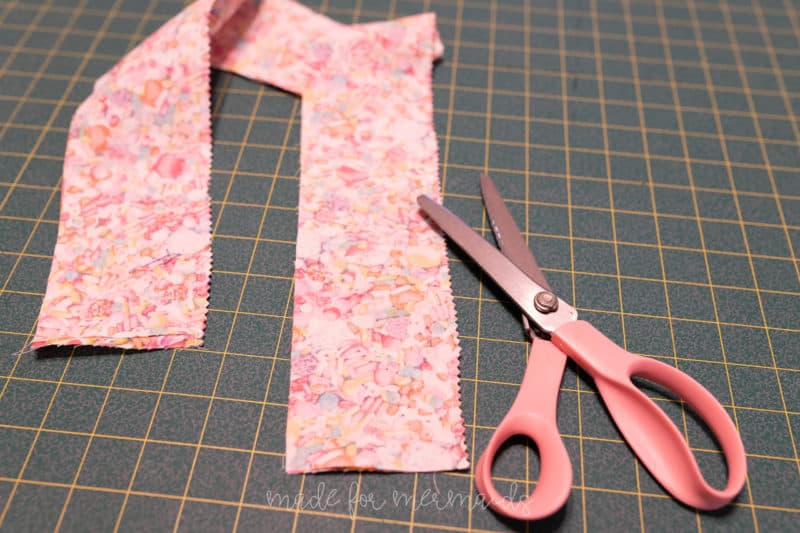
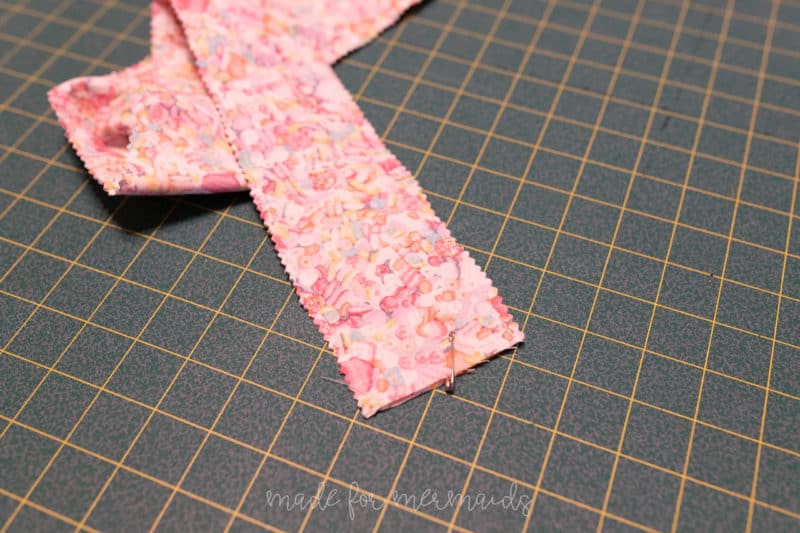
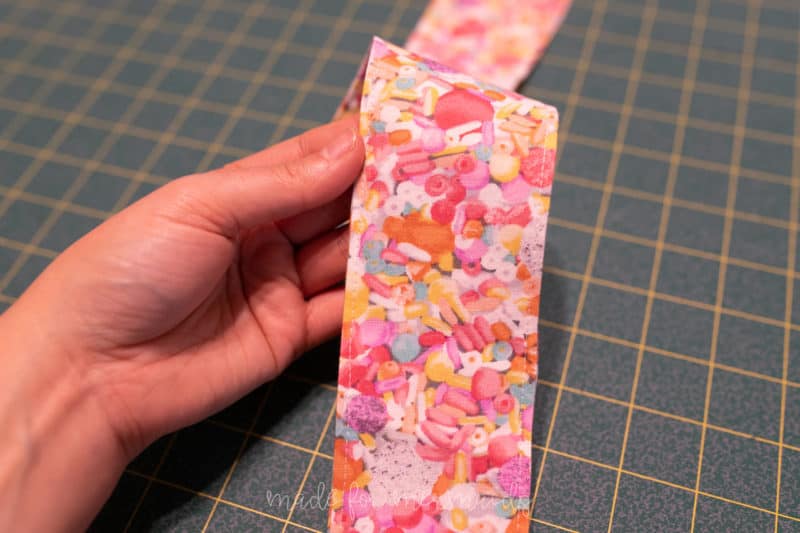
Stitch strap, with right sides together, along long edges. Trim seam allowance, then turn right side out using your favorite turning tool.
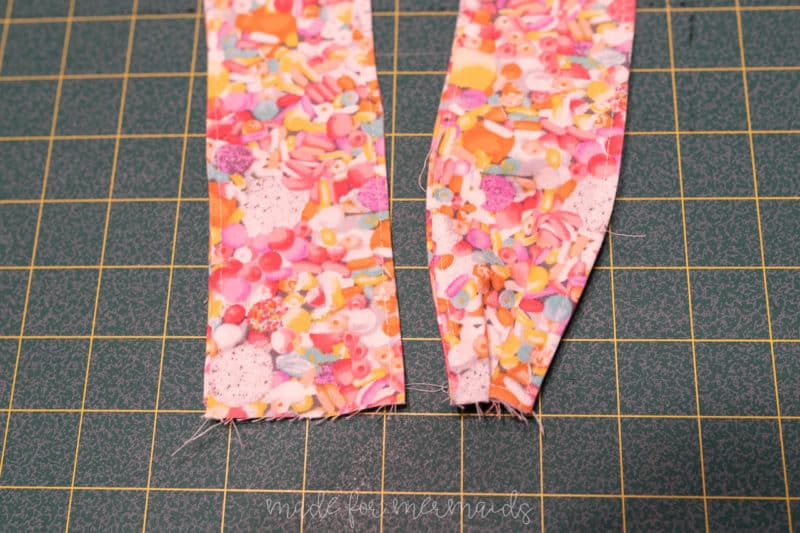
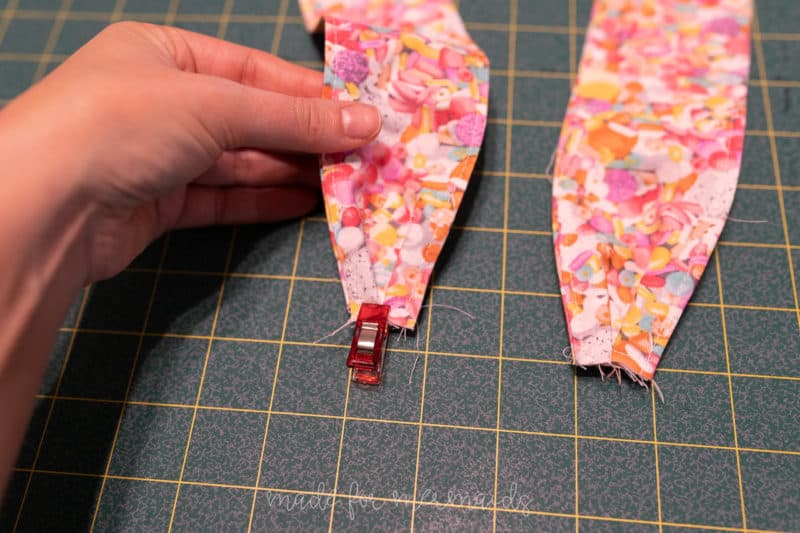
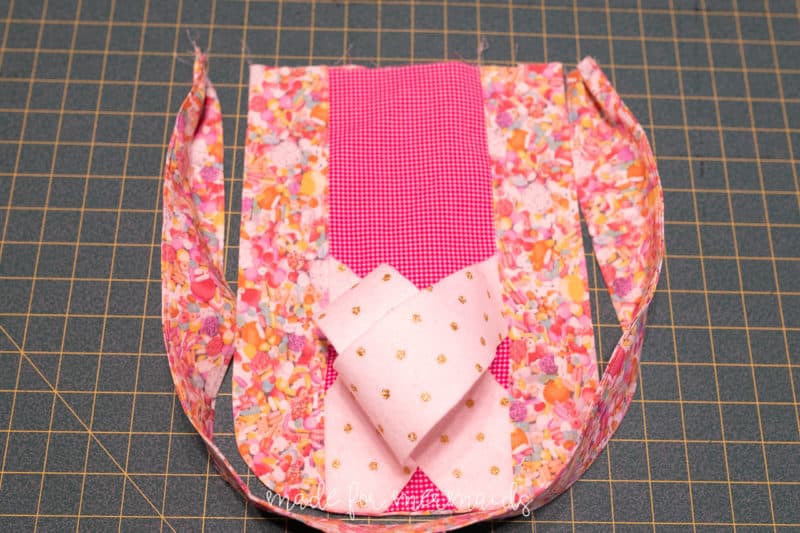
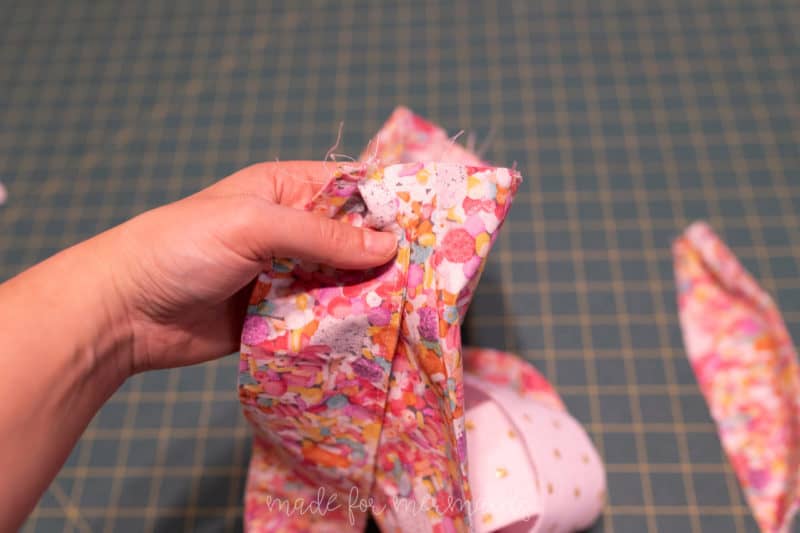
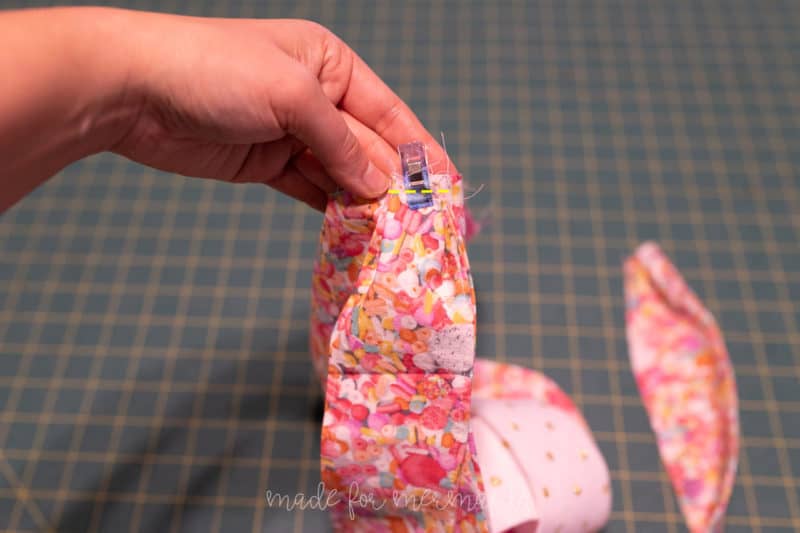
Pleat each strap end so they are 1″.
Note – Now is a great time to check length on the child you are sewing for, if possible! Find center of strap, and side seam of bag. With right sides together, and matching centers, baste strap to bag. Repeat on other side.
Step 6: FINISHING BAG
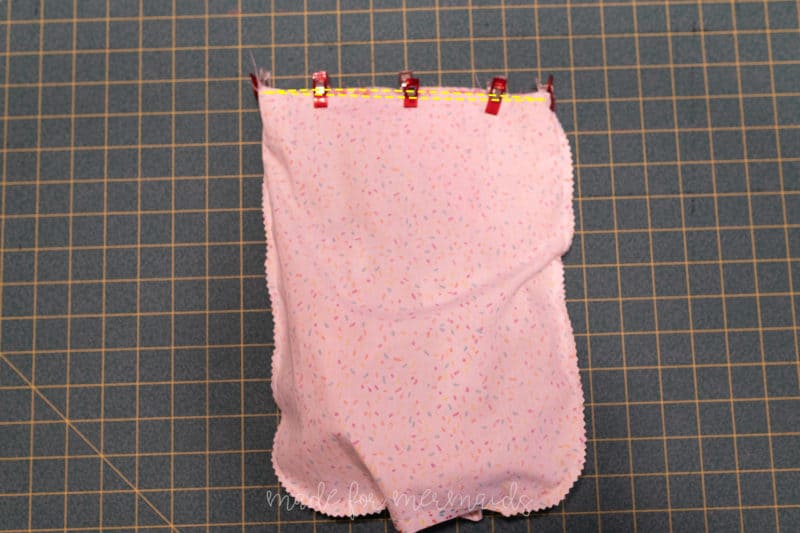
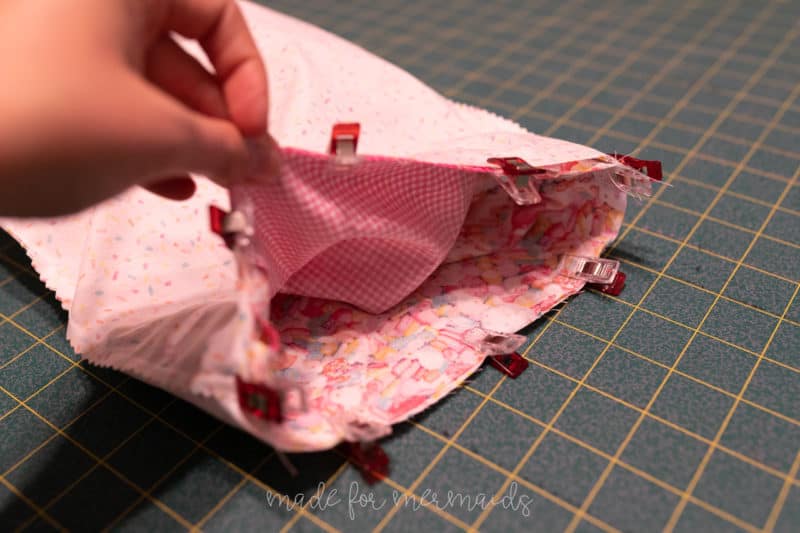
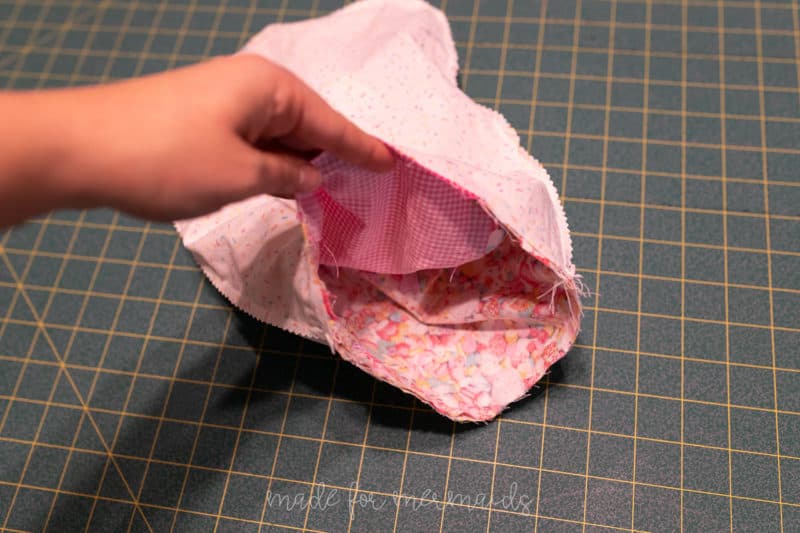
Turn the main bag right side out, and your lining wrong side out. Note – this is another opportunity to check length on the child you’re sewing for to shorten to your personal preference. Slip main bag into lining. Stitch around top edge.
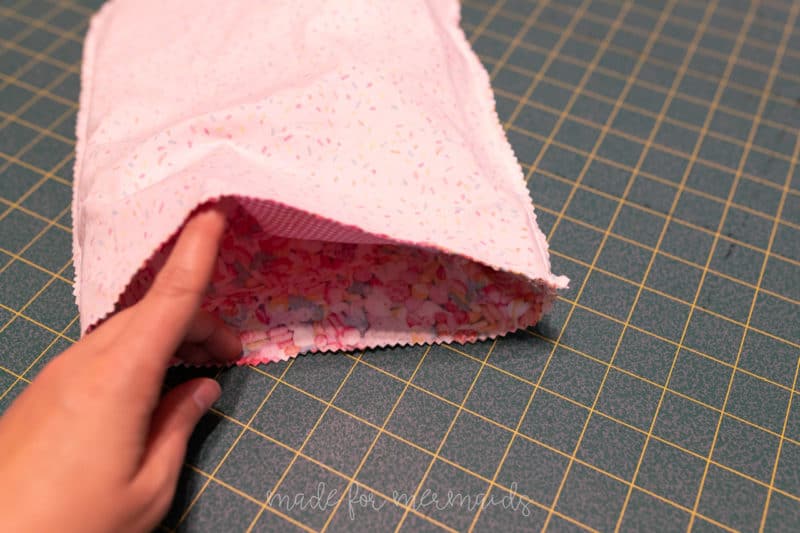
Trim seam allowance. Pull bag right side out through opening in bottom of lining.
Press. Stitch opening closed; you can use a machine, or hand stitch if you prefer. Topstitch along the top edge of bag; make sure straps are pointing up.
Step 7: PACK YOUR BUDDY & ENJOY!
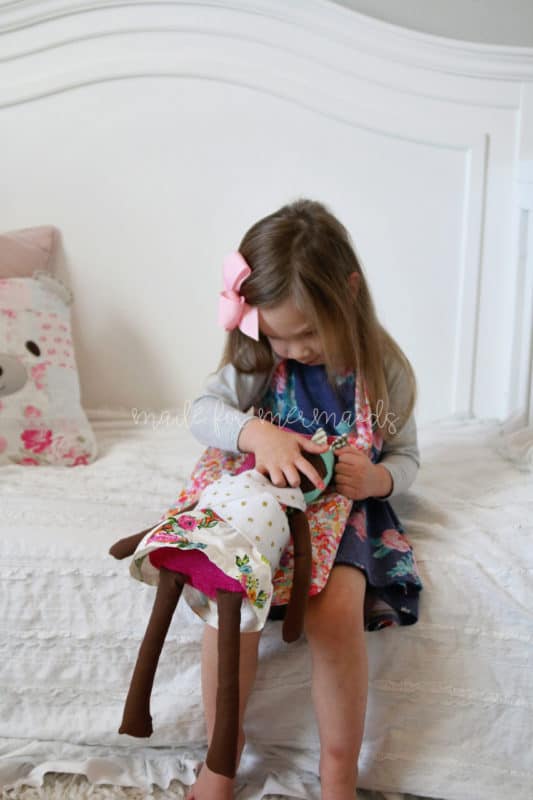
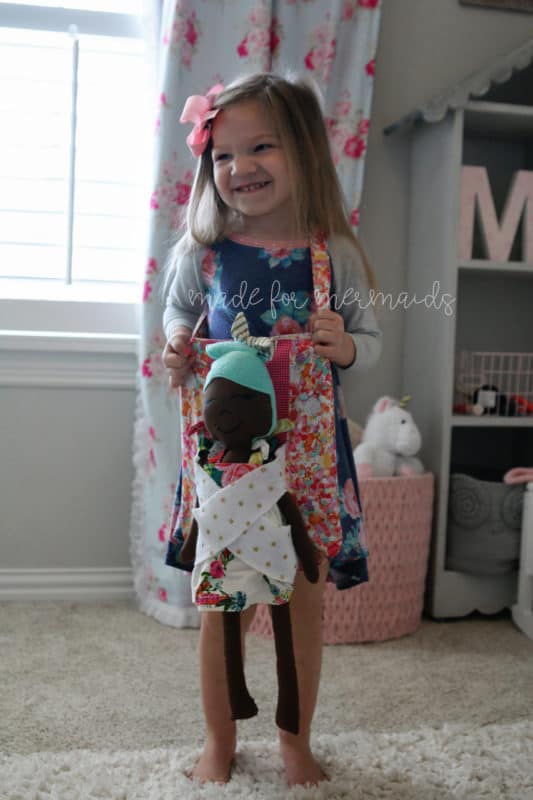

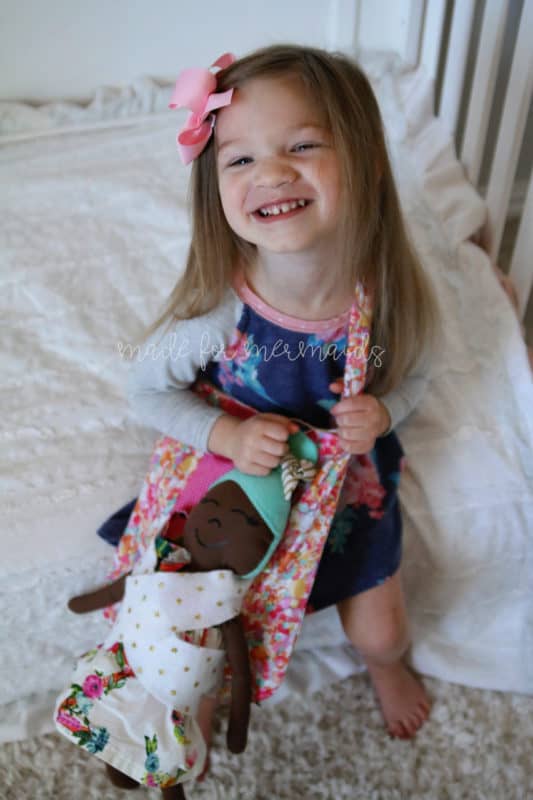
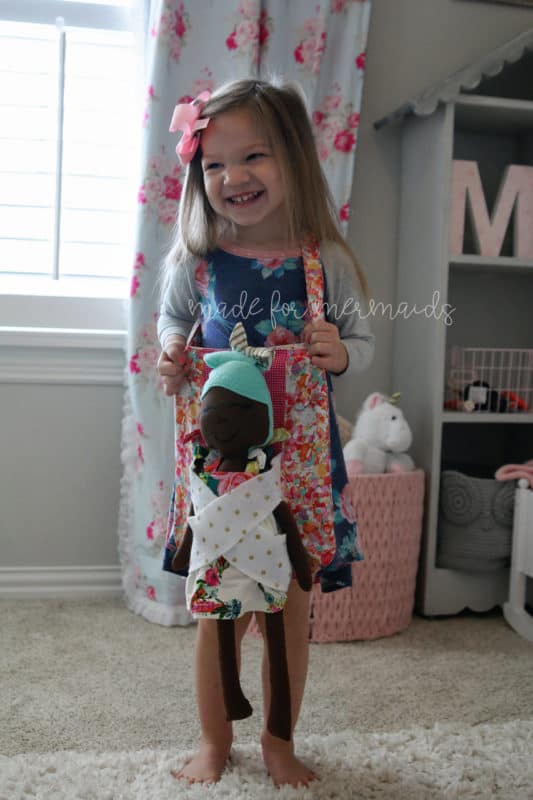
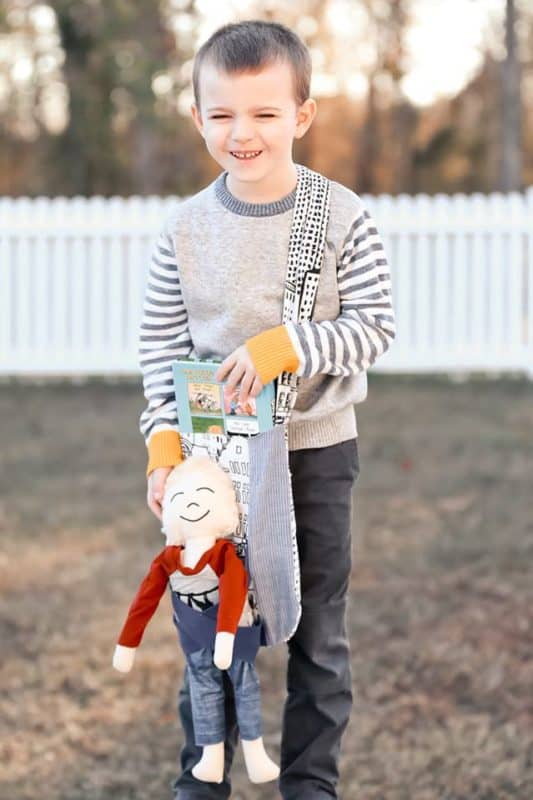
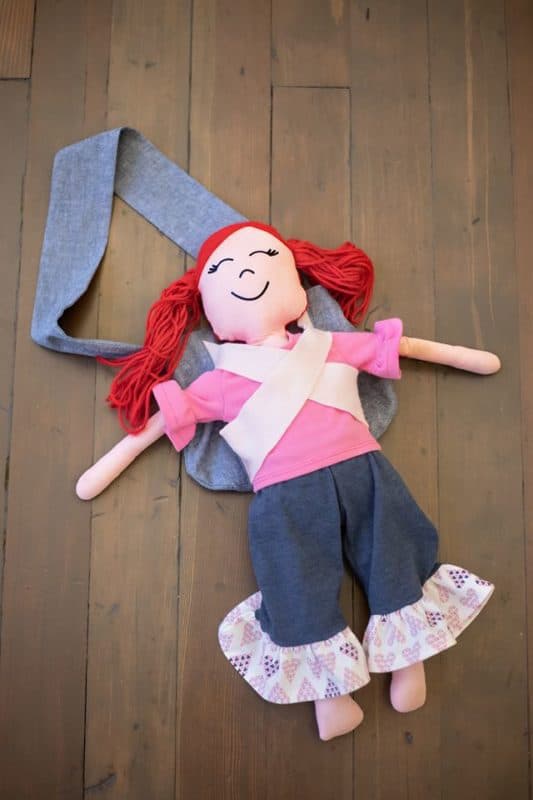
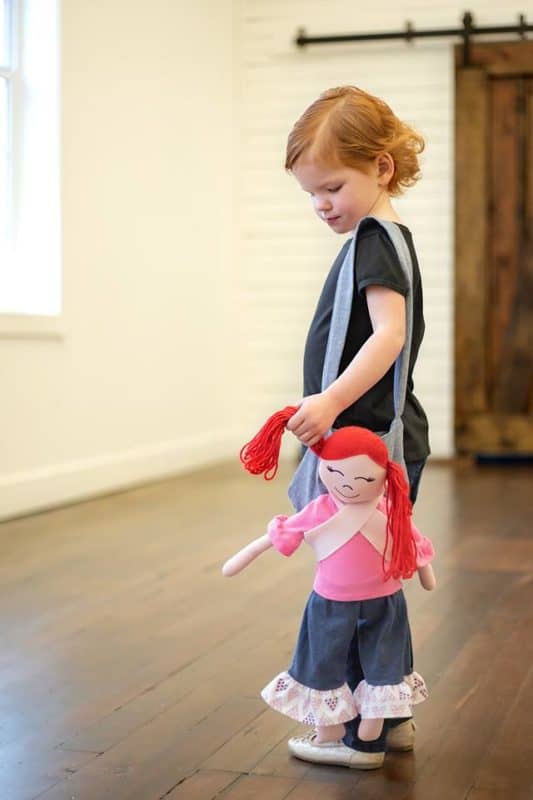
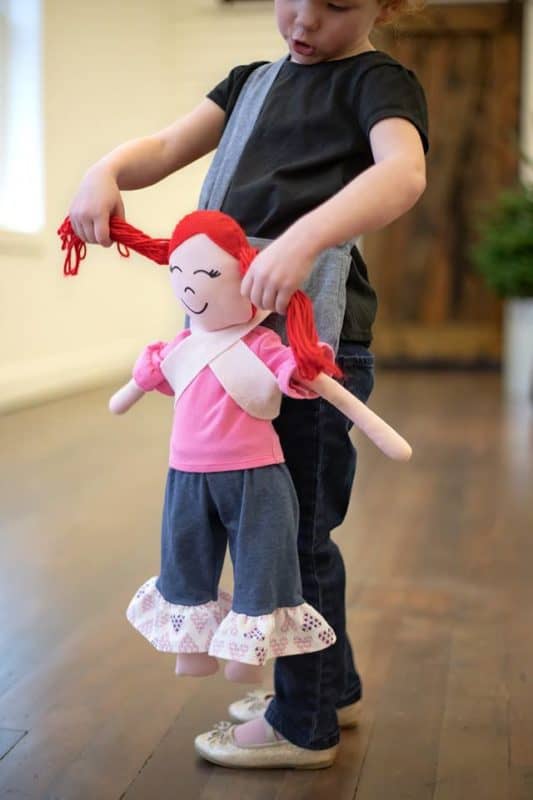
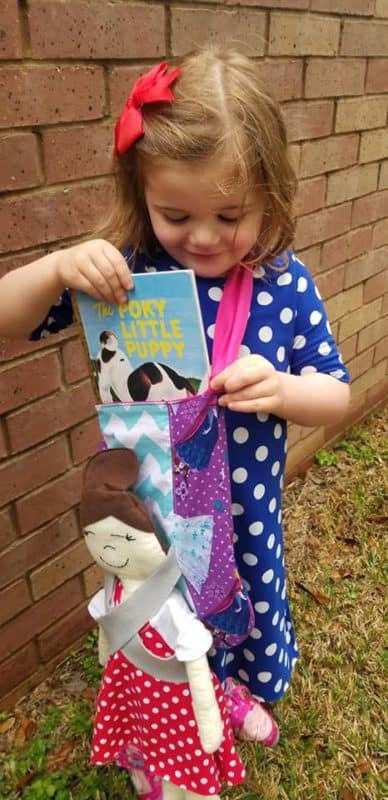
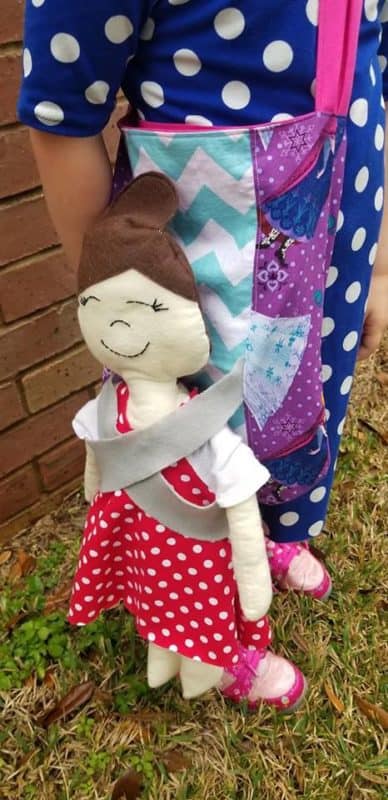
Where do you get the pattern for the little dolly used in the barnacle buddy bag? I want one!!!!
madeformermaids.com/barnaclebuddy 🙂